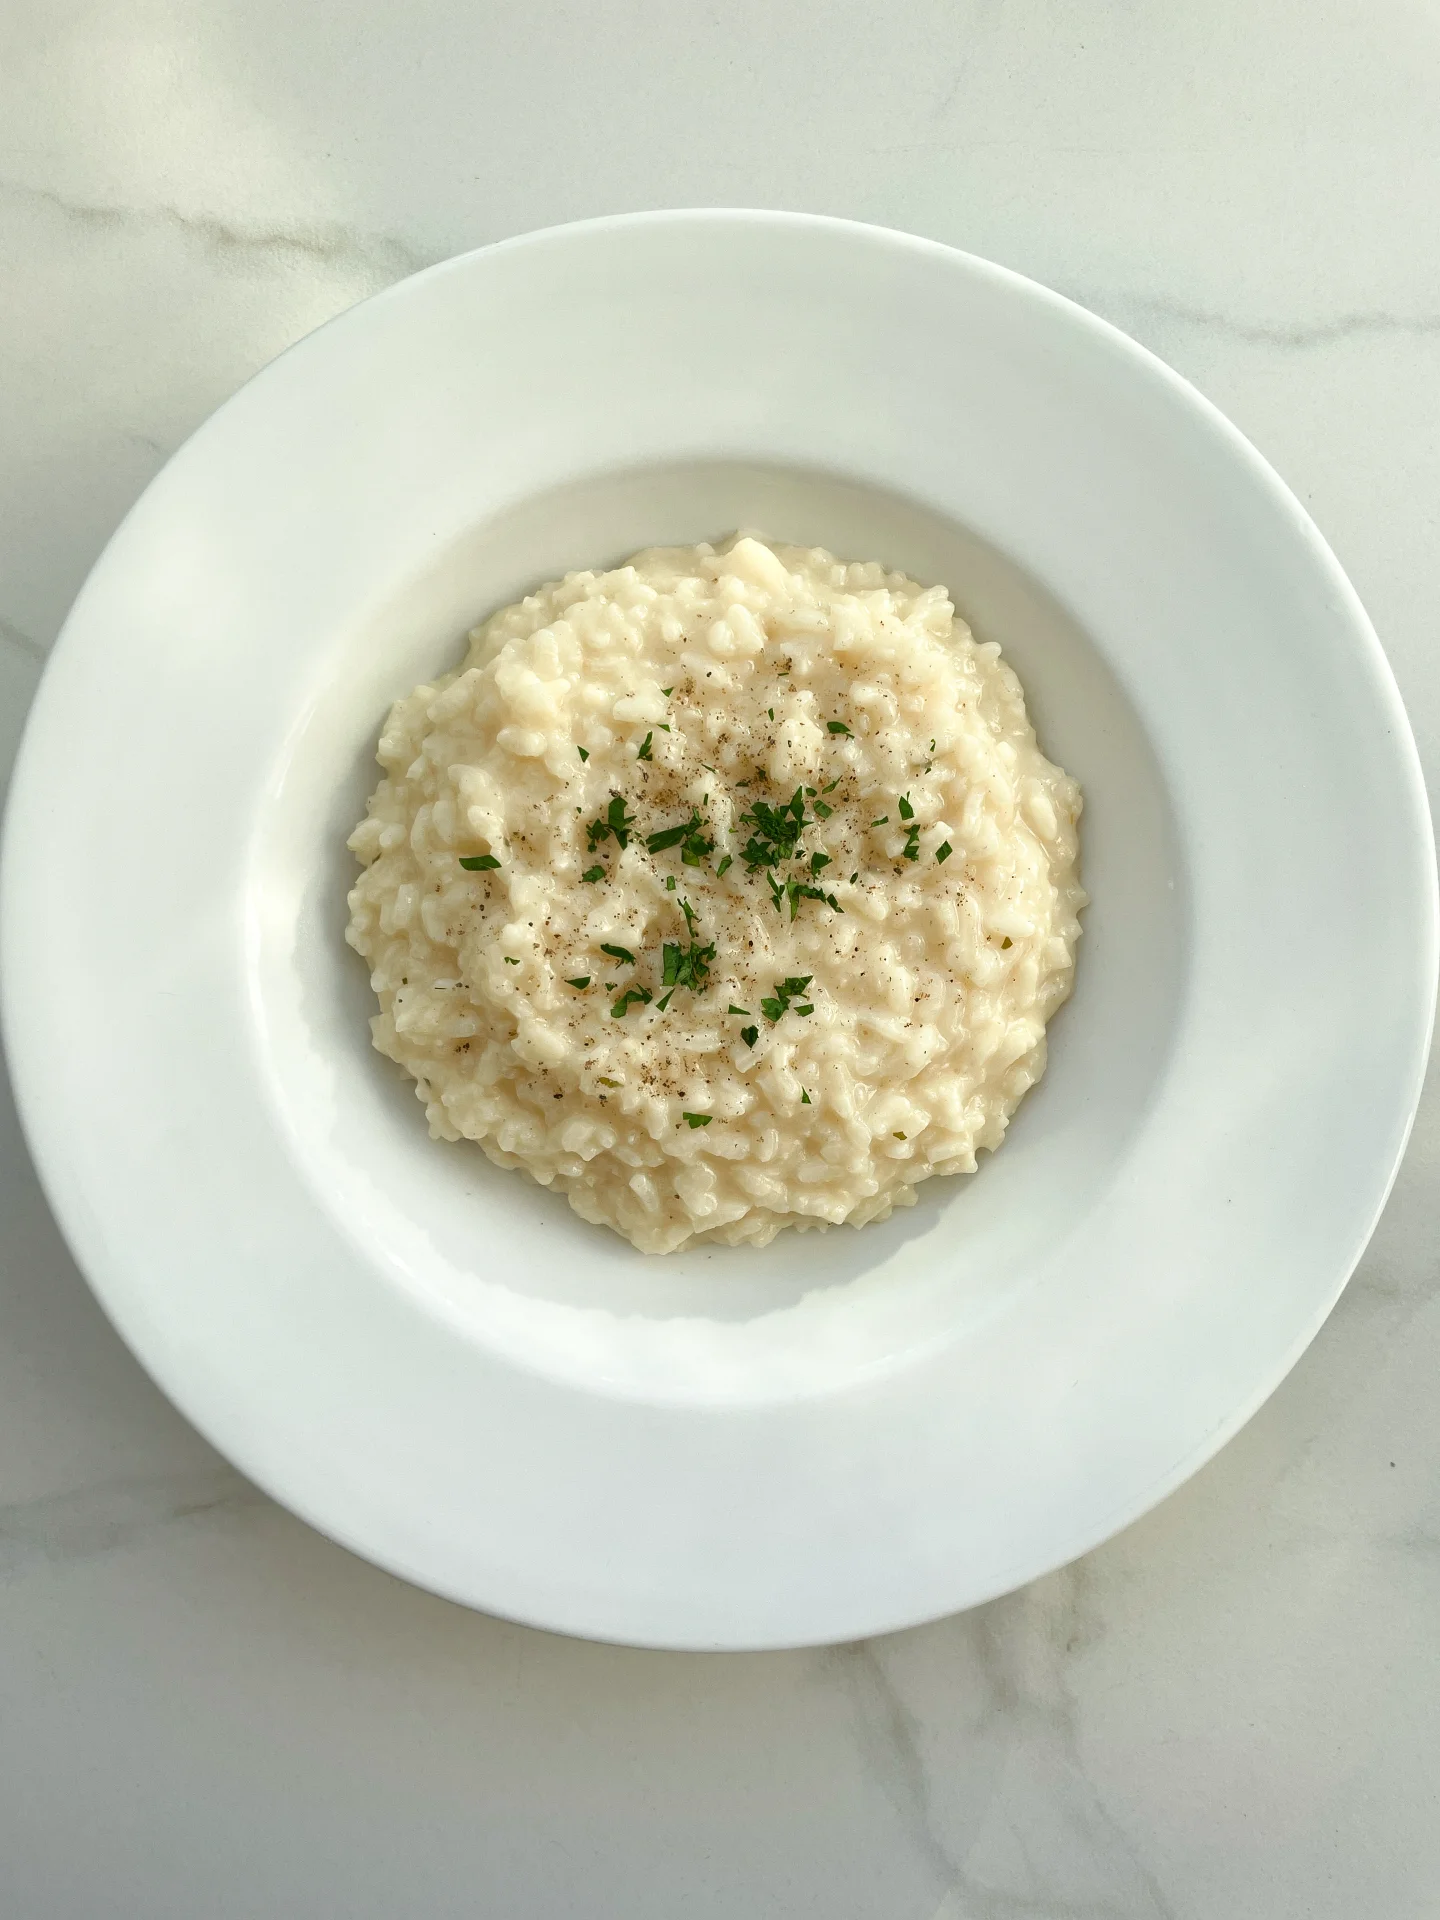
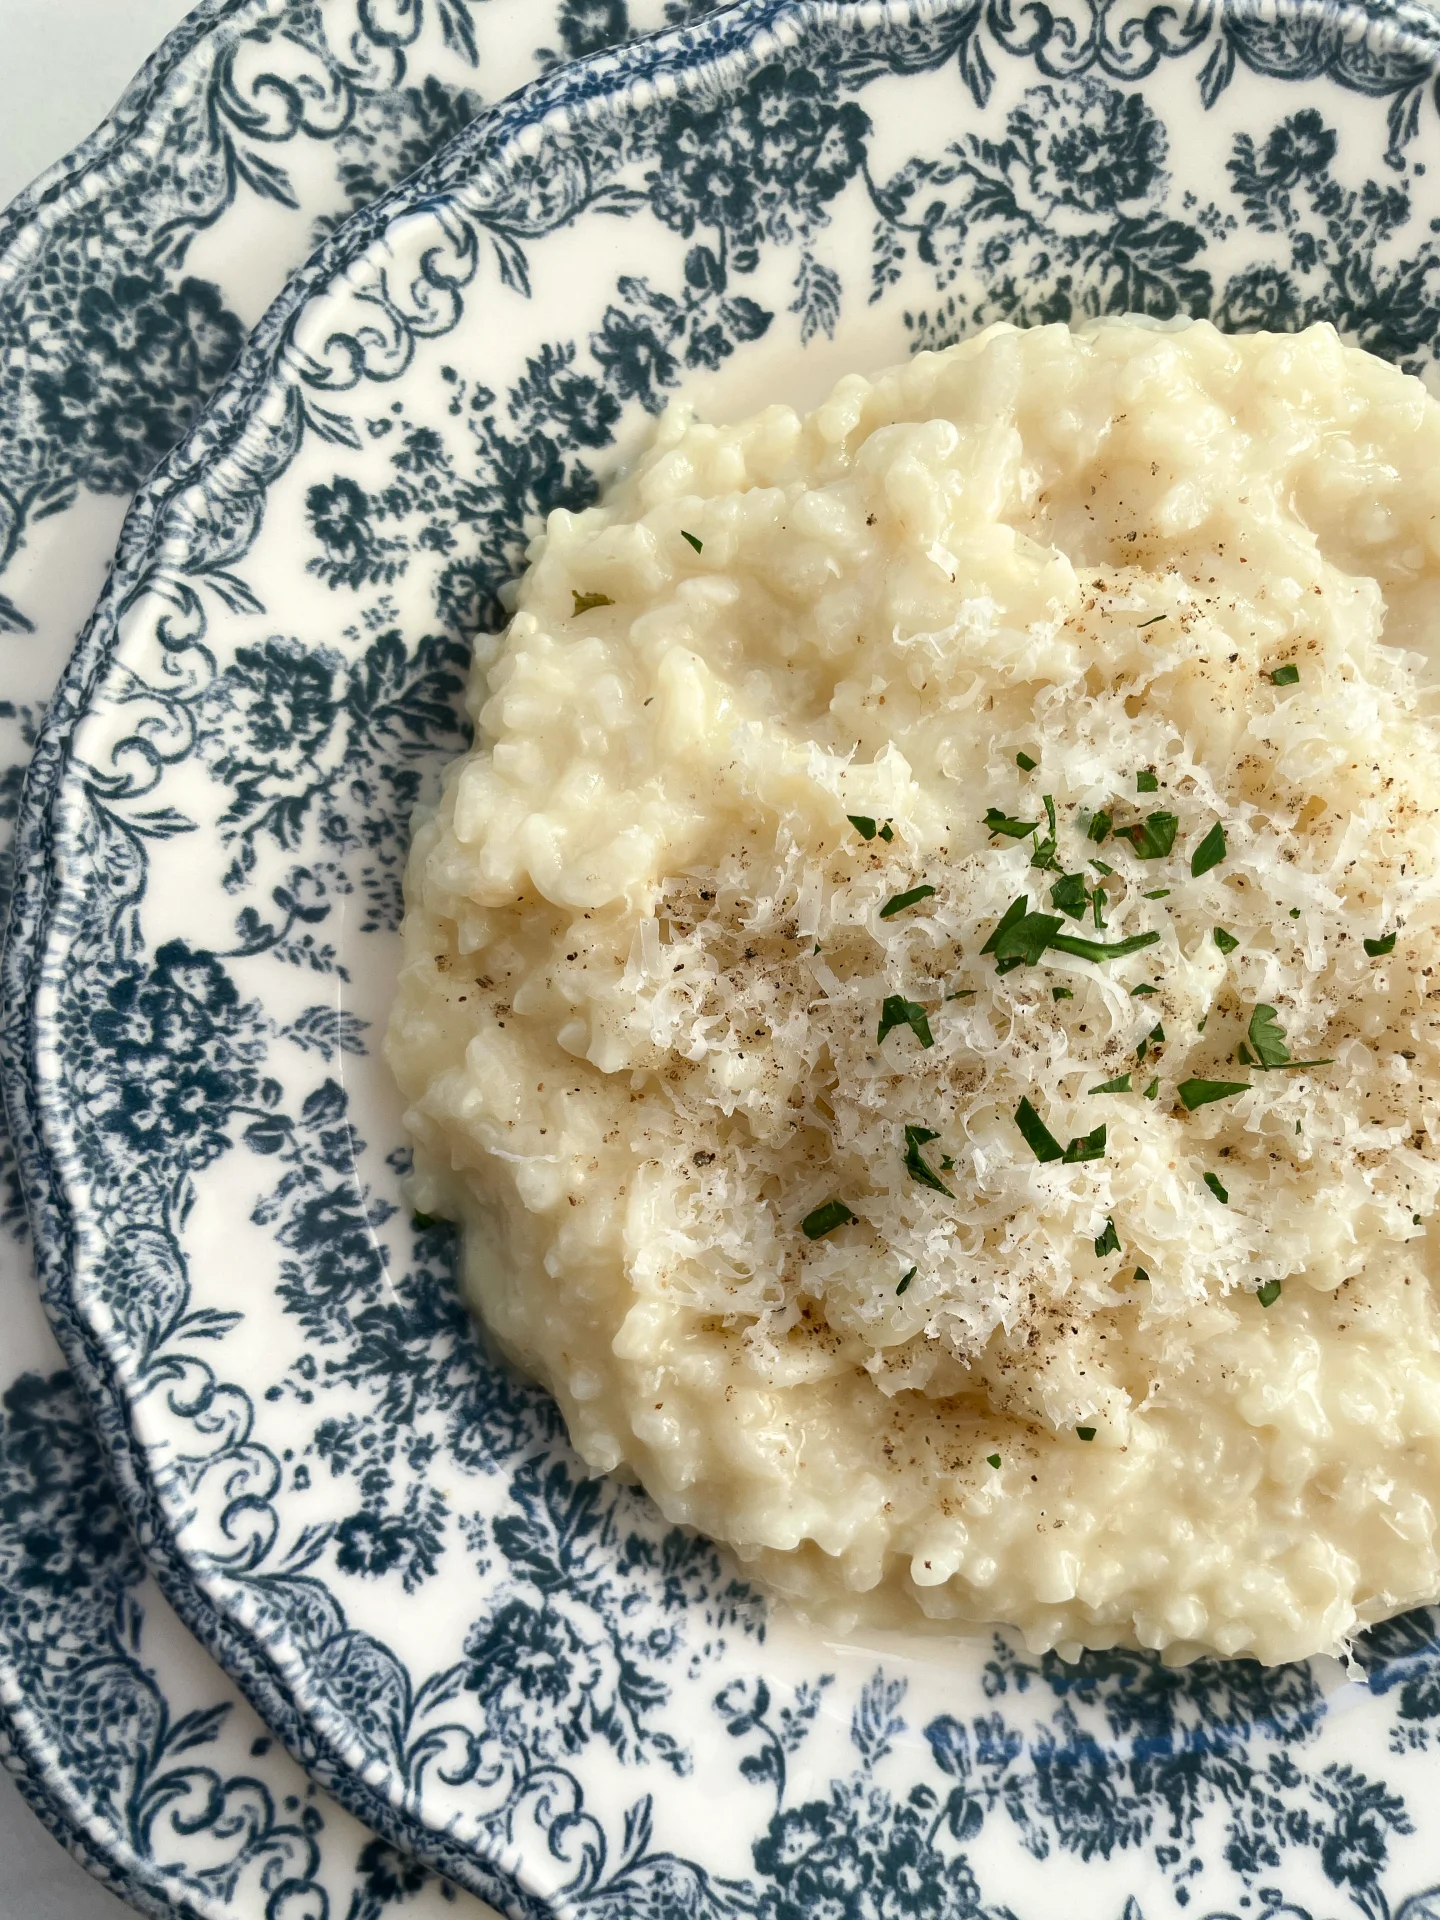
Classic Risotto

Classic Risotto

Classic Risotto

Classic Risotto

November 9, 2023 by Kimberly

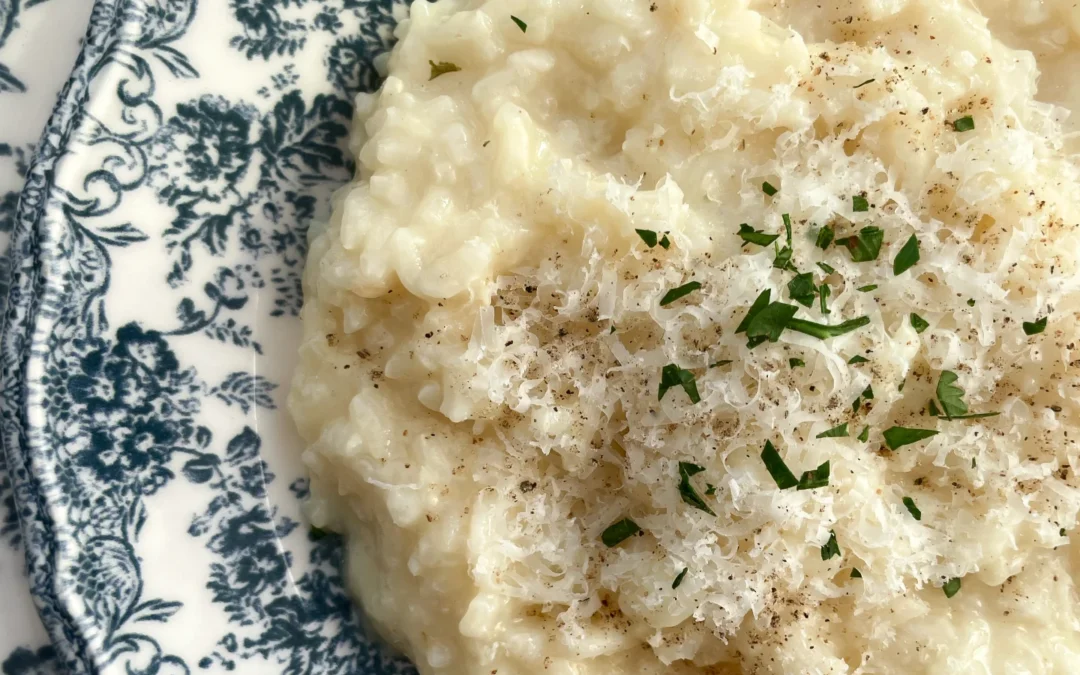
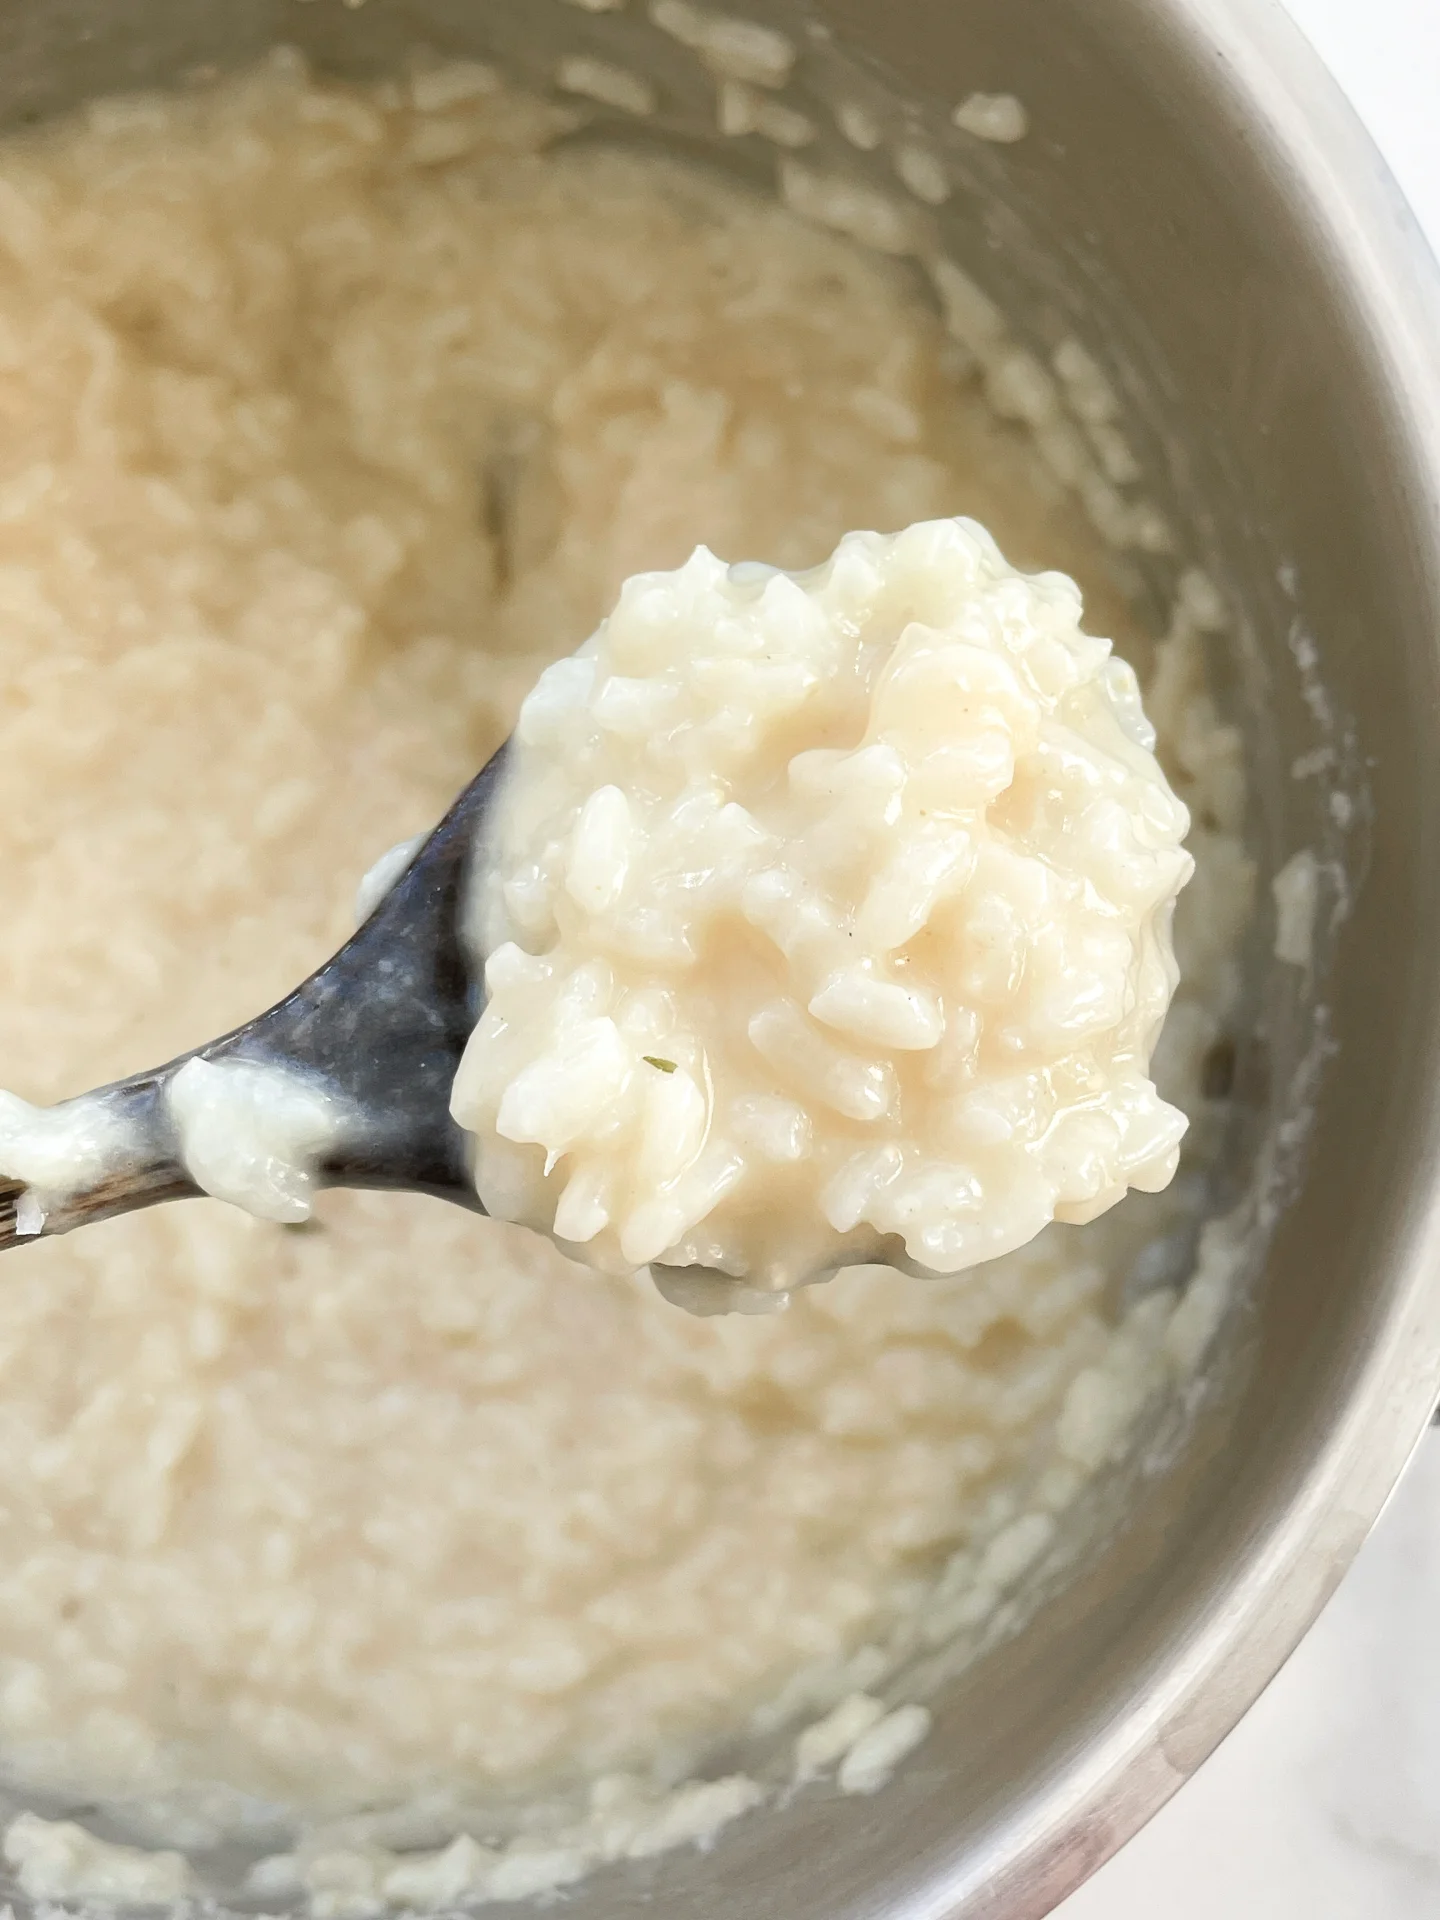
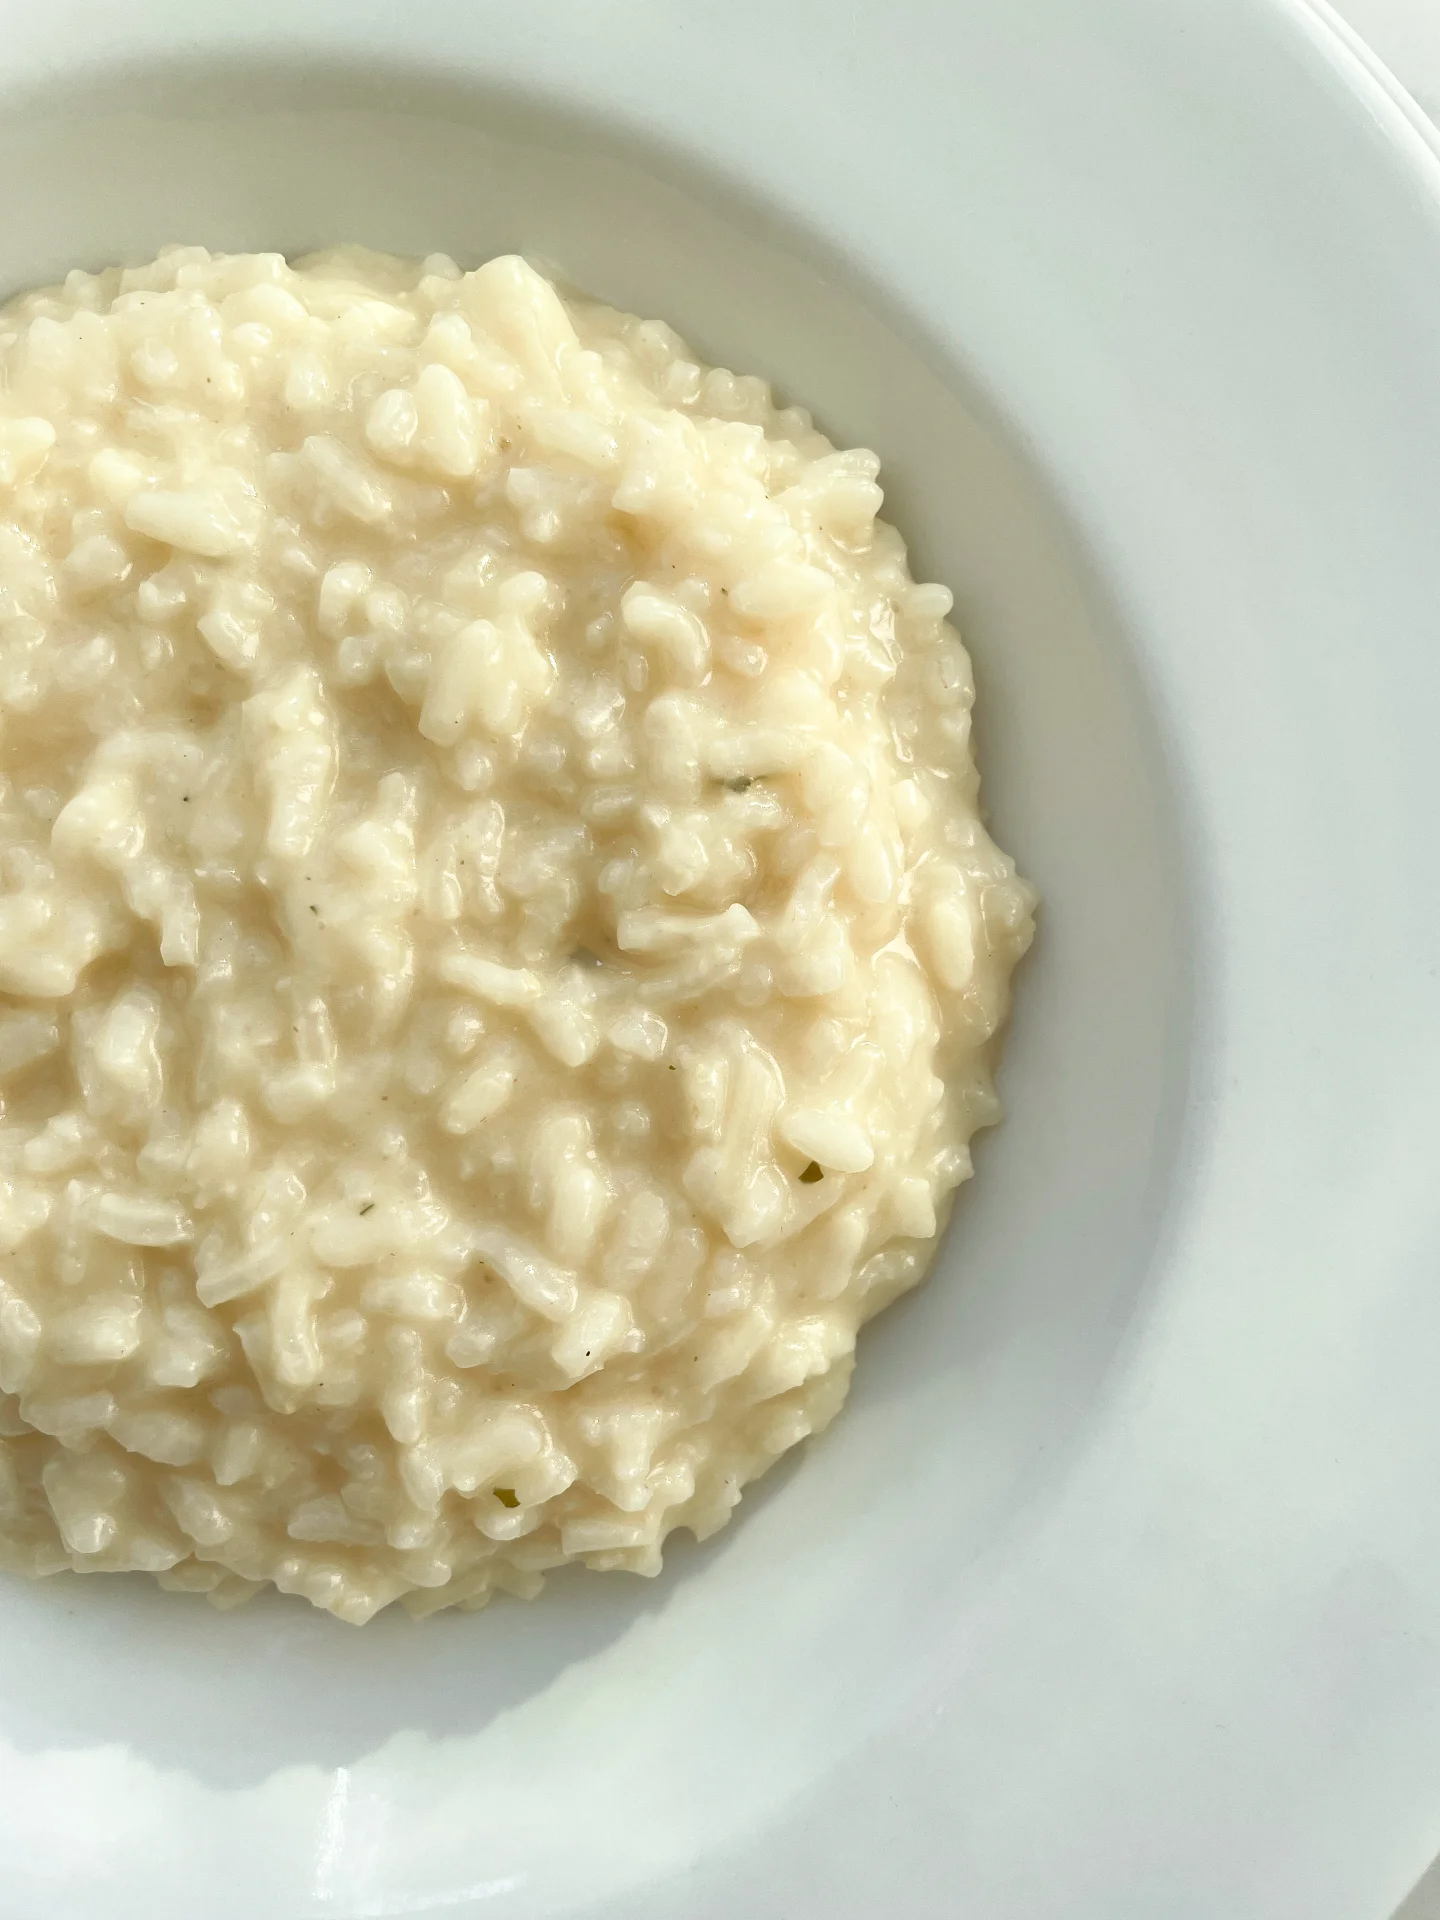
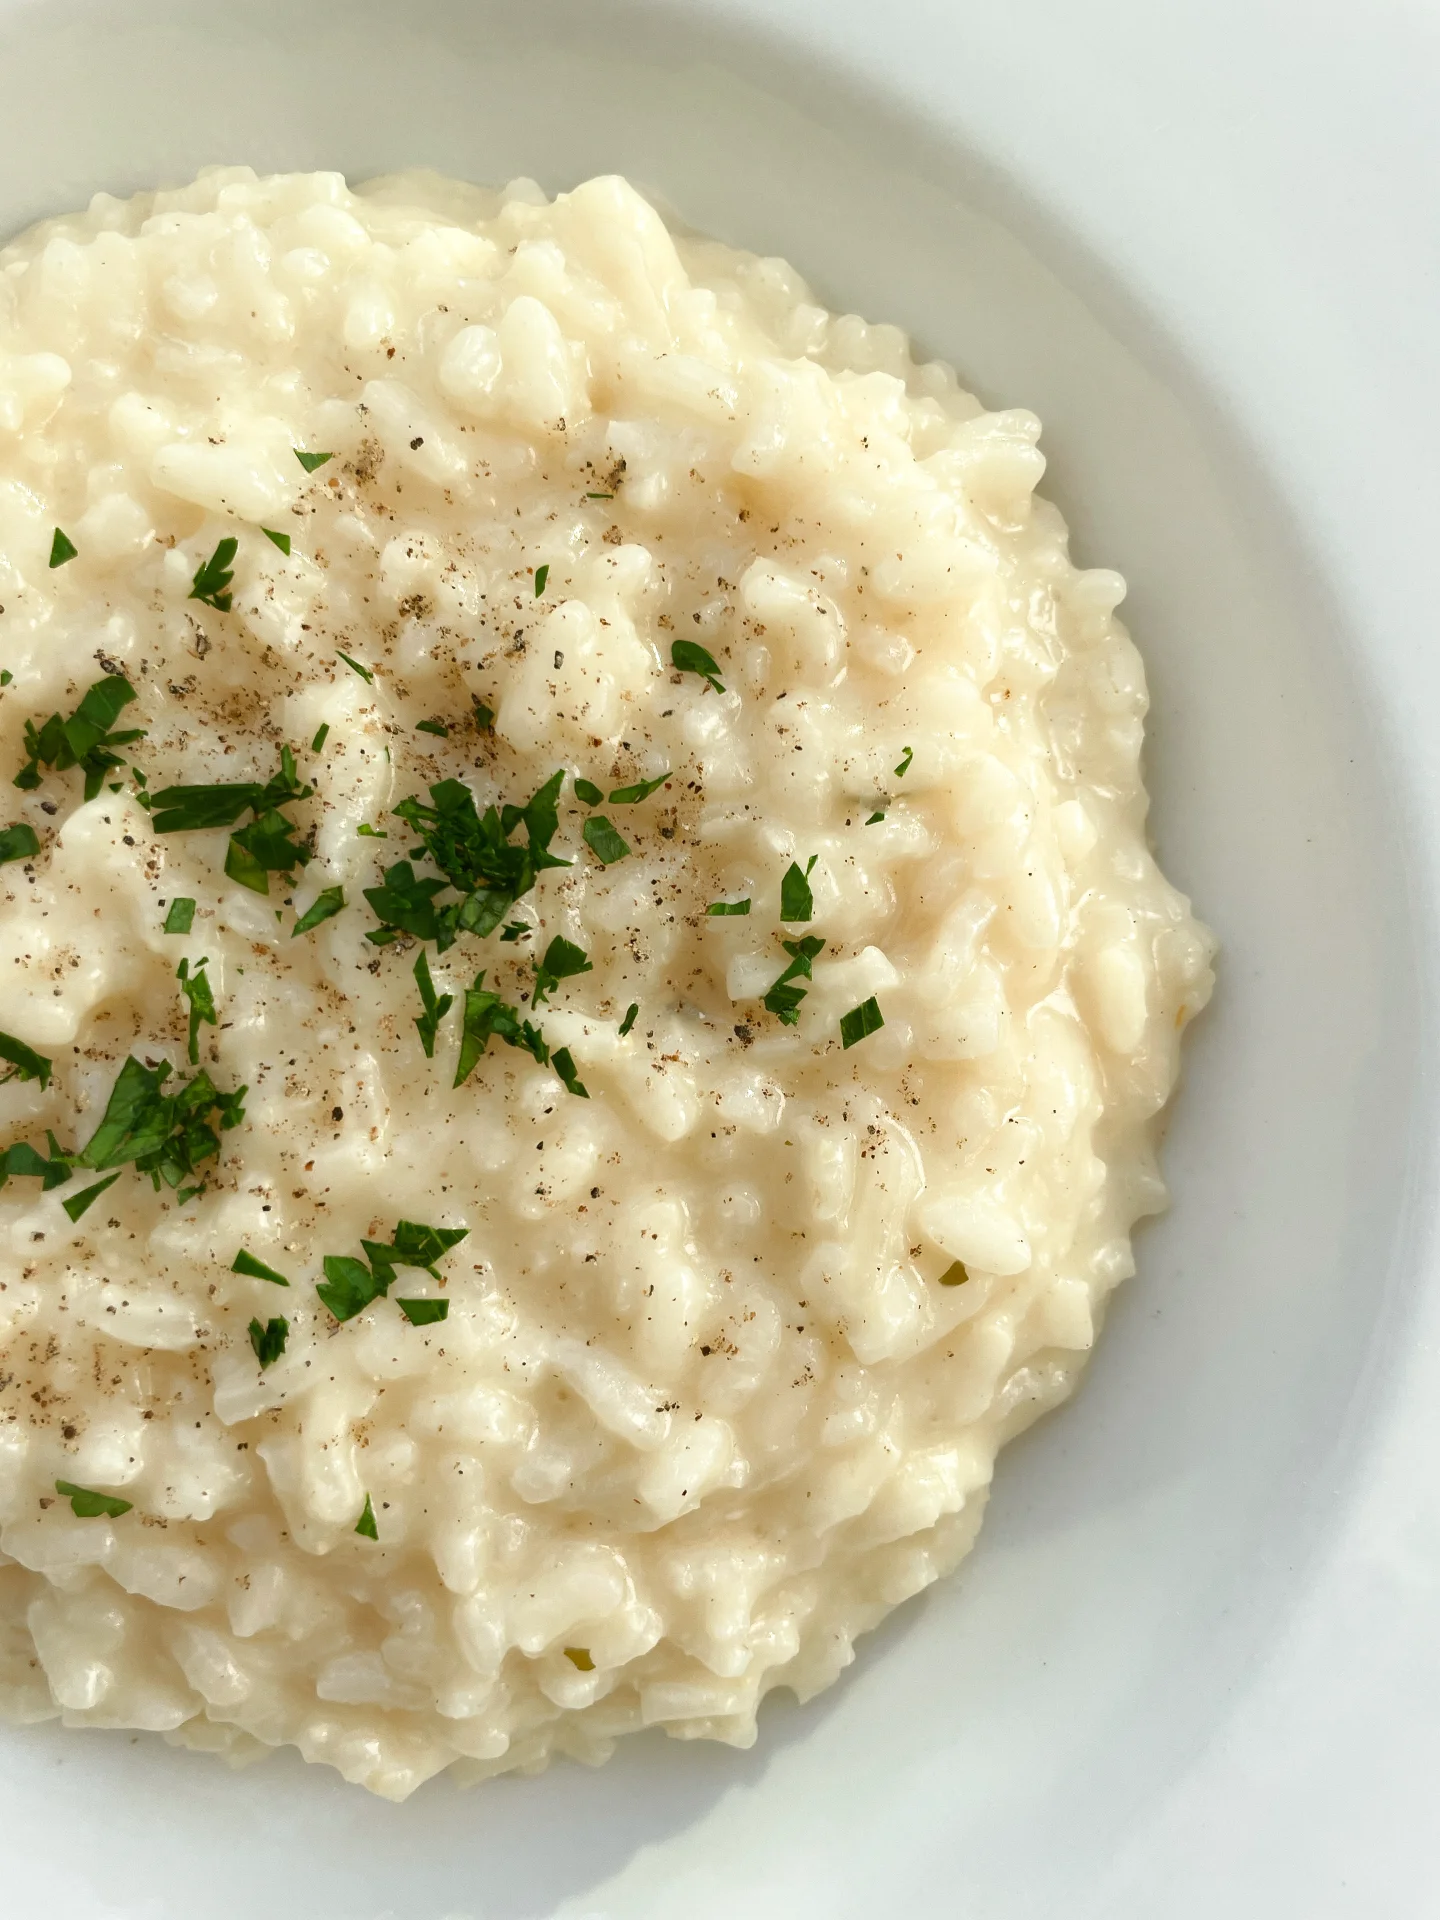
Creamy, dreamy, and cozy, this Parmesan and white wine risotto is pure comfort in a bowl. It’s that no-fuss, indulgent dish perfect for when you crave a warm, savory hug.

45 MINUTES

EASY

VEGETARIAN

ITALIAN

722 PER PORTION

CREAMY

CLASSICS

DINNER

ALL YEAR

INTRODUCTION

ABOUT THE RECIPE

Imagine a creamy, warm risotto made with Parmesan and white wine, bringing pure comfort to your plate. This easy recipe is approachable, yet delivers an indulgent result that feels like a special treat. With simple steps and bold flavors, it’s perfect for any night you want to relax with something delicious. Ideal as a base for endless variations, this risotto keeps things cozy and straightforward while packing in all the richness and creaminess you crave. If you’re not so confident with preparing a risotto yet, read on for a full guide and get the best tips for achieving THE Perfect Risotto.

How to serve
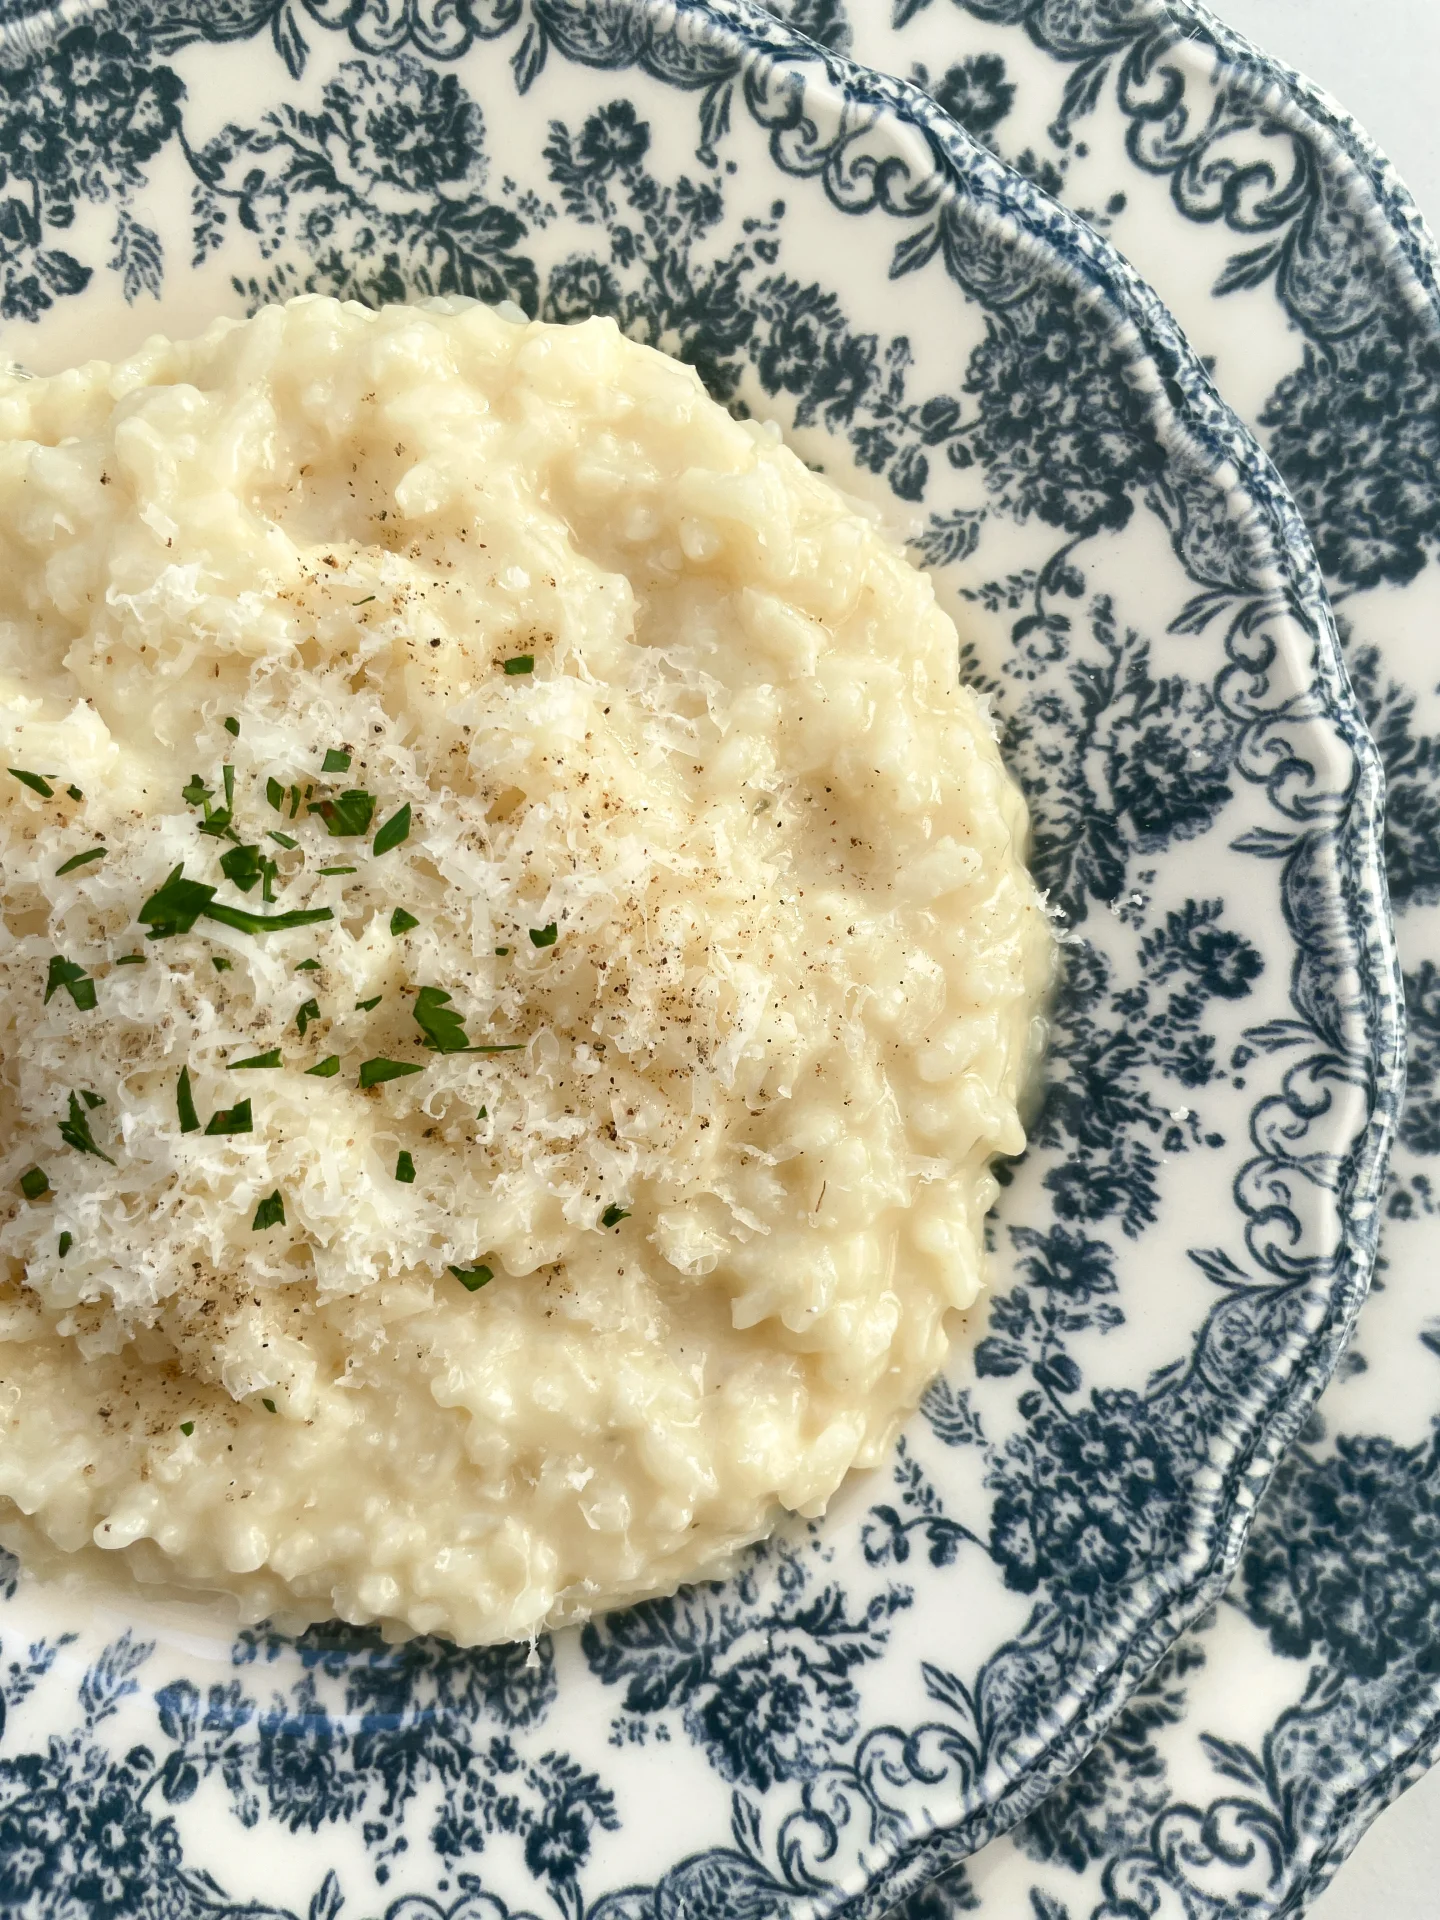
Serve your risotto steaming hot in a wide bowl to showcase that lovely creamy texture. Garnish with fresh herbs like parsley or basil and a generous shave of extra Parmesan for an extra touch of umami. You could also add a drizzle of truffle oil or crispy pancetta for a sophisticated twist. Pair with a light side salad or a crisp white wine to complement the dish’s creamy, savory flavors.

How to store
If there are leftovers, place the risotto in an airtight container and refrigerate for up to three days. To reheat, add a splash of broth or water, and warm on the stove, stirring to bring back the creamy consistency.

Hi, I'm Kimberly!

Hi, I'm Kimberly.

A passionate food lover who believes in the magic of homemade deliciousness that spreads love and warmth. Join me on this culinary adventure as I prepare wonderful dishes and let’s spread some happiness together!

Kimberly the Zett Signature

If you want to get to know me better, click here!


Classic Risotto
Classic Risotto

„Let’s make a piece of happiness“

Print
clock clock iconcutlery cutlery iconflag flag iconfolder folder iconinstagram instagram iconpinterest pinterest iconfacebook facebook iconprint print iconsquares squares iconheart heart iconheart solid heart solid icon
Classic Risotto

Classic Risotto


5 Stars 4 Stars 3 Stars 2 Stars 1 Star

5 from 1 review

  • Author: Kimberly
  • Total Time: 45 min
  • Yield: 2 1x

Description

RECOMMENDED EQUIPMENT
  • sharp knife
  • cutting board
  • medium-sized pot
  • measuring cup
  • grater

Ingredients

Units Scale
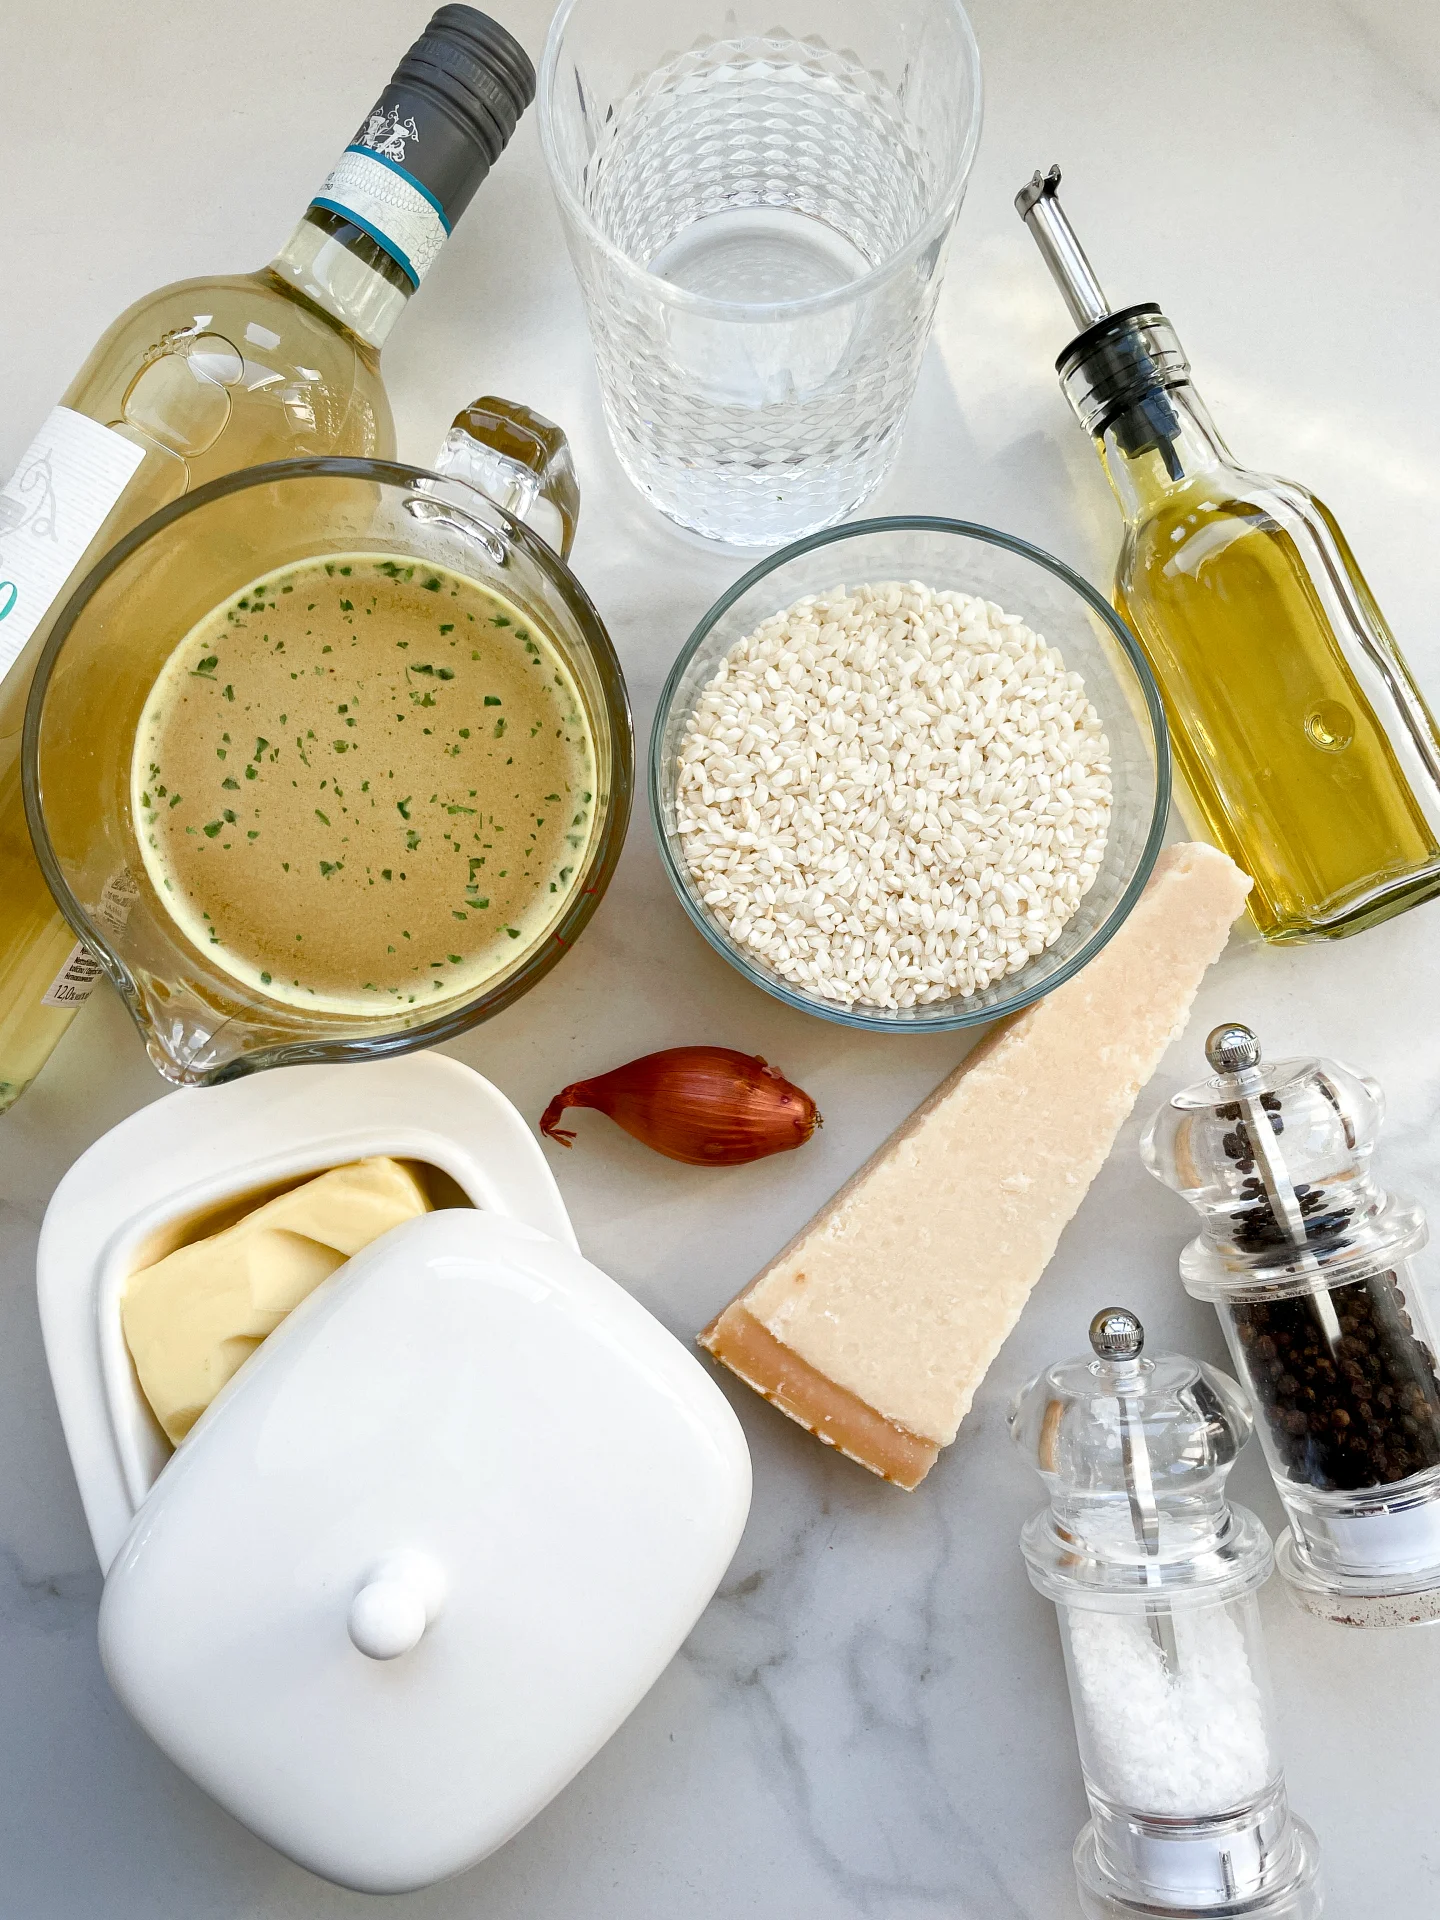
  • 200 grams risotto rice
  • 400 milliliter vegetable broth
  • 200 milliliter dry white wine
  • 300 milliliter water
  • 100 grams parmesan
  • 1 shallot
  • 1 tbsp olive oil
  • 1 tsp butter
  • salt & pepper to taste
  • parsley for garnish

Instructions

PREPARATIONS

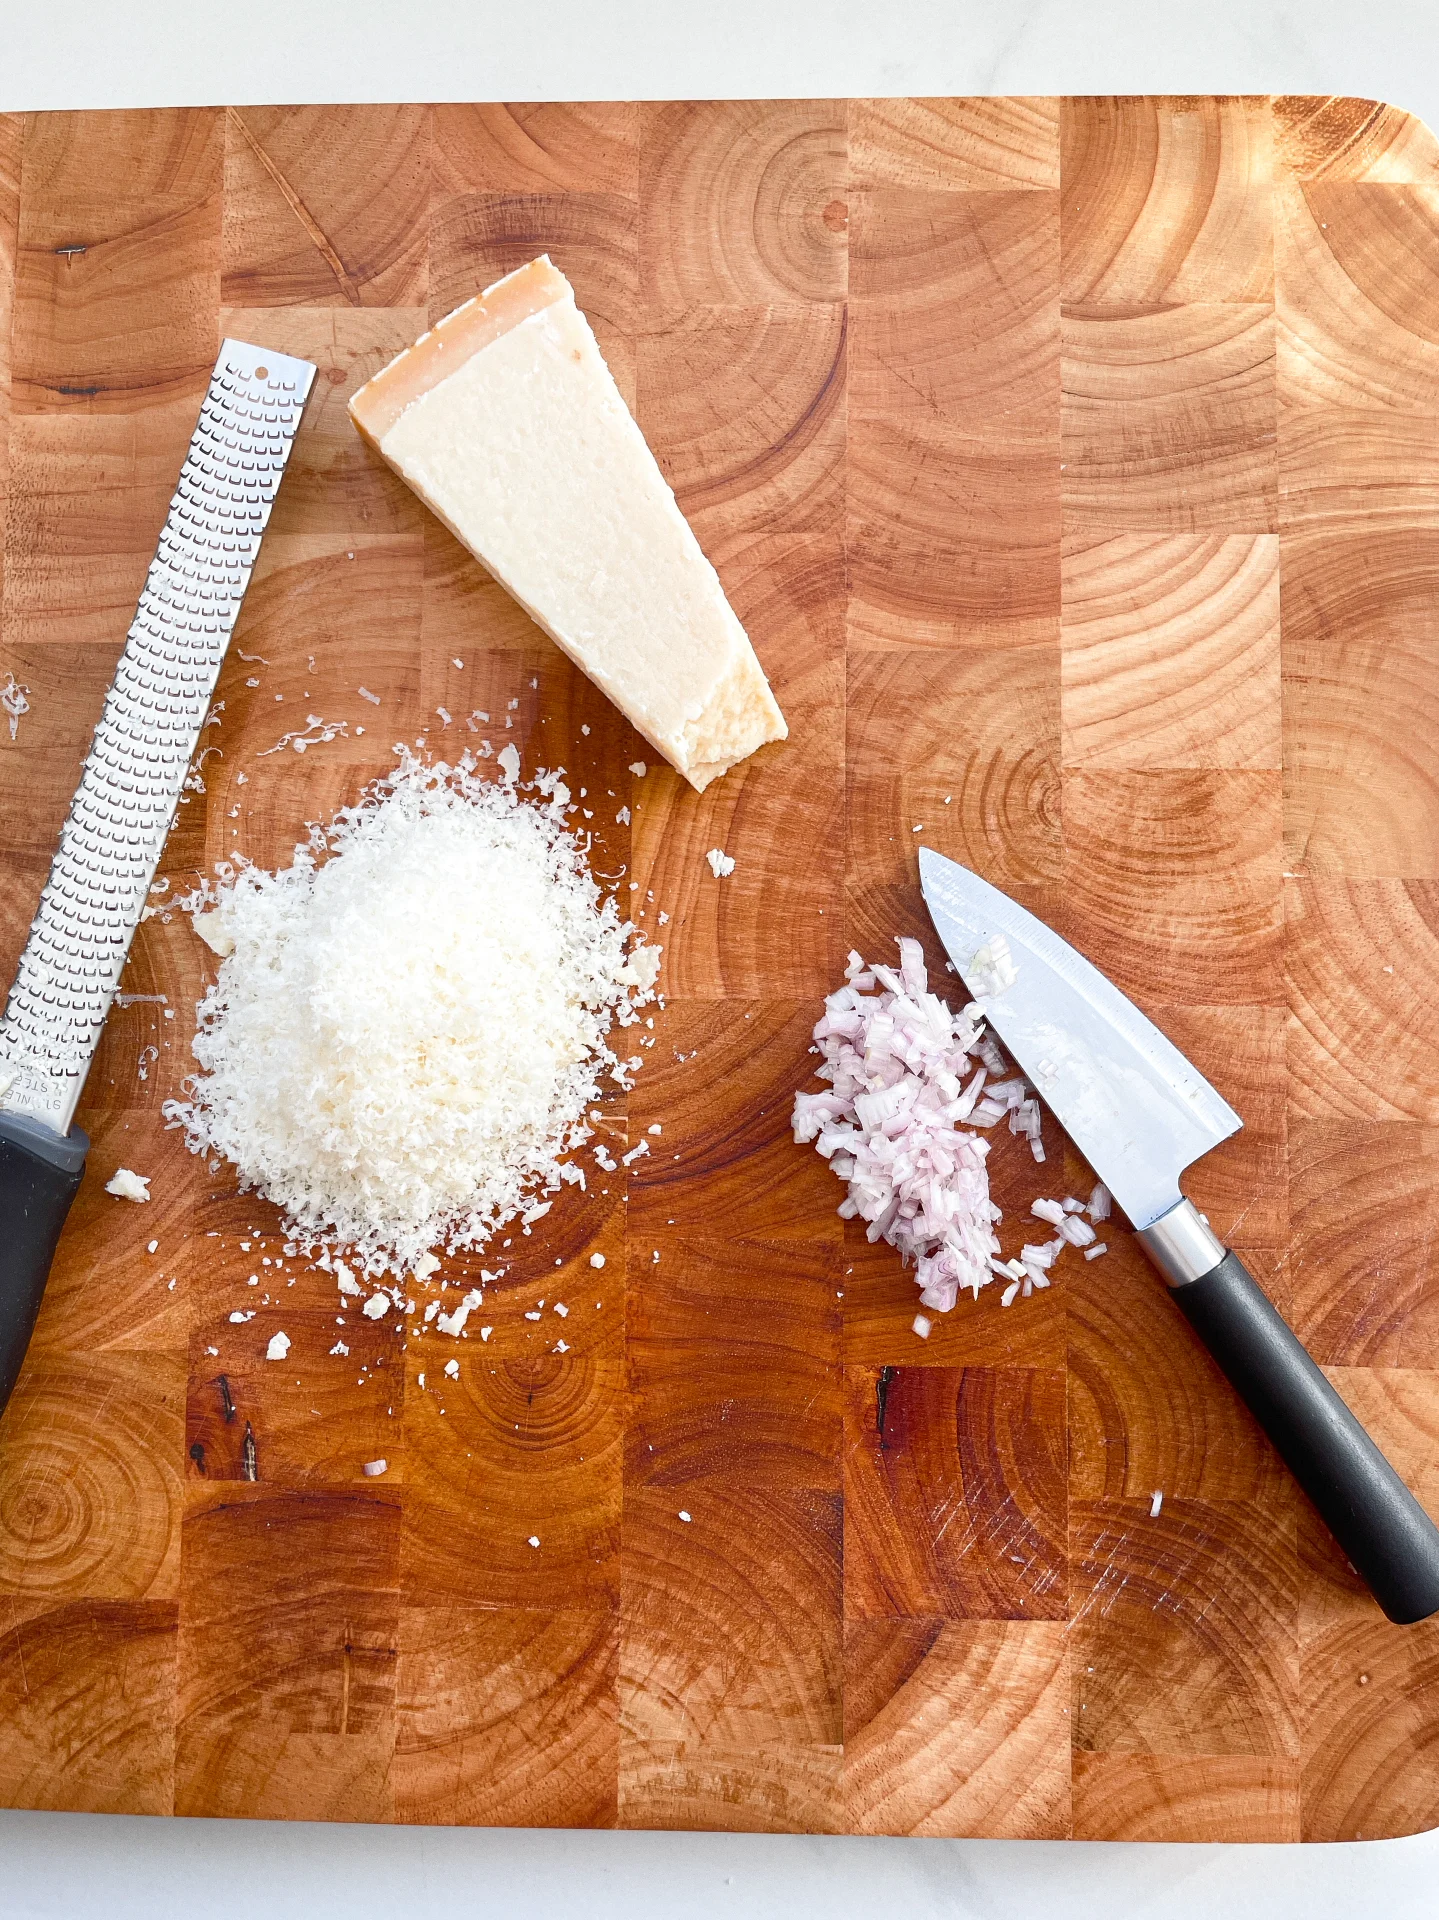
  • Finely grate the Parmesan.
  • Cut the shallot into small pieces.

INSTRUCTIONS

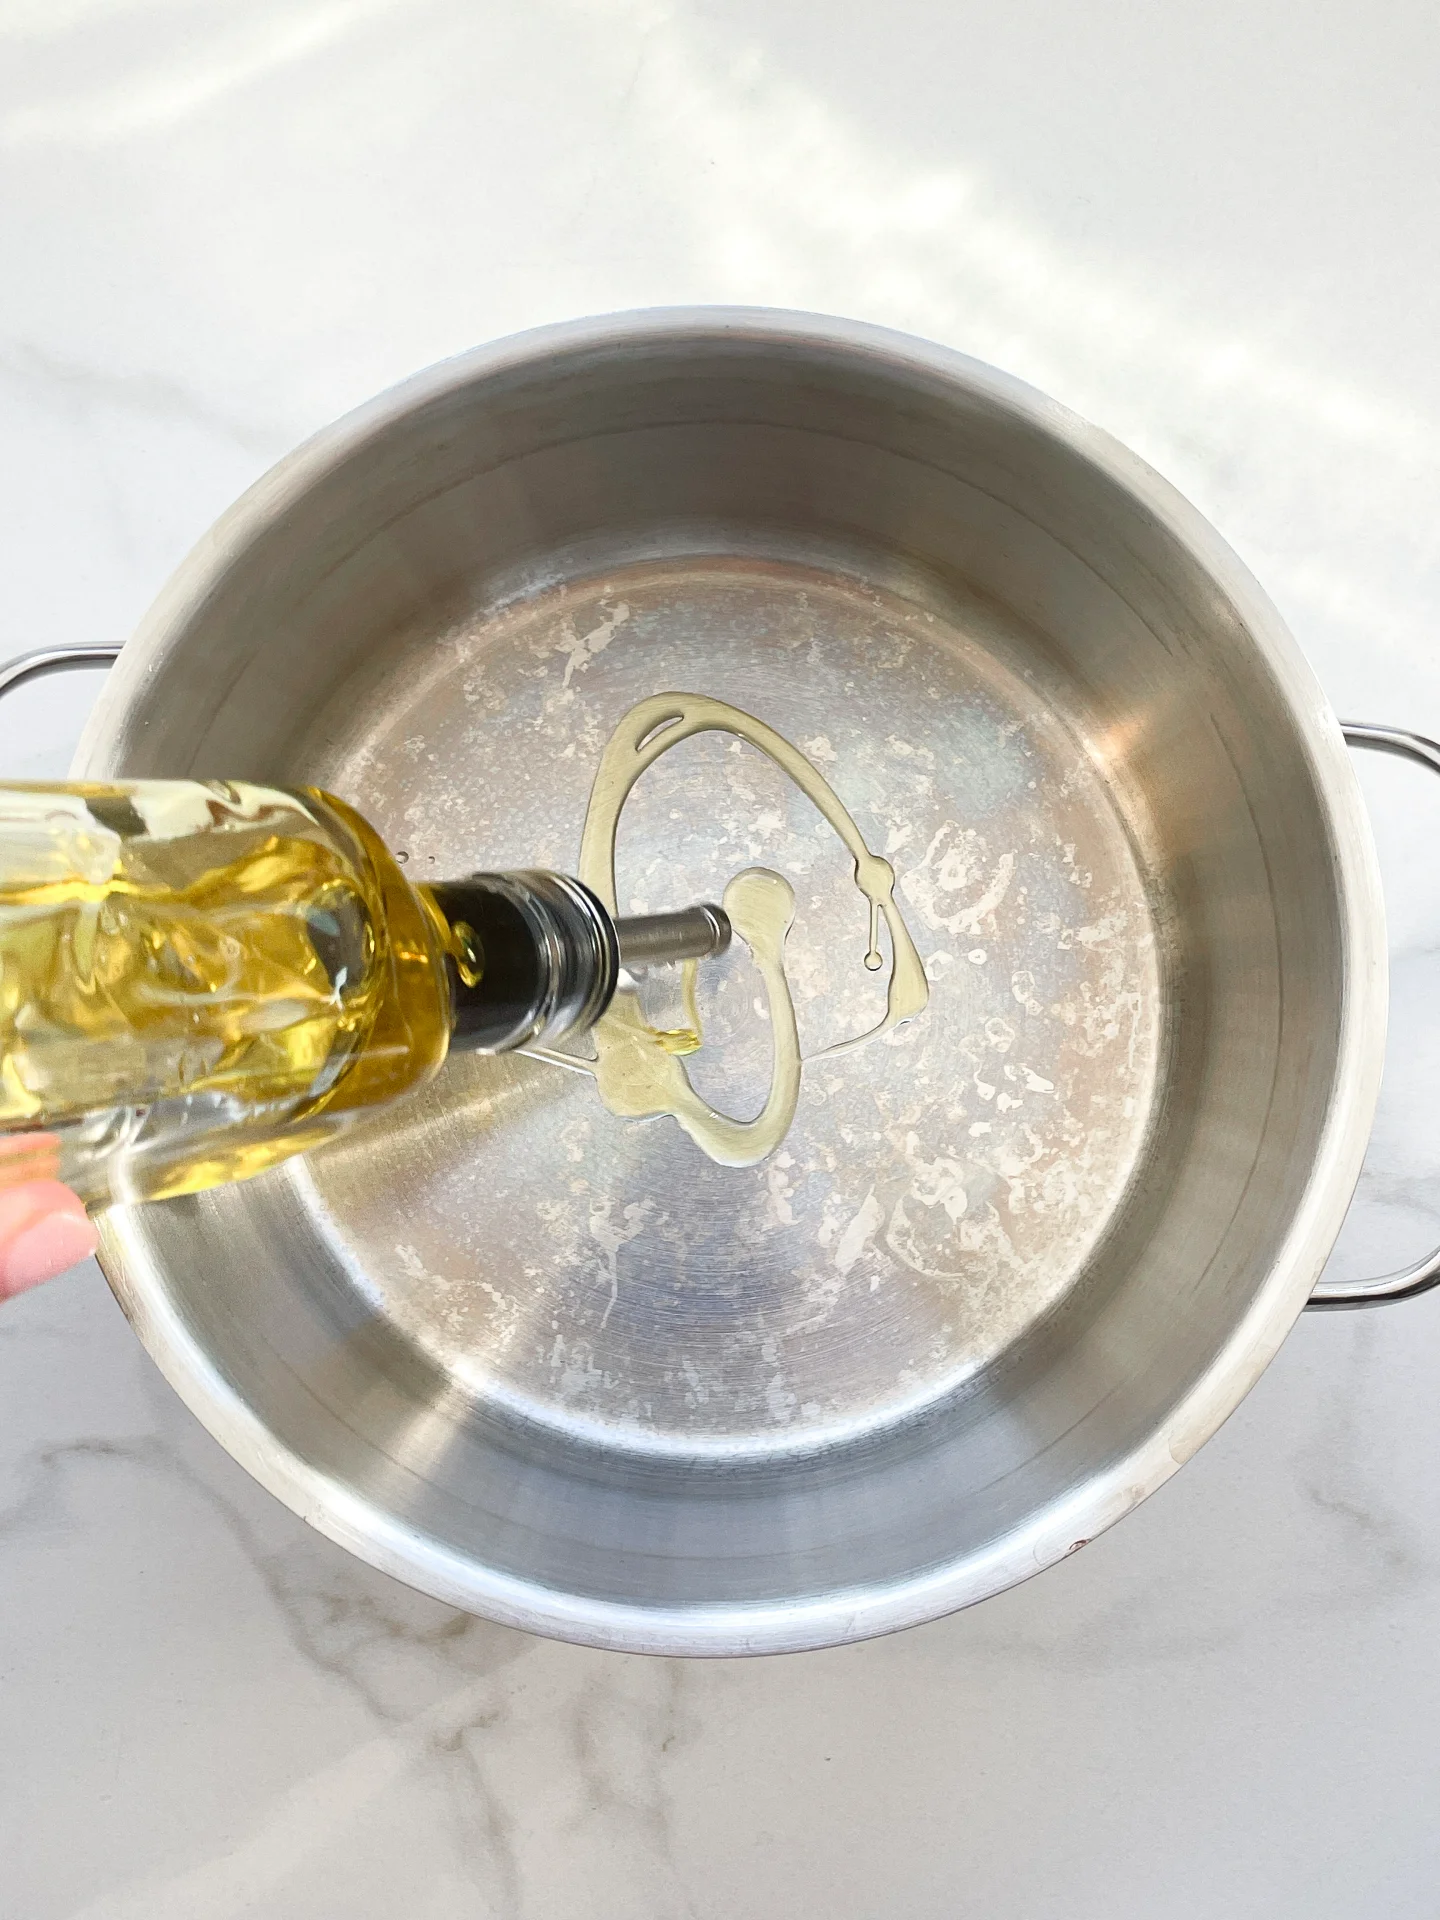
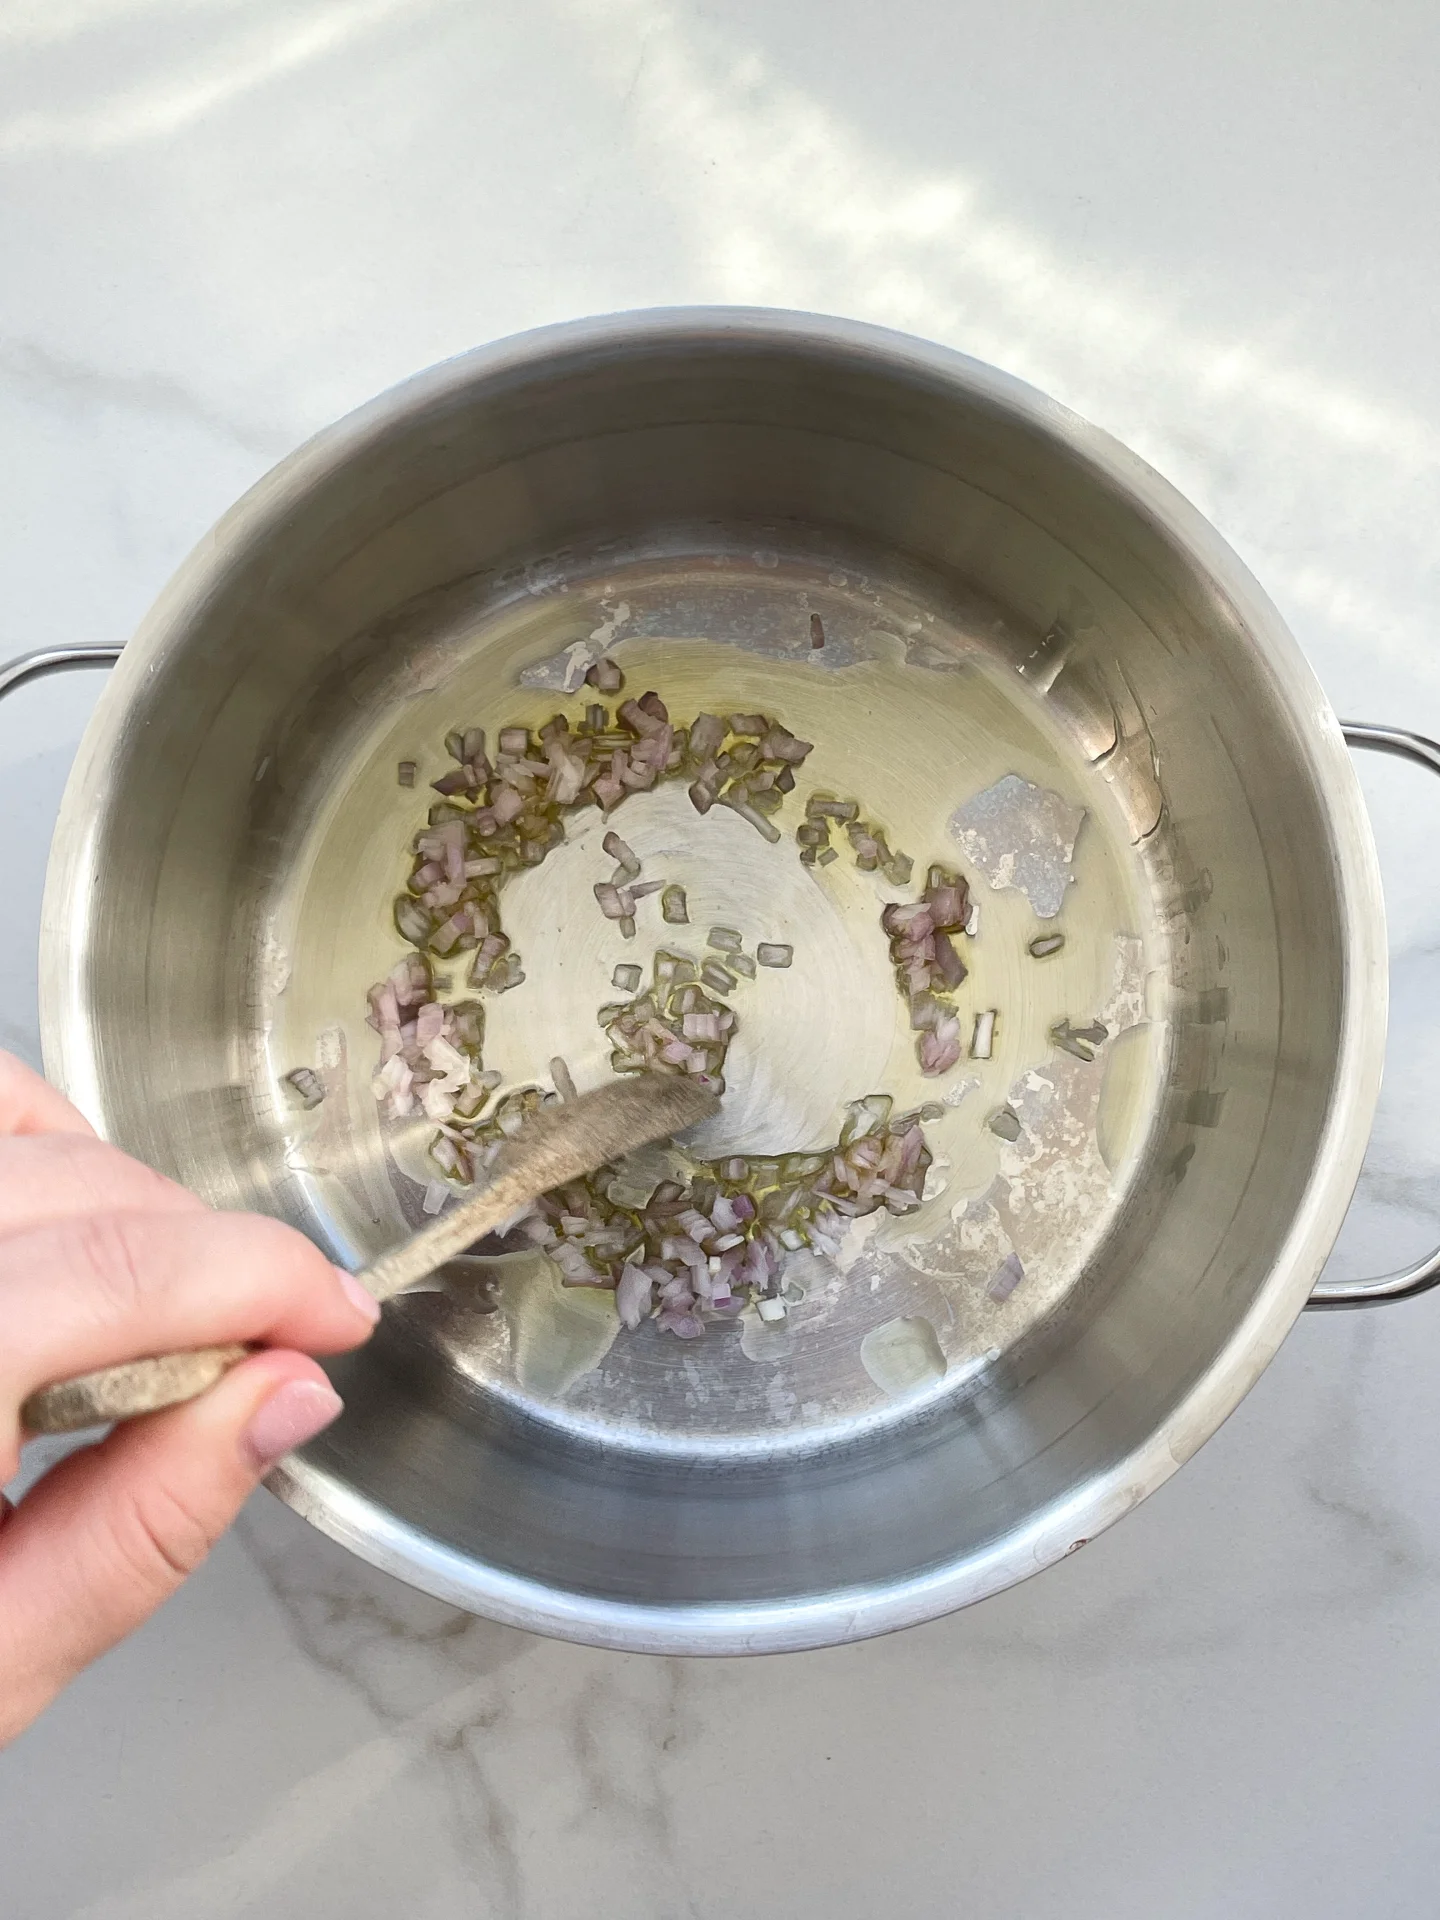
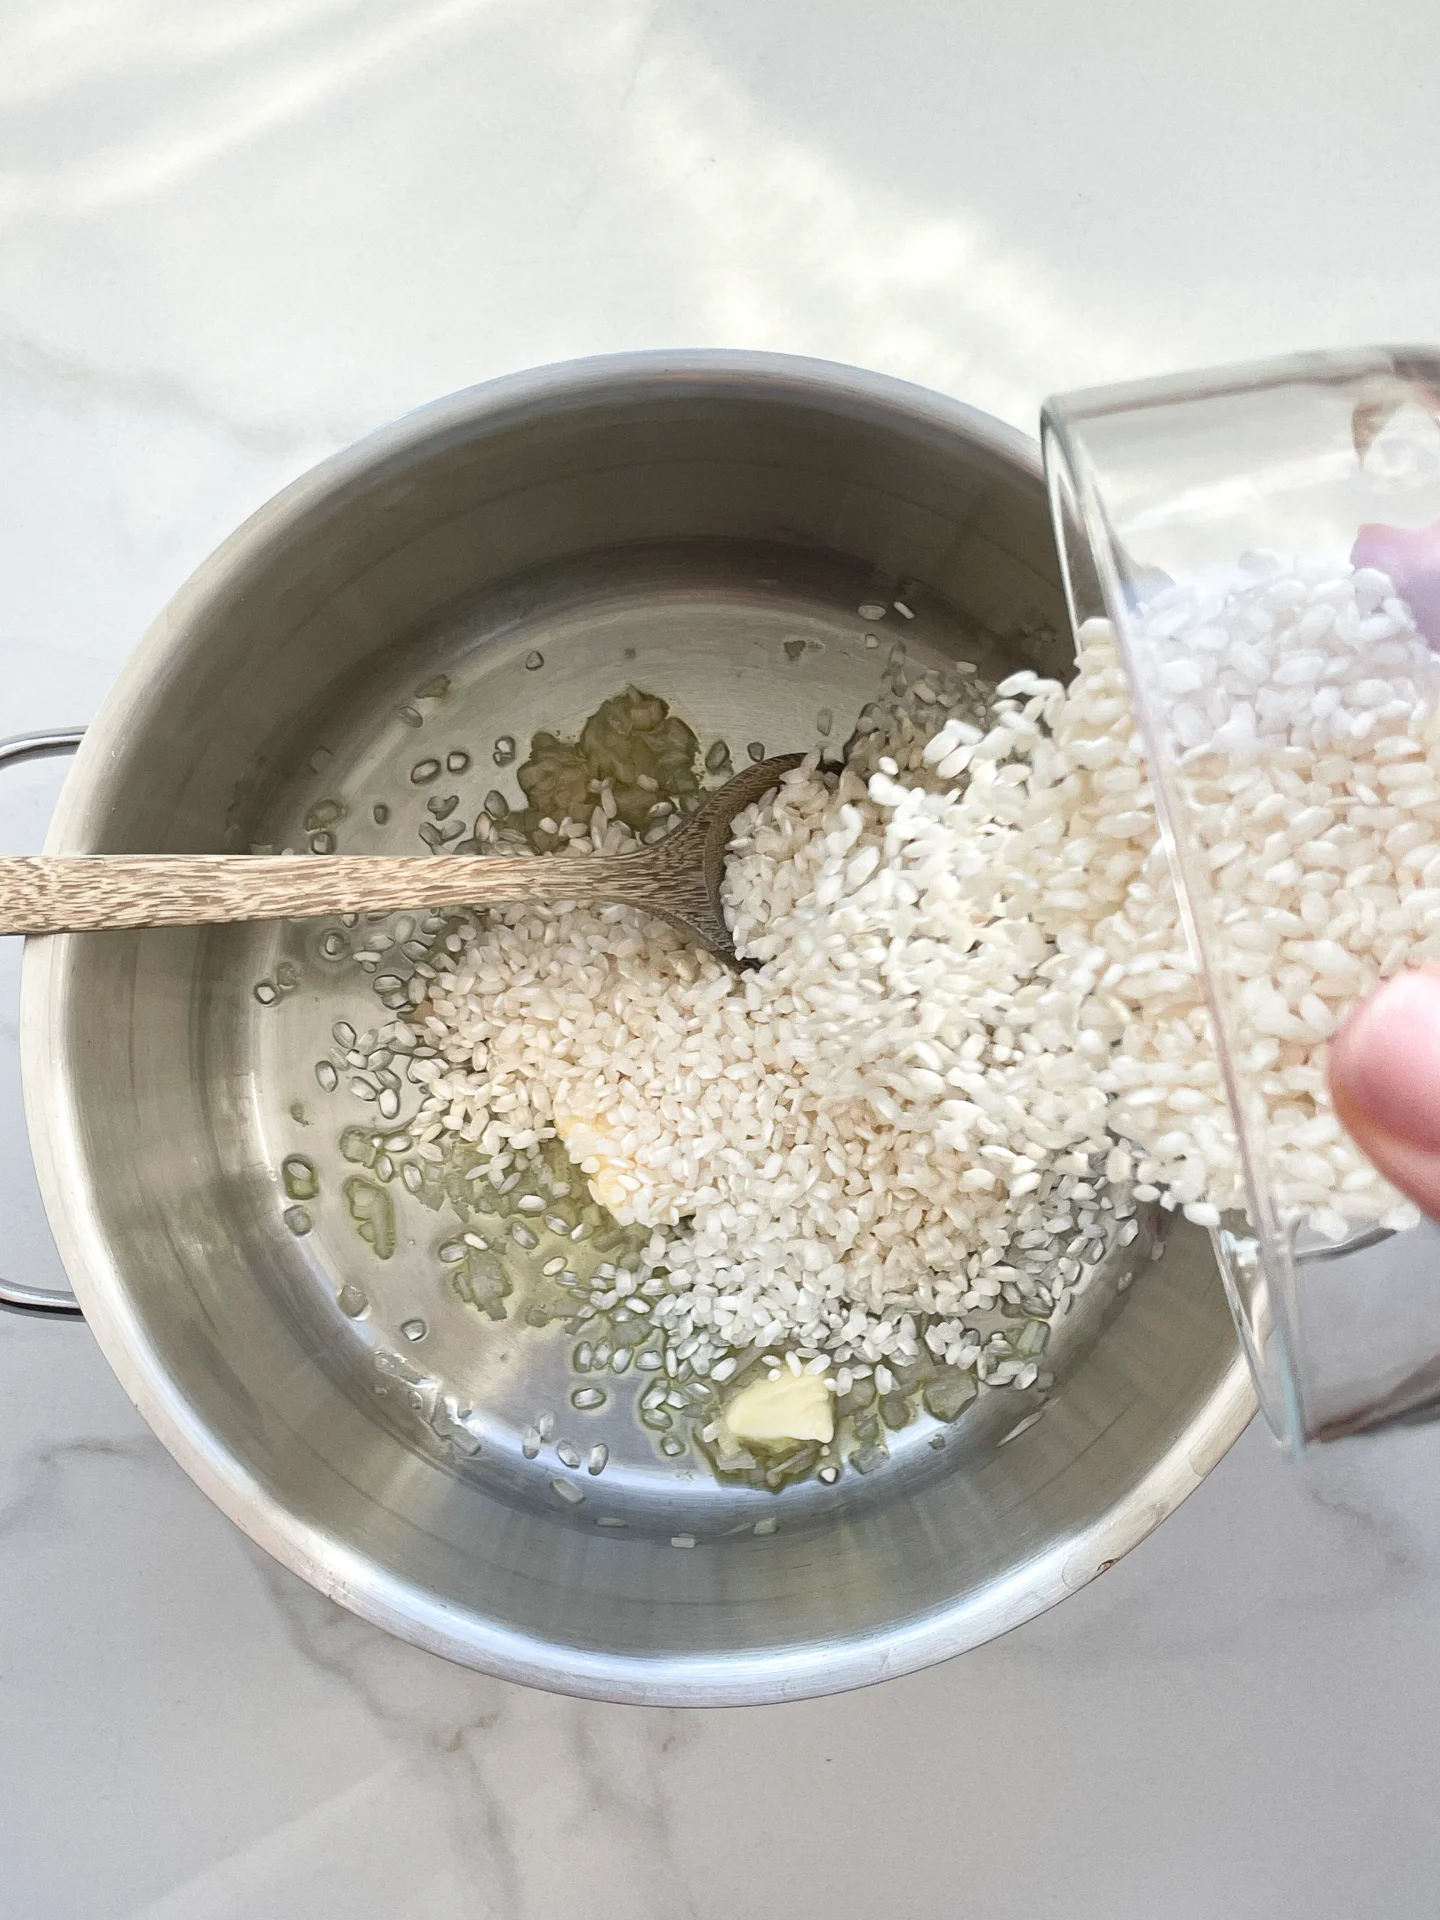
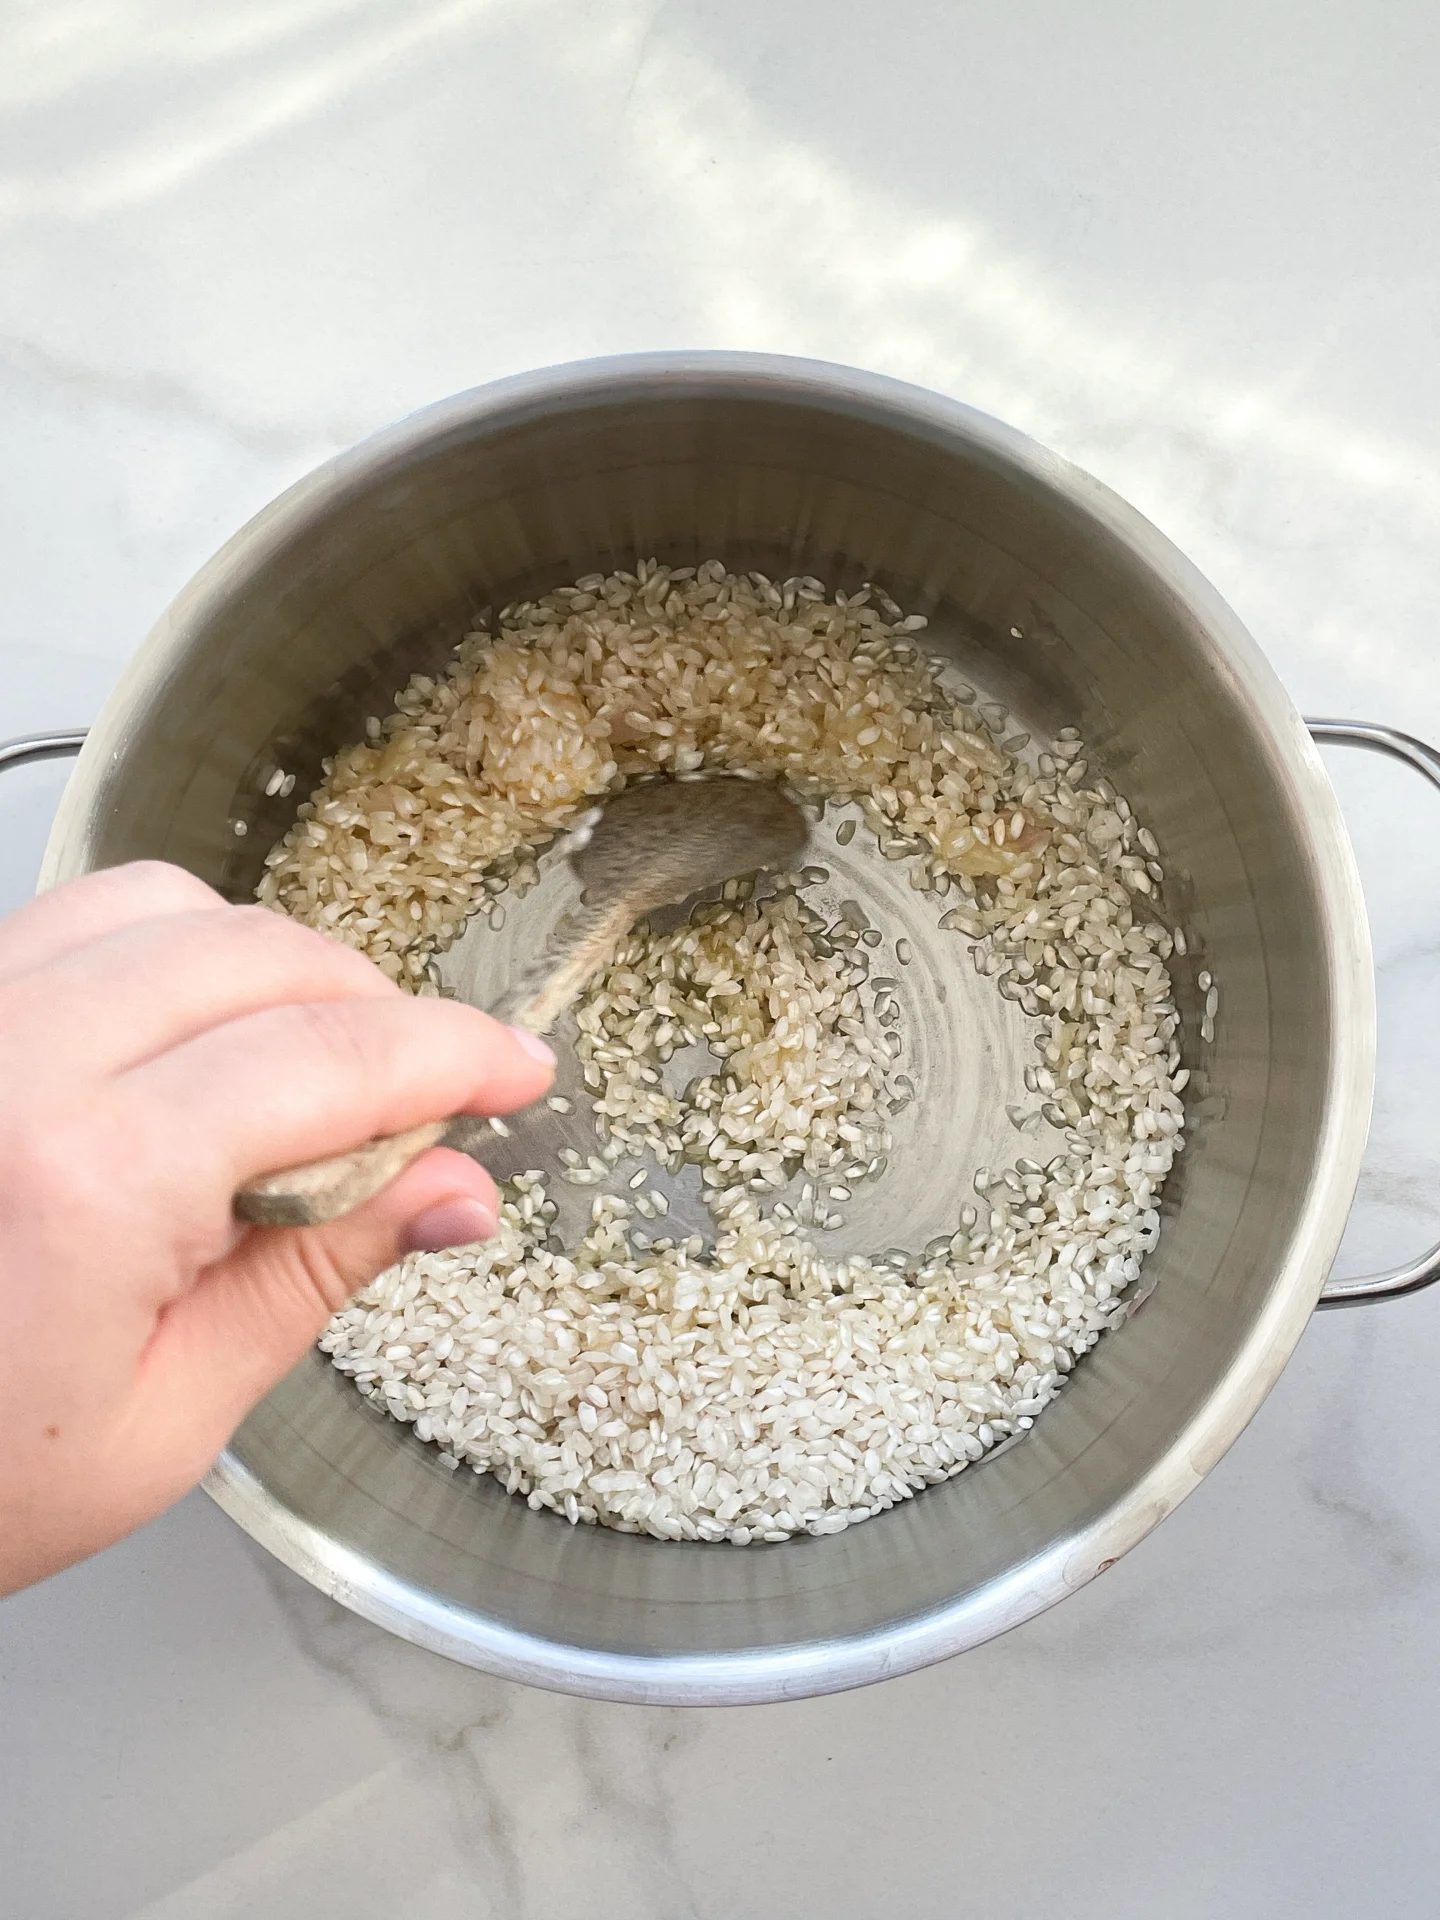
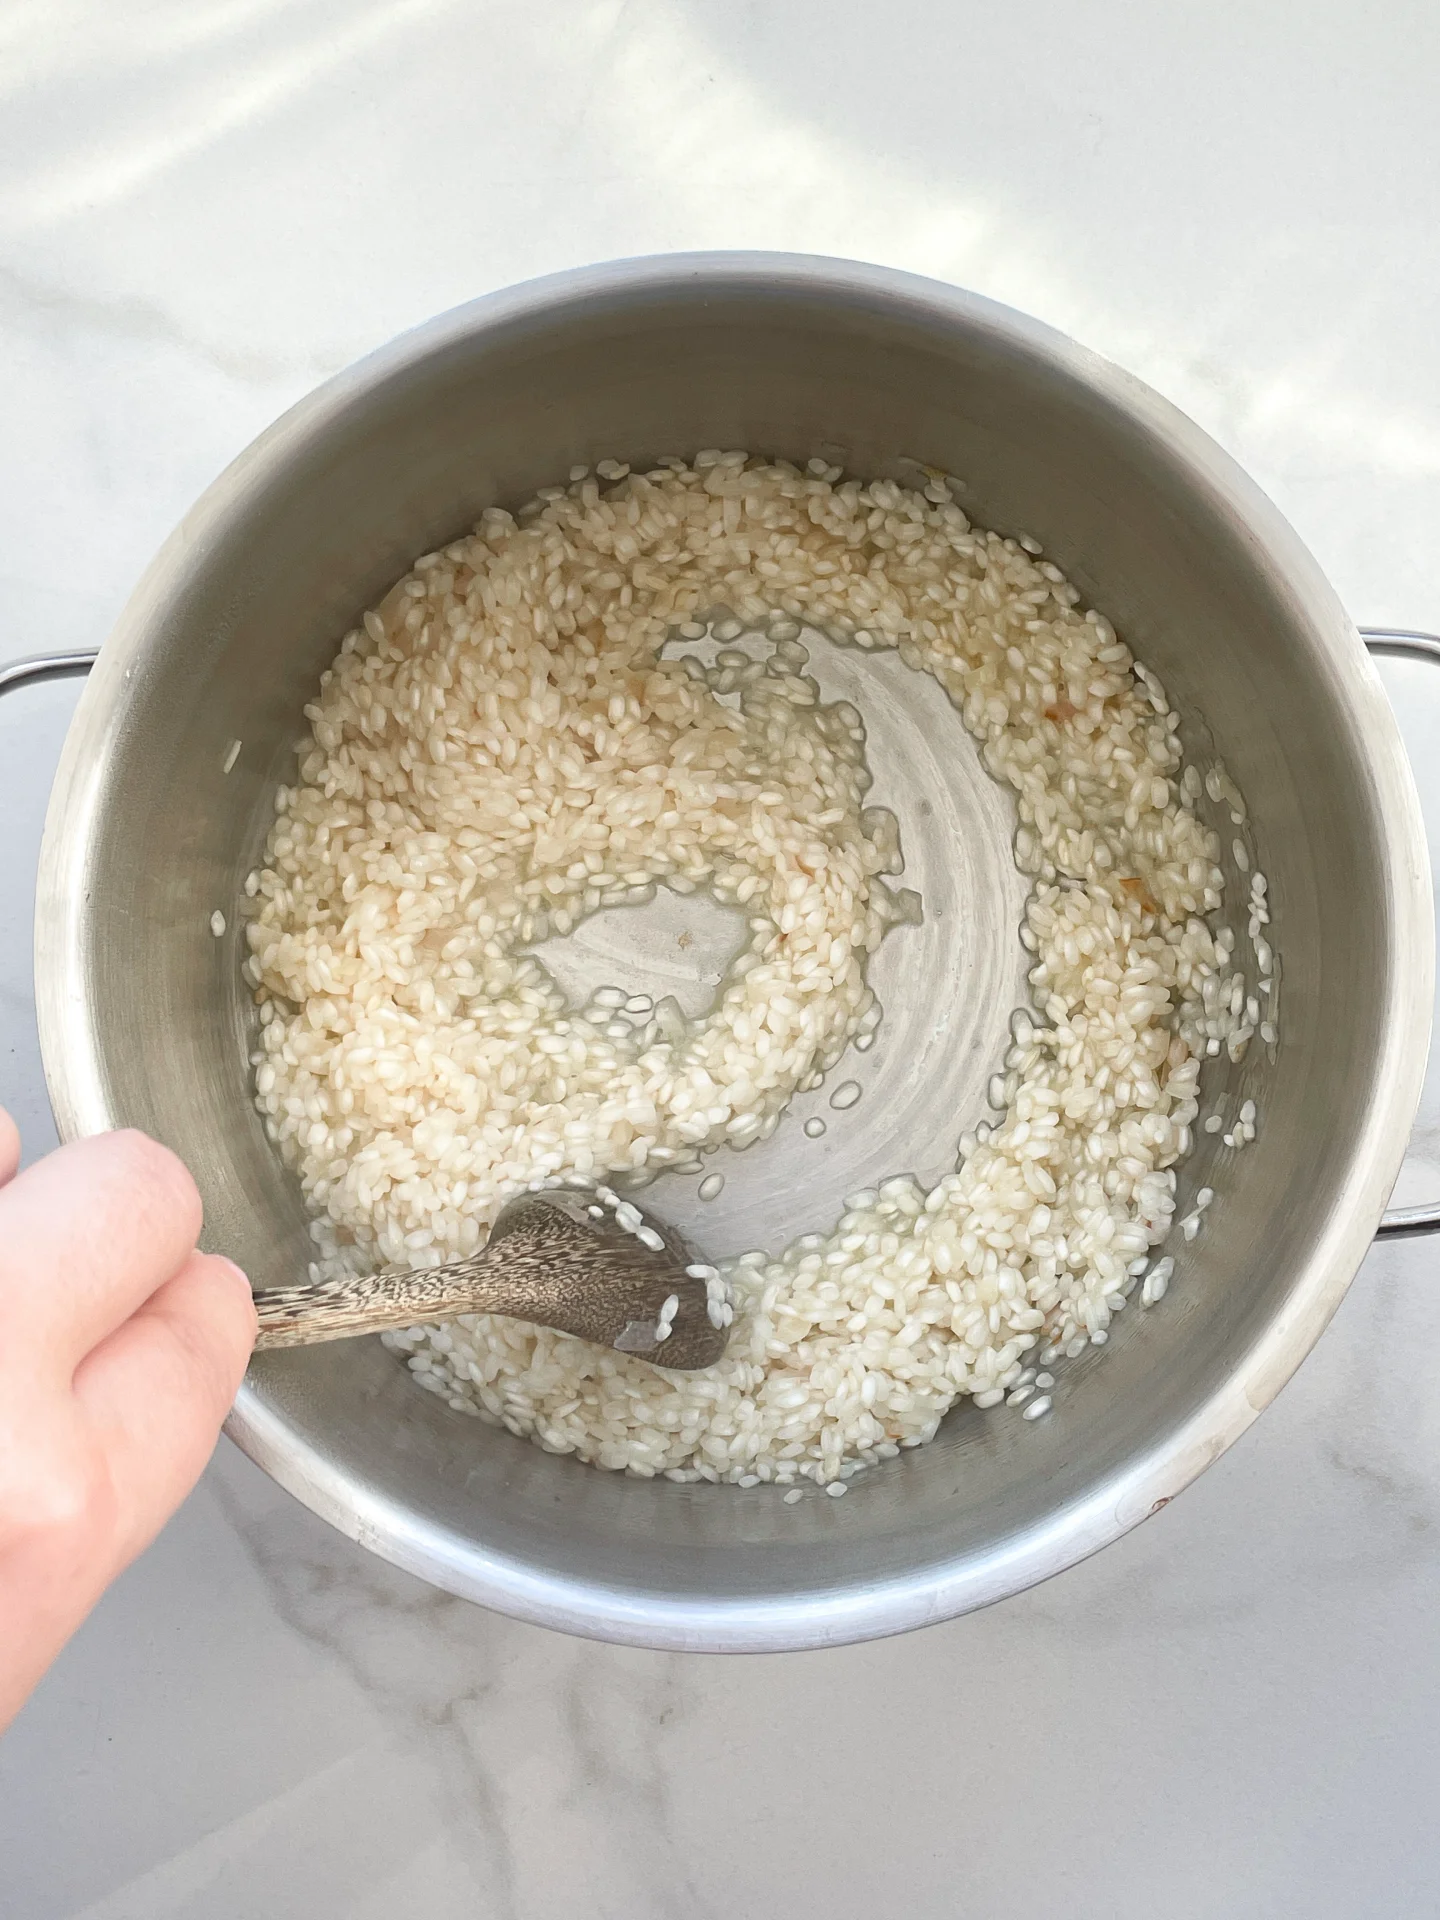
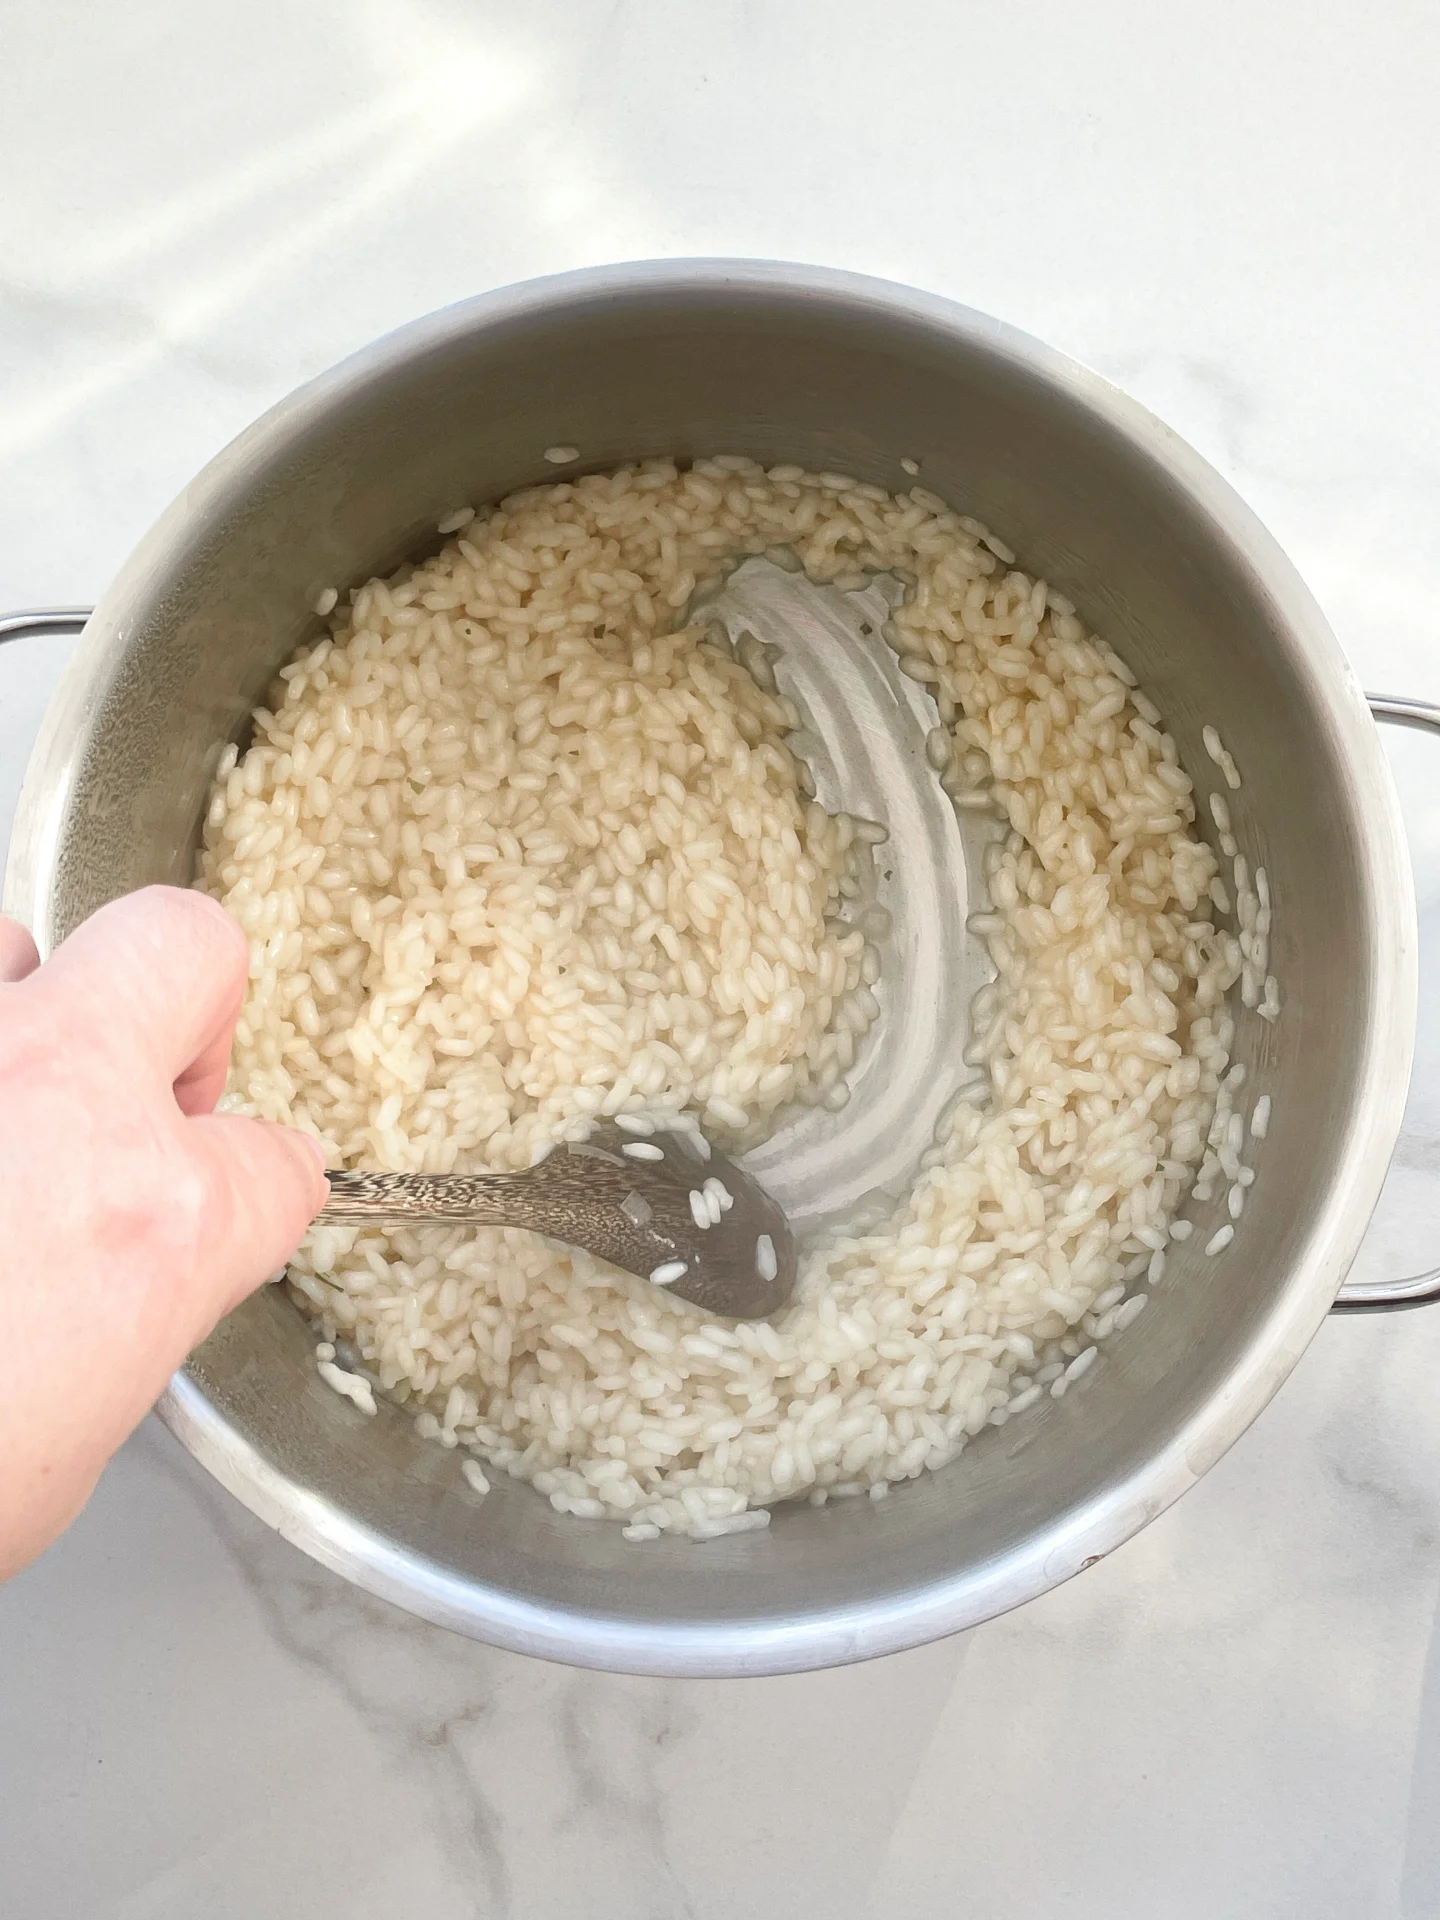
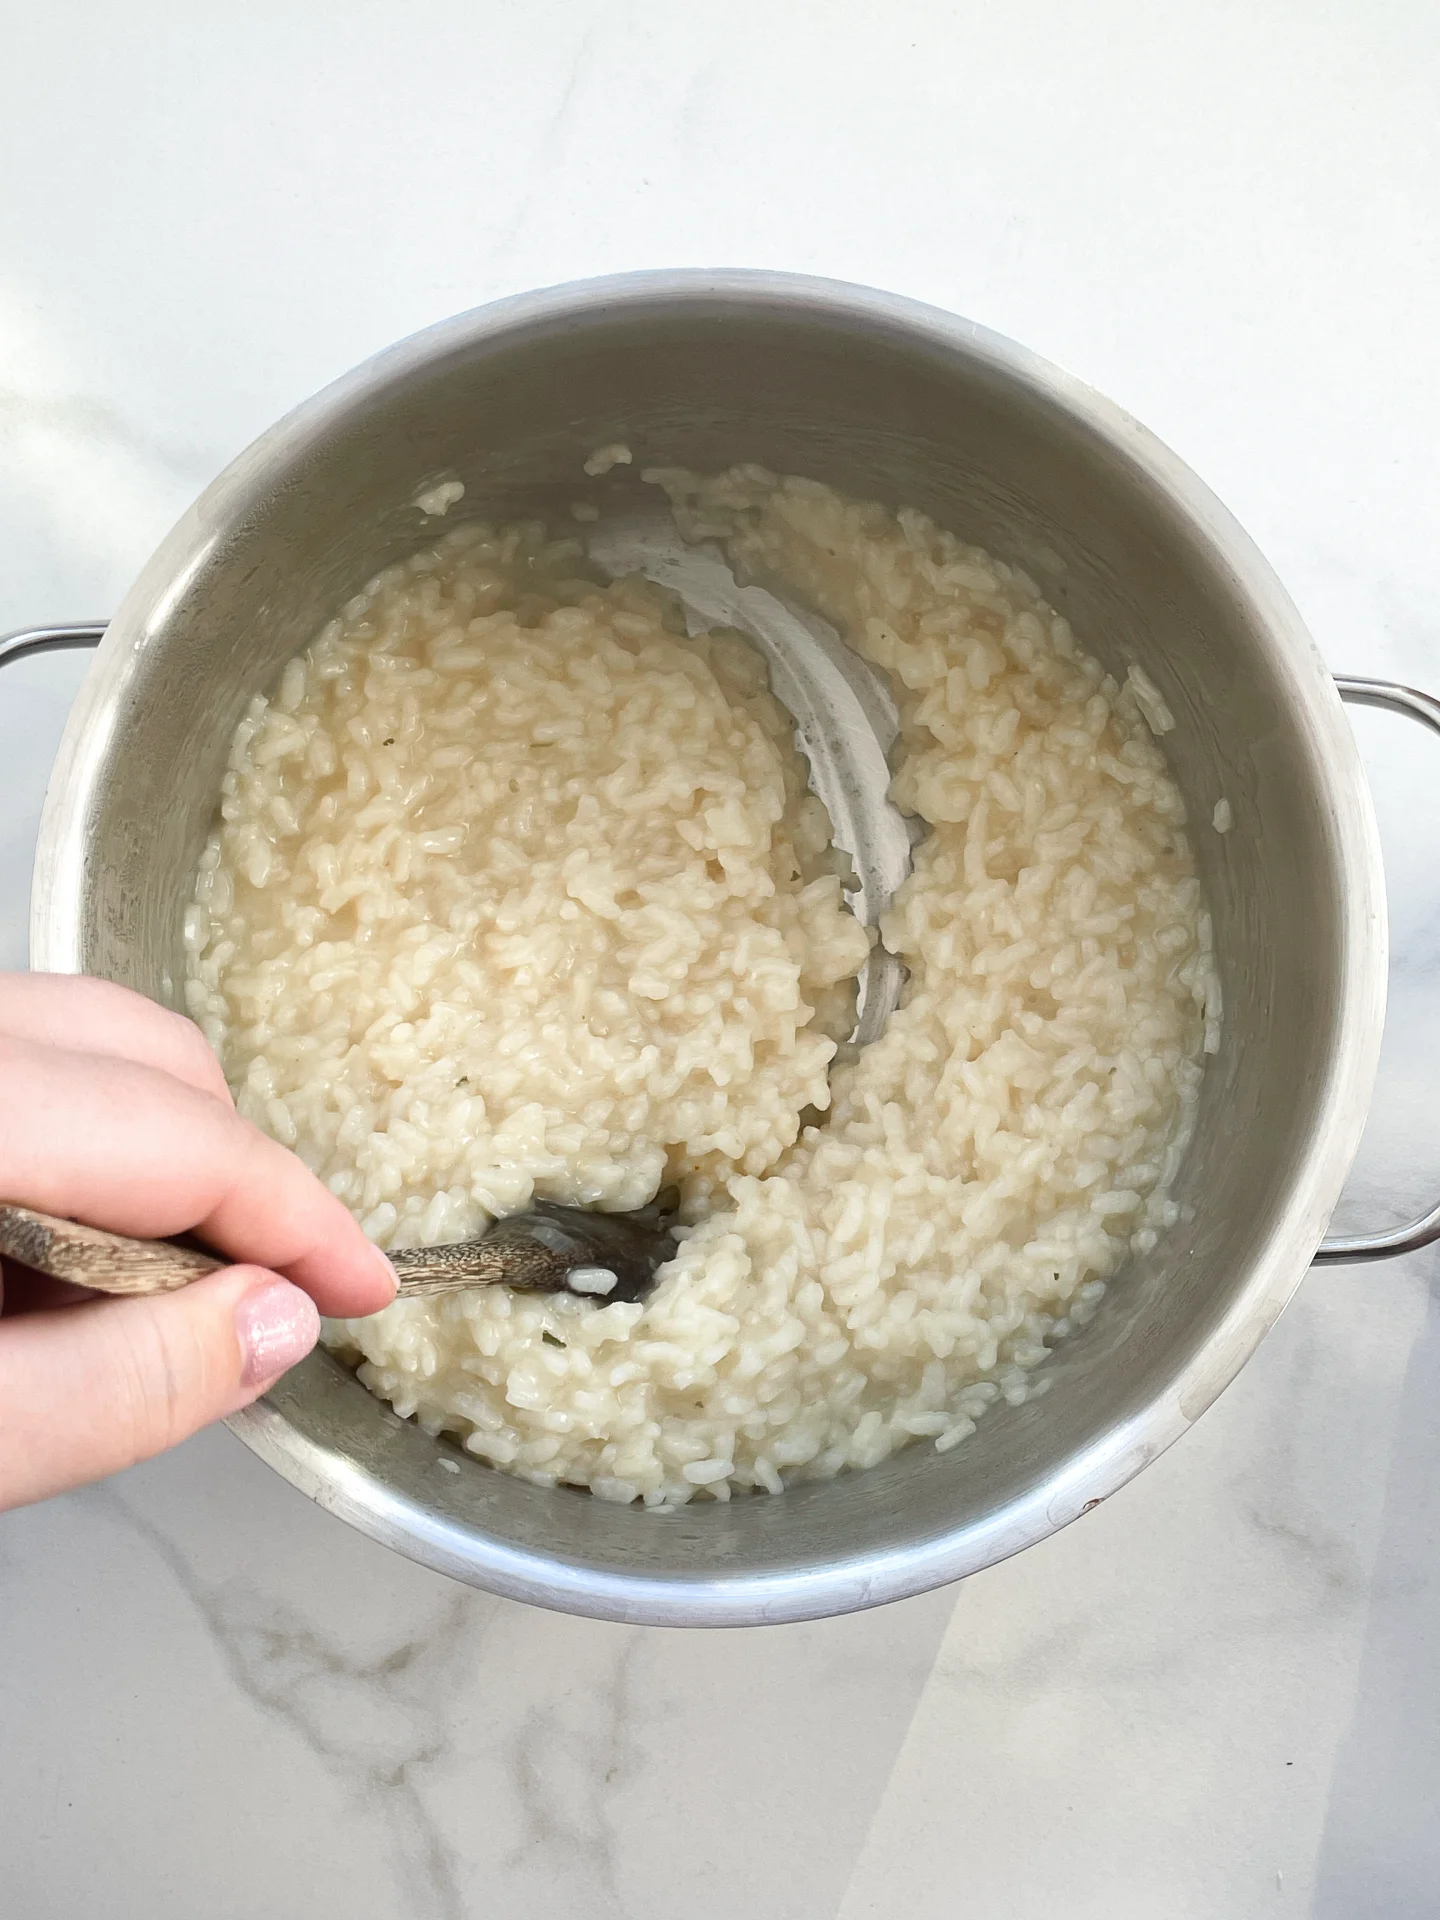
  1. Heat 1 tbsp of olive oil in a pot over medium heat. Sauté the shallot until translucent. Add the butter and risotto rice, stirring everything well, and sauté for 1-2 minutes.
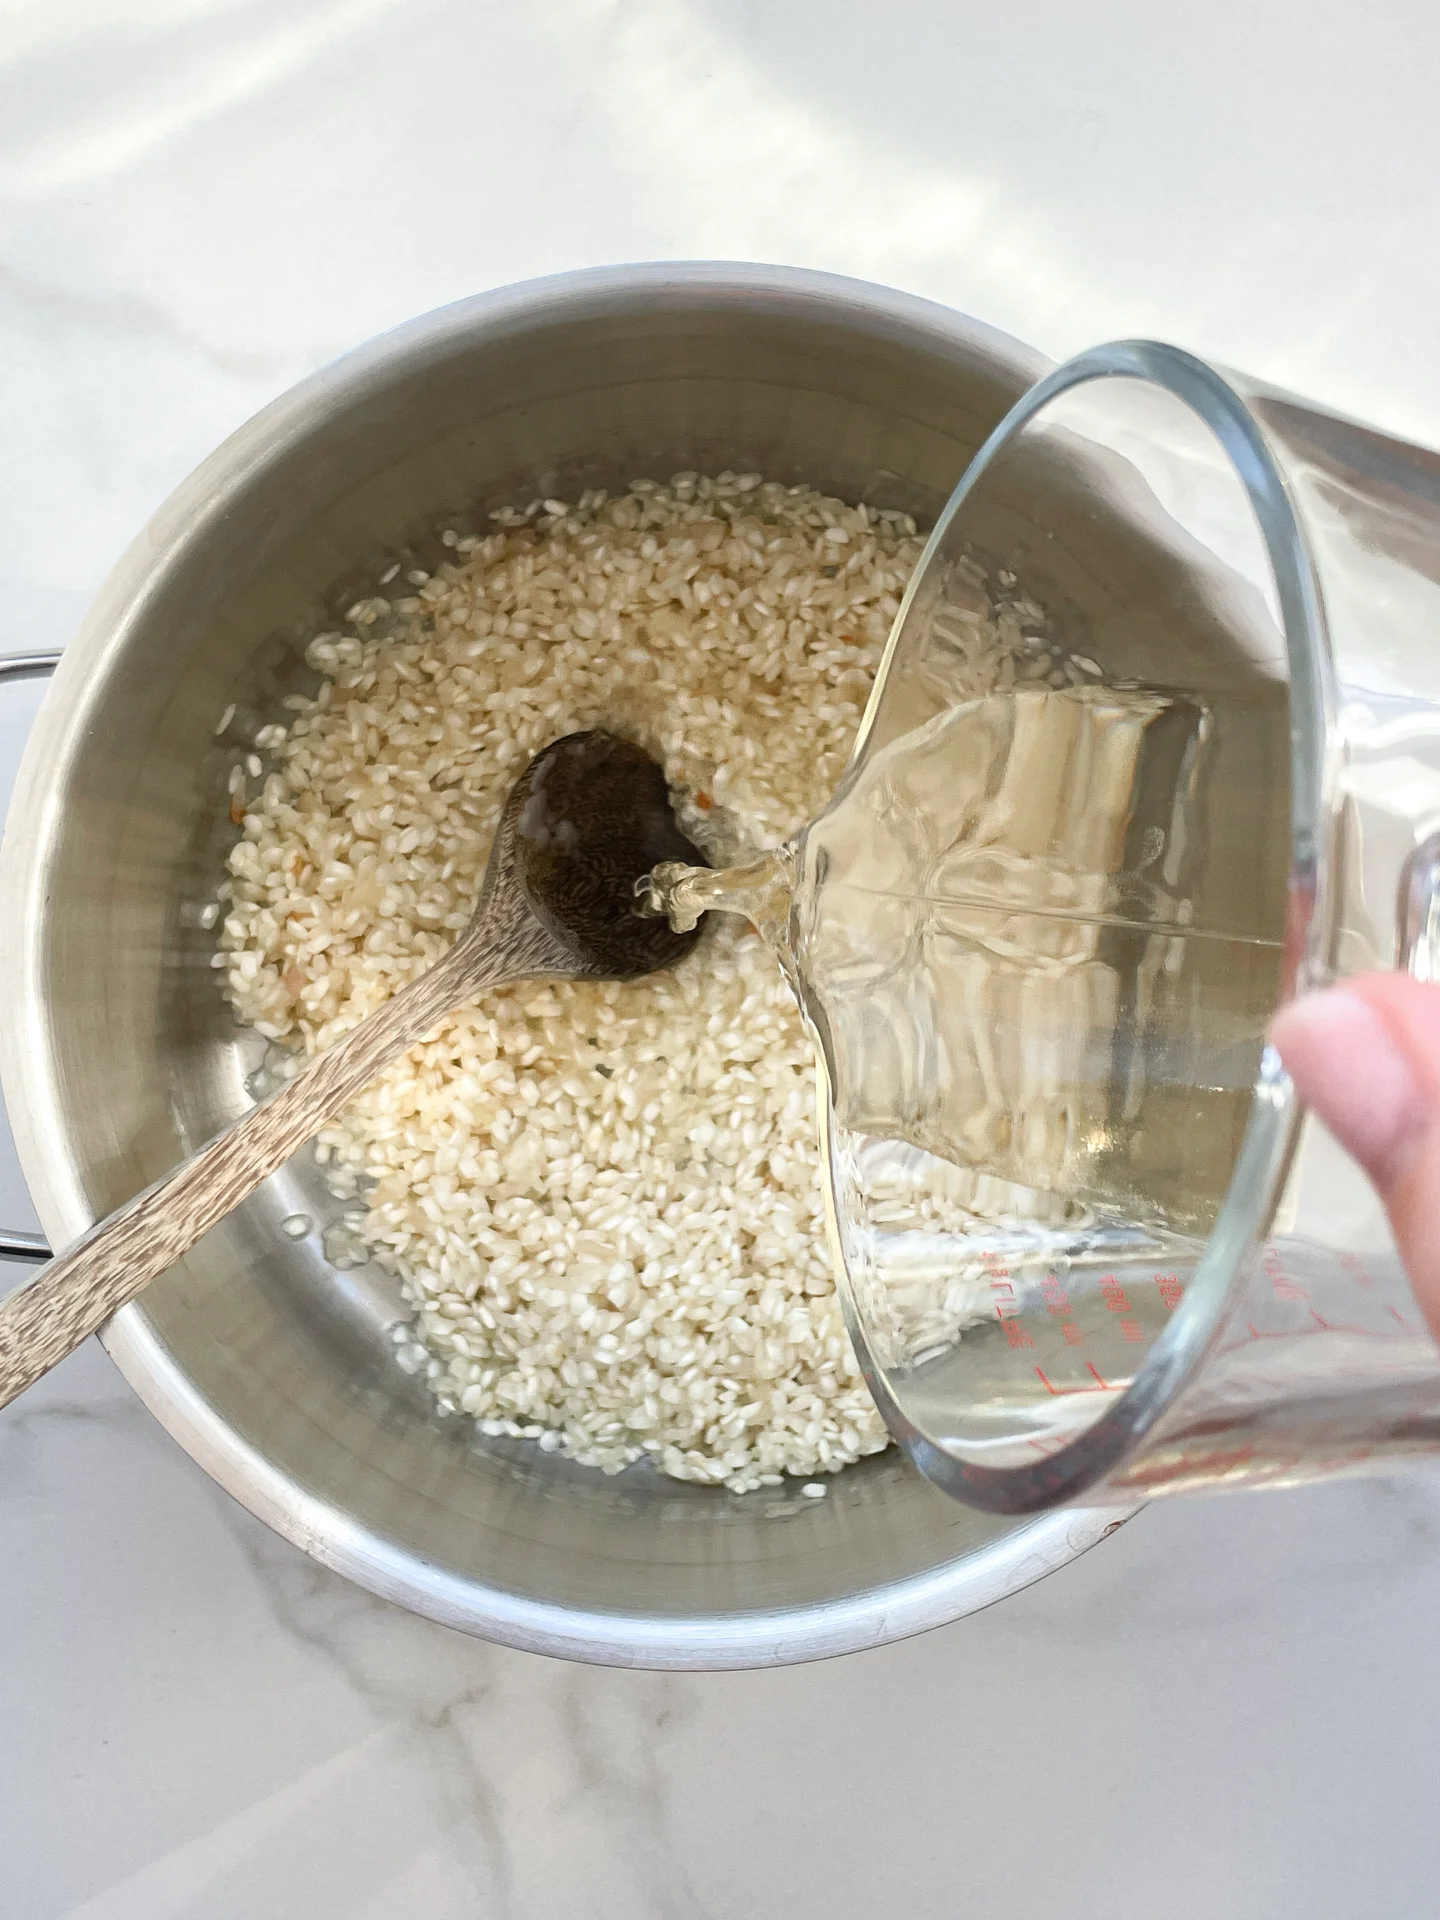
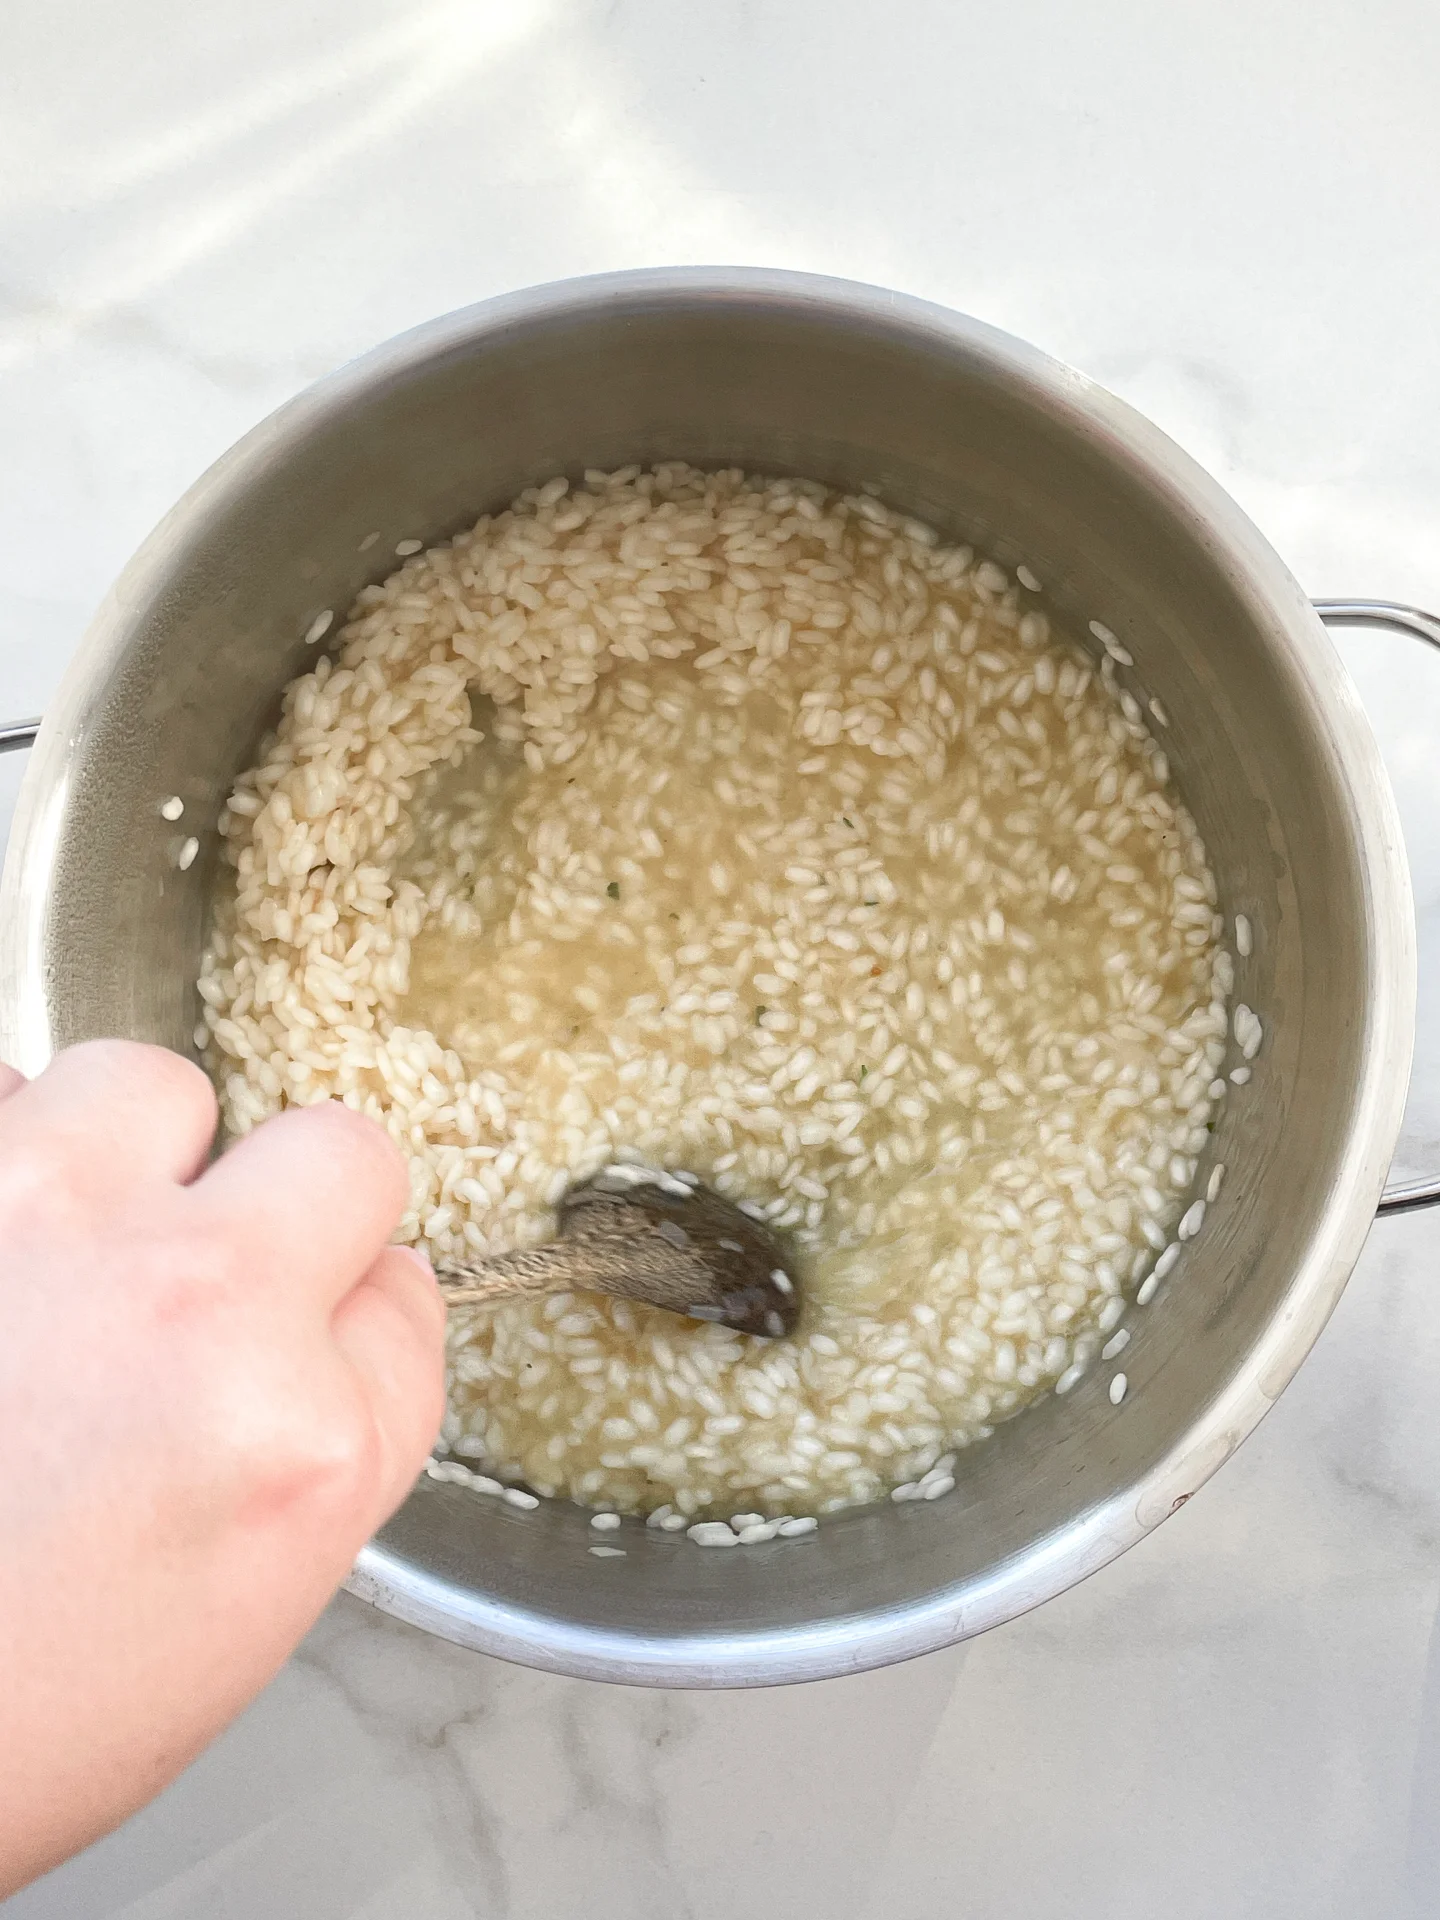
  2. Deglaze with the first 100ml (1/2 cup) of white wine, letting it reduce over medium heat until no liquid remains in the pot.
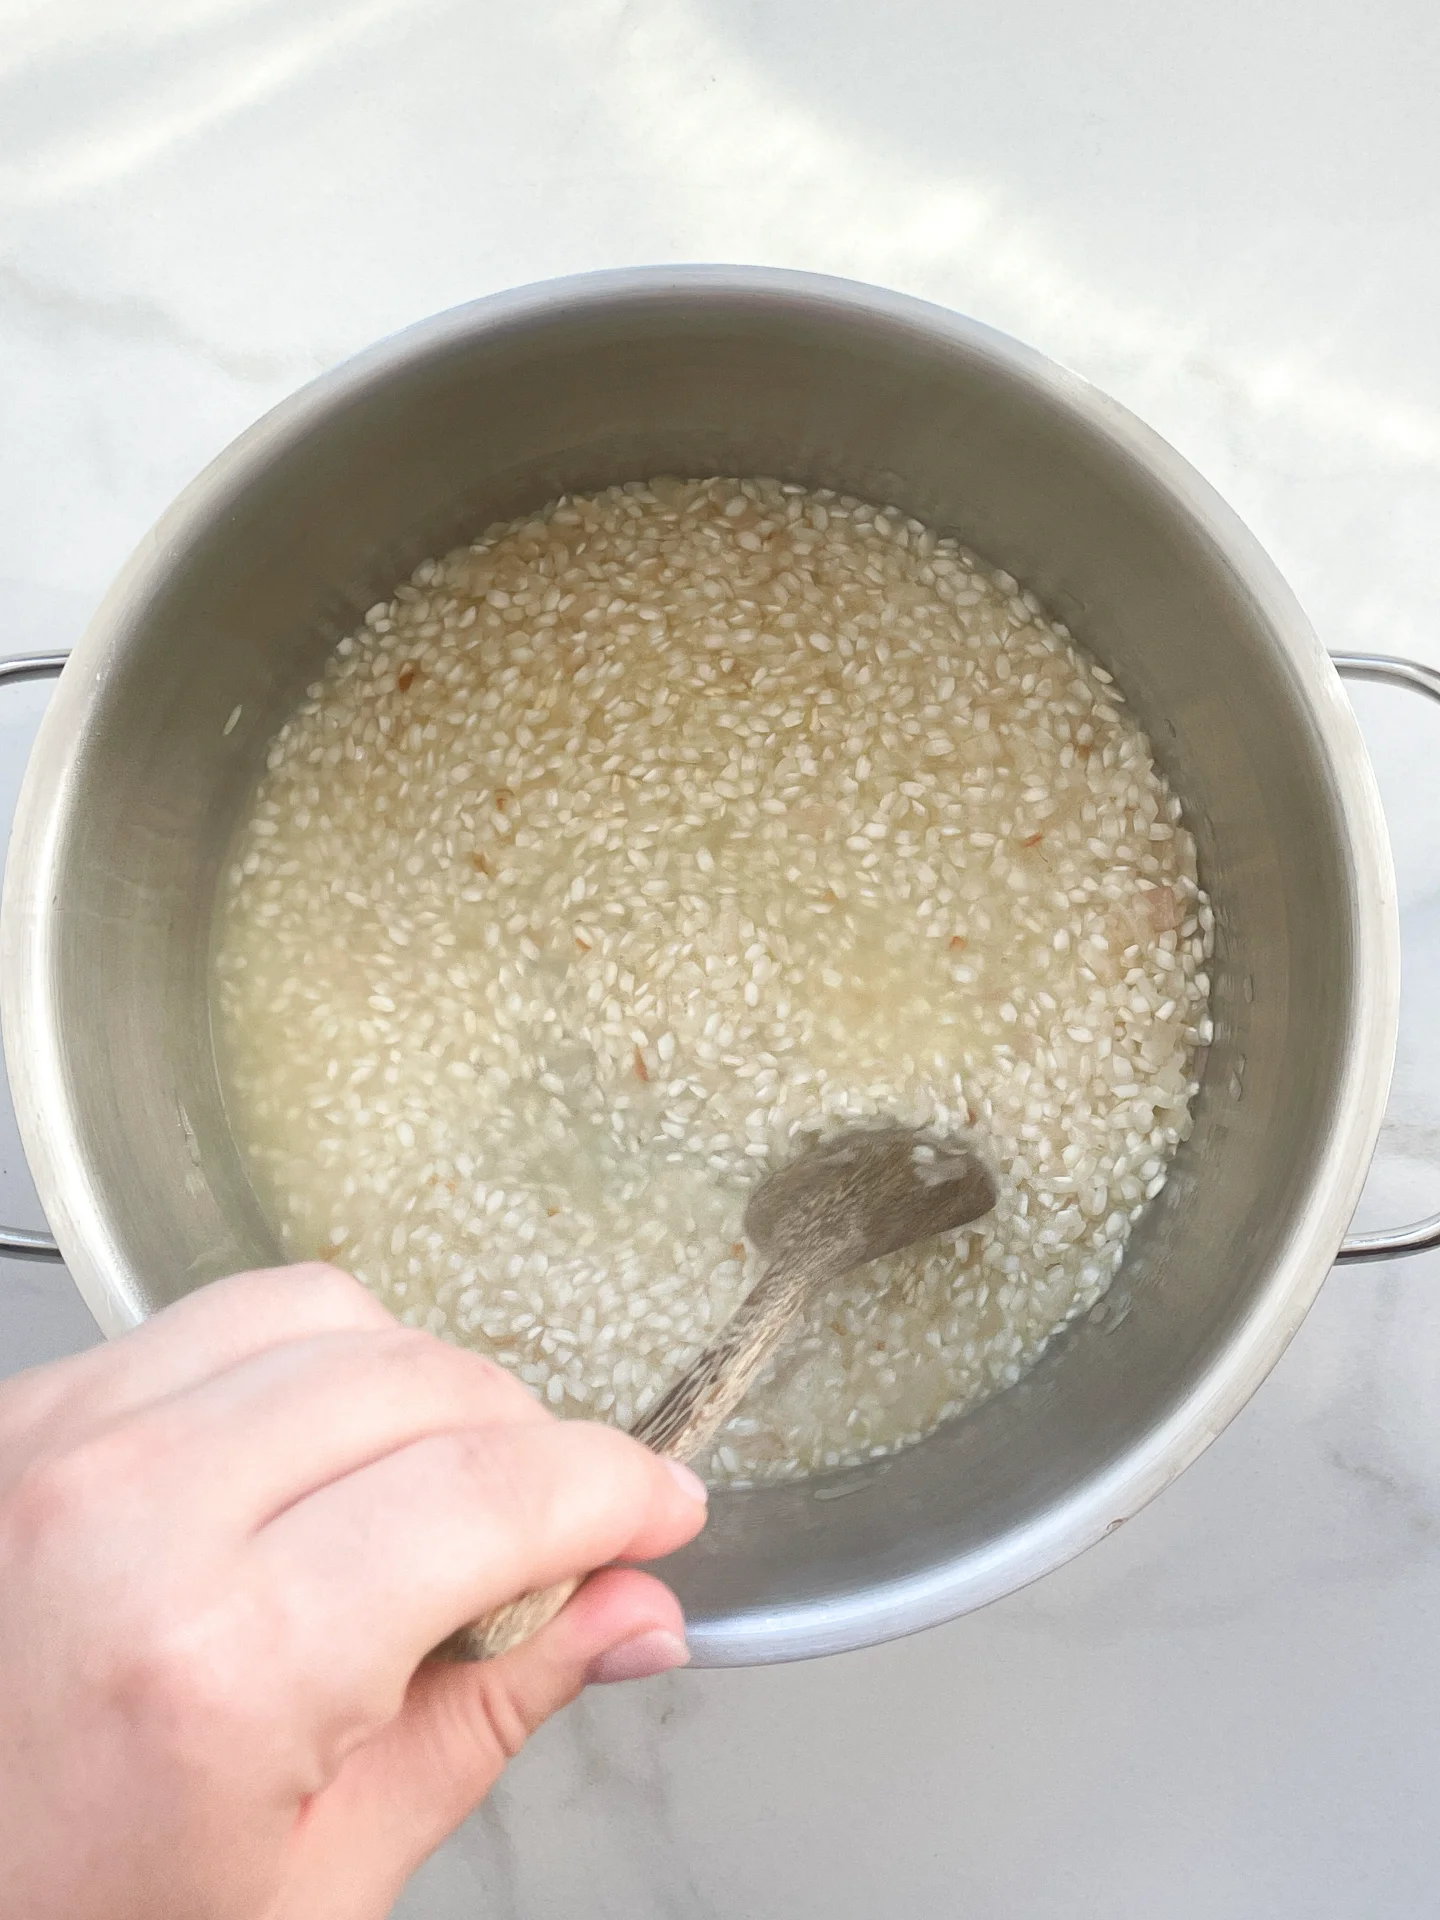
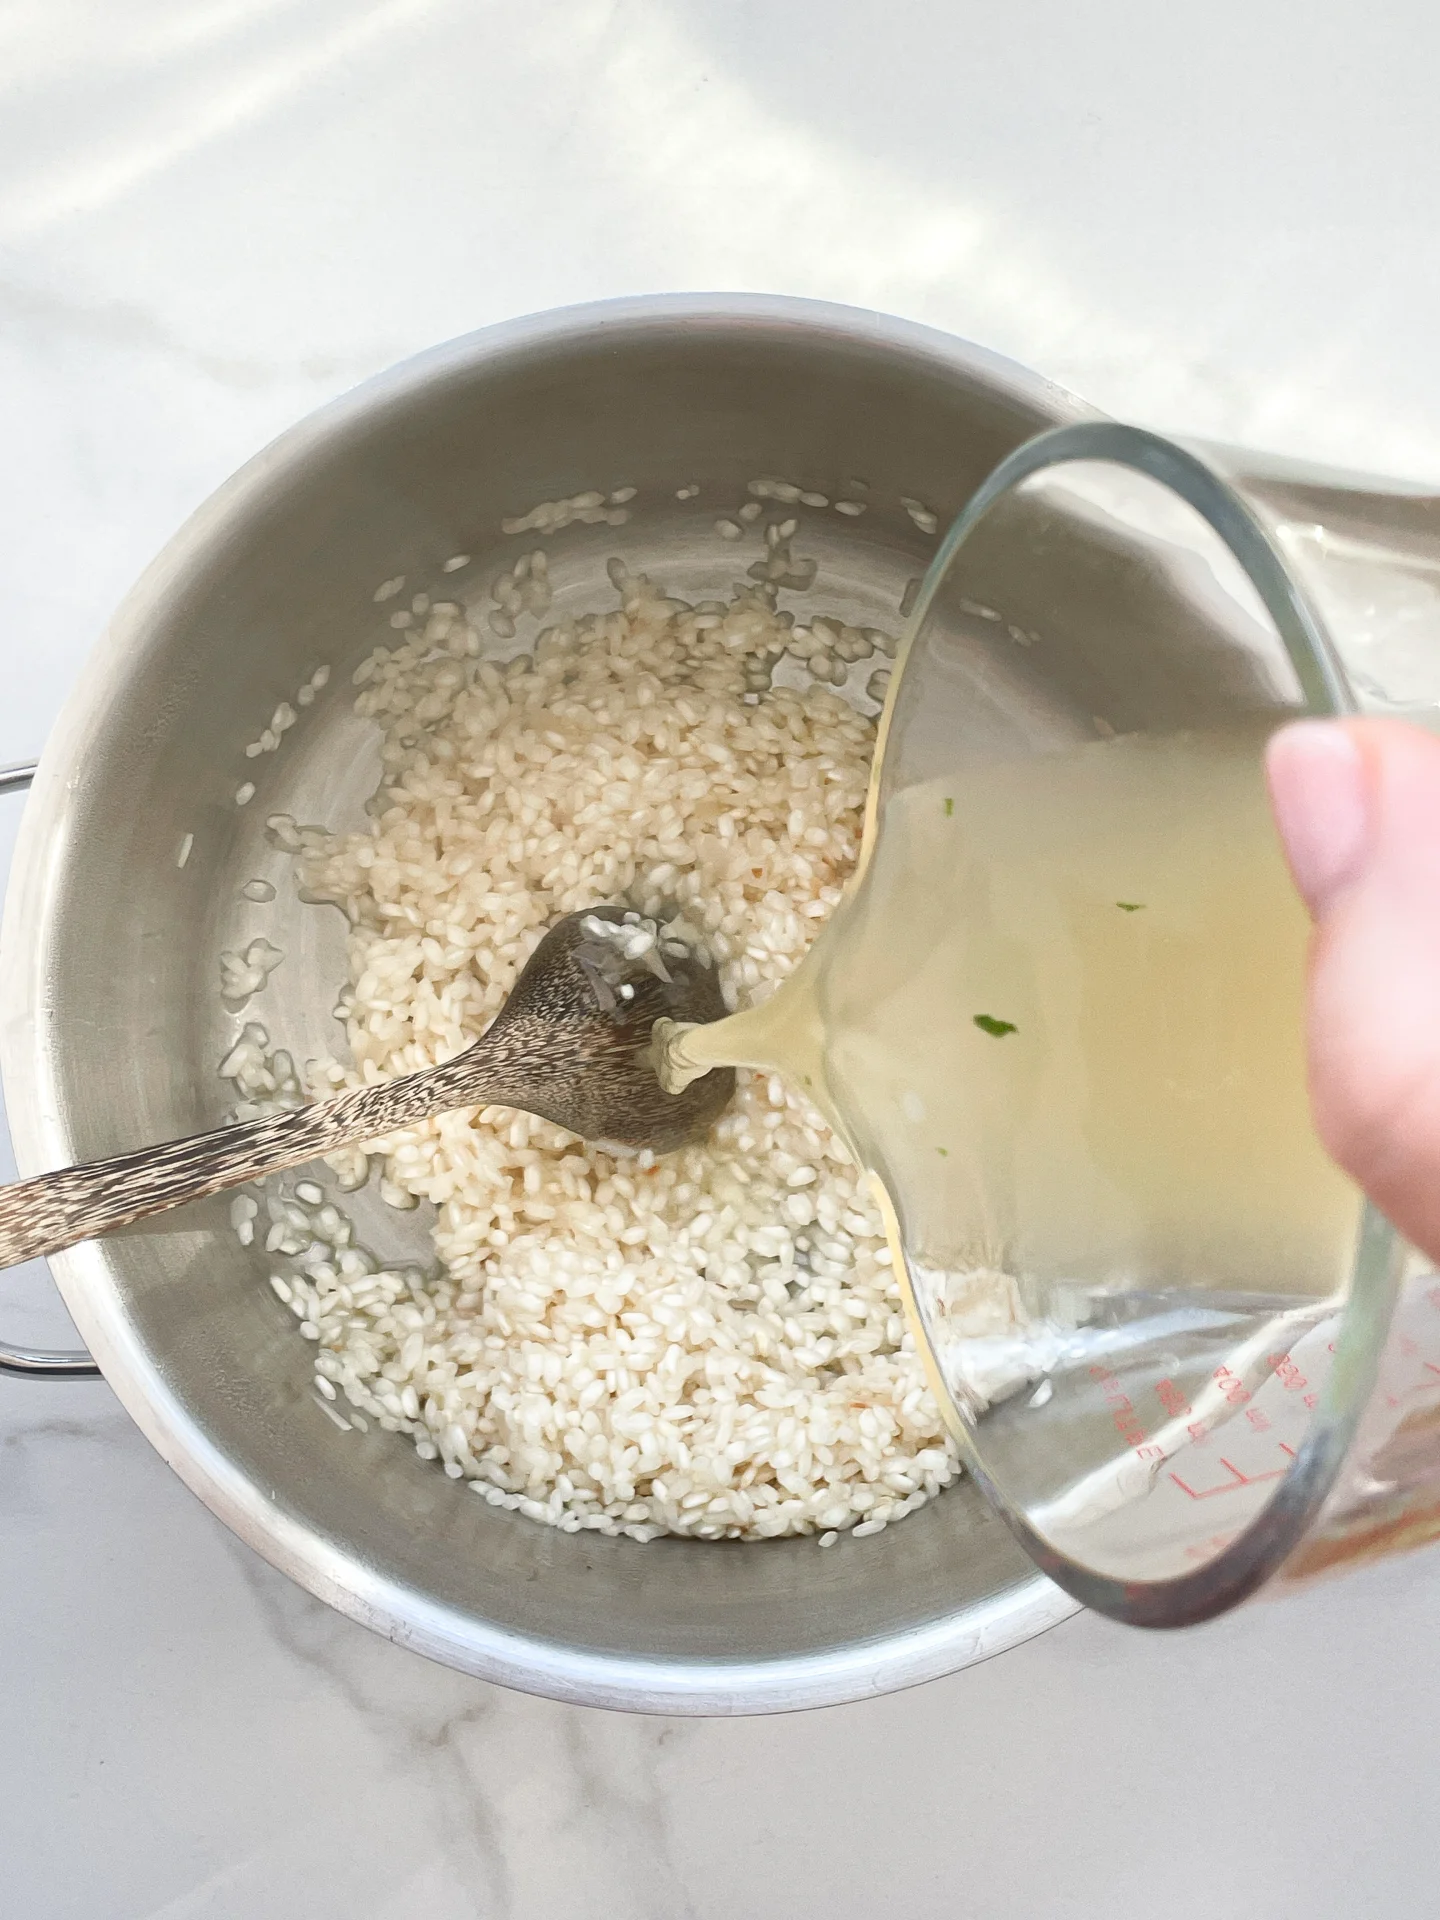
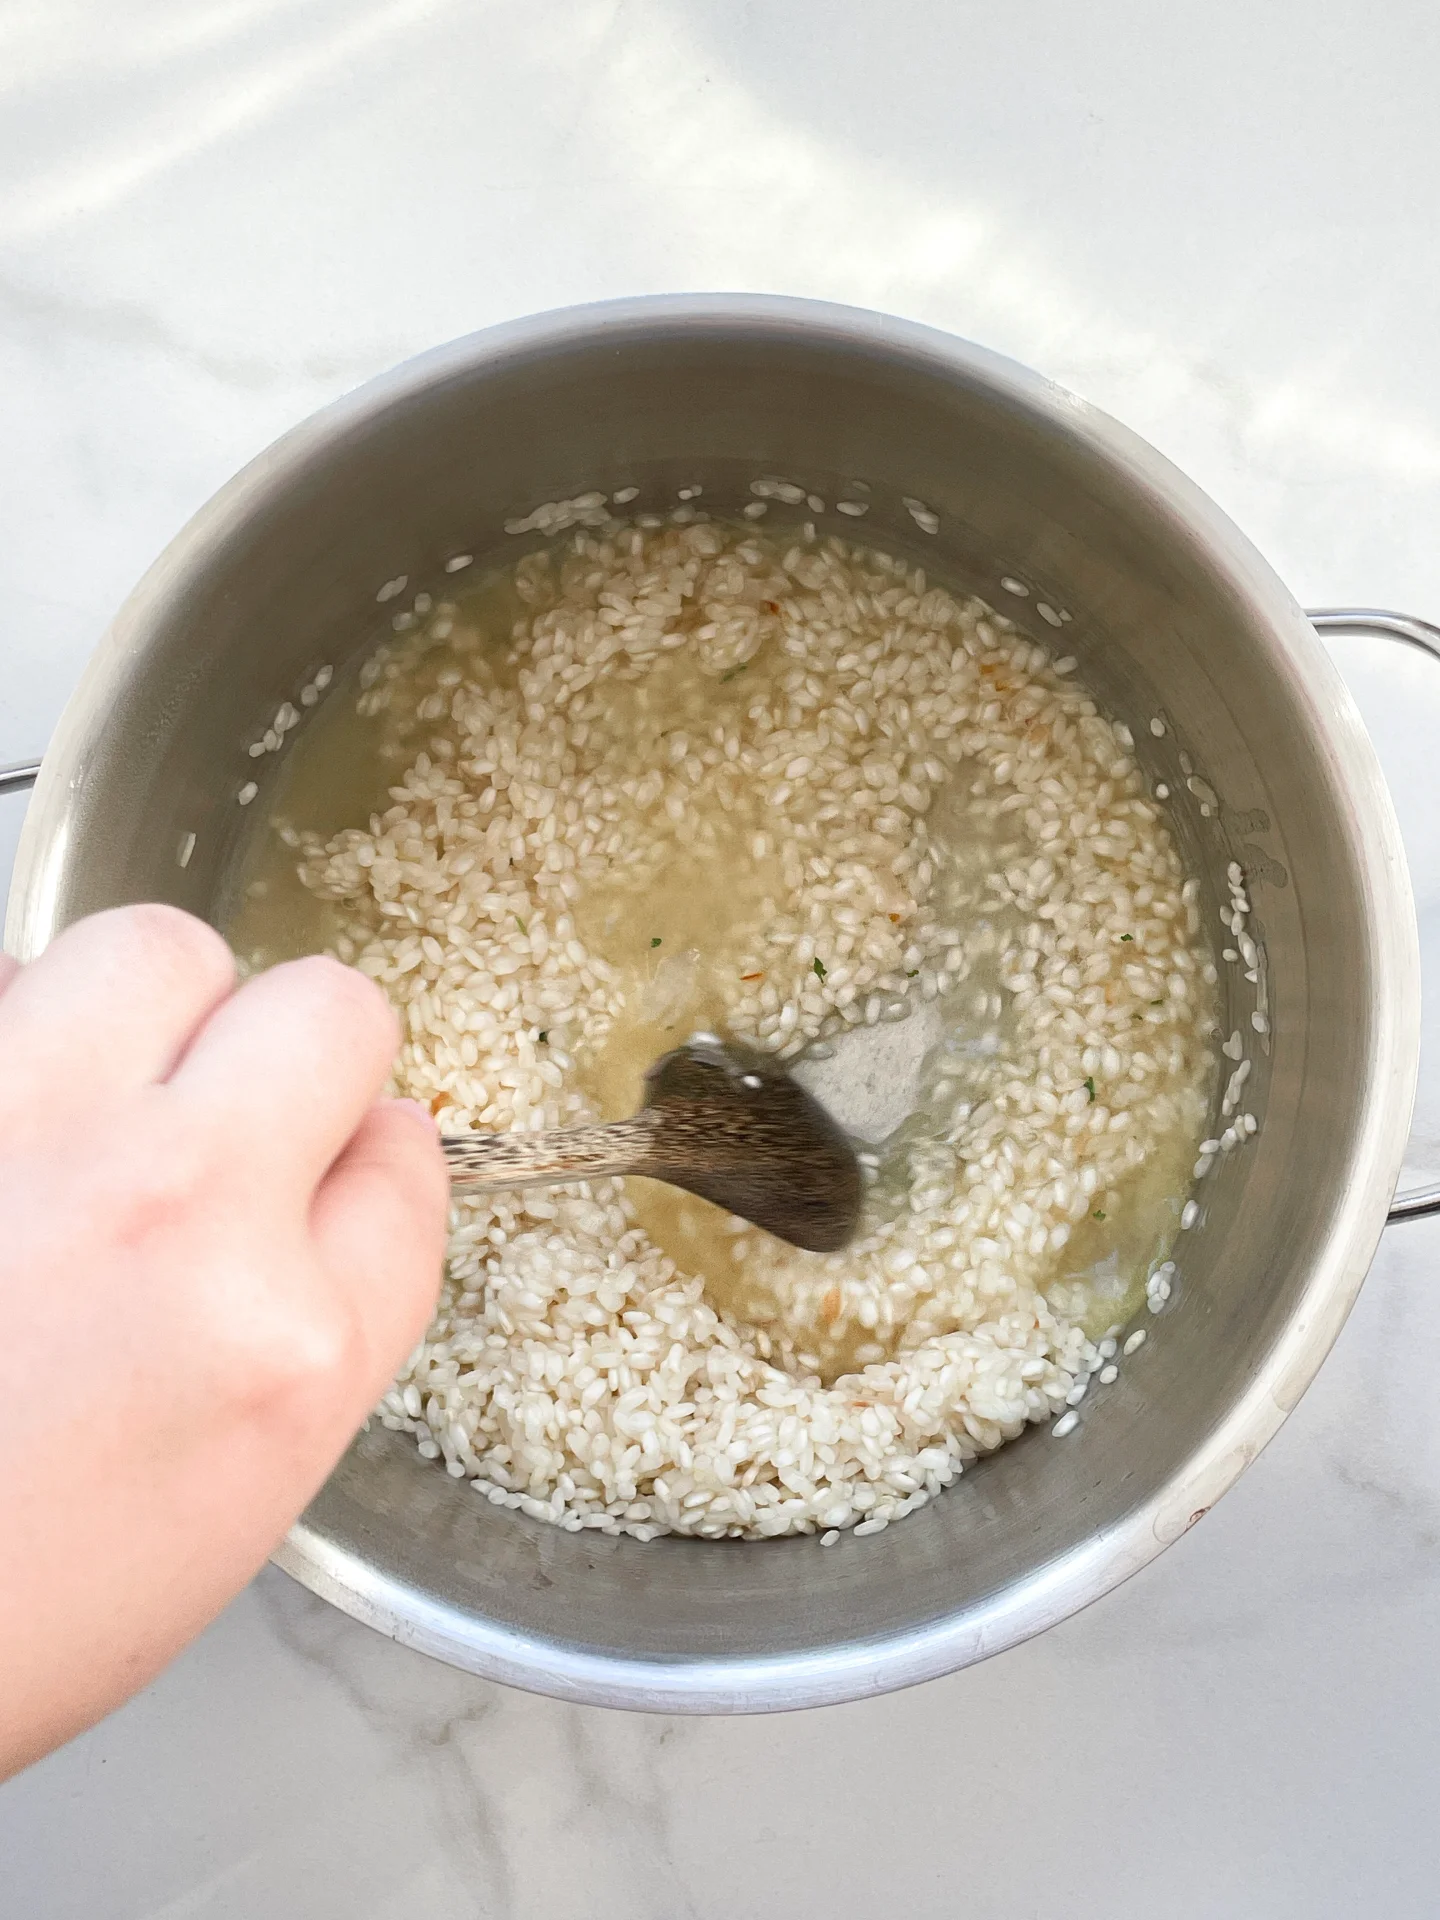
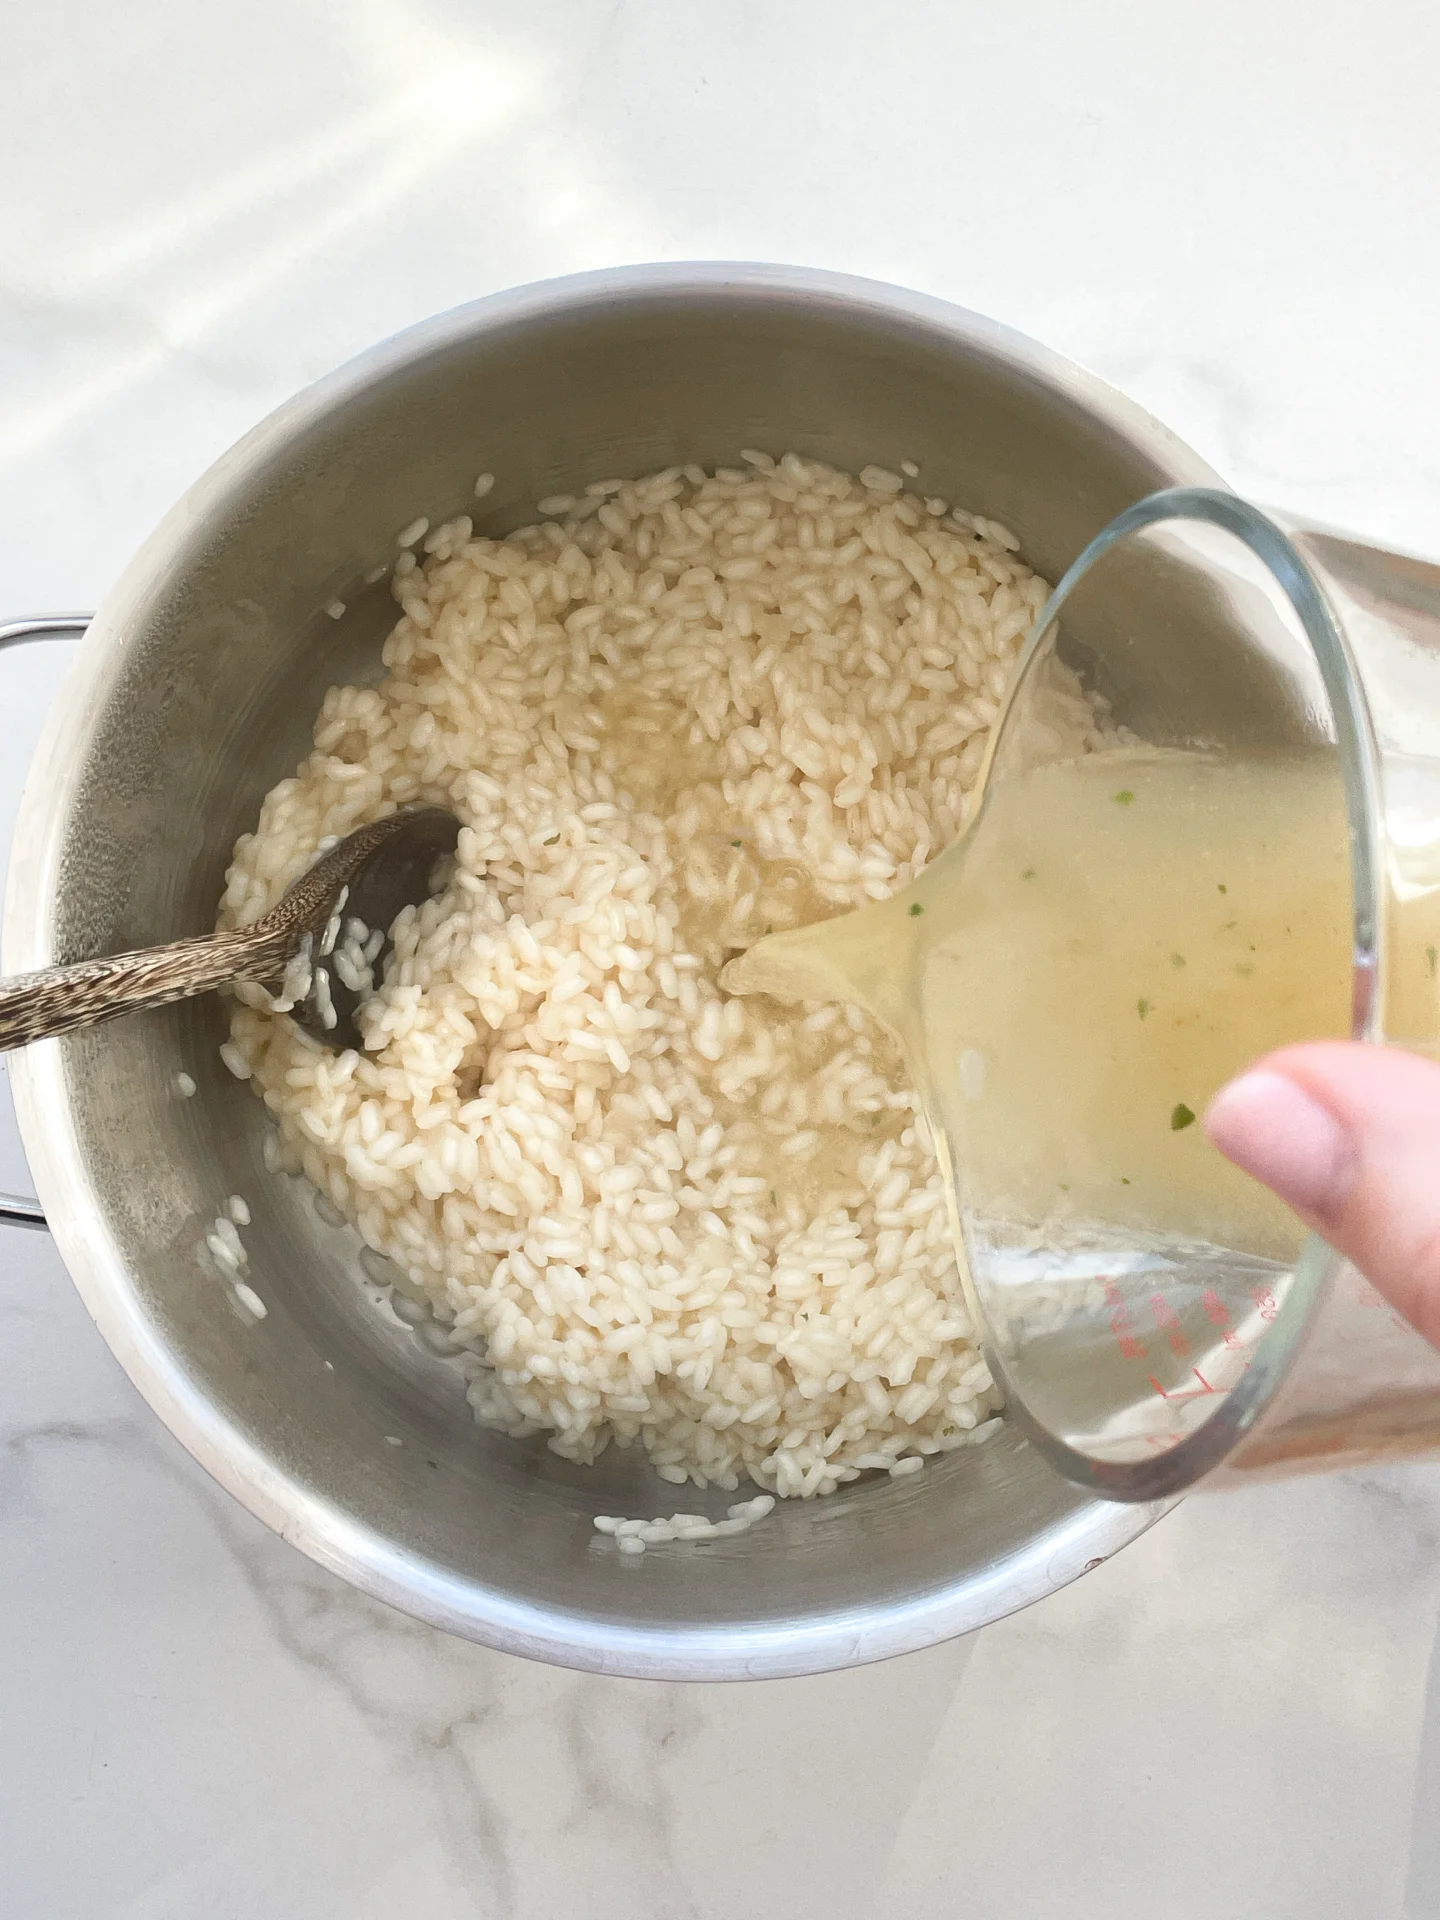
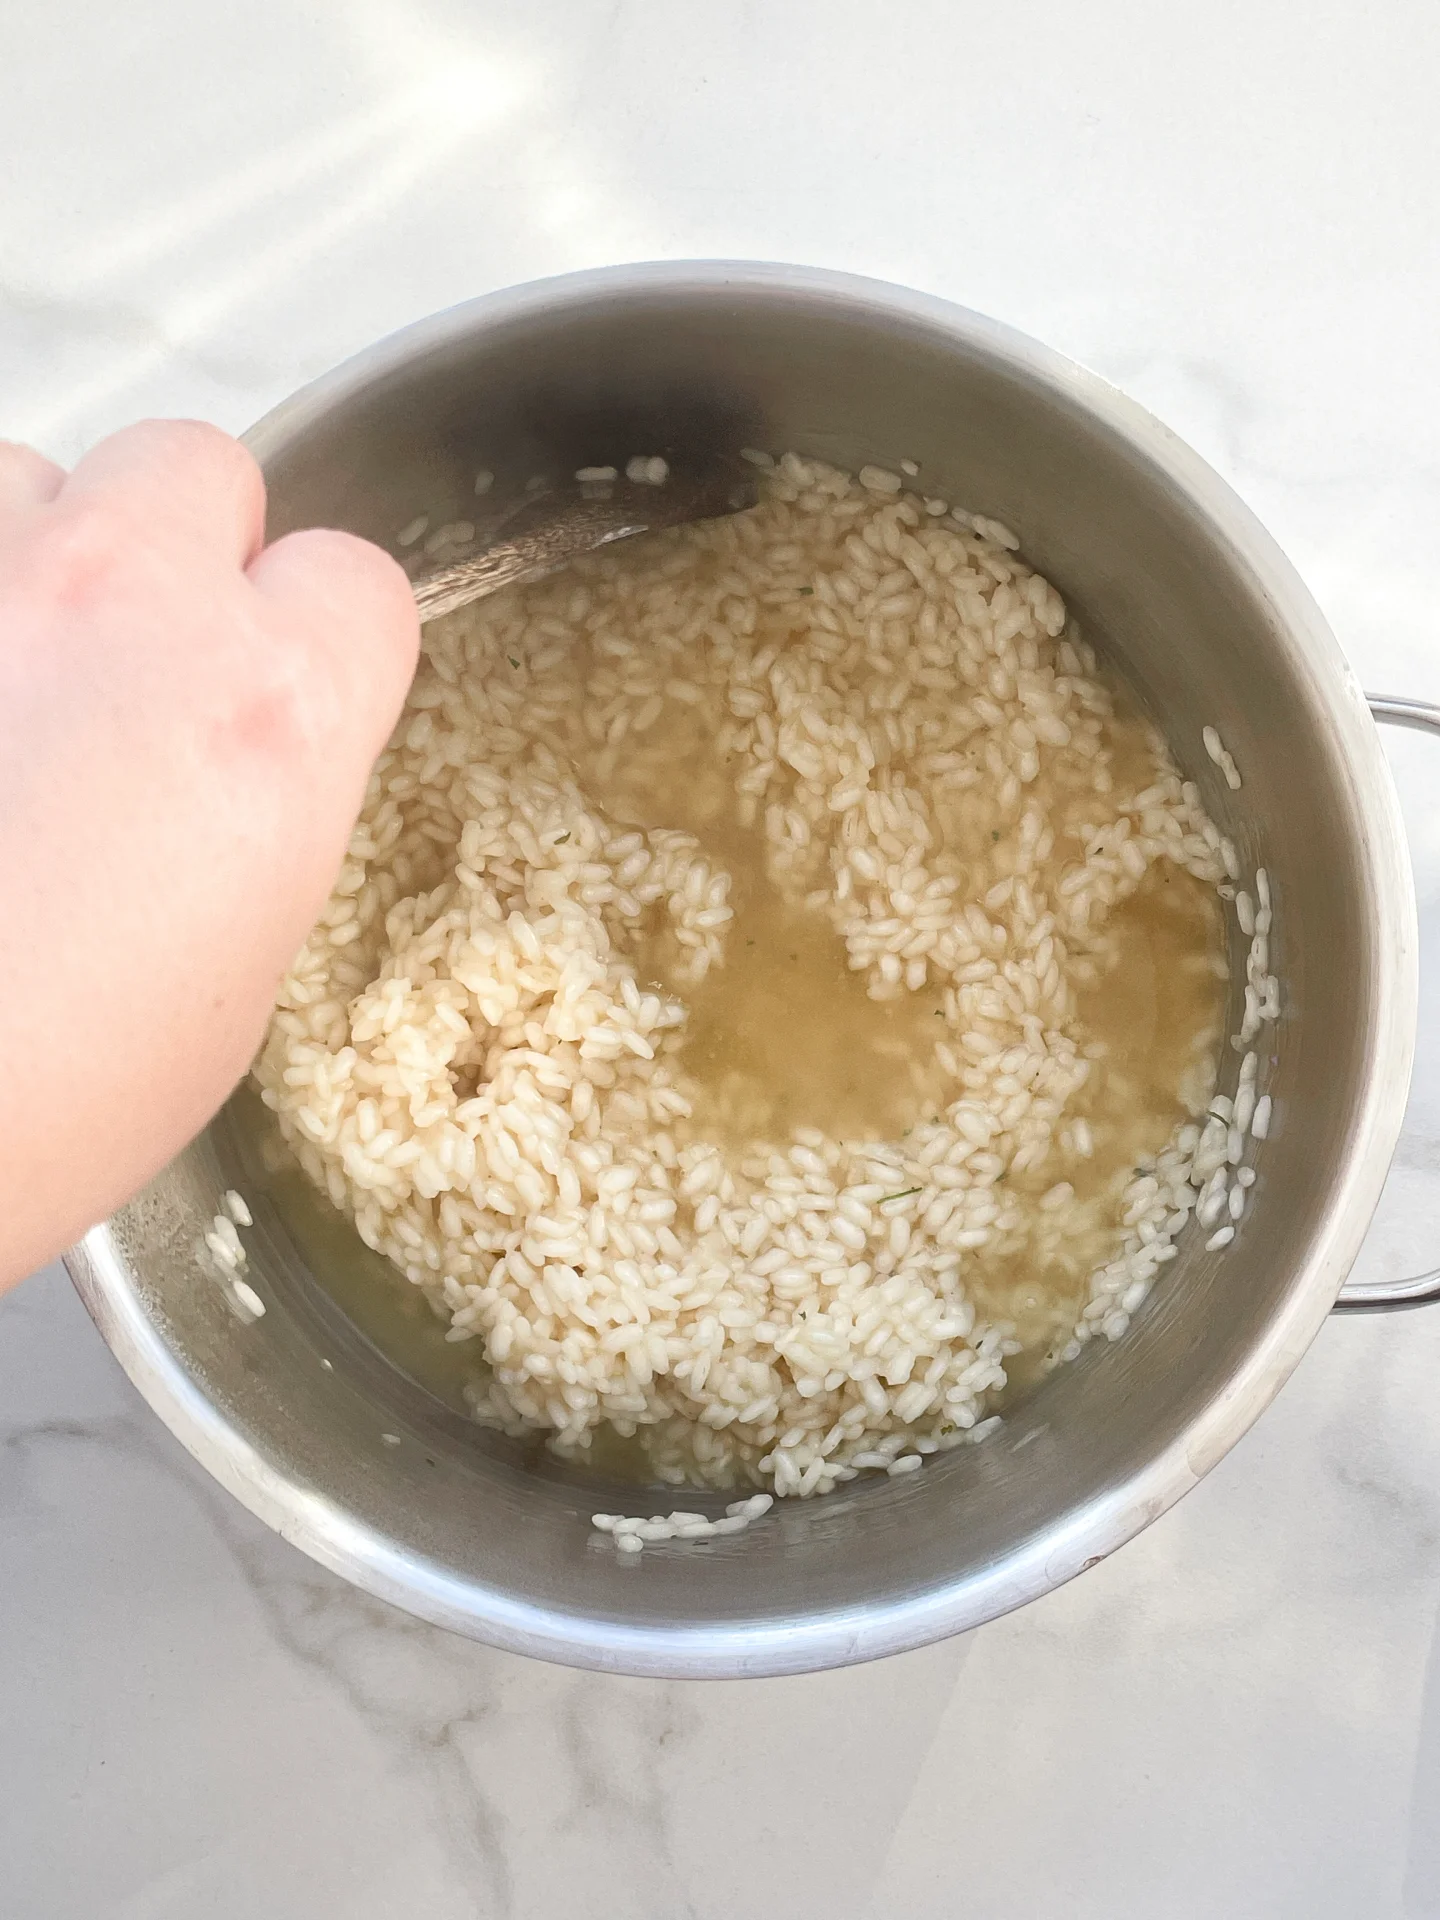
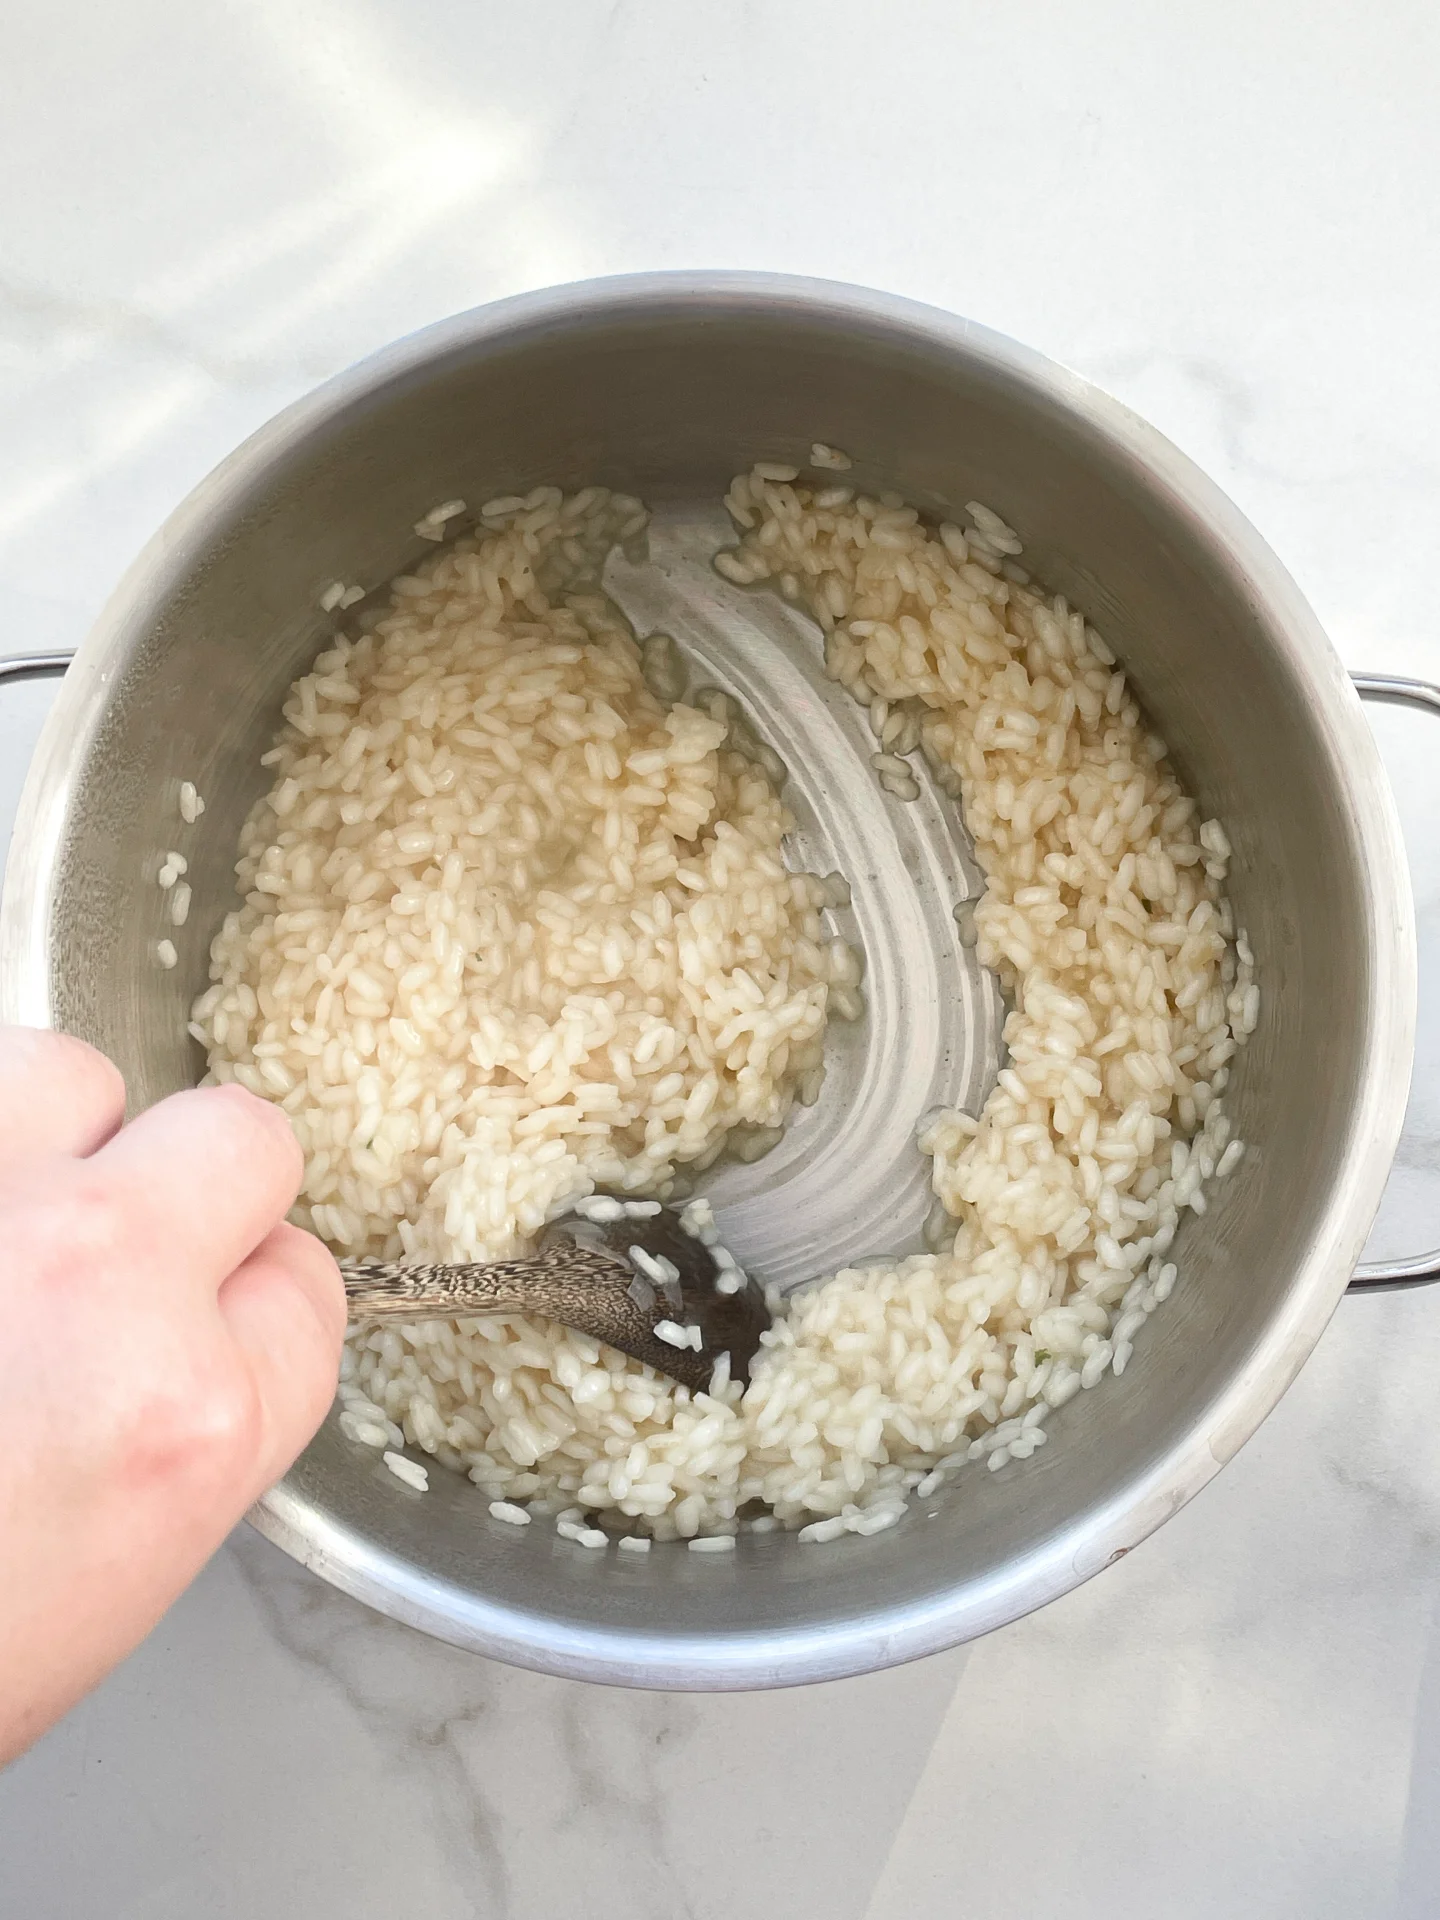
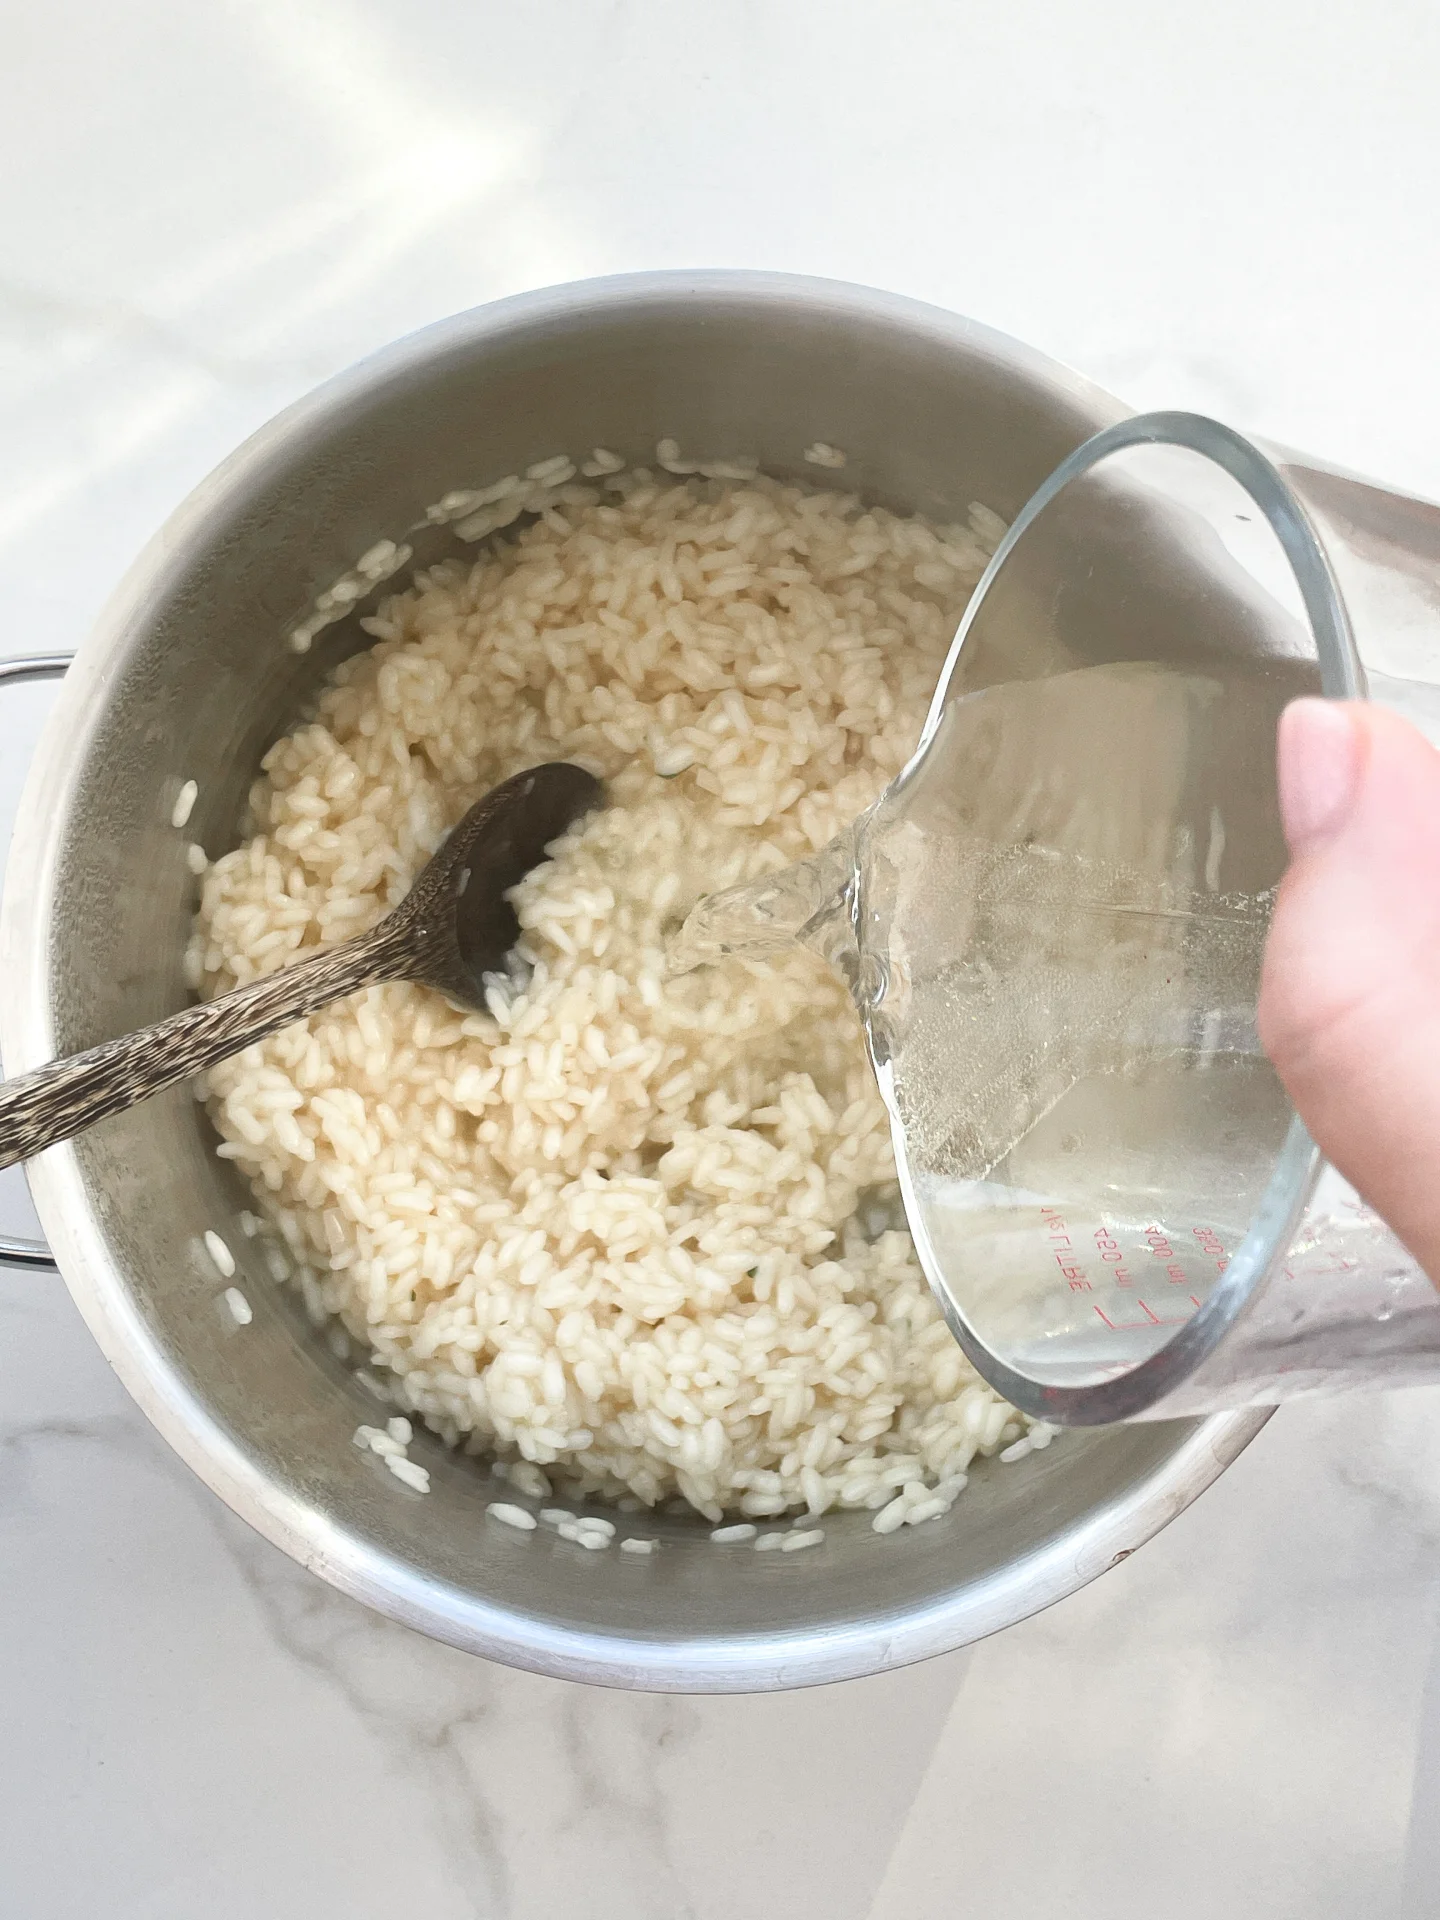
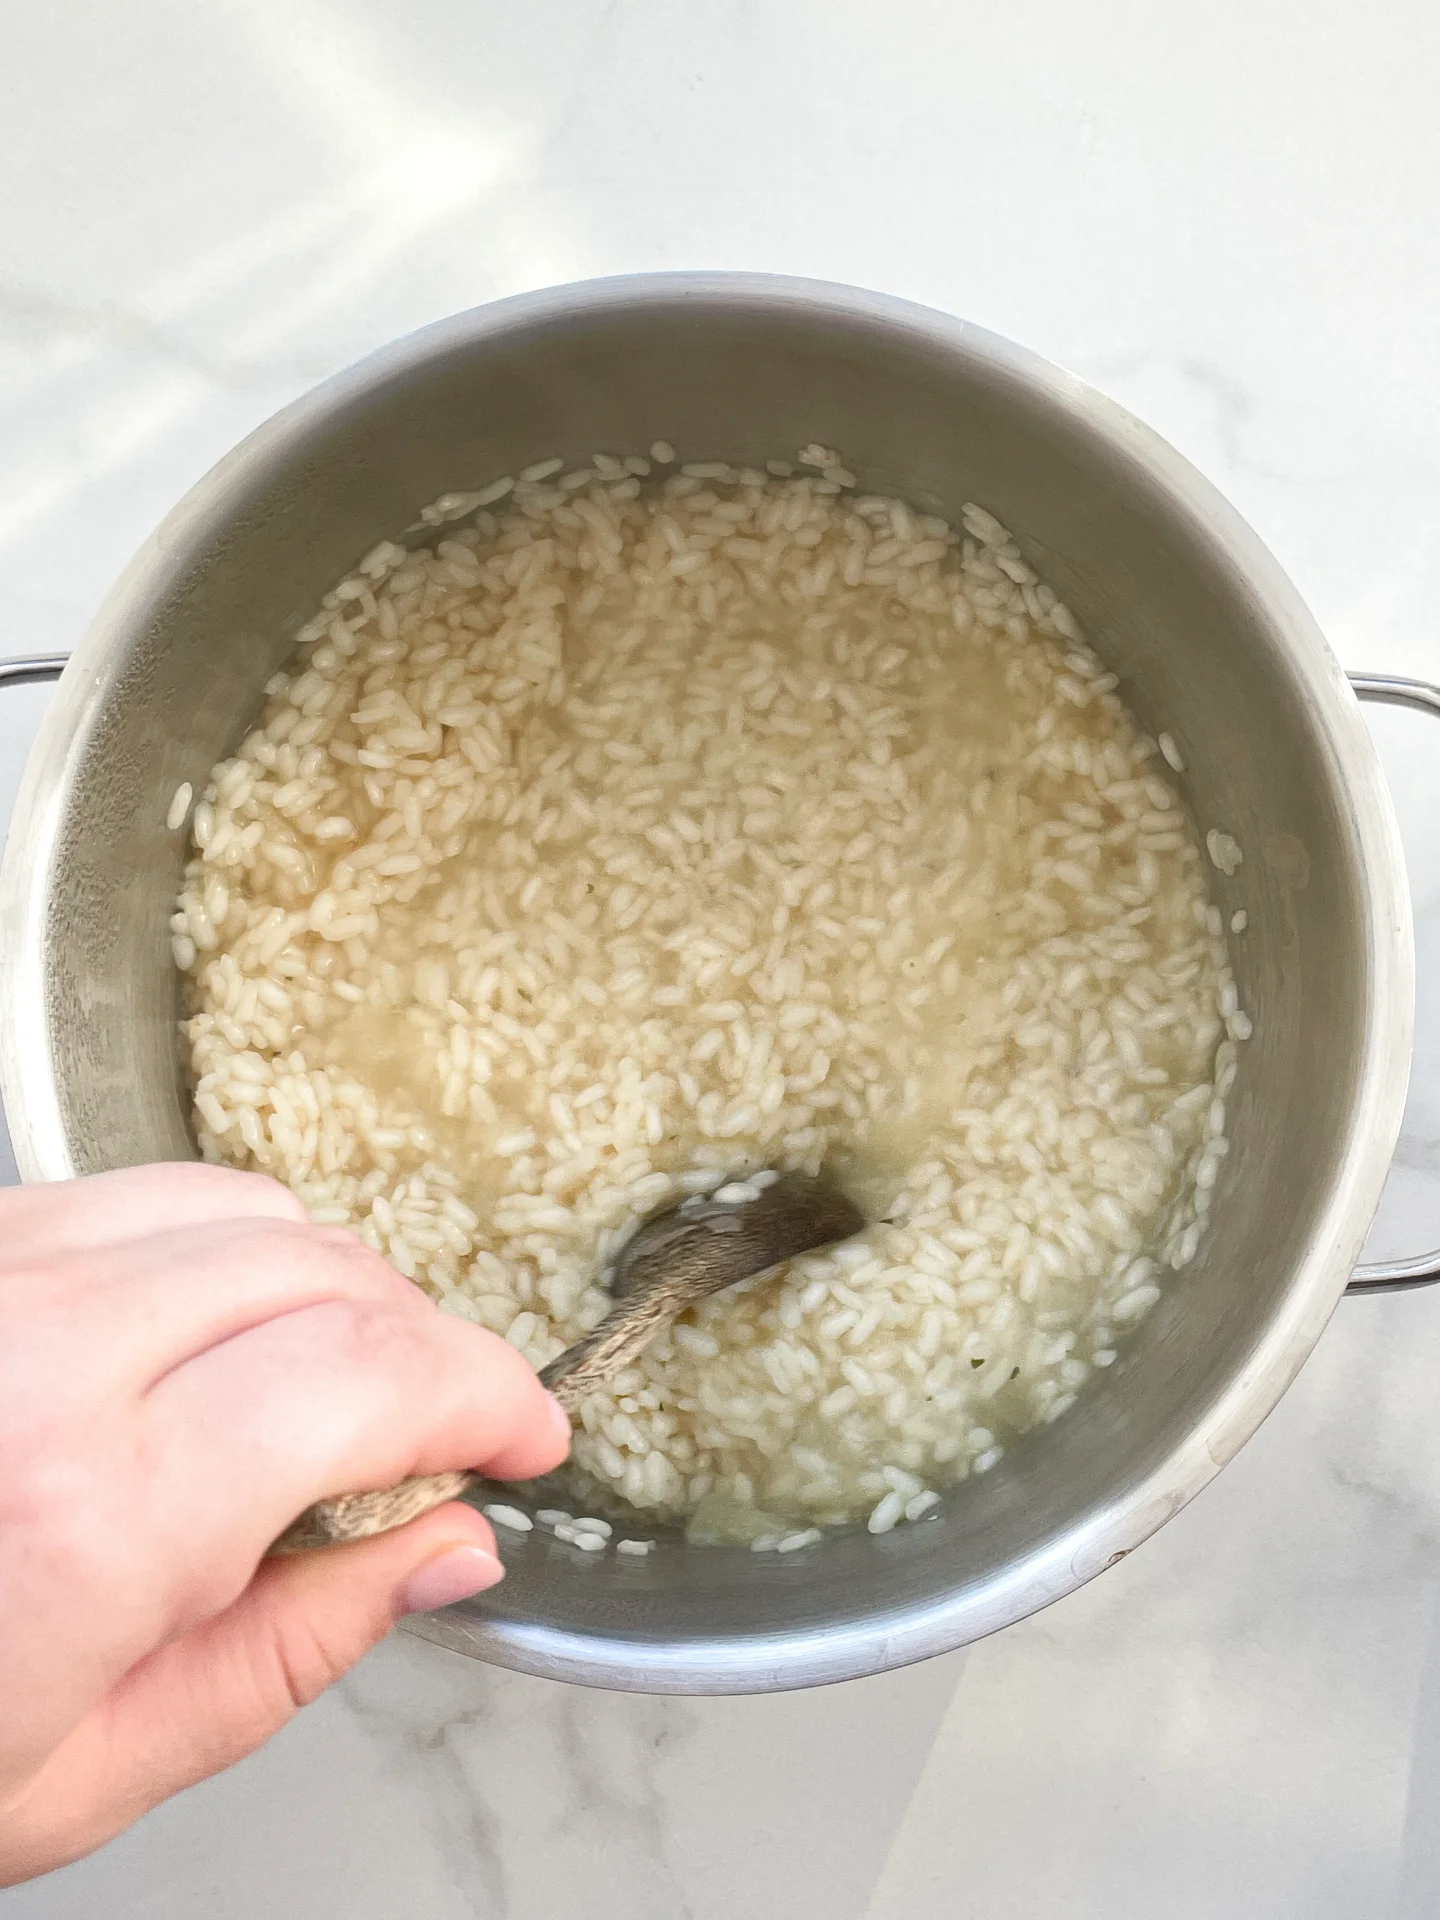
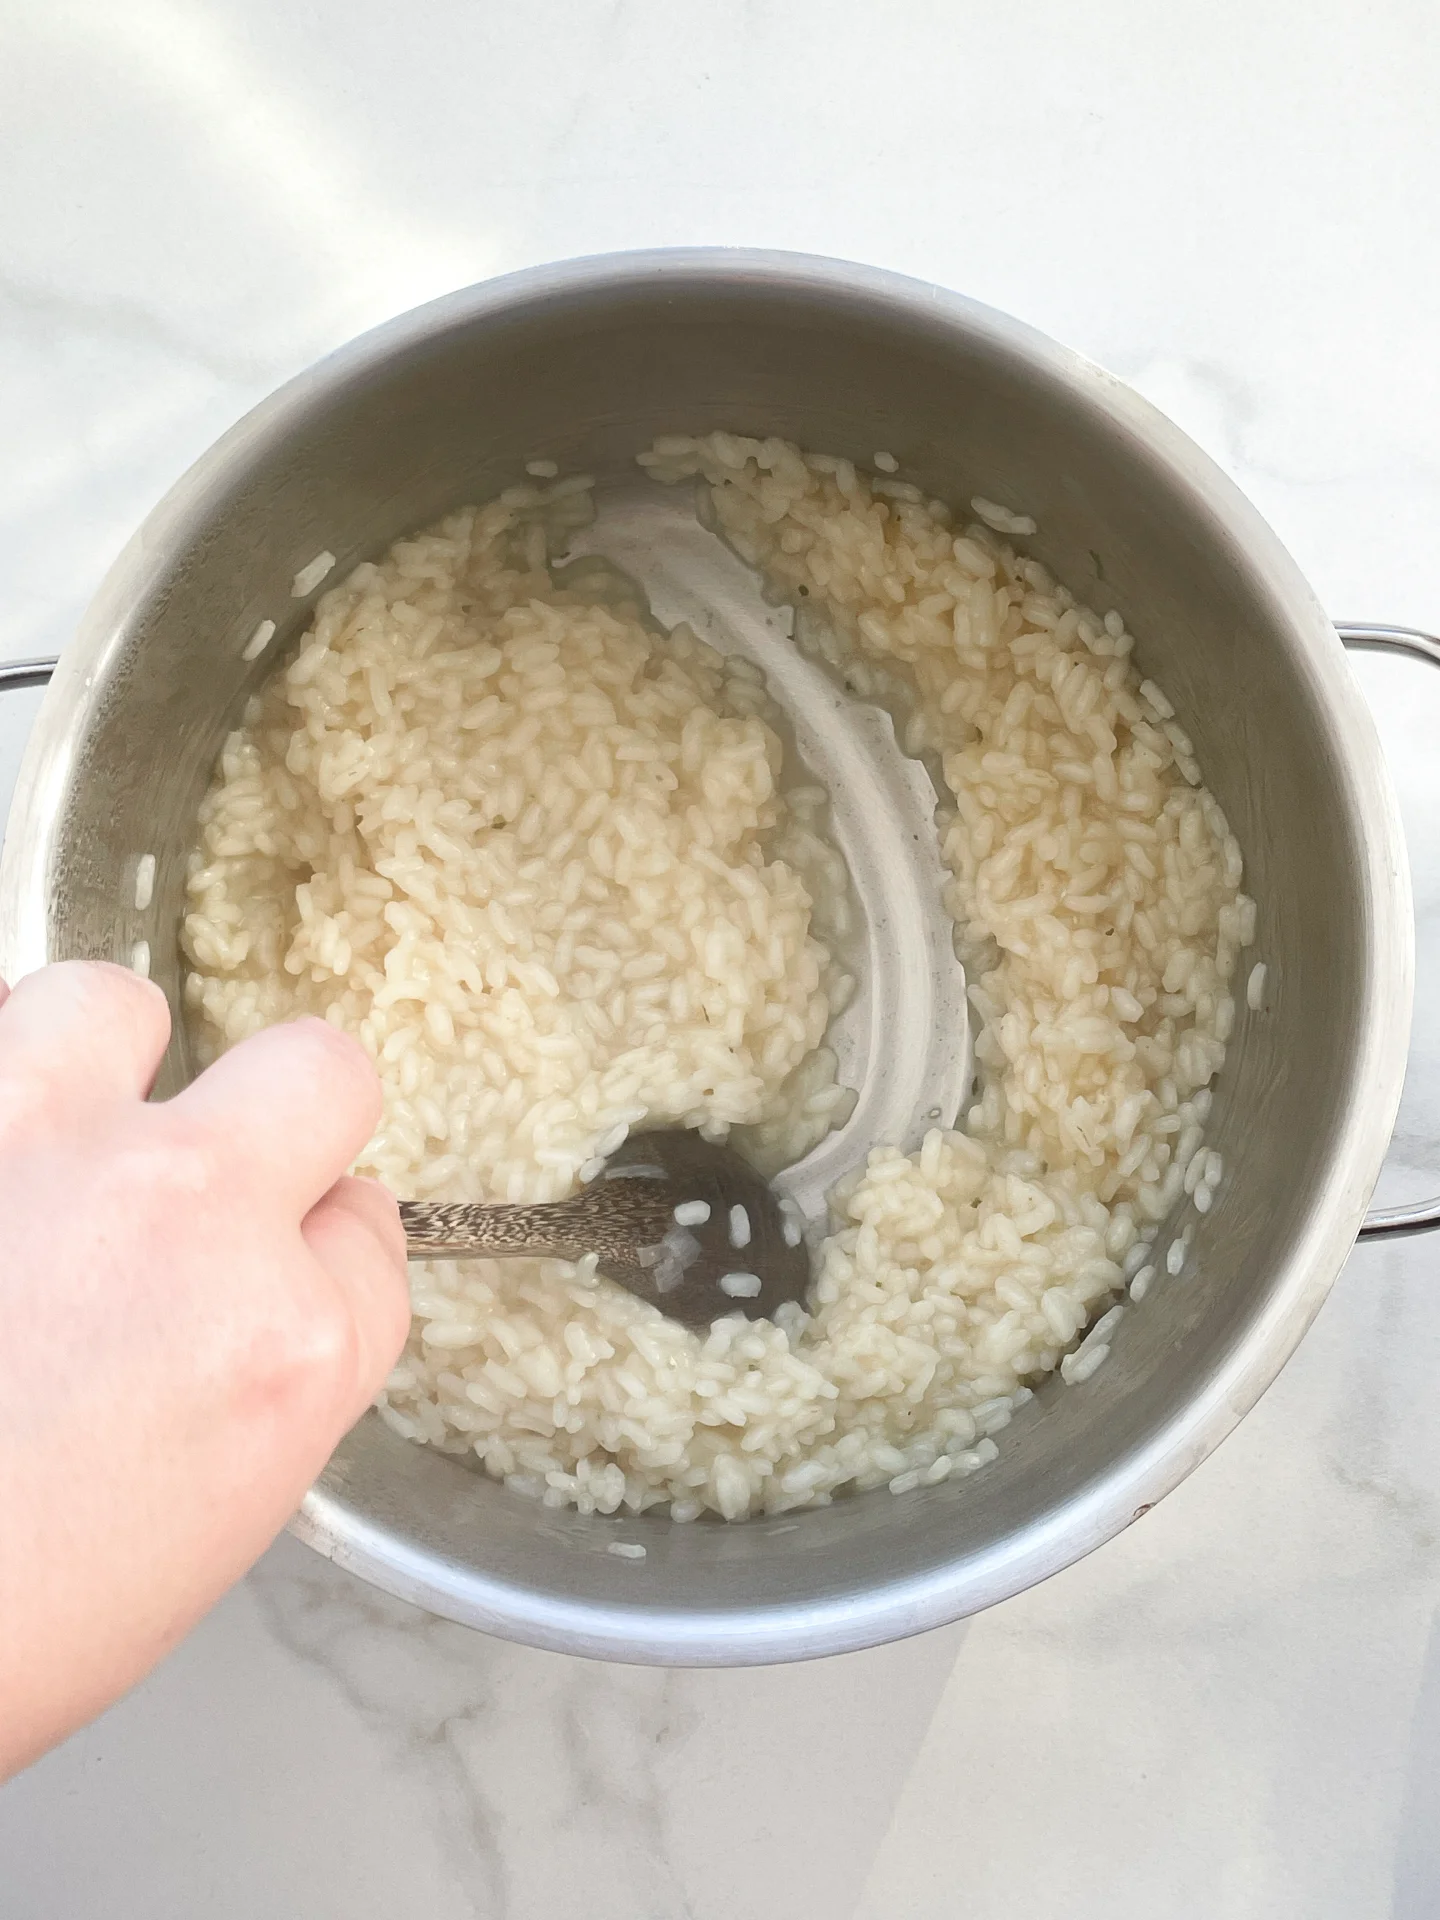
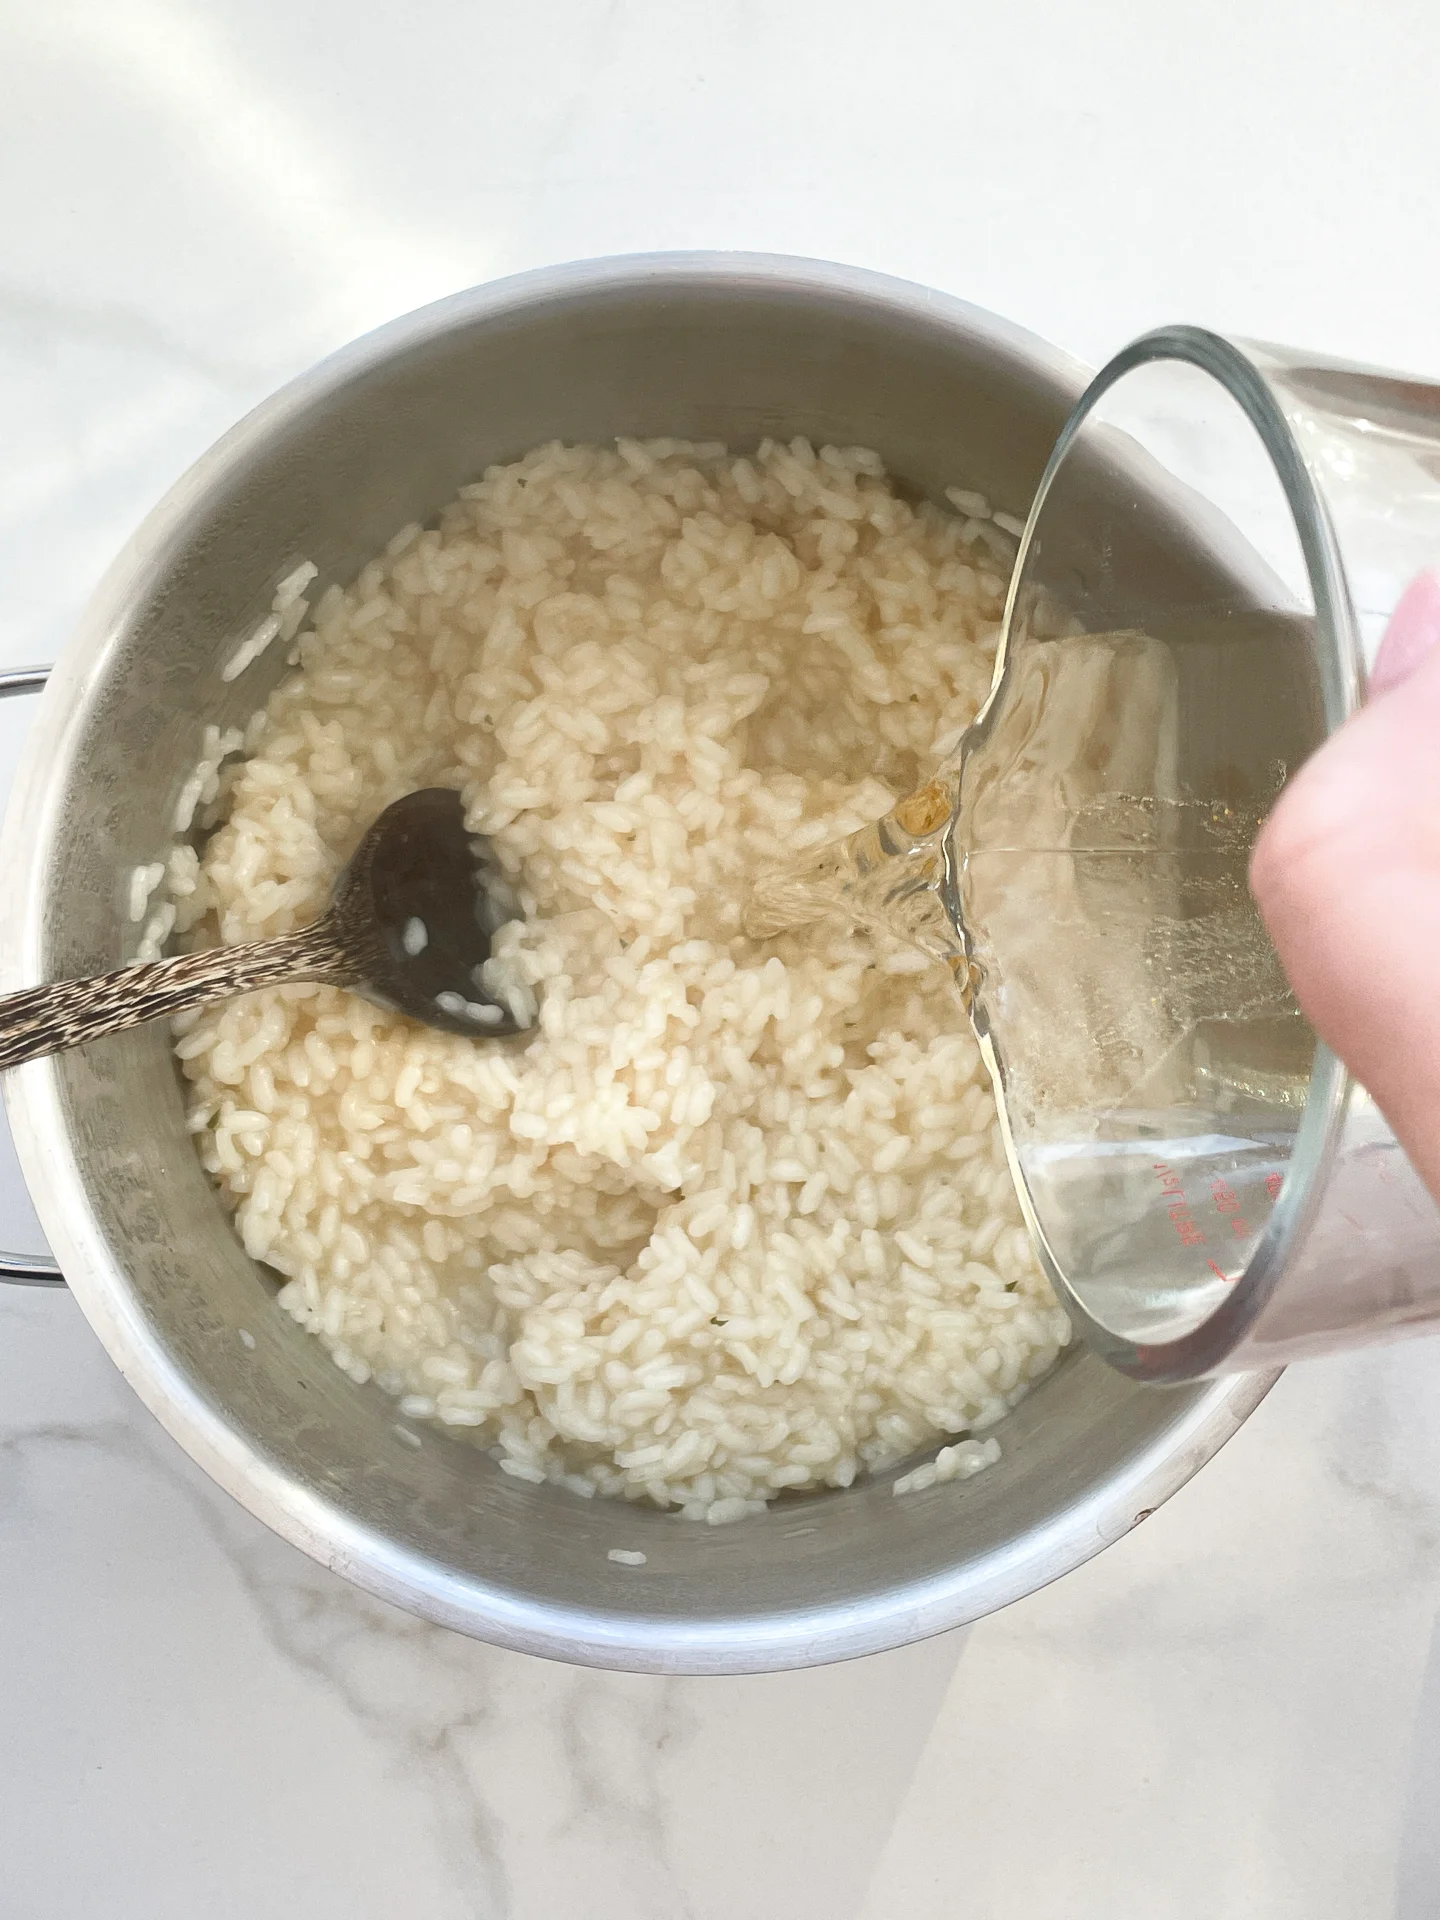
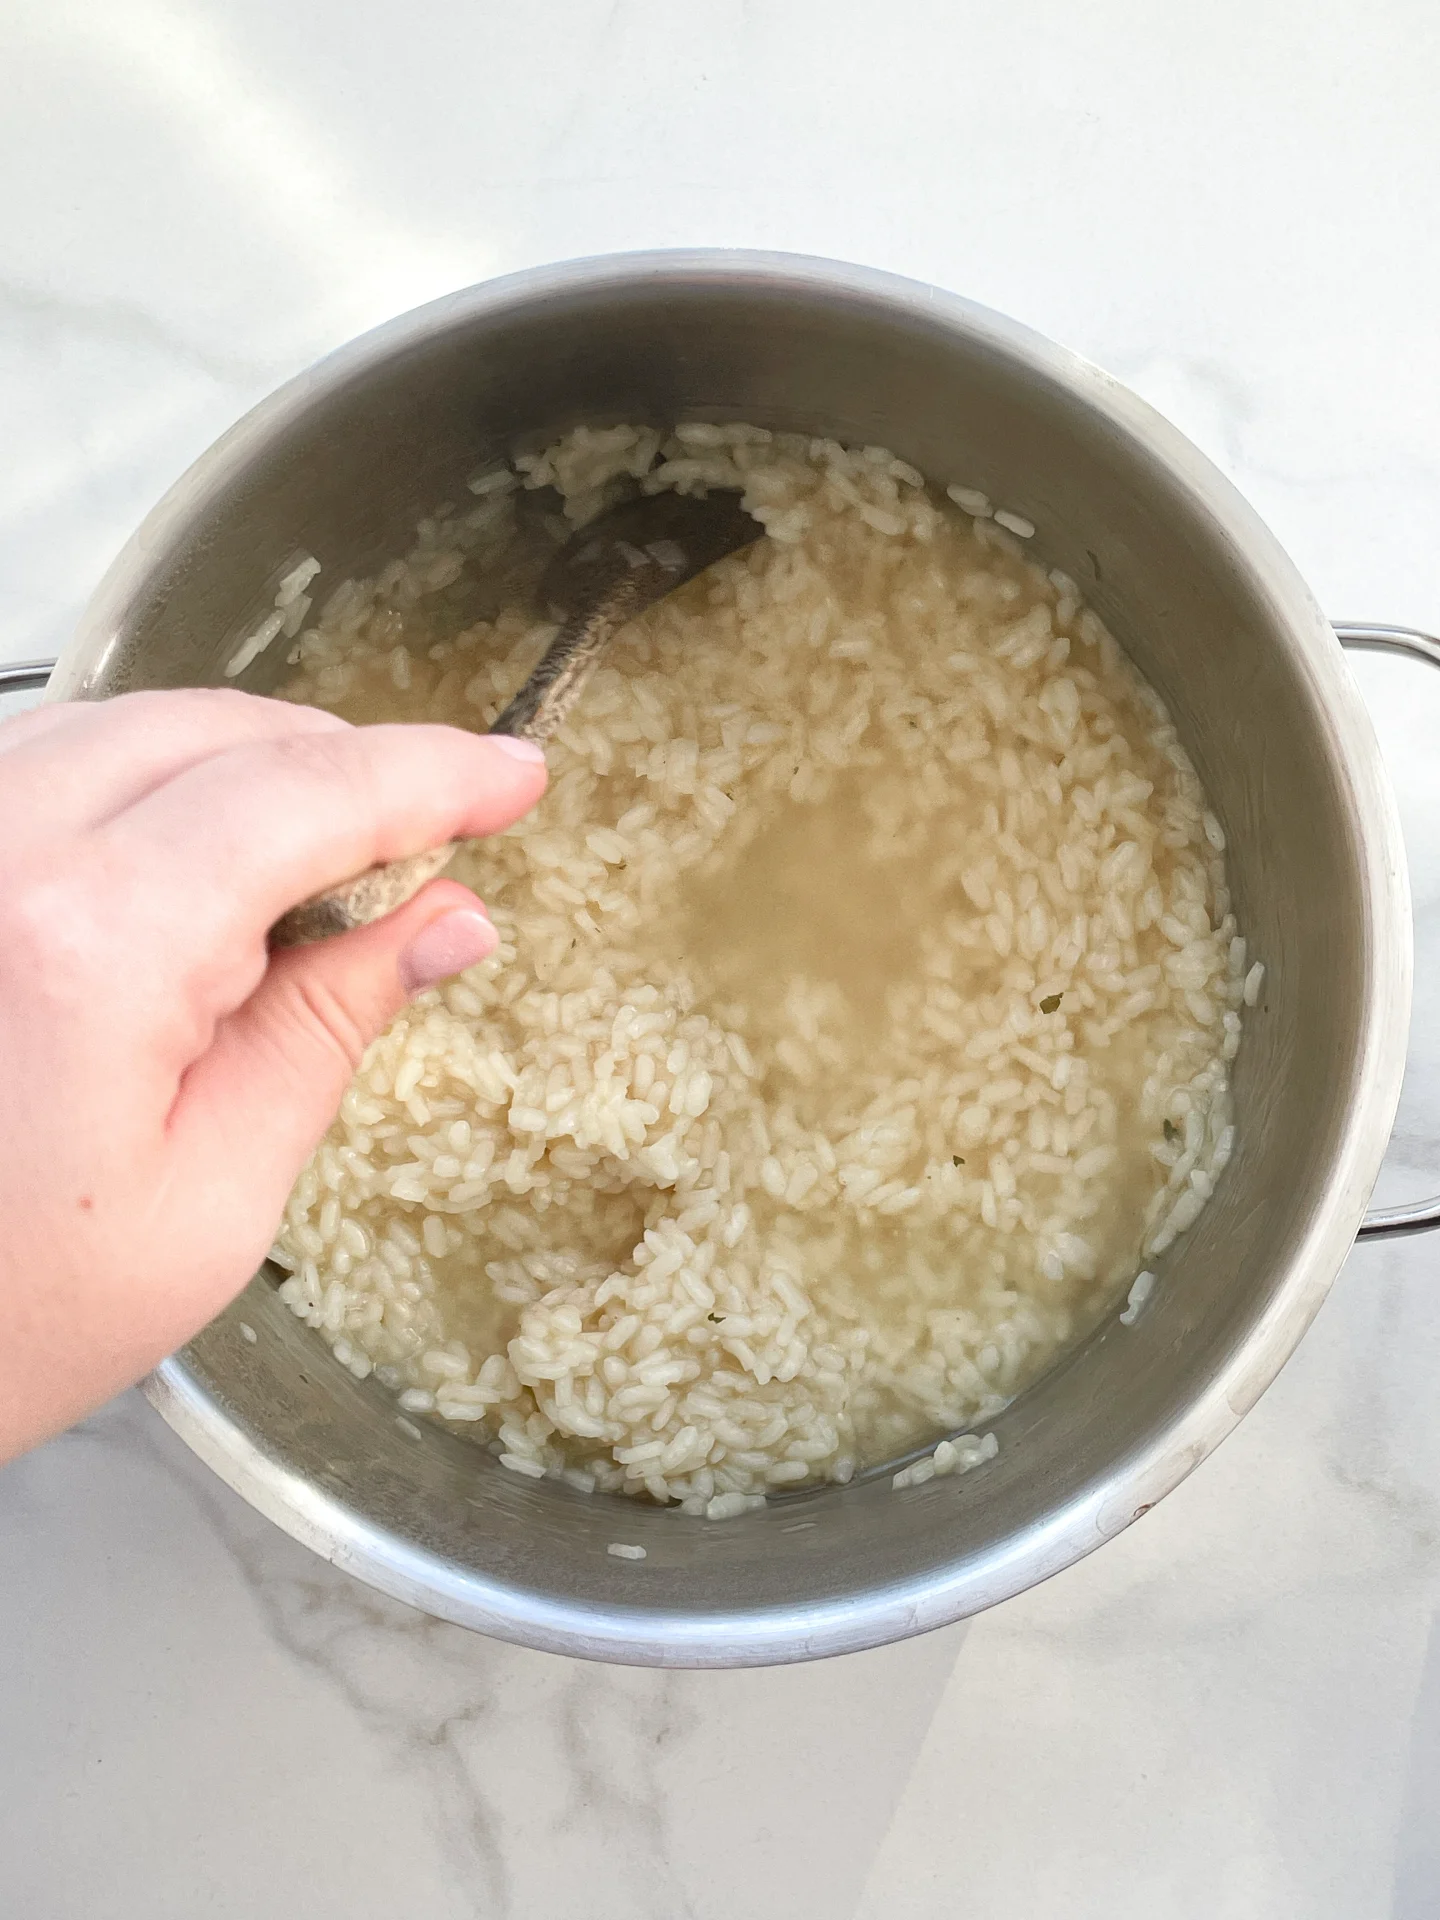
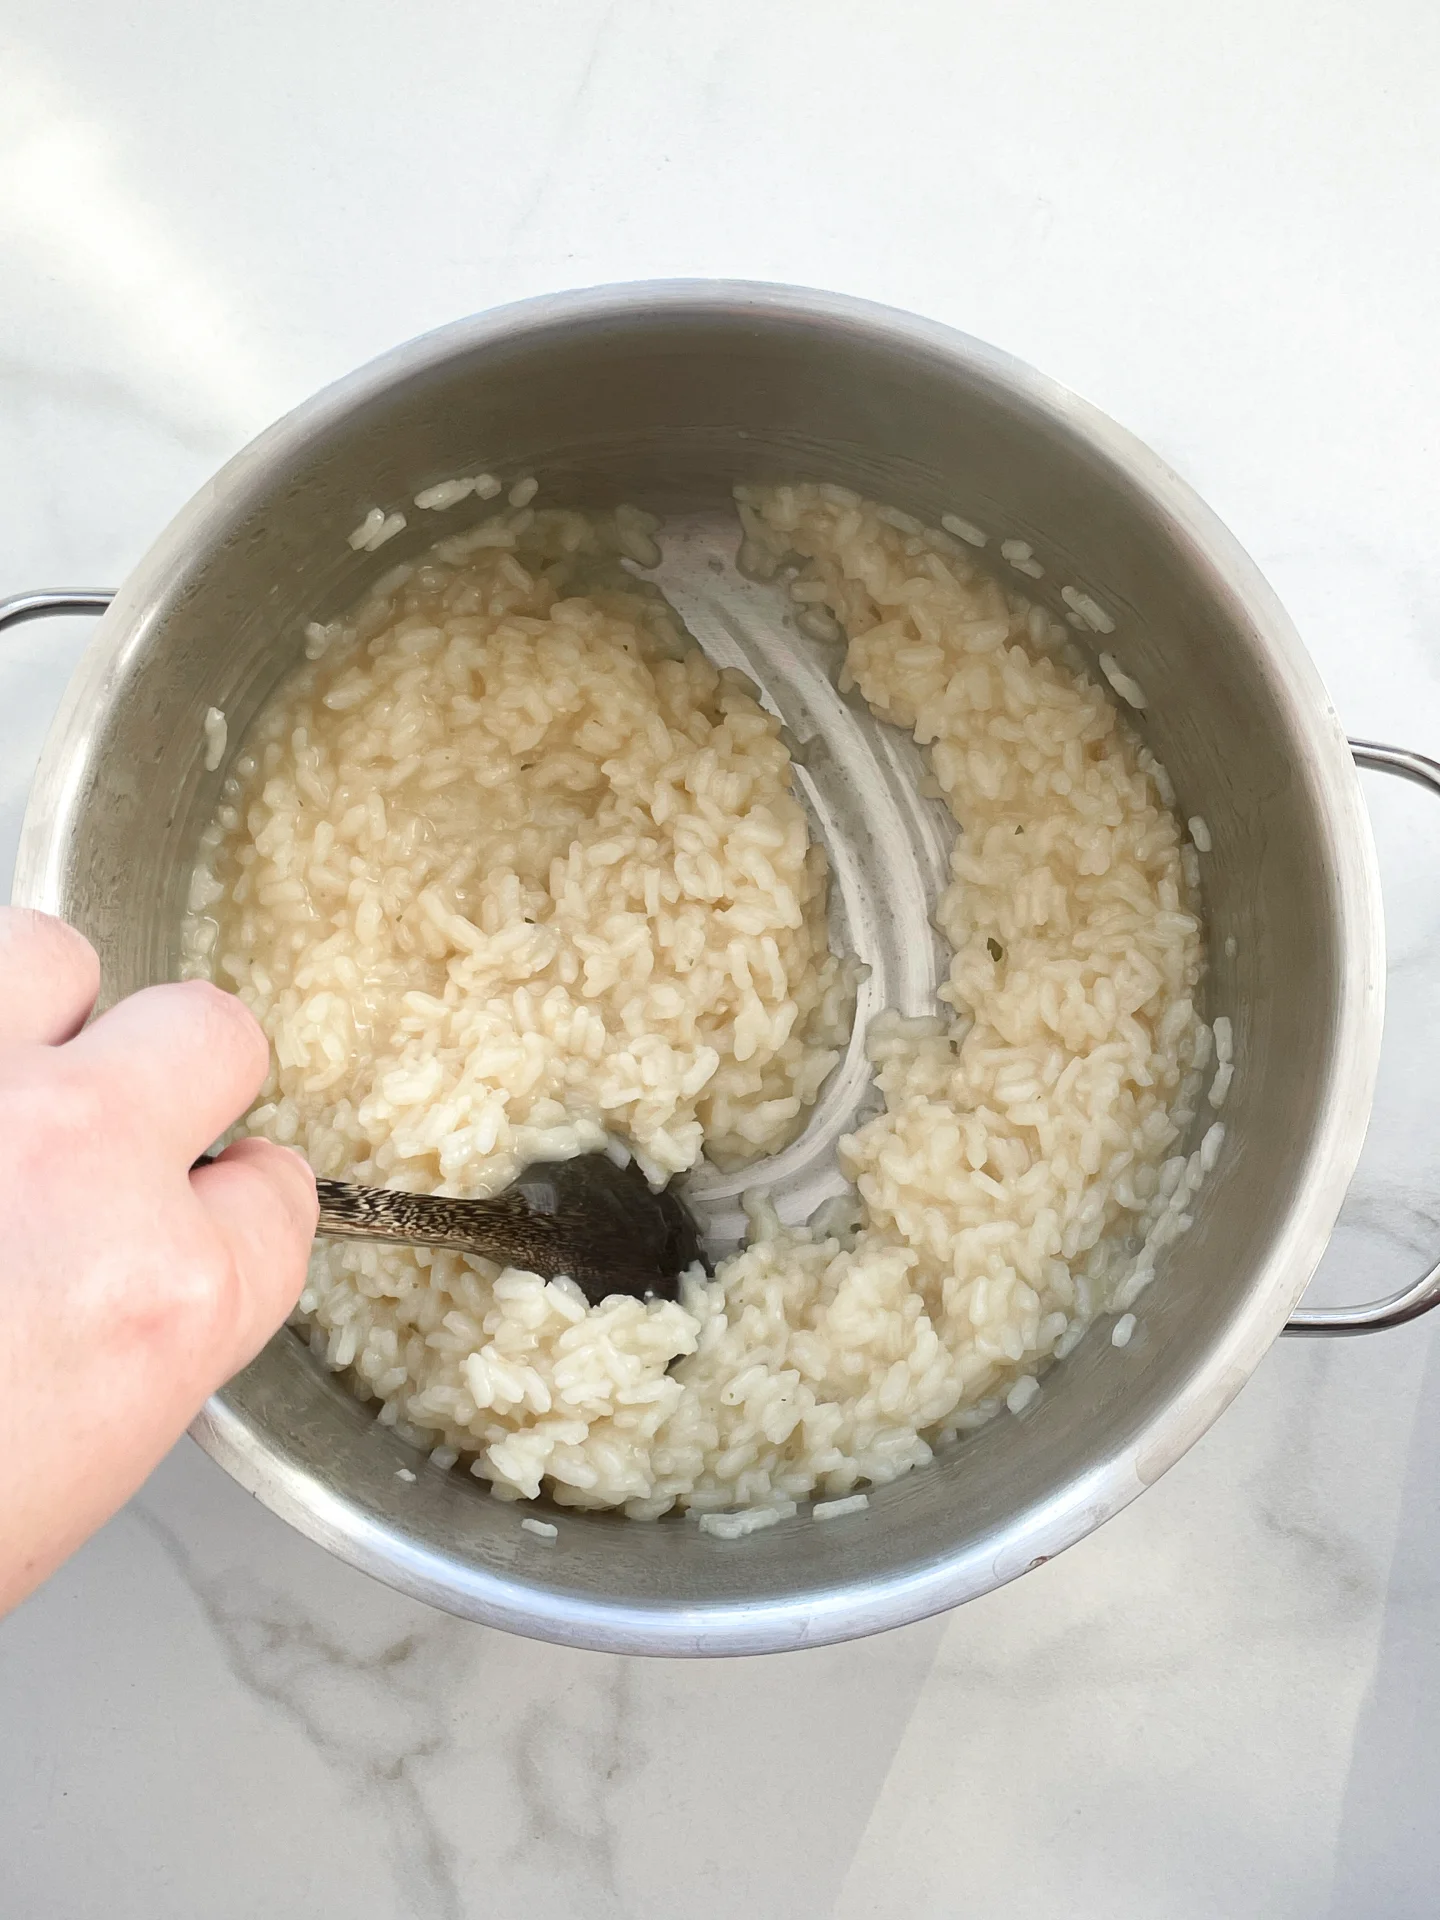
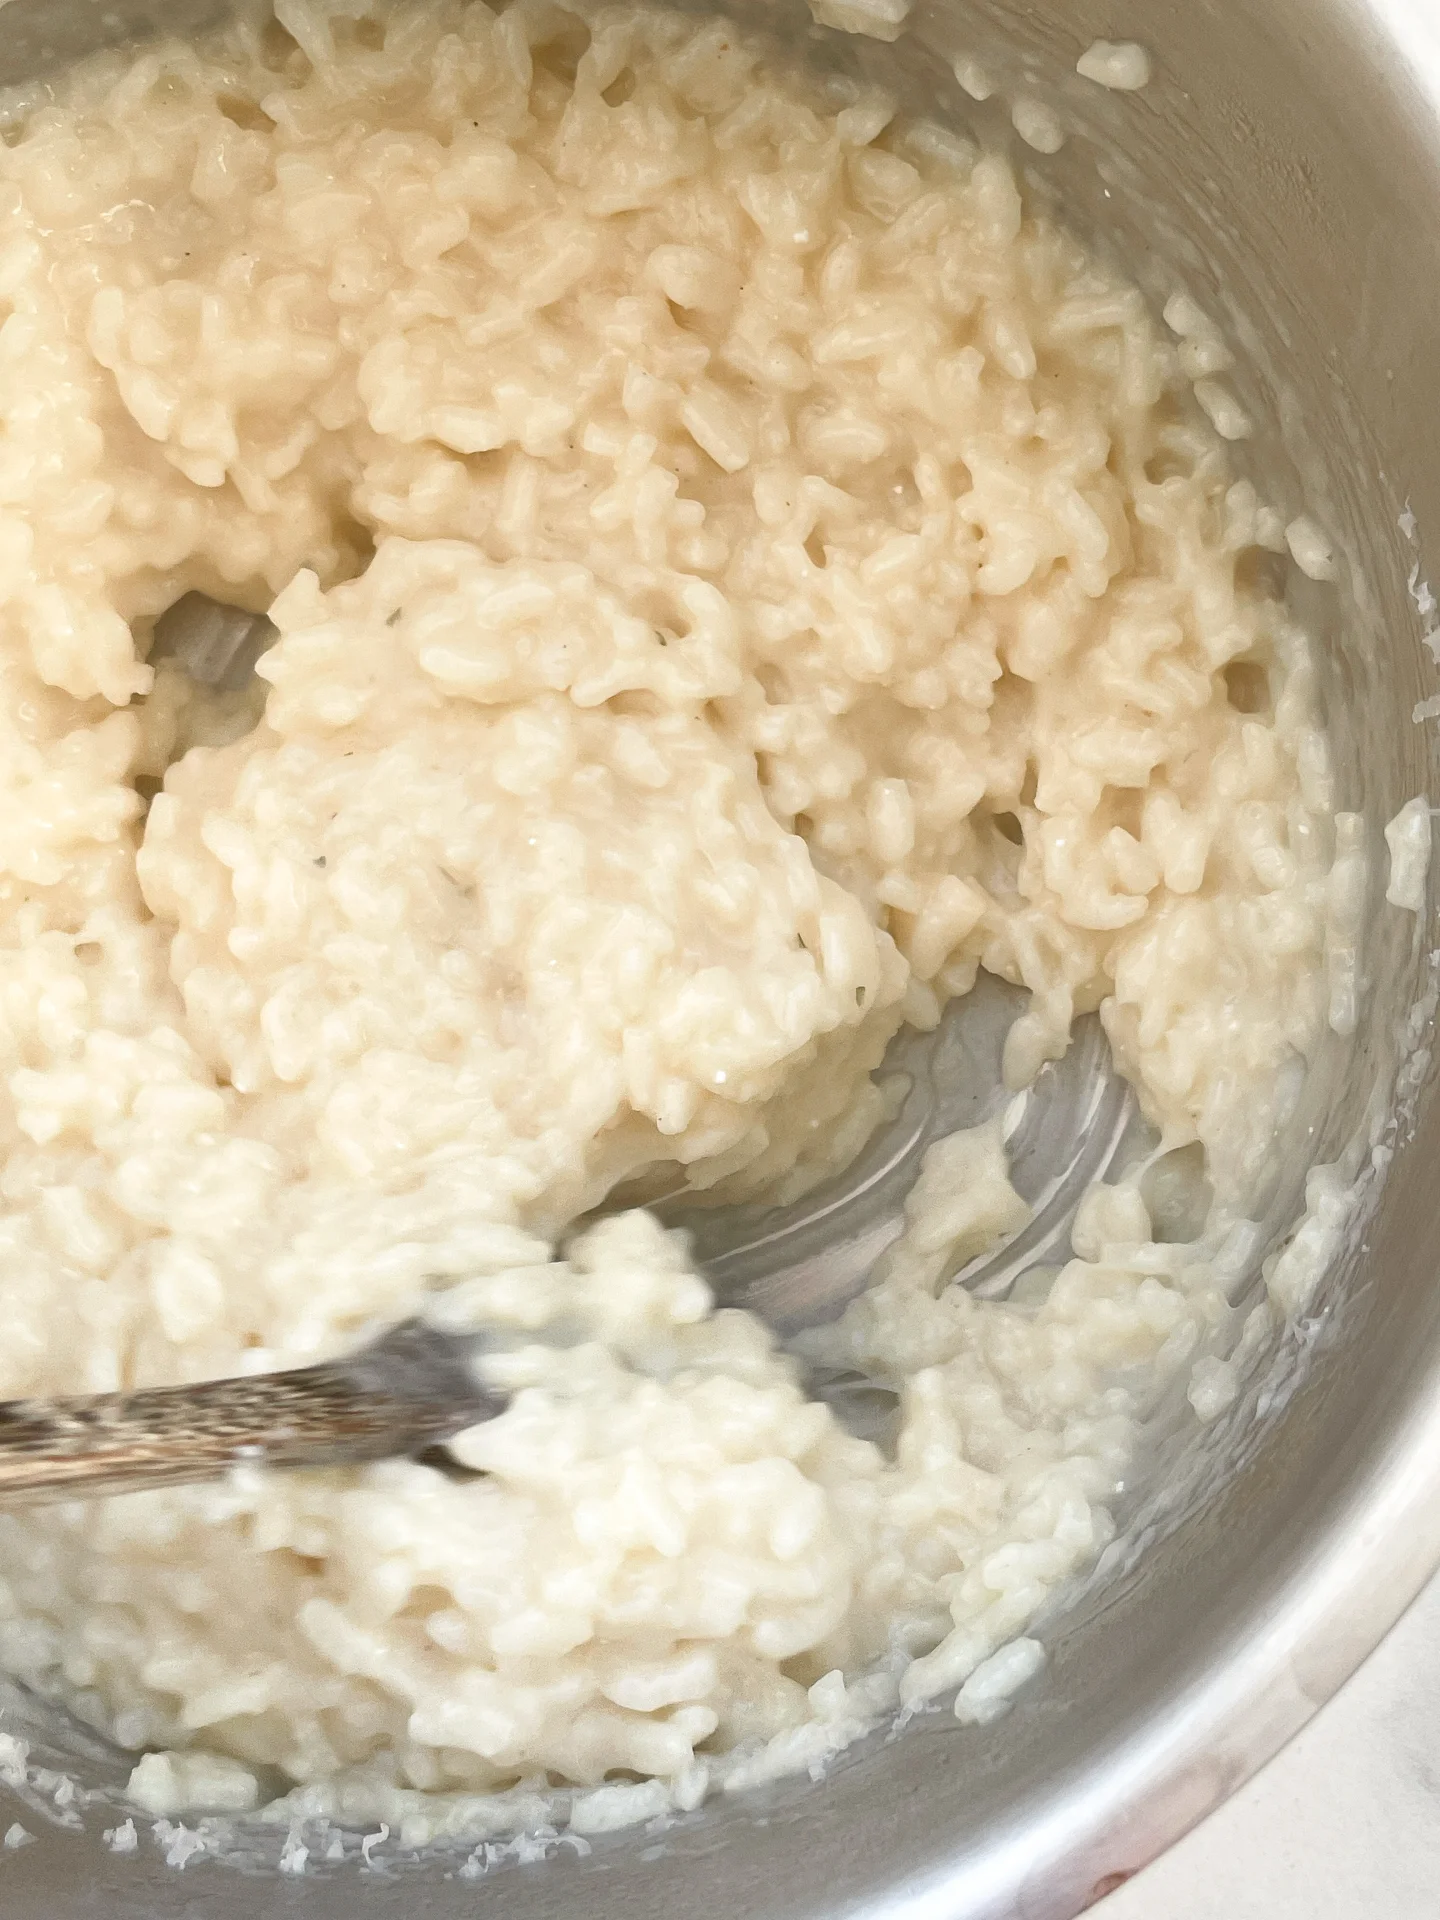
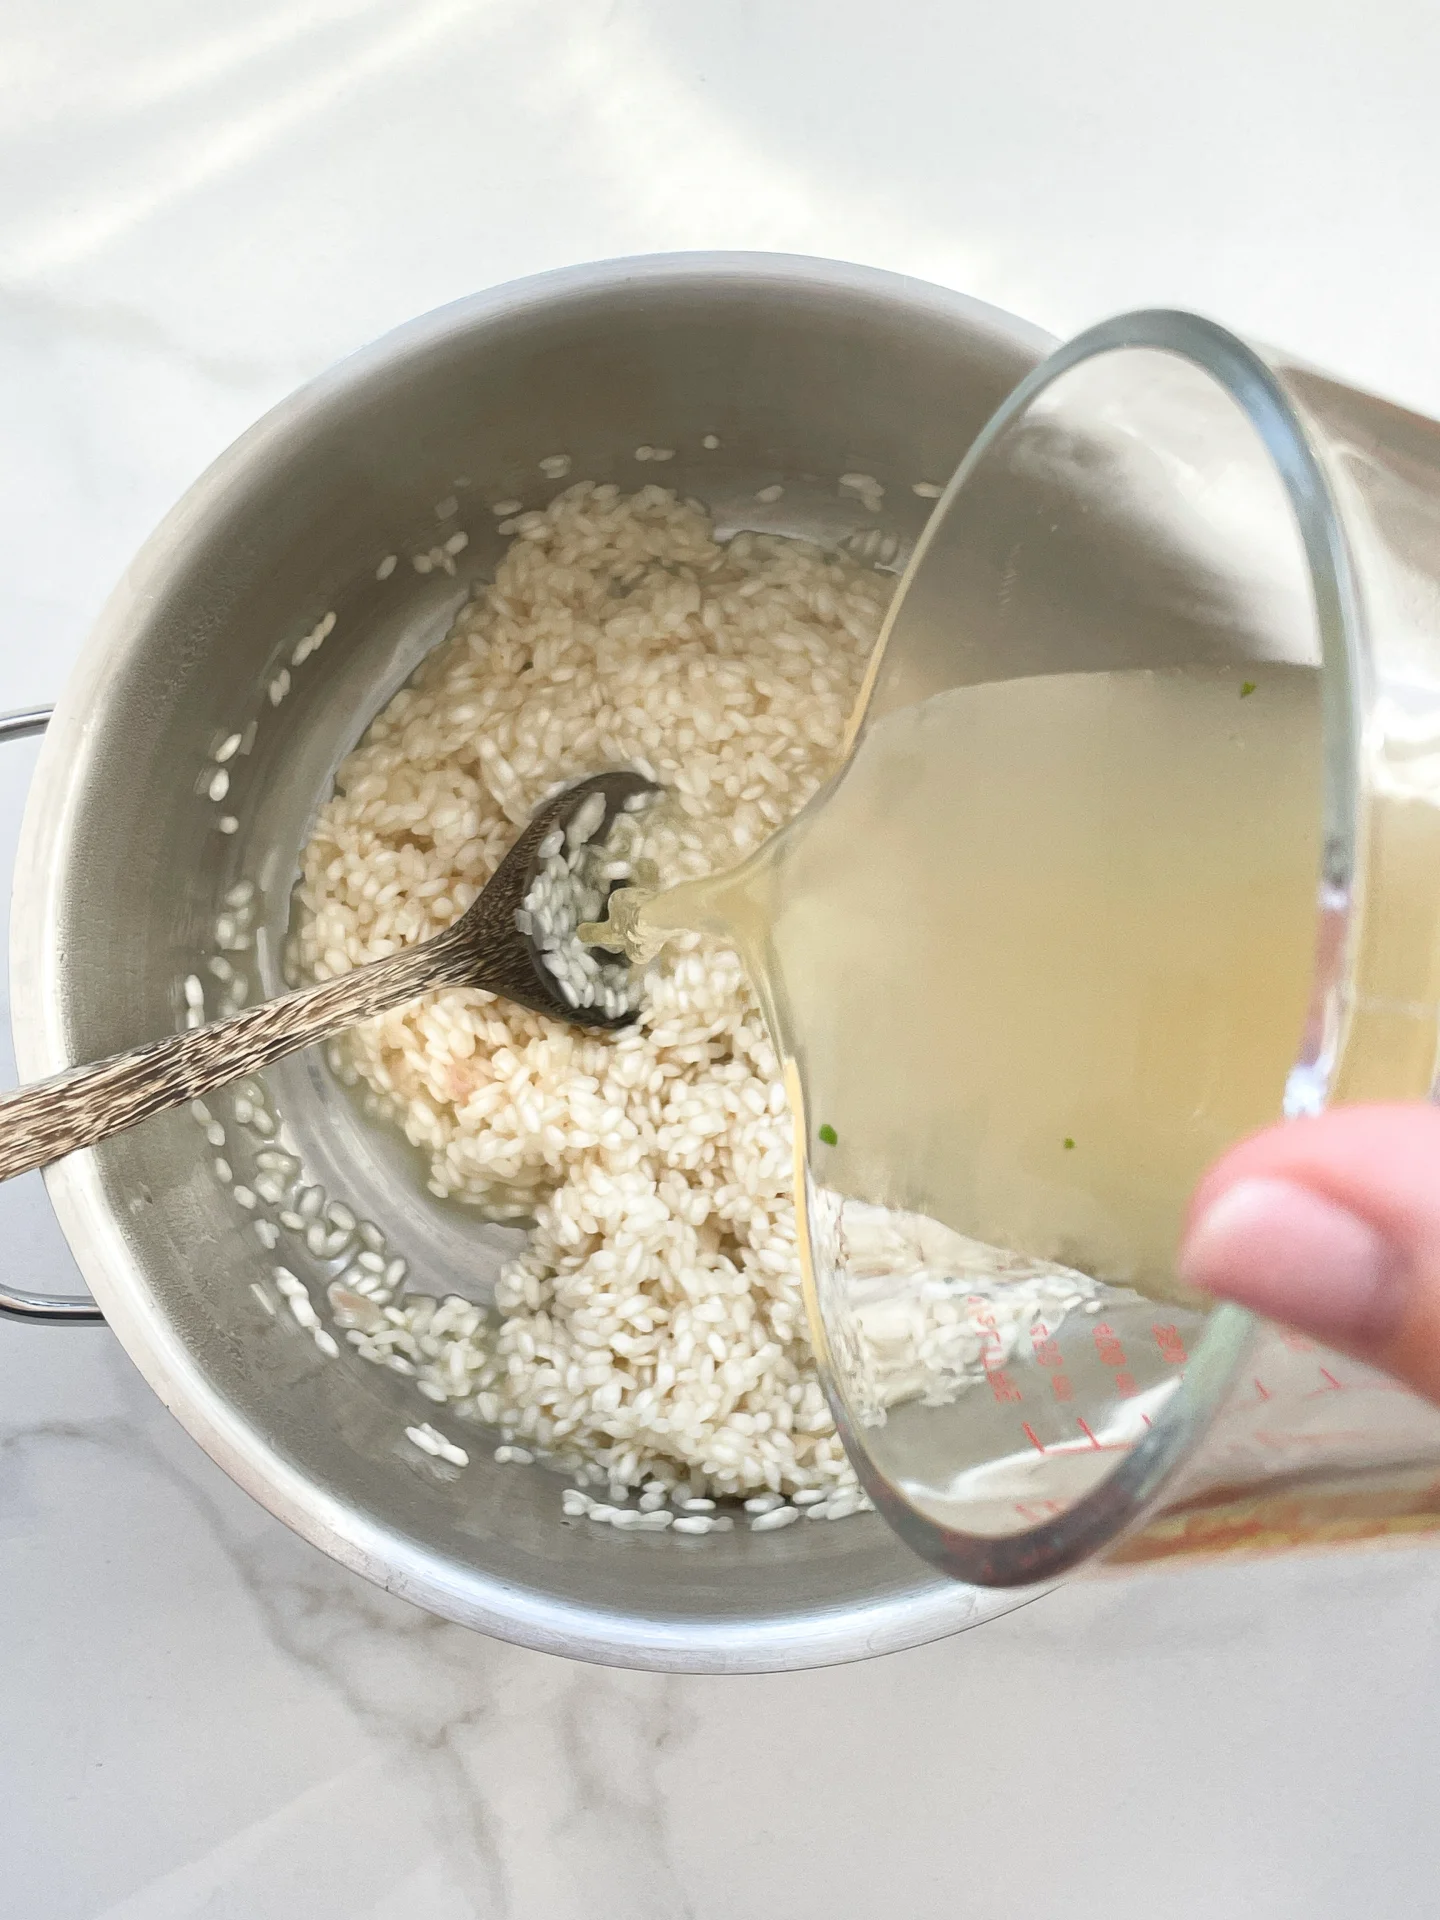
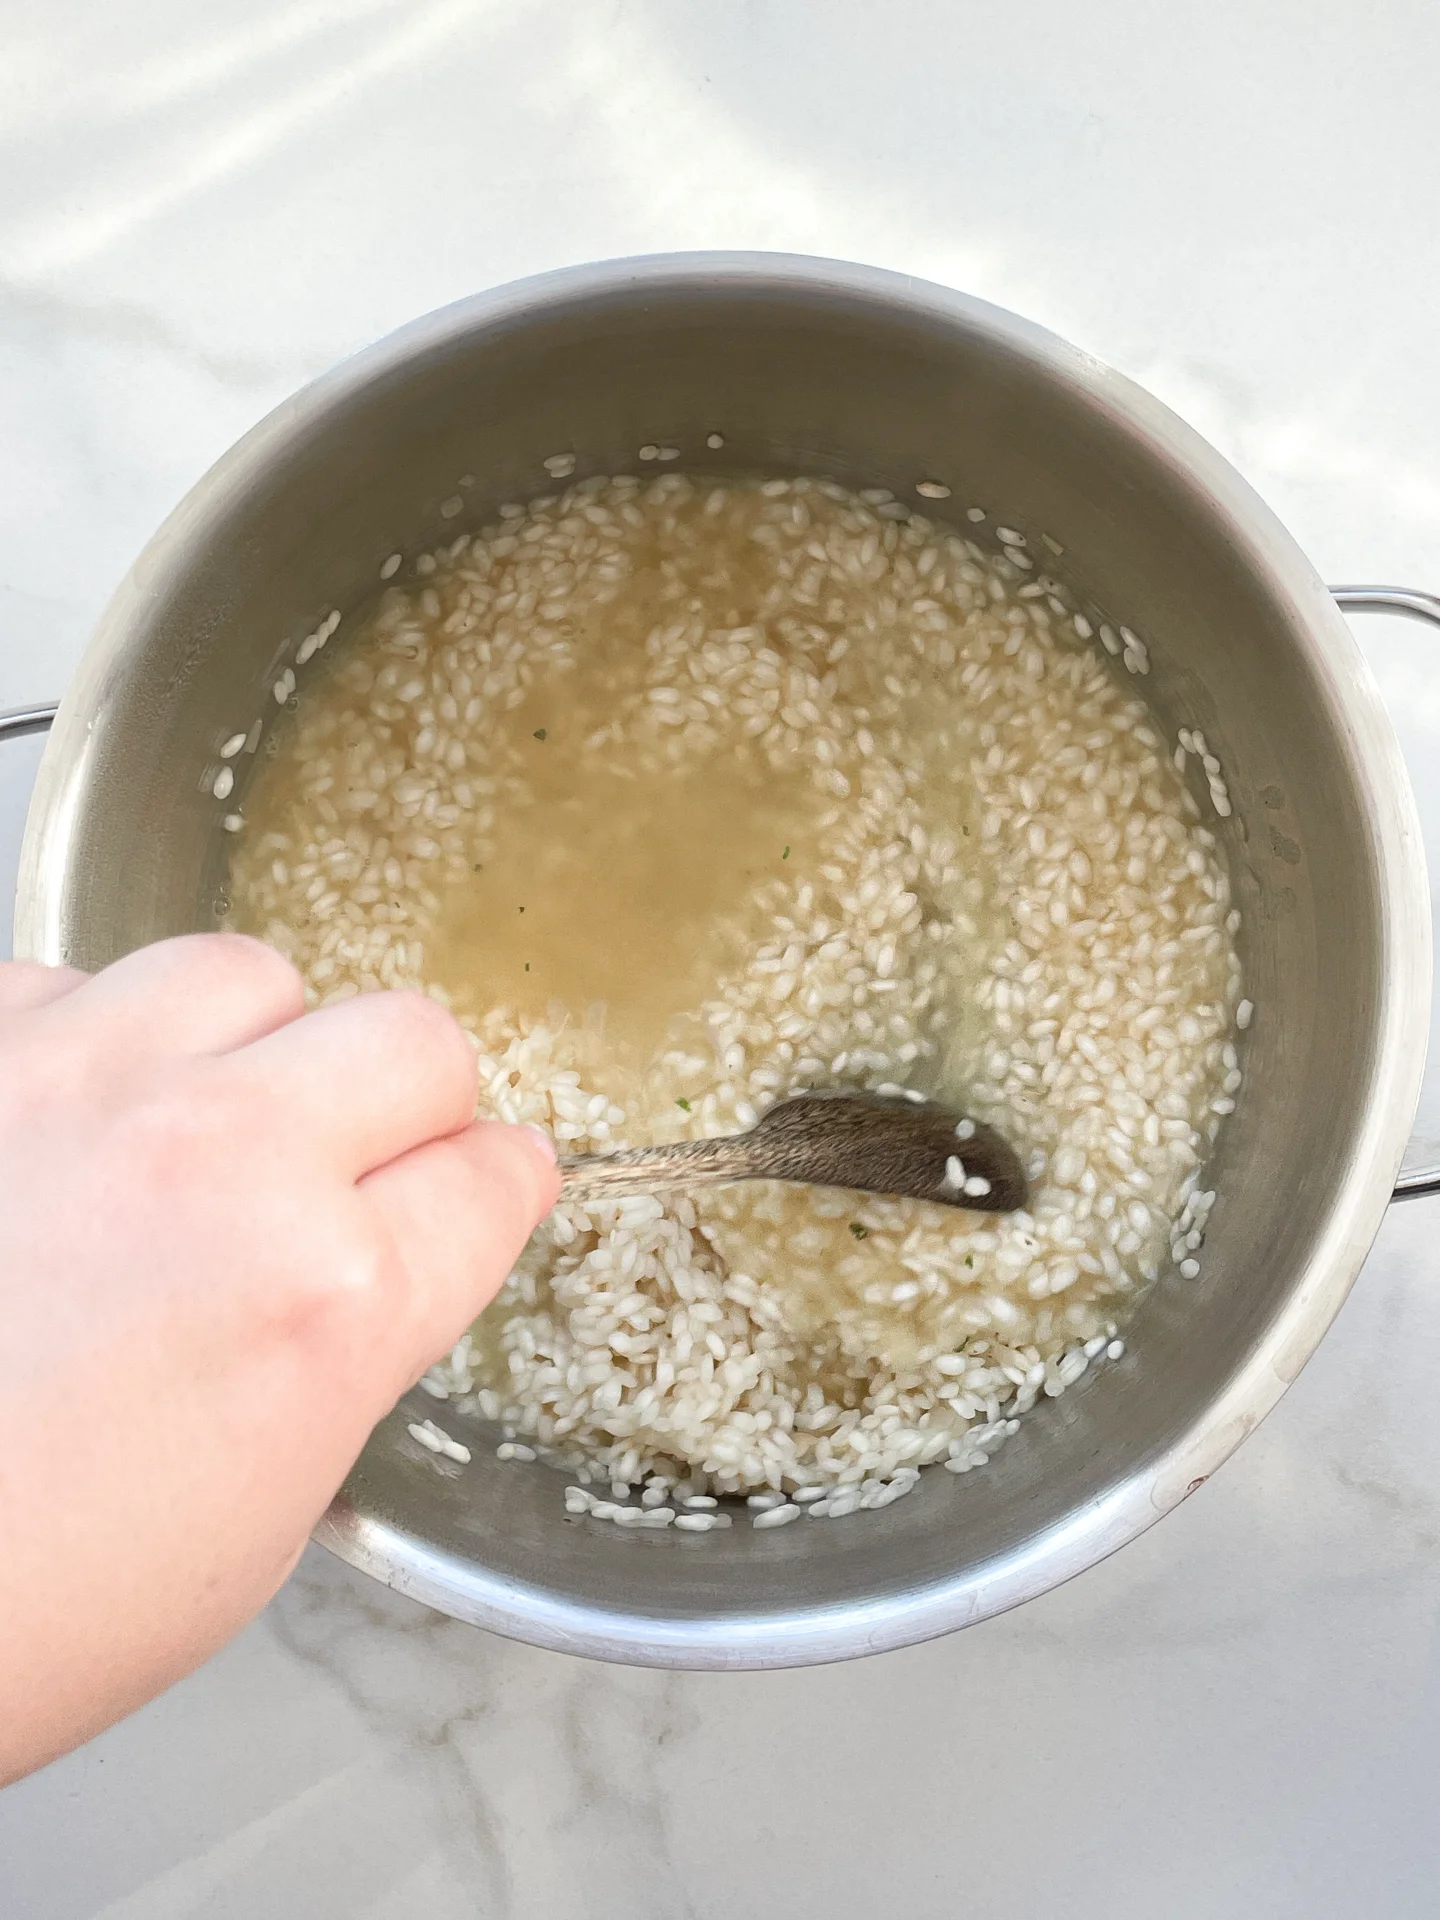
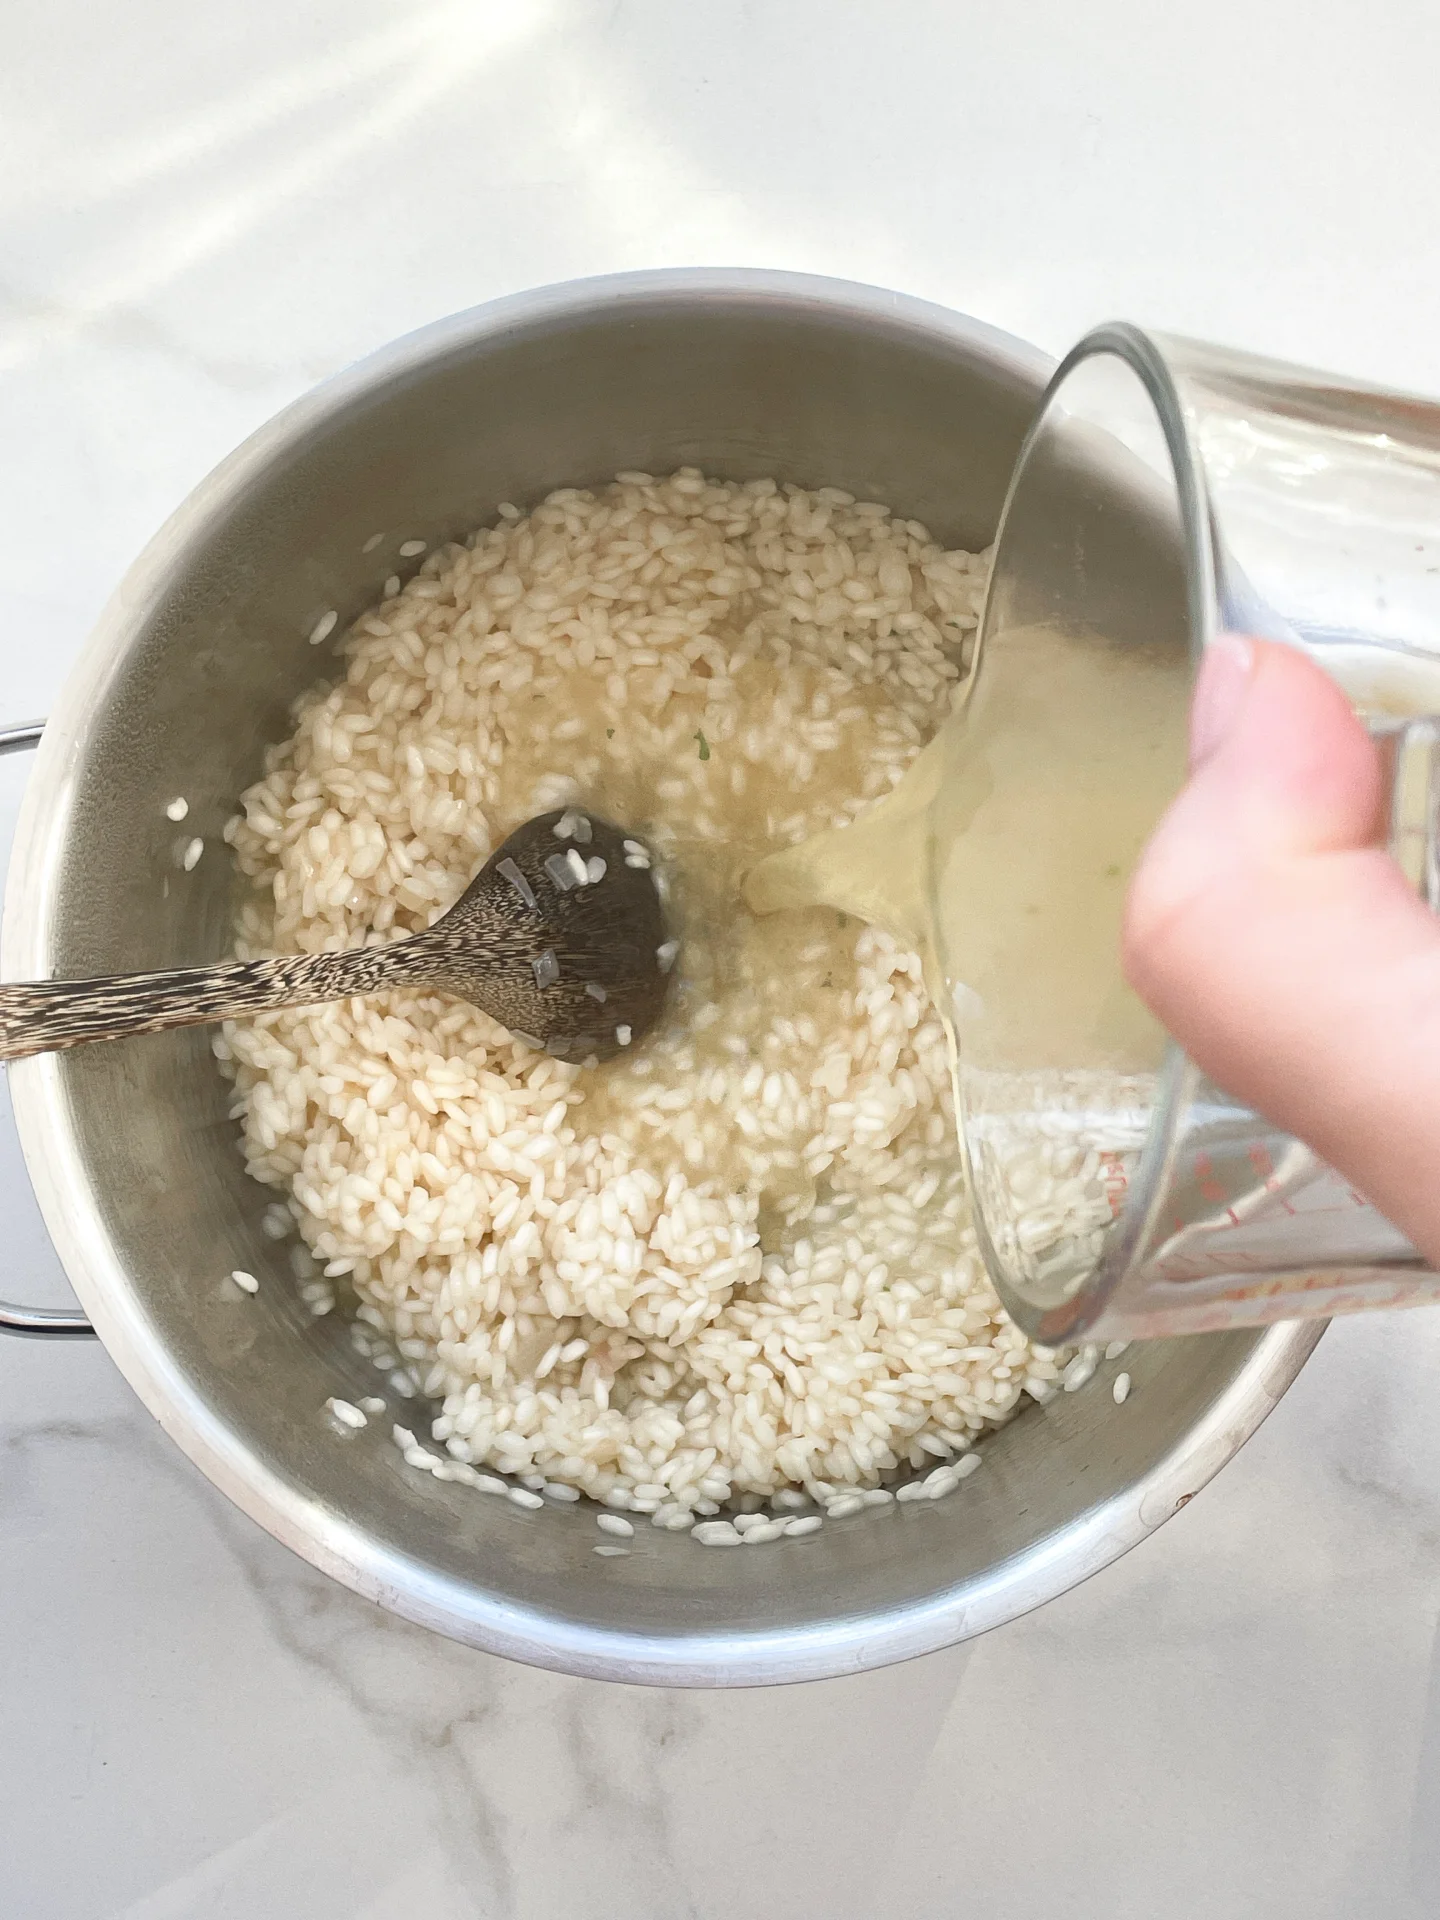
  3. Next, add 100ml (1/2 cup) of stock and let it simmer, stirring occasionally, until the liquid has mostly evaporated. Continue adding stock 100ml (1/2 cup) at a time, letting it simmer and be absorbed by the rice before each addition, until the remaining 200ml (1 cup) of stock has been used.
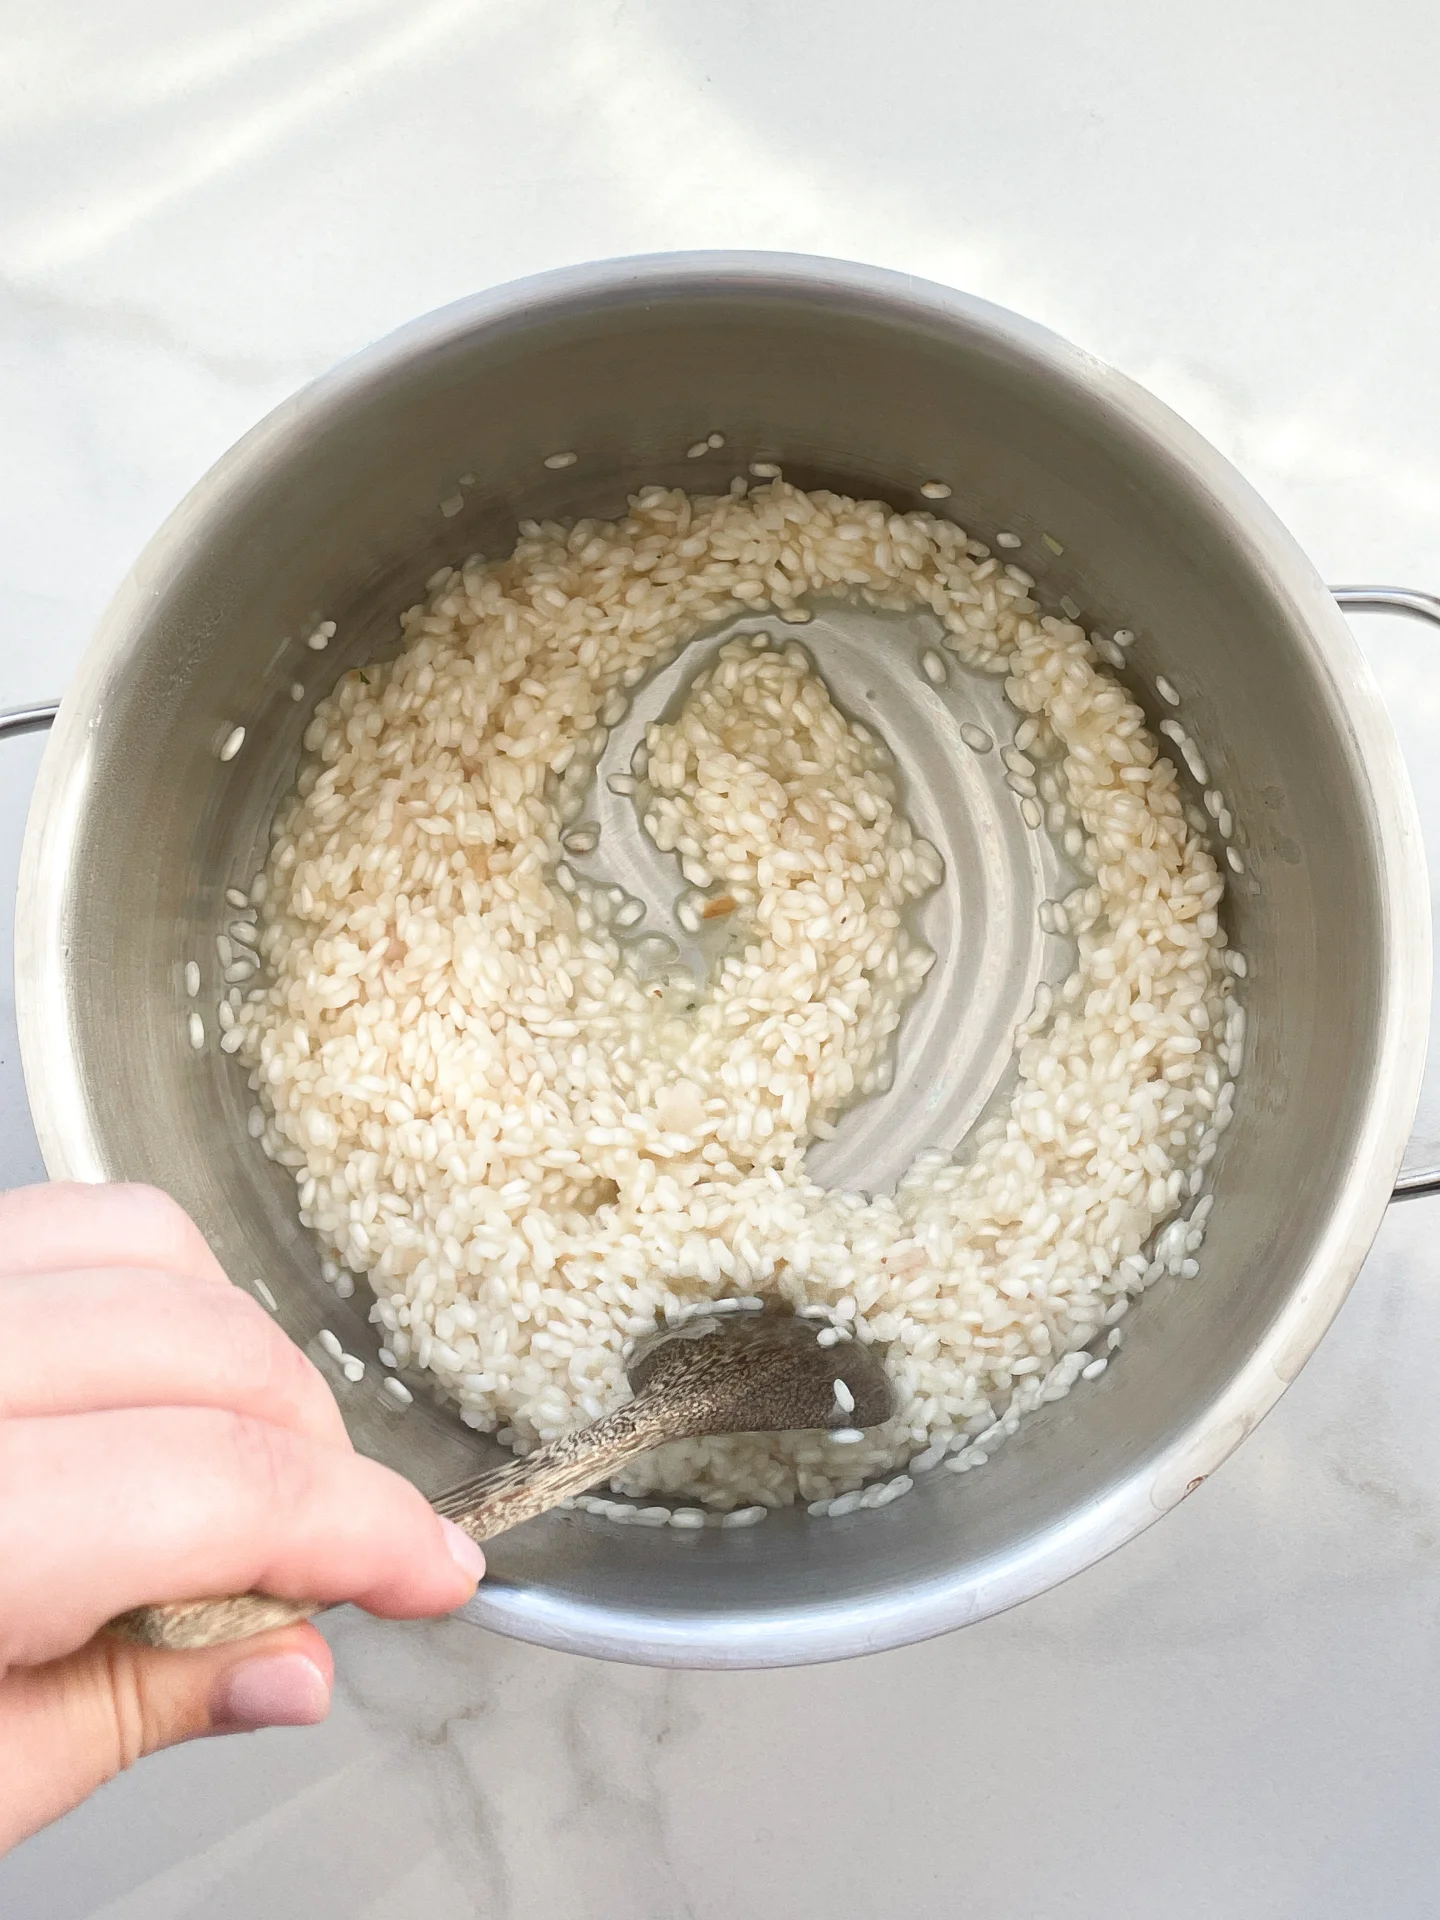
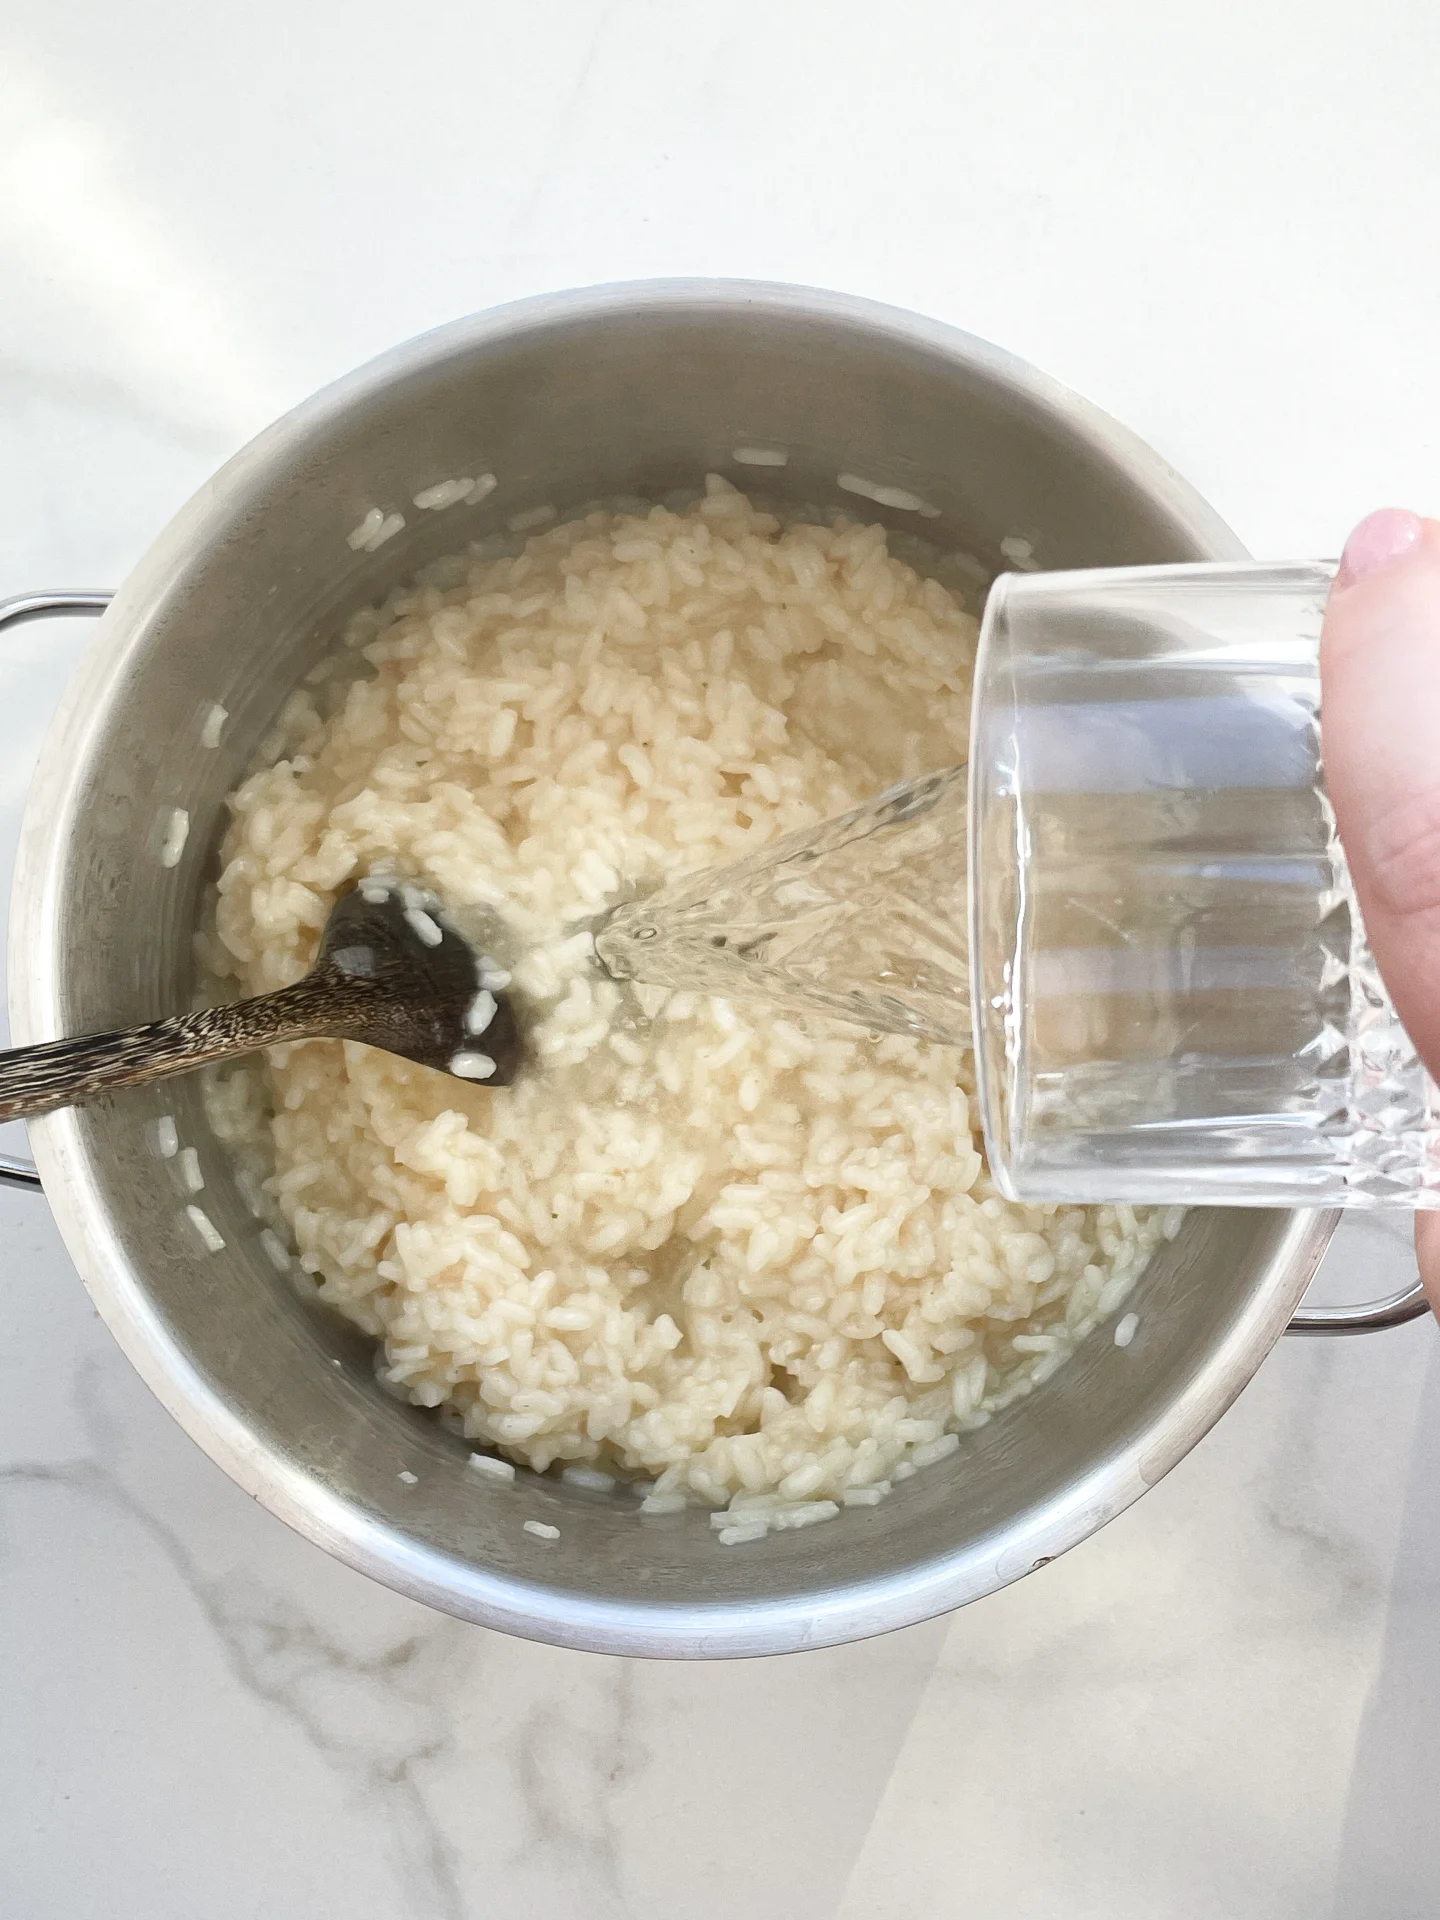
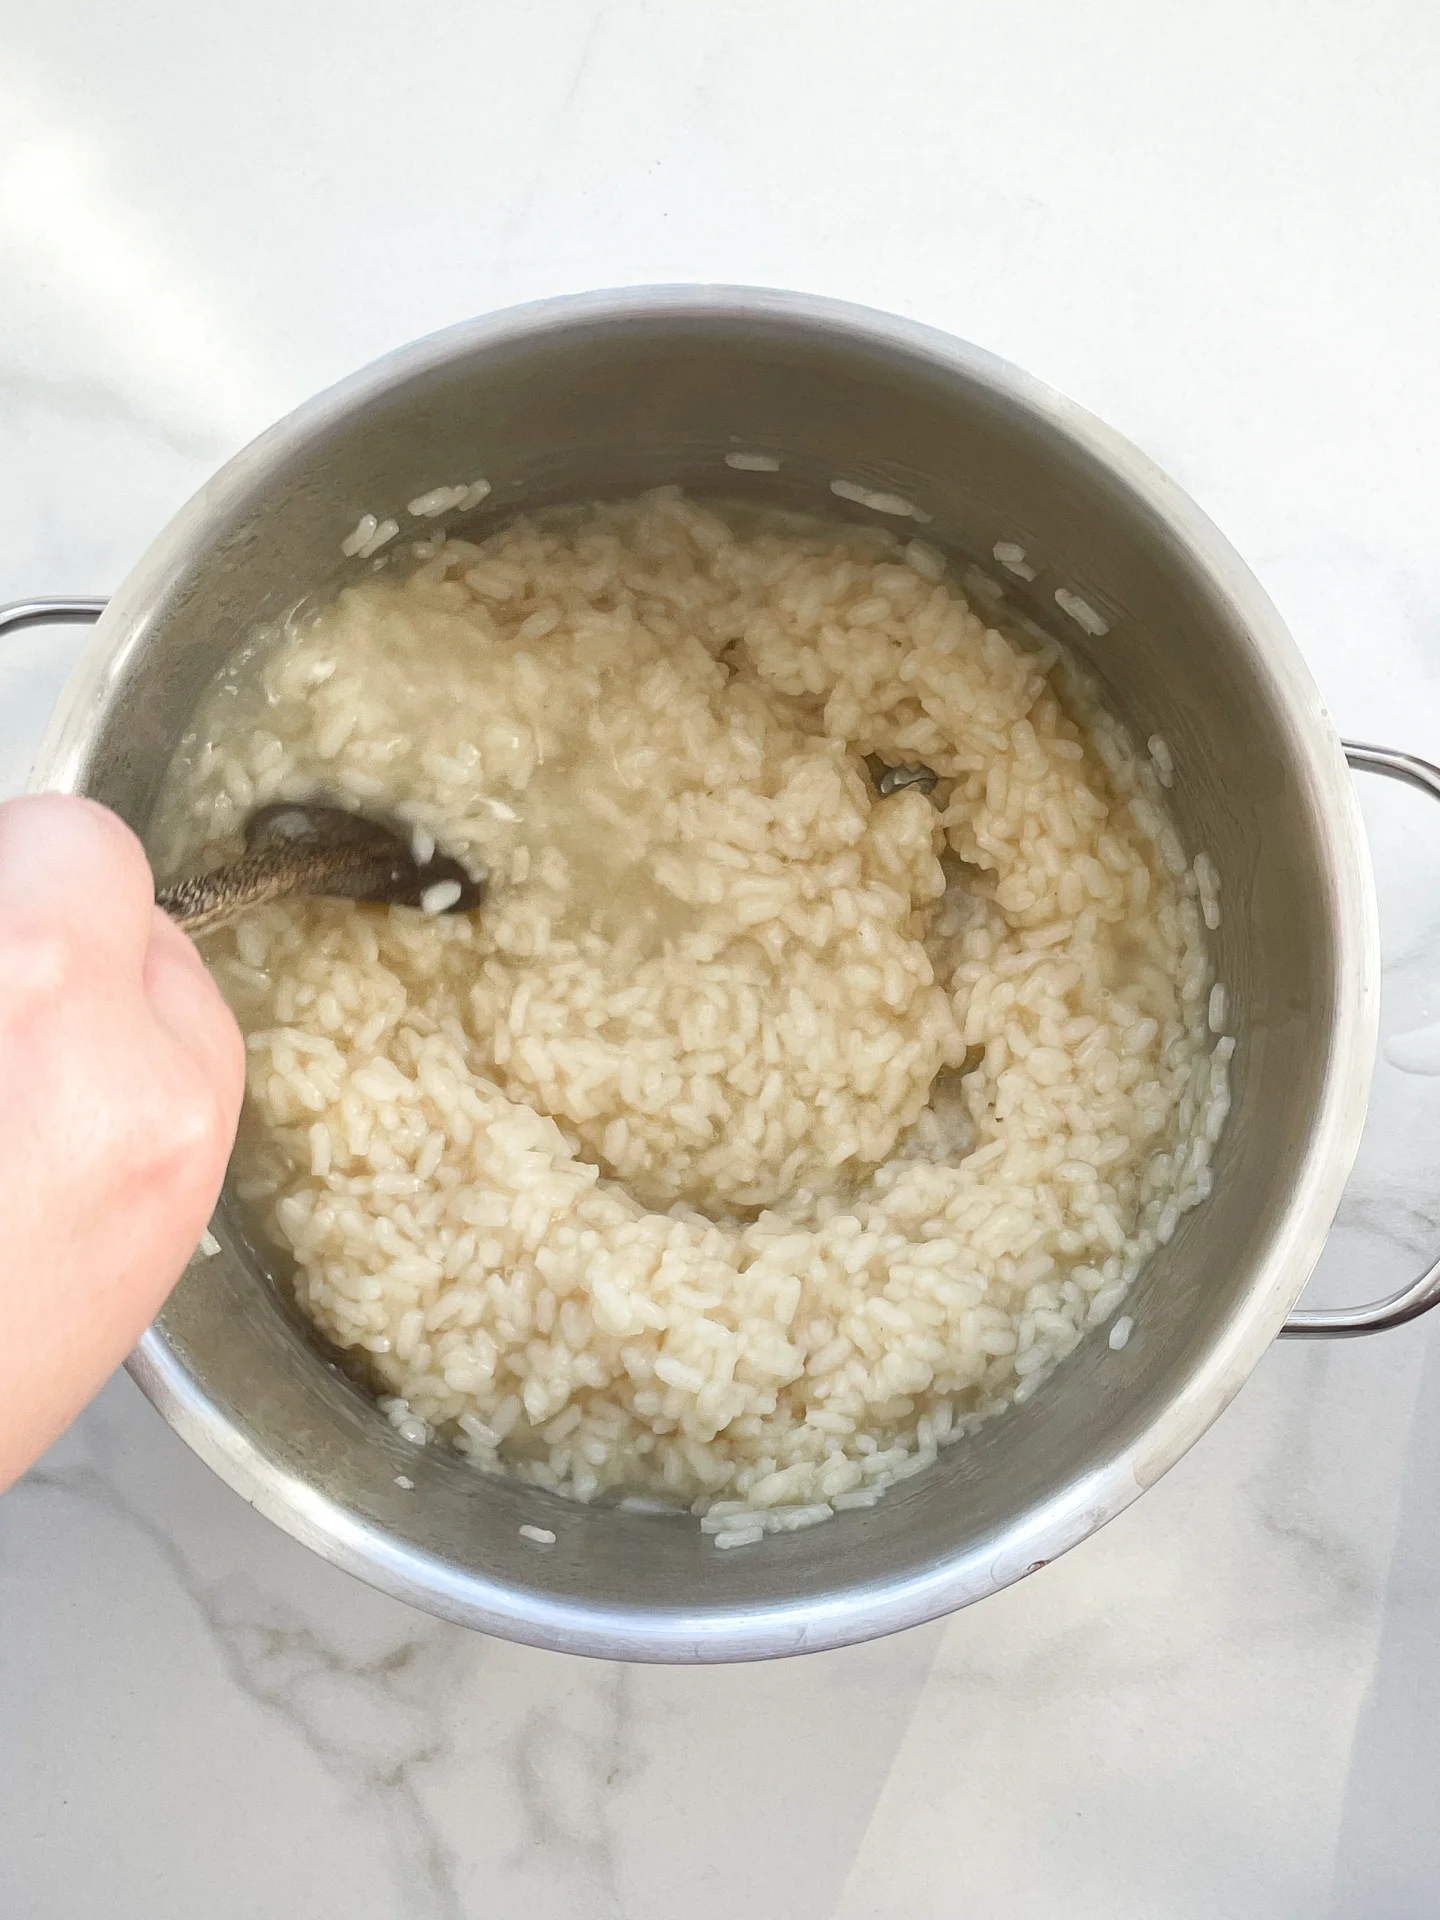
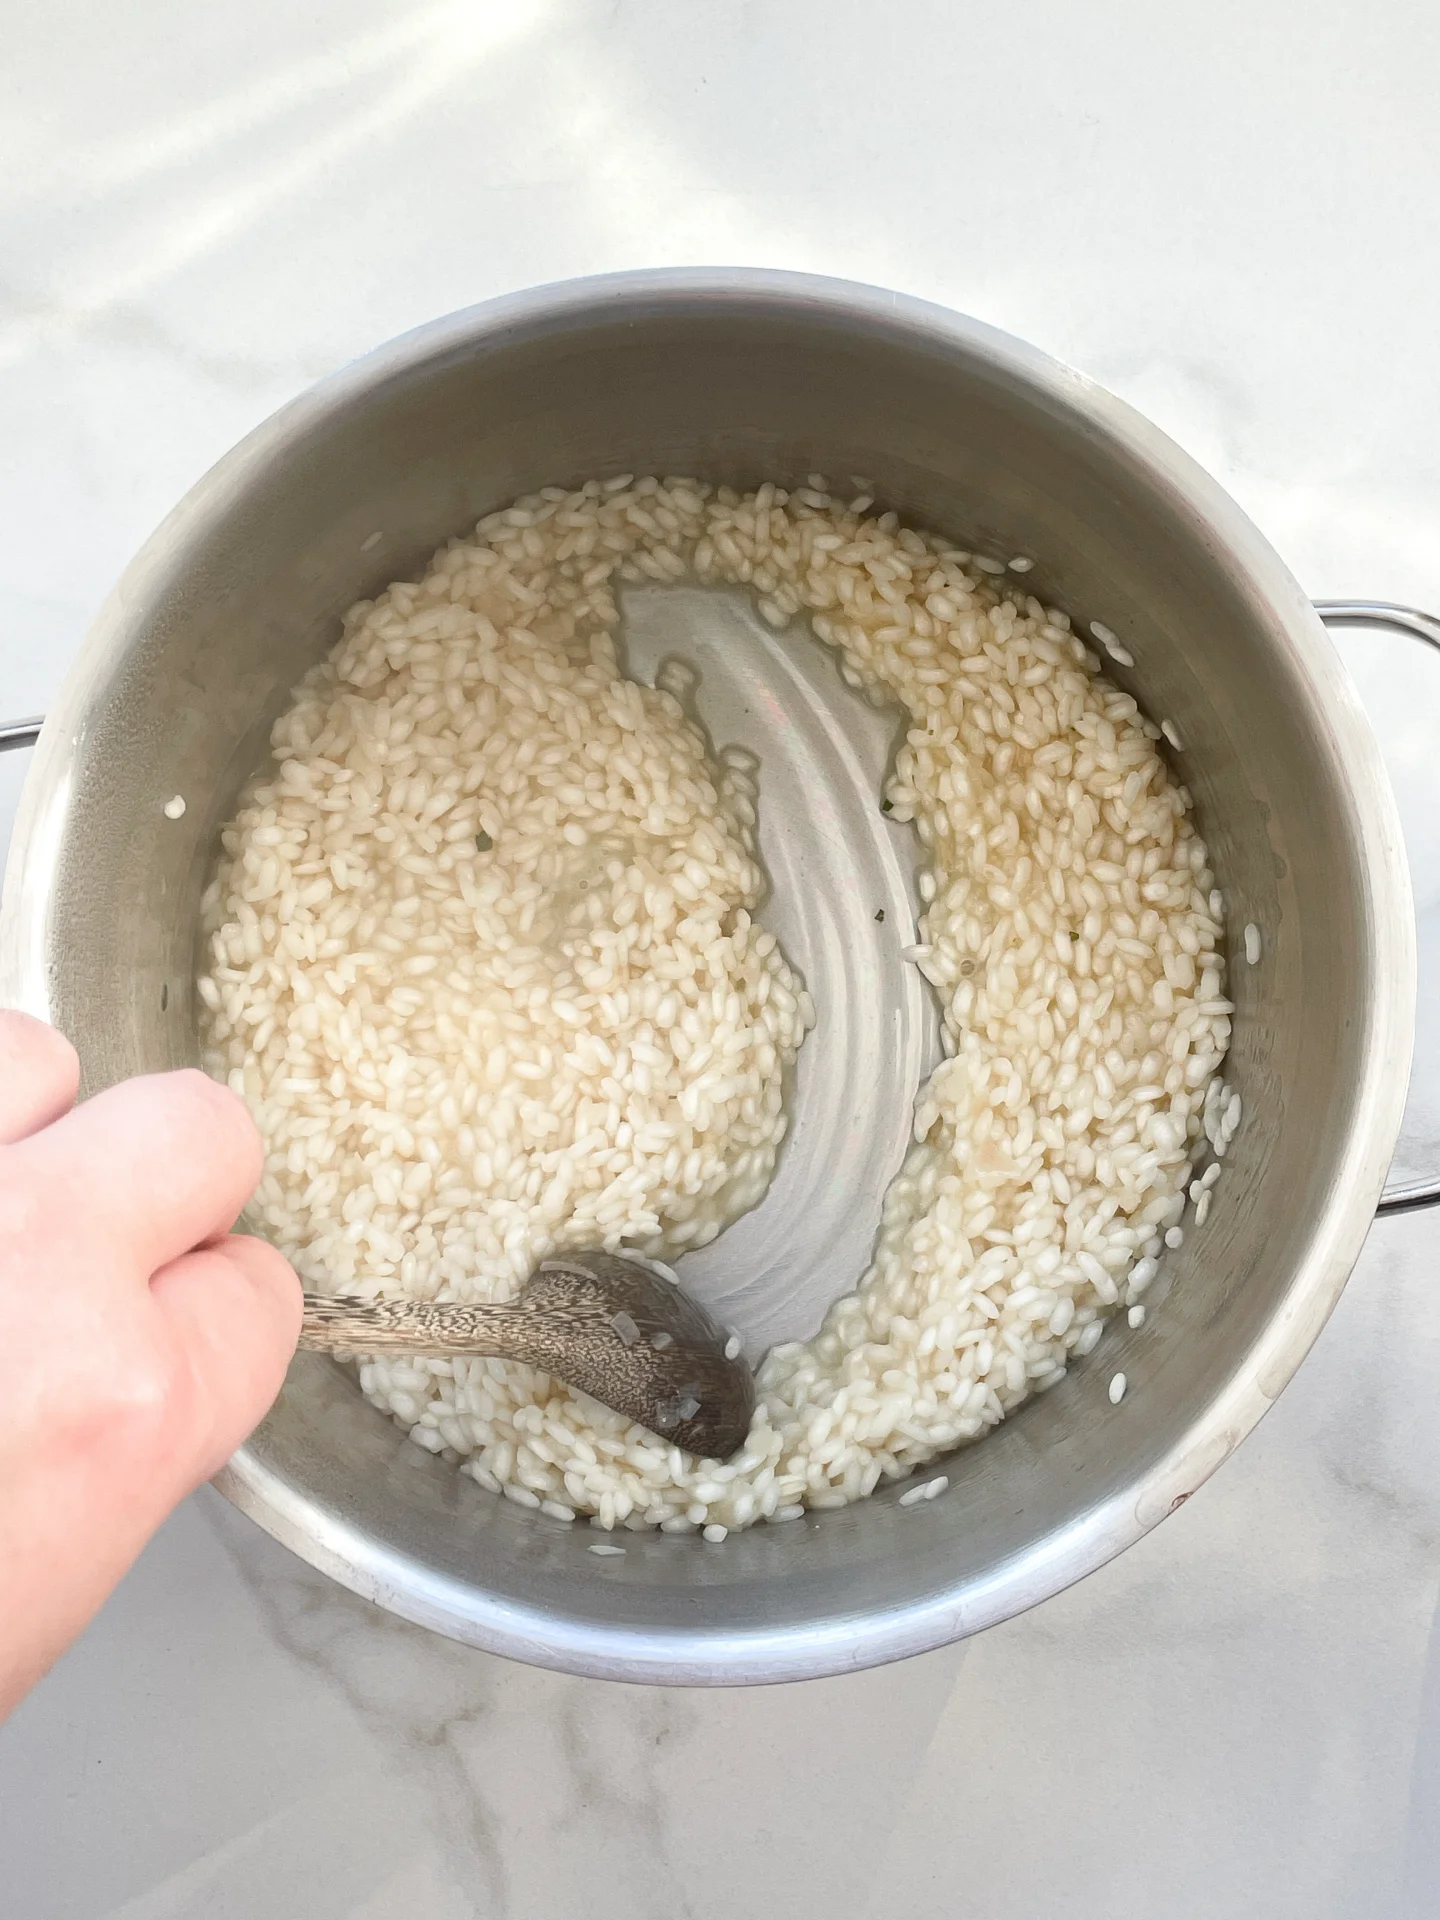
  4. Afterward, add 150ml (1/2 cup) of water, allowing the rice to absorb it as it cooks. Follow with another 100ml (1/2 cup) of white wine, then add the final 150ml (1/2 cup) of water, stirring as it cooks. The whole process should take around 40 minutes.
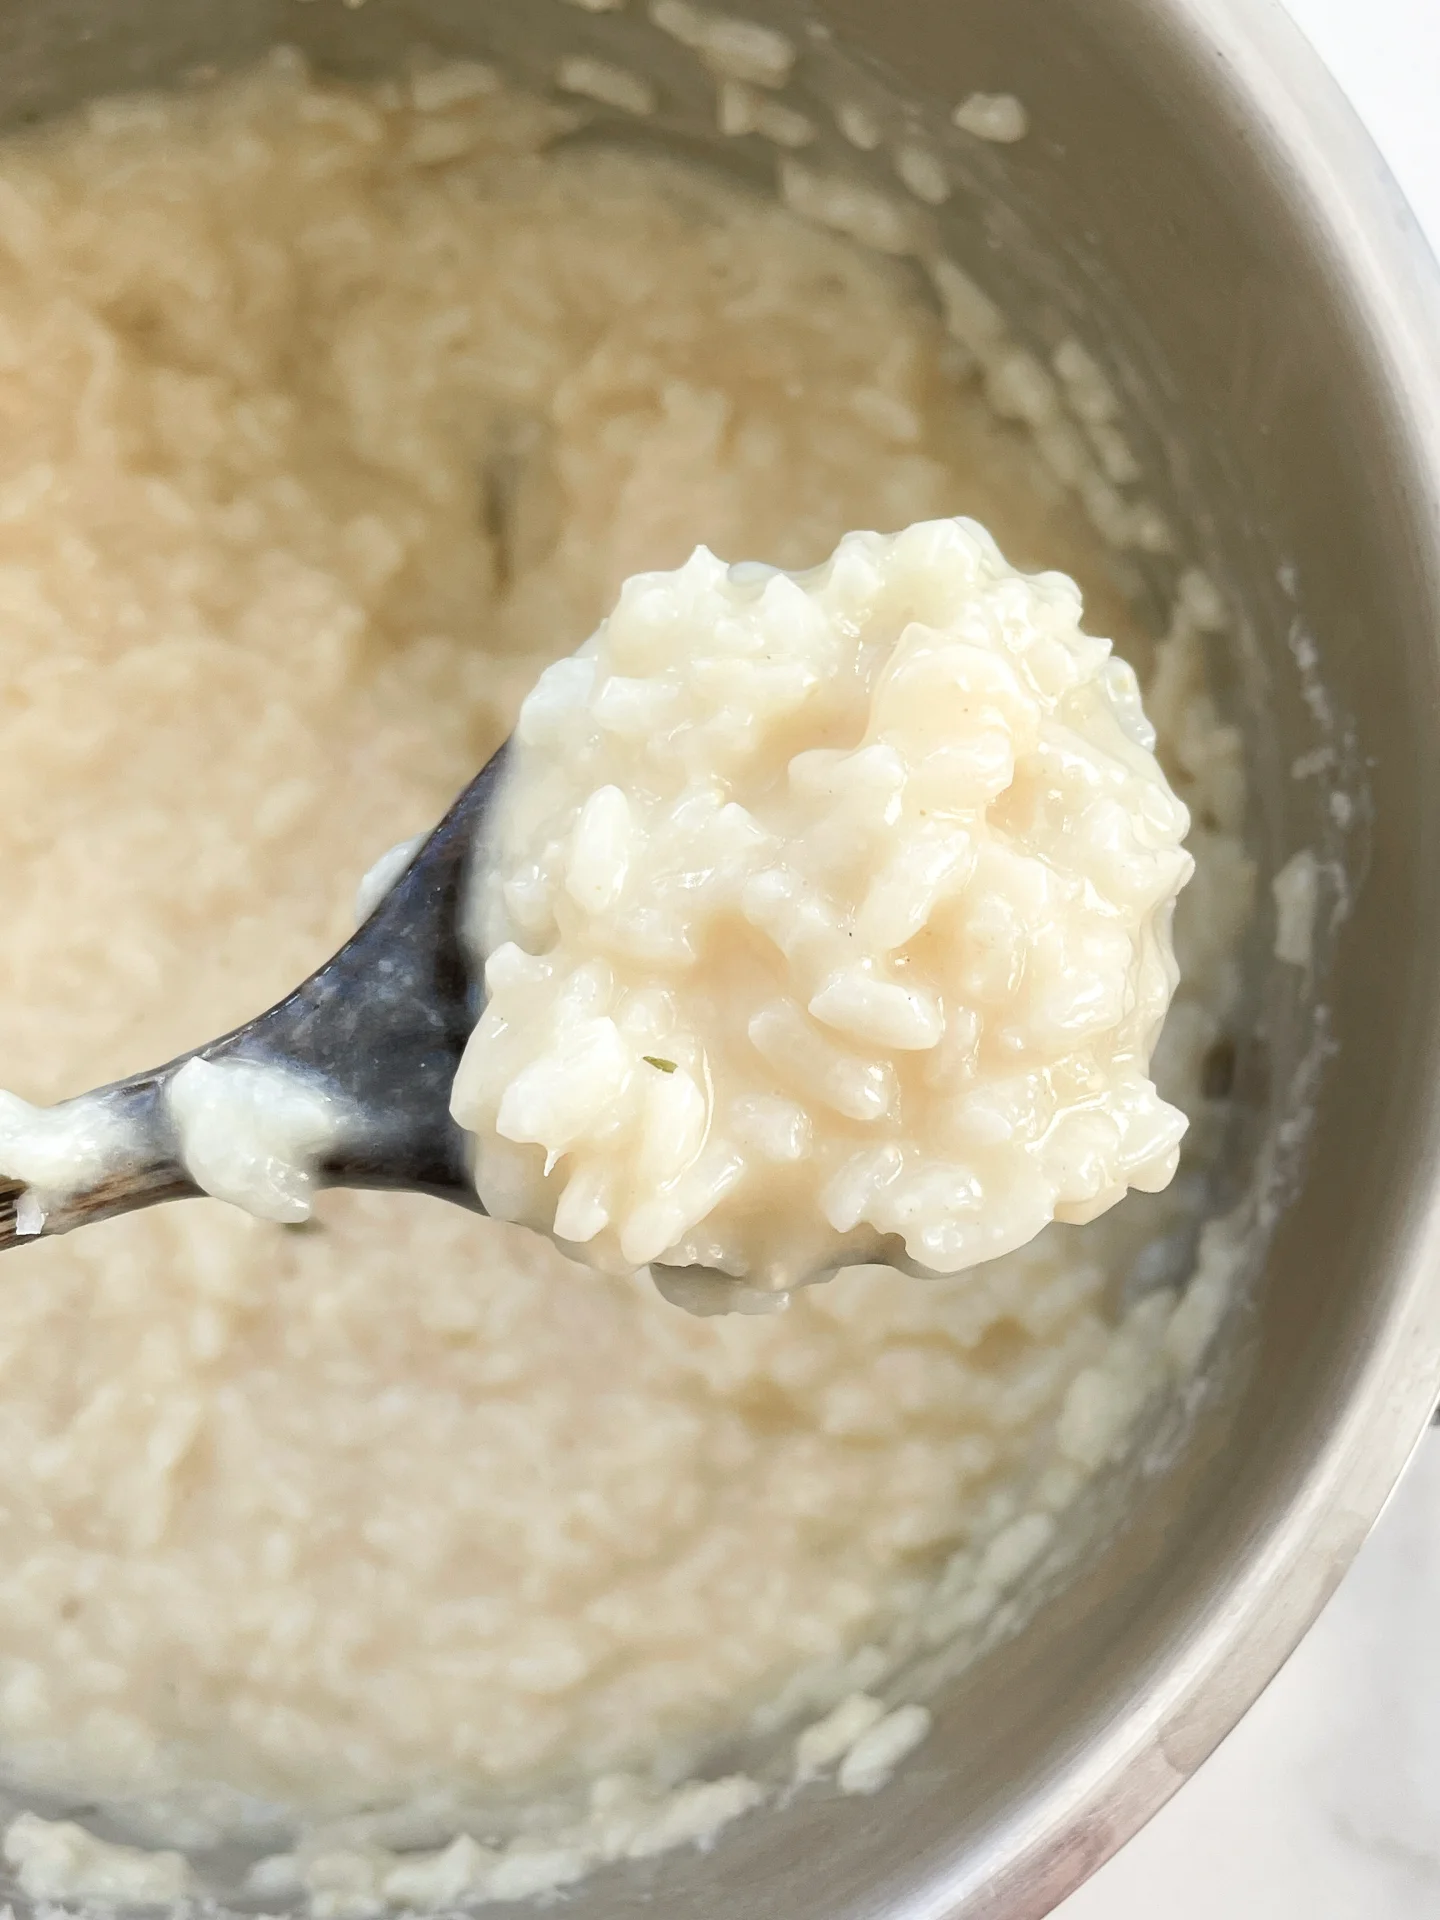
  5. Remove the pot from the heat and stir in the Parmesan until it melts. Season with salt and white pepper to taste.
  6. Divide the risotto between plates and top with additional grated Parmesan, freshly ground pepper, and parsley.
  • Prep Time: 5 min
  • Cook Time: 40 min
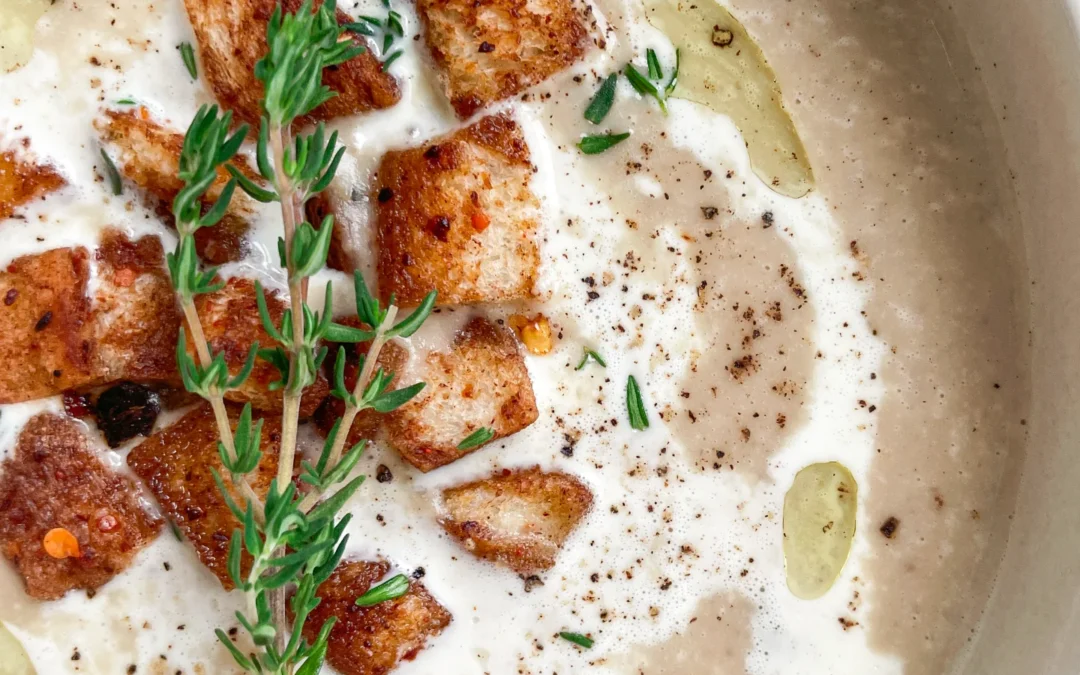
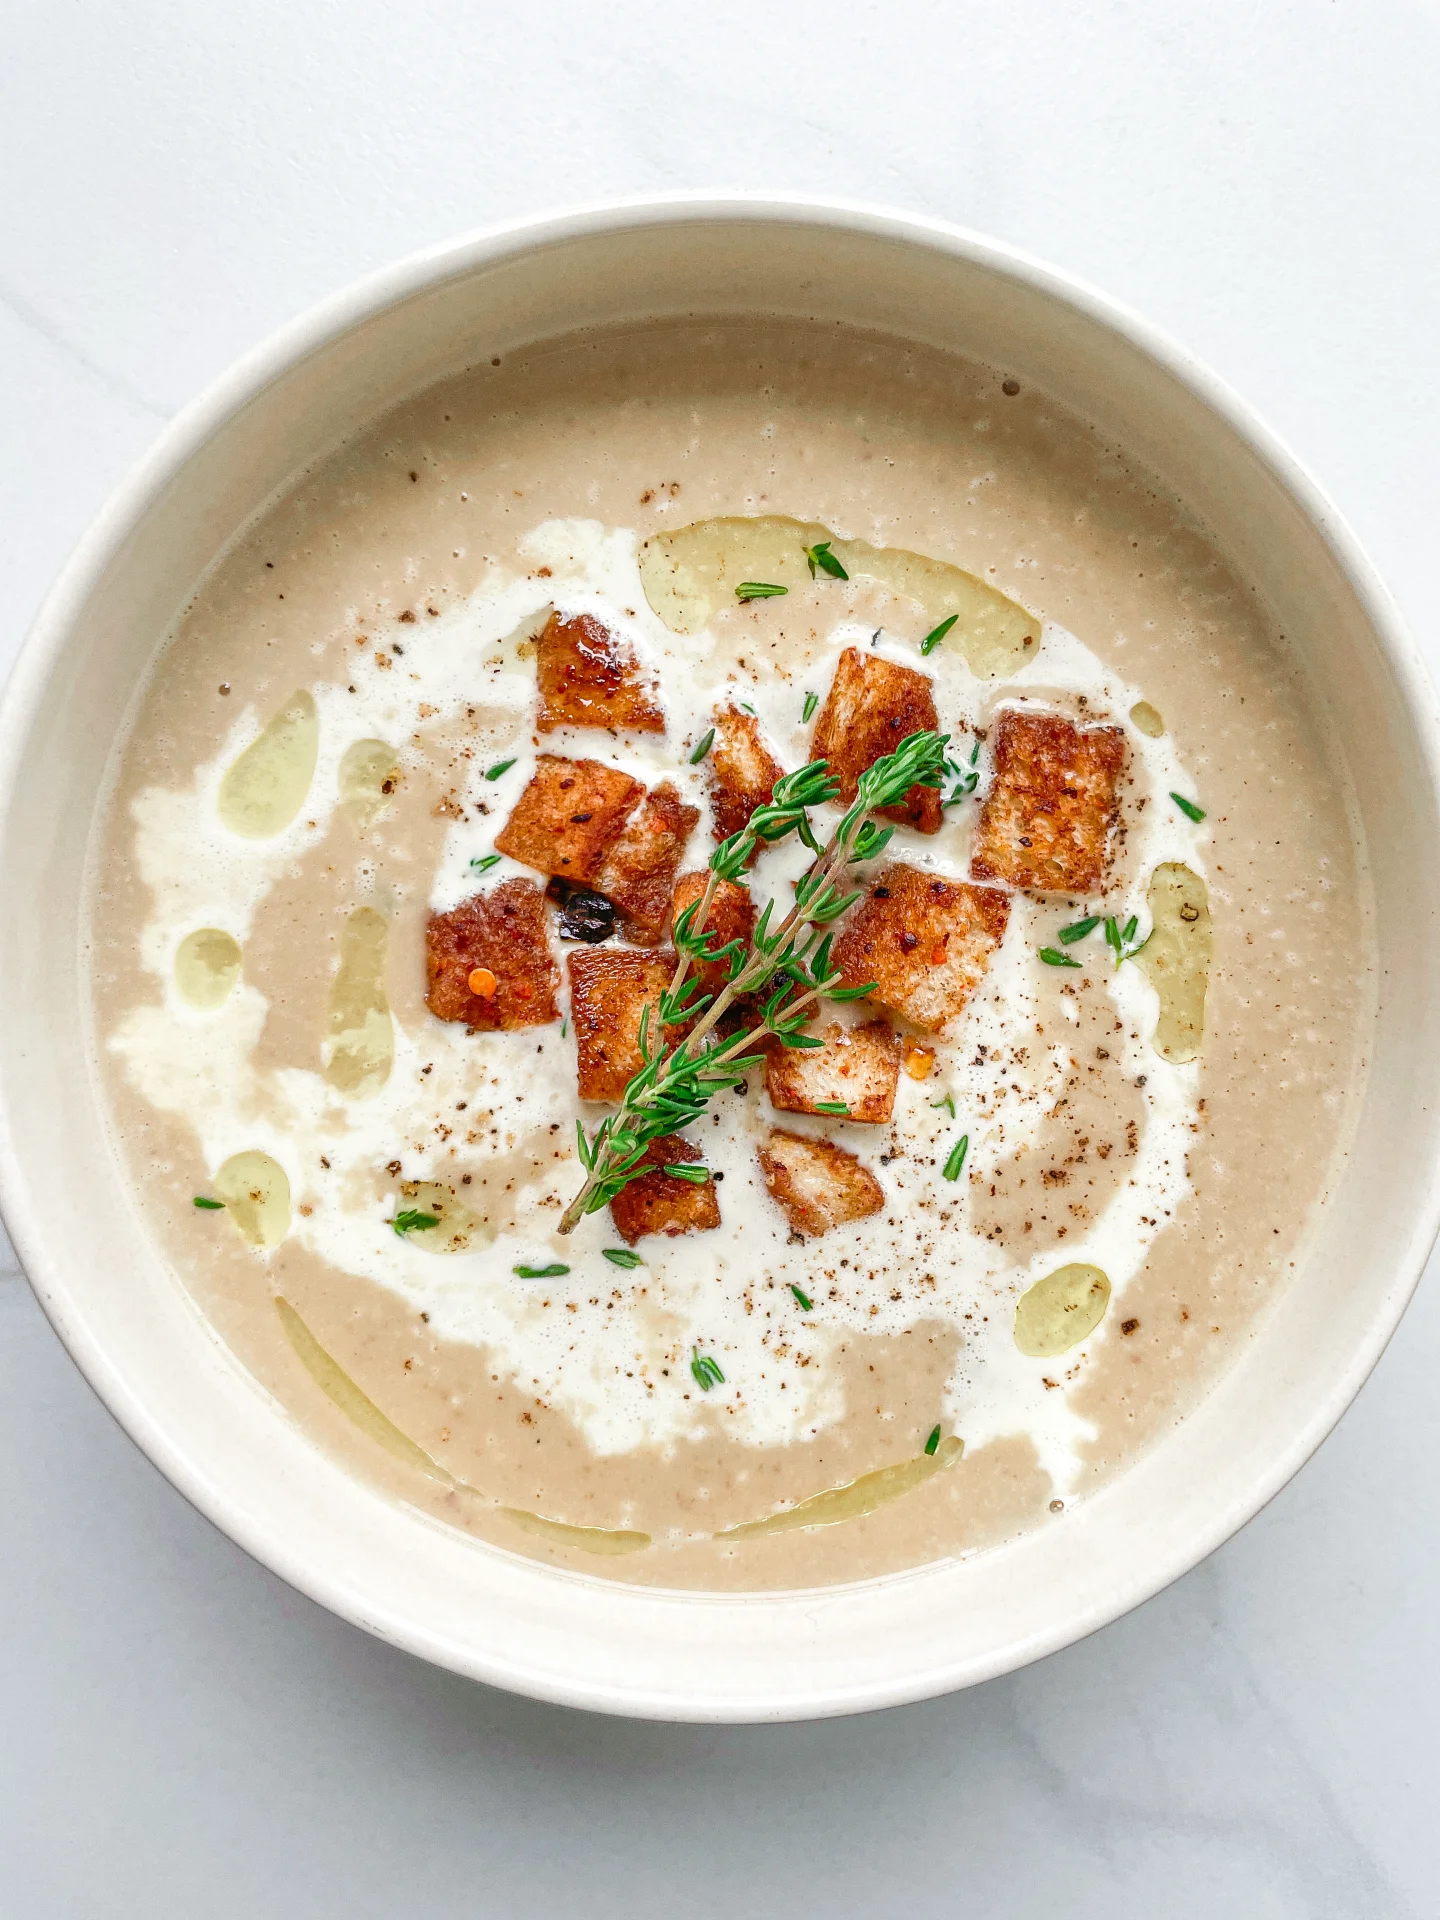
Chestnut Soup & Chili Cinnamon Croutons

Chestnut Soup & Chili Cinnamon Croutons

Chestnut Soup & Chili Cinnamon Croutons

Chestnut Soup & Chili Cinnamon Croutons

November 7, 2024 by Kimberly

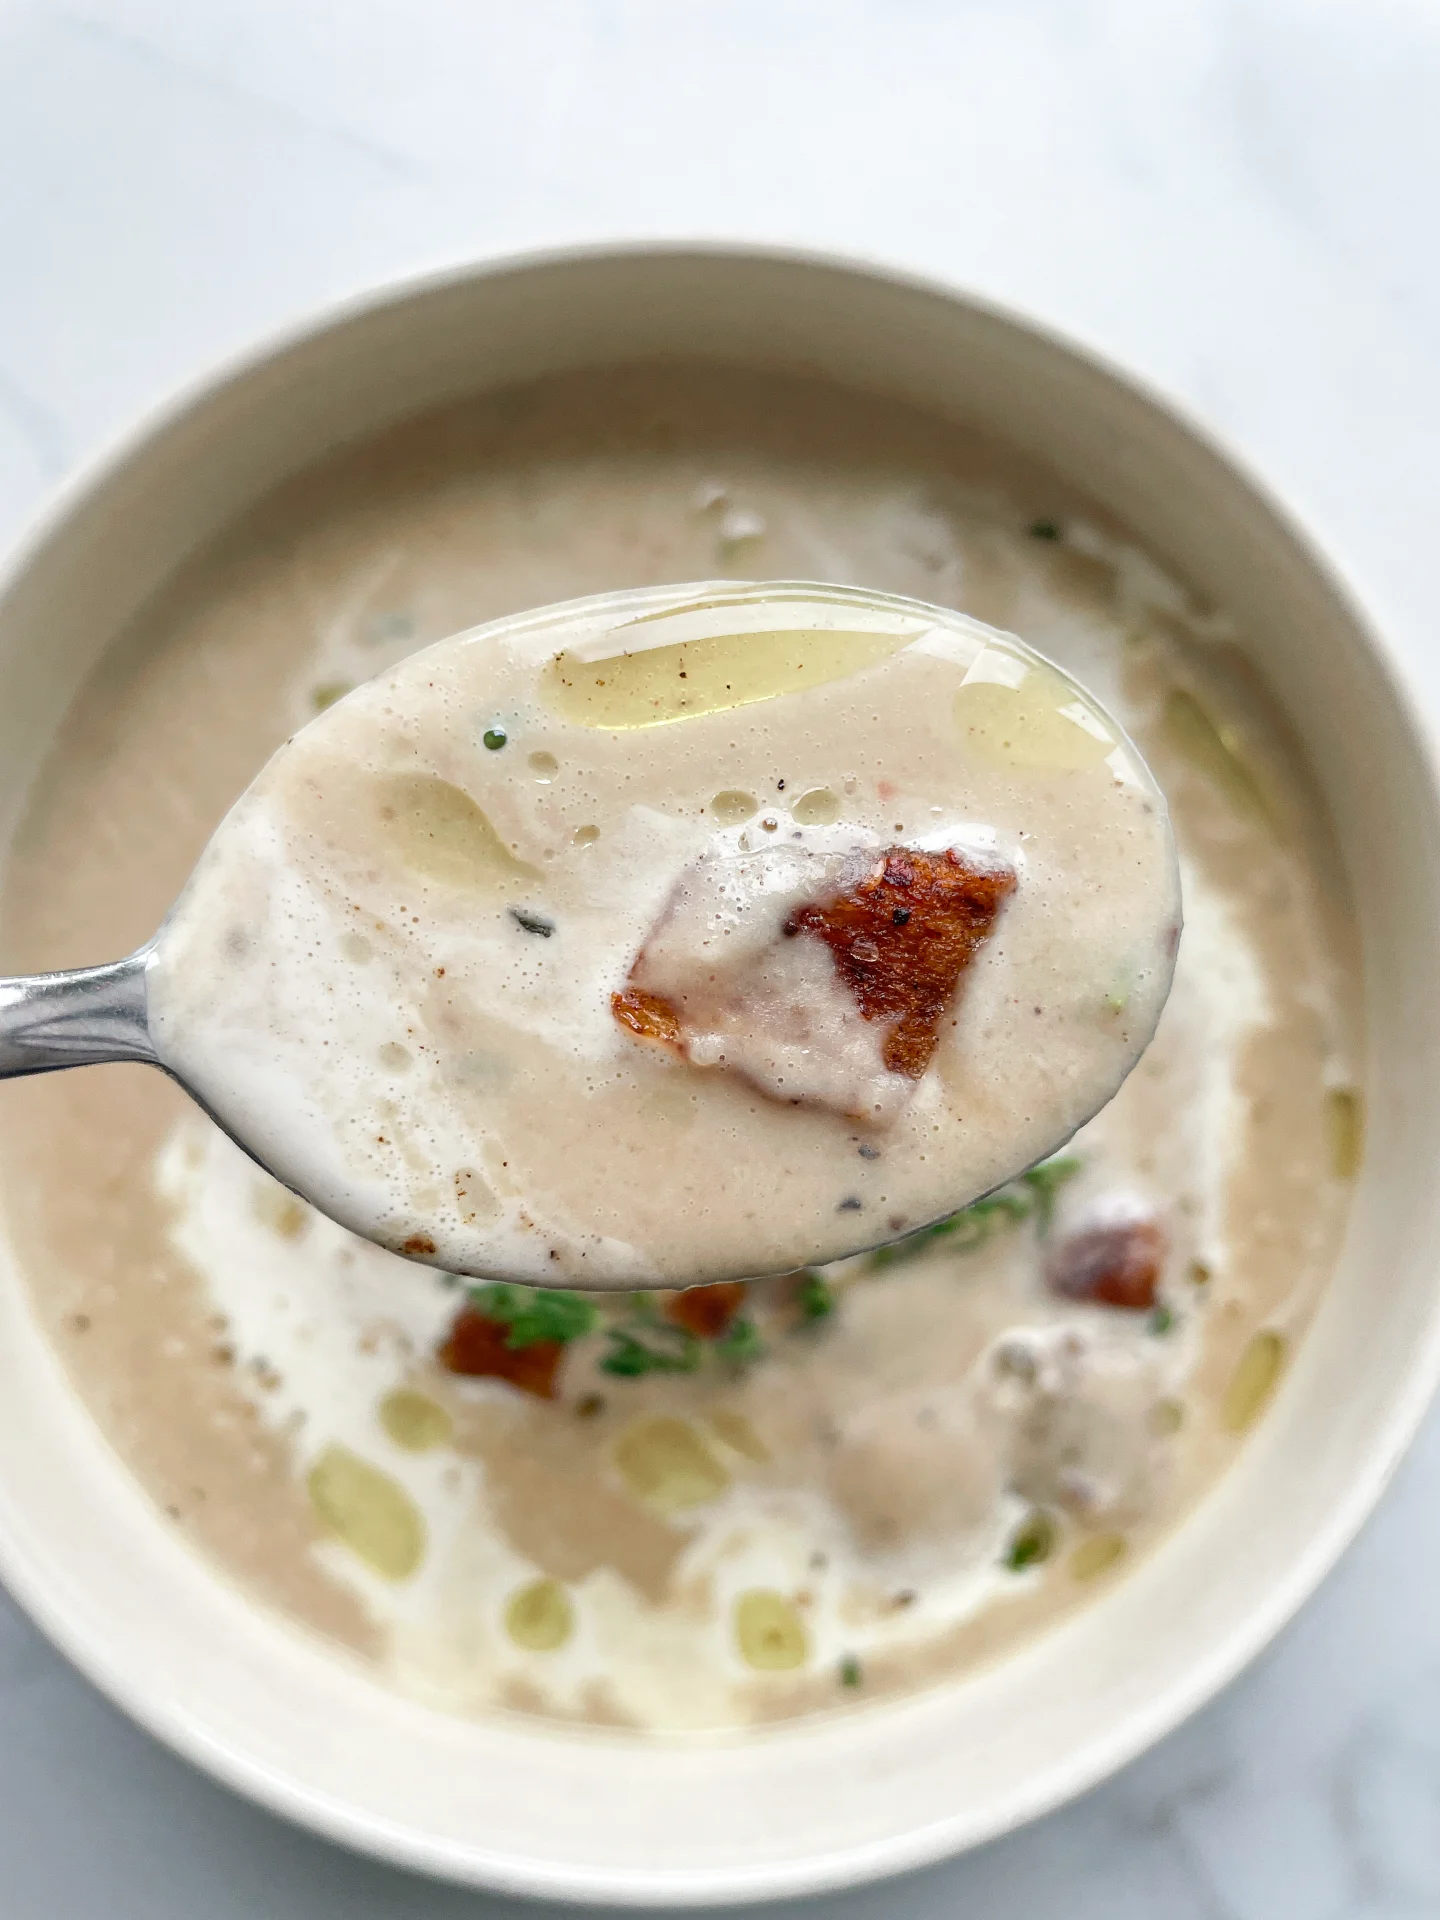
Cozy up with this creamy chestnut soup, bursting with earthy sweetness and a hint of spice. Perfect for chilly days, it’s like a warm hug in a bowl. Pure comfort.

35 MINUTES

EASY

VEGETARIAN

INT.

469 PER PORTION

COMFORT FOOD

CHRISTMAS

DINNER

AUTUMN
WINTER

INTRODUCTION

ABOUT THE RECIPE

When the chill of fall hits, there’s nothing like a rich, velvety chestnut soup to warm things up. This soup blends the earthy sweetness of roasted chestnuts with a creamy texture that feels luxurious but easy. And, just to give it that something extra, a sprinkle of chili-cinnamon croutons adds a spicy, toasty crunch that makes every spoonful a delight. It’s like wrapping up in your favorite blanket – just with a bit more flavor and spice!

How to serve
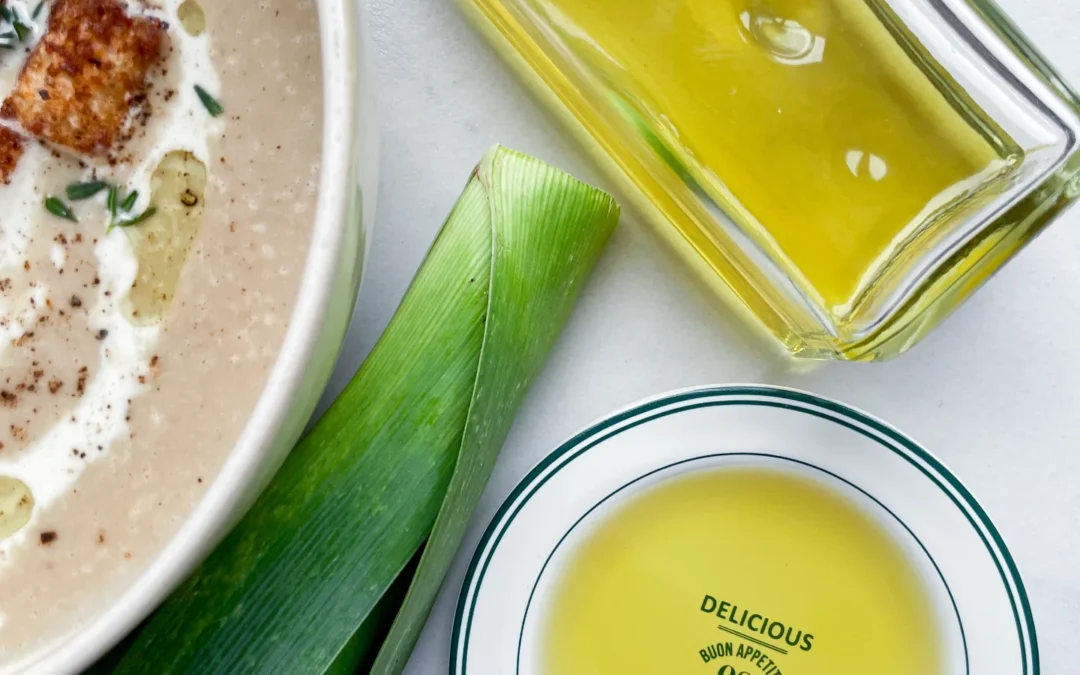
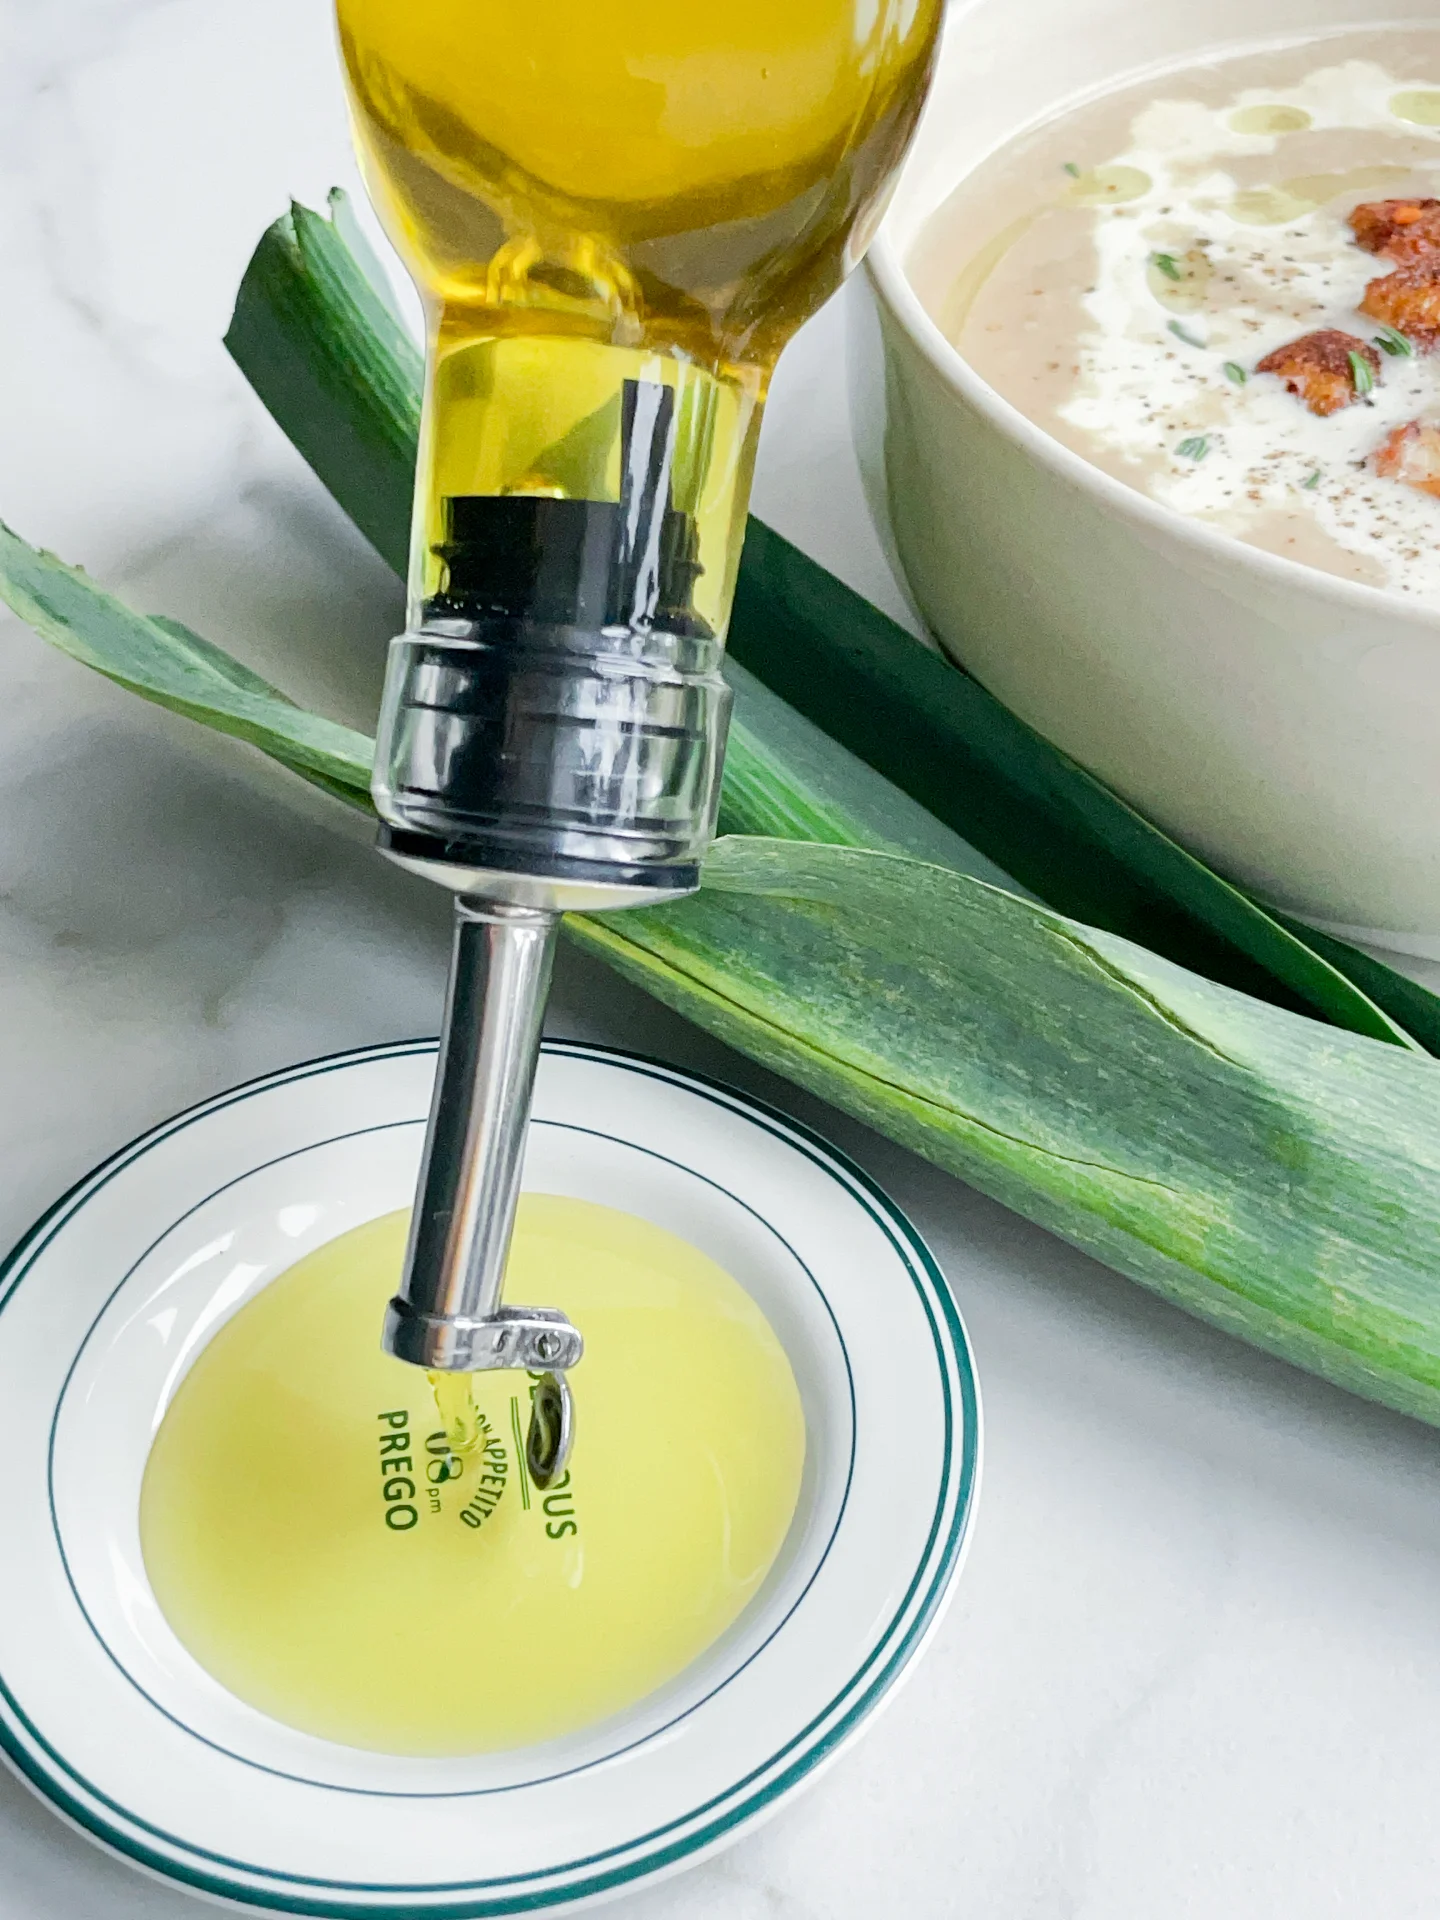
This soup is best served in a cozy bowl, topped generously with chili-cinnamon croutons that bring a mix of heat and warm spice to the creamy chestnut base. A little drizzle of olive oil or try adding a drizzle of this leeks oil as a topping or add a sprinkle of fresh herbs like thyme or parsley can also add a fresh contrast to the roasted, nutty flavors. Pair it with a simple salad or even a slice of rustic bread on the side for a full, comforting meal that feels like it’s made for sharing. 

How to store
Just store any cooled soup in an airtight container in the fridge for up to 3 days. For best results, keep the croutons separate so they stay crunchy. Reheat the soup gently on the stove and add the croutons just before serving!

Hi, I'm Kimberly!

Hi, I'm Kimberly.

A passionate food lover who believes in the magic of homemade deliciousness that spreads love and warmth. Join me on this culinary adventure as I prepare wonderful dishes and let’s spread some happiness together!

Kimberly the Zett Signature

If you want to get to know me better, click here!


Chestnut Soup & Chili Cinnamon Croutons
„Let’s make a piece of happiness“
Print
clock clock iconcutlery cutlery iconflag flag iconfolder folder iconinstagram instagram iconpinterest pinterest iconfacebook facebook iconprint print iconsquares squares iconheart heart iconheart solid heart solid icon
Chestnut Soup & Chili Cinnamon Croutons

Chestnut Soup & Chili Cinnamon Croutons


  • Author: Kimberly
  • Total Time: 35 min
  • Yield: 4 to 6 1x

Description

Recommended Equipment

  • sharp knife
  • cutting board
  • medium pot
  • immersion blender
  • pan

Ingredients

Units Scale

SOUP

  • 400 grams vacuum-packed chestnuts
  • 1 shallot
  • 1 tbsp olive oil
  • 600 milliliters beef stock
  • 200 milliliters heavy cream
  • fresh thyme
  • nutmeg, salt & pepper to taste

CROUTONS

  • 2 slices white toast bread
  • 1 tbsp butter
  • 1/2 tsp cinnamon
  • 1/2 tsp chili flakes
  • pinch of salt

Instructions

  1. Peel and dice the onion. Roughly chop the pre-cooked chestnuts and set both aside.
  2. Heat a medium pot over medium heat with a bit of olive oil, then sauté the onions until translucent. Next, add the chestnuts and let them cook for 3-4 minutes.
  3. Add the beef broth and cream to the pot, bring to a boil, then cover and let it simmer on low heat for about 20-30 minutes, until the chestnuts are soft.
  4. While the soup is cooking, heat a large pan over medium heat and melt the butter. Meanwhile, cut the toast into cubes. Add cinnamon, dried chili flakes and salt to the butter, stirring well. Add the toast cubes and toss so they’re evenly coated in the spiced butter. Cook for a few minutes until the cubes are crispy. Set aside.
  5. Add thyme to the soup and blend everything with an immersion blender until smooth. Season the soup with salt, pepper, nutmeg, and more thyme if needed.
  6. Ladle the soup into bowls, garnish with cream and leek oil, and top with the toasted croutons. Optionally, sprinkle with a bit more ground pepper and enjoy!
  • Passive Time: 15 min
  • Cook Time: 20 min
Leek Oil

Leek Oil

Leeks Oil

Leek Oil

November 7, 2024 by Kimberly

Add a pop of flavor with this vibrant, earthy oil! Drizzle over soups, salads, or grilled veggies for a fresh twist that’s as tasty as it is gorgeous. Pure liquid green goodness.
65 MINUTES

ADVANCED

VEGAN

INT.

40 PER TSP

UMAMI

MICHELIN

OIL

ALL YEAR

INTRODUCTION

ABOUT THE RECIPE

Leek oil is a game-changer for adding vibrant color and savory flavor to just about any dish! With its green hue and subtle, earthy taste, this oil is a simple yet elegant way to elevate soups, salads, or roasted veggies. Making it at home is easy and gives you an infusion that’s fresher and more flavorful than store-bought options. It’s a little something special for your kitchen arsenal that brings a gorgeous finish to whatever you’re cooking!

How to serve
Drizzle this leek oil over your favorite creamy soups, like potato or pumpkin, for a beautiful green swirl and an extra depth of flavor. It’s also amazing on salads – especially when paired with citrus or other fresh veggies – and makes a fantastic finishing touch on roasted or grilled vegetables. A little goes a long way, so use it as a garnish to let the green color and savory notes shine. This is the kind of touch that makes any dish feel a little more gourmet! Don’t miss out on trying it with this Chestnut Soup & Chili Cinnamon Croutons!

How to store
Store leek oil in a clean, airtight glass bottle in the fridge for up to a week. Give it a little shake before each use to keep the flavor evenly distributed. It’s best to use it fresh to enjoy the full flavor and color!

Hi, I'm Kimberly!

Hi, I'm Kimberly.

A passionate food lover who believes in the magic of homemade deliciousness that spreads love and warmth. Join me on this culinary adventure as I prepare wonderful dishes and let’s spread some happiness together!

Kimberly the Zett Signature

If you want to get to know me better, click here!


Leeks Oil
Leeks Oil
Leeks Oil
„Let’s make a piece of happiness“
Print
clock clock iconcutlery cutlery iconflag flag iconfolder folder iconinstagram instagram iconpinterest pinterest iconfacebook facebook iconprint print iconsquares squares iconheart heart iconheart solid heart solid icon
Leek Oil

Leek Oil


  • Author: Kimberly
  • Total Time: 65min
  • Yield: 1 cup / 250 ml 1x

Description

RECOMMENDED EQUIPMENT

  • blender
  • medium-sized saucepan
  • whisk
  • a bowl which the medium saucepan fits into
  • 2 medium-sized bowls
  • 2 fine sieves
  • sealable container (oil bottle)
  • ice cubes
  • coffee filter

Ingredients

Units Scale
  • 1 stalk of leek (the white part)
  • 250 milliliters oil of your choice (I’ve used avocado oil)

Instructions

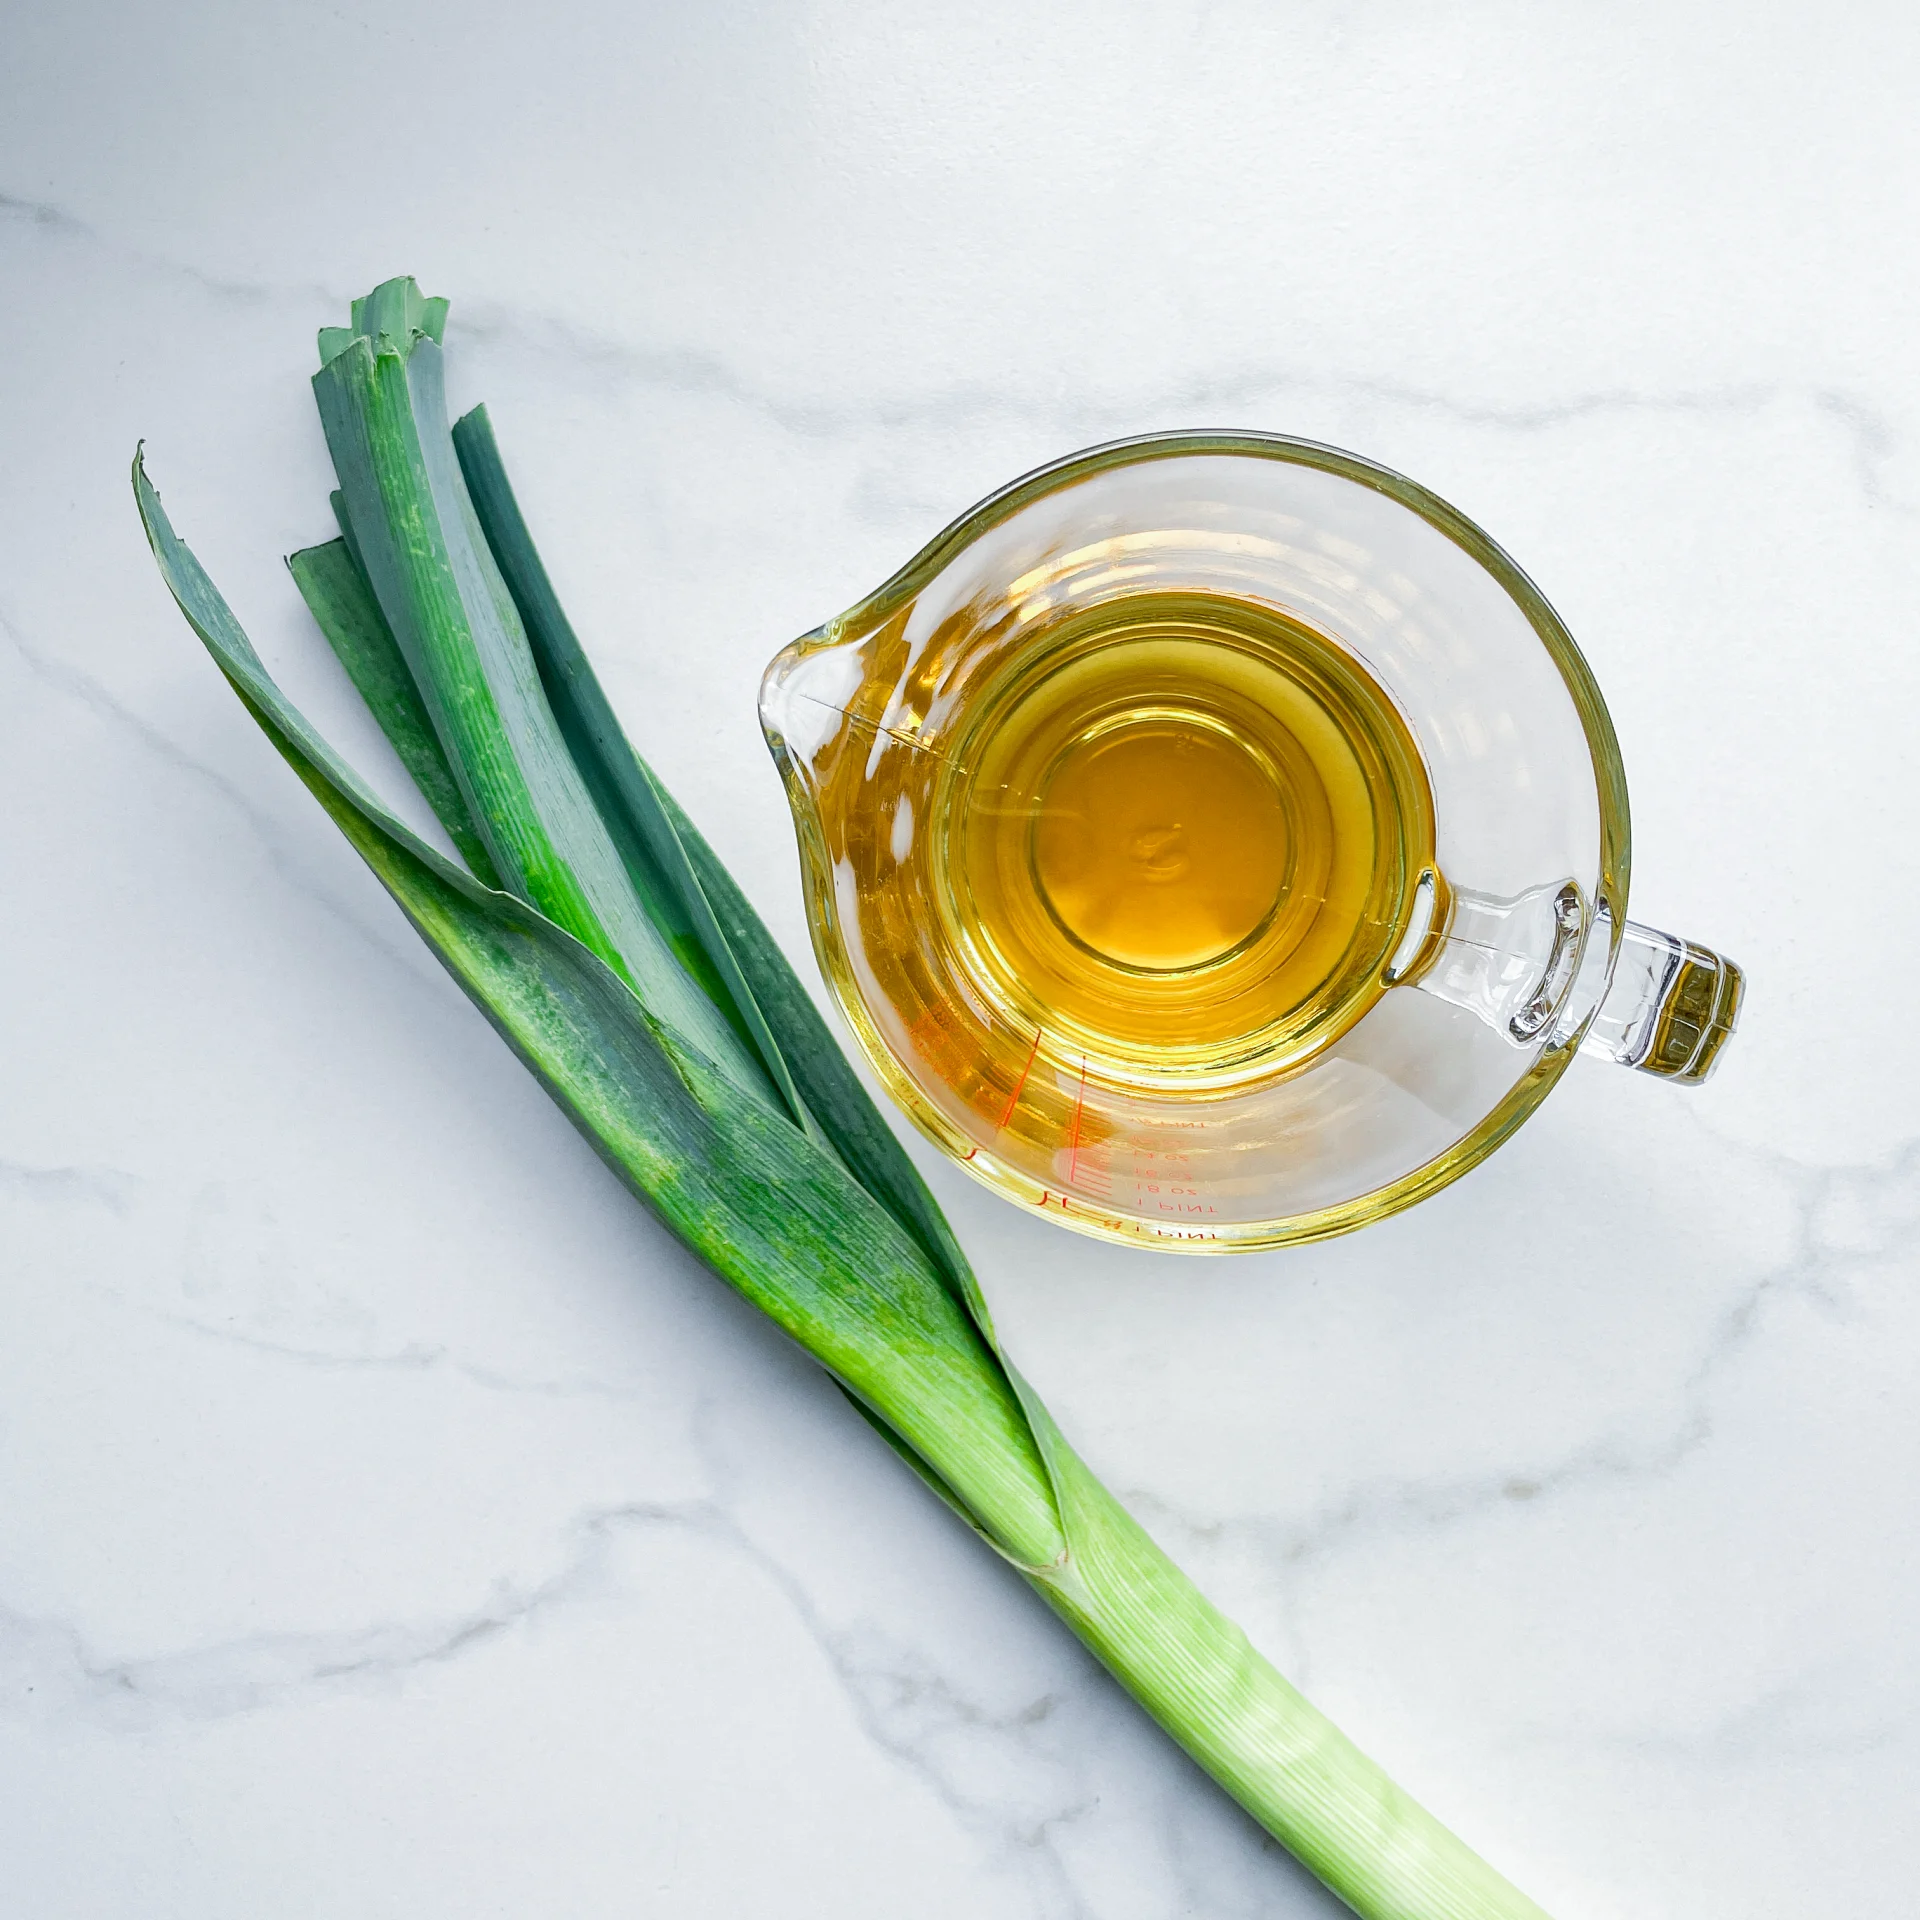
  1. Roughly chop the leek, wash it and put it into the blender. Pour in the oil. Blend on the highest setting until there are only tiny pieces of the leek left.
  2. Pour the mixture from the blender into a medium-sized pot and heat it over medium heat to a temperature of about 101°-104°C (213°-219°F), and maintain this temperature for the next 30 minutes. Stir occasionally, making sure the temperature remains steady and nothing gets burned.
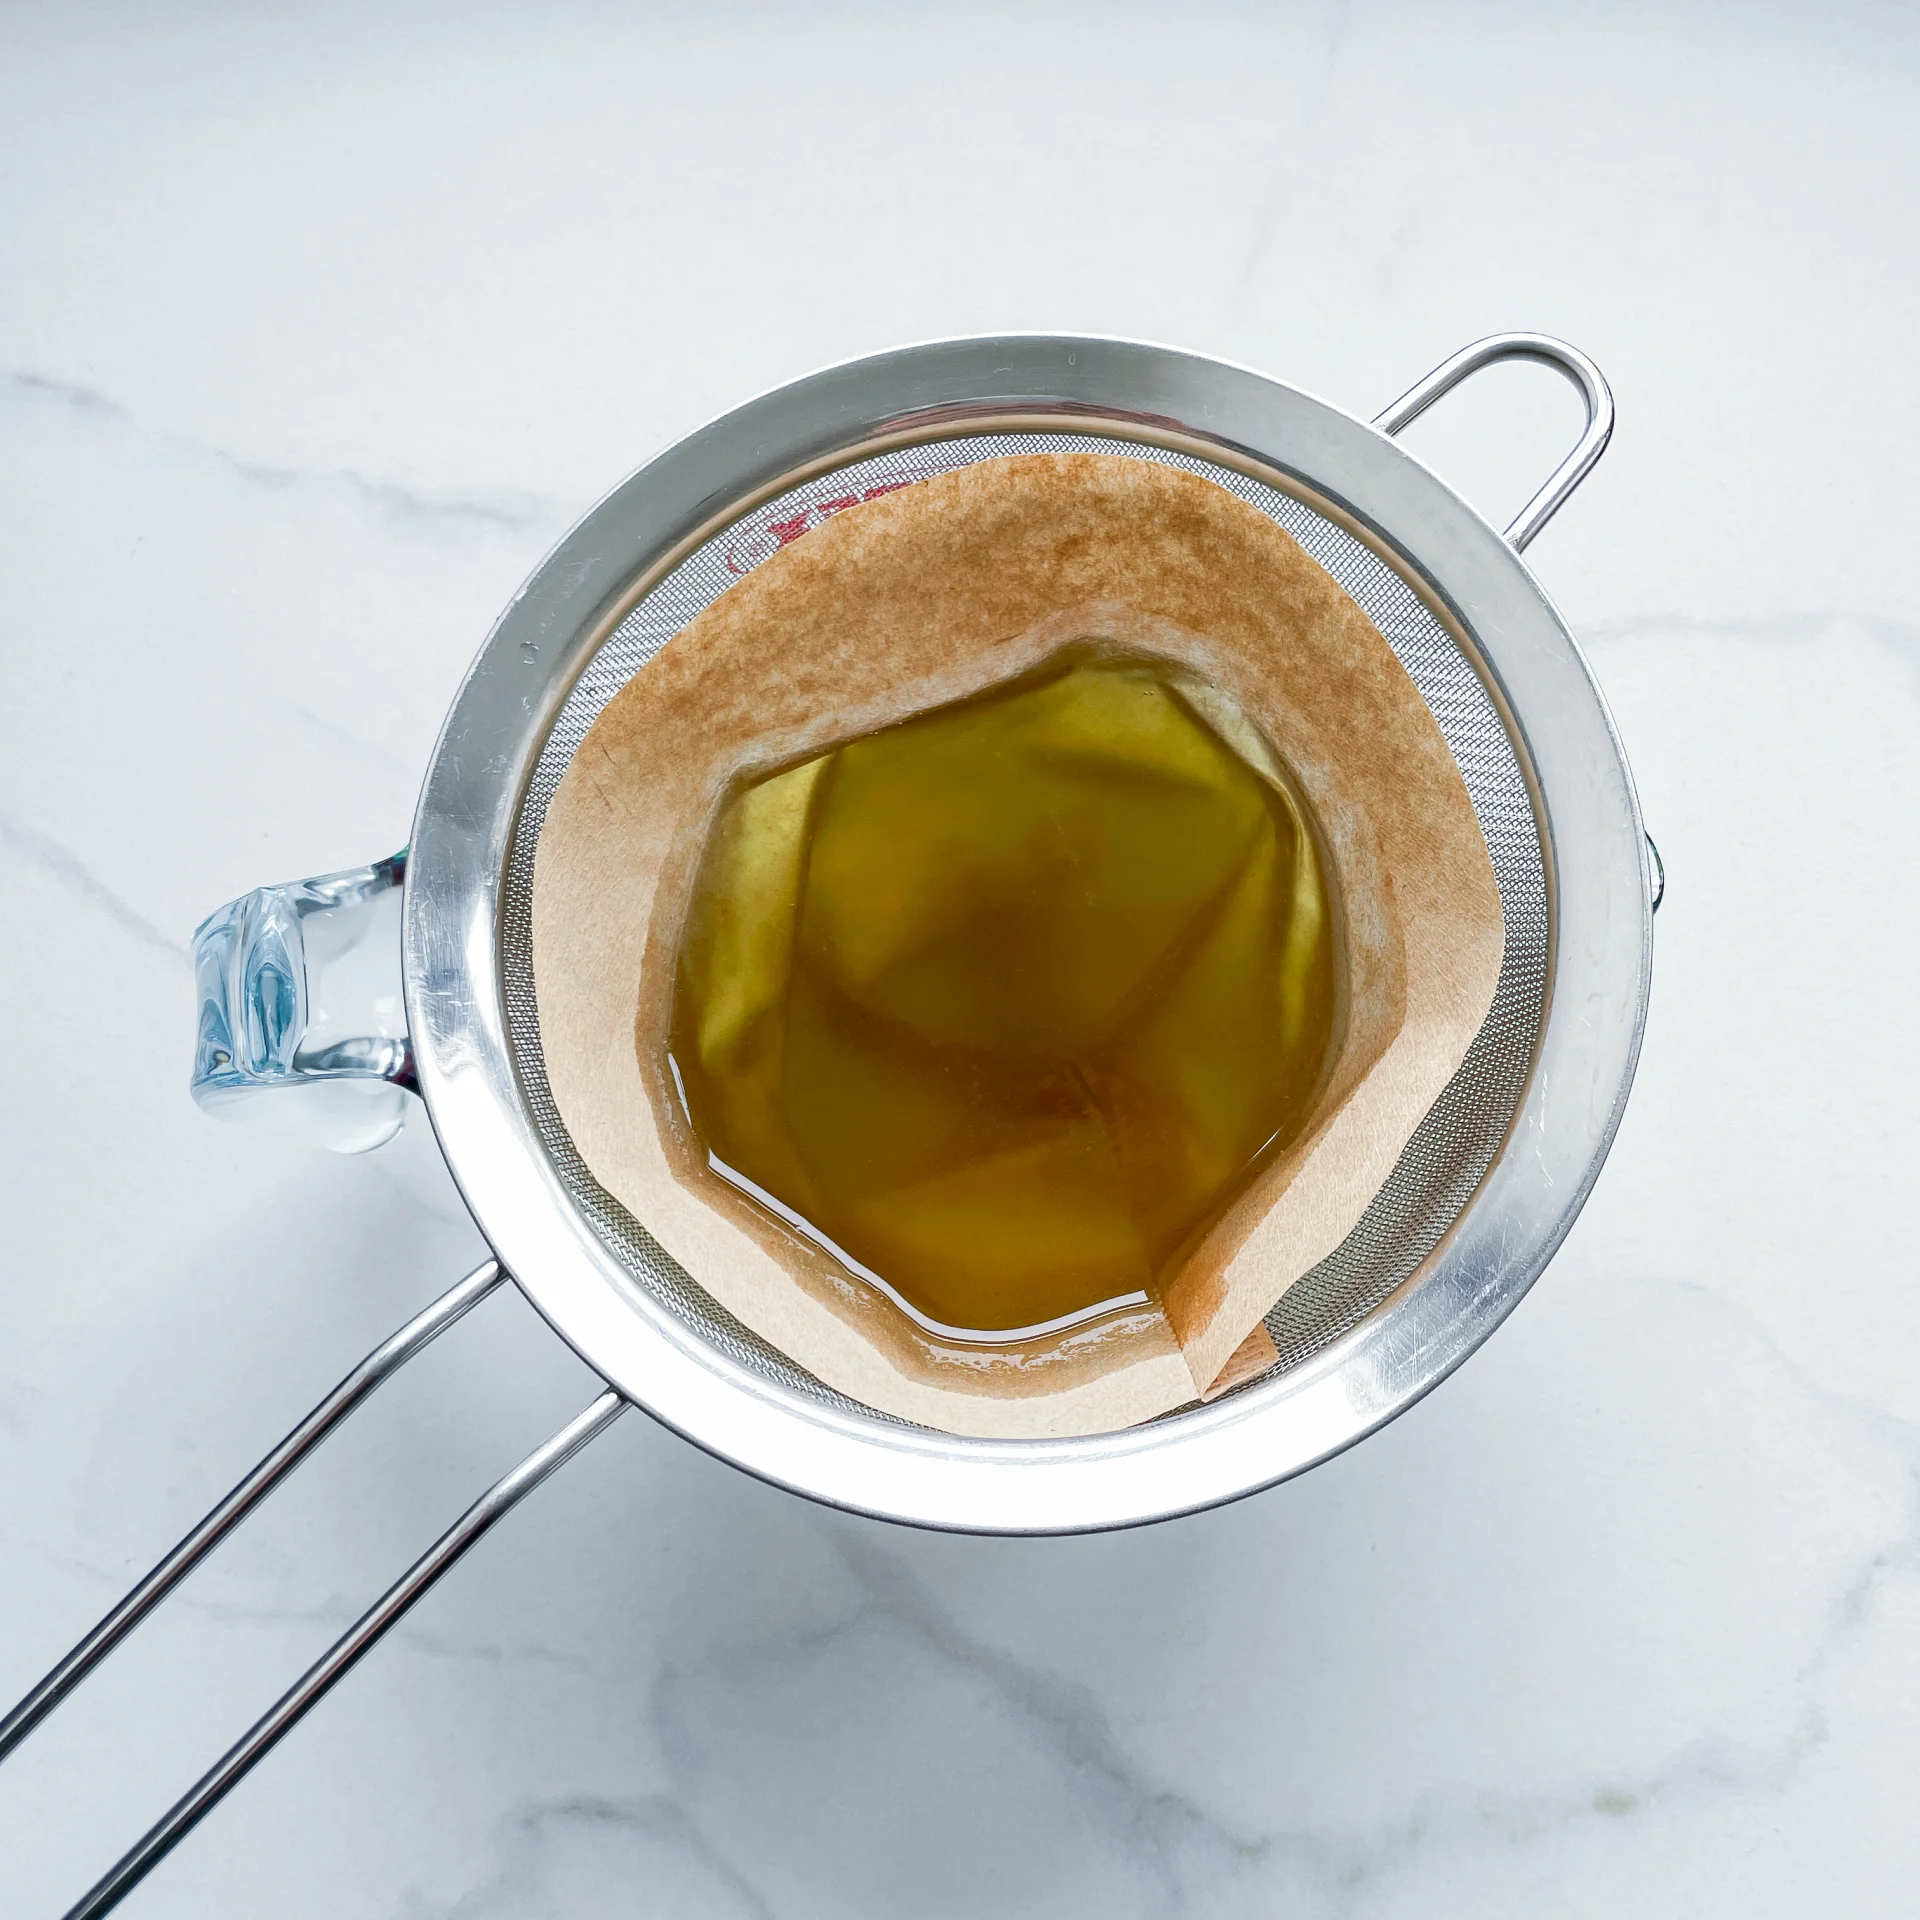
  3. Prepare a bowl large enough to fit a medium-sized pot, and fill it with cold water and a handful of ice cubes. Also, hang a fine sieve strainer over one medium-sized bowl and another fine sieve strainer, with a coffee filter inside it, over another medium-sized bowl.
  4. Now, place the pot in the ice water and stir to cool the oil quickly. Once the oil is almost cold, remove the pot from the water and pour the oil into the prepared fine sieve to catch the coarse particles.
  5. Then, pour the oil into the second sieve, which is equipped with a coffee filter, to catch the remaining finer particles.
  6. Allow the oil to drip through for about 20 minutes or maybe less depending on how many remaining particles are in the coffee filter. Once all the oil has passed through the coffee filter, transfer the collected amount of oil into a sealable container or directly into an oil bottle. Store in the refrigerator for up to one week.
  • Prep Time: 5 min
  • Cook Time: 30 min

Quick & Easy – The Best Focaccia Recipe

Quick & Easy – The Best Focaccia Recipe

HOW TO GUIDE

Quick & Easy –
The Best Focaccia Recipe

Here’s the ultimate step-by-step guide to making perfect Focaccia in just 3.5 hours. Already a pro? Simply click the button to jump straight to my recipe!

OVERVIEW

A TASTE OF WHAT’S TO COME

If you’ve been craving homemade focaccia with its perfectly crisp edges and soft, fluffy center, you’ve come to the right place! This quick and easy focaccia recipe will walk you through every step to make the best focaccia in just 3.5 hours. Don’t worry – most of that time is hands-off, so you can relax while the dough rises. With simple ingredients like pizza flour, yeast, olive oil, and a little honey, this recipe is perfect for beginners and pros alike. Customize it with your favorite toppings or keep it classic – either way, you’ll be enjoying fresh, delicious focaccia in no time!

1. MOST IMPORTANT QUESTIONS

2. WHAT YOU NEED TO KNOW

3. KEY INGREDIENTS EXPLAINED

4. STEP BY STEP INSTRUCTION

5. MORE RECIPES YOU MIGHT LIKE

Hi, I'm Kimberly!

Hi, I'm Kimberly!

A passionate food lover who believes in the magic of homemade deliciousness that spreads love and warmth. Join me on this culinary adventure and let’s spread some happiness together! If you want to get to know me better, click here!

Kimberly the Zett Signature

 Let’s connect!


Quick & Easy - The Best Focaccia Recipe

MOST IMPORTANT QUESTIONS

LET’S CLEAR THINGS UP

HOW MUCH TIME DO I NEED IN TOTAL?
This focaccia recipe is quicker than most and gives you the best result in the shortest amount of time. It takes about 3.5 hours in total, with only 10 minutes of active work. While the dough rests for 3 hours, the more time you give it, the better the result. So, while this is quick for focaccia, if you have extra time, letting the dough rise longer will make it even fluffier and more delicious!

HOW LONG DOES FOCACCIA NEED TO RISE?
Focaccia needs around 3 hours of total resting time. The longer it rests, the fluffier it will be, so don’t rush it!

WHY IS MY FOCACCIA DENSE AND NOT FLUFFY?
If your focaccia is dense, it likely didn’t rise long enough, or you might be using a different type of flour. Make sure you’re using pizza flour, specifically Type 00, for that soft, airy texture.

WHY DOES MY FOCACCIA NOT HAVE MANY BUBBLES?
Fewer bubbles could mean the dough didn’t rise long enough, or you might not be using the right flour. Type 00 pizza flour is ideal for light and bubbly focaccia. The longer the dough rests, the more bubbles you’ll see!

DO I NEED SPECIAL EQUIPMENT?
Nope! You can make this focaccia with basic kitchen tools. Here’s what you’ll need, but feel free to improvise: large bowl, kitchen scale, thermometer (even a medicine one works), measuring cup, wooden spoon, cling film, beeswax wrap, or a shower cap, baking dish or tray, oven

WHAT YOU NEED TO KNOW

KIMBERLY’S SECRET TIPS

PRECISION PAYS OFF
I recommend weighing and measuring everything before you start. Precision is key for that perfect focaccia texture!

HYDRATION FOR BEGINNERS & PRO
You can experiment with different hydration levels in this recipe. For beginners, I suggest sticking to around 70% hydration – that means 70ml of water for every 100g of flour. I use 80% hydration here, and because it’s a no-knead dough, it’s super easy to handle!

PATIENCE FOR FLUFFY GOODNESS
This recipe is a simplified version, but don’t skip on resting time! While traditional focaccia doughs often need up to 24 hours to rise, here, you’ll still get those airy pockets and fluffy texture with a shorter rest.

GET CREATIVE WITH TOPPINGS
This is a basic, plain focaccia recipe, but you can totally customize it! Feel free to add your favorite toppings like rosemary, cherry tomatoes, olives, or even caramelized onions before baking for a unique twist. The possibilities are endless!

INFUSED OILS FOR EXTRA FLAVOR
While I recommend using high-quality olive oil, you can definitely switch things up with one of my infused oils for a fun twist. Try Jalapeno oil for a spicy kick or Tomato oil for a warm, earthy flavor – both are great ways to make your focaccia stand out!

Quick & Easy - The Best Focaccia Recipe

KEY INGREDIENTS EXPLAINED

GET TO KNOW THE STARS

FLOUR
I used pizza flour, specifically Type 00, which is super popular in Italy and gives your focaccia that light, fluffy texture. If you’re in Germany, this flour is easy to find! Just make sure it has at least 12g of protein per 100g for the best rise. Of course, you can use flour with less protein, but be prepared for a denser, flatter result — totally up to you.

YEAST
I went with active-dry yeast, which needs a little wake-up call before it gets to work. You activate it with warm water and honey (or sugar if you’re vegan), and then it’s all set to make your dough rise beautifully.

WATER
The water’s temperature is key — it should be between 34-38°C (93-100°F). Too cold or too hot, and your yeast won’t get the chance to work its magic, leaving you with sad, flat dough.

OIL
When it comes to olive oil, go for something high-quality. It really makes a difference, giving your focaccia that rich, buttery texture and flavor.

HONEY
You don’t need any specific type of honey for this recipe — as long as it’s liquid, you’re good to go! It helps activate the yeast and adds a subtle sweetness that enhances the overall flavor. Just keep it simple and use whatever liquid honey you have on hand!

SALT
Any type of salt will do the job! Whether it’s sea salt, kosher salt, or regular table salt, just use what you have in your kitchen. It’s all about bringing out the flavors in your focaccia.

STEP BY STEP INSTRUCTION

THE HOW TO OF IT ALL

STEP 1 Activate the yeast & prepare the other ingredients

Combine the active-dry yeast with warm water (between 34-38°C / 93-100°F), olive oil, and a teaspoon of honey to get things started. Let it sit for about 10 minutes until it becomes bubbly and the oil floats on top with the activated yeast. Meanwhile, in a large bowl, mix your flour with the salt.

Quick & Easy - The Best Focaccia Recipe

STEP 2 Mixing the ingredients to form a dough

Pour the activated yeast mixture into the flour. Using a wooden spoon, mix everything together until it forms a dough and no dry flour is left. It might look a bit shaggy at first, but that’s totally fine! Scrape down any dough stuck to the sides and cover the bowl with cling film, a beeswax towel, or a shower cap. Let it sit for 20 minutes to allow the flour to hydrate and the dough to start developing elasticity.

STEP 3 Three rounds of stretch & fold

After 20 minutes, uncover the dough and prepare a small bowl of warm water to dip your hands in for the stretch & fold process. This technique helps develop the gluten without kneading. To do it, gently pull one side of the dough up, stretch it, and fold it over the center. Rotate the bowl a quarter turn and repeat on all four sides. You’ll do this about three times, letting the dough rest in between. This method strengthens the dough and helps create that light, airy texture!

Here’s the routine:

First stretch & fold, then let the dough rest for 20 minutes.
Second stretch & fold, then rest another 20 minutes.
Third stretch & fold, then let it rest for 60 minutes.

Cover the dough after each round and let it rise.

Quick & Easy - The Best Focaccia Recipe

STEP 4 Transfer the dough into greased oven dish

After the final 60-minute rest, grab your oven dish and drizzle 2-3 tablespoons of olive oil to coat it generously. Carefully transfer the dough to the dish, lifting it gently with both hands. Place it back in the dish, folding any hanging dough underneath itself to give it structure and elasticity.

Quick & Easy - The Best Focaccia Recipe

STEP 5 60 minutes rest in oven dish

Cover the dish and let the dough rest for another 60 minutes. During this time, the dough will rise and settle into the dish, preparing for its final transformation.

Quick & Easy - The Best Focaccia Recipe

STEP 6 Forming Bubbles

Preheat the oven to 220°C (430°F). After the dough’s last rest, uncover it and drizzle a little extra olive oil over the top. Use your fingers to gently press into the dough, forming dimples. This will encourage those signature bubbles to form during baking.

Quick & Easy - The Best Focaccia Recipe

STEP 7 Bake in the oven

Bake the focaccia for 20-25 minutes, or until it’s golden and crisp. Enjoy your freshly baked focaccia!

Quick & Easy - The Best Focaccia Recipe
Print
clock clock iconcutlery cutlery iconflag flag iconfolder folder iconinstagram instagram iconpinterest pinterest iconfacebook facebook iconprint print iconsquares squares iconheart heart iconheart solid heart solid icon
Quick & Easy - The Best Focaccia Recipe

Easy Same Day Basic Focaccia


  • Author: Kimberly
  • Total Time: 3 hrs + 30 min

Description

Recommended Equipment

  • large bowl
  • kitchen scale
  • thermometer (even a medicine one works)
  • measuring cup
  • wooden spoon
  • cling film, beeswax wrap, or a shower cap
  • baking dish or tray (mine is 20x26cm / 8×10 inch)
  • oven


Ingredients

Units Scale
  • 500 grams pizza flour (type 00 in Germany)
  • 400 grams luke-warm water
  • 1.5 tsp active dry-yeast
  • 1 tbsp olive oil
  • 1 tsp honey
  • 1.5 tsp salt
  • 50 milliliters olive oil for greasing and dipping

Instructions

  1. Combine the active-dry yeast with warm water (between 34-38°C / 93-100°F), olive oil, and a teaspoon of honey to get things started. Let it sit for about 10 minutes until it becomes bubbly and the oil floats on top with the activated yeast. Meanwhile, in a large bowl, mix your flour with the salt.
  2. Pour the activated yeast mixture into the flour. Using a wooden spoon, mix everything together until it forms a dough and no dry flour is left. It might look a bit shaggy at first, but that’s totally fine! Scrape down any dough stuck to the sides and cover the bowl with cling film, a beeswax towel, or a shower cap. Let it sit for 20 minutes to allow the flour to hydrate and the dough to start developing elasticity.
  3. After 20 minutes, uncover the dough and prepare a small bowl of warm water to dip your hands in for the stretch & fold process. This technique helps develop the gluten without kneading. To do it, gently pull one side of the dough up, stretch it, and fold it over the center. Rotate the bowl a quarter turn and repeat on all four sides. You’ll do this about three times, letting the dough rest in between. This method strengthens the dough and helps create that light, airy texture! Follow these steps:
    • First stretch & fold, then let the dough rest for 20 minutes covered
    • Second stretch & fold, then rest another 20 minutes covered
    • Third stretch & fold, then let it rest for 60 minutes covered
  4. After the final 60-minute rest, grab your oven dish and drizzle 2-3 tablespoons of olive oil to coat it generously. Carefully transfer the dough to the dish, lifting it gently with both hands. Place it back in the dish, folding any hanging dough underneath itself to give it structure and elasticity.
  5. Cover the dish and let the dough rest for another 60 minutes. During this time, the dough will rise and settle into the dish, preparing for its final transformation.
  6. Preheat the oven to 220°C / 430°F. After the dough’s last rest, uncover it and drizzle a little extra olive oil over the top. Use your fingers to gently press into the dough, forming dimples. This will encourage those signature bubbles to form during baking.
  7. Bake the focaccia for 20-25 minutes, or until it’s golden and crisp. Enjoy your freshly baked focaccia! Let the focaccia cool to room temperature. If you cut it while it’s still hot, it might tear apart. But honestly, it tastes sooo good when it’s warm. Just tear it up and dip it into your favorite dips!

  • Passive Time: 3 hrs + 20 min
  • Cook Time: 10 min

MORE RECIPES YOU MIGHT LIKE

RECIPES YOU’LL LOVE TO TRY NEXT

Pumpkin Tarte Flambée with Bacon Walnuts Gorgonzola & Lamb's Lettuce

DINNER

Pumpkin Tarte Flambée with Bacon Walnuts Gorgonzola & Lamb’s Lettuce

Garlic Herb Pull Apart Bread

SIDE

Garlic Herb Pull Apart Bread

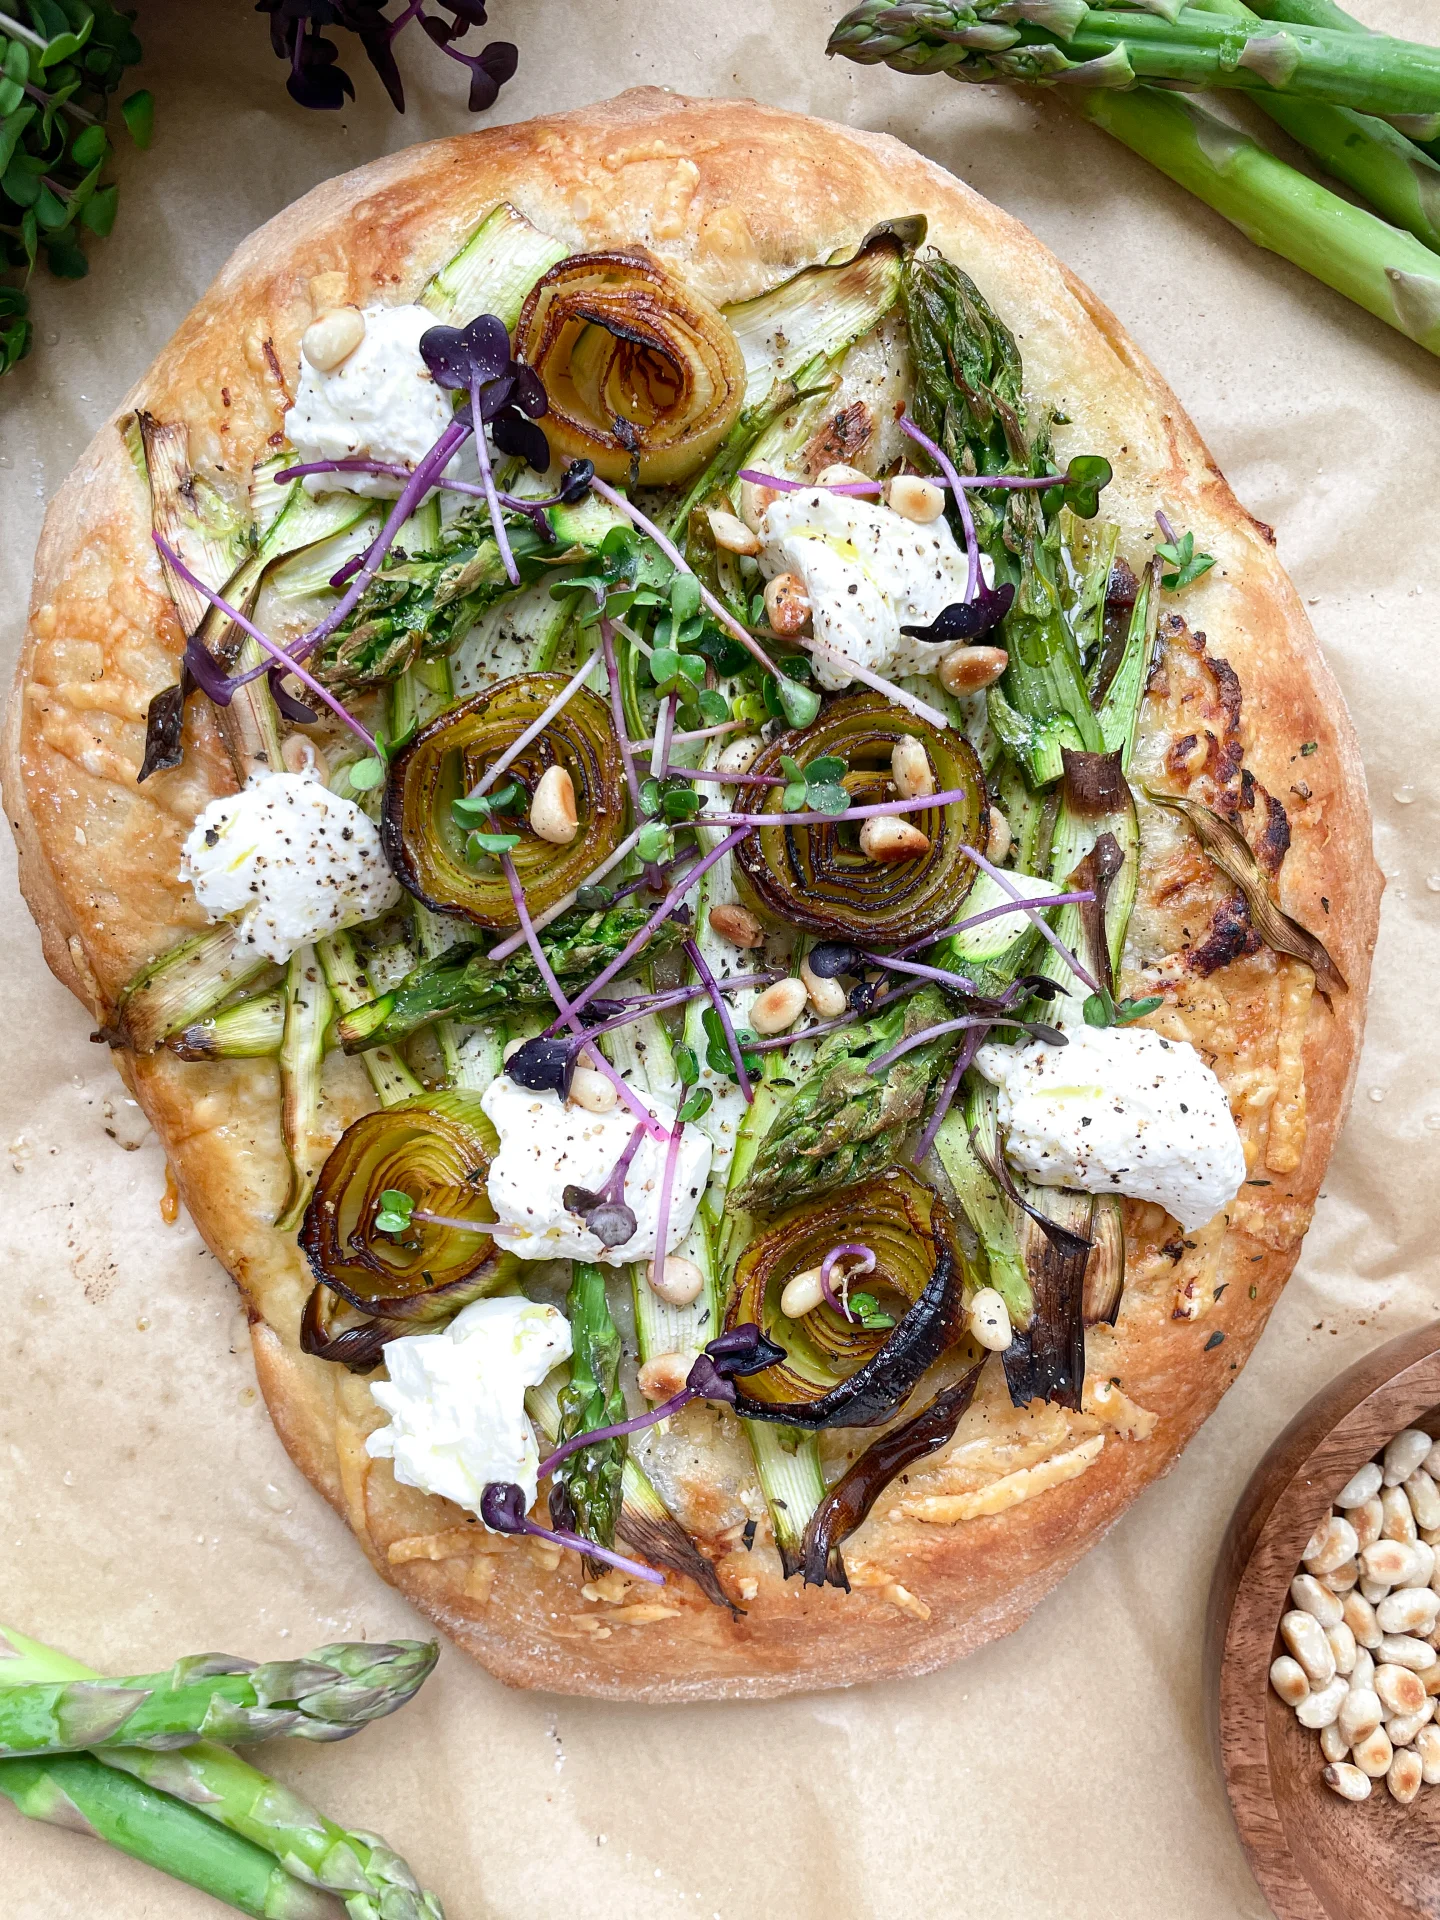
Asparagus Caramalized Leeks Pizza with Parmesan & Ricotta

DINNER

Asparagus Caramalized Leeks Pizza with Parmesan & Ricotta

Flatbread serving ideas

SIDE

Turkish Flatbread (Bazlama)

Pasta al Pomodoro

Pasta al Pomodoro

Pasta al Pomodoro

Pasta al Pomodoro

November 5, 2024 by Kimberly

Imagine al dente pasta coated in a fresh, rich garlic basil tomato sauce – each bite bursting with Mediterranean sunshine, cozy comfort, and pure bliss. This dish tastes like home, every single time.

20 MINUTES

EASY

VEGAN

ITALIAN

589 PER PORTION

COMFORT FOOD

WEEKNIGHT

DINNER

ALL YEAR

INTRODUCTION

ABOUT THE RECIPE

Get ready to taste sunshine on a plate! This recipe brings you straight to an Italian summer with every bite – simple, cozy, and irresistibly delicious. This dish is all about fresh tomatoes simmered into a rich, velvety sauce that clings to each pasta strand, making it the ultimate comfort food. Perfect for weeknight dinners or when you crave a warm, feel-good meal, it’s easy to make but feels like pure indulgence.

How to serve
To make it unforgettable, serve this pasta with fresh basil and a dusting of Parmesan. A side of crusty garlic bread or a light salad with arugula and lemon vinaigrette balances the richness, adding that final touch. For a real treat, drizzle a bit of high-quality olive oil over the top just before serving. It’s simple but adds incredible depth and brings the dish to life, making it feel like a restaurant meal in the comfort of your home.

How to store
Store any leftovers in an airtight container in the fridge for up to 3 days. Reheat gently on the stovetop, adding a splash of water or olive oil to keep the sauce creamy. This way, you can enjoy it as good as fresh!

Hi, I'm Kimberly!

Hi, I'm Kimberly.

A passionate food lover who believes in the magic of homemade deliciousness that spreads love and warmth. Join me on this culinary adventure as I prepare wonderful dishes and let’s spread some happiness together!

Kimberly the Zett Signature

If you want to get to know me better, click here!


Pasta al Pomodoro
Pasta al Pomodoro
Pasta al Pomodoro
Pasta al Pomodoro
Pasta al Pomodoro
„Let’s make a piece of happiness“
Print
clock clock iconcutlery cutlery iconflag flag iconfolder folder iconinstagram instagram iconpinterest pinterest iconfacebook facebook iconprint print iconsquares squares iconheart heart iconheart solid heart solid icon
Pasta al Pomodoro

Pasta al Pomodoro


  • Author: Kimberly
  • Total Time: 20 min
  • Yield: 4 1x

Description

Recommended Equipment

  • large frying pan
  • sharp knife
  • cutting board
  • large pot

Ingredients

Units Scale
  • 4 tbsp olive oil
  • 4 garlic cloves
  • 1 fresh chili
  • 500 grams strained tomatoes
  • 10 grams fresh basil
  • 500 grams pasta of your choice (I used Rigatoni)
  • Parmesan
  • Salt & pepper to taste

Instructions

  1. Warm up 4 tbsp of olive oil over medium heat in a large frying pan. Meanwhile, peel the garlic cloves but leave them whole. Once the oil is warm, add the garlic cloves and let them roast until golden brown. It helps to tilt the pan so the oil pools in one spot, letting the garlic cloves fully submerge.
  2. When the garlic is golden brown, remove it from the pan and set it aside on a cutting board to cool slightly. Meanwhile, get a large pot of water ready for cooking your pasta, place it on the stove, and bring it to a rolling boil.
  3. Now mash the garlic into a paste with a bit of salt using the flat side of your knife on the cutting board – the salt helps break it down. Add this garlic paste back into the olive oil in the pan. Finely chop a fresh chili and add it to the pan as well. Warm everything over medium heat. Meanwhile, wash, dry, and thinly slice the basil leaves. Add the strained tomatoes and basil to the pan, stirring everything well, and let it simmer on low heat.
  4. Add the pasta and a bit of salt to the boiling water, cooking it until al dente. Season the tomato sauce with salt and pepper to taste.
  5. Transfer the pasta to the tomato sauce, add a bit of the pasta water, and stir until the noodles are fully coated in the sauce. Serve the pasta on deep plates, topped with freshly grated Parmesan and a sprinkle of pepper.
  • Cook Time: 20 min