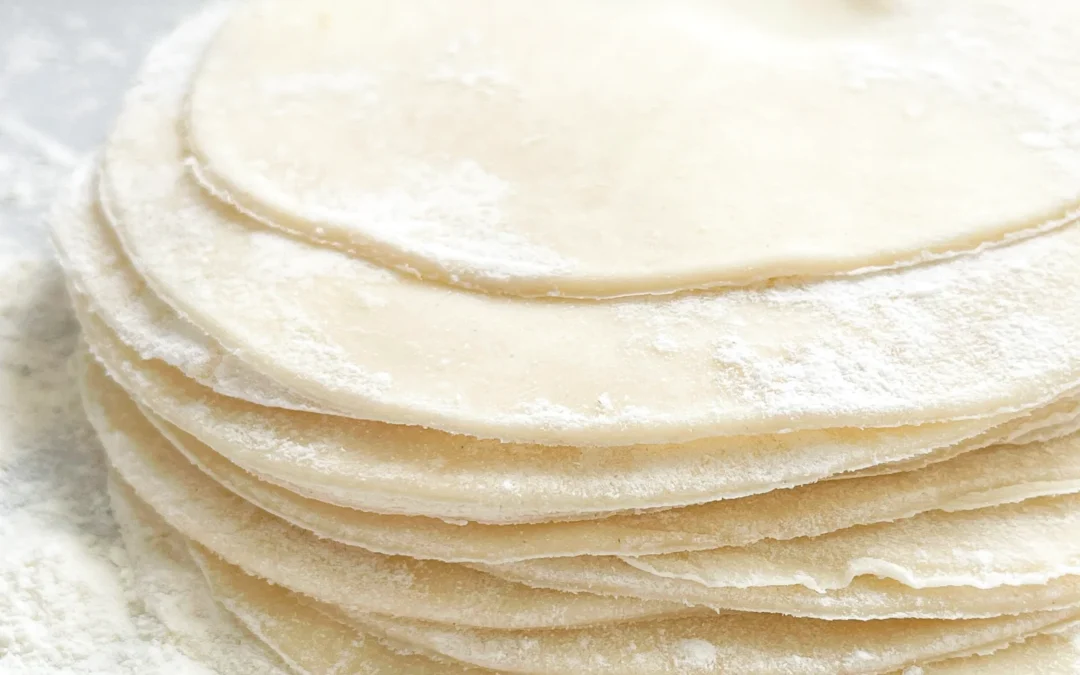
Dive into the delightful world of homemade dumpling wrappers, your first step to authentic, scrumptious dumplings. Crafting these wrappers at home is not only simple, but it also allows you to infuse a personal touch into every bite, making each dumpling truly your own.
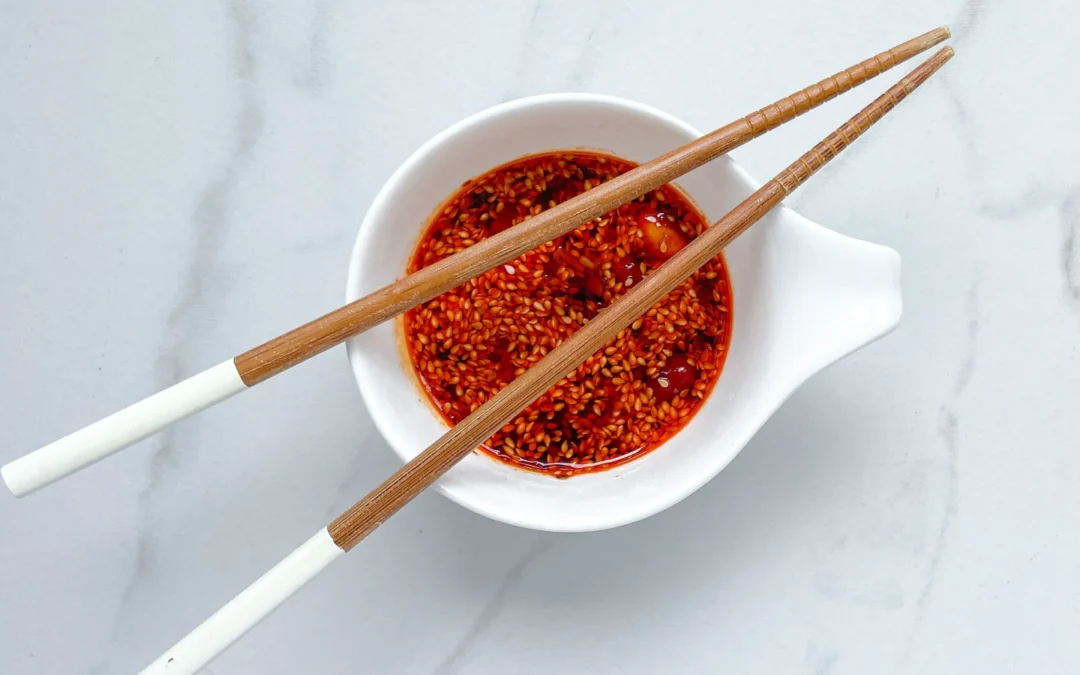
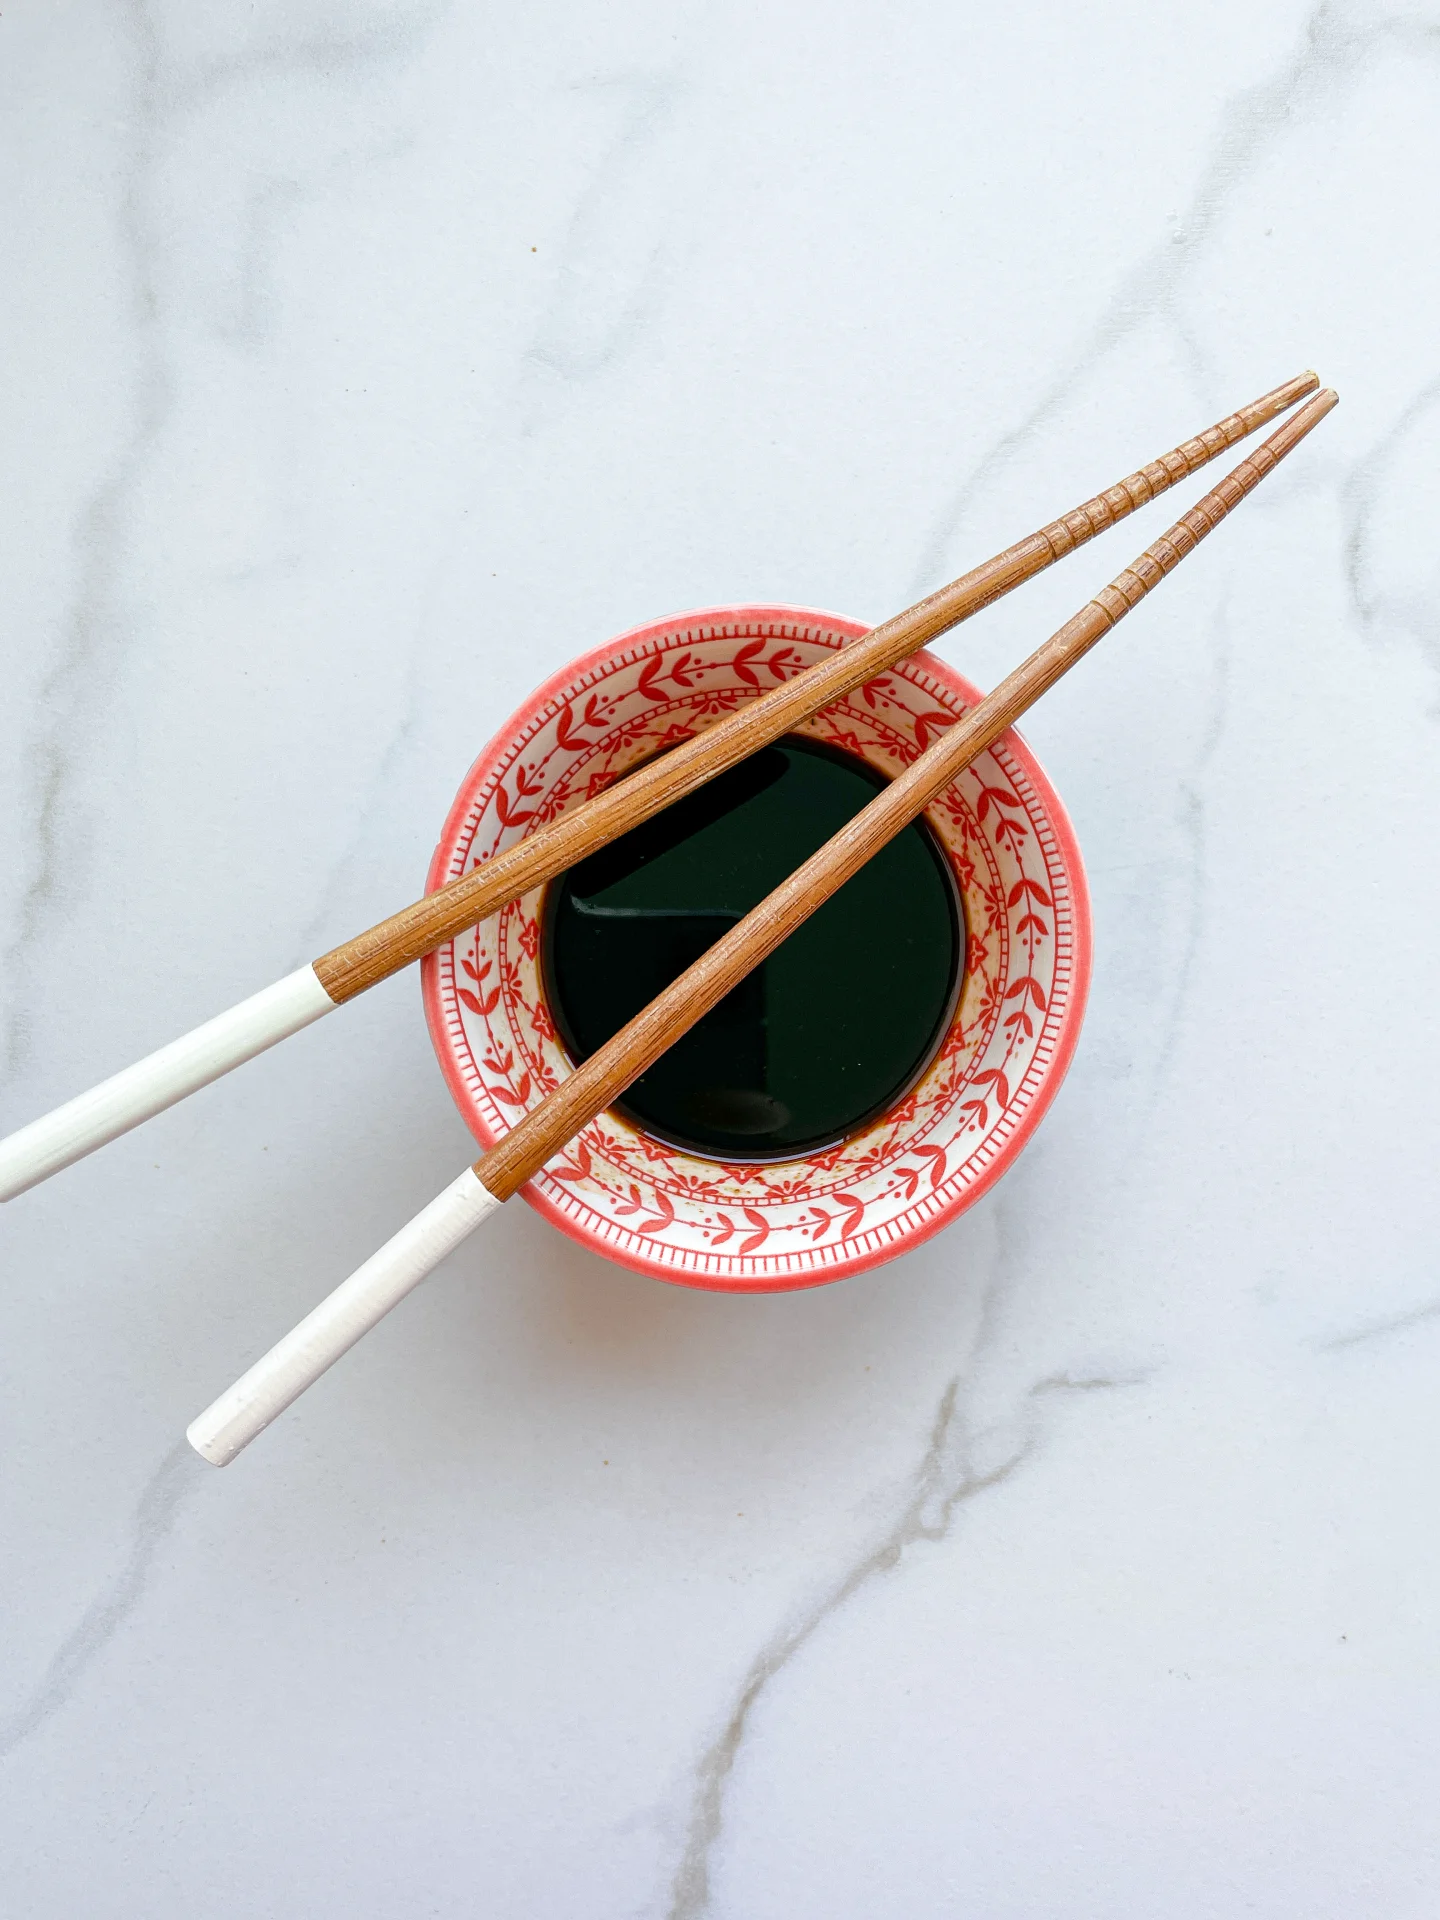
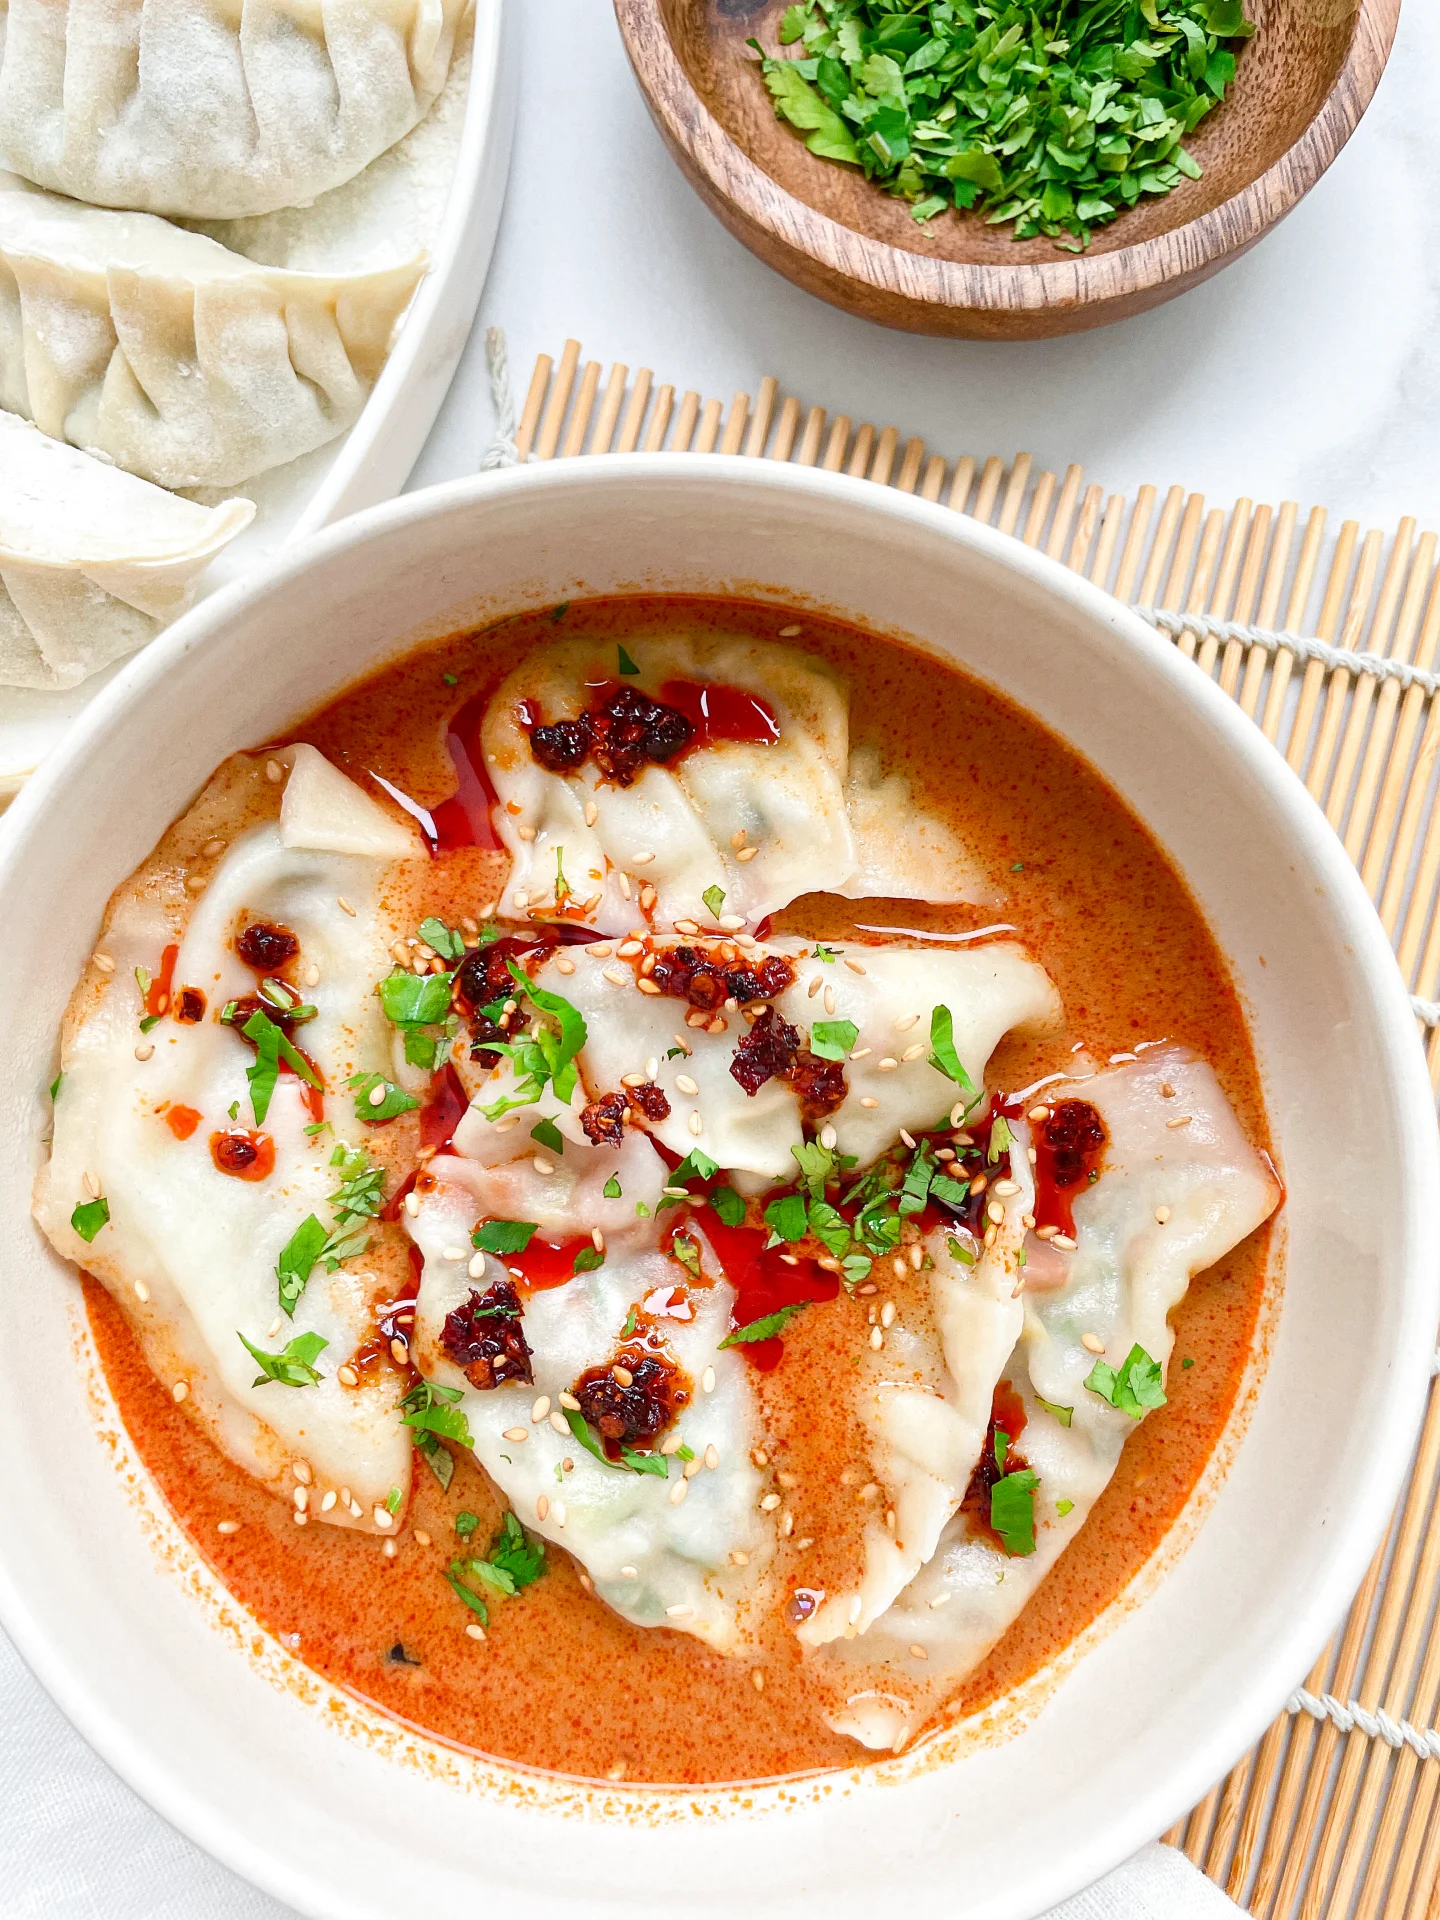
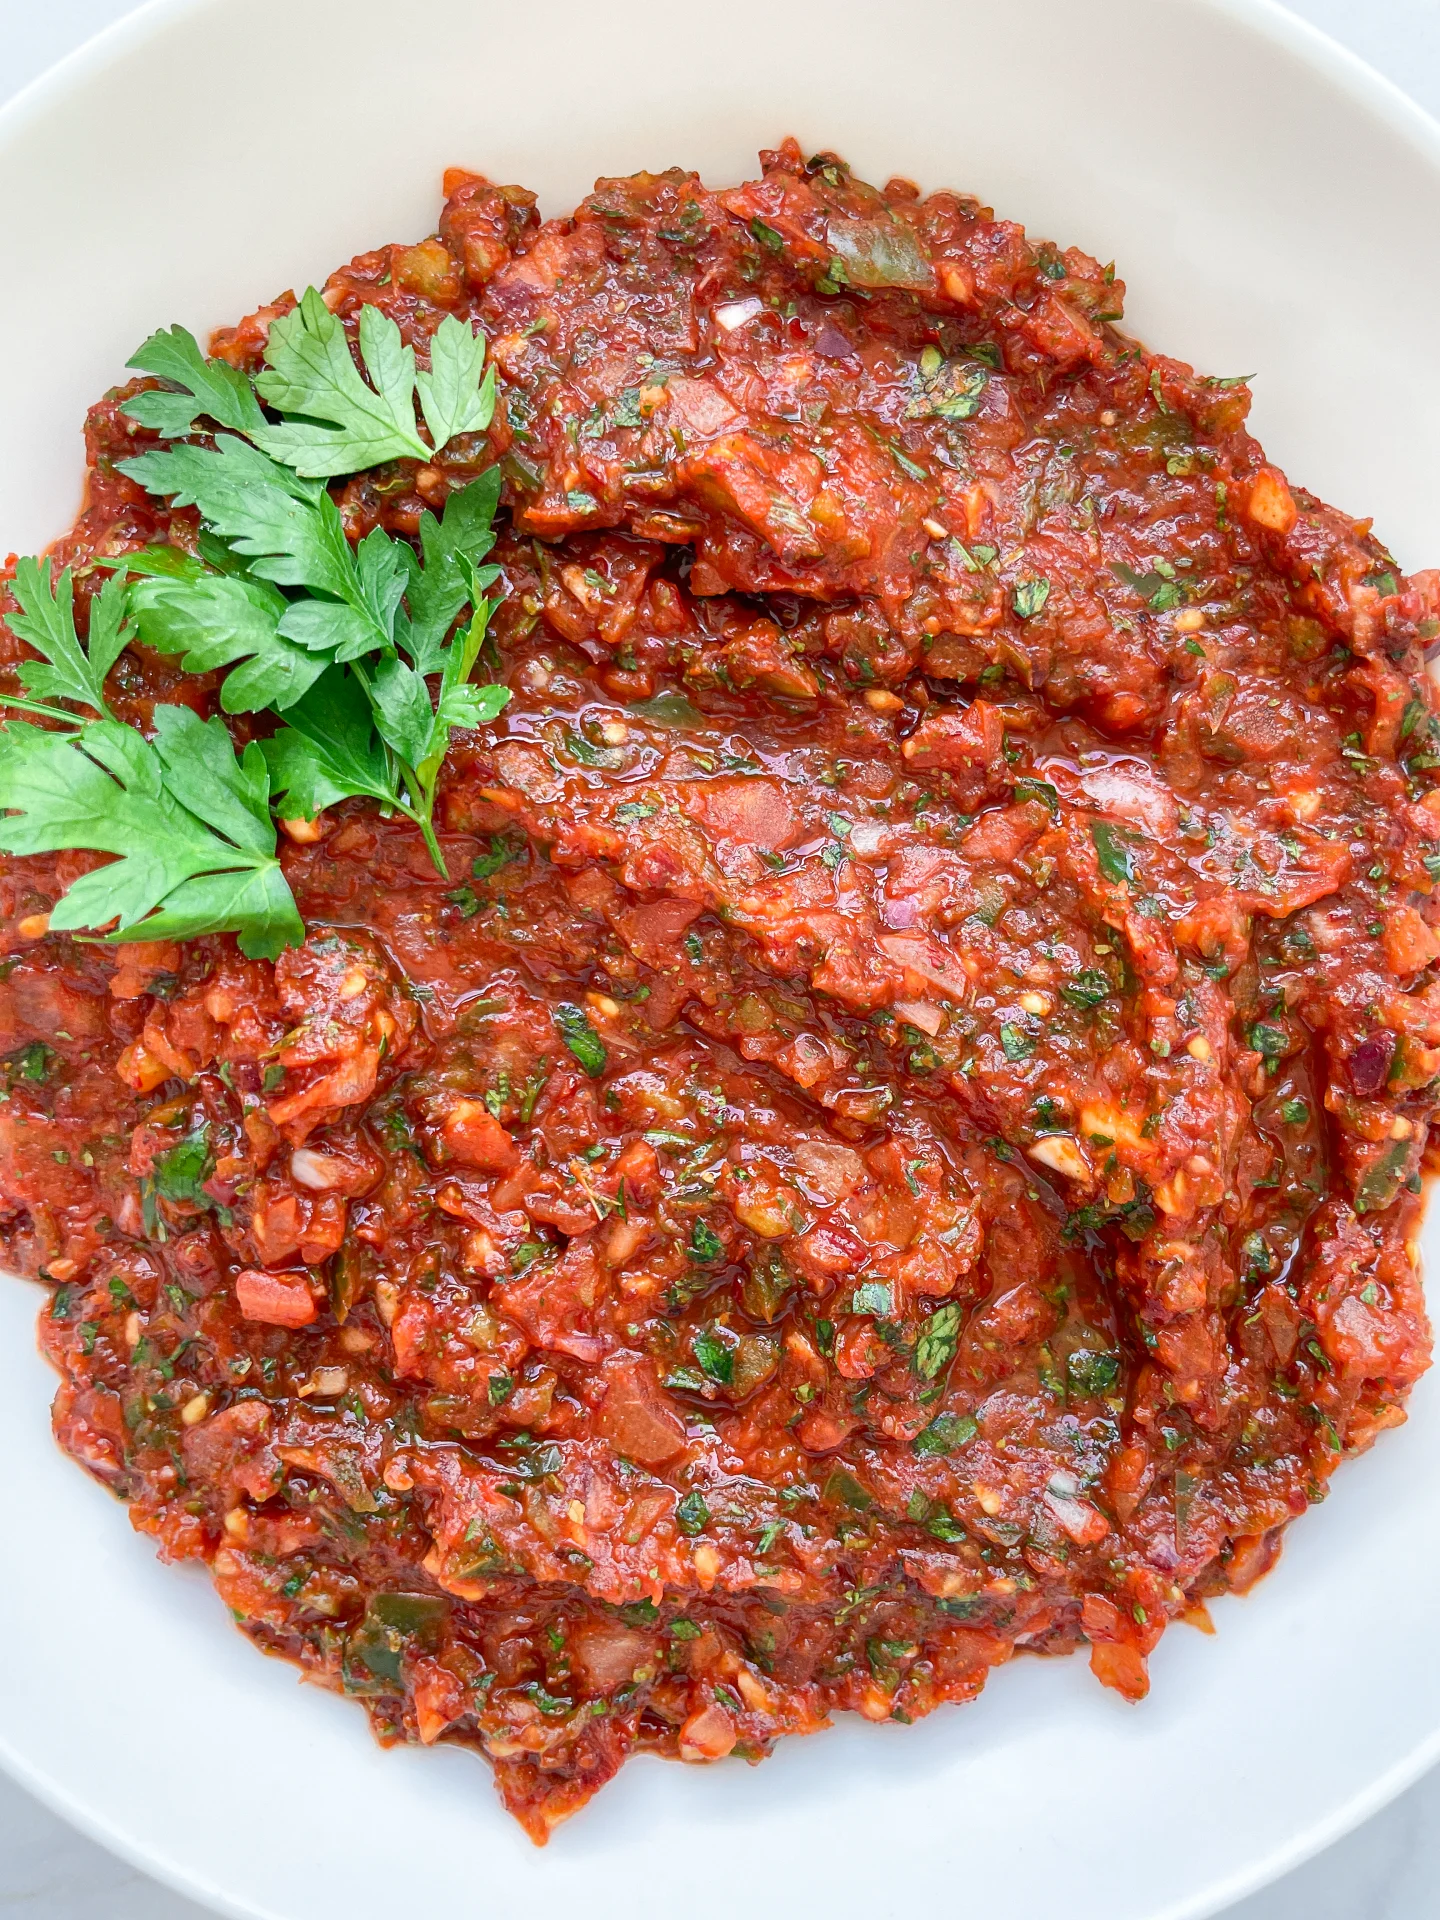
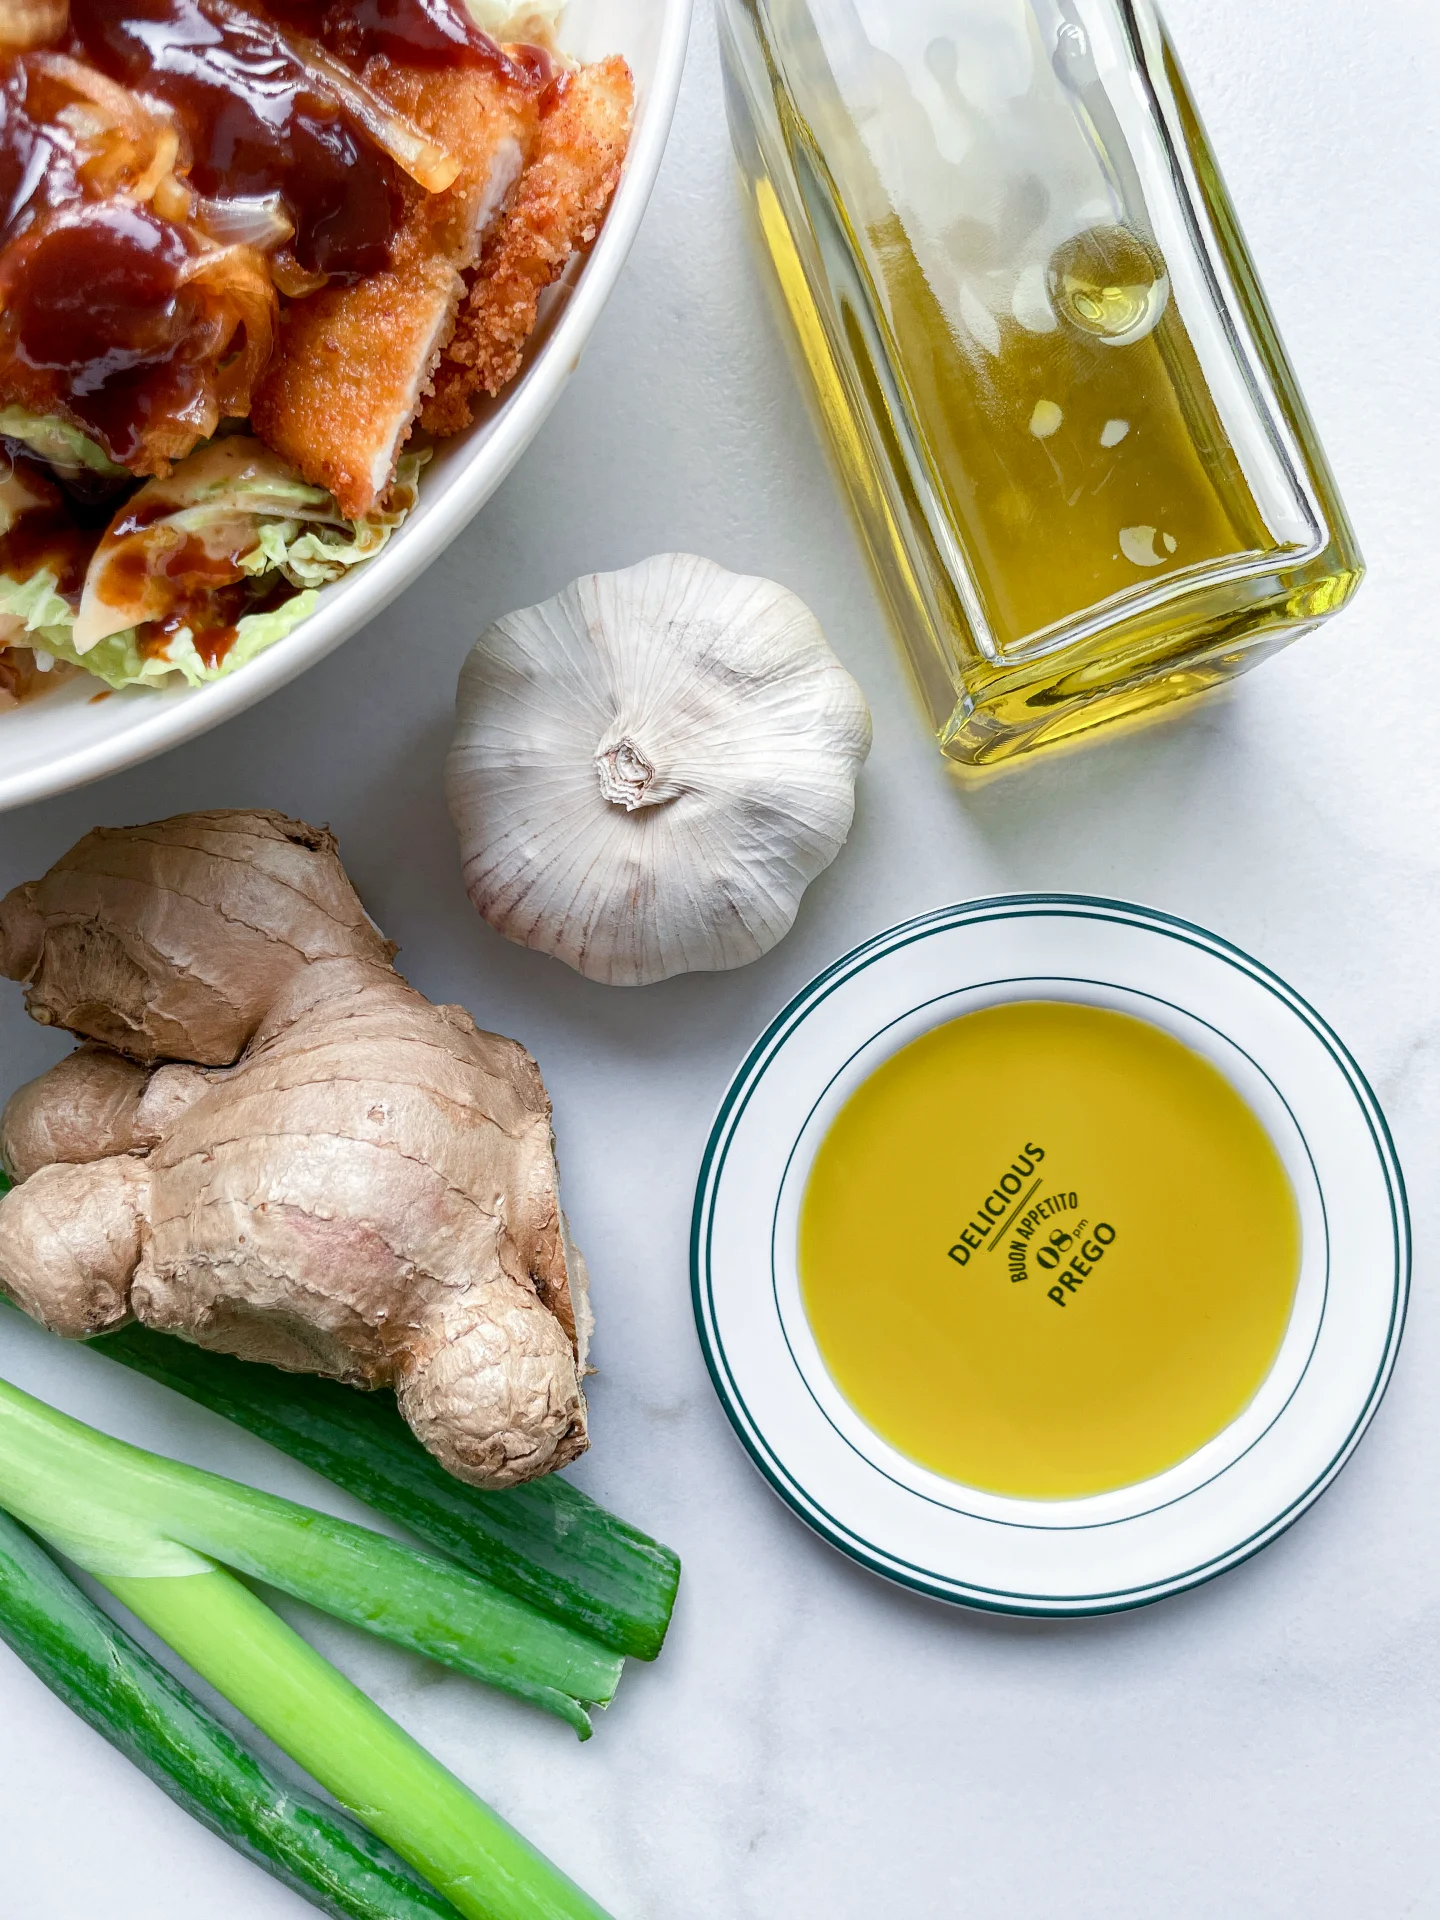
Fill these pliable wrappers with anything from seasoned pork to mixed vegetables, seal, and then steam, boil, or fry. Serve them hot with a side of soy sauce, vinegar, or a spicy dipping sauce for a perfect snack or meal. They’re a fantastic addition to any gathering, allowing guests to discover the joys of fresh, homemade dumplings.
Store your dumpling wrappers by layering them with parchment paper and keeping them in an airtight container. They’ll stay fresh in the refrigerator for up to one day or can be frozen for extended use.