


Description
Recommended Equipment
- small pot
- to medium bowls
- whisk
- sharp knife
- cutting board
- cookie scoop
- parchment paper
Ingredients
Units Scale
- 120 grams butter
- 100 grams brown sugar
- 100 grams white sugar
- 1 tsp vanilla extract
- 1 egg
- 220 grams all-purpose flour
- 1/2 tsp salt
- 1/2 tsp baking soda
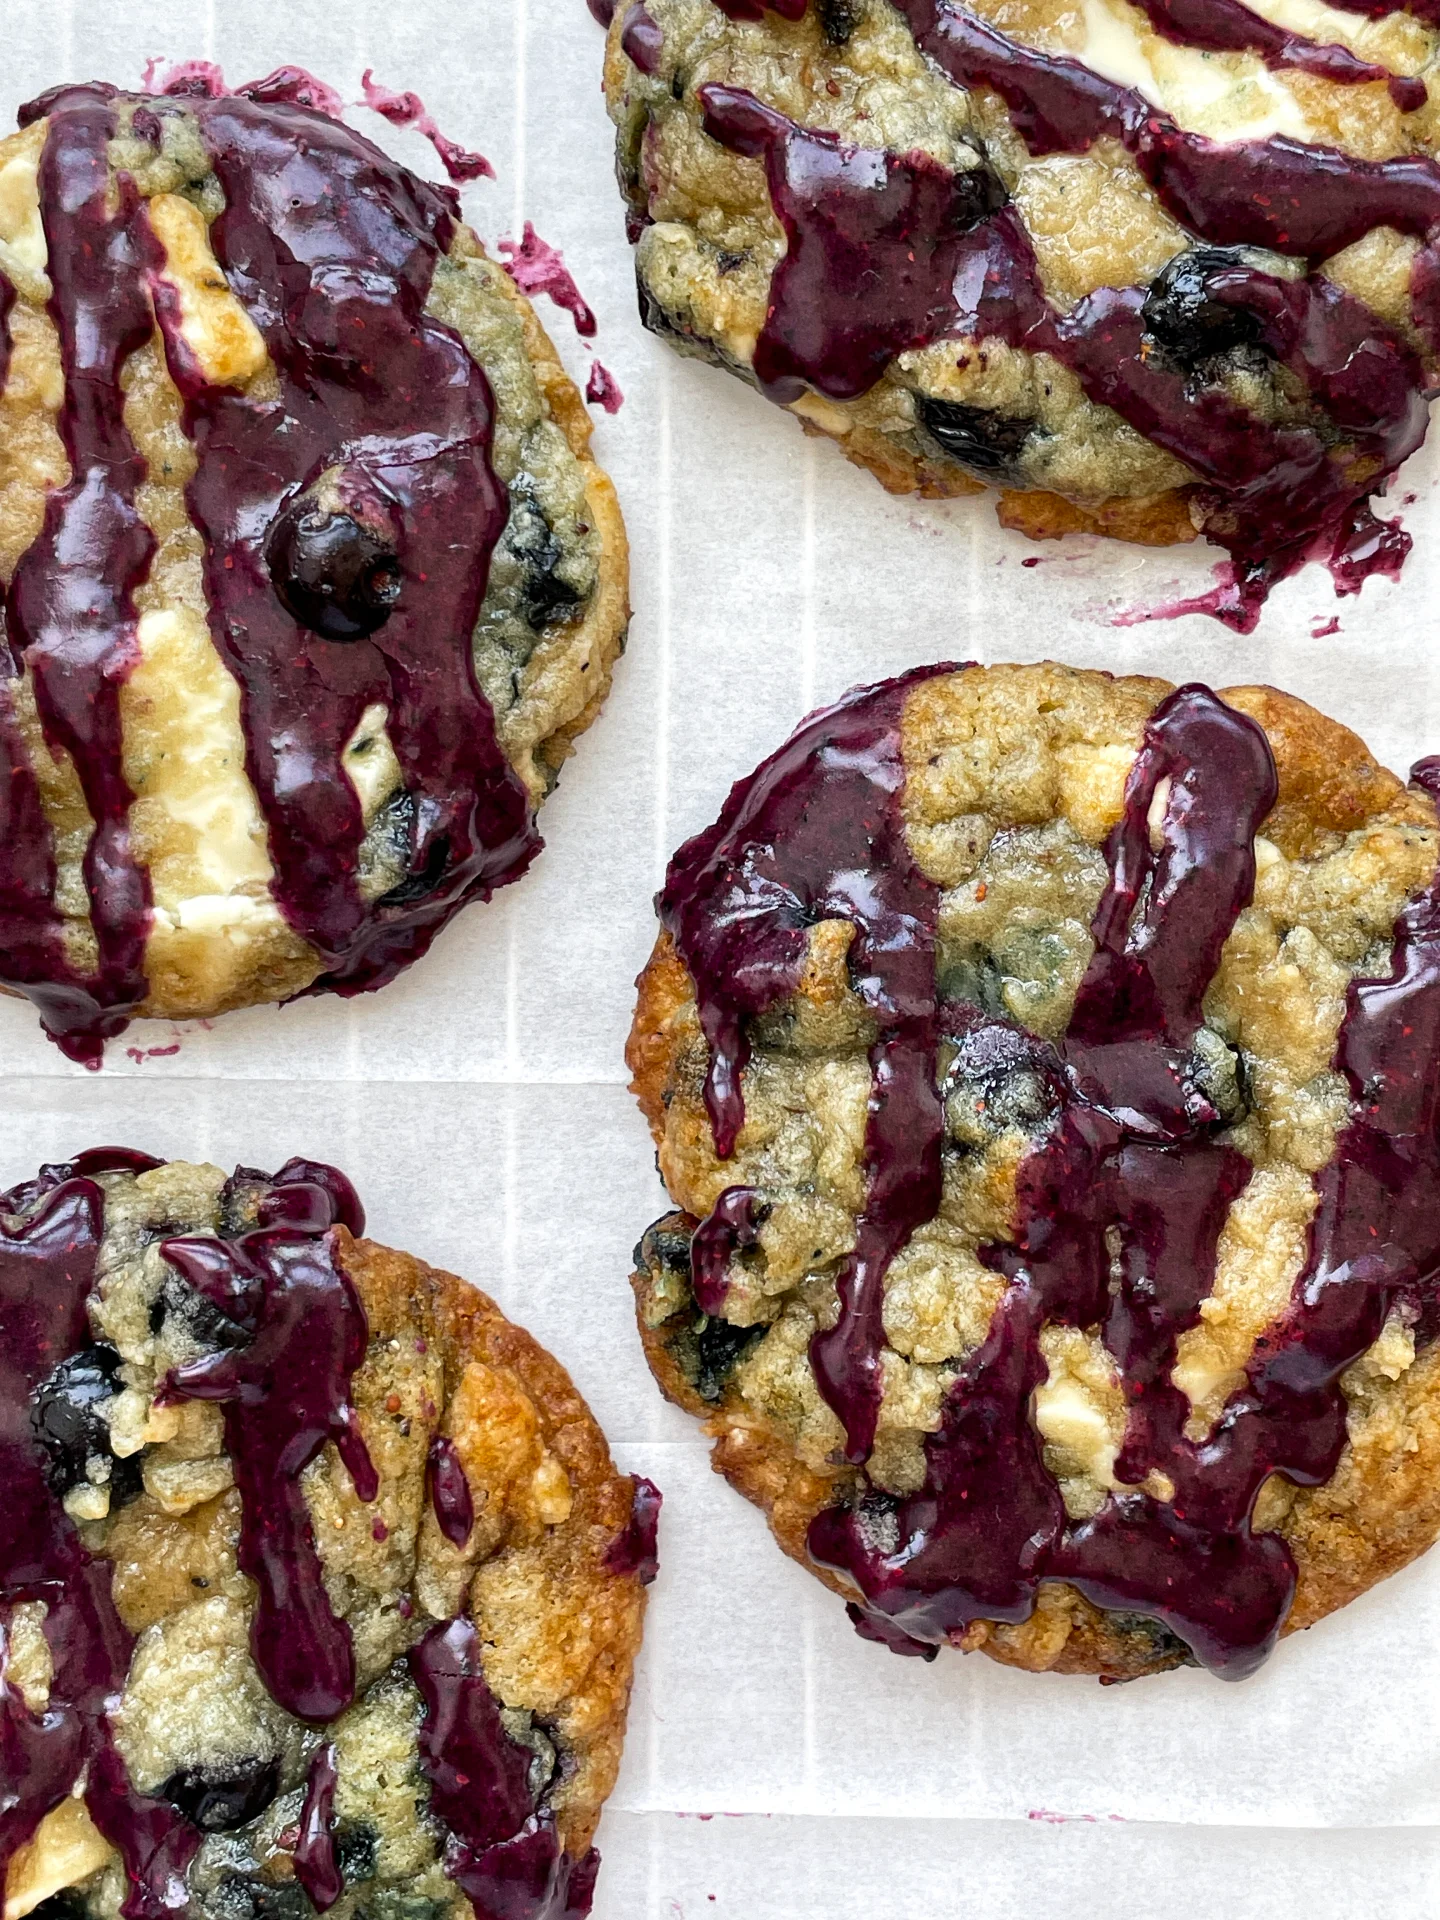
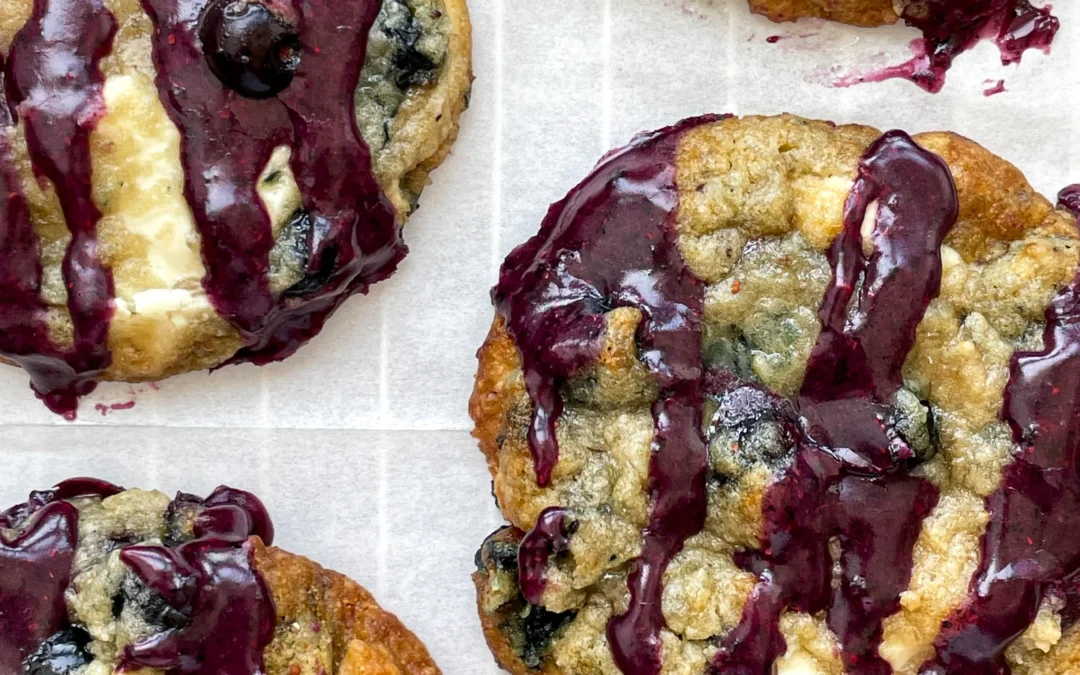
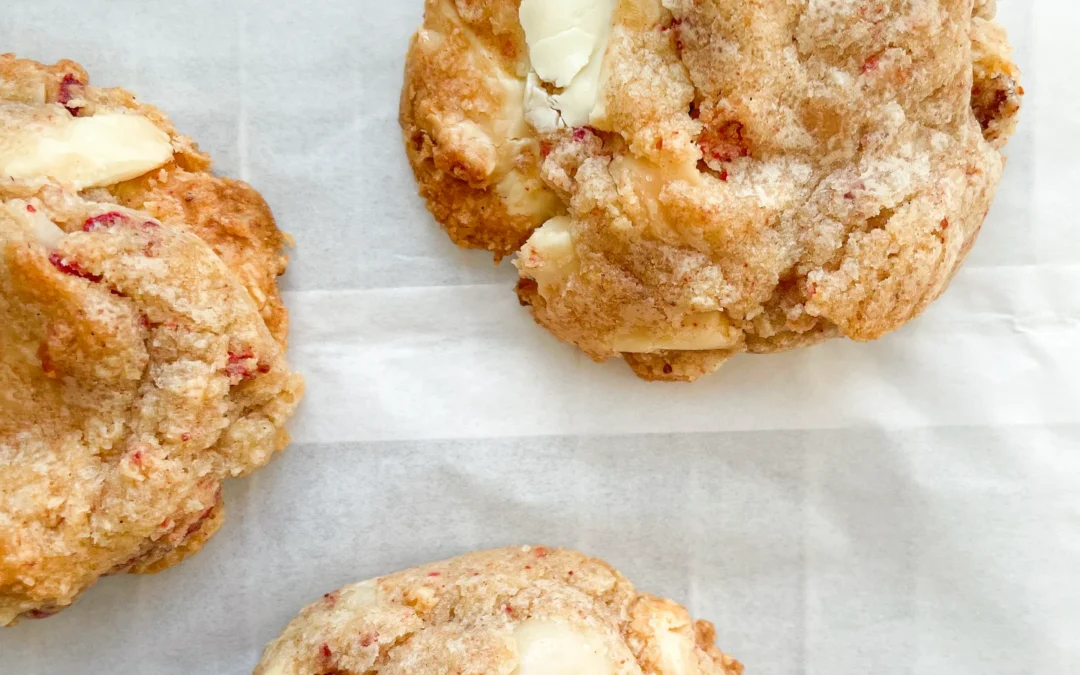
- 150 grams white chocolate
- 75 grams macadamia nuts
- 25 grams freeze-dried strawberries
Instructions
- Melt the butter in a small pot or in the microwave. In a medium bowl, whisk the melted butter together with the brown and white sugar and vanilla extract for a few minutes. Then, add the egg and mix again. Set aside.
- In another bowl, mix the flour, baking soda, and salt. Set aside.
- Roughly chop or crumble the white chocolate, macadamia nuts, and freeze-dried strawberries. Set aside.
- Add everything to the butter-sugar-egg mixture and use a spatula to knead it all together until there’s no more loose flour.
- Use a medium cookie scoop to form the dough into 12 evenly sized balls and place them on parchment paper. Put the dough balls in the fridge for at least 2 hours.
- A few minutes before baking, preheat the oven to 150°C / 302°F. Place the cookie dough balls on a parchment-lined baking sheet, leaving enough space between them, and bake for 10 minutes. Take them out of the oven and let them cool for another 10 minutes. The cookies will be very soft at this point. If you prefer them firmer, leave them in the oven for a few more minutes.
- Passive Time: 2 hrs + 20 min
- Cook Time: 10 min