


Description
RECOMMENDED EQUIPMENT
- sharp knife
- cutting board
- vegetable peeler
- salad spinner
- large frying pan
- two medium-sized pots
- large plate
Ingredients
Units Scale
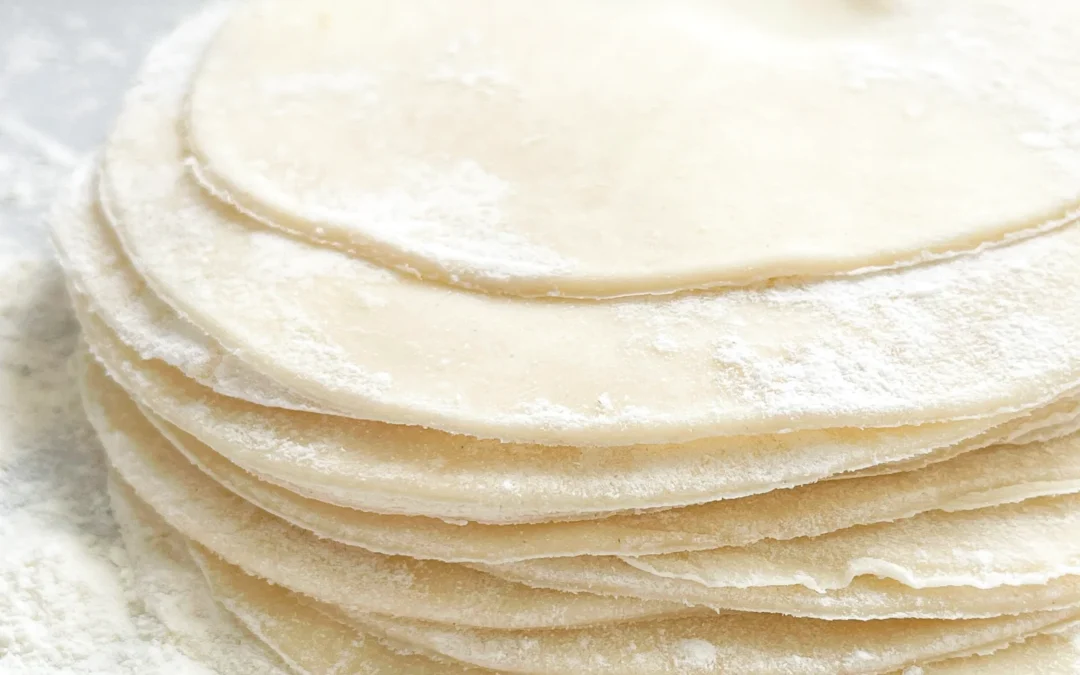
- 32 store-bought or homemade dumpling wrapper
- 200 grams mushrooms
- 200 grams napa cabbage
- 3 spring onions
- 1 carrot
- 1/2 tsp ginger
- 3 garlic cloves, grated
- 1 tbsp cilantro
- 1 tbsp clarified butter
- 1 tbsp soy sauce
- 1/4 tsp sesame oil
- 1/8 tsp ground white pepper
- 800 milliliters water
- 6 tbsp tahini
- 4 tbsp white miso paste
- 2 tbsp crispy chili oil
- 2 tbsp soy sauce
- 2 tbsp rice vinegar
- 2 tsp ginger, grated
- 2 tsp sugar
- 2 garlic cloves, grated
- cilantro
- crispy chili oil
- sesame seeds
Instructions
PREPARATIONS
- Prepare dumpling wrappers or defrost store-bought ones.
- Peel and finely chop or grate the ginger. Set aside.
- Peel and finely chop or press the garlic cloves. Set aside.
- Clean the mushrooms and dice them into small pieces. Set aside.
- Chop the napa cabbage into small pieces and wash it. Set aside.
- Peel and finely dice the carrots. Set aside.
- Pluck the cilantro leaves from the stems and finely chop them. Set aside.
- Separate the green and white parts of the green onions and slice both into fine rings. Set aside.
INSTRUCTIONS
- Heat a large pan over medium heat and add 1 tablespoons of clarified butter. Start by sautéing the white parts of the green onions, ginger, and garlic for a few minutes. Next, add the carrot pieces and sauté for a few more minutes. Then, add the mushroom pieces, mix well, and finally add the napa cabbage. Let the napa cabbage cook until soft, then stir everything together. Remove the pan from the heat and let it cool.
- Once the mixture has cooled down, add 2 tablespoons of chopped cilantro, the green parts of the green onions, 1/4 teaspoon of ground white pepper, 2 tablespoons soy sauce, and 1/2 tablespoon sesame oil. Mix everything well.
- Set up your vegetable filling, the dumpling wrappers, and a small bowl of cold water. Also, prepare a large plate dusted with a little flour where you can place your finished dumplings. Now, put on your favorite series or podcast and start filling your dumplings.
- Take a wrapper and place about 1-1.5 teaspoons of the vegetable mixture in the center. Dip a finger in the water and moisten the edge of the upper half of the wrapper. Fold the wrapper like a taco shell upwards and press the left tip of the wrapper with your left hand. Now, with the right hand’s index finger and thumb, hold the closed tip with your left thumb, place a small fold at the top edge against the backside of the wrapper and press it firmly. Continue this until the wrapper is completely closed and you have a finished dumpling in your hand. Place the finished dumpling on the floured plate. This folding technique might take a little practice. For a visual demonstration, just scroll down to my video at the end of the recipe. Continue this process until all the dumpling wrappers and filling are used up.
- Fill a medium-sized pot with enough water to fill just over half the pot. Bring the water to a boil.
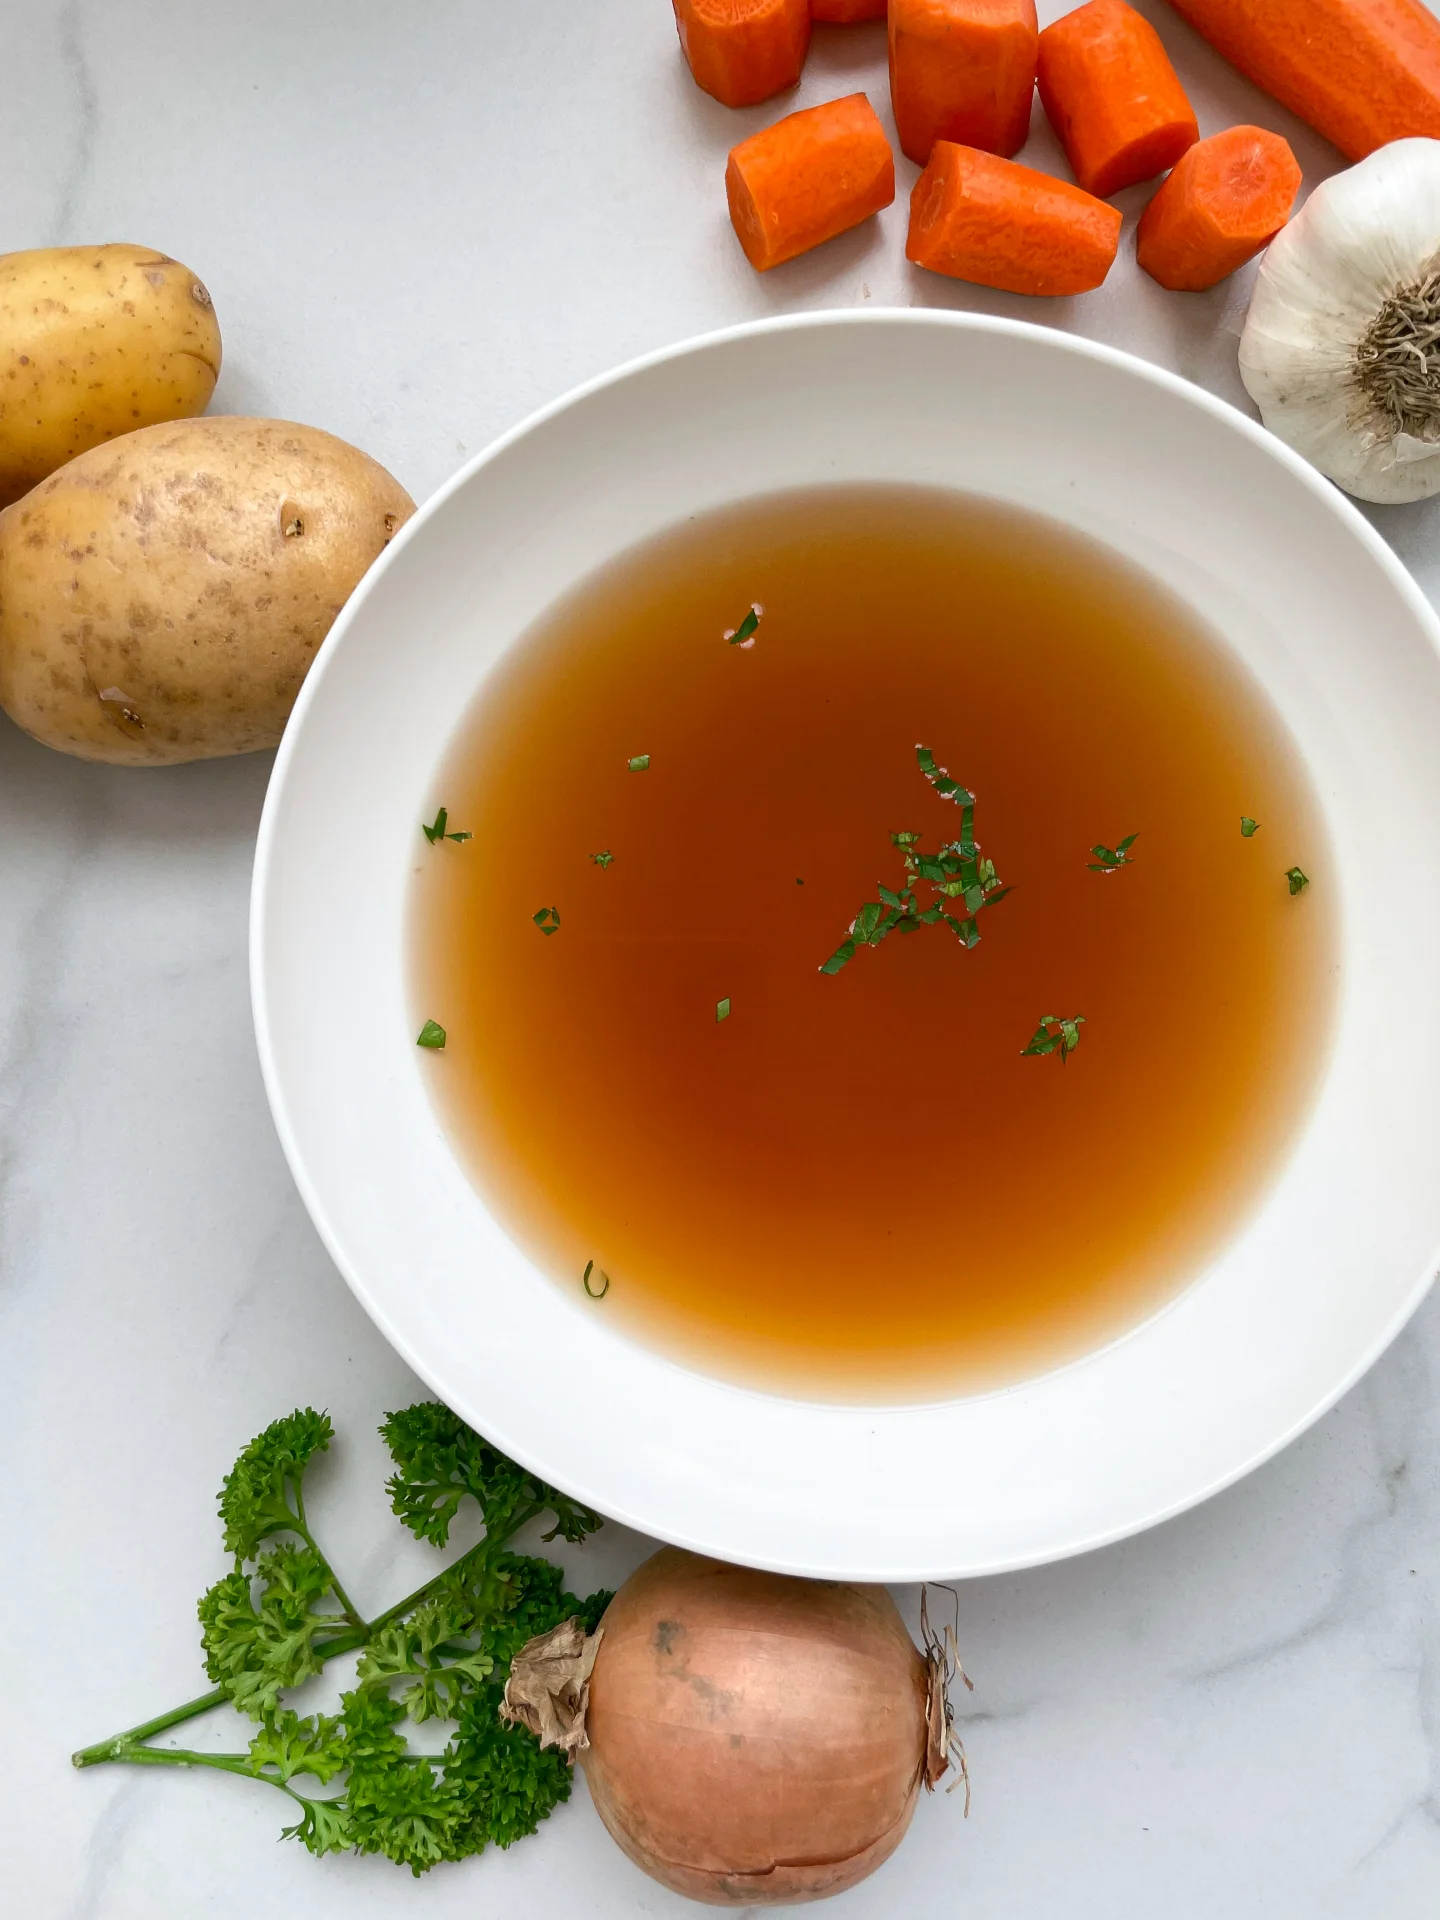
- Meanwhile, you can prepare the Sesame Miso Soup in the other pot. Add the following ingredients to the pot: tahini, white miso paste, soy sauce, rice vinegar, sugar, crispy chili oil, water, and grated garlic and ginger. Bring everything to a simmer over medium heat. Keep the soup on a low flame on the stove.
- Once the water in the other pot is boiling, turn it down slightly and add 6-8 dumplings depending on the size of your pot and let them cook for about 8 minutes. Since dumplings expand while cooking, do not overcrowd your pot. Once the dumplings become translucent and the filling is clearly visible, they are done. Place the dumplings in the bowls in which you want to serve them. Continue this for all dumplings until all are cooked.
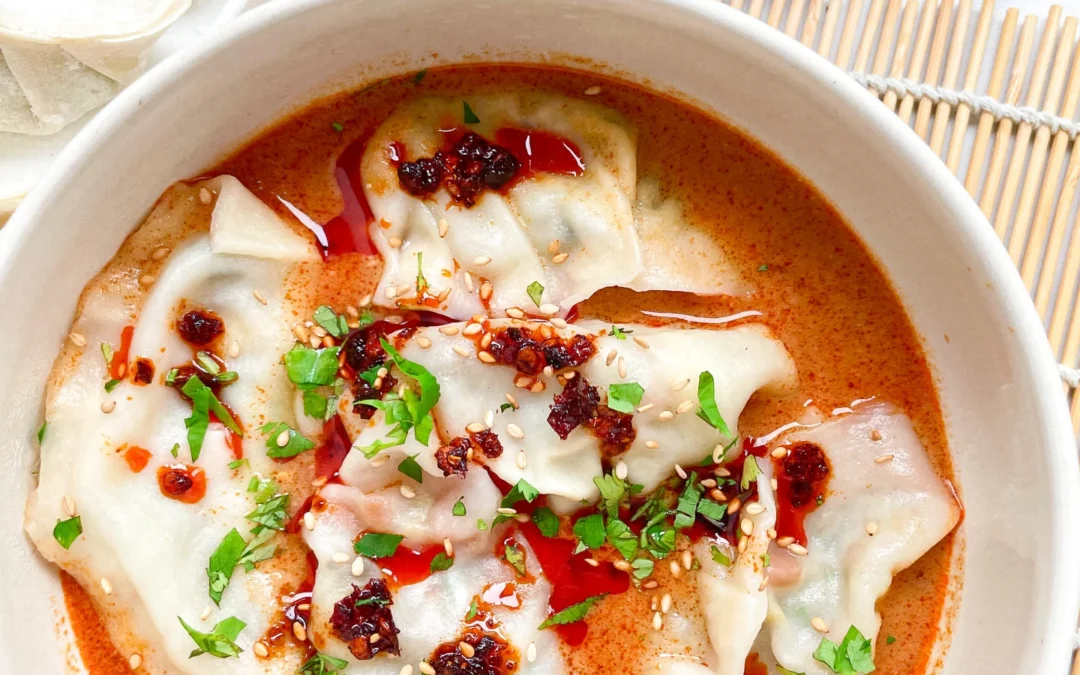
- Once all dumplings are ready, evenly distribute the soup from the other pot over the dumplings. Top each bowl with some cilantro, Crispy Chili Oil, and toasted sesame seeds.
- Passive Time: 20 min
- Cook Time: 70 min