Pink Deviled Eggs

Pink Deviled Eggs

Pink Deviled Eggs
Pink Deviled Eggs

April 17, 2025 by Kimberly

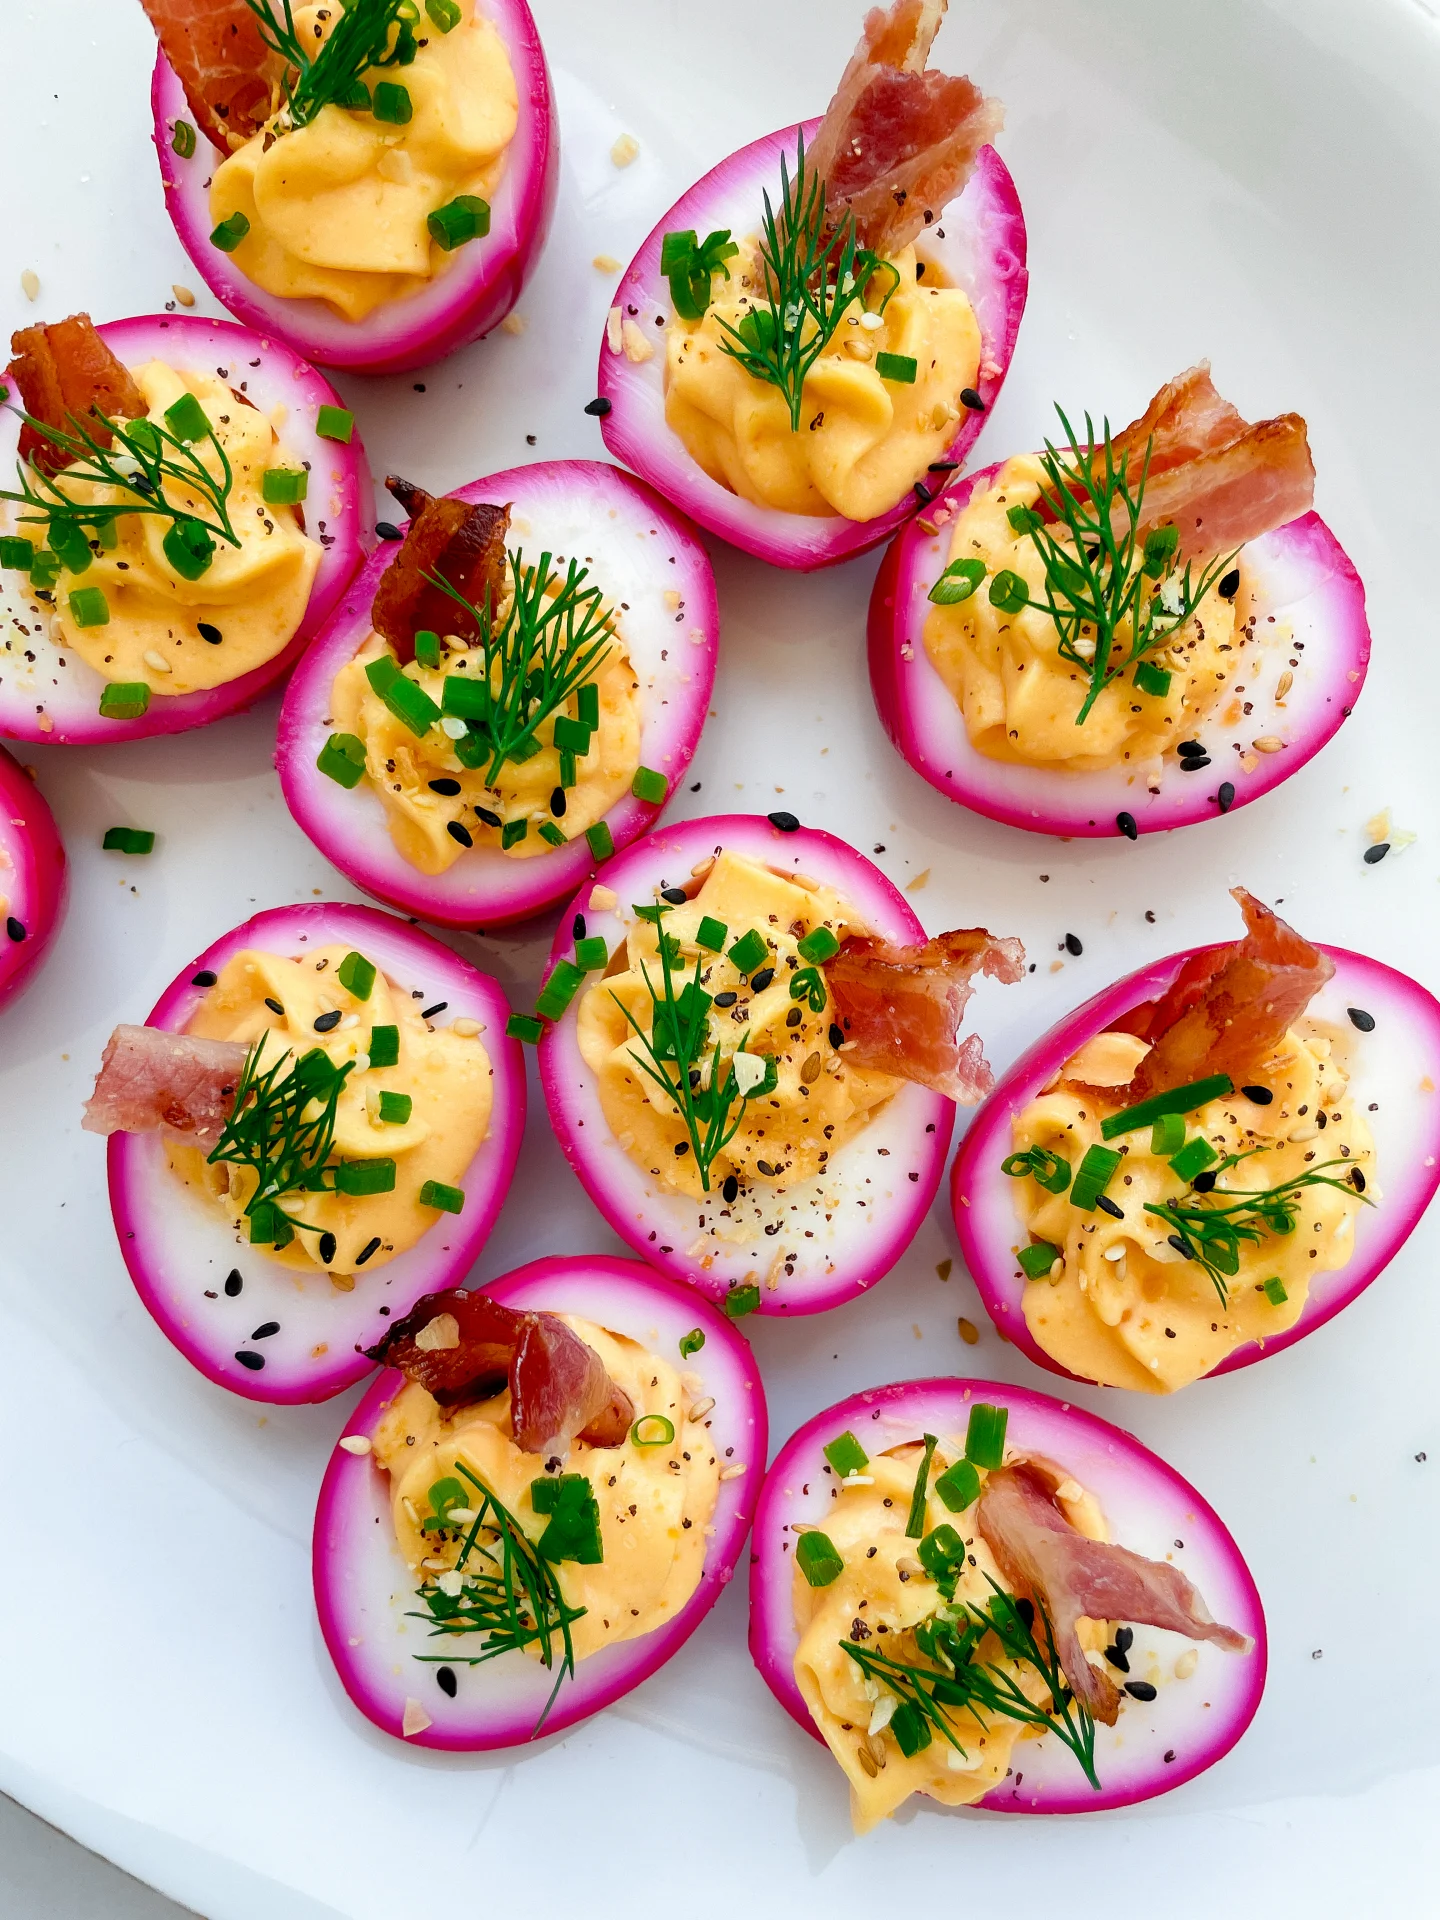
Tangy, creamy, a little crunchy. This snack turns heads and taste buds. Bold color, punchy flavor, and that one friend who says “Wait, what’s in these?” every single time.

2 HOURS
20 MINUTES

EASY

OMNIVORE


INT.


12 PORTIONS

CREAMY

EASTER

APPETIZER

SPRING
SUMMER

INTRODUCTION

ABOUT THE RECIPE

They might look fancy, but these little guys are secretly the easiest crowd-pleaser ever. You know those recipes that make people pause mid-bite and go, “Wait—what is this?” Yeah, it’s one of those. The vibrant color comes from a quick beet juice bath (don’t worry, they’re not beety, just beautiful), and the filling is creamy, tangy, and somehow nostalgic and elevated at the same time. Perfect for Easter brunches or as appetizers for dinner parties.

How to serve
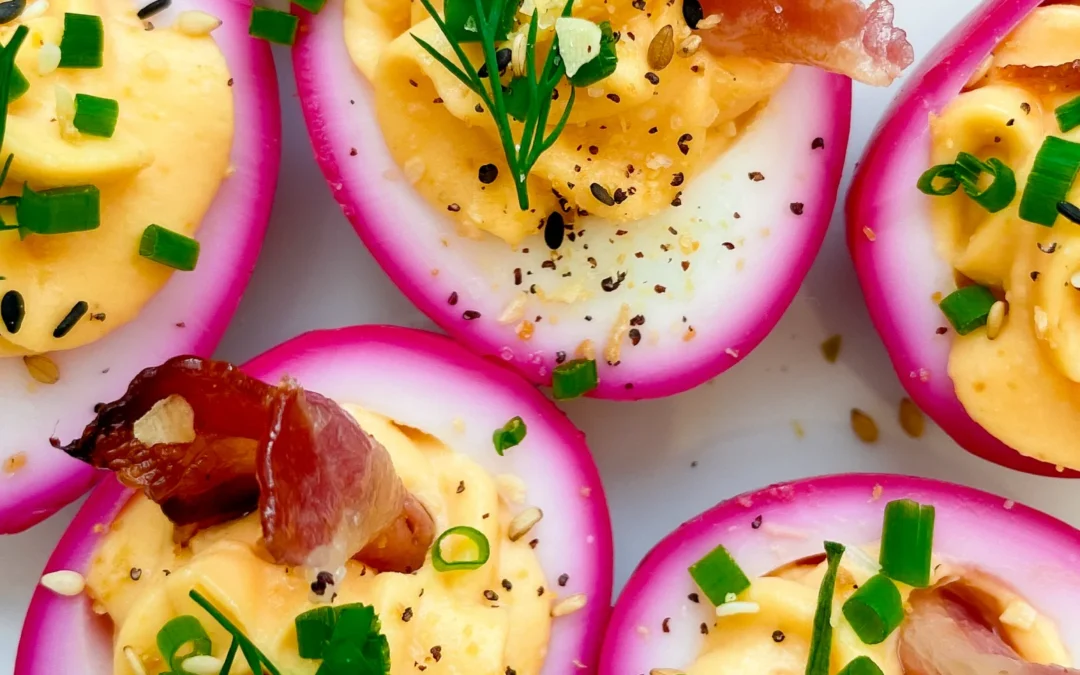
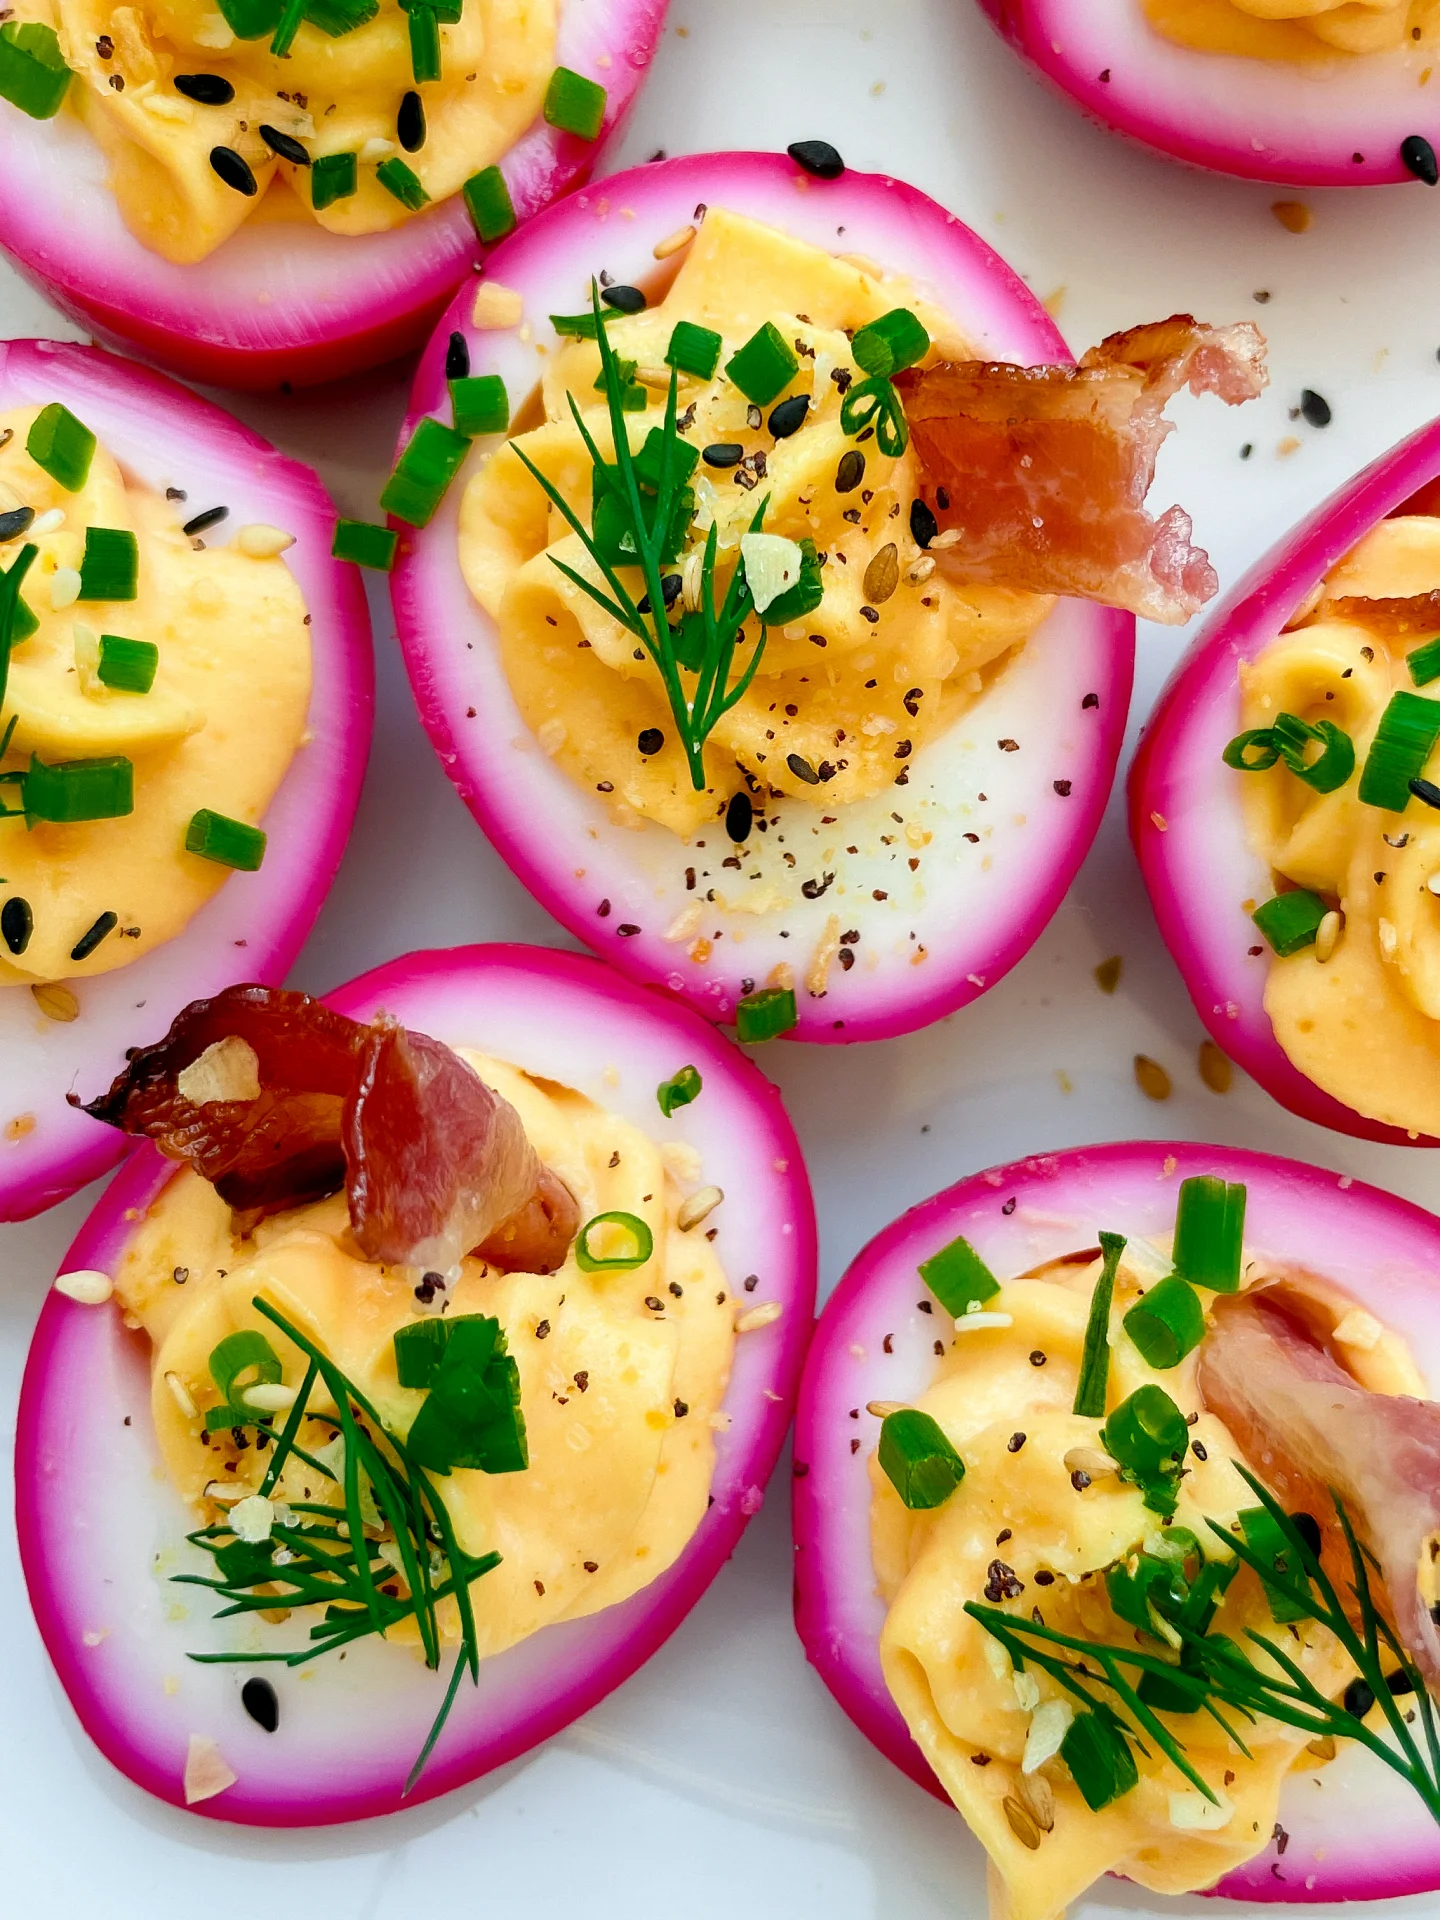
These pop right off the plate, so serve them cold on a pretty platter with a sprinkle of herbs and a little crispy bacon on top. A dusting of everything bagel seasoning makes them feel extra fun and just a little cheeky. Ideal for Easter brunch, a spring picnic, or as that one unexpected hit at your dinner party.

How to store
Store leftovers in an airtight container in the fridge for up to 2 days. The color stays vibrant, and the texture holds up surprisingly well.

Hi, I'm Kimberly!

Hi, I'm Kimberly.

A passionate food lover who believes in the magic of homemade deliciousness that spreads love and warmth. Join me on this culinary adventure as I prepare wonderful dishes and let’s spread some happiness together!

Kimberly the Zett Signature

If you want to get to know me better, click here!


Pink Deviled Eggs
Pink Deviled Eggs
Pink Deviled Eggs
„Let’s make a piece of happiness“
Print
clock clock iconcutlery cutlery iconflag flag iconfolder folder iconinstagram instagram iconpinterest pinterest iconfacebook facebook iconprint print iconsquares squares iconheart heart iconheart solid heart solid icon
Pink Deviled Eggs

Pink Deviled Eggs


5 Stars 4 Stars 3 Stars 2 Stars 1 Star

No reviews

  • Author: Kimberly
  • Total Time: 2 hrs + 2 min
  • Yield: 12 1x

Description

RECOMMENDED EQUIPMENT

  • small pot
  • two small bowls
  • immersion blender (or regular one)
  • piping bag & star tip (optional)
  • sharp knife
  • cutting board

Ingredients

Units Scale
  • 6 eggs
  • 400 milliliters beetroot juice

FILLING

  • (the yolks from the 6 eggs)
  • 4 tbsp mayonnaise
  • 1 tsp dijon mustard
  • 2 tsp lemon juice
  • 1/2 tsp garlic powder
  • 1 tsp onion powder
  • salt & pepper to taste

TOPPINGS

  • 2 bacon slices
  • fresh dill
  • fresh chives
  • everything but the bagel seasoning

Instructions

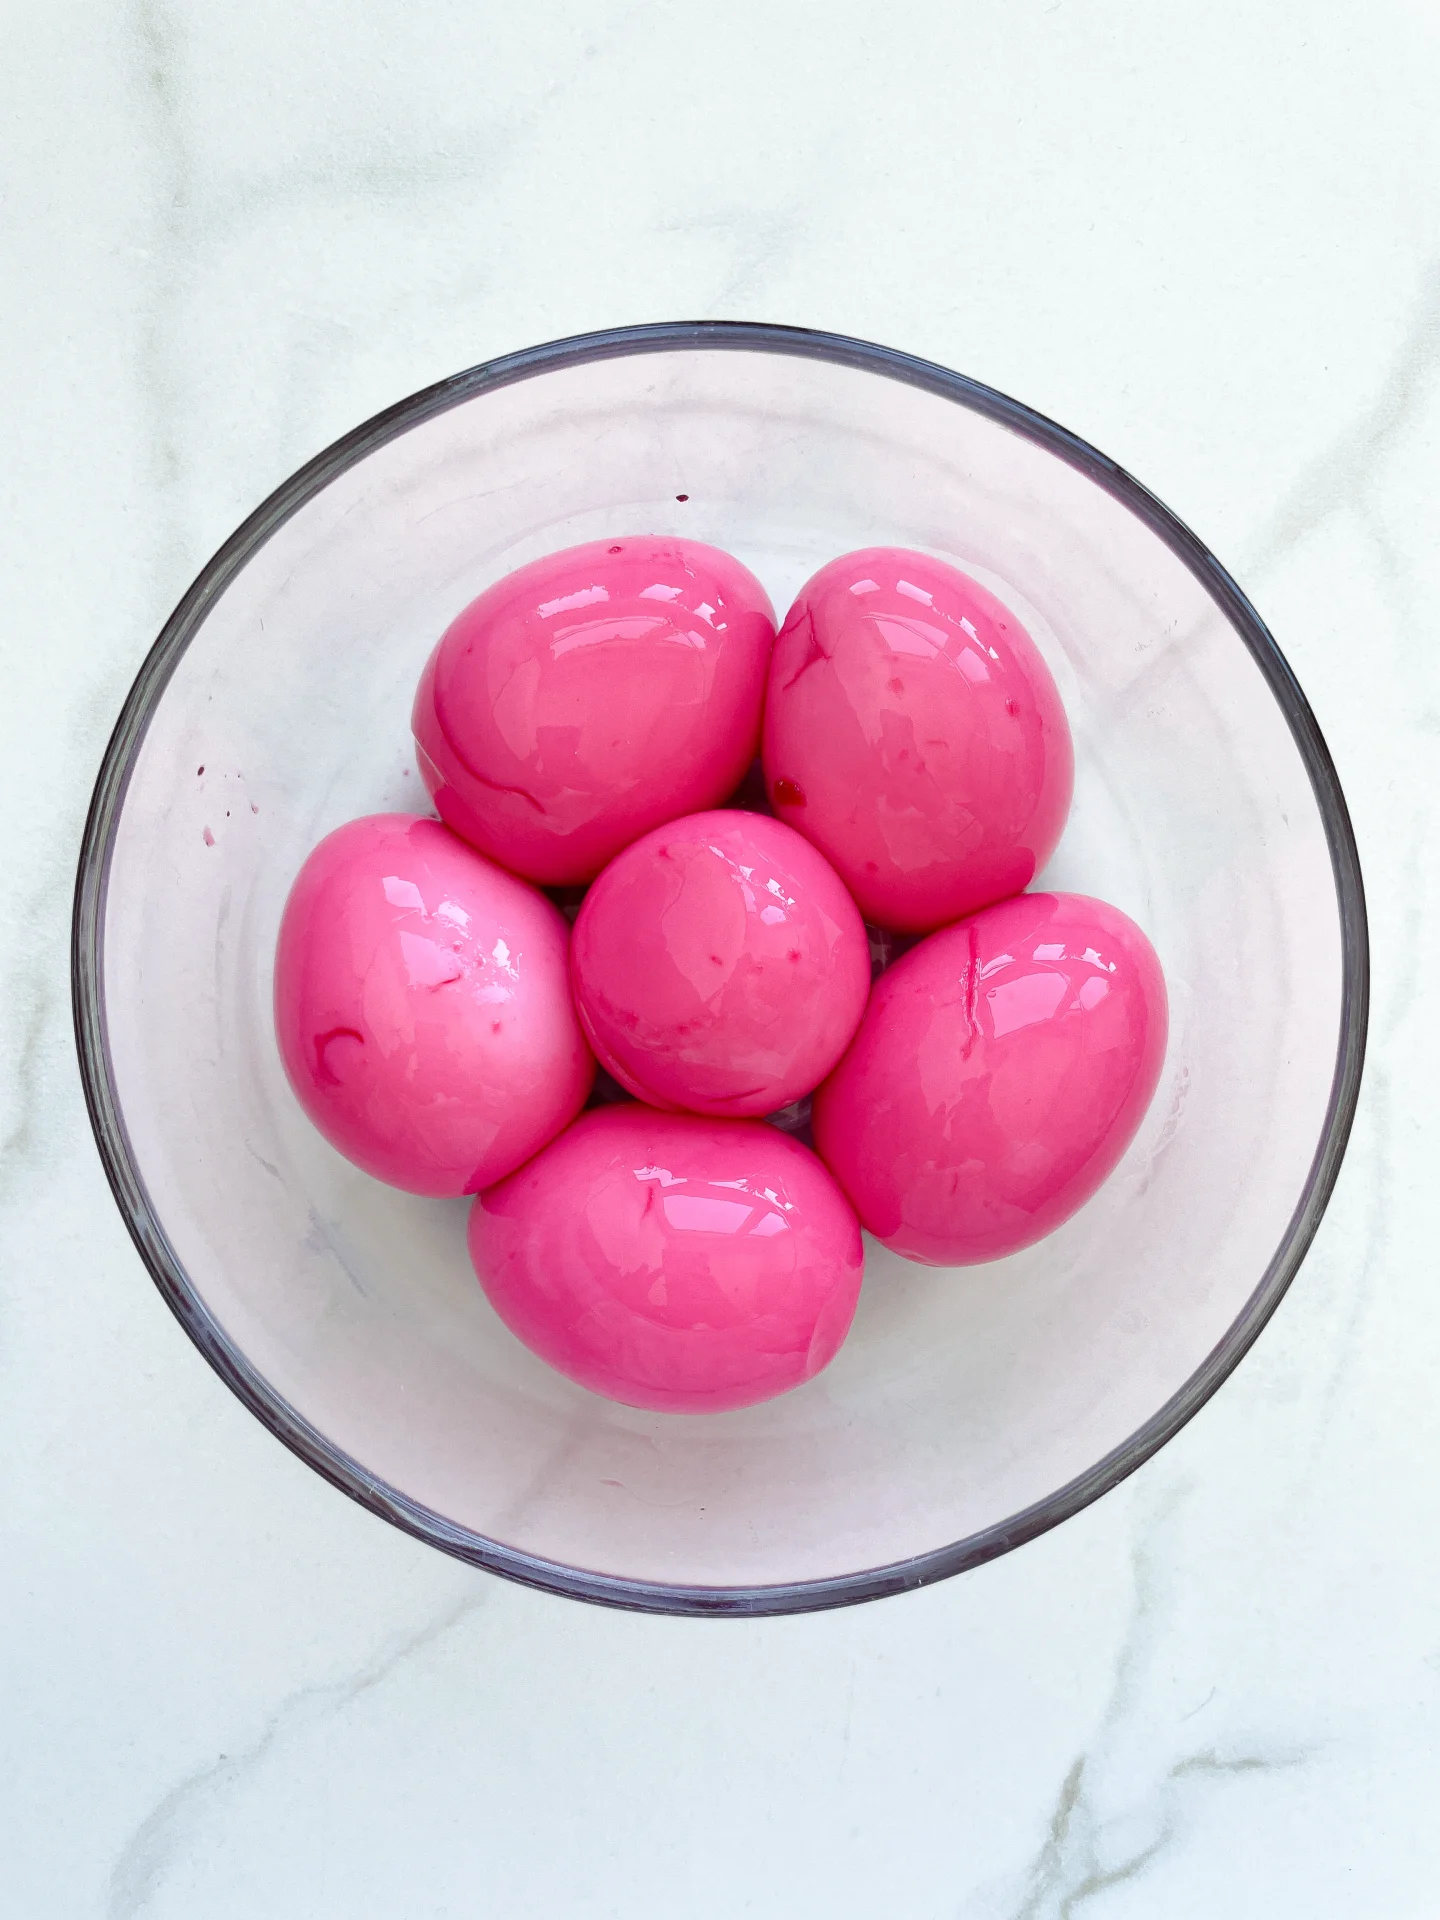
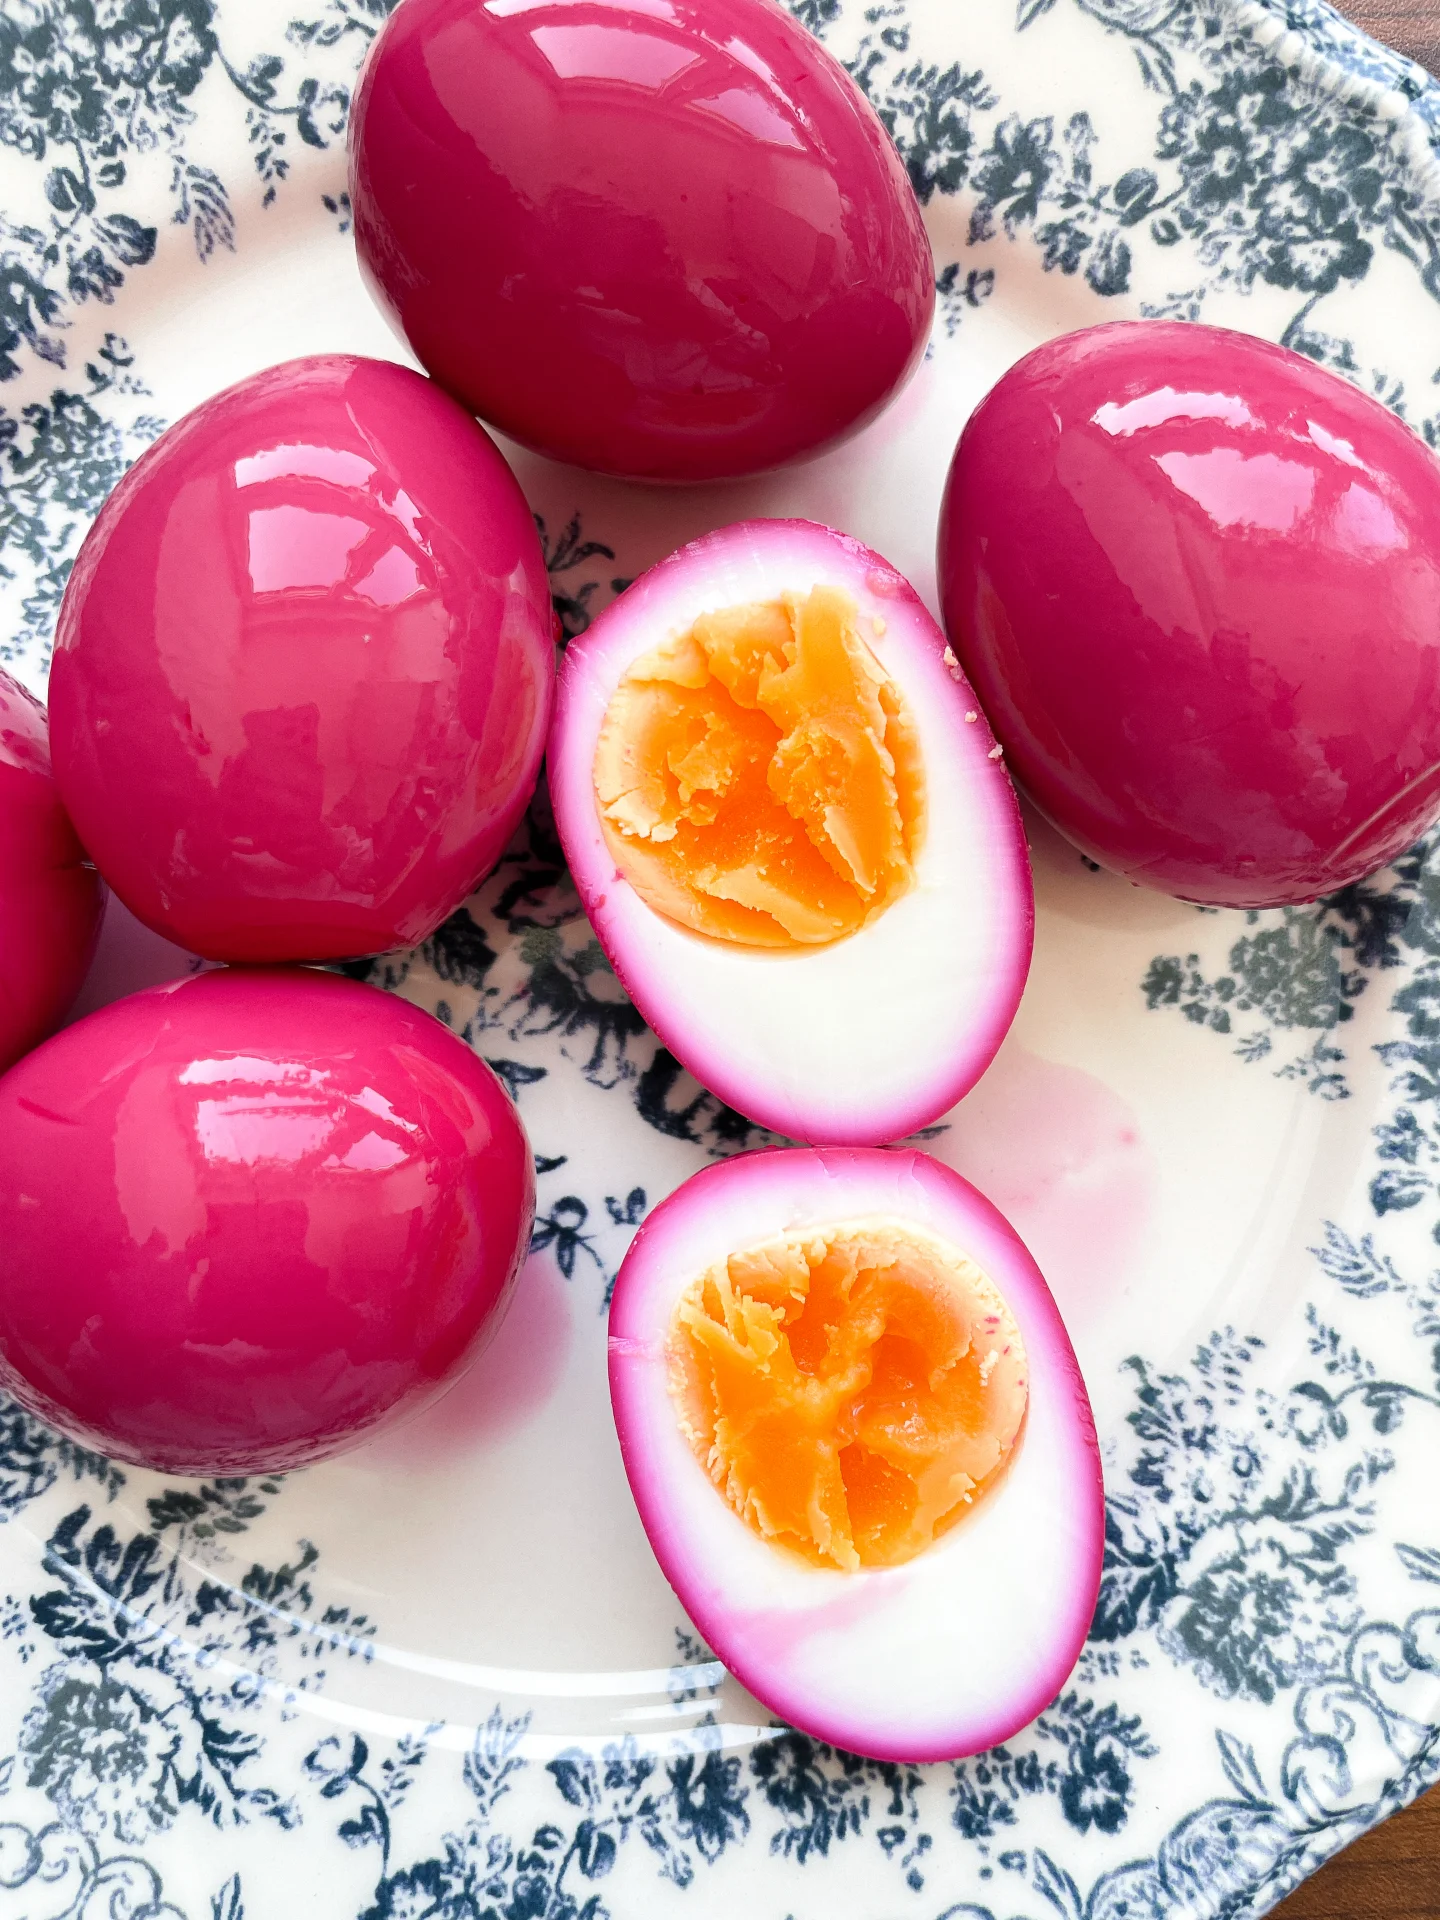
  1. Boil the eggs for 8 minutes. Then transfer them to a bowl of cold water and let them sit for about 5 minutes. After that, pour out the water and add the beet juice to the same bowl. While the eggs are still warm, peel them completely and let them soak in the beet juice for about 2 hours.
  2. Meanwhile, cook the bacon until super crispy. Set it aside and let it cool down.
  3. After marinating, carefully slice the eggs in half lengthwise using a sharp knife. Be sure to wipe the knife after each egg to keep the next one looking clean and neat.
  4. Gently scoop out the yolks from the 6 eggs and place them in a separate bowl. Mix with mayo, lemon juice, mustard, garlic powder, onion powder, and salt and pepper to taste. Blend everything until smooth using an immersion blender. You can either fill the egg halves using a piping bag with a star tip (looks extra cute) or just use two spoons. It works either way. Pipe or spoon the filling into each egg half until all the mix is used up.
  5. For the topping, I used crispy bacon, fresh chives, fresh dill, and a generous sprinkle of Everything Bagel Seasoning. But honestly? You can top them with whatever makes your heart happy.
  • Passive Time: 2 hrs
  • Cook Time: 20 min

Turkish-Style Eggs on Lemon Yogurt with Chili Butter

Turkish-Style Eggs on Lemon Yogurt with Chili Butter

Turkish-Style Eggs on Lemon Yogurt with Chili Butter

Turkish-Style Eggs on Lemon Yogurt with Chili Butter

April 5, 2025 by Kimberly

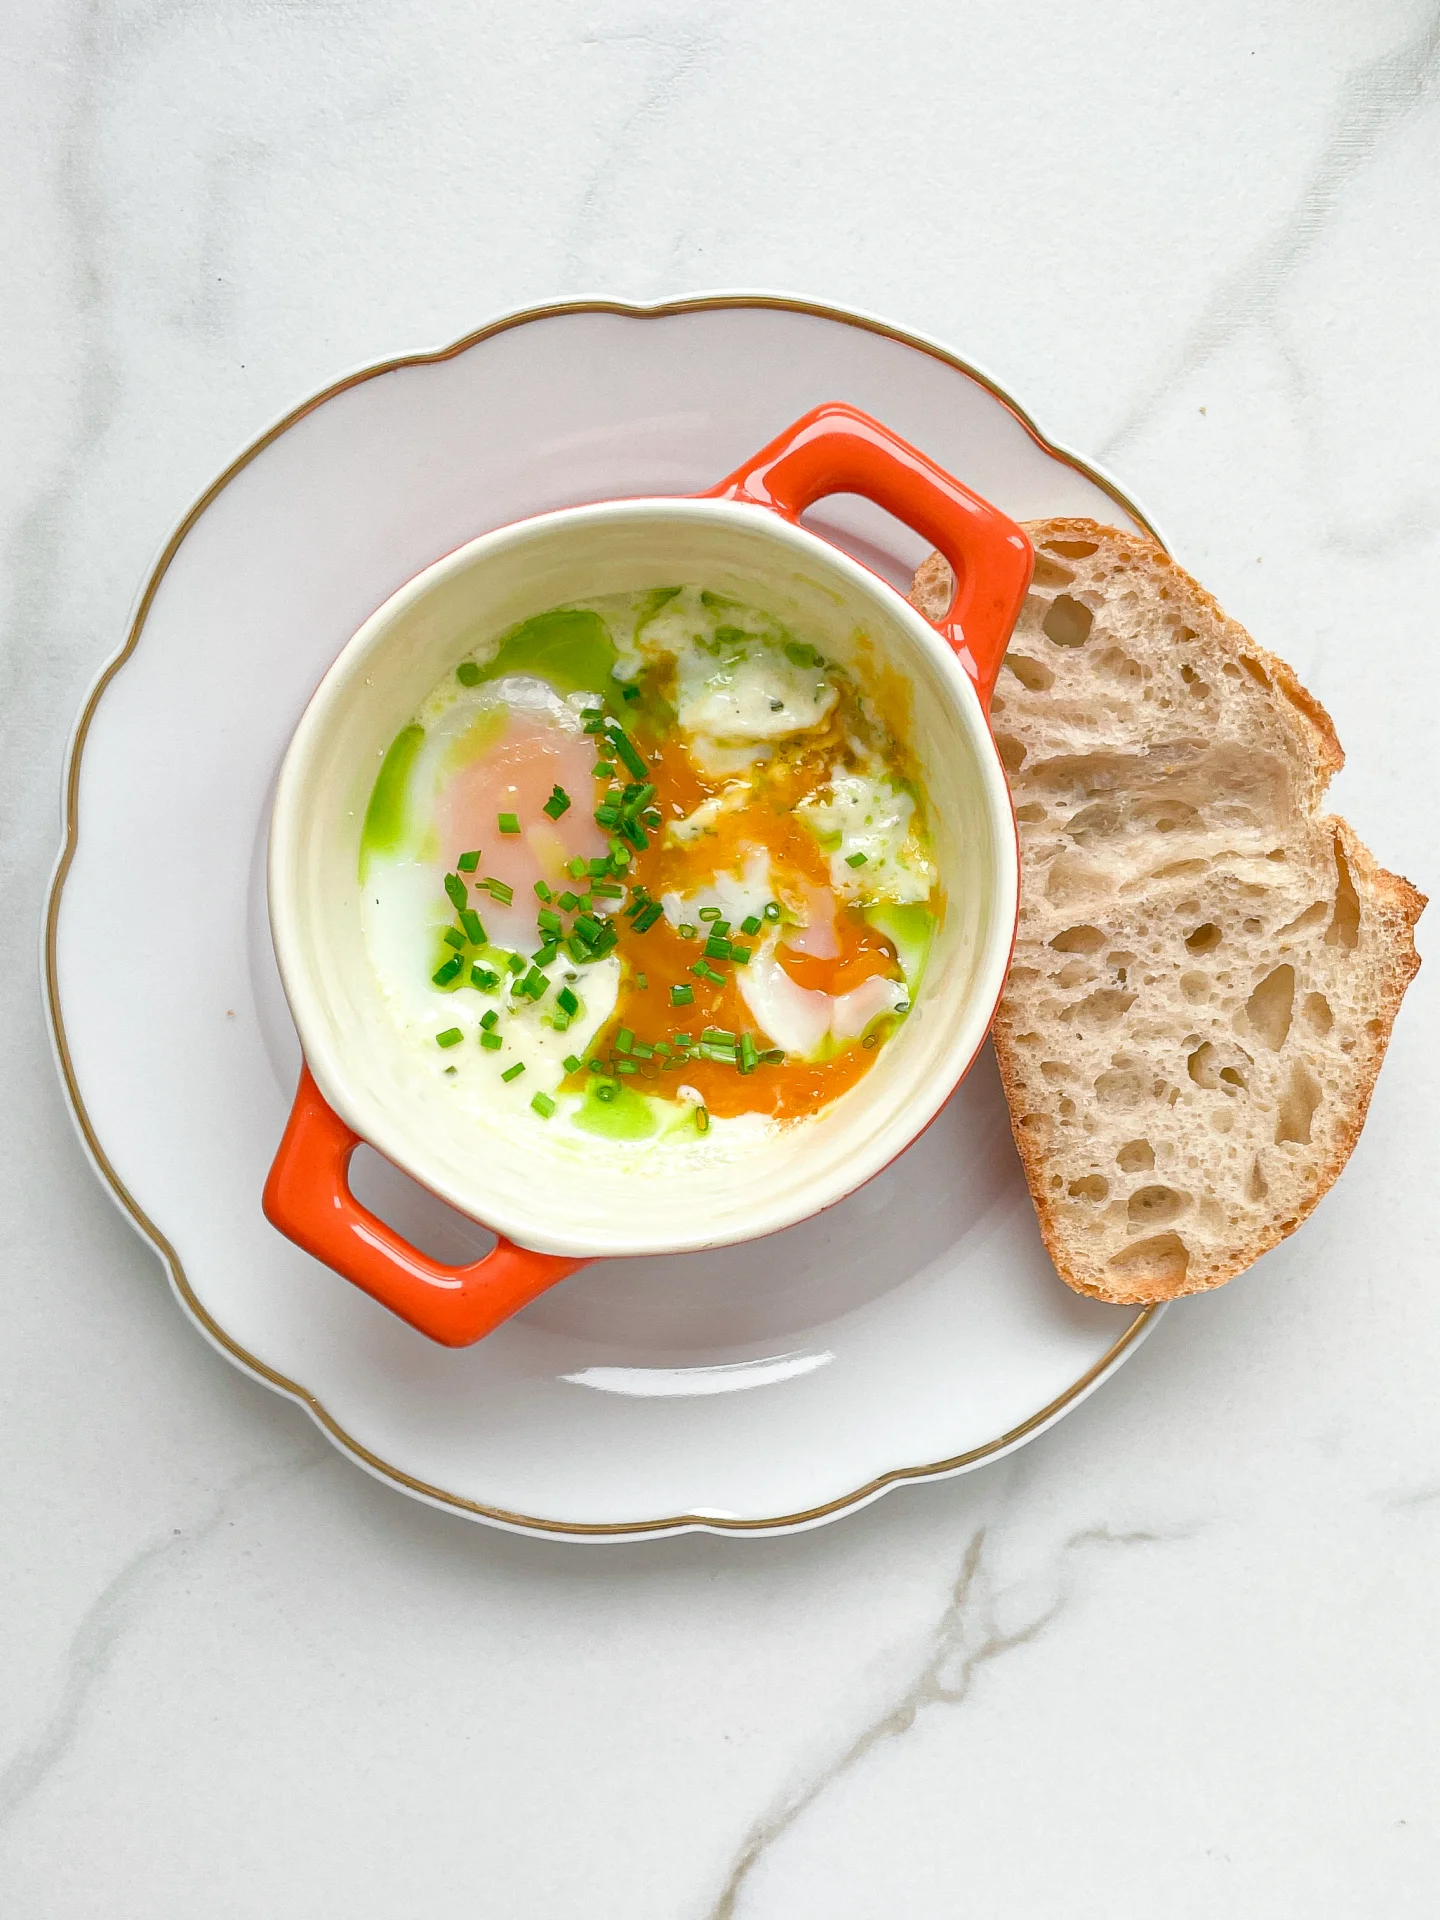
The moment the warm butter hits the cold lemony yogurt, everything in life makes sense again. Silky eggs, spice, tang, drama: this is breakfast, brunch, lunch you name it and “I deserve this” energy.

15 MINUTES

EASY

VEGETARIAN

TURKISH

2 PORTIONS

CREAMY

EVERYDAY

LUNCH

ALL YEAR

INTRODUCTION

ABOUT THE RECIPE

It’s creamy, lemony, just the right kind of spicy, and somehow manages to be elegant and comforting at the same time. Think of it as your new go-to brunch move when you want something easy that feels elevated. Or when you’re slightly dramatic about lunch (like me).

How to serve
Best served still warm, the yogurt slightly chilled, the eggs just done, and the chili butter piping hot so it melts and swirls. Spoon it all together with fresh herbs (I love dill, parsley, or chives) and a hunk of crusty bread. It’s the kind of meal that makes people ask, “Wait, what is this?”

How to store
You can prep the yogurt mix a day ahead. Store it in the fridge in a sealed container. And you can easily boil your eggs a few days in advance, and just reheat the chili butter quickly in a pan when ready to serve.

Hi, I'm Kimberly!

Hi, I'm Kimberly.

A passionate food lover who believes in the magic of homemade deliciousness that spreads love and warmth. Join me on this culinary adventure as I prepare wonderful dishes and let’s spread some happiness together!

Kimberly the Zett Signature

If you want to get to know me better, click here!


Turkish-Style Eggs on Lemon Yogurt with Chili Butter
„Let’s make a piece of happiness“
Print
clock clock iconcutlery cutlery iconflag flag iconfolder folder iconinstagram instagram iconpinterest pinterest iconfacebook facebook iconprint print iconsquares squares iconheart heart iconheart solid heart solid icon
Turkish-Style Eggs on Lemon Yogurt with Chili Butter

Turkish-Style Eggs on Lemon Yogurt with Chili Butter


  • Author: Kimberly
  • Total Time: 15 min
  • Yield: 2 1x

Description

RECOMMENDED EQUIPMENT

  • small pan
  • toaster
  • small pot
  • sharp knife
  • cutting board

Ingredients

Units Scale

LEMON YOGURT

  • 300 grams yogurt
  • 2 garlic cloves
  • zest of 1 lemon
  • salt & pepper to taste

CHILI BUTTER

  • 40 grams butter
  • 1 tsp chili flakes (or store-bought crispy chili oil)

OTHER INGREDIENTS

  • 2 slices sourdough bread
  • 4 eggs
  • parsley
  • sumach, optional

Instructions

  • Bring water to a boil and cook the eggs for about 7 minutes, just enough so the yolks stay soft and runny.
  • While the eggs are cooking, mix the yogurt with grated garlic, lemon zest, salt, and pepper. Spread the yogurt onto two plates and smooth it out.
  • In a small pan, melt the butter until it starts to bubble. Add the chili flakes and warm it briefly, then set aside. For a faster option just use some of that store-bought crispy chili oil
  • Toast the bread and finely chop the herbs.
  • Peel the eggs and place them on top of the yogurt. Slice them in half, drizzle everything with the chili butter, sprinkle over the herbs, and serve with the toasted bread.
  • Cook Time: 15 min

Passionfruit Mango Coconut Lassi

Passionfruit Mango Coconut Lassi

Passionfruit Mango Coconut Lassi

Passionfruit Mango Coconut Lassi

March 24, 2025 by Kimberly

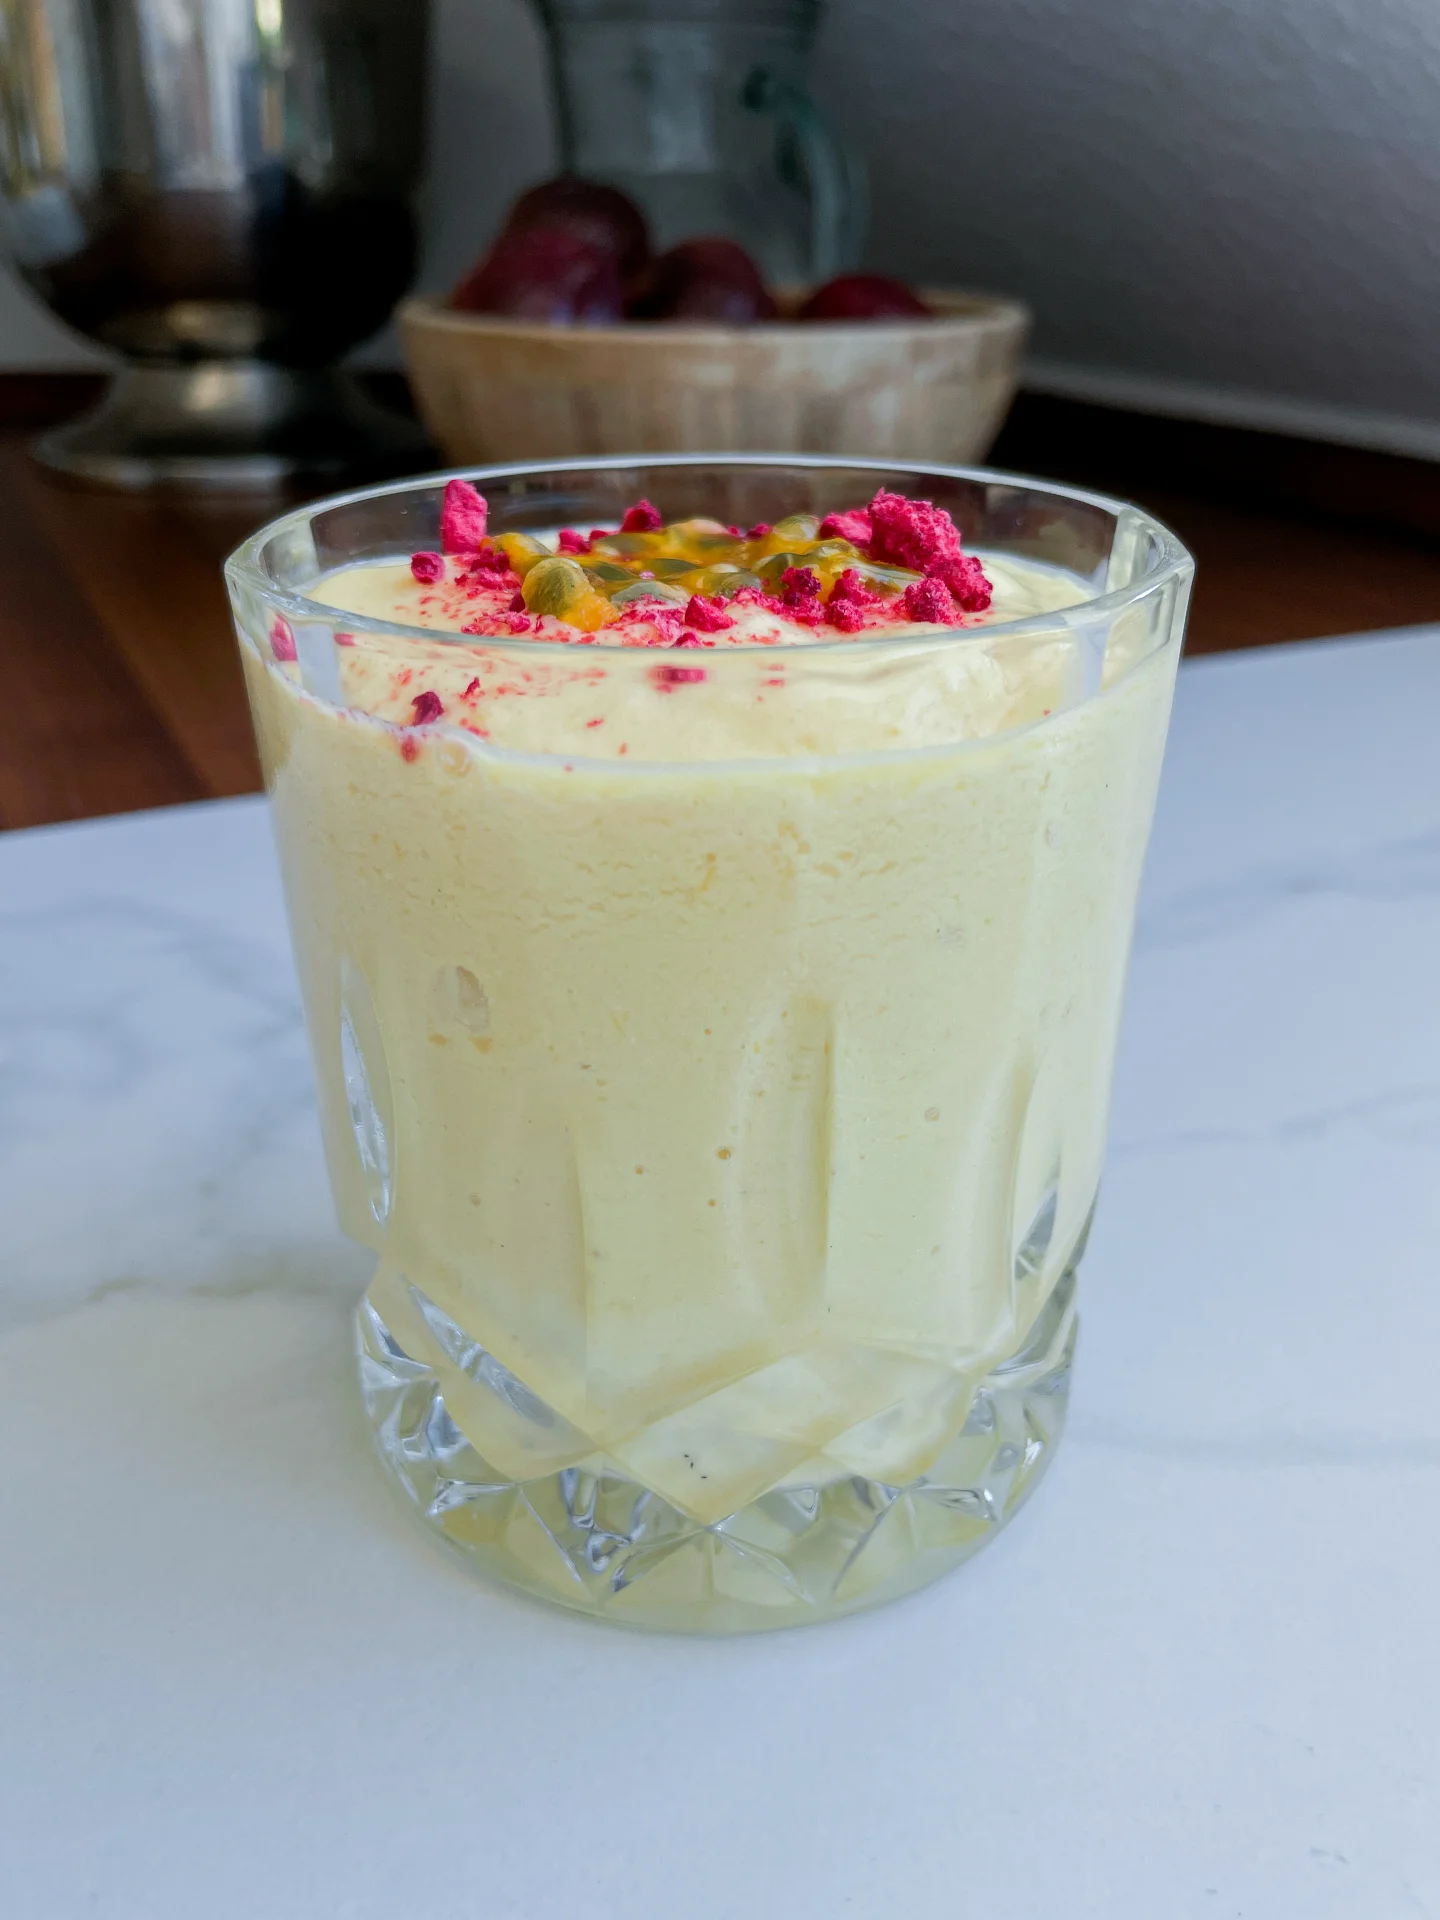
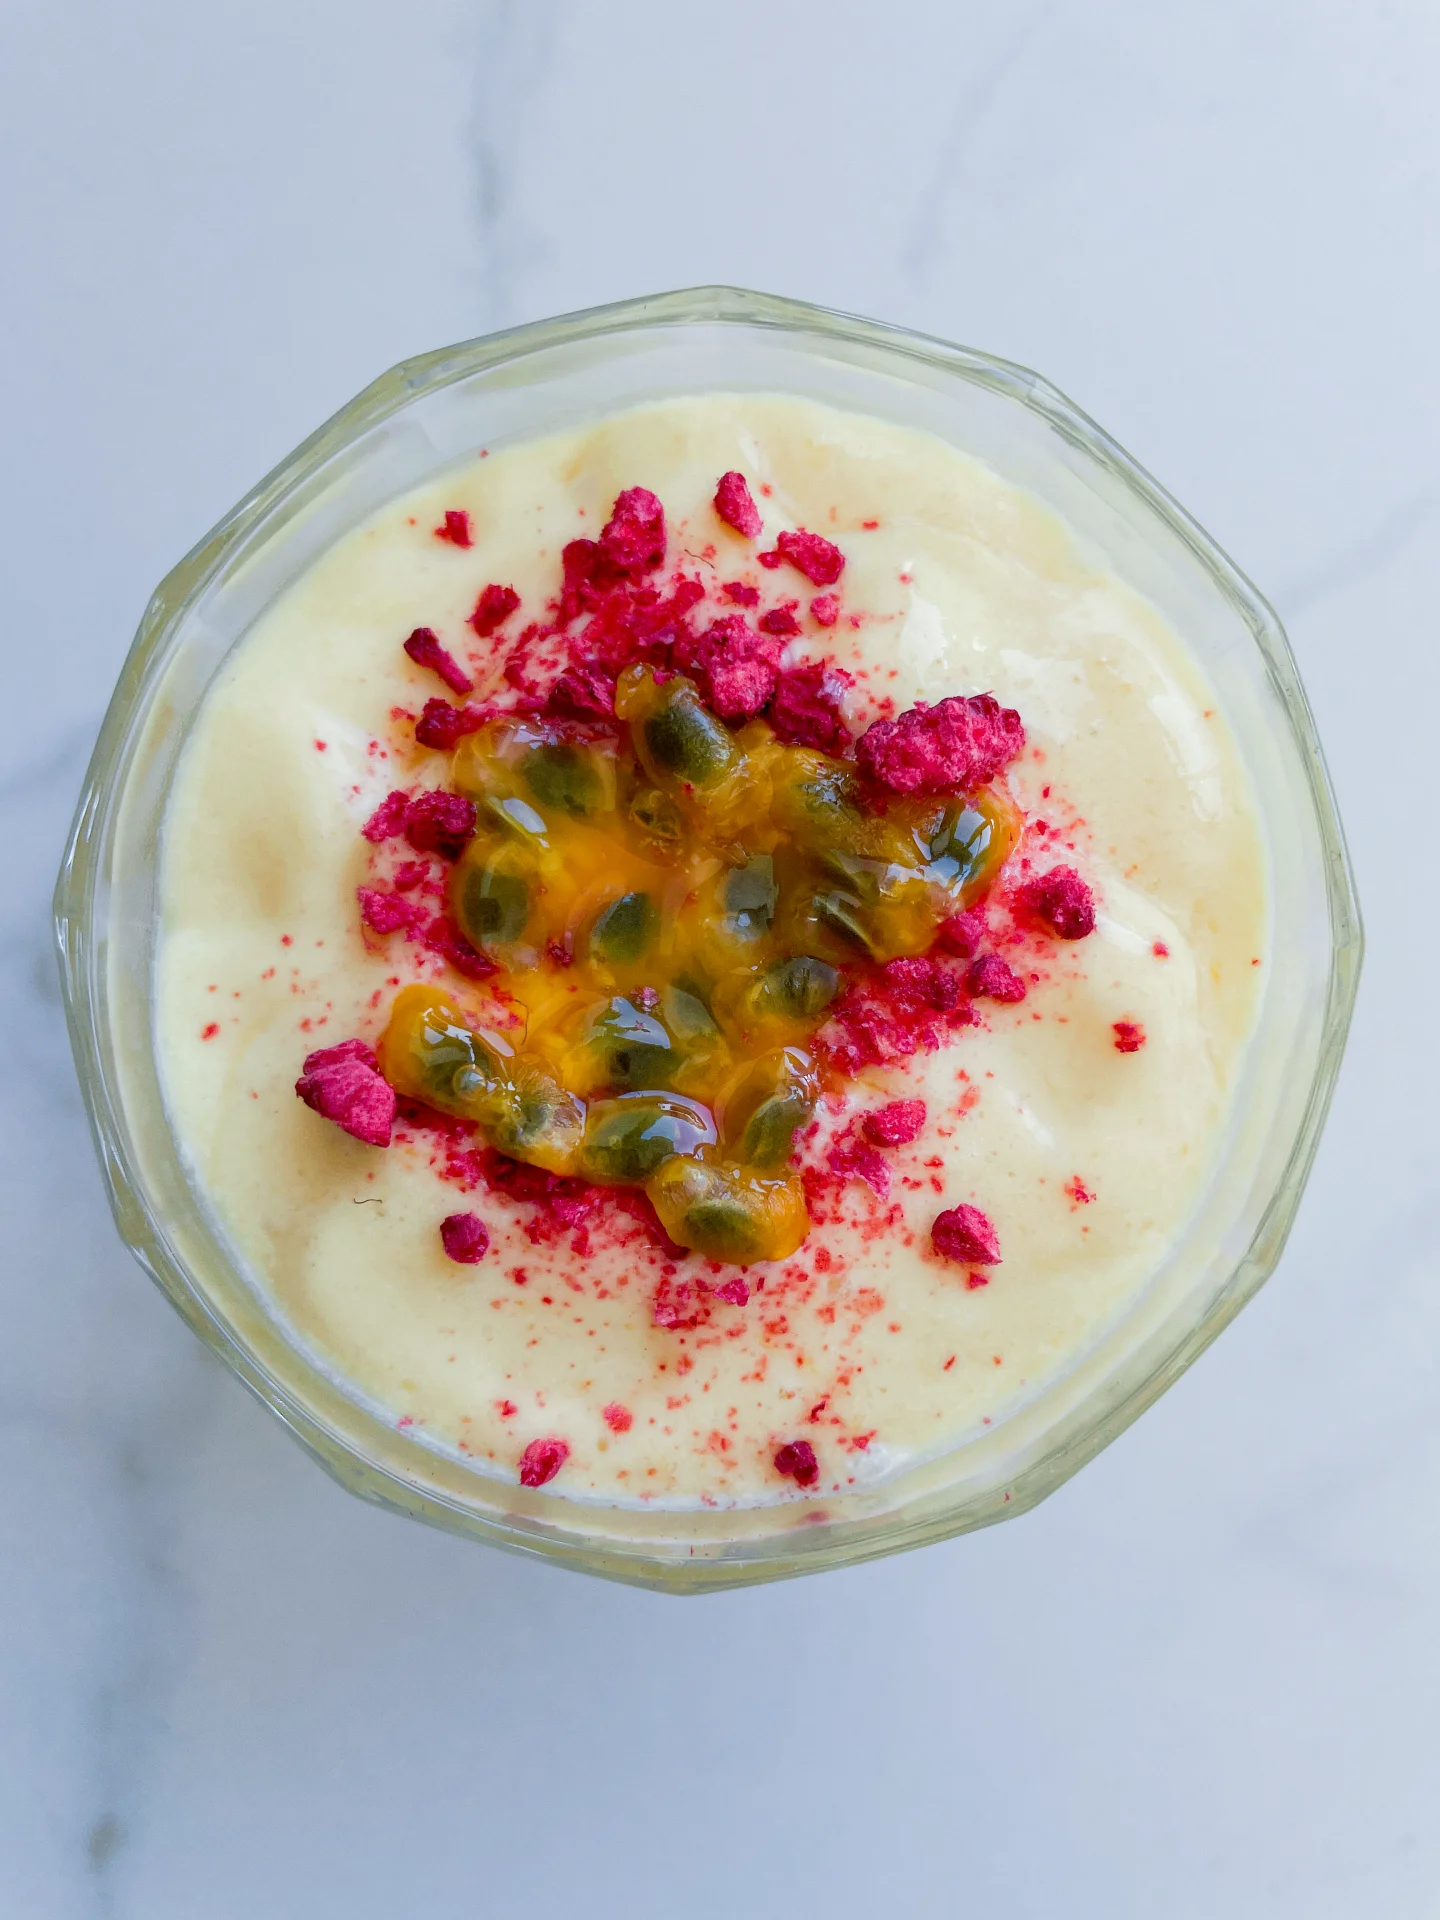
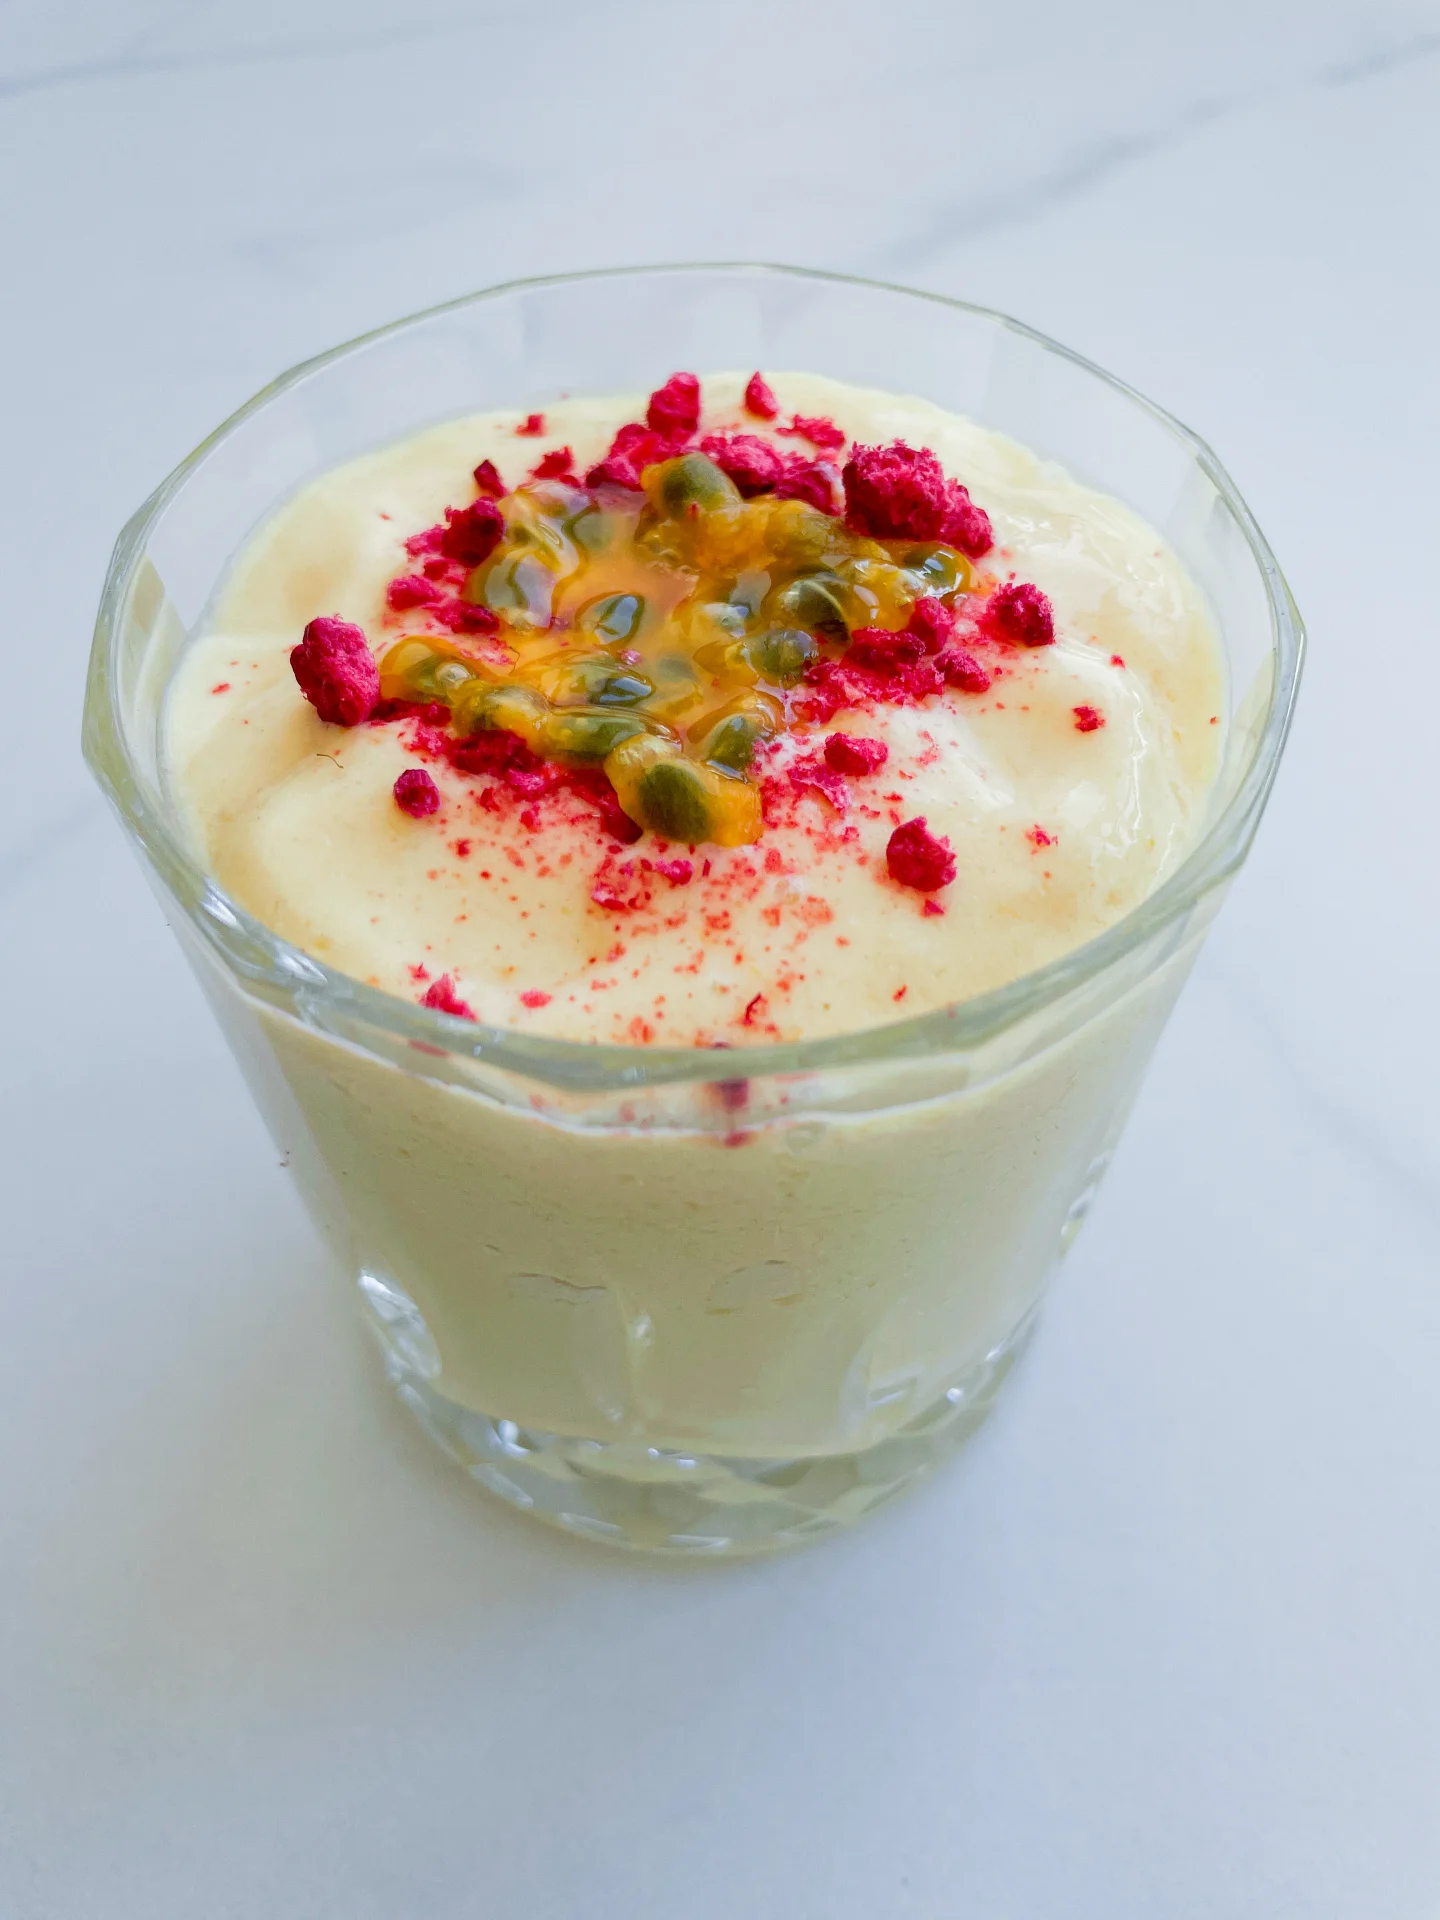
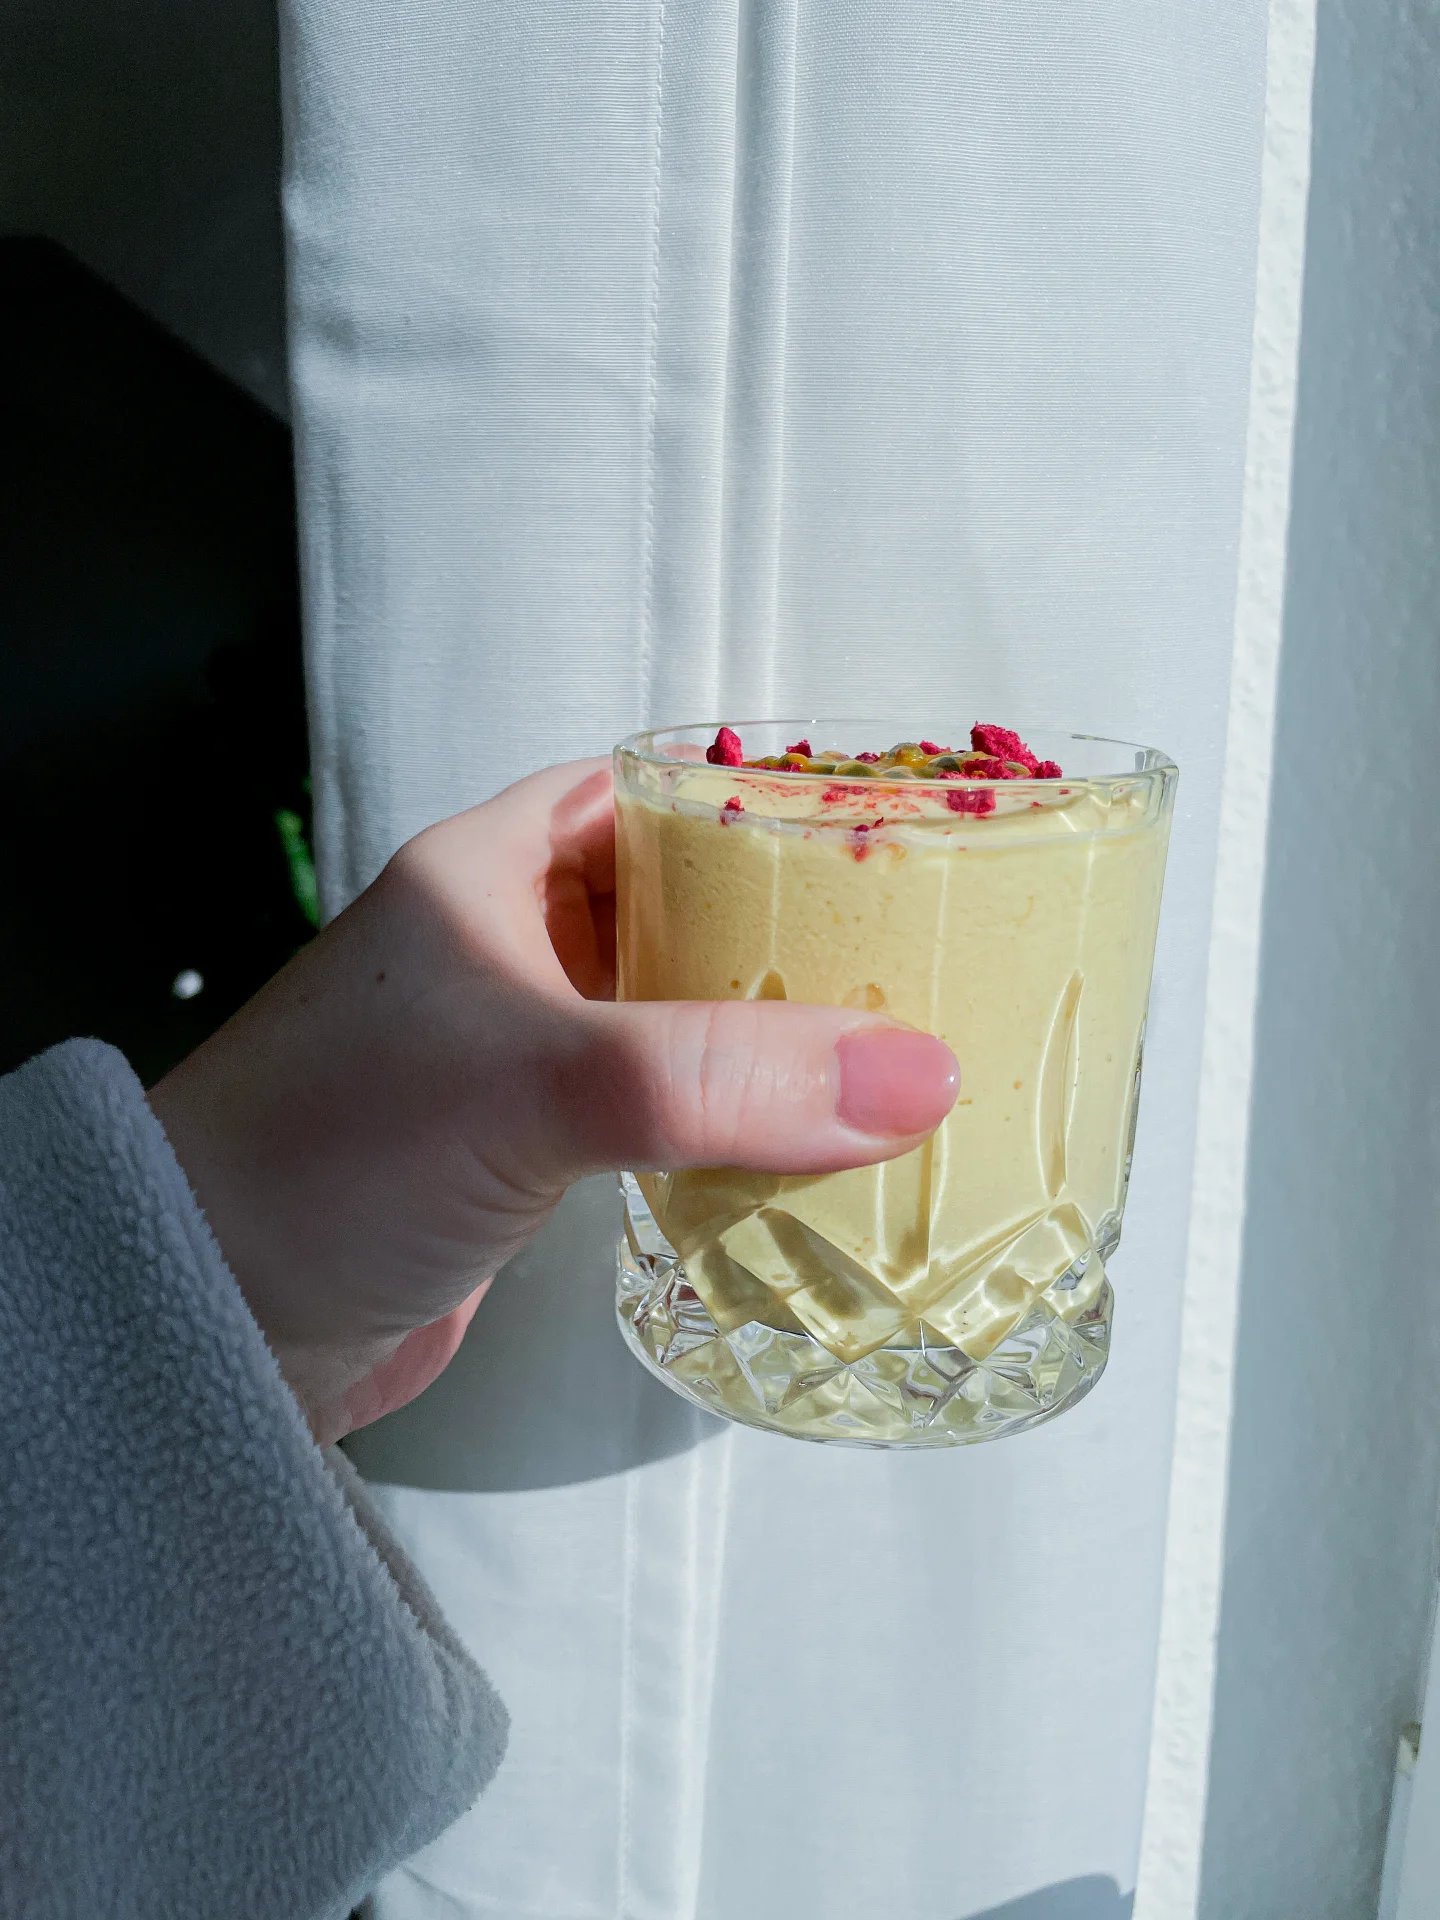
Dive into a tropical bliss with this creamy blend of juicy mangoes, tangy passionfruit, and smooth coconut. It’s like a beach vacation in a glass. Refreshing, indulgent, and oh-so-satisfying.

10 MINUTES

EASY

VEGETARIAN

INDIAN

2 PORTIONS

CREAMY

EVERYDAY

BEVERAGES

SUMMER

INTRODUCTION

ABOUT THE RECIPE

Craving a sip of paradise? This delightful blend combines the sweetness of ripe mangoes, the tang of passionfruit, and the creaminess of coconut, delivering a refreshing beverage that’s both indulgent and nourishing. Perfect for a sunny day or as a pick-me-up, this drink brings the tropics to your glass.

How to serve
For an elevated experience, serve this beverage chilled glasses. Garnish with a sprinkle of toasted coconut flakes or a mint sprig for an added touch of freshness. Pair it with light snacks or enjoy it solo as a refreshing treat any time of the day.

How to store
While this drink is best enjoyed fresh, you can store any leftovers in an airtight container in the refrigerator for up to 24 hours. Give it a good stir before serving, as natural separation may occur.

Hi, I'm Kimberly!

Hi, I'm Kimberly.

A passionate food lover who believes in the magic of homemade deliciousness that spreads love and warmth. Join me on this culinary adventure as I prepare wonderful dishes and let’s spread some happiness together!

Kimberly the Zett Signature

If you want to get to know me better, click here!


Passionfruit Mango Coconut Lassi
„Let’s make a piece of happiness“
Print
clock clock iconcutlery cutlery iconflag flag iconfolder folder iconinstagram instagram iconpinterest pinterest iconfacebook facebook iconprint print iconsquares squares iconheart heart iconheart solid heart solid icon
Passionfruit Mango Coconut Lassi

Passionfruit Mango Coconut Lassi


  • Author: Kimberly
  • Total Time: 10 min
  • Yield: 2 1x

Description

RECOMMENDED EQUIPMENT

  • blender
  • glasses
  • straw

Ingredients

Units Scale
  • 100 grams yogurt
  • 150 grams coconut milk
  • 120 grams passionfruit purée
  • 180g mango, frozen
  • 2 tbsp lime juice
  • pinch of cardamom

Instructions

  1. Add yogurt, coconut milk, passionfruit purée, frozen mango, lime juice, and ground cardamom to a blender.
  2. Blend on high speed for 1-2 minutes until smooth, thick, and creamy.
  3. Pour the lassi into two glasses and sprinkle with a bit of freeze-dried raspberry powder.
  4. Cut a passionfruit in half and evenly distribute the seeds over the raspberry powder for the perfect finishing touch.
  • Cook Time: 10 min

Creamy Passionfruit Curd Cheesecake

Creamy Passionfruit Curd Cheesecake

Creamy Passionfruit Curd Cheesecake

Creamy Passionfruit Curd Cheesecake

March 18, 2025 by Kimberly

Rich, creamy cheesecake meets silky passionfruit curd on a buttery vanilla cookie crust. Sweet, tangy, smooth like sunshine in dessert form. Perfectly indulgent, slightly messy, and impossible to eat just one slice.

60 MINUTES
+ OVERNIGHT

EASY

VEGETARIAN

INT.

8-16 PORTIONS

CREAMY

EASTER

DESSERT & SWEETS

SPRING
SUMMER

INTRODUCTION

ABOUT THE RECIPE

This cheesecake is for those who love their desserts creamy, tangy, and just a little extra. A smooth, rich filling sits on a buttery vanilla cookie crust, finished with a silky passionfruit curd that’s sweet, tart, and totally addictive. It’s got just the right balance: light yet indulgent, classic yet tropical. Whether you’re making this for a special occasion or just because you need something incredible in your fridge, this is the kind of dessert that makes people stop mid-bite.

How to serve
Serve this best chilled, straight from the fridge. It’s perfect on its own but also pairs well with a strong espresso, a glass of dessert wine, or, let’s be real, just a fork and five minutes of alone time.

How to store
Store leftovers in an airtight container in the fridge for up to 4 days. The texture stays beautifully creamy, and the curd keeps its glossy finish.

Hi, I'm Kimberly!

Hi, I'm Kimberly.

A passionate food lover who believes in the magic of homemade deliciousness that spreads love and warmth. Join me on this culinary adventure as I prepare wonderful dishes and let’s spread some happiness together!

Kimberly the Zett Signature

If you want to get to know me better, click here!


Creamy Passionfruit Curd Cheesecake
„Let’s make a piece of happiness“
Print
clock clock iconcutlery cutlery iconflag flag iconfolder folder iconinstagram instagram iconpinterest pinterest iconfacebook facebook iconprint print iconsquares squares iconheart heart iconheart solid heart solid icon
Creamy Passionfruit Curd Cheesecake

Creamy Passionfruit Curd Cheesecake


  • Author: Kimberly
  • Total Time: 60 min + overnight
  • Yield: 8-16 slices 1x

Description

RECOMMENDED EQUIPMENT

  • oven
  • 28 cm / 11” cake pan
  • deep baking tray or dish larger than the cake pan
  • food processor
  • large mixing bowl
  • whisk
  • aluminum foil
  • small pot

Ingredients

Units Scale

CRUST

  • 200 grams golden Oreo cookies (without cream filling)
  • 100 grams butter

FILLING

  • 600 grams cream cheese
  • 130 grams white sugar
  • 160 grams creme fraiche
  • 1 tsp vanilla extract
  • 2 eggs

PASSIONFRUIT CURD

  • 2 passionfruits
  • 85 grams white sugar
  • 40 grams butter
  • 50 grams heavy cream
  • 1 tbsp cornstarch
  • cold water

Instructions

  1. Preheat the oven to 175°C / 347°F (convection). Fill a deep baking tray or a dish large enough to fit the cake pan with water. The water should reach about halfway up the sides of the cake pan. Set aside.
  2. Prepare the crust. Carefully twist apart the Oreo cookies and scrape off the cream filling. Add the cookies to a food processor and pulse briefly. Add the softened butter and mix for about 20 seconds until the mixture becomes crumbly and holds together. Press the mixture evenly into the bottom of a cake pan. Set aside.
  3. Make the filling. In a large mixing bowl, whisk the cream cheese until smooth and creamy. Add the sugar and whisk again until fully combined. Stir in the crème fraîche and vanilla extract. Add one egg and mix until just combined, then add the second egg, mixing only until incorporated. Be careful not to overmix to avoid incorporating too much air.
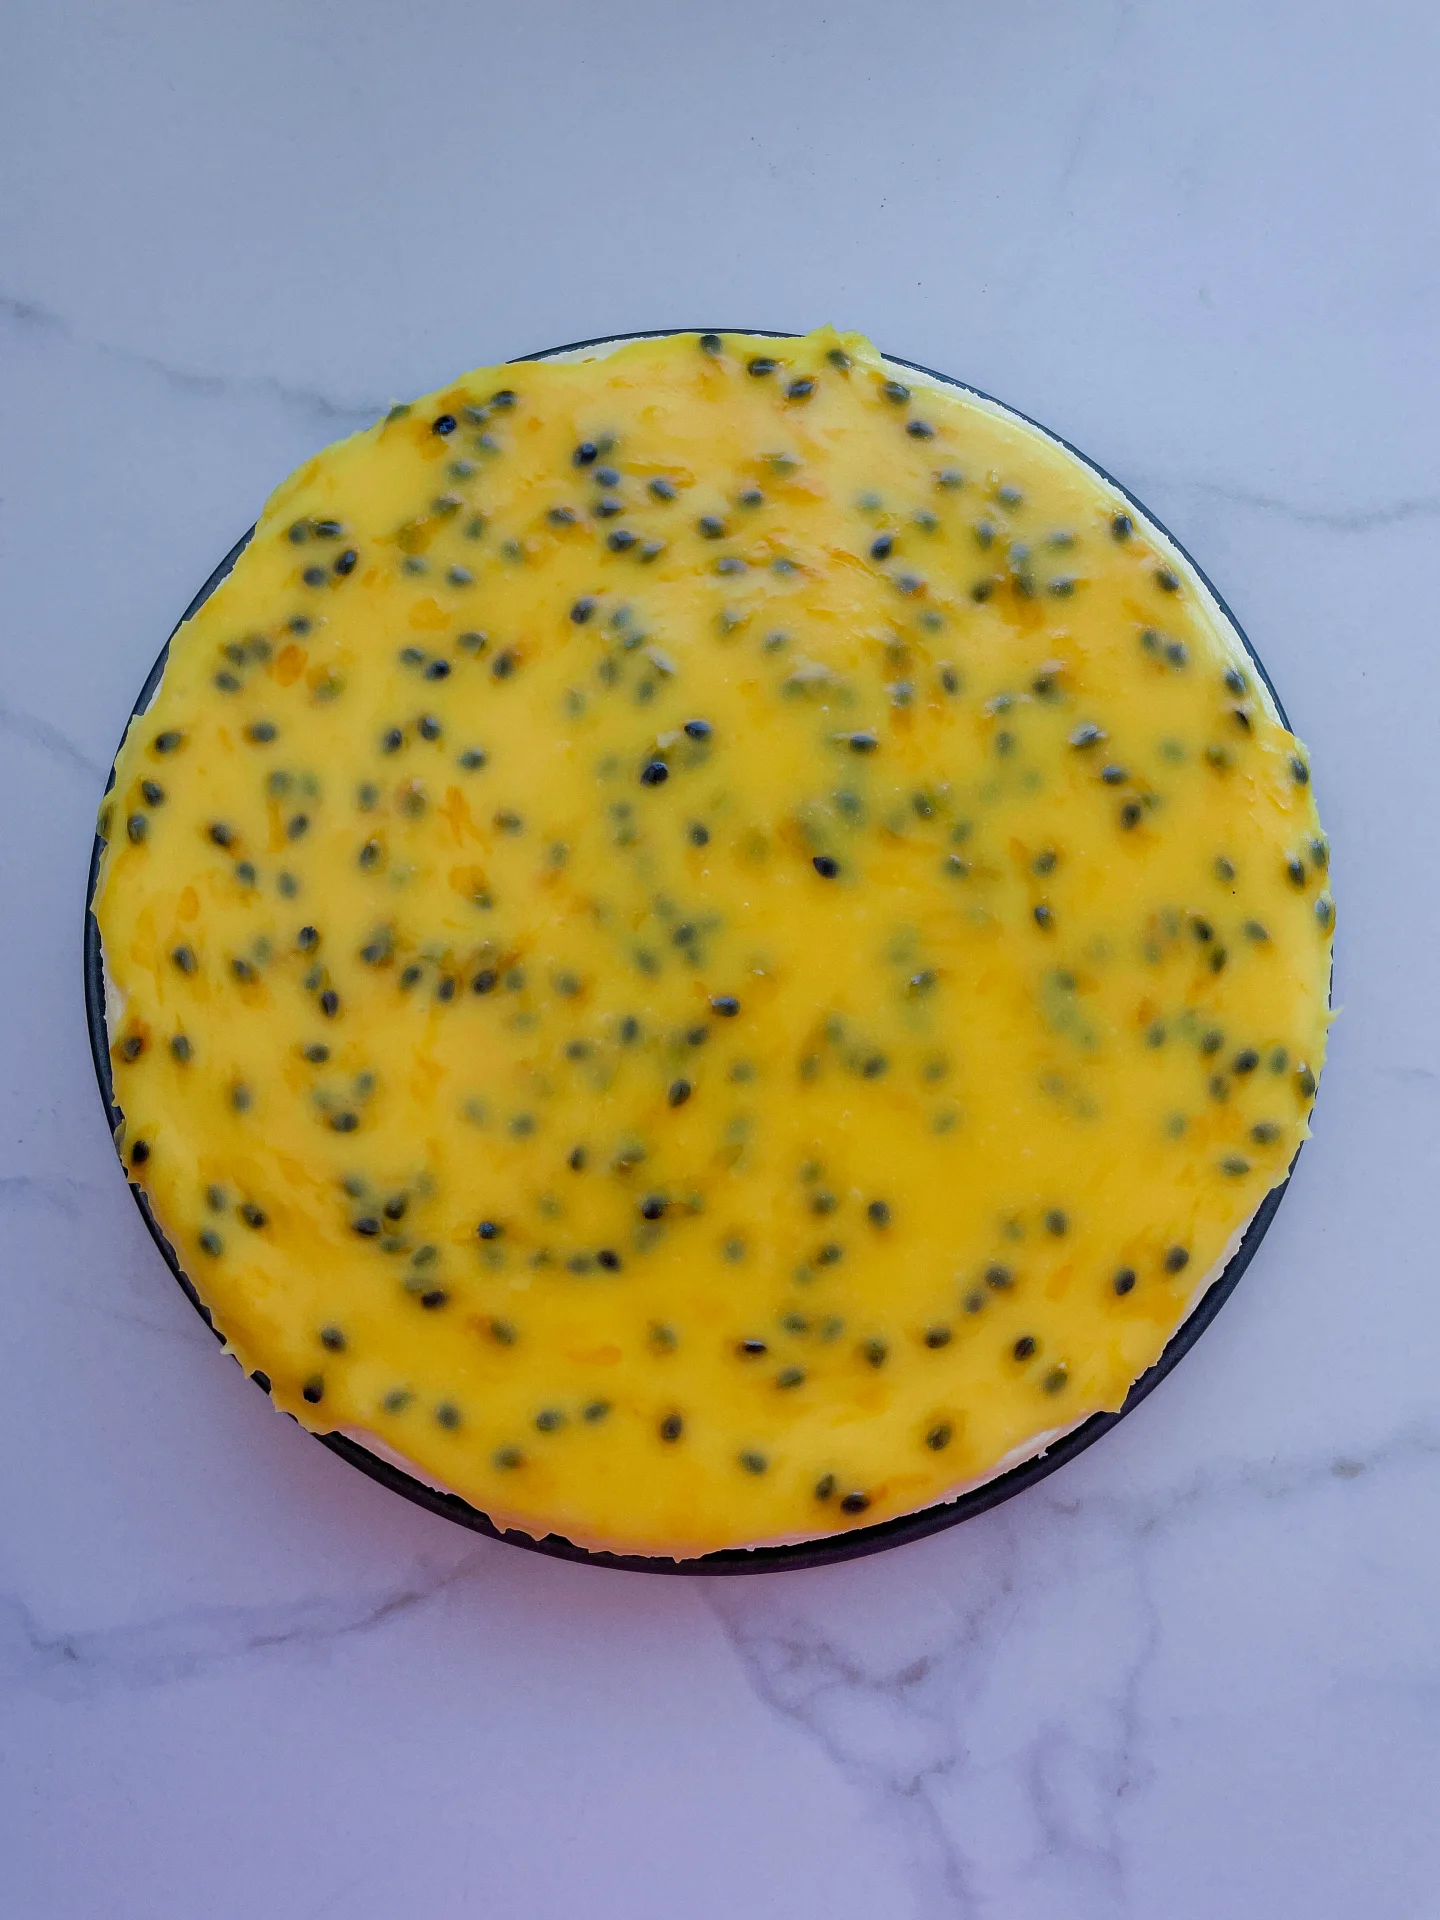
  4. Assemble the cheesecake. Pour the cheesecake filling over the crust and spread evenly. Lay two sheets of aluminum foil flat and place the cake pan in the center. Fold the foil up around the pan to prevent water from seeping in. Place the cake pan in the prepared water bath and transfer to the middle rack of the oven. Bake for about 40 minutes until the top is completely pale, the edges are set, and the center still jiggles slightly.
  5. Make the passionfruit curd. While the cheesecake bakes, scoop the passionfruit pulp into a small pot, add the sugar, and bring to a simmer over medium heat. Add the butter and let it melt. Finally, stir in the heavy cream and bring to a brief boil before removing from the heat. In a small bowl, whisk the cornstarch with 1 tablespoon of water until smooth, then pour it into the passionfruit mixture. Stir and bring to a boil once more. Let cool for about 30 minutes.
  6. Cool the cheesecake gradually. After 40 minutes, turn off the oven and open the door completely. Let the cheesecake sit inside for 20 minutes to prevent sudden temperature changes, which could cause cracks.
  7. Check the curd consistency. It should be creamy and spreadable, but not runny. If it’s too thick, mix in a small amount of water. Set aside and let it cool completely.
  8. Remove the cheesecake from the water bath. Take off the aluminum foil and run a sharp knife around the edges to loosen it, but leave the cake ring on. Let the cheesecake cool at room temperature.
  9. Finish and chill. Once the cheesecake has cooled to room temperature, carefully spread the passionfruit curd over the top. Transfer to the fridge and let set for at least 6 hours or overnight before serving.
  • Passive Time: overnight
  • Cook Time: 60 min

Brownie Batter Chocolate Hummus

Brownie Batter Chocolate Hummus

Brownie Batter Chocolate Hummus

Brownie Batter Chocolate Hummus

February 18, 2025 by Kimberly

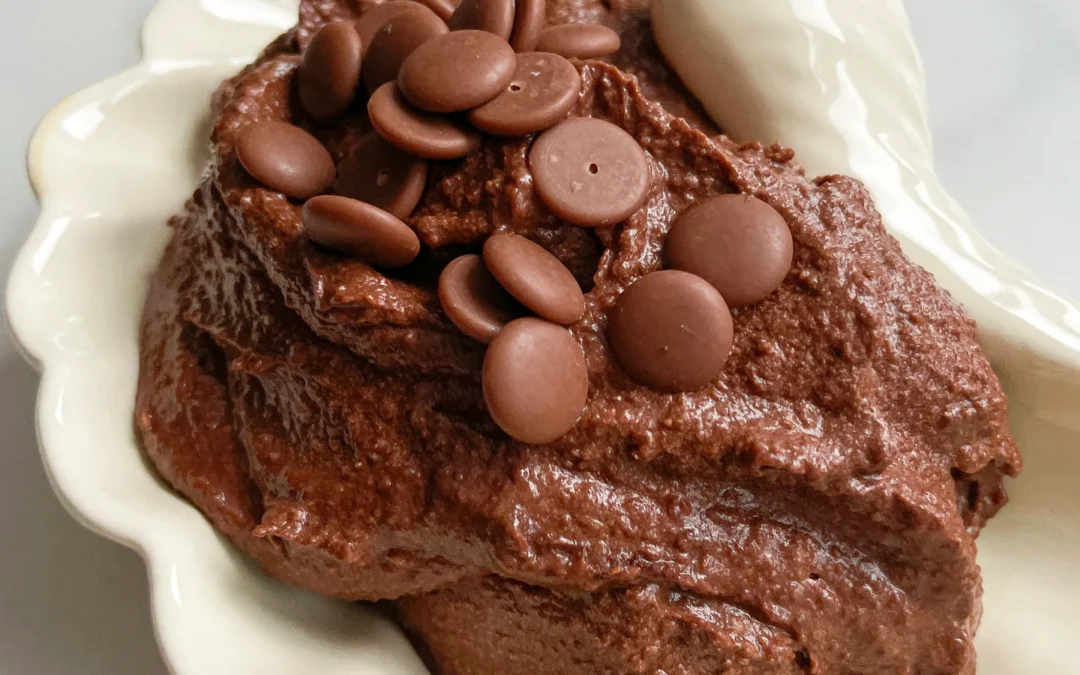
This ultra-creamy, rich chocolate dip tastes like straight-up brownie batter but is secretly packed with good-for-you ingredients. Perfect for spreading, dipping, or just eating by the spoonful…no judgment here!!

10 MINUTES

EASY

VEGAN

INTERNATIONAL

4 PORTIONS

CREAMY
SWEET

EVERYDAY

SNACKS
DESSERT

ALL YEAR

INTRODUCTION

ABOUT THE RECIPE

If you’ve never tried sweet hummus before, this one’s about to change your life. Imagine the rich, fudgy taste of brownie batter but in a smooth, creamy dip that also happens to be good for you. No refined sugar, no weird additives, just simple ingredients blending into pure chocolatey magic. Whether you’re dipping fruit, spreading it on toast, or eating it straight from the jar (I see you), this is your new go-to for a guilt-free chocolate fix.

How to serve
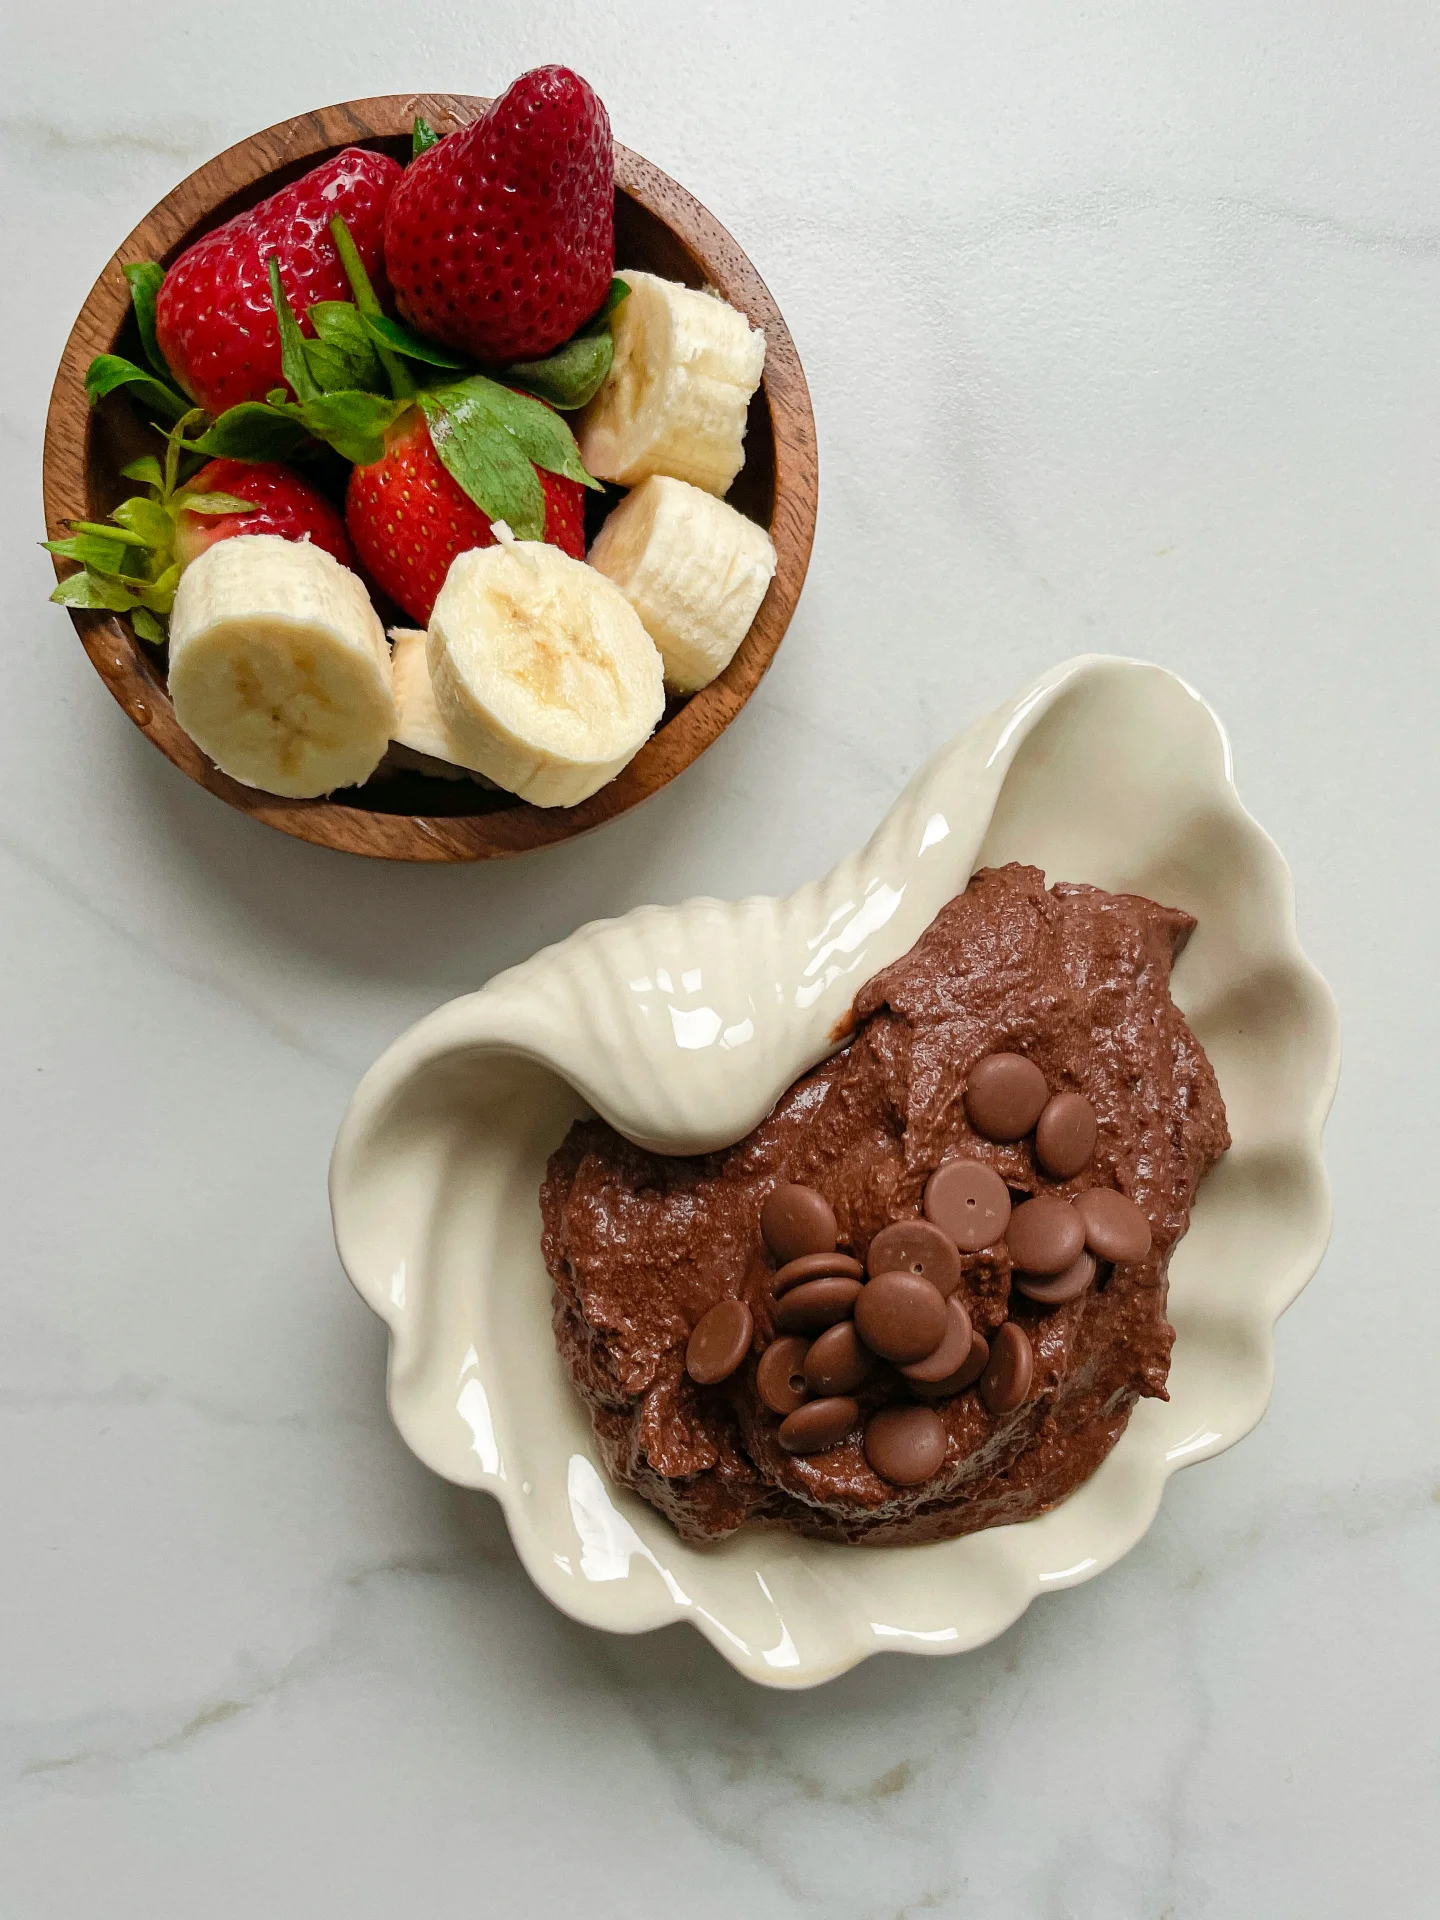
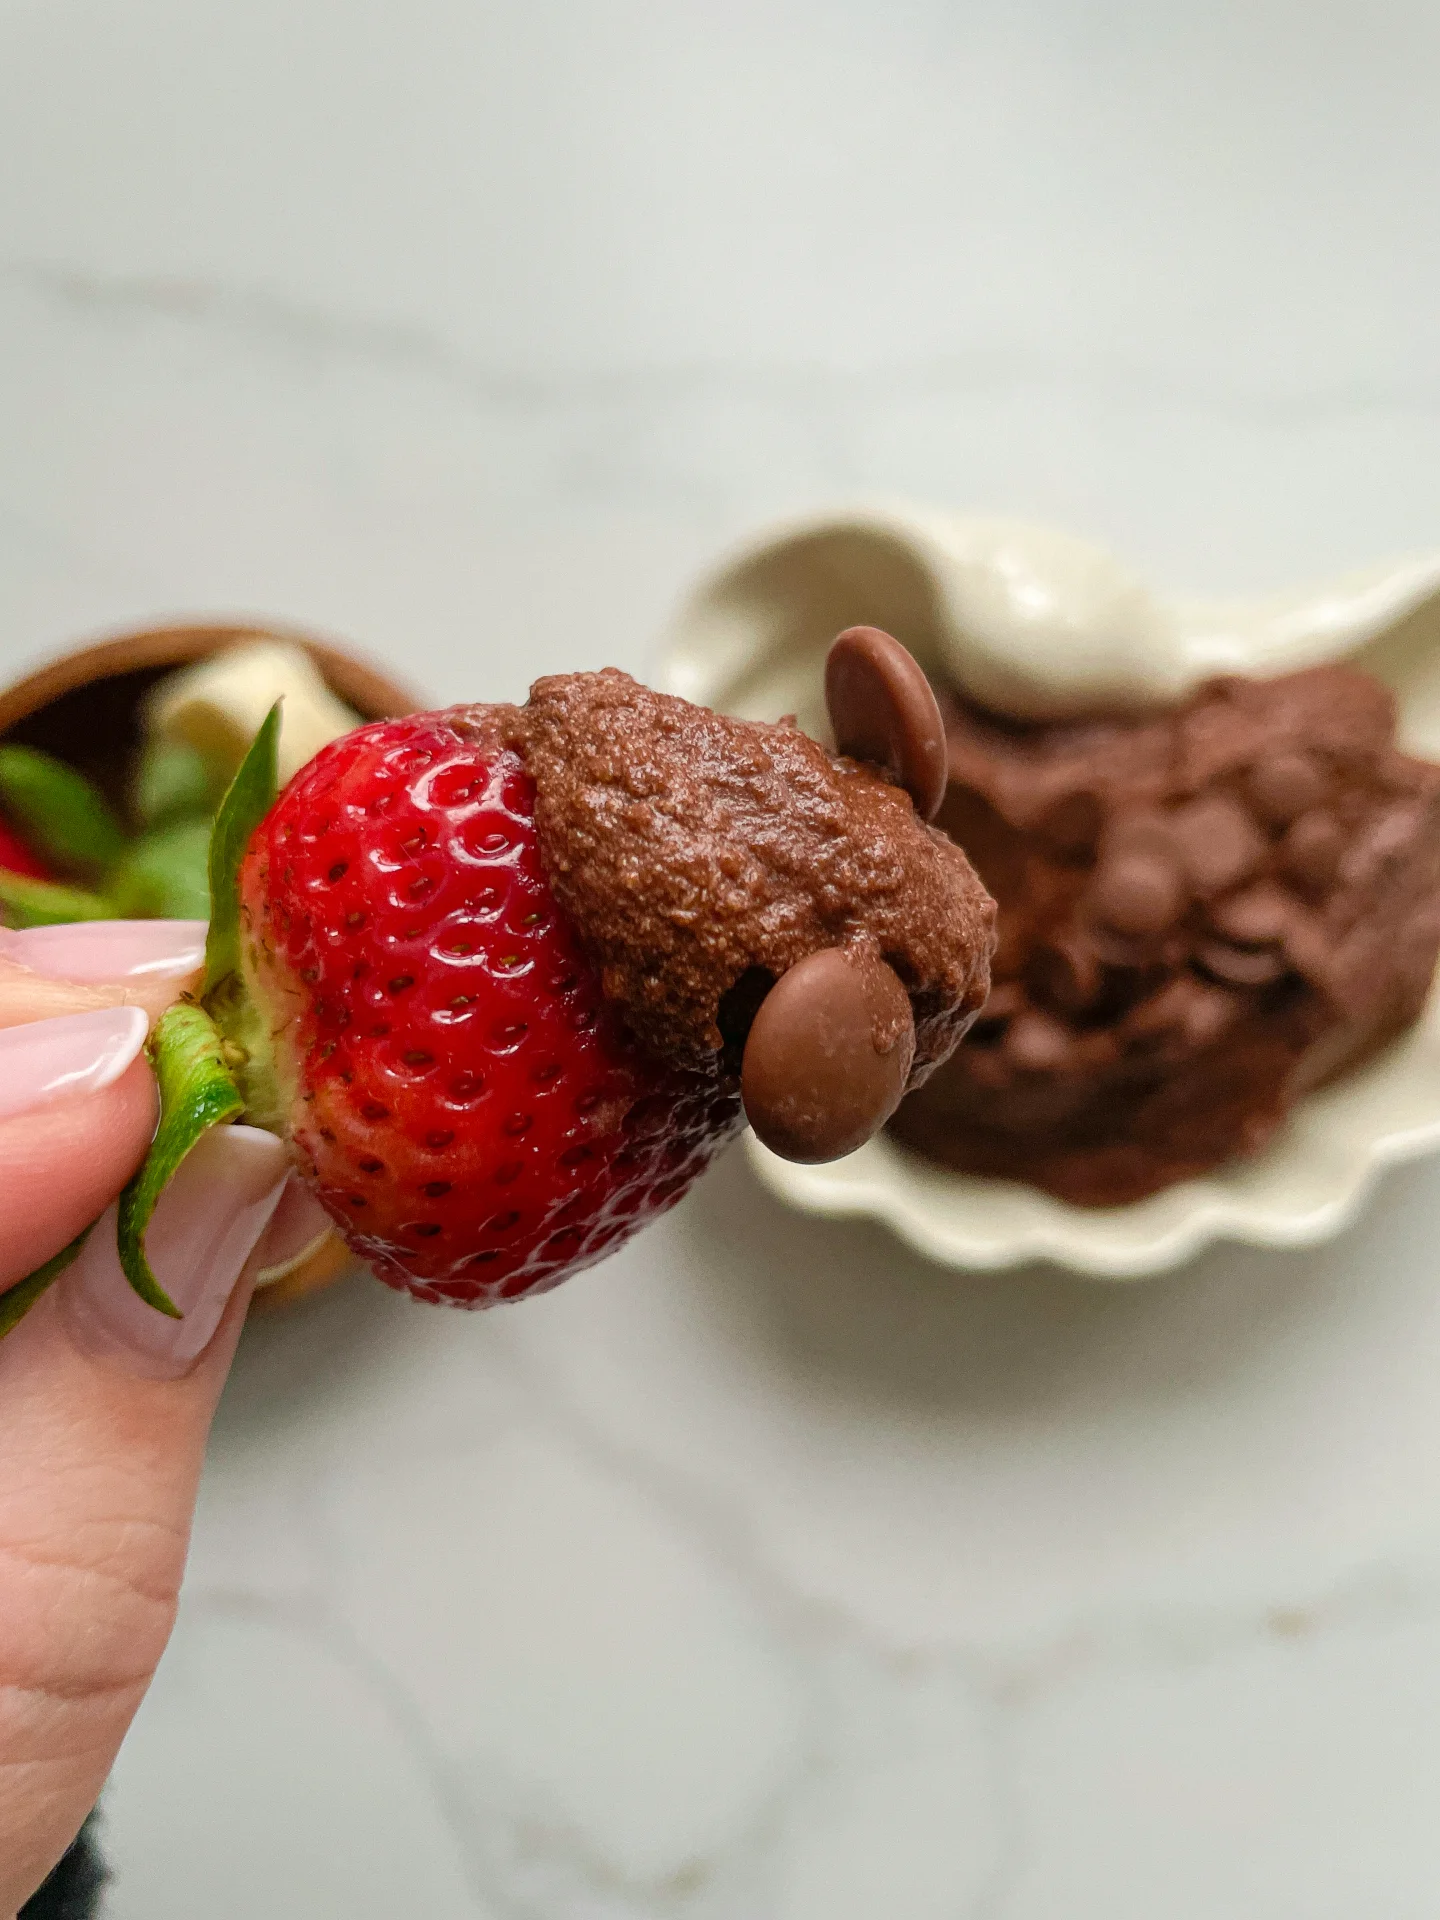
Swipe it onto warm toast, pair it with strawberries, banana slices, or apple wedges, or go all in and dunk some pretzels for that sweet-salty combo. Feeling extra? Stir it into oatmeal, drizzle it over pancakes, or layer it in a yogurt parfait for a next-level treat.

How to store
Store your chocolate hummus in an airtight container in the fridge for up to 4 days, but let’s be real, it won’t last that long. If it thickens up, just stir in a splash of plant milk to bring back that creamy goodness. Freezing? Not recommended, it’s best fresh!

Hi, I'm Kimberly!

Hi, I'm Kimberly.

A passionate food lover who believes in the magic of homemade deliciousness that spreads love and warmth. Join me on this culinary adventure as I prepare wonderful dishes and let’s spread some happiness together!

Kimberly the Zett Signature

If you want to get to know me better, click here!


Brownie Batter Chocolate Hummus
„Let’s make a piece of happiness“
Print
clock clock iconcutlery cutlery iconflag flag iconfolder folder iconinstagram instagram iconpinterest pinterest iconfacebook facebook iconprint print iconsquares squares iconheart heart iconheart solid heart solid icon
Brownie Batter Chocolate Hummus

Brownie Batter Chocolate Hummus


  • Author: Kimberly
  • Total Time: 10 min
  • Yield: 4 1x

Description

RECOMMENDED EQUIPMENT

  • food processor
  • sieve

Ingredients

Units Scale
  • 265 grams canned chickpeas, drained
  • 2 tbsp tahini
  • 60 grams unsweetened cocoa powder
  • 4 tbsp date syrup
  • 1 tsp vanilla extract
  • 1/4 tsp salt
  • 2 tbsp coconut oil
  • 2 tbsp milk of choice
  • 1/2 cup ice cubes
  • fruits of your choice for dipping – strawberries, bananas, apples…

Instructions

  • Drain the chickpeas and rinse them under cold water. Add them to a food processor.
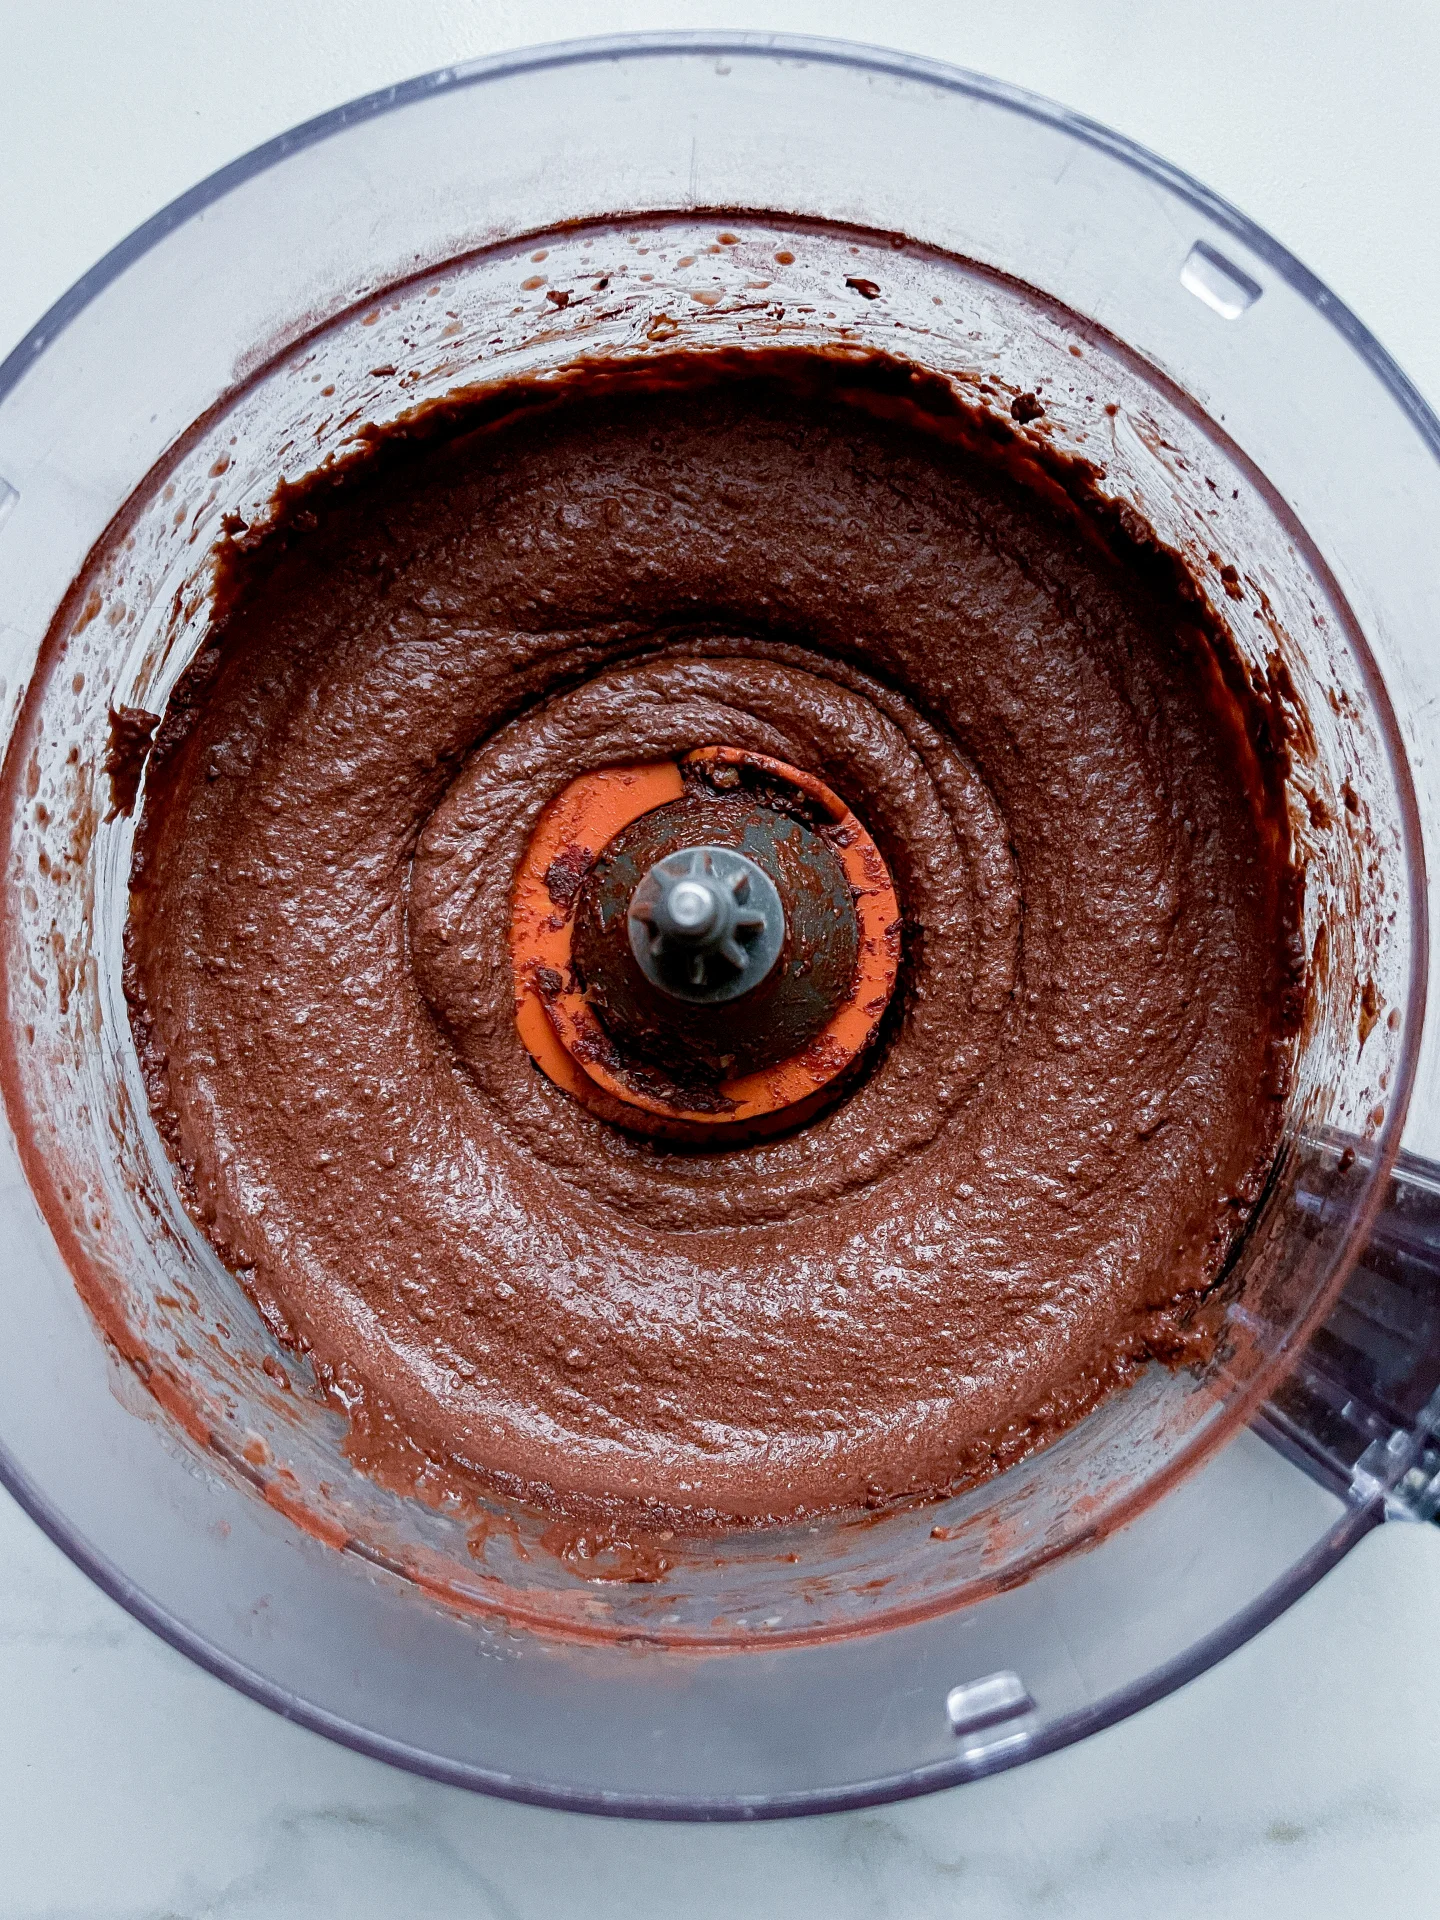
  • Next, add tahini, vanilla, unsweetened cocoa powder, coconut oil, salt, date syrup, and milk. Blend on high speed until it forms a thick paste. Then, gradually add ice cubes. Just enough to make it super fluffy and creamy.
  • Transfer to a bowl and enjoy with your favorite fruits or cracker!!

Cherry Almond Marzipan Oats

Cherry Almond Marzipan Oats

Cherry Almond Marzipan Oats

Cherry Almond Marzipan Oats

December 22, 2024 by Kimberly

Imagine creamy oats kissed with almond milk, layered with luscious cherry filling, and drizzled with silky marzipan sauce – finished with a candied cherry. It’s breakfast that tastes like dessert but feels indulgently cozy.

30 MINUTES

EASY

VEGETARIAN

INT.

399 PER PORTION

CREAMY

EVERYDAY

BREAKFAST

AUTUMN
WINTER

INTRODUCTION

ABOUT THE RECIPE

This dreamy breakfast combines the best of dessert and comfort food! Creamy almond milk oats meet a tangy-sweet cherry filling, topped with a velvety marzipan drizzle and crowned with a candied cherry. It’s perfect for chilly mornings, special occasions, or whenever you’re craving something extra indulgent. With layers of flavor and texture, this dish is not just a breakfast – it’s a hug in a bowl.

How to serve
Serve warm for the ultimate cozy vibes. To assemble, spoon the creamy almond oats into a bowl, add a layer of cherry filling, and drizzle generously with the marzipan sauce. Top it with a candied cherry for a stunning finish. Pair it with a hot cup of coffee or tea for a slow, luxurious morning or dress it up for a brunch centerpiece.

How to store
Store leftovers in an airtight container in the fridge for up to three days.

Hi, I'm Kimberly!

Hi, I'm Kimberly.

A passionate food lover who believes in the magic of homemade deliciousness that spreads love and warmth. Join me on this culinary adventure as I prepare wonderful dishes and let’s spread some happiness together!

Kimberly the Zett Signature

If you want to get to know me better, click here!


Cherry Almond Marzipan Oats
„Let’s make a piece of happiness“
Print
clock clock iconcutlery cutlery iconflag flag iconfolder folder iconinstagram instagram iconpinterest pinterest iconfacebook facebook iconprint print iconsquares squares iconheart heart iconheart solid heart solid icon
Cherry Almond Marzipan Oats

Cherry Almond Marzipan Oats


  • Author: Kimberly
  • Total Time: 30 min
  • Yield: 3 1x

Description

Recommended Equipment

  • small pot
  • whisk
  • bowl
  • cheese grater

Ingredients

Units Scale

OATS BASE

  • 100 grams rolled oats
  • 250 milliliter almond milk
  • 1 tsp vanilla extract
  • pinch of salt
  • 1 tsp date syrup

MARZIPAN SAUCE

  • 1 egg yolk
  • 100 milliliter full-fat cow milk
  • 50 milliliter heavy cream
  • 50 grams marzipan
  • 40 grams white sugar
  • 0.5 tsp vanilla extract

CHERRY FILLING

  • 150 grams cherries
  • 50 milliliter cherry juice
  • 1 tsp lemon juice
  • 1 tsp cornstarch
  • 1 tbsp powdered sugar

TOPPING

  • candied cherries

Instructions

  1. Place the marzipan in the freezer for about 20–30 minutes, then grate it coarsely using a cheese grater.
  2. Warm the milk and cream in a pot without bringing it to a boil, then remove from heat.
  3. Mix the egg yolks, sugar, and vanilla extract thoroughly in a bowl. Add the grated marzipan and stir well.
  4. Gradually add the egg yolk mixture to the warm milk-cream mixture, one teaspoon at a time, stirring constantly until combined. Return the pot to medium heat and stir until the sauce thickens. For a firmer consistency, mix 1 tsp of cornstarch with a bit of water, add it to the sauce, and briefly bring it to a boil. Remove from heat.
  5. In another pot, mix cherries, cherry juice, lemon juice, powdered sugar, and cornstarch. Heat over medium heat until the mixture thickens and the cherries soften. Remove from heat.
  6. In a separate pot, combine oats, almond milk, vanilla extract, salt, and your choice of sweetener (e.g., date syrup). Bring to a boil, stirring until the oats are soft.
  7. Layering: Spread a portion of the oatmeal in a small bowl, then add a layer of cherry sauce. Cover with the remaining oatmeal, smooth the surface, and pour the marzipan sauce over the top.
  8. Garnish with a candied cherry. Serve immediately or prepare as overnight oats.