


Description
RECOMMENDED EQUIPMENT
- sharp knife
- cutting board
- medium-sized bowl
- medium-sized frying pan
- spatula
Ingredients
Units Scale
TUNA CREME
- 150 grams canned tuna in water (drained)
- 50 grams mayonnaise
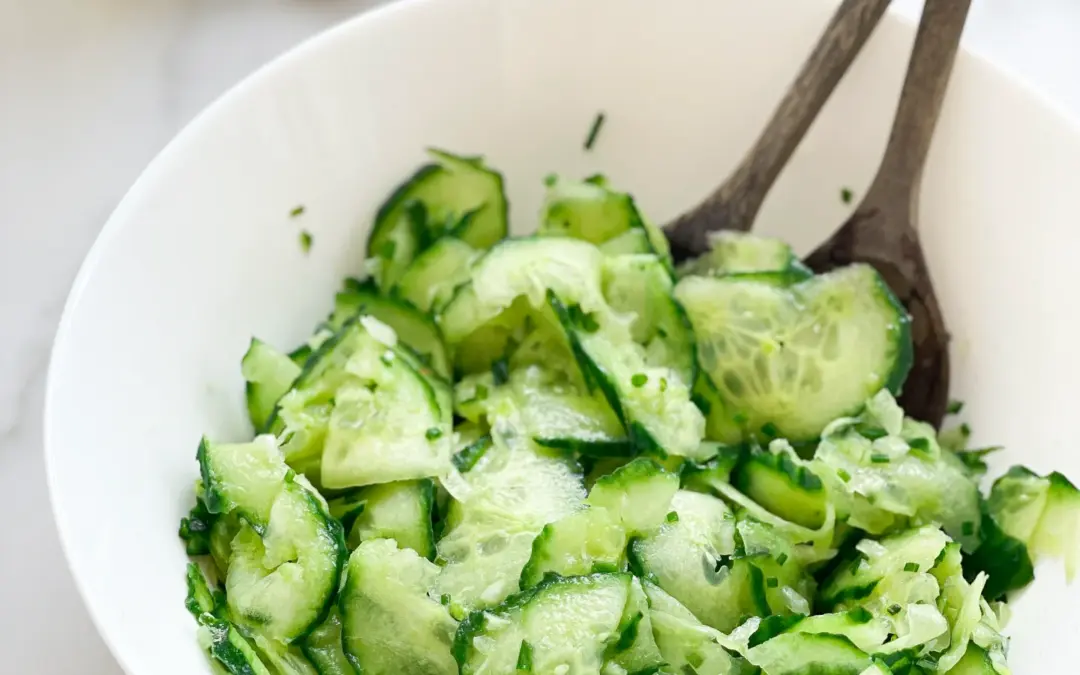
- 1 pickled cucumber
- 1 tsp lemon juice
- 1 garlic clove
- 1/2 tsp dijon mustard
- dill
- chives
- salt & pepper to taste
OTHER INGREDIENTS
- 1/2 red onion
- 4 slices bread of your choice
- 2 slices cheddar cheese
- 80 grams mozzarella cheese
- 1 jalapeno
- butter
- Tabasco (optional)
Instructions
PREPARATIONS
- Peel the onion, halve it, and slice it into fine half circles. Set aside.
- Wash the jalapeño and slice it into thin rings. Set aside.
- Squeeze the mozzarella in paper towels to remove as much moisture as possible, then slice it thinly. Set aside.
COOKING
- For the tuna cream: Drain the can of tuna so there’s no water left. Place the tuna in a medium-sized bowl. Mix it with mayonnaise, lemon juice, Dijon mustard, salt, and pepper. Now chop the pickle into small pieces and add it to the bowl. Finely chop the dill and chives and add them to the bowl as well. Peel and finely chop the garlic clove, or press it into the bowl. Mix everything together. Season to taste and set aside.
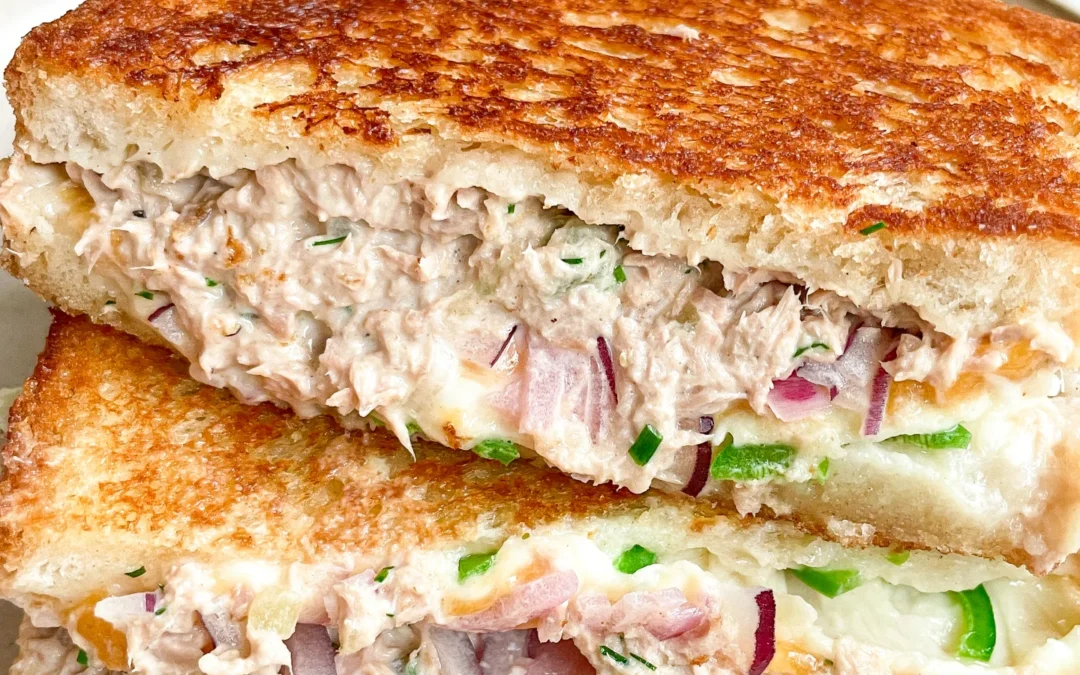
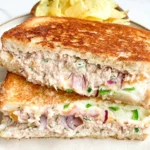
- Heat a pan over medium heat without adding any additional fat. Meanwhile, spread a little butter on two slices of bread. Place the bread slices in the pan, buttered side down. Spread each with half of the tuna cream, then top with the red onions. Add half of the mozzarella and a slice of cheddar cheese to each. Top with the jalapeño slices. Let it all cook for a few minutes on low to medium heat.
- Meanwhile butter the other two bread slices. Once the bottom of the bread in the pan is golden brown and crispy, place the other bread slices, buttered side up, on top of the sandwiches in the pan. Use a spatula to lift the sandwich and quickly flip it, so it can brown on the other side.
- Let everything cook for another 5-8 minutes on low heat, allowing the cheese to melt and the bread slice to become crispy.
- Remove from the pan and cut in half. Serve immediately, drizzle with Tabasco to taste and enjoy your pieces of happiness.
Notes
The calorie information may vary depending on the product used, country and region.
- Prep Time: 5 min
- Cook Time: 15 min