")


")
")

Description
Recommended Equipment
- sharp knife
- cutting board
- food processor
- sieve
- bowl
- medium bowl
Ingredients
Units Scale
SALAD
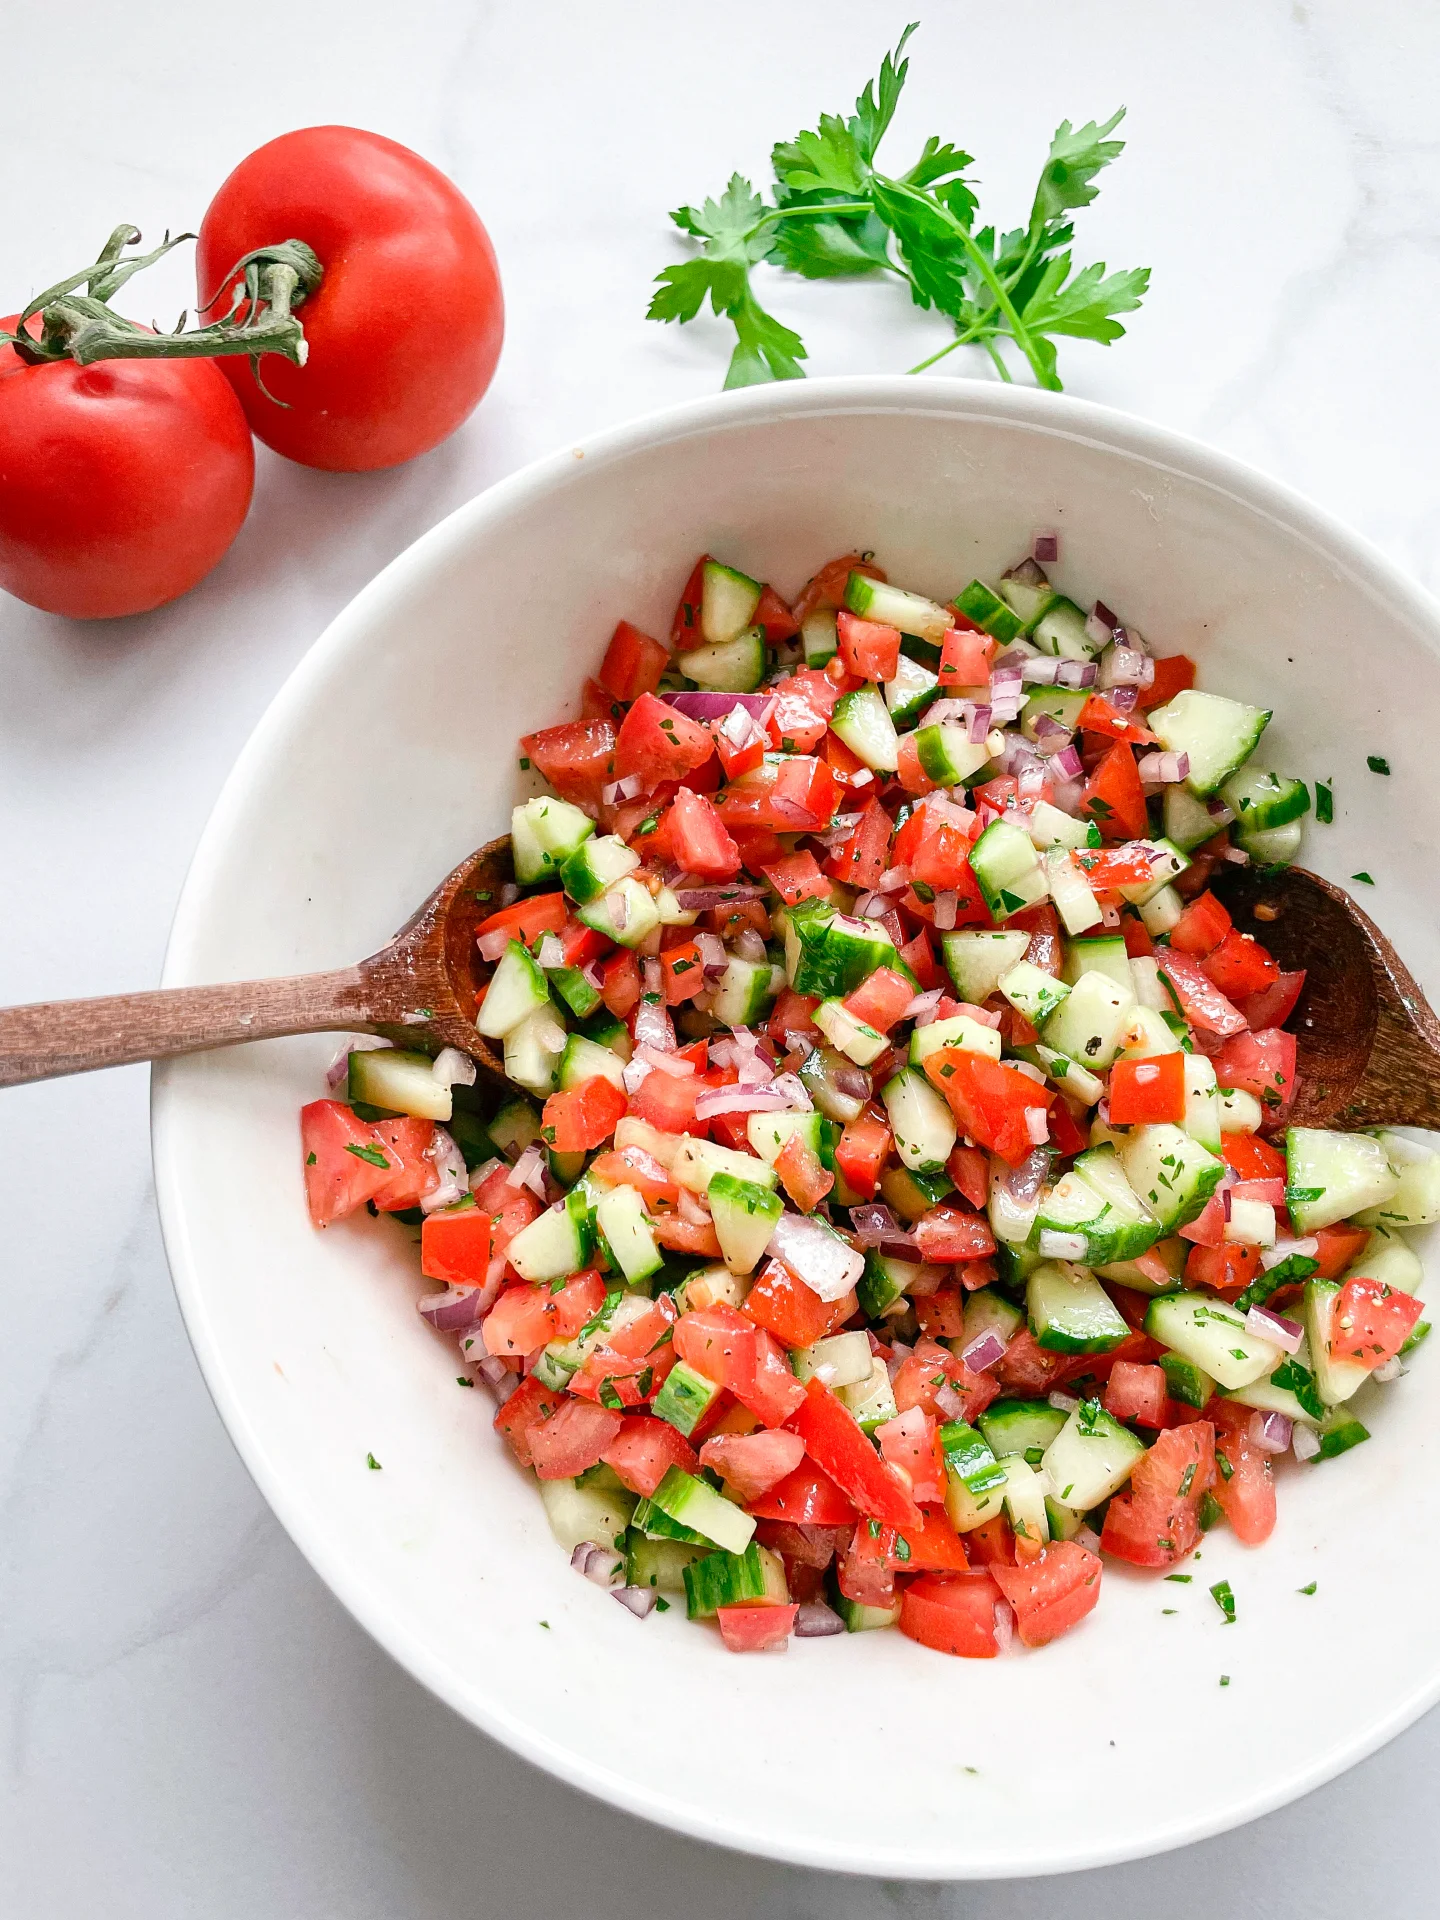
- 2 tomatoes
- 1 red onion
- 1 green bell pepper
- 2 garlic cloves
- 15 grams parsley
- 2 tbsp pepper paste
- 1 tbsp tomato paste
- 2 tbsp pomegranate molasses
- 1 tbsp lemon juice
- 1 tbsp olive oil
- 1 tsp sumach
- 1 tsp dried mint
- 1/2 tsp salt
- 1/2 tsp paprika powder
Instructions
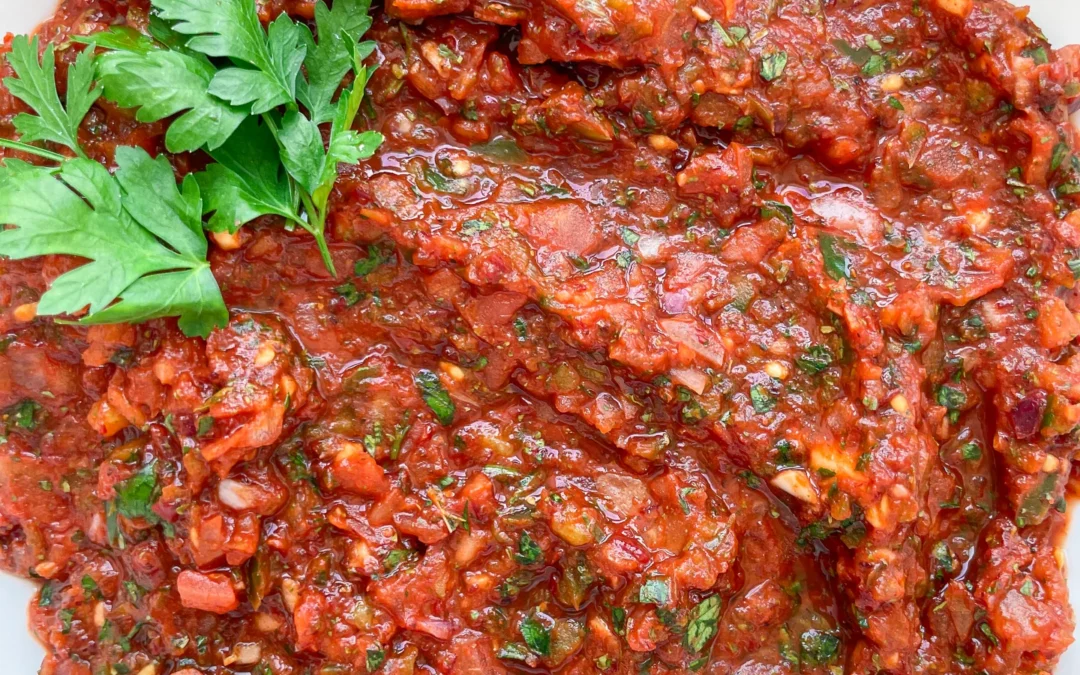
- Wash and thoroughly dry the tomatoes, bell pepper, and parsley. Quarter the tomatoes, deseed the bell pepper and cut into large pieces. Peel and quarter the red onion, peel the garlic cloves, and roughly remove the thick stems from the parsley. Place everything in a food processor and pulse until everything is finely chopped but still recognizable. We don’t want a paste!
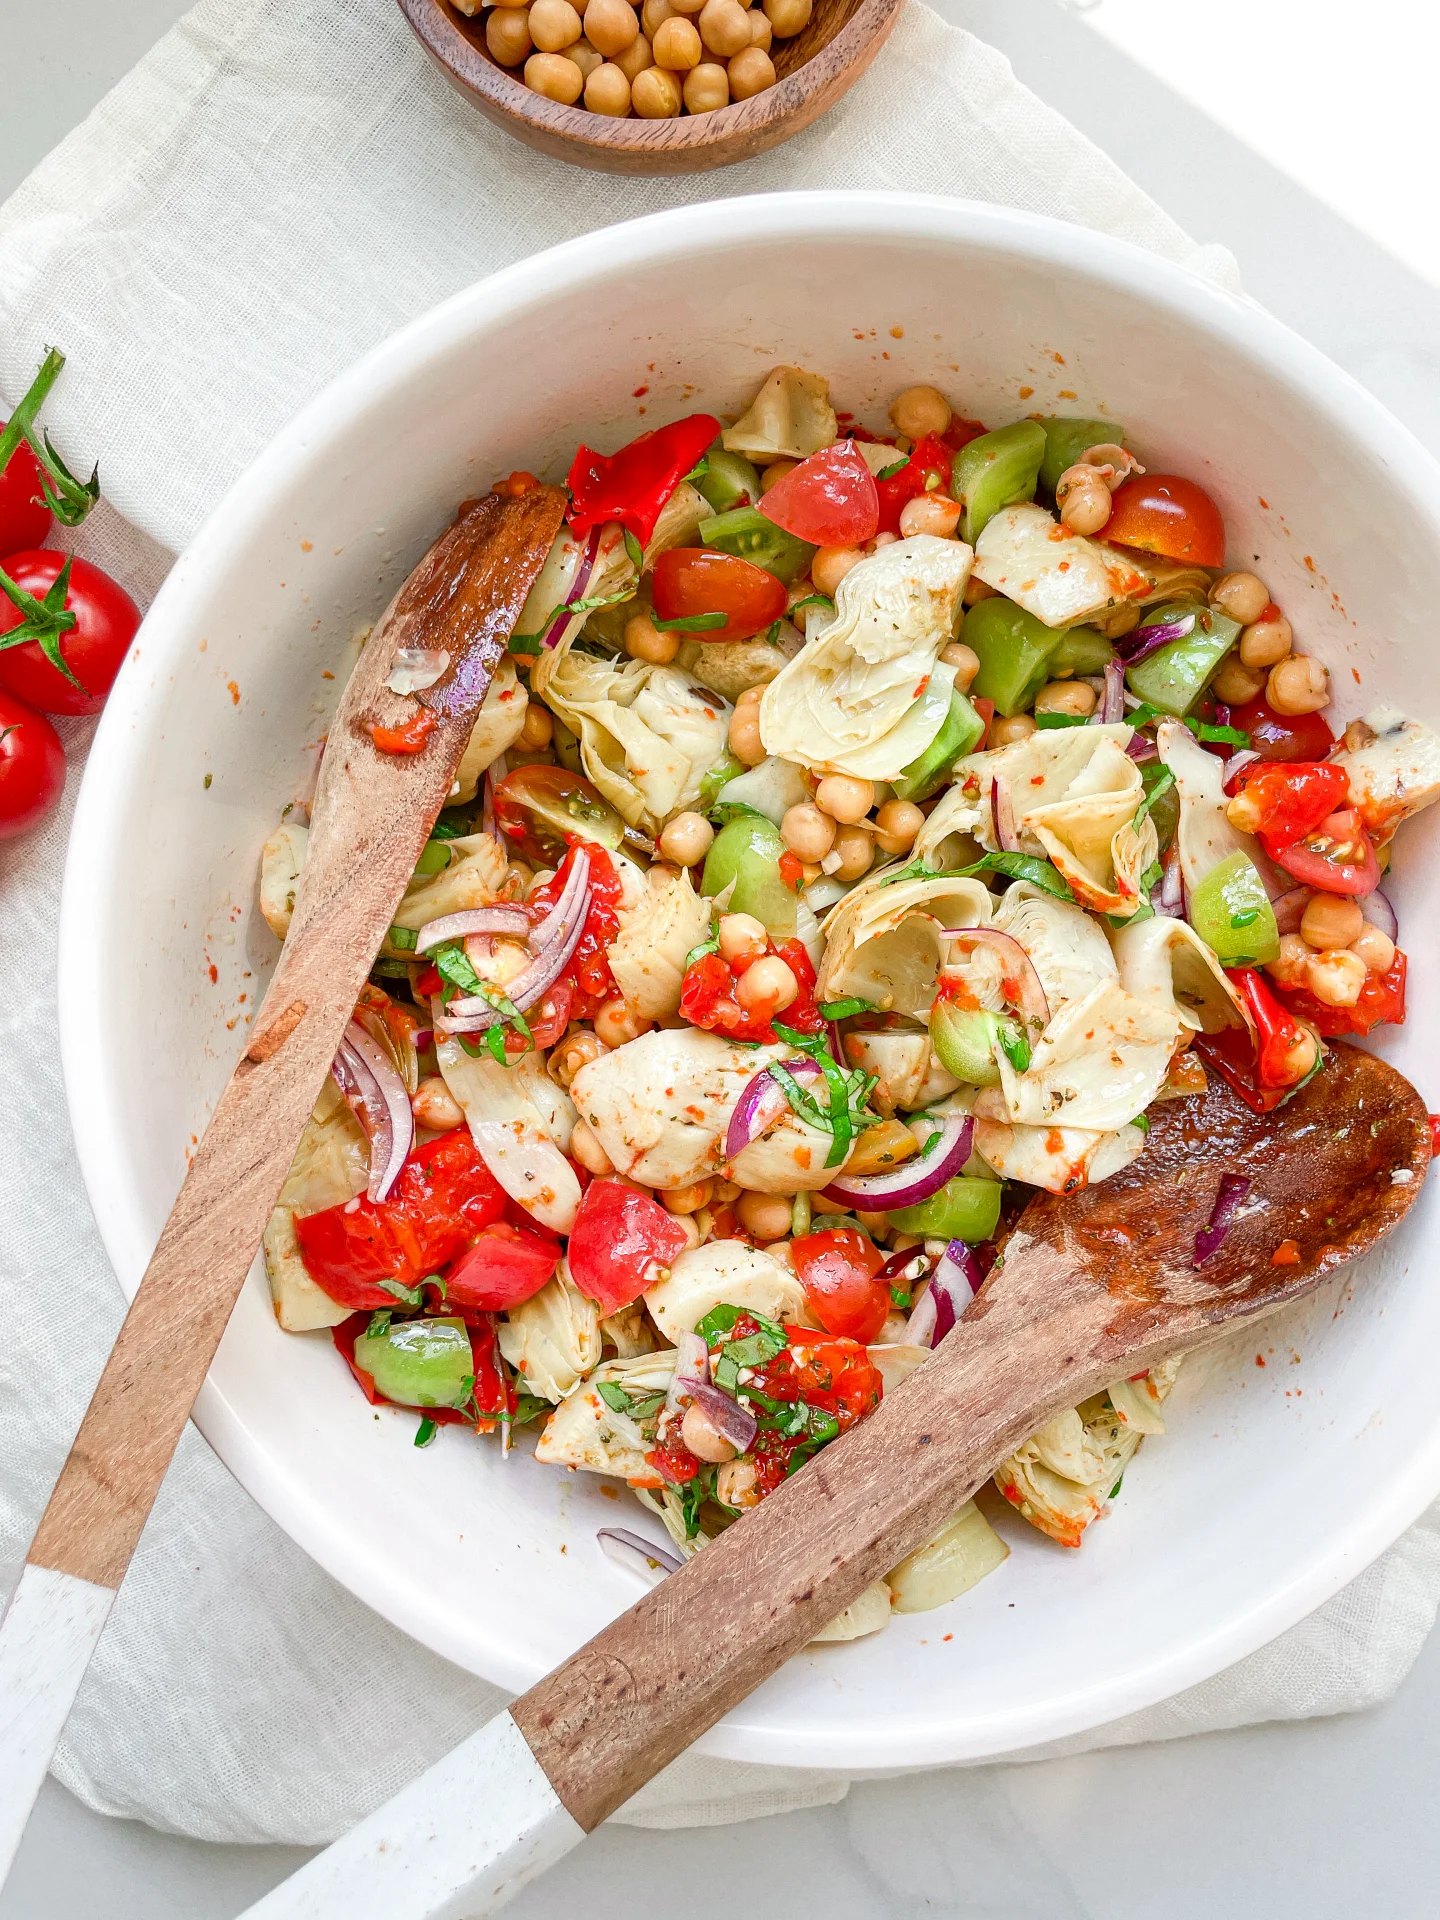
- Transfer the mixture to a fine sieve over a bowl and press it with a spoon to extract as much liquid as possible. Let the mixture continue to drain in the sieve and set aside.
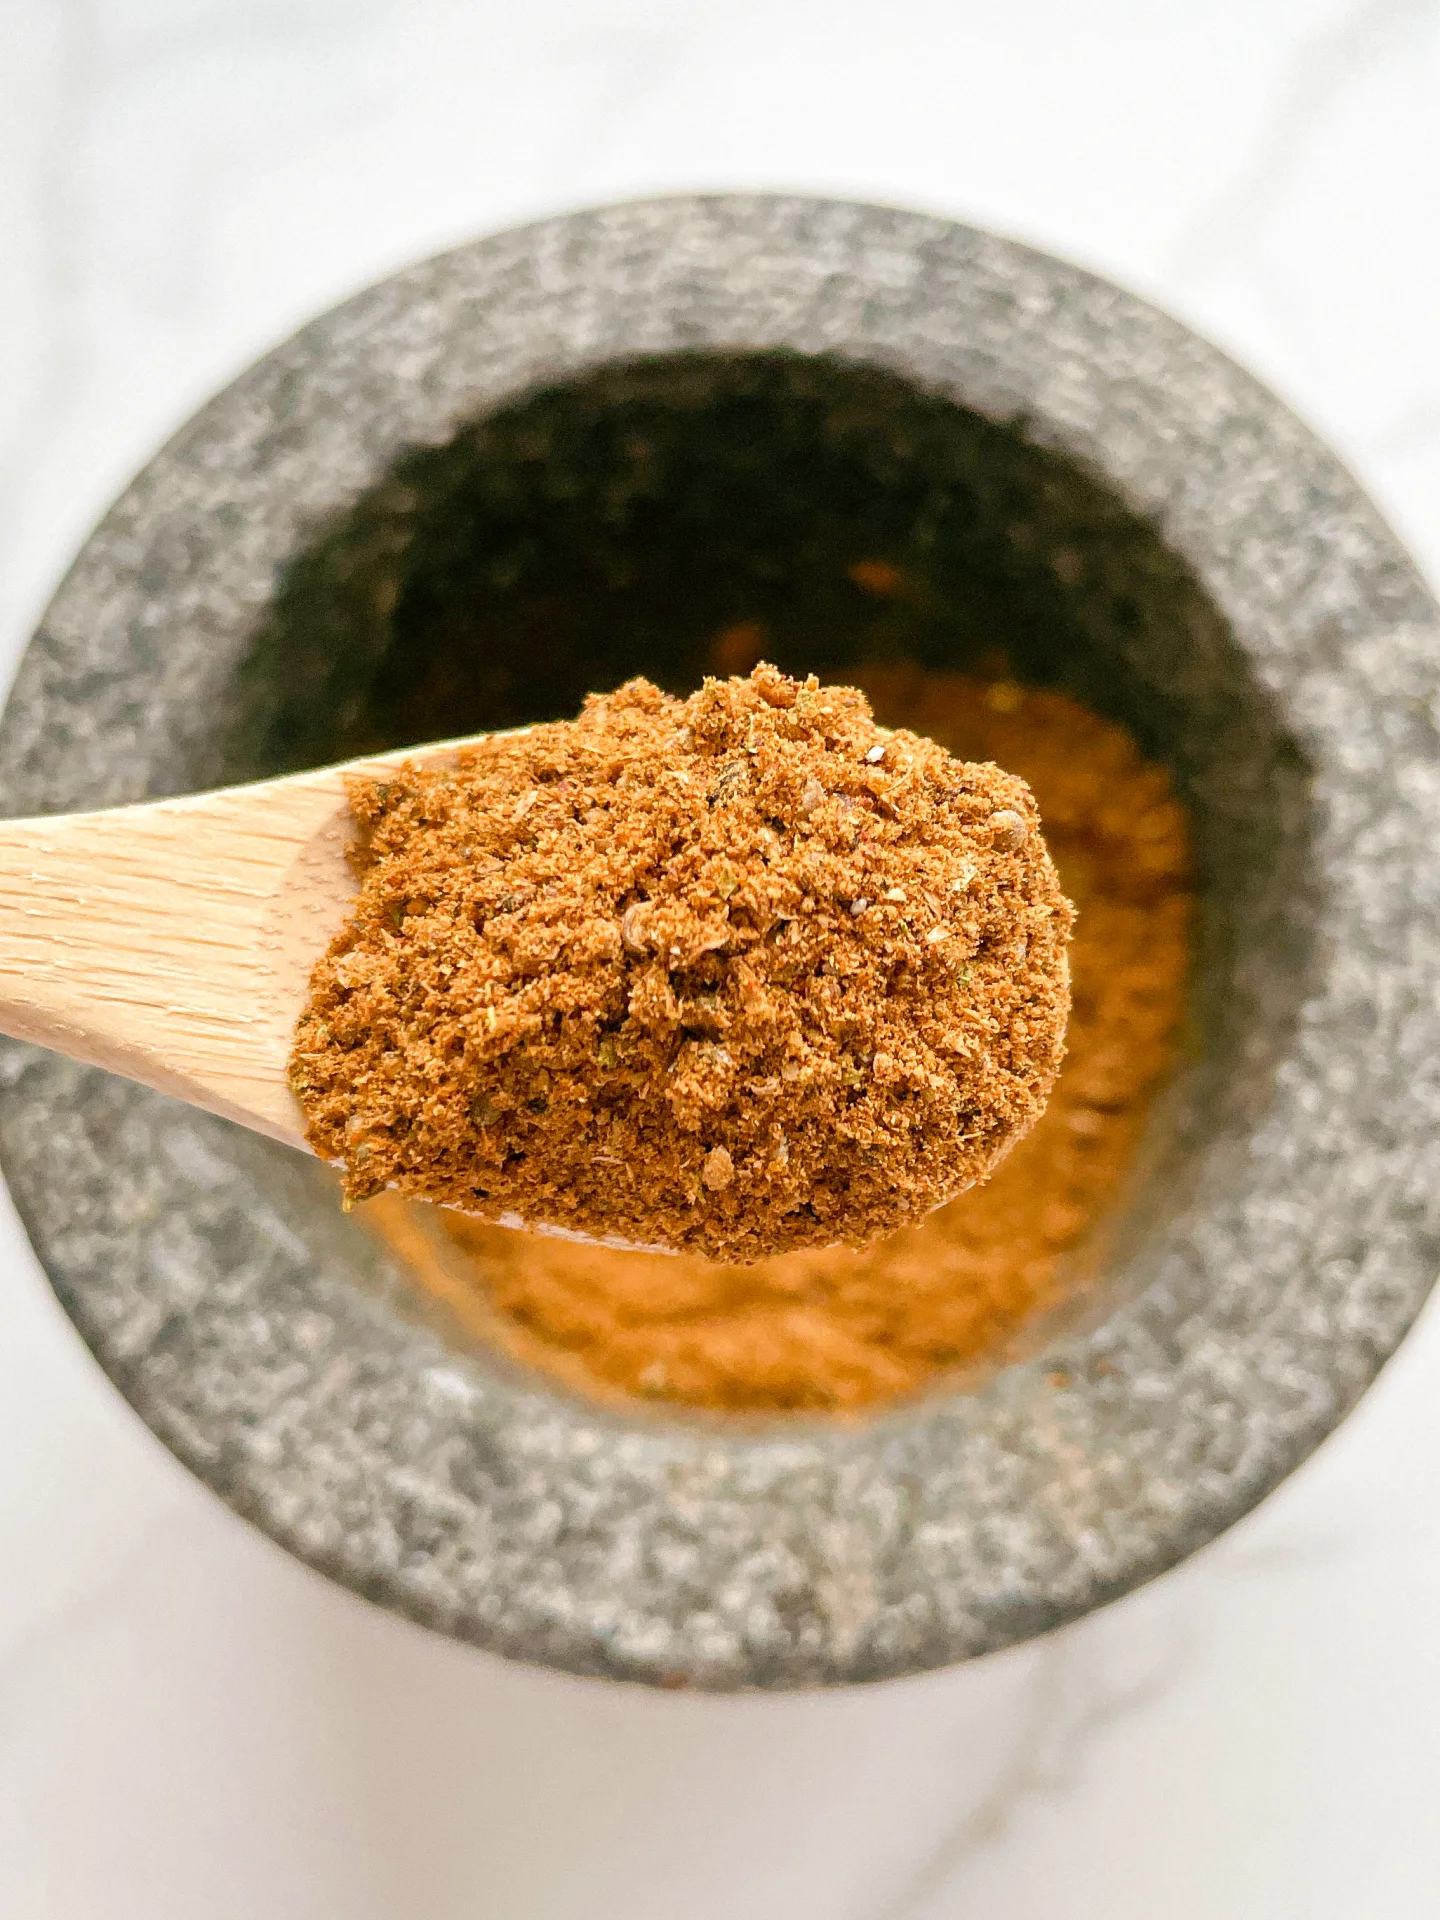
- In a bowl, mix the dressing ingredients: hot paprika paste, tomato paste, olive oil, sumac, dried mint, salt, pomegranate syrup, and lemon juice until it forms a creamy consistency.
- Place the vegetable mixture into a larger bowl and add the dressing. Stir well until it becomes a creamy, firm, dark red mixture. Taste and adjust seasoning if needed. You can serve it immediately or refrigerate it for a few hours to enhance the flavors.
- Cook Time: 20 min