


Description
GOOD TO HAVE ON HAND
- sharp knife
- cutting board
- salad bowl
- small bowl
- small whisk
- garlic press
Ingredients
Units Scale
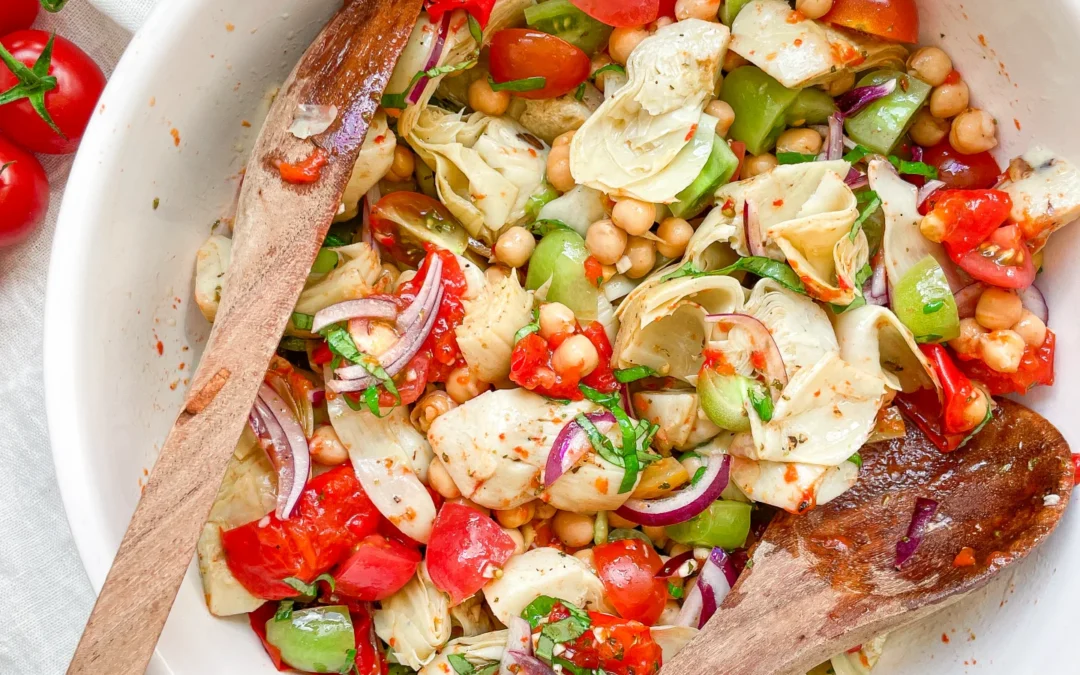
SALAD
- 450 grams canned artichoke hearts
- 150 grams canned roasted bell pepper
- 250 grams canned chickpeas
- 200 grams cocktail tomatoes
- 1 red onion
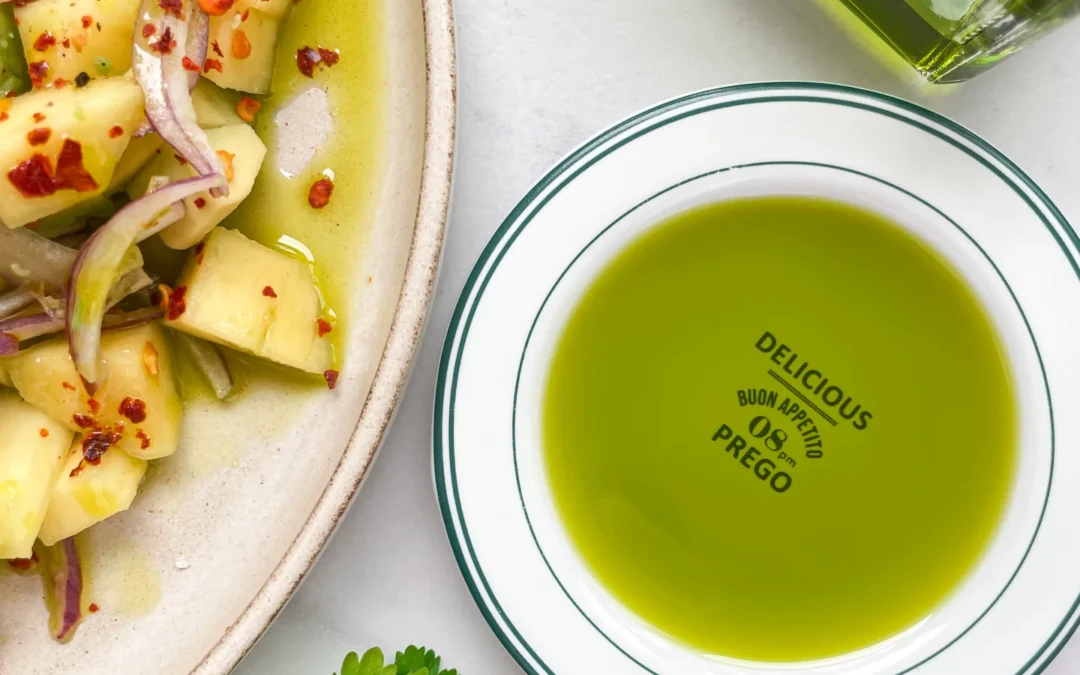
- 4 tbsp olive oil
- 2 tbsp red wine vinegar
- 2 tbsp maple syrup or honey
- 1 garlic clove
- salt & pepper to taste
- fresh basil
- fresh oregano
Instructions
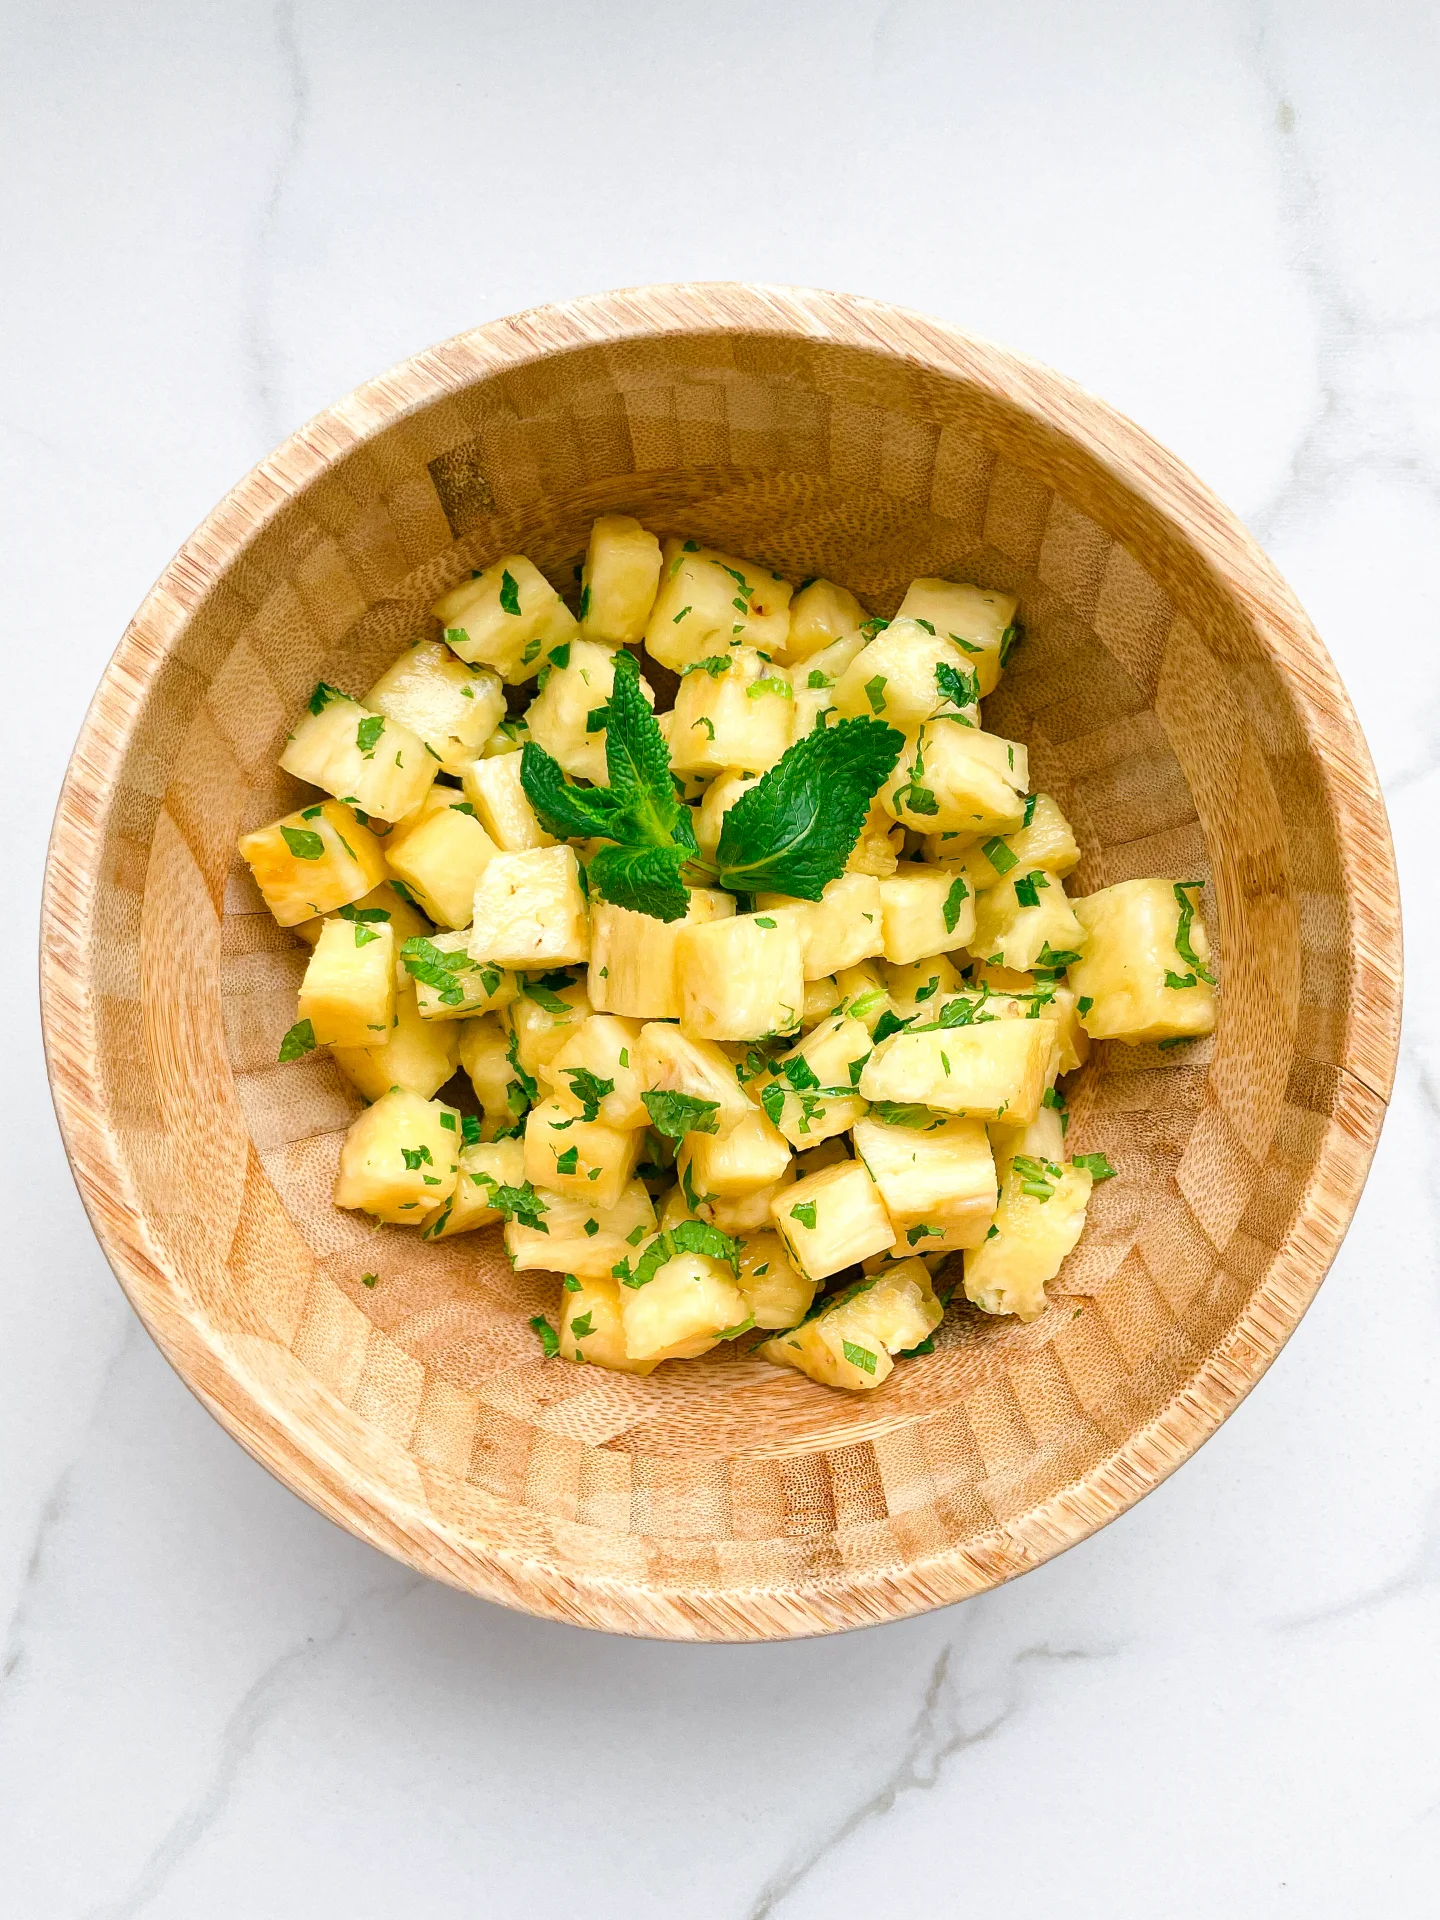
- Drain the artichoke hearts and let them drip off a bit. Then place them in the salad bowl.
- Next, drain the chickpeas and rinse with water until no more bubbles form. Dry the chickpeas with a clean towel and pick out any loose skins. Add them to the salad bowl as well.
- Cut the grilled peppers into small pieces and add to the other ingredients in the bowl.
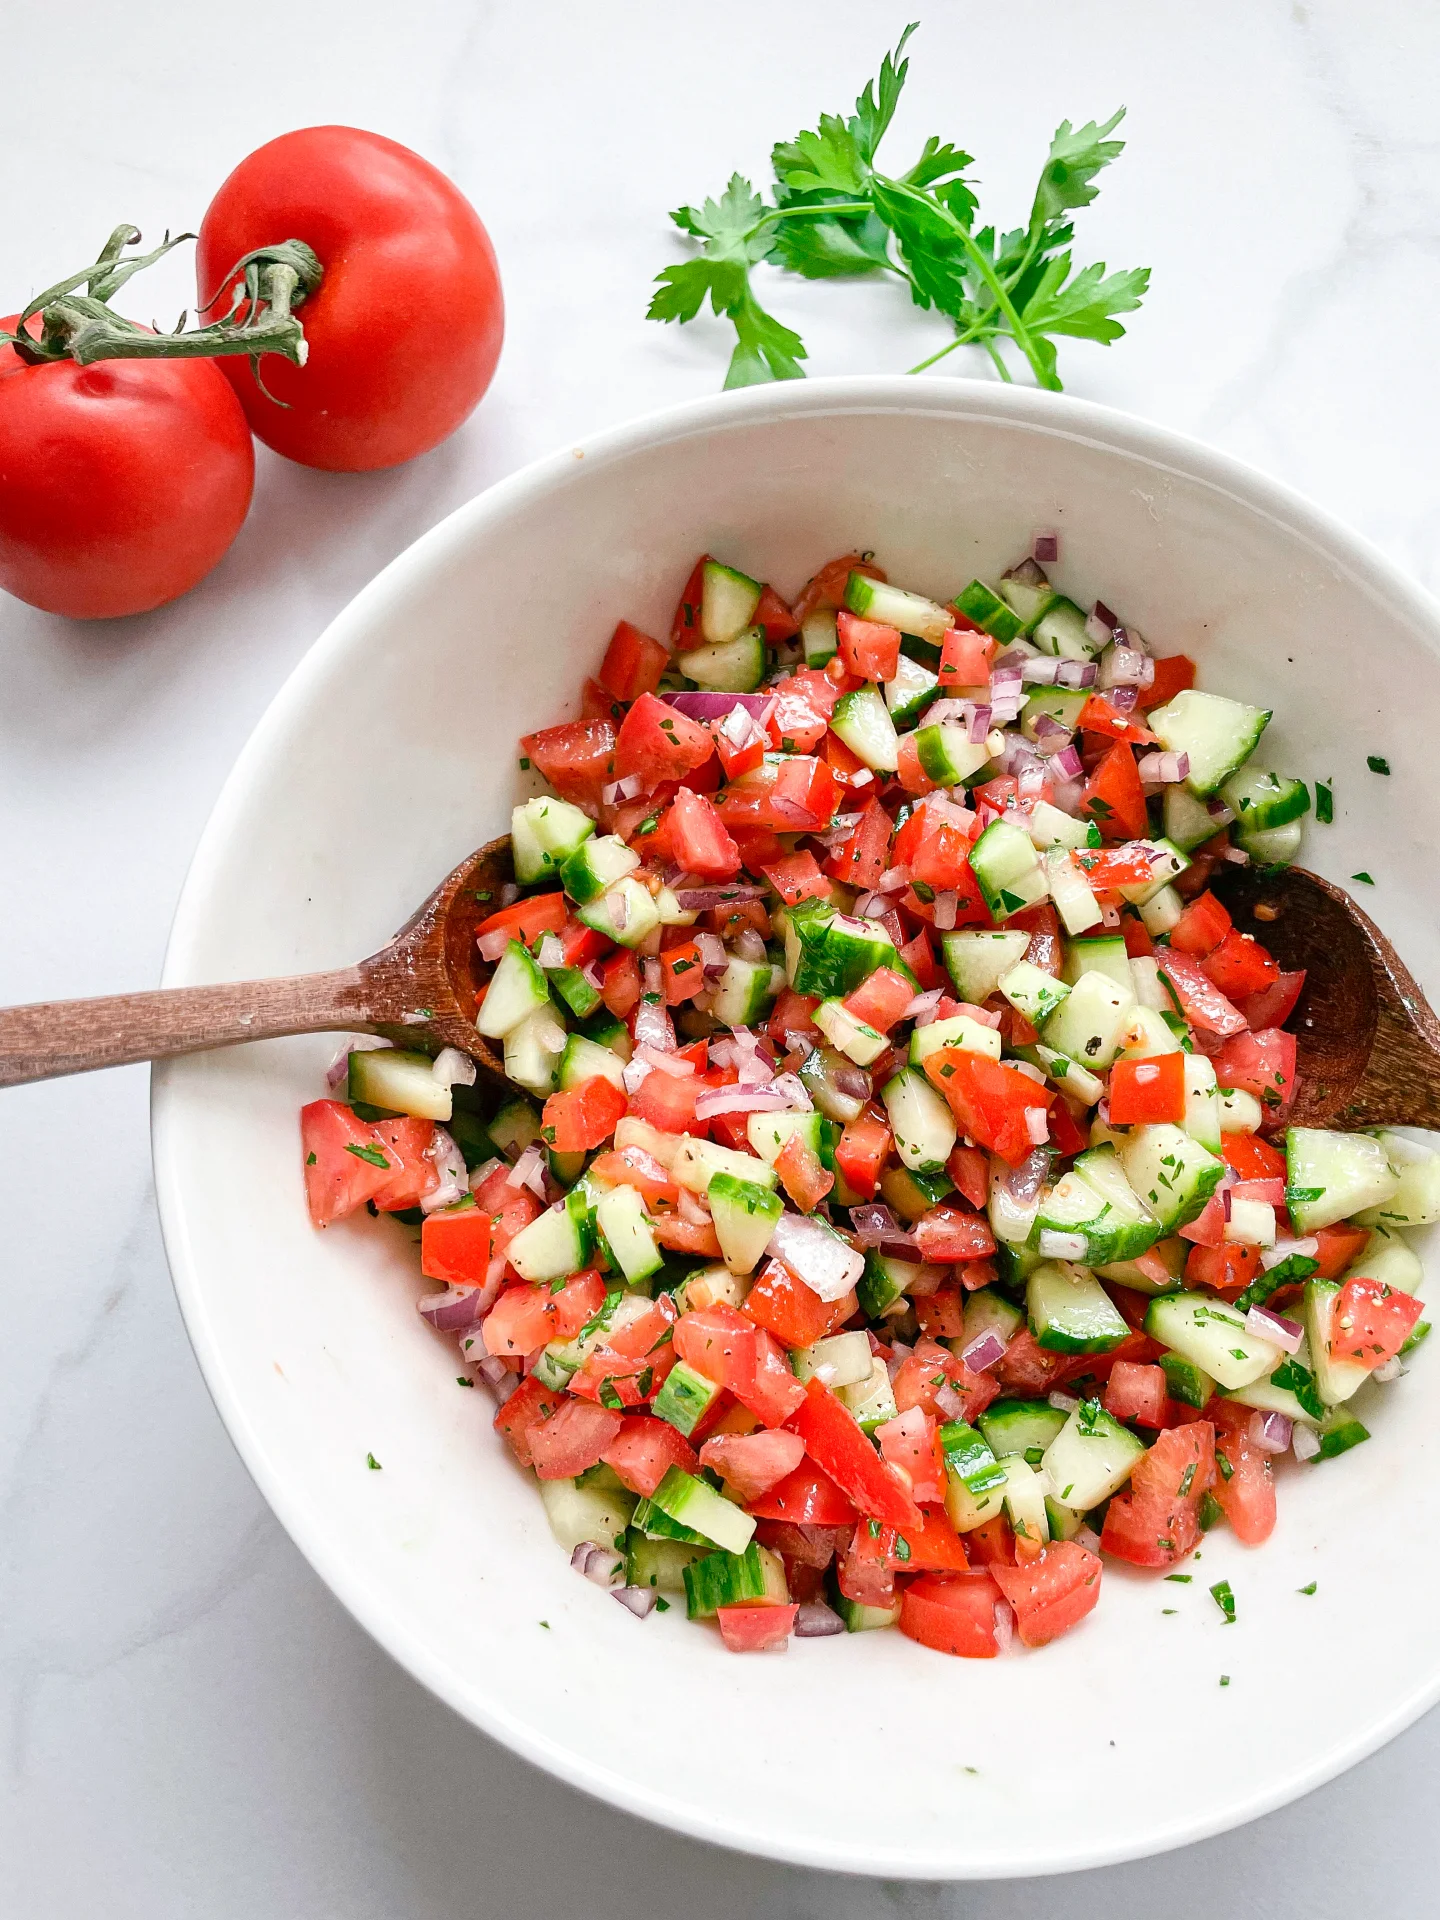
- Next, chop the tomatoes and peel and slice the onion into fine strips. Add both to the bowl.
- In a small bowl, mix the dressing. For this, peel the garlic and press or finely chop it into the bowl, then add olive oil, red wine vinegar, honey (or maple syrup), and dried oregano. Season with salt and pepper. Stir well and pour over the salad.
- Gently mix everything so that it’s evenly coated with the dressing. Finally, chop fresh basil and fresh oregano and sprinkle over the salad. Now enjoy your piece of happiness!
Notes
The calorie information may vary depending on the product used, country and region.
- Cook Time: 15 min