


Description
RECOMMENDED EQUIPMENT
- sharp knife
- cutting board
- peeler
- cheese grater
- big bowl
- oven-safe dish with a lid (or aluminum foil)
- small pan
- oven
- cling film
Ingredients
- 600 grams pizza flour (or type 00)
- 400 milliliters lukewarm water
- 2 tsp salt
- 7 grams active instant dry yeast
- 1 garlic bulb
- 1/4 tsp chili flakes
- 1/4 tsp salt
- 3 tbsp olive oil
- 1 leek
- 2 tsp butter
- pinch of salt
- 500 grams green asparagus
- 80 grams parmesan
- 2 tsp fresh thyme
- ricotta cheese
- cress
- pine nuts
- fresh lemon juice
- olive oil
- black pepper
Instructions
In a large bowl, mix flour, salt, and yeast. Make a well in the center, pour in lukewarm water, and stir everything together with a wooden spoon until everything just came together and you get a sticky dough. Cover the bowl tightly with cling film and let the dough rest for 10 minutes.
Now remove the cling film and do a round of stretch and folds: grab the dough from all four sides, lift each section, and fold it into the center. Wet your hand with lukewarm water each time to keep things from sticking. Cover the bowl again, rest for another 10 minutes, and repeat the stretch and fold. Cover once more and let the dough rise at room temp for 1 hour. Do one last round of stretch and folds after that hour, cover again, and let it rest for another hour.
Meanwhile, slice off the top of the bulb to expose the cloves. Place in an oven-safe dish, drizzle with 3 tbsp olive oil, sprinkle with ¼ tsp chili flakes and ¼ tsp salt. Cover and bake at 250°C / 482°F for 45 minutes.
Now wash the asparagus and snap off the woody ends. Use a peeler to shave thin ribbons from the stalks, leaving the heads intact. Set both aside. Wash the leek and slice it into thick rings, try to keep the rings whole. Set aside. Grate the Parmesan, finely chop the thyme, and halve the lemon.
Next toast pine nuts in a dry pan over medium heat until golden. Transfer to a bowl and set aside. Wipe out the pan, add 2 tsp butter, and melt over low-medium heat. Gently place in the leek rings and cook for 10–15 minutes until the bottom is golden and the leeks are soft. Flip carefully and cook another 5 minutes. Set aside.
Once the garlic is cool, squeeze the cloves out into the oil, mash it all together into a paste, and set aside. Preheat your oven to 230°C / 446°F (fan).
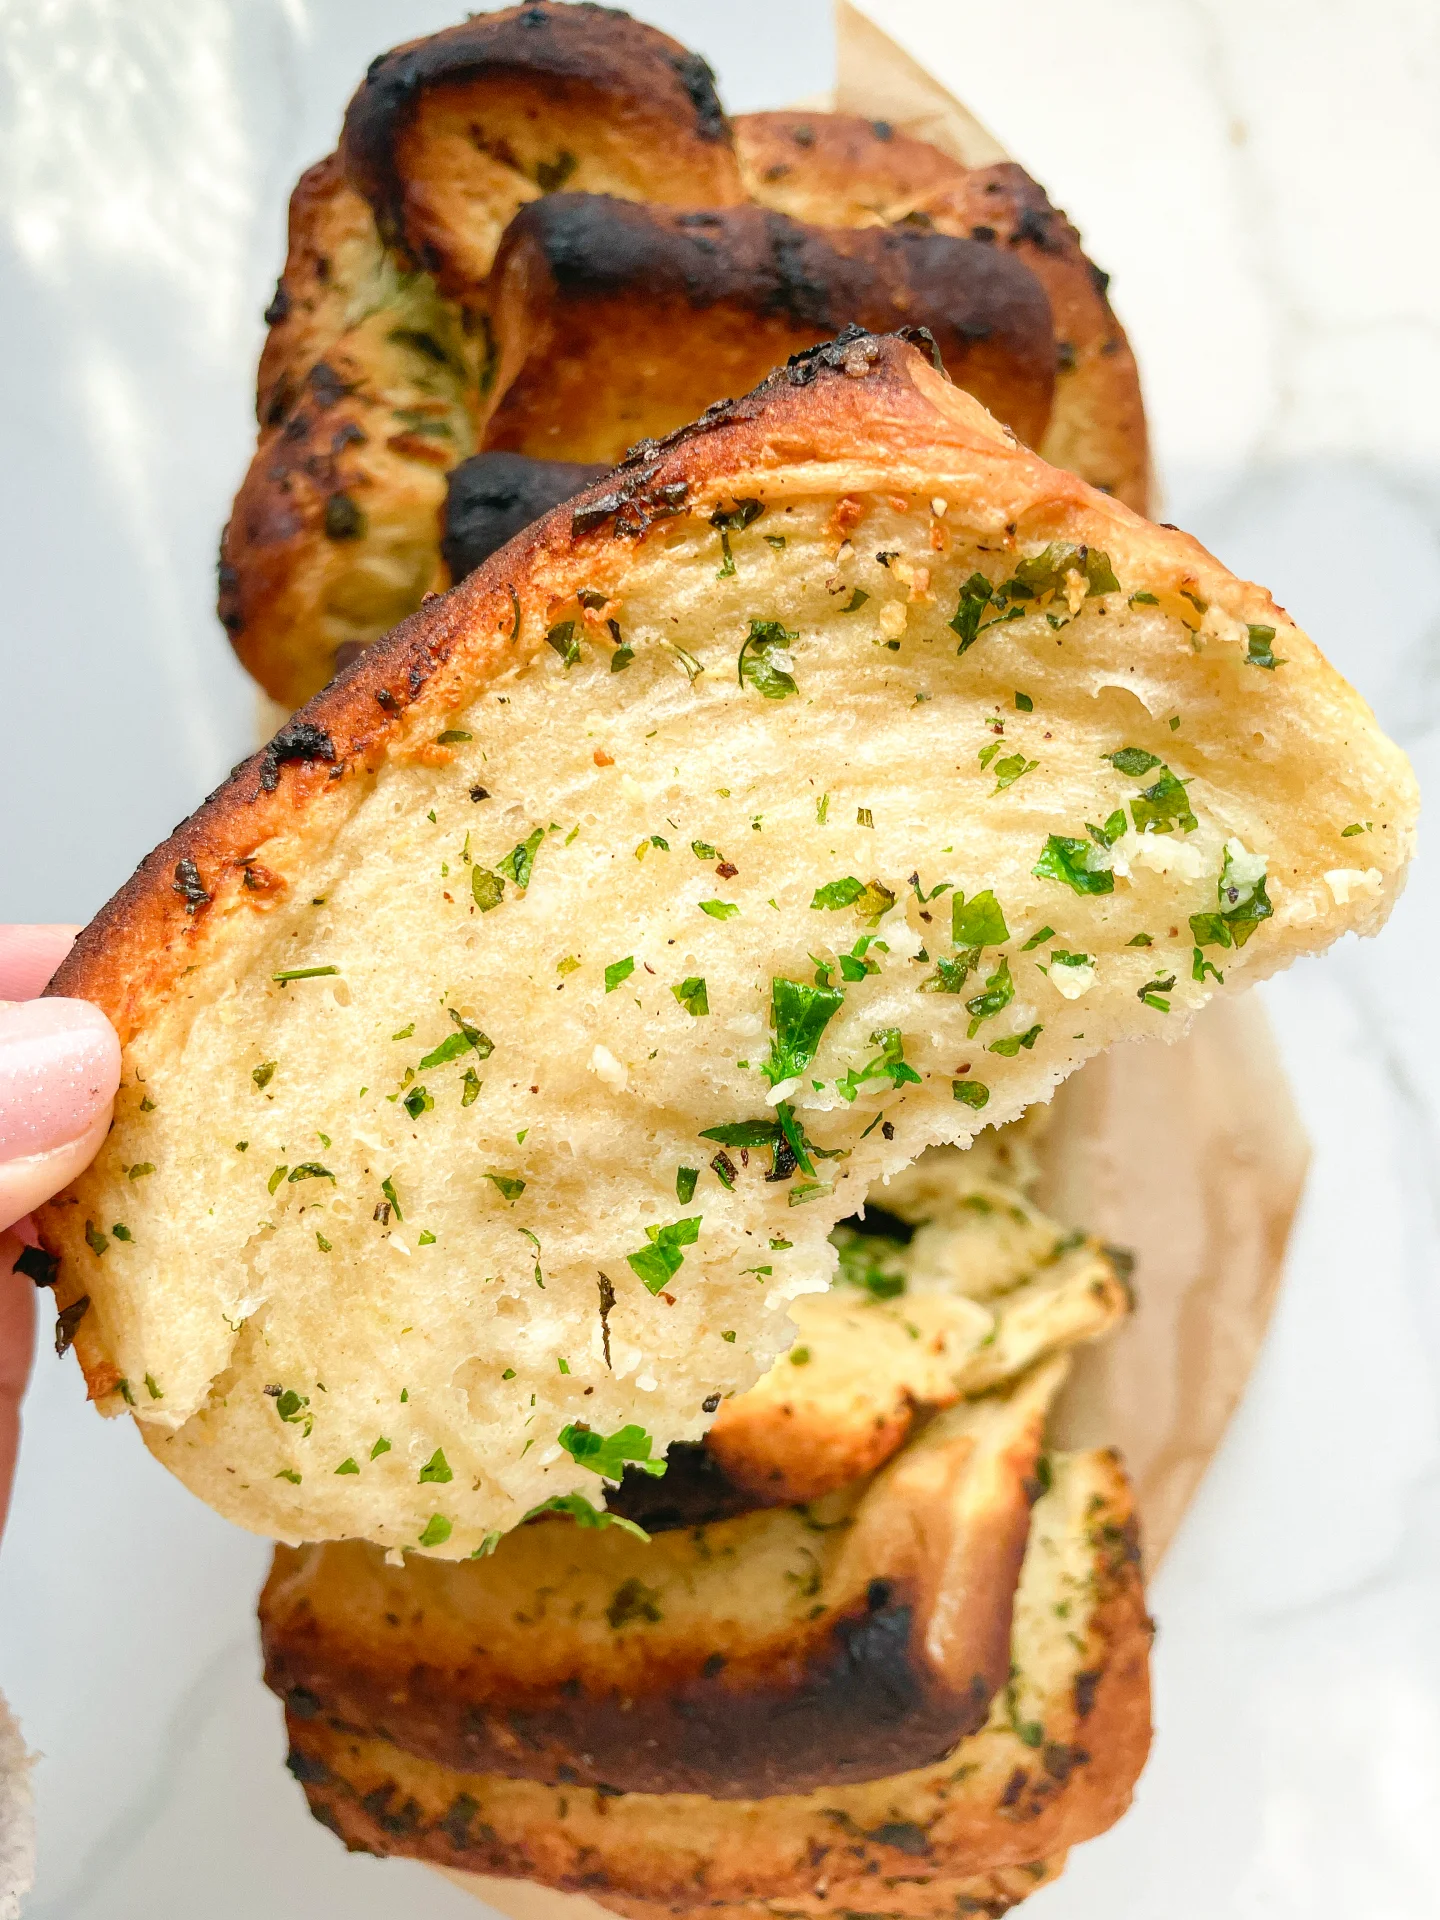
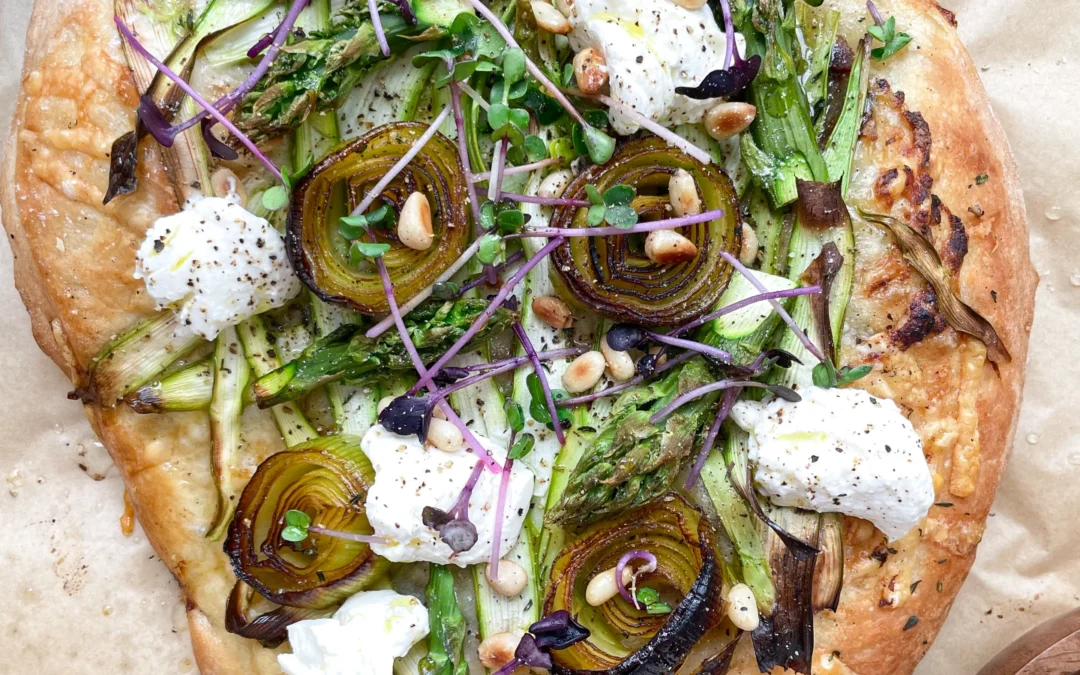
Lightly flour a piece of parchment paper. Divide your dough into 4 pieces. Take one, place it on the parchment, dust the top with flour, and gently press it out with your fingers until it resists stretching (about 1.5 cm / ½″ thick). Drizzle olive oil over the dough. Top with grated Parmesan, a bit of garlic paste, asparagus shavings + heads, and a few caramelized leek rings. Sprinkle with thyme. Bake for 20 minutes until golden and crispy.
Fresh out of the oven, finish with dollops of ricotta, toasted pine nuts, microgreens, cracked pepper, a squeeze of lemon, and (optional) a final drizzle of olive oil. Slice and serve!
- Passive Time: 120 min
- Cook Time: 45 min