


Description
GOOD TO HAVE ON HAND
- sharp knife
- cutting board
- medium sized bowl
Ingredients
Units Scale
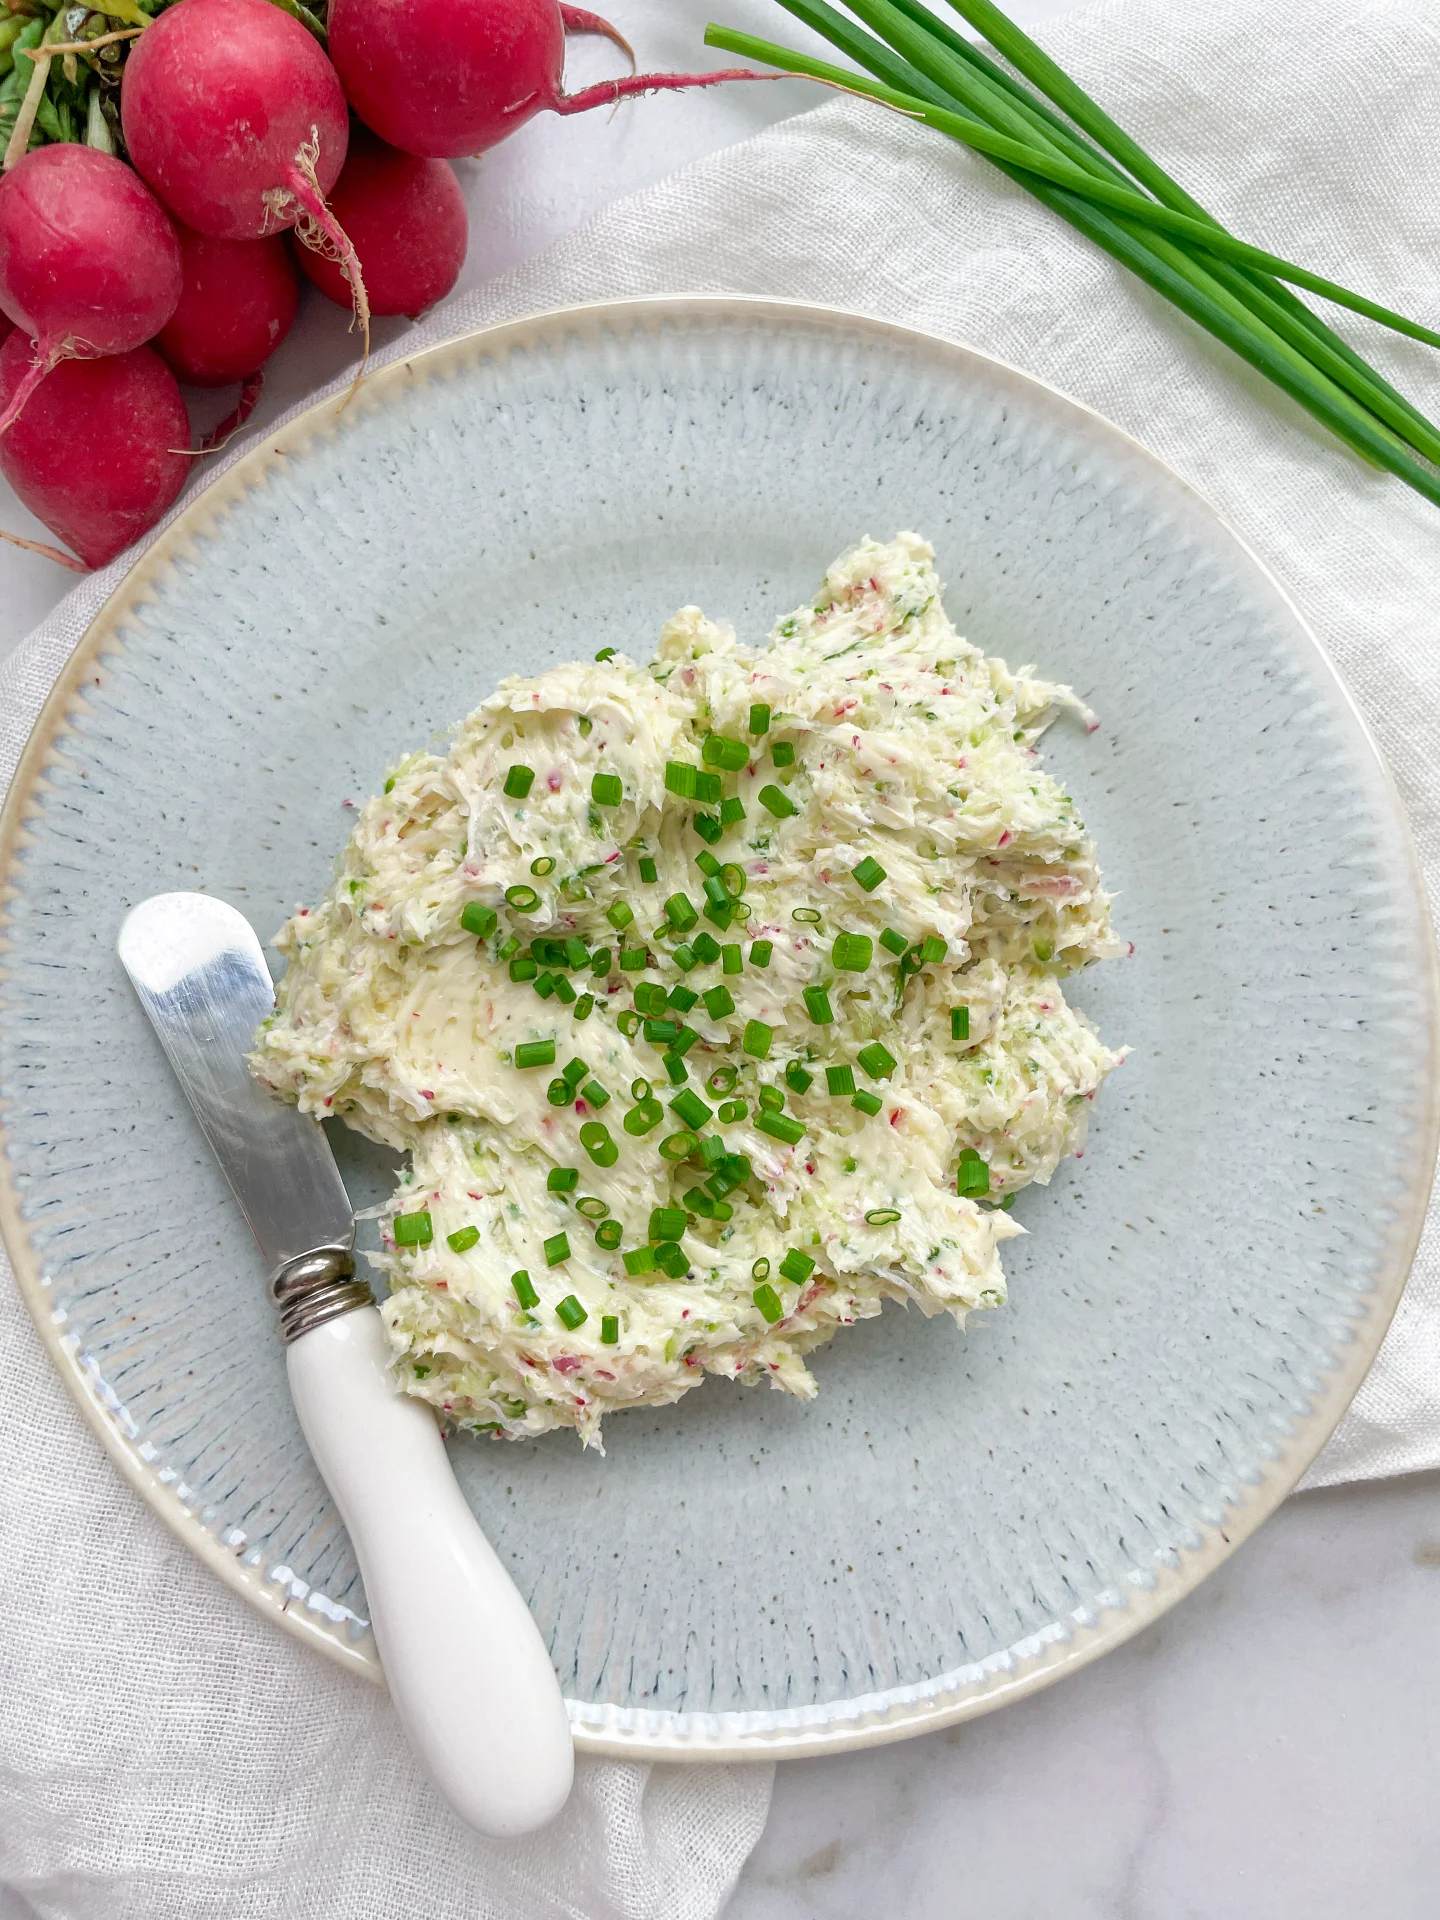
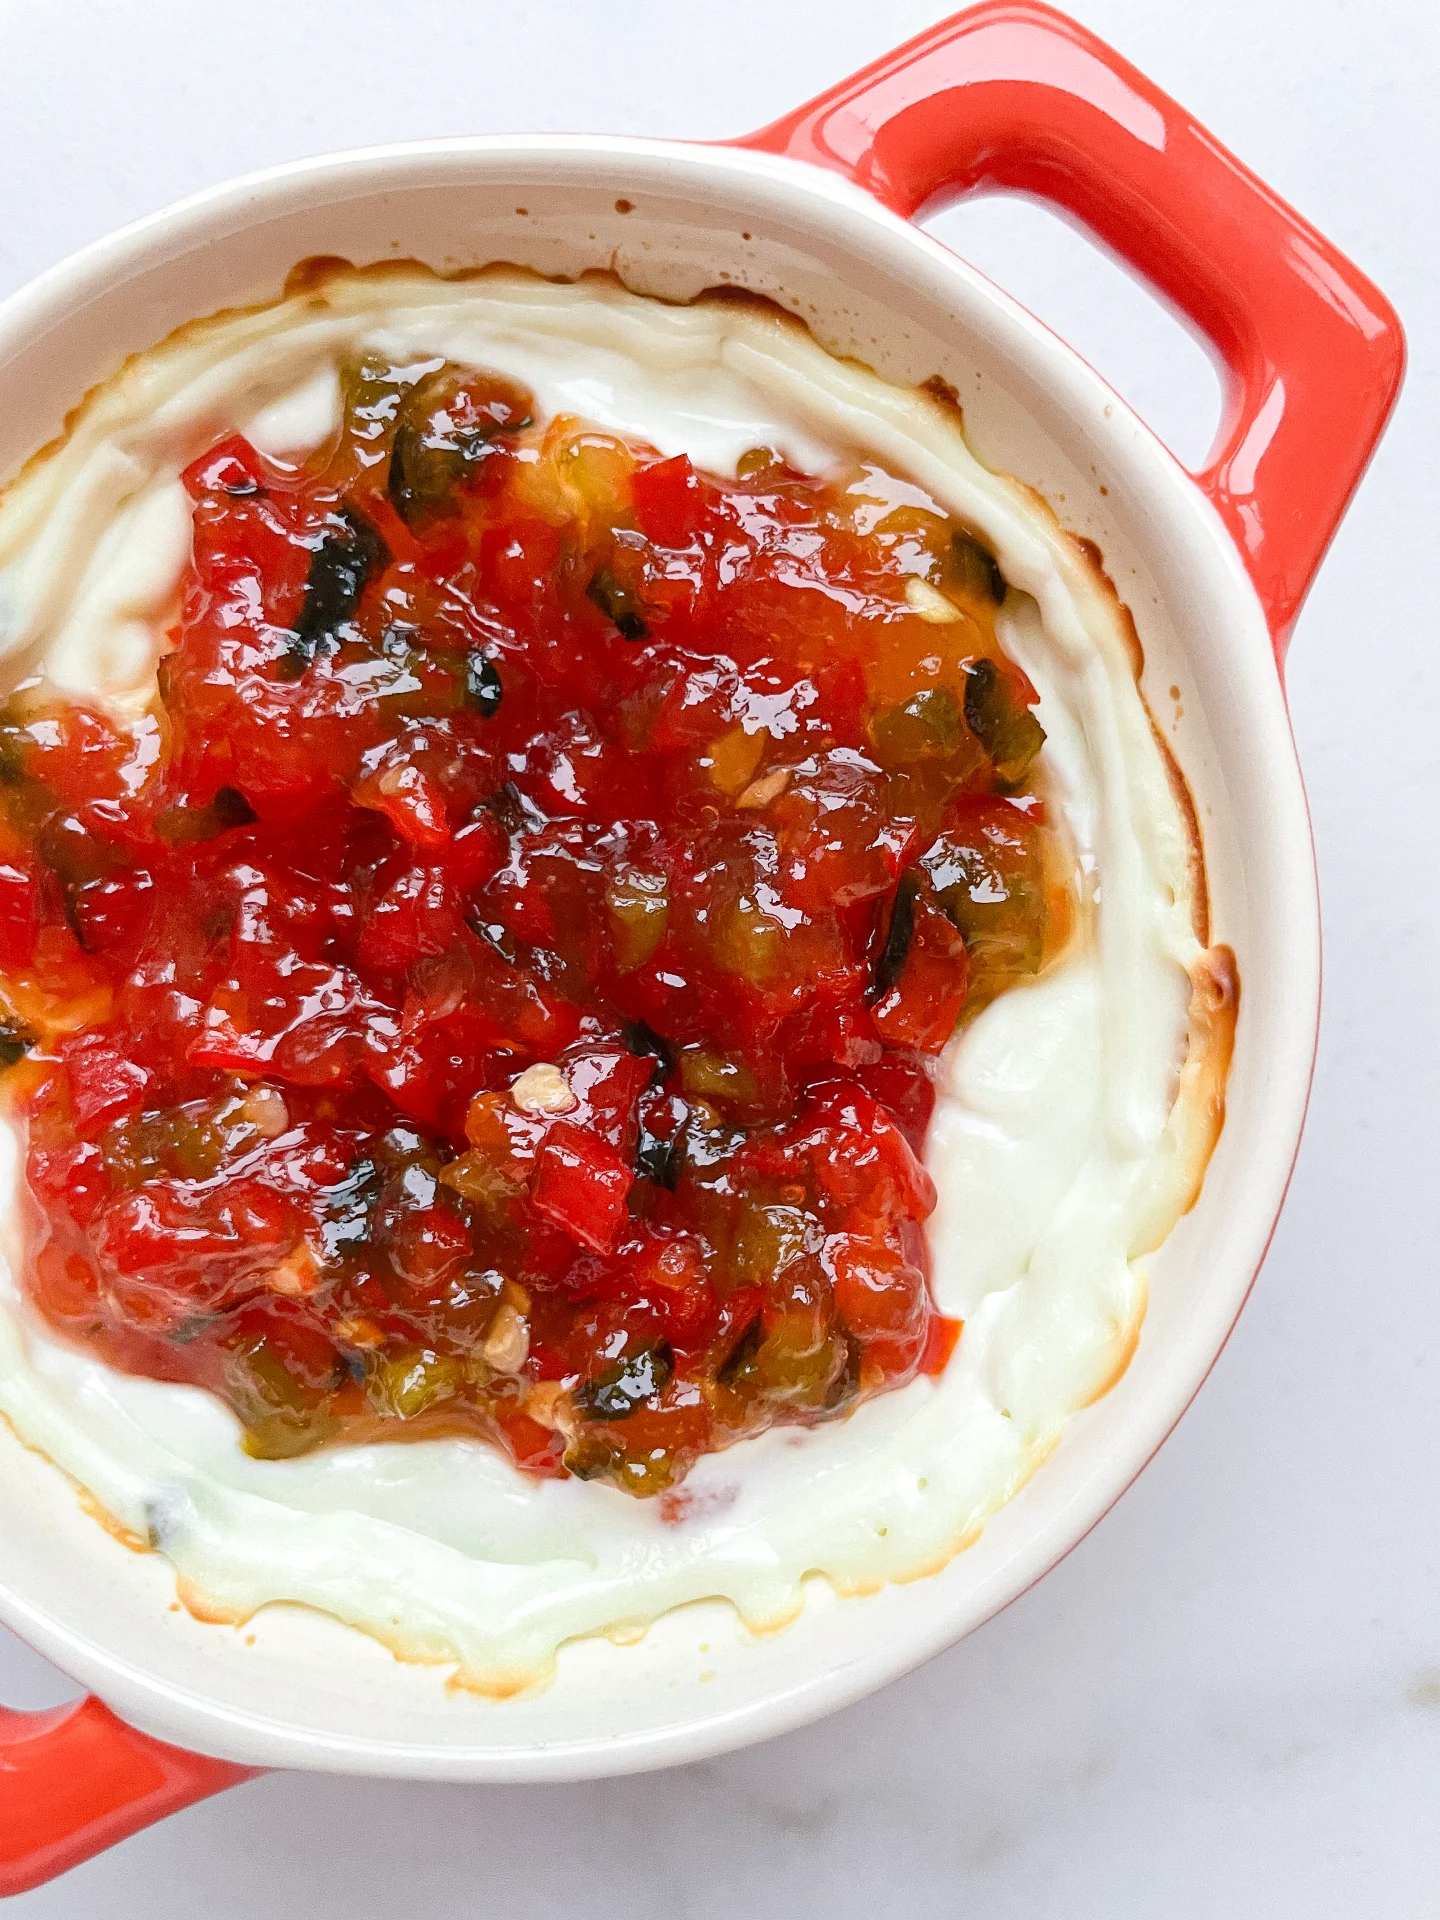
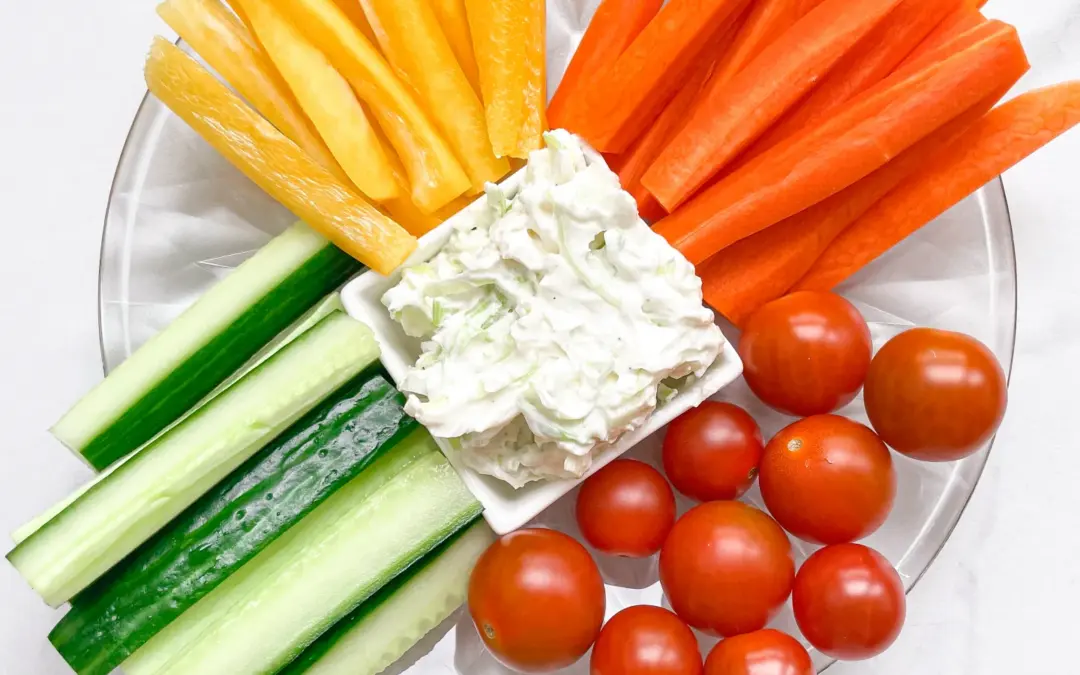
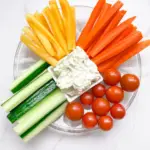
DIP
- 200 grams cream cheese
- 1 garlic clove
- 50 grams leek mixed white and green parts
- 1/2 green apple
- 1/8 tsp salt
- 1/8 tsp white pepper
- bread of choice
- tomatoes
- carrots
- cucumber
- paprika
Instructions
- Peel half the apple, remove the core and cut into small pieces.
Cut the ends off the leek, wash the piece to be used and then cut into fine strips.
Peel the garlic. - Pour the cream cheese into a bowl. Season with salt, pepper and freshly pressed garlic. Stir everything together and season to taste.
- Now add the apple pieces and leek strips and mix everything well.
- Cook Time: 10 min