


Description
GOOD TO HAVE ON HAND
- sharp knife
- cutting board
- large pot
- hand blender (or blender)
Ingredients
Units Scale
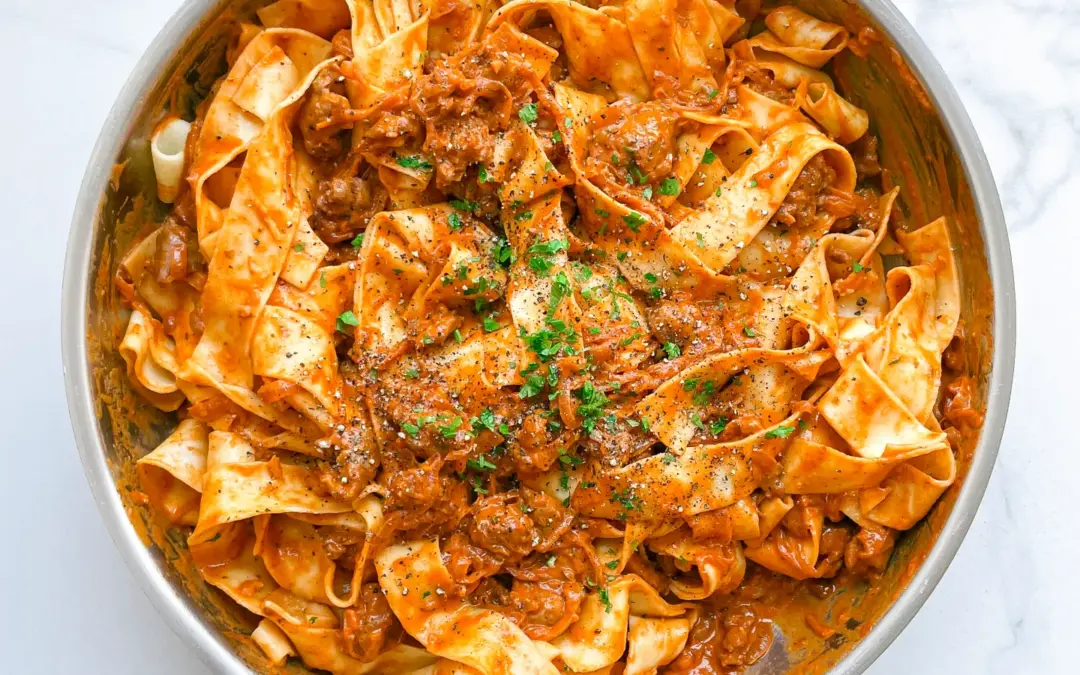
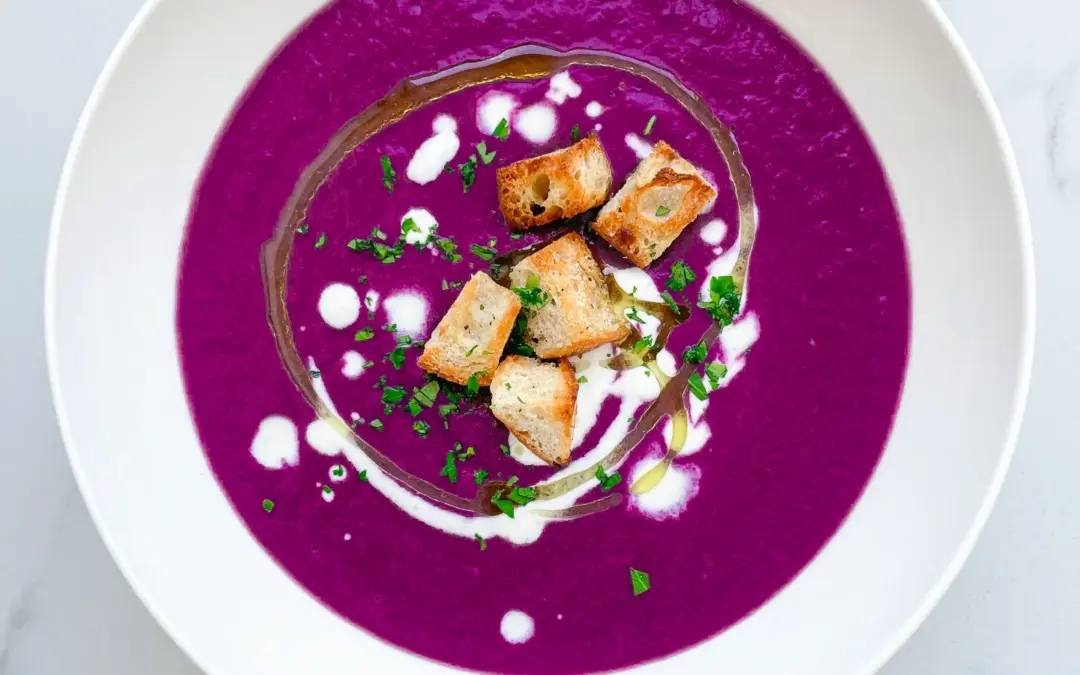
SOUP
- 800 grams red cabbage
- 2 red onions
- 2 potatoes
- 1 apple
- 3 tbsp balsamic vinegar
- 900 milliliters chicken broth
- 1 bay leaf
- 2 tbsp creme fraiche (or sour cream)
- 2 garlic cloves
- a small piece of ginger
- 1/8 tsp of chili flakes
- 2 tbsp lemon juice
- 1 tbsp butter
- 1 tbsp Worcestershire sauce
- 1/8 tsp cinnamon
- salt & pepper to taste
CROÛTONS
- 100 grams baguette
- 2 tbsp olive oil
- 1/4 tsp garlic powder
- 1/4 tsp salt
TOPPINGS
- 1 tbsp creme fraiche
- 1 tbsp chili or olive oil
- parsley
- freshly cracked pepper
Instructions
- Peel and roughly chop onions, potatoes and the apple into large pieces.
- Peel the ginger and cut into small pieces.
- Cut or slice the red cabbage into fine strips.
- Remove the skin from the garlic and cut in half.
- Heat the butter in the pan and fry the onions until translucent. Now add the garlic and ginger to the onions in the pot and fry until fragrant.
- Now add the potato and apple pieces and the red cabbage. Stir everything and sauté for about 5 minutes. Now deglaze with the balsamic vinegar, stir briefly and then pour in the chicken broth. Bring to boil and then simmer on low heat with the lid closed for 20-30 minutes until the red cabbage has softened.
- In the meantime, prepare the croutons. To do this, cut the baguette into cubes and place on a baking tray lined with baking paper. Sprinkle with olive oil, salt and garlic powder and mix well so that the bread cubes are covered on all sides. Roast at 180°C (350° F) for approx. 5-8 minutes until golden brown. The time may vary depending on your oven. Remove the croutons from the oven and leave to cool.
- Once the red cabbage is soft, remove the pot from the heat and puree with a hand blender to the desired consistency.
- Now add creme fraiche, lemon juice, Worcestershire sauce, cinnamon, pepper and chilli to taste.
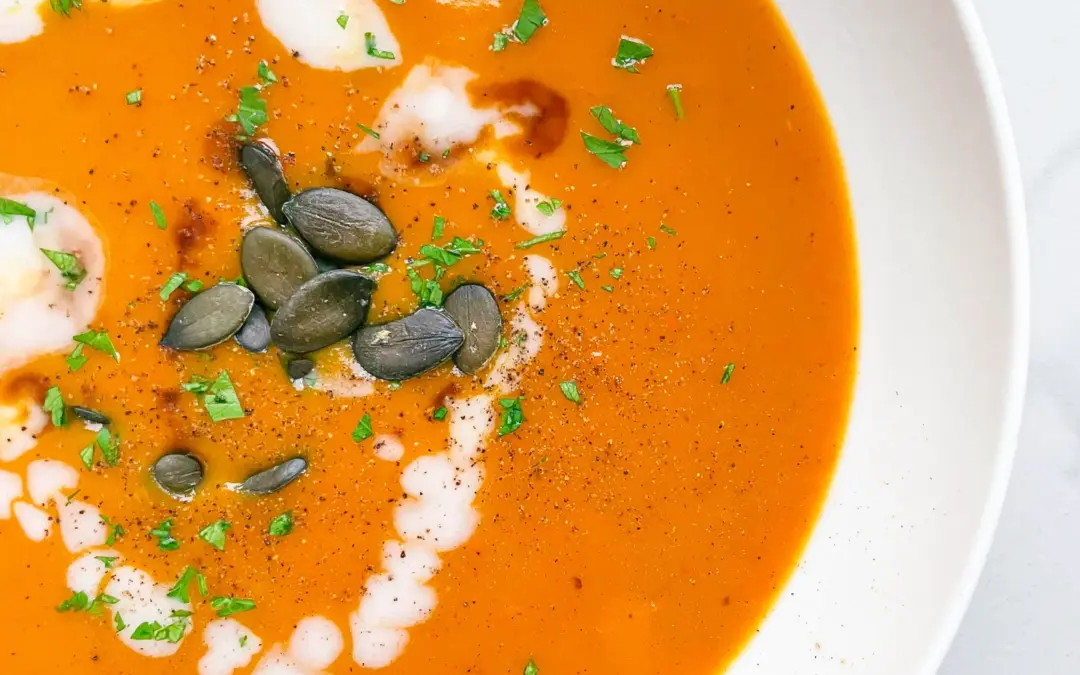
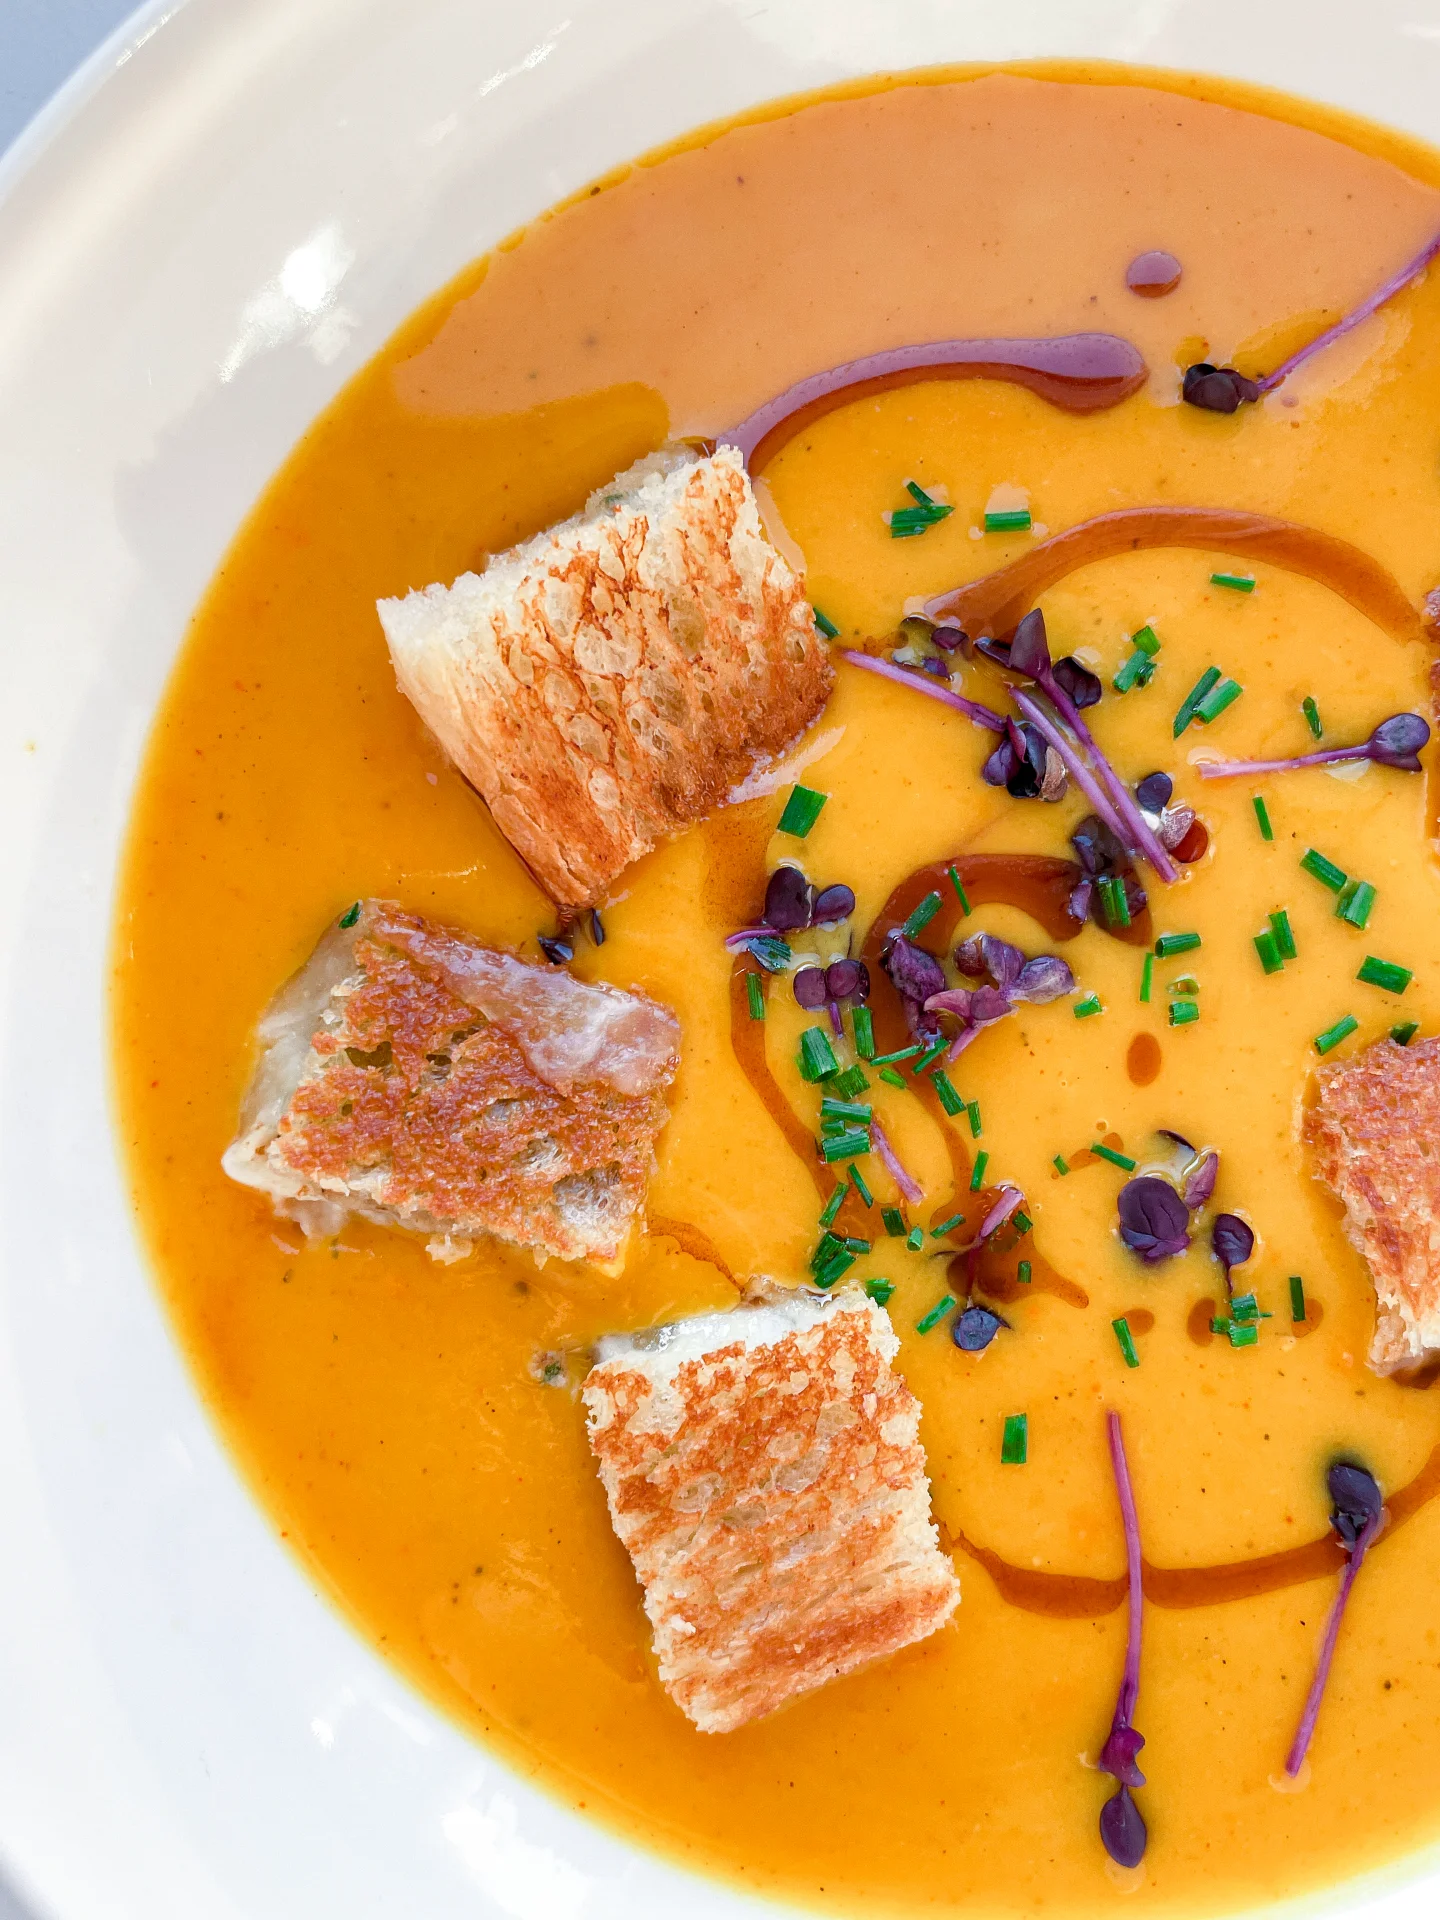
- Pour the soup into deep plates and top with creme fraiche, chilli oil, parsley and croutons.
- Passive Time: 15 min
- Cook Time: 35 min