


Description
GOOD TO HAVE ON HAND
- sharp knife
- cutting board
- small bowl
- small whisk
- salad bowl
Ingredients
Units Scale
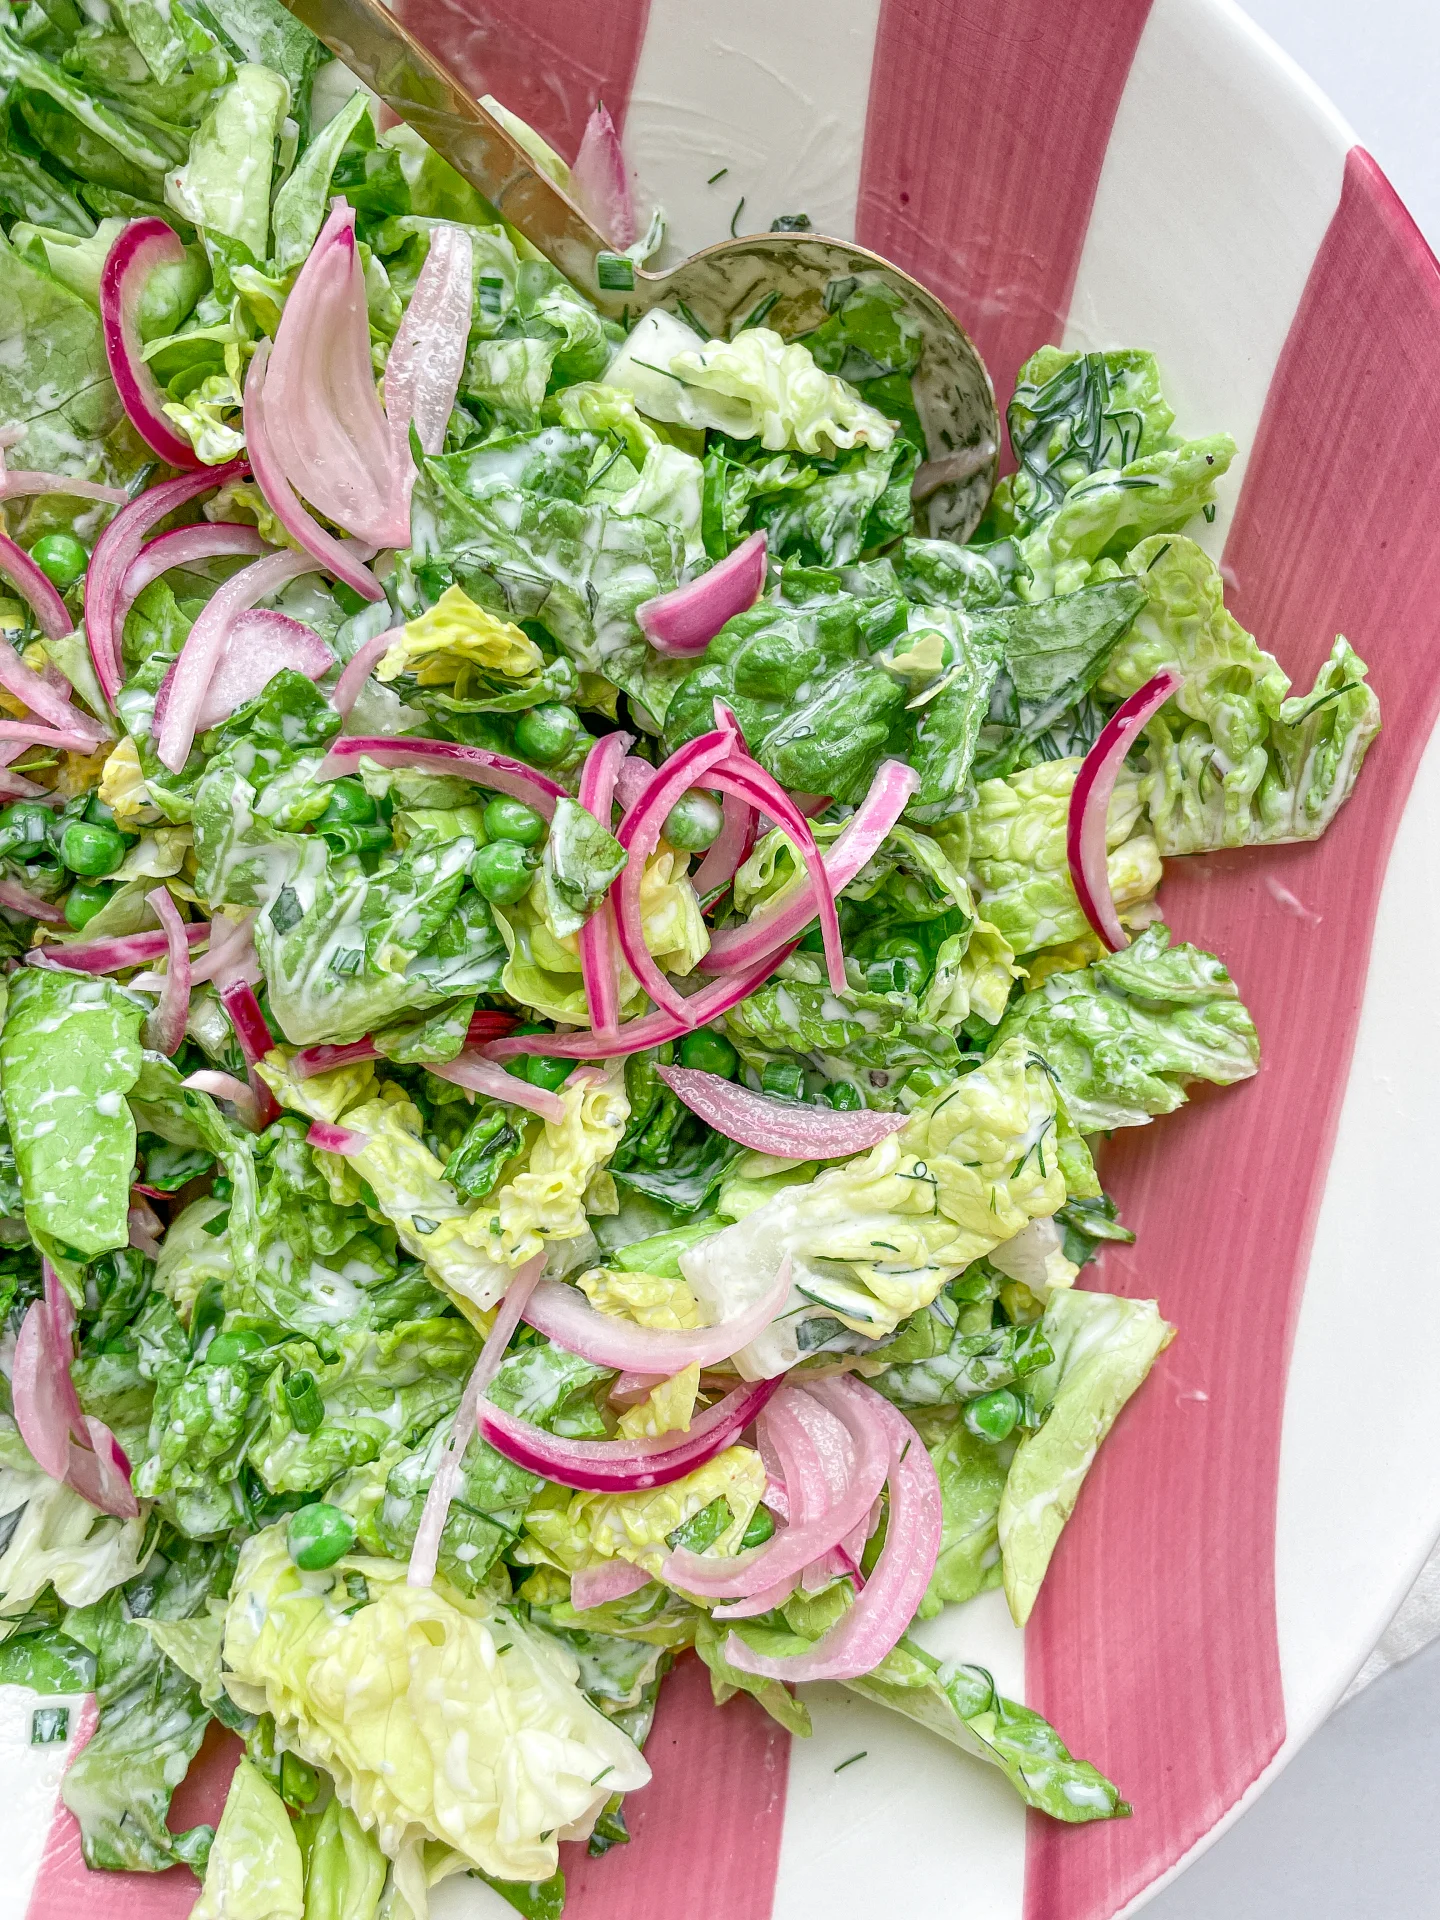
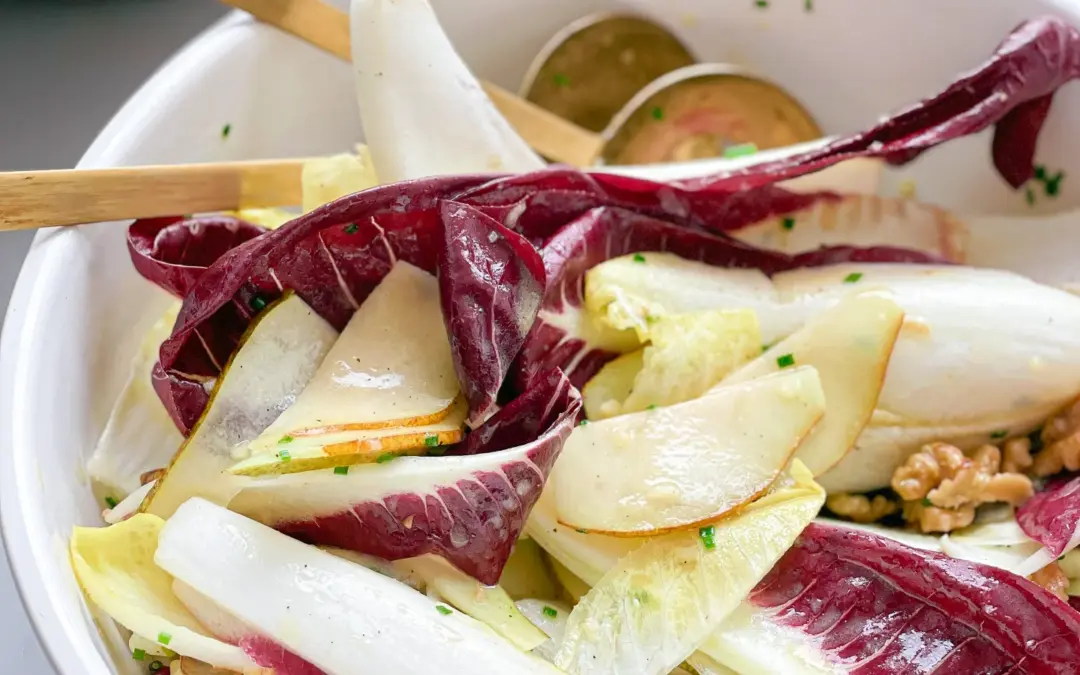
SALAD
- 400 grams chicory
- 2 pears
- 2 tbsp walnuts
- chives
- 3 tbsp olive oil
- 2 tbsp cold water
- 1 tbsp lemon juice
- 1 tsp Dijon mustard
- 1 tsp honey
- 1 garlic clove
- salt & pepper to taste
Instructions
- Roast the walnuts in a pan without adding any fat until golden brown and fragrant. Roughly chop them on a chopping board and add to the salad bowl.
- Wash the chives, cut into small rolls and add to the salad bowl.
- Halve the chicory lengthways and pluck off the leaves one by one. Wash and dry the leaves well and add to the salad bowl.
- Wash the pears, cut in half and slice finely down to the stem and add to the other ingredients in the salad bowl. Mix everything well.
- In a small bowl, mix the olive oil, lemon juice, water, honey, Dijon mustard and pressed garlic clove with a whisk to make a creamy dressing and season with salt and pepper to taste. Pour the dressing over the salad, mix well and serve immediately.
- Cook Time: 15 min