Peach Vanilla Jam

Peach Vanilla Jam

Peach Vanilla Jam

Peach Vanilla Jam

May 12, 2024 by Kimberly

Discover the joy of homemade Peach Vanilla Jam! A sweet, fragrant blend perfect for breakfast spreads and desserts. Simple, delicious, and wonderfully aromatic.

2 HOURS
25 MINUTES

EASY

VEGETARIAN

INT.

16 PER TSP

SWEET
FRUITY

EVERYDAY

DIPS & SPREADS

SPRING
SUMMER

INTRODUCTION

ABOUT THE RECIPE

Dive into the delightful world of homemade jam with my peach vanilla jam recipe! This easy-to-follow recipe combines ripe peaches and fragrant vanilla for a heavenly spread.

How to serve
Spread it over warm toast, swirl it into your morning yogurt, or dollop it on pancakes. It’s the perfect addition to enhance any breakfast or snack time with a touch of homemade sweetness.

How to store
To keep your jam fresh, store it in airtight containers in the refrigerator. Properly sealed, it can last as long as store-bought jam once opened.

Hi, I'm Kimberly!

Hi, I'm Kimberly.

A passionate food lover who believes in the magic of homemade deliciousness that spreads love and warmth. Join me on this culinary adventure as I prepare wonderful dishes and let’s spread some happiness together!

Kimberly the Zett Signature

If you want to get to know me better, click here!


Peach Vanilla Jam
Peach Vanilla Jam
Peach Vanilla Jam
„Let’s make a piece of happiness“
Print
clock clock iconcutlery cutlery iconflag flag iconfolder folder iconinstagram instagram iconpinterest pinterest iconfacebook facebook iconprint print iconsquares squares iconheart heart iconheart solid heart solid icon
Peach Vanilla Jam

Peach Vanilla Jam


5 Stars 4 Stars 3 Stars 2 Stars 1 Star

No reviews

  • Author: Kimberly
  • Total Time: 145 min
  • Yield: 1.5 kg / 3.3 lbs 1x

Description

RECOMMENDED EQUIPMENT

  • 4 screw-top jars
  • sharp knife
  • cutting board
  • medium-sized pot
  • immersion blender

Ingredients

Units Scale
  • 1 kilograms ripe peaches
  • 500 grams jam sugar 2:1
  • 1 vanilla pod

Instructions

  1. Rinse four screw-top jars with boiling hot water, dry them, and keep them open and ready to be filled.
  2. Wash and dry the peaches. Remove the pits and chop the peaches into rough pieces. Place all the pieces in a medium-sized pot.
  3. Slit a vanilla pod lengthwise and scrape out the seeds. Add the vanilla seeds, the pod, and the jam sugar to the peaches. Stir well and bring to a boil over medium heat.
  4. Let it boil for about 5 minutes. Stir occasionally. Remove the vanilla pod, then puree the mixture with an immersion blender until smooth and simmer for another 5 minutes and stir occasionally.
  5. Fill the jam hot into the washed jars and seal them. Let them cool completely. The jam can be stored unrefrigerated and unopened for several months, and once opened, it lasts in the fridge as long as store-bought jam.

Notes

The calorie information may vary depending on the product used, country and region.

  • Passive Time: 120 min
  • Cook Time: 25 min

Strawberry Cupcakes with Cream Cheese Frosting & Cheesecake Filling

Strawberry Cupcakes with Cream Cheese Frosting & Cheesecake Filling

Strawberry Cupcakes with Cream Cheese Frosting & Cheesecake Filling

Strawberry Cupcakes with Cream Cheese Frosting & Cheesecake Filling

April 24, 2024 by Kimberly

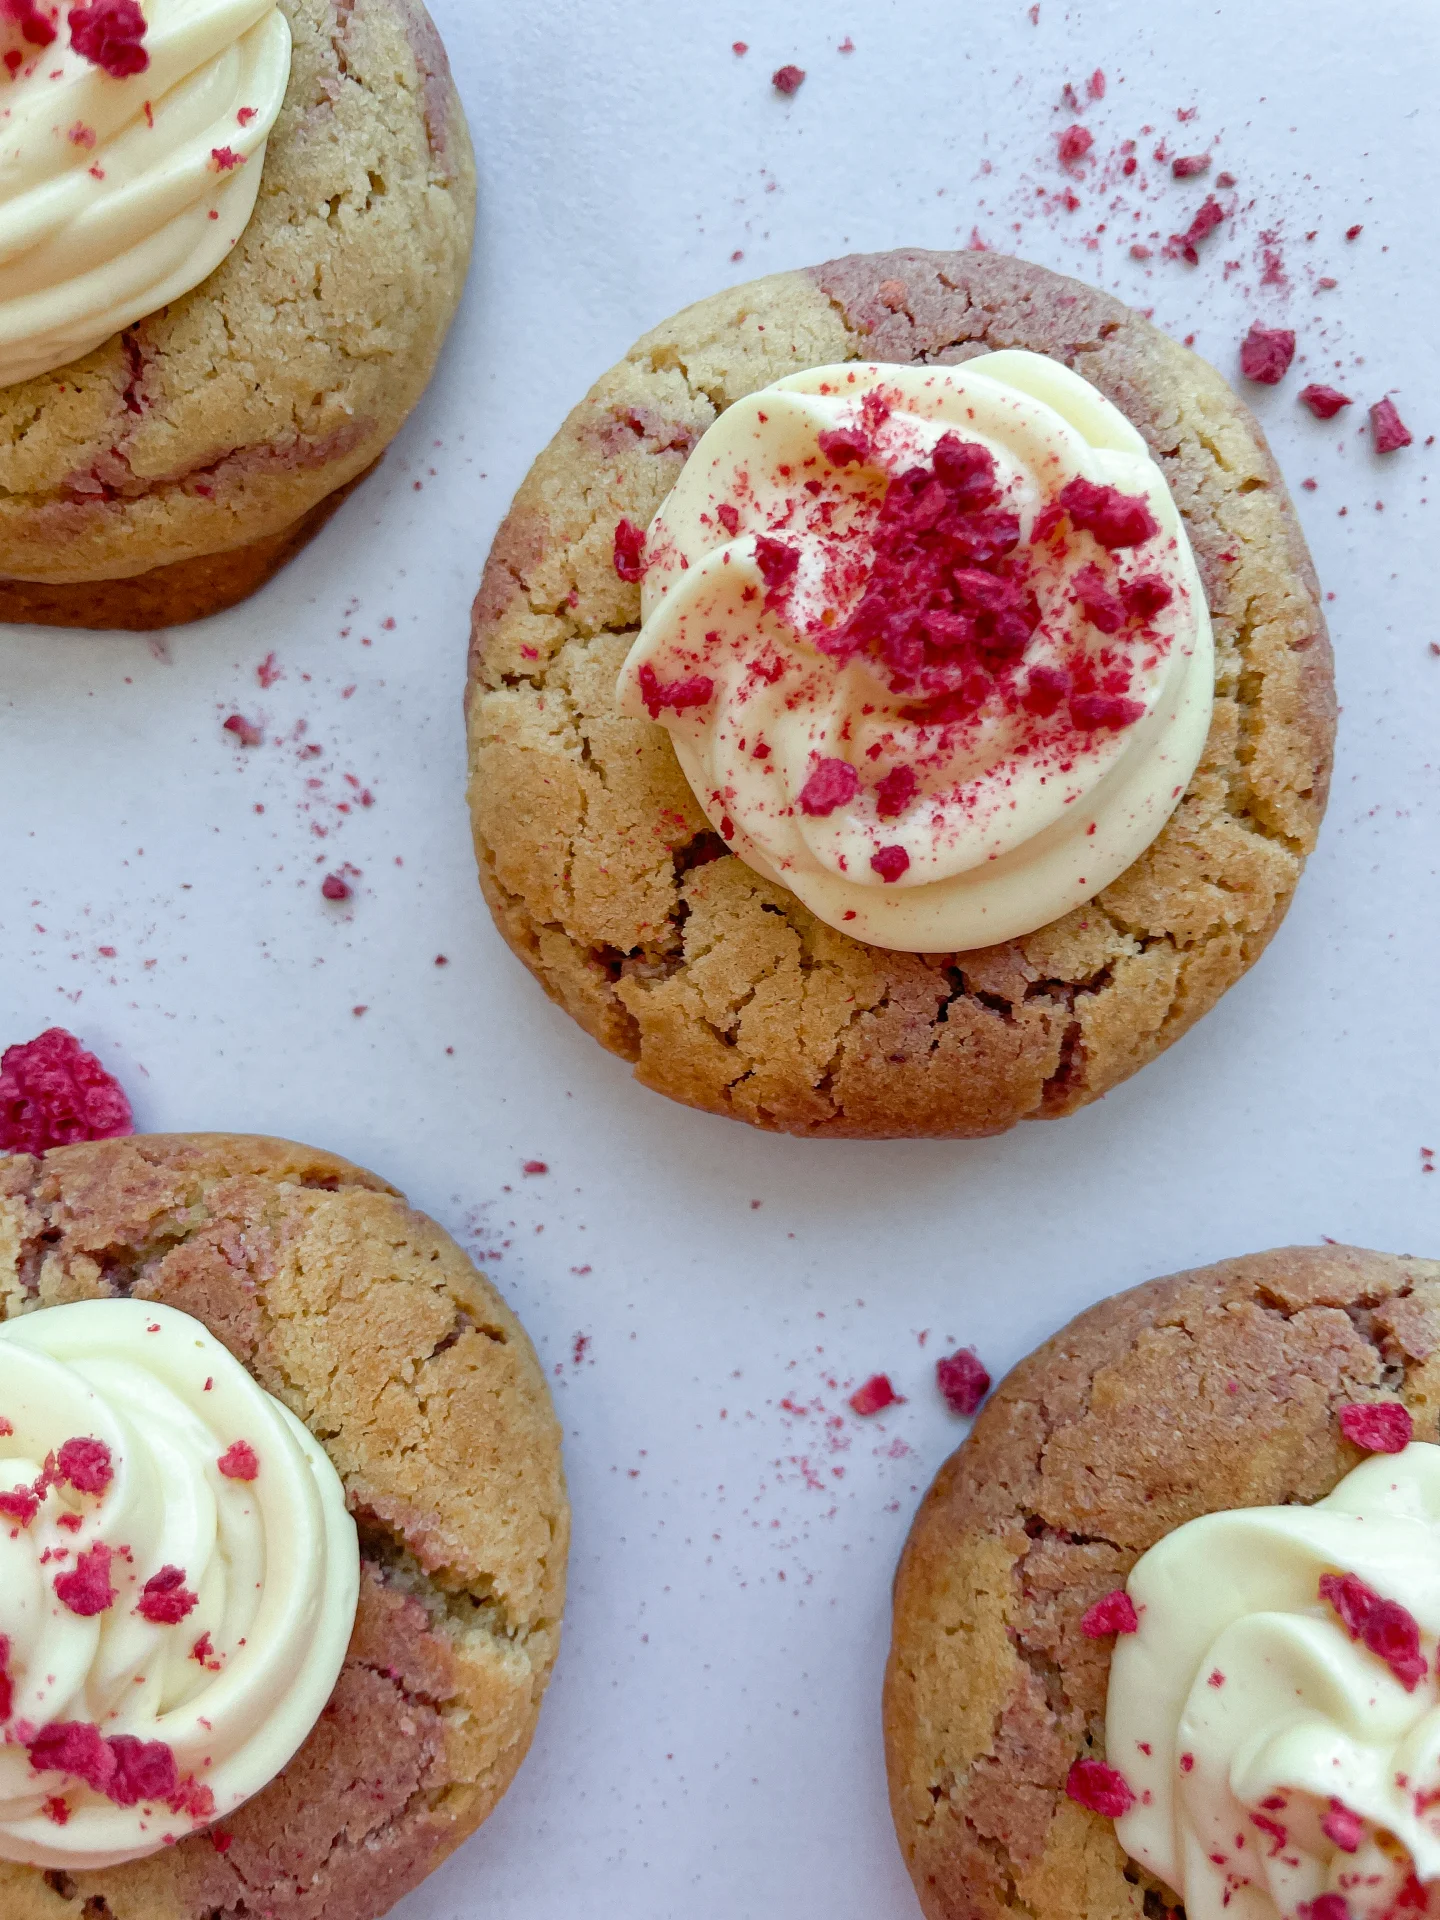
Savor the irresistible charm of these Strawberry Cupcakes, brimming with lush cheesecake filling and crowned with velvety cream cheese frosting—ideal for satisfying any dessert craving!

100 MINUTES

INTERMEDIATE

VEGETARIAN

INT.

471 PER CUPCAKE

SWEET
CREAMY
FLUFFY

EVERYDAY

DESSERT
CUPCAKE

SPRING
SUMMER

INTRODUCTION

ABOUT THE RECIPE

Dive into the delightful world of Strawberry Cupcakes with Cream Cheese Frosting and Cheesecake Filling! These heavenly cupcakes are a fusion of fruity, creamy, and utterly decadent flavors, making them the ultimate dessert for any occasion.

HOW TO SERVE
Serve these Strawberry Cupcakes chilled or at room temperature to let the flavors shine. They pair beautifully with a cup of coffee or a glass of cold milk. Perfect for celebrations or as a special treat, their gorgeous appearance and exquisite taste will impress any guest!

HOW TO STORE
Keep the cupcakes in an airtight container in the refrigerator. They stay fresh and delicious for up to 3 days.

Hi, I'm Kimberly!

Hi, I'm Kimberly.

A passionate food lover who believes in the magic of homemade deliciousness that spreads love and warmth. Join me on this culinary adventure as I prepare wonderful dishes and let’s spread some happiness together!

Kimberly the Zett Signature

If you want to get to know me better, click here!


Strawberry Cupcakes with Cream Cheese Frosting & Cheesecake Filling
„Let’s make a piece of happiness“
Print
clock clock iconcutlery cutlery iconflag flag iconfolder folder iconinstagram instagram iconpinterest pinterest iconfacebook facebook iconprint print iconsquares squares iconheart heart iconheart solid heart solid icon
Strawberry Cupcakes with Cream Cheese Frosting & Cheesecake Filling

Strawberry Cupcakes with Cream Cheese Frosting & Cheesecake Filling


  • Author: Kimberly
  • Total Time: 100 min
  • Yield: 12 cupcakes 1x

Description

RECOMMENDED EQUIPMENT

  • sharp knife
  • cutting board
  • cupcake tin
  • parchment paper
  • two small bowls
  • three medium bowls
  • whisk
  • cookie scoop (or spoon)
  • spatula
  • fine mesh sieve
  • mortar and pestle
  • electric mixer

Ingredients

Units Scale

BATTER

  • 500 grams all-purpose flour
  • 2 tsp backing powder
  • 1/4 tsp baking soda
  • 100 grams white sugar
  • 100 grams unsalted butter
  • 2 eggs
  • 150 grams yogurt
  • 1 tsp vanilla extract
  • 200 grams strawberries
  • pinch of salt

FILLING

  • 150 grams cream cheese
  • 20 grams powdered sugar
  • zest of half a lemon
  • 1/2 tsp vanilla extract

FROSTING

  • 75 grams butter
  • 75 grams cream cheese
  • 175 grams powdered sugar
  • 20 grams freeze-dried strawberries

CRUMBLES

  • 100 grams all-purpose flour
  • 75 grams butter
  • 25 grams white sugar
  • pinch of salt

Instructions

PREPARATIONS

  1. Thoroughly wash the strawberries, dry them, and cut into small pieces. Set aside.
  2. Cut parchment paper into small squares and press two layers into every other cup of the cupcake tin. Alternatively, you can skip the parchment paper and use cupcake liners instead. Set the prepared tin aside.

COOKING

  1. For the crumbles: In a small bowl, knead together room temperature butter, flour, sugar, and a pinch of salt until combined, then break into large chunks. Store in the refrigerator until needed.
  2. For the filling: In a small bowl, mix together cream cheese, powdered sugar, zest from half a lemon, and 1/2 teaspoon vanilla extract until creamy. Store in the refrigerator until needed. Preheat the oven to 180°C (350°F).
  3. For the batter: In one of the medium bowls, mix together the dry ingredients – flour, 2 teaspoons baking powder, 1/4 teaspoon baking soda, sugar, and a pinch of salt. Set aside.
  4. In another medium bowl, combine the wet ingredients – melted butter, eggs, yogurt, milk, and 1 teaspoon vanilla extract using a whisk until smooth.
  5. Add the flour mixture to the wet ingredients and use a spatula to blend into a batter. Mix just until no flour streaks remain, then fold in the chopped strawberries.
  6. Grab the crumbles and cream cheese mix from the fridge.
  7. Place a scoop of batter into every second cup of the cupcake tin. Press a scoop in the center and add 1 teaspoon of the cream cheese filling. Cover with another scoop of batter. Distribute crumbles over 6 of the 12 cupcakes, pressing down firmly. Leave the other 6 plain for the strawberry frosting later.
  8. Bake the cupcakes for 20-25 minutes. Remove the tin from the oven and let cool briefly before removing them to a wire rack to cool completely. Prepare the next batch of cupcakes similarly, but without the crumbles. Let all cupcakes cool completely.
  9. Meanwhile, make the frosting: In a medium bowl, beat room temperature butter with an electric mixer until pale yellow and fluffy. Add cream cheese and mix again. Then, add sifted powdered sugar and mix for 1-2 minutes until creamy.
  10. Crush freeze-dried strawberries into a fine powder using a mortar and pestle (or a powerful food processor). Mix this strawberry powder into the frosting until evenly pink.
  11. Once the cupcakes are completely cool, evenly spread and smooth the frosting over the 6 plain cupcakes. And now enjoy your pieces of happiness!

Notes

The calorie information may vary depending on the product used, country and region.

  • Prep Time: 10 min
  • Passive Time: 60 min
  • Cook Time: 30 min
Lemon Blueberry Coffee Cake
Lemon Blueberry Coffee Cake

Lemon Blueberry Coffee Cake

Lemon Blueberry Coffee Cake

March 30, 2024 by Kimberly

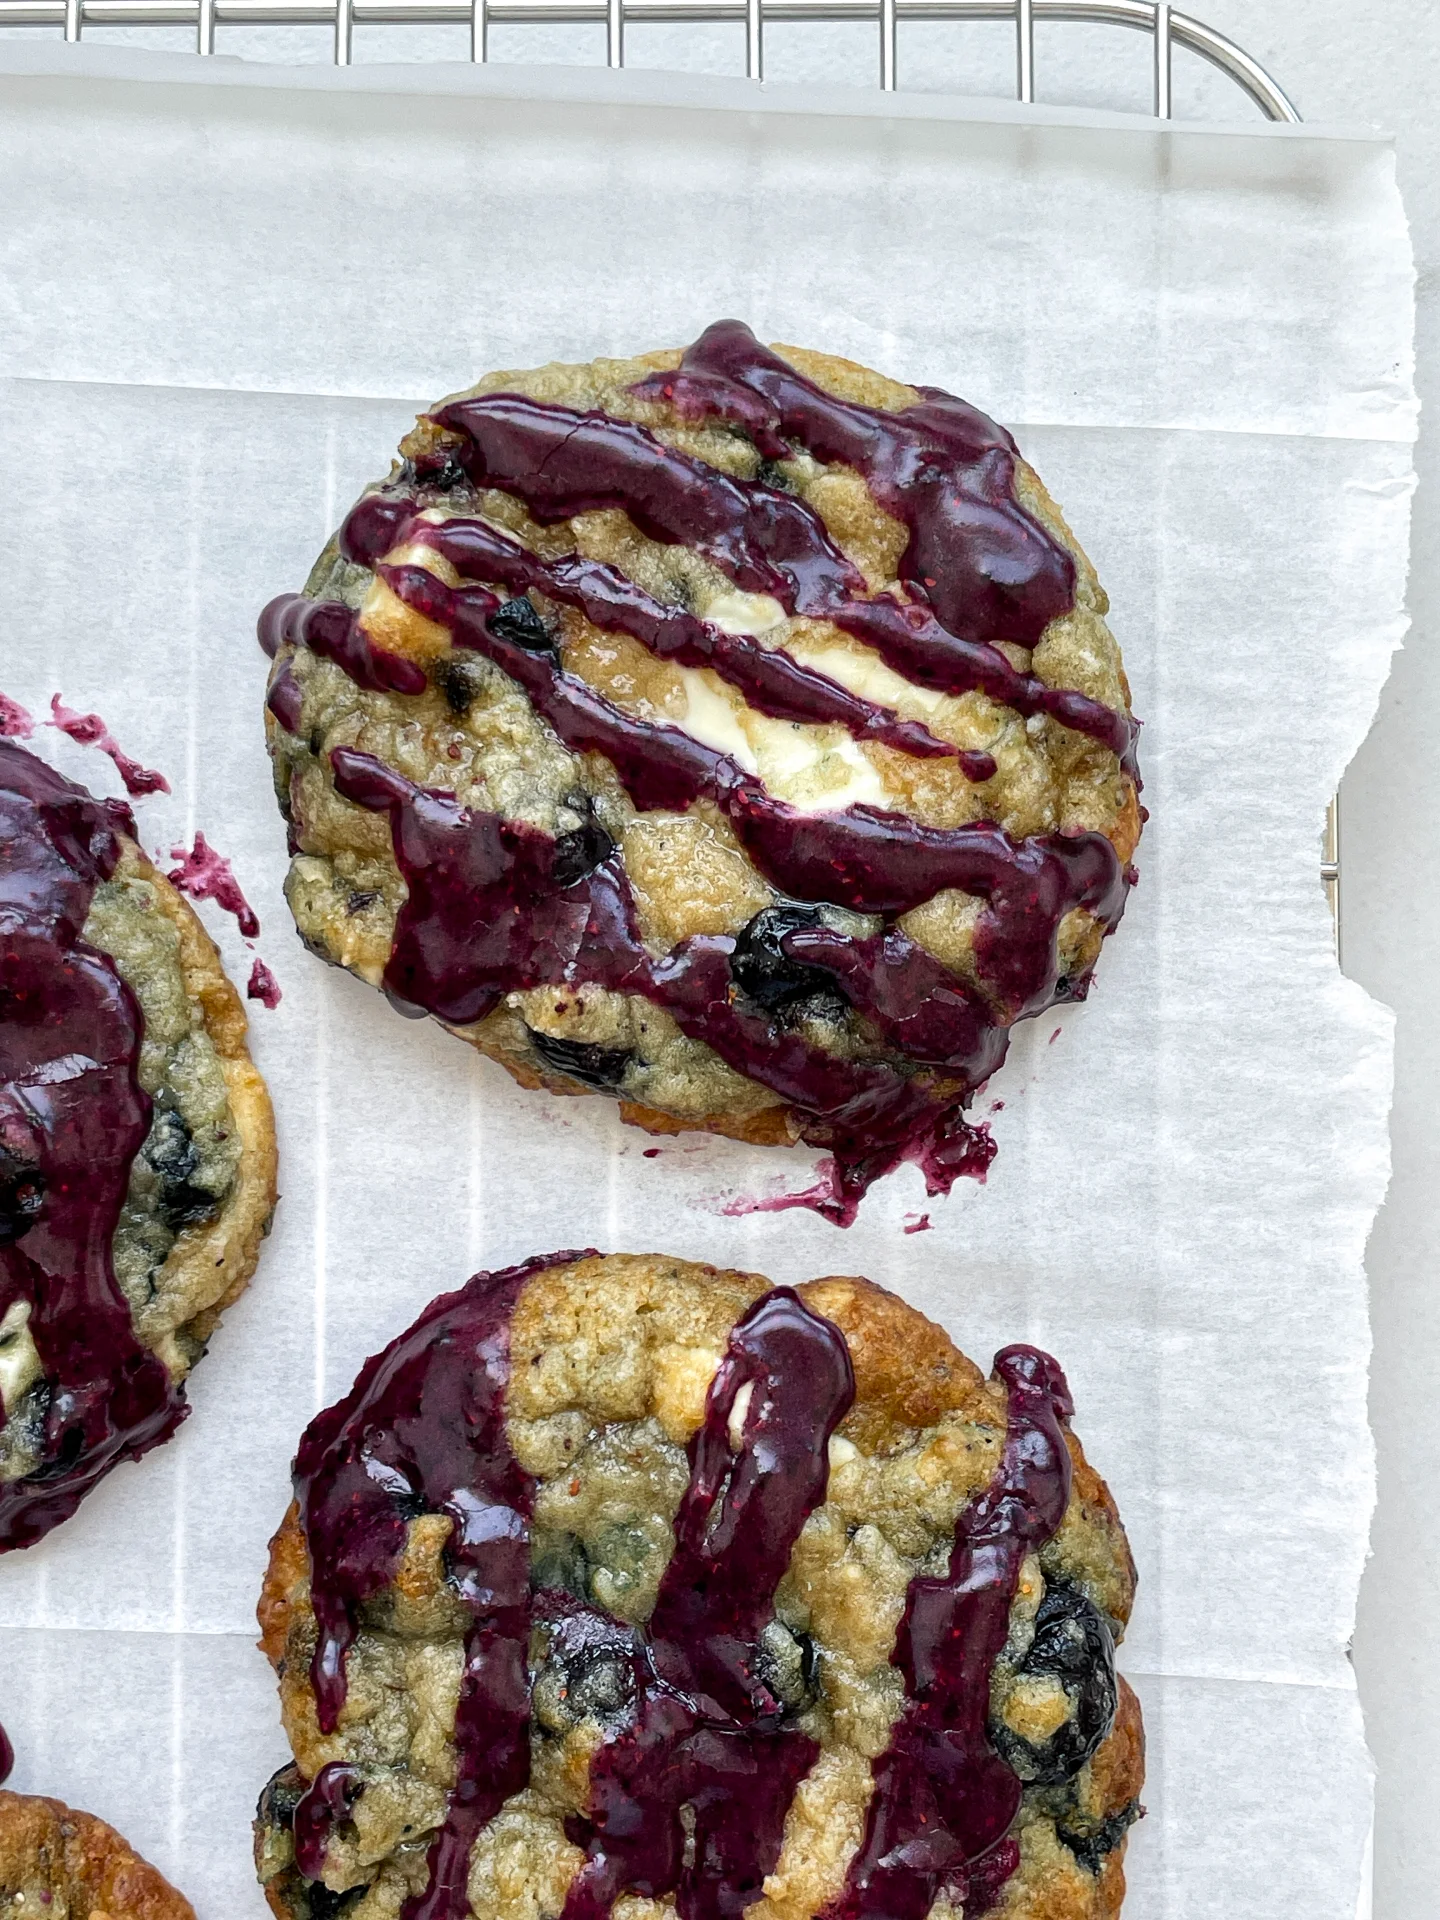
Indulge in the cozy comfort of this Lemon Blueberry Coffee Cake, where every slice is a celebration of flavors, love, and homemade happiness.

80 MINUTES

EASY

VEGETARIAN

INT.

340 PER PORTION

SWEET

EASTER

CAKE

SPRING
SUMMER

INTRODUCTION

ABOUT THE RECIPE

Indulge in the perfect blend of tangy and sweet with this Lemon Blueberry Coffee Cake! This easy-to-make recipe brings you the moistness of coffee cake, bursting with fresh blueberries and a zesty lemon flavor. Ideal for breakfast, brunch, or a delightful afternoon treat, it’s a guaranteed crowd-pleaser.

How to serve:
Serve this Lemon Blueberry Coffee Cake freshly baked, with a dusting of powdered sugar or a drizzle of my lemon glaze for an extra touch of sweetness. It pairs wonderfully with your morning coffee or a cold glass of milk. Planning a brunch or a garden party? This cake makes an elegant addition to your menu, offering a refreshing burst of flavors that perfectly complement the summer vibe.

How to store:
Keep leftovers in an airtight container or wrapped up in cling film at room temperature for up to two days or refrigerate for longer freshness. Enjoy it chilled or briefly warmed up in the microwave for a just-baked experience any time!

Hi, I'm Kimberly!

Hi, I'm Kimberly.

A passionate food lover who believes in the magic of homemade deliciousness that spreads love and warmth. Join me on this culinary adventure as I prepare wonderful dishes and let’s spread some happiness together!

Kimberly the Zett Signature

If you want to get to know me better, click here!


Lemon Blueberry Coffee Cake
„Let’s make a piece of happiness“

INGREDIENTS

FOR 10 PORTIONS

CAKE BATTER

  • 240g all-purpose flour (1.5 cups)
  • 1 tsp backing powder
  • 1/2 tsp salt
  • 80g butter (1/3 cup)
  • 110g white sugar (1/2 cup)
  • 2 eggs
  • 1/2 tsp vanilla extract
  • 1 tbsp lemon zest
  • juice of half a lemon
  • 120g yoghurt (1/2 cup)
  • 180g blueberries (1 cup)
  • 1 tbsp all-purpose flour

CRUMBLE

  • 100g all-purpose flour (1/2 cup)
  • 50g white sugar (1/4 cup)
  • 50g soft butter (1/4 cup)

GLAZE

  • 60g powdered sugar (1/2 cup)
  • juice of half a lemon
  • 1/2 tsp vanilla extract
Lemon Blueberry Coffee Cake
}

ACTIVE: 10 min

PASSIVE: –

PREPARATIONS

Recommended Equipment
  • sharp knife
  • cutting board
  • baking dish – my measures 25×11 cm (10”x4”)
  • grater
  • two small bowls
  • two medium-sized bowls
  • large bowl
  • spatula
  • whisk
  • microwave (or small pot)
  • Preheat the oven to 175°C (350°F)
  • Line a rectangular baking dish with parchment paper.
  • Melt 80g (1/3 cup) butter in the microwave or in a small saucepan.
  • Toss the blueberries in a small bowl with 1 tablespoon of flour until all the blueberries are coated with flour.
  • For the crumble, mix together in a medium-sized bowl 50g (1/4 cup) white sugar, 50g (1/4 cup) softened butter, and 100g (1/2 cup) flour until small crumbs and larger clumps form. Set aside.
  • Zest the lemon and then halve the lemon.
}

ACTIVE: 10 min

PASSIVE: 60 min

COOKING

1. In a medium-sized bowl, mix together flour, baking powder, and salt and set it aside.

2. In a large bowl, whisk together melted butter, 2 eggs, sugar, vanilla extract, juice from half a lemon, and 1 tablespoon of lemon zest.

3. Add the flour mixture and yogurt to the butter-egg mixture and mix just until they start to come together. Now add the blueberries and stir only until no flour is visible.

4. Pour the batter into the baking pan, sprinkle the crumble over the top, and bake for 55 minutes. You can check if it’s done by inserting a clean knife or a skewer into the cake – if it comes out clean, the cake is ready. Let the cake cool on a wire rack.

5. Once the cake has cooled, in a small bowl, prepare the glaze. For this, mix 60g (0.5 cup) of powdered sugar, juice from the other half of the lemon, and 1/2 teaspoon of vanilla extract. The glaze should be creamy. You can thicken it by adding more powdered sugar or thin it by adding more lemon juice or milk. Spread the glaze over the cake and let it set for a few minutes.

NOTE: The calorie information may vary depending on the product used, country and region.

Chicory Pear Walnut Salad

Chicory Pear Walnut Salad

Chicorée Pear Walnut Salad

Chicory Pear Walnut Salad

February 25, 2024 by Kimberly

Discover the perfect blend of crisp chicory, juicy pears, and crunchy walnuts in this Chicory Pear Walnut Salad. A refreshing, nutritious delight that’s simple to make!

15 MINUTES

EASY

VEGETARIAN

INT.

238 PER PORTION

CRUNCHY
ZESTY

EVERYDAY

SALAD

ALL YEAR

INTRODUCTION

ABOUT THE RECIPE

Indulge in the fresh and invigorating flavors of my Chicory Pear Walnut Salad! This dish combines the crisp bitterness of chicory with the sweet juiciness of pears and the rich crunch of walnuts. It’s a salad that promises not just a feast for your taste buds but also a bounty of nutrients. This easy-to-prepare salad is an ideal addition to any meal.

How to serve:
Serve this vibrant Chicory Pear Walnut Salad as a refreshing starter or a light main course. It pairs wonderfully with grilled chicken, fish, or a crusty piece of bread for a fulfilling meal. The combination of flavors and textures makes it a hit at any gathering.

How to store:
To maintain freshness, store the salad in an airtight container in the refrigerator for up to one day. Keep the dressing separate to avoid sogginess. Enjoy it chilled for a rejuvenating and crisp taste experience every time.

Hi, I'm Kimberly!

Hi, I'm Kimberly.

A passionate food lover who believes in the magic of homemade deliciousness that spreads love and warmth. Join me on this culinary adventure as I prepare wonderful dishes and let’s spread some happiness together!

Kimberly the Zett Signature

If you want to get to know me better, click here!


Chicorée Pear Walnut Salad
„Let’s make a piece of happiness“

INGREDIENTS

FOR 4 PORTIONS AS SIDE / 2 PORTIONS AS MAIN

SALAD

  • 400g chicory (14 oz)
  • 2 pears
  • 2 tbsp walnuts
  • chives

DRESSING

  • 3 tbsp olive oil
  • 2 tbsp cold water
  • 1 tbsp lemon juice
  • 1 tsp Dijon mustard
  • 1 tsp honey
  • 1 garlic clove
  • salt & pepper to taste
Chicorée Pear Walnut Salad
}

ACTIVE: –

PASSIVE: –

PREPARATIONS

Recommended Equipment
  • sharp knife
  • cutting board
  • small bowl
  • small whisk
  • salad bowl
  • none
}

ACTIVE: 15 min

PASSIVE: –

COOKING

1. Roast the walnuts in a pan without adding any fat until golden brown and fragrant. Roughly chop them on a chopping board and add to the salad bowl.
2. Wash the chives, cut into small rolls and add to the salad bowl.
3. Halve the chicory lengthways and pluck off the leaves one by one. Wash and dry the leaves well and add to the salad bowl.
4. Wash the pears, cut in half and slice finely down to the stem and add to the other ingredients in the salad bowl. Mix everything well.
5. In a small bowl, mix the olive oil, lemon juice, water, honey, Dijon mustard and pressed garlic clove with a whisk to make a creamy dressing and season with salt and pepper to taste. Pour the dressing over the salad, mix well and serve immediately.
NOTE: The calorie information may vary depending on the product used, country and region.

Maple Baked Pears with Yogurt & Pistachios

Maple Baked Pears with Yogurt & Pistachios

Maple Baked Pears with Yogurt & Pistachios

Maple Baked Pears with Yogurt & Pistachios

January 31, 2024 by Kimberly

Experience the cozy delight of baked pears enhanced with rich maple, creamy yogurt, and crunchy pistachios – a perfect, healthful dessert for any occasion!

50 MINUTES

EASY

VEGETARIAN

INT.

210 PER PORTION

SWEET

DINNER PARTY

DESSERT

ALL YEAR

INTRODUCTION

ABOUT THE RECIPE

Savor the warmth and sweetness of this Maple Baked Pears, a dish that perfectly encapsulates the essence of comfort desserts. This healthy baked fruit recipe marries the natural succulence of pears with a rich maple glaze, topped with a dollop of creamy yogurt and a sprinkle of crunchy pistachios. Ideal for those seeking a nutritious pear dessert that doesn’t compromise on flavor, this easy fruit dessert is a testament to simple ingredients creating exquisite tastes.

How to serve
Serving this warm pear treat is a delightful experience. Present these Maple Baked Pears fresh from the oven, accompanied by a generous scoop of creamy yogurt to balance the sweetness. The gourmet pistachio garnish not only adds a textural contrast but also a pop of color, making it an elegant dessert option for dinner parties or a comforting treat on a cozy night in. You can also drizzle a little extra maple syrup or honey for added decadence. This dish is sure to impress, offering a symphony of flavors and textures in every bite.

How to store
Keep the baked pears in an airtight container in the refrigerator, where they can last for up to one day. Gently reheat before serving to revive the warm, comforting essence of the dish. This makes this Maple Baked Pears with Yogurt & Pistachios a convenient, ready-to-indulge dessert, perfect for satisfying sweet cravings any day of the week.

Hi, I'm Kimberly!

Hi, I'm Kimberly.

A passionate food lover who believes in the magic of homemade deliciousness that spreads love and warmth. Join me on this culinary adventure as I prepare wonderful dishes and let’s spread some happiness together!

Kimberly the Zett Signature

If you want to get to know me better, click here!


Maple Baked Pears with Yogurt & Pistachios

„Let’s make a piece of happiness“

INGREDIENTS

FOR 2 PORTIONS

PEARS

  • 2 ripe pears
  • 2 tbsp maple syrup
  • 1 tsp butter
  • 1 tsp vanilla extract
  • 2 tbsp water
  • 1/4 tsp cinnamon


TOPPINGS

  • 1 tbsp pistachios
  • 2 tbsp yogurt
Maple Baked Pears with Yogurt & Pistachios
}

ACTIVE: 5 min

PASSIVE: –

PREPARATIONS

Recommended Equipment
  • sharp knife
  • chopping board
  • casserole dish
  • Preheat the oven to 180°C (350°F)
  • Peel the pears, cut in half lengthwise and remove the seeds.
  • Crack the pistachios out of their shells and roughly chop.
    }

    ACTIVE: 5 min

    PASSIVE: 40 min

    COOKING

    1. Mix the water and maple syrup in the casserole dish. Turn the pear halves in the sauce. 

    2. Pour a little vanilla extract and cinnamon over the pears and place a small piece of butter on top of each one.

    3. Roast the pears for 25 minutes, then turn each pear over and bake for a further 15 minutes.

    4. Remove the pears from the oven and arrange on plates. Scrape the sauce out of the baking dish and spread over the pears. Top with yoghurt, a little maple syrup and chopped pistachios.

    NOTE: The calorie information may vary depending on the product used, country and region.

    Chocolate Peanut Oat Bites

    Chocolate Peanut Oat Bites

    Chocolate Peanut Oat Bites

    Chocolate Peanut Oat Bites

    January 29, 2024 by Kimberly

    Indulge in Chocolate Peanut Oat Bites – a heavenly blend of rich chocolate, nutty peanuts, and wholesome oats, perfect for a deliciously satisfying sweet snack!

    70 MINUTES

    EASY

    VEGAN

    INT.

    78 PER PIECE

    SWEET

    EVERYDAY

    SNACK / DESSERT

    ALL YEAR

    INTRODUCTION

    ABOUT THE RECIPE

    Experience the joy of snacking with this Chocolate Peanut Oat Bites, a delightful fusion of flavors that satisfies your sweet tooth while providing nourishment. These no-bake snack ideas are a perfect blend of rich chocolate, creamy peanut butter, and hearty oats, creating a treat that’s not only delicious but also health-conscious. Ideal for those seeking a quick energy boost or a vegan chocolate bite, these homemade energy bites are a crowd-pleaser.

    How to serve:
    They make a fantastic snack for any time of the day, be it a mid-morning break, an afternoon pick-me-up, or a post-workout treat. Their bite-sized nature makes them a convenient option for on-the-go snacking or for packing in lunchboxes. You can also serve them as a dessert at casual get-togethers or as a healthy alternative to traditional sweets. Their versatility and universally appealing flavor make them suitable for various dietary preferences, including gluten-free and vegan options.

    How to store:
    Keep them in an airtight container in the refrigerator, where they can last for up to a week. This ensures that they remain fresh and retain their delightful texture. Perfect for meal prep or when you need a sweet and nutritious snack on hand, these Chocolate Peanut Oat Bites are your go-to for a quick, healthy, and satisfying treat.

    Hi, I'm Kimberly!

    Hi, I'm Kimberly.

    A passionate food lover who believes in the magic of homemade deliciousness that spreads love and warmth. Join me on this culinary adventure as I prepare wonderful dishes and let’s spread some happiness together!

    Kimberly the Zett Signature

    If you want to get to know me better, click here!


    Chocolate Peanut Oat Bites
    Chocolate Peanut Oat Bites
    Chocolate Peanut Oat Bites

    „Let’s make a piece of happiness“

    INGREDIENTS

    FOR 12 PIECES

    BITES

    • 1.5 tbsp peanut butter
    • 60ml maple syrup (1/4 cup)
    • ½ banana
    • 2 tbsp coconut oil
    • 2 tbsp cocoa powder
    • 90g rolled oats (3 oz)
    • 1/8 tsp salt
    Chocolate Peanut Oat Bites
    }

    ACTIVE: 2 min

    PASSIVE: –

    PREPARATIONS

    Recommended Equipment
    • small pot
    • medium-sized bowl
    • rectangular container
    • baking paper
    • Melt the coconut oil in the microwave or in a small pan.
    • Line a rectangular container with baking paper.
      }

      ACTIVE: 5 min

      PASSIVE: 60 min

      COOKING

      1. In a medium-sized bowl, mash half the banana with a fork. Mix the peanut butter and maple syrup with the banana.

      2. Now add the coconut oil, cocoa powder and salt to the bowl and mix well to form a homogeneous mixture.

      3. Pour the mixture onto the baking paper in the rectangular tin and spread out evenly.

      4. Leave to harden in the freezer for approx. 1 hour and then cut into 12 equal pieces. Store the pieces in the fridge.

      NOTE: The calorie information may vary depending on the product used, country and region.