Coconut Rice Peanut Chicken Bowl with Passionfruit Gremolata

Coconut Rice Peanut Chicken Bowl with Passionfruit Gremolata

Coconut Rice Peanut Chicken Bowl with Passionfruit Gremolata

Coconut Rice Peanut Chicken Bowl with Passionfruit Gremolata

March 28, 2025 by Kimberly

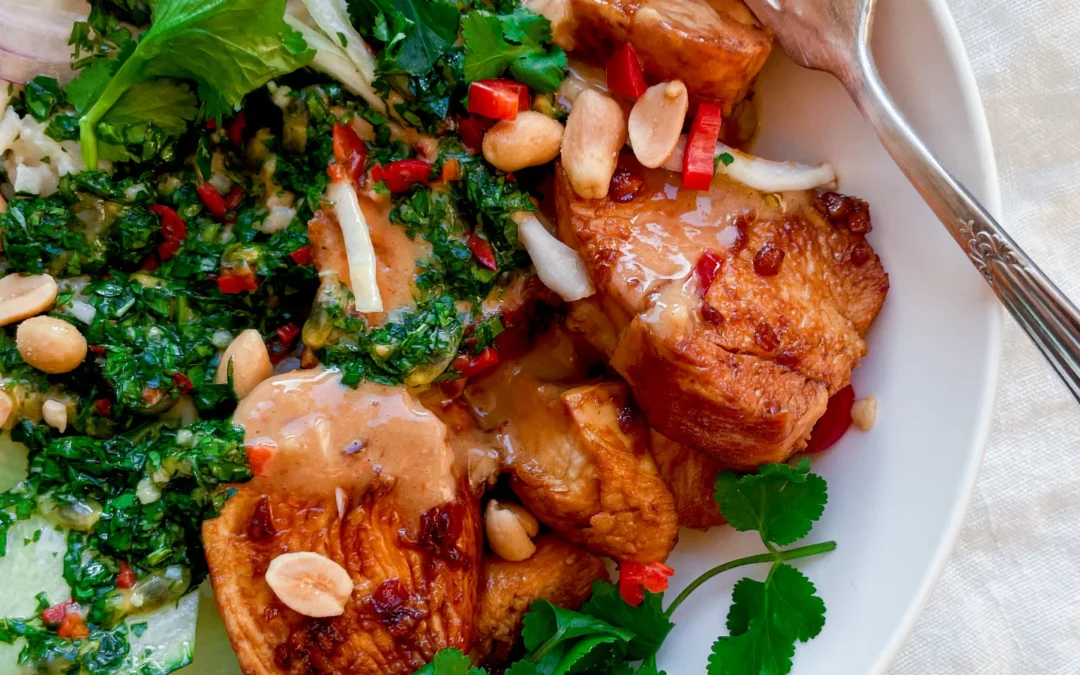
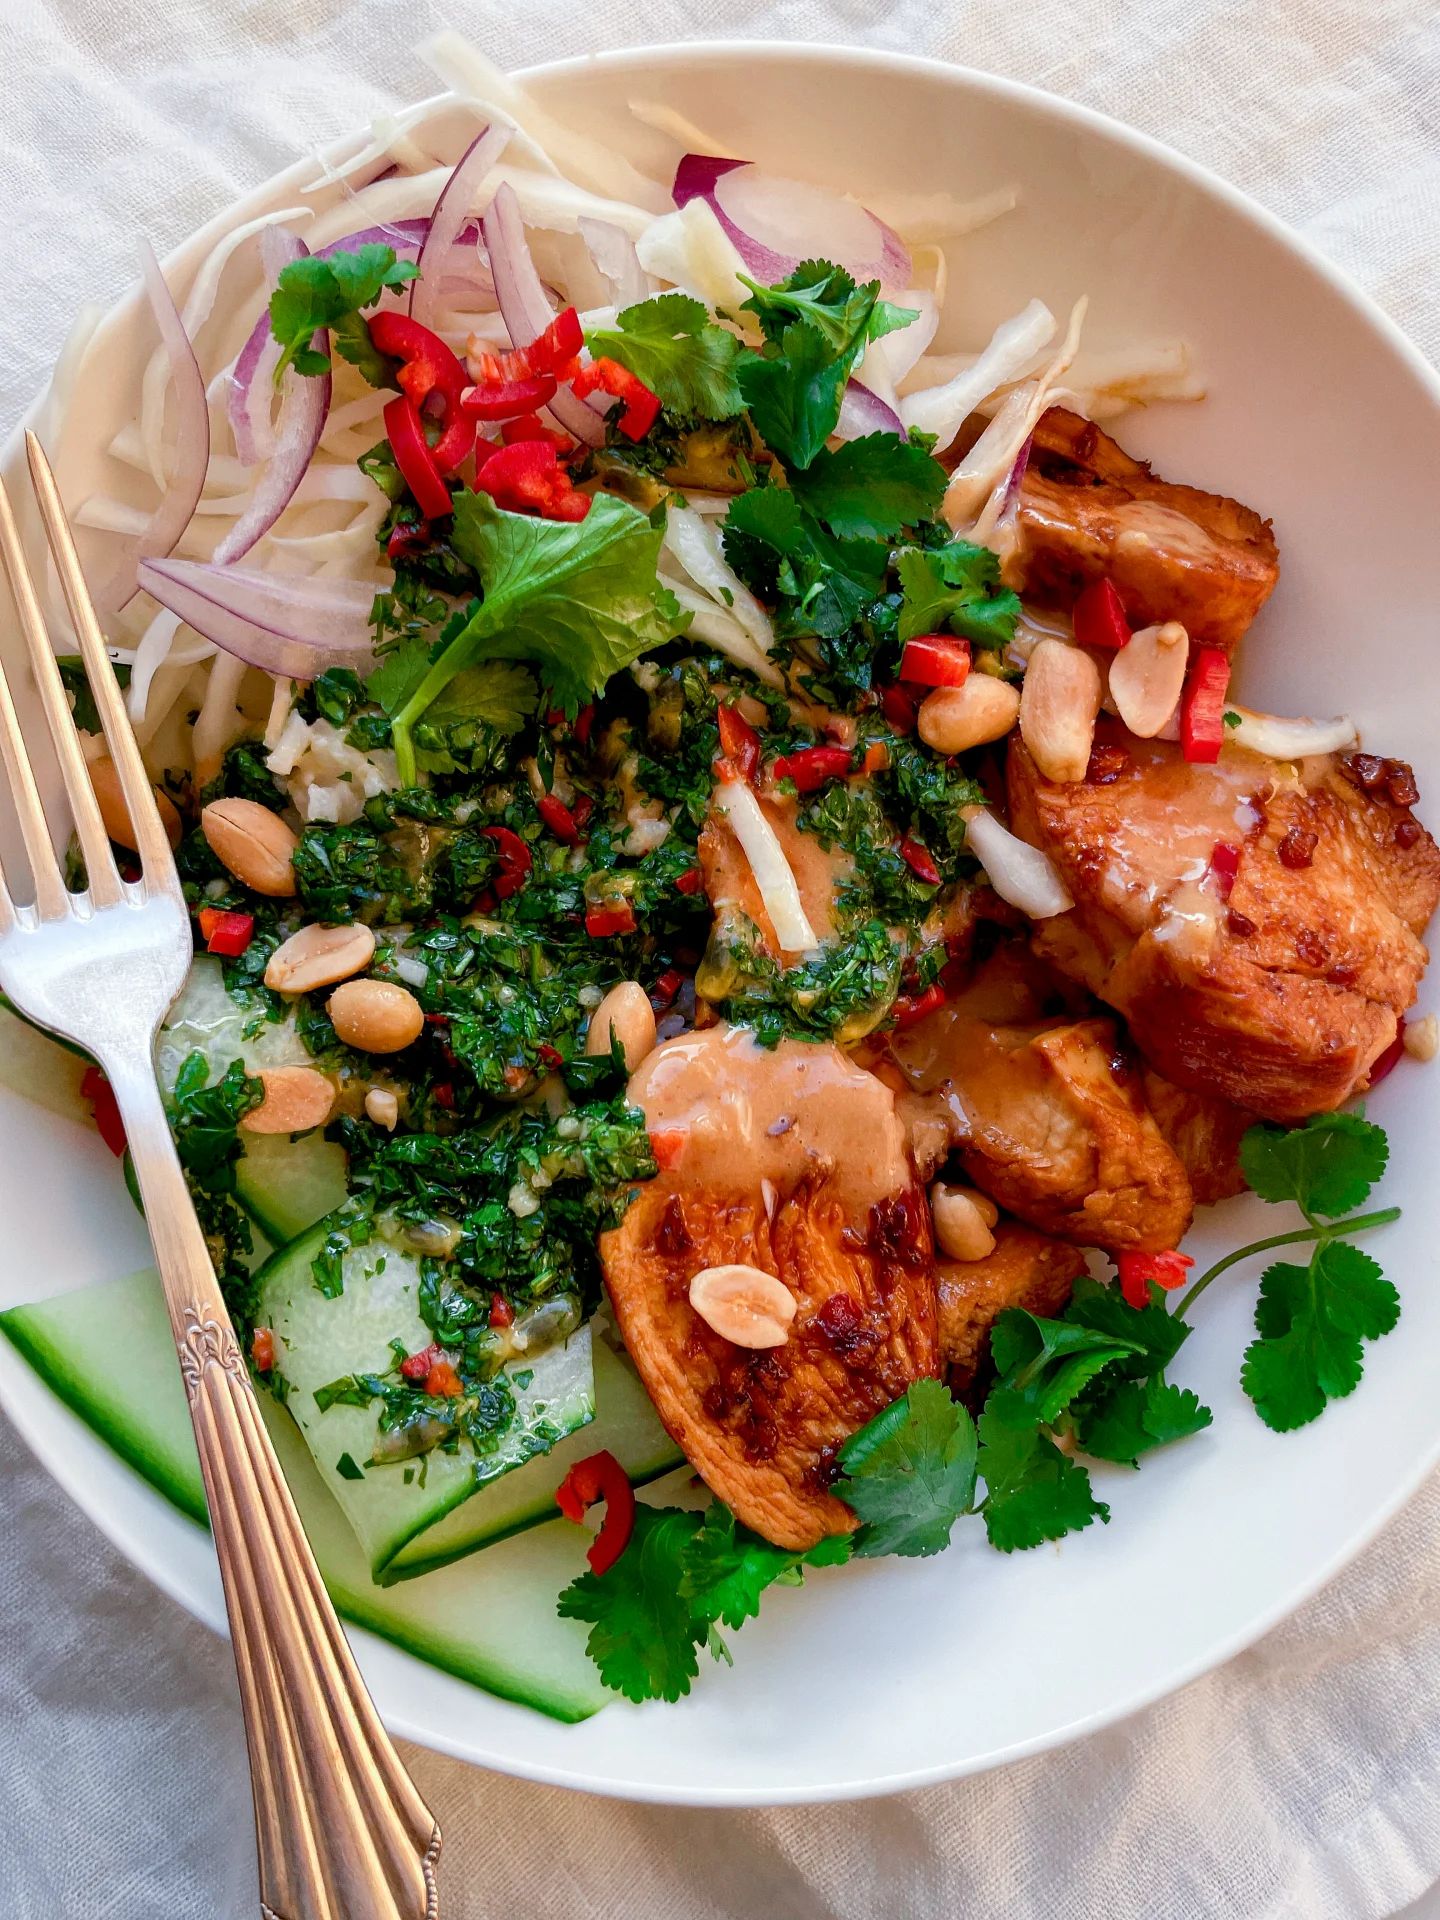
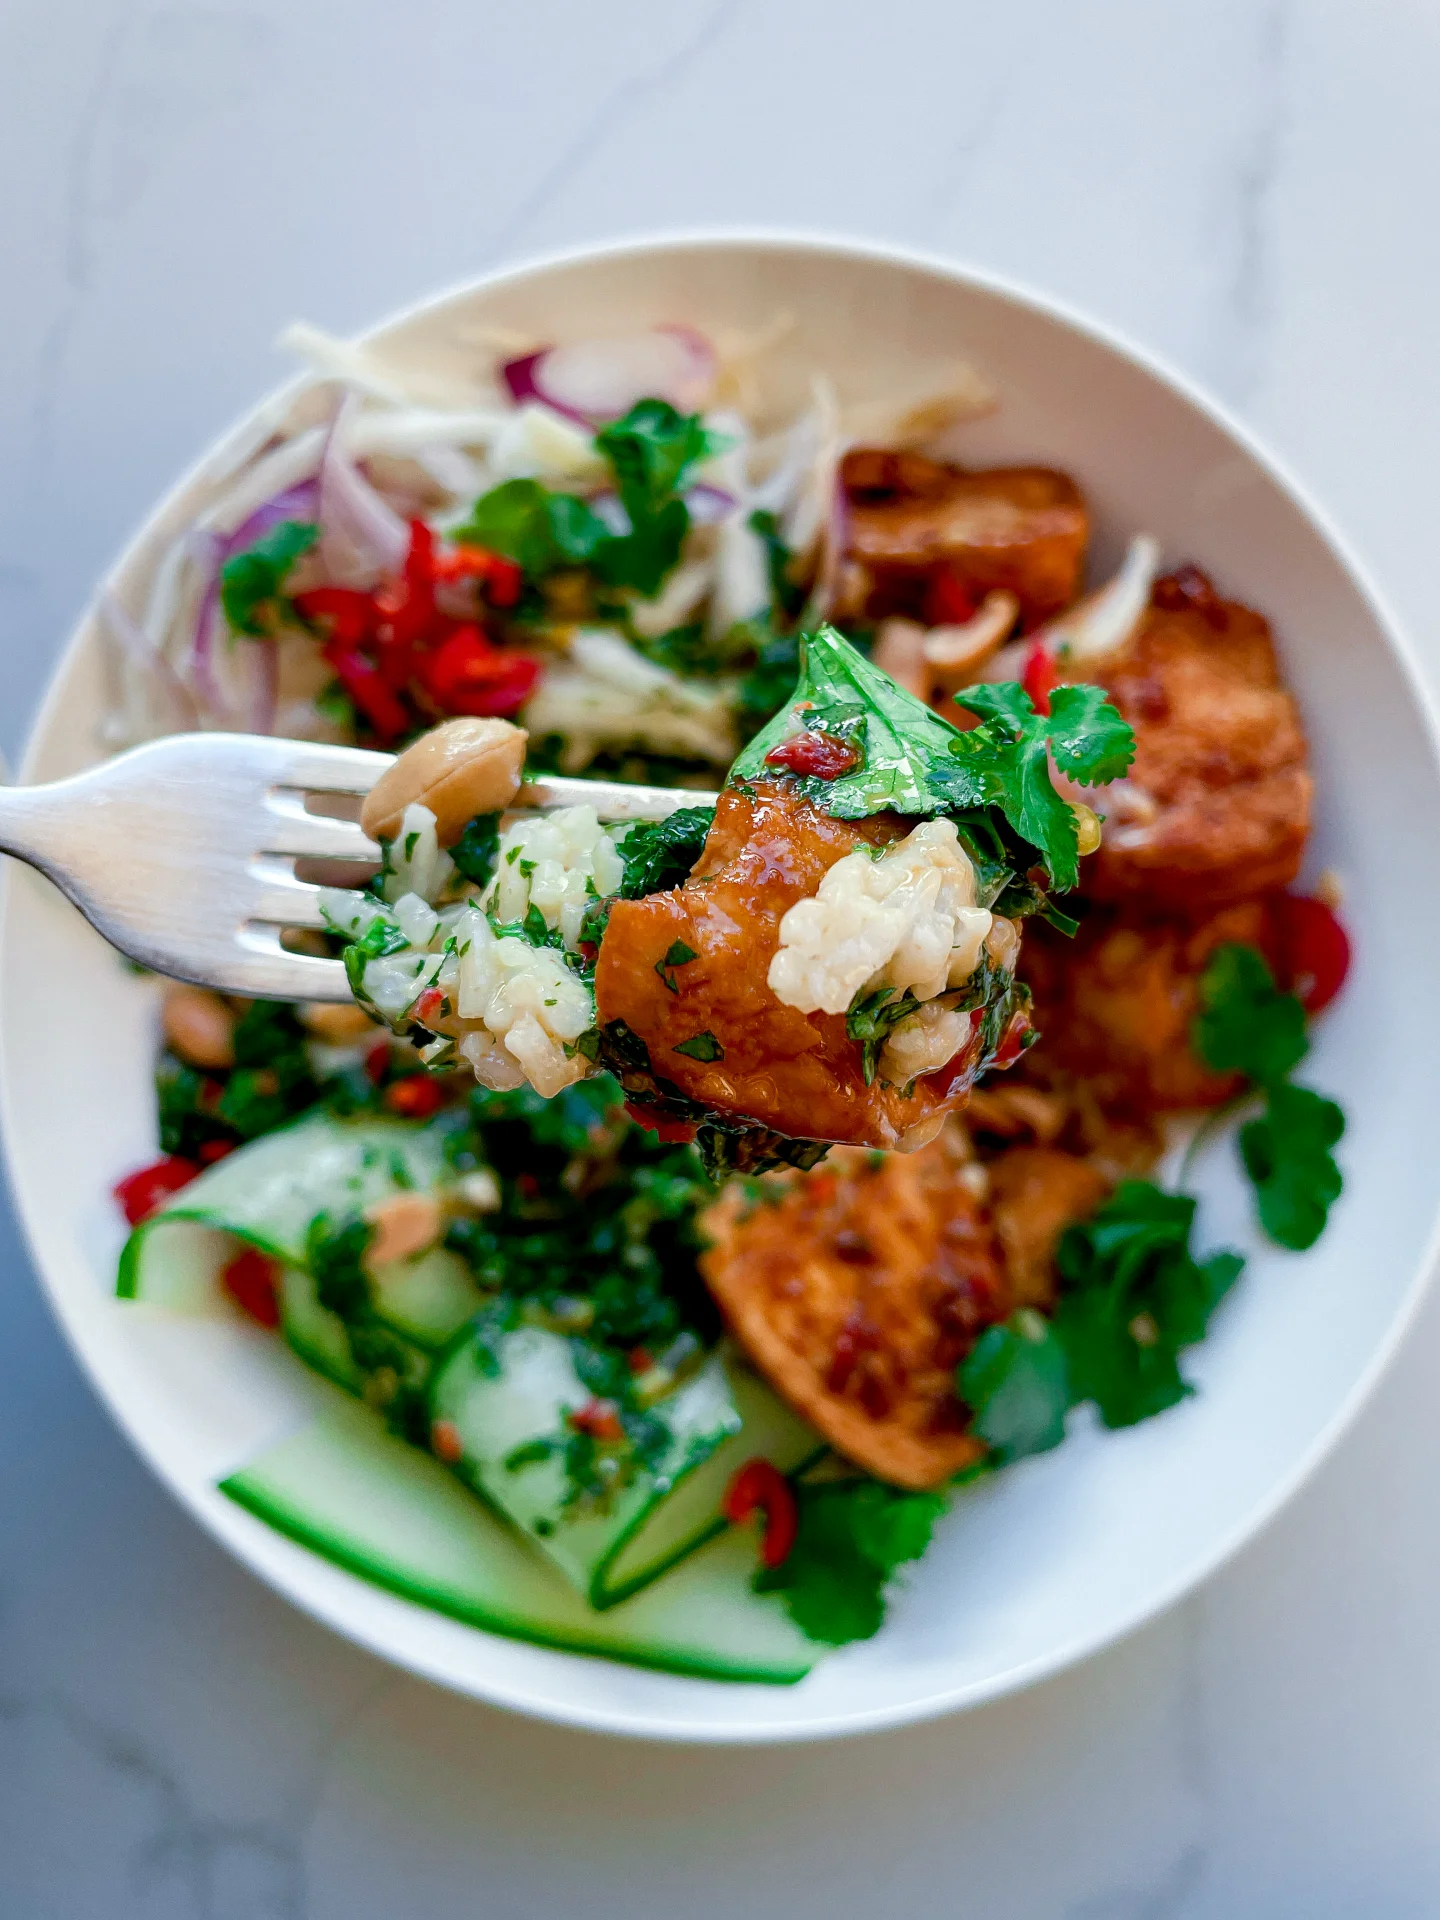
This bowl is a flavor-packed rollercoaster. Creamy coconut rice, juicy caramelized chicken, bright passionfruit gremolata, and that rich satay sauce. Every bite is a mix of cozy, fresh, and just the right amount of umami.

40 MINUTES

EASY

OMNIVORE

ASIAN

2 PORTIONS

UMAMI

WEEKNIGHT

DINNER

ALL YEAR

INTRODUCTION

ABOUT THE RECIPE

You know when a meal just works? This is one of those. Creamy coconut rice sets the stage, topped with juicy chicken glazed in a sticky-sweet soy passionfruit sauce, then brightened with a zesty gremolata. Crunchy raw veggies bring freshness, and the whole thing gets drizzled with a rich, nutty satay sauce that ties it all together. It’s sweet, savory, spicy, creamy, and fresh all at once.

How to serve
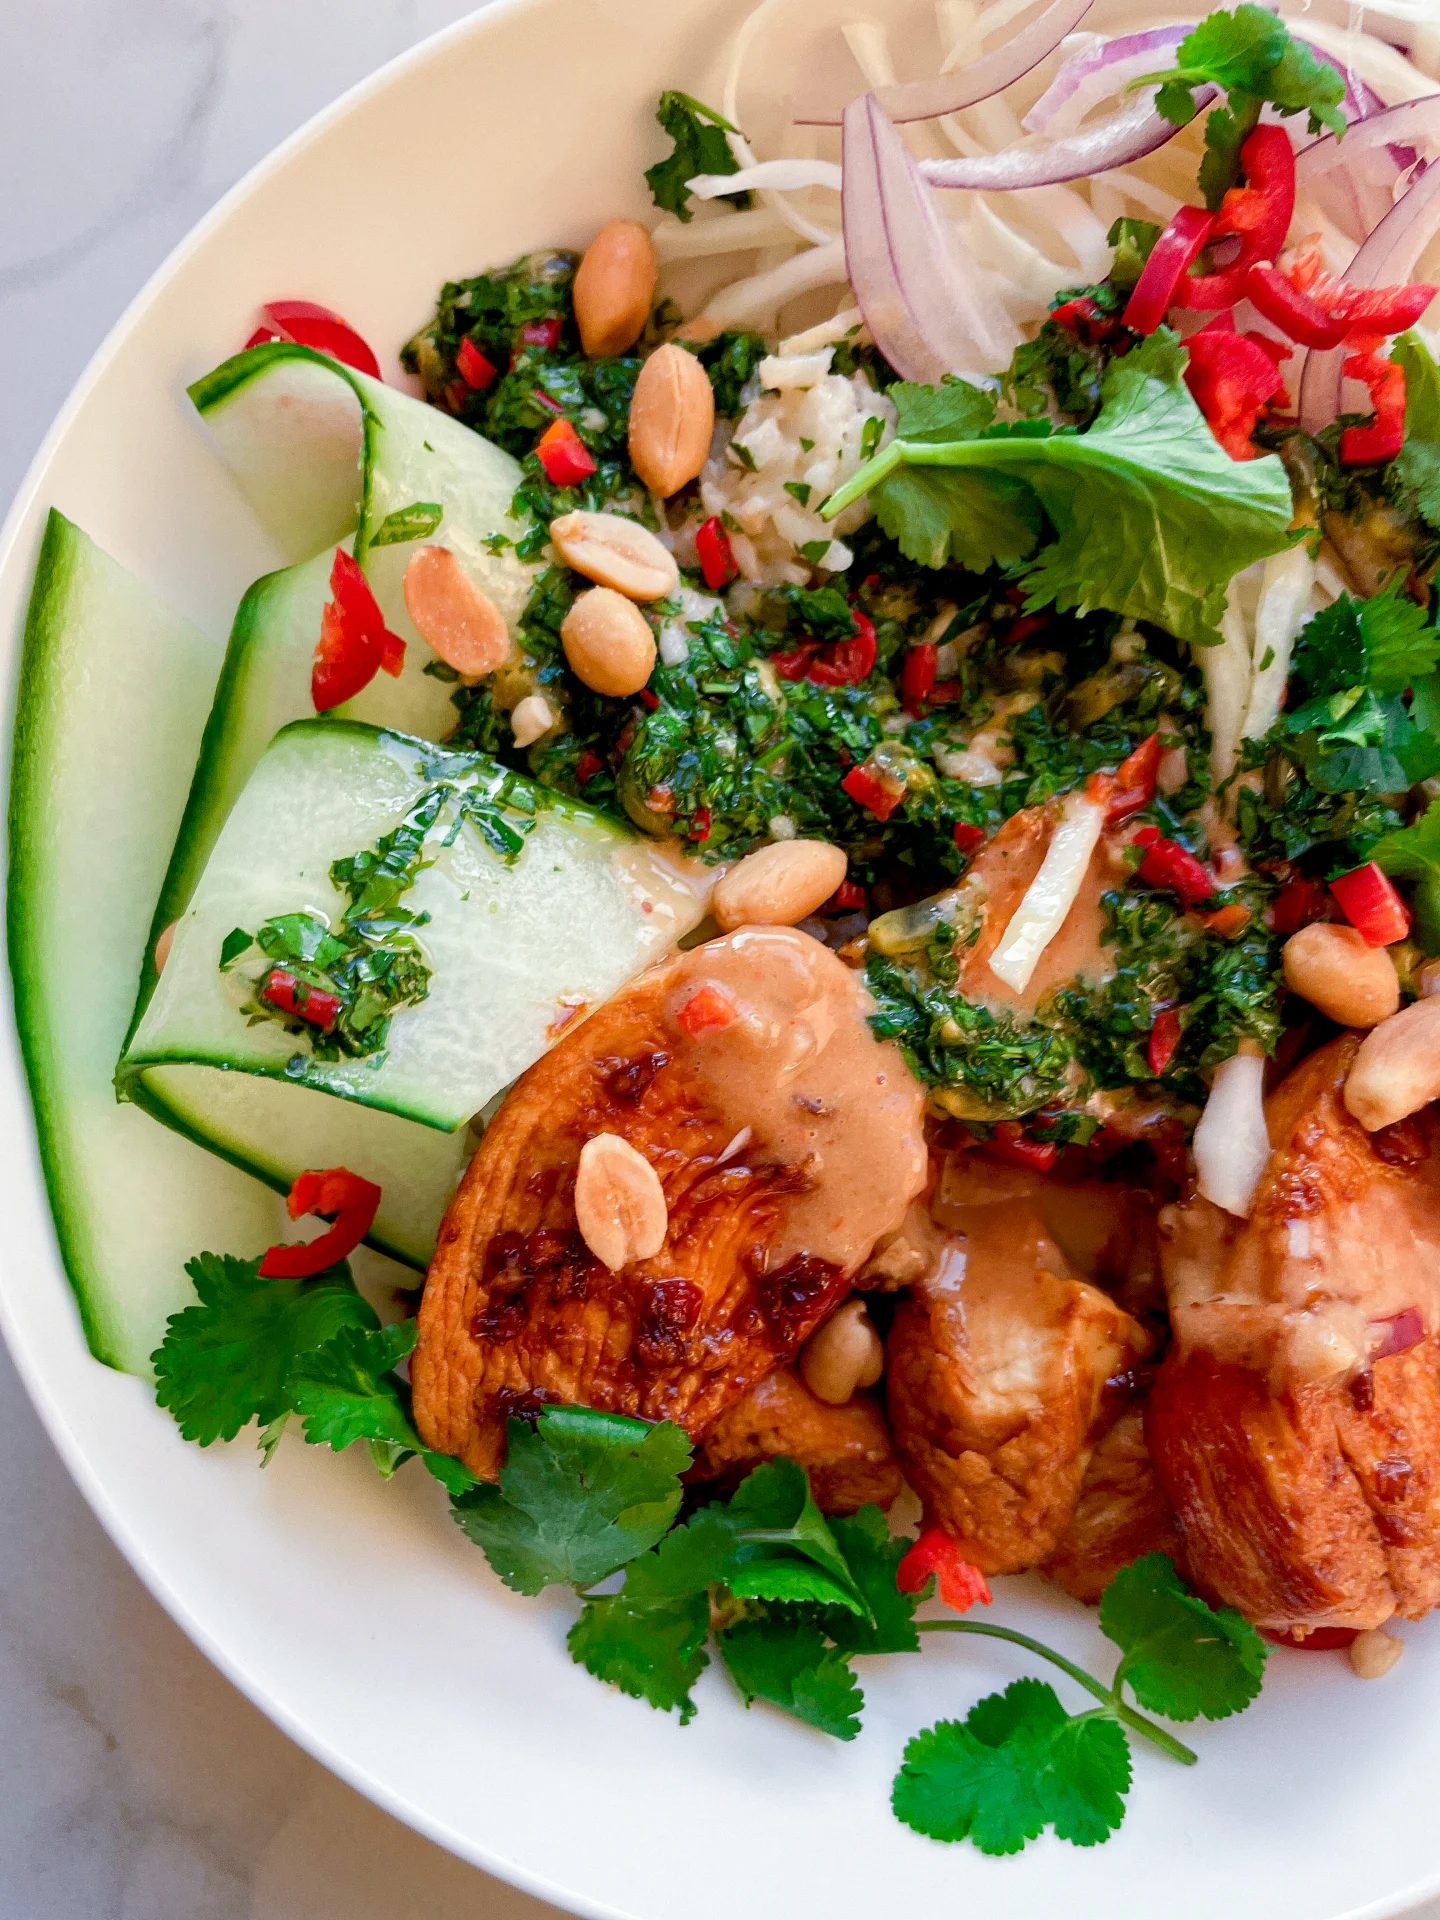
This is one of those meals that somehow tastes even better when eaten straight from the bowl, curled up on the couch. But if you want to serve it up nicely, layer the coconut rice first, then slice the glazed chicken on top. Scatter over the crunchy veggies, drizzle with satay sauce, and finish with a generous spoonful of gremolata. Extra lime wedges? Never a bad idea. If you’re feeling fancy, a sprinkle of toasted peanuts seals the deal.

How to store
Leftovers? Lucky you. Store the components separately in airtight containers. Chicken, rice, and veggies will last up to 3 days in the fridge. Reheat the rice and chicken gently, then assemble fresh. Satay sauce thickens when cold, so warm it slightly before drizzling. Pro tip: the gremolata is best fresh.

Hi, I'm Kimberly!

Hi, I'm Kimberly.

A passionate food lover who believes in the magic of homemade deliciousness that spreads love and warmth. Join me on this culinary adventure as I prepare wonderful dishes and let’s spread some happiness together!

Kimberly the Zett Signature

If you want to get to know me better, click here!


Coconut Rice Peanut Chicken Bowl with Passionfruit Gremolata
„Let’s make a piece of happiness“
Print
clock clock iconcutlery cutlery iconflag flag iconfolder folder iconinstagram instagram iconpinterest pinterest iconfacebook facebook iconprint print iconsquares squares iconheart heart iconheart solid heart solid icon
Coconut Rice Peanut Chicken Bowl with Passionfruit Gremolata

Coconut Rice Peanut Chicken Bowl with Passionfruit Gremolata


5 Stars 4 Stars 3 Stars 2 Stars 1 Star

No reviews

  • Author: Kimberly
  • Total Time: 40 min
  • Yield: 2 1x

Description

RECOMMENDED EQUIPMENT

  • medium pot with lid (or rice cooker)
  • two small bowls
  • shallow dish
  • sharp knife
  • cutting board
  • large pan
  • oven
  • kitchen thermometer

Ingredients

Units Scale

RICE

  • 150 grams jasmine rice
  • 100 grams coconut milk
  • 200 milliliters water

SATAY SAUCE

  • 3 tbsp peanut butter
  • 1 tbsp soy sauce
  • 1/2 tsp sesame oil
  • 1 tbsp honey
  • juice of 1/2 lime
  • 100 grams coconut milk
  • 1/2 tsp dried chili flakes
  • 1 garlic clove
  • 2 tbsp water

CHICKEN

  • 300 grams chicken breast filet
  • 2 tbsp avocado oil
  • salt
  • 1 tbsp butter

CHICKEN GLAZE

  • 3 tbsp soy sauce
  • 3 tbsp passionfruit purée
  • 1 tbsp brown sugar
  • 1 garlic clove
  • 1 tsp ginger, grated
  • 1/2 fresh chili

PASSIONFRUIT GREMOLATA

  • 1 passionfruit
  • 10 grams fresh parsley
  • 5 grams fresh cilantro
  • juice of 1 lime
  • 1 garlic clove
  • 1/2 fresh chili
  • 4 tbsp olive oil
  • salt & pepper to taste

VEGGIES & TOPPINGS

  • cucumber
  • white cabbage
  • red onion
  • fresh cilantro
  • fresh chili
  • peanuts

Instructions

  1. Rinse the jasmine rice thoroughly until the water runs clear. Add it to a pot with coconut milk and water, then cook until tender.
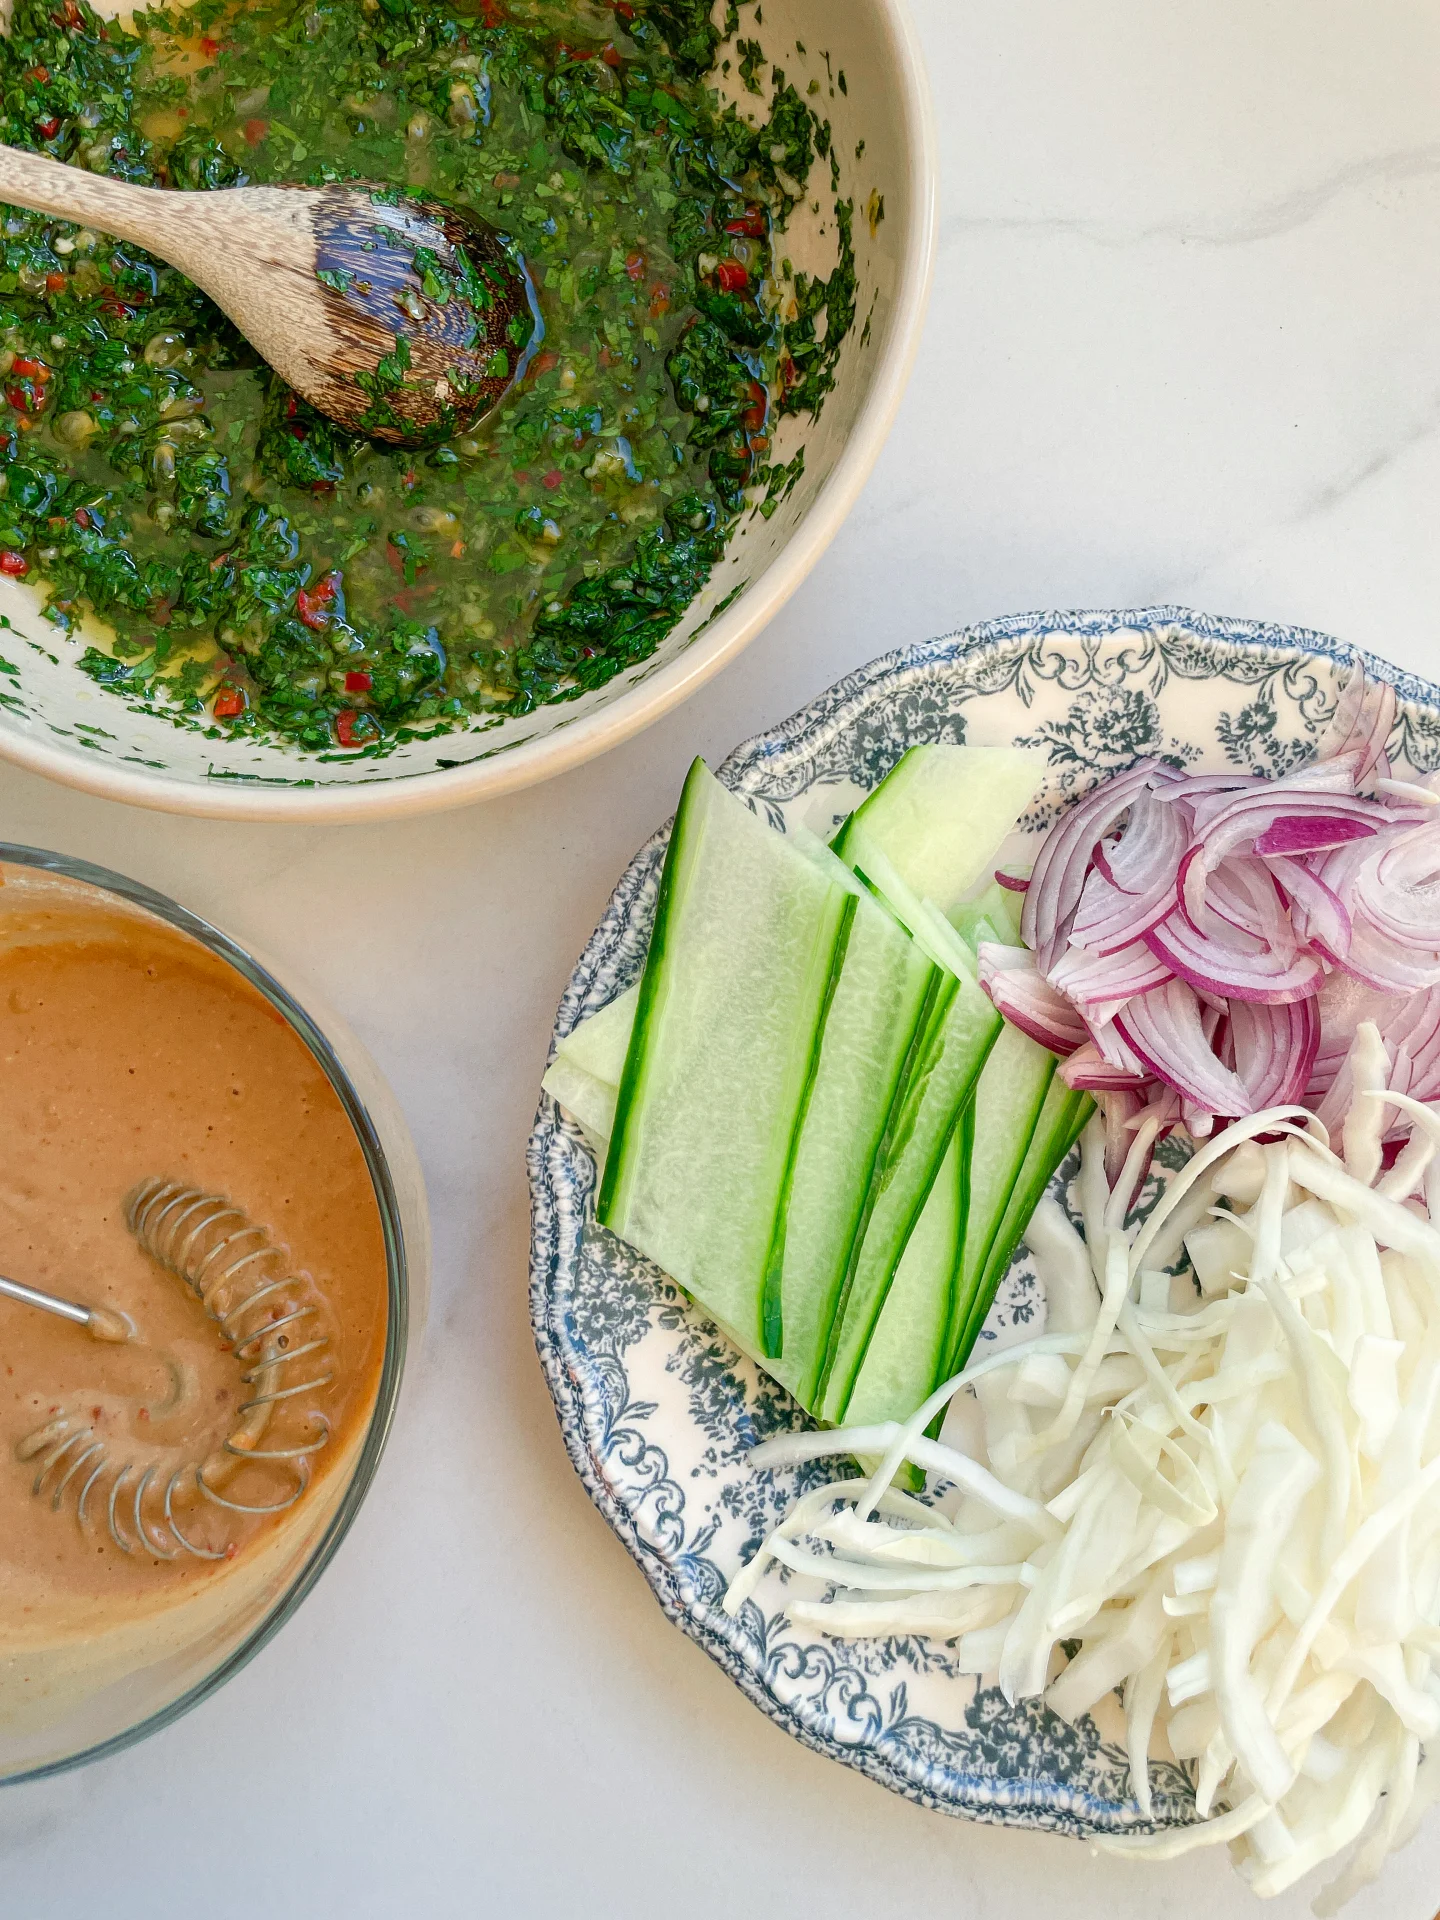
  2. In a bowl, mix peanut butter, soy sauce, sesame oil, honey, lime juice, coconut milk, and water. Press in a garlic clove, season with chili powder, stir well, and set aside.
  3. In another small bowl, mix soy sauce, passionfruit purée, brown sugar, finely chopped ginger, finely chopped half of a fresh chili, and a pressed garlic clove. Set aside.
  4. Finely chop the parsley and cilantro leaves. Cut open a fresh passionfruit and scoop the pulp, including seeds, into a shallow dish. Mix with lime juice, a pressed garlic clove, the remaining finely chopped chili, olive oil, salt, and pepper. Set aside.
  5. Slice the white cabbage and red onion into very thin strips. Use a vegetable peeler to create wide cucumber ribbons.
  6. Preheat the oven to 175°C / 350°F. Heat avocado oil in a large pan and sear the chicken breasts on all sides until golden brown. Reduce the heat, add a tablespoon of butter, and continuously spoon the melted butter over the chicken to keep it juicy. Cook until the internal temperature reaches around 70°C / 160°F. Transfer the chicken to a plate and place it in the oven until it reaches 76°C / 170°F.
  7. Discard excess fat from the pan, then pour in the prepared glaze. Remove the chicken from the oven, slice it into strips, and toss it in the glaze until fully coated.
  8. Divide the coconut rice into two bowls, top with the glazed chicken and fresh veggies. Finish with satay sauce and passionfruit gremolata. For extra flavor, garnish with chopped peanuts, fresh cilantro, sliced chili, and a lime wedge.
  • Cook Time: 40 min

Chili Lime Garlic Naan

Chili Lime Garlic Naan

Chili Lime Garlic Naan

Chili Lime Garlic Naan Bread

March 26, 2025 by Kimberly

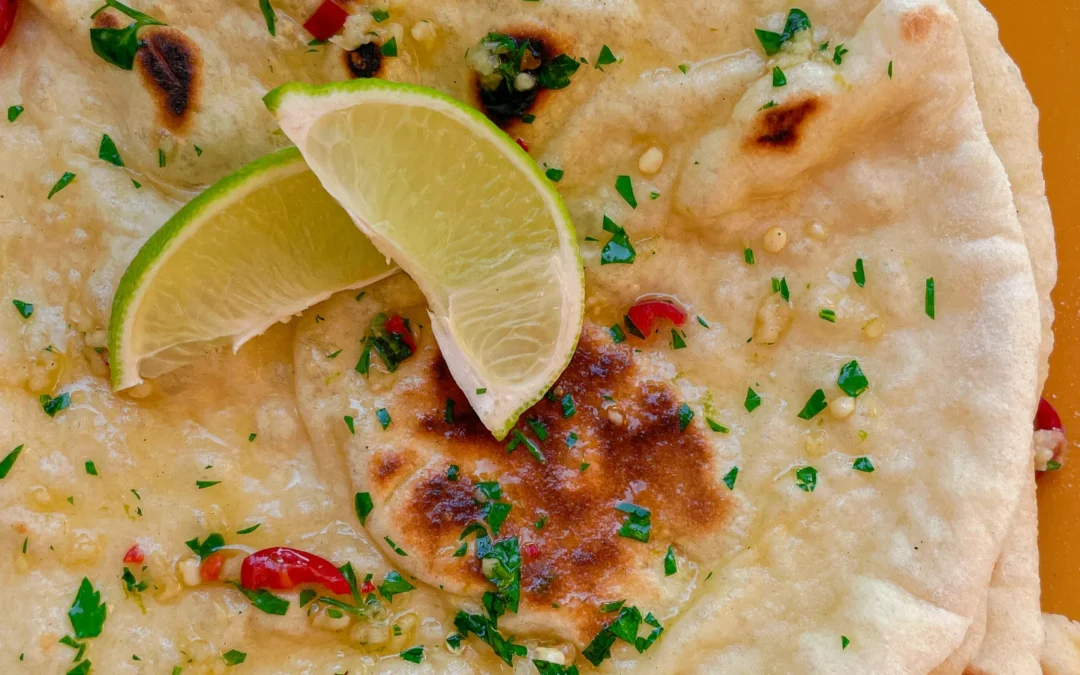
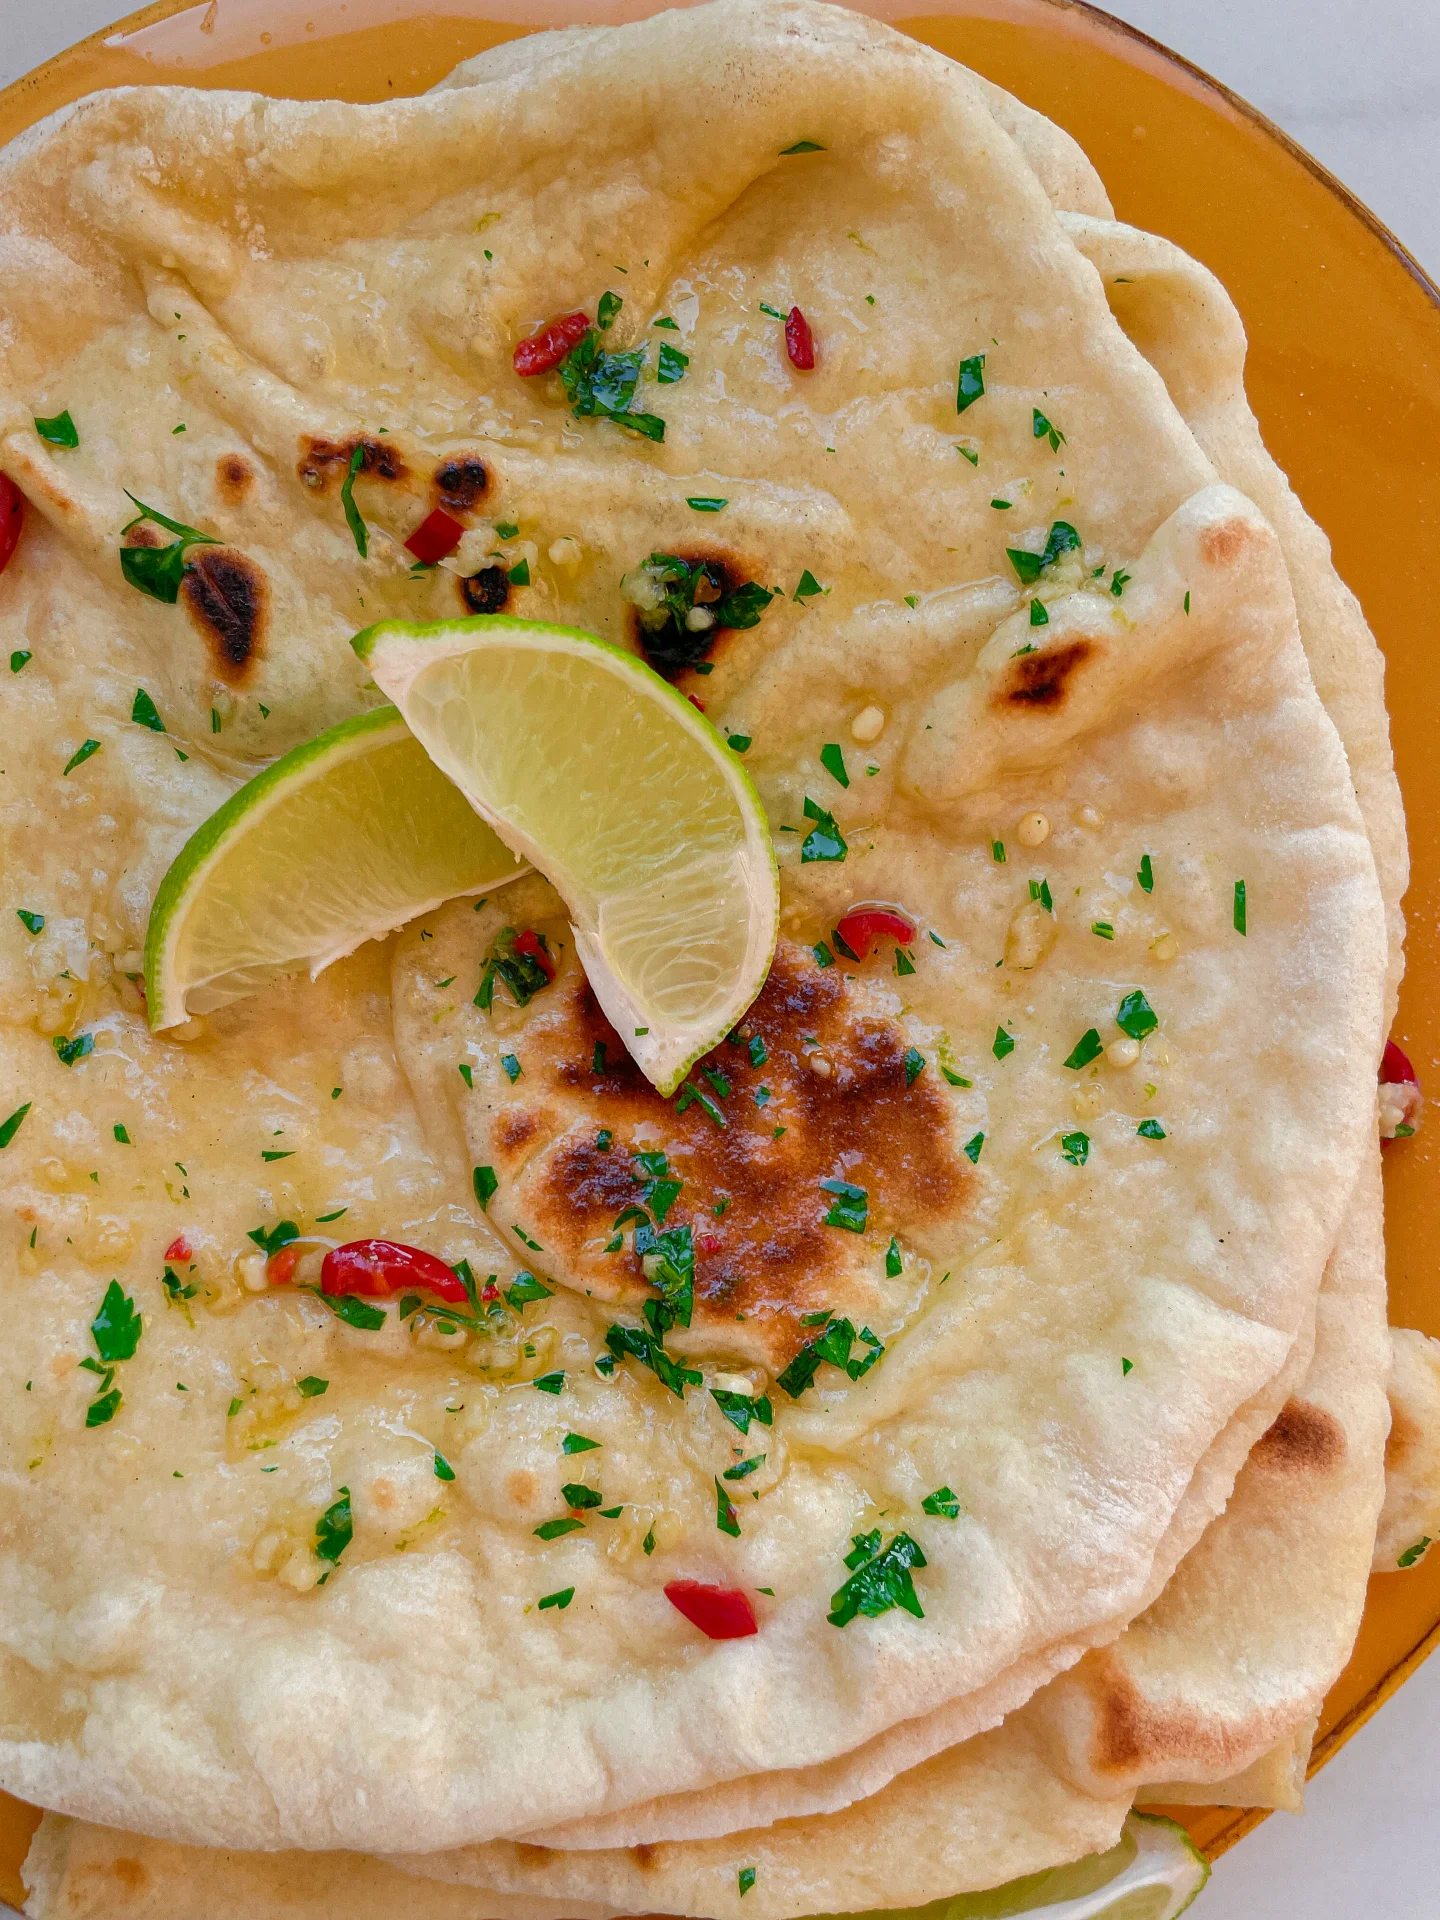
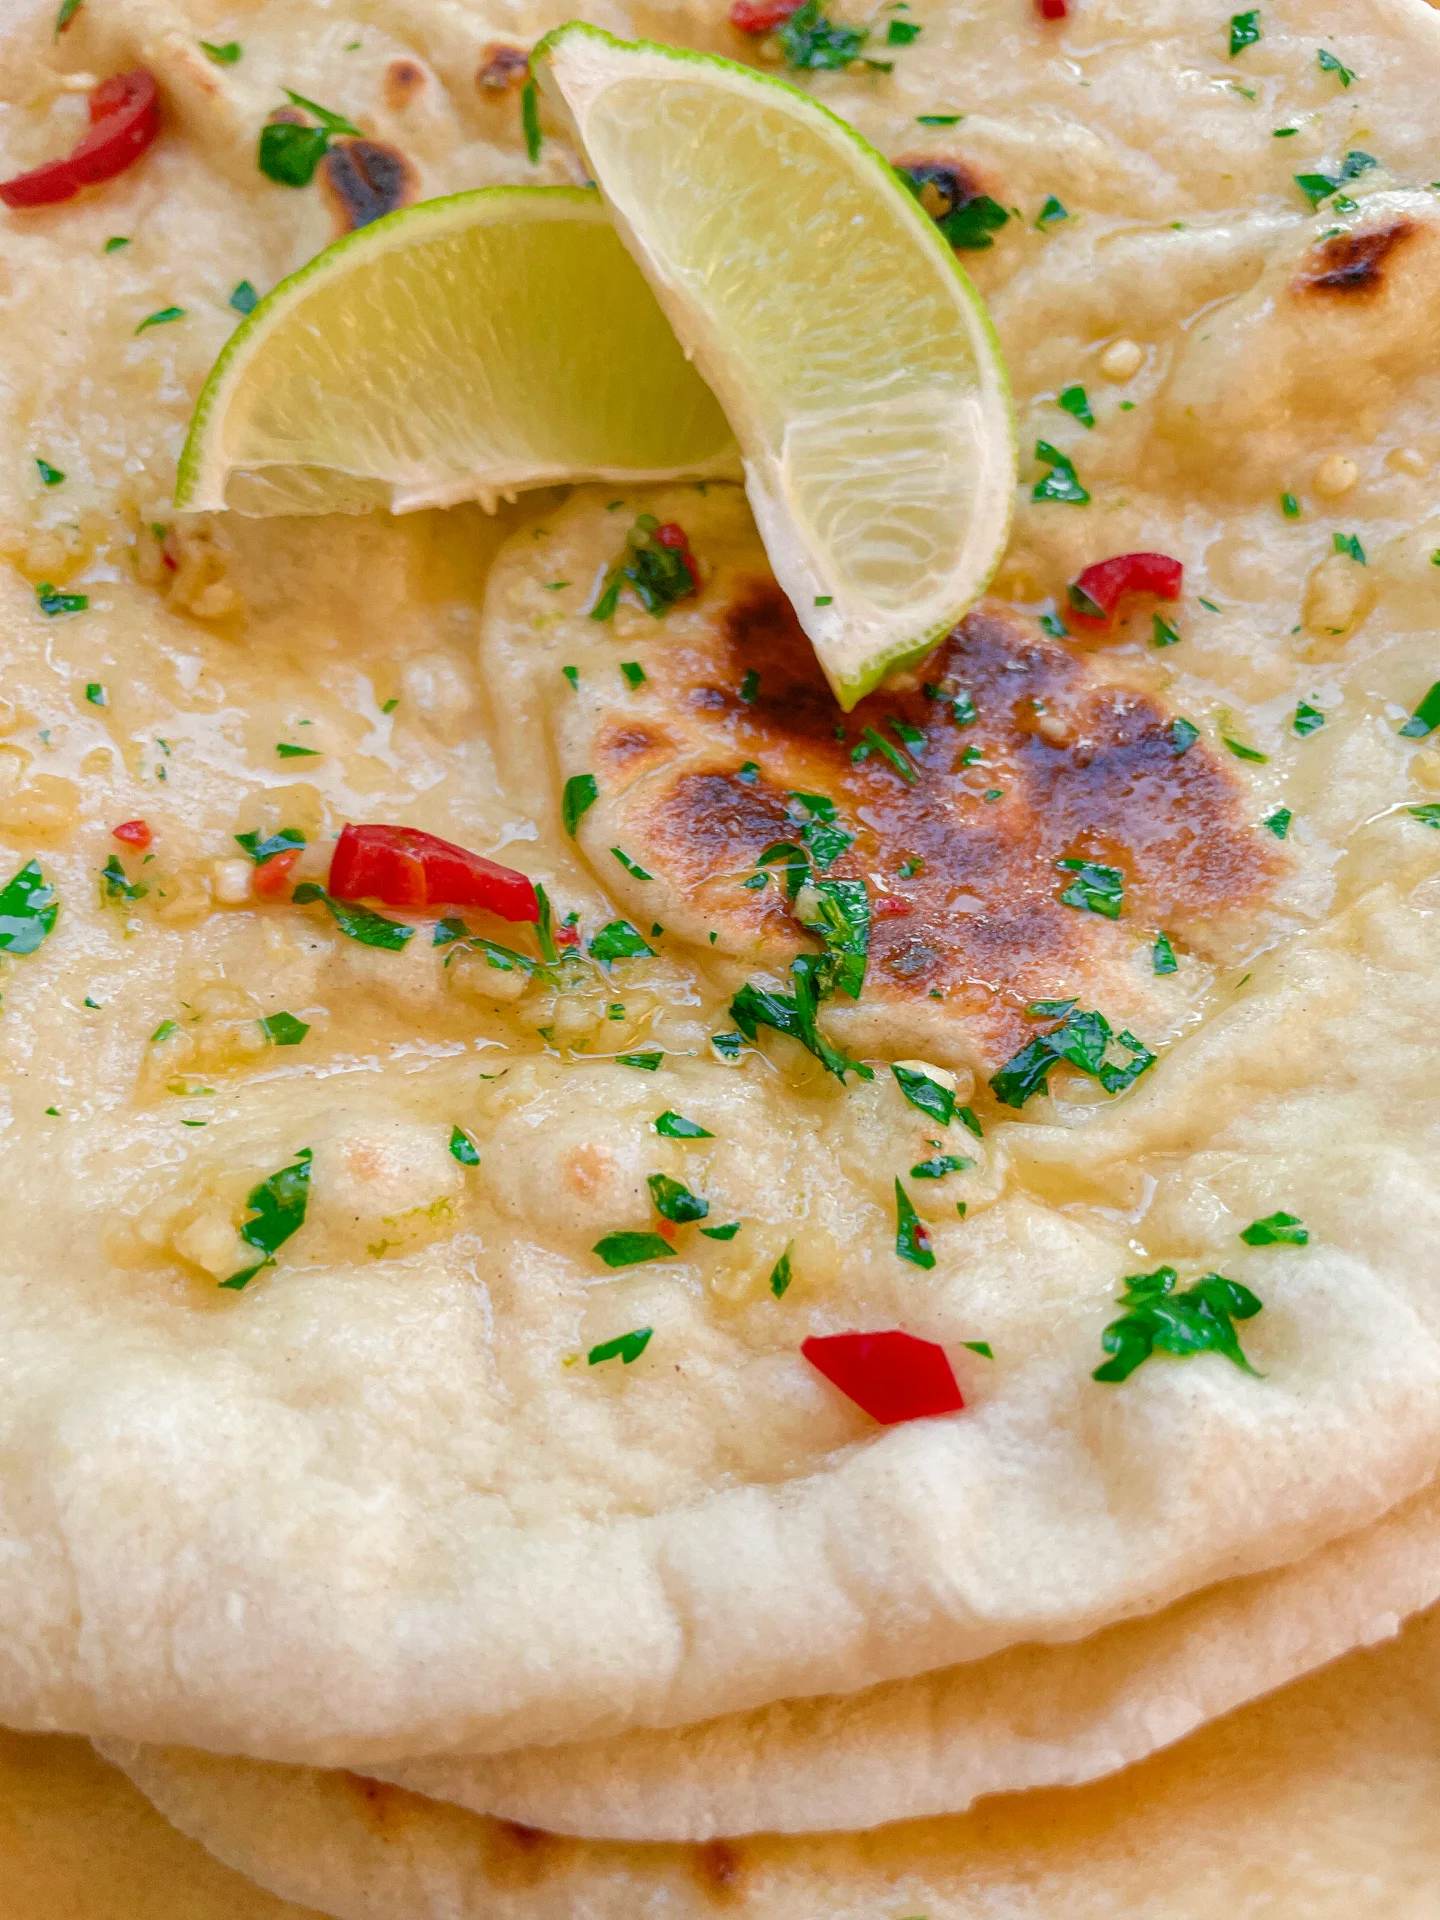
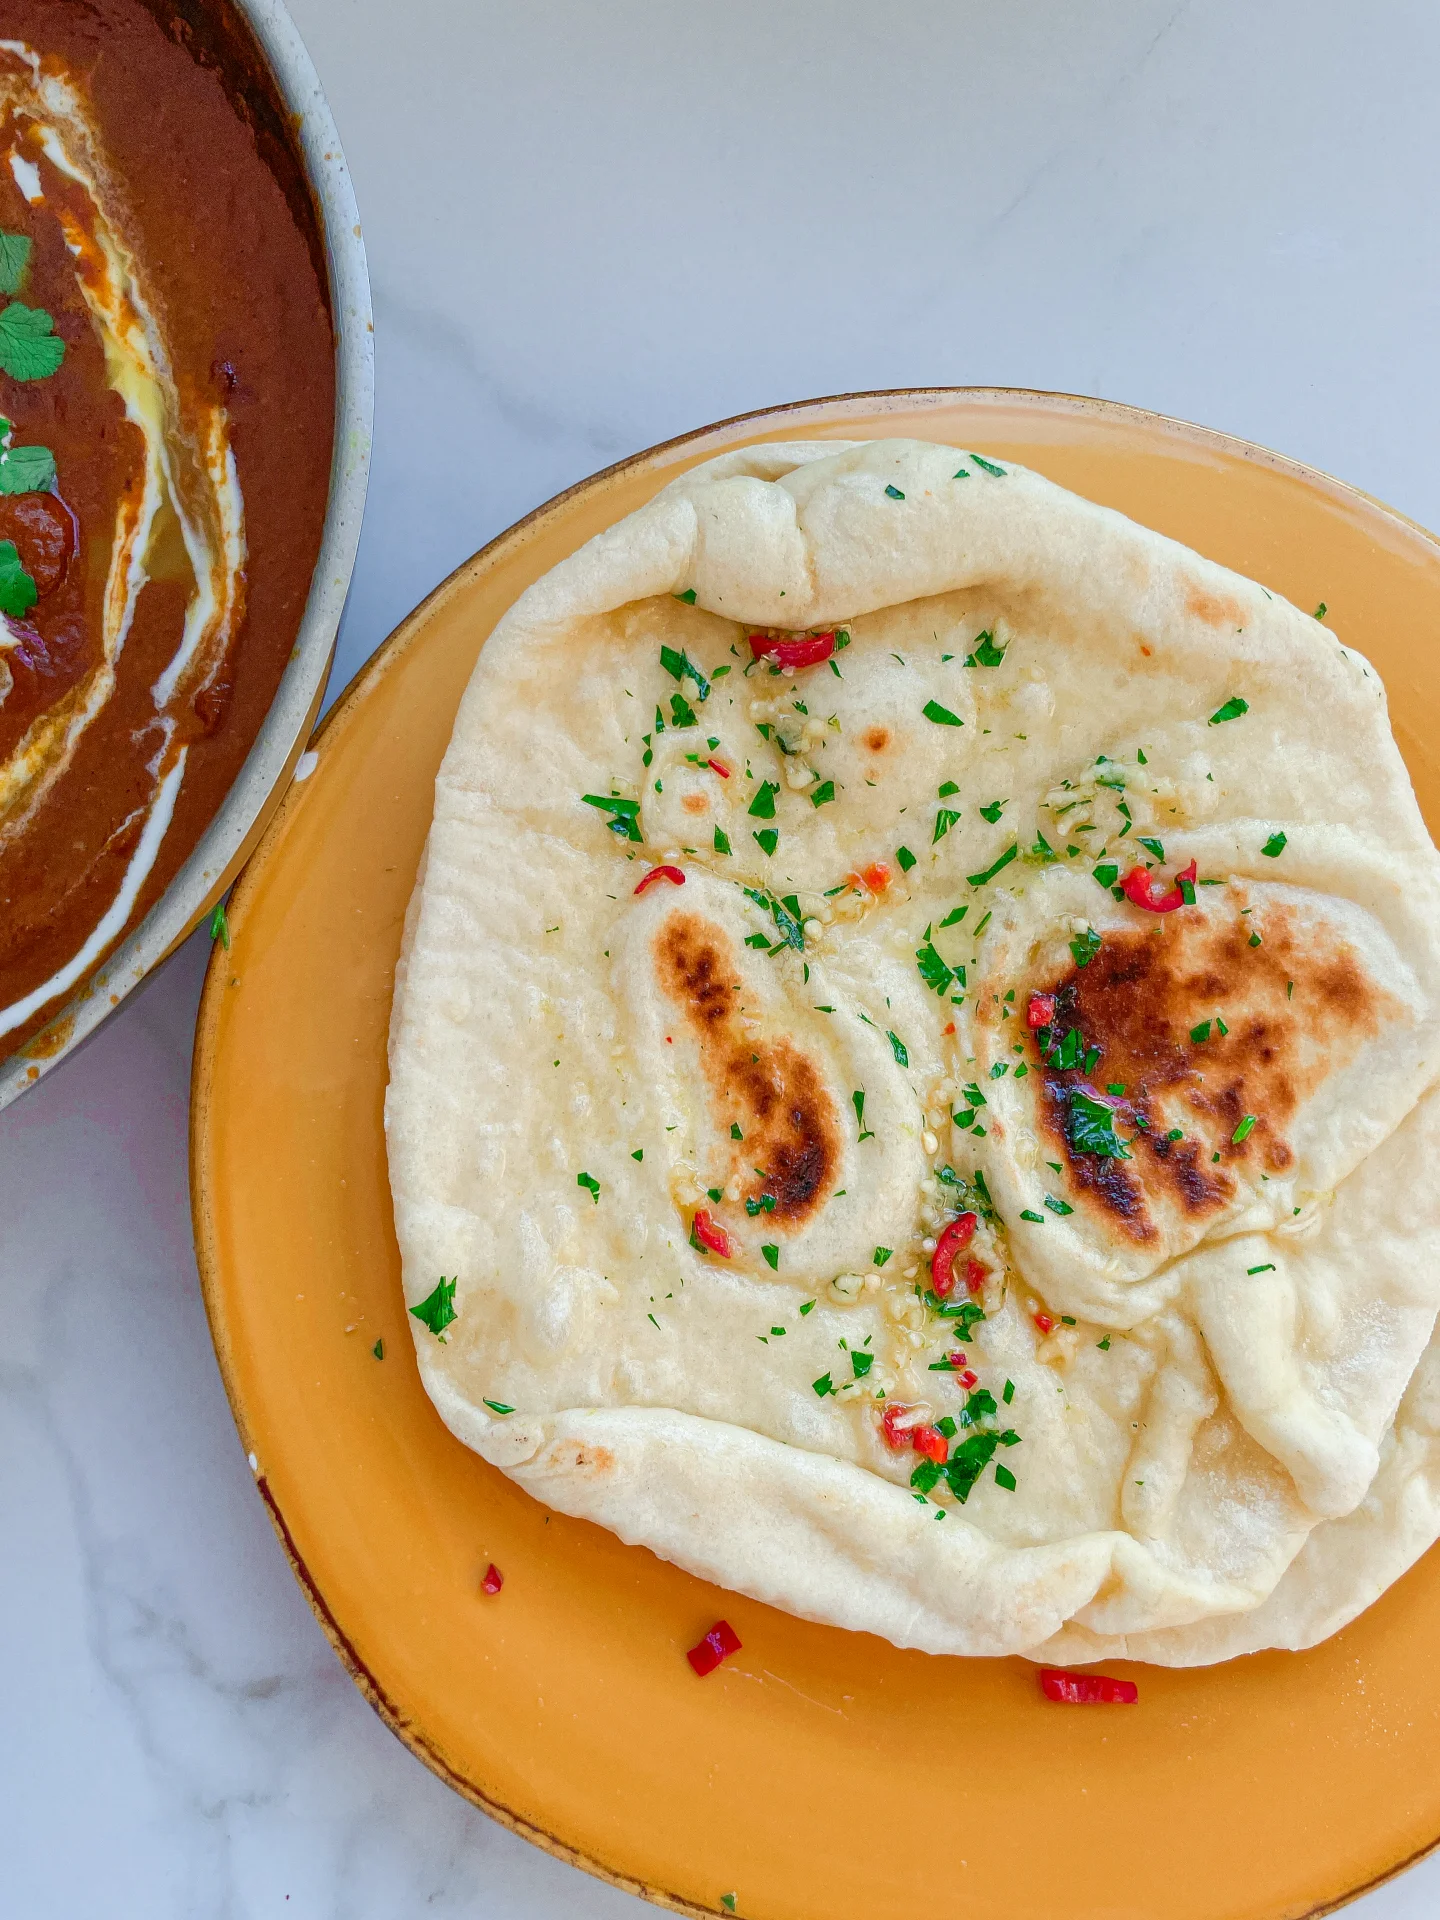
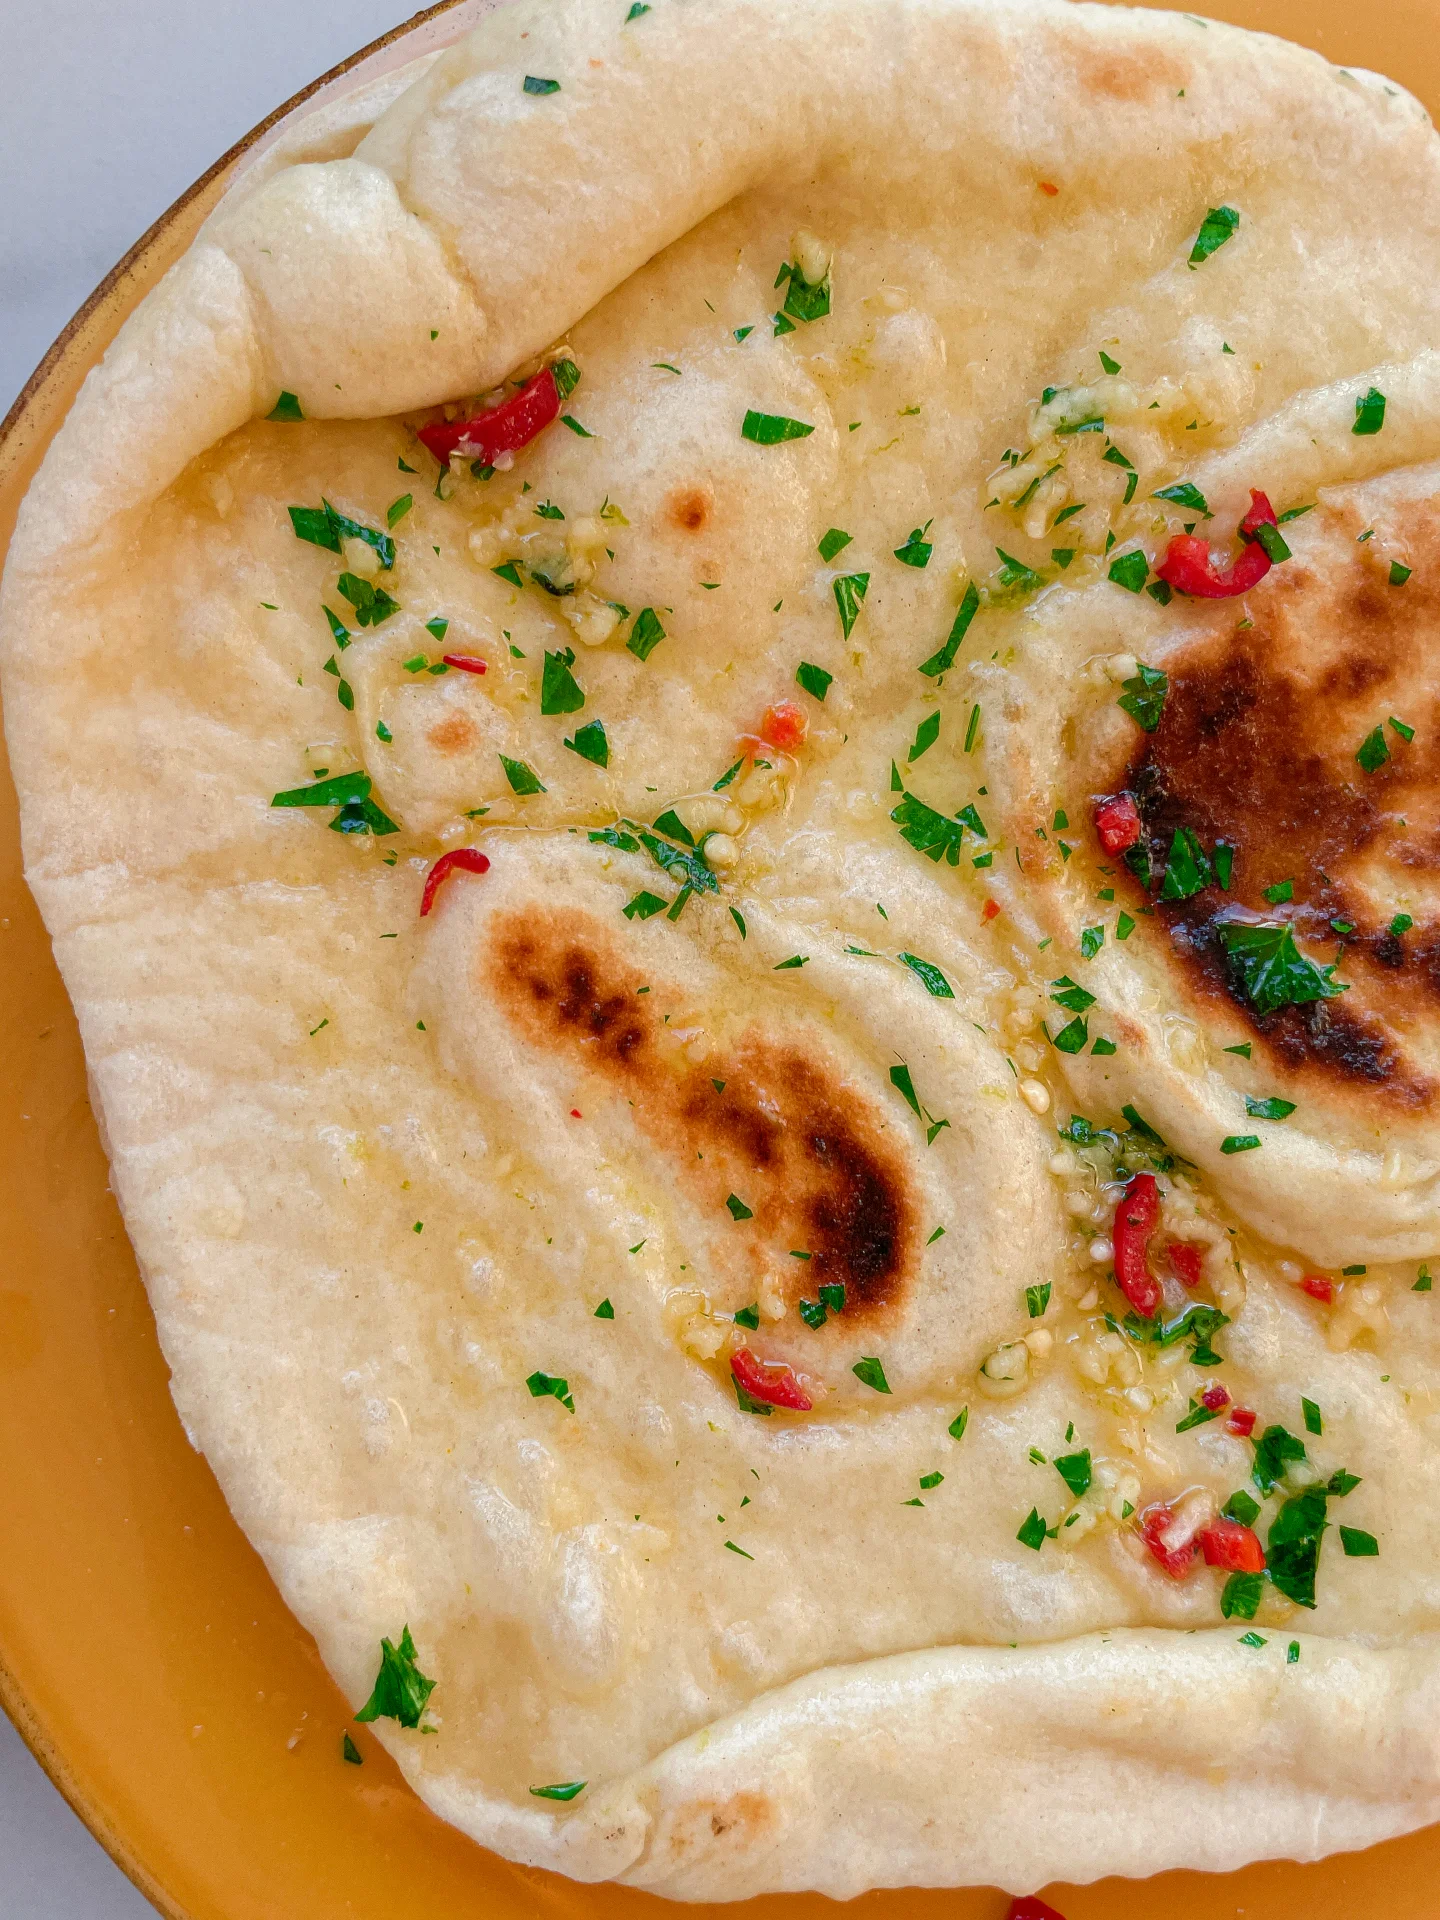
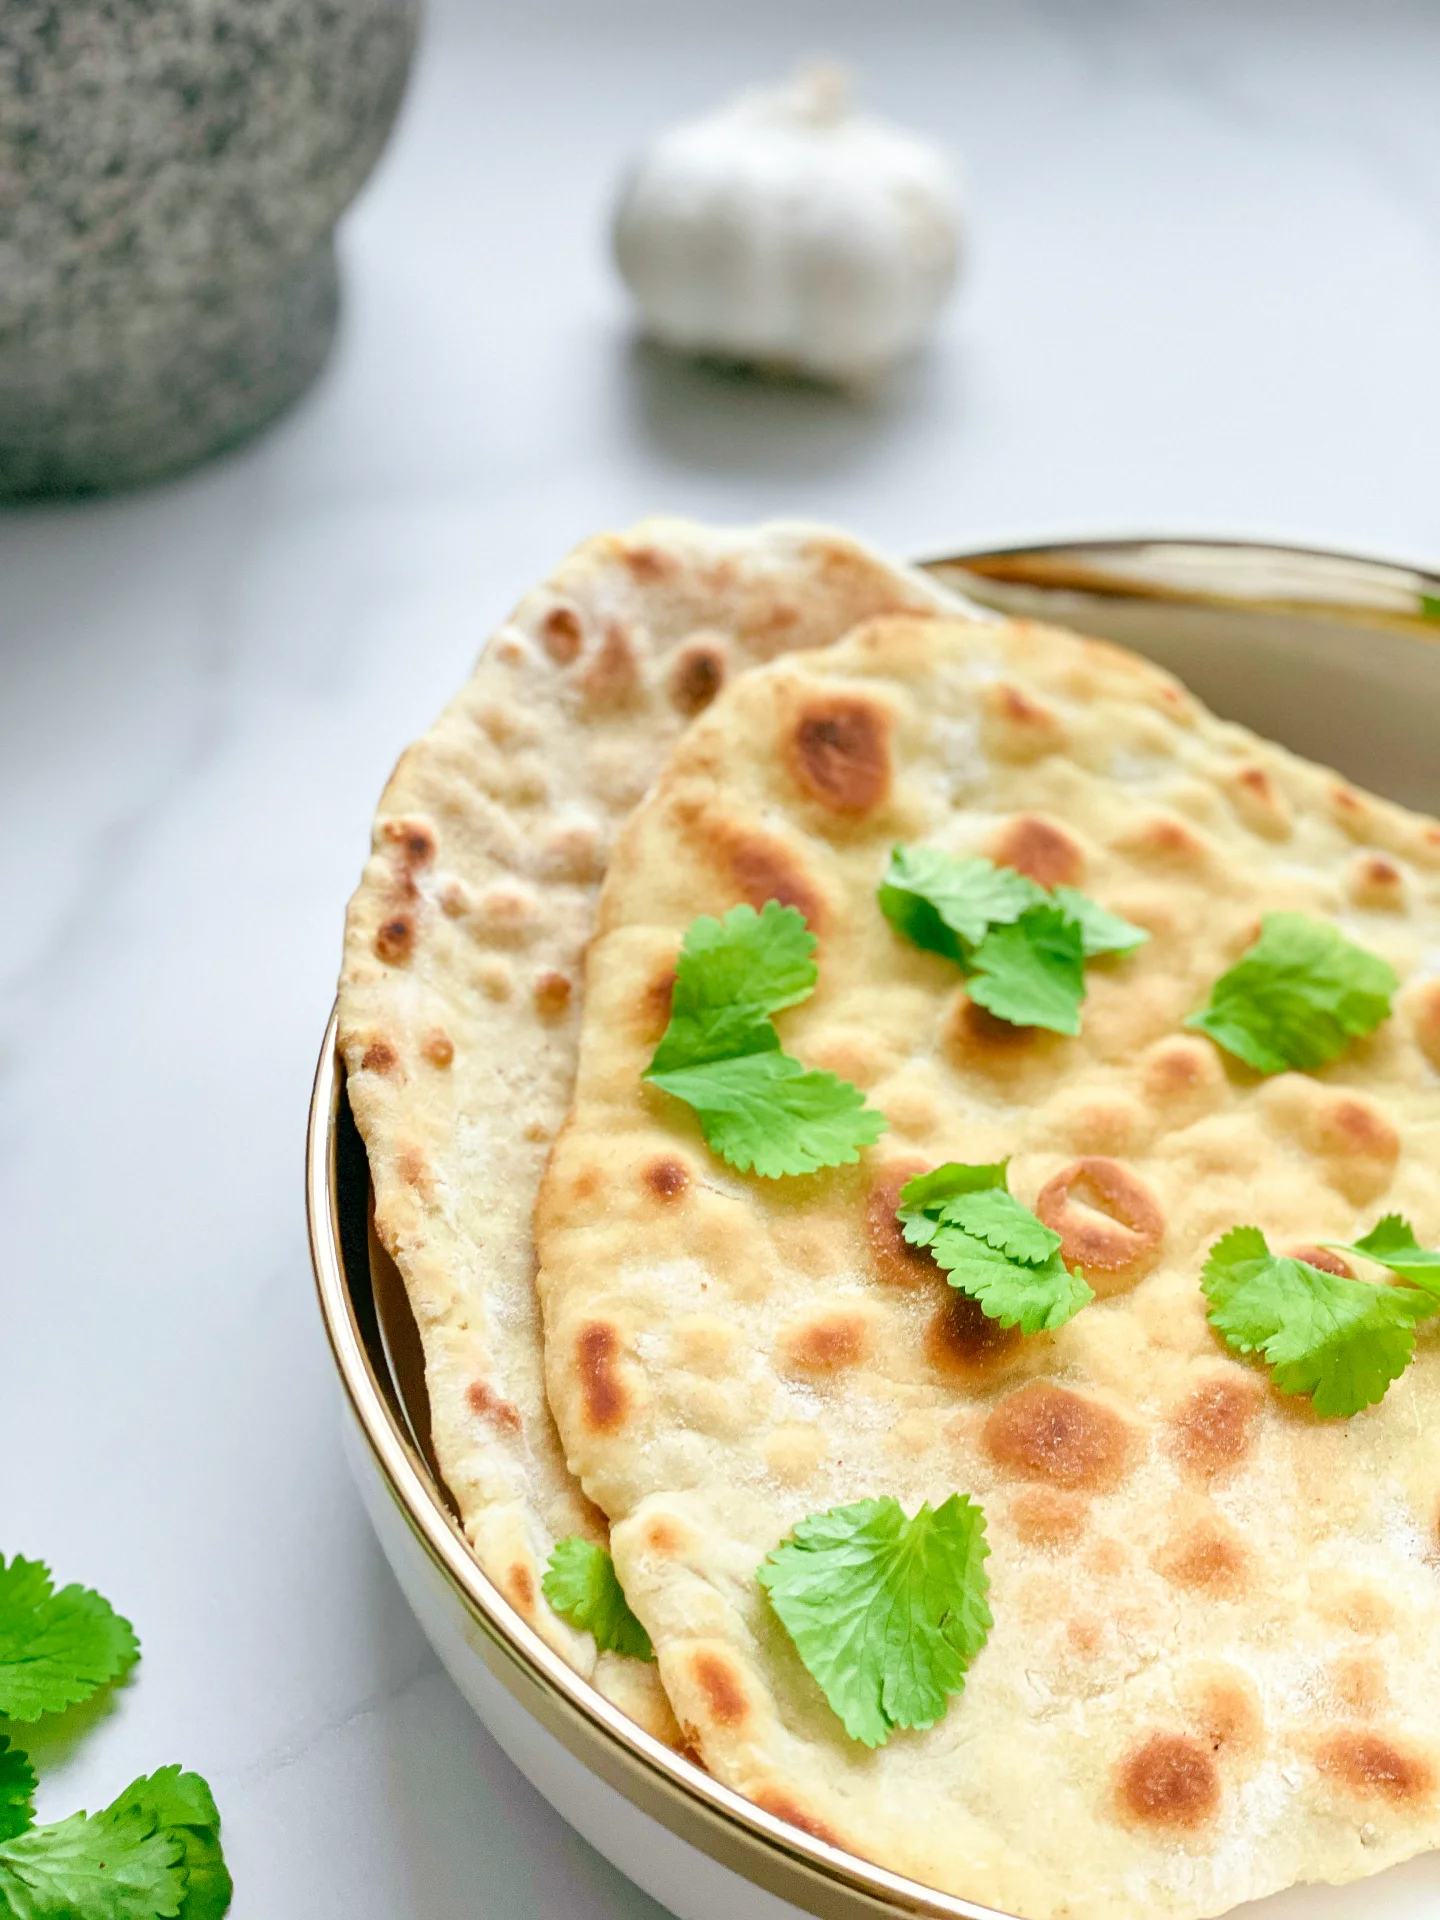
Golden, pillowy, buttery goodness with a little heat, a little zing, and a whole lot of garlic. The kind of flatbread that somehow steals the show, no matter what it’s served with.

90 MINUTES

EASY

VEGETARIAN

INDIAN

6 NAANS

FLUFFY

EVERYDAY

BREAD

ALL YEAR

INTRODUCTION

ABOUT THE RECIPE

Somehow, warm, buttery flatbread just makes life better. This one is extra special: soft, fluffy, brushed with melted butter, garlic, chili, fresh herbs, and a hit of lime zest for that unexpected, almost-too-good touch. It’s got that perfect balance of richness, freshness, and just a little spice, making it dangerously easy to eat. Whether you’re scooping up curry, using it as a base for something wild, or just eating it straight up, this one’s a keeper.

How to serve
This one is best served straight from the pan. Warm, pillowy, and soaked in that garlicky, buttery goodness. It’s the perfect sidekick to just about anything: curries, dips, grilled meats, or even a fancy little cheese plate. But let’s be honest, it’s also pretty great just by itself. Tear it, fold it, dunk it. No rules here.

How to store
If, by some miracle, you have leftovers, wrap them in foil and store at room temp for a day or in the fridge for up to two days. Reheat in a dry pan or warm oven for that fresh-off-the-stove feel.

Hi, I'm Kimberly!

Hi, I'm Kimberly.

A passionate food lover who believes in the magic of homemade deliciousness that spreads love and warmth. Join me on this culinary adventure as I prepare wonderful dishes and let’s spread some happiness together!

Kimberly the Zett Signature

If you want to get to know me better, click here!


Chili Lime Garlic Naan
„Let’s make a piece of happiness“
Print
clock clock iconcutlery cutlery iconflag flag iconfolder folder iconinstagram instagram iconpinterest pinterest iconfacebook facebook iconprint print iconsquares squares iconheart heart iconheart solid heart solid icon
Chili Lime Garlic Naan

Chili Lime Garlic Naan


  • Author: Kimberly
  • Total Time: 90 min

Description

RECOMMENDED EQUIPMENT

  • stand mixer
  • small bowl
  • large bowl
  • plastic wrap

Ingredients

Units Scale

DOUGH

  • 300 grams pizza flour (or any flour that contains at least 12g protein per 100g)
  • 1 tsp dry active yeast
  • 1/2 tsp white sugar
  • 125 milliliters lukewarm water
  • 1 tsp salt
  • 2 tbsp yogurt
  • 1 tbsp avocado oil

GLAZE

  • 12 tbsp butter, melted
  • fresh chili
  • zest of 1 lime
  • fresh parsley
  • 2 garlic cloves

Instructions

  1. Add the dry yeast to lukewarm water, stir in the sugar, and let it sit for a few minutes until it becomes foamy and bubbles form.
  2. In the stand mixer, combine the flour with salt, yogurt, and avocado. Once the yeast mixture is ready, pour it in and knead everything into a smooth dough. It should be slightly sticky but not cling to your fingers or the bowl.
  3. Transfer the dough to a lightly floured bowl, dust the top with a little flour, cover tightly with plastic wrap, and let it rest in a warm place for about 1 hour or until it doubles in size.
  4. While the dough is rising, finely chop a fresh chili and the parsley leaves. Mix them in a bowl with the zest of one lime and two pressed garlic cloves. Set this mixture aside—melted butter will be added later.
  5. Once the dough has risen, divide it into six equal pieces, shape them into balls, and let them rest under a damp towel for another 15 minutes.
  6. In the meantime, heat a cast-iron skillet until it’s very hot.
  7. Roll out each dough ball into a thin, flat round. Cook in the dry, hot skillet for about 2 minutes per side until bubbles form and the bread is fully cooked.
  8. Stir the melted butter into the prepared chili-lime-garlic mixture.
  9. Remove the naan from the pan, brush each one with the flavored butter using a pastry brush, and stack them on top of each other.
  10. Either keep the naan warm in the oven or cover them with a towel until ready to serve.
  • Passive Time: 60 min
  • Cook Time: 30 min
Tomato Chili Garlic Oil

Tomato Chili Garlic Oil

Tomato Chili Garlic Oil

Tomato Chili Garlic Oil

November 25, 2024 by Kimberly

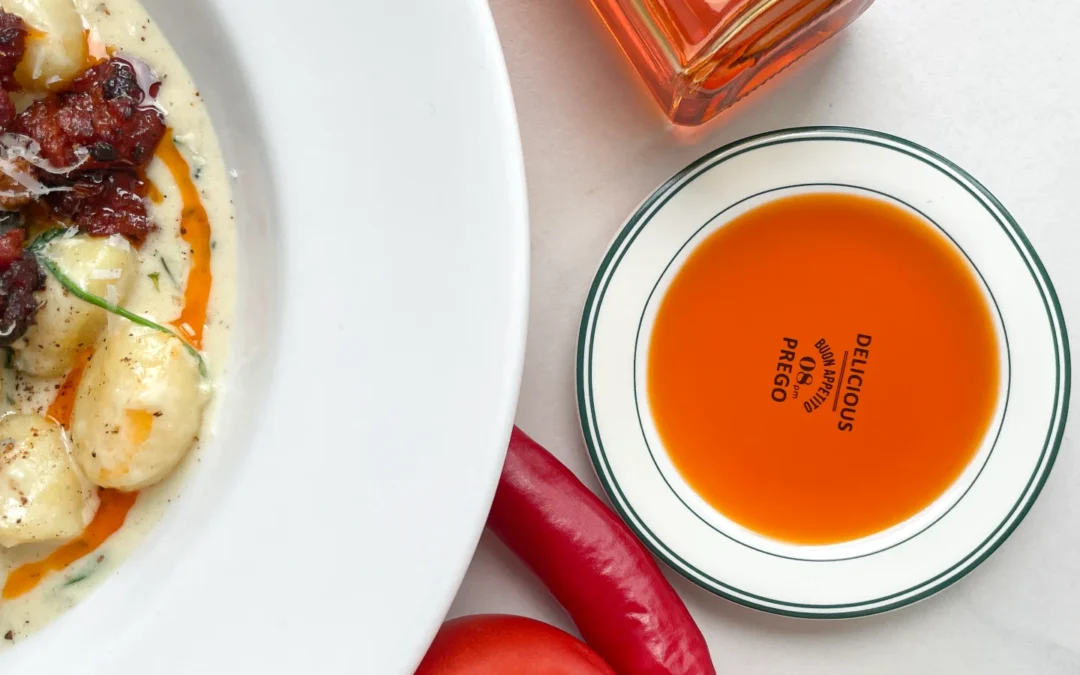
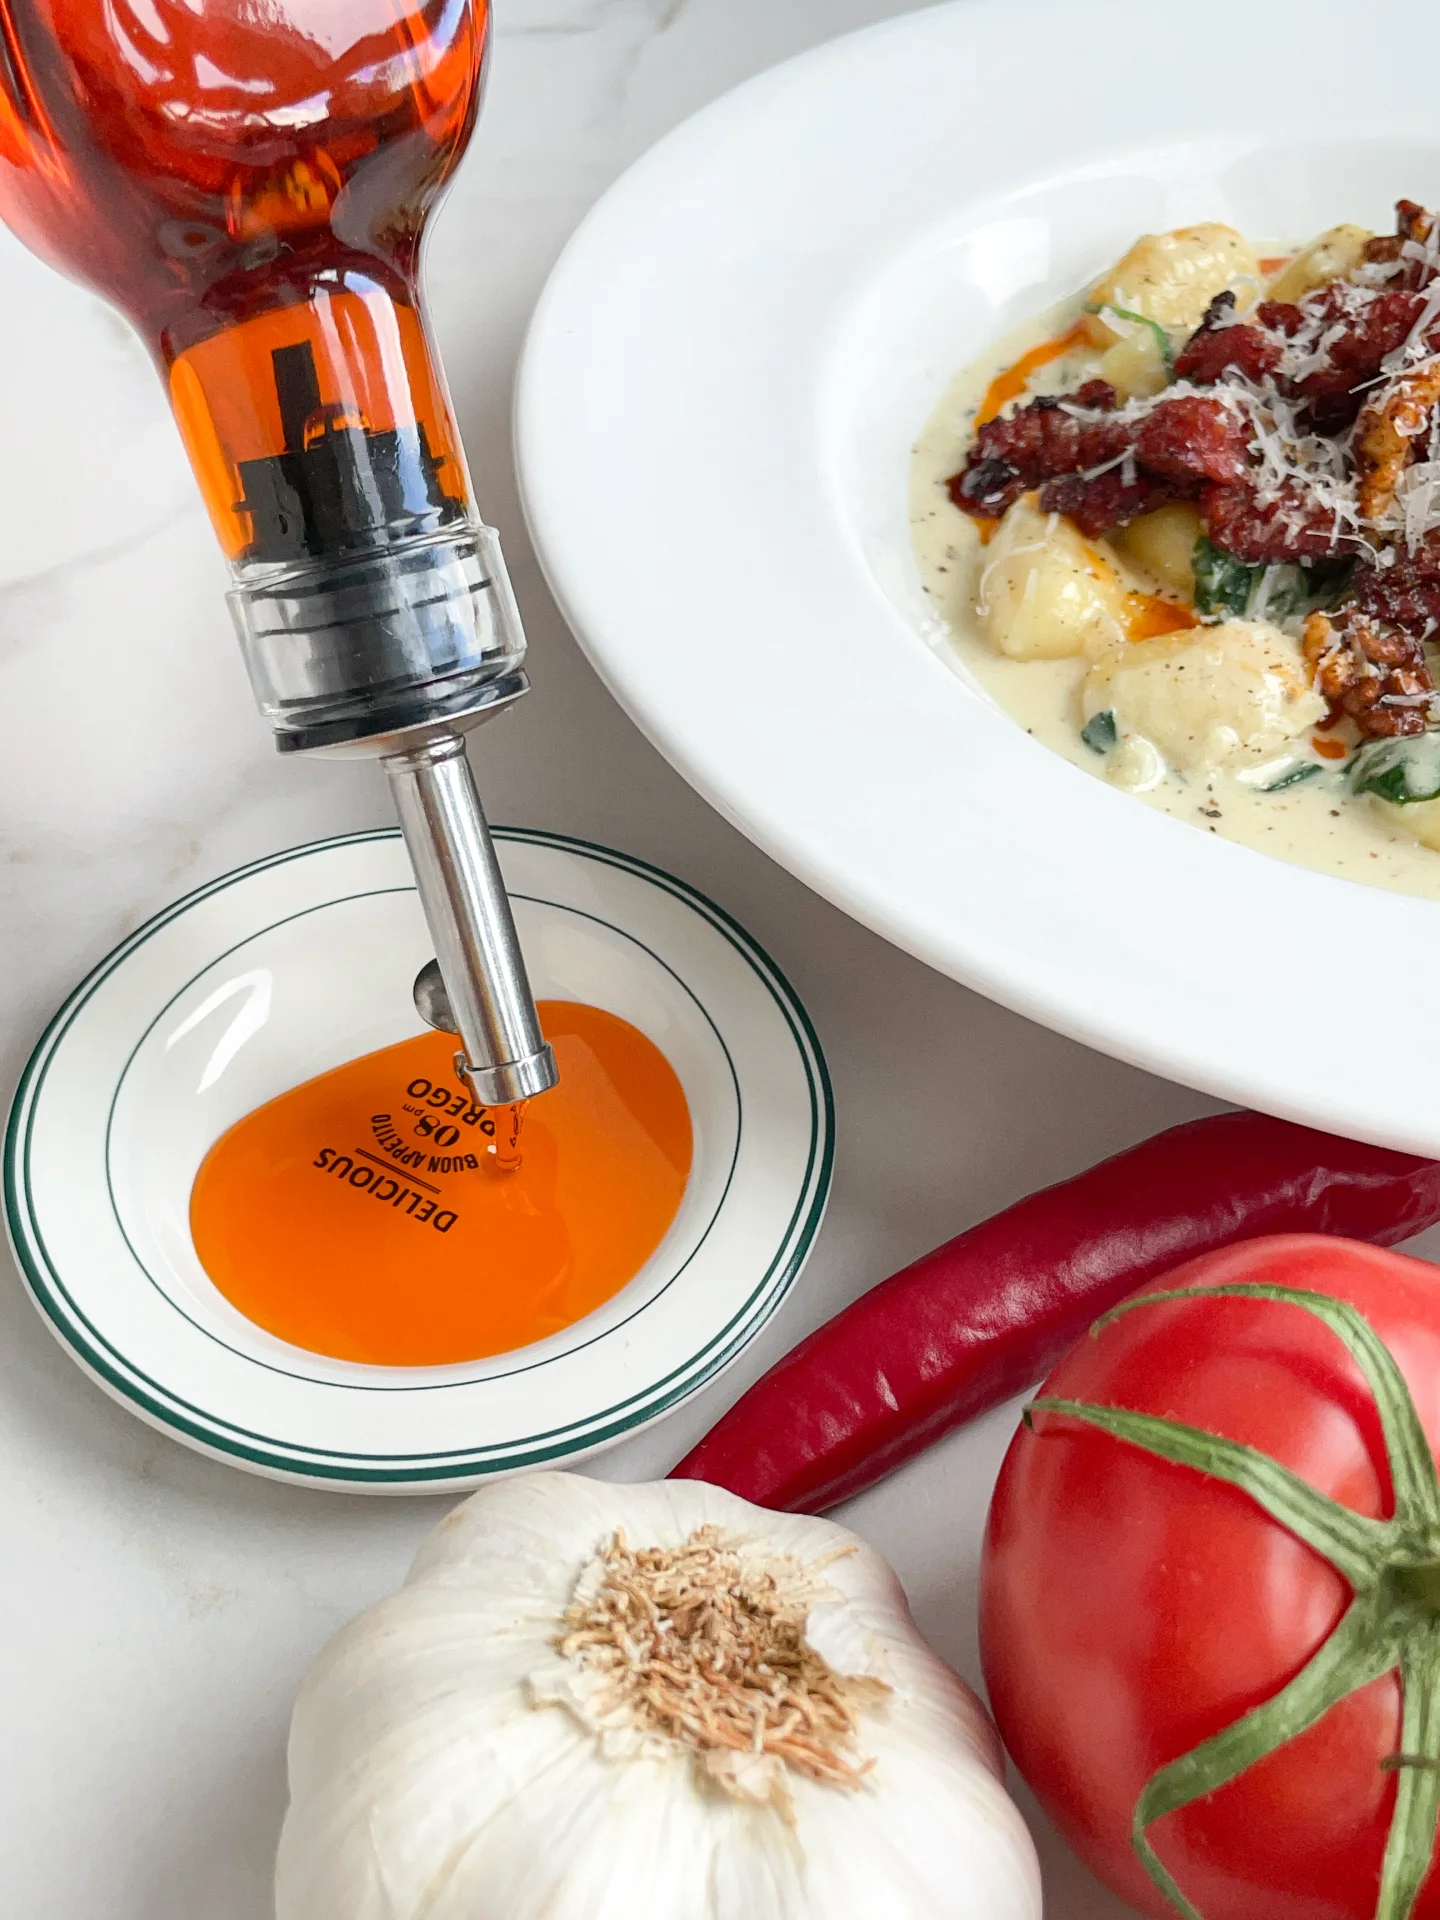
Transform your meals with this rich, spicy oil infused with, bold tomatoes, roasted garlic and fiery chili. A drizzle adds warmth, depth, and a kick to anything from pasta to bread.

65 MINUTES

ADVANCED

VEGAN

INT.

40 PER TSP

SPICY
UMAMI

MICHELIN

OIL

ALL YEAR

INTRODUCTION

ABOUT THE RECIPE

Ready to elevate your meals with a fiery twist? This rich, aromatic oil infused with bold tomatoes, roasted garlic and spicy chili brings an irresistible warmth and depth to every bite. Perfect for drizzling over pasta or pizza, dipping crusty bread, or adding a spicy edge to your pizza. It’s not just a topping – it’s a mood. Think cozy, flavorful dinners with that extra kick of spice – effortless but unforgettable. Warning: one drizzle, and you’ll be hooked.

How to serve
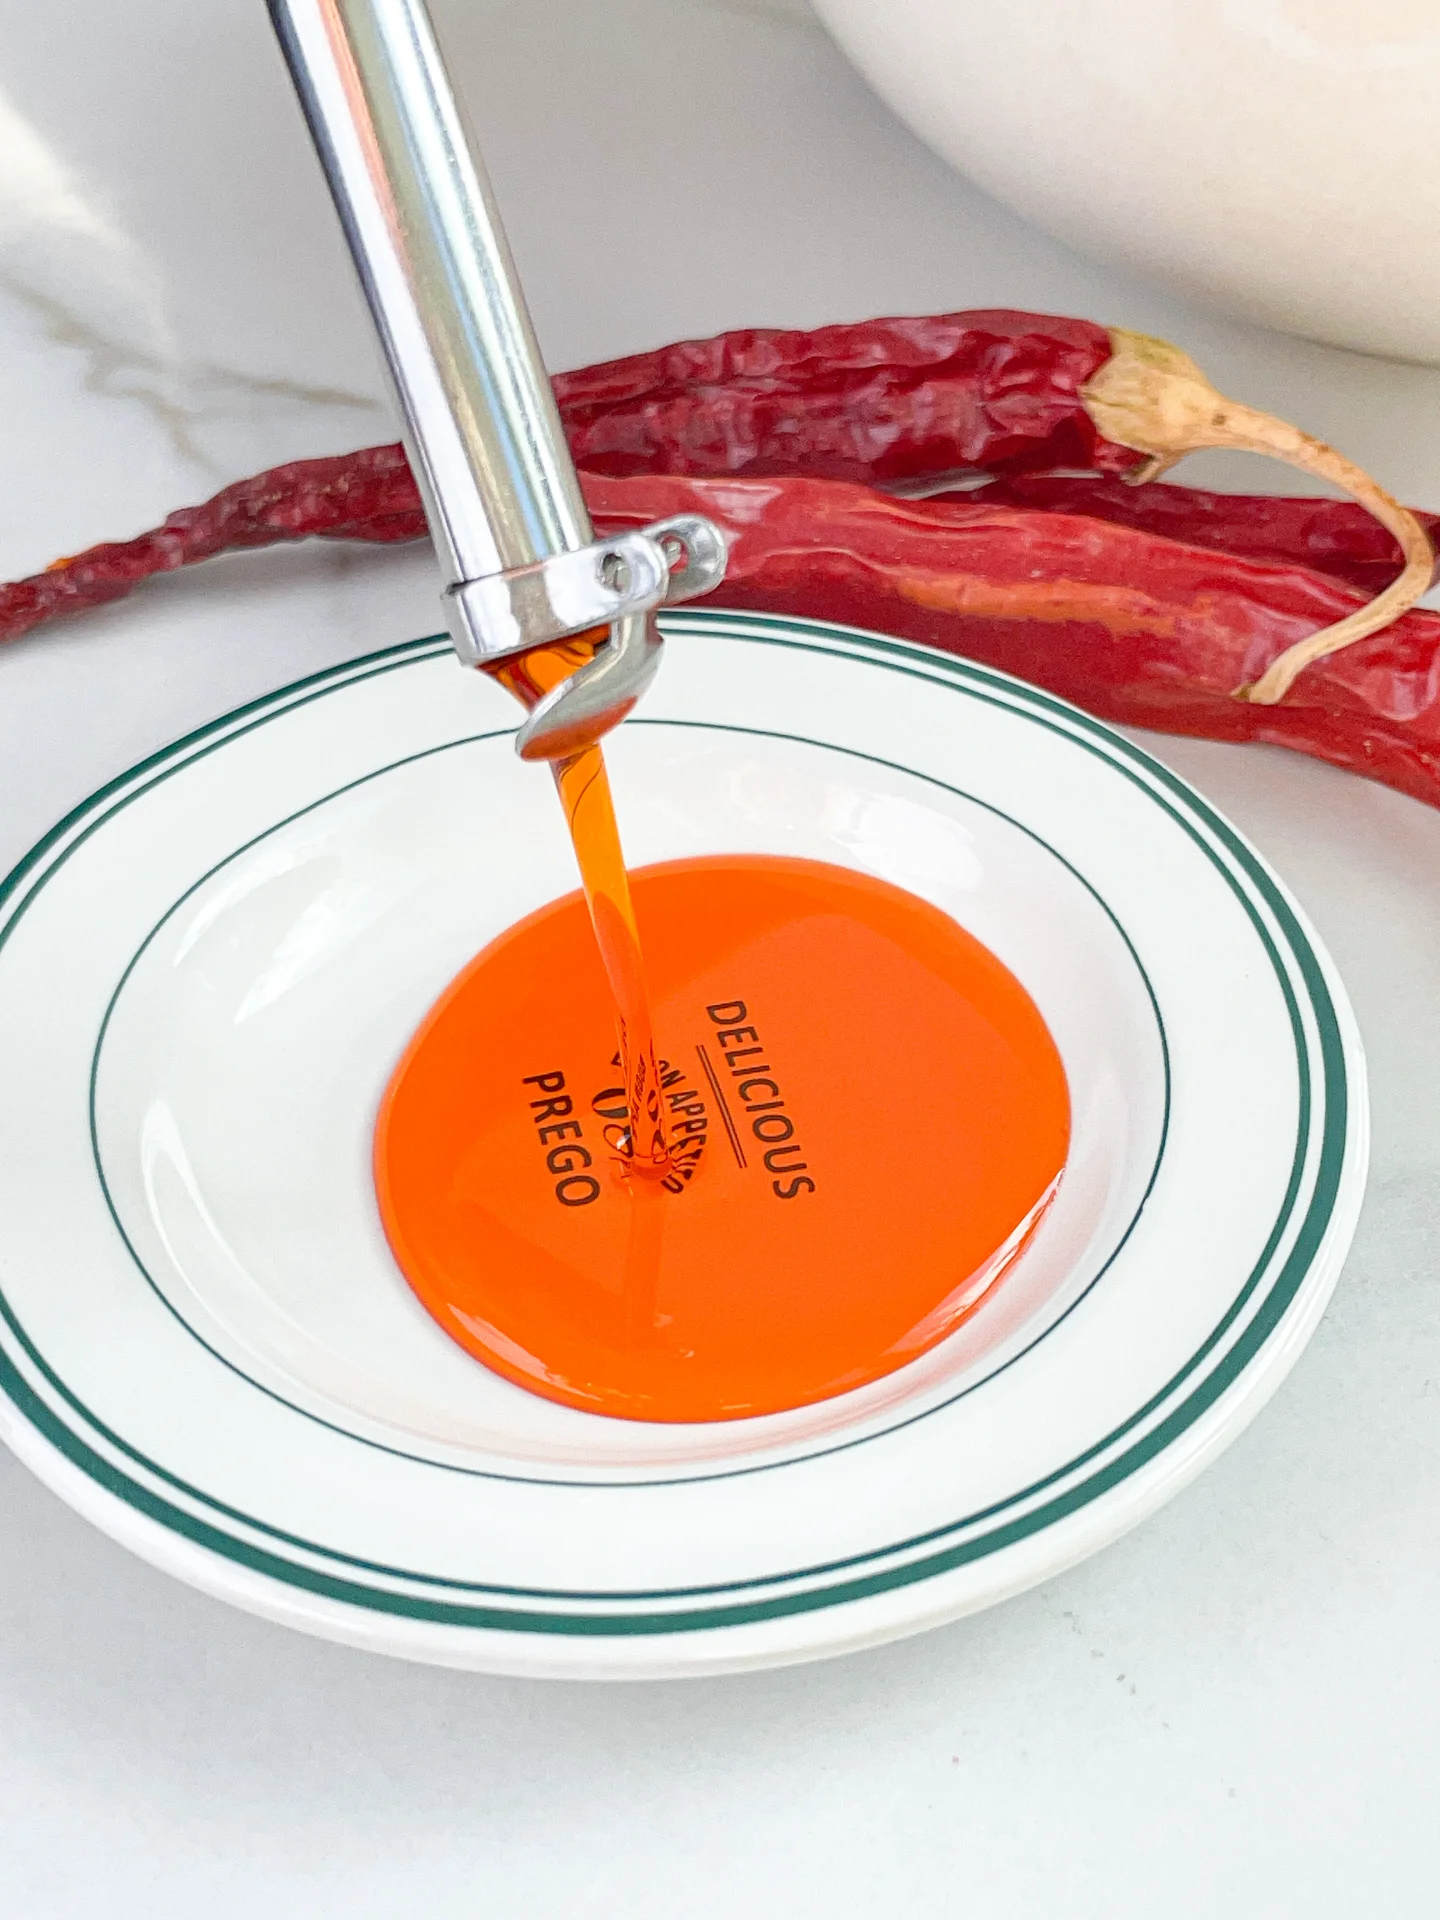
This oil shines when drizzled over freshly cooked pasta, adding an instant depth of flavor. It’s also the perfect pairing for warm, crusty bread – just pour it into a small dish and dip away! Try it on pizza to give each slice a bold kick, or even as a finishing touch on roasted vegetables for a gourmet vibe. Honestly, it’s your go-to for making any meal feel a little extra without the extra effort.

How to store
Store your infused oil in a clean, airtight glass jar or bottle. Keep it in a cool, dark spot, like a pantry or cupboard, for up to one week.
Hi, I'm Kimberly!

Hi, I'm Kimberly.

A passionate food lover who believes in the magic of homemade deliciousness that spreads love and warmth. Join me on this culinary adventure as I prepare wonderful dishes and let’s spread some happiness together!

Kimberly the Zett Signature

If you want to get to know me better, click here!


Tomato Chili Garlic Oil
„Let’s make a piece of happiness“
Print
clock clock iconcutlery cutlery iconflag flag iconfolder folder iconinstagram instagram iconpinterest pinterest iconfacebook facebook iconprint print iconsquares squares iconheart heart iconheart solid heart solid icon
Tomato Chili Garlic Oil

Tomato Chili Garlic Oil


  • Author: Kimberly
  • Total Time: 65 min
  • Yield: 1 cup / 250 ml 1x

Description

RECOMMENDED EQUIPMENT

  • blender
  • medium-sized saucepan
  • whisk
  • a bowl which the medium saucepan fits into
  • 2 medium-sized bowls
  • 2 fine sieves
  • sealable container (oil bottle)
  • ice cubes
  • coffee filter

Ingredients

Units Scale
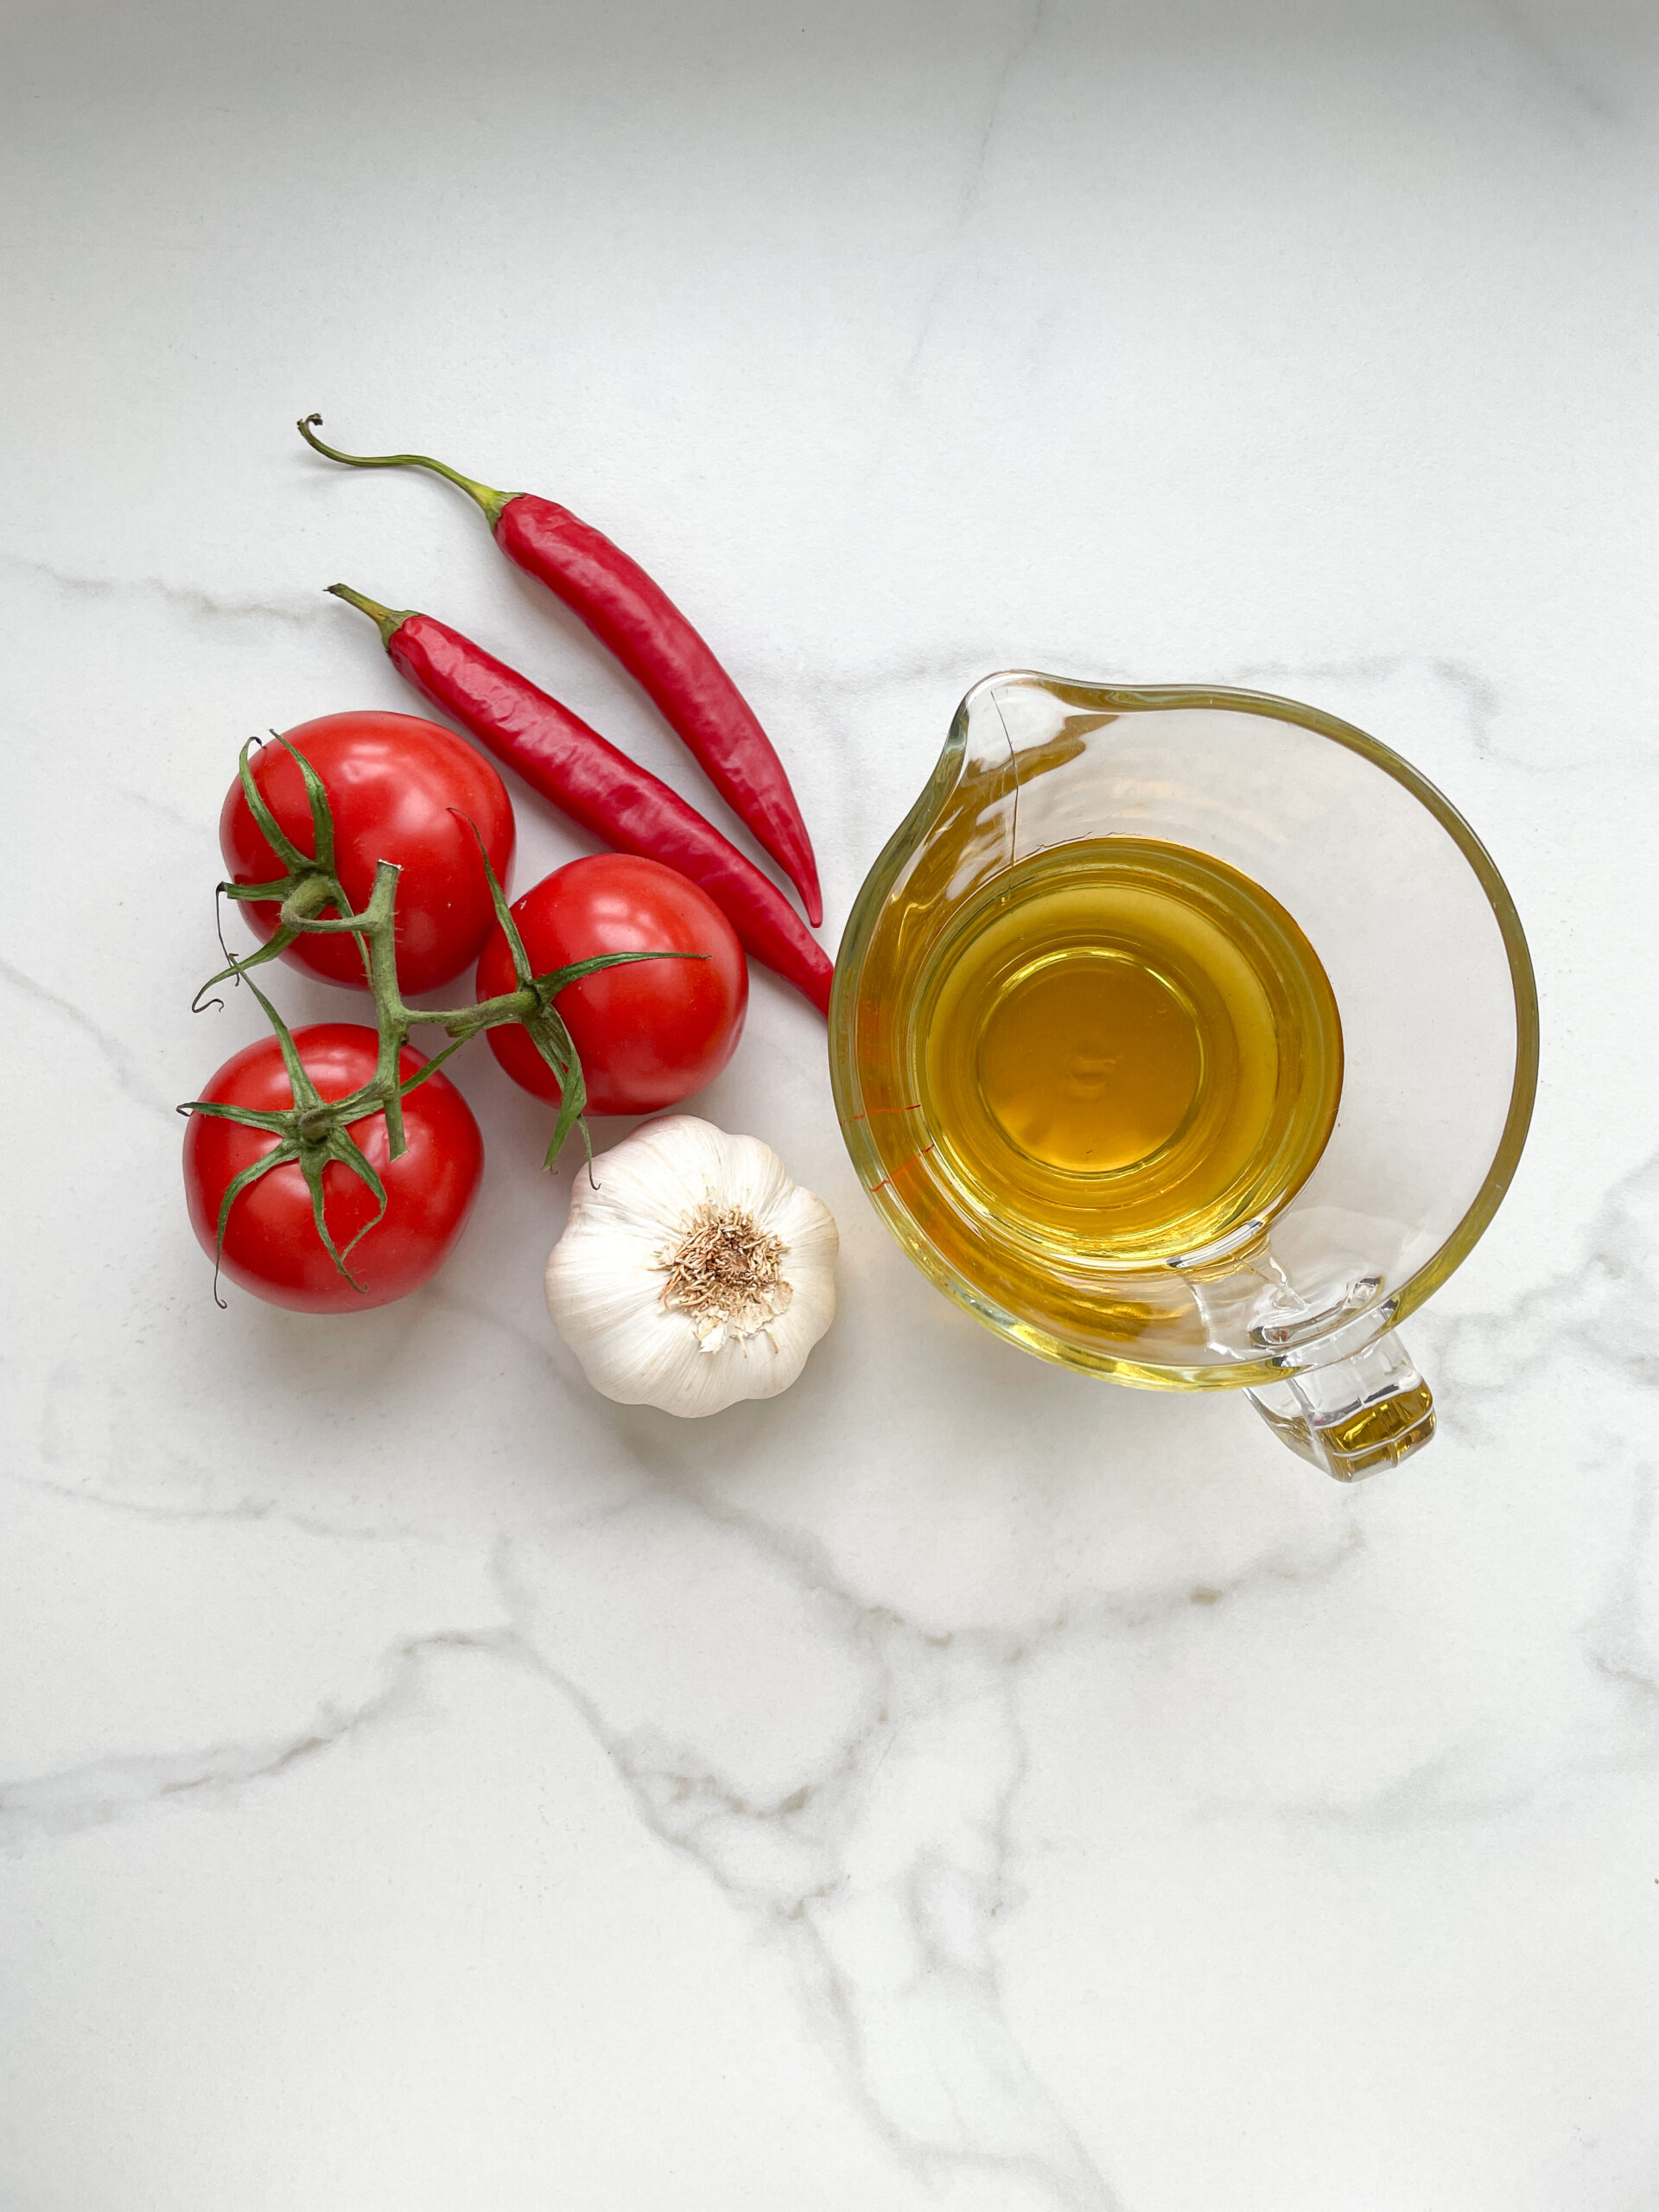
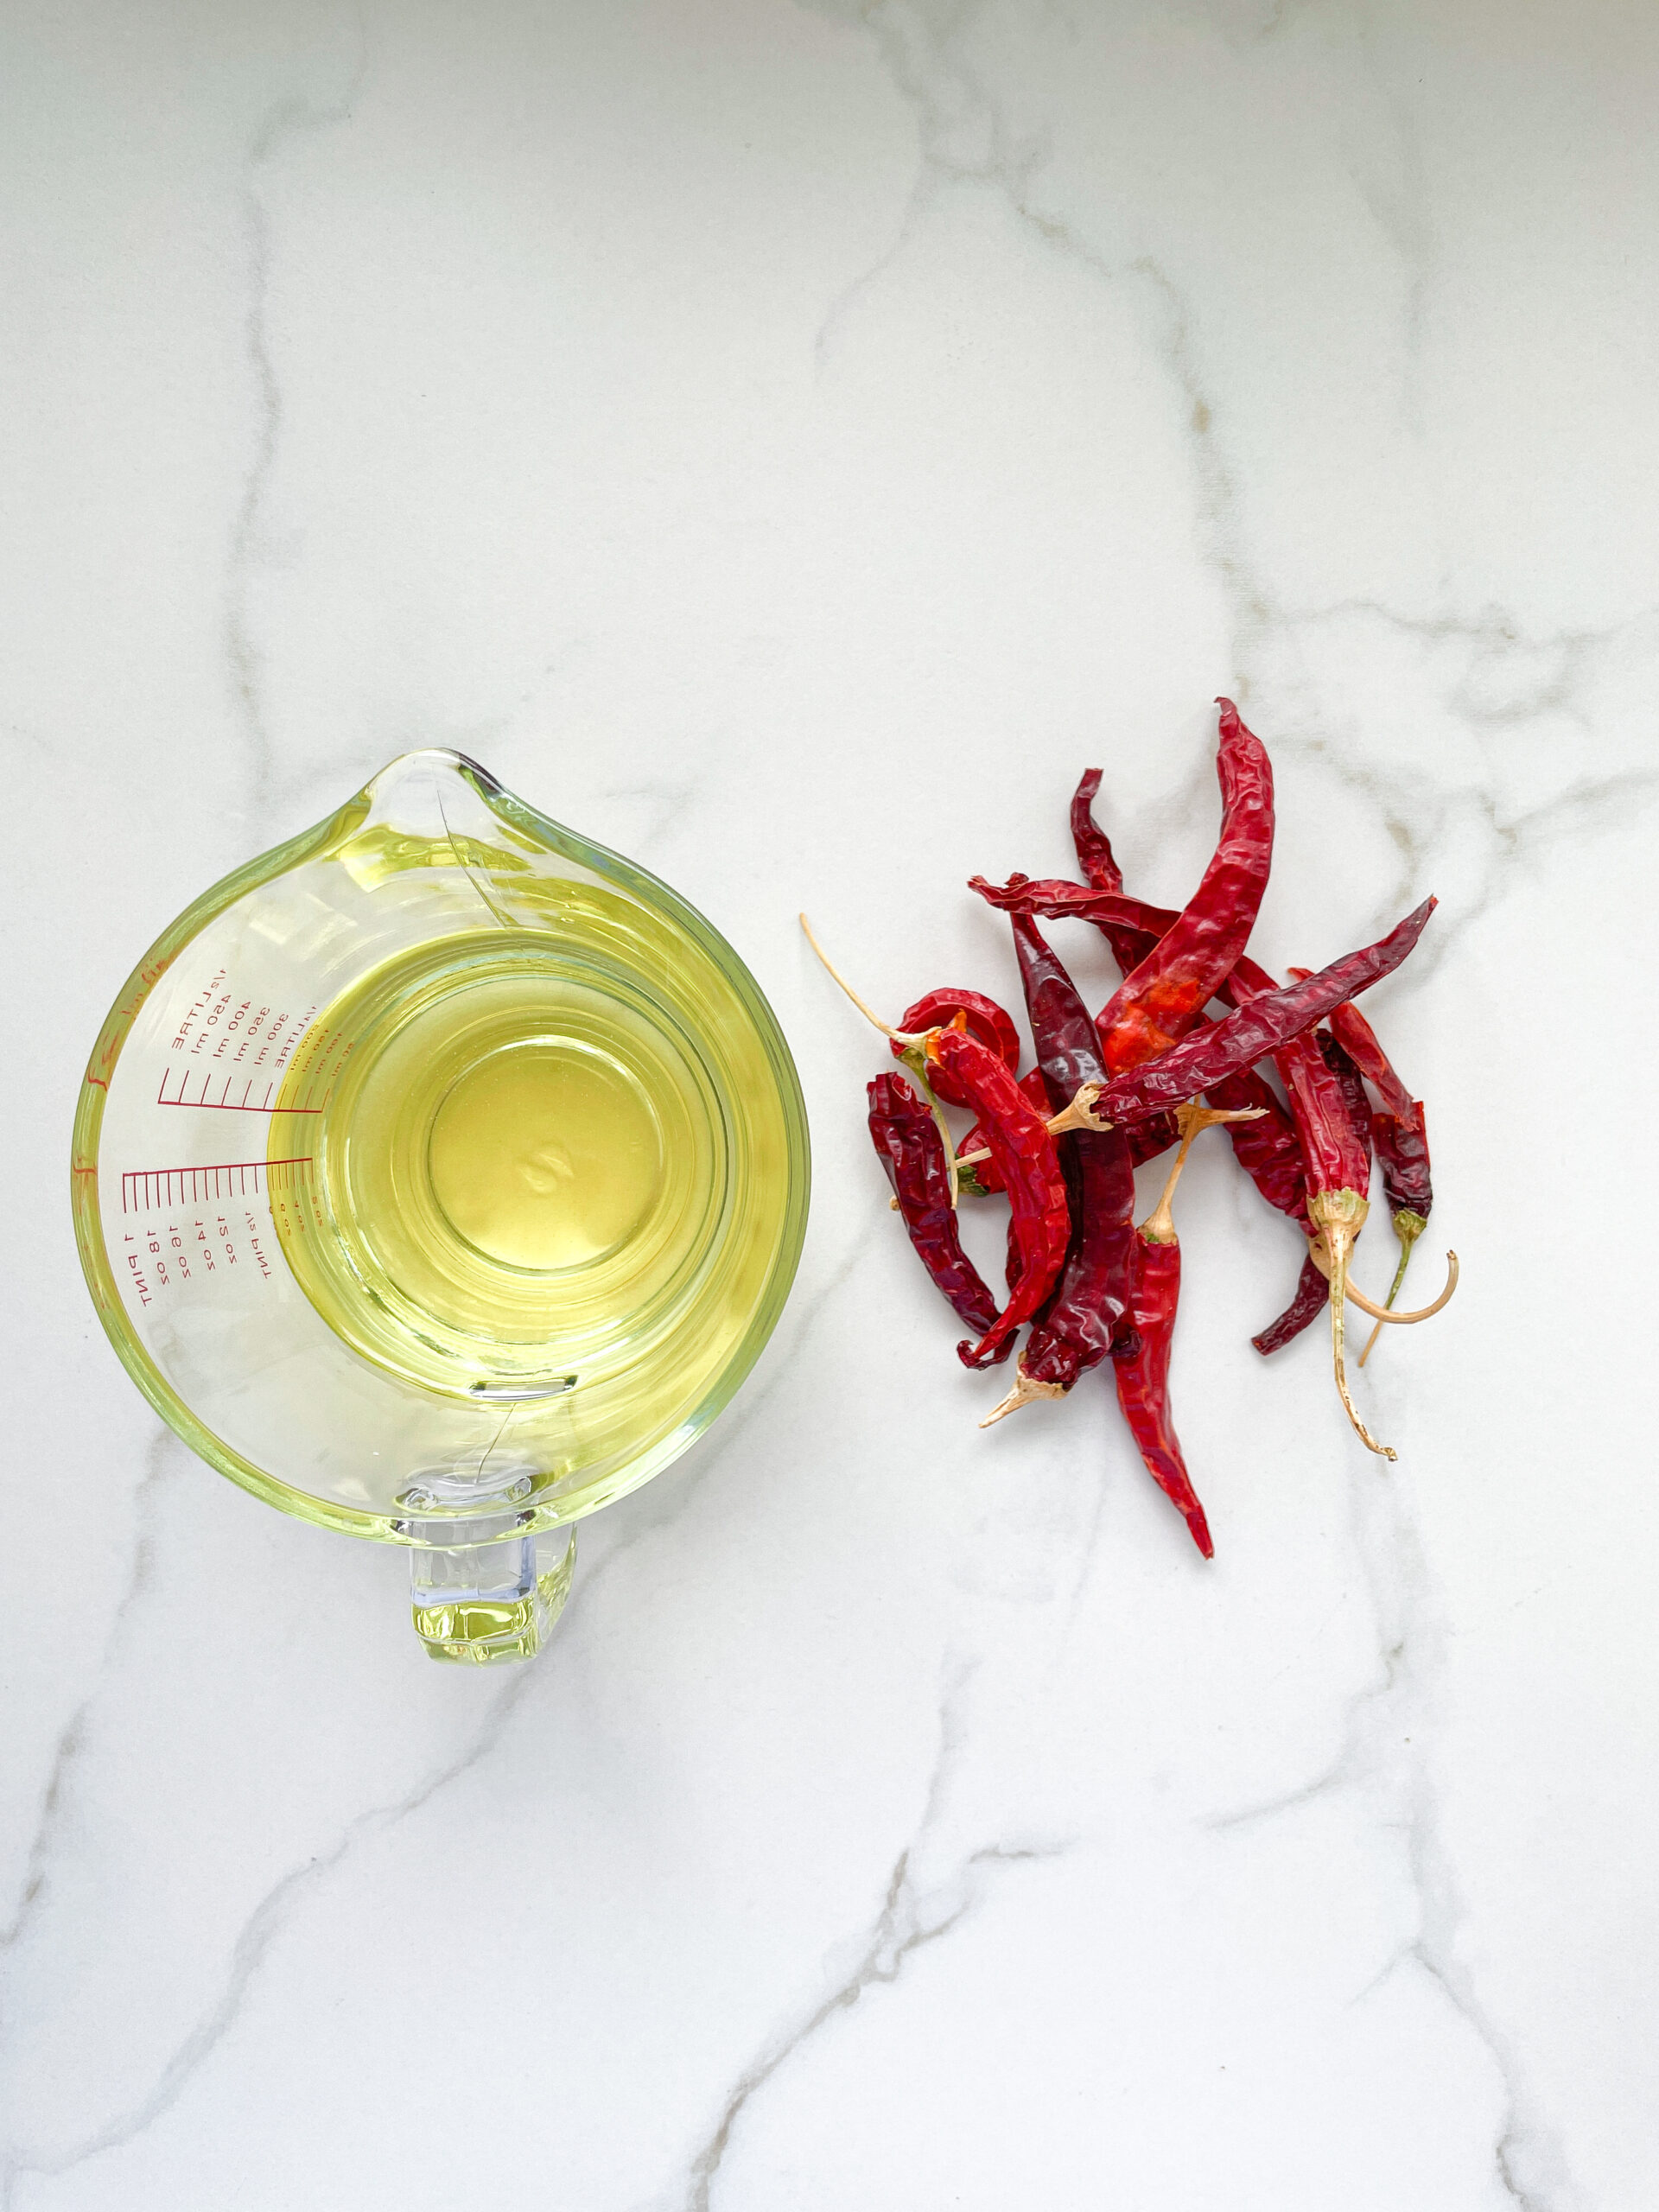
  • 200 grams tomato
  • 6 garlic cloves
  • 1 fresh chili pepper
  • 250 milliliter avocado oil

Instructions

  1. Wash the tomatoes and chili, peel the garlic, and trim the green stem off the chili. Toss everything into the blender.
  2. Pour the mixture from the blender into a medium-sized pot and heat it over medium heat to a temperature of about 101°-104°C (213°-219°F), and maintain this temperature for the next 30 minutes. Stir occasionally, making sure the temperature remains steady and nothing gets burned.
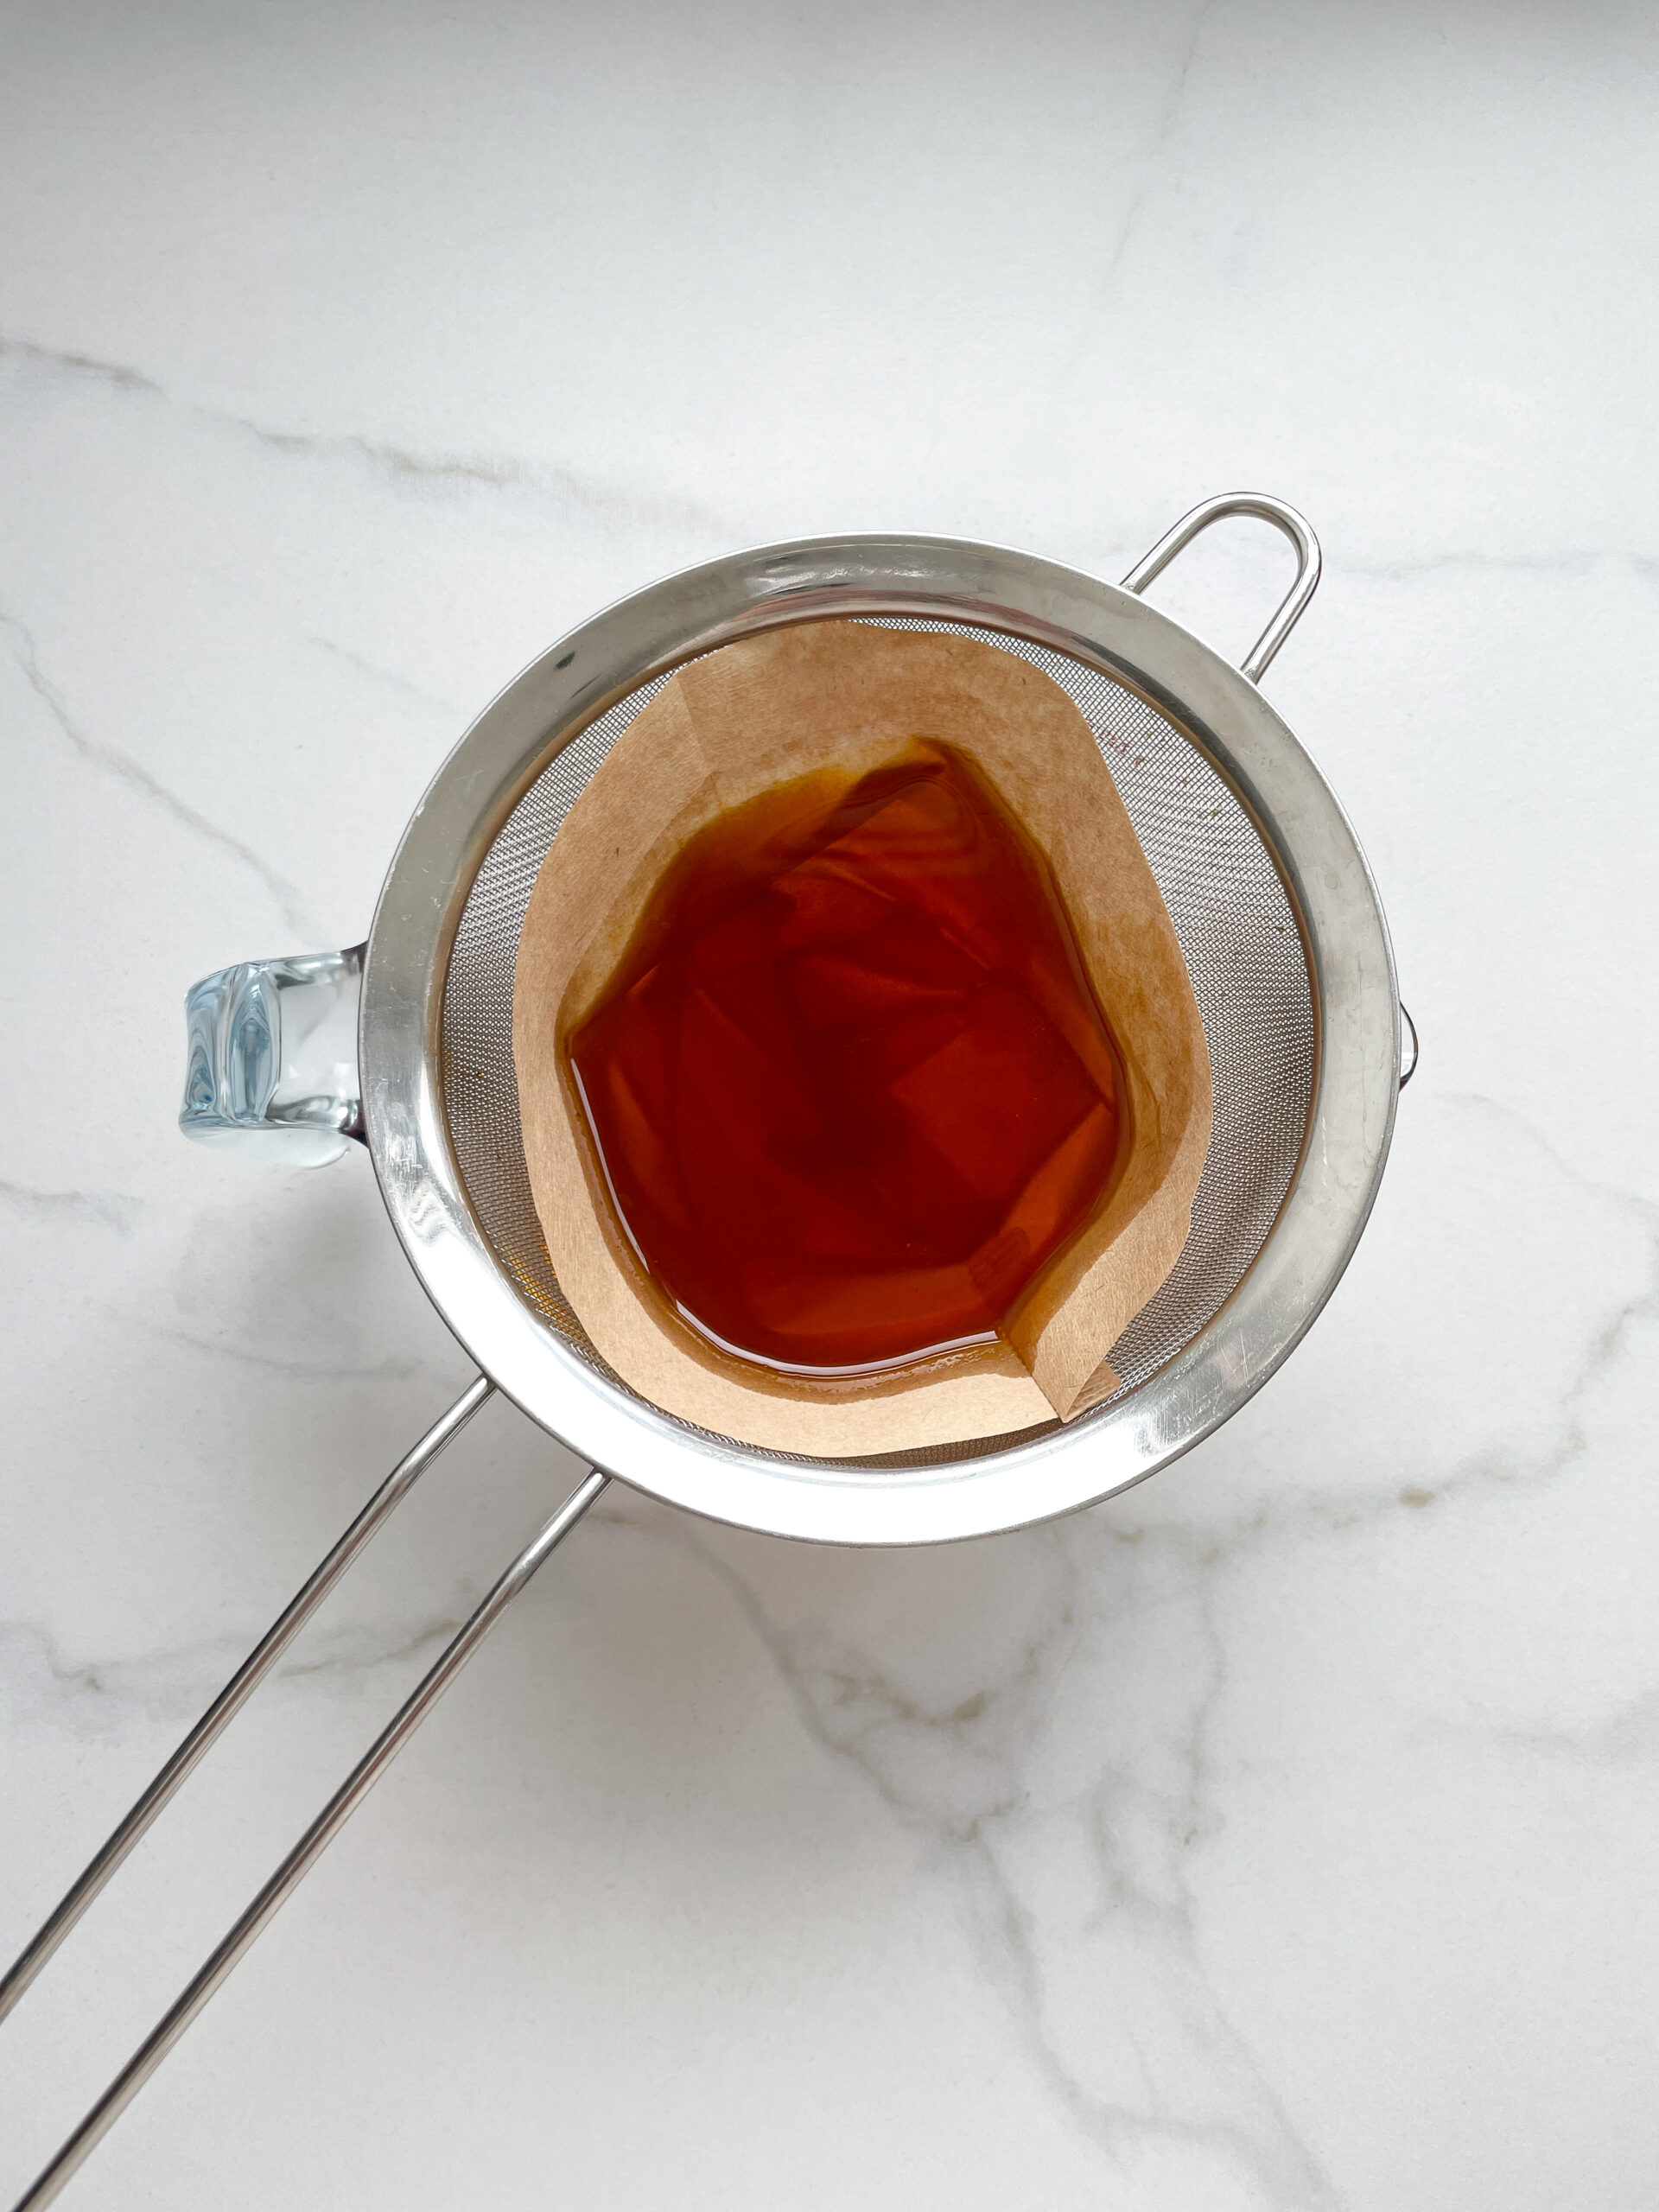
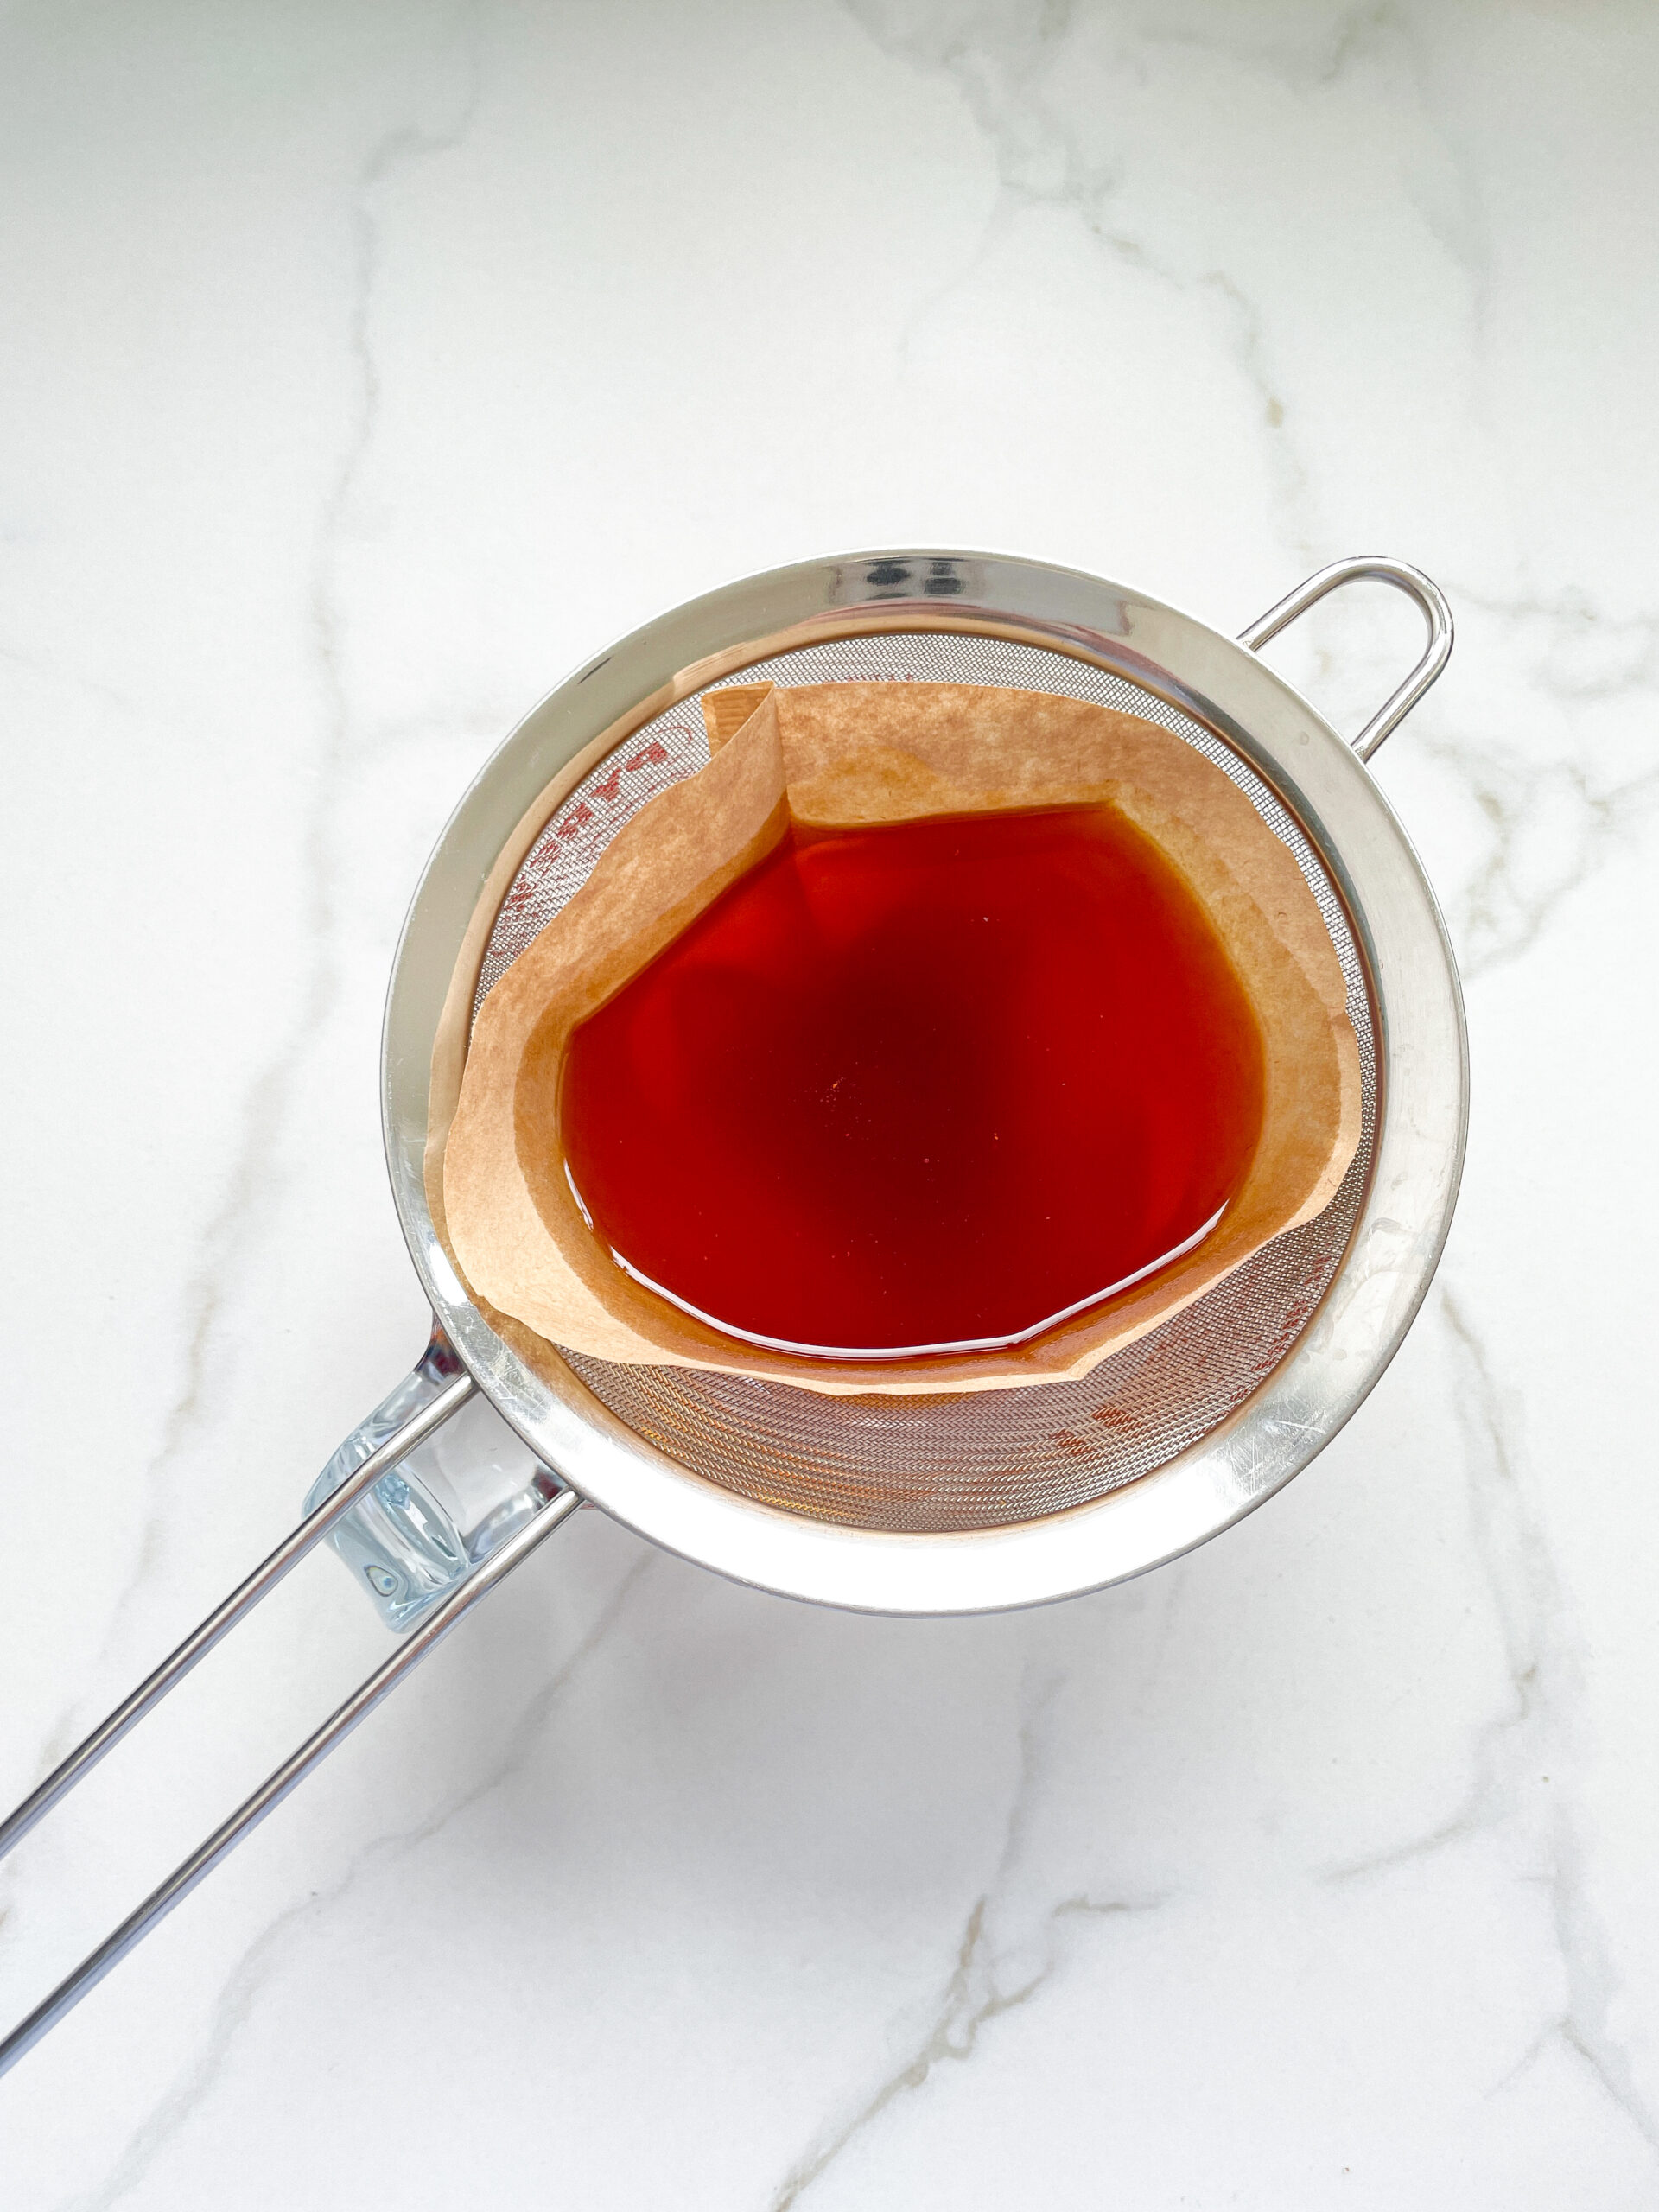
  3. Prepare a bowl large enough to fit a medium-sized pot, and fill it with cold water and a handful of ice cubes. Also, hang a fine sieve strainer over one medium-sized bowl and another fine sieve strainer, with a coffee filter inside it, over another medium-sized bowl.
  4. Now, place the pot in the ice water and stir to cool the oil quickly. Once the oil is almost cold, remove the pot from the water and pour the oil into the prepared fine sieve to catch the coarse particles.
  5. Then, pour the oil into the second sieve, which is equipped with a coffee filter, to catch the remaining finer particles.
  6. Allow the oil to drip through for about 20 minutes or maybe less depending on how many remaining particles are in the coffee filter. Once all the oil has passed through the coffee filter, transfer the collected amount of oil into a sealable container or directly into an oil bottle. Store in the refrigerator for up to one week.
  • Prep Time: 5 min
  • Passive Time: 30 min
  • Cook Time: 30 min

Dried Chili Oil

Dried Chili Oil

Dried Chili Oil

Dried Chili Oil

April 30, 2024 by Kimberly

Discover the magic of homemade chili oil! Spicy, flavorful, and perfect for enhancing any dish with just the right kick of heat.

2 HOURS

ADVANCED

VEGAN

INT.

40 PER TSP

SPICY

MICHELIN

OIL

ALL YEAR

INTRODUCTION

ABOUT THE RECIPE

Dive into the vibrant world of homemade chili oil! This easy-to-make condiment is a game-changer for any kitchen, adding a spicy flair that perfectly balances heat and flavor. It’s a must-try for spice lovers!

HOW TO SERVE
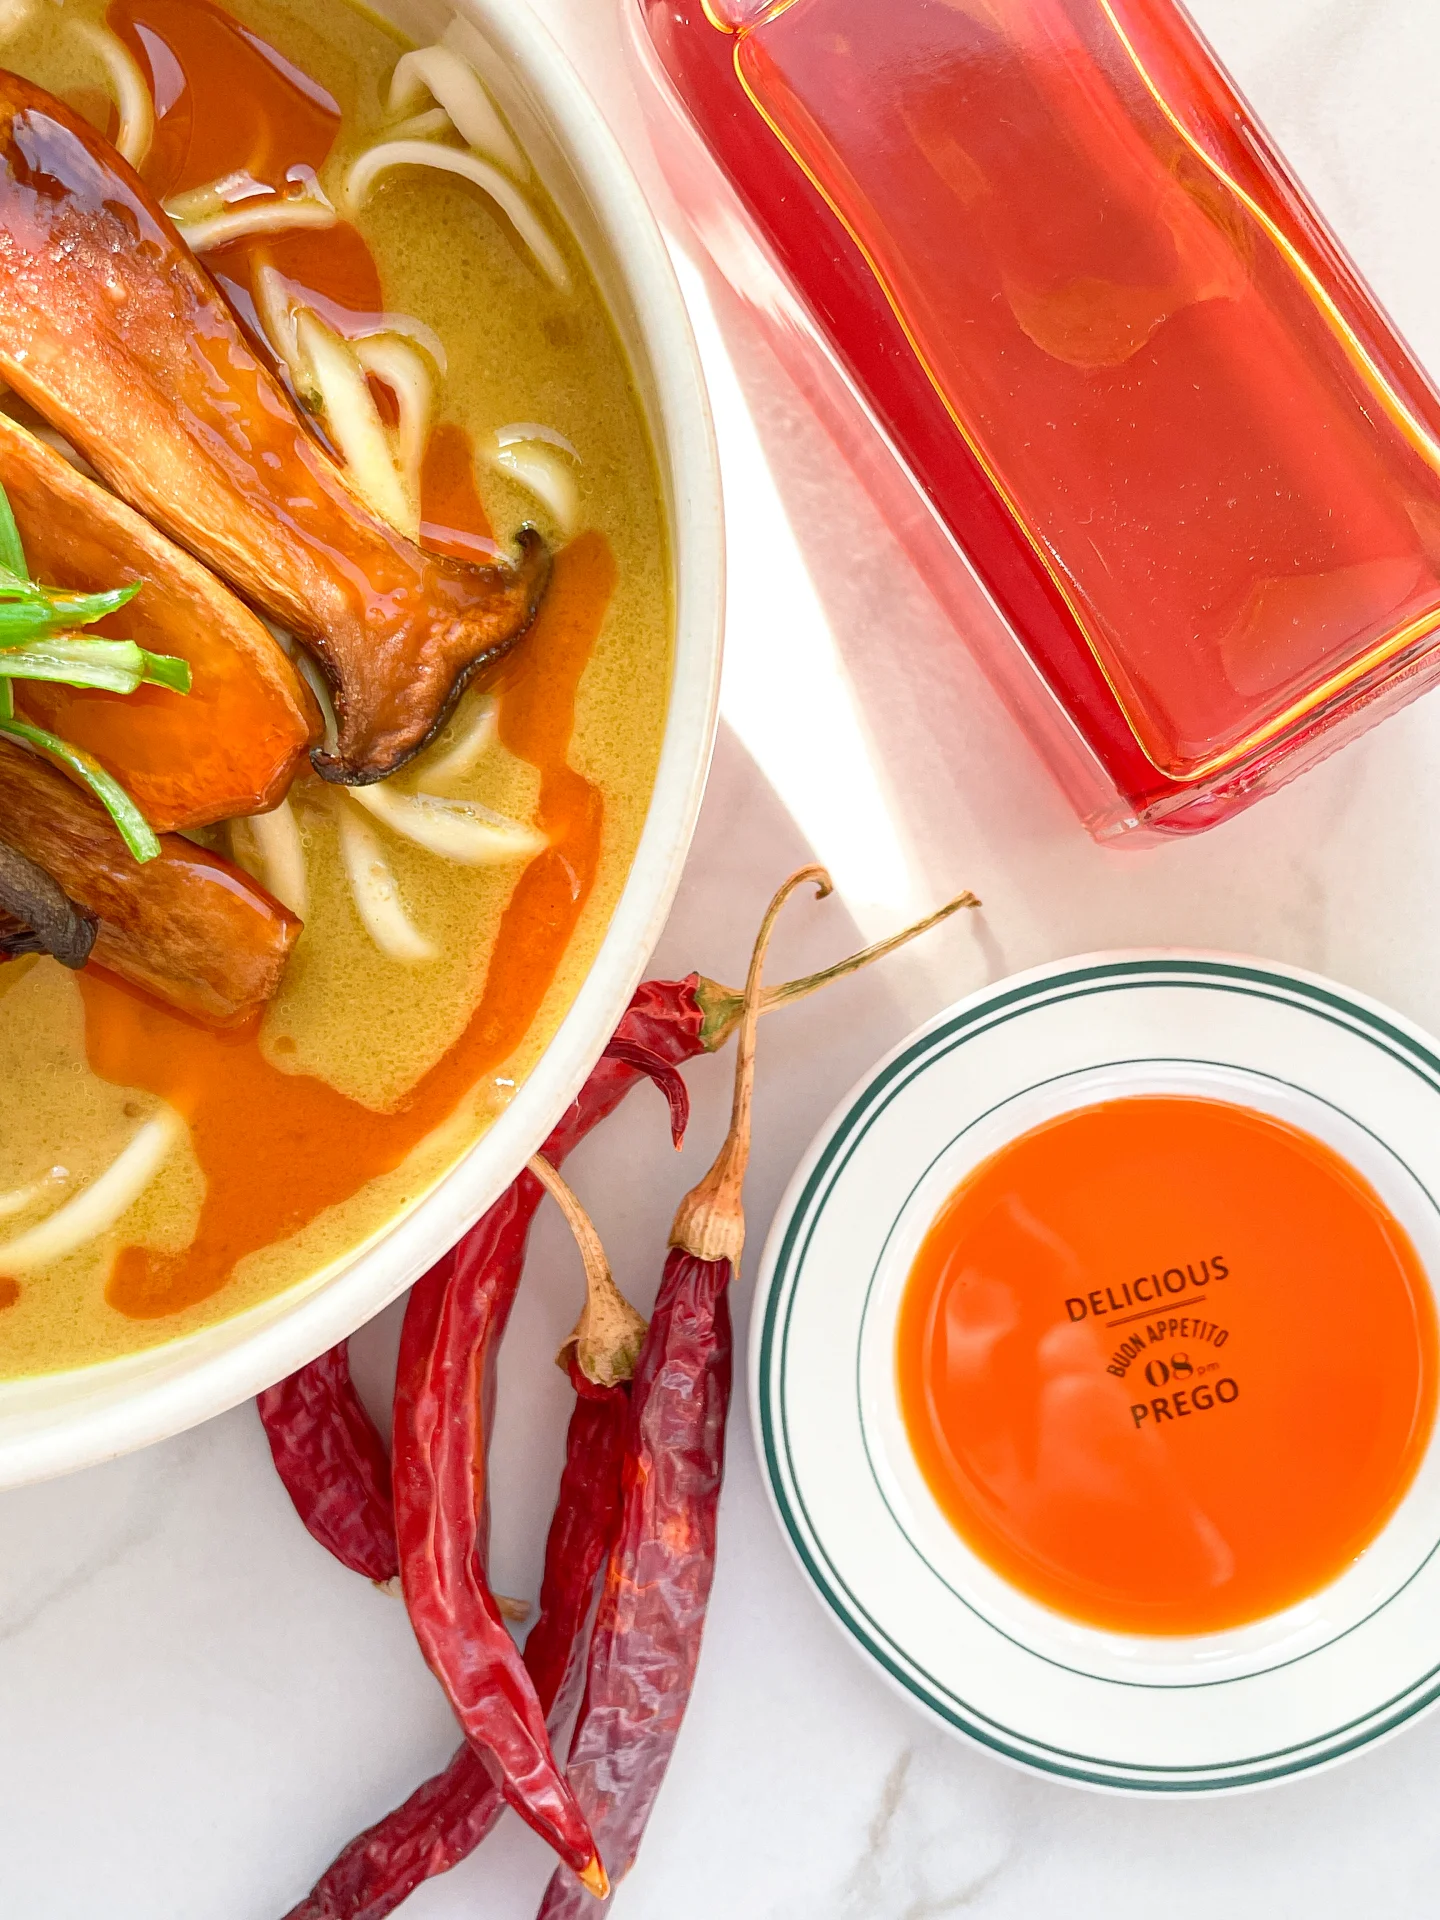
Drizzle this fiery chili oil over noodles, pizza, or dumplings to elevate your meals from ordinary to extraordinary. Its robust flavor also makes it a great partner for soups and stews, providing a warm, spicy undertone that delights the palate.

HOW TO STORE
Keep your chili oil in an airtight container in a cool, dark place. It stays fresh for up to a month, ensuring you have a delicious kick of flavor ready anytime.

Hi, I'm Kimberly!

Hi, I'm Kimberly.

A passionate food lover who believes in the magic of homemade deliciousness that spreads love and warmth. Join me on this culinary adventure as I prepare wonderful dishes and let’s spread some happiness together!

Kimberly the Zett Signature

If you want to get to know me better, click here!


Dried Chili Oil
Dried Chili Oil
Dried Chili Oil
„Let’s make a piece of happiness“
Print
clock clock iconcutlery cutlery iconflag flag iconfolder folder iconinstagram instagram iconpinterest pinterest iconfacebook facebook iconprint print iconsquares squares iconheart heart iconheart solid heart solid icon
Dried Chili Oil

Dried Chili Oil


  • Author: Kimberly
  • Total Time: 1 hour 55 minutes
  • Yield: 250 ml / 1 cup 1x

Description

RECOMMENDED EQUIPMENT

  • blender
  • medium-sized saucepan
  • whisk
  • a bowl which the medium saucepan fits into
  • 2 medium-sized bowls
  • 2 fine sieves
  • sealable container (oil bottle)
  • ice cubes
  • coffee filter


Ingredients

Units Scale
  • 15 grams (0.5 oz) dried chili peppers
  • 250 milliliters neutral cooking oil

Instructions

  1. Prepare a bowl large enough to fit a medium-sized pot, and fill it with cold water and a handful of ice cubes. Also, hang a fine sieve strainer over one medium-sized bowl and another fine sieve strainer, with a coffee filter inside it, over another medium-sized bowl.
  2. Remove the stems from the chili pepper, chop the rest into coarse pieces, and put them into the blender. Pour in the oil. Blend on the highest setting until the mixture becomes bright orange/red and only tiny pieces of the chili peppers are visible.
  3. Pour the mixture from the blender into a medium-sized pot and heat it over medium heat to a temperature of about 102°-103°C (215°-217°F), and maintain this temperature for the next 10 minutes. Stir occasionally, making sure the temperature remains steady and nothing gets burned.
  4. Now, place the pot in the ice water and stir to cool the oil quickly. Once the oil is almost cold, remove the pot from the water and let it sit for about 30 minutes so that the oil gets more infused.
  5. After the 30 minutes, pour the oil into the prepared fine sieve to catch the coarse particles.
  6. Then, pour the oil into the second sieve, which is equipped with a coffee filter, to catch the remaining finer particles.
  7. Allow the oil to drip through for about 1 hour or maybe more depending on how many remaining particles are in the coffee filter. Once all the oil has passed through the coffee filter, transfer the collected amount of oil into a sealable container or directly into an oil bottle. Store in the refrigerator for up to one month.

Notes

The calorie information may vary depending on the product used, country and region.

  • Passive Time: 90 min
  • Cook Time: 25 min