Blini Appetizers

Blini Appetizers

Blini Appetizers

Blini Appetizers

December 15, 2024 by Kimberly

Tiny pillows of heaven! These fluffy blini with a creamy ricotta base and versatile toppings bring bold flavors and cozy vibes. Perfect for casual nights or fancy parties!

40 MINUTES

EASY

OMNIVORE

RUSSIA

40-80 PER BLINI

FLUFFY

DINNER PARTY

APPETIZER

ALL YEAR

INTRODUCTION

ABOUT THE RECIPE

Imagine a table full of vibrant, delicious little bites that disappear as soon as you serve them! These foolproof blini are soft, golden mini pancakes topped with a silky ricotta cream that goes with anything. Whether you’re hosting a cozy brunch or an elegant dinner party, these creative toppings take your appetizer game to the next level. From smoky and herby to sweet and nutty, there’s a flavor for everyone. It’s all about the balance of textures, flavors, and a little drizzle of oil magic!

How to serve
Prepare the blini as mini pancakes, then spread a dollop of the ricotta cream on top and add your chosen toppings. You can serve them pre-assembled for easy grabbing or turn it into a fun DIY setup where everyone can mix and match their toppings. Perfect for any vibe – casual or fancy! You can also prepare the batter and ricotta cream in advance and keep it in the fridge for up to 24 hours. The blini pancakes can also be made ahead of time since they’re typically served cold.

How to store
Store the blini and ricotta cream separately in airtight containers. Keep the blini in the fridge for up to 2 days. The ricotta cream stays fresh in the fridge for 3-4 days.

Hi, I'm Kimberly!

Hi, I'm Kimberly.

A passionate food lover who believes in the magic of homemade deliciousness that spreads love and warmth. Join me on this culinary adventure as I prepare wonderful dishes and let’s spread some happiness together!

Kimberly the Zett Signature

If you want to get to know me better, click here!


Blini Appetizers
Blini Appetizers
Blini Appetizers
Blini Appetizers
„Let’s make a piece of happiness“
Print
clock clock iconcutlery cutlery iconflag flag iconfolder folder iconinstagram instagram iconpinterest pinterest iconfacebook facebook iconprint print iconsquares squares iconheart heart iconheart solid heart solid icon
Blini Appetizers

Blini Appetizers


5 Stars 4 Stars 3 Stars 2 Stars 1 Star

No reviews

  • Author: Kimberly
  • Total Time: 40 min
  • Yield: 20 blini 1x

Description

RECOMMENDED EQUIPMENT

  • mixing bowl
  • whisk
  • pan
  • spatula
  • cooling rack
  • piping bag (optional)
  • kitchen knife
  • cutting board


Ingredients

Units Scale

BATTER

  • 90 grams all-purpose flour
  • 1 tsp baking powder
  • 1 egg
  • 125 milliliter buttermilk
  • 1 tbsp olive oil
  • 1/4 tsp salt
  • oil for frying

RICOTTA CREAM

  • 250 grams ricotta
  • 1 tbsp olive oil
  • 1 tbsp lemon juice
  • salt & pepper to taste

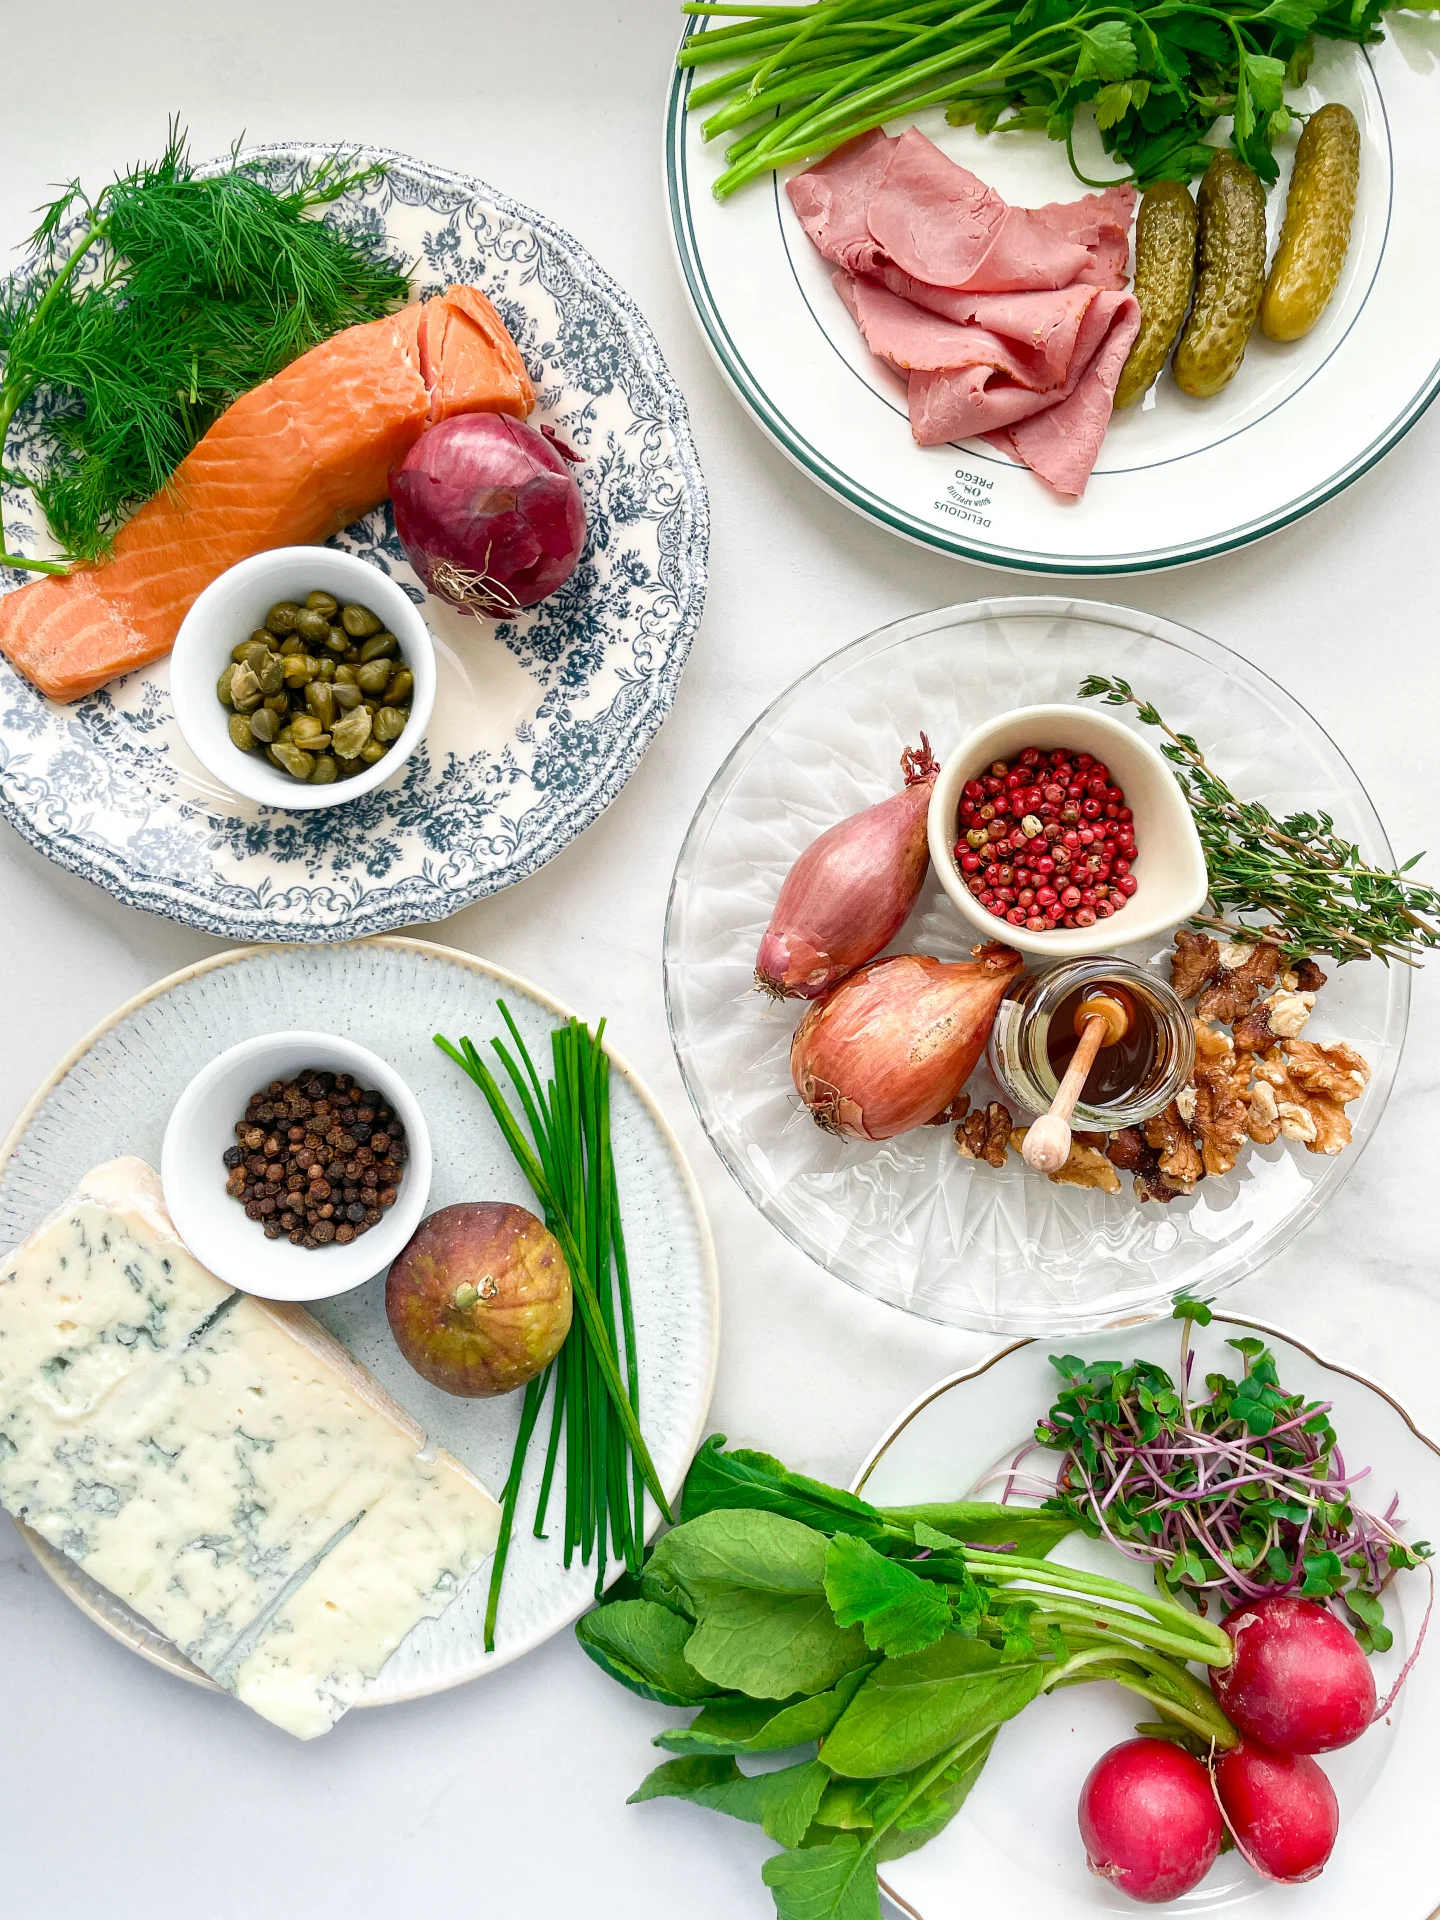
BLINI TOPPING 1

  • walnuts
  • shallot
  • oil for frying
  • honey
  • chili oil
  • fresh thyme
  • red pepper flakes

BLINI TOPPING 2

  • fresh fig
  • gorgonzola
  • truffle oil
  • chives
  • black pepper

BLINI TOPPING 3

  • cooked salmon
  • red onion
  • capers
  • olive oil
  • fresh dill
  • black pepper

BLINI TOPPING 4

  • pastrami
  • cornichons
  • walnut oil
  • fresh parsley

BLINI TOPPING 5

  • radishes
  • cress
  • basil oil

Instructions

  1. First, we’re making the blini batter. Mix all the ingredients together until smooth, then let it chill for like 5-10 minutes. Once the batter’s had its lil rest, heat up a pan with a bit of oil or butter and spoon in small circles of batter. I usually use 3/4 of a tablespoon. Here’s the pro tip: when you see those cute little holes popping up on the surface, it’s time to flip them. Cook each side for about 2-3 minutes until they’re golden and gorgeous. Boom, your blinis are born. Pop them on a cooling rack to chill out – no soggy bottoms here.
  2. Grab a bowl and mix the ricotta cream. For this, stir together ricotta, olive oil, lemon juice, salt & pepper until it’s smooth and creamy. Then load it into a piping bag if you’re feeling fancy, or just keep a spoon handy for the easy aesthetic.
  3. Once your blinis are cool, dollop or pipe some ricotta cream onto each one. Get creative – a little swirl, a casual blob, whatever your heart desires. Now they’re ready for toppings.
  4. For Blini topping 1, toast the walnuts in a pan without adding additional fat. Take them out and let them cool. Thinly slice the shallots into delicate rings and fry them in a bit of oil until crispy. Set aside to cool. Add half a walnut onto the blini, as well as about 1 tsp of the crispy onions. Finish with a drizzle of honey and a sprinkle of pink peppercorns. Toss on a few fresh thyme leaves and finish with a few drops of chili oil for a spicy kick that ties it all together.
  5. For Blini topping 2, slice fresh figs into eighths. Place one fig wedge on the ricotta cream, then crumble some blue cheese on the other side – as much or as little as your vibe calls for. Add a few drops of truffle oil, sprinkle with freshly ground pepper, and garnish with a touch of chopped chives to seal the deal.
  6. For Blini topping 3, flake some cooked salmon into bite-sized pieces and nestle it onto the ricotta cream. Slice red onions into thin strips, then scatter a few pieces on top along with some capers. Add a few drops of olive oil, a grind of fresh black pepper, and finish with a couple of dill sprigs.
  7. For Blini topping 4, tear thin slices of pastrami into strips, roll them into little spirals, and press them onto the ricotta. Diagonally halve some cornichons and place one half on the blini. Drizzle a few drops of walnut oil for a rich, nutty twist. Top it all off with a sprig of fresh parsley for a classy finishing touch.
  8. For Blini topping 5, thinly slice radishes into delicate rounds and place two slices on one side of the blini. On the other side, gently press on a little bunch of radish cress for that pop of green. Finish with a few drops of basil oil for a fresh, herbaceous flair.
  9. Serve these cute appetizers on a platter and watch them disappear in seconds.

  • Cook Time: 40 min
Salmon Poke Bowl & Spicy Mayo Sauce

Salmon Poke Bowl & Spicy Mayo Sauce

Salmon Poke Bowl & Spicy Mayo Sauce

Salmon Poke Bowl & Spicy Mayo Sauce

August 21, 2024 by Kimberly

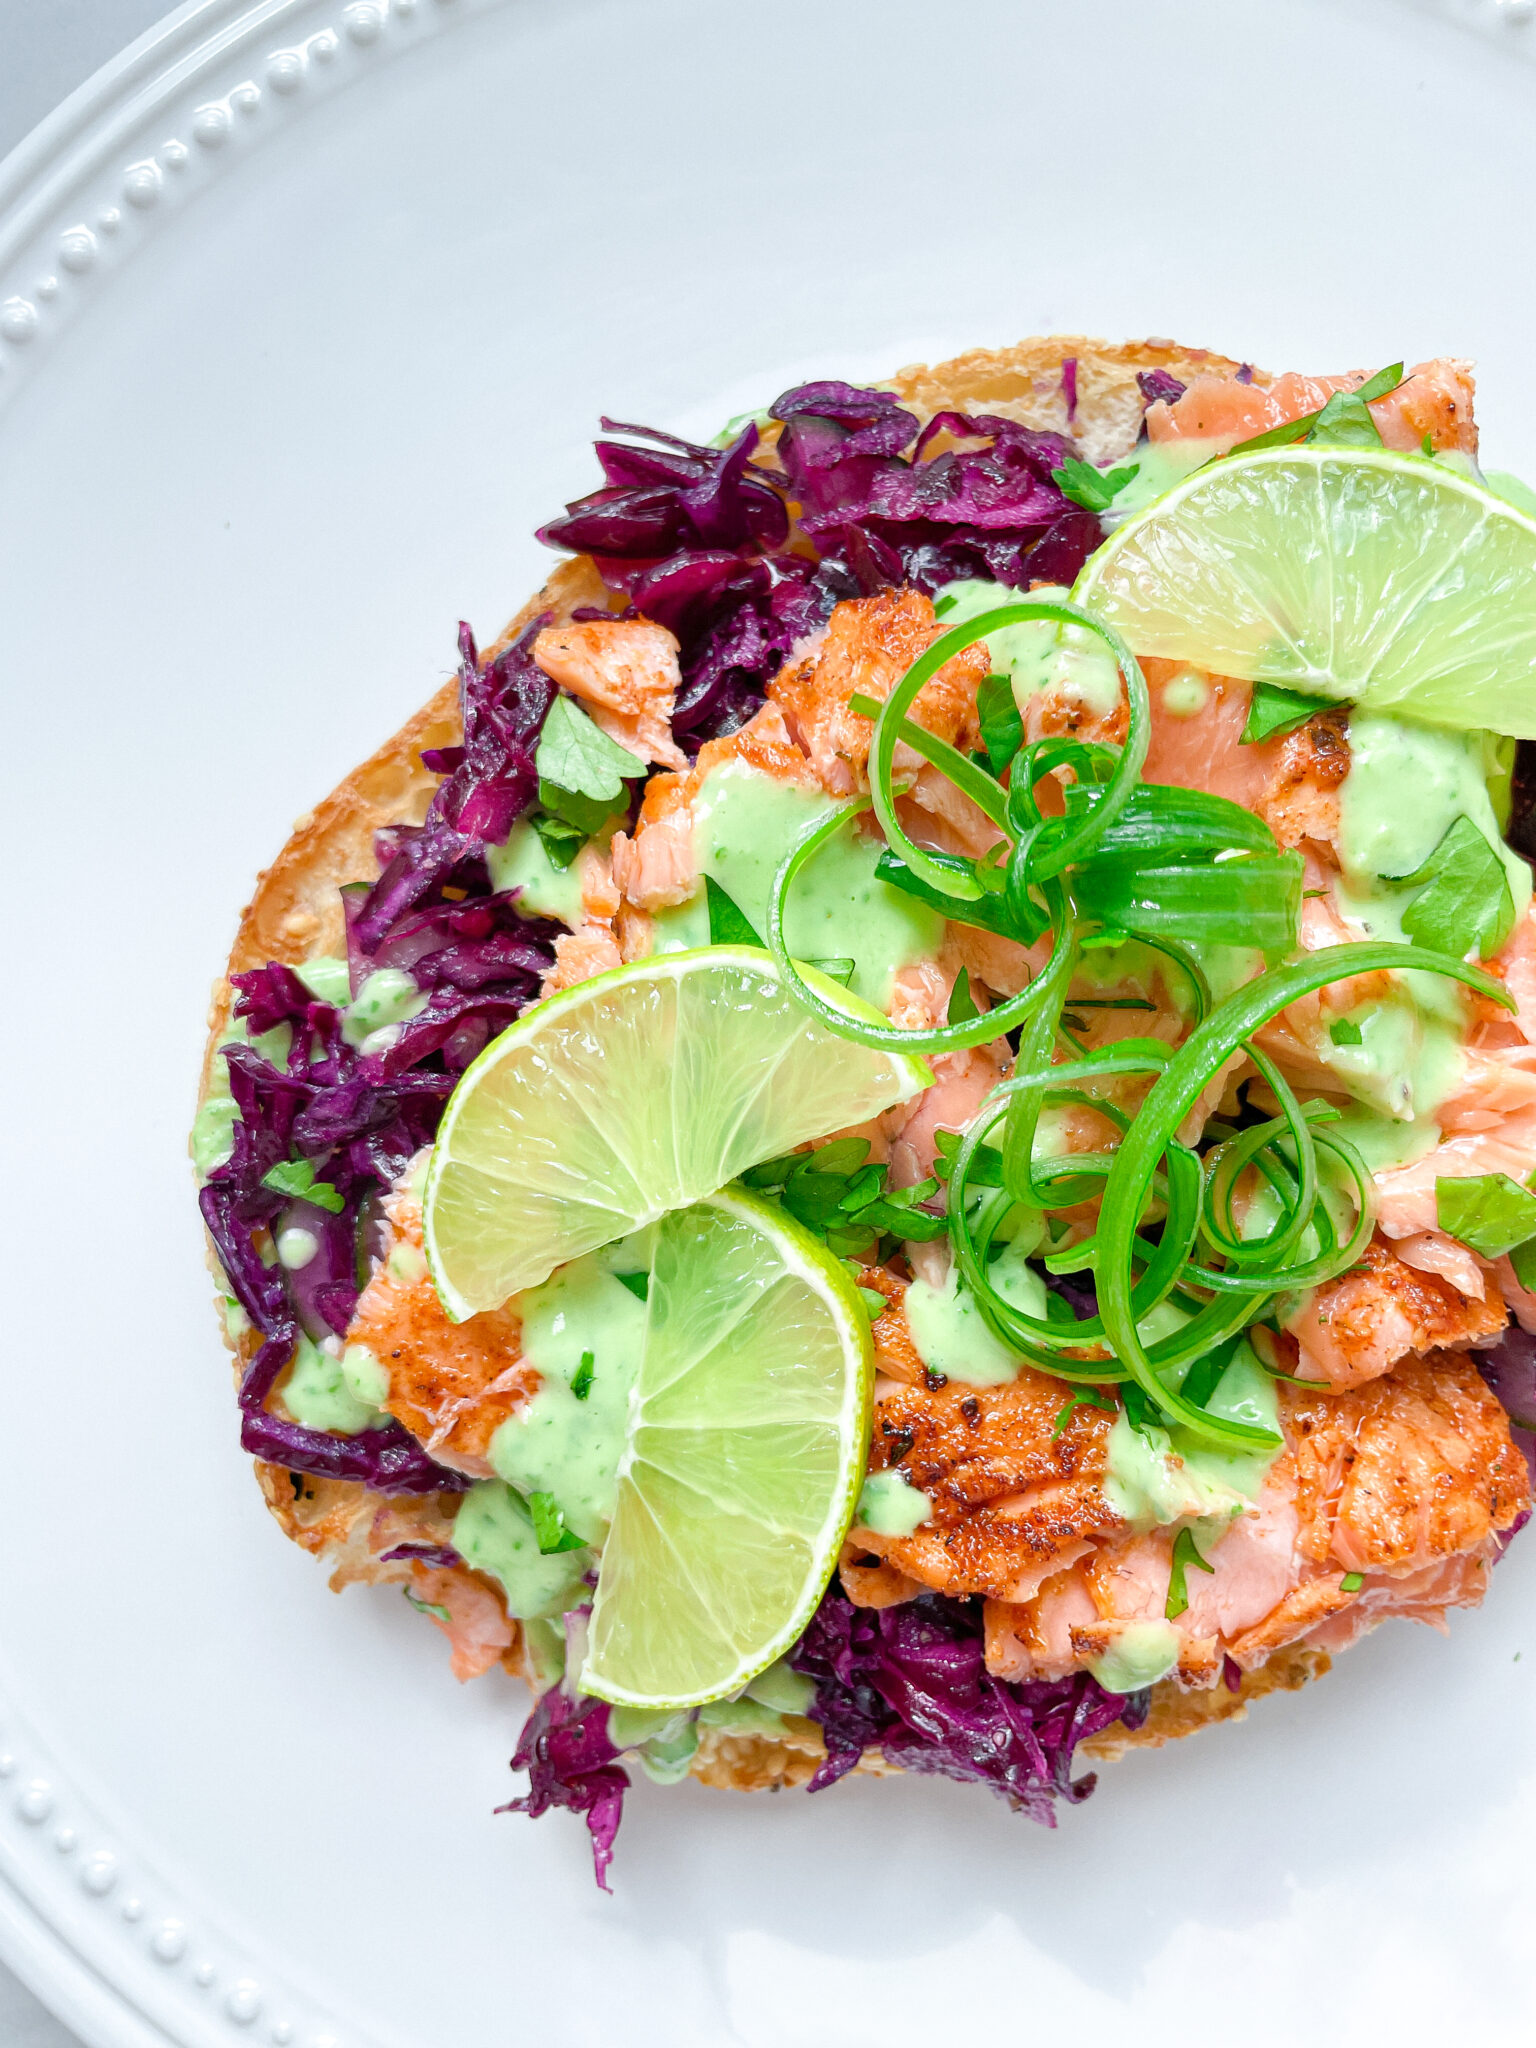
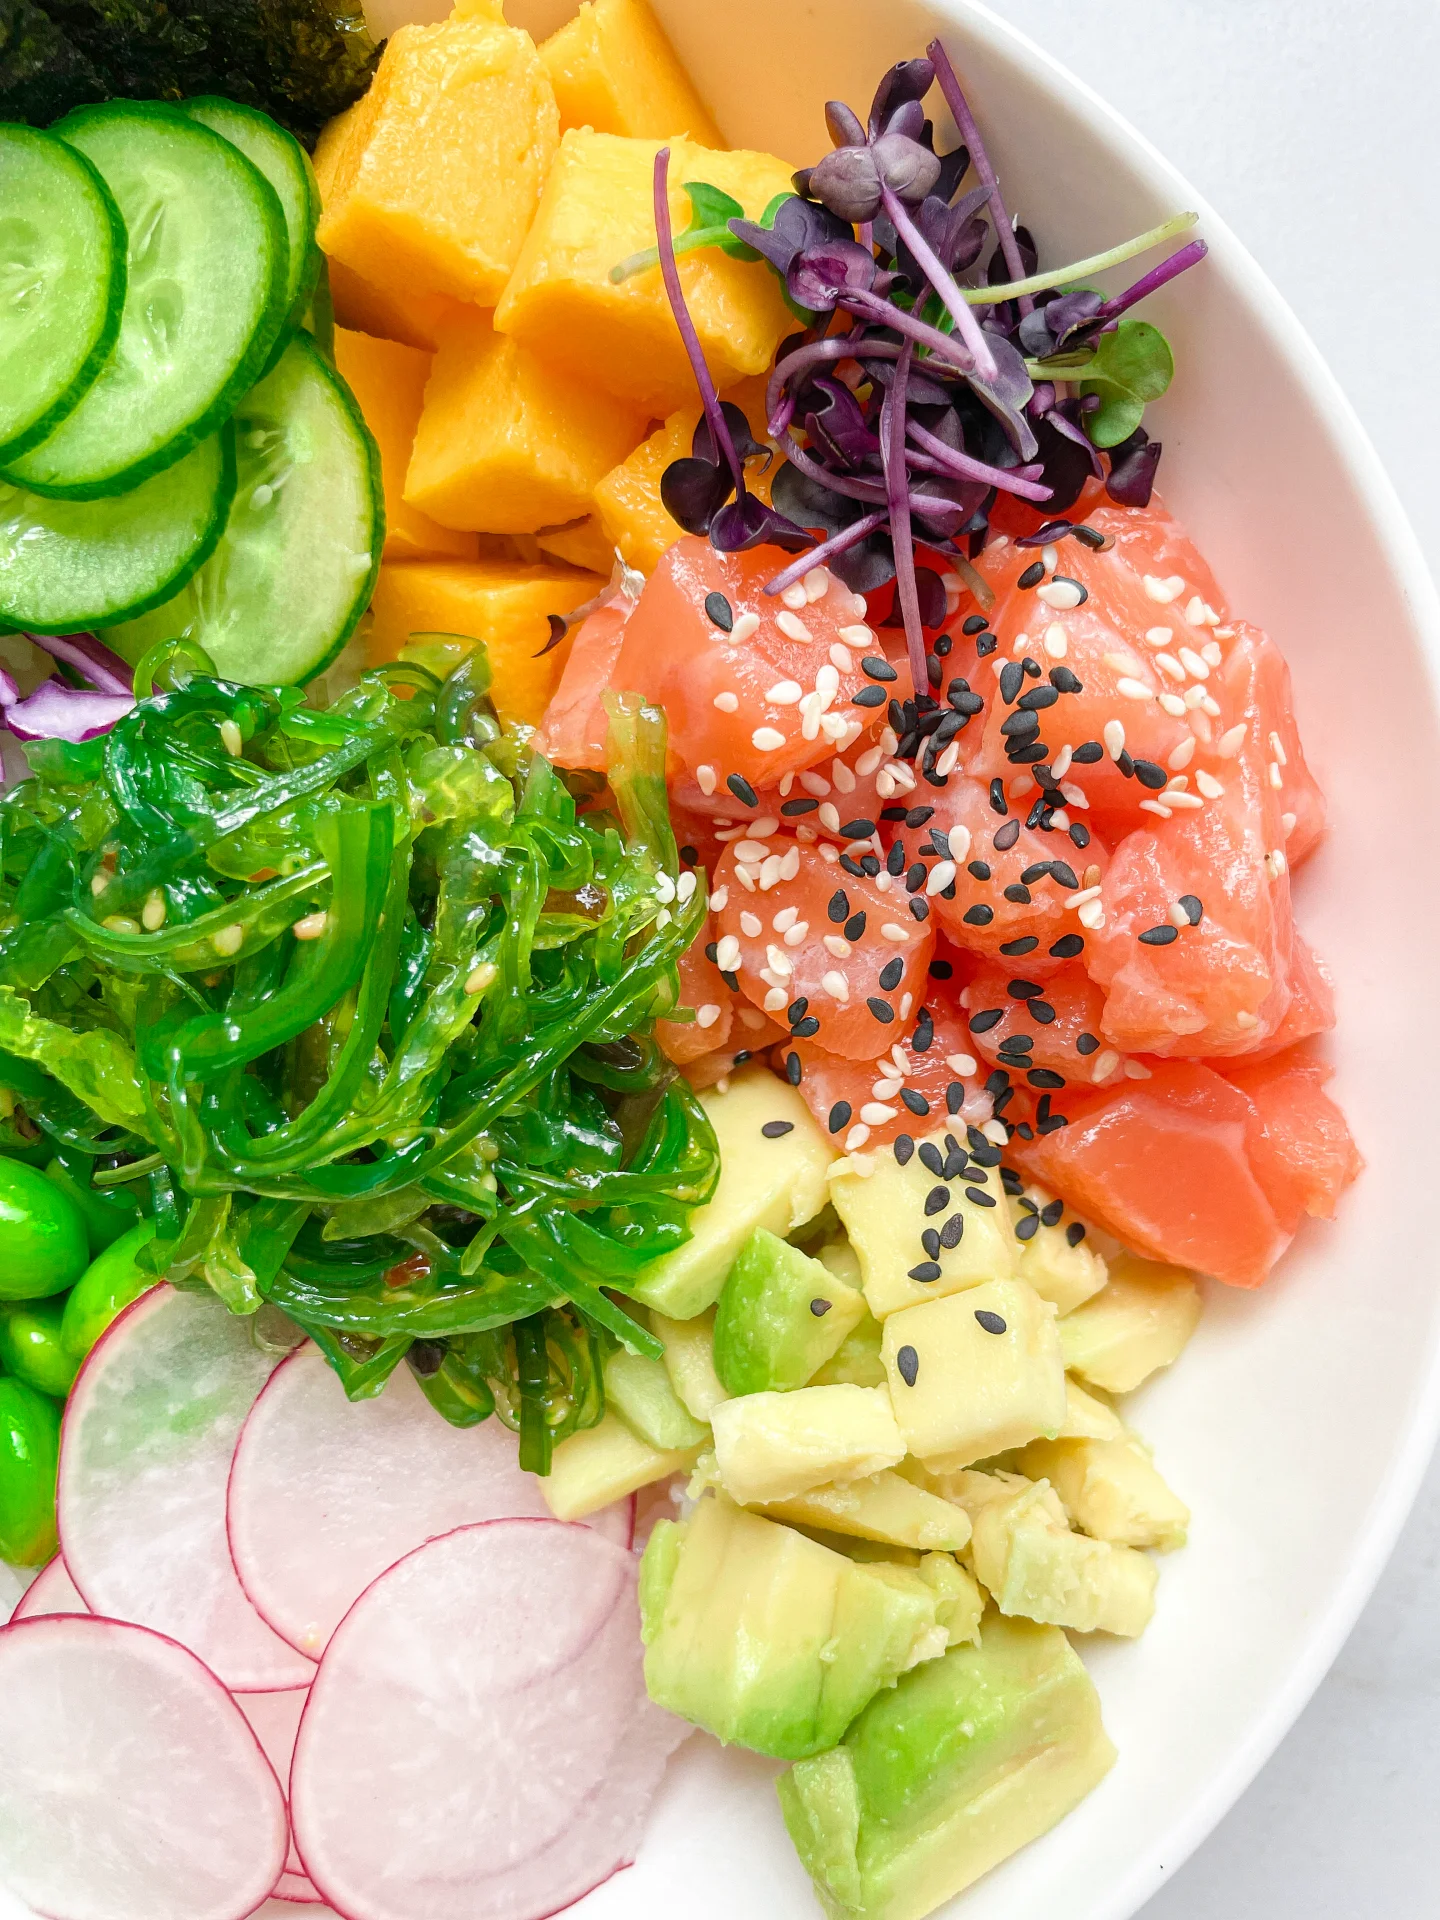
Dive into a fresh and vibrant bowl of goodness, packed with zesty spicy flavors, creamy textures, and a satisfying crunch. Perfect for a wholesome quick meal!

30 MINUTES

EASY

OMNIVORE

US AMERICAN

710 PER PORTION

REFRESHING

EVERYDAY

LUNCH

SPRING
SUMMER

INTRODUCTION

ABOUT THE RECIPE

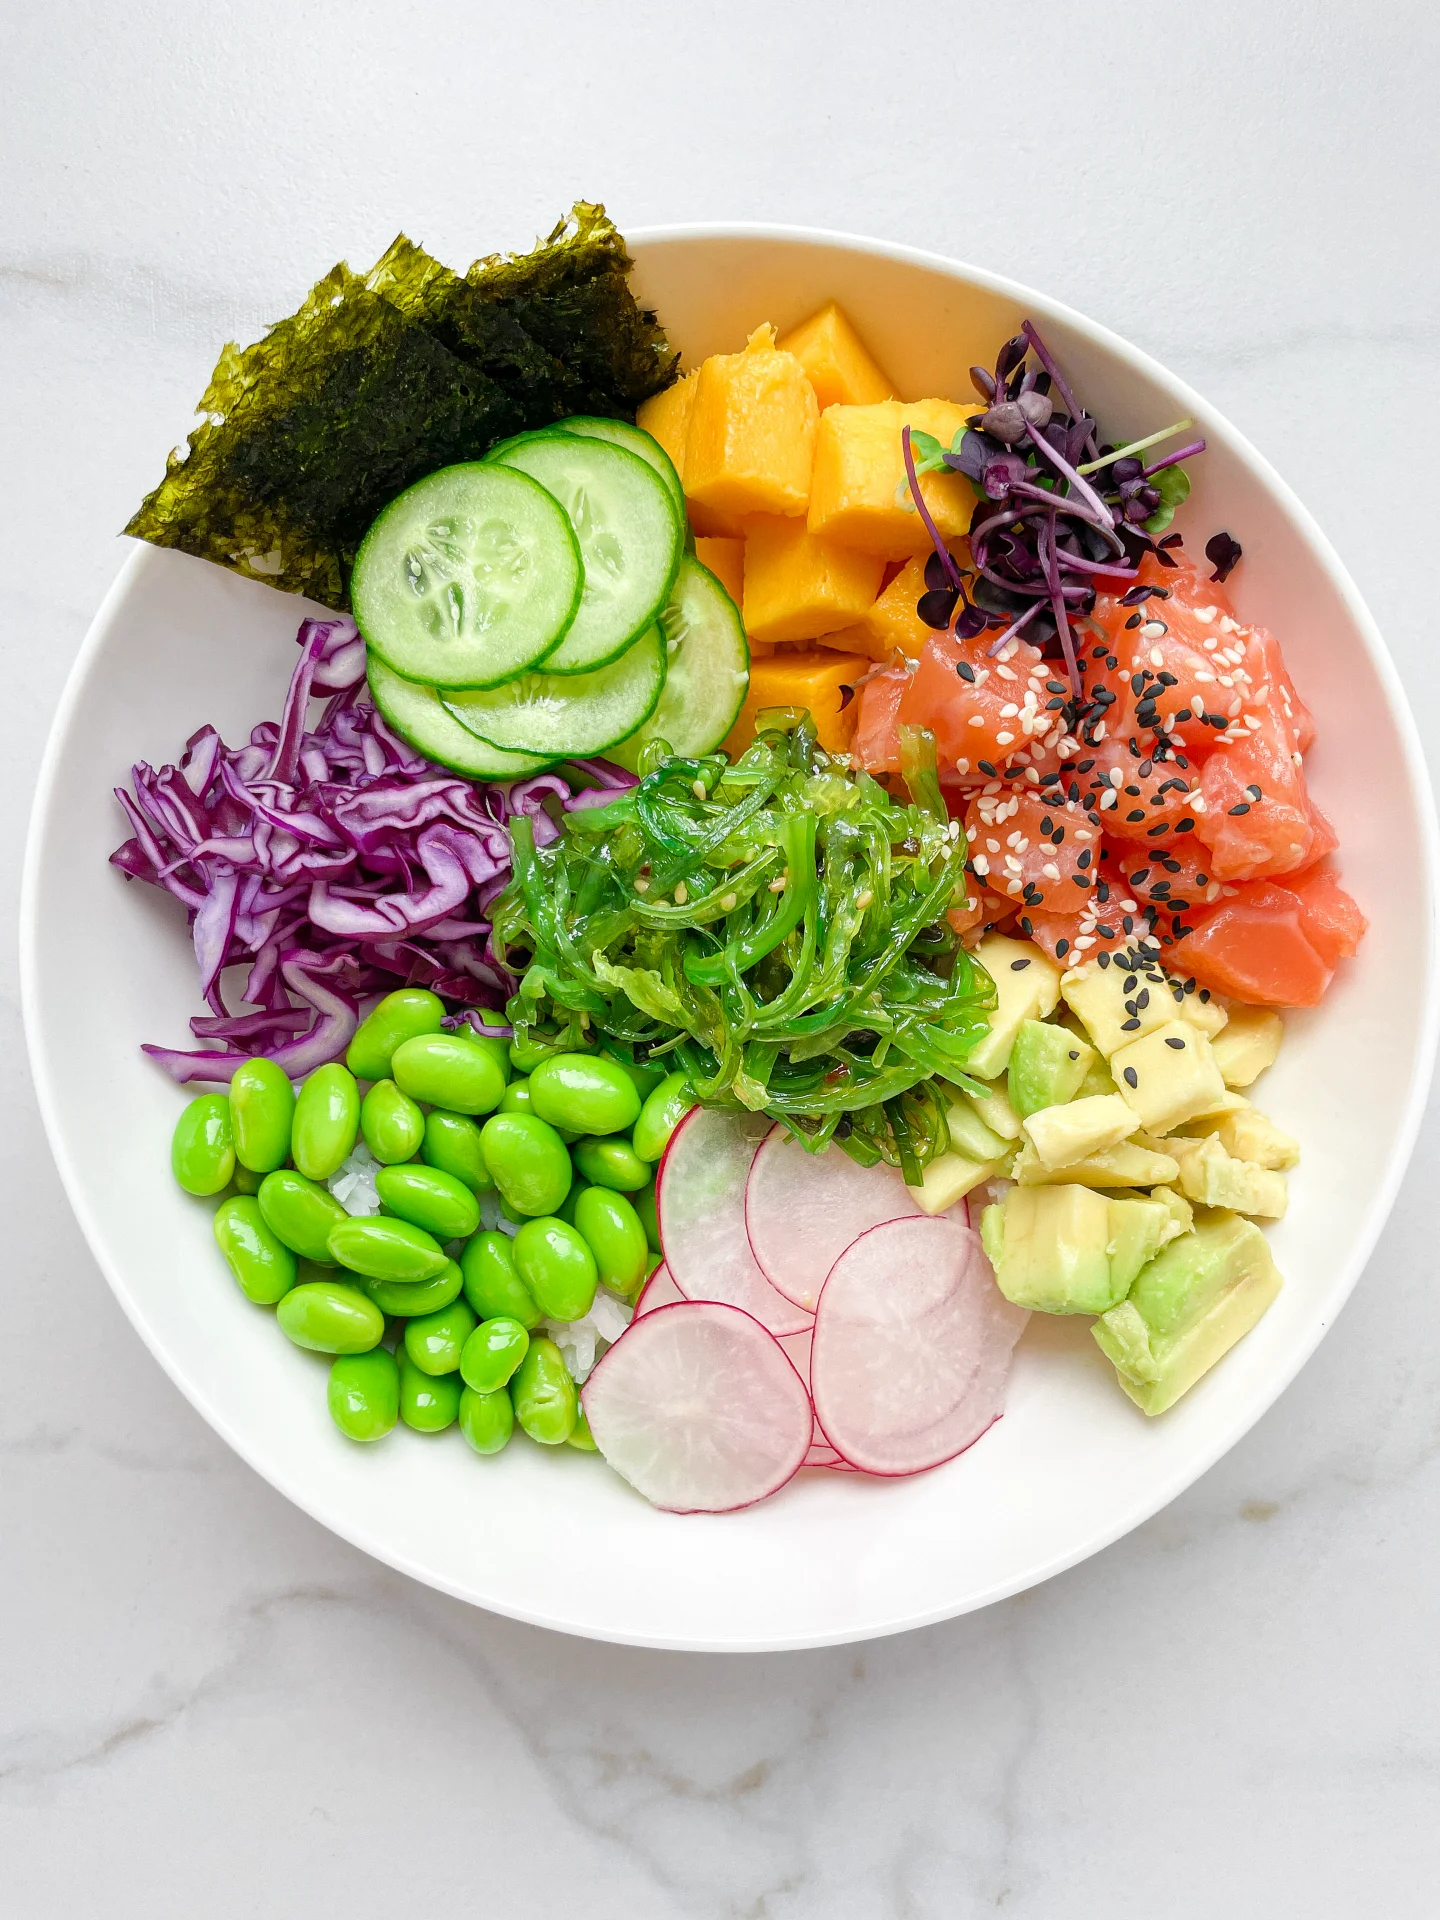
This dish is like a hug in a bowl – a refreshing and vibrant mix of flavors that will take your taste buds on a little adventure. Perfect for when you’re craving something light yet satisfying, this bowl is loaded with fresh veggies like juicy mango, crisp red cabbage, and tender edamame, all sitting on a bed of fluffy rice. And the kicker? A drizzle of spicy mayo sauce that ties everything together with just the right amount of heat.

How to serve
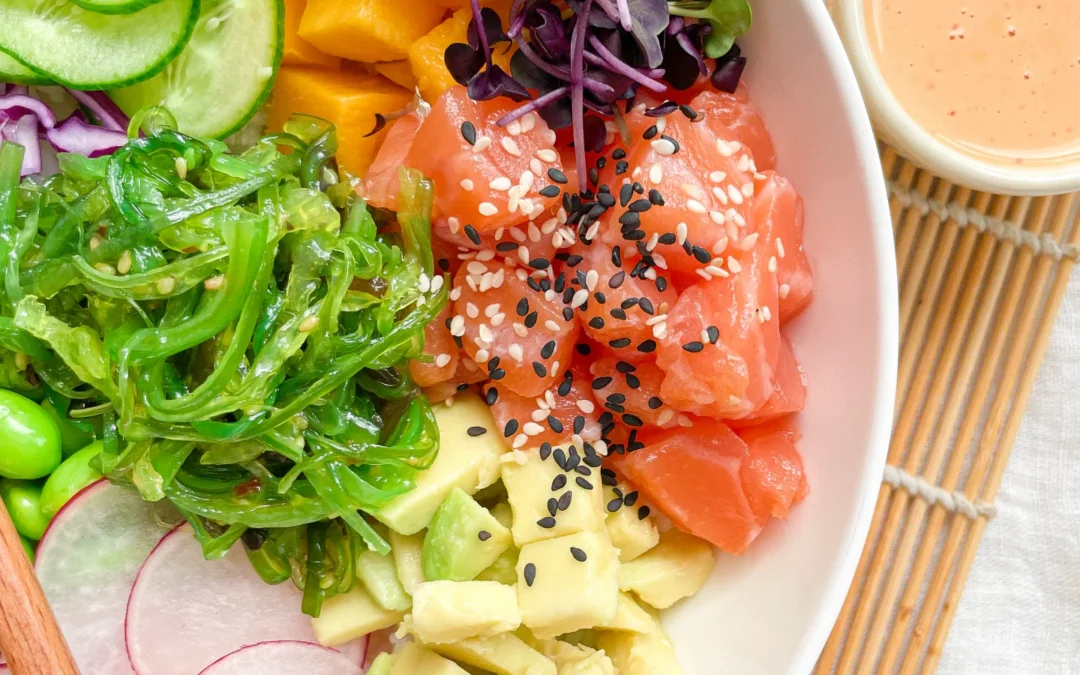
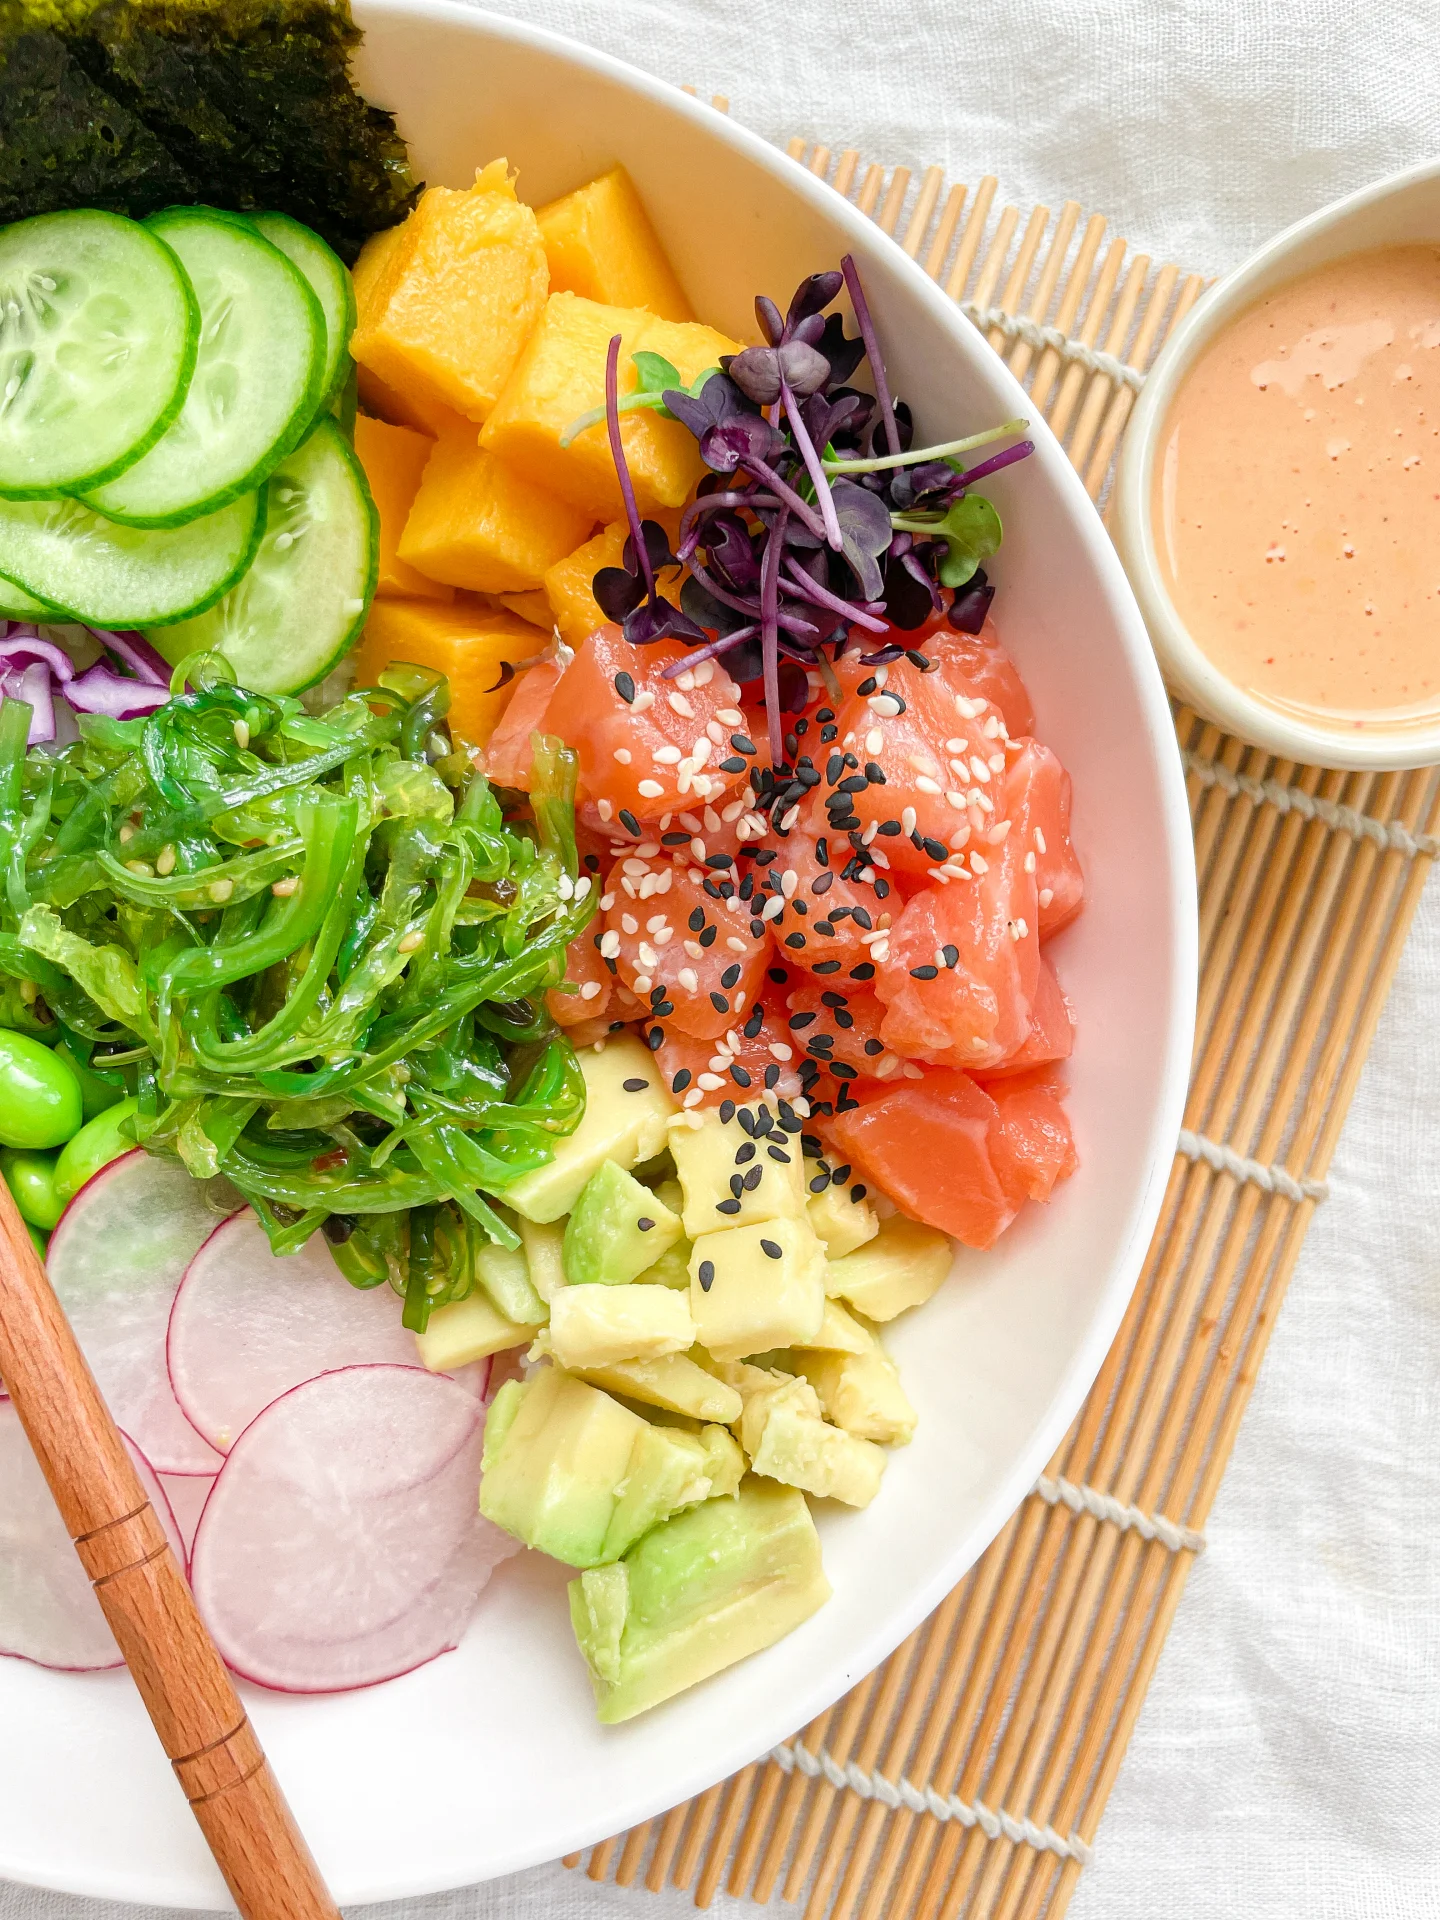
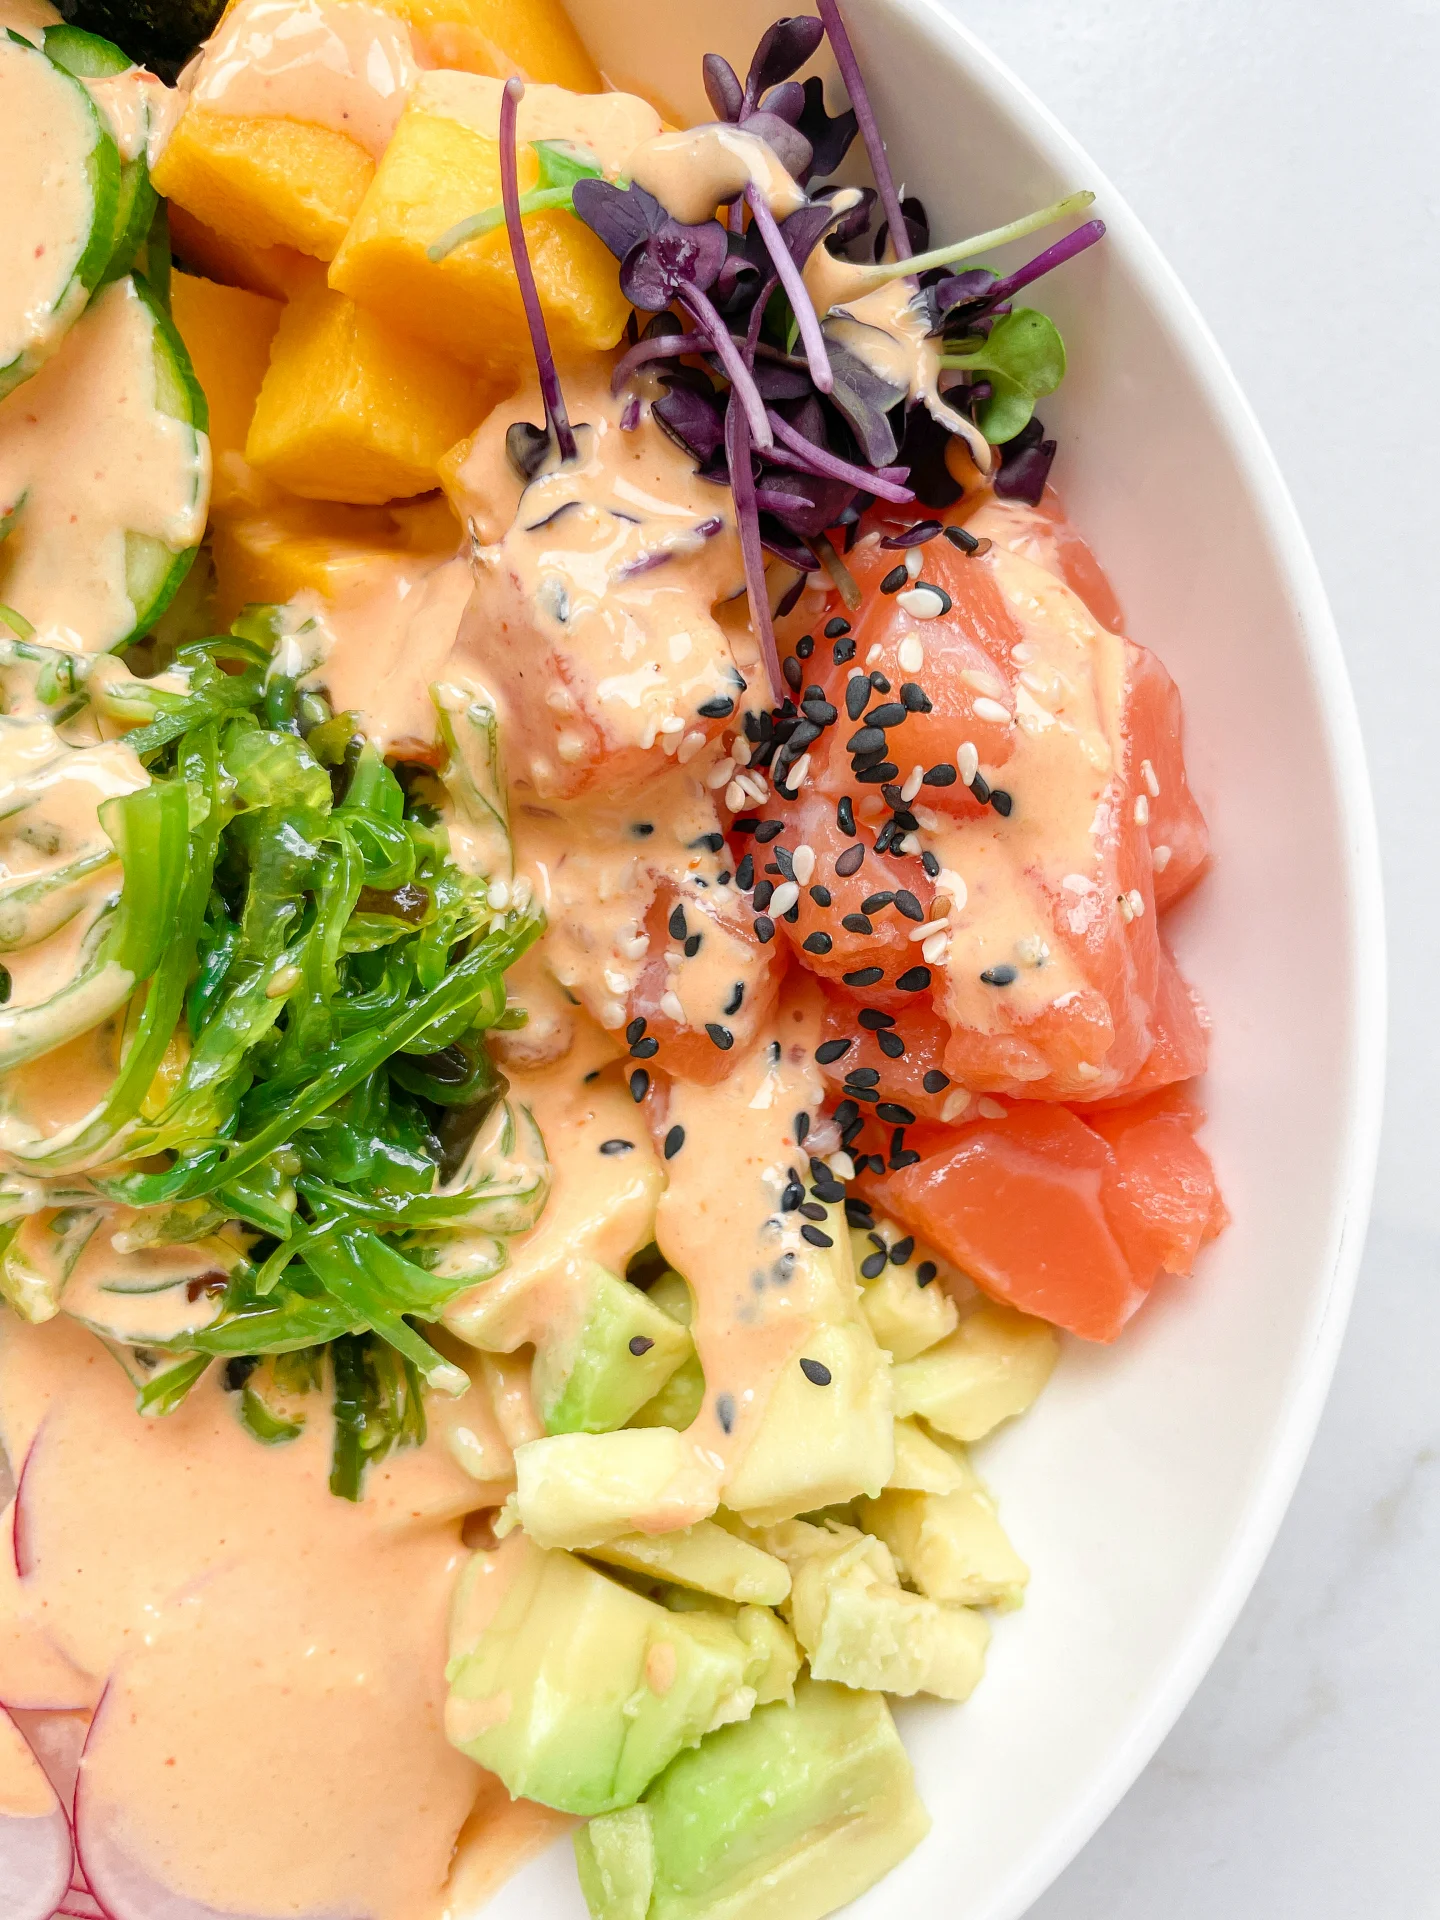
To serve, grab a big, beautiful bowl and start with a generous layer of rice. Arrange the colorful veggies on top – think creamy avocado, bright mango, and that gorgeous purple cabbage. Lay your protein of choice (like tender salmon) over the top, and then drizzle on the spicy mayo sauce. Sprinkle with sesame seeds and a little wakame salad for that extra touch. Serve it chilled and watch your guests (or yourself) light up with every bite!

How to store
Got leftovers? Store each component separately in airtight containers to keep everything fresh. The rice and veggies will last about 2-3 days in the fridge. Just keep the sauce in a small jar and give it a good shake before using it again. It’s best not to store thawed raw salmon. If you can’t finish it, cook it and enjoy it the next day or later the same day.

Hi, I'm Kimberly!

Hi, I'm Kimberly.

A passionate food lover who believes in the magic of homemade deliciousness that spreads love and warmth. Join me on this culinary adventure as I prepare wonderful dishes and let’s spread some happiness together!

Kimberly the Zett Signature

If you want to get to know me better, click here!


Salmon Poke Bowl & Spicy Mayo Sauce
„Let’s make a piece of happiness“
Print
clock clock iconcutlery cutlery iconflag flag iconfolder folder iconinstagram instagram iconpinterest pinterest iconfacebook facebook iconprint print iconsquares squares iconheart heart iconheart solid heart solid icon
Salmon Poke Bowl & Spicy Mayo Sauce

Salmon Poke Bowl & Spicy Mayo Sauce


  • Author: Kimberly
  • Total Time: 30 min
  • Yield: 1 1x

Description

Recommended Equipment

  • sharp knife
  • cutting board
  • two small bowls
  • small pot
  • grater
  • paper towels

Ingredients

Units Scale
  • 3 tbsp edamame
  • 1 tbsp avocado
  • a quarter of a lime
  • 1/4 mini cucumber
  • 2 tbsp wakame salad
  • 80 grams farmed salmon, sushi-grade, frozen and then thawed
  • 2 tbsp red cabbage
  • 1 radish
  • 1/4 mango

RICE

  • 80 grams sushi rice or long grain white rice
  • 1 tbsp rice vinegar
  • 1 tsp white sugar
  • 1/4 tsp salt

SPICY MAYO SAUCE

  • 1 tbsp mayonnaise
  • 2 tbsp cold water
  • 1 tbsp sriracha (I used the one with coconut flavor)
  • 1/4 tsp ginger, grated
  • 1 garlic clove, grated
  • 1/2 tsp soy sauce
  • 1/8 tsp sesame oil
  • pinch of white pepper

TOPPINGS

  • white sesame seeds
  • black sesame seeds
  • nori sheets
  • cress

Instructions

  1. For the spicy mayo sauce, peel the ginger and garlic, and grate them into a bowl. Add the rest of the sauce ingredients and mix everything together until smooth. Set aside.
  2. Wash the rice until the water runs clear, then cook it in a rice cooker or small pot. Keep it warm. Place the edamame in a small bowl, cover with hot water, and let it sit for 5 minutes. Drain the water afterward.
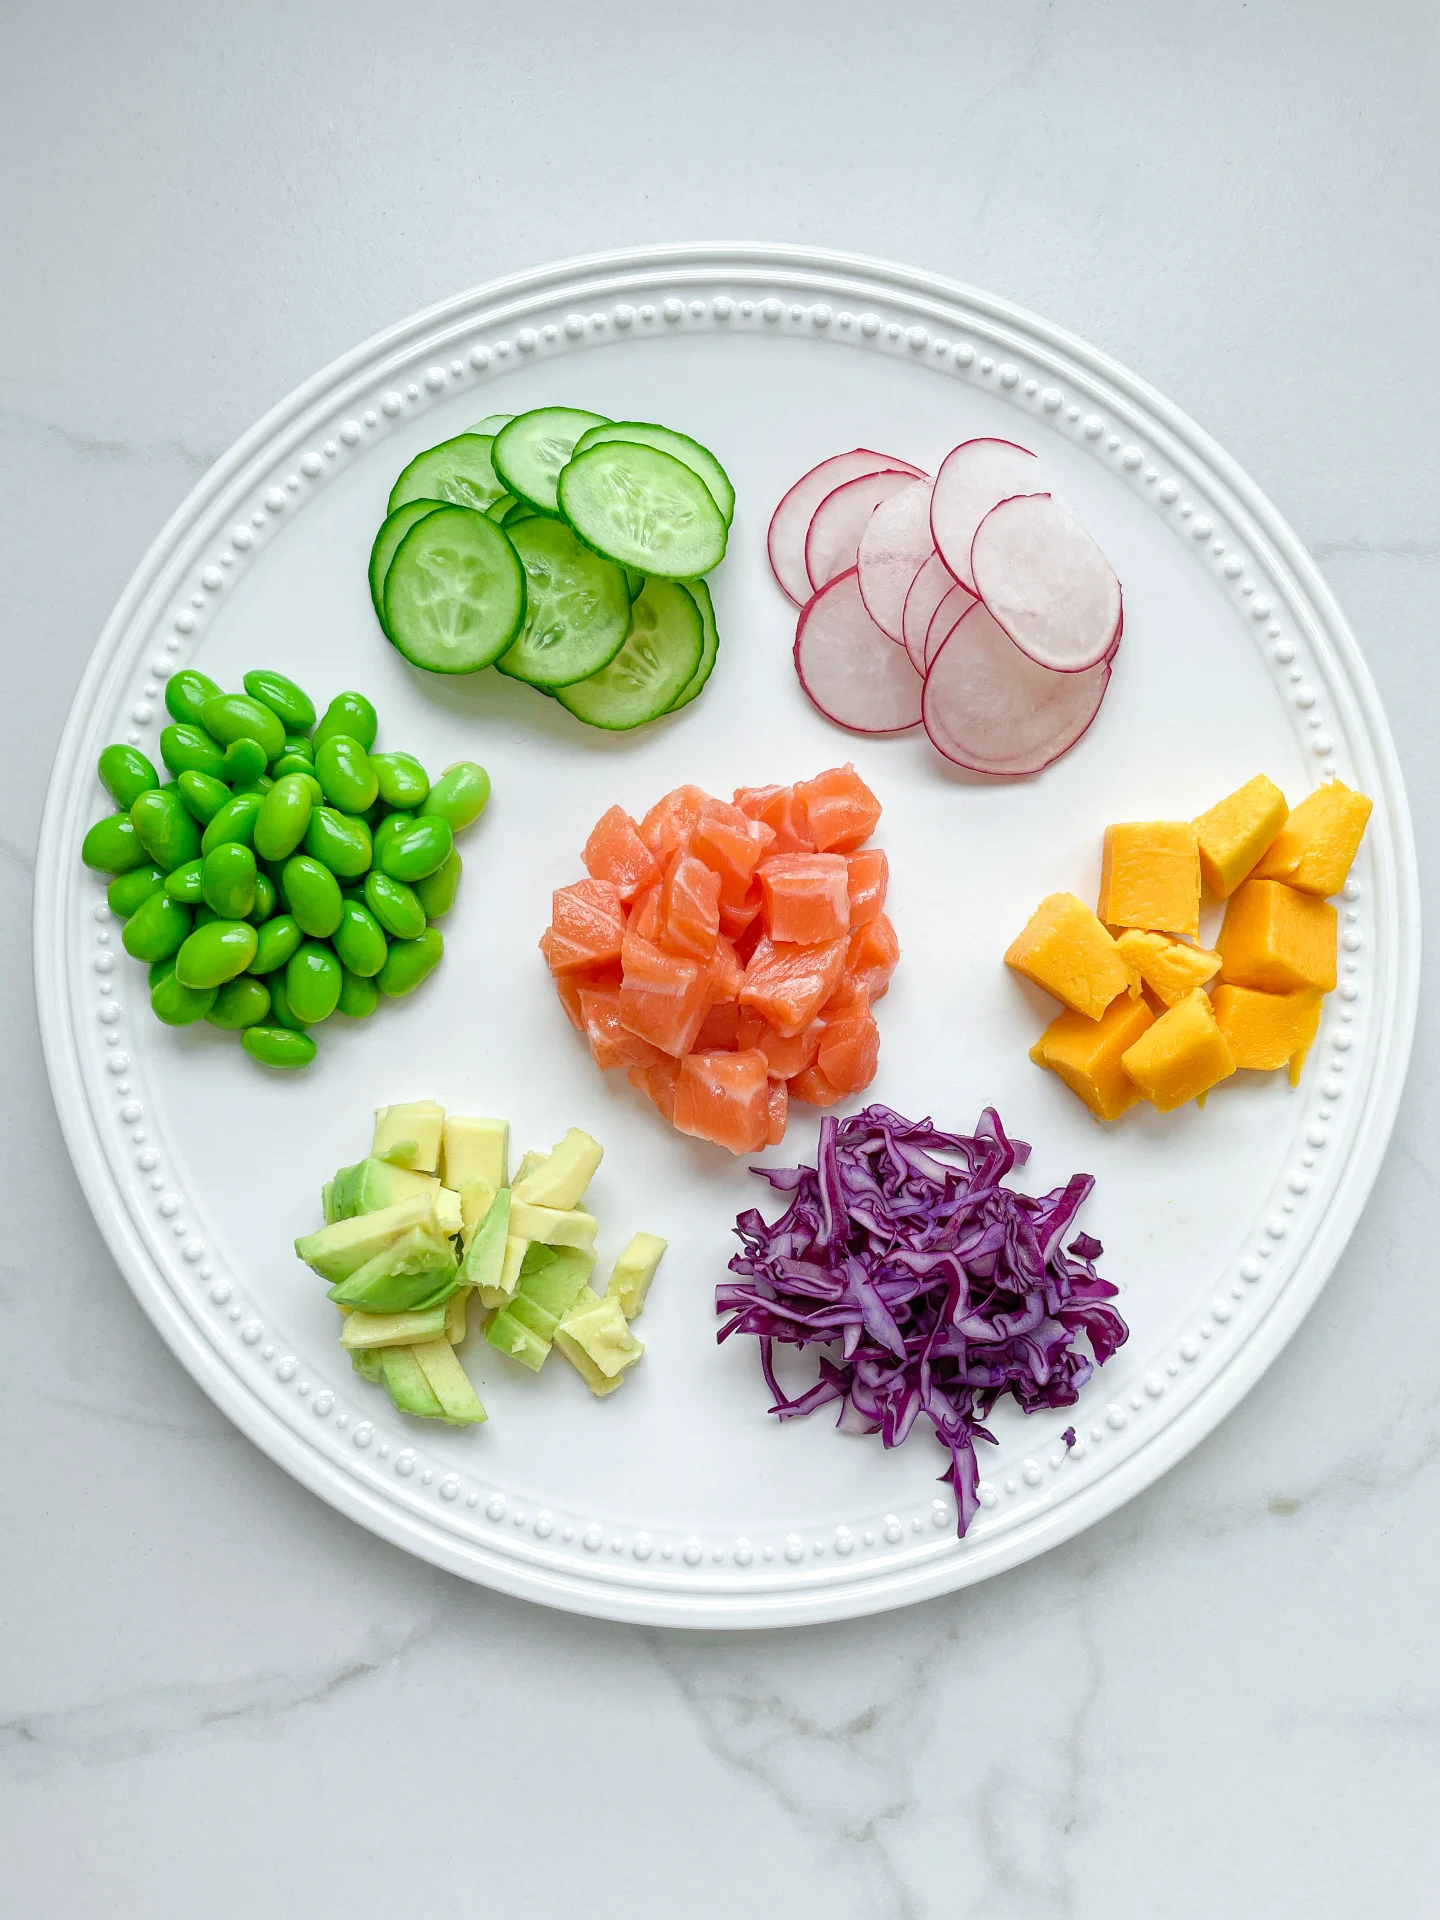
  3. Wash and dry the cucumber, then slice it thinly. Remove the outer leaves of the red cabbage, cut it into quarters, and finely grate it. Wash the radishes and slice them thinly or use a mandoline. Peel the mango and cut it into pieces. Scoop the avocado out of its skin, drizzle it with lime juice, and cut it into cubes. Arrange the sliced fruits and veggies on a plate for later.
  4. Once the rice is done, mix in rice vinegar, salt, and sugar. Keep the rice warm.
  5. Rinse and pat dry the salmon, then cut it into cubes with a sharp knife. Set the wakame salad aside.
  6. In a deep bowl, start by layering the rice. Place the wakame salad in the center, then arrange the other components around it in a circle on top of the rice. Sprinkle the salmon with black and white sesame seeds and add a bit of cress. Place nori sheets on the side.
  7. Serve the sauce in a small bowl on the side, or drizzle it directly over the bowl.
  • Cook Time: 30 min

Radish Cucumber Butter

Radish Cucumber Butter

Radish Cucumber Butter

Radish Cucumber Butter

June 24, 2024 by Kimberly

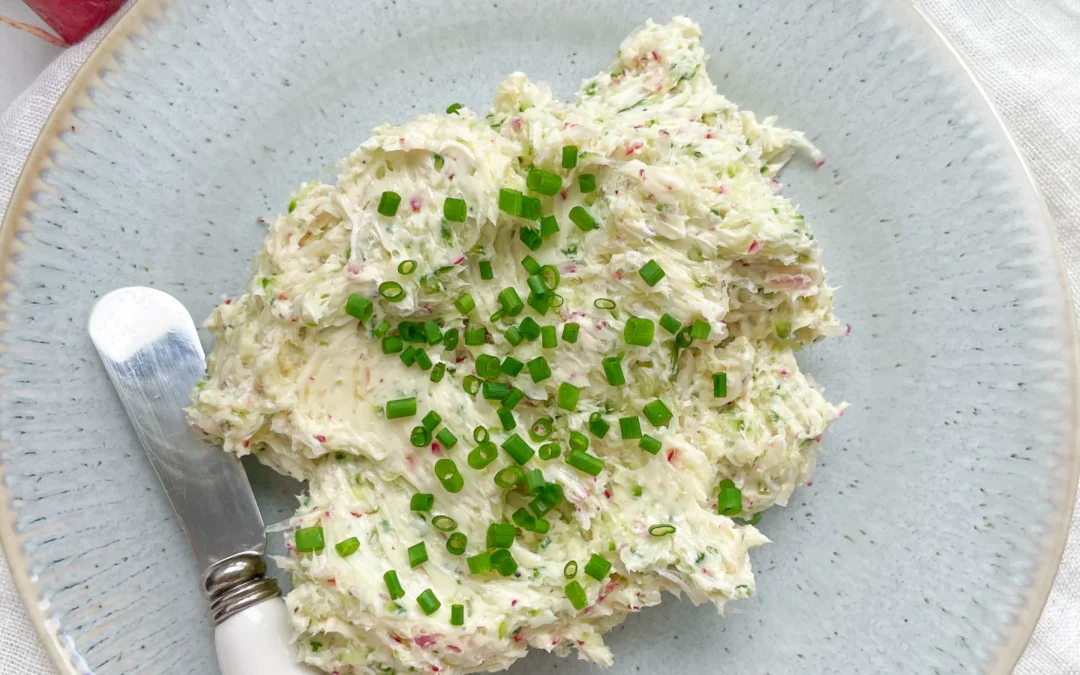
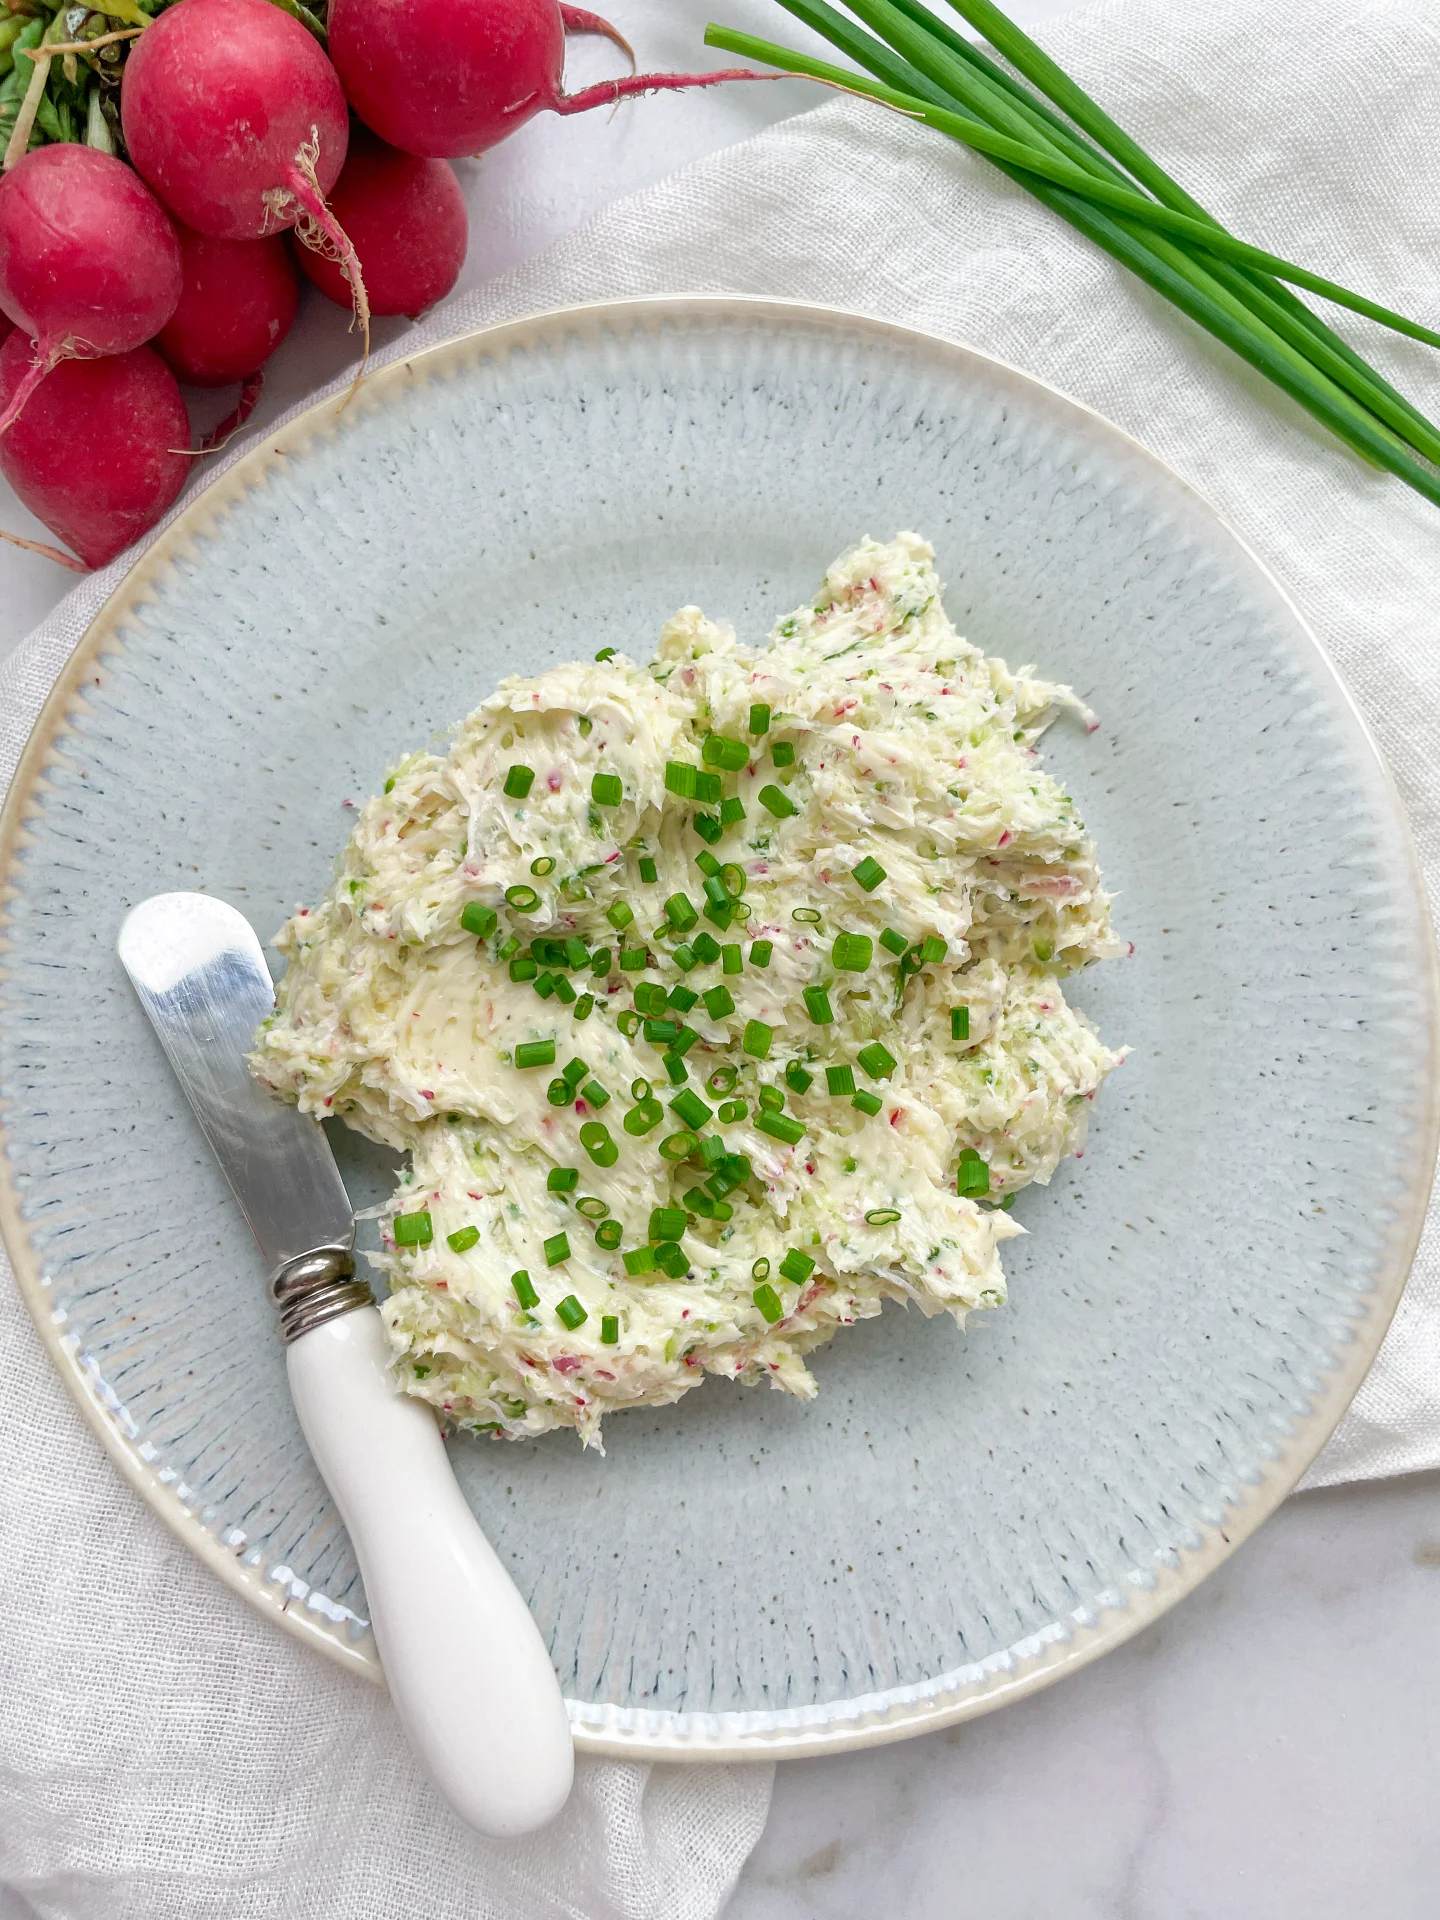
Whip up magic in your kitchen with this fresh, zesty butter blend! Perfect for giving a crunchy, creamy twist to any snack or sandwich.

10 MINUTES

EASY

VEGETARIAN

FRENCH

96 PER PORTION

BUTTERY

EVERDAY

DIPS & SPREADS

SPRING
SUMMER

INTRODUCTION

ABOUT THE RECIPE

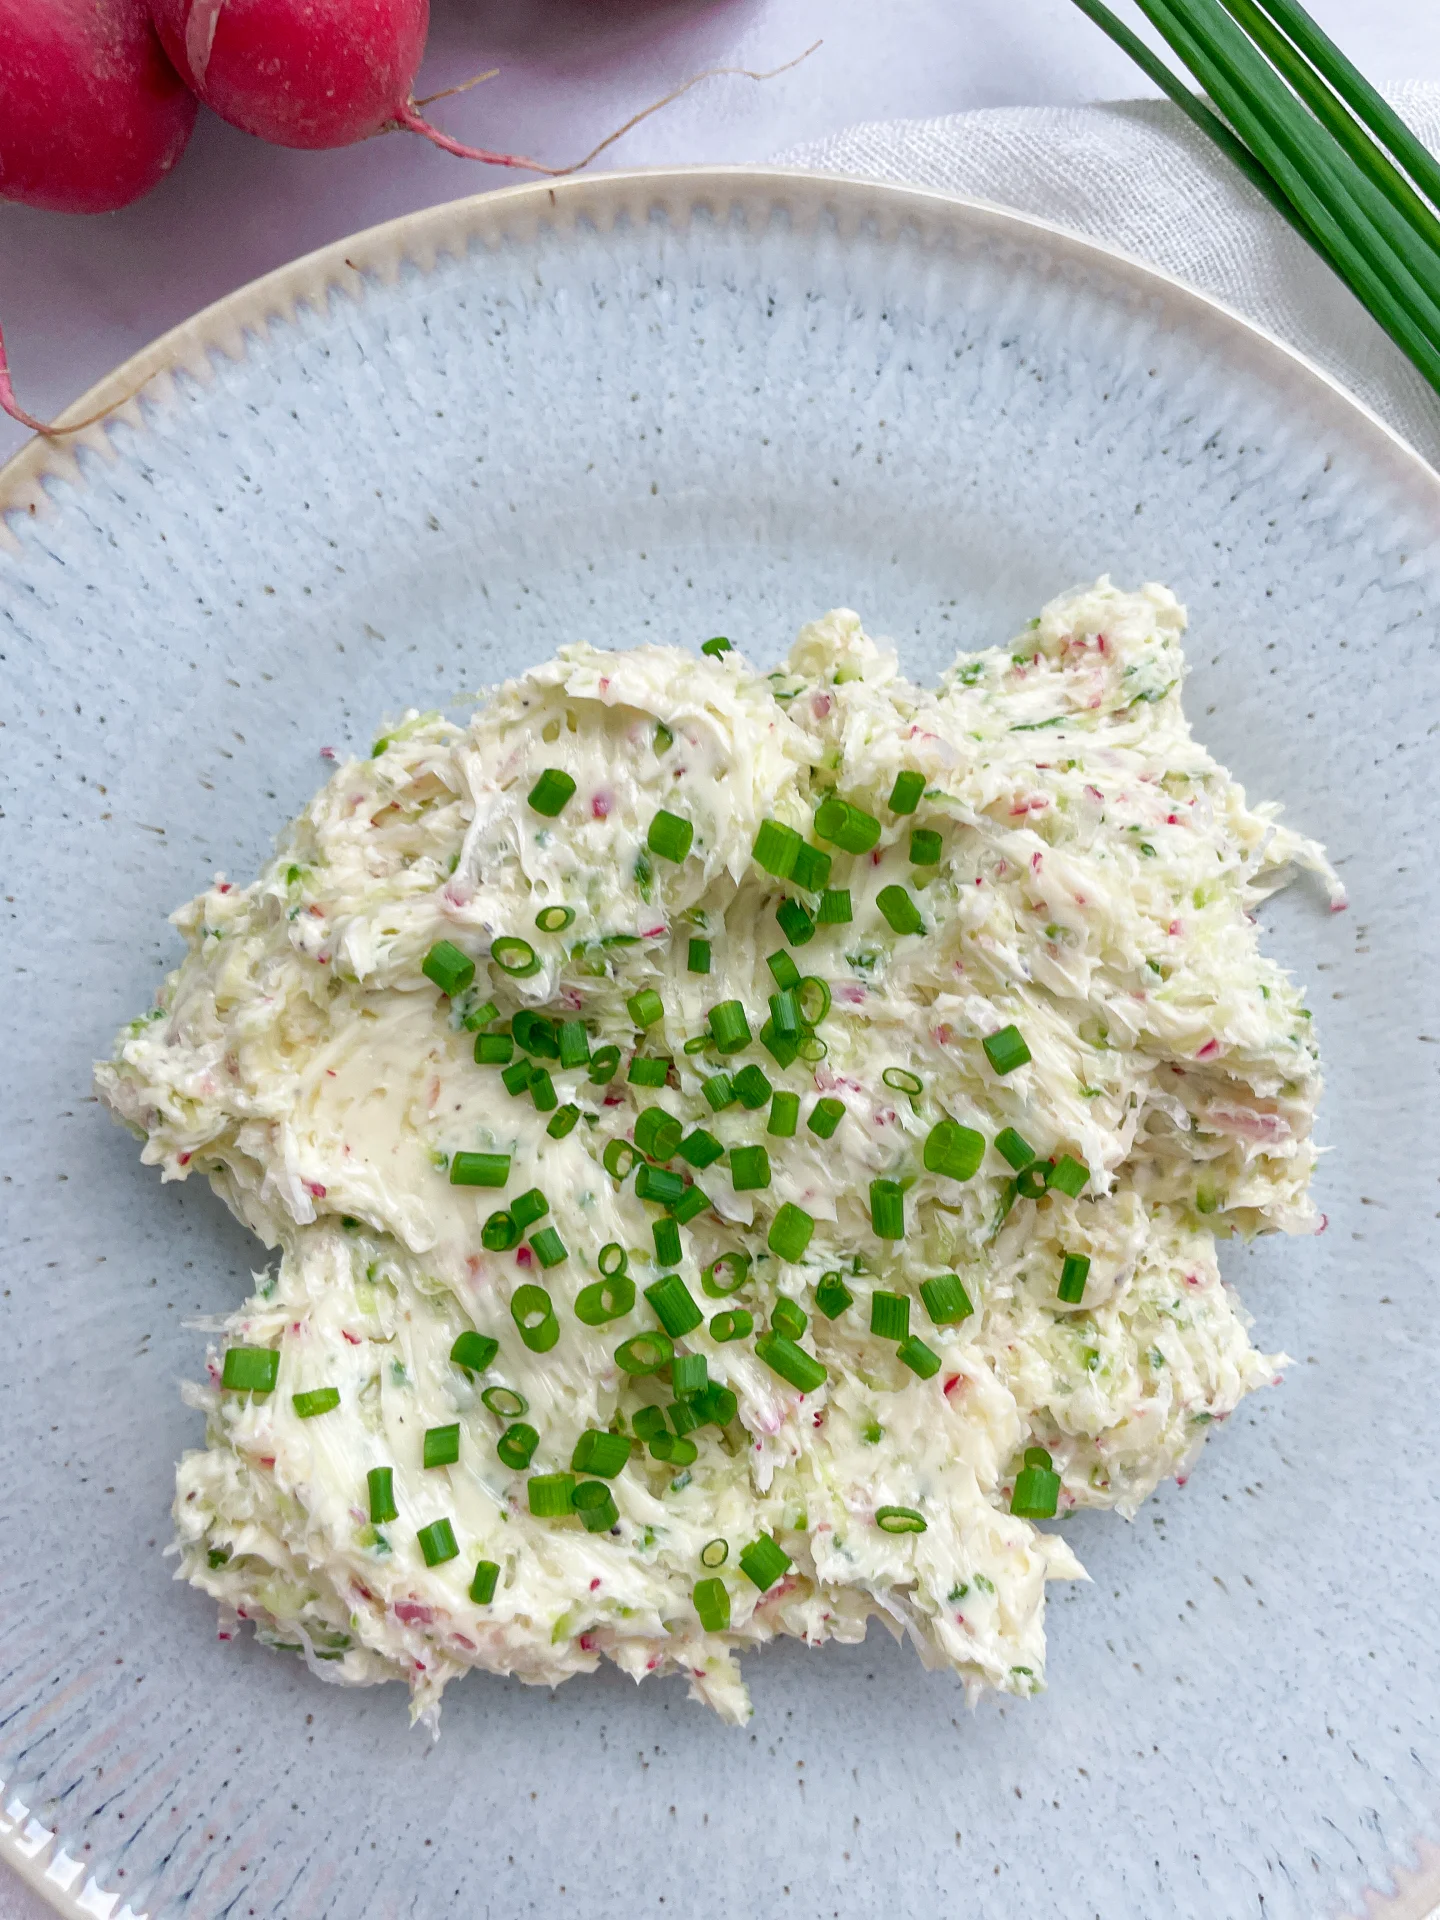
Radish cucumber butter combines the crisp freshness of radishes and cucumbers with creamy butter to create a spread that’s both light and invigorating. It’s a delightful way to add a burst of spring flavor to any dish.

How to serve
This versatile butter is perfect slathered on warm bread, used as a savory topping for steamed vegetables, or as a refreshing twist in sandwiches. Its light, creamy texture and vibrant flavor profile make it an excellent complement to both casual and sophisticated culinary creations.

How to store
Keep the butter refrigerated in an airtight container. It maintains its best quality for up to 3 days, ensuring you can enjoy its fresh taste over several days.

Hi, I'm Kimberly!

Hi, I'm Kimberly.

A passionate food lover who believes in the magic of homemade deliciousness that spreads love and warmth. Join me on this culinary adventure as I prepare wonderful dishes and let’s spread some happiness together!

Kimberly the Zett Signature

If you want to get to know me better, click here!


Radish Cucumber Butter
„Let’s make a piece of happiness“
Print
clock clock iconcutlery cutlery iconflag flag iconfolder folder iconinstagram instagram iconpinterest pinterest iconfacebook facebook iconprint print iconsquares squares iconheart heart iconheart solid heart solid icon
Radish Cucumber Butter

Radish Cucumber Butter


  • Author: Kimberly
  • Total Time: 10 minutes
  • Yield: 10 1x

Description

Recommended Equipment

  • sharp knife
  • cutting board
  • deep plate
  • paper towels
  • grater

Ingredients

Units Scale
  • 4 radishes
  • 1/4 cucumber
  • 125 grams butter
  • chives
  • salt to taste

Instructions

  1. Thoroughly wash the radishes, cucumber, and chives. Set up a deep plate and finely grate the radishes into it. Squeeze out the excess moisture from the grated radishes using paper towels. Repeat the process with the cucumber.
  2. Finely slice the chives and set them aside.
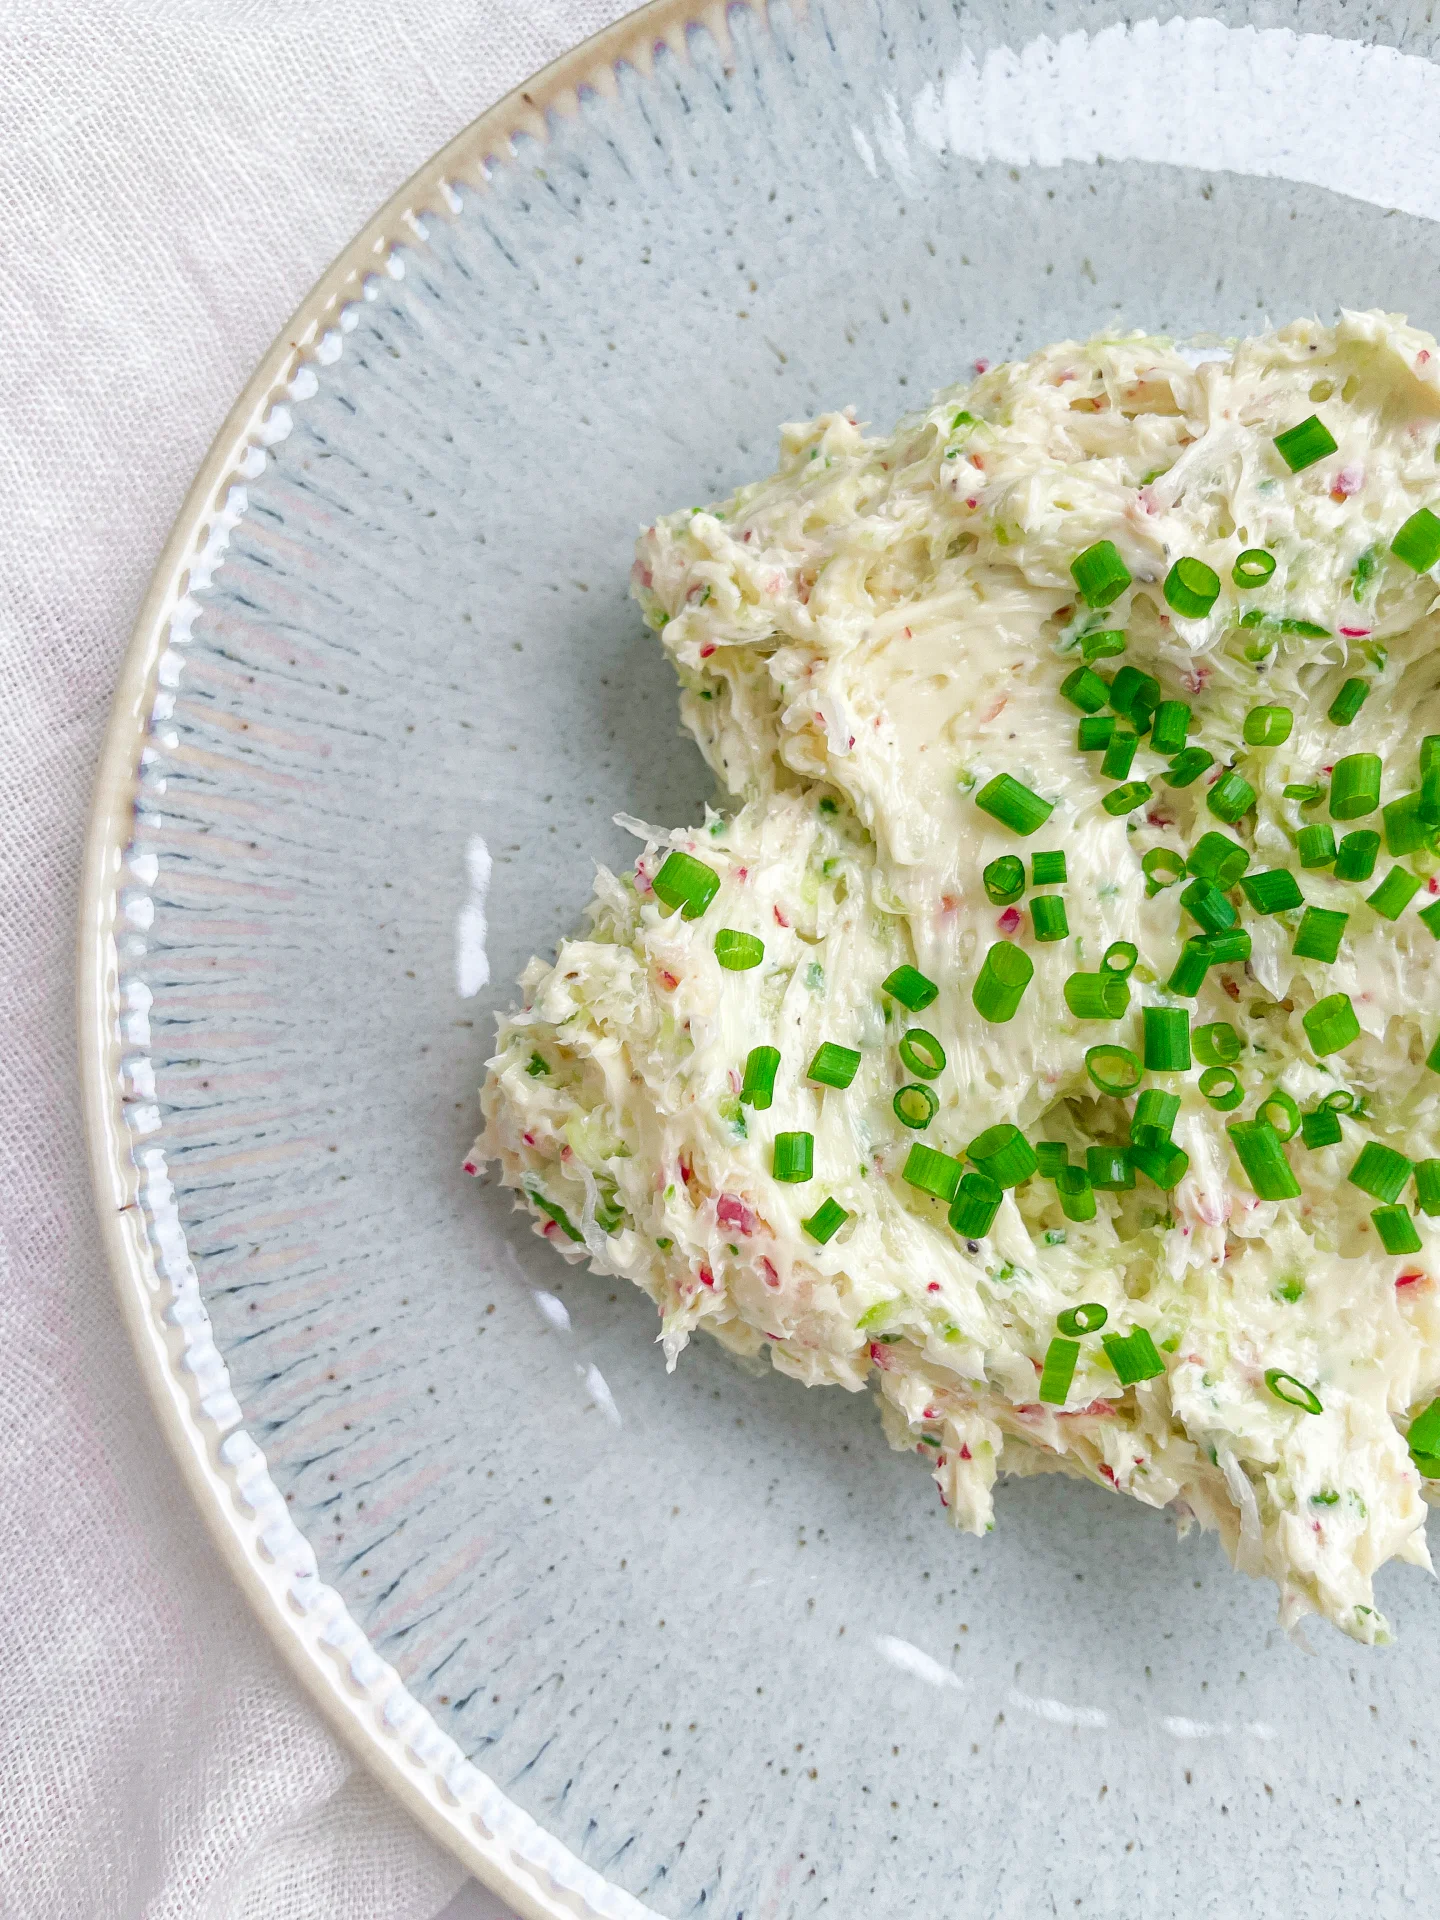
  3. Dry the plate, then add the softened butter to it. Incorporate the grated radishes and cucumber, mixing well. Season with salt and sprinkle the sliced chives on top.

Notes

The calorie information may vary depending on the product used, country and region.

  • Cook Time: 10 min
Whipped Feta & Rainbow Veggies

Whipped Feta & Rainbow Veggies

Whipped Feta & Rainbow Veggies

Whipped Feta & Rainbow Veggies

June 20, 2024 by Kimberly

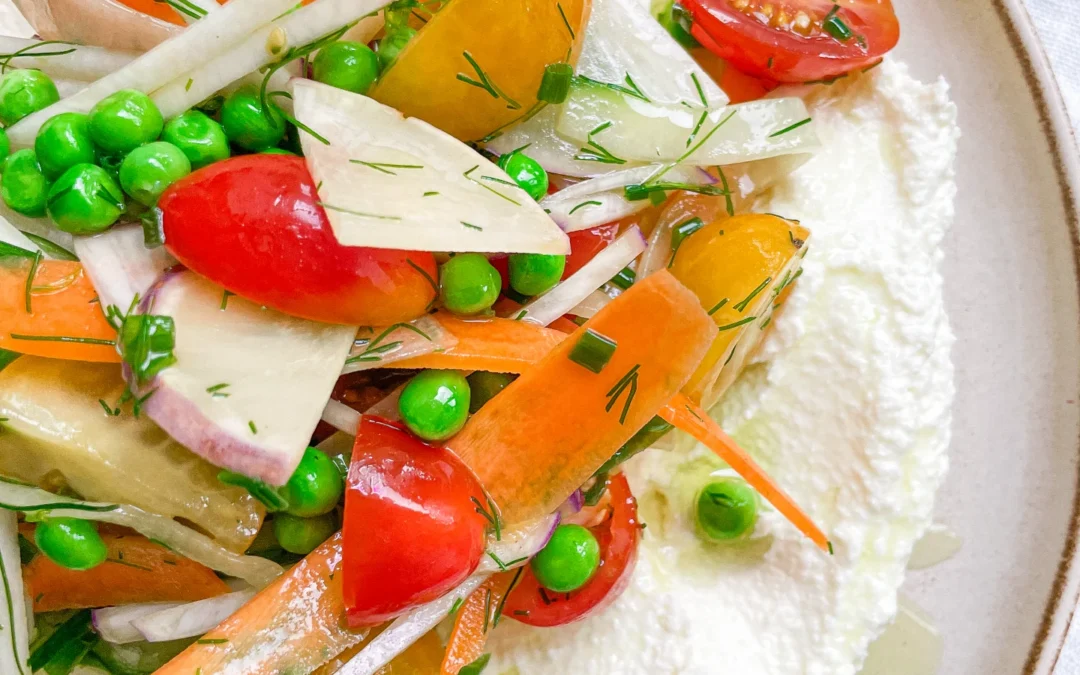
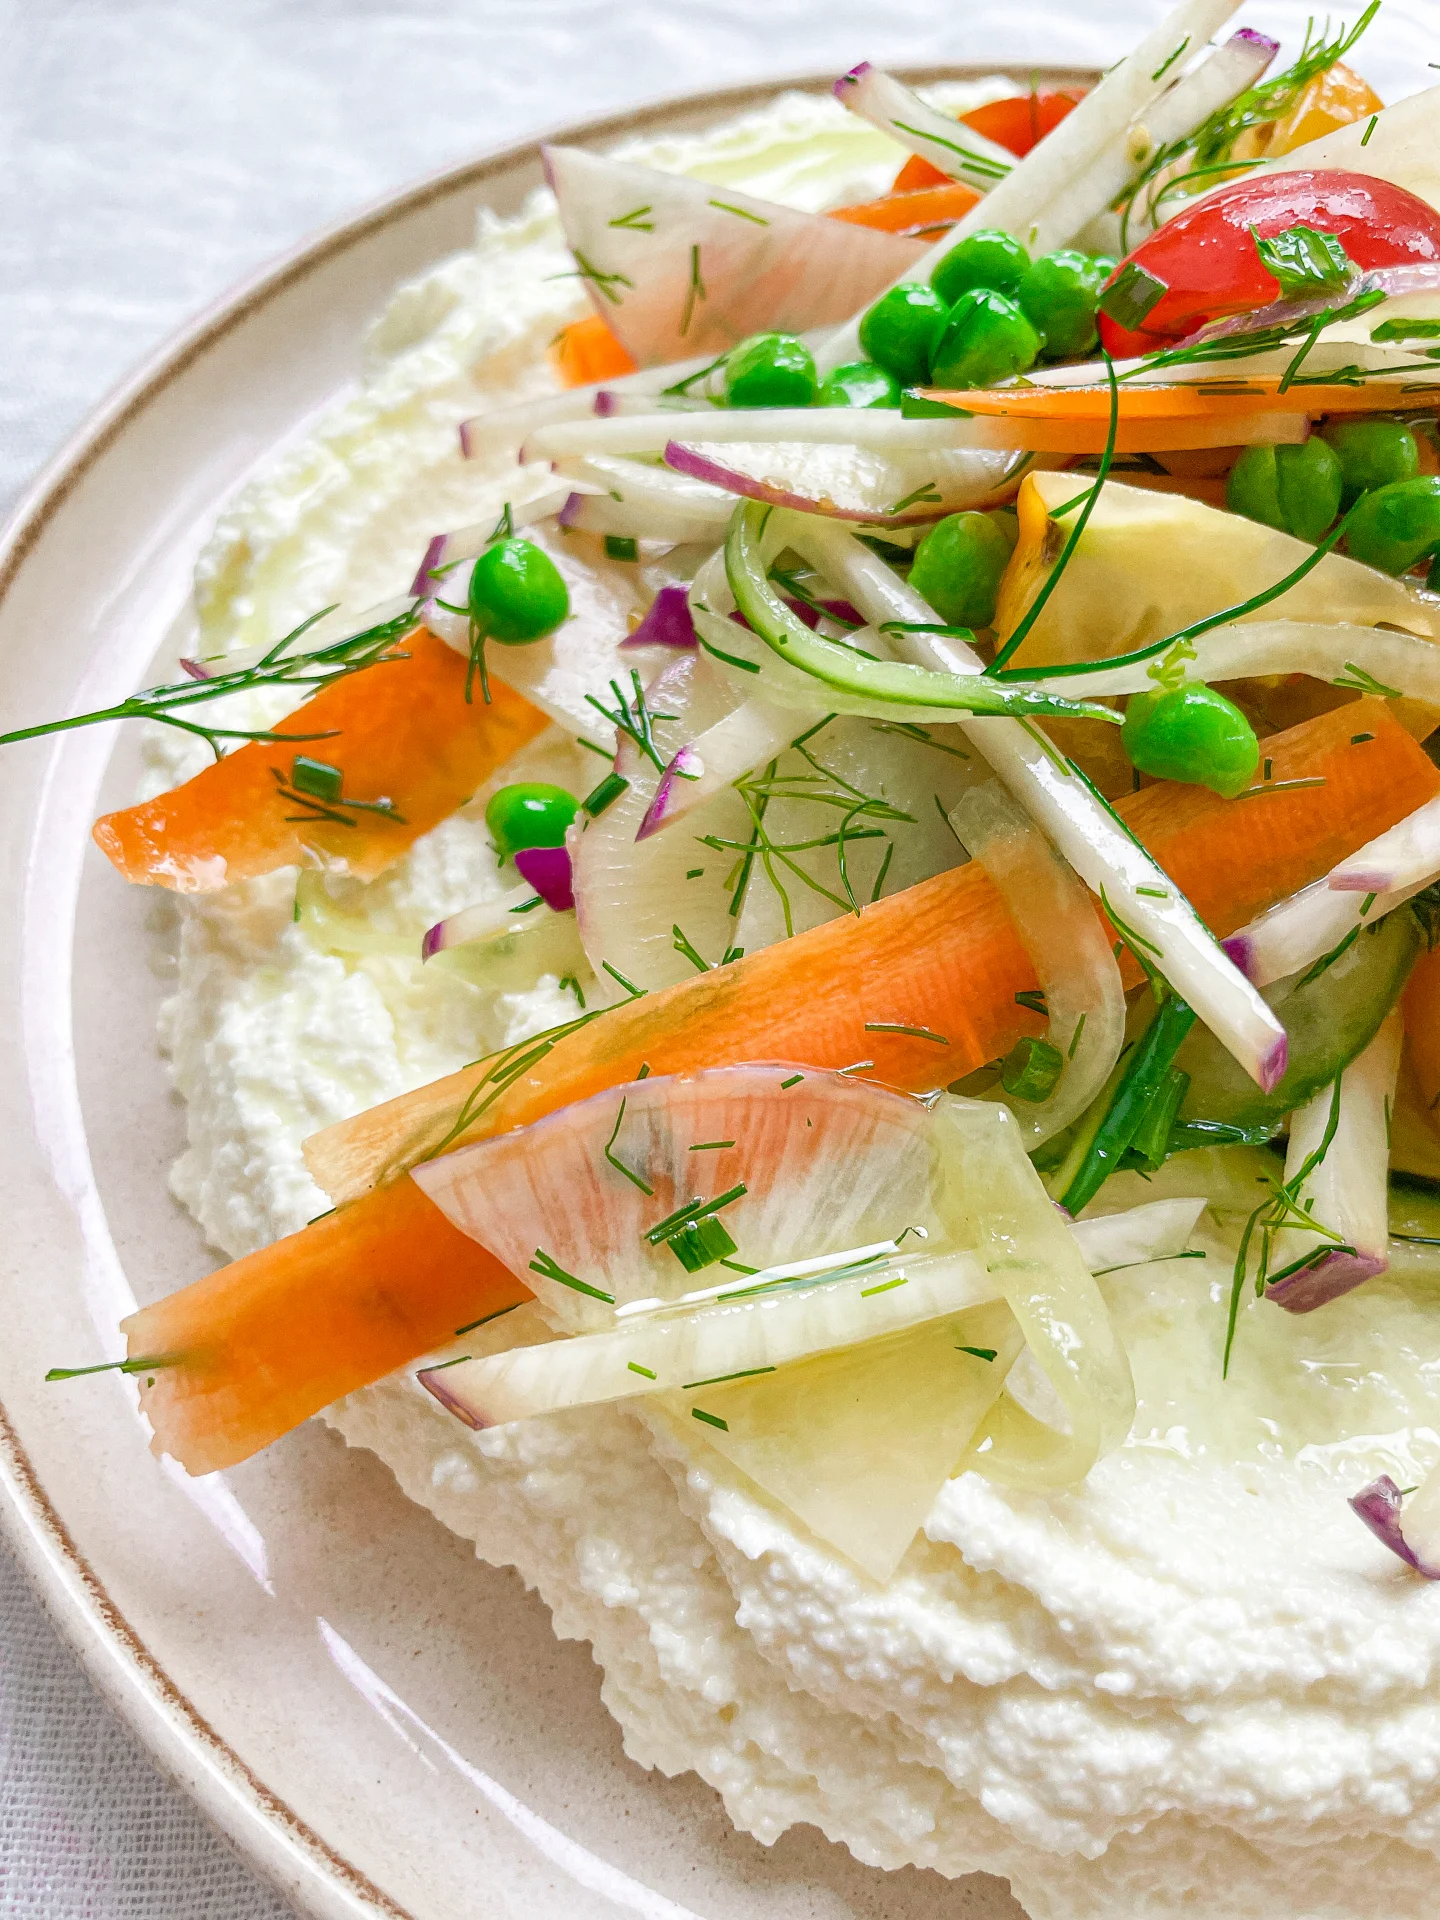
Dive into this vibrant dish of whipped feta topped with colorful rainbow veggies. It’s fresh, it’s flavorful, and it’s sure to brighten your day!

15 MINUTES

EASY

VEGETARIAN

INT.

244 PER PORTION

CREAMYEVERDAY

DIPS & SPREADS

SUMMER

INTRODUCTION

ABOUT THE RECIPE

Who says healthy can’t be fun and delicious? This whipped feta with marinated rainbow veggies is a testament to just that. Bursting with colors and flavors, it’s the perfect pick-me-up any day!

How to serve
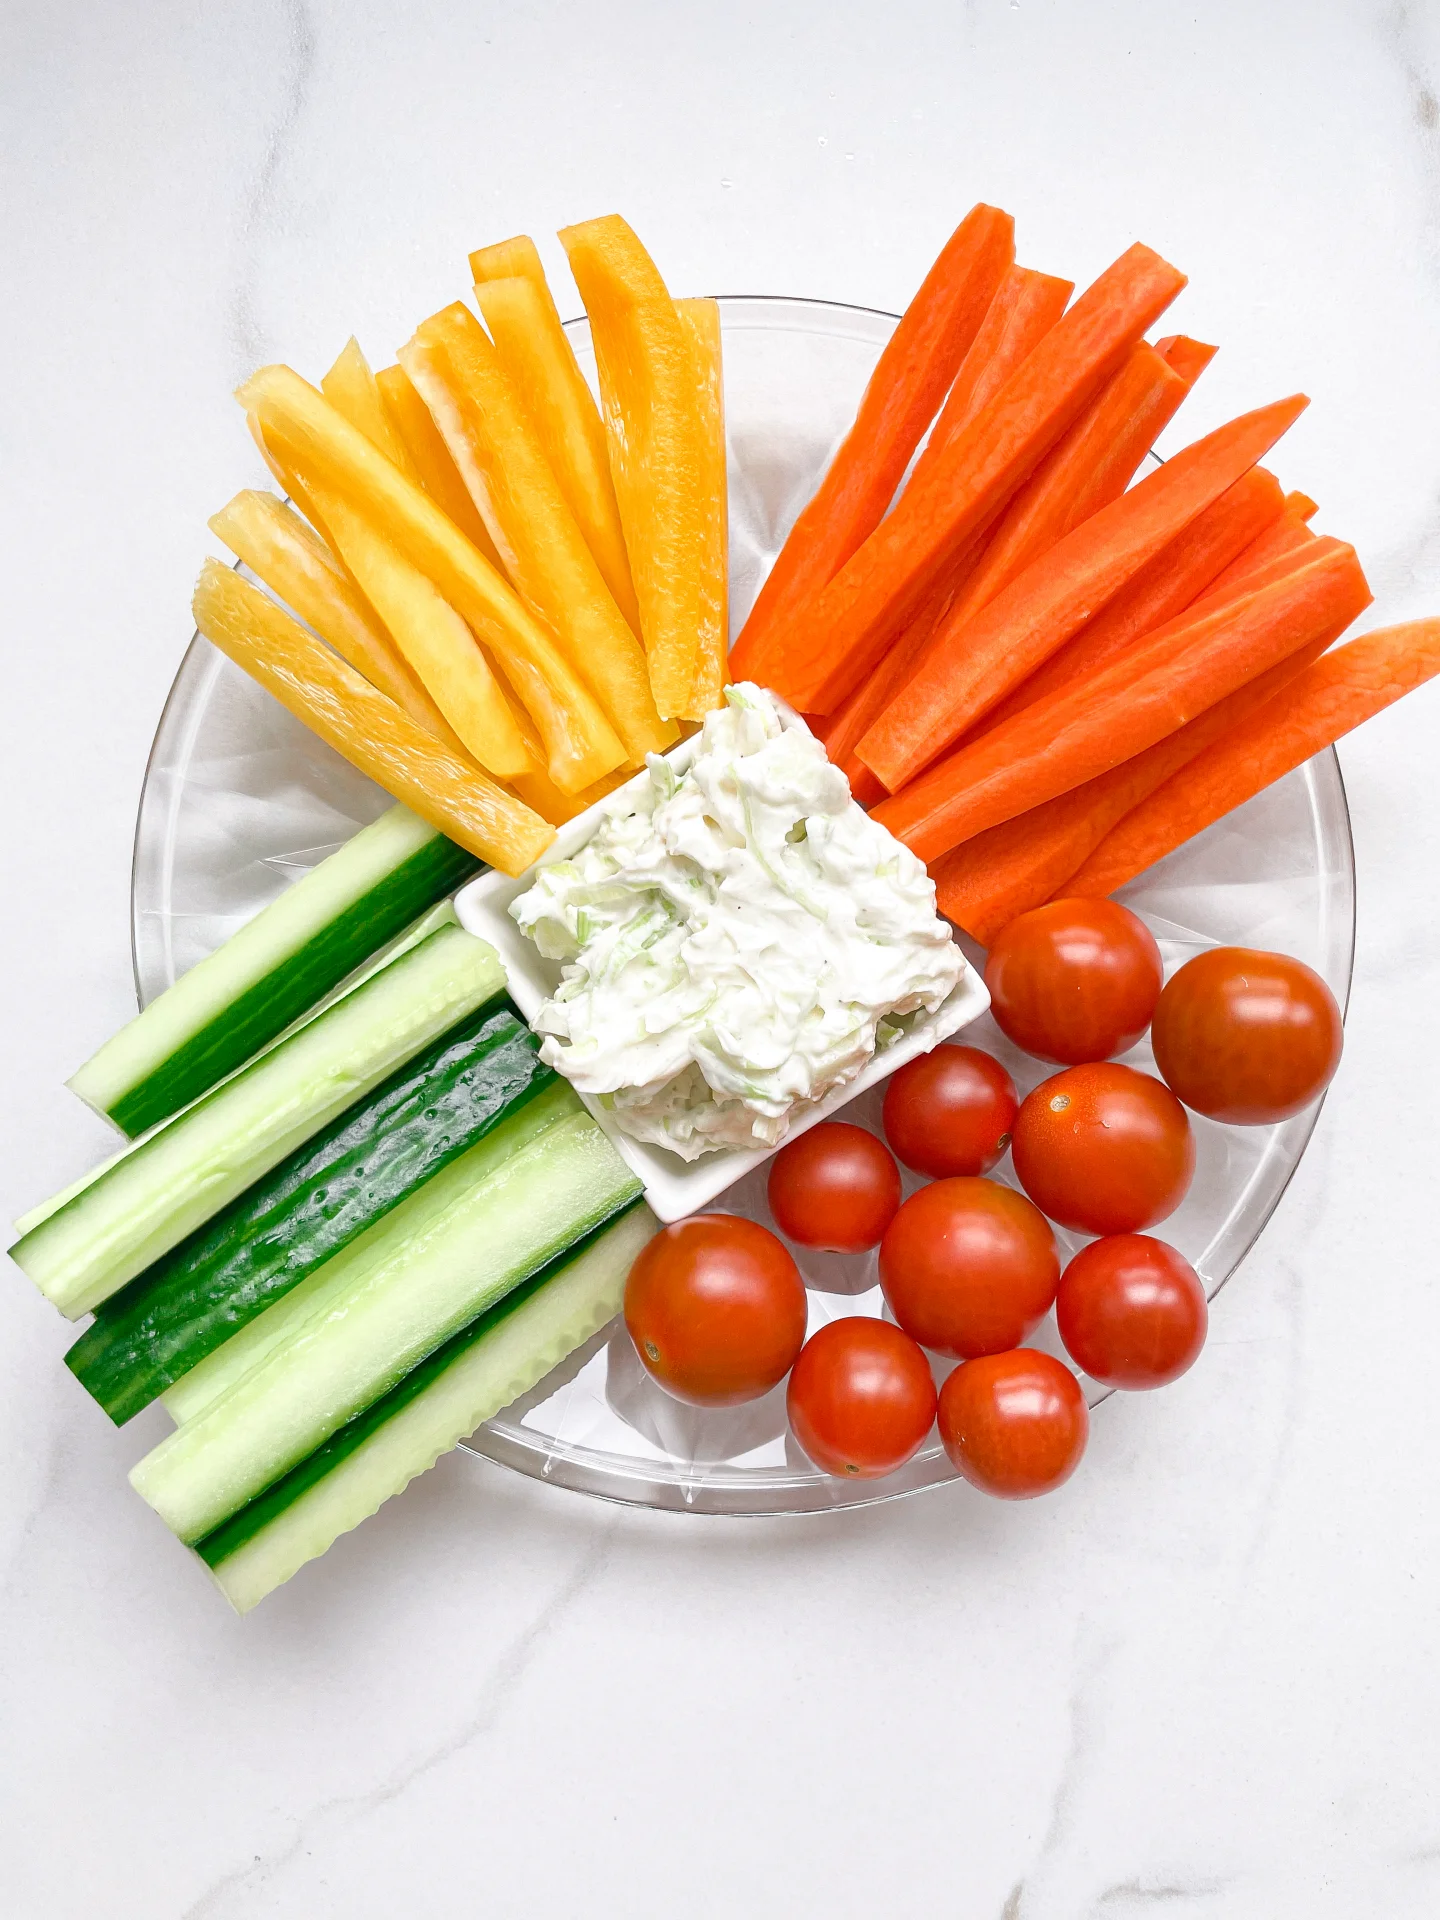
Serve this whipped feta as a delightful dip or spread over toasted bread. Pair it with the veggies for a mouth-watering appetizer or a light, satisfying lunch. It’s a versatile dish that plays well at your brunch table or as a snack during a busy workday.

How to store
Keep the whipped feta and marinated veggies in separate airtight containers in the fridge. They’ll stay fresh and tasty for up to five days, making them perfect for meal prep.
Hi, I'm Kimberly!

Hi, I'm Kimberly.

A passionate food lover who believes in the magic of homemade deliciousness that spreads love and warmth. Join me on this culinary adventure as I prepare wonderful dishes and let’s spread some happiness together!

Kimberly the Zett Signature

If you want to get to know me better, click here!


Whipped Feta & Rainbow Veggies
„Let’s make a piece of happiness“
Print
clock clock iconcutlery cutlery iconflag flag iconfolder folder iconinstagram instagram iconpinterest pinterest iconfacebook facebook iconprint print iconsquares squares iconheart heart iconheart solid heart solid icon
Whipped Feta & Rainbow Veggies

Whipped Feta & Rainbow Veggies


  • Author: Kimberly
  • Total Time: 15 minutes
  • Yield: 4 1x

Description

Recommended Equipment

  • sharp knife
  • cutting board
  • medium-sized bowl
  • food processor
  • measuring spoons
  • medium-sized plate

Ingredients

Units Scale

WHIPPED FETA

  • 200 grams feta cheese
  • 3 tbsp extra-virgin olive oil

RAINBOW VEGGIES

  • 1/4 cucumber
  • 46 cocktail tomatoes
  • 2 tbsp peas
  • 23 radishes
  • 1/2 carrot
  • 1 tbsp fresh dill
  • 1 tbsp fresh chives
  • 1 tbsp extra-virgin olive oil

Instructions

  • Thoroughly wash the cucumber, carrot, tomatoes, radishes, dill, and chives. Peel the cucumber and carrot and cut them into fine strips, halve the cherry tomatoes, slice the radishes thinly, finely chop the dill, and cut the chives into little rolls. Put everything into a medium-sized bowl and mix with 1 tablespoon of olive oil. If the feta cheese is very salty, I would not add any more salt to the vegetables.
  • Place the feta cheese in the food processor and turn it on. Gradually add 3 tablespoons of olive oil until the cheese is creamily blended.
  • Spread the feta on a flat plate and smooth it out. Distribute the vegetables over the cheese and serve. If you store the plate in the fridge, the cheese might harden a bit. I would recommend bringing it to room temperature before serving.

Notes

The calorie information may vary depending on the product used, country and region.

  • Cook Time: 15 min