Pink Deviled Eggs

Pink Deviled Eggs

Pink Deviled Eggs

Pink Deviled Eggs

April 17, 2025 by Kimberly

Tangy, creamy, a little crunchy. This snack turns heads and taste buds. Bold color, punchy flavor, and that one friend who says “Wait, what’s in these?” every single time.

2 HOURS
20 MINUTES

EASY

OMNIVORE


INT.


12 PORTIONS

CREAMY

EASTER

APPETIZER

SPRING
SUMMER

INTRODUCTION

ABOUT THE RECIPE

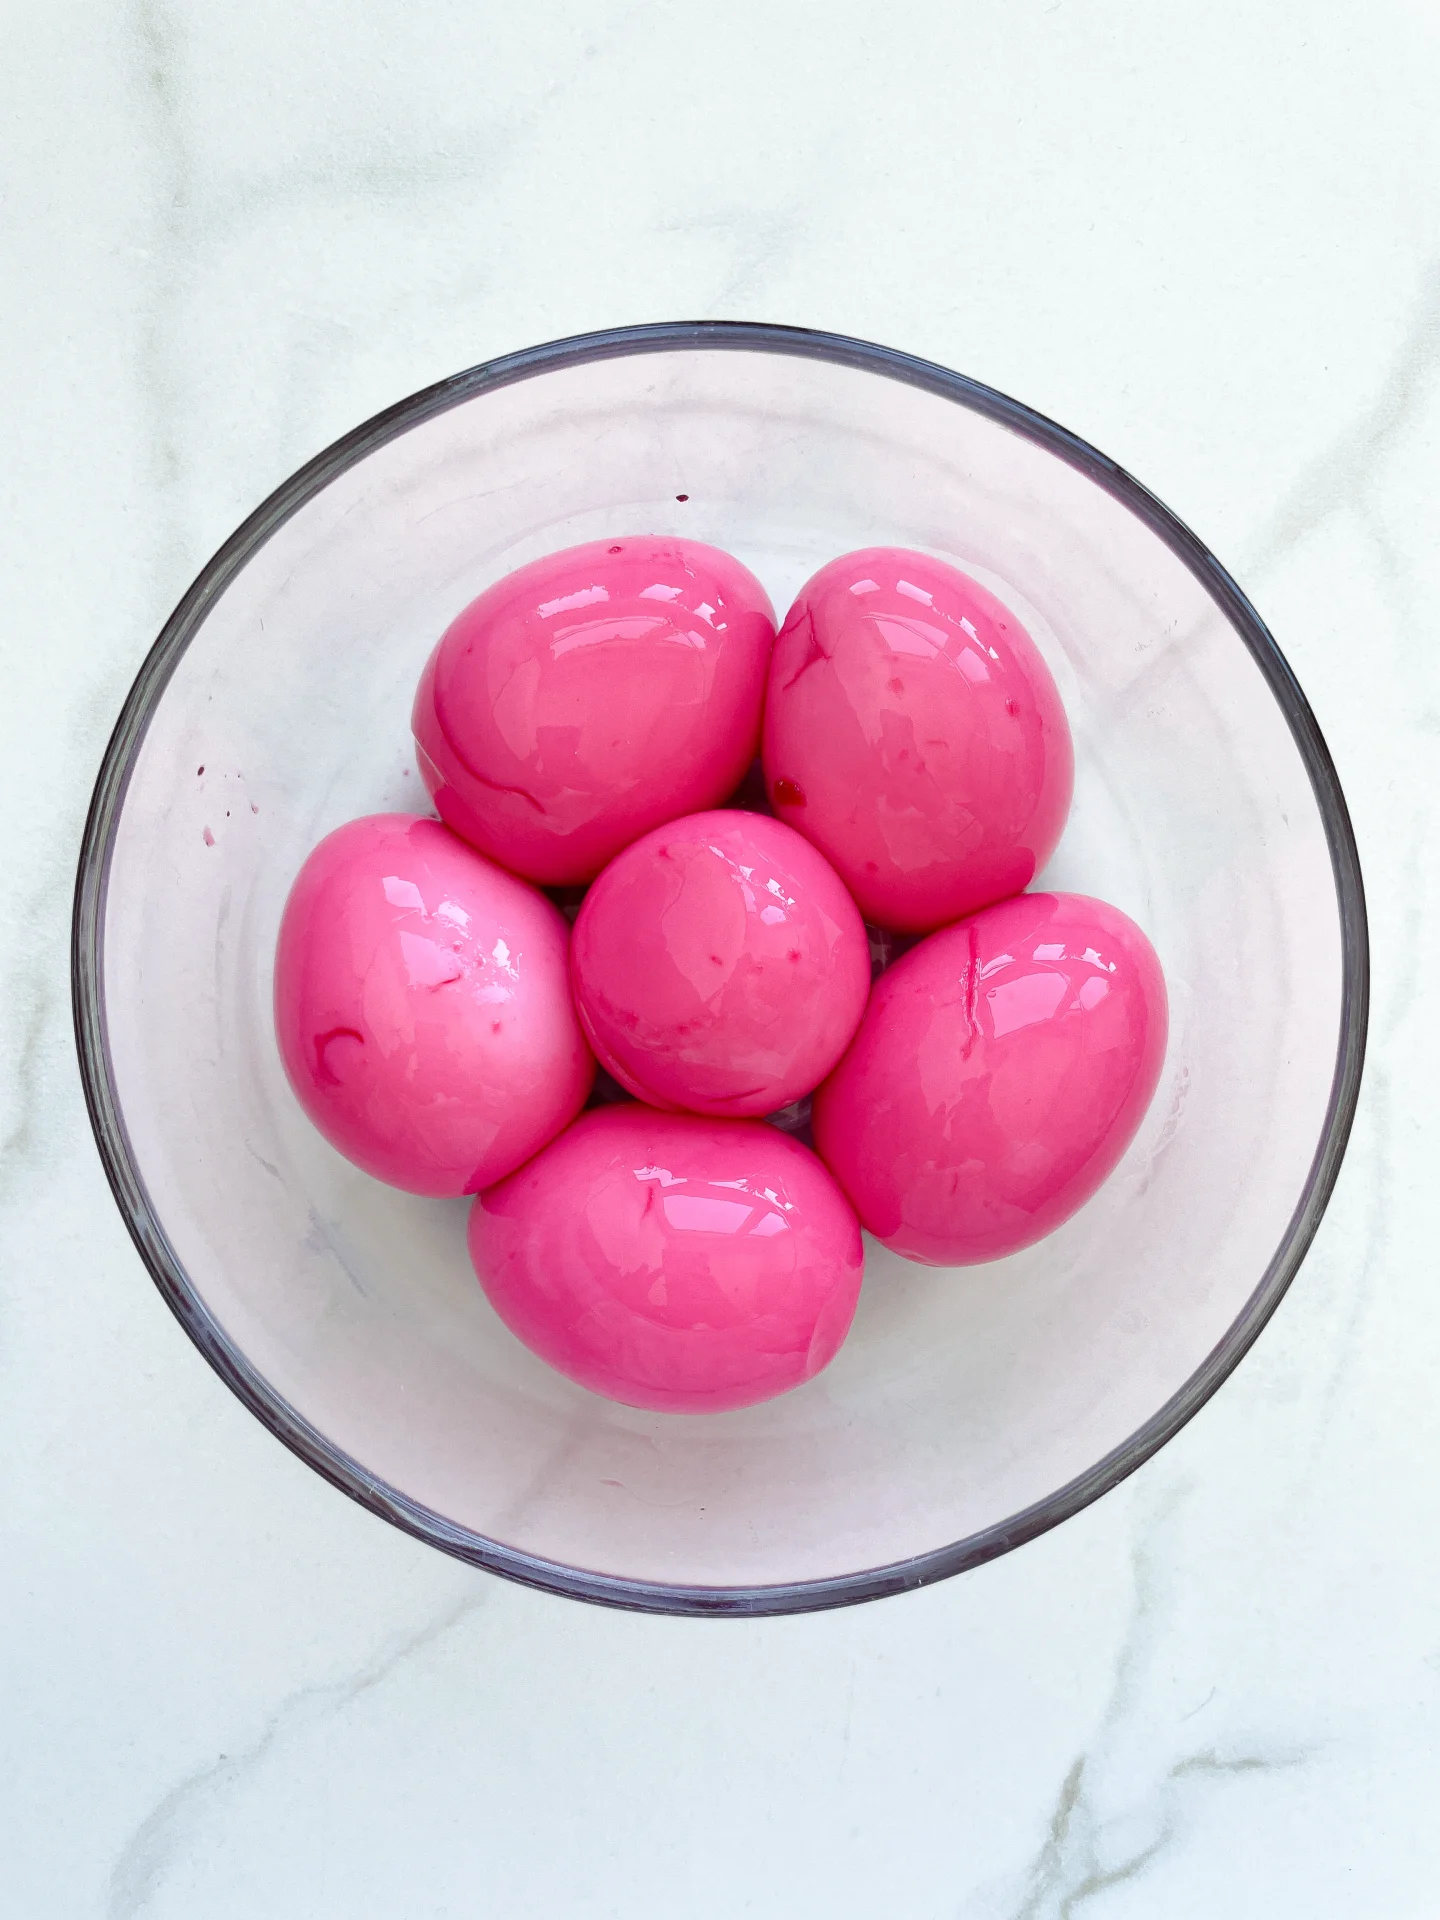
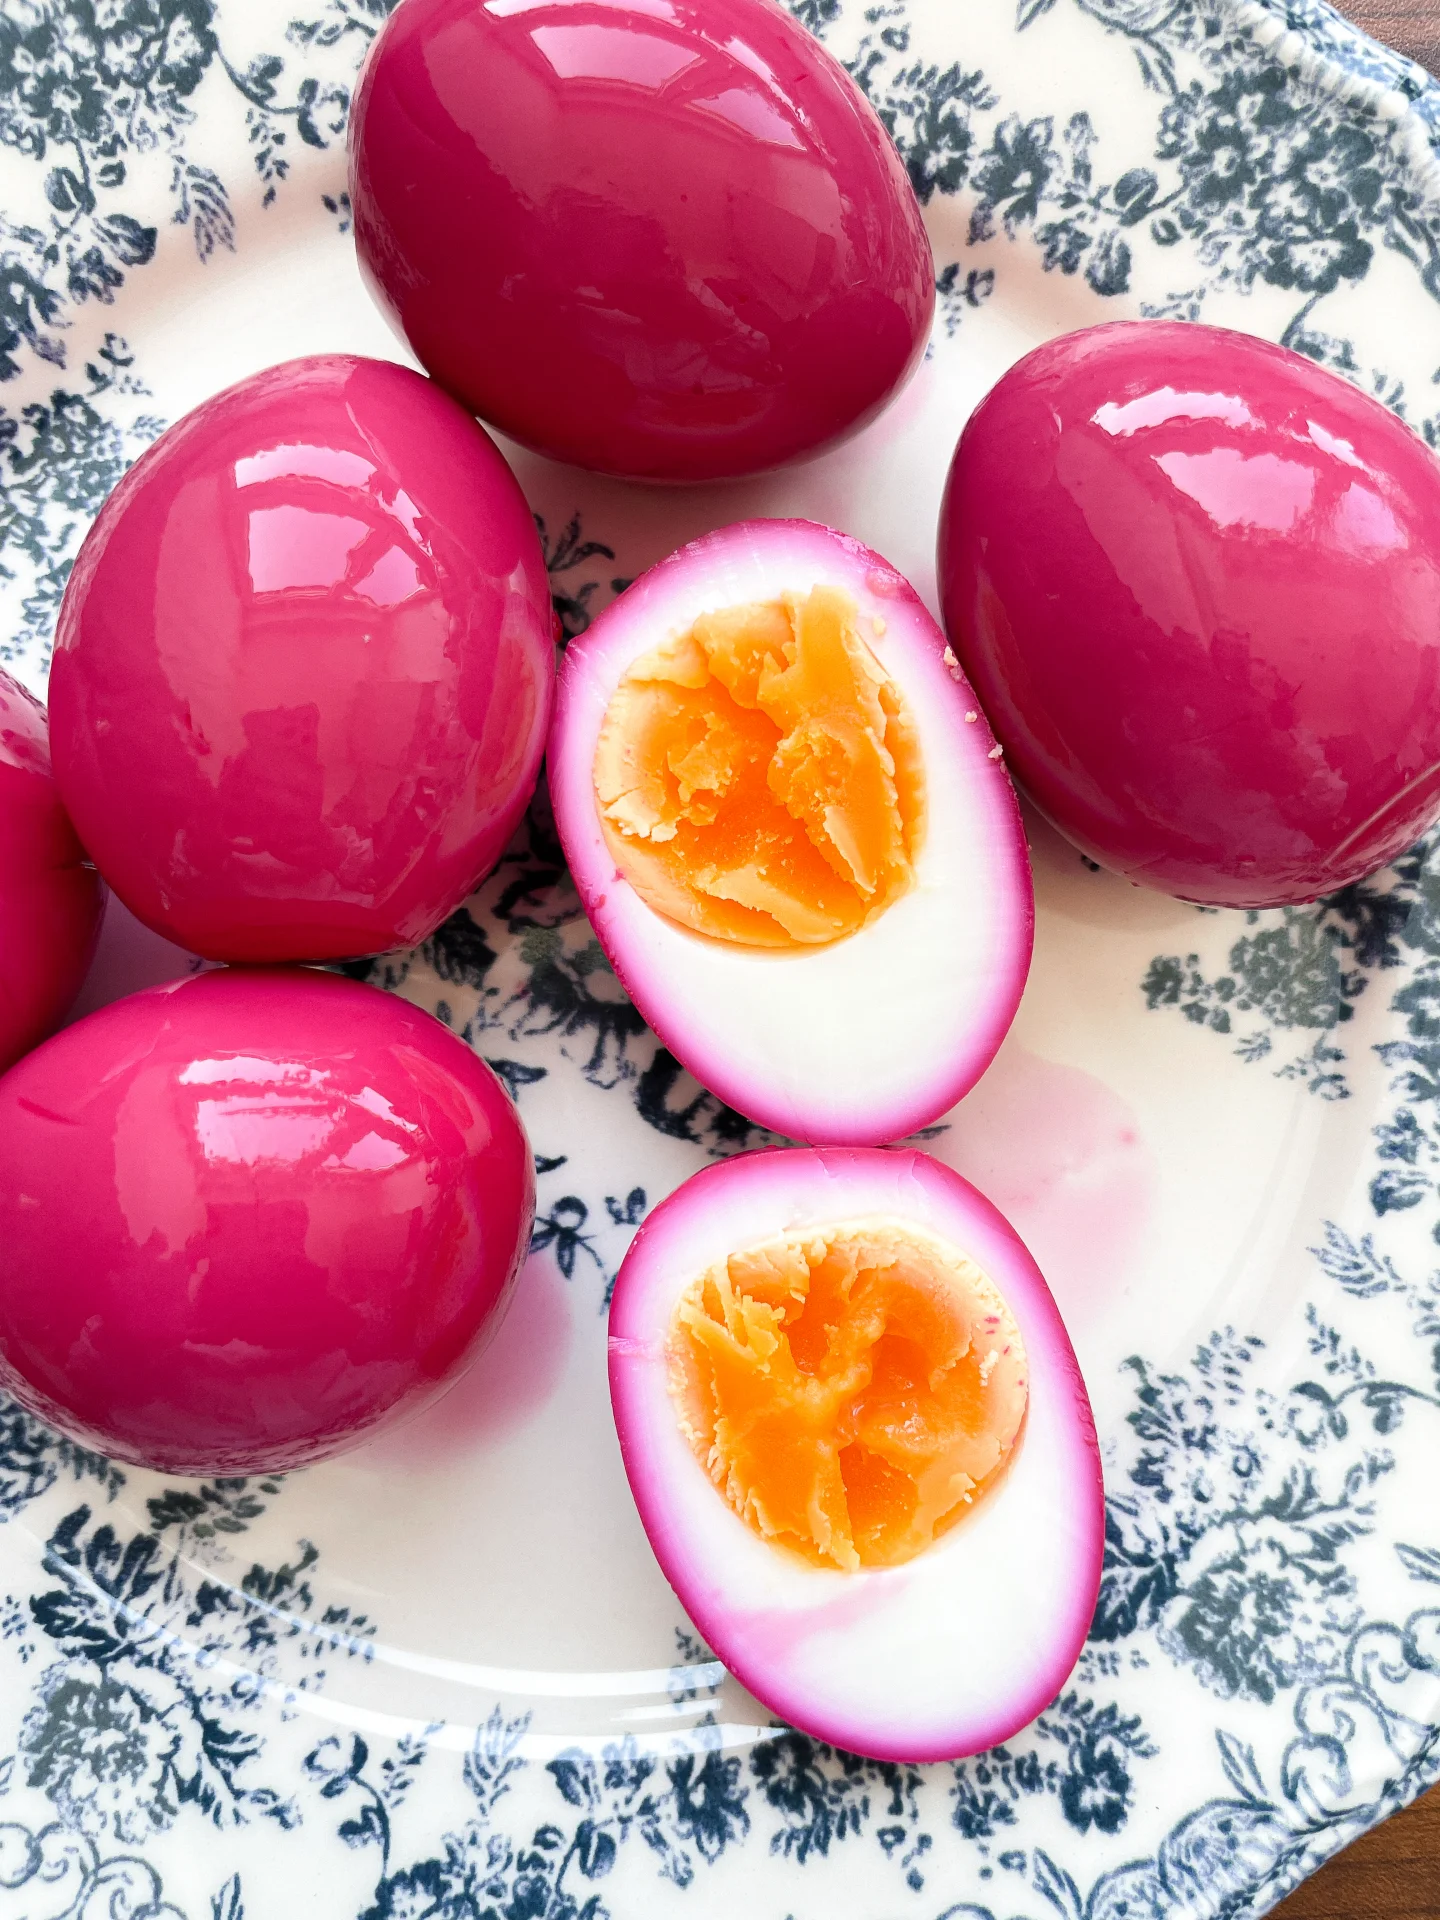
They might look fancy, but these little guys are secretly the easiest crowd-pleaser ever. You know those recipes that make people pause mid-bite and go, “Wait—what is this?” Yeah, it’s one of those. The vibrant color comes from a quick beet juice bath (don’t worry, they’re not beety, just beautiful), and the filling is creamy, tangy, and somehow nostalgic and elevated at the same time. Perfect for Easter brunches or as appetizers for dinner parties.

How to serve
These pop right off the plate, so serve them cold on a pretty platter with a sprinkle of herbs and a little crispy bacon on top. A dusting of everything bagel seasoning makes them feel extra fun and just a little cheeky. Ideal for Easter brunch, a spring picnic, or as that one unexpected hit at your dinner party.

How to store
Store leftovers in an airtight container in the fridge for up to 2 days. The color stays vibrant, and the texture holds up surprisingly well.

Hi, I'm Kimberly!

Hi, I'm Kimberly.

A passionate food lover who believes in the magic of homemade deliciousness that spreads love and warmth. Join me on this culinary adventure as I prepare wonderful dishes and let’s spread some happiness together!

Kimberly the Zett Signature

If you want to get to know me better, click here!


Pink Deviled Eggs
Pink Deviled Eggs
Pink Deviled Eggs
„Let’s make a piece of happiness“
Print
clock clock iconcutlery cutlery iconflag flag iconfolder folder iconinstagram instagram iconpinterest pinterest iconfacebook facebook iconprint print iconsquares squares iconheart heart iconheart solid heart solid icon
Pink Deviled Eggs

Pink Deviled Eggs


5 Stars 4 Stars 3 Stars 2 Stars 1 Star

No reviews

  • Author: Kimberly
  • Total Time: 2 hrs + 2 min
  • Yield: 12 1x

Description

RECOMMENDED EQUIPMENT

  • small pot
  • two small bowls
  • immersion blender (or regular one)
  • piping bag & star tip (optional)
  • sharp knife
  • cutting board

Ingredients

Units Scale
  • 6 eggs
  • 400 milliliters beetroot juice

FILLING

  • (the yolks from the 6 eggs)
  • 4 tbsp mayonnaise
  • 1 tsp dijon mustard
  • 2 tsp lemon juice
  • 1/2 tsp garlic powder
  • 1 tsp onion powder
  • salt & pepper to taste

TOPPINGS

  • 2 bacon slices
  • fresh dill
  • fresh chives
  • everything but the bagel seasoning

Instructions

  1. Boil the eggs for 8 minutes. Then transfer them to a bowl of cold water and let them sit for about 5 minutes. After that, pour out the water and add the beet juice to the same bowl. While the eggs are still warm, peel them completely and let them soak in the beet juice for about 2 hours.
  2. Meanwhile, cook the bacon until super crispy. Set it aside and let it cool down.
  3. After marinating, carefully slice the eggs in half lengthwise using a sharp knife. Be sure to wipe the knife after each egg to keep the next one looking clean and neat.
  4. Gently scoop out the yolks from the 6 eggs and place them in a separate bowl. Mix with mayo, lemon juice, mustard, garlic powder, onion powder, and salt and pepper to taste. Blend everything until smooth using an immersion blender. You can either fill the egg halves using a piping bag with a star tip (looks extra cute) or just use two spoons. It works either way. Pipe or spoon the filling into each egg half until all the mix is used up.
  5. For the topping, I used crispy bacon, fresh chives, fresh dill, and a generous sprinkle of Everything Bagel Seasoning. But honestly? You can top them with whatever makes your heart happy.
  • Passive Time: 2 hrs
  • Cook Time: 20 min

Lemony Spring Chicken Soup with Chive Oil

Lemony Spring Chicken Soup with Chive Oil

Lemony Spring Chicken Soup with Chive Oil

Lemony Spring Chicken Soup with Chive Oil

April 13, 2025 by Kimberly

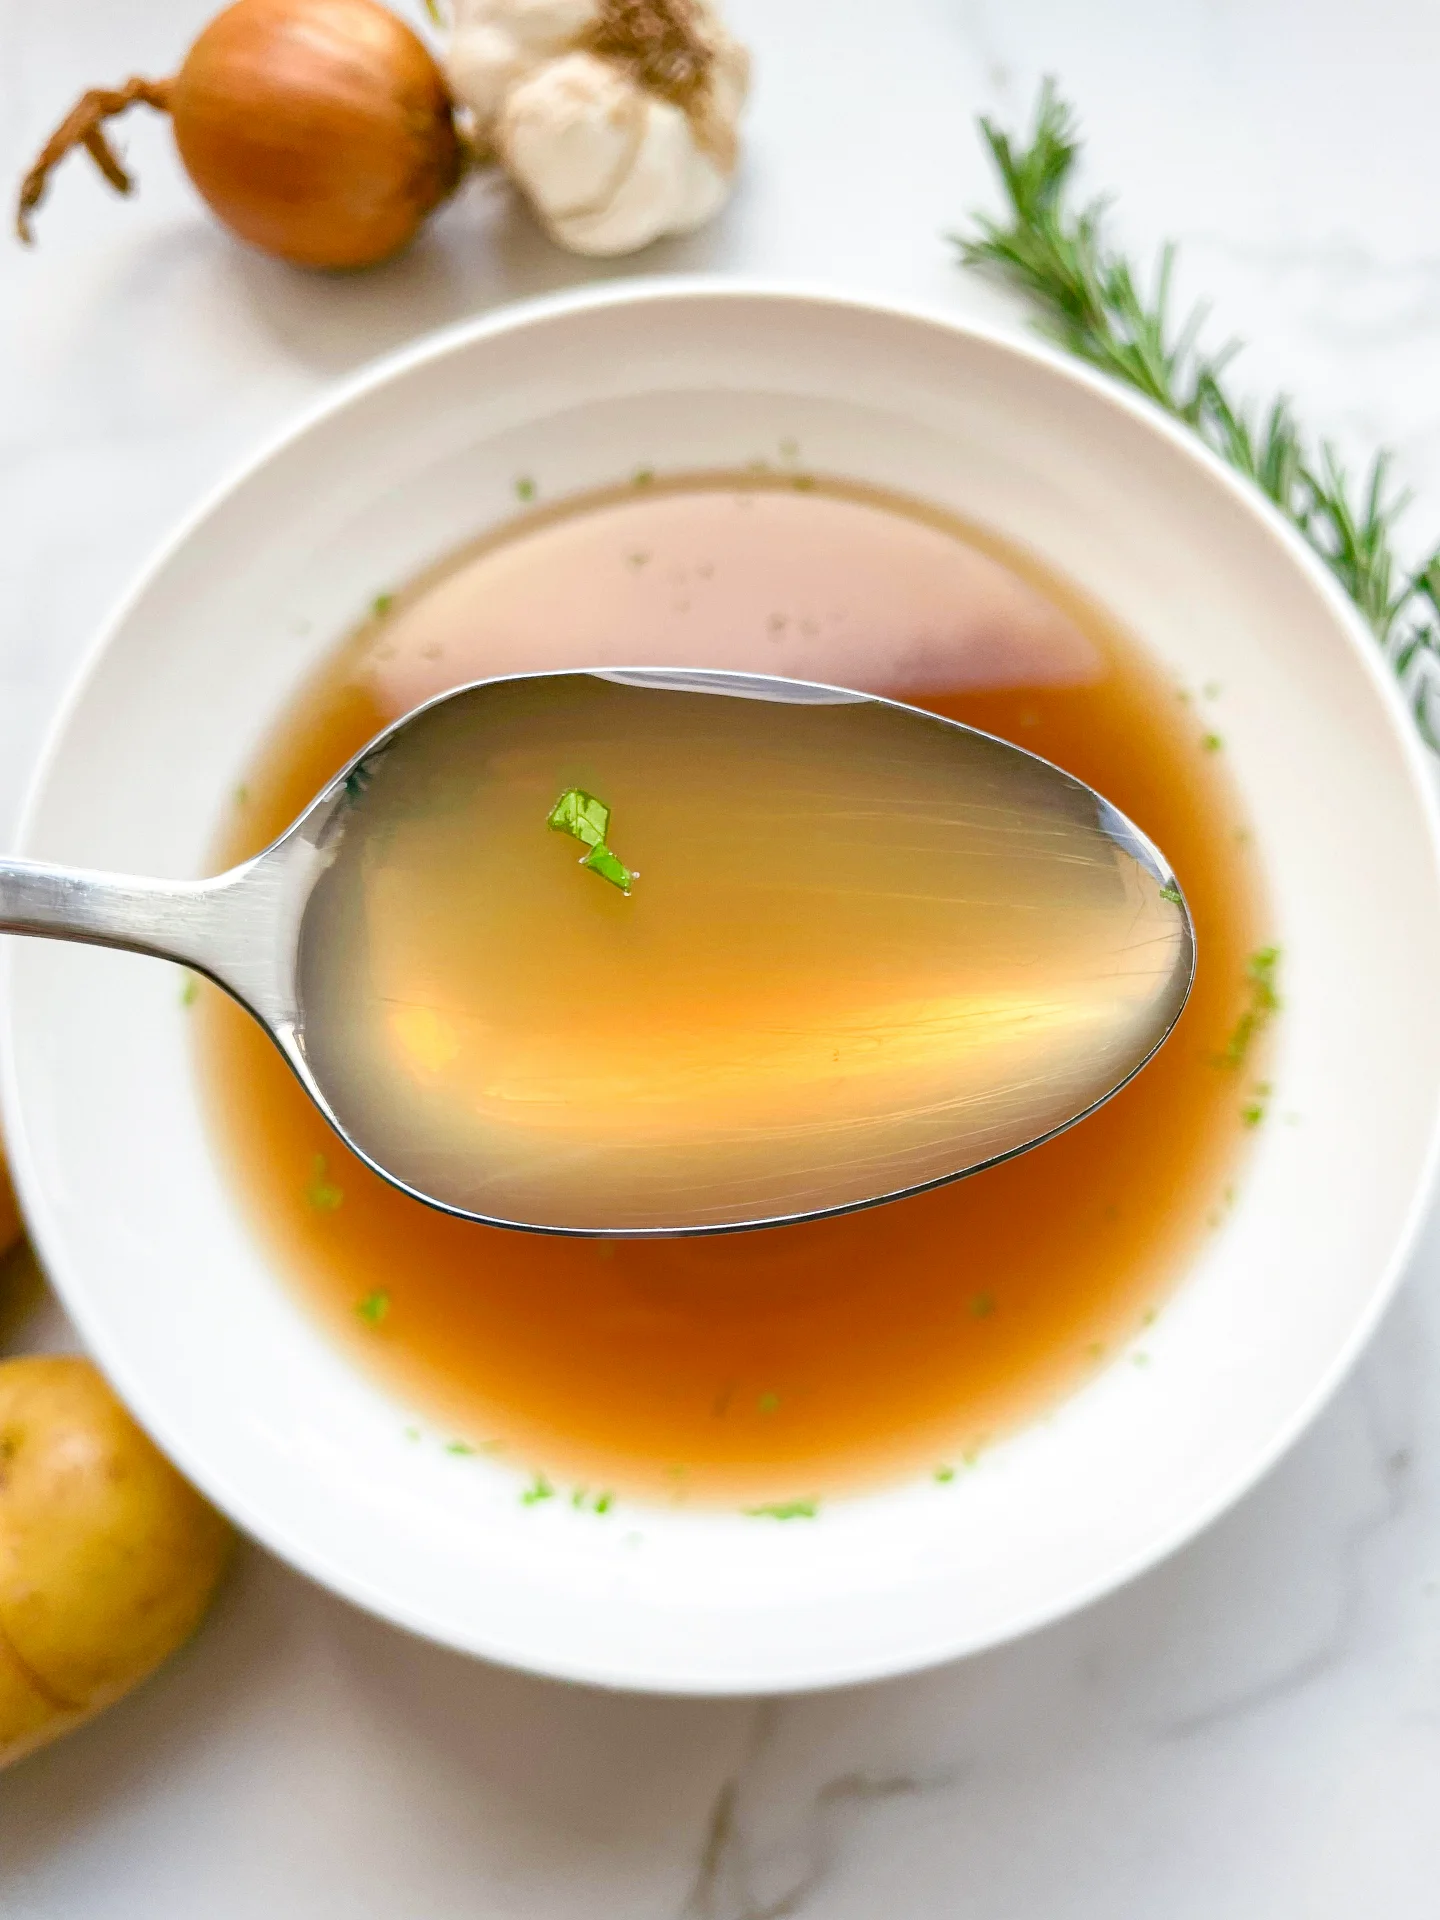
Light, lemony, and laced with herbs. This is the kind of soup you make when your body wants comfort but your taste prefers a little elegance. Spring in a bowl, basically.

45 MINUTES +
4 HOURS

ADVANCED

OMNIVORE

INT.

2 PORTIONS

COMFORT FOOD

EVERYDAY

DINNER

SPRING

INTRODUCTION

ABOUT THE RECIPE

You know that moment when winter finally gives up and your kitchen wants to celebrate with something light, cozy, but still… stunning? This is that soup. A slow-simmered broth packed with lemon, herbs, and spring veggies. Whether you’re the consommé type or more of a “let’s just get dinner on the table” person, this recipe has you covered. It’s wholesome, a little extra, and honestly very chic.

How to serve
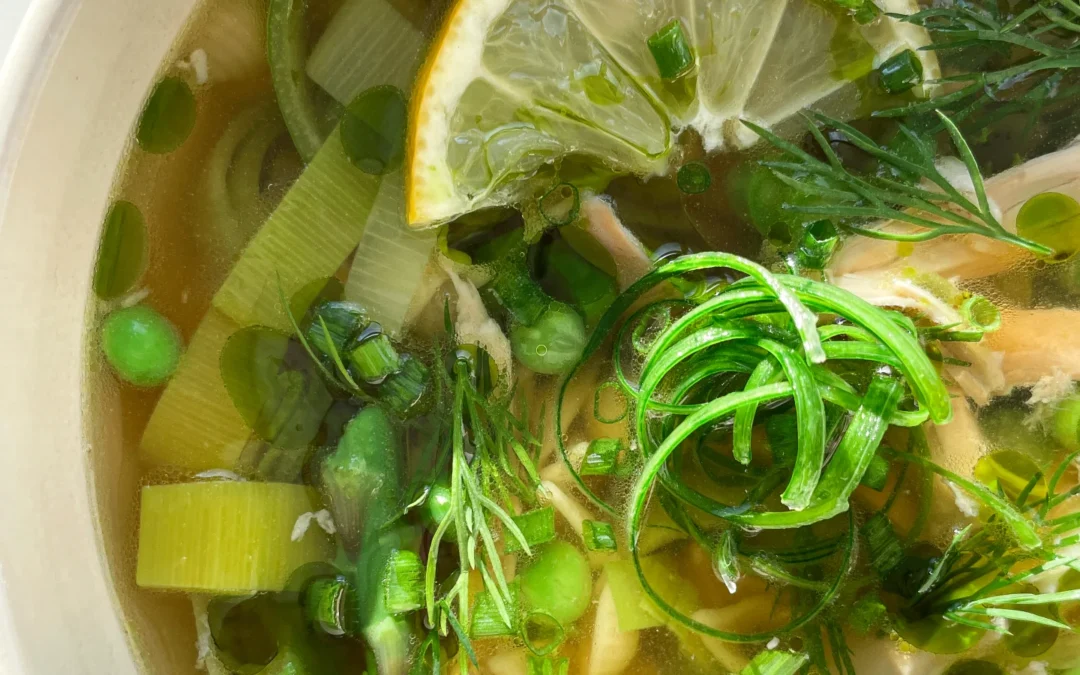
This dish is best served hot ladled over tiny noodles, tender shredded chicken, and spring greens like asparagus, peas, and leeks. Add a drizzle of homemade chive oil, a sprinkle of fresh herbs, a crack of black pepper, and maybe a floaty lemon slice if you’re feeling fancy. Perfect for lunch with friends or a solo Tuesday night power move. Either way, it tastes like you’re taking care of yourself in the most beautiful way possible.

How to store
Let everything cool completely, then store the broth and add-ins separately in airtight containers. It’ll last in the fridge for 3–4 days or freeze like a dream for up to 3 months. Just reheat gently.

Hi, I'm Kimberly!

Hi, I'm Kimberly.

A passionate food lover who believes in the magic of homemade deliciousness that spreads love and warmth. Join me on this culinary adventure as I prepare wonderful dishes and let’s spread some happiness together!

Kimberly the Zett Signature

If you want to get to know me better, click here!


Lemony Spring Chicken Soup with Chive Oil
„Let’s make a piece of happiness“
Print
clock clock iconcutlery cutlery iconflag flag iconfolder folder iconinstagram instagram iconpinterest pinterest iconfacebook facebook iconprint print iconsquares squares iconheart heart iconheart solid heart solid icon
Lemony Spring Chicken Soup with Chive Oil

Lemony Spring Chicken Soup with Chive Oil


  • Author: Kimberly
  • Total Time: 45 min + 4 hrs
  • Yield: 2 1x

Description

RECOMMENDED EQUIPMENT

  • large pot
  • small pot
  • fine mesh strainer
  • cheesecloth
  • sharp knife
  • cutting board

For the consommé version, you’ll also need:

  • an extra small pot
  • whisk
  • small bowls

Ingredients

Units Scale

CHICKEN STOCK

  • 3 liters cold water
  • 2 carrots
  • 4 small yellow onions
  • 1 leek (only the green part)
  • 2 bay leaves
  • 3 sprigs of fresh thyme
  • 1 tsp black pepper corns
  • 1 lemon
  • 4 garlic cloves
  • 1 kilogram skin-on, bone-in chicken thighs
  • 4 egg whites (only for the Consommé version)

SOUP COMPONENTS

  • 10 stems green asparagus
  • 1 leek (only the white part)
  • 100 grams frozen peas
  • 100 grams tiny pasta shells

TOPPINGS

  • fresh dill
  • fresh chives
  • scallions
  • 1 lemon
  • homemade chive oil

Instructions

  1. Peel the carrots, trim the ends, and slice. Cut the roots off the onions and halve them. Separate the white and green parts of the leek. Wash the green part thoroughly and cut it into large pieces. Halve the lemon. Peel the garlic cloves. Pat the chicken thighs dry with paper towels.
  2. Heat a large pot over medium heat (no oil). Place the onion halves cut side down and let them brown. Then add the carrots, leek, lemon, herbs, peppercorns, and chicken thighs. Pour in 3 liters of cold water.
  3. Slowly bring the pot to a gentle simmer, do not let it boil. Skim off any foam with a spoon. Let it cook uncovered on the lowest heat for 4 to 8 hours, making sure it stays at a gentle simmer. Skim off any foam occasionally and add cold water if too much evaporates.
  4. In the meantime, prepare the chive oil and store it in the fridge until needed.
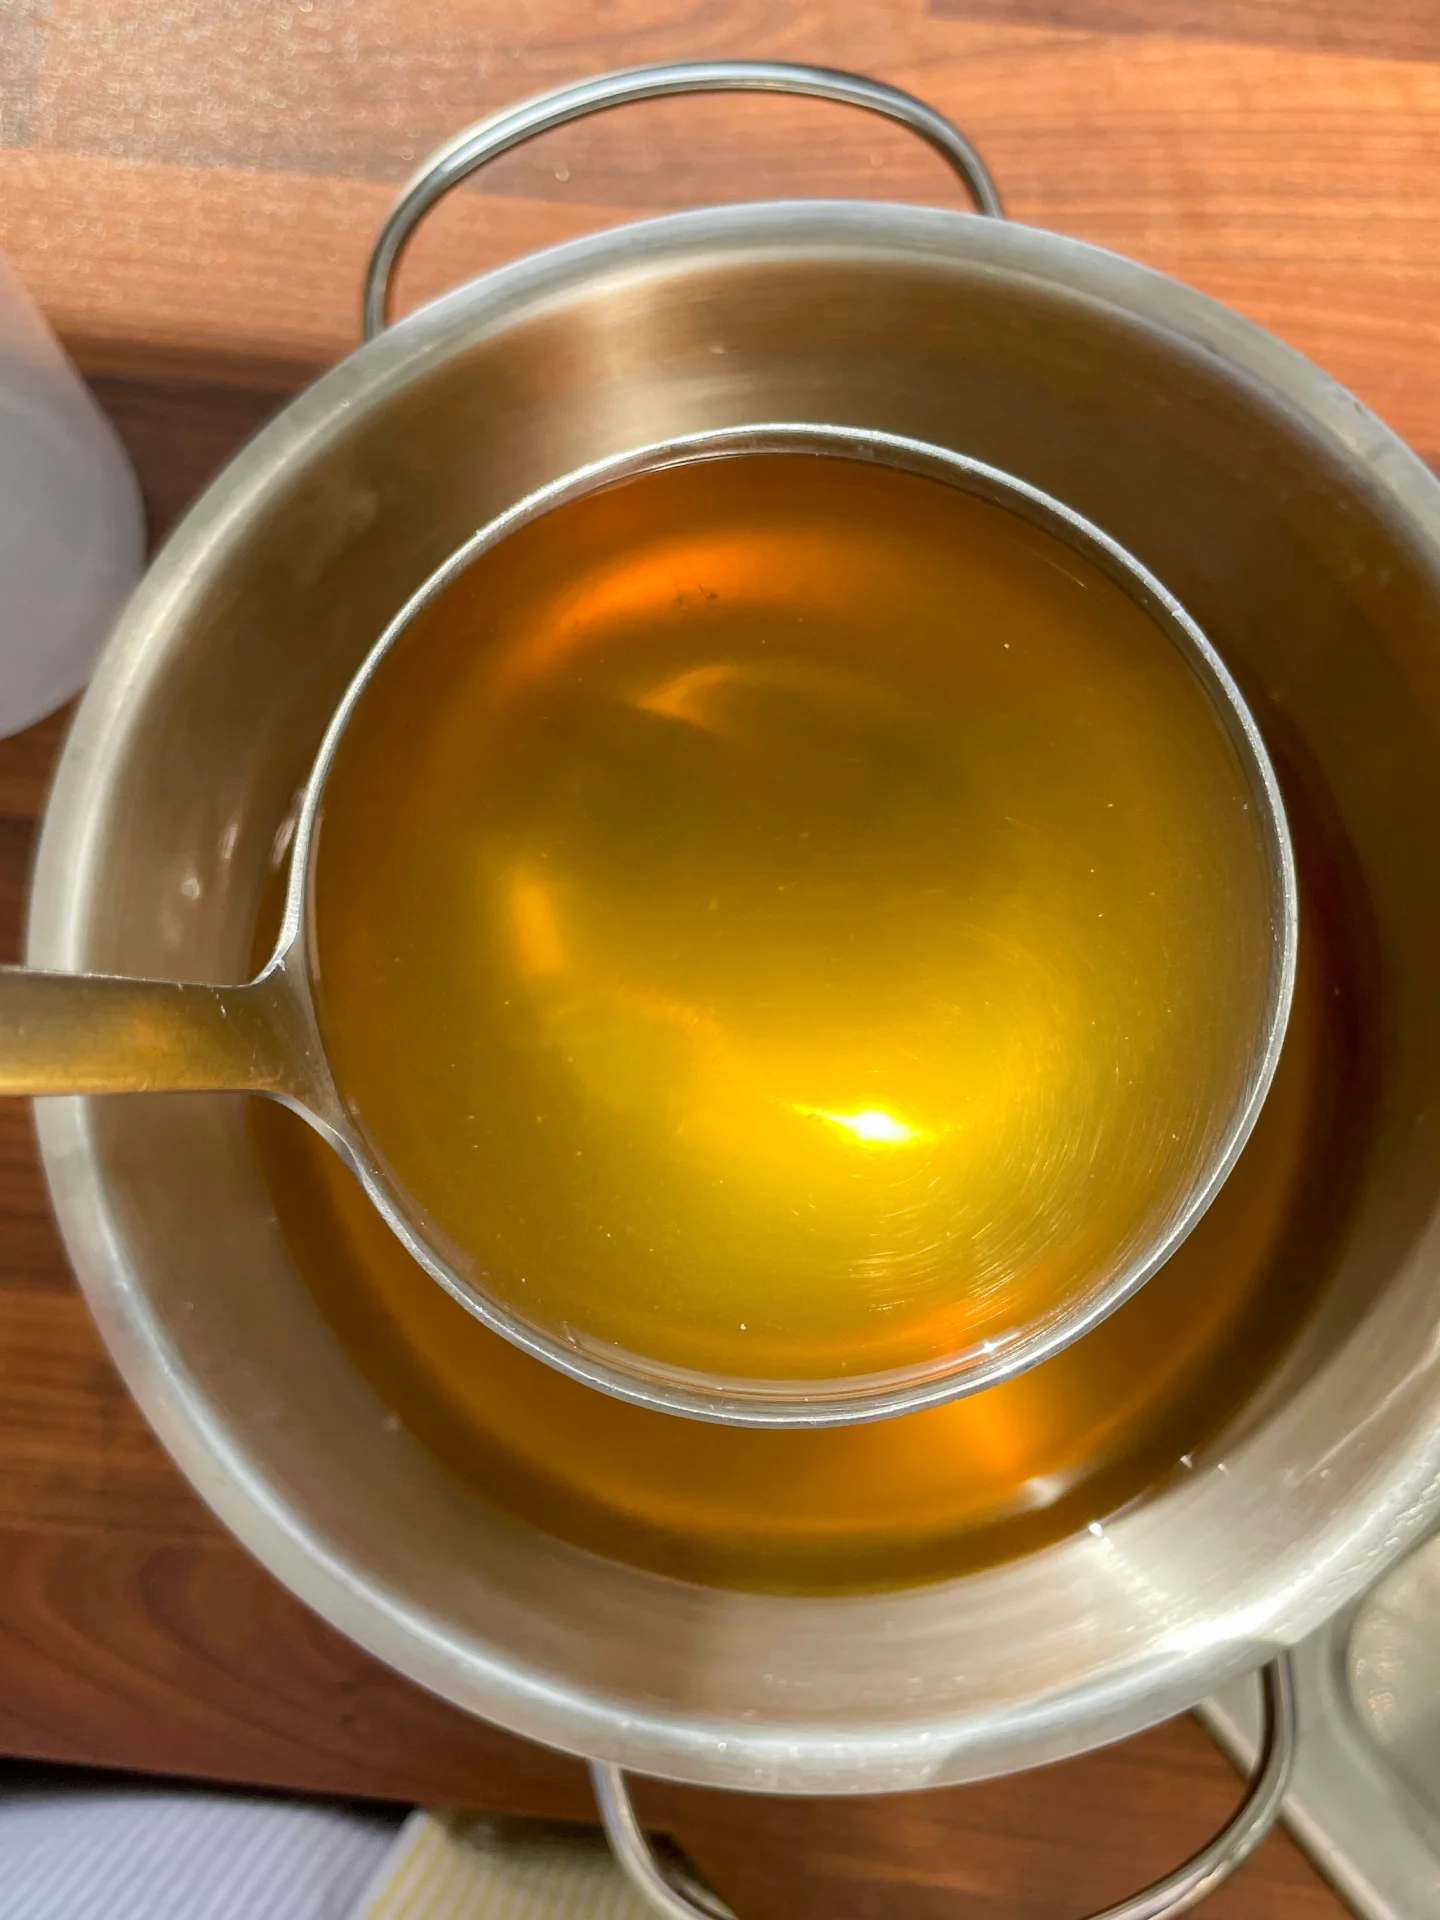
  5. Once the broth is done, remove it from the heat. Take out the chicken thighs, let them cool, and then shred the meat from the bones and set it aside for later. Remove the vegetables with a slotted spoon. Strain the broth first through a fine mesh strainer and then through cheesecloth for a clear result.

If you’d like to turn your broth into a clarified consommé, follow the next steps. If not, jump to the section “Simple Version.”

Consommé Version

  1. Let the broth cool slightly so it’s warm but not hot. In a bowl, whisk 4 egg whites just until frothy. Stir them into the broth. Let everything sit over medium heat for about 15–20 minutes, do not boil, or the egg whites will curdle.Over time, a layer of egg whites will form and trap any remaining fat or cloudiness. Gently remove this layer and strain the broth again: first through a fine mesh strainer, then through cheesecloth. The result: a crystal-clear consommé.
  2. Reheat the consommé and season with salt (about 5–7g per liter). Keep it hot.
  3. Slice the white part of the leek into rings and wash well. Slice the asparagus into chunks or thin rounds. Finely slice the green part of the scallions for topping.Optional extra step for curly scallion strips: Slice the tube lengthwise and open it up. Place the inside facing up and gently scrape off the slimy layer with a knife. Slice into thin strips and store in a bowl of ice water until serving.
  4. Boil two small pots of salted water. In one, cook the noodles al dente. In the other, blanch the leeks first, then asparagus, and finally the peas. Place each component in a small bowl and set aside.
  5. To serve, layer noodles, vegetables, and shredded chicken into serving bowls and pour hot consommé over. Top with freshly ground black pepper, fresh dill, chives, scallions, lemon slices, a squeeze of lemon juice, and a drizzle of chive oil.

Simple Version

  1. Reheat the broth and season with salt (5–7g per liter). Keep it hot.
  2. Slice the leek into rings and rinse thoroughly. Cut the asparagus into chunks or thin slices. Finely slice the green part of the scallions for topping.
  3. Bring a small pot of salted water to a boil and cook the noodles al dente.
  4. Add the leeks to the broth and simmer until soft. Then add asparagus and peas, cooking for another 5 minutes. Finally, stir in the shredded chicken and cooked noodles. Simmer everything for 1–2 minutes until heated through.
  5. Adjust seasoning with salt, pepper, and lemon juice. Serve hot in deep bowls, topped with fresh dill, chives, scallions, lemon slices, and chive oil.

Notes

  • This soup takes time, but it rewards you with depth and flavor.
  • This recipe yields about 2.5 liters of finished chicken stock. You’ll use 1 liter for the soup, the rest keeps for 2–3 days in the fridge or 2–3 months in the freezer for future recipes.
  • Passive Time: 4 hrs
  • Cook Time: 45 min

Creamy Passionfruit Curd Cheesecake

Creamy Passionfruit Curd Cheesecake

Creamy Passionfruit Curd Cheesecake

Creamy Passionfruit Curd Cheesecake

March 18, 2025 by Kimberly

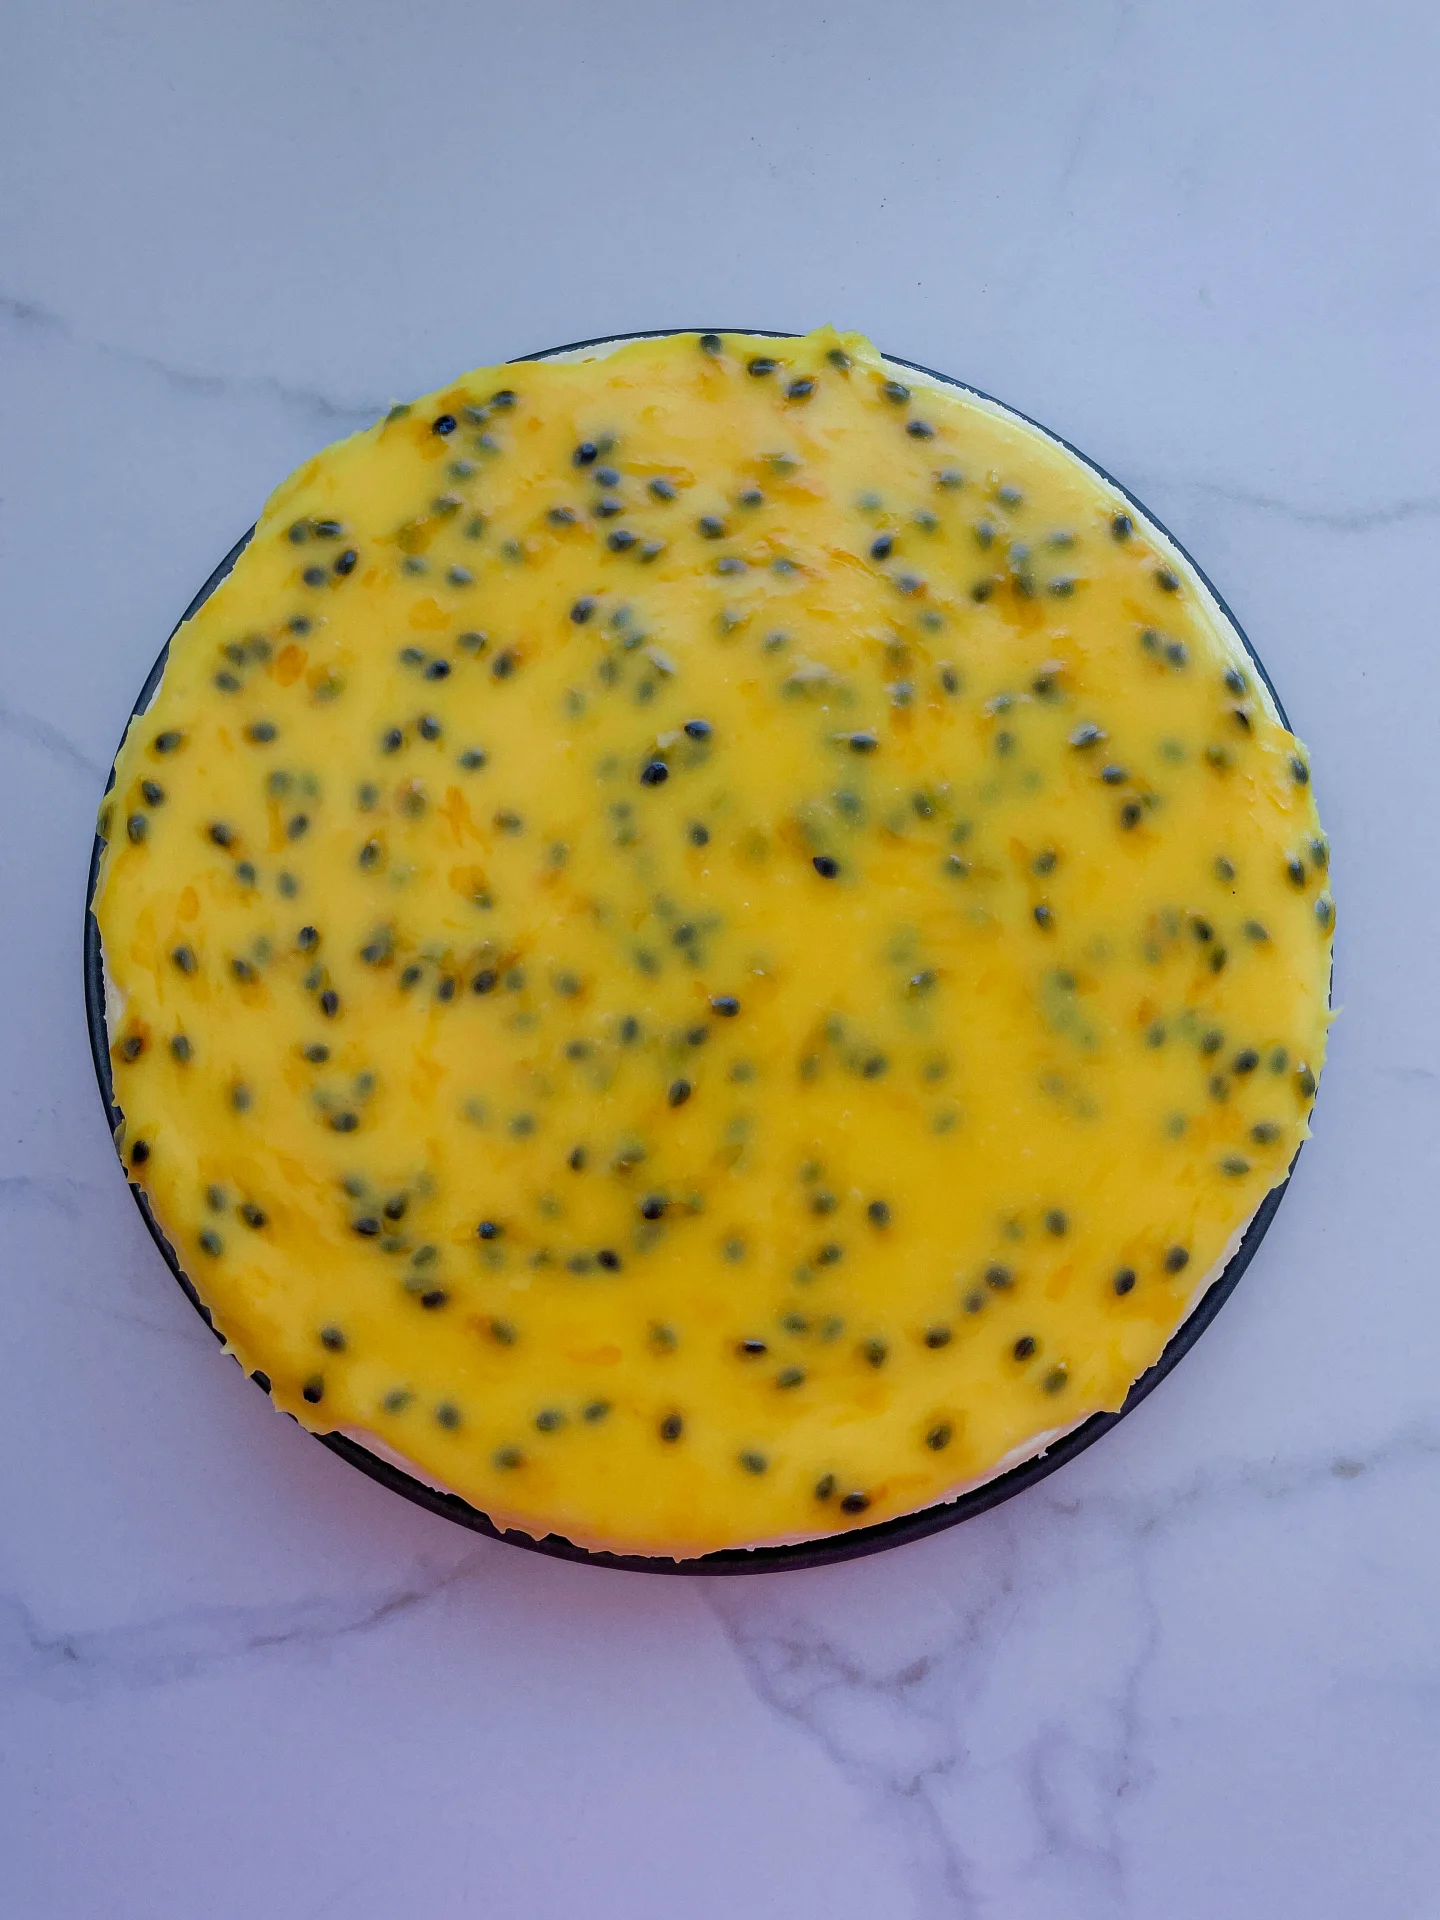
Rich, creamy cheesecake meets silky passionfruit curd on a buttery vanilla cookie crust. Sweet, tangy, smooth like sunshine in dessert form. Perfectly indulgent, slightly messy, and impossible to eat just one slice.

60 MINUTES
+ OVERNIGHT

EASY

VEGETARIAN

INT.

8-16 PORTIONS

CREAMY

EASTER

DESSERT & SWEETS

SPRING
SUMMER

INTRODUCTION

ABOUT THE RECIPE

This cheesecake is for those who love their desserts creamy, tangy, and just a little extra. A smooth, rich filling sits on a buttery vanilla cookie crust, finished with a silky passionfruit curd that’s sweet, tart, and totally addictive. It’s got just the right balance: light yet indulgent, classic yet tropical. Whether you’re making this for a special occasion or just because you need something incredible in your fridge, this is the kind of dessert that makes people stop mid-bite.

How to serve
Serve this best chilled, straight from the fridge. It’s perfect on its own but also pairs well with a strong espresso, a glass of dessert wine, or, let’s be real, just a fork and five minutes of alone time.

How to store
Store leftovers in an airtight container in the fridge for up to 4 days. The texture stays beautifully creamy, and the curd keeps its glossy finish.

Hi, I'm Kimberly!

Hi, I'm Kimberly.

A passionate food lover who believes in the magic of homemade deliciousness that spreads love and warmth. Join me on this culinary adventure as I prepare wonderful dishes and let’s spread some happiness together!

Kimberly the Zett Signature

If you want to get to know me better, click here!


Creamy Passionfruit Curd Cheesecake
„Let’s make a piece of happiness“
Print
clock clock iconcutlery cutlery iconflag flag iconfolder folder iconinstagram instagram iconpinterest pinterest iconfacebook facebook iconprint print iconsquares squares iconheart heart iconheart solid heart solid icon
Creamy Passionfruit Curd Cheesecake

Creamy Passionfruit Curd Cheesecake


  • Author: Kimberly
  • Total Time: 60 min + overnight
  • Yield: 8-16 slices 1x

Description

RECOMMENDED EQUIPMENT

  • oven
  • 28 cm / 11” cake pan
  • deep baking tray or dish larger than the cake pan
  • food processor
  • large mixing bowl
  • whisk
  • aluminum foil
  • small pot

Ingredients

Units Scale

CRUST

  • 200 grams golden Oreo cookies (without cream filling)
  • 100 grams butter

FILLING

  • 600 grams cream cheese
  • 130 grams white sugar
  • 160 grams creme fraiche
  • 1 tsp vanilla extract
  • 2 eggs

PASSIONFRUIT CURD

  • 2 passionfruits
  • 85 grams white sugar
  • 40 grams butter
  • 50 grams heavy cream
  • 1 tbsp cornstarch
  • cold water

Instructions

  1. Preheat the oven to 175°C / 347°F (convection). Fill a deep baking tray or a dish large enough to fit the cake pan with water. The water should reach about halfway up the sides of the cake pan. Set aside.
  2. Prepare the crust. Carefully twist apart the Oreo cookies and scrape off the cream filling. Add the cookies to a food processor and pulse briefly. Add the softened butter and mix for about 20 seconds until the mixture becomes crumbly and holds together. Press the mixture evenly into the bottom of a cake pan. Set aside.
  3. Make the filling. In a large mixing bowl, whisk the cream cheese until smooth and creamy. Add the sugar and whisk again until fully combined. Stir in the crème fraîche and vanilla extract. Add one egg and mix until just combined, then add the second egg, mixing only until incorporated. Be careful not to overmix to avoid incorporating too much air.
  4. Assemble the cheesecake. Pour the cheesecake filling over the crust and spread evenly. Lay two sheets of aluminum foil flat and place the cake pan in the center. Fold the foil up around the pan to prevent water from seeping in. Place the cake pan in the prepared water bath and transfer to the middle rack of the oven. Bake for about 40 minutes until the top is completely pale, the edges are set, and the center still jiggles slightly.
  5. Make the passionfruit curd. While the cheesecake bakes, scoop the passionfruit pulp into a small pot, add the sugar, and bring to a simmer over medium heat. Add the butter and let it melt. Finally, stir in the heavy cream and bring to a brief boil before removing from the heat. In a small bowl, whisk the cornstarch with 1 tablespoon of water until smooth, then pour it into the passionfruit mixture. Stir and bring to a boil once more. Let cool for about 30 minutes.
  6. Cool the cheesecake gradually. After 40 minutes, turn off the oven and open the door completely. Let the cheesecake sit inside for 20 minutes to prevent sudden temperature changes, which could cause cracks.
  7. Check the curd consistency. It should be creamy and spreadable, but not runny. If it’s too thick, mix in a small amount of water. Set aside and let it cool completely.
  8. Remove the cheesecake from the water bath. Take off the aluminum foil and run a sharp knife around the edges to loosen it, but leave the cake ring on. Let the cheesecake cool at room temperature.
  9. Finish and chill. Once the cheesecake has cooled to room temperature, carefully spread the passionfruit curd over the top. Transfer to the fridge and let set for at least 6 hours or overnight before serving.
  • Passive Time: overnight
  • Cook Time: 60 min

Mango Feta Salad with Passionfruit Cilantro Dressing & Oven-Roasted Corn on the Cob

Mango Feta Salad with Passionfruit Cilantro Dressing & Oven-Roasted Corn on the Cob

Mango Feta Salad with Passionfruit Cilantro Dressing & Oven-Roasted Corn on the Cob

Mango Feta Salad with Passionfruit Cilantro Dressing & Oven-Roasted Corn on the Cob

March 14, 2025 by Kimberly

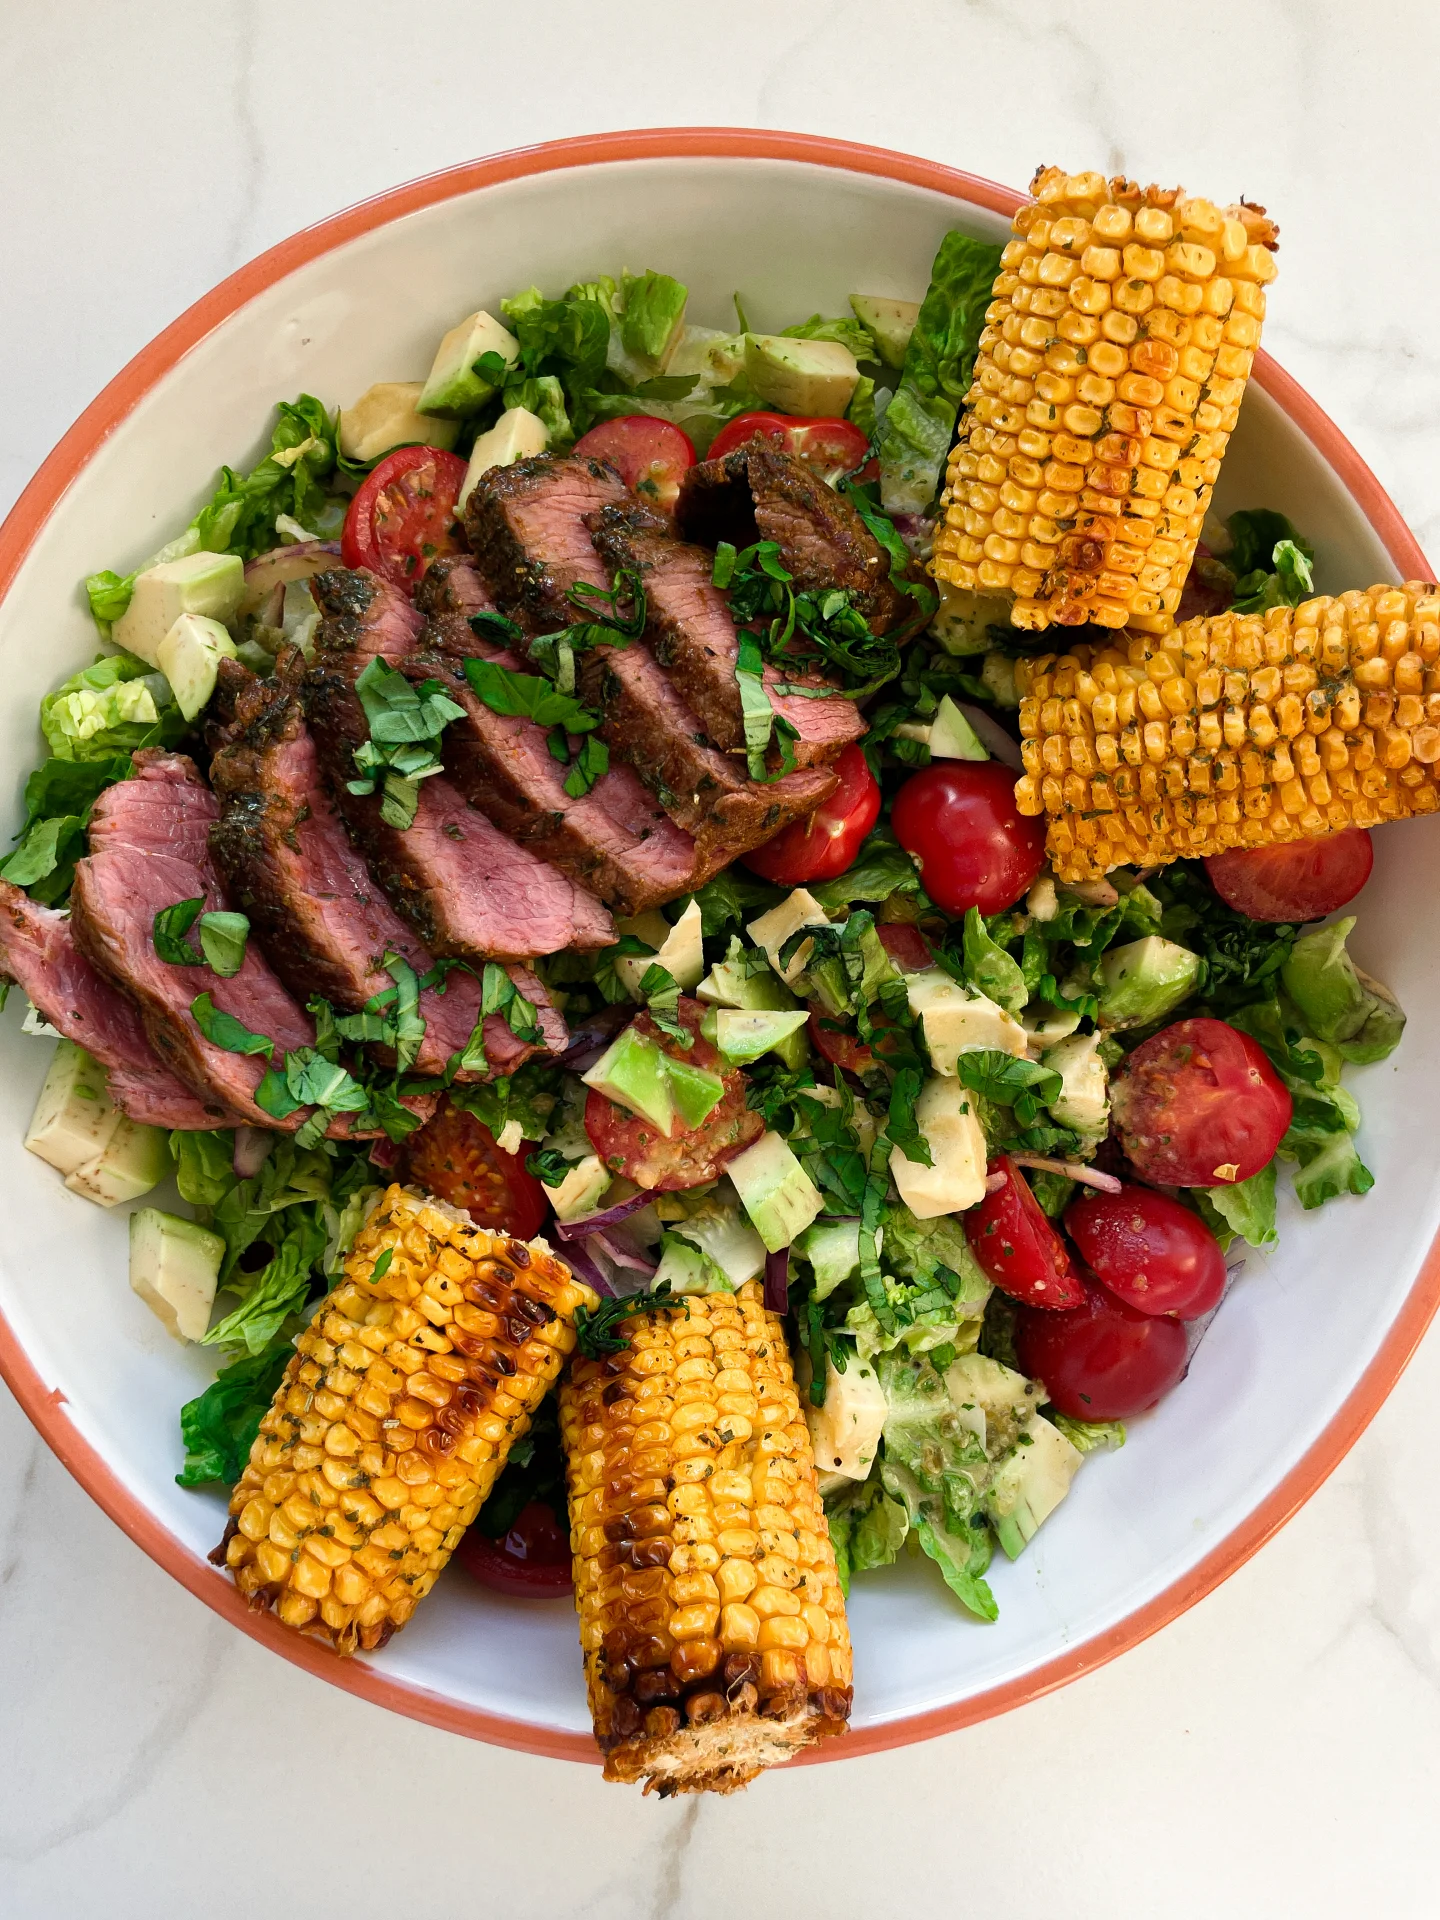
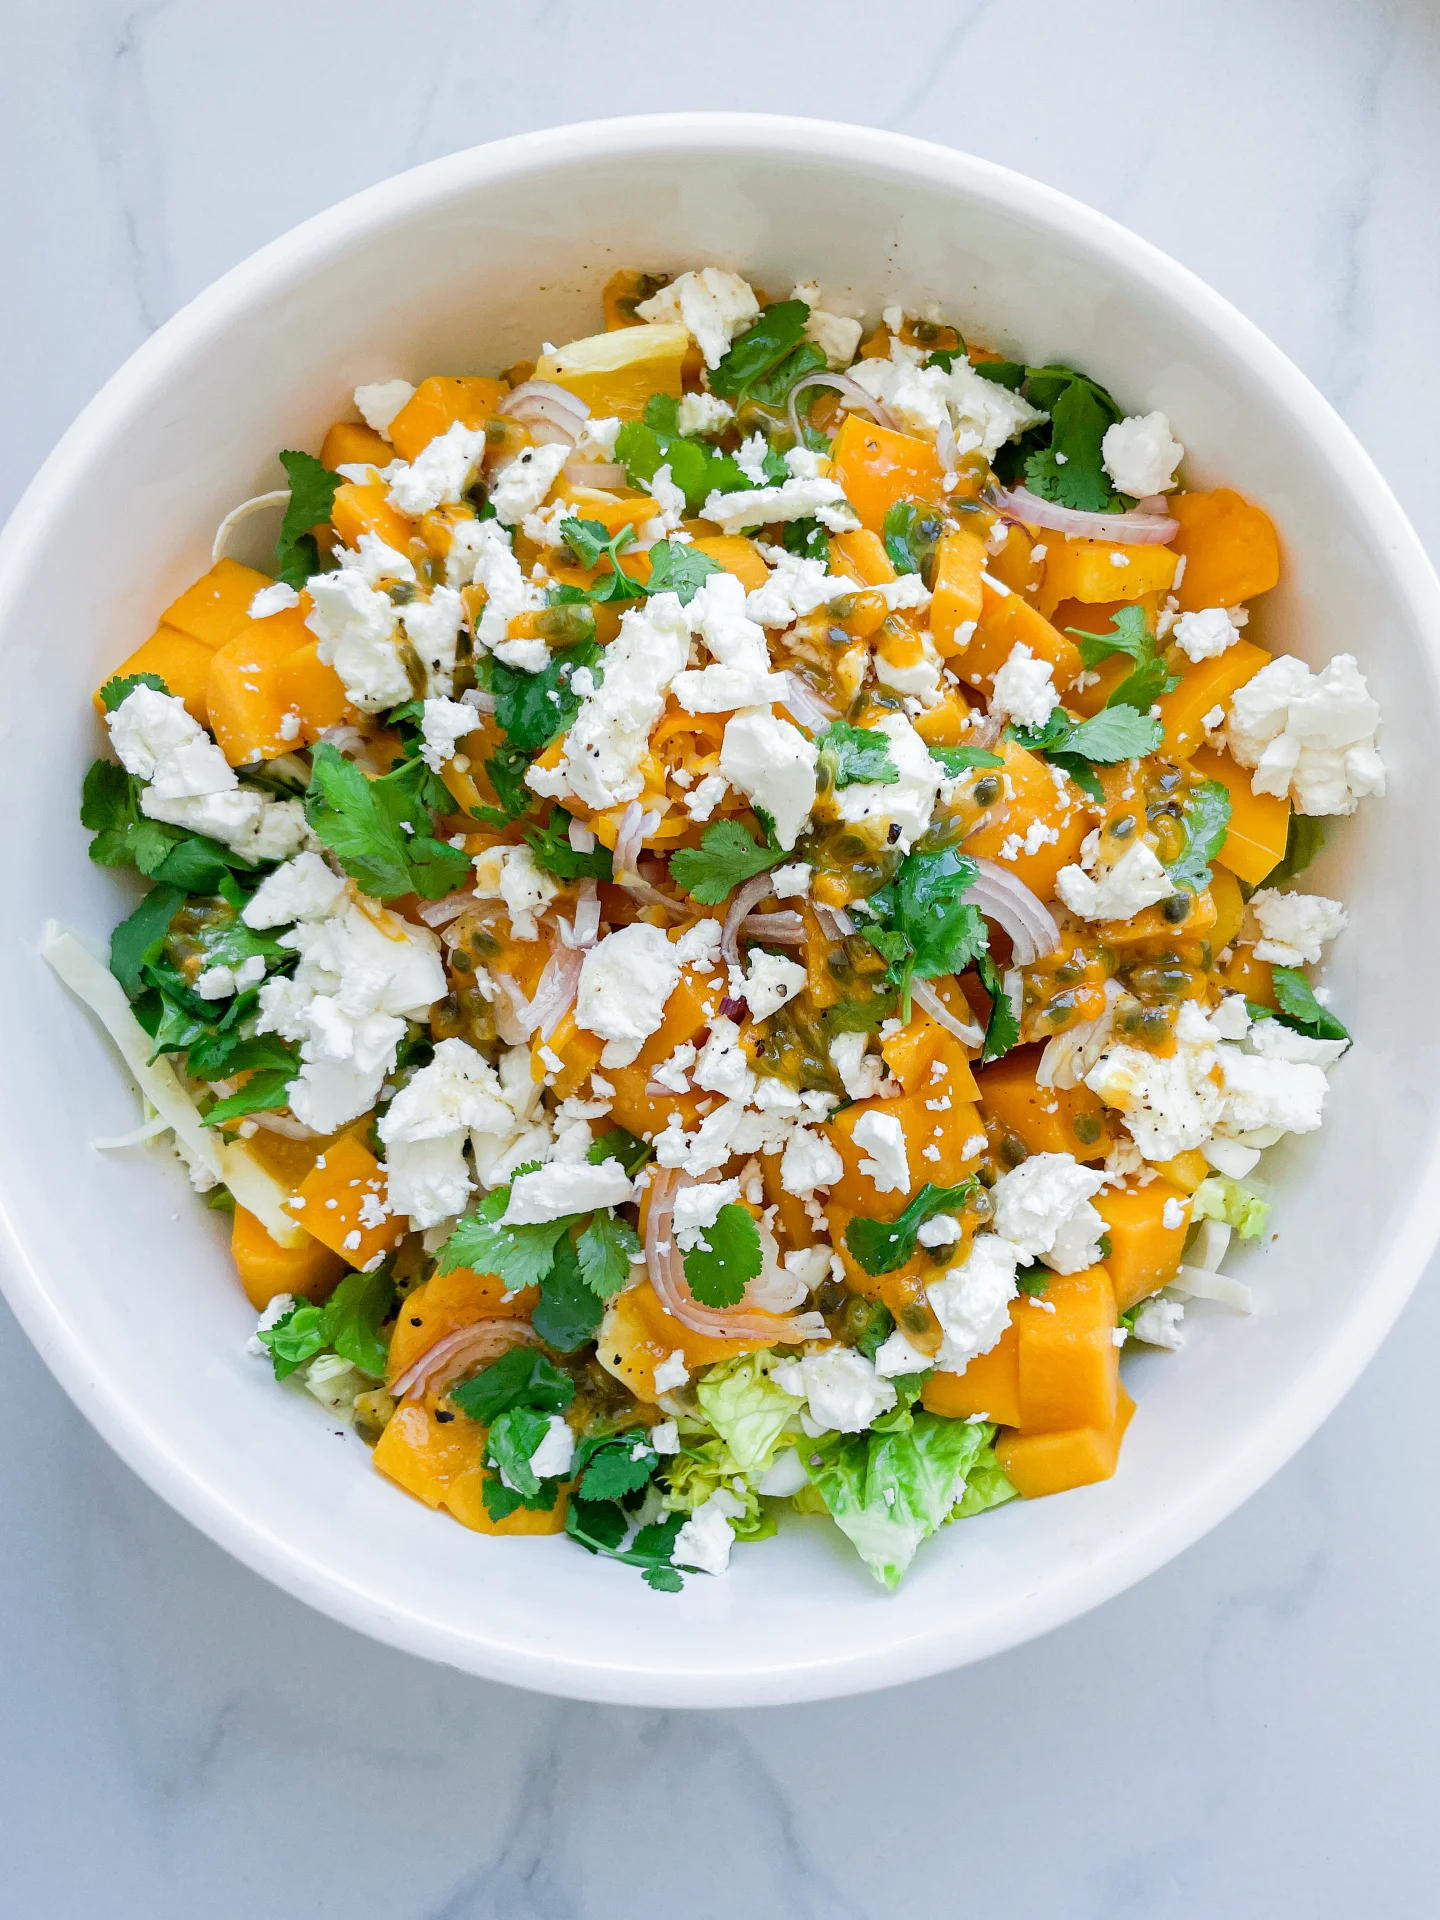
Sweet, salty, tangy, and fresh!! This is the salad of the season. Juicy mango, creamy cheese, bright herbs, and a citrusy punch that’ll make your taste buds do a little happy dance.

25 MINUTES

EASY

VEGETARIAN

INT.

2 PORTIONS

REFRESHING

EASTER

LUNCH

SPRING
SUMMER

INTRODUCTION

ABOUT THE RECIPE

You know those salads that just hit different? This is one of them. It’s got all the good stuff. Juicy, sun-ripened fruit, salty creamy goodness, a punchy herb dressing, and golden roasted corn that adds the perfect sweet crunch. It’s bright, fresh, and so ridiculously flavorful that you might just eat it straight from the bowl (no judgment). Whether you need a no-fuss summer side or a feel-good meal that’s anything but boring, this one’s got you covered.

How to serve
This salad is giving effortless brunch energy. Throw it on the table with a crusty baguette, maybe some grilled shrimp if you’re feeling fancy, and let everyone dig in. It’s just as good as a light lunch or a colorful side at your next barbecue. Bonus points if you serve it with a chilled glass of white wine.

How to store
Keep leftovers in an airtight container in the fridge for up to one day. Corn is best enjoyed fresh, but you do you.

Hi, I'm Kimberly!

Hi, I'm Kimberly.

A passionate food lover who believes in the magic of homemade deliciousness that spreads love and warmth. Join me on this culinary adventure as I prepare wonderful dishes and let’s spread some happiness together!

Kimberly the Zett Signature

If you want to get to know me better, click here!


Mango Feta Salad with Passionfruit Cilantro Dressing & Oven-Roasted Corn on the Cob
„Let’s make a piece of happiness“
Print
clock clock iconcutlery cutlery iconflag flag iconfolder folder iconinstagram instagram iconpinterest pinterest iconfacebook facebook iconprint print iconsquares squares iconheart heart iconheart solid heart solid icon
Mango Feta Salad with Passionfruit Cilantro Dressing & Oven-Roasted Corn on the Cob

Mango Feta Salad with Passionfruit Cilantro Dressing & Oven-Roasted Corn on the Cob


  • Author: Kimberly
  • Total Time: 25 min
  • Yield: 2 1x

Description

RECOMMENDED EQUIPMENT

  • small bowl
  • kitchen brush
  • large bowl
  • sharp knife
  • cutting board

Ingredients

Units Scale

CORN ON THE COB

SALAD

  • 150 grams white cabbage
  • 100 grams romaine lettuce
  • 1 mango
  • 1 yellow bell pepper
  • 1 shallot
  • 100 grams feta cheese
  • 1/2 fresh yellow chili
  • handful fresh cilantro

DRESSING

  • 3 tbsp olive oil
  • juice of 1 lime
  • 1 passionfruit
  • salt & pepper to taste

Instructions

  1. Prepare the corn first. Mix the butter with Cajun seasoning, rub it all over the corn, and place them on a baking sheet. Roast in a preheated oven at 210°C / 410°F for about 20 to 30 minutes until golden brown and fragrant.
  2. While the corn is roasting, make the salad. Thinly slice the cabbage and romaine lettuce, wash thoroughly, and place them in a large salad bowl.
  3. Peel and chop the mango into pieces. Cut the yellow bell pepper into chunks. Thinly slice the shallot and finely chop the yellow chili. Pick the cilantro leaves off the stems and tear them lightly. Add everything to the salad bowl, then crumble the feta over the top.
  4. Mix olive oil, lime juice, passionfruit pulp, salt, and pepper in a small bowl. Set aside.
  5. Once the corn is done, take it out of the oven. Drizzle the dressing over the salad and toss well. Divide the salad between two plates and serve each with a roasted corn cob.
  • Cook Time: 25 min

White Chocolate Cookies with Blue Spirulina Butter Cream Frosting

White Chocolate Cookies with Blue Spirulina Butter Cream Frosting

White Chocolate Cookies with Blue Spirulina Butter Cream Frosting

White Chocolate Cookies with Blue Spirulina Butter Cream Frosting

October 22, 2024 by Kimberly

Imagine biting into soft, buttery cookies with creamy frosting that’s as vibrant as the sky. These dreamy bites combine sweet indulgence with a fun, colorful twist that feels like pure joy!

1 HOUR
30 MINUTES

EASY

VEGETARIAN

INT.

507 PER COOKIE

BUTTERY

EVERYDAY

DESSERT

ALL YEAR

INTRODUCTION

ABOUT THE RECIPE

Ready to level up your cookie game? These soft, melt-in-your-mouth treats bring together creamy white chocolate and a frosting that’s as eye-catching as it is delicious. The vibrant blue spirulina frosting not only adds a pop of color but also gives a playful, natural twist to the classic buttercream. Perfect for making an impression at parties or just when you’re craving something special, these cookies are the kind of treat that feels like a celebration with every bite.

How to serve
These cookies are best served at room temperature, giving that perfect balance between a tender bite and creamy frosting. They’re ideal for a dessert table or as a show-stopping treat for a special occasion. You can serve them alongside a cup of tea, coffee, or even milk for the ultimate comfort experience. And let’s be real, they make for a pretty impressive addition to any cookie swap or holiday gathering.

How to store
To keep these cookies fresh, store them in an airtight container in the fridge for up to a 5 days. You can also freeze them (without the frosting) for up to a month and just whip up the buttercream fresh when you’re ready to serve.

Hi, I'm Kimberly!

Hi, I'm Kimberly.

A passionate food lover who believes in the magic of homemade deliciousness that spreads love and warmth. Join me on this culinary adventure as I prepare wonderful dishes and let’s spread some happiness together!

Kimberly the Zett Signature

If you want to get to know me better, click here!


White Chocolate Cookies with Blue Spirulina Butter Cream Frosting
„Let’s make a piece of happiness“
Print
clock clock iconcutlery cutlery iconflag flag iconfolder folder iconinstagram instagram iconpinterest pinterest iconfacebook facebook iconprint print iconsquares squares iconheart heart iconheart solid heart solid icon
White Chocolate Cookies with Blue Spirulina Butter Cream Frosting

White Chocolate Cookies with Blue Spirulina Butter Cream Frosting


  • Author: Kimberly
  • Total Time: 1 hr + 30 min
  • Yield: 12 1x

Description

Recommended Equipment

  • small pot (or microwave)
  • two medium-sized bowls
  • whisk
  • spatula
  • sharp knife
  • cutting board
  • cookie scoop
  • parchment paper

Ingredients

Units Scale

COOKIE DOUGH

  • 120 grams butter
  • 100 grams brown sugar
  • 100 grams white sugar
  • 2 tsp vanilla extract
  • 1 egg
  • 220 grams all-purpose flour
  • 1/2 tsp salt
  • 1/2 tsp baking soda
  • 150 grams white chocolate

BUTTERCREAM

  • 200 grams butter
  • 300 grams powdered sugar
  • 1 tbsp heavy cream
  • 1 tsp blue spirulina powder

Instructions

  1. Melt the butter in a small pot or microwave. In a medium-sized bowl, whisk together the melted butter, brown and white sugar, and vanilla extract for a few minutes. Then add the egg and mix again. Set aside.
  2. In another bowl, mix together the flour, baking soda, and salt. Set aside.
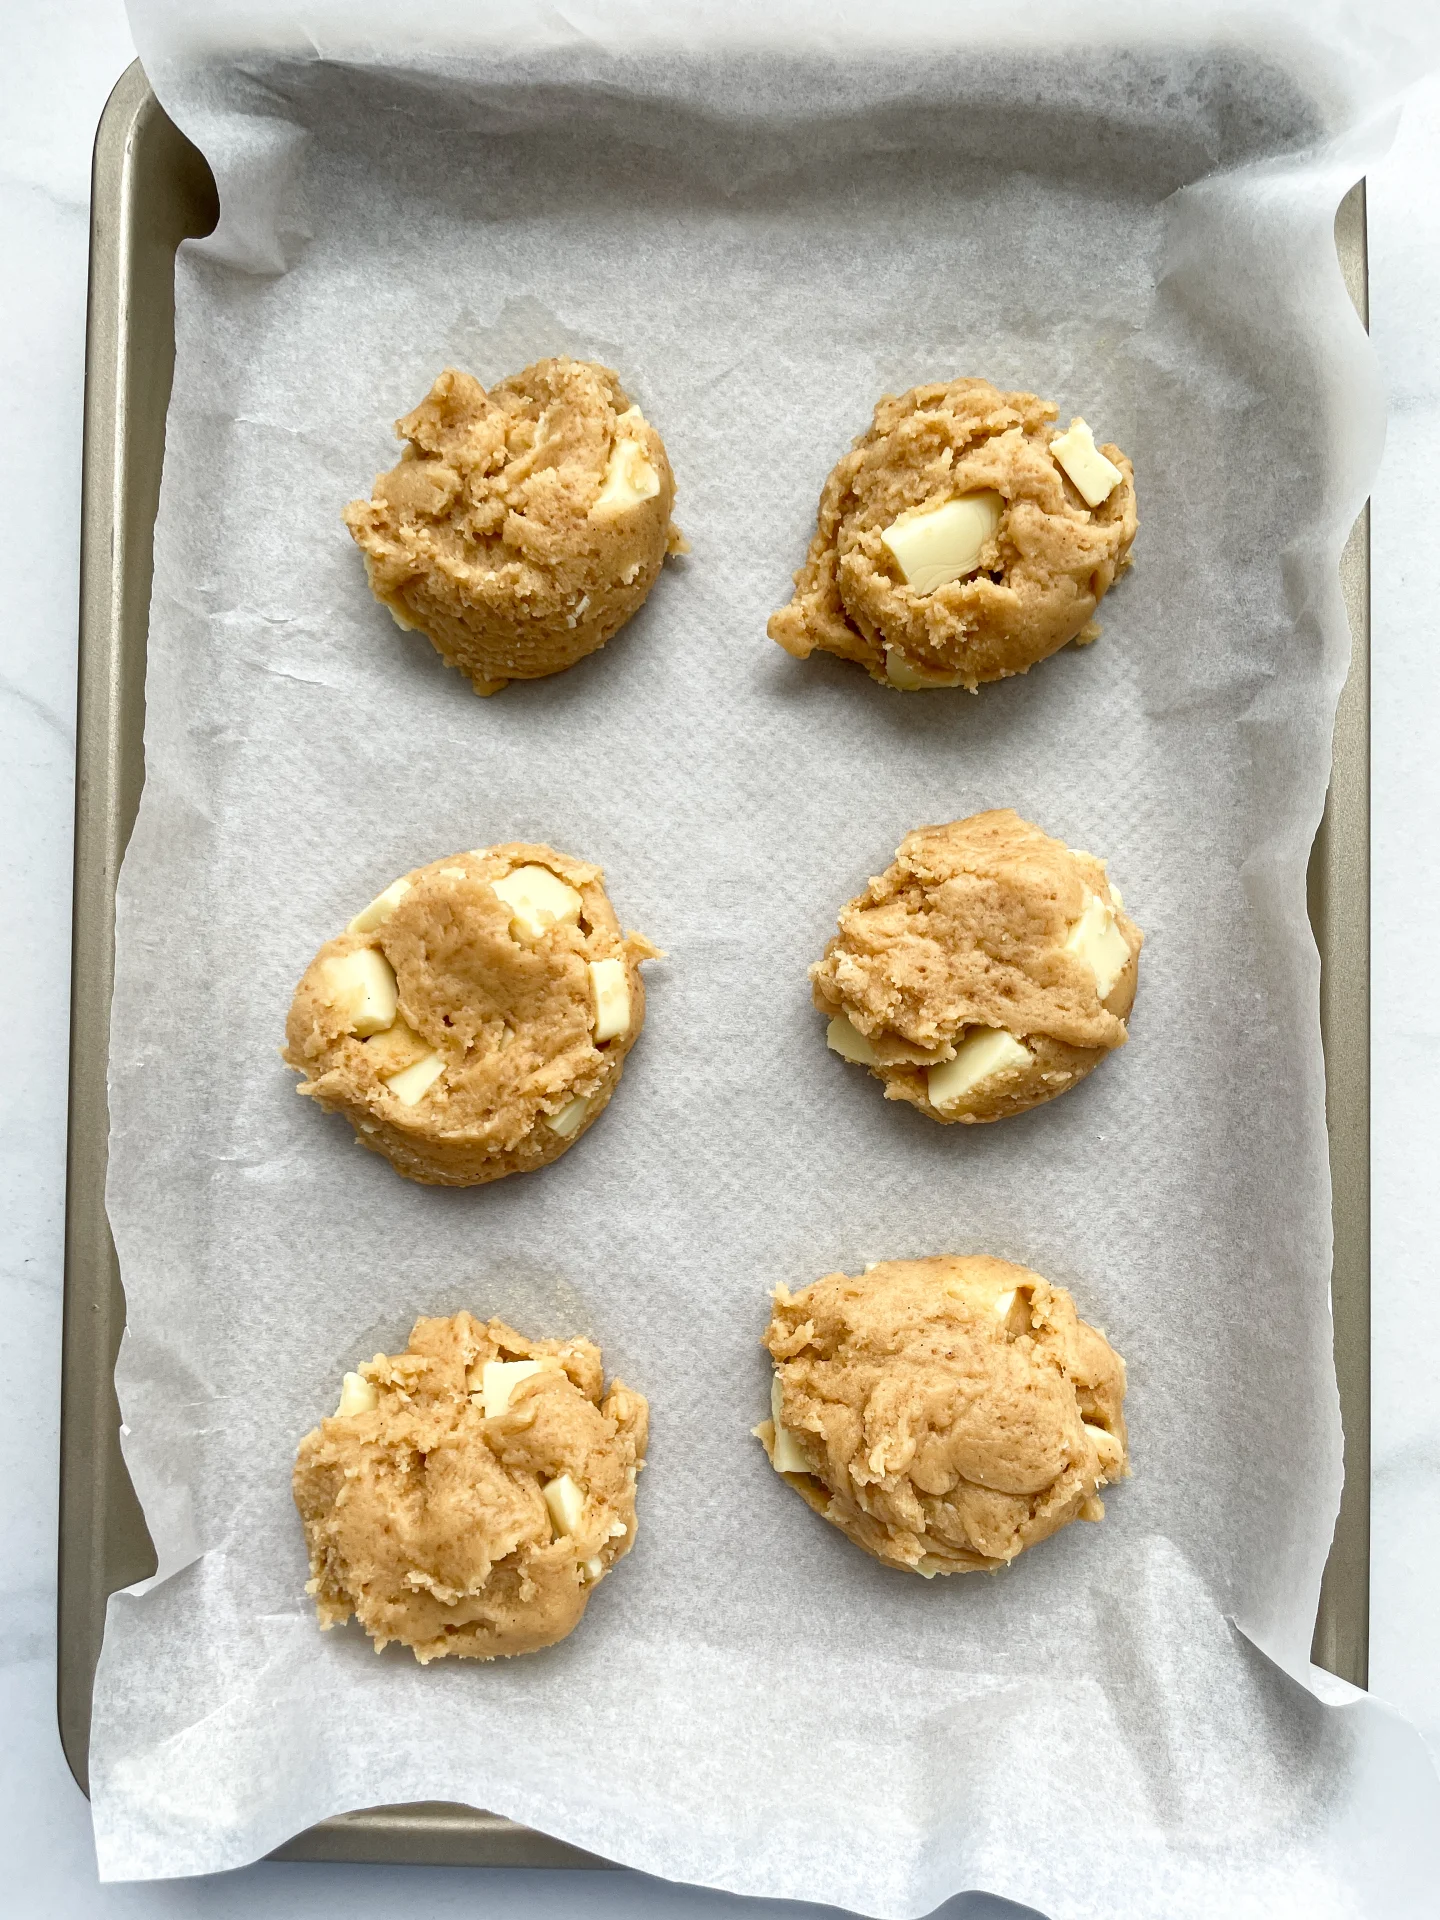
  3. Roughly chop the white chocolate and add it to the wet ingredients as well as the dry ingredients. Then mix with a spatula until there are no more visible streaks of flour.
  4. Use a medium-sized cookie scoop to form 12 evenly sized dough balls and place them on parchment paper. Chill the dough balls in the fridge for at least 1 hour.
  5. A few minutes before baking, preheat the oven to 150°C / 302°F. Place the cookies on a parchment-lined baking sheet, leaving enough space between them, and bake for 12-13 minutes or until the edges are lightly golden. Take them out of the oven and let them cool on a rack for about 10 minutes.
  6. Now, make the frosting. I recommend preparing it once the cookies have reached room temperature so the buttercream doesn’t melt when adding to the cookies. In a mixing bowl, beat the softened butter with an electric mixer until smooth and nearly white.
  7. Gradually add the powdered sugar, starting on low speed and then increasing to medium, mixing for 1 to 2 minutes until fully combined.
  8. Mix the cream with the spirulina powder and add it to the buttercream. Stir everything together until you get a vibrant blue color. Fill a piping bag with the buttercream, and once the cookies have cooled to room temperature, decorate them. Alternatively, you can spread the buttercream with a knife. Optionally, sprinkle a bit of spirulina powder on top of the frosting.
  • Passive Time: 1 hr + 20 min
  • Cook Time: 12 min

Radish Cucumber Butter

Radish Cucumber Butter

Radish Cucumber Butter

Radish Cucumber Butter

June 24, 2024 by Kimberly

Whip up magic in your kitchen with this fresh, zesty butter blend! Perfect for giving a crunchy, creamy twist to any snack or sandwich.
10 MINUTES

EASY

VEGETARIAN

FRENCH

96 PER PORTION

BUTTERY

EVERDAY

DIPS & SPREADS

SPRING
SUMMER

INTRODUCTION

ABOUT THE RECIPE

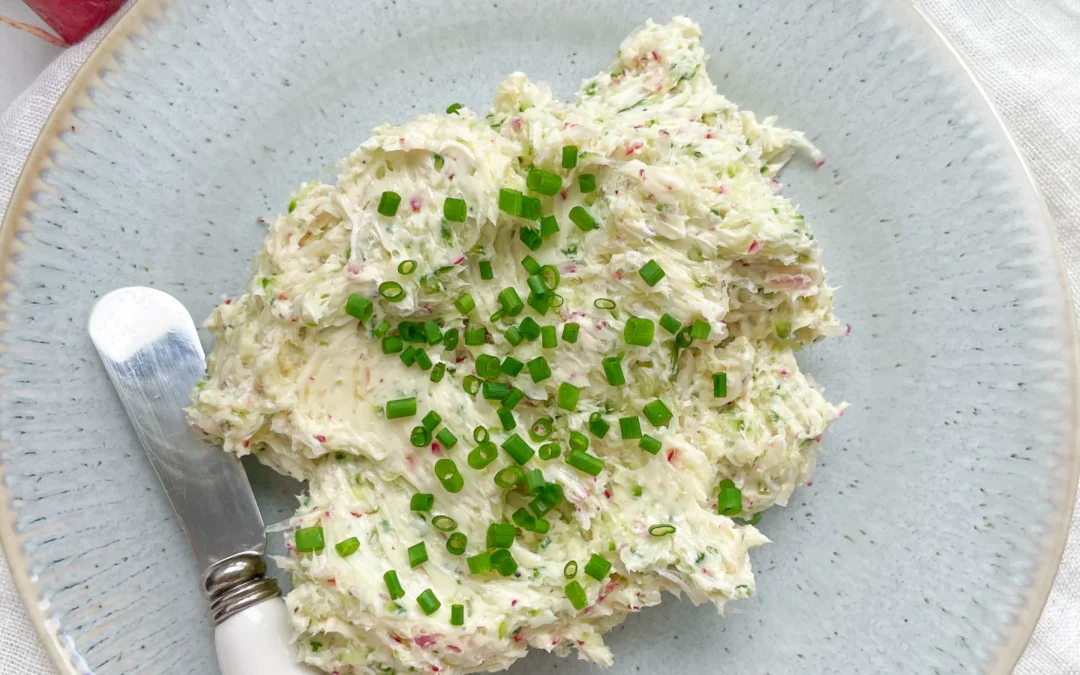
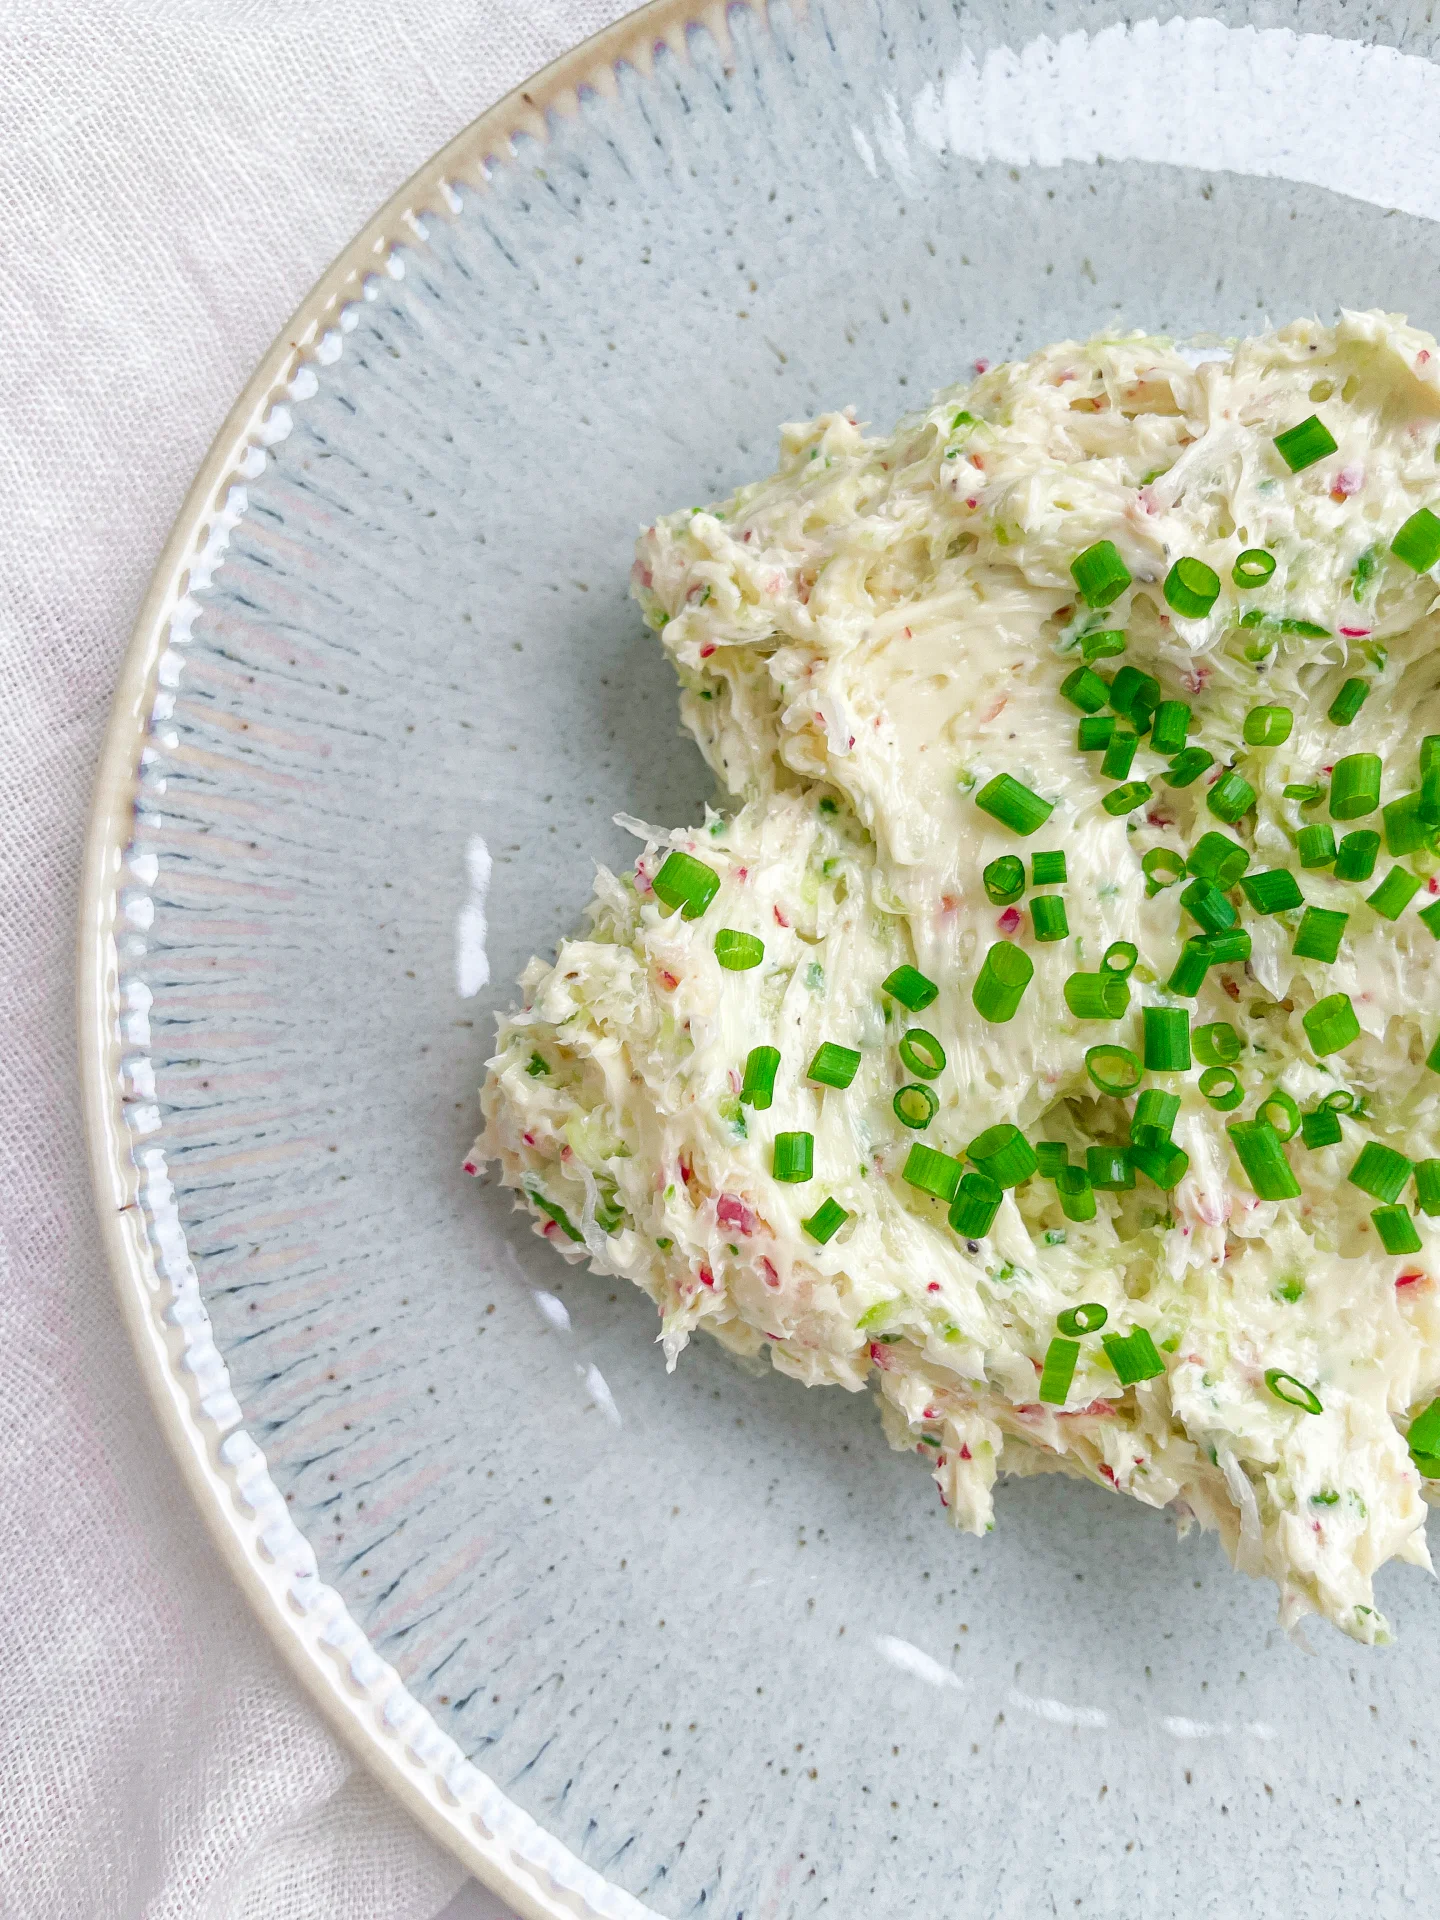
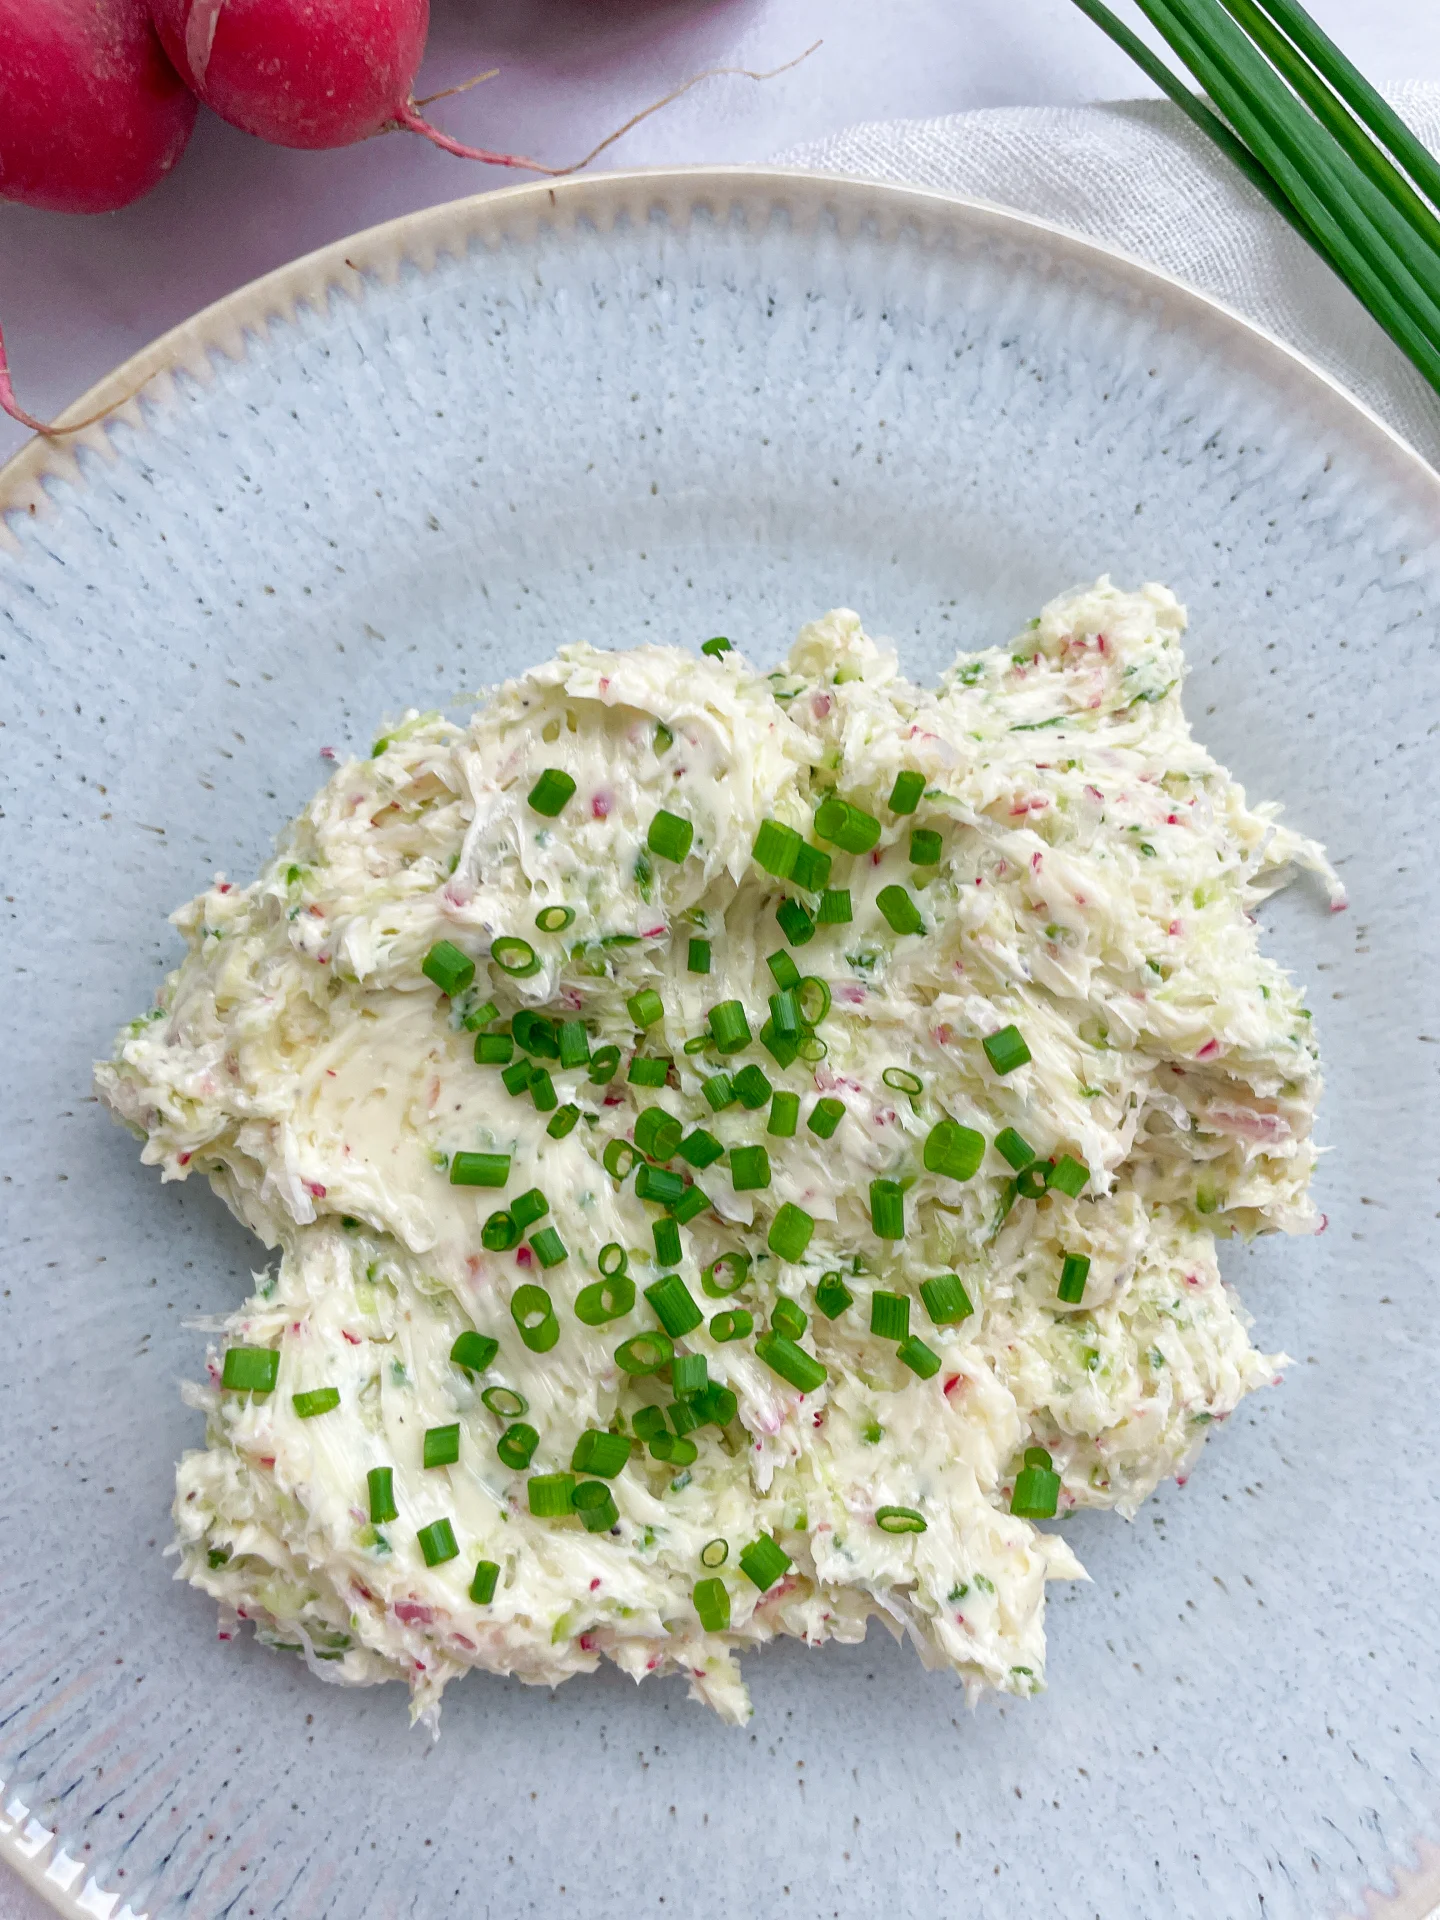
Radish cucumber butter combines the crisp freshness of radishes and cucumbers with creamy butter to create a spread that’s both light and invigorating. It’s a delightful way to add a burst of spring flavor to any dish.

How to serve
This versatile butter is perfect slathered on warm bread, used as a savory topping for steamed vegetables, or as a refreshing twist in sandwiches. Its light, creamy texture and vibrant flavor profile make it an excellent complement to both casual and sophisticated culinary creations.

How to store
Keep the butter refrigerated in an airtight container. It maintains its best quality for up to 3 days, ensuring you can enjoy its fresh taste over several days.

Hi, I'm Kimberly!

Hi, I'm Kimberly.

A passionate food lover who believes in the magic of homemade deliciousness that spreads love and warmth. Join me on this culinary adventure as I prepare wonderful dishes and let’s spread some happiness together!

Kimberly the Zett Signature

If you want to get to know me better, click here!


Radish Cucumber Butter
„Let’s make a piece of happiness“
Print
clock clock iconcutlery cutlery iconflag flag iconfolder folder iconinstagram instagram iconpinterest pinterest iconfacebook facebook iconprint print iconsquares squares iconheart heart iconheart solid heart solid icon
Radish Cucumber Butter

Radish Cucumber Butter


  • Author: Kimberly
  • Total Time: 10 minutes
  • Yield: 10 1x

Description

Recommended Equipment

  • sharp knife
  • cutting board
  • deep plate
  • paper towels
  • grater

Ingredients

Units Scale
  • 4 radishes
  • 1/4 cucumber
  • 125 grams butter
  • chives
  • salt to taste

Instructions

  1. Thoroughly wash the radishes, cucumber, and chives. Set up a deep plate and finely grate the radishes into it. Squeeze out the excess moisture from the grated radishes using paper towels. Repeat the process with the cucumber.
  2. Finely slice the chives and set them aside.
  3. Dry the plate, then add the softened butter to it. Incorporate the grated radishes and cucumber, mixing well. Season with salt and sprinkle the sliced chives on top.

Notes

The calorie information may vary depending on the product used, country and region.

  • Cook Time: 10 min