Artichoke Chickpeas Salad

Artichoke Chickpeas Salad

Artichoke Chickpeas Salad

Artichoke Chickpeas Salad

June 8, 2024 by Kimberly

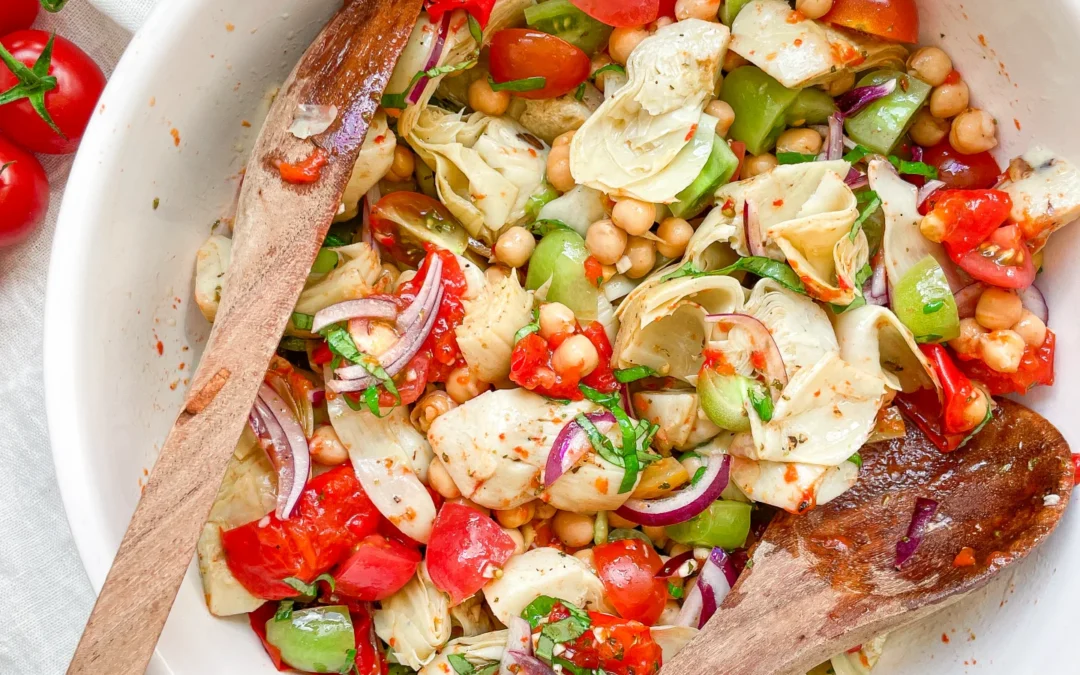
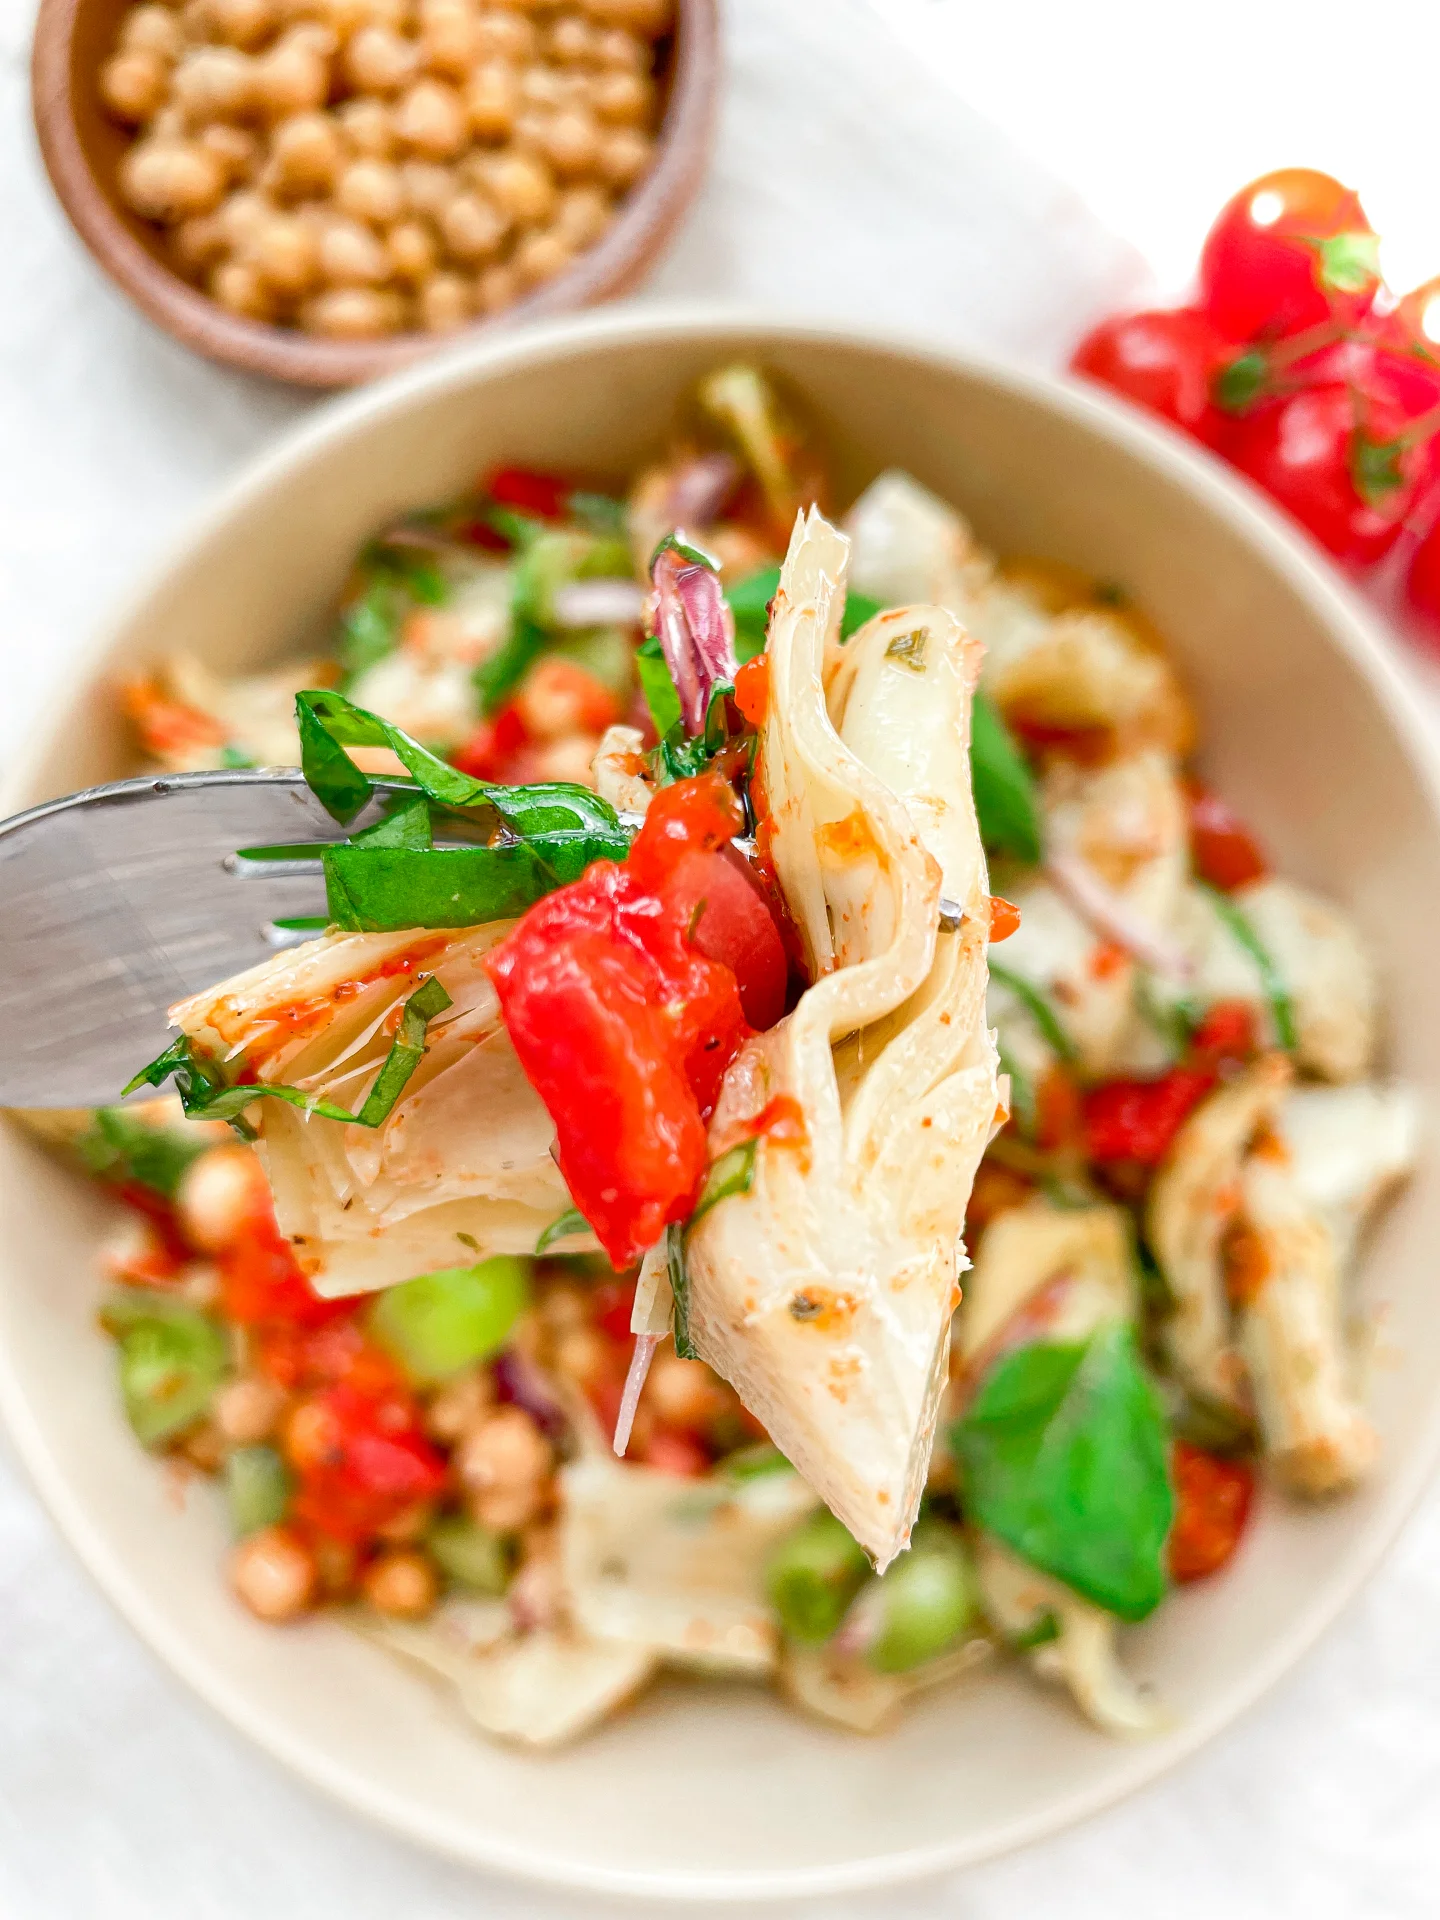
Fresh, zesty, and packed with flavor, this salad is a vibrant blend of artichokes and chickpeas, tossed in a light dressing—a refreshing twist to your meals!

15 MINUTES

EASY

VEGAN

INT.

325 PER SIDE PORTION

UMAMIEVERYDAY

SALAD

SUMMER

INTRODUCTION

ABOUT THE RECIPE

Revitalize your lunch routine with this bright and nutritious chickpea and artichoke salad. It’s a breeze to whip up, making it perfect for quick meal or a side salad for dinner.

How to serve
This salad shines when served chilled, making it an excellent choice for picnics. Elevate it by topping with fresh herbs or a sprinkle of feta cheese for those who enjoy a creamy contrast. It pairs wonderfully with crusty bread or as a hearty side to grilled meats.

How to store
To keep the salad fresh, store it in an airtight container in the fridge. It tastefully holds up for about three days, with the flavors melding beautifully over time, making it even more delicious!

Hi, I'm Kimberly!

Hi, I'm Kimberly.

A passionate food lover who believes in the magic of homemade deliciousness that spreads love and warmth. Join me on this culinary adventure as I prepare wonderful dishes and let’s spread some happiness together!

Kimberly the Zett Signature

If you want to get to know me better, click here!


Artichoke Chickpeas Salad
„Let’s make a piece of happiness“
Print
clock clock iconcutlery cutlery iconflag flag iconfolder folder iconinstagram instagram iconpinterest pinterest iconfacebook facebook iconprint print iconsquares squares iconheart heart iconheart solid heart solid icon
Artichoke Chickpeas Salad

Artichoke Chickpeas Salad


5 Stars 4 Stars 3 Stars 2 Stars 1 Star

No reviews

  • Author: Kimberly
  • Total Time: 15 minutes
  • Yield: 2 mains or 4 sides 1x

Description

RECOMMENDED EQUIPMENT

  • sharp knife
  • cutting board
  • salad bowl
  • small bowl
  • small whisk
  • garlic press

Ingredients

Units Scale

SALAD

  • 450 grams canned artichoke hearts
  • 150 grams canned roasted bell pepper
  • 250 grams canned chickpeas
  • 200 grams cocktail tomatoes
  • 1 red onion

DRESSING

  • 4 tbsp olive oil
  • 2 tbsp red wine vinegar
  • 2 tbsp maple syrup or honey
  • 1 garlic clove
  • salt & pepper to taste

TOPPING

  • fresh basil
  • fresh oregano

Instructions

  1. Drain the artichoke hearts and let them drip off a bit. Then place them in the salad bowl.
  2. Next, drain the chickpeas and rinse with water until no more bubbles form. Dry the chickpeas with a clean towel and pick out any loose skins. Add them to the salad bowl as well.
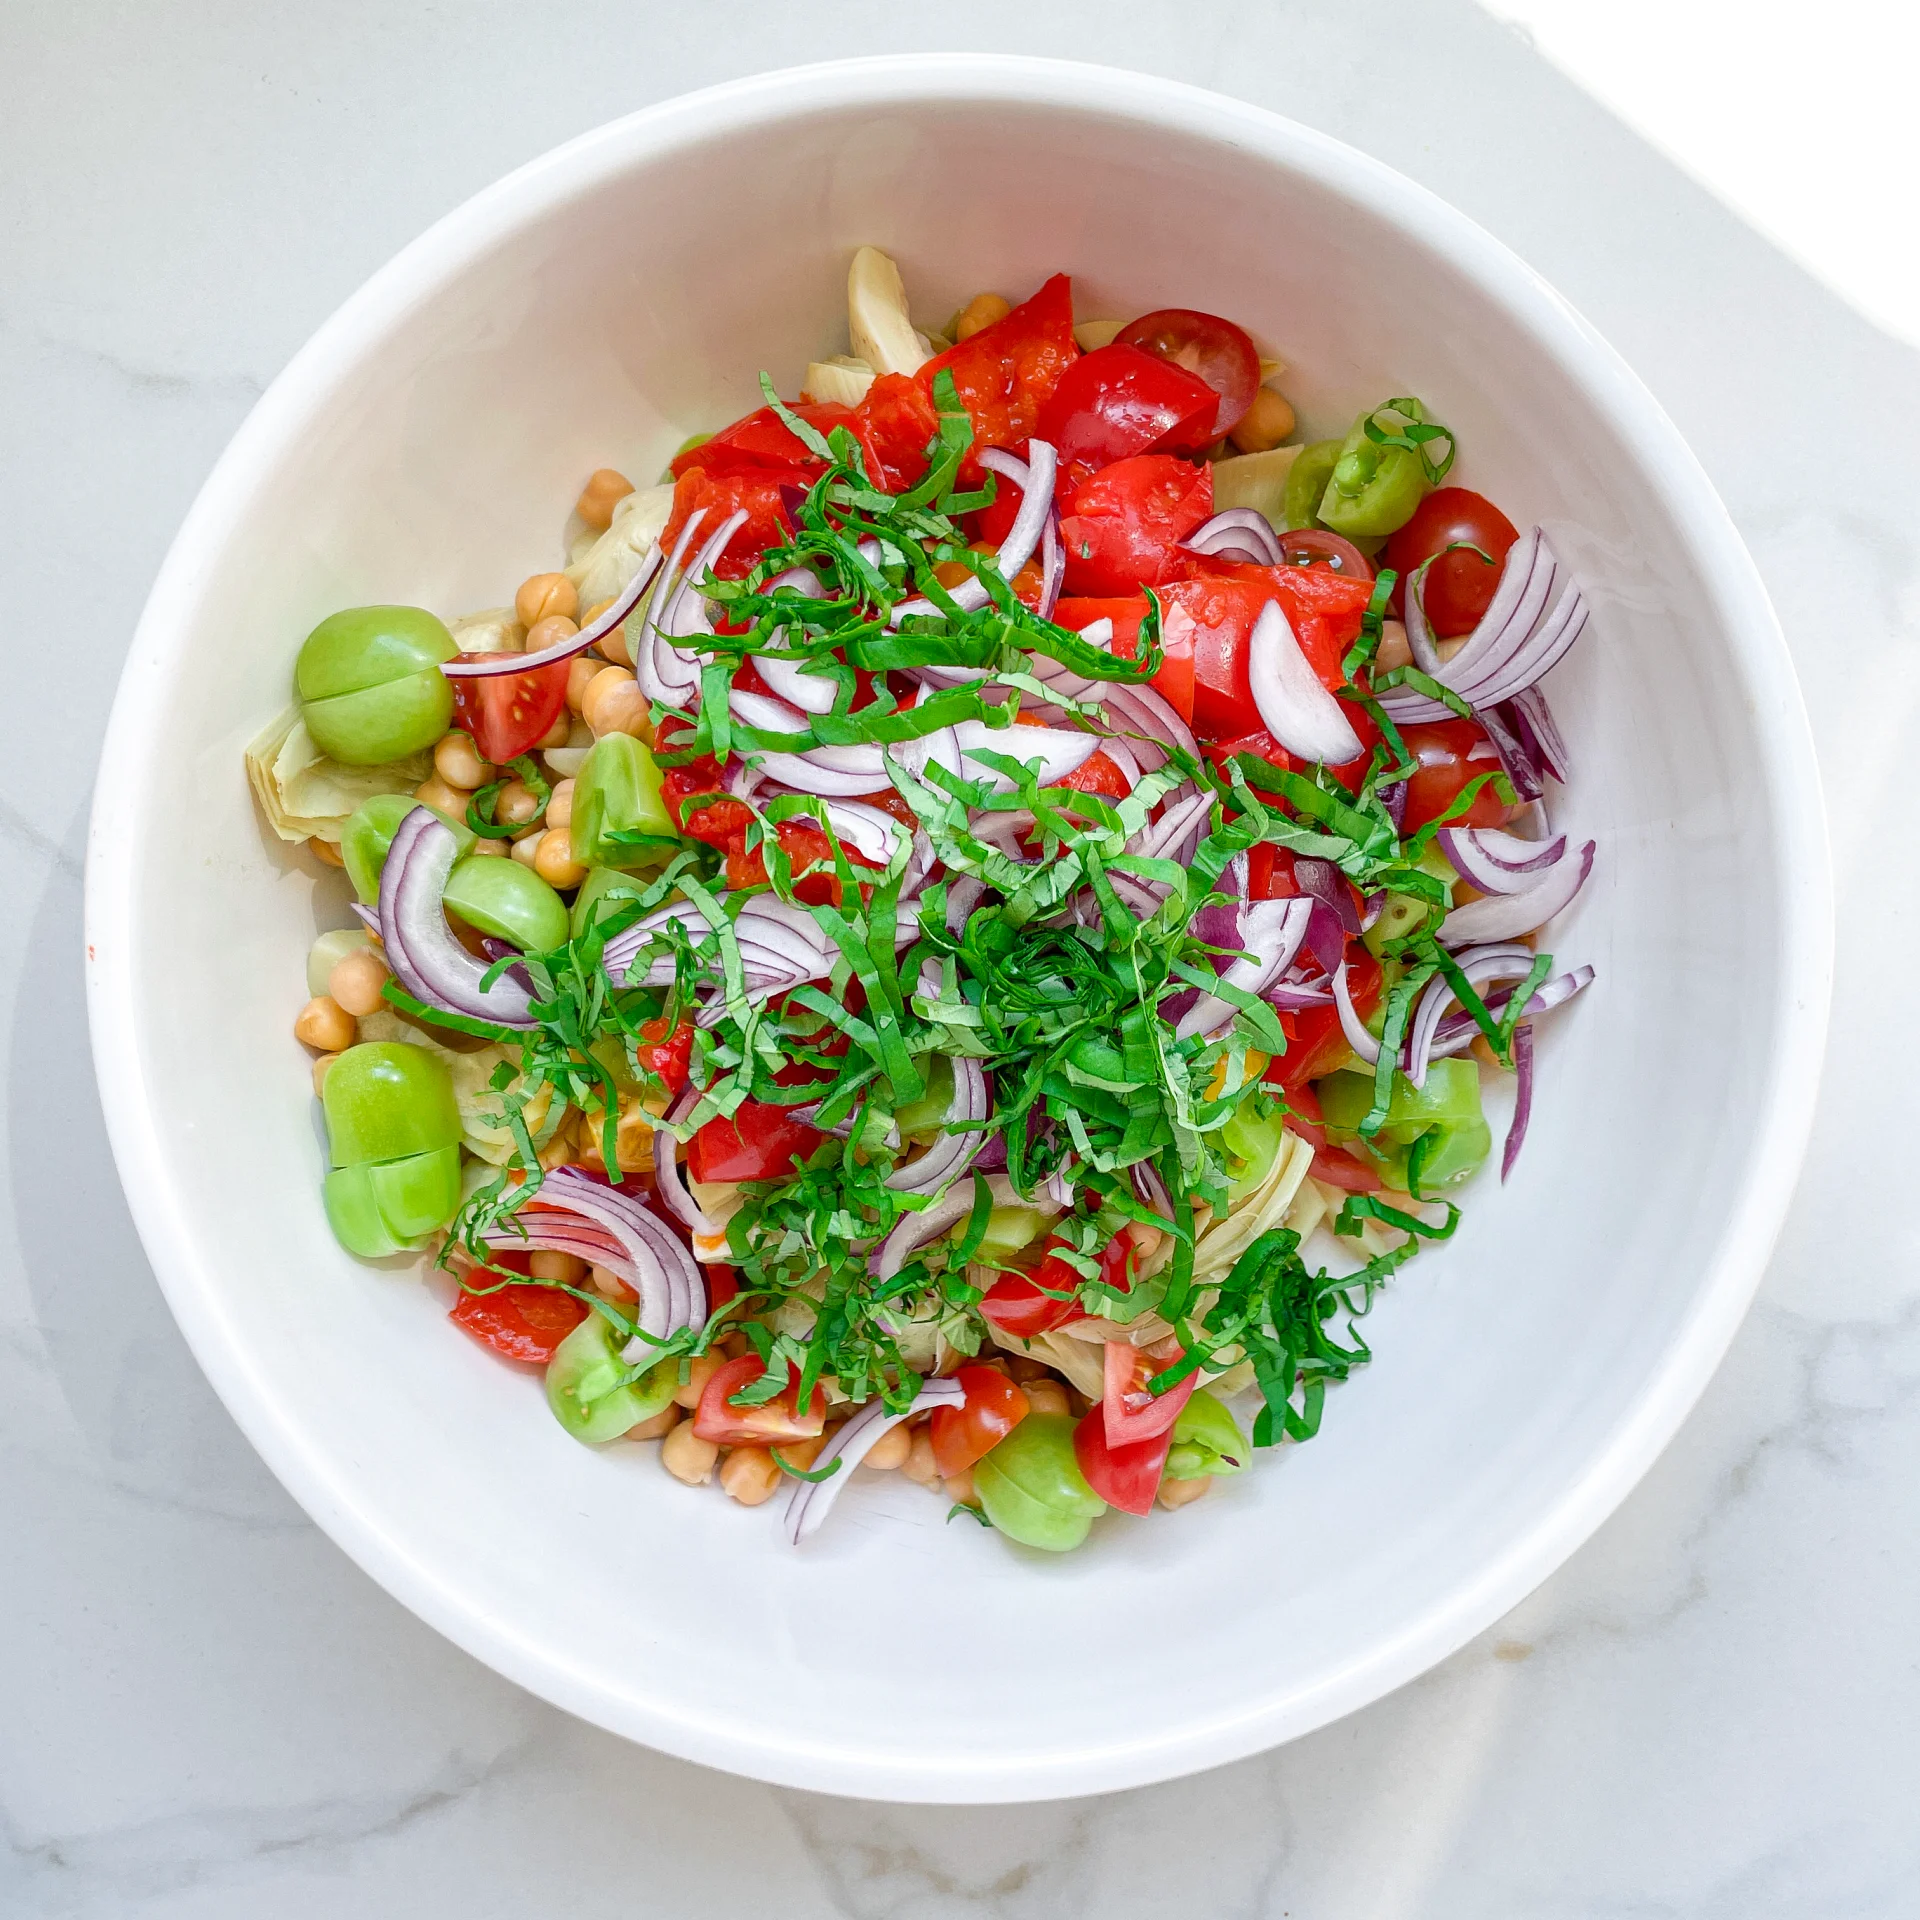
  3. Cut the grilled peppers into small pieces and add to the other ingredients in the bowl.
  4. Next, chop the tomatoes and peel and slice the onion into fine strips. Add both to the bowl.
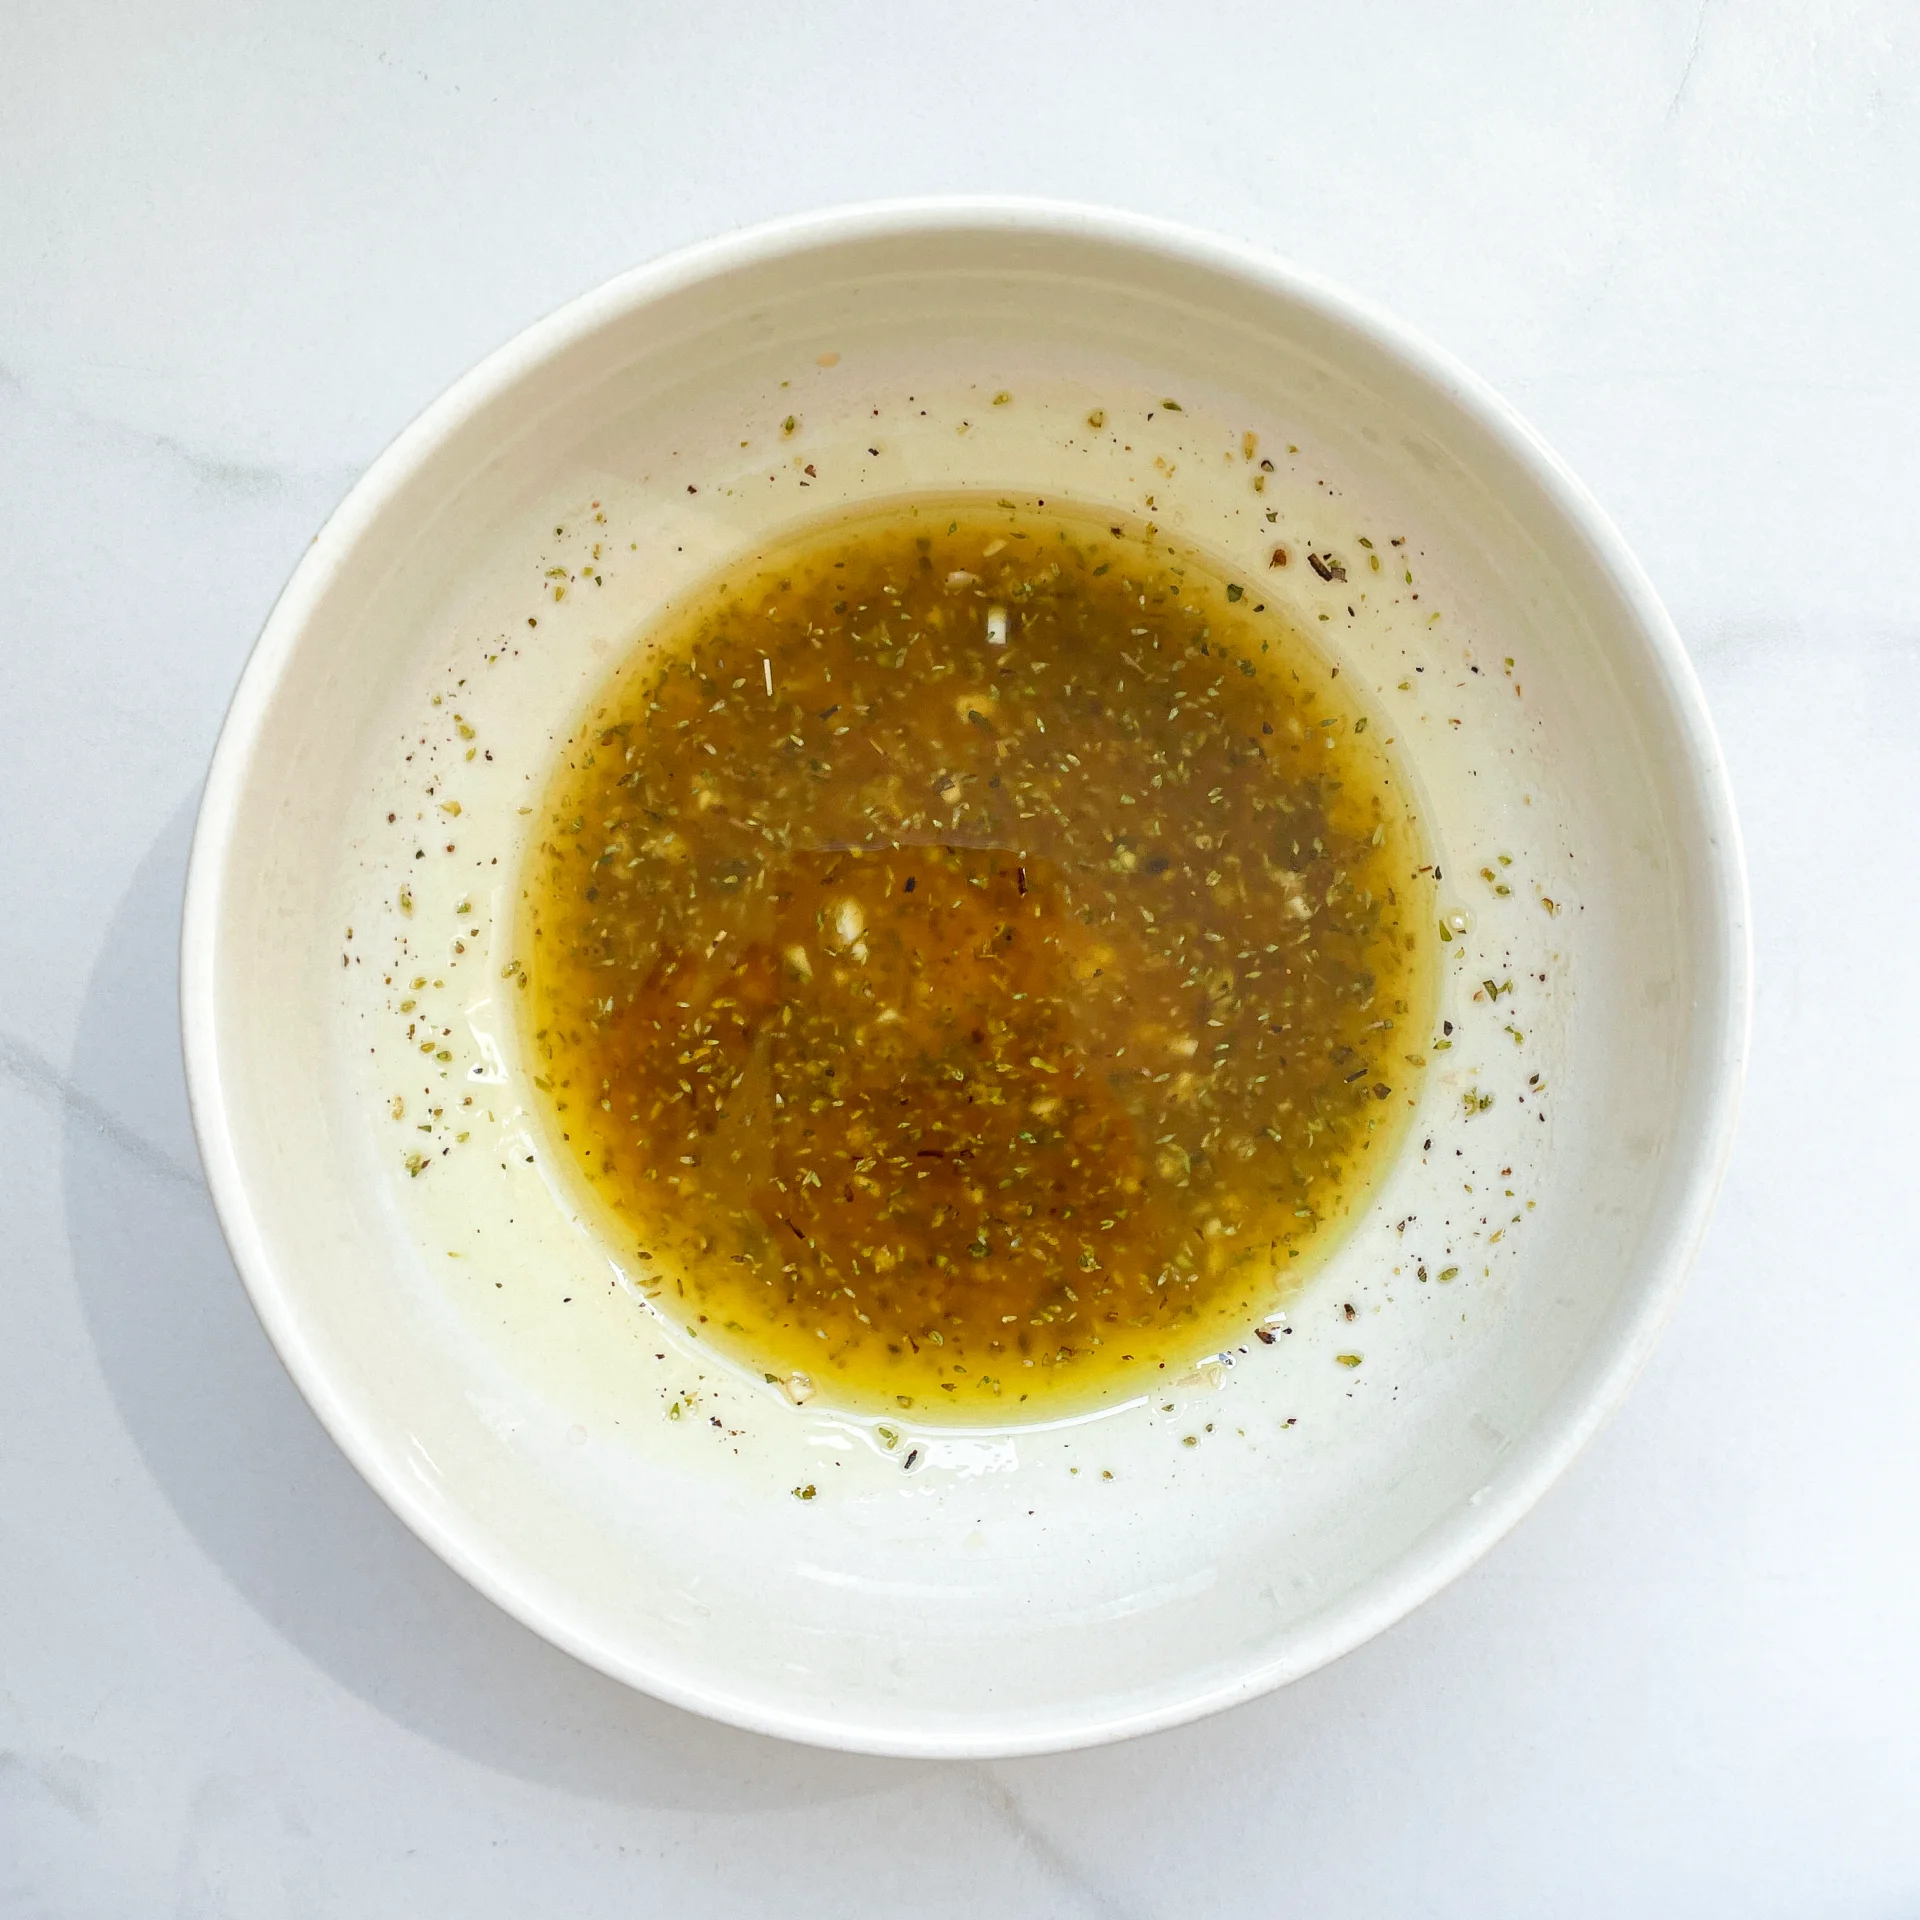
  5. In a small bowl, mix the dressing. For this, peel the garlic and press or finely chop it into the bowl, then add olive oil, red wine vinegar, honey (or maple syrup), and dried oregano. Season with salt and pepper. Stir well and pour over the salad.
  6. Gently mix everything so that it’s evenly coated with the dressing. Finally, chop fresh basil and fresh oregano and sprinkle over the salad. Now enjoy your piece of happiness!

Notes

The calorie information may vary depending on the product used, country and region.

  • Cook Time: 15 min
Sabich Sandwich

Sabich Sandwich

Sabich Sandwich

Sabich Sandwich

June 6, 2024 by Kimberly

Dive into the ultimate Sabich sandwich: crispy eggplant, fresh tomato cucumber salad, creamy tahini, spicy zhough, tangy mango sauce and crunchy chickpeas. Pure flavor explosion!

40 MINUTES

EASY

VEGAN

MIDDLE EAST

721 PER PORTION

SPICY

EVERYDAY

DINNER

ALL YEAR

INTRODUCTION

ABOUT THE RECIPE

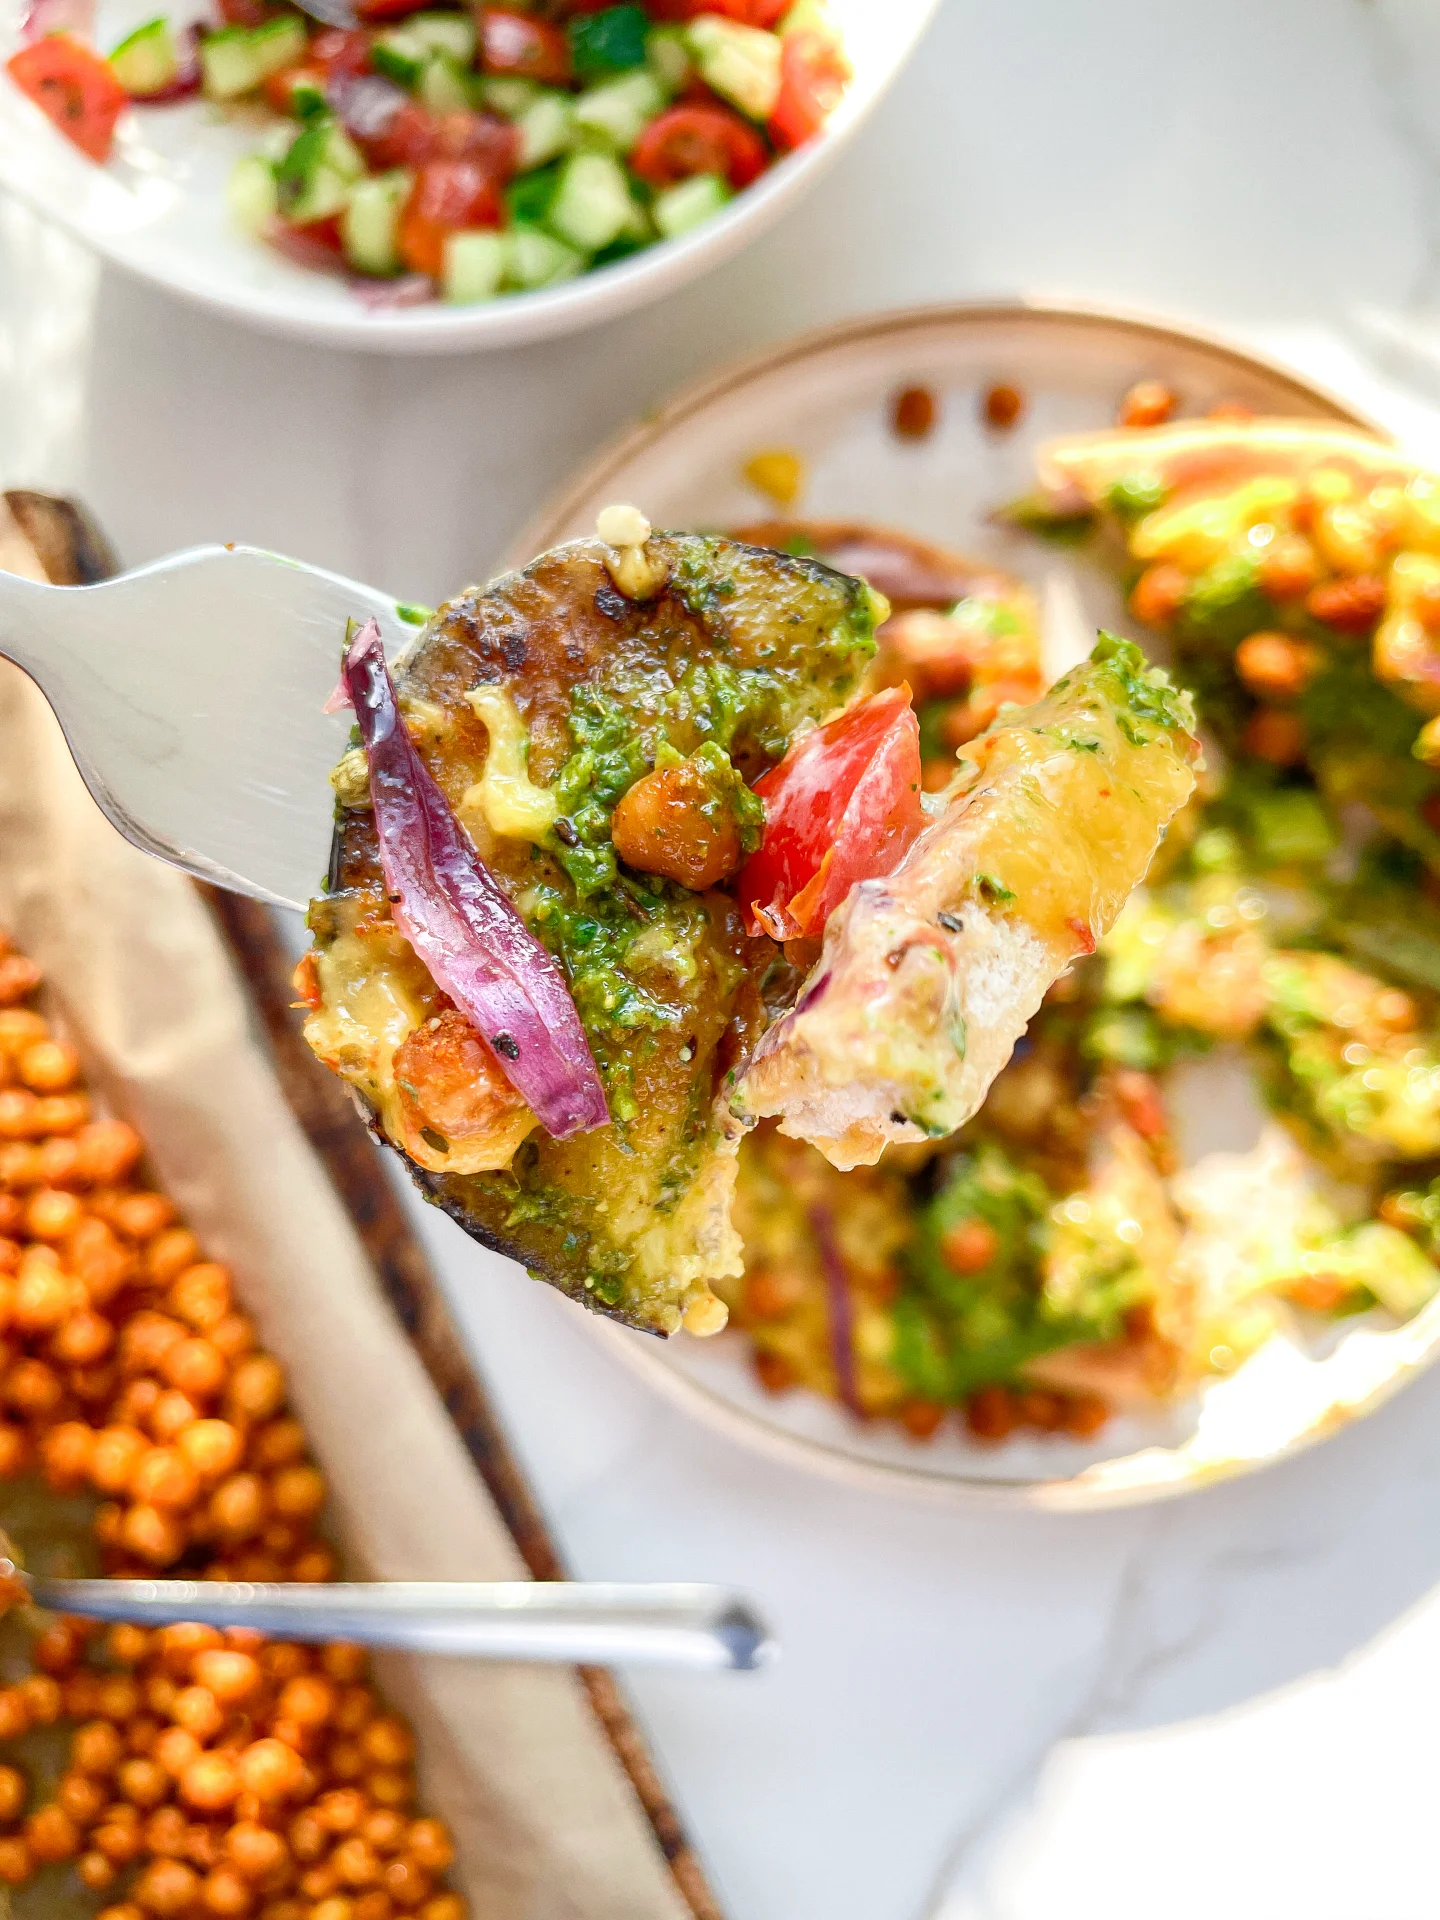
Meet your new favorite sandwich: the Sabich. Inspired by Yottam Ottolenghi this Middle Eastern delight packs a punch with crispy eggplant, fresh tomato cucumber salad, creamy tahini, spicy zhoug, tangy mango sauce, and crunchy chickpeas. It’s a vegan feast that’s not only incredibly delicious but also super easy to make. Perfect for lunch or dinner, this Sabich sandwich is all about bold flavors and textures.

How to serve
Start with a warm bread, then layer on the crispy eggplant, followed by the tomato cucumber salad. Drizzle with tahini sauce and add a spoonful of zhoug for that spicy kick. Top it off with chickpeas and a splash of mango sauce. Wrap it up and enjoy! It’s best served fresh and warm, making it a perfect quick meal.

How to store
Store any leftover components separately in airtight containers. The crispy eggplant and salad can stay fresh in the fridge for up to two days. When ready to eat, reheat the eggplant in the oven and assemble your sandwich fresh for the best taste.

Hi, I'm Kimberly!

Hi, I'm Kimberly.

A passionate food lover who believes in the magic of homemade deliciousness that spreads love and warmth. Join me on this culinary adventure as I prepare wonderful dishes and let’s spread some happiness together!

Kimberly the Zett Signature

If you want to get to know me better, click here!


Sabich Sandwich
Sabich Sandwich
Sabich Sandwich
„Let’s make a piece of happiness“
Print
clock clock iconcutlery cutlery iconflag flag iconfolder folder iconinstagram instagram iconpinterest pinterest iconfacebook facebook iconprint print iconsquares squares iconheart heart iconheart solid heart solid icon
Sabich Sandwich

Sabich Sandwich


  • Author: Kimberly
  • Total Time: 40 minutes
  • Yield: 2 1x

Description

RECOMMENDED EQUIPMENT

  • small bowl
  • garlic press
  • sharp knife
  • cutting board
  • hand blender (or food processor)
  • mortar & pestle
  • medium bowl
  • 3 small bowls
  • sieve
  • large pan

Ingredients

Units Scale

TAHINI SAUCE

  • 2 tbsp tahini
  • 2 tbsp lemon juice
  • 1 tsp maple syrup
  • 1 garlic clove
  • salt & pepper to taste

MANGO SAUCE

  • 1 ripe mango
  • 1/8 tsp chili flakes

ZHOUG

  • 10 grams fresh cilantro
  • 5 grams fresh parsley
  • 1 jalapeno
  • 2 tbsp olive oil
  • 2 tbsp lime juice
  • 4 tbsp cold water
  • 1 garlic clove
  • 5 cardamom capsules
  • 3 cloves
  • 1/2 tsp cumin
  • pinch of pepper

TOMATE CUCUMBER SALAD

  • 100 grams tomatoes
  • 100 grams cucumber
  • 1 small red onion
  • 1 tbsp olive oil
  • 1 tbsp lemon juice
  • some parsley leaves

ROASTED CHICKPEAS

  • 130 grams drained chickpeas
  • 1/2 tbsp olive oil
  • 1/4 tsp cumin
  • 1/4 tsp smoked paprika
  • 1/8 tsp salz
  • 1/8 tsp curry
  • 1/8 tsp garlic powder
  • 1/8 tsp onion powder

EGGPLANT SLICES

  • 1 eggplant
  • 2 tbsp cornstarch
  • 2 tbsp ghee/clarified butter

OTHER INGREDIENTS

  • 2 pita breads

Instructions

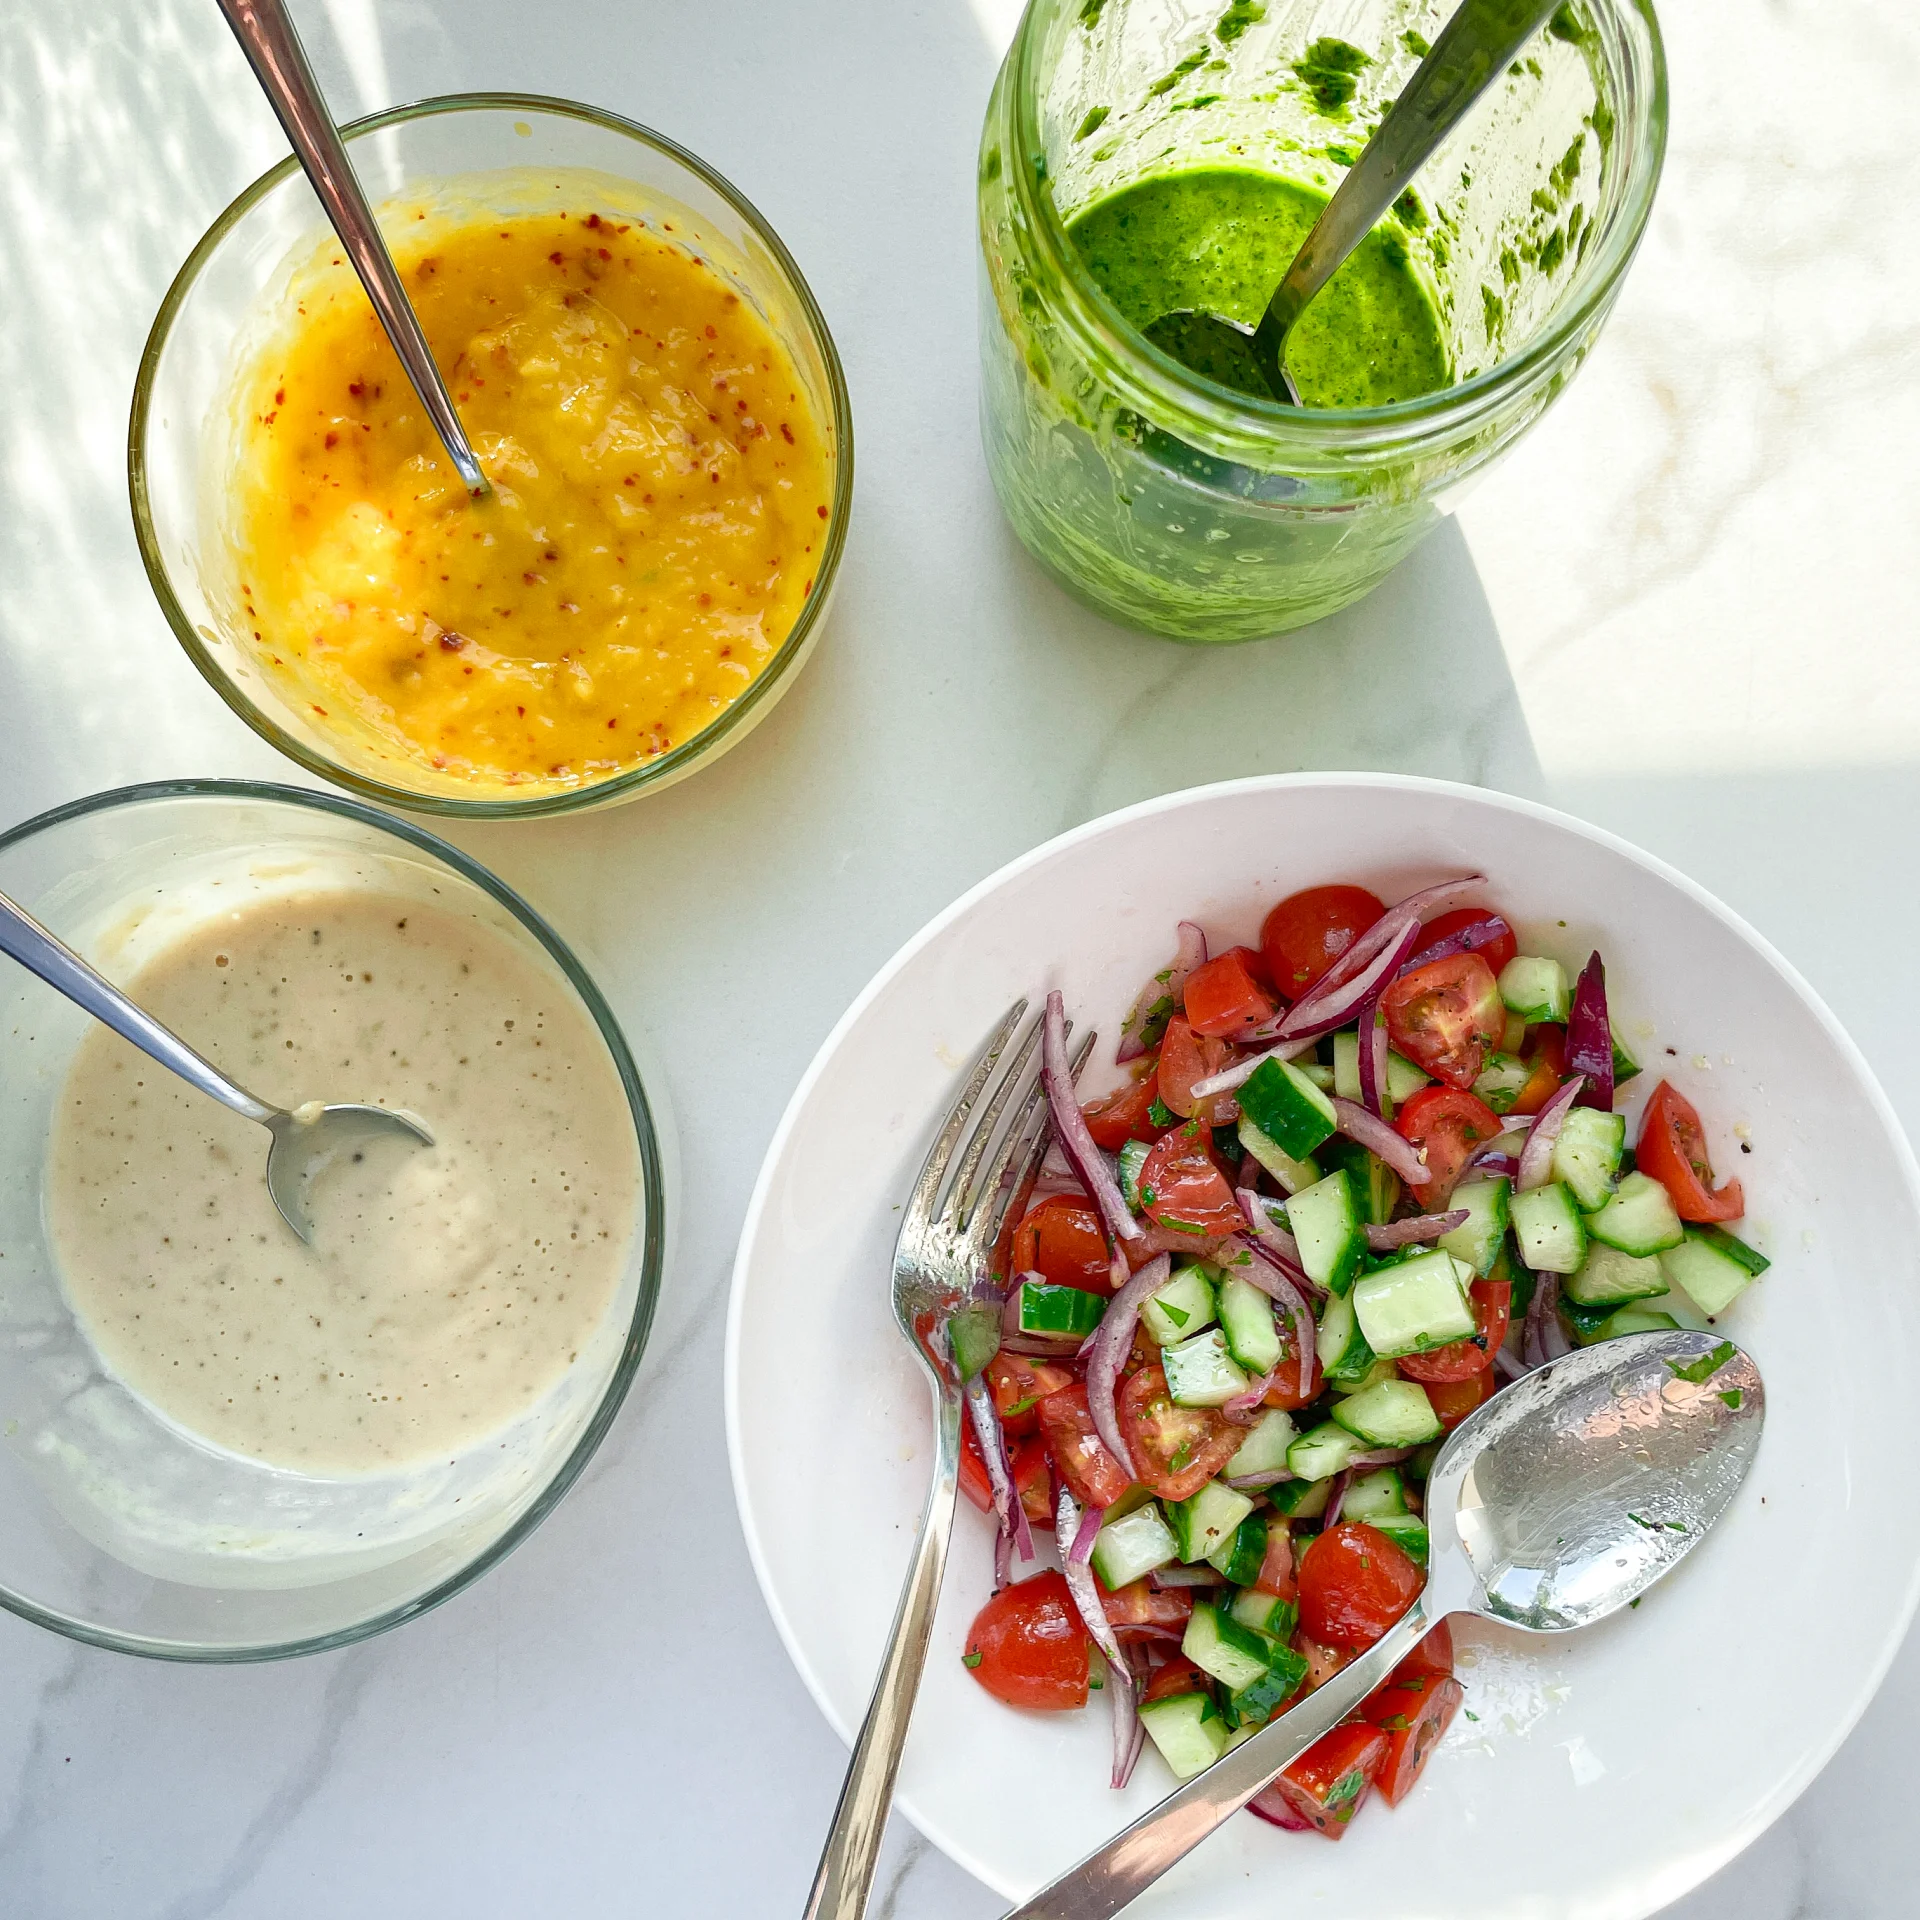
  1. For the tahini sauce, mix tahini and water in a small bowl until smooth. Press in one peeled garlic clove, add maple syrup and lemon juice, and mix well. Season with salt and pepper and set aside.
  2. For the mango sauce, peel the mango and blend the soft flesh in a tall container with a hand blender until creamy, adding a bit of water if needed. Add chili flakes to taste and stir. Set aside.
  3. For the Zhoug, first grind the 3 cloves and the contents of 5 cardamom pods in a mortar. Put this powder in a tall container that fits the hand blender, and add the following: cilantro leaves, parsley leaves, 4 tablespoons of cold water, 2 tablespoons of olive oil, 2 tablespoons of lime juice, 1/2 teaspoon of cumin, 1 jalapeno without the stem, and 2 peeled garlic cloves. Blend everything into a pesto-like paste and set aside.
  4. For the tomato-cucumber salad, wash the tomatoes and cucumber well. Cut both into small, even pieces and put them in a medium bowl. Peel the red onion, cut it into thin strips, and add to the bowl. Finely chop a few parsley leaves and add them too. Finally, add 1 tablespoon of olive oil and 1 tablespoon of lemon juice and mix well. Set aside.
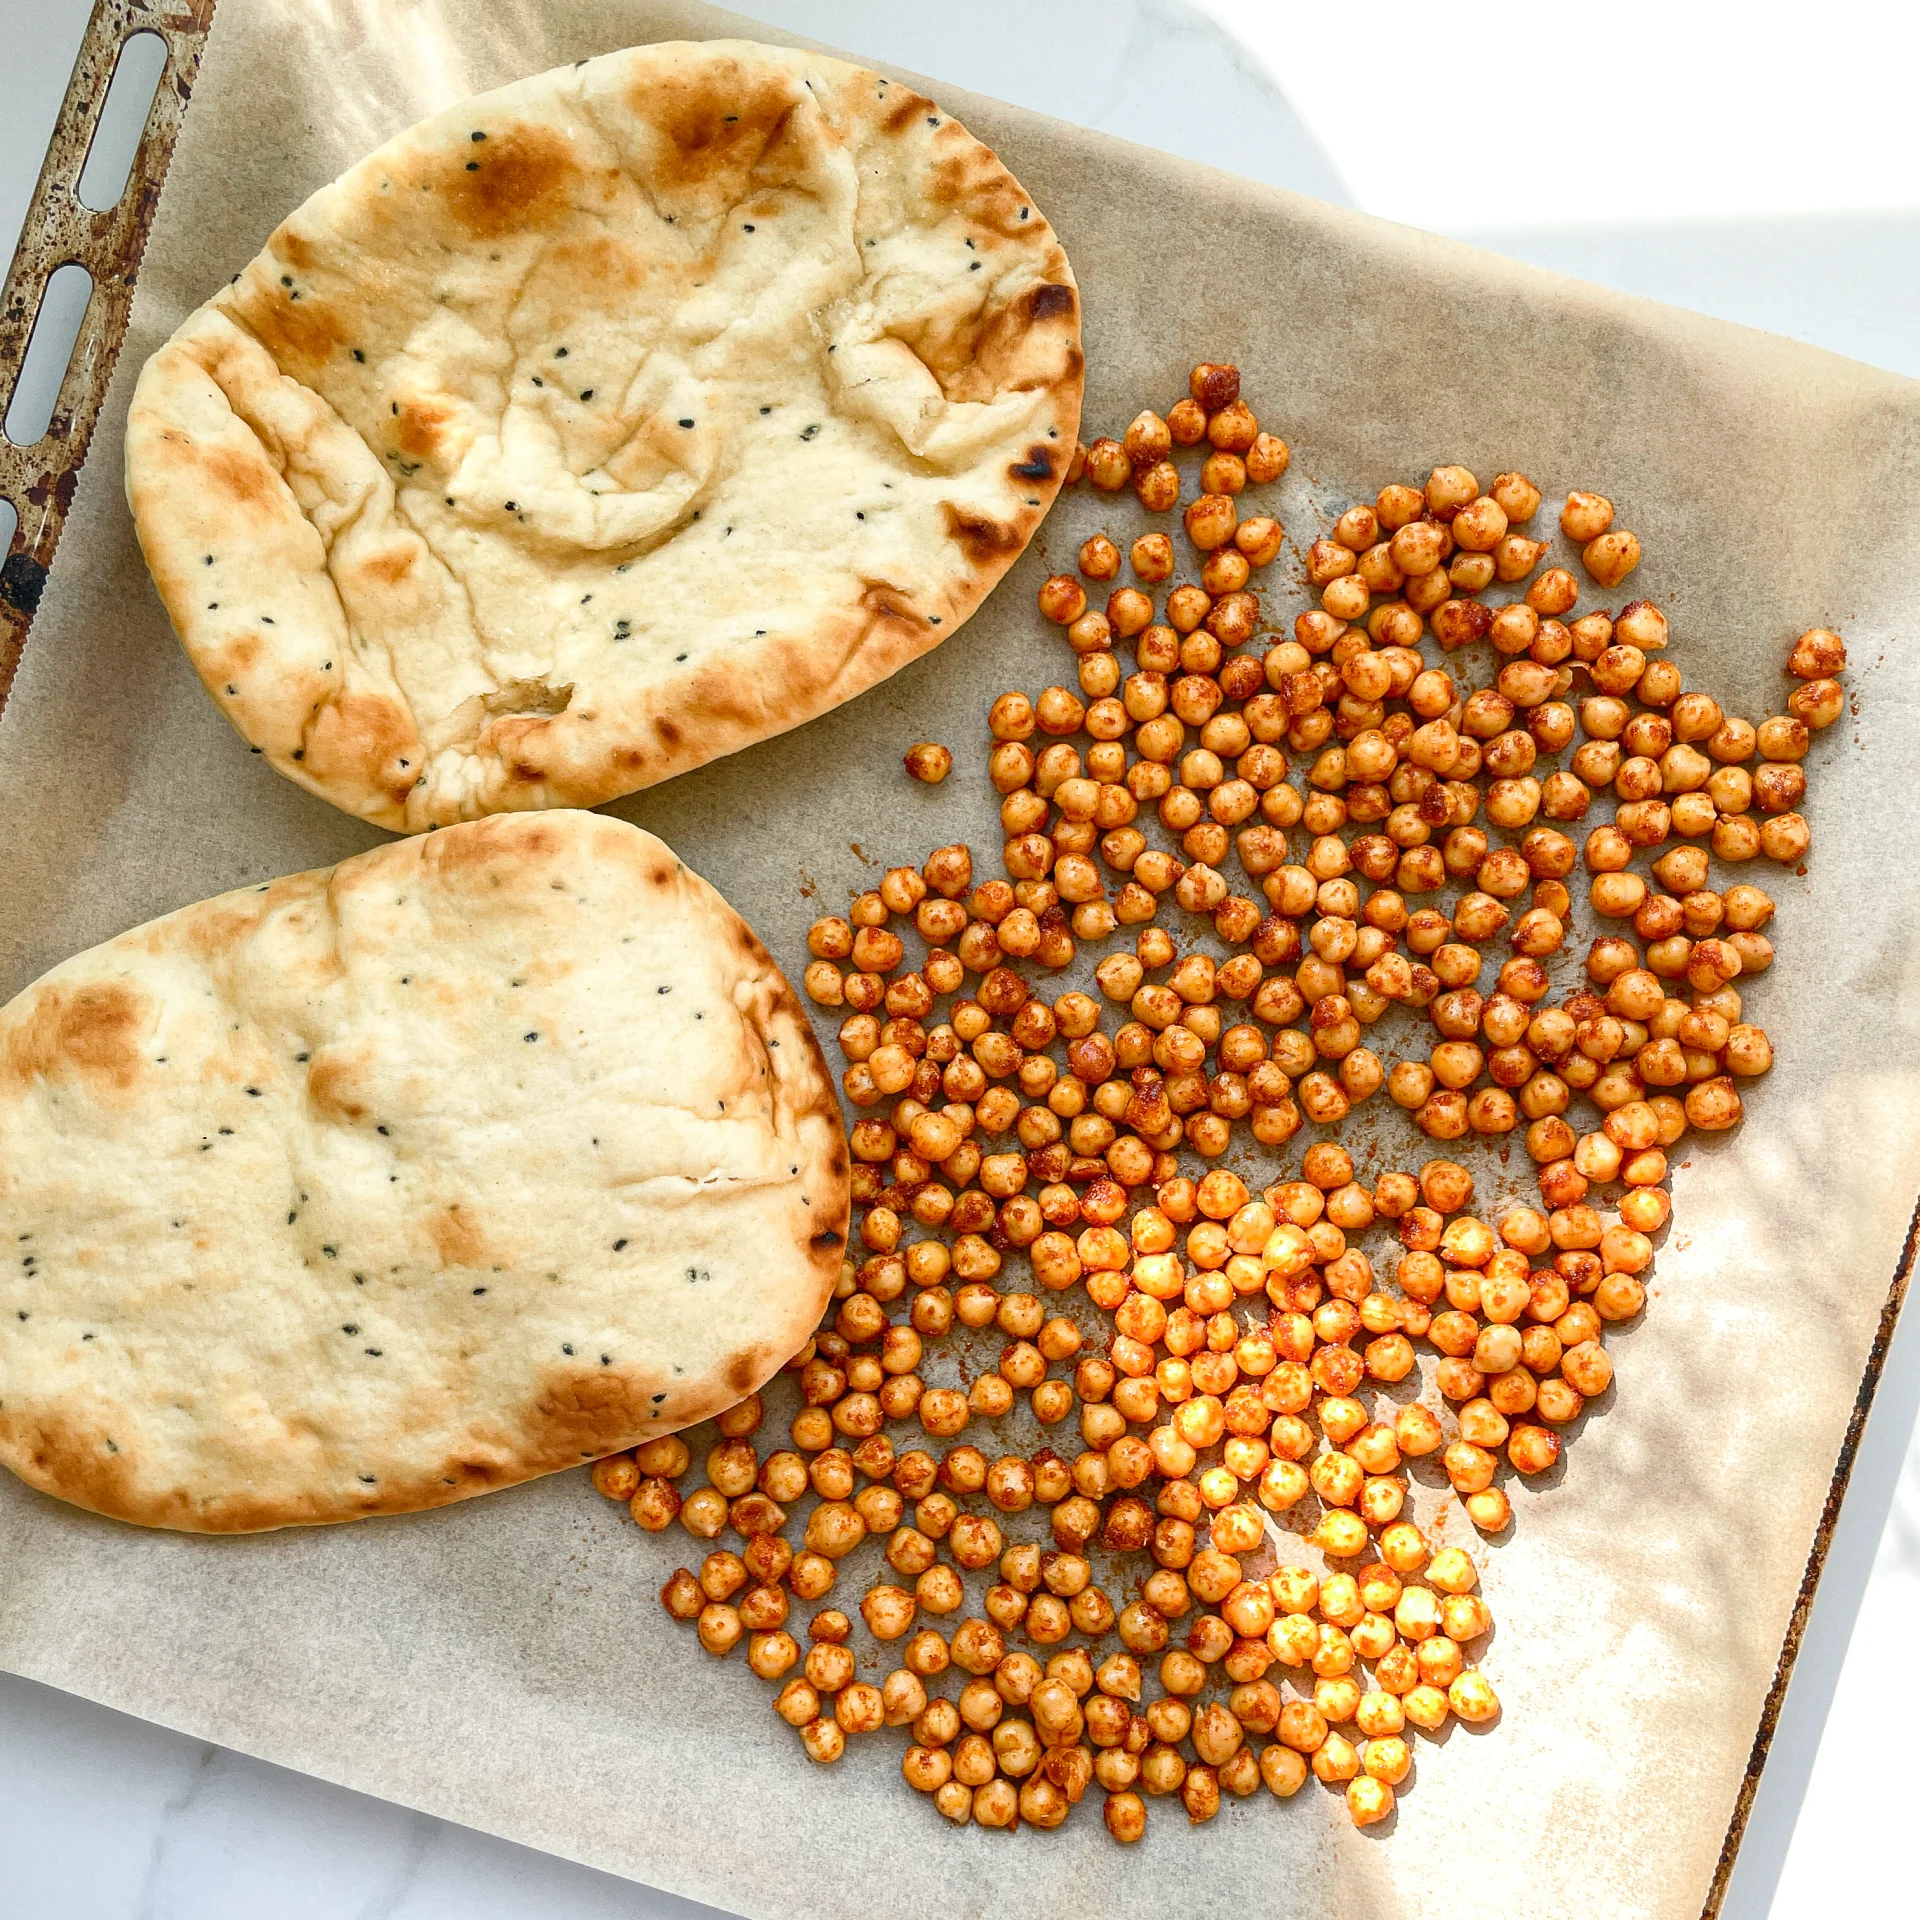
  5. For the roasted chickpeas, preheat the oven to 200°C / 392°F. Rinse the chickpeas thoroughly under running water and let them drain. In a medium bowl, mix together the spice blend: 1/2 tablespoon of olive oil, 1/4 teaspoon of cumin, 1/4 teaspoon of smoked paprika, 1/8 teaspoon of salt, 1/8 teaspoon of curry powder, 1/8 teaspoon of dried garlic, and 1/8 teaspoon of dried onion. Put the chickpeas in a clean kitchen towel and gently rub them dry, removing any loose skins. Mix the chickpeas with the spice paste in the bowl until they’re well coated. Spread the chickpeas on a baking sheet lined with parchment paper and roast in the oven for 20-25 minutes. Place the pita breads in the oven for the last 10 minutes.
  6. Finally, prepare the eggplant slices. Wash and dry the eggplant, then cut it into slices about 1 cm thick. Spread 2 tablespoons of cornstarch on a small plate and coat the eggplant slices on both sides, shaking off any excess. Fry the slices in a hot pan with 2 tablespoons of clarified butter until crispy on both sides, then let them drain on a paper towel.
  7. To assemble, spread tahini sauce on each piece of bread, add tomato-cucumber salad, then a few eggplant slices, and top with Zhoug and mango sauce. Finally, sprinkle the roasted chickpeas on top. Enjoy your delicious creation!

Notes

The calorie information may vary depending on the product used, country and region.

  • Cook Time: 40 min

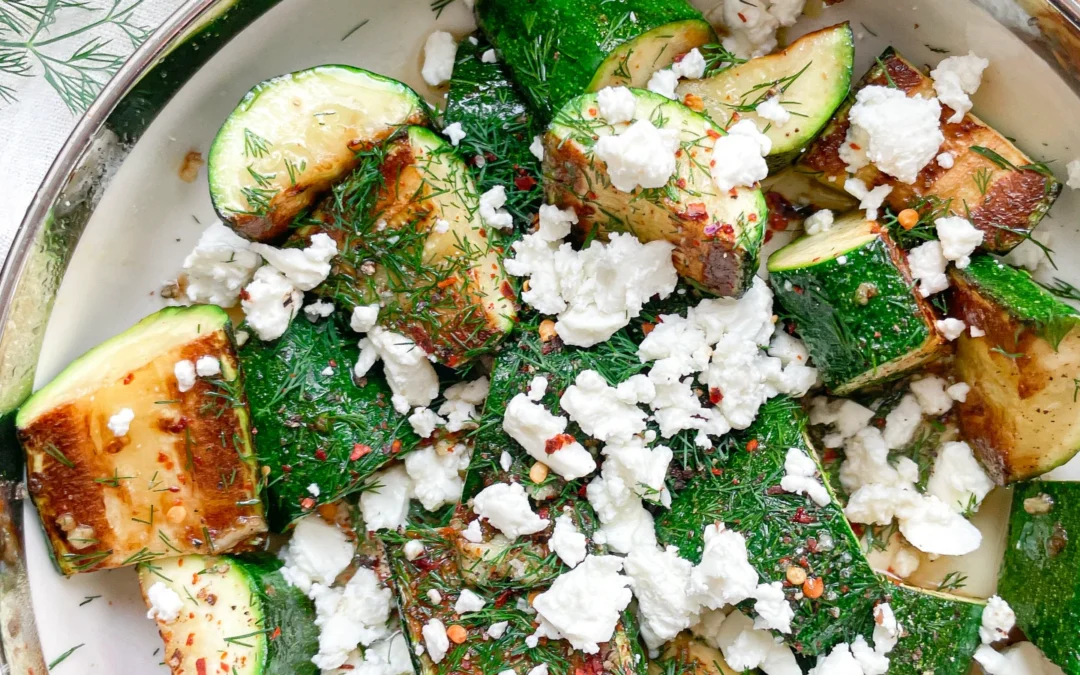
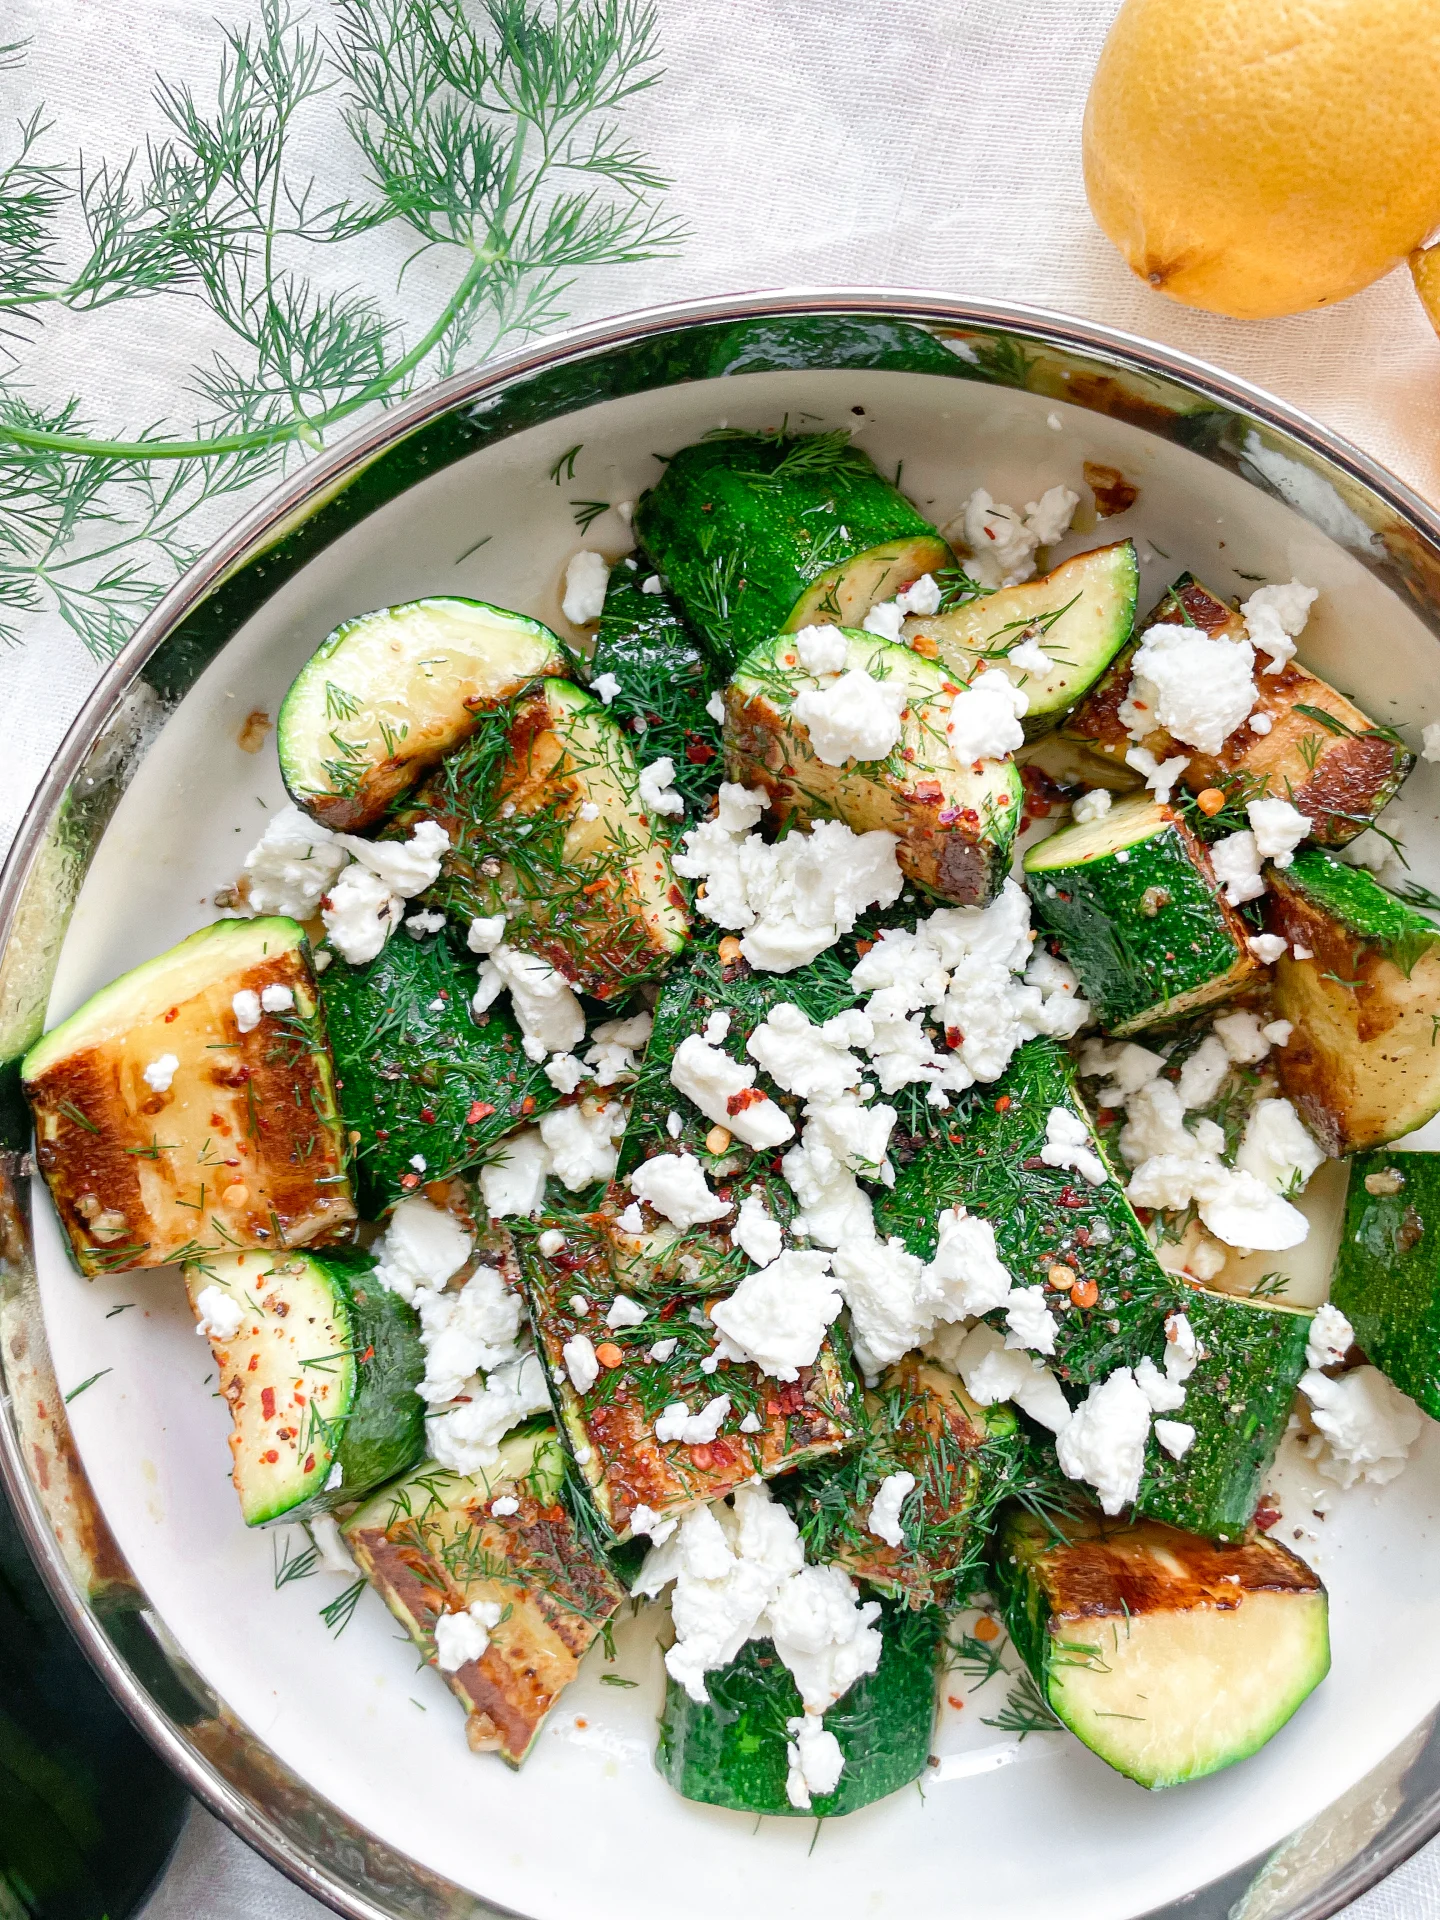
Roasted Honey Garlic Zucchini with Feta & Dill

Roasted Honey Garlic Zucchini with Feta & Dill

Roasted Honey Garlic Zucchini with Feta & Dill

Roasted Honey Garlic Zucchini with Feta & Dill

May 27, 2024 by Kimberly

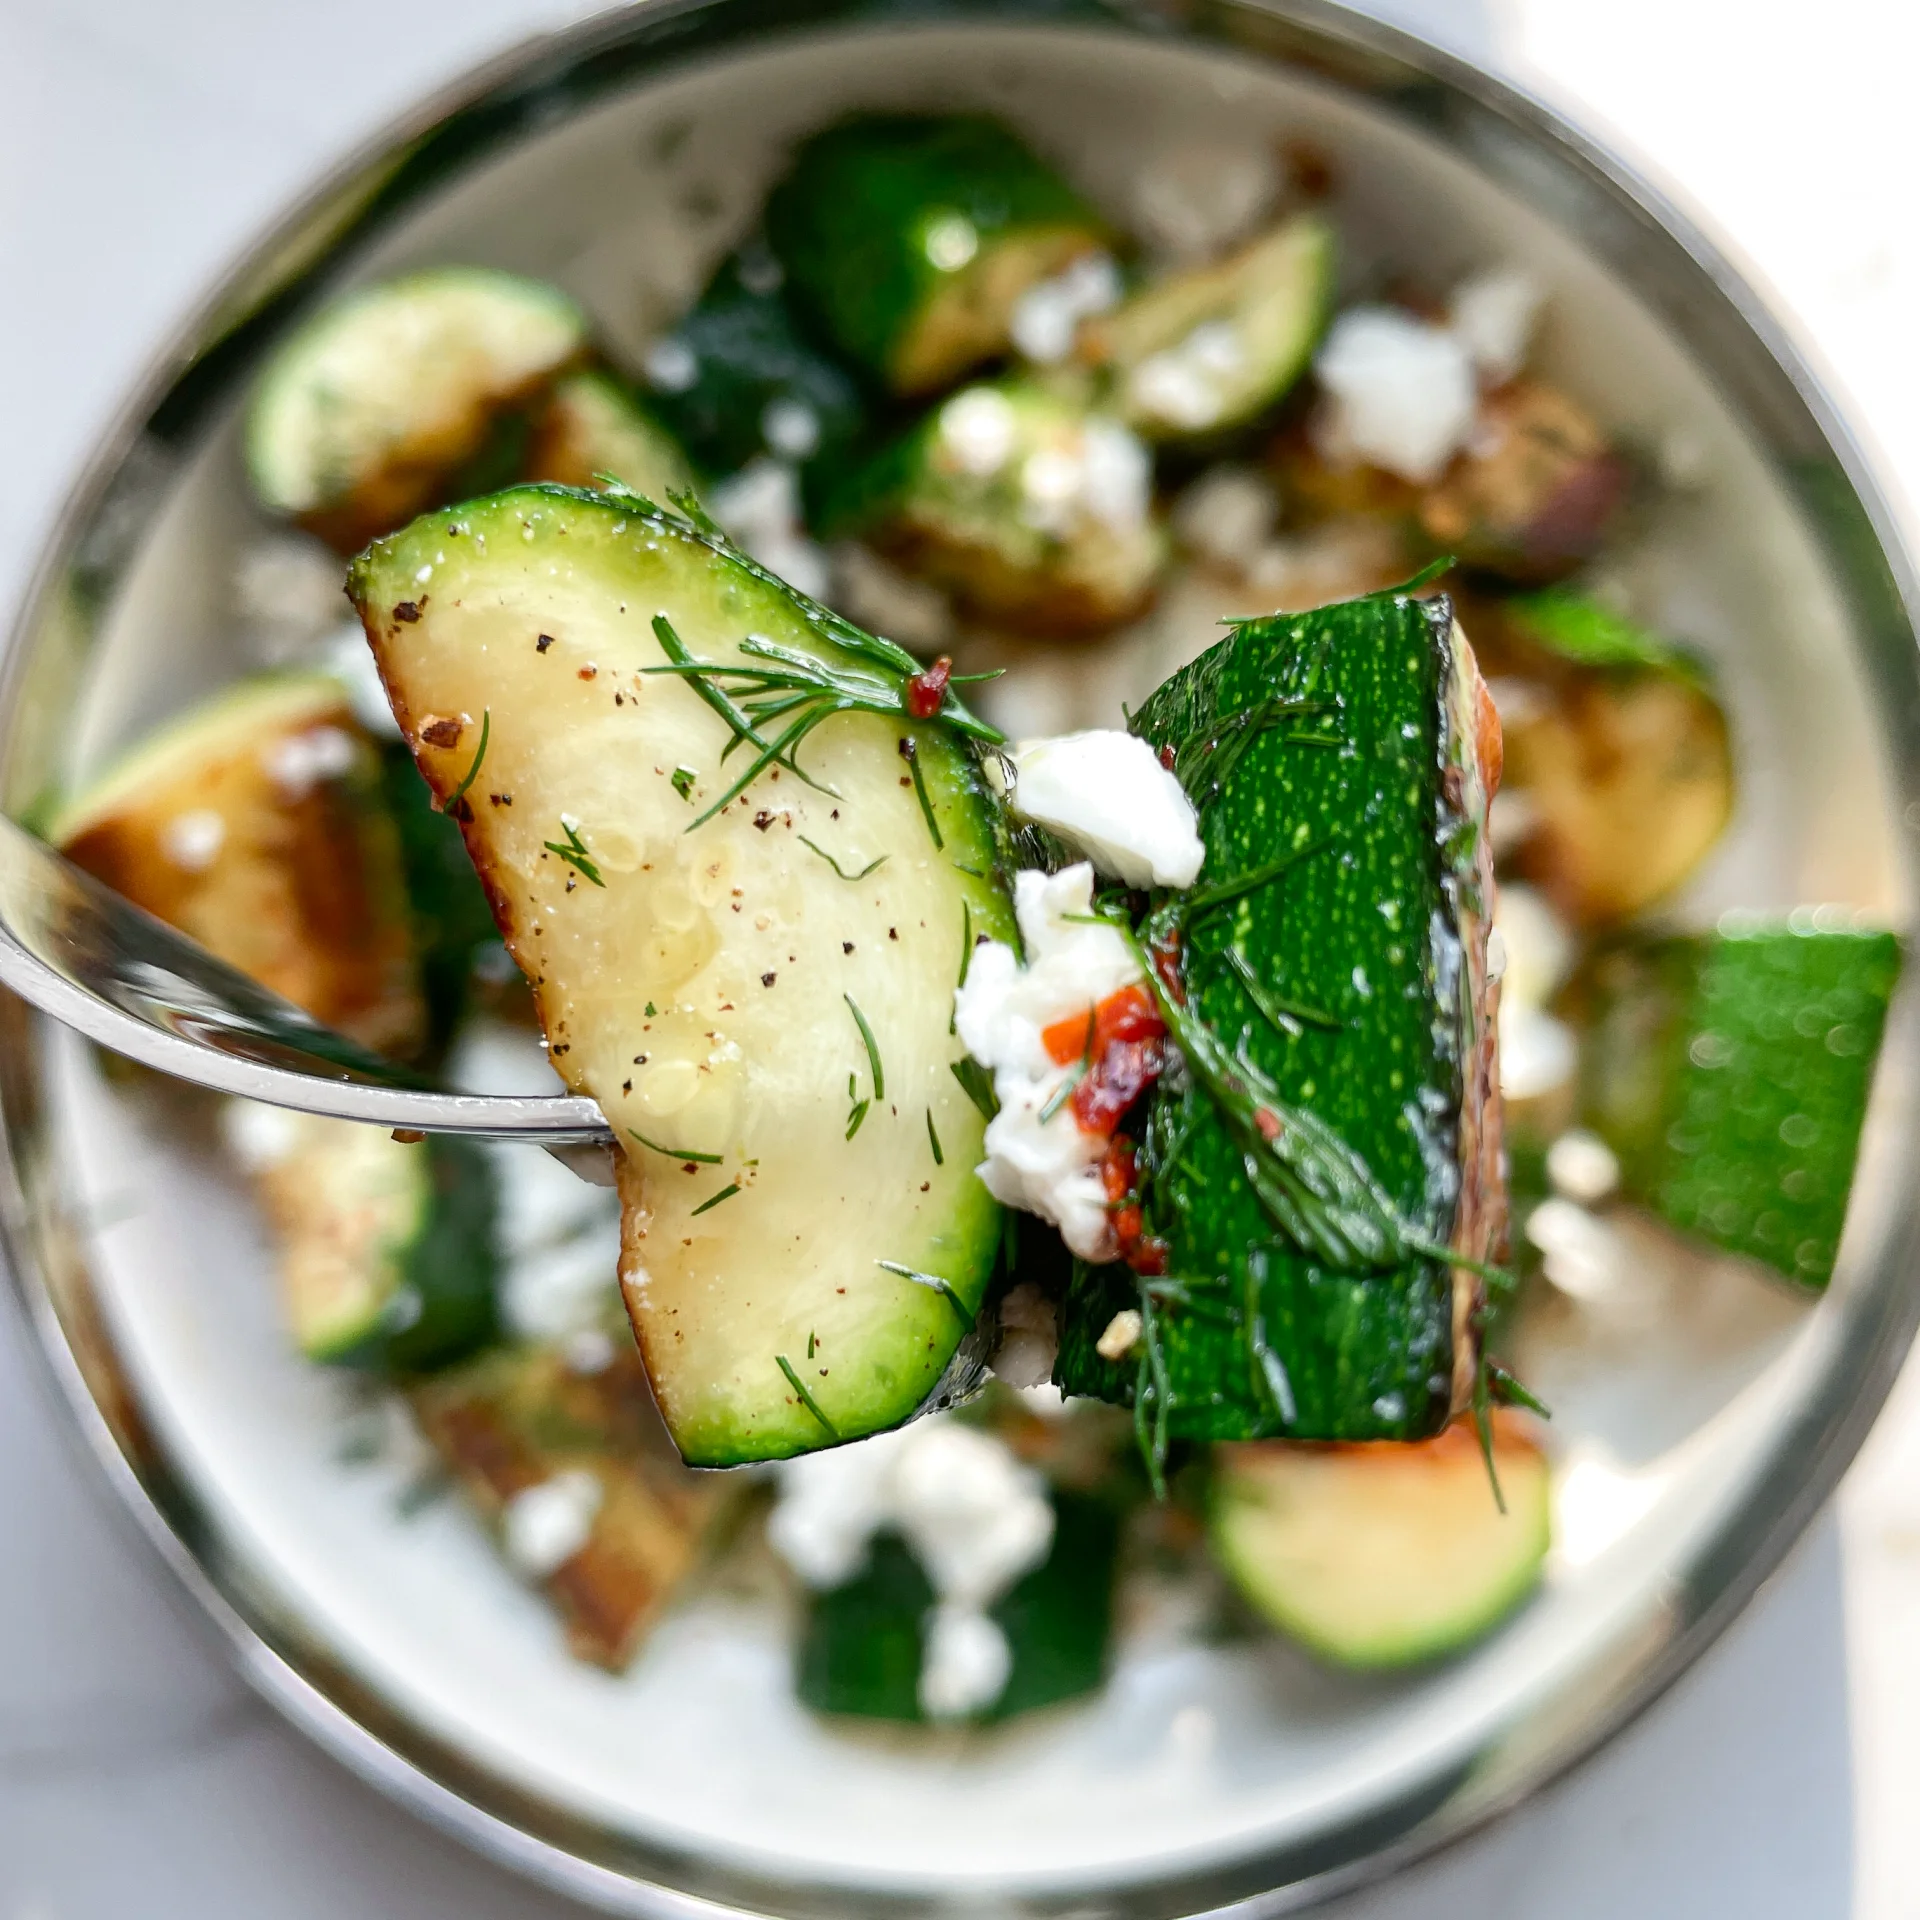
Discover the perfect summer side dish with roasted zucchini, garlic, honey, feta, and dill. It’s tender, crispy, and irresistibly flavorful. Your taste buds will thank you!

15 MINUTES

EASY

VEGETARIAN

INT.

274 PER PORTION

REFRESHINGEVERYDAY

LUNCH

SUMMER

INTRODUCTION

ABOUT THE RECIPE

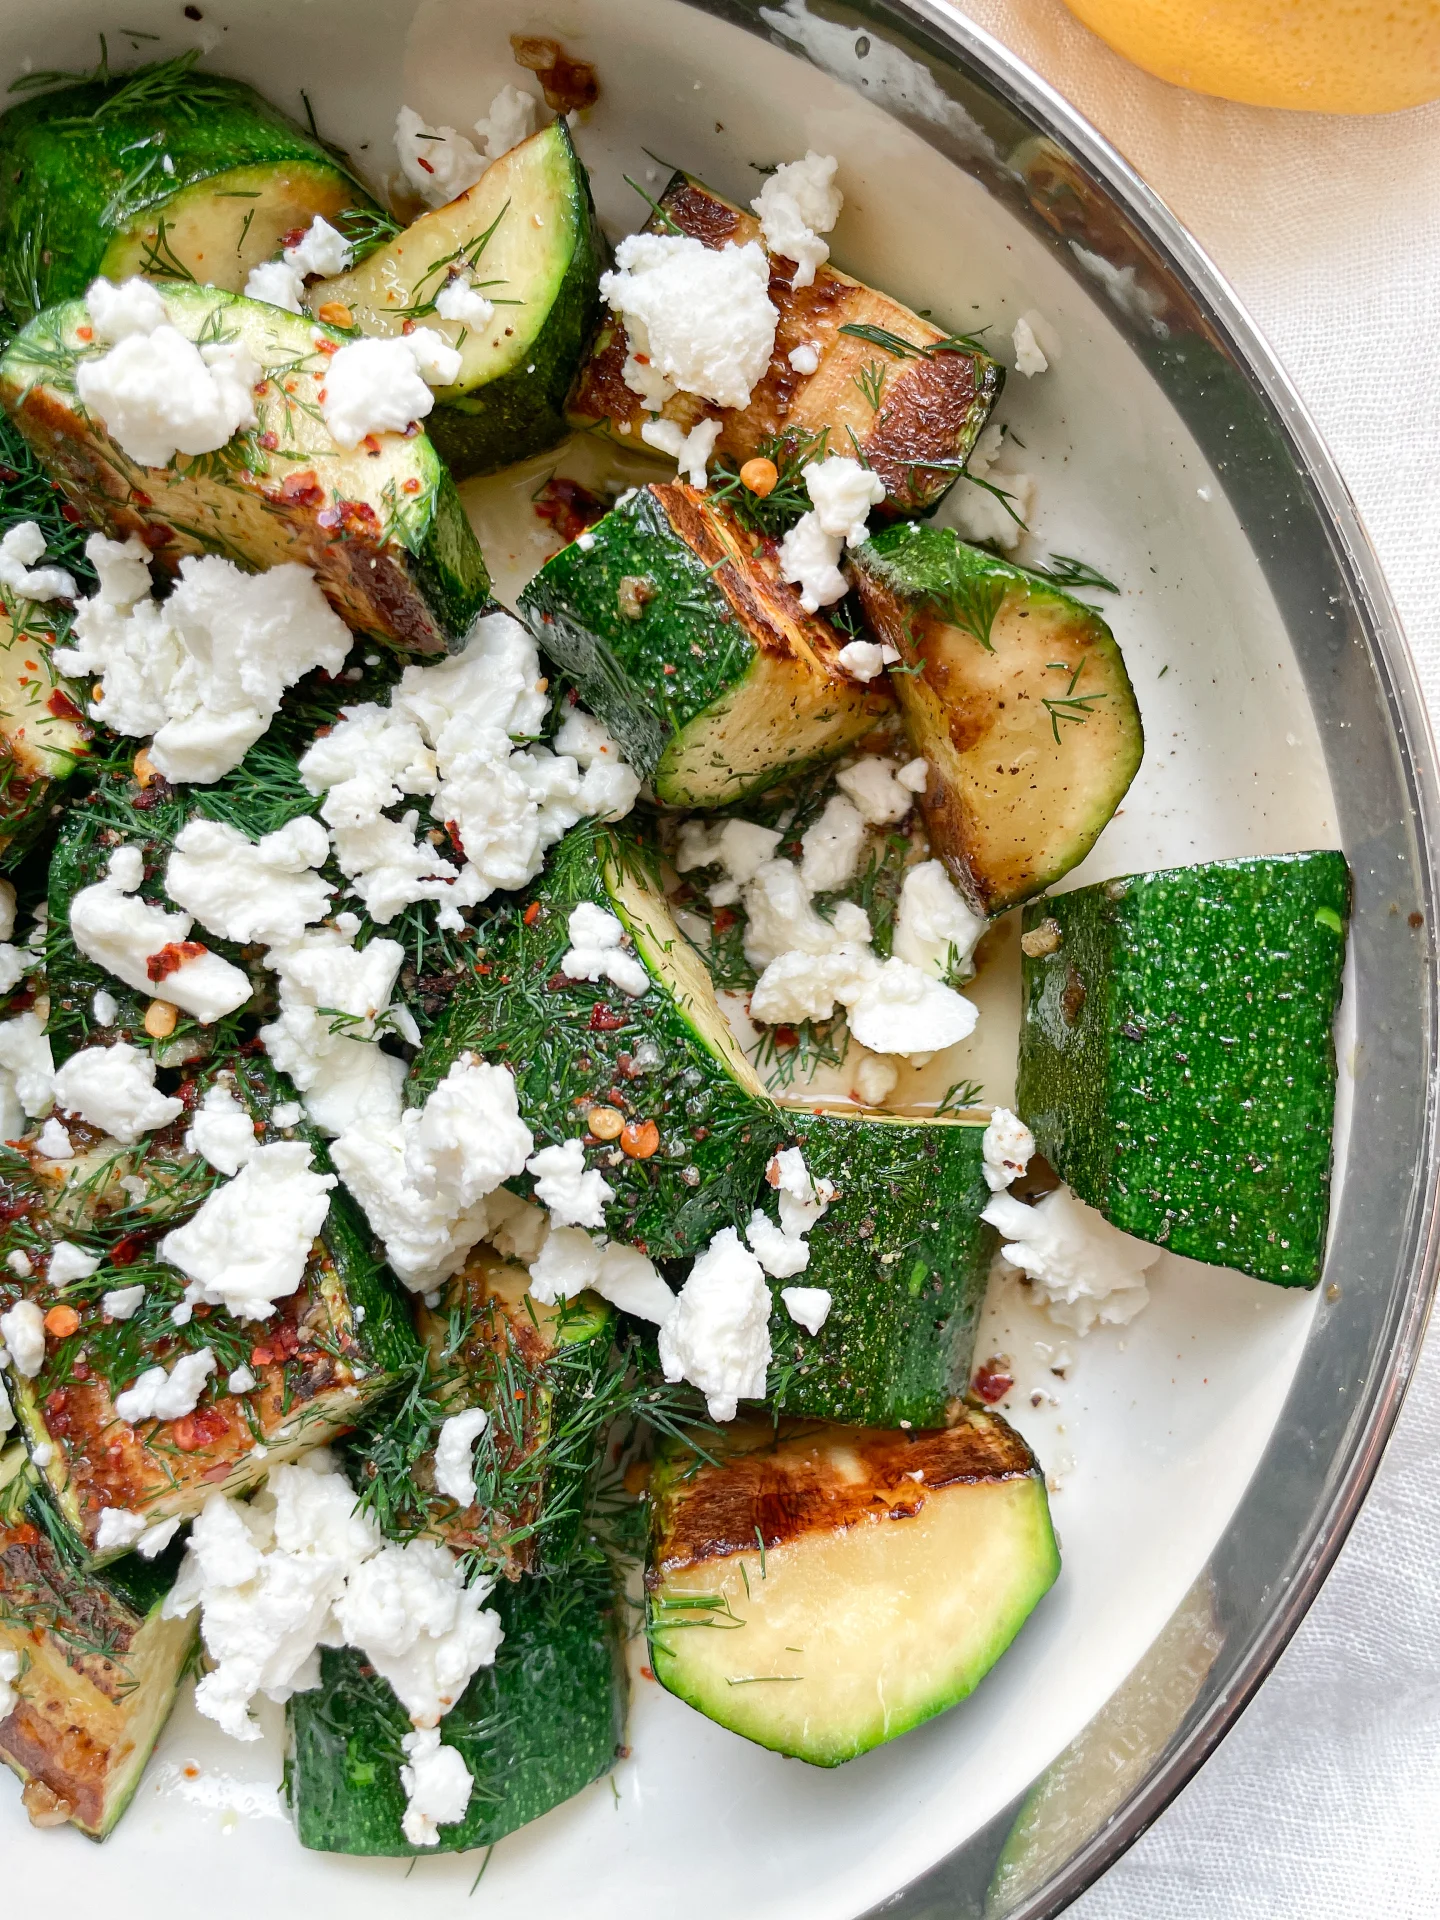
Roasted Honey Garlic Zucchini with Feta & Dill is a summer favorite that’s sure to impress. This dish combines tender zucchini, sweet honey, and savory garlic, all topped with tangy feta and fresh dill. It’s easy to prepare and packed with flavor, making it a go-to for any meal.

How to serve
Serve this Roasted Honey Garlic Zucchini as a delightful side dish at your next BBQ or family dinner. It pairs wonderfully with grilled meats or can be enjoyed on its own as a light, healthy meal. The combination of sweet, savory, and tangy flavors will leave everyone wanting more.

How to store
To store, place any leftover zucchini in an airtight container and refrigerate. It will stay fresh for up to 2 days. Reheat in the oven to maintain its crispy texture, or enjoy it cold for a quick and tasty snack.

Hi, I'm Kimberly!

Hi, I'm Kimberly.

A passionate food lover who believes in the magic of homemade deliciousness that spreads love and warmth. Join me on this culinary adventure as I prepare wonderful dishes and let’s spread some happiness together!

Kimberly the Zett Signature

If you want to get to know me better, click here!


Roasted Honey Garlic Zucchini with Feta & Dill
„Let’s make a piece of happiness“
Print
clock clock iconcutlery cutlery iconflag flag iconfolder folder iconinstagram instagram iconpinterest pinterest iconfacebook facebook iconprint print iconsquares squares iconheart heart iconheart solid heart solid icon
Roasted Honey Garlic Zucchini with Feta & Dill

Roasted Honey Garlic Zucchini with Feta & Dill


  • Author: Kimberly
  • Total Time: 13 minutes
  • Yield: 2 1x

Description

RECOMMENDED EQUIPMENT

  • large pan
  • sharp knife
  • cutting board
  • garlic press

Ingredients

Units Scale

ZUCCHINIS

  • 2 zucchinis
  • 2 tbsp olive oil
  • 3 garlic cloves
  • 1/4 tsp to 1/2 tsp chili flakes (depending on your preferences)

TOPPINGS

  • 2 tsp honey
  • 100 grams feta cheese
  • 2 tbsp fresh dill
  • salt & pepper to taste

Instructions

PREPARATIONS

  • Peel the garlic cloves and finely chop them or use a garlic press.
  • Roughly chop the dill set aside.

INSTRUCTIONS

  1. Wash the zucchini and trim the ends. Then, halve the zucchini lengthwise and cut them into large chunks.
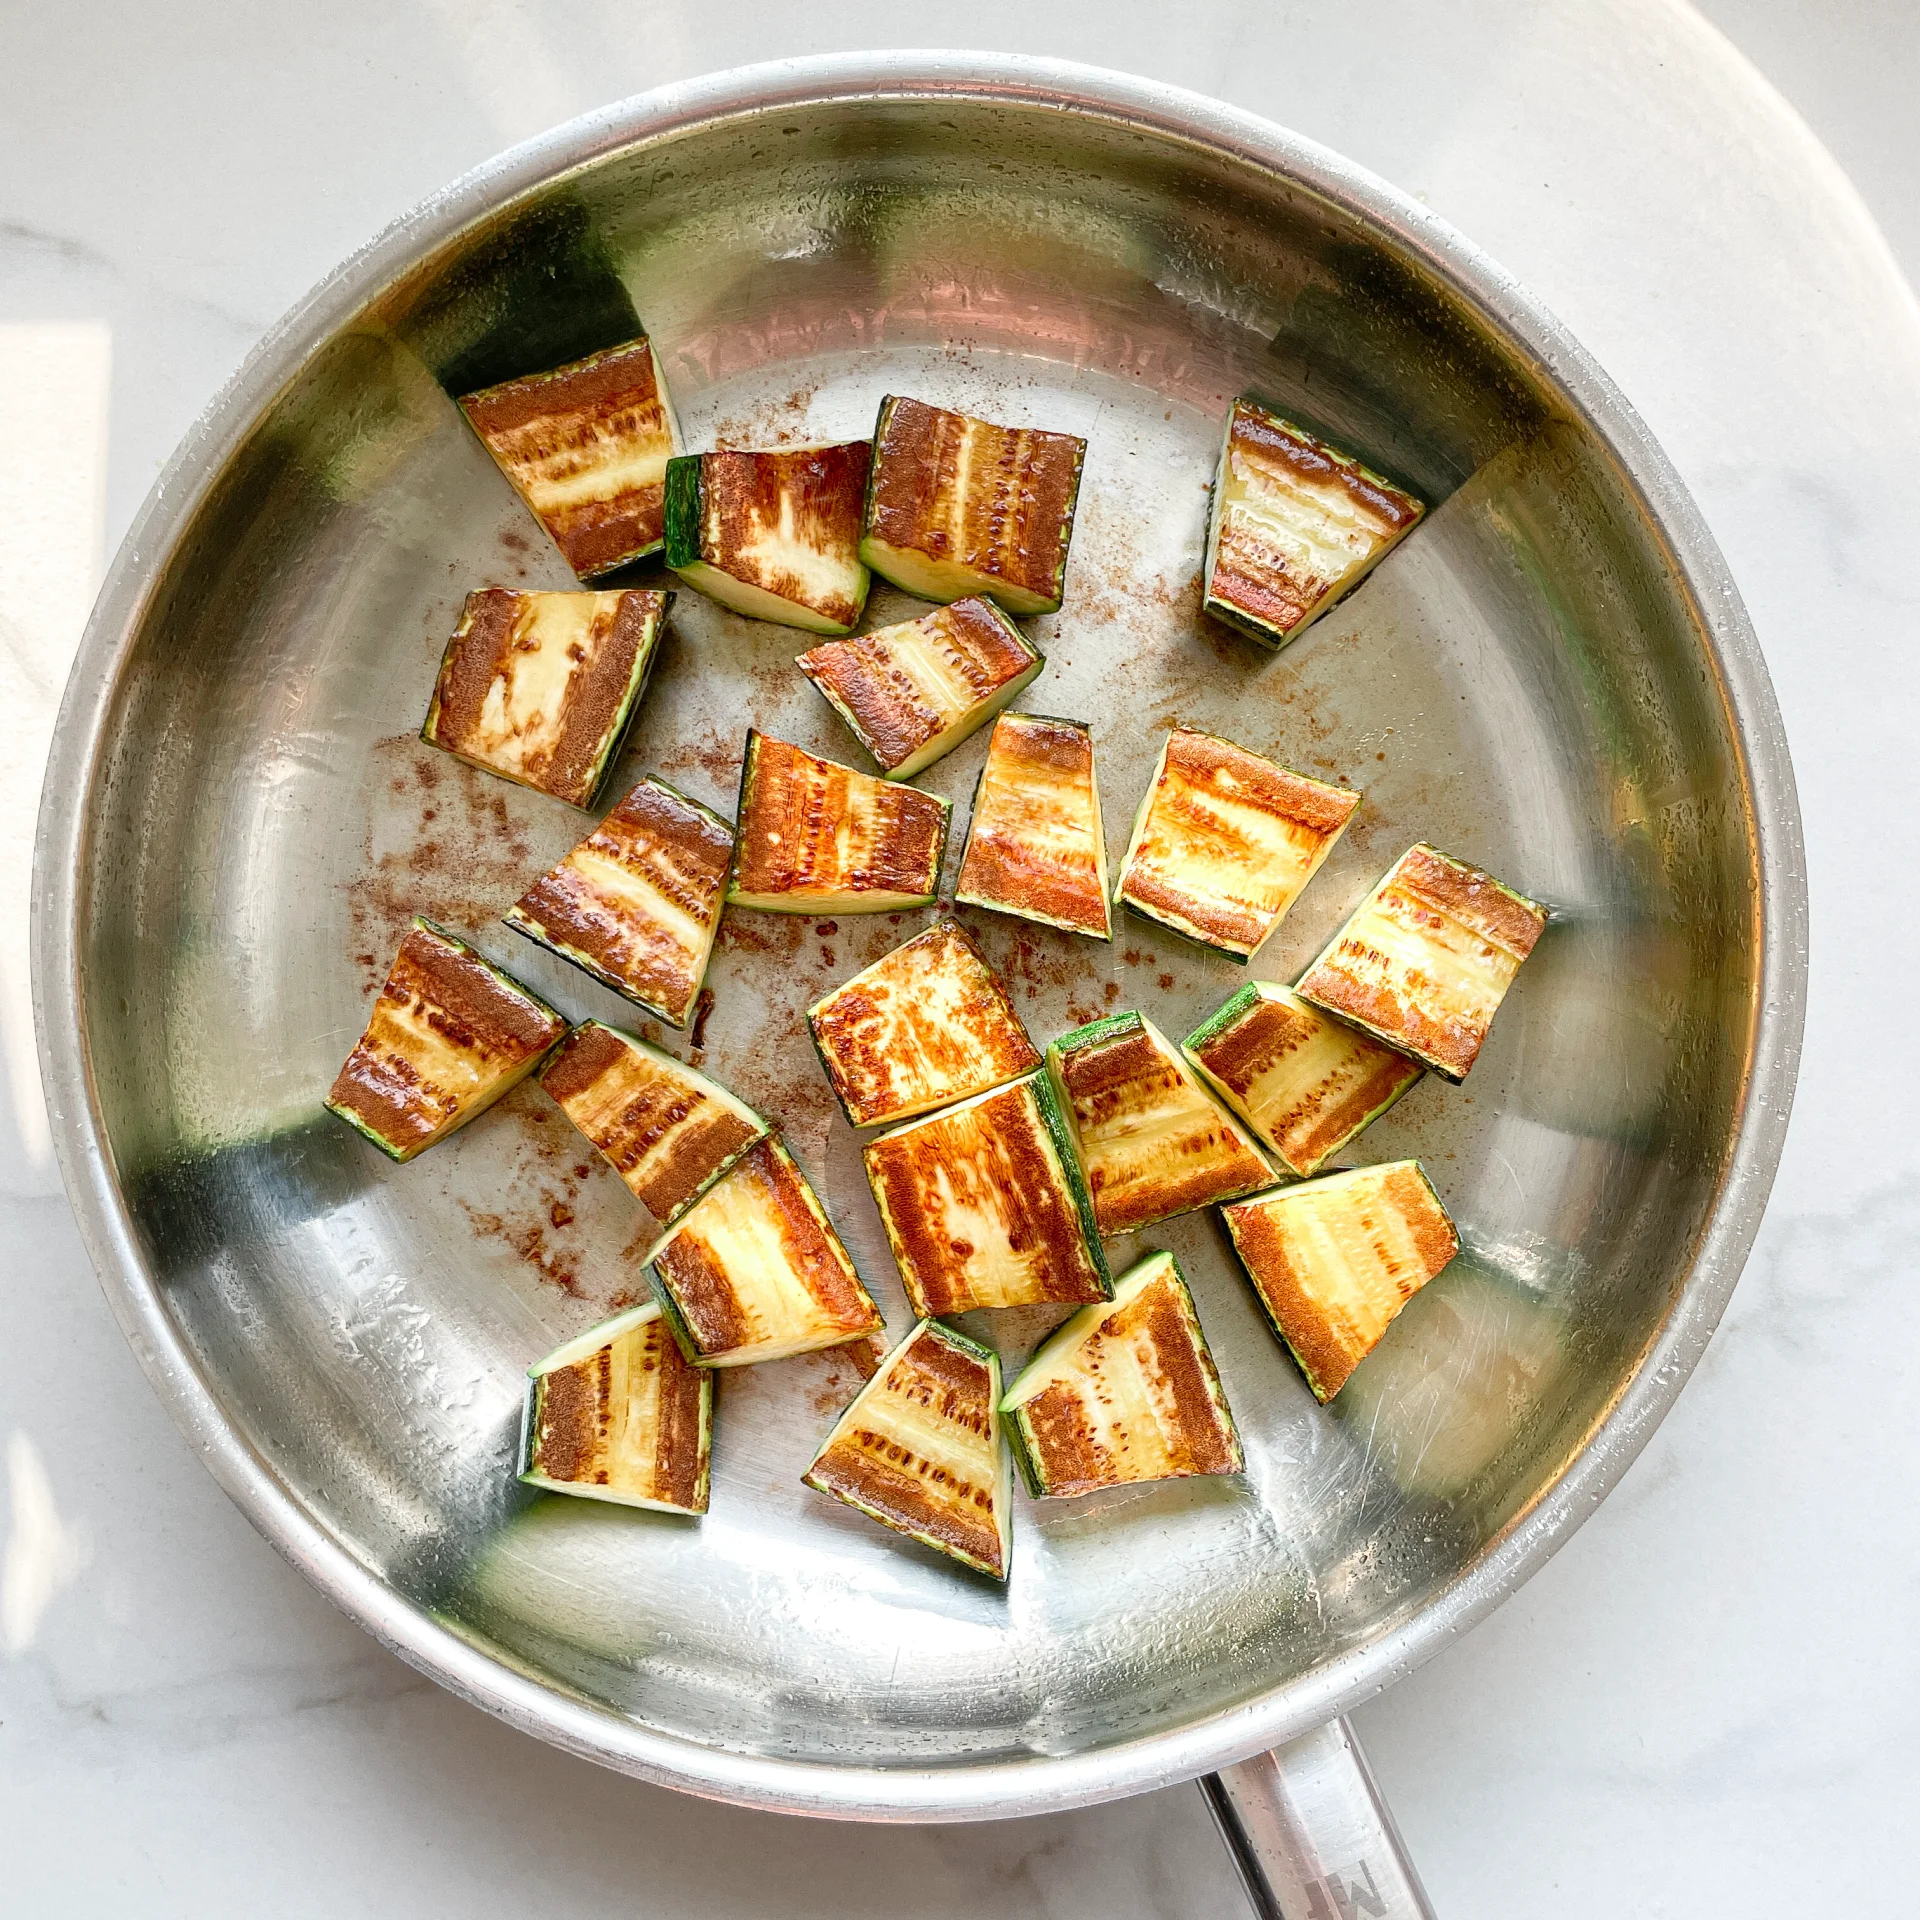
  2. Heat some olive oil in a pan over medium heat. Place the zucchini pieces cut side down in the pan and sauté for a few minutes until they are crispy and golden brown. Once they’re ready, add the garlic and chili flakes. Stir everything together and let it roast for 1-2 minutes.
  3. Transfer the zucchini to a bowl and drizzle with honey, then season with salt, pepper, dill, and sprinkle feta cheese on top. Serve immediately and enjoy this piece of happiness 🙂

Notes

The calorie information may vary depending on the product used, country and region.

  • Prep Time: 3 min
  • Cook Time: 10 min
  • Category: VEGETABLES

Pink Hummus

Pink Hummus

Pink Hummus

Pink Hummus

May 20, 2024 by Kimberly

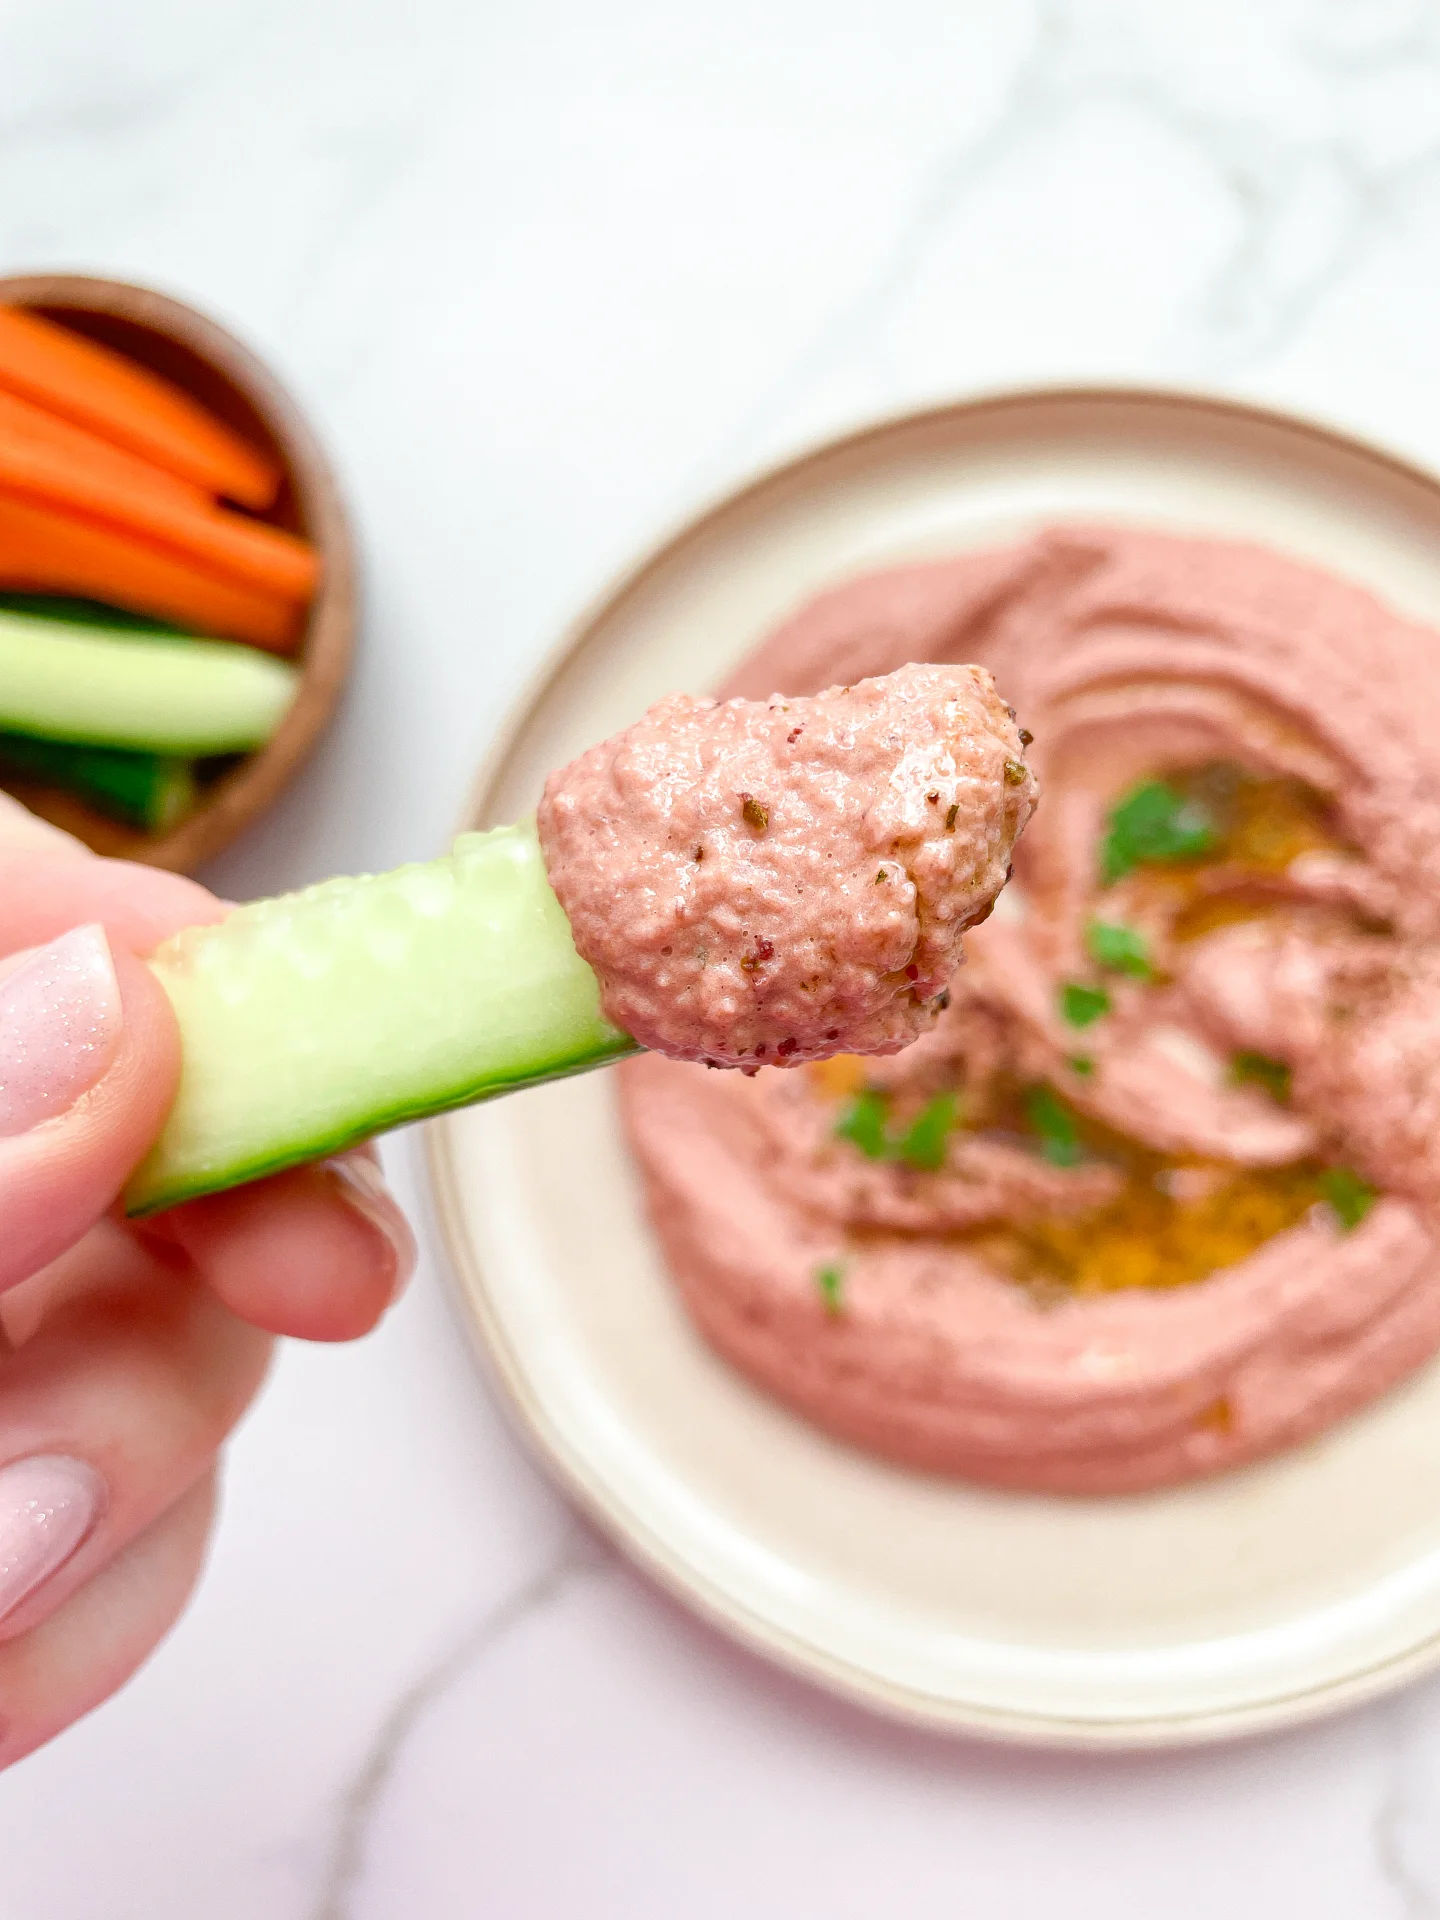
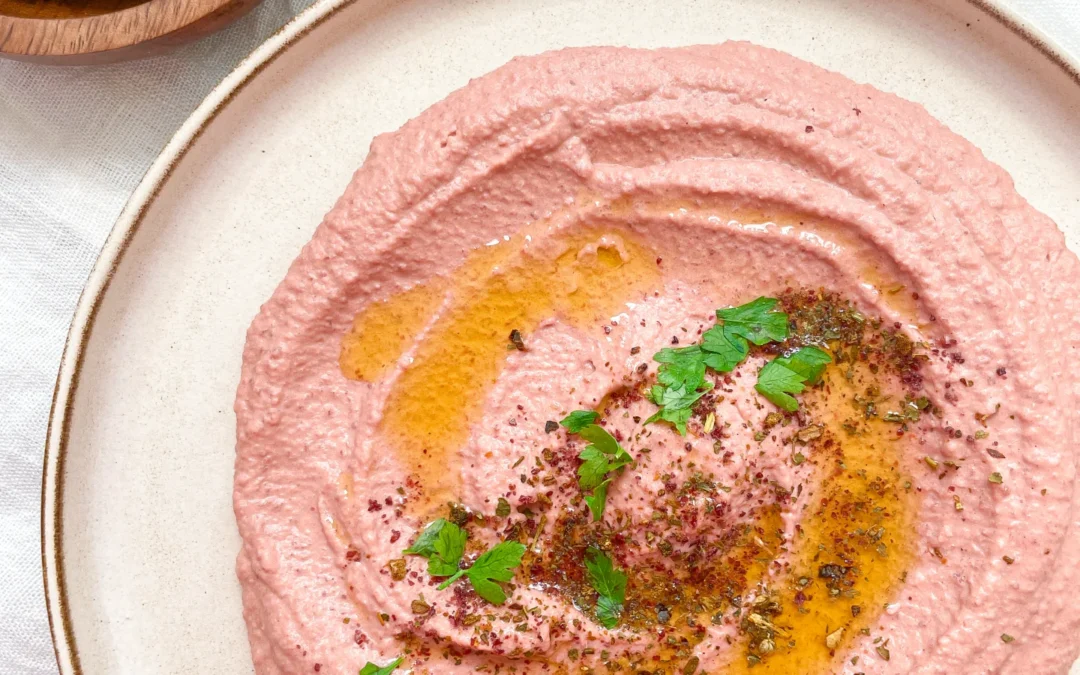
Get ready to wow your taste buds with this vibrant pink beetroot hummus! It’s creamy, delicious, and packed with nutrients – a perfect, colorful twist on a classic.

10 MINUTES

EASY

VEGAN

ARABIC

150 PER PORTION

NUTTY
CREAMY

EVERYDAY

DIPS & SPREADS

ALL YEAR

INTRODUCTION

ABOUT THE RECIPE

If you’re looking to add a pop of color and a burst of flavor to your snack game, pink beetroot hummus is your go-to recipe! This delightful dip combines the earthy sweetness of beetroots with the creamy goodness of traditional hummus. Not only is it visually stunning, but it’s also packed with nutrients, making it a healthy choice for any occasion. Perfect for impressing guests or just treating yourself!

How to serve
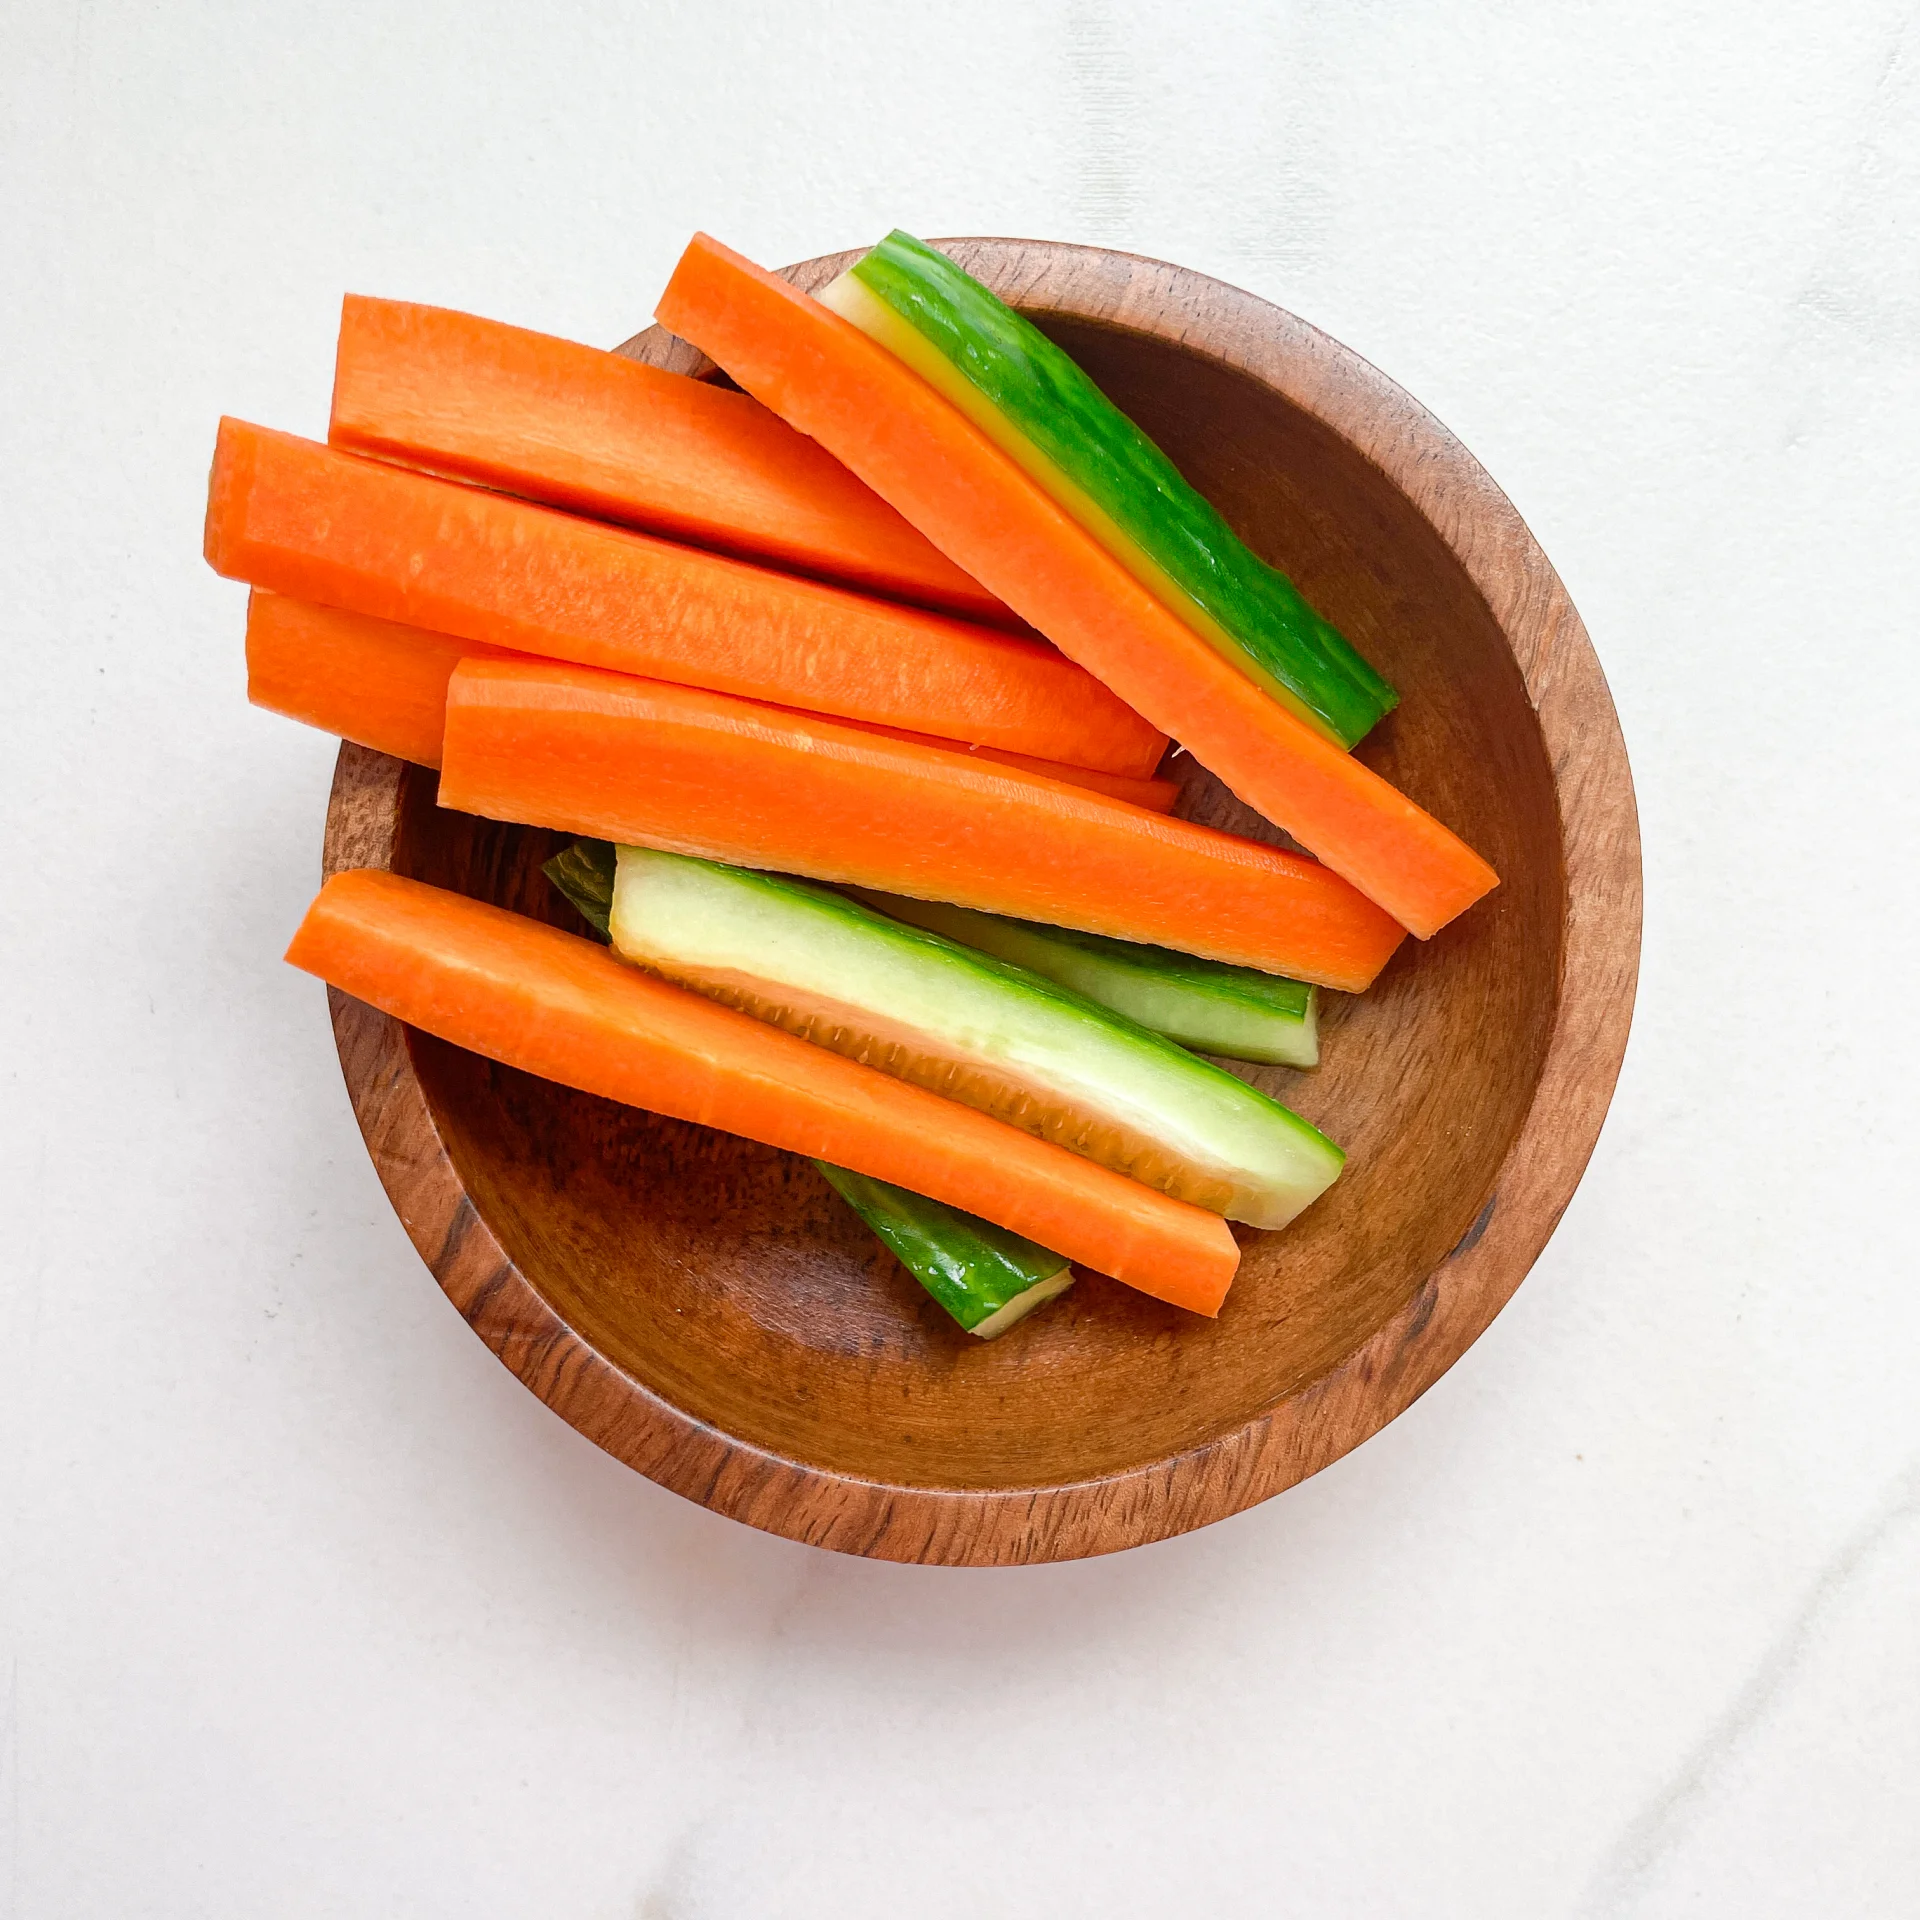
Pink beetroot hummus is incredibly versatile and can be served in numerous ways. Spread it on toast for a vibrant breakfast, pair it with fresh veggies for a healthy snack, or use it as a flavorful addition to your sandwich or wrap. It’s also a hit at parties when served with pita chips or crackers. The possibilities are endless, and each bite is as delightful as the last!

How to store
To keep your pink beetroot hummus fresh, store it in an airtight container in the refrigerator. It will stay delicious for up to a week. Just give it a good stir before serving, and you’re ready to enjoy!

Hi, I'm Kimberly!

Hi, I'm Kimberly.

A passionate food lover who believes in the magic of homemade deliciousness that spreads love and warmth. Join me on this culinary adventure as I prepare wonderful dishes and let’s spread some happiness together!

Kimberly the Zett Signature

If you want to get to know me better, click here!


Pink Hummus
Pink Hummus
Pink Hummus
„Let’s make a piece of happiness“
Print
clock clock iconcutlery cutlery iconflag flag iconfolder folder iconinstagram instagram iconpinterest pinterest iconfacebook facebook iconprint print iconsquares squares iconheart heart iconheart solid heart solid icon
Pink Hummus

Pink Hummus


  • Author: Kimberly
  • Total Time: 10 min
  • Yield: 6 1x
  • Diet: Vegan

Description

RECOMMENDED EQUIPMENT

  • sharp knife
  • cutting board
  • sieve
  • food processor

Ingredients

Units Scale
  • 265 grams chickpeas (drained)
  • 2 garlic cloves
  • juice of 1/2 lemon
  • 60 grams tahini
  • 2 tbsp olive oil
  • 1/4 tsp salt
  • 1/4 tsp – 1/2 tsp cumin
  • 4 ice cubes
  • 200 grams beetroot (cooked)

Instructions

PREPARATIONS

  • Pour the canned chickpeas into a sieve and rinse with cold water until the Aquafaba stops foaming. You can save the Aquafaba for other recipes.
  • Peel the garlic cloves.
  • Halve the lemon.
  • Cut the beetroot into chunks. If using fresh beetroot, peel it first.

INSTRUCTIONS

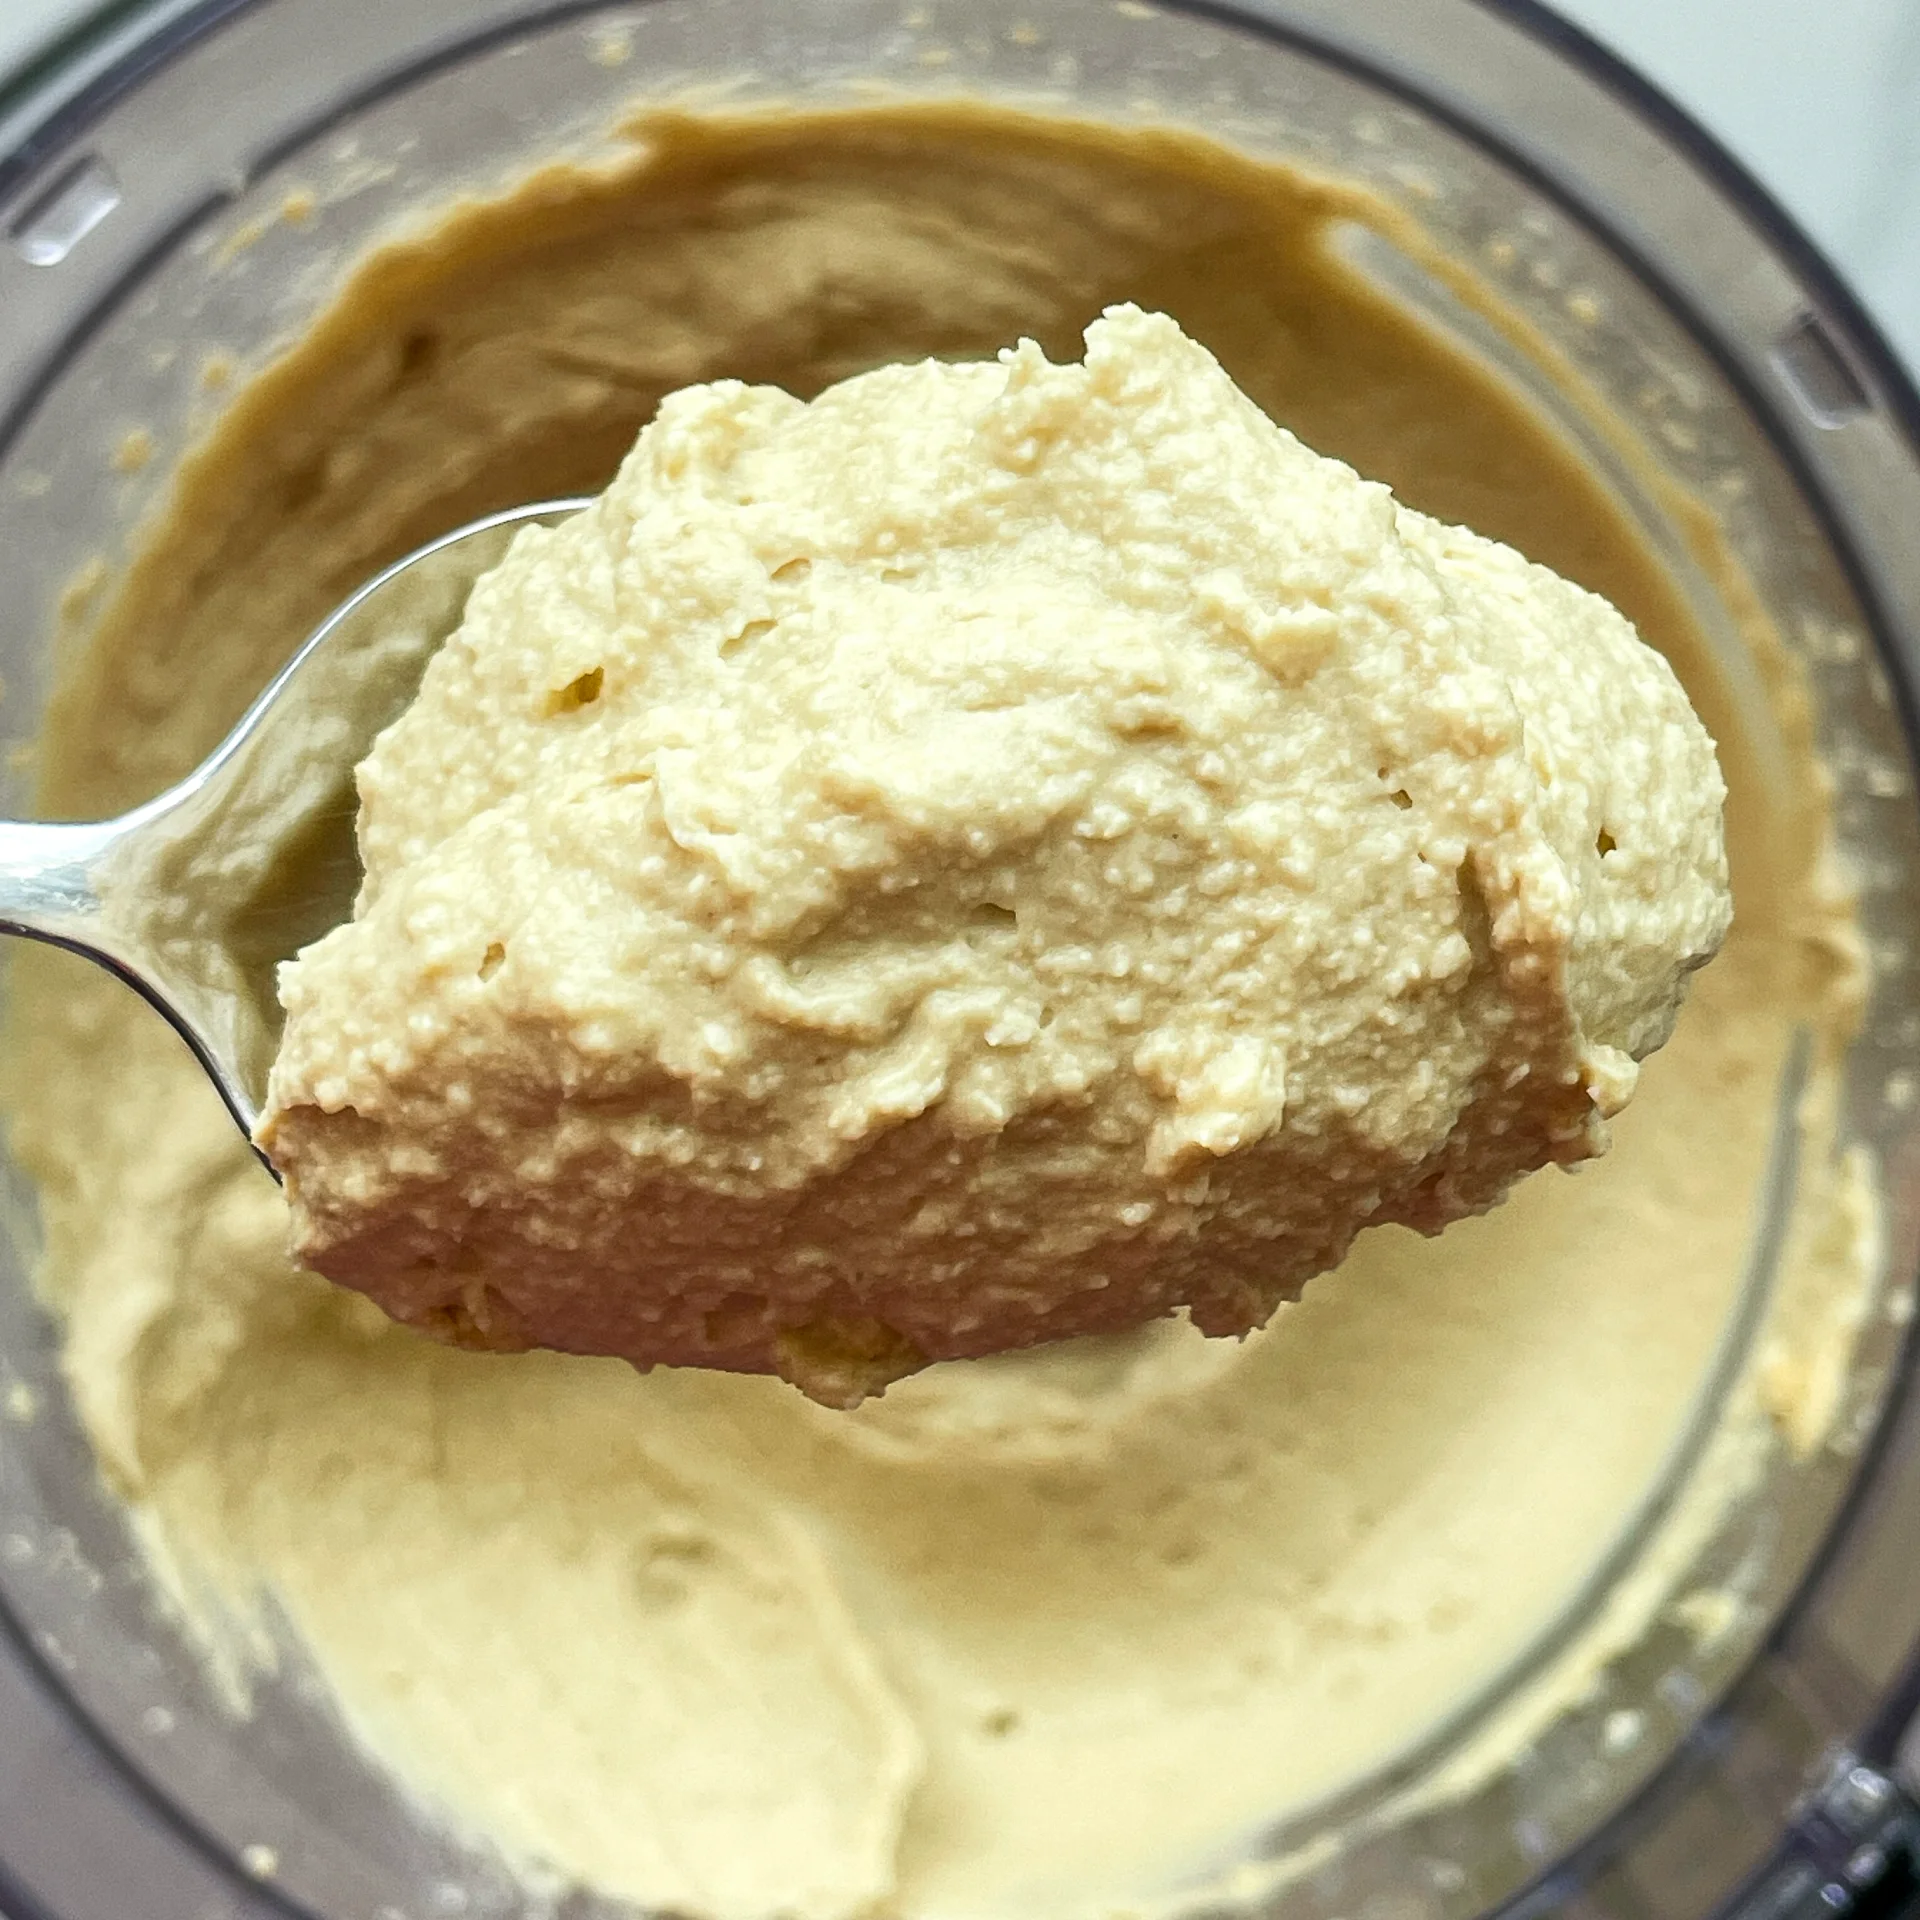
  1. Pour the chickpeas into the food processor. Add the garlic cloves, tahini, salt, olive oil, and cumin. Blend on medium until you get a chunky but creamy consistency.
  2. While the machine is running, gradually add the ice cubes. Blend for about 1-3 minutes (depending on your machine) until smooth and creamy. Adjust the seasoning with salt and lemon juice if needed.
  3. Add the beetroot chunks and blend again until well combined.
  4. Transfer the hummus to a bowl and garnish with olive oil, chickpeas, herbs, and paprika as desired.

Notes

The calorie information may vary depending on the product used, country and region.

  • Prep Time: 5 min
  • Cook Time: 5 min
  • Category: DIP
  • Cuisine: ARABIC

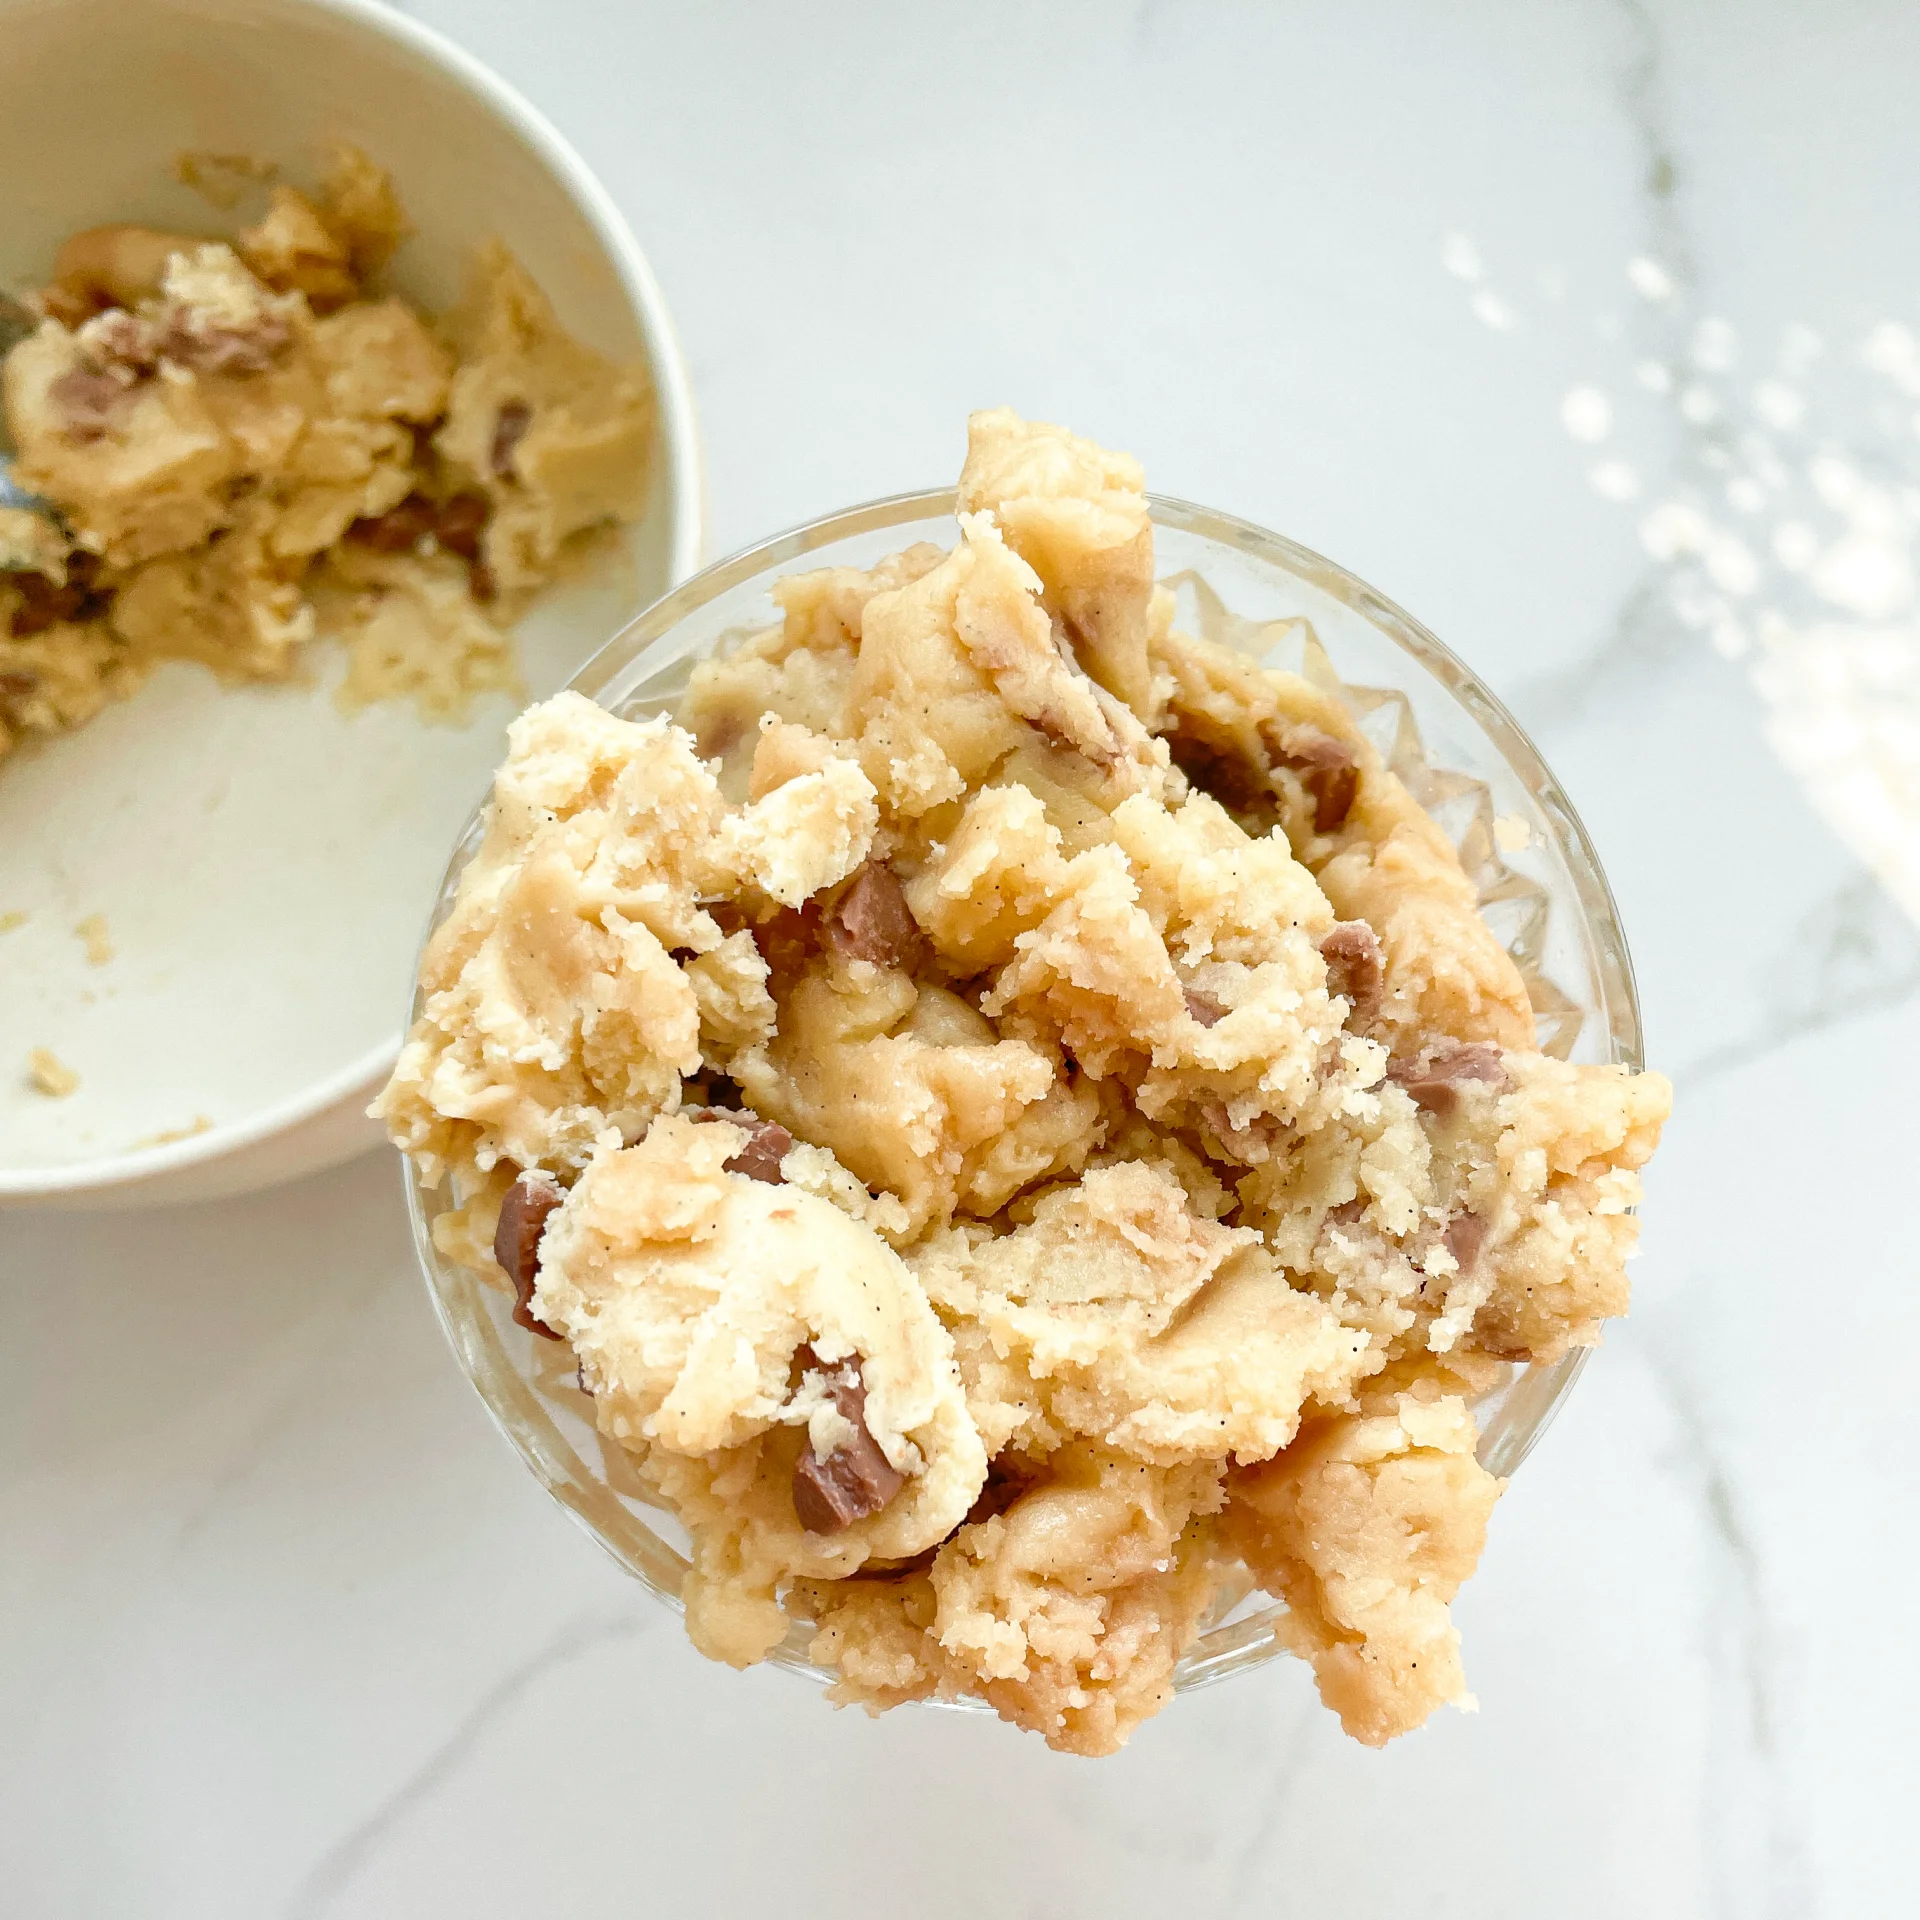
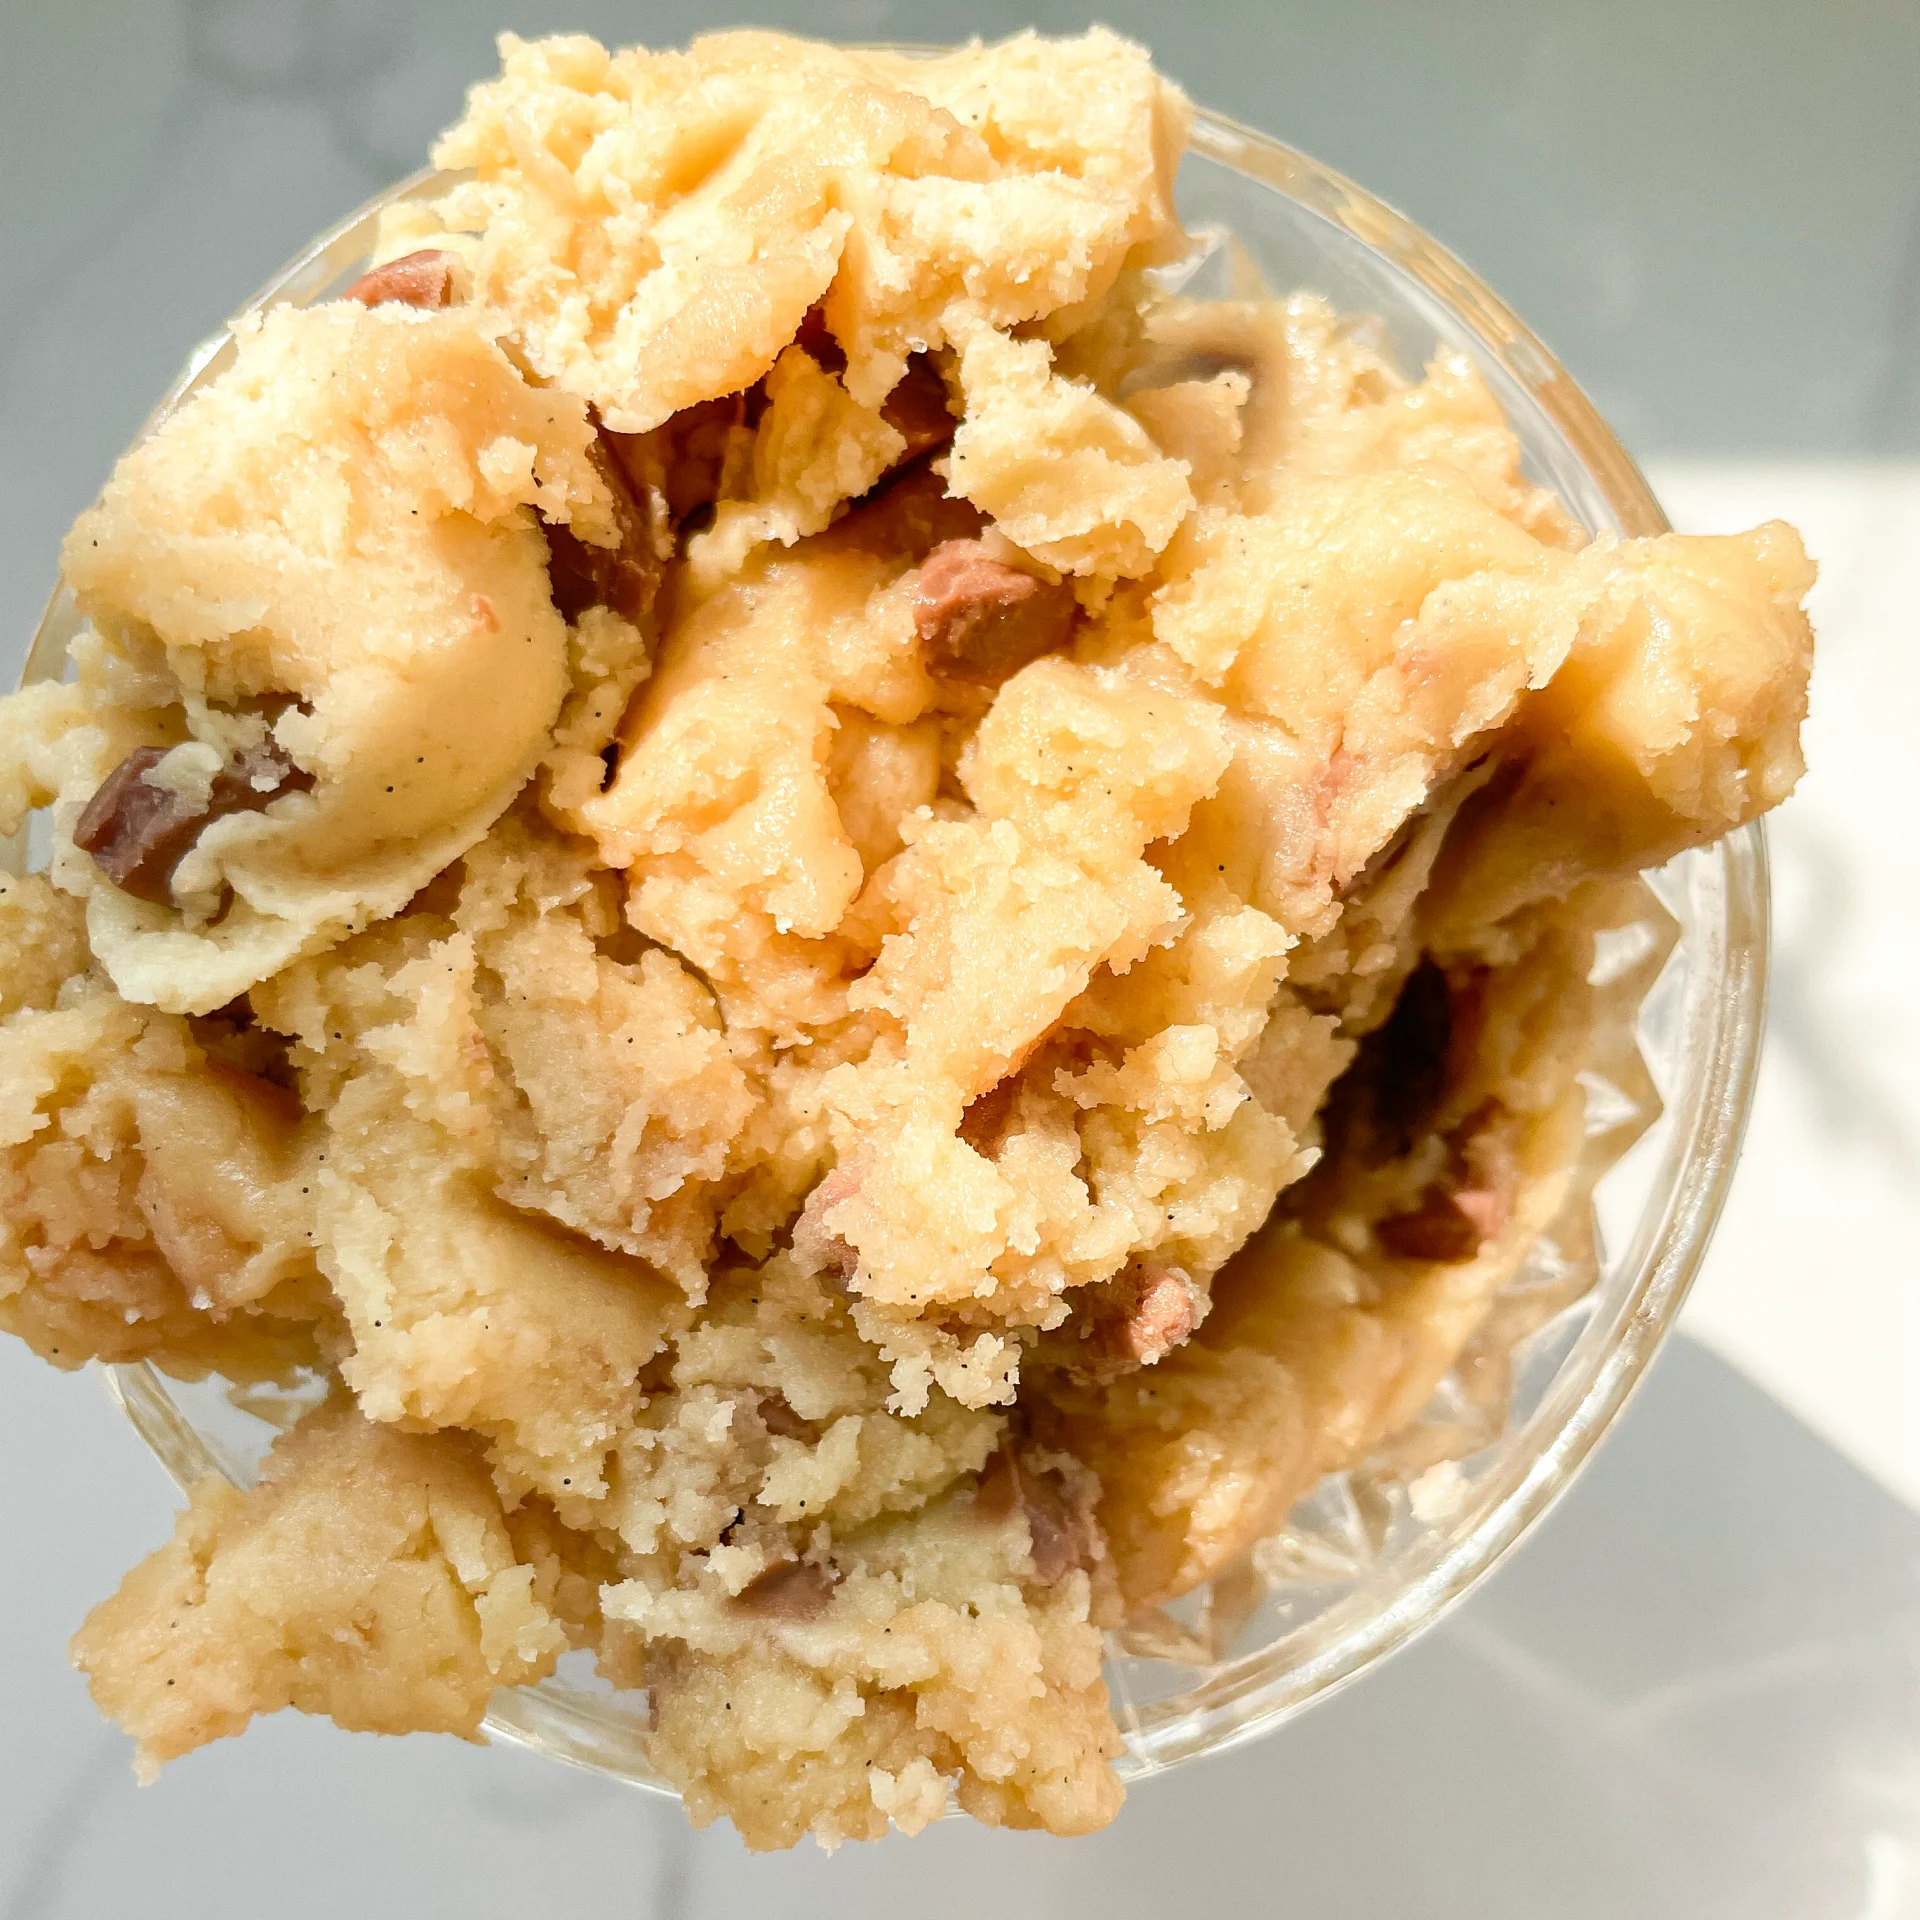
Chocolate Chip Cookie Dough

Chocolate Chip Cookie Dough

Chocolate Chip Cookie Dough

Chocolate Chip Cookie Dough

May 18, 2024 by Kimberly

Obsessed with cookie dough? This easy, edible chocolate chip version is your new go-to treat! Safe to eat and super delicious – perfect for any sweet craving!

5 MINUTES

EASY

VEGETARIAN

US AMERICAN

229 PER PORTION

SWEET

EVERYDAY

DESSERT

ALL YEAR

INTRODUCTION

ABOUT THE RECIPE

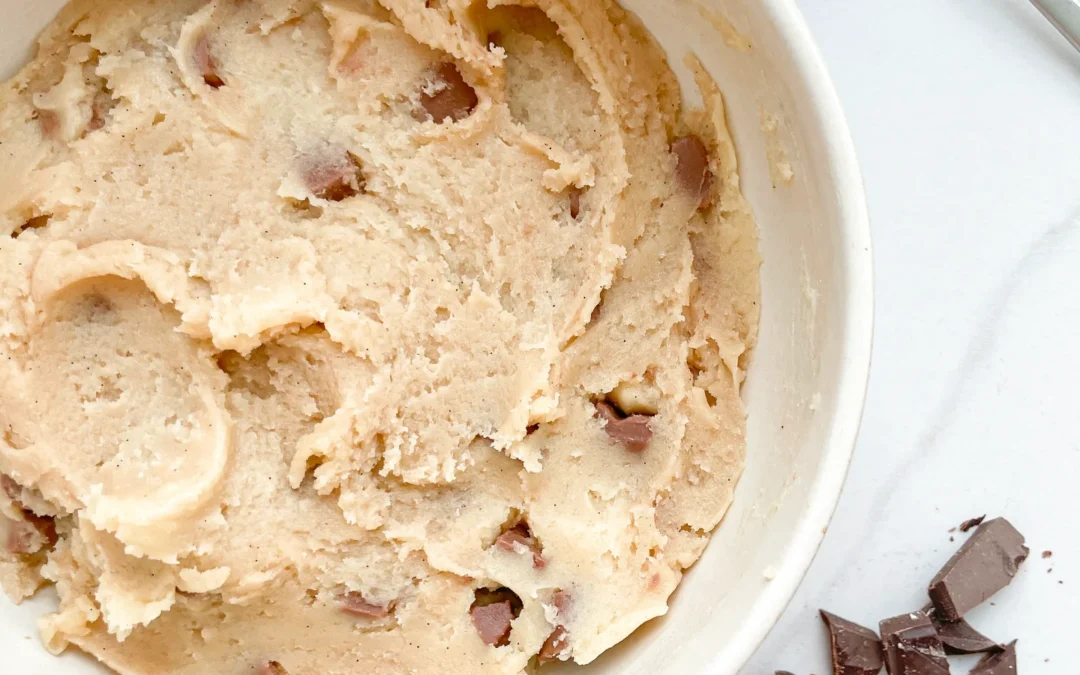
This edible chocolate chip cookie dough is a game-changer! It’s safe to eat, incredibly easy to make, and ridiculously tasty. Whether you’re snacking straight from the bowl or adding it to your favorite desserts, this no-bake cookie dough will quickly become your new favorite treat. Ready to dive in? Let’s whip up this sweet, satisfying delight!

How to serve
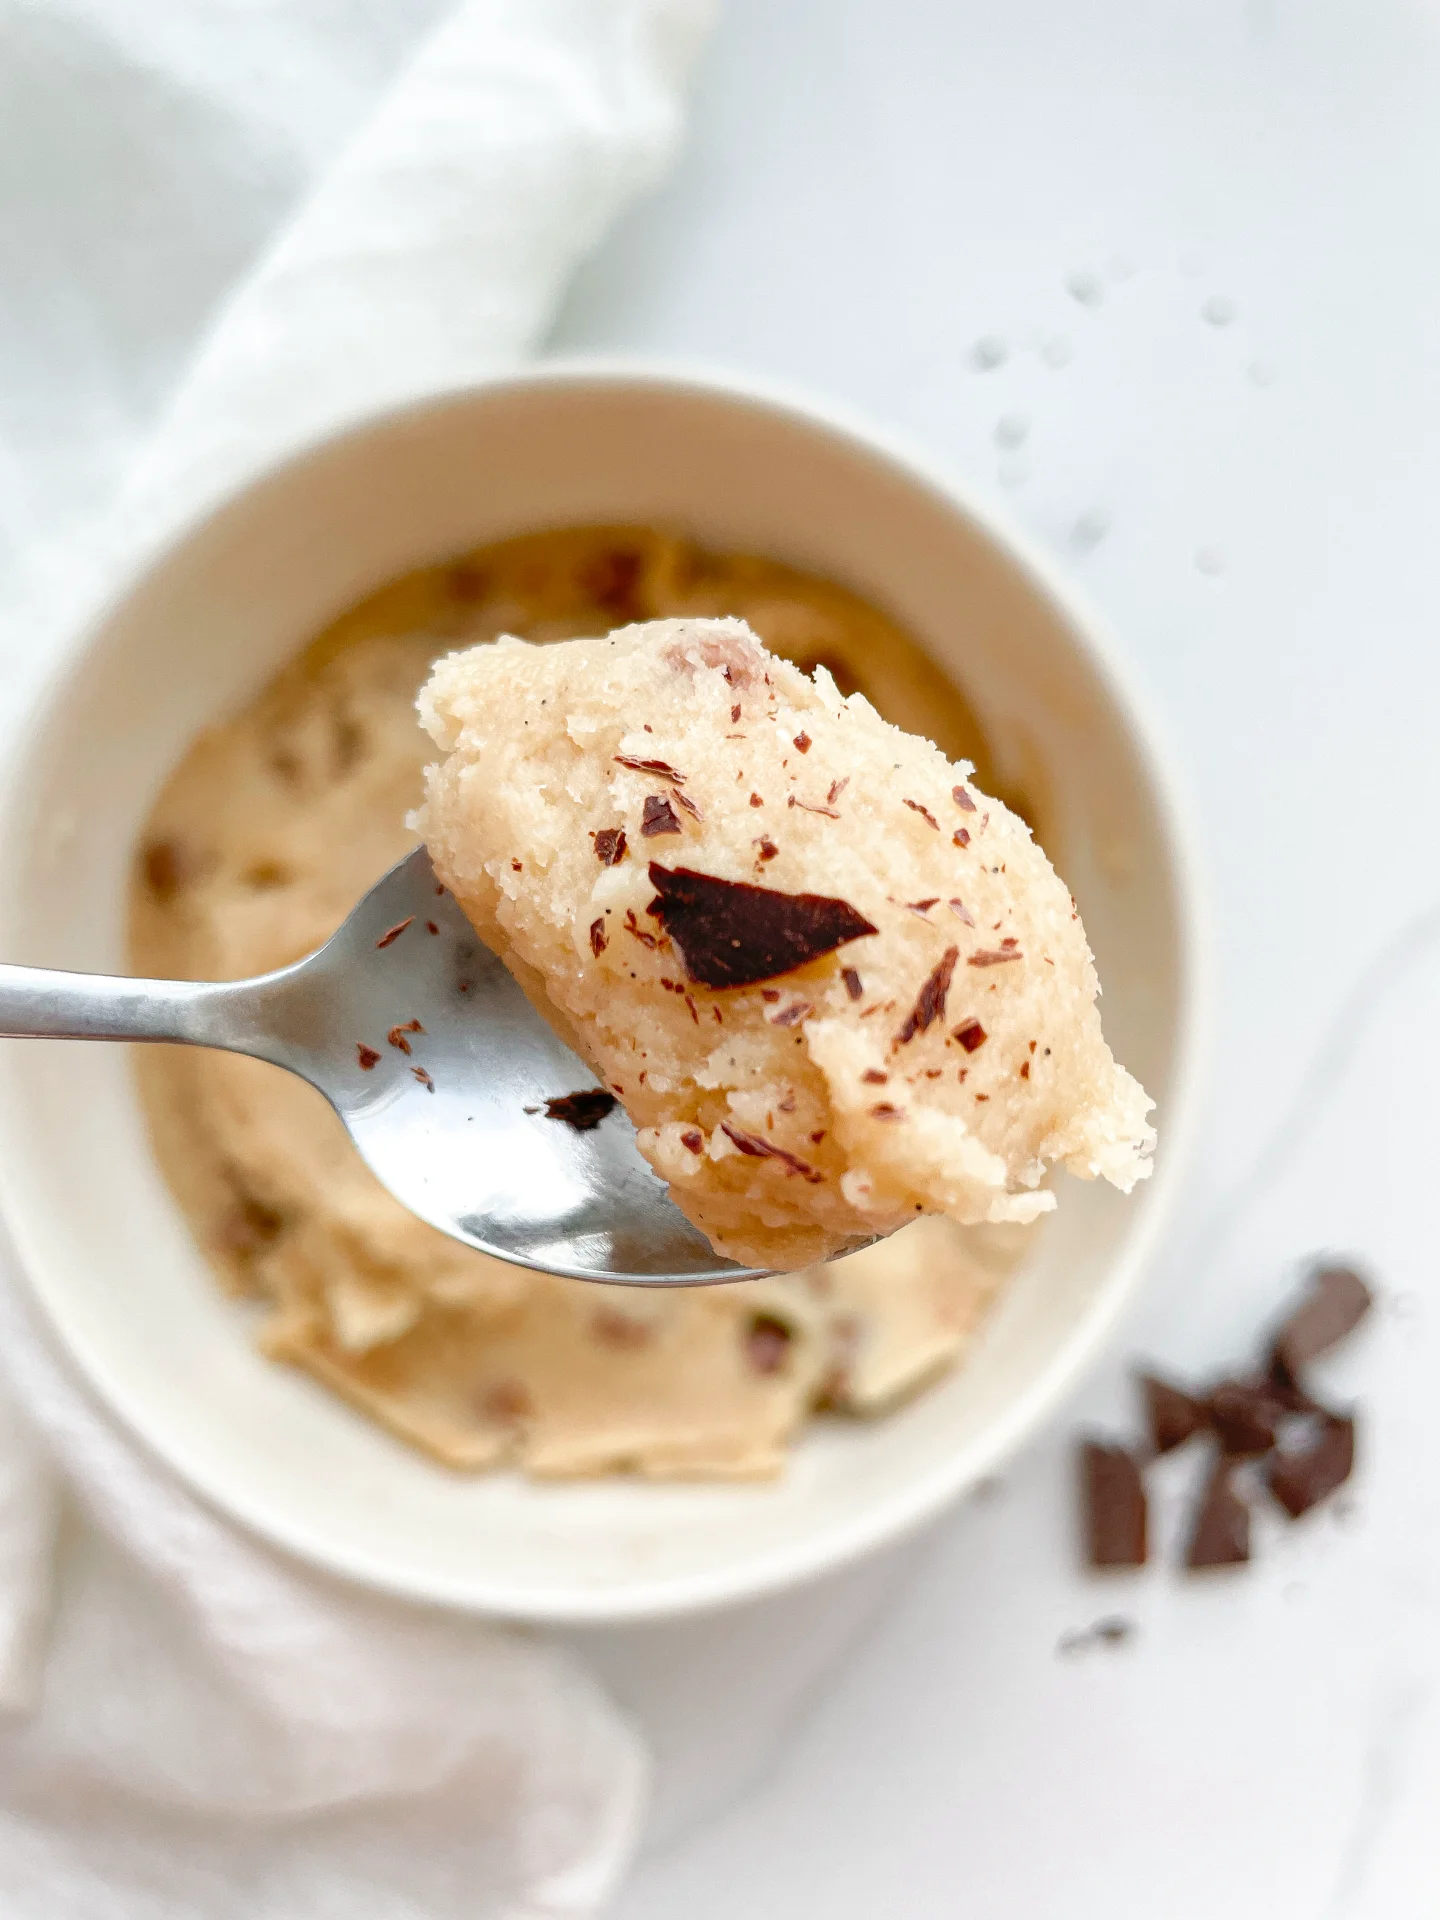
Enjoy it straight from the bowl with a spoon, or roll it into bite-sized balls for a fun, shareable treat. For an extra indulgent experience, pair it with ice cream or spread it on a warm brownie. You can even use it as a topping for your favorite desserts, like cupcakes or cheesecakes, to add a delightful cookie dough twist.

How to store
Store your edible chocolate chip cookie dough in an airtight container in the refrigerator for up to a week. For longer storage, freeze it for up to three months. Simply thaw in the fridge before enjoying your sweet, ready-to-eat treat.

Hi, I'm Kimberly!

Hi, I'm Kimberly.

A passionate food lover who believes in the magic of homemade deliciousness that spreads love and warmth. Join me on this culinary adventure as I prepare wonderful dishes and let’s spread some happiness together!

Kimberly the Zett Signature

If you want to get to know me better, click here!


Chocolate Chip Cookie Dough
„Let’s make a piece of happiness“
Print
clock clock iconcutlery cutlery iconflag flag iconfolder folder iconinstagram instagram iconpinterest pinterest iconfacebook facebook iconprint print iconsquares squares iconheart heart iconheart solid heart solid icon
Chocolate Chip Cookie Dough

Chocolate Chip Cookie Dough


  • Author: Kimberly
  • Total Time: 5 minutes
  • Yield: 4 1x
  • Diet: Vegetarian

Description

RECOMMENDED EQUIPMENT

  • two small bowls
  • spoon
  • microwave or oven

Ingredients

Units Scale
  • 40 grams soft butter
  • 40 grams white sugar
  • 1/4 tsp vanilla extract
  • pinch of salt
  • 75 grams all-purpose flour
  • 2 tbsp milk
  • 35 grams semi-sweet chocolate

Instructions

  1. Microwave the flour in one of the bowls on high for 45 seconds. The flour should reach about 75°C/165°F to kill any bacteria and make it safe to eat raw. If you don’t have a microwave, you can bake the flour in the oven at 170°C/338°F for about 10 minutes.
  2. Meanwhile, mix the softened butter, sugar, vanilla extract, and salt until creamy. Add the milk and mix again.
  3. Now, add the flour and mix everything into a cookie dough.
  4. Fold in the chocolate chips and either snack on it right away or chill the bowl in the fridge for 10-15 minutes for a firmer texture.

Notes

The calorie information may vary depending on the product used, country and region.

  • Cook Time: 5 min
  • Category: DESSERT
  • Method: NO BAKE
  • Cuisine: US AMERICAN

Apple Sauce

Apple Sauce

Apple Sauce

Apple Sauce

May 15, 2024 by Kimberly

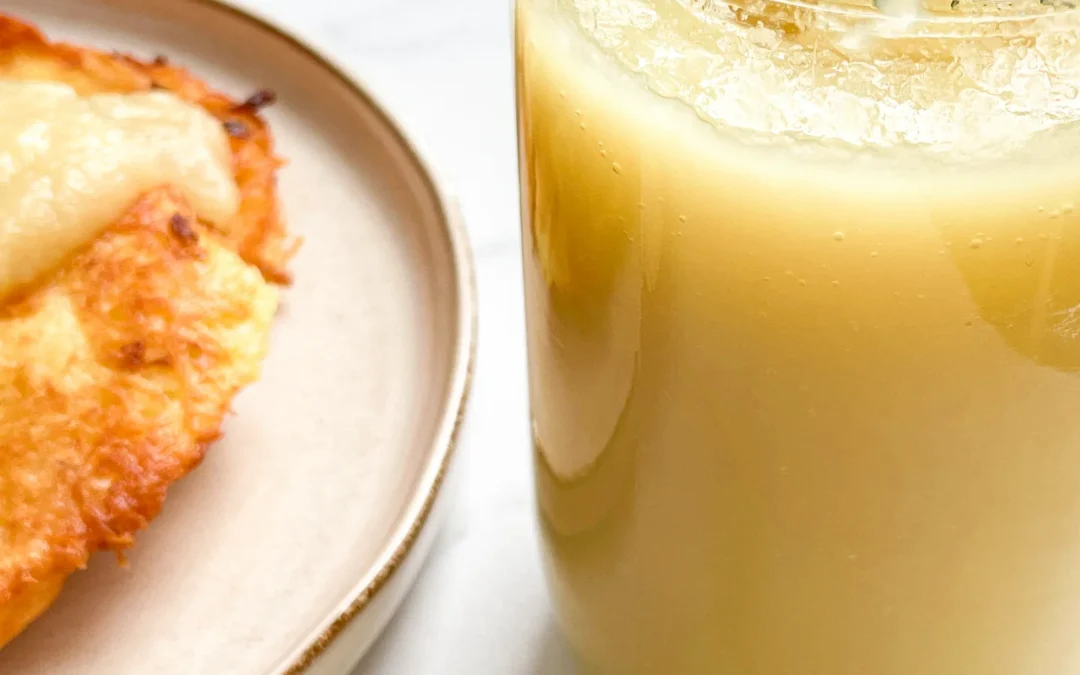
Indulge in homemade apple sauce—sweet, comforting, and perfect for pairing with a variety of dishes. A simple treat that’s both nutritious and delicious!
30 MINUTES

EASY

VEGAN

GERMAN

72 PER PORTION

SWEET
FRUITY

EVERYDAY

DIPS & SPREADS

ALL YEAR

INTRODUCTION

ABOUT THE RECIPE

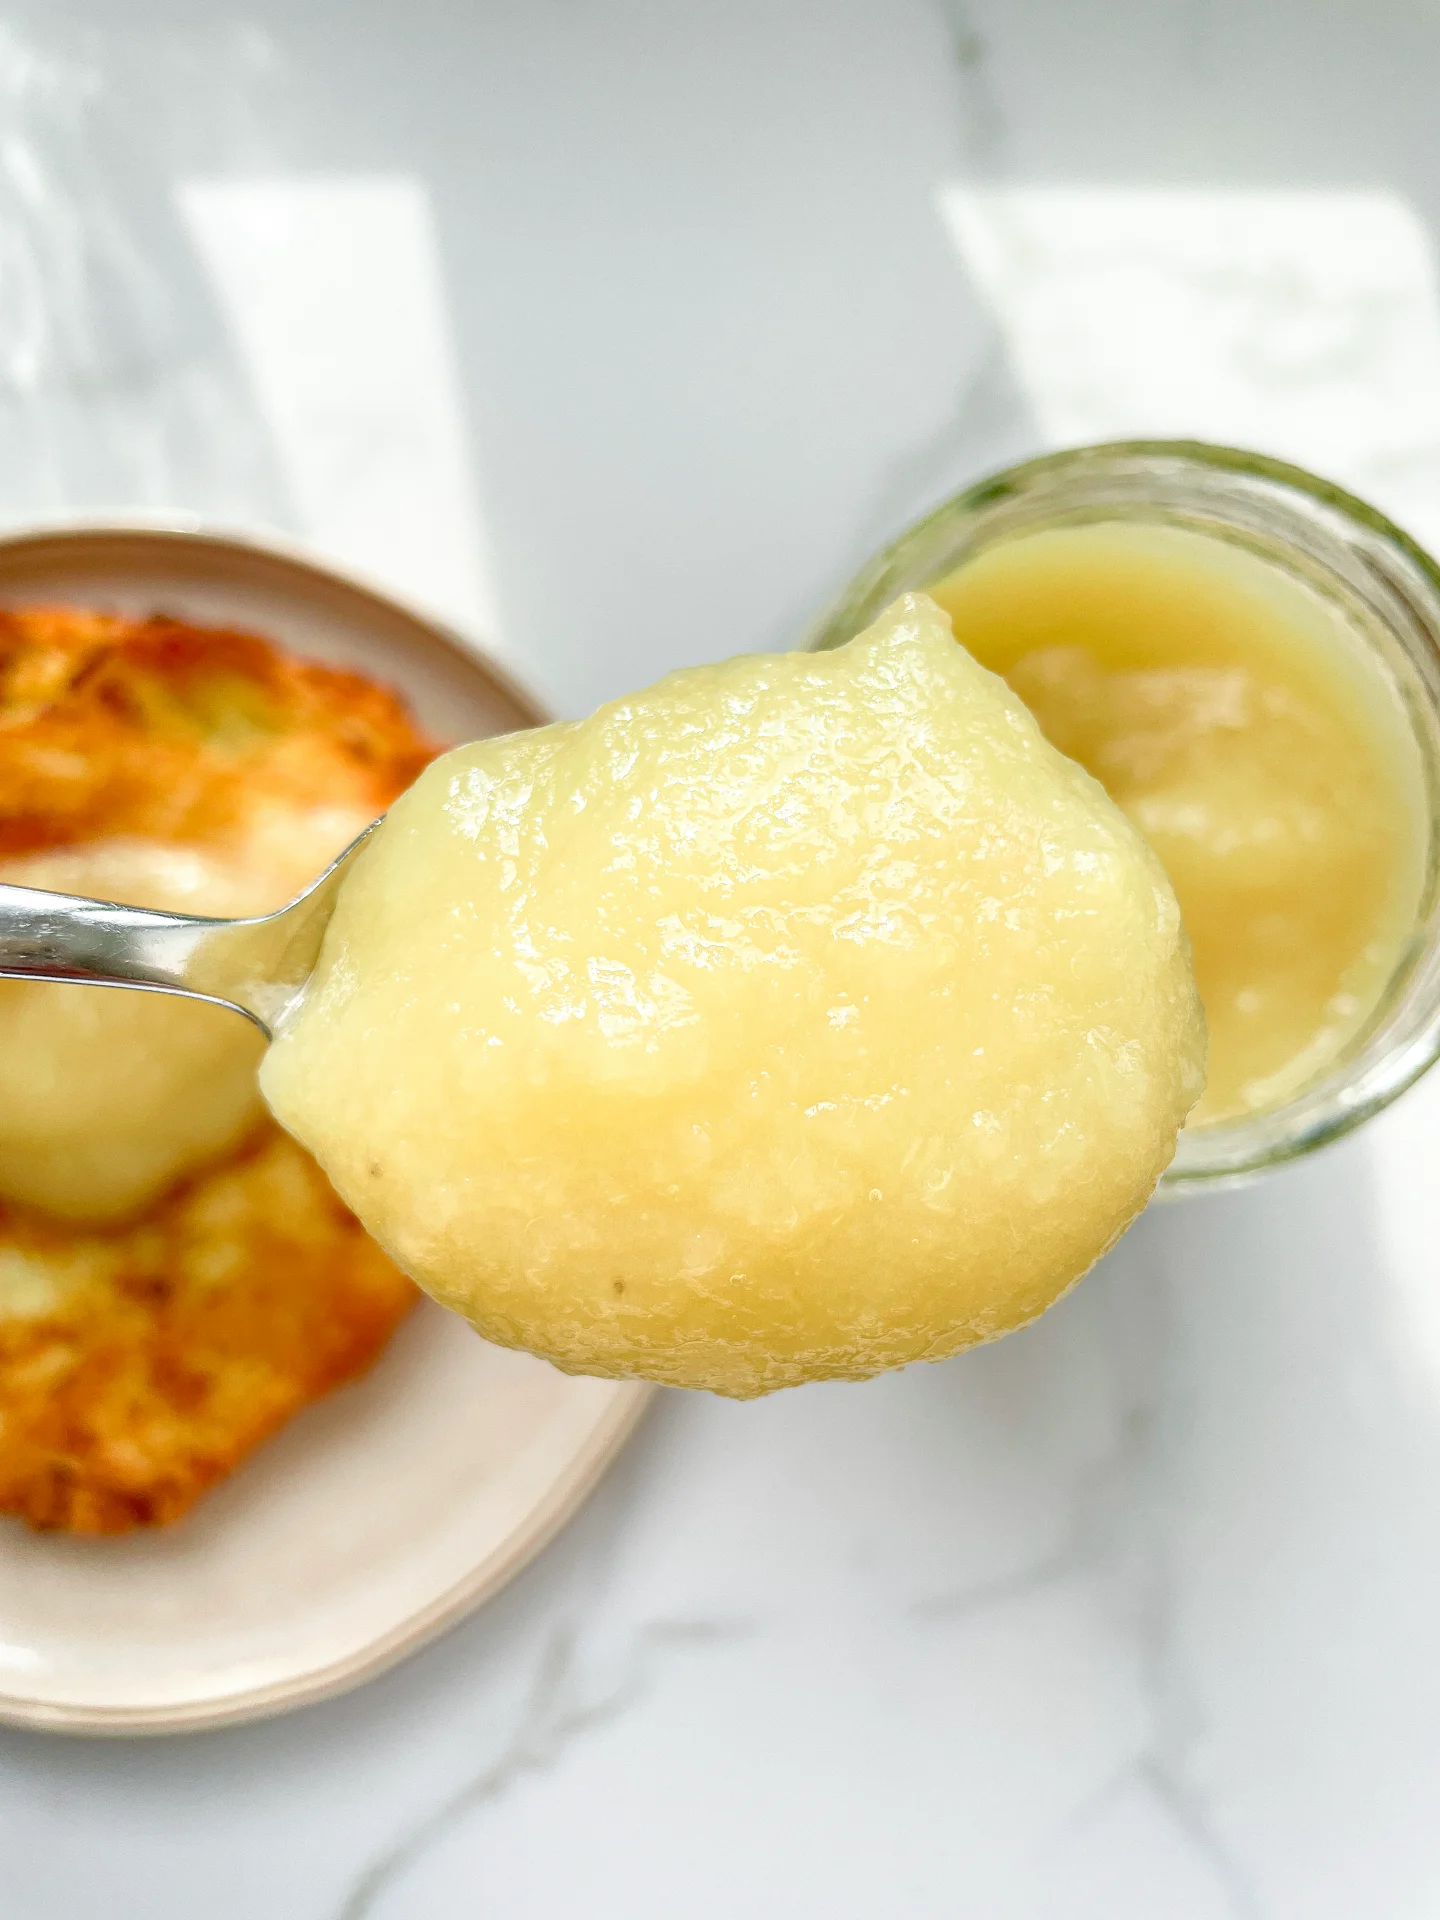
Discover the joys of making your own apple sauce at home with my easy recipe. This delightful condiment is not only tasty but also packs a nutritious punch, perfect for any season.

How to serve
Enjoy apple sauce as a snack, a dessert topping, or a side with potato pancakes . It’s especially delicious when warmed and sprinkled with a dash of cinnamon or mixed into your morning yogurt.

How to store
Store your apple sauce in an airtight container in the refrigerator. It keeps well for up to two weeks, making it a handy addition to your daily meals.

Hi, I'm Kimberly!

Hi, I'm Kimberly.

A passionate food lover who believes in the magic of homemade deliciousness that spreads love and warmth. Join me on this culinary adventure as I prepare wonderful dishes and let’s spread some happiness together!

Kimberly the Zett Signature

If you want to get to know me better, click here!


Apple Sauce
Apple Sauce
Apple Sauce
„Let’s make a piece of happiness“
Print
clock clock iconcutlery cutlery iconflag flag iconfolder folder iconinstagram instagram iconpinterest pinterest iconfacebook facebook iconprint print iconsquares squares iconheart heart iconheart solid heart solid icon
Apple Sauce

Apple Sauce


  • Author: Kimberly
  • Total Time: 30 min
  • Yield: 10 1x

Description

RECOMMENDED EQUIPMENT

  • peeler
  • sharp knife
  • cutting board
  • medium-sized pot
  • immersion blender
  • sealable jars

Ingredients

Units Scale
  • 1 kilograms red apples
  • 100 milliliters water
  • juice of half a lemon
  • 50 grams white sugar

Instructions

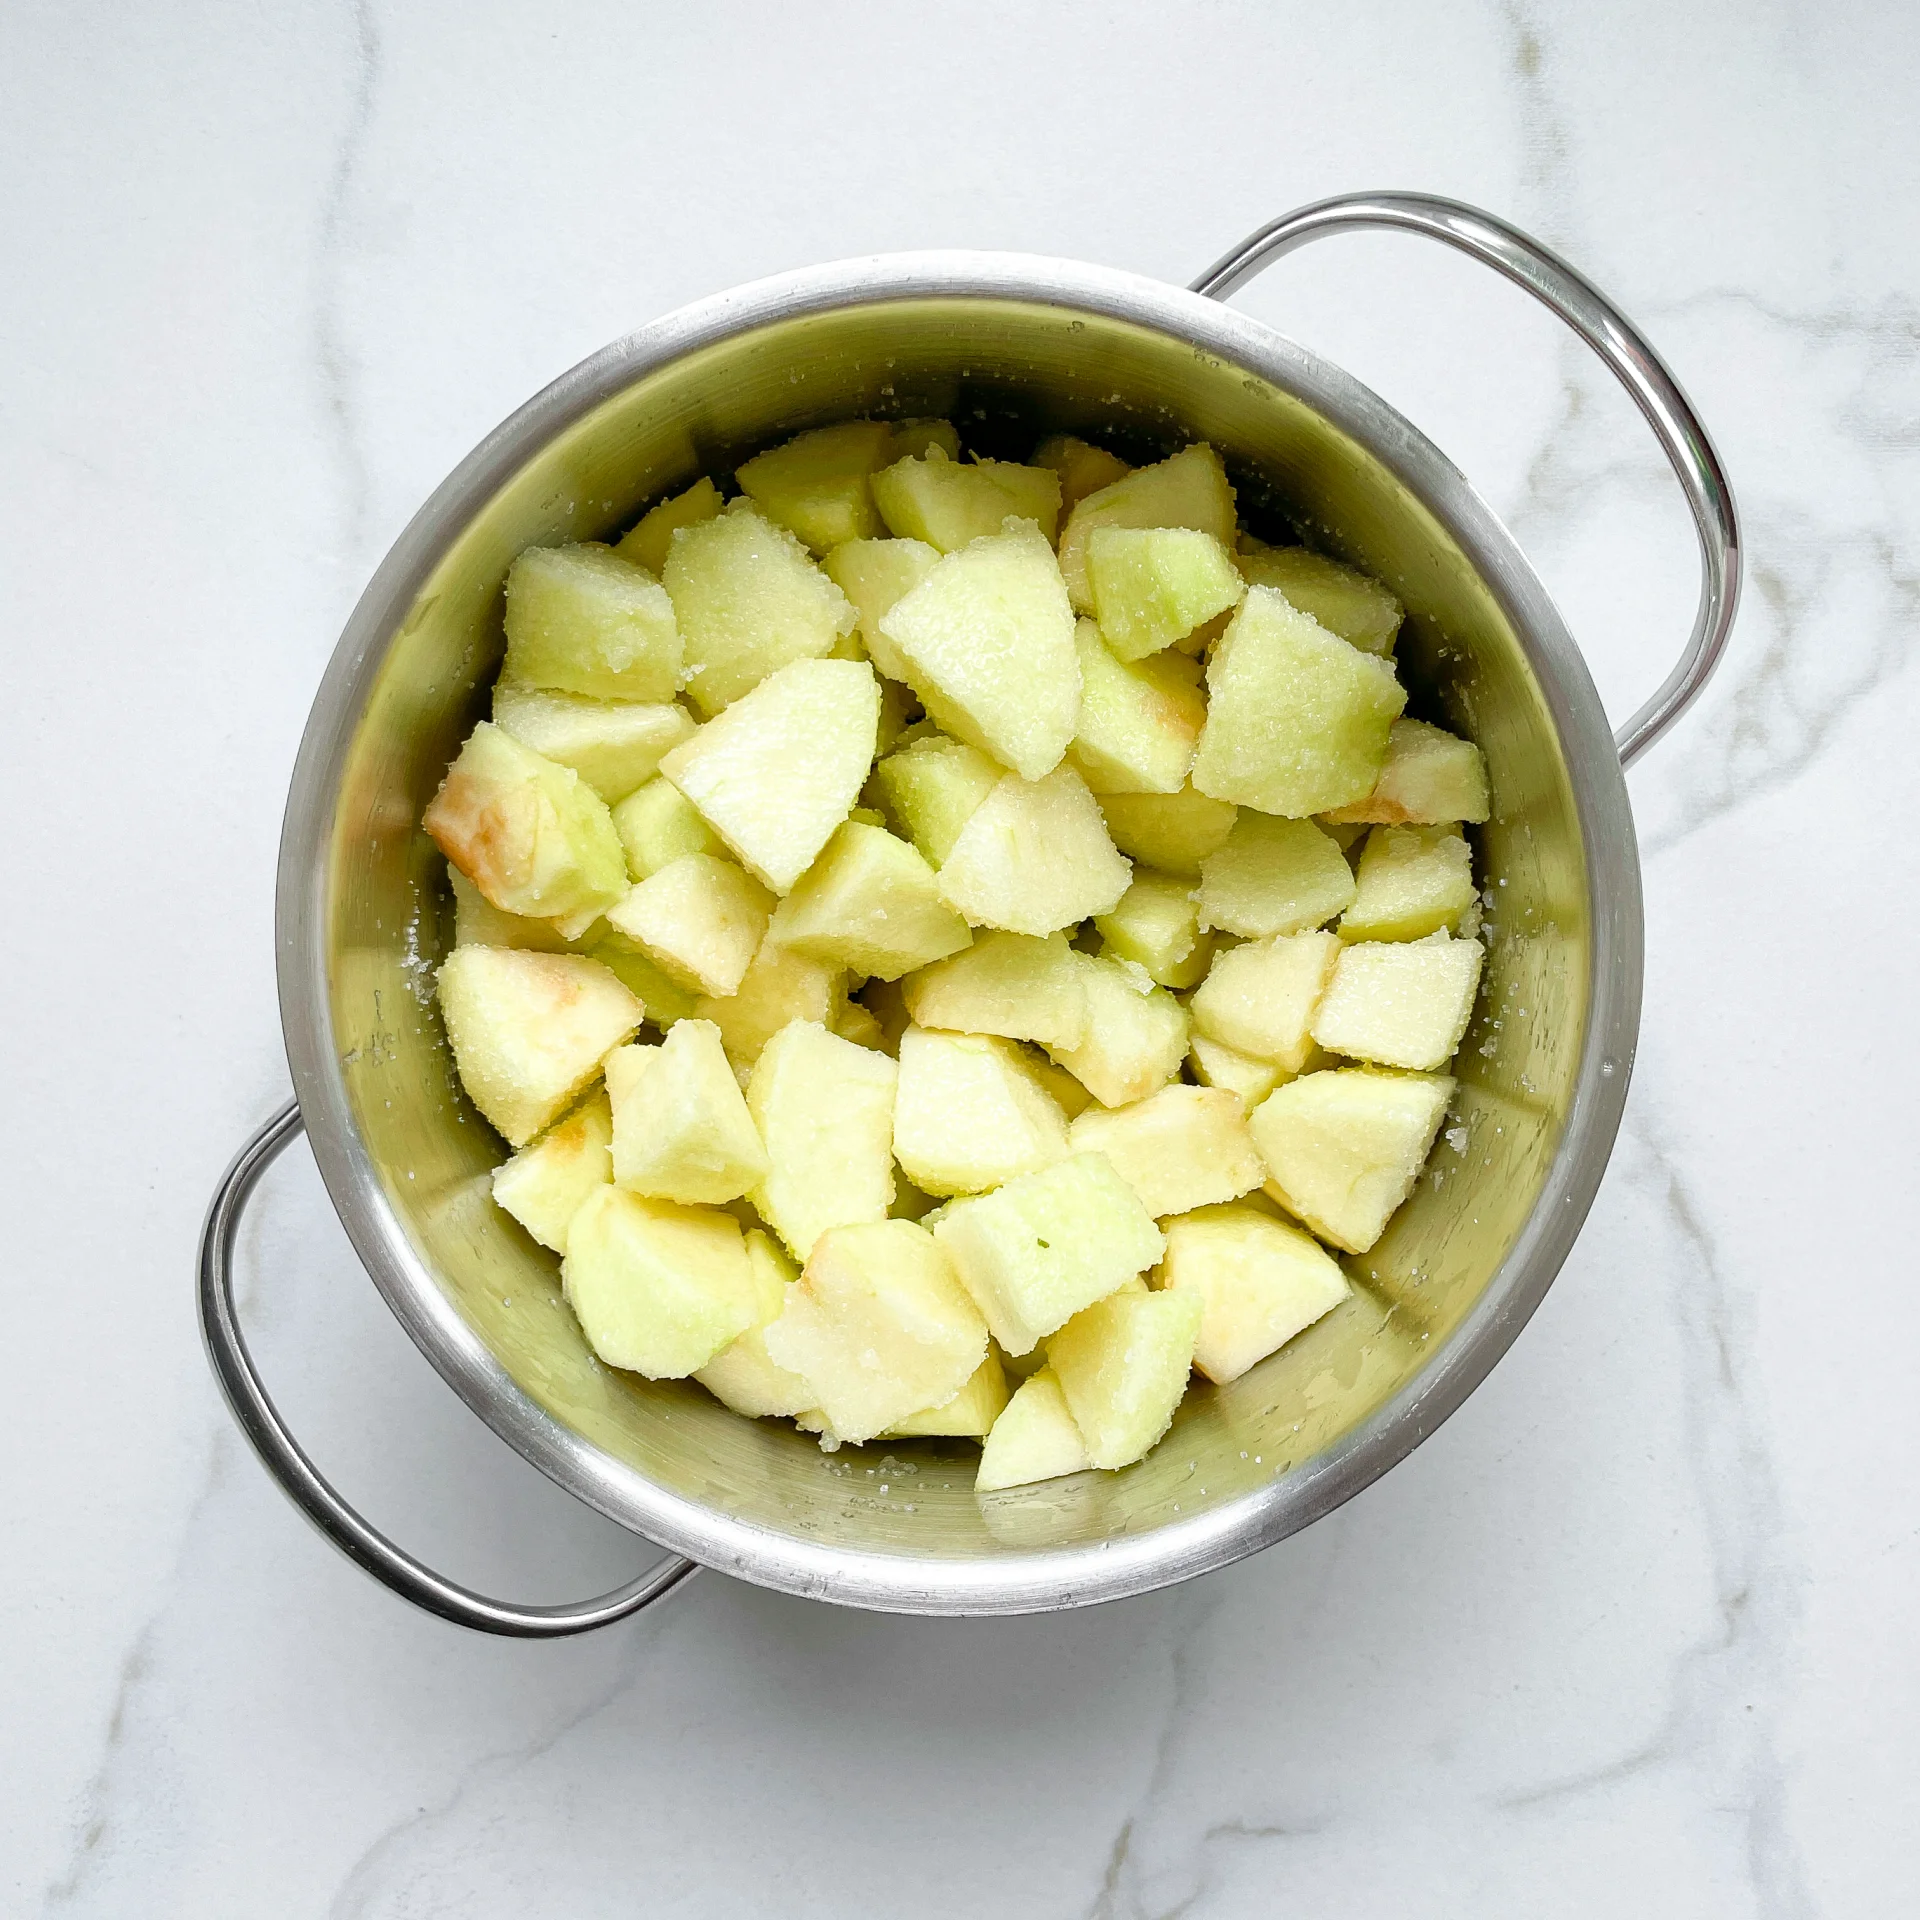
  1. Peel the apples and cut them into large chunks.
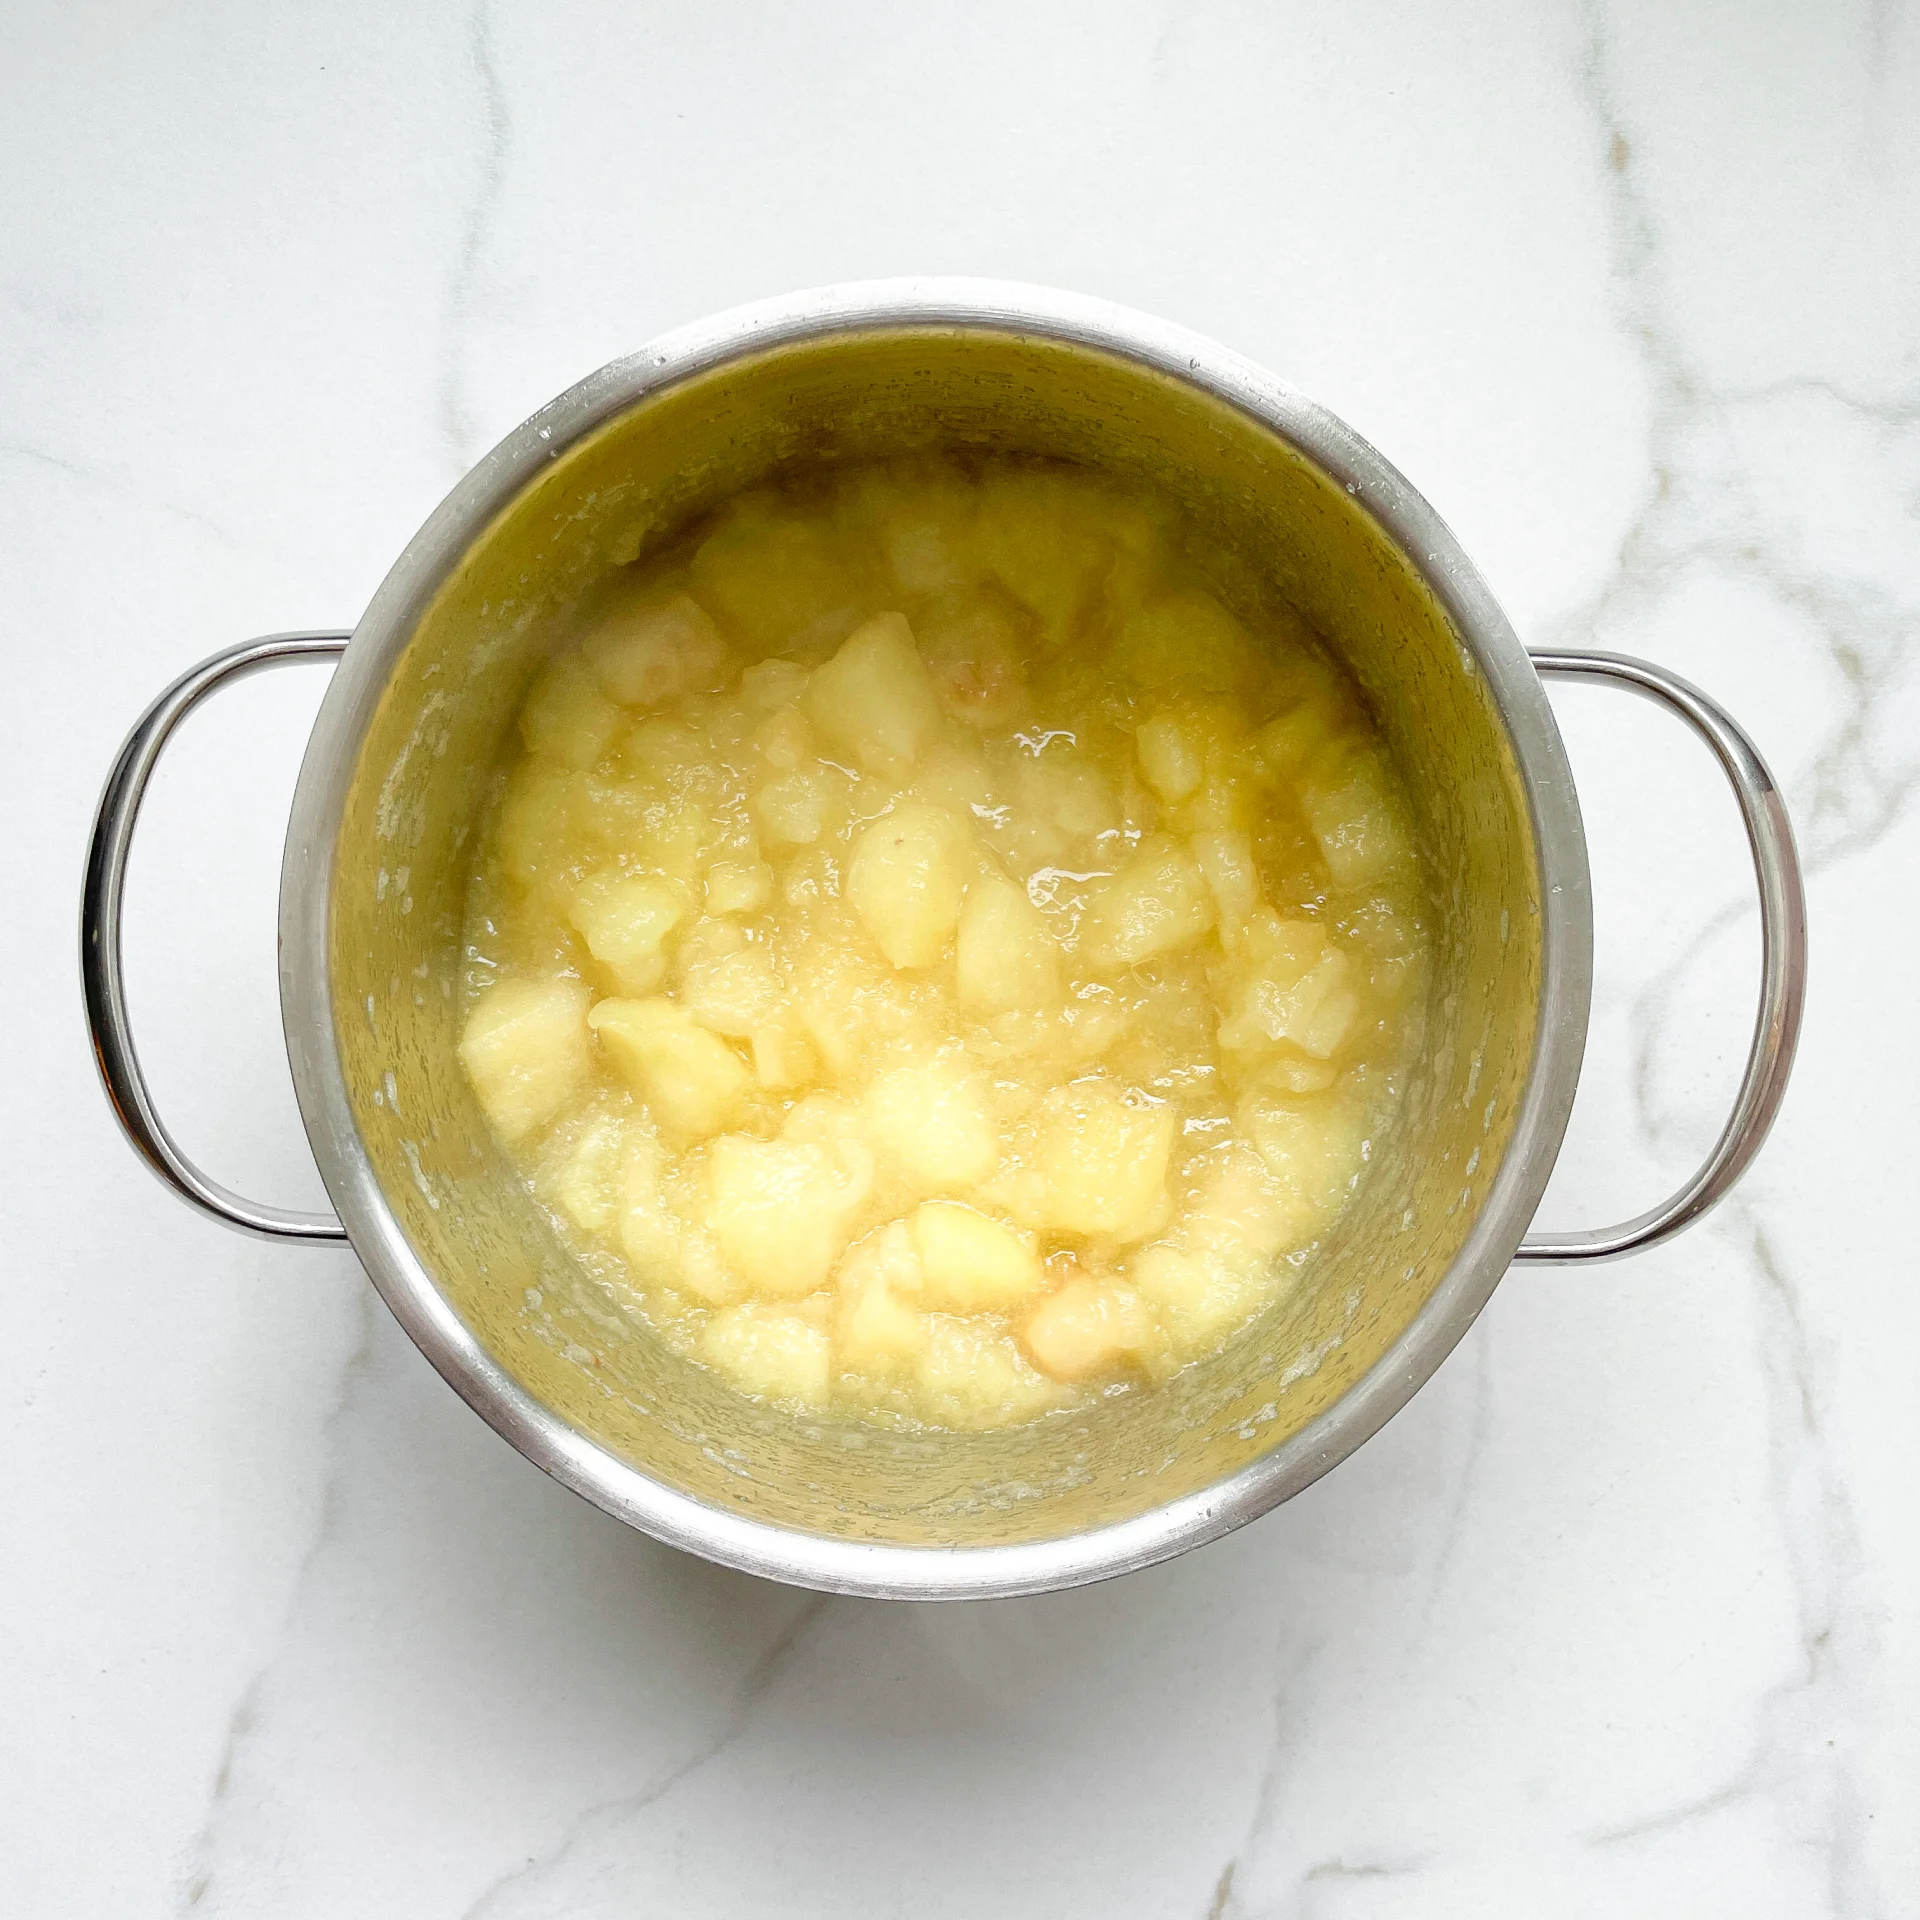
  2. In a medium-sized pot, combine the apple pieces with water, lemon juice, and sugar. Cover and simmer over medium heat for about 20 minutes.
  3. Remove the pot from the heat and puree the mixture until smooth using an immersion blender.
  4. Transfer the applesauce into sterilized jars with screw tops or serve immediately.

Notes

The calorie information may vary depending on the product used, country and region.

  • Passive Time: 20 min
  • Cook Time: 10 min