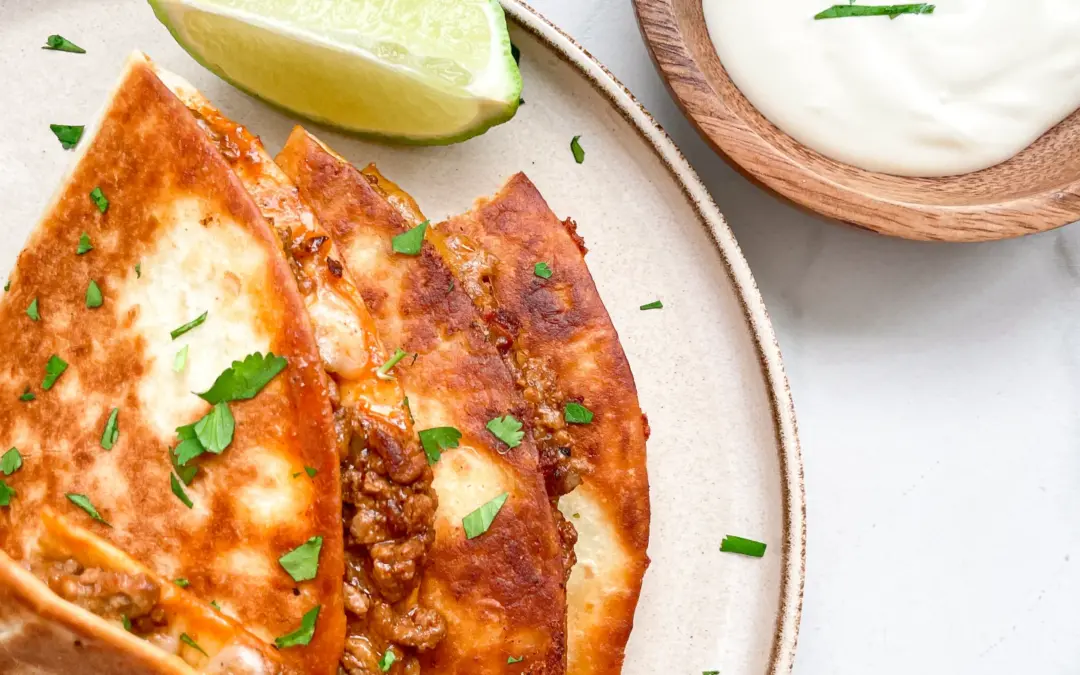
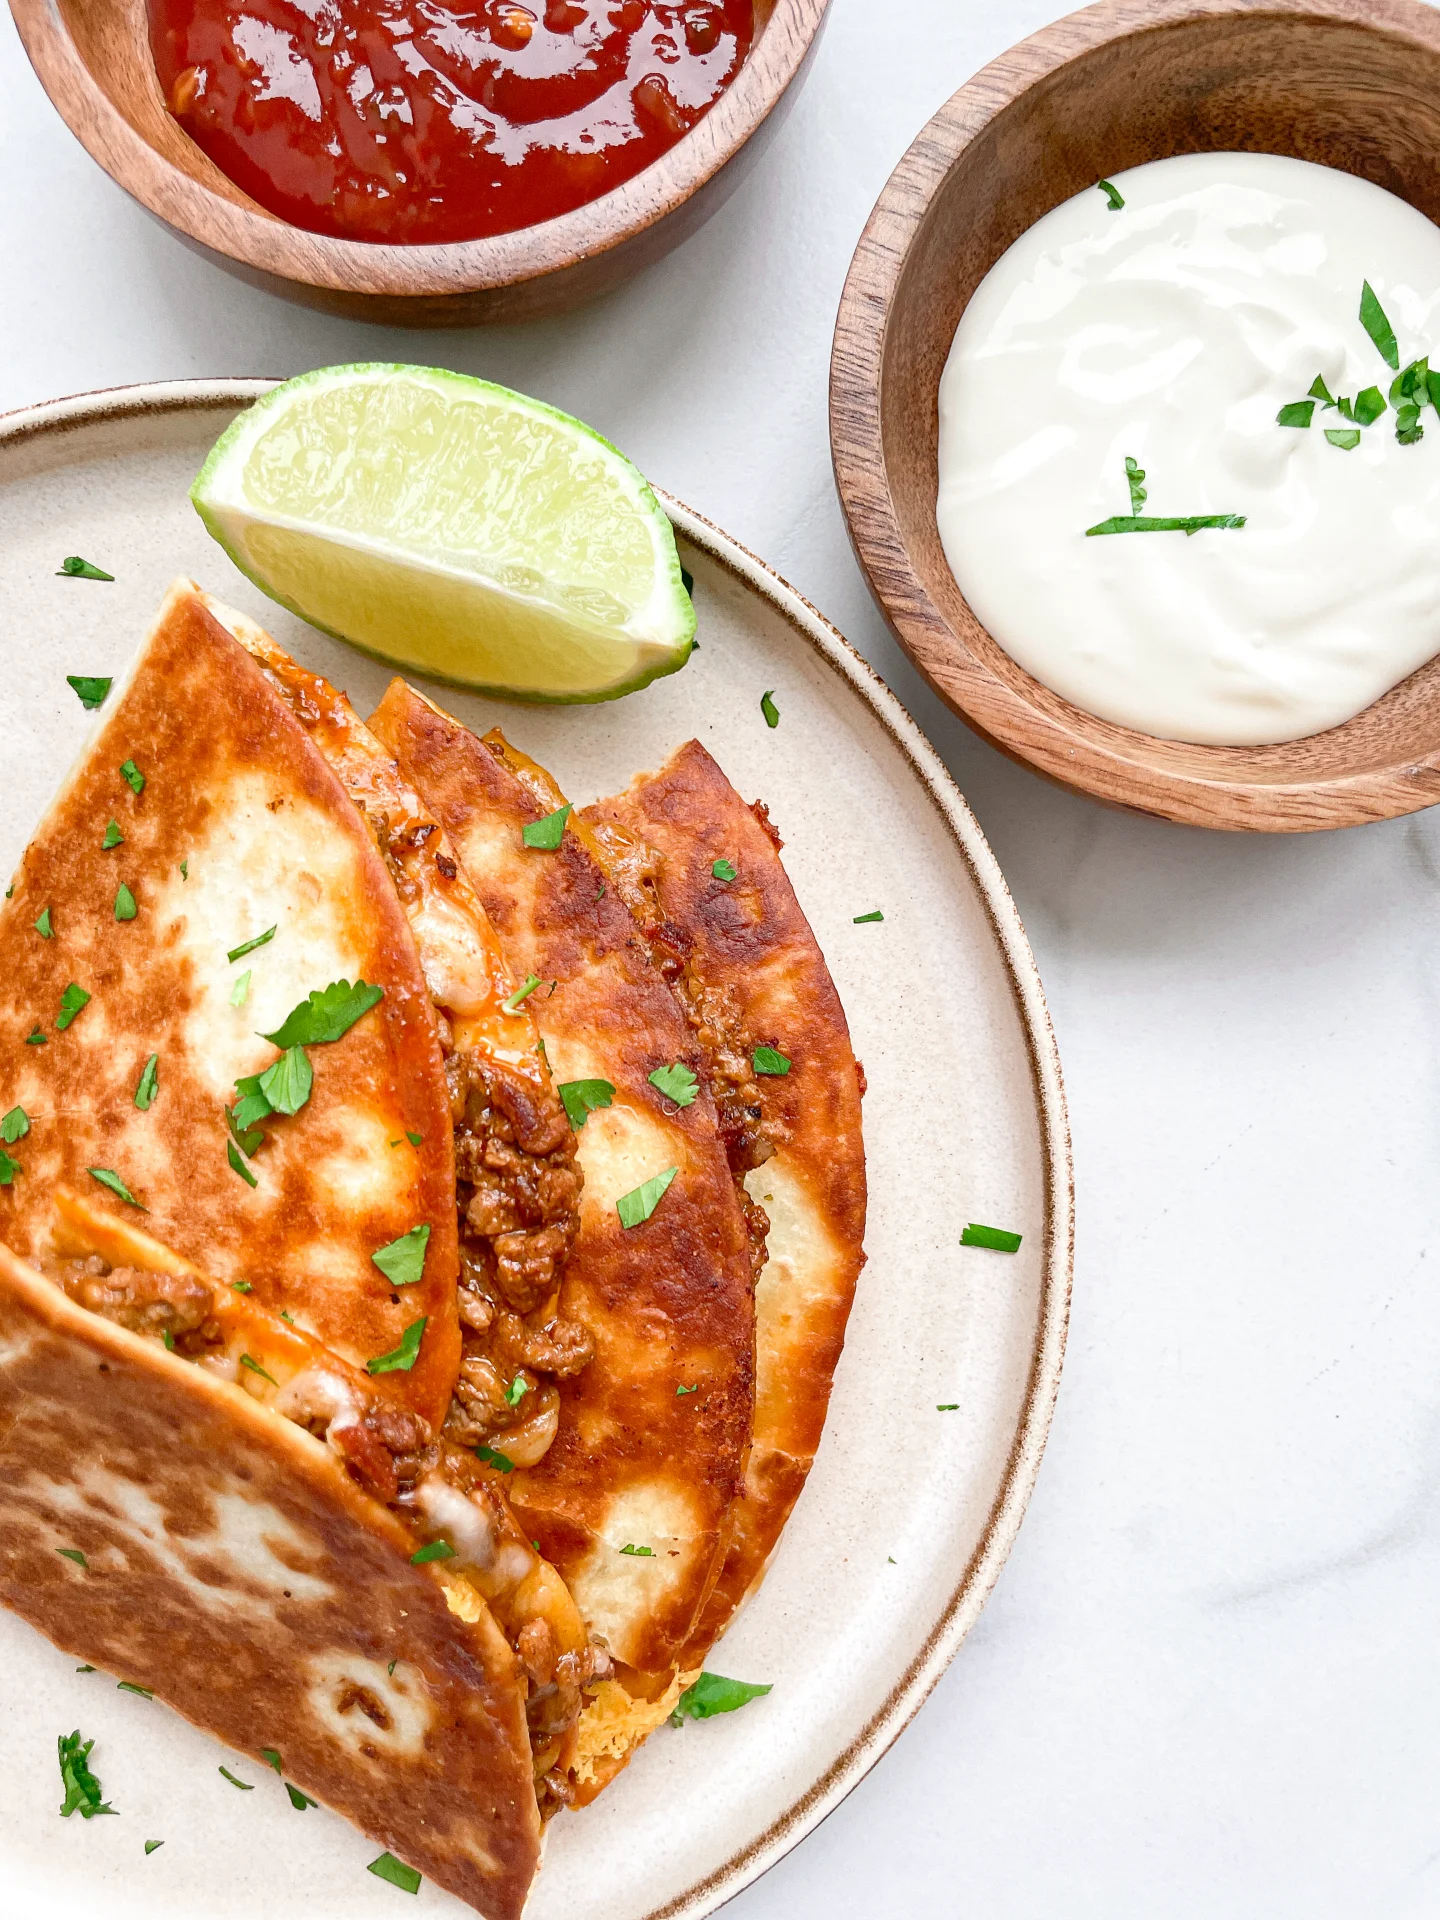


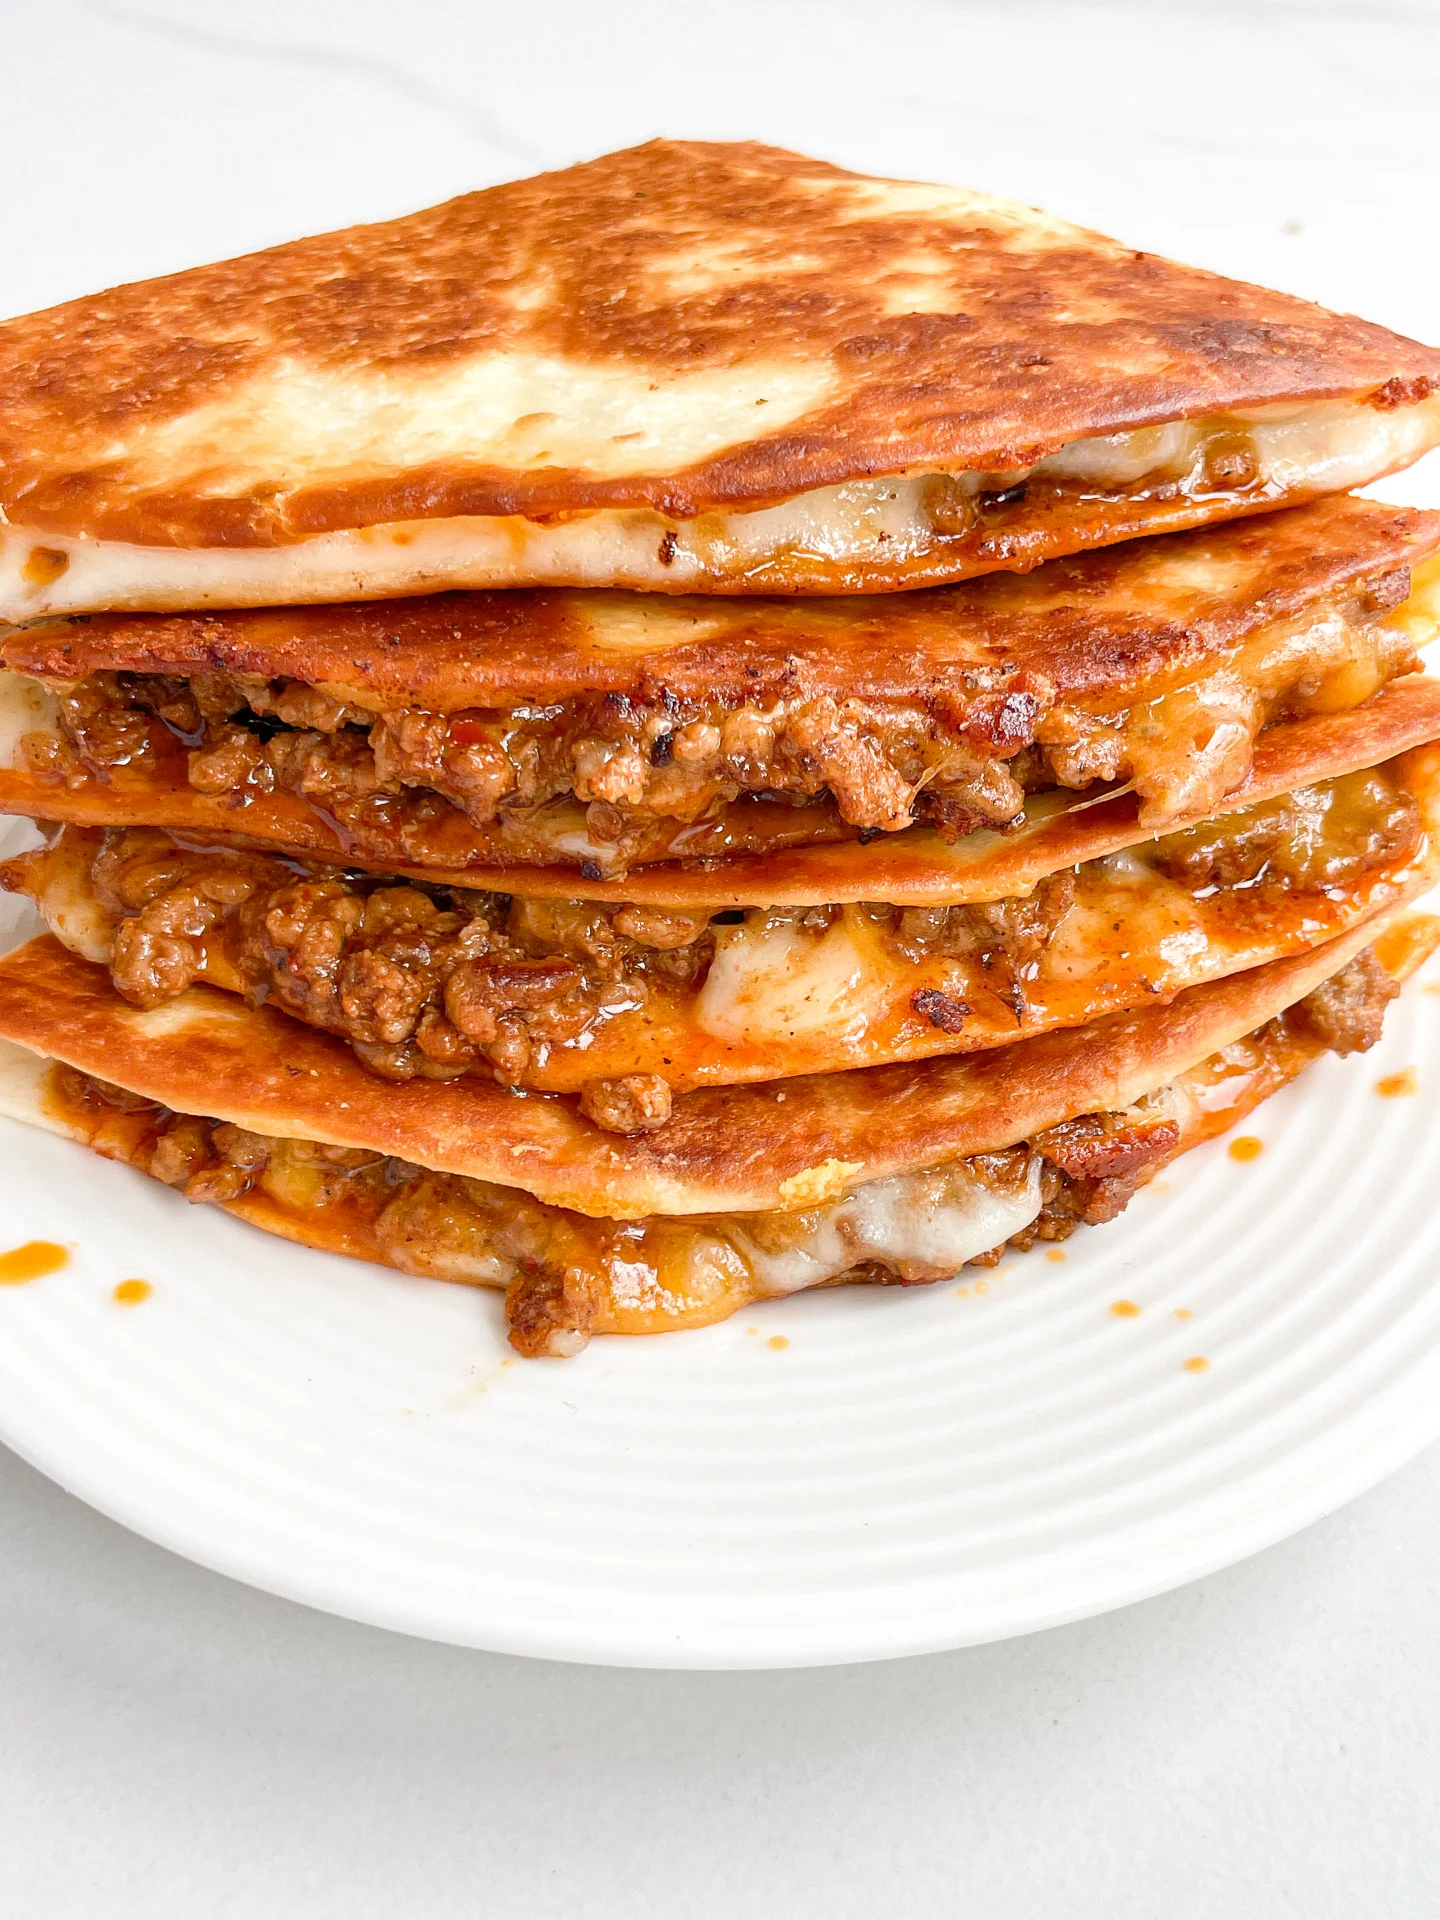
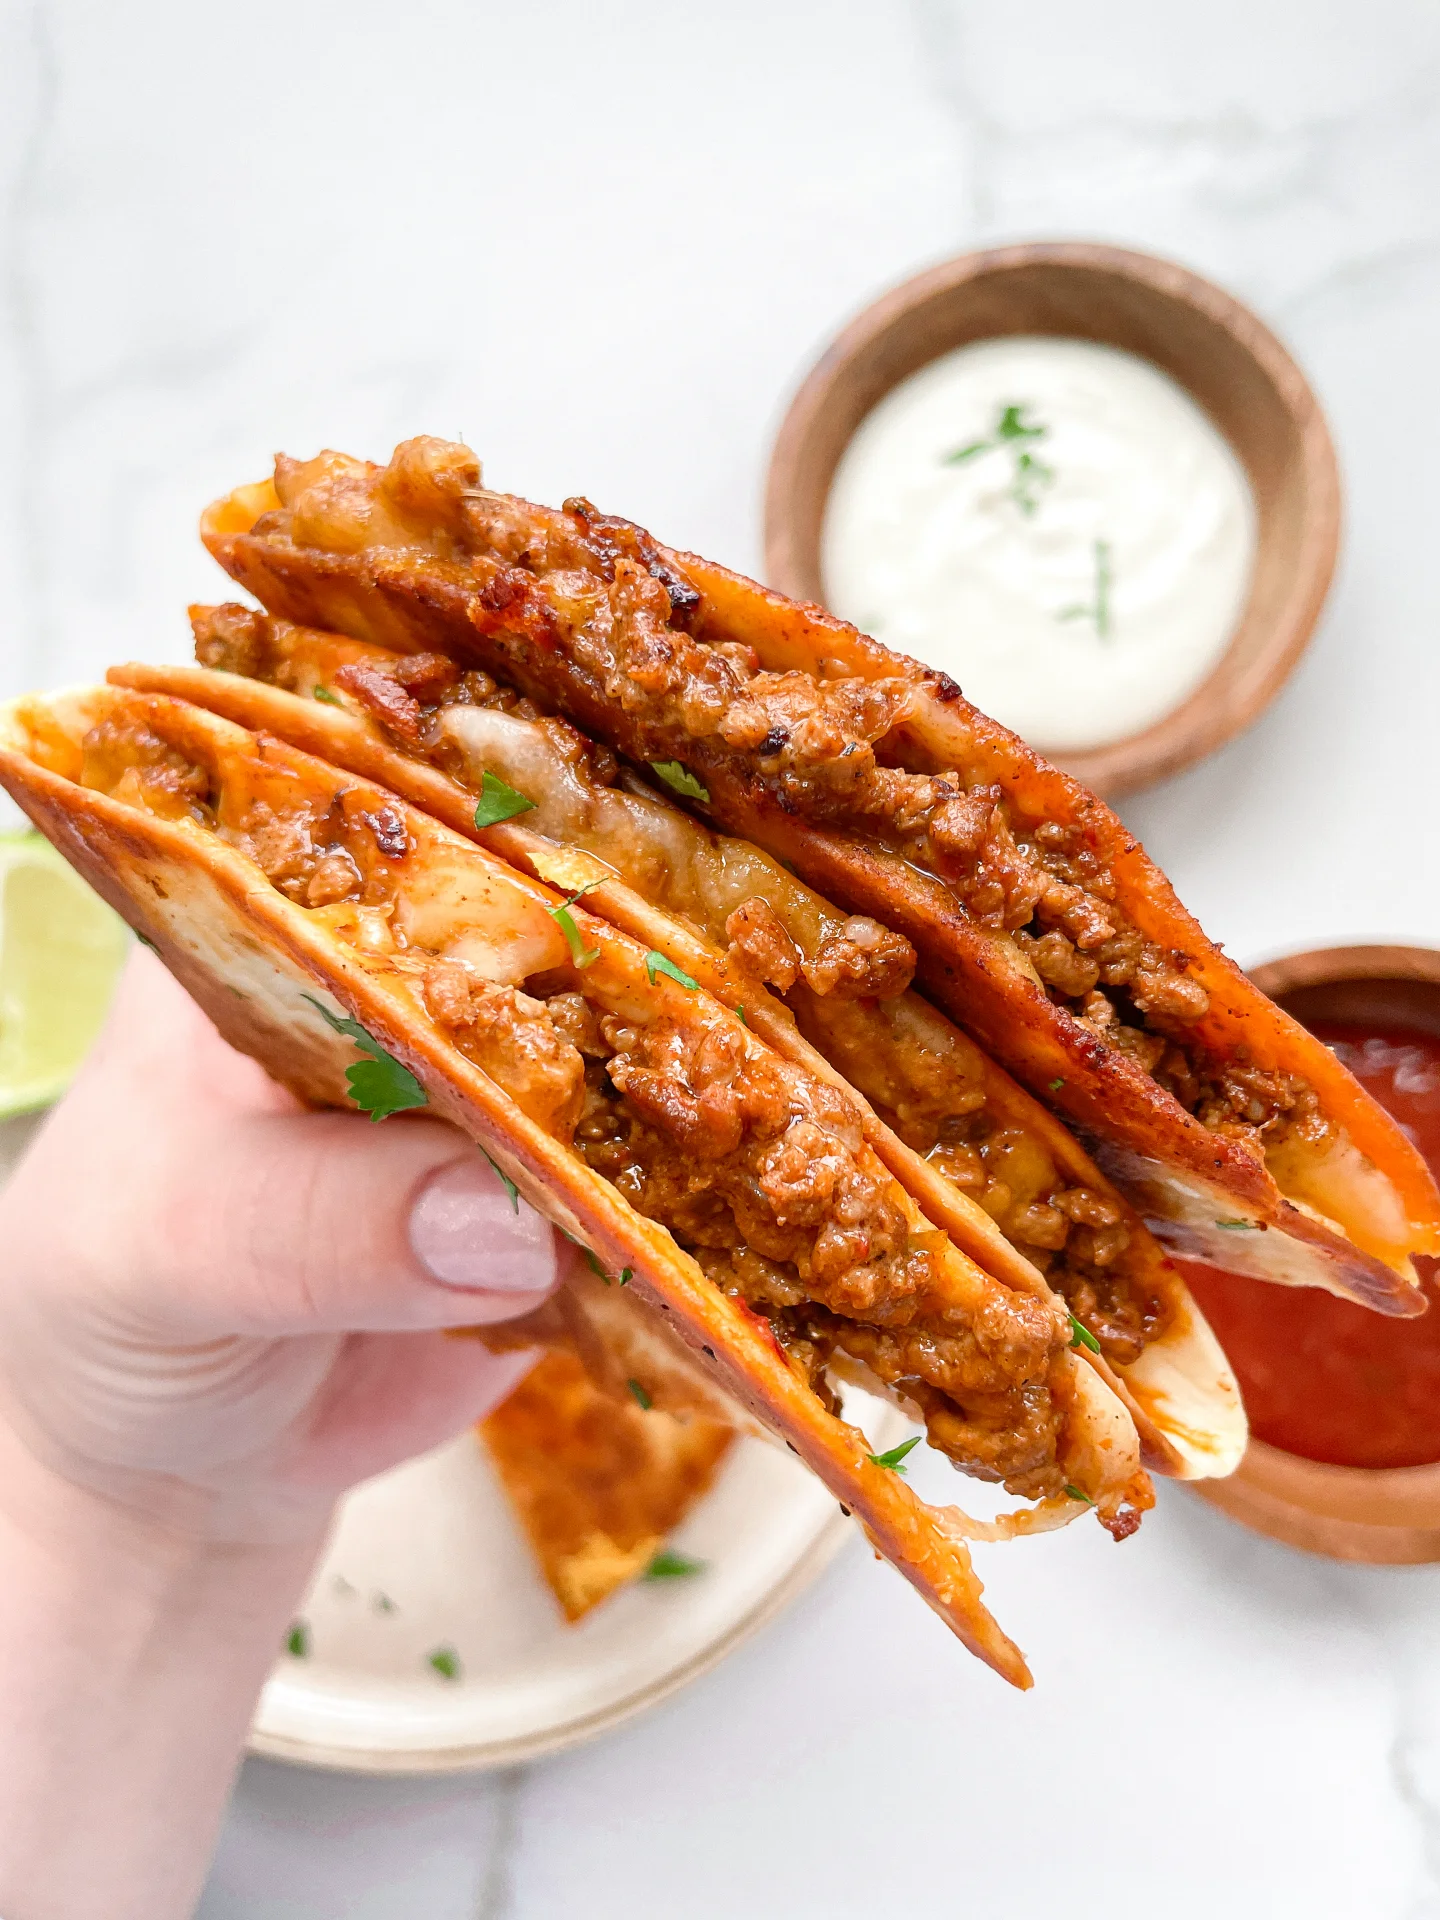
Cilantro Lime Beef Quesadillas

Cilantro Lime Beef Quesadillas

Cilantro Lime Beef Quesadillas

Cilantro Lime Beef Quesadillas

April 10, 2024 by Kimberly

Indulge in the zesty flair of Cilantro Lime Beef Quesadillas! A mouthwatering fusion of juicy beef, tangy lime, and fresh cilantro, wrapped in a crispy tortilla.

This website uses affiliate links which may earn commission for purchases made at no additional cost to you.

TOTAL TIME

30 min

SERVES

6 quesadillas

DIET

omnivore

EVERY RECIPE DESERVES

A Little Love Letter

Dive into the delectable world of Cilantro Lime Beef Quesadillas, your next go-to recipe for a quick, flavorful meal that’s sure to delight your taste buds. Combining juicy beef, vibrant lime, and fresh cilantro, these quesadillas offer a tantalizing taste of Mexican cuisine right in your kitchen. Perfect for those busy weeknights or when you’re craving something deliciously different.

When it comes to serving, Cilantro Lime Beef Quesadillas shine brightest with a side of creamy guacamole, tangy salsa, and a dollop of sour cream. Whether you’re gathering around the table for a family dinner or entertaining friends, these quesadillas are a versatile dish that pairs wonderfully with a chilled margarita or a refreshing limeade. The fusion of flavors and textures makes every bite a delightful experience.

To store, let your quesadillas cool down before wrapping them tightly in aluminum foil. They’ll keep nicely in the refrigerator for up to two days. Reheat in a skillet or oven to retain that irresistible crunch. Enjoy the ease of having a delicious meal just minutes away, any day of the week.

Hi, I'm Kimberly!

Hi, I'm Kimberly.

A hopeless romantic when it comes to food. Every recipe I share is a love letter to food itself. I’m so glad you’re here. Make yourself at home and stay a while.

Love,
Kimberly

Kimberly the Zett Signature

If you want to get to know me better,
click here!


Cilantro Lime Beef Quesadillas

LET’S MAKE A PIECE OF HAPPINESS

Print
clock clock iconcutlery cutlery iconflag flag iconfolder folder iconinstagram instagram iconpinterest pinterest iconfacebook facebook iconprint print iconsquares squares iconheart heart iconheart solid heart solid icon
Cilantro Lime Beef Quesadillas

Cilantro Lime Beef Quesadillas


5 Stars 4 Stars 3 Stars 2 Stars 1 Star

No reviews

  • Author: Kimberly
  • Total Time: 30 min
  • Yield: 6 1x

Description

GOOD TO HAVE ON HAND

  • sharp knife
  • cutting board
  • large pan


Ingredients

Units Scale
FILLING
  • 400 grams lean minced beef
  • 1 tbsp olive oil
  • 1 tsp chili flakes
  • 1/2 tsp oregano
  • 1/2 cumin
  • 1/2 garlic powder
  • 1/2 onion powder
  • 1/2 tsp salt
  • 1/2 cayenne pepper
  • 1/2 ground black pepper
  • 1 tbsp tomato paste
  • 250 milliliters beef stock
  • 125 grams shredded mozzarella
  • 125 grams shredded cheddar
TORTILLAS
  • 6 medium-sized tortillas
  • 3 tsp olive oil
TOPPINGS
  • 2 limes
  • cilantro
  • 200 grams creme fraiche
  • 200 grams salsa

Instructions

  1. Wash the cilantro, pluck the leaves from the stems, and roughly chop them.
  2. Wash the limes and cut them into quarters.
  3. Mix the grated mozzarella and grated cheddar in a bowl.
  4. Heat a large pan over medium heat and add 1 tbsp olive oil. Put the ground beef into the pan and season it with 1 teaspoon of chili powder, and ½ teaspoon each of oregano, cumin, garlic powder, onion powder, cayenne pepper, salt, and pepper. Cook the meat until it forms a dark crust at the bottom of the pan. Then add 1 heaping tablespoon of tomato paste to the meat, mix everything together, and let it cook for 1-2 minutes. Pour beef broth into the pan to deglaze it, scrape off the crust from the bottom, and let everything simmer for about 10 minutes until the broth forms a creamy sauce around the meat.
  5. Meanwhile, lay out 6 tortilla wraps side by side and spread half of the cheese on one half of each tortilla, leaving the other half free.
  6. Spread the meat directly from the pan onto the cheese on each tortilla. Wipe the pan clean and place it back on the stove.
  7. Now, spread the second half of the cheese on top of the meat and use a spoon to distribute the filling to the edge of half of each tortilla. Fold the empty half of the tortilla over the filled half. Press down firmly.
  8. Cook two of the filled quesadillas side by side in the pan with 1 teaspoon of olive oil on both sides over medium heat until the tortilla becomes crispy golden brown and the cheese inside is melted. Remove from the pan and cut in half.
  9. Place three pieces of the quesadillas on each plate, along with two lime wedges, and sprinkle with cilantro. Serve with your favorite salsa and sour cream for dipping.
  • Cook Time: 30 min
CRAVING MORE?

Follow along here & don’t forget to subscribe to my substack!

Honey Mustard Pretzel Bites

Honey Mustard Pretzel Bites

Honey Mustard Pretzel Bites

Honey Mustard Pretzel Bites

April 5, 2024 by Kimberly

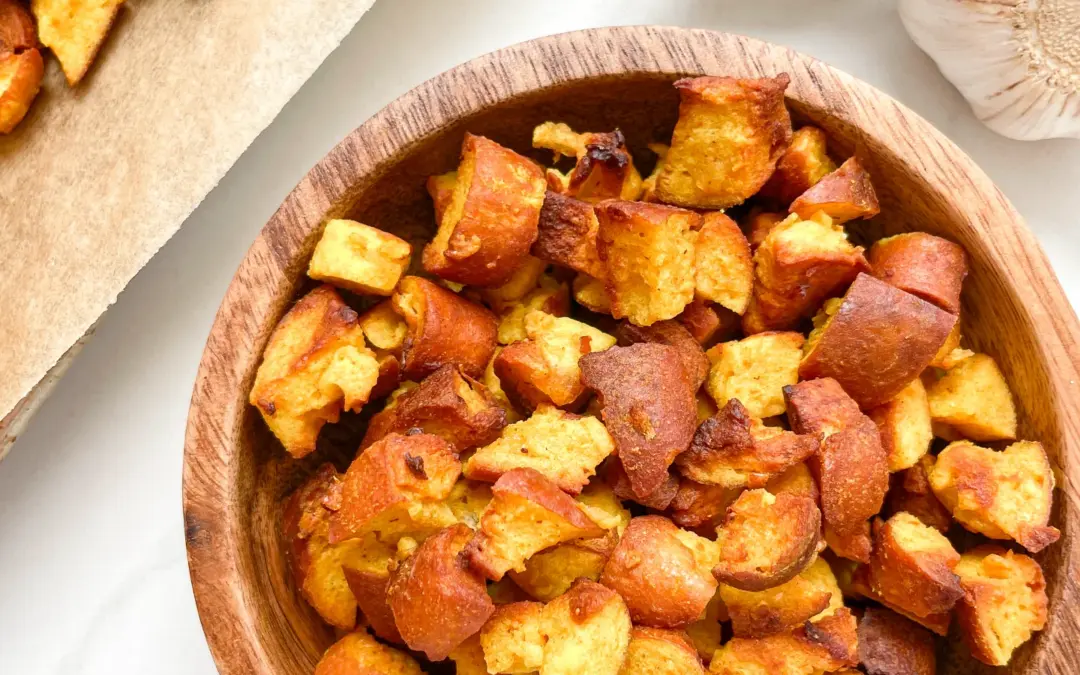
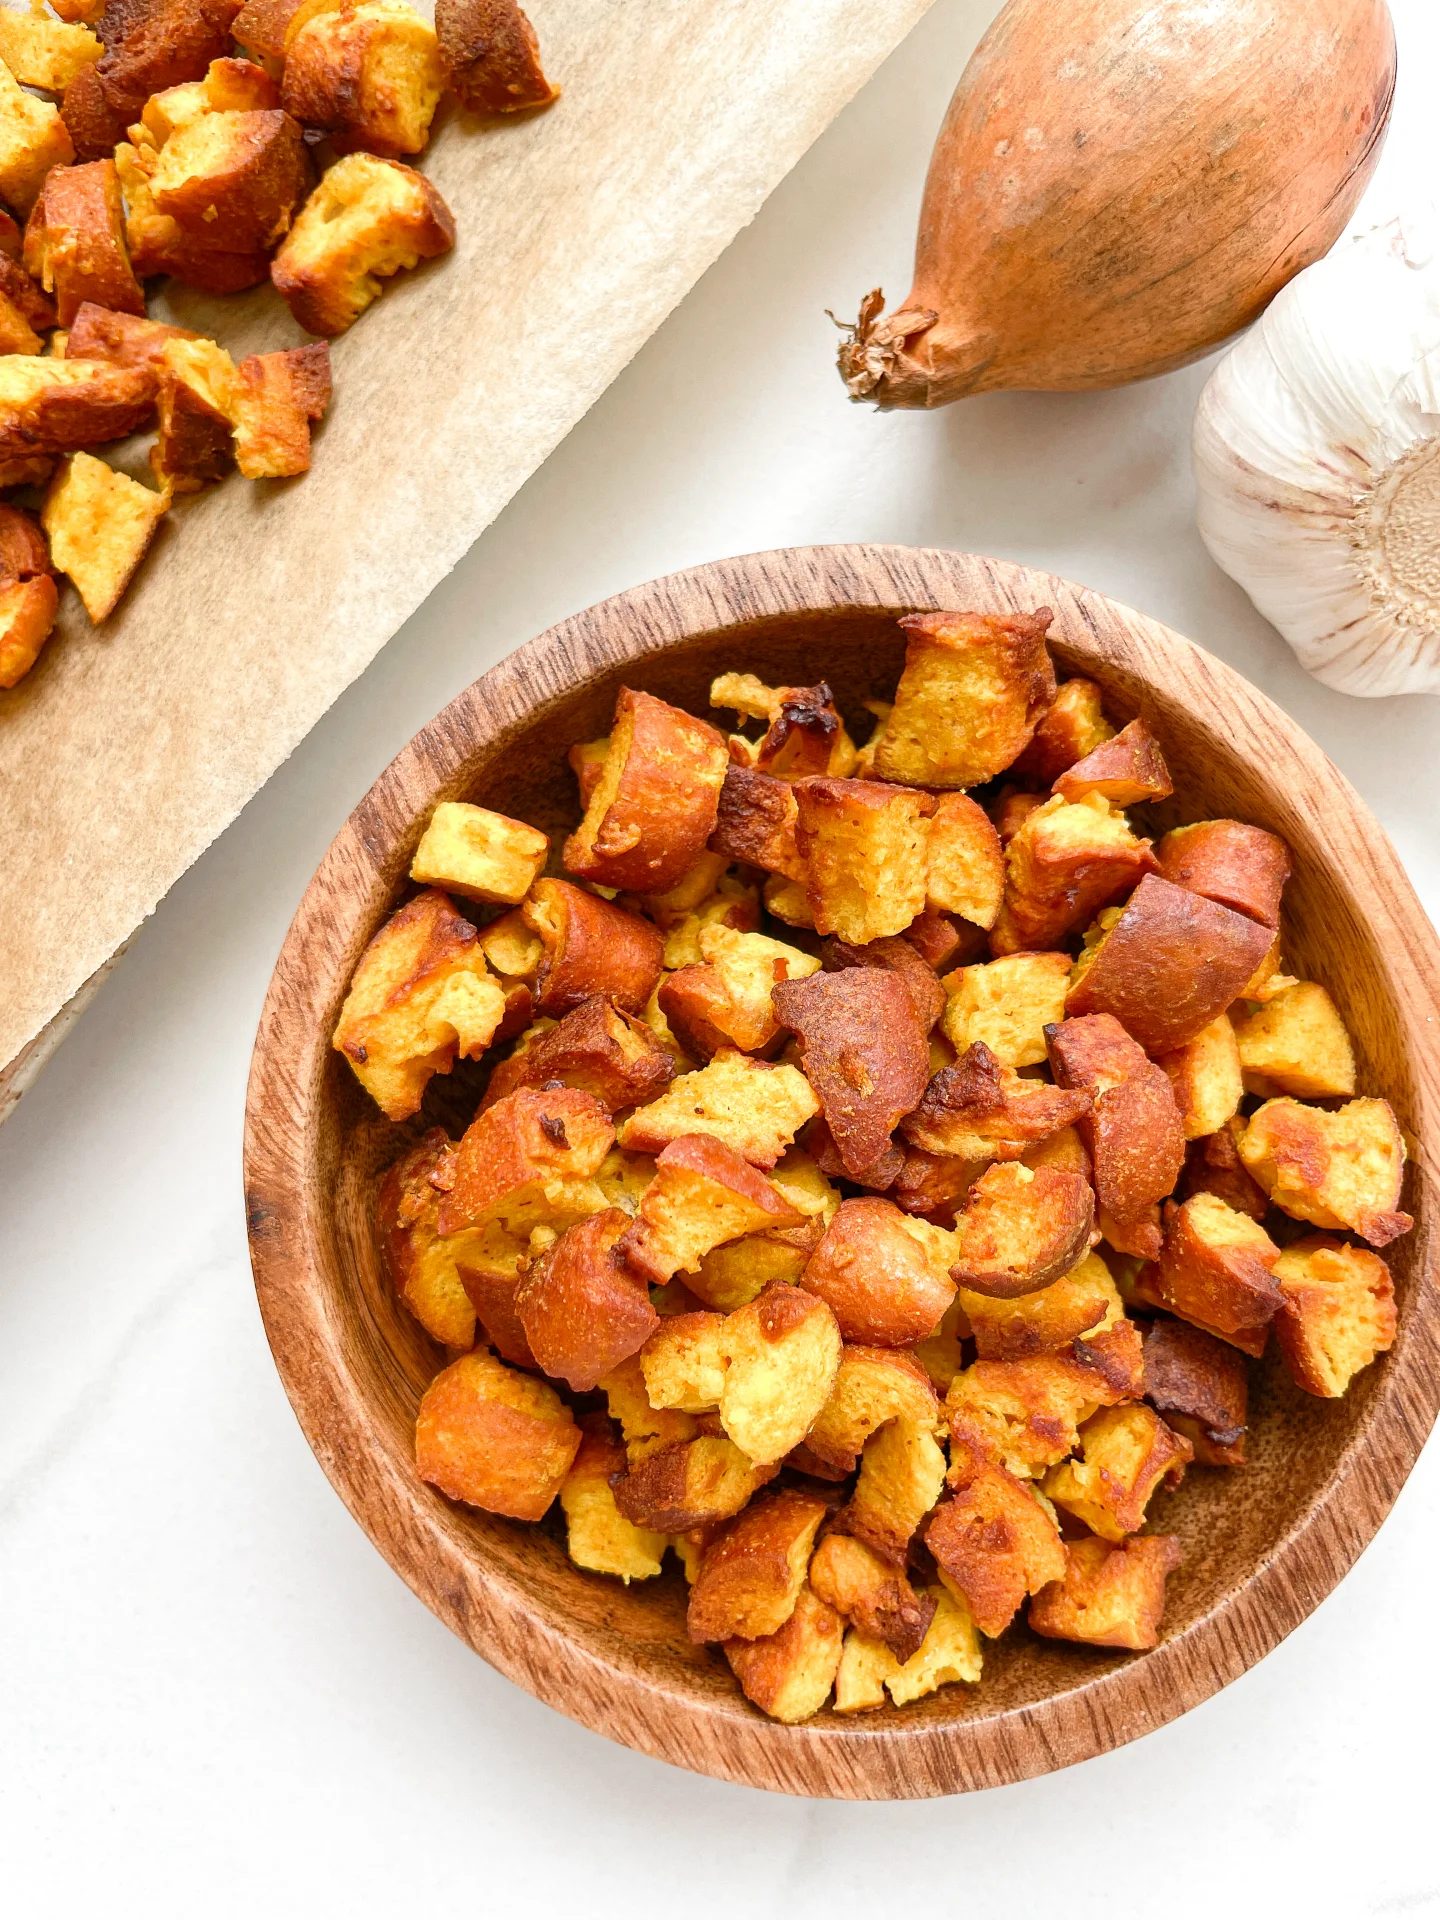
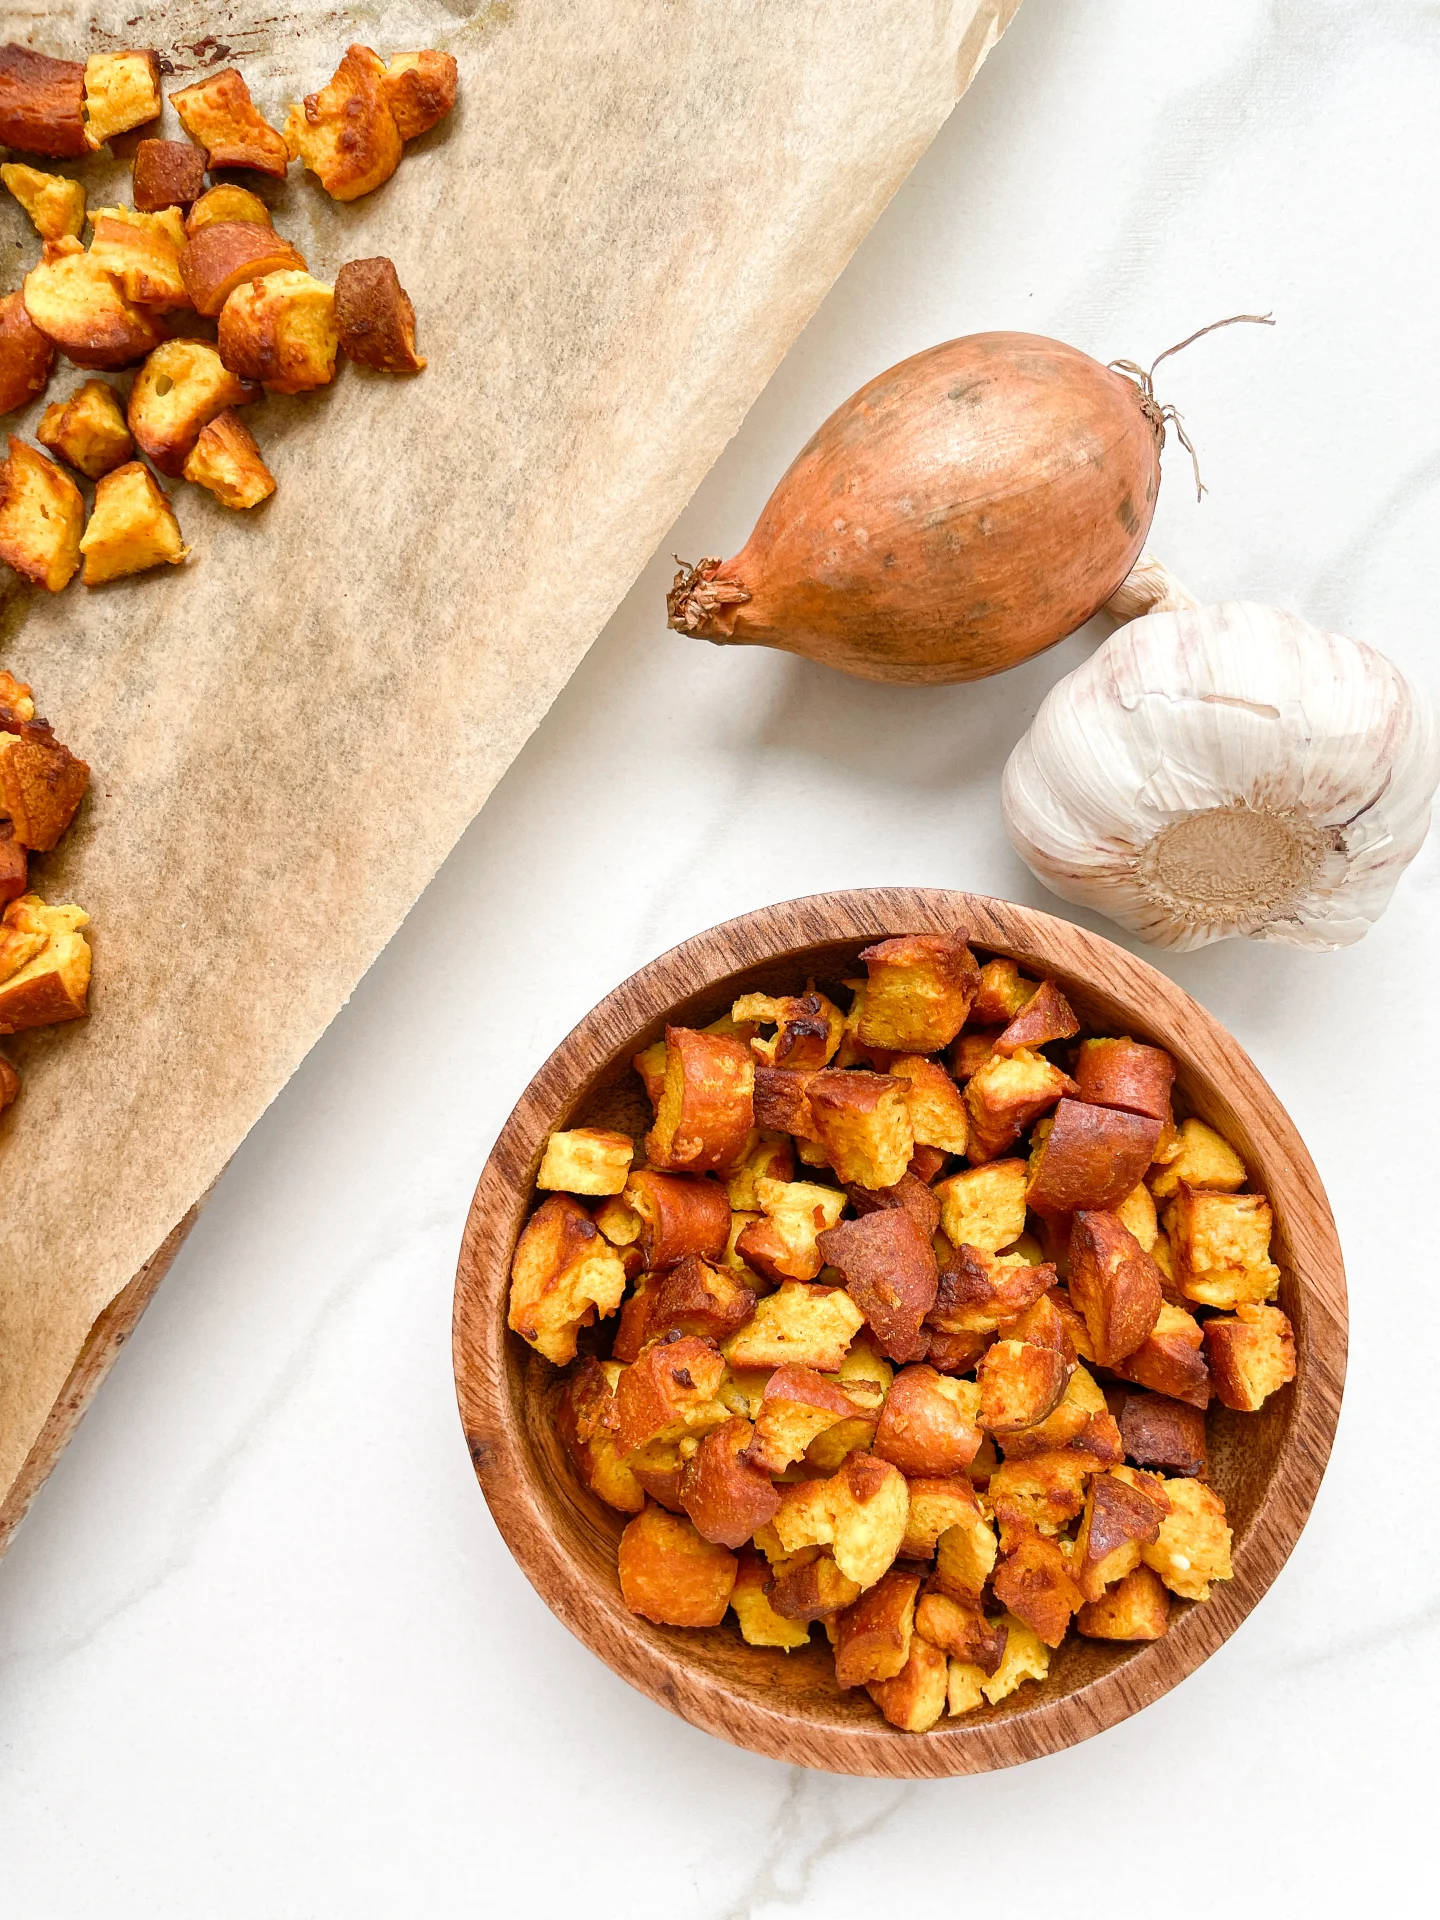
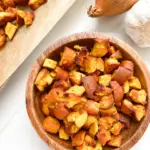
Indulge in Honey Mustard Pretzel Bites – a sweet, tangy, and utterly addictive snack! Perfect for parties or snacking.

This website uses affiliate links which may earn commission for purchases made at no additional cost to you.

TOTAL TIME

25 min

SERVES

4 portions

DIET

vegetarian

EVERY RECIPE DESERVES

A Little Love Letter

Welcome to the irresistible world of Honey Mustard Pretzel Bites, your new favorite snack. These bite-sized delights are the perfect combination of crunchy pretzel goodness and the sweet tang of honey mustard. They’re so easy to make and even easier to devour!

Serve them in a big bowl for a casual gathering. They’re the perfect companion to your favorite craft beer or a crisp, refreshing soda. Whether it’s game day, movie night, or just a regular Tuesday, these pretzel bites will be the star of the show.

Keep any leftovers (if there are any!) in an airtight container at room temperature. They’ll stay fresh and crunchy for up to a week, ready to satisfy those snack cravings anytime.

Hi, I'm Kimberly!

Hi, I'm Kimberly.

A hopeless romantic when it comes to food. Every recipe I share is a love letter to food itself. I’m so glad you’re here. Make yourself at home and stay a while.

Love,
Kimberly

Kimberly the Zett Signature

If you want to get to know me better,
click here!


Honey Mustard Pretzel Bites

LET’S MAKE A PIECE OF HAPPINESS

Print
clock clock iconcutlery cutlery iconflag flag iconfolder folder iconinstagram instagram iconpinterest pinterest iconfacebook facebook iconprint print iconsquares squares iconheart heart iconheart solid heart solid icon
Honey Mustard Pretzel Bites

Honey Mustard Pretzel Bites


  • Author: Kimberly
  • Total Time: 25 min
  • Yield: 4 1x

Description

GOOD TO HAVE ON HAND

  • sharp knife
  • cutting board
  • medium-sized pot


Ingredients

Scale
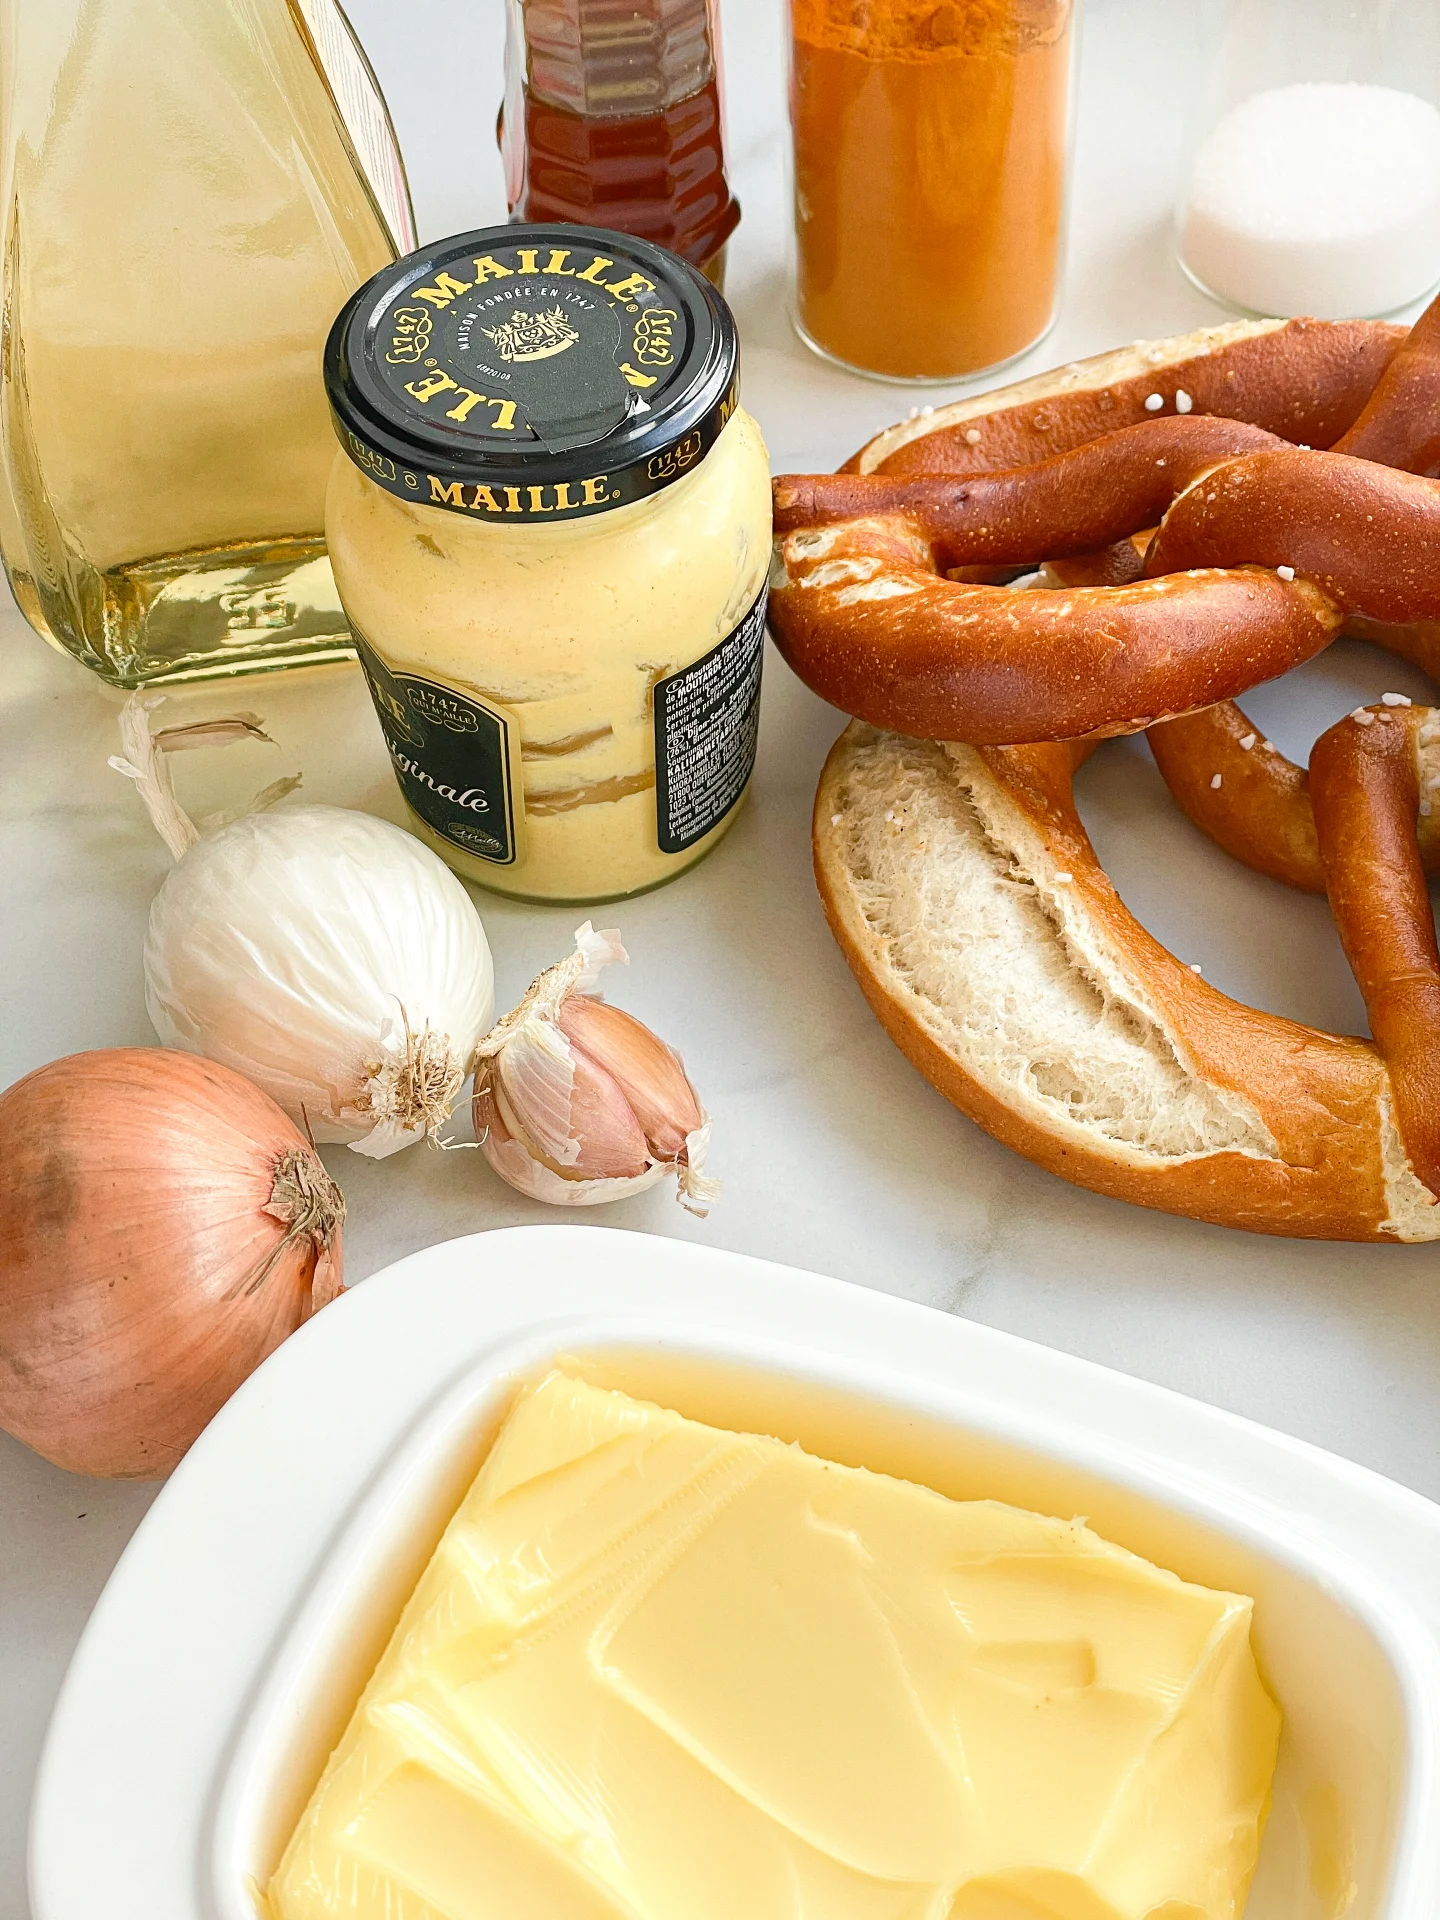
  • 2 soft pretzels
  • 1 tbsp butter
  • 1 tbsp honey
  • 1 onion
  • 2 garlic cloves
  • 1.5 tbsp dijon mustard
  • 1 tbsp white wine vinegar
  • 1/2 tsp turmeric
  • 1 tsp salt

Instructions

  1. Cut the pretzels into small pieces and set them aside.
  2. Peel the garlic cloves.
  3. Just cut off the „top“ of the onion and then peel it, so it stays whole.
  4. Now grate the onion and garlic cloves directly into the pot using a grater.
  5. Also add the following ingredients to the pot: 1 tablespoon of butter, 1 tablespoon of honey, 1 tablespoon of white wine vinegar, 1.5 tablespoons of Dijon mustard, 1 teaspoon of salt, and 1/2 teaspoon of turmeric.
  6. Stir everything together and heat on medium until the butter has melted and a yellow mixture has formed. Then add the pretzel pieces to the pot and stir until all the pieces are coated with the sauce.
  7. Place the pretzel pieces on a baking sheet lined with parchment paper and bake at 180°C (360°F) for about 15-18 minutes until crispy.
  8. Remove the baking sheet from the oven, let the pretzel pieces cool down, and enjoy.
  • Passive Time: 15 min
  • Cook Time: 10 min
CRAVING MORE?

Follow along here & don’t forget to subscribe to my substack!

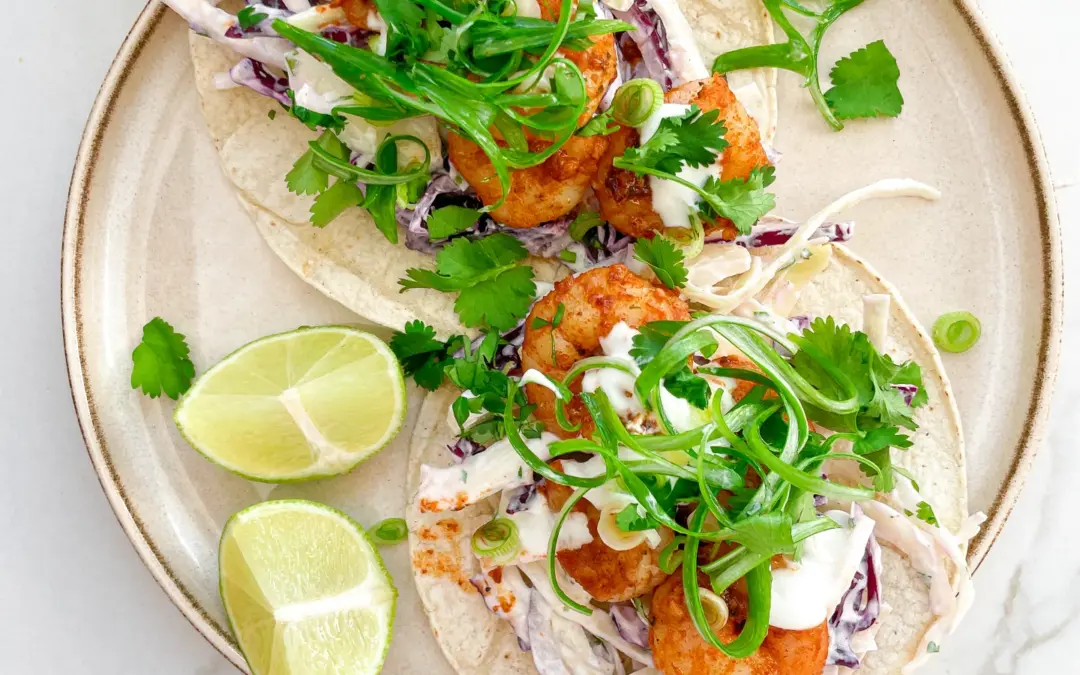
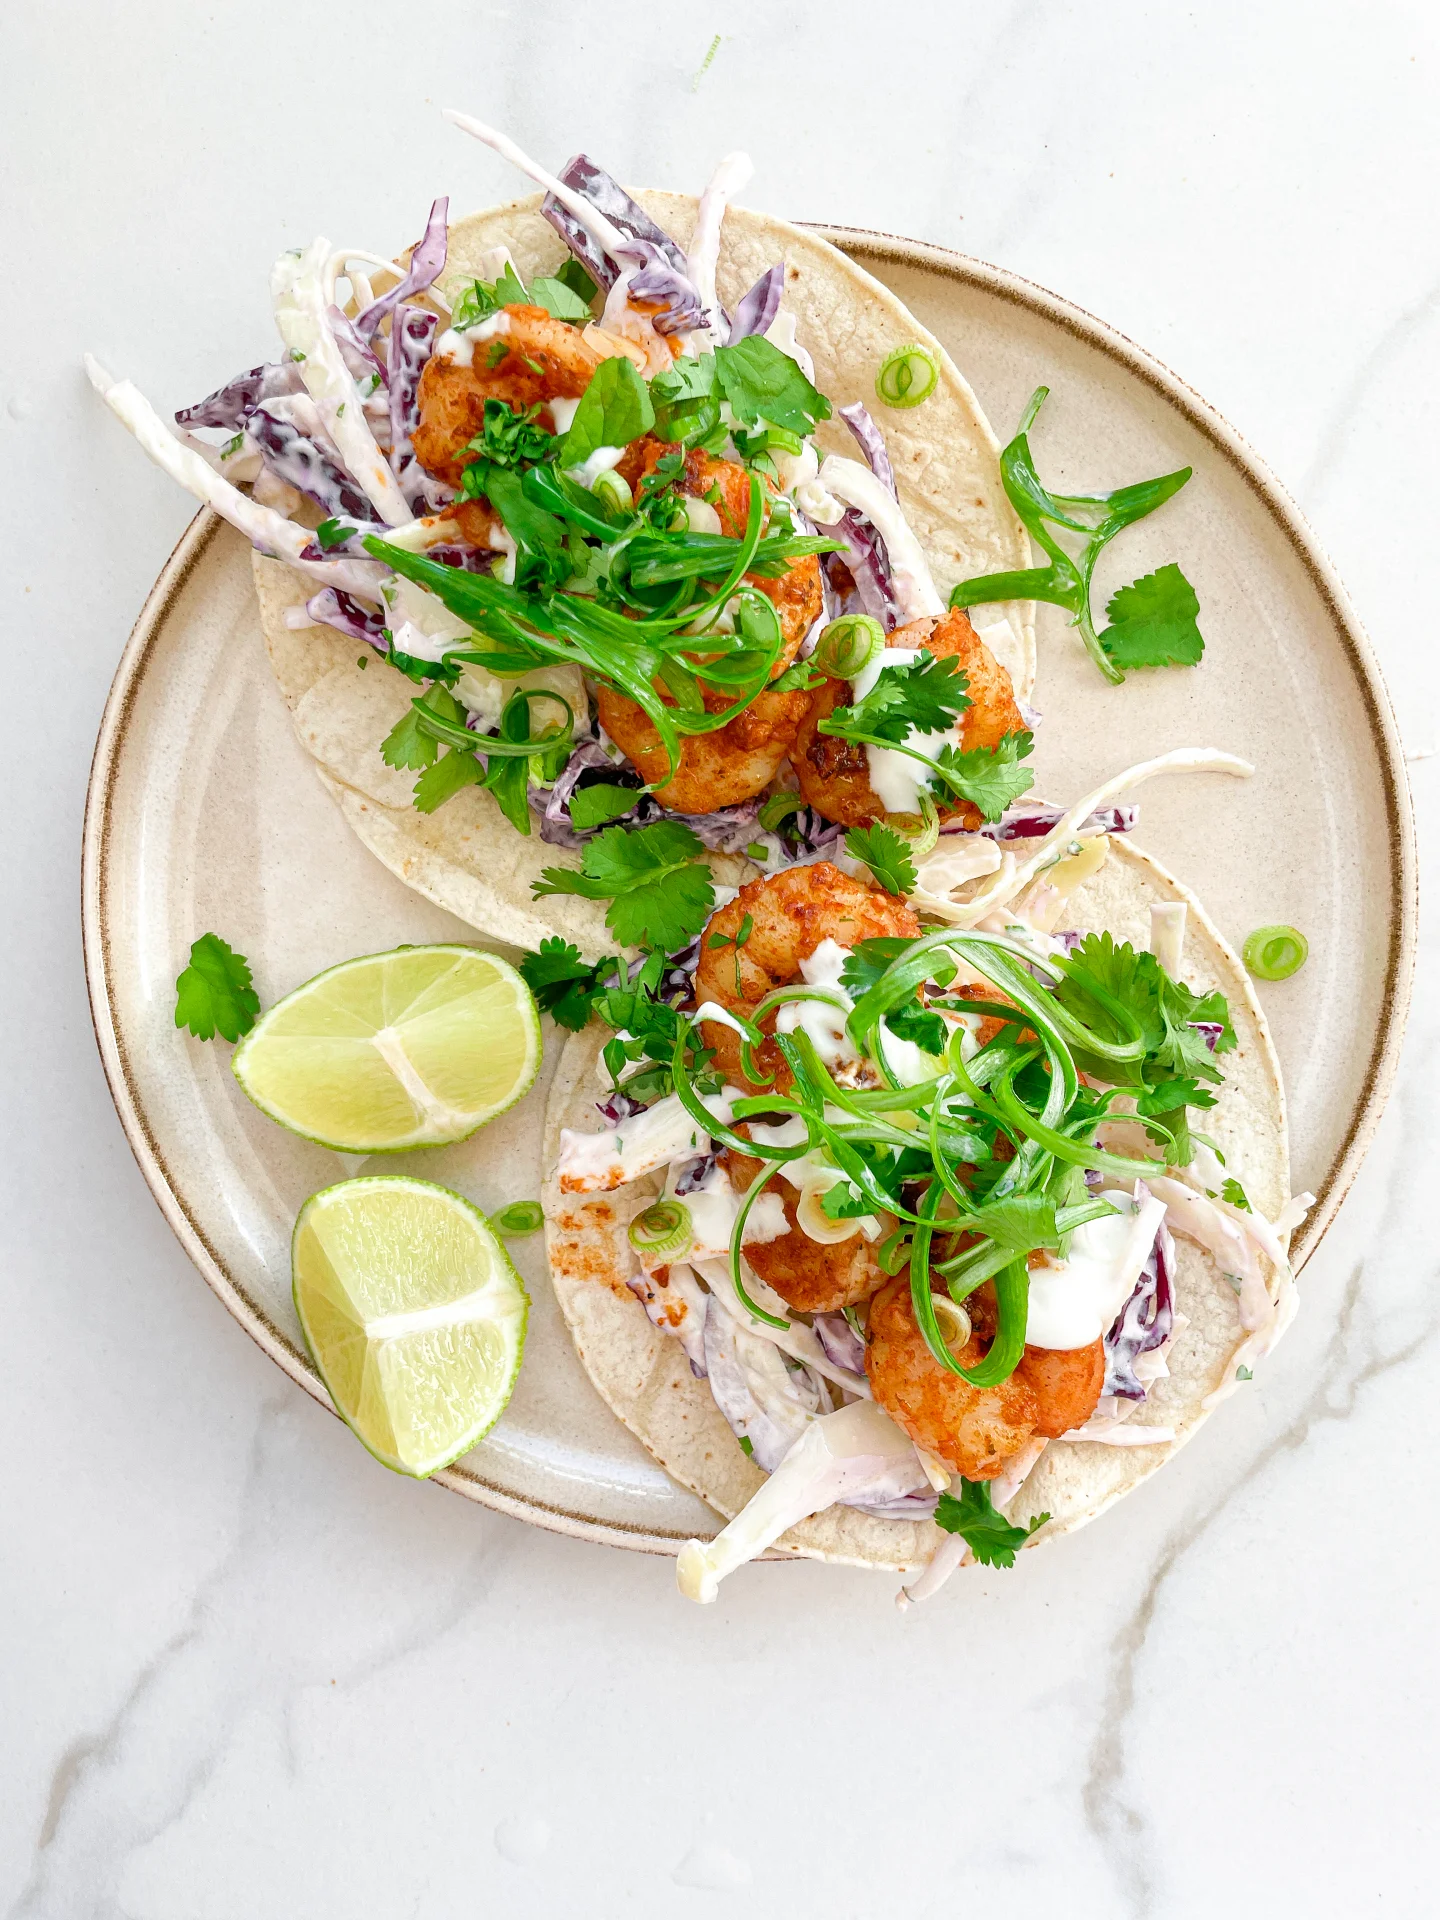
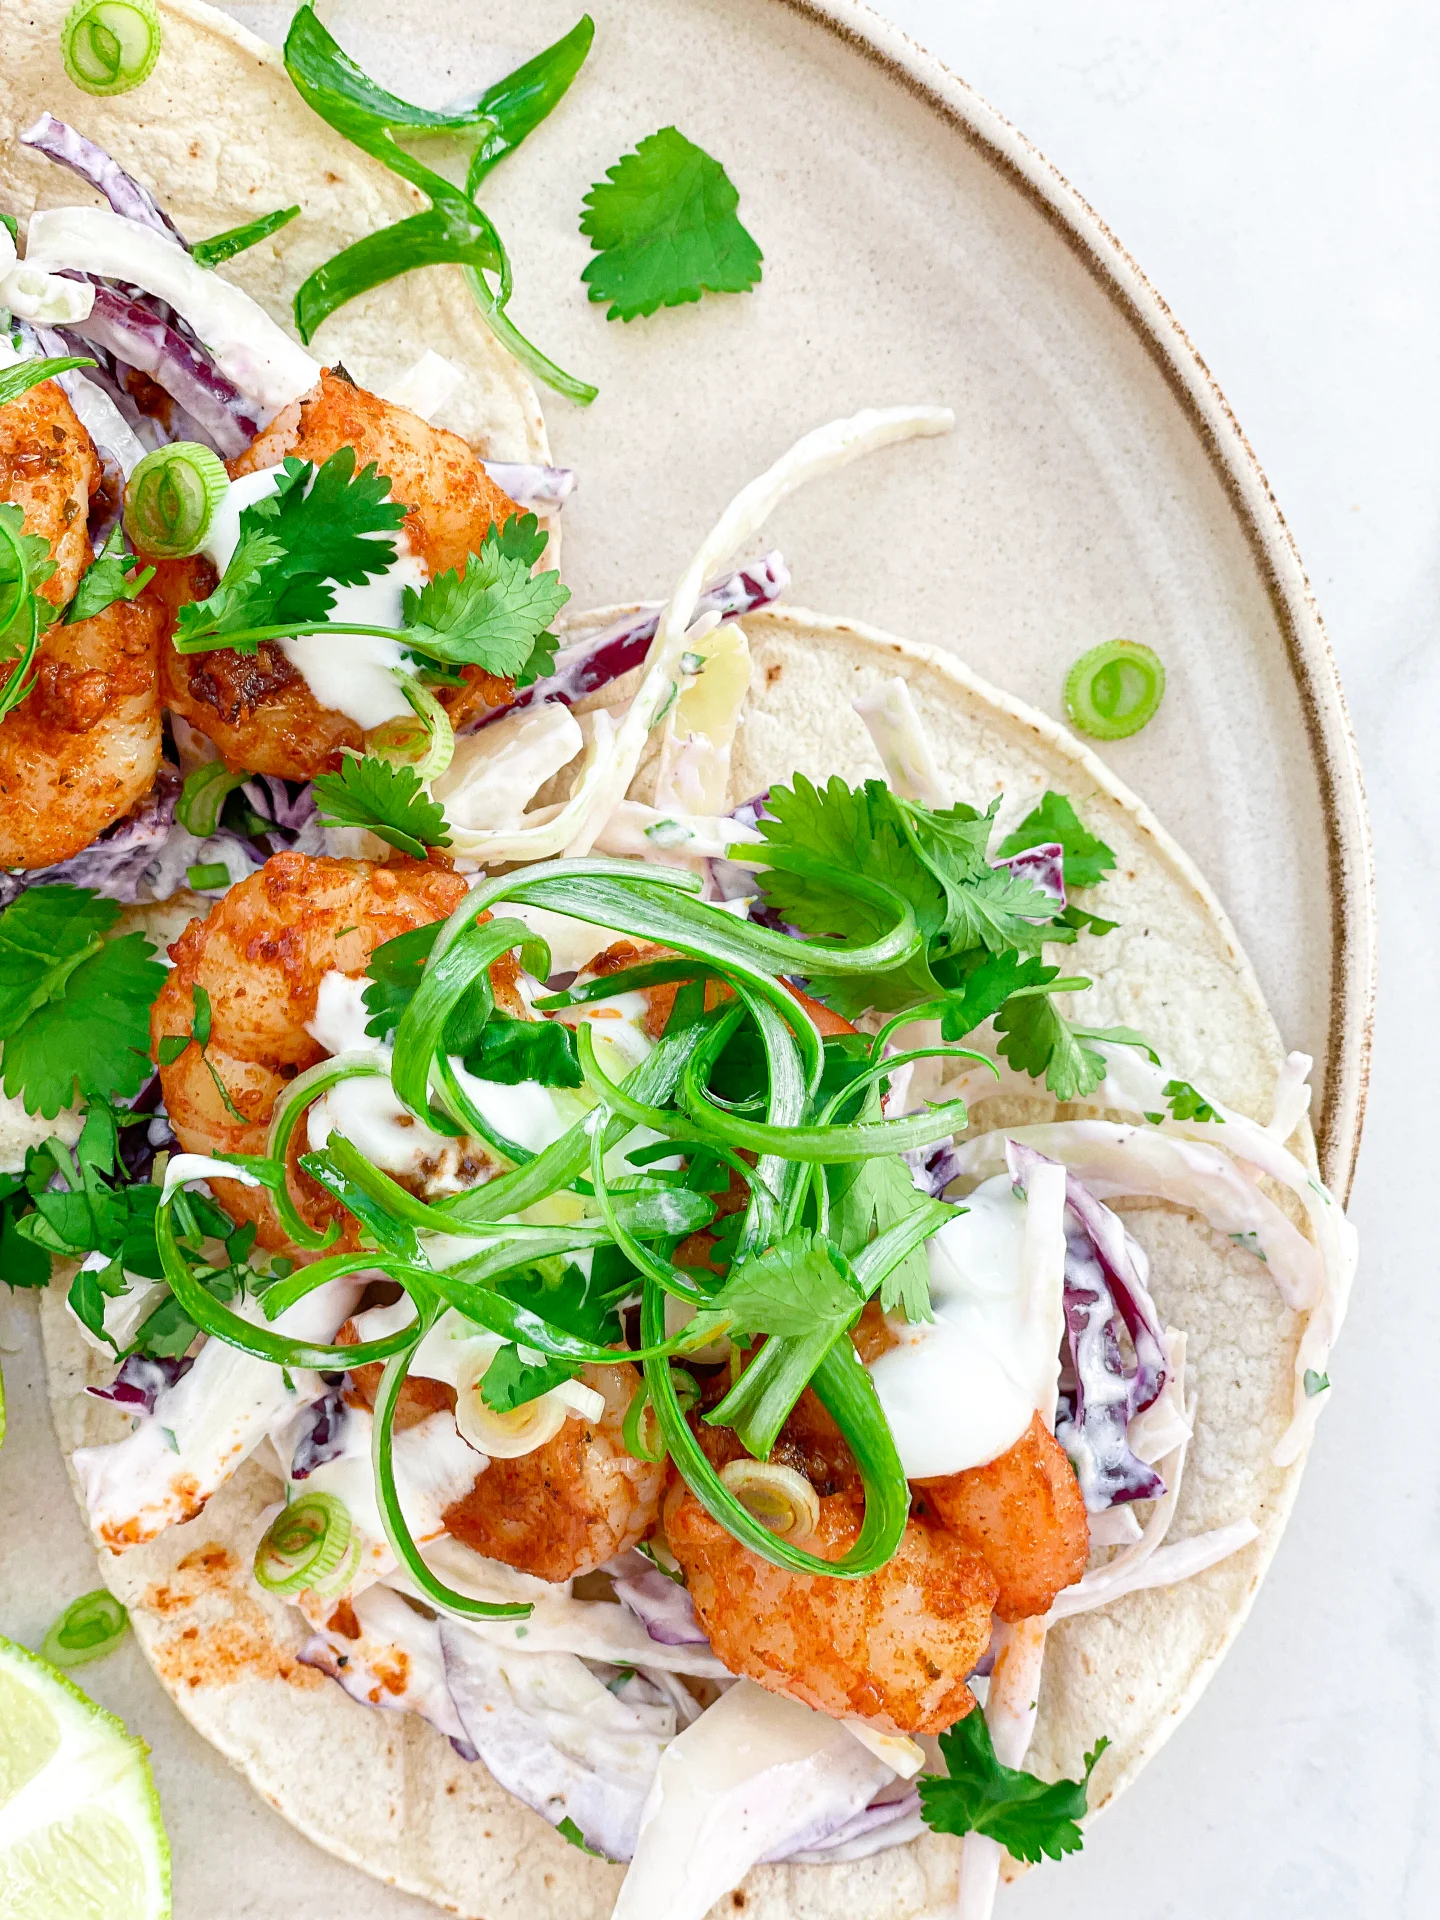
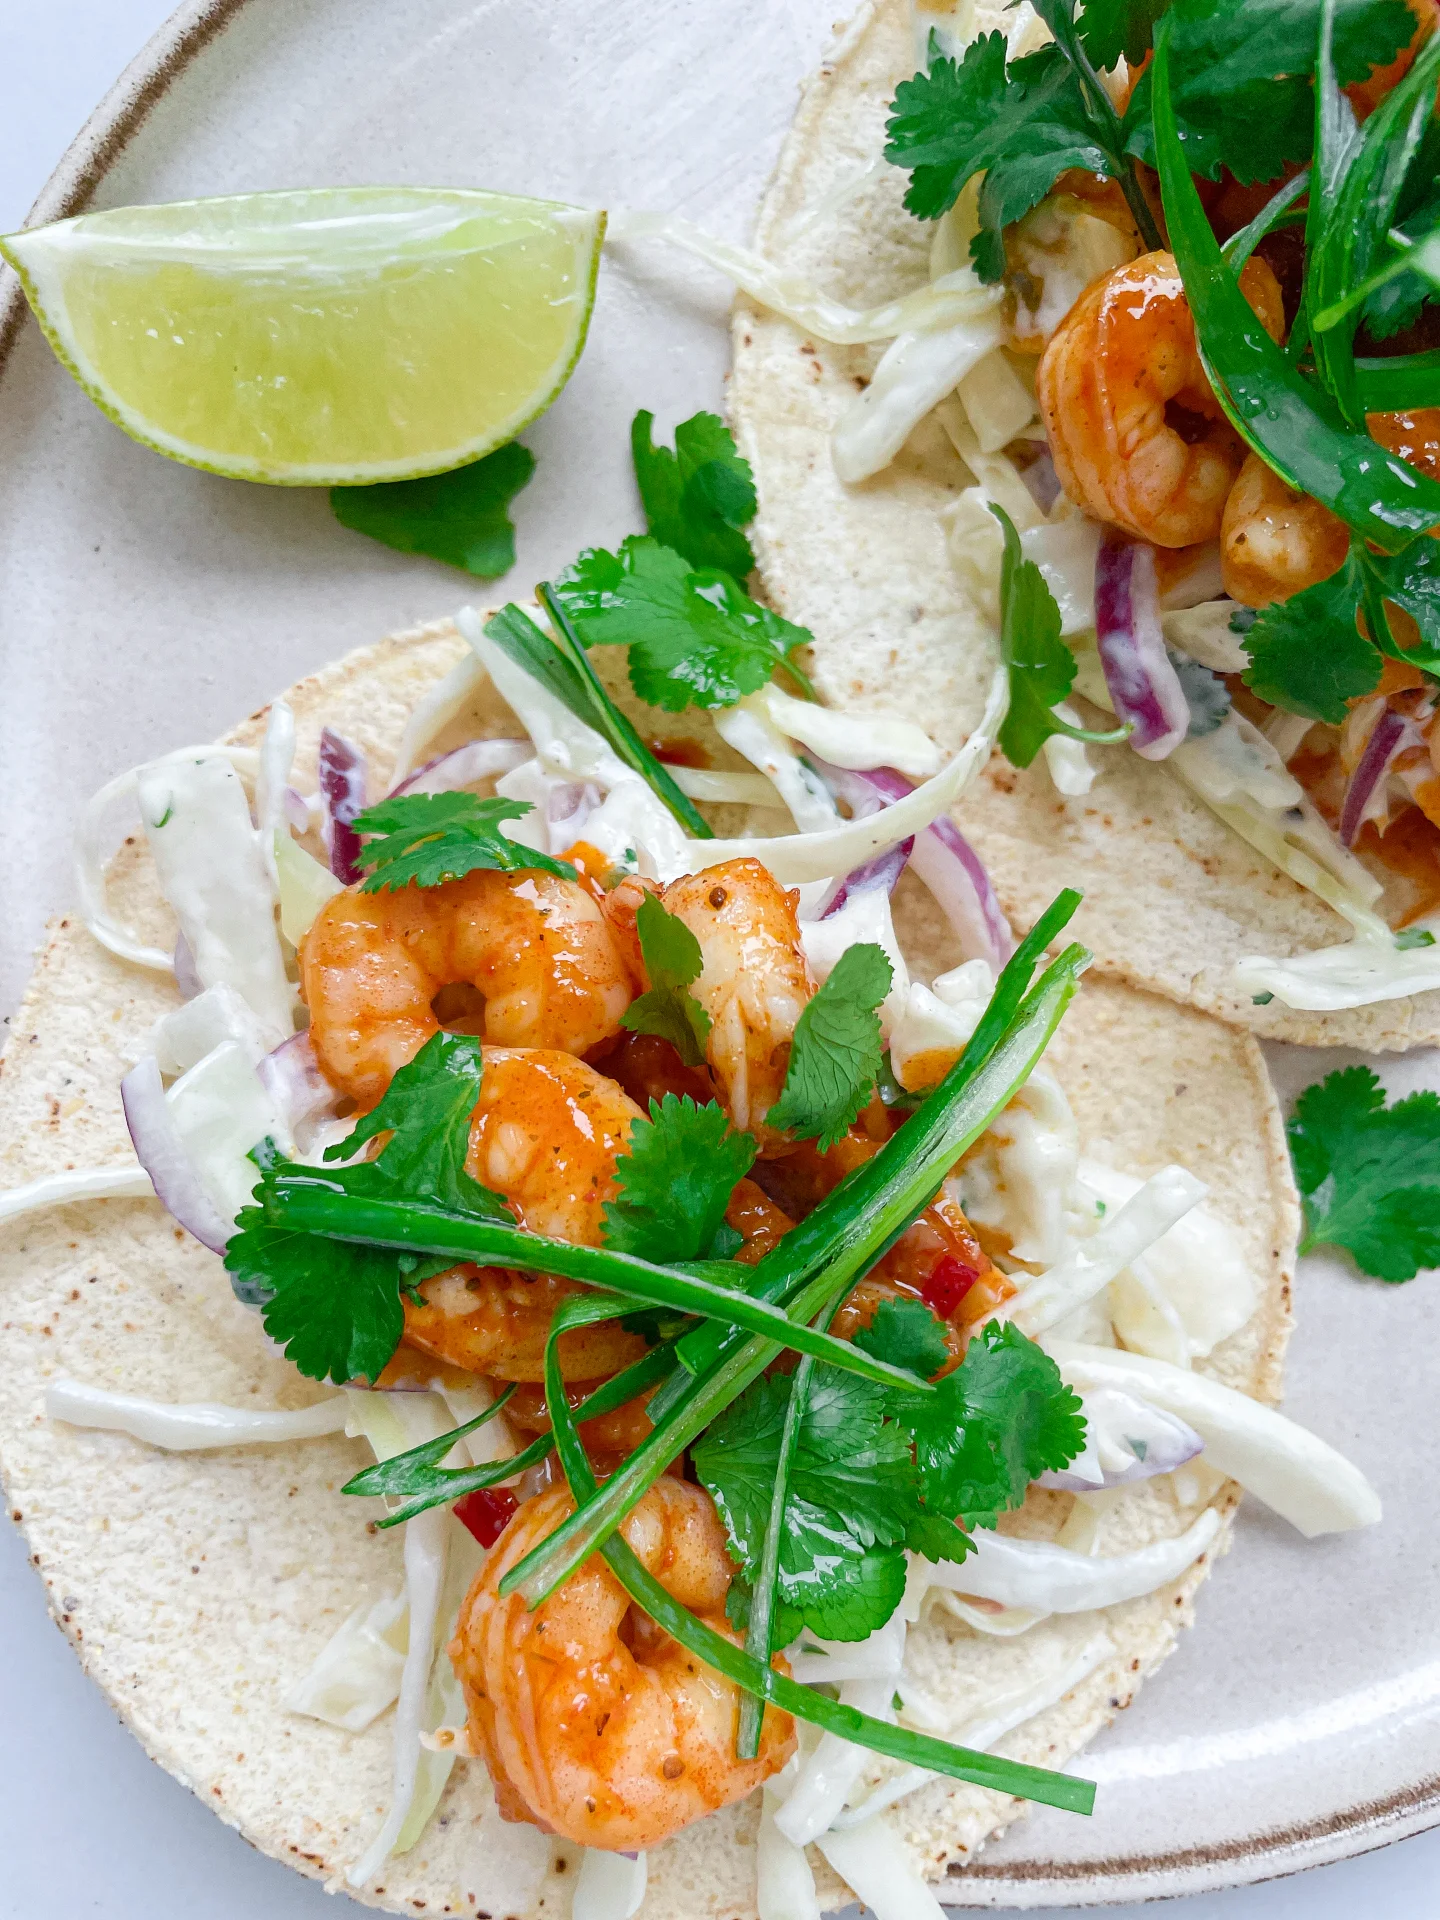
Fresh Shrimp Tacos & Coleslaw

Fresh Shrimp Tacos & Coleslaw

Fresh Prawn Tacos & Slaw

Fresh Shrimp Tacos & Coleslaw

April 9, 2024 by Kimberly

Discover the joy of Fresh Shrimp Tacos & Slaw – a zesty, mouth-watering feast that’s perfect for any day. Easy, delicious, and absolutely unforgettable!

This website uses affiliate links which may earn commission for purchases made at no additional cost to you.

TOTAL TIME

40 min
SERVES

12 tacos

DIET

omnivore

EVERY RECIPE DESERVES

A Little Love Letter

Dive into the delightful world of Fresh Shrimp Tacos & Slaw, your new go-to recipe for a quick, healthy, and utterly delicious meal. This dish combines the juicy, succulent flavors of fresh shrimps with the crisp, refreshing taste of homemade slaw, all wrapped up in a soft taco shell. It’s the perfect balance of textures and tastes, sure to tantalize your taste buds!

Serve these tacos fresh off the skillet for the best experience. Pair them with a side of lime wedges & extra slaw. Don’t forget a cold, refreshing drink to wash down the flavors. These shrimp tacos are not just food – they’re a vibrant, interactive dining experience that everyone can get excited about.

Leftover shrimp fillings and slaw can be stored separately in airtight containers in the fridge. They’ll keep well for up to two days, making for an easy, delicious lunch or dinner option whenever you’re short on time.

Hi, I'm Kimberly!

Hi, I'm Kimberly.

A hopeless romantic when it comes to food. Every recipe I share is a love letter to food itself. I’m so glad you’re here. Make yourself at home and stay a while.

Love,
Kimberly

Kimberly the Zett Signature

If you want to get to know me better,
click here!


Fresh Prawn Tacos & Slaw

LET’S MAKE A PIECE OF HAPPINESS

Print
clock clock iconcutlery cutlery iconflag flag iconfolder folder iconinstagram instagram iconpinterest pinterest iconfacebook facebook iconprint print iconsquares squares iconheart heart iconheart solid heart solid icon
Fresh Prawn Tacos & Slaw

Fresh Shrimp Tacos & Coleslaw


  • Author: Kimberly
  • Total Time: 35 min
  • Yield: 12 1x

Description

GOOD TO HAVE ON HAND

  • sharp knife
  • cutting board
  • two medium-sized bowls
  • small pan
  • large pan


Ingredients

Units Scale
SLAW
  • 250 grams white cabbage
  • 250 grams red cabbage
  • 1 cup cilantro
  • 1 red onion
  • 200 grams low fat yogurt
  • salt & pepper to taste
SHRIMPS
  • 550 grams black tiger shrimps (26/30 p. lb. frozen count)
  • 2 tbsp olive oil for marinade
  • 2 tbsp olive oil for frying
  • 3 garlic cloves
  • 1 tsp cumin
  • 1 tsp smoked paprik
  • 1/2 tsp oregano
  • 1/2 tsp onion powder
  • 1/2 tsp garlic powder
  • 1/2 tsp salt
  • 1/4 tsp chili flakes
TOPPINGS & TACOS
  • 12 corn tortillas
  • 2 limes
  • 3 tbsp yogurt
  • 2 spring onions
  • cilantro

Instructions

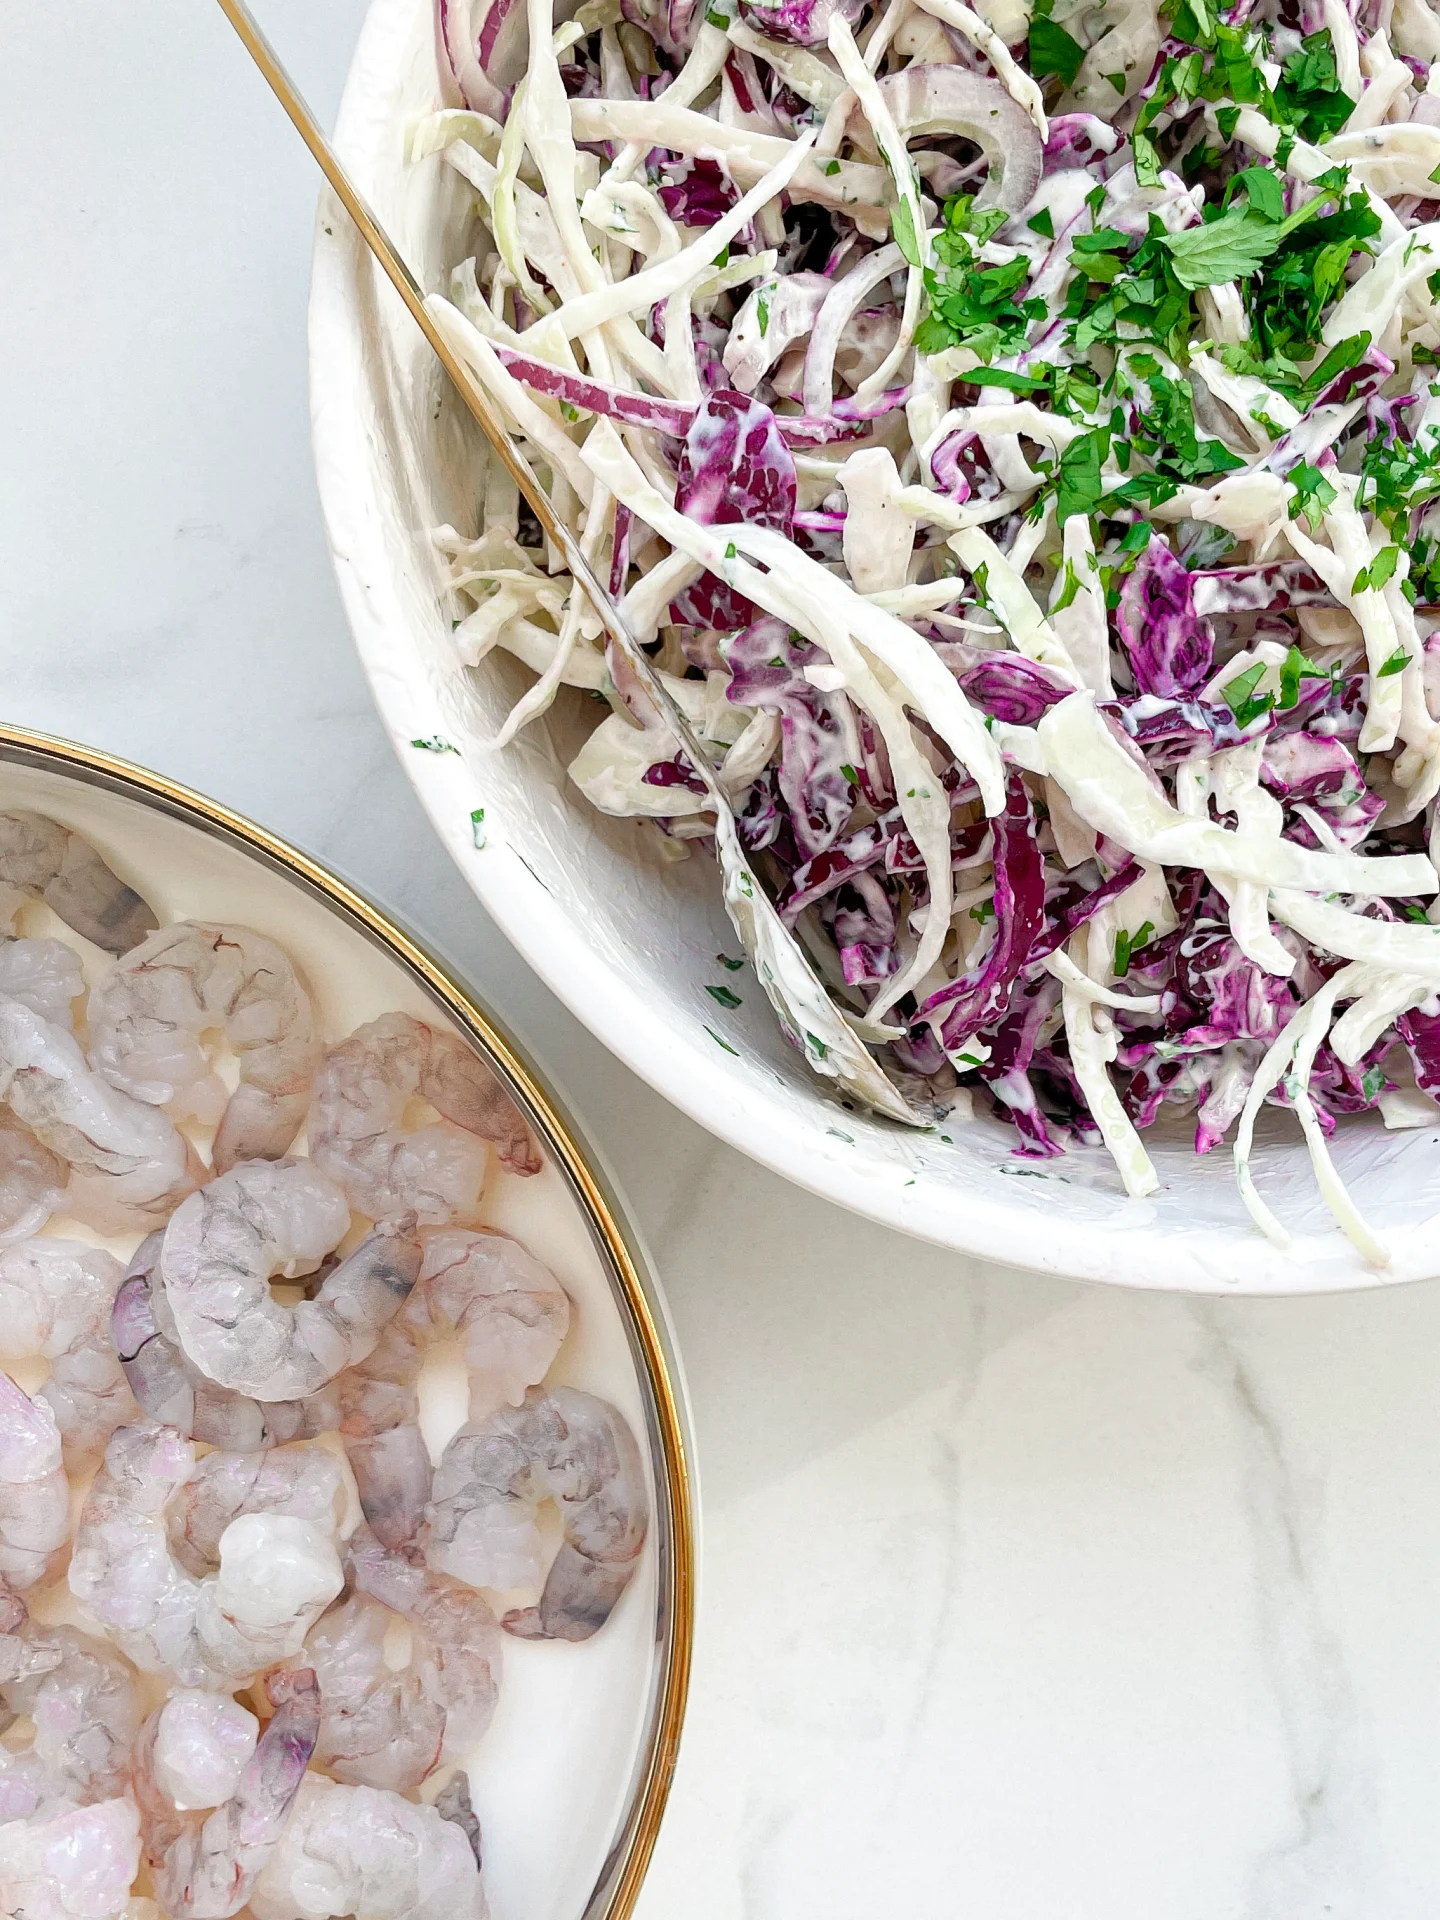
  1. If you’re using frozen shrimp, let them thaw in a strainer with a drip tray in the fridge a day before you need them. Then wash them thoroughly and pat them dry before further use.
  2. Rinse fresh shrimp with cold water and pat dry.
  3. Cut the green part of the spring onions into fine strips lengthwise.
  4. Quarter the limes.
  5. Slice the red cabbage, white cabbage, and red onion into thin strips and put them in a medium-sized bowl. Pluck the coriander leaves from the stems, roughly chop them, and add to the bowl with the cabbage. Add yogurt, salt, and pepper as well, and stir everything well. Set aside.
  6. Next, peel and finely chop or press the garlic cloves and mix them with olive oil, chili, cumin, salt, garlic powder, onion powder, smoked paprika, and oregano to create a paste. Coat the shrimp in the paste, ensuring they’re evenly covered. Let marinate for 15 minutes.
  7. Meanwhile, in a small pan, lightly toast the corn tortillas on both sides without adding fat, so they’re warm but still bendable. Alternatively, you can warm them in the oven for a few minutes.
  8. Heat 1-2 tablespoons of olive oil in a large pan and fry the shrimp on each side for about 1-2 minutes until they’re no longer transparent and have curled up.
  9. Spread the tortillas on plates, top with the slaw, distribute 4 shrimps on each, and garnish with yogurt, coriander, spring onion, and lime juice.
  • Cook Time: 35 min

CRAVING MORE?

Follow along here & don’t forget to subscribe to my substack!

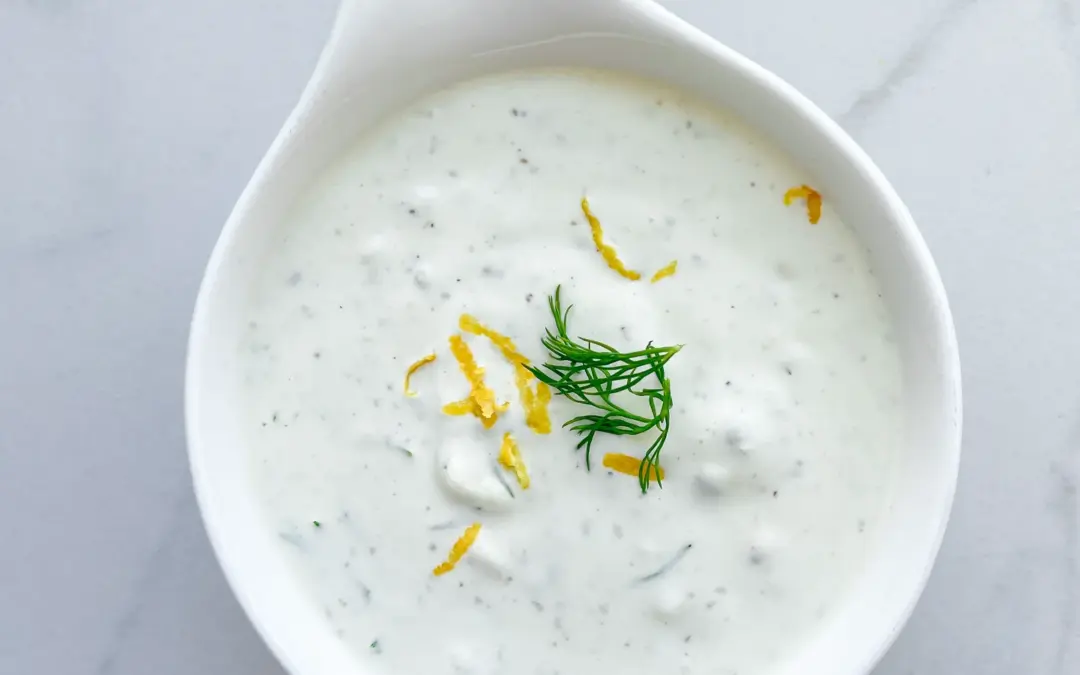
Lemon Blue Cheese Dip

Lemon Blue Cheese Dip

Blue Cheese Dip

Lemon Blue Cheese Dip

March 23, 2024 by Kimberly

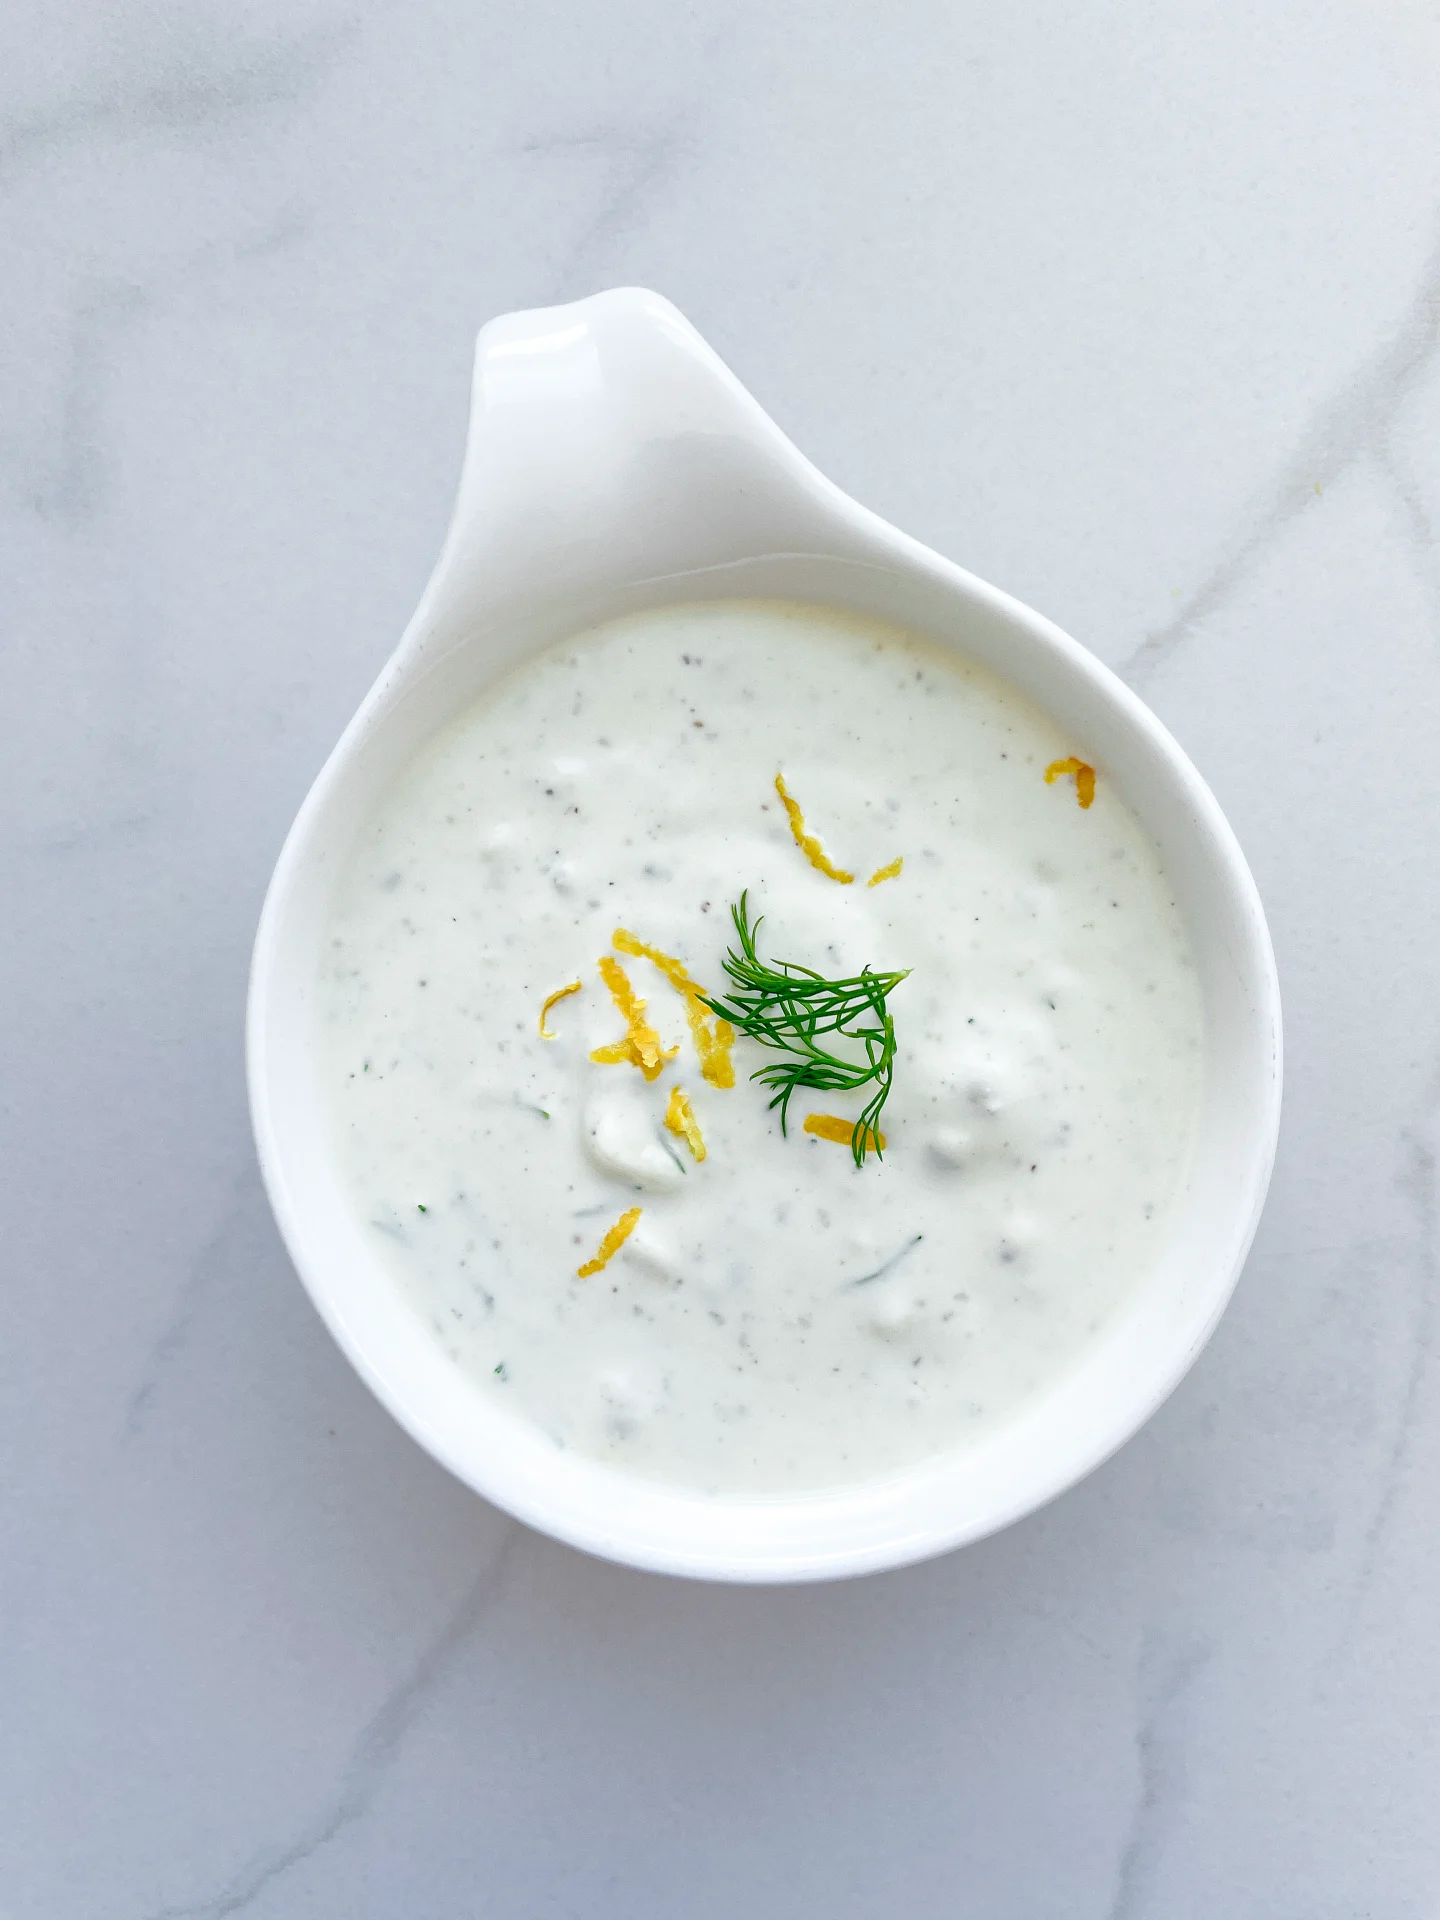
Indulge in the creamy, tangy bliss of Blue Cheese Dip! Perfect for game nights or elegant appetizers, this dip transforms any snack into a gourmet delight.

This website uses affiliate links which may earn commission for purchases made at no additional cost to you.

TOTAL TIME

10 min

SERVES

4 portions

DIET

vegetarian

EVERY RECIPE DESERVES

A Little Love Letter

Dive into the irresistible creaminess of Blue Cheese Dip, a must-have for any gathering or quiet night in. This dip combines the rich, tangy flavors of blue cheese with a smooth, spreadable texture that’s simply unmatched. Whether you’re hosting a party or just treating yourself, this dip is a game-changer.

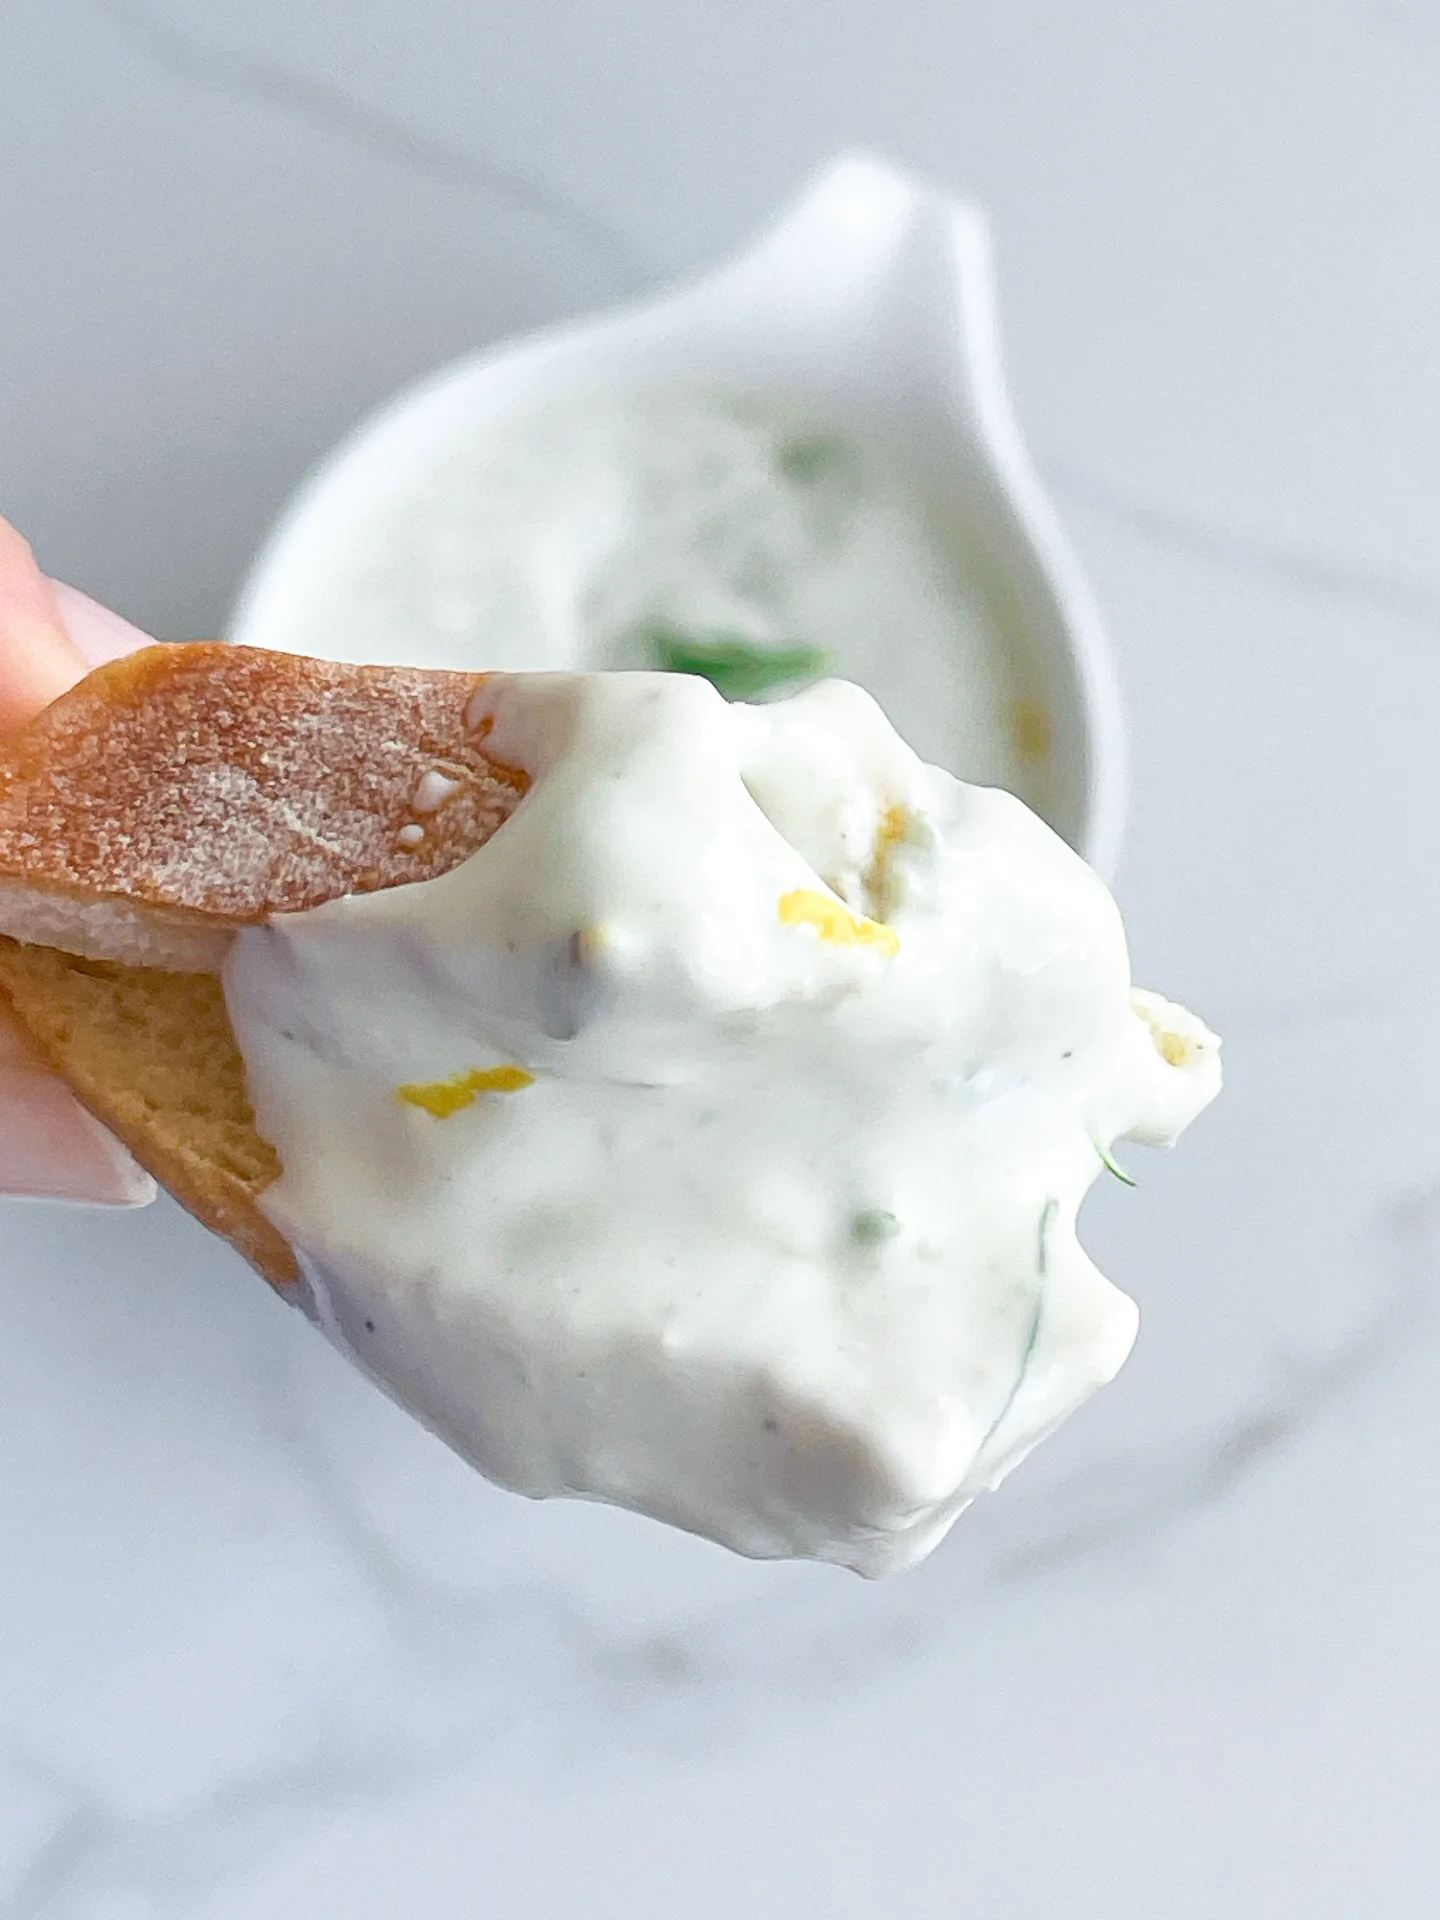
Blue Cheese Dip is versatile, perfect alongside crispy veggies, as a bold wing accompaniment, or as a unique burger topping. Its robust flavor elevates simple crackers to gourmet status and transforms potato chips into a delicacy. Experiment with it as a spread for a zesty twist on sandwiches.

Keep your Blue Cheese Dip fresh and flavorful by storing it in an airtight container in the fridge. It stays perfect for up to 3 days, making it a great make-ahead option for effortless entertaining or snacking.

Hi, I'm Kimberly!

Hi, I'm Kimberly.

A hopeless romantic when it comes to food. Every recipe I share is a love letter to food itself. I’m so glad you’re here. Make yourself at home and stay a while.

Love,
Kimberly

Kimberly the Zett Signature

If you want to get to know me better,
click here!


Blue Cheese Dip
Blue Cheese Dip

LET’S MAKE A PIECE OF HAPPINESS

Print
clock clock iconcutlery cutlery iconflag flag iconfolder folder iconinstagram instagram iconpinterest pinterest iconfacebook facebook iconprint print iconsquares squares iconheart heart iconheart solid heart solid icon
Blue Cheese Dip

Lemon Blue Cheese Dip


  • Author: Kimberly
  • Total Time: 10 min
  • Yield: 4 1x

Description

GOOD TO HAVE ON HAND

  • medium-sized bowl


Ingredients

Units Scale
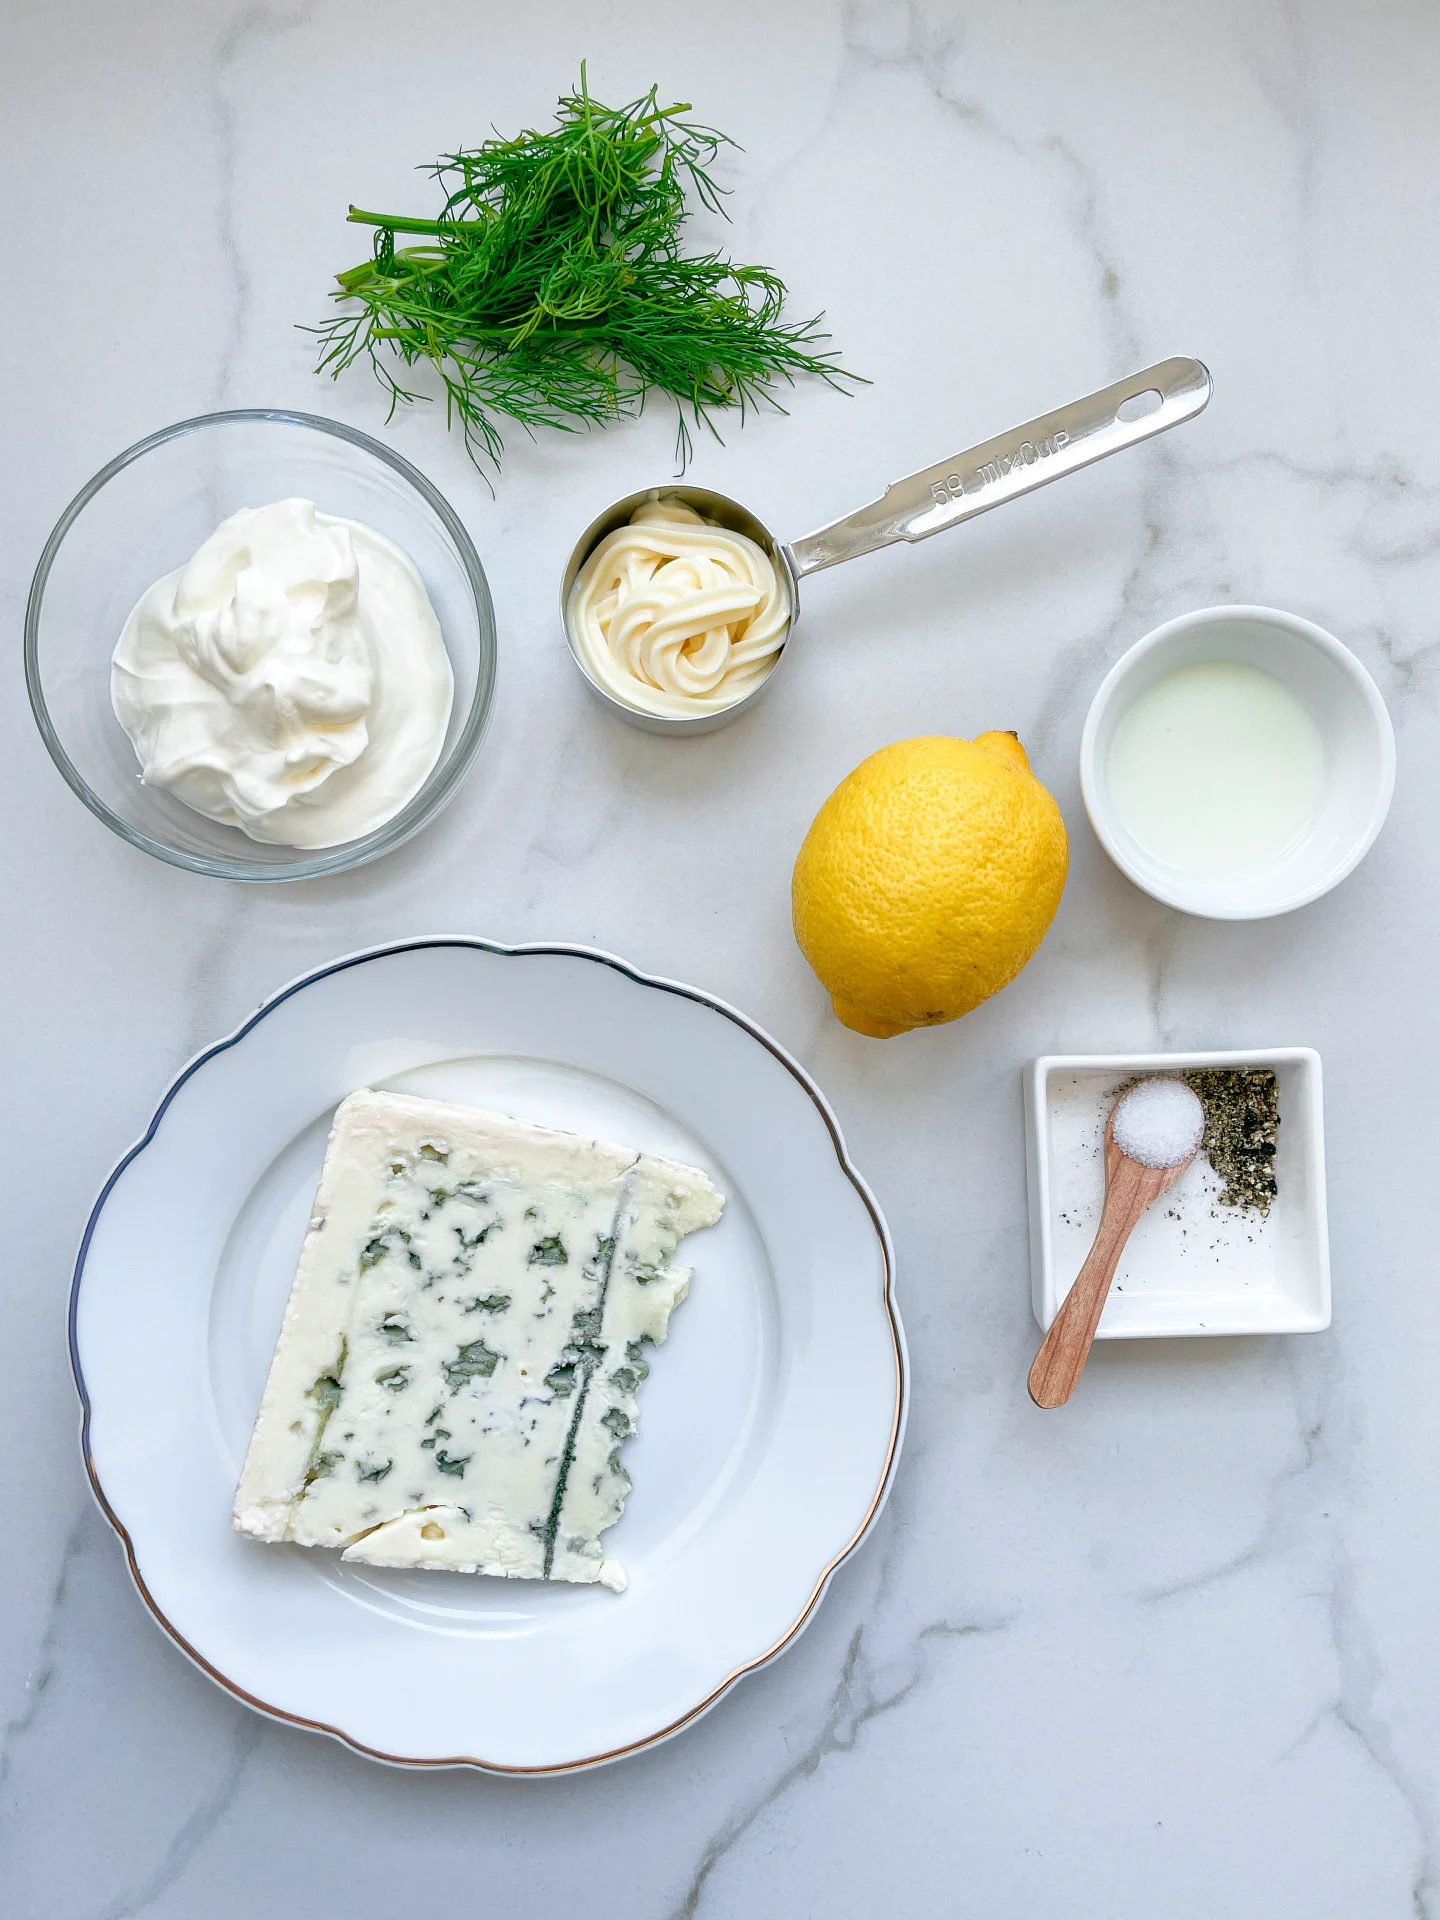
  • 100 grams blue cheese (I used Roquefort)
  • 35 grams mayonnaise
  • 100 grams creme fraiche
  • 1-2 tbsp buttermilk
  • 1 tbsp lemon juice
  • dill, salt & pepper to taste

Instructions

  1. In a medium-sized bowl, mix crème fraîche, mayonnaise, and buttermilk. Now add the blue cheese in small chunks and mix thoroughly until there are no big lumps of cheese visible.
  2. Then season the mixture with lemon juice, salt, pepper, and fresh dill to taste.
  3. For an especially intense flavor, the dip can be prepared in advance and should be stored in the fridge before serving.
  • Cook Time: 10 min

CRAVING MORE?

Follow along here & don’t forget to subscribe to my substack!

Chocolate Chip Cookies

Chocolate Chip Cookies

Chocolate Chip Cookies

Chocolate Chip Cookies

March 13, 2024 by Kimberly

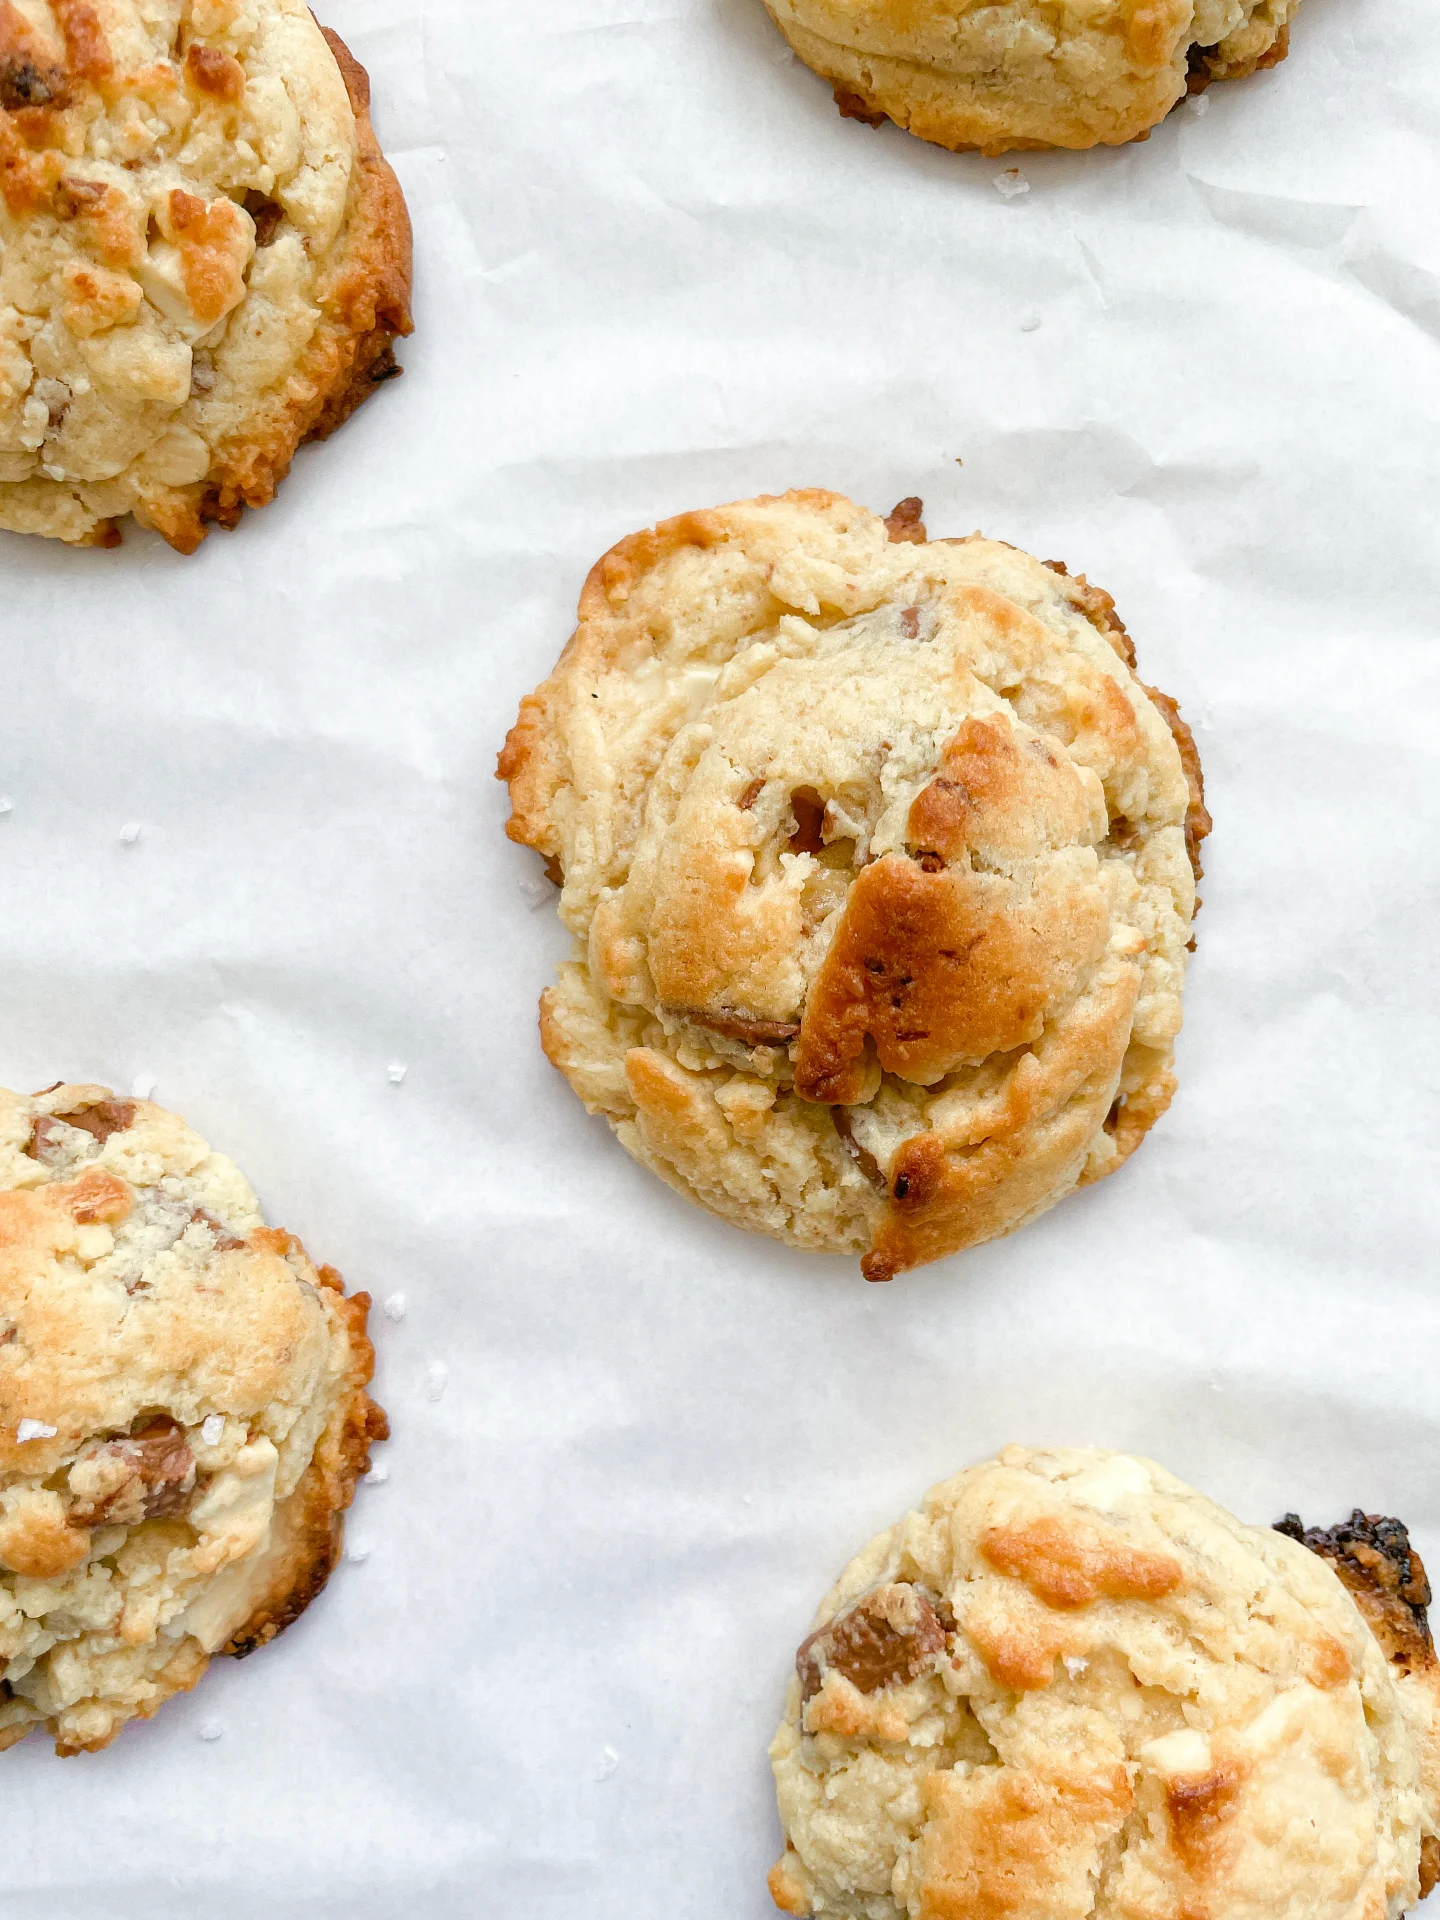
Look no further for the ultimate chocolate chip cookies. Dive into this rich, double chocolate chip cookie recipe, featuring a generous amount of dough and massive chocolate chunks!

This website uses affiliate links which may earn commission for purchases made at no additional cost to you.

TOTAL TIME

2 hrs + 50 min

SERVES

10 cookies

DIET

vegetarian

EVERY RECIPE DESERVES

A Little Love Letter

Get ready to fill your kitchen with the mouthwatering aroma of freshly baked Chocolate Chip Cookies! This recipe combines the perfect blend of sweet, gooey, and chocolaty in every bite. Ideal for any occasion, from family gatherings to a personal treat, these homemade cookies promise to be your new favorite. Let’s dive into the simple steps to create these delightful treats that everyone loves!

Serve these delicious Chocolate Chip Cookies fresh out of the oven for the ultimate gooey experience, or let them cool to achieve a delightful crunch. Pair with a glass of cold milk or your favorite coffee for a classic combo. They’re perfect for parties, as a sweet snack, or as a thoughtful homemade gift. Remember, warm cookies and cold milk are a match made in heaven for any cookie lover!

Store your Chocolate Chip Cookies in an airtight container to keep them fresh and chewy. They’ll last for up to a week at room temperature or can be frozen for longer enjoyment. Perfect for having a sweet treat on hand anytime!

Hi, I'm Kimberly!

Hi, I'm Kimberly.

A hopeless romantic when it comes to food. Every recipe I share is a love letter to food itself. I’m so glad you’re here. Make yourself at home and stay a while.

Love,
Kimberly

Kimberly the Zett Signature

If you want to get to know me better,
click here!


Chocolate Chip Cookies

LET’S MAKE A PIECE OF HAPPINESS

Print
clock clock iconcutlery cutlery iconflag flag iconfolder folder iconinstagram instagram iconpinterest pinterest iconfacebook facebook iconprint print iconsquares squares iconheart heart iconheart solid heart solid icon
Chocolate Chip Cookies

Chocolate Chip Cookies


  • Author: Kimberly
  • Total Time: 2 hrs + 20 min
  • Yield: 10 1x

Description

GOOD TO HAVE ON HAND

  • sharp knife
  • cutting board
  • small bowl
  • small pot (or microwave)
  • two medium-sized bowls
  • whisk
  • spatula


Ingredients

Units Scale
  • 200 grams all-purpose flour
  • 35 grams cornstarch
  • 140 grams butter
  • 150 grams brown sugar
  • 50 grams white sugar
  • 100 grams semi-sweet chocolate
  • 100 grams white chocolate
  • 1 egg
  • 1 egg yolk
  • 1 tsp baking powder
  • 3/4 tsp salt

Instructions

  1. Chop the chocolate into big chunks.
  2. Melt the butter in a pot or in the microwave.
  3. In a medium-sized bowl, mix the flour, starch, and salt. Set aside.
  4. In another medium-sized bowl, mix the brown and white sugar. Add the melted butter with a whisk and beat the mixture until it becomes kind of creamy.
  5. Now add one whole egg and one egg yolk and beat until the mixture becomes thicker.
  6. Next, add the dry ingredients from the other bowl and stir a little, then add the chocolate and mix everything until no more flour is visible and stop stirring to avoid overmixing the dough.
  7. Form the dough into 9 equal-sized balls and place them in a container that fits in the fridge. Place the cookie balls in the refrigerator for at least 2 hours – if you want to prepare the dough in advance, you can leave it in the fridge for up to 48 hours.
  8. Preheat the oven to 220°C (425°F). Once the oven is hot, place the cookies on a baking sheet lined with parchment paper and bake for 8-10 minutes.
  9. Remove the tray with the cookies from the oven and let them cool for 15 minutes. I know it’s hard, but it’s worth the wait 😉
  • Passive Time: 2 hrs
  • Cook Time: 20 min

CRAVING MORE?

Follow along here & don’t forget to subscribe to my substack!

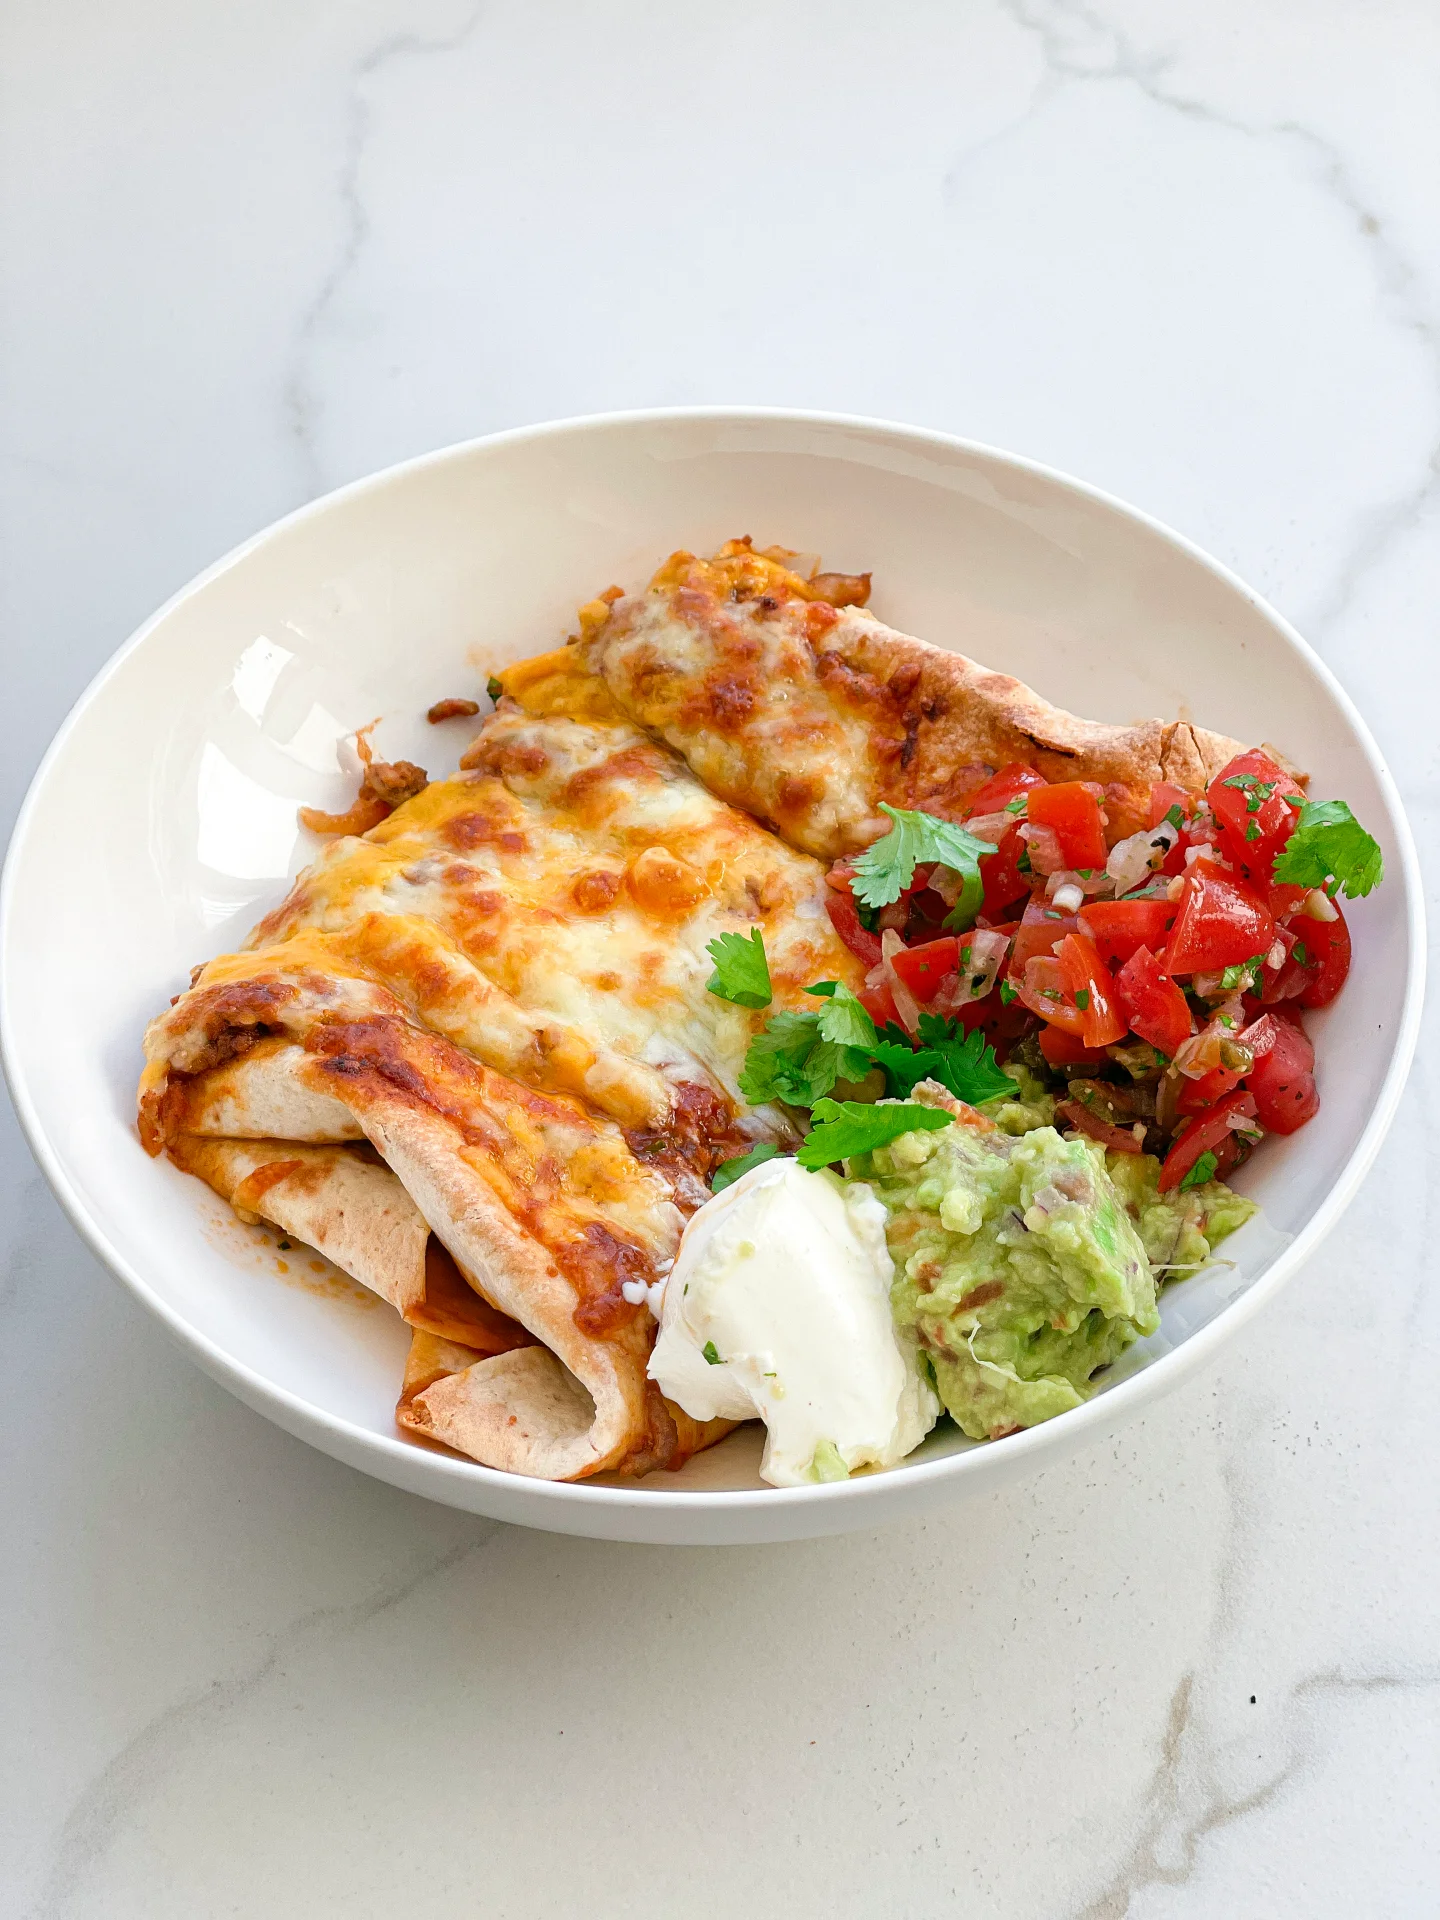
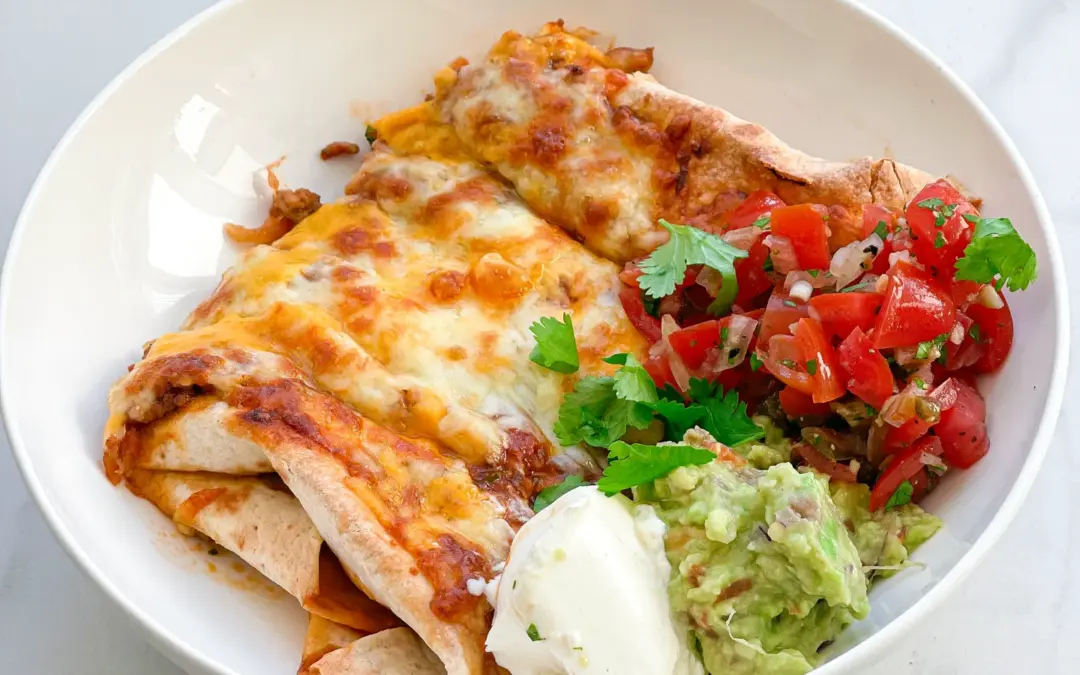
Cilantro Beef Cheese Enchiladas

Cilantro Beef Cheese Enchiladas

Cilantro Beef Cheese Enchiladas

Cilantro Beef Cheese Enchiladas

February 18, 2024 by Kimberly

Savor the blend of cilantro, beef, and cheese in this delicious enchiladas. Perfect for family dinners, they’re a flavorful fiesta in every bite!

This website uses affiliate links which may earn commission for purchases made at no additional cost to you.

TOTAL TIME

60 min

SERVES

4 portions

DIET

omnivore

EVERY RECIPE DESERVES

A Little Love Letter

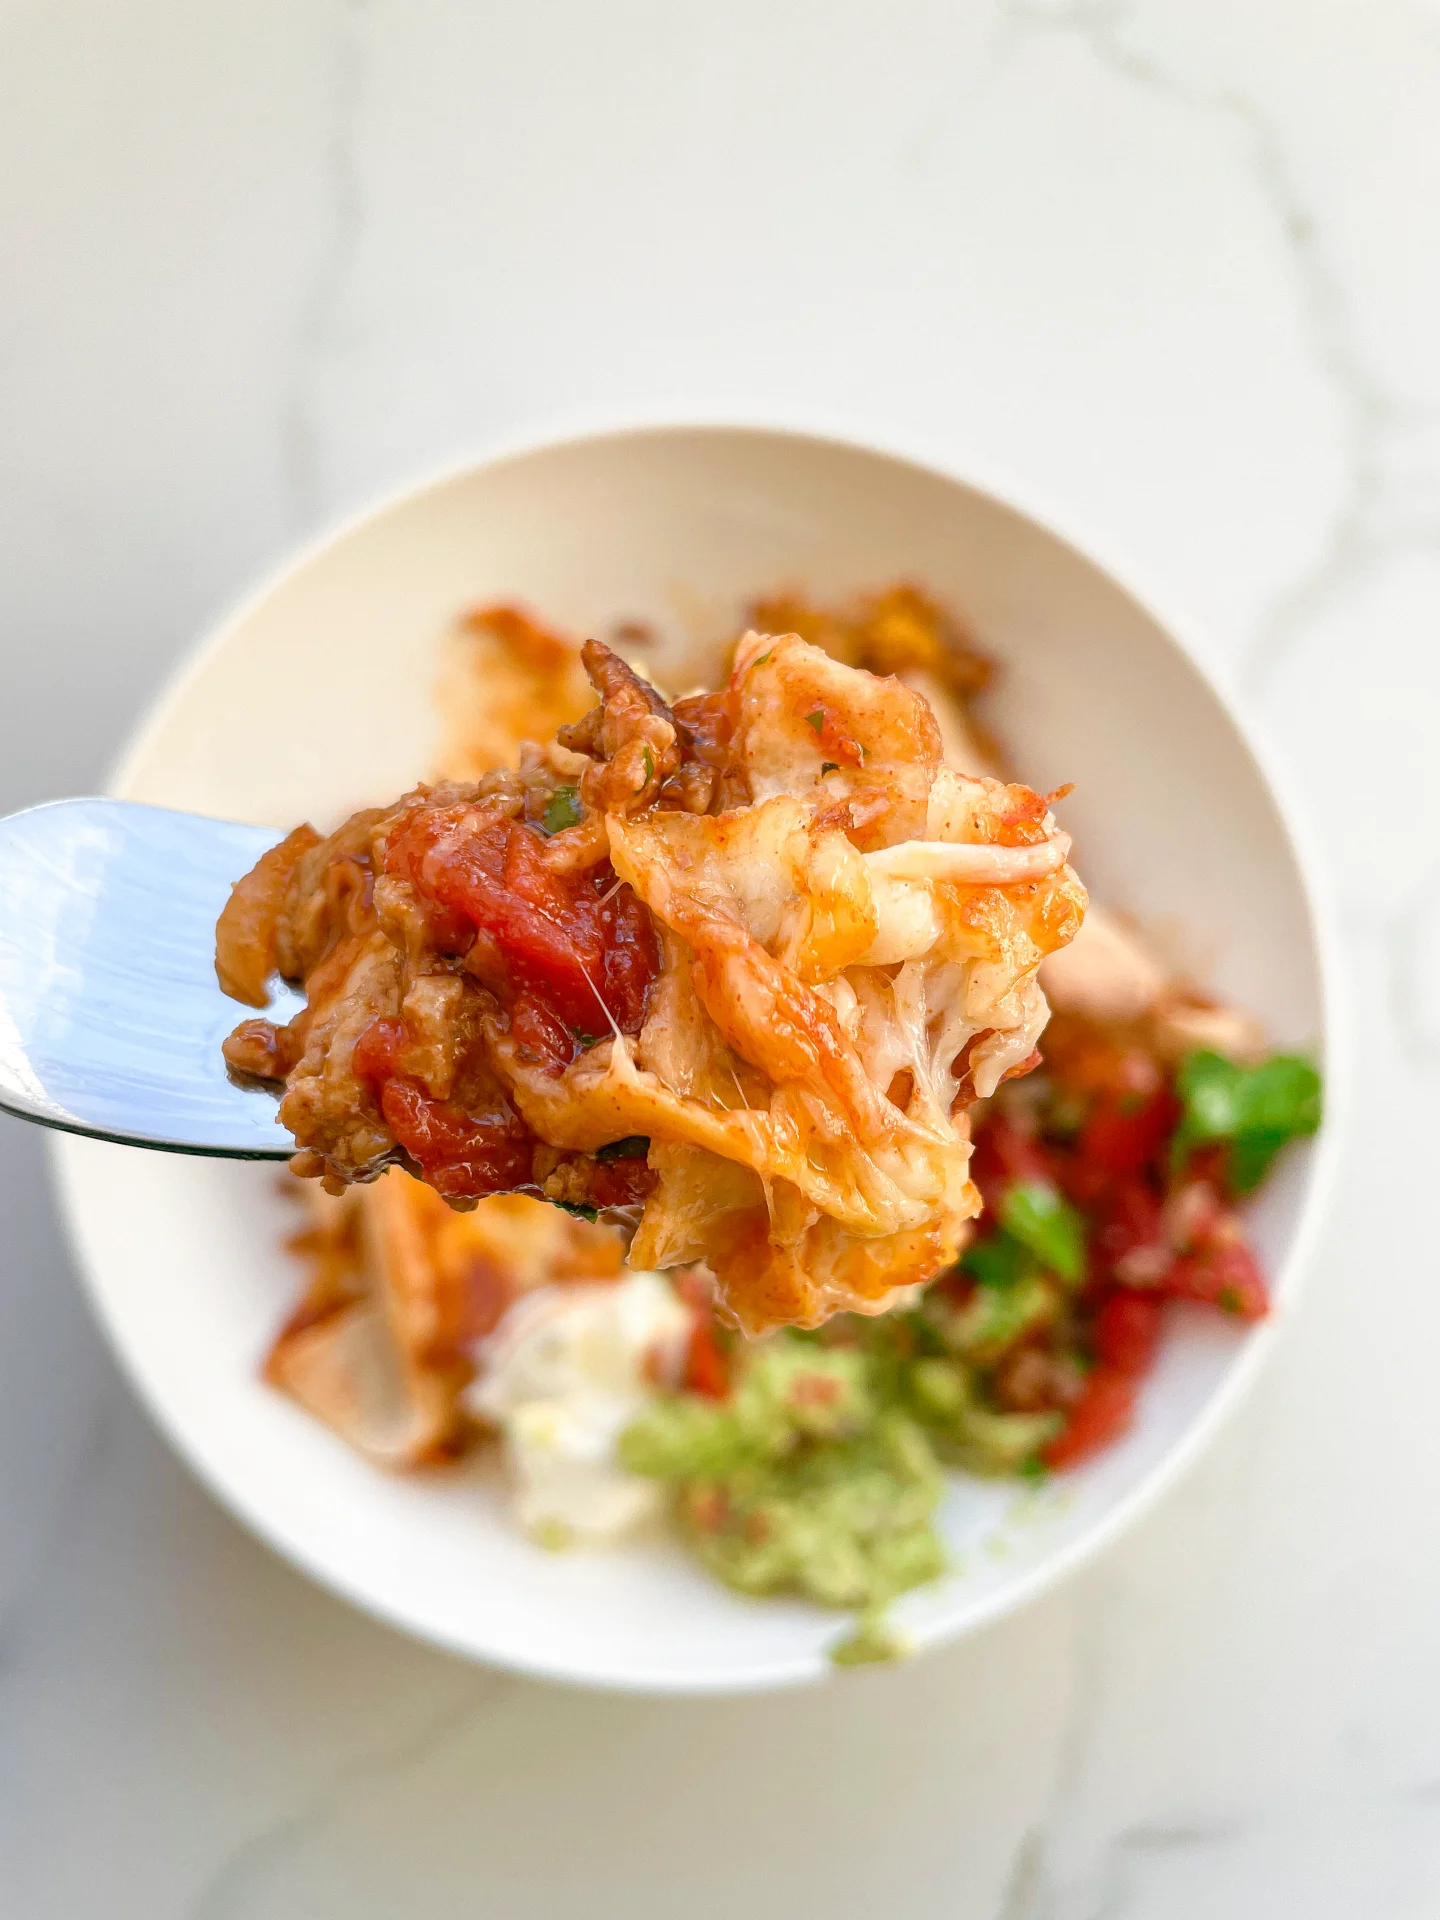
Discover the magic of Cilantro Beef Cheese Enchiladas, a Mexican cuisine favorite that brings a world of flavors to your table. This easy beef enchiladas recipe, perfect for any family dinner, combines the freshness of cilantro with the heartiness of beef and the melt-in-your-mouth goodness of cheese. Dive into this homemade enchiladas experience that promises a savory fiesta in every bite!

Serve these flavorful dish hot, garnished with a sprinkle of fresh cilantro and a dollop of sour cream, Guacamole and Pico de Gallo. You can also accompany your cheesy enchiladas with a side of Mexican rice, refried beans, or a crisp green salad. These enchiladas are perfect for a quick dinner, offering a balance of taste and texture that appeals to everyone at the table.

To store, let the enchiladas cool completely before covering them with foil. Refrigerate for up to 2 days. Reheat in the oven or microwave, making these savory enchiladas a delightful leftover treat that maintains its delightful flavors.

Hi, I'm Kimberly!

Hi, I'm Kimberly.

A hopeless romantic when it comes to food. Every recipe I share is a love letter to food itself. I’m so glad you’re here. Make yourself at home and stay a while.

Love,
Kimberly

Kimberly the Zett Signature

If you want to get to know me better,
click here!


Cilantro Beef Cheese Enchiladas

LET’S MAKE A PIECE OF HAPPINESS

Print
clock clock iconcutlery cutlery iconflag flag iconfolder folder iconinstagram instagram iconpinterest pinterest iconfacebook facebook iconprint print iconsquares squares iconheart heart iconheart solid heart solid icon
Cilantro Beef Cheese Enchiladas

Cilantro Beef Cheese Enchiladas


  • Author: Kimberly
  • Total Time: 60 min
  • Yield: 4 1x

Description

GOOD TO HAVE ON HAND

  • sharp knife
  • cutting board
  • large pan
  • baking dish


Ingredients

Units Scale
  • 4 tortillas
  • 200 grams grated cheese (I used mozzarella & cheddar)
  • 400 grams minced beef
  • 125 milliliters beef broth
  • 400 grams canned tomatoes
  • 1 white onion
  • 1 jalapeno
  • 2 garlic cloves
  • 1 tbsp oilve oil
  • 1/8 tsp chili flakes
  • 1 tsp cumin
  • 1 tsp smoked paprika
  • 1 tsp salt
  • 1/2 tsp black pepper
  • 1 tbsp cilantro
  • fresh cilantro
  • 200 grams creme fraiche
  • 1 bowl Pico de Gallo
  • 1 bowl Guacamole

Instructions

  1. Wash the cilantro, pluck the leaves from the stalks and chop finely.
  2. Cut the onion into small pieces.
  3. Finely dice the jalapeno.
  4. Fry the tortillas in the pan over a medium heat on both sides so that they are still pliable and can be rolled. Set the tortillas aside with paper towels between each layer.
  5. For the enchilada sauce, sauté the onions and jalapeno in a large pan over a medium heat until the onions are soft and slightly translucent. Next, add the crushed garlic, stir briefly and warm through.
  6. Now increase the heat and add the minced beef to the pan and fry until the meat has turned crispy dark brown.
  7. Now pour the beef stock and chopped tomatoes into the pan and stir everything together. Now add the spices: chili flakes, cumin, salt and pepper. Allow everything to reduce over medium heat for 10-15 minutes until the sauce has a bit thickened. As soon as the sauce has thickened, stir in 1 tablespoon of chopped coriander. Stir and set a side.
  8. In the meantime, you can prepare the guacamole and the pico de gallo.
  9. Preheat the oven to 250°C (480°F) and prepare a baking dish (my used measurements were 20x26cm (8×10 inch)) by pouring 3-4 tablespoons of the enchilada sauce onto the bottom of the baking dish and spread it out.
  10. Now place 2-3 tbsp of the enchilada sauce in the middle of each tortilla, sprinkle 2 tbsp of grated cheese over the top and then roll up the tortilla. Either do it the traditional way from the bottom to the top or fold both sides in at first and then roll from the bottom to the top.
  11. Now place the tortilla rolls in the baking dish on top of the sauce, spread the rest of the sauce on the tortillas and finish with the remaining cheese.
  12. Place the baking dish in the oven and bake for approx. 10-15 minutes or until the cheese has melted and is crispy golden brown in places.
  13. Take the baking dish out of the oven, divide the enchiladas between four plates and top with crème fraîche, pico de gallo, guacamole and fresh coriander.
  • Passive Time: 25 min
  • Cook Time: 35 min

CRAVING MORE?

Follow along here & don’t forget to subscribe to my substack!