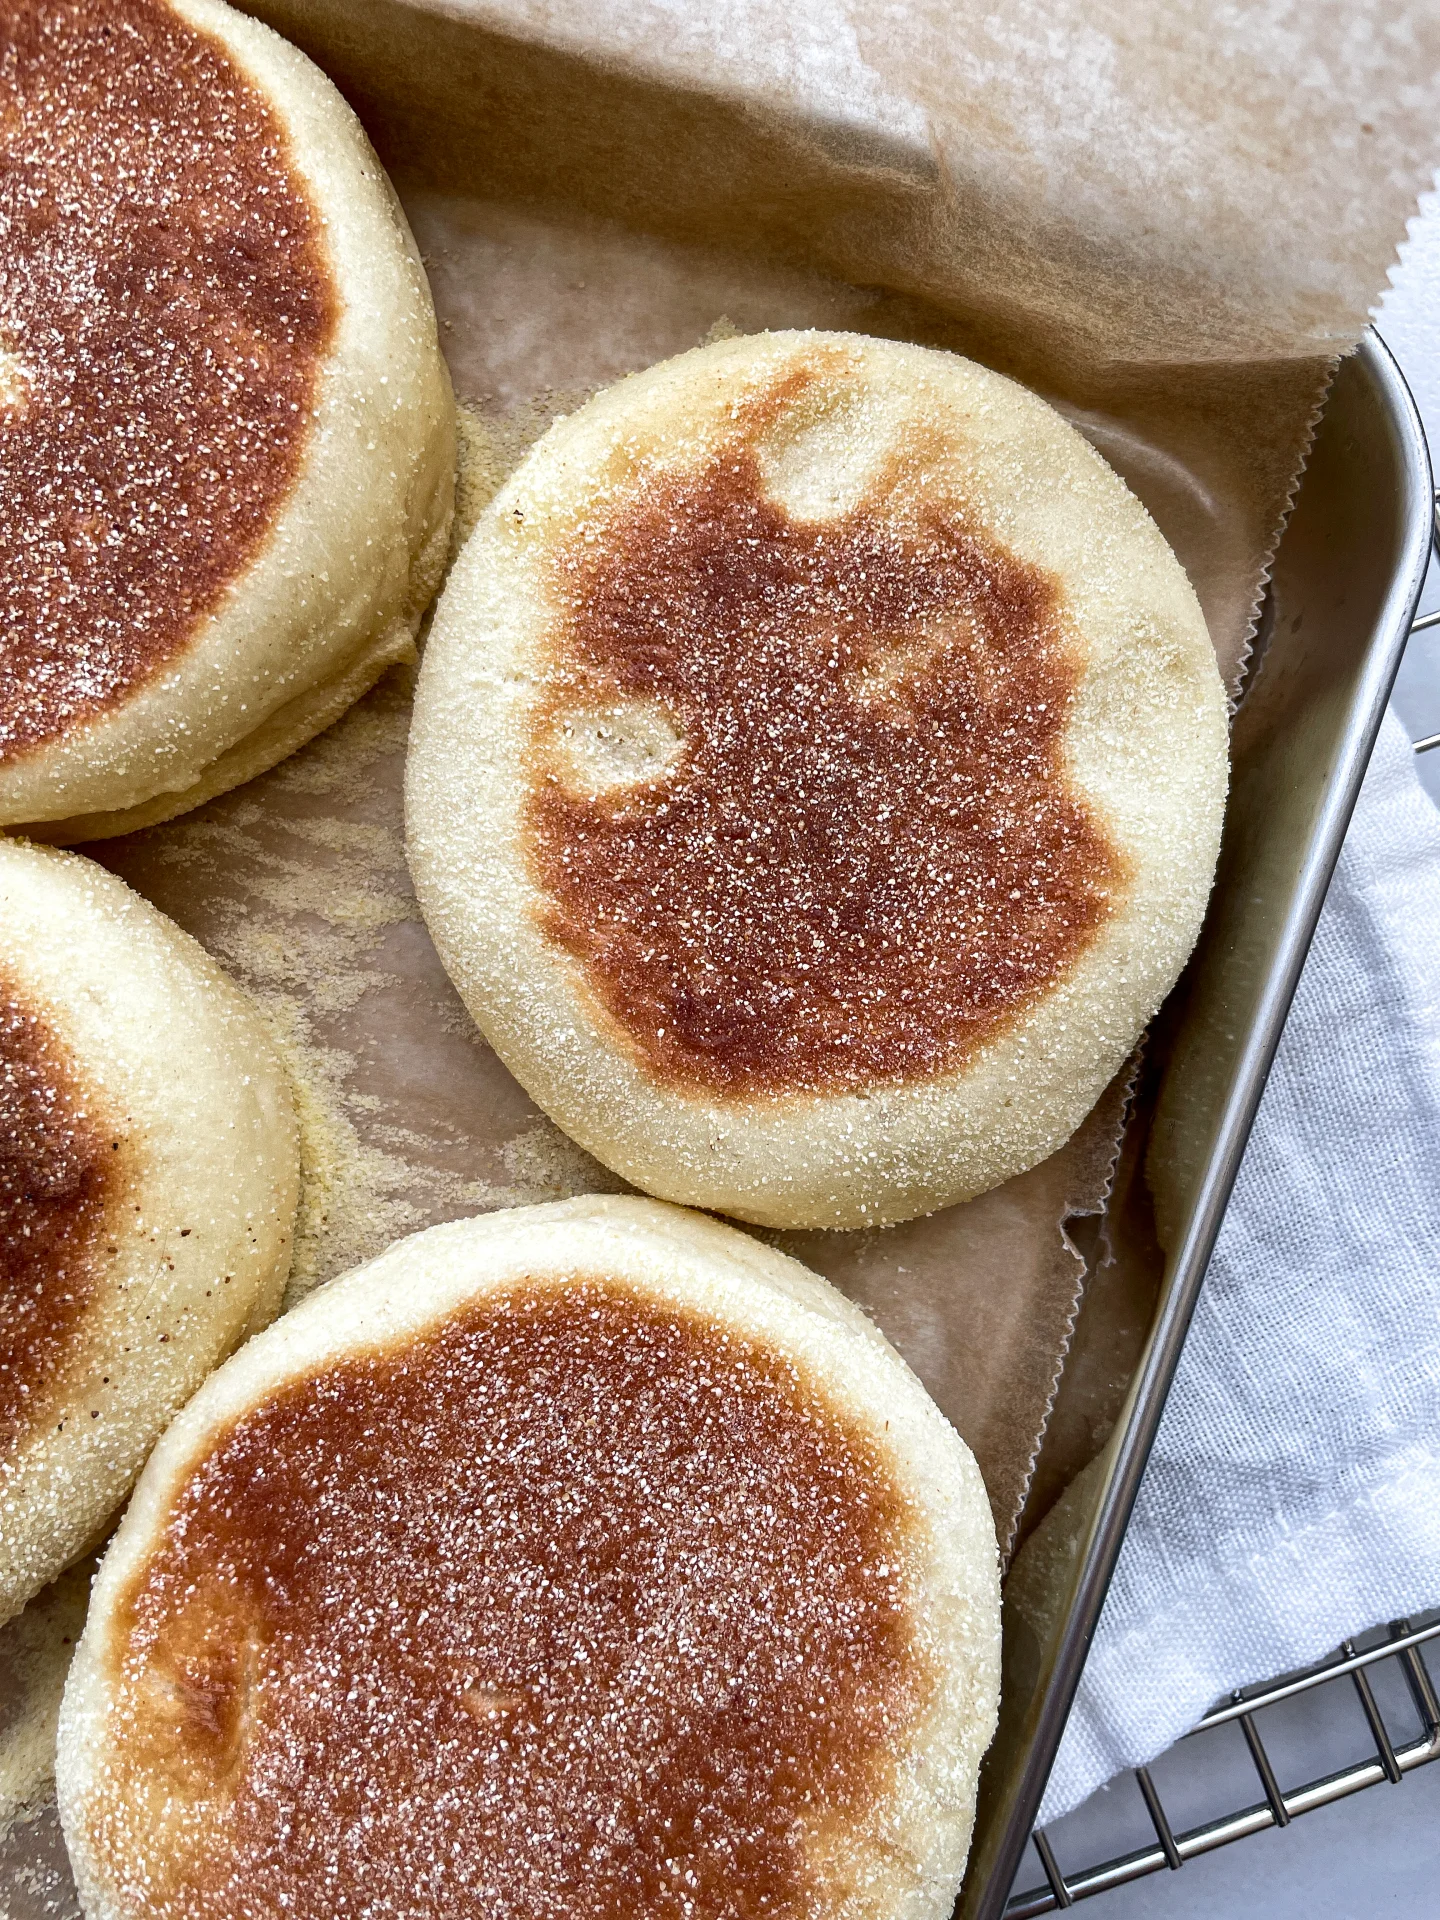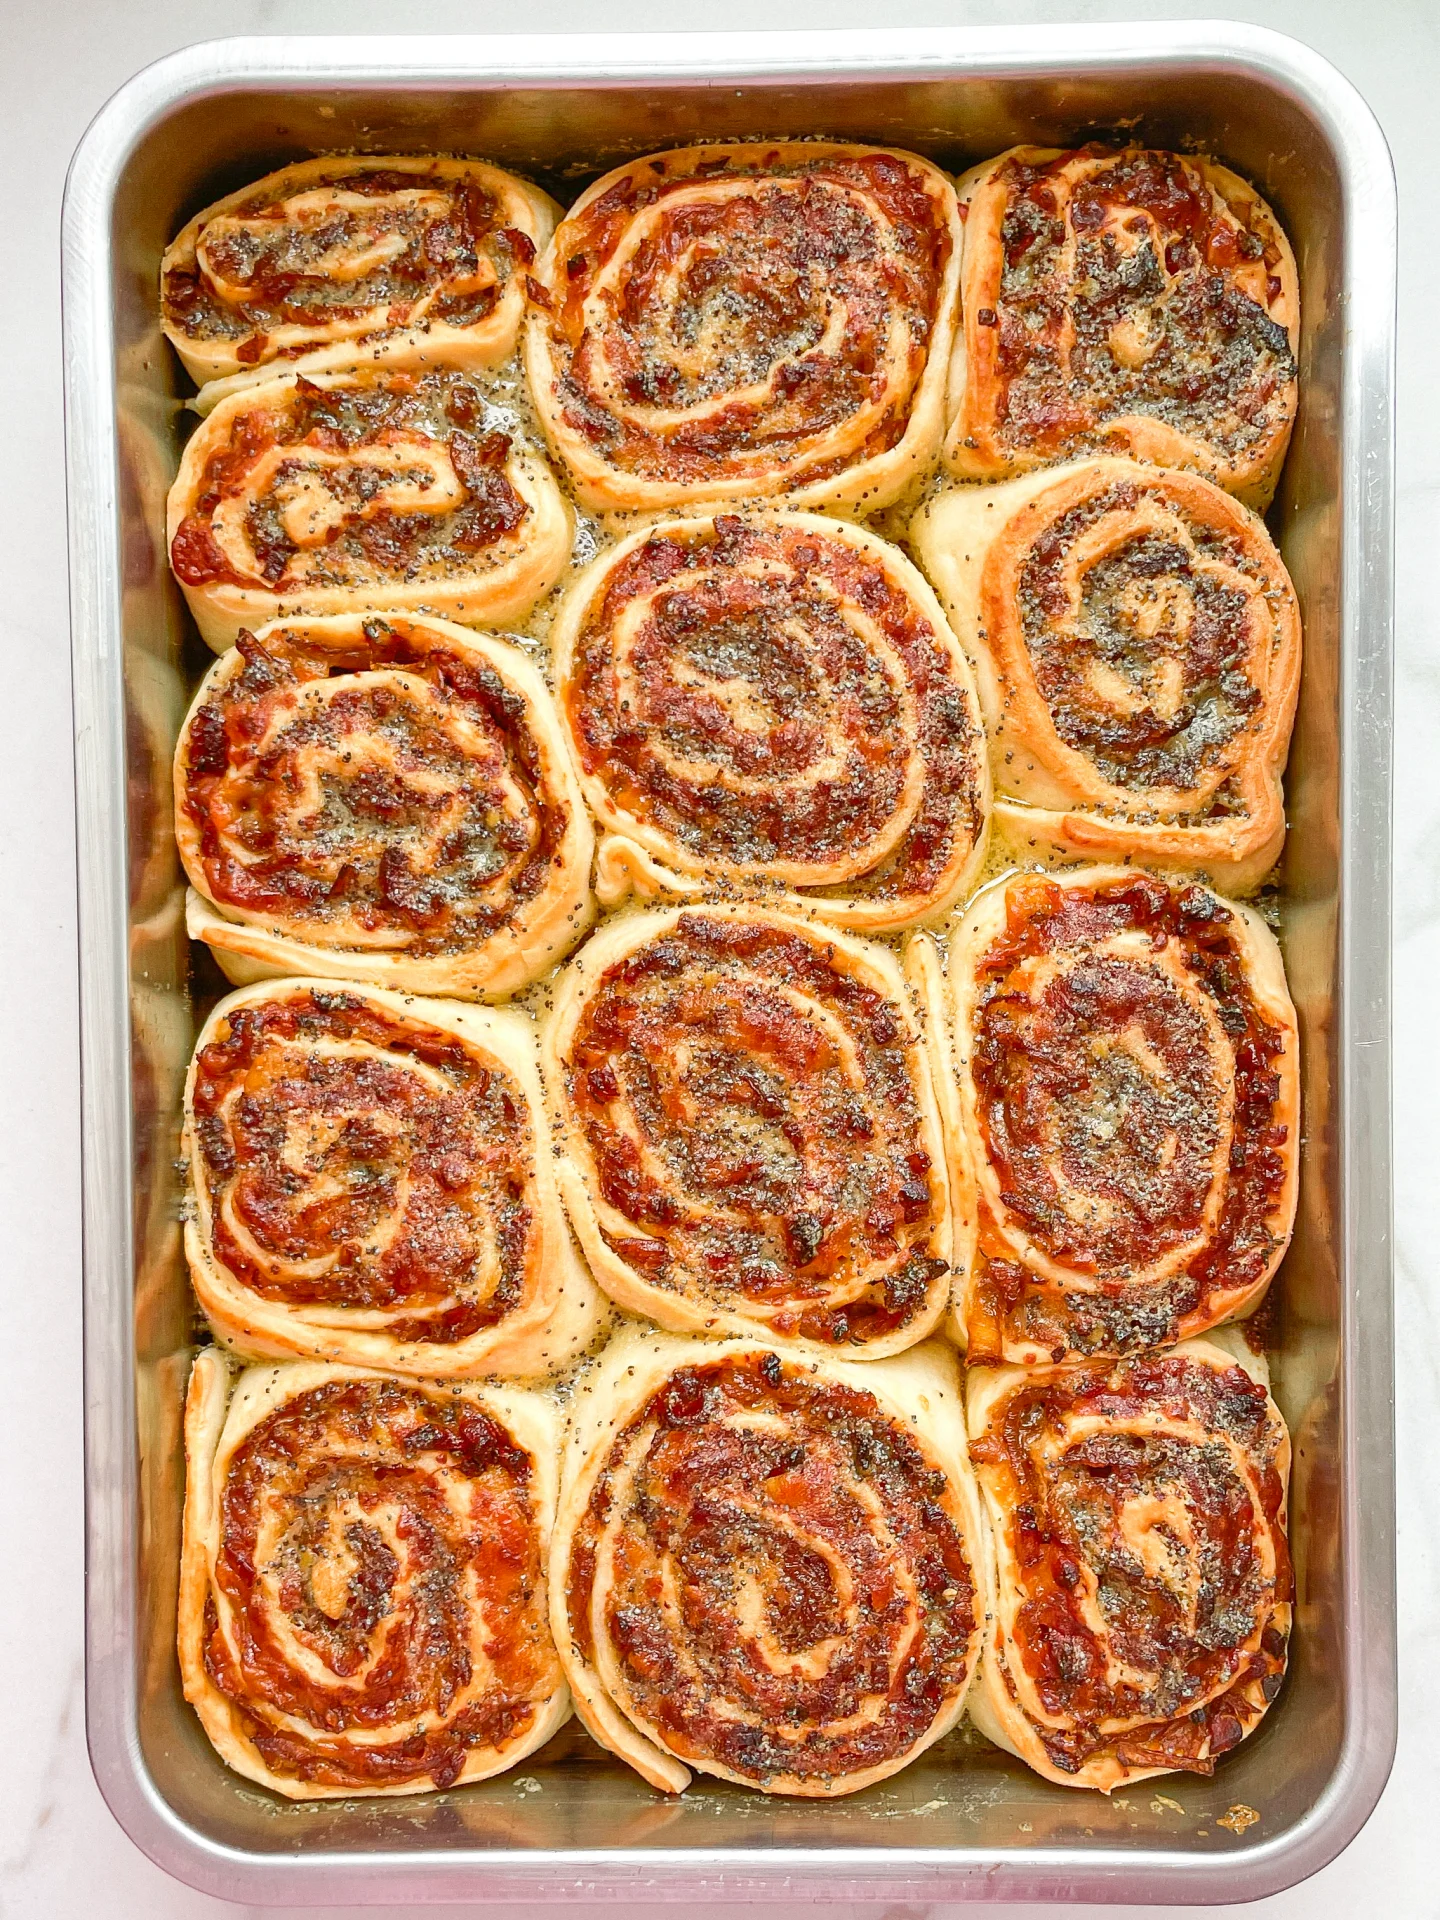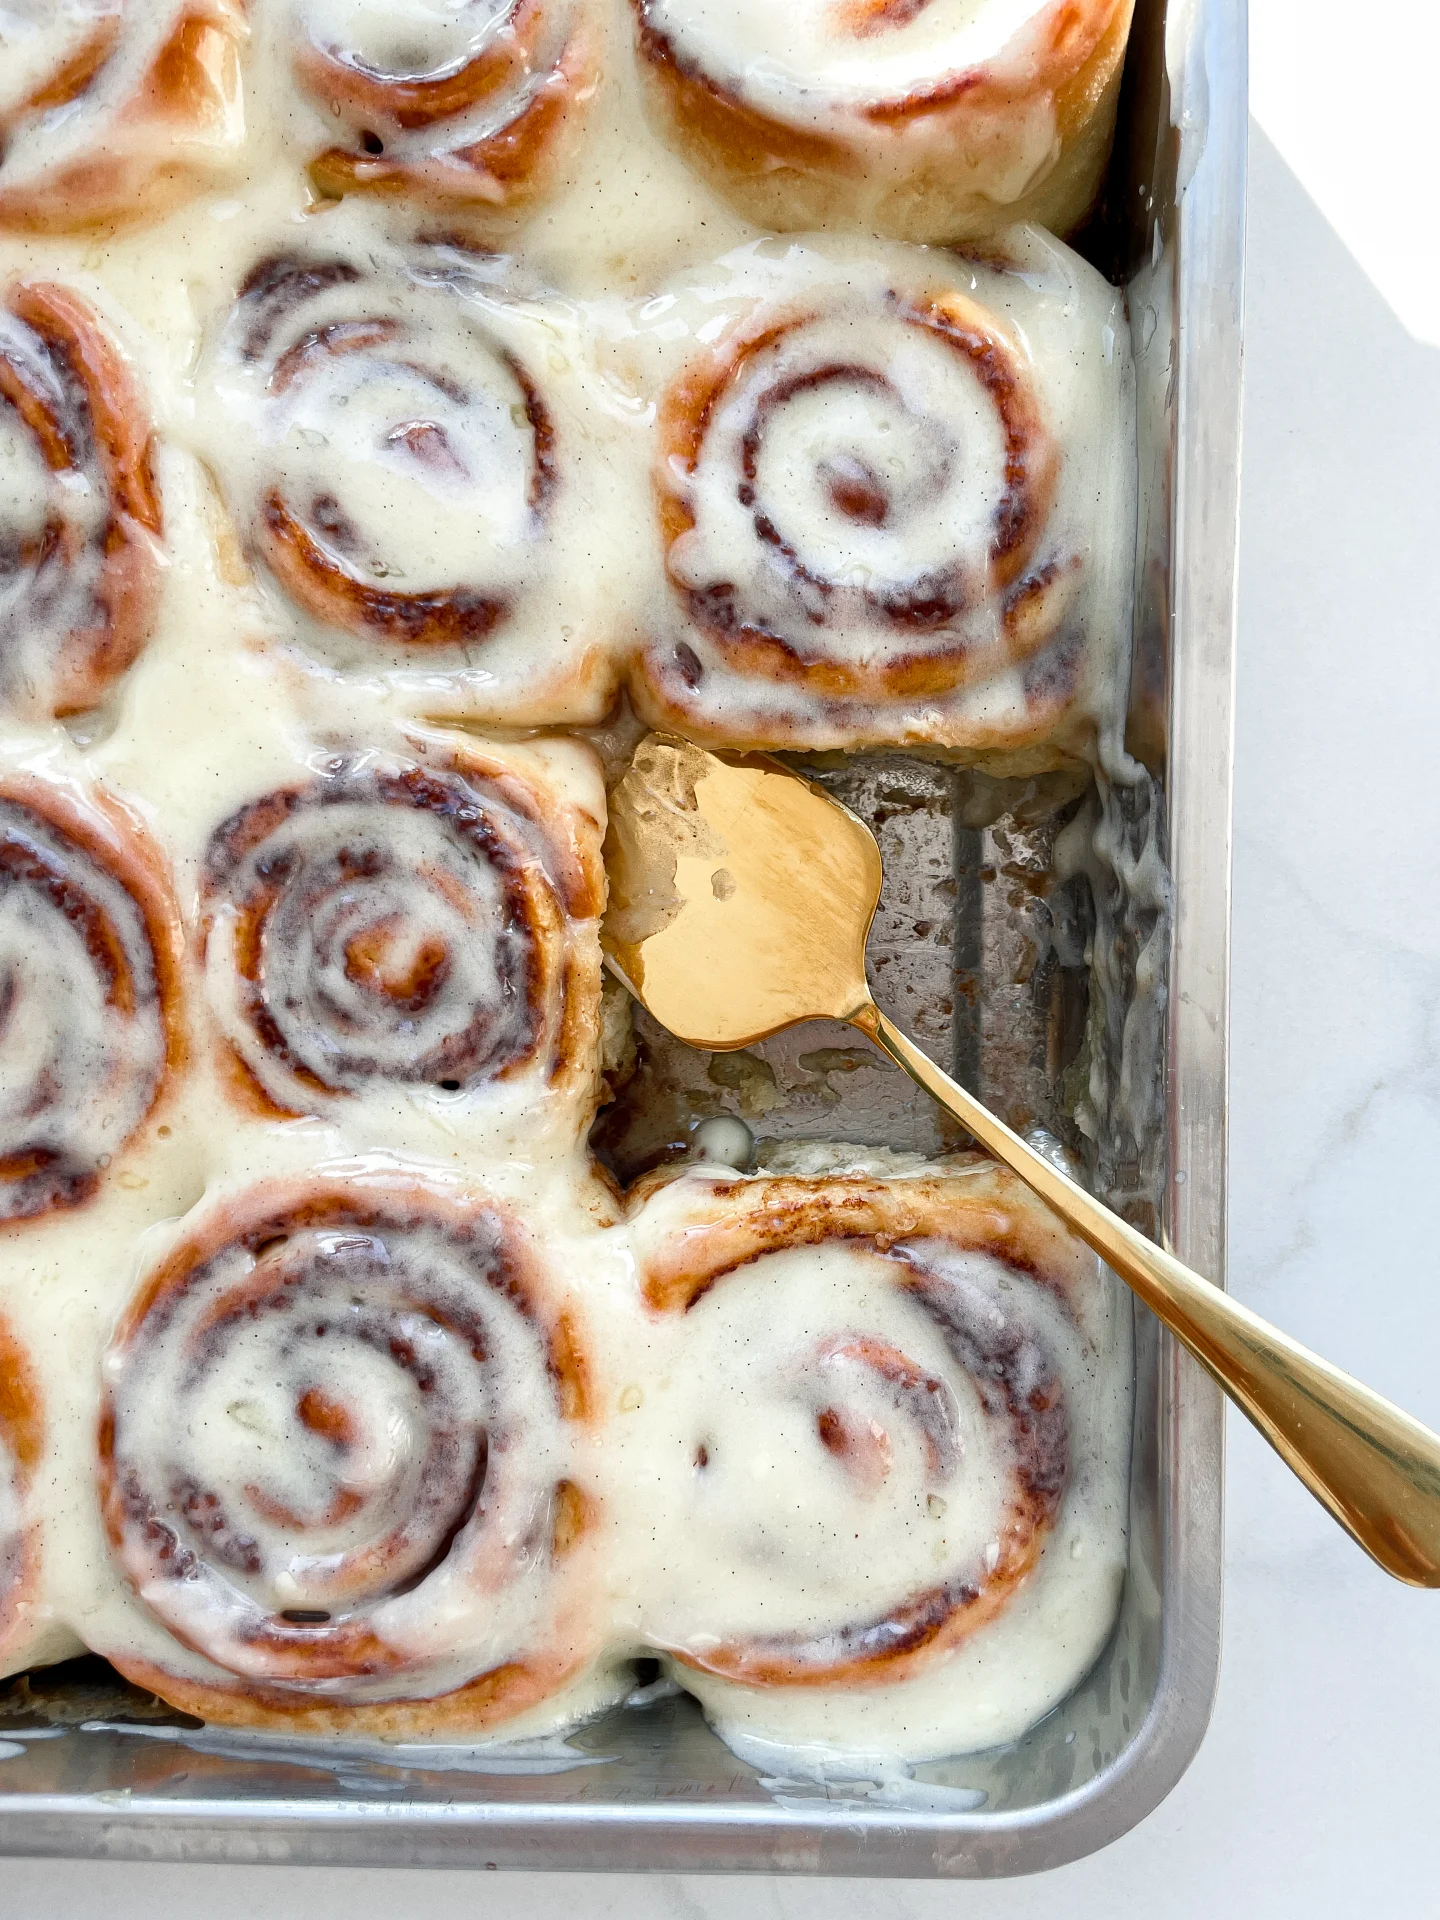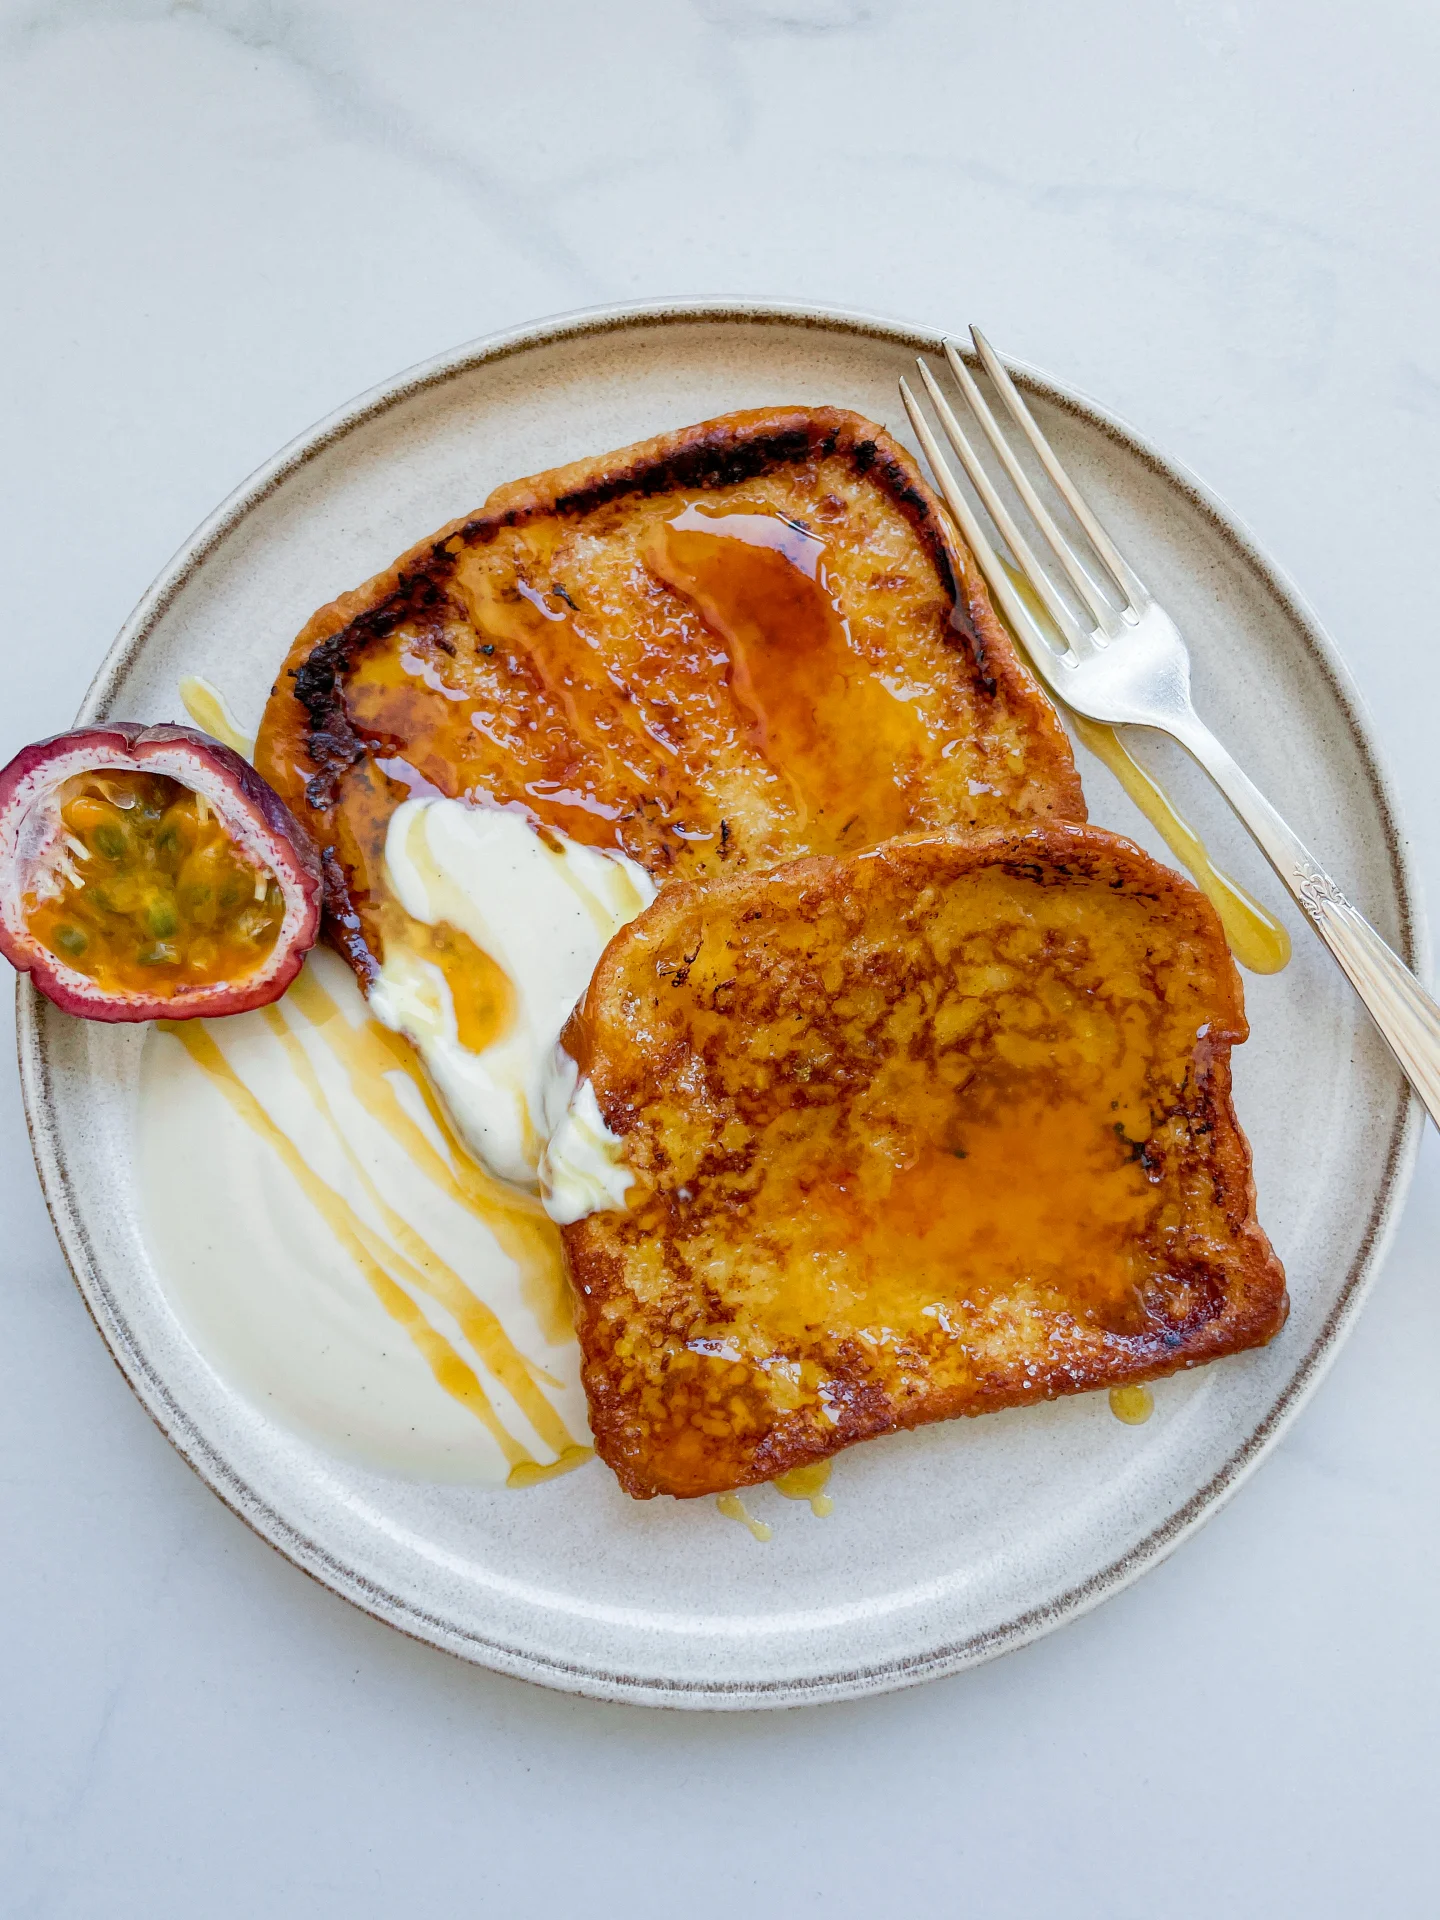


Homemade Bagels

Homemade Bagels

Homemade Bagels

Homemade Bagels

August 15, 2024 by Kimberly

Indulge in these cozy, chewy homemade bagels with irresistible toppings! Perfect for breakfast or brunch, they bring a warm, homemade touch to your mornings. Once you try these, you’ll never buy bagels again!

This website uses affiliate links which may earn commission for purchases made at no additional cost to you.

TOTAL TIME

2 hrs

SERVES

8 bagels

DIET

vegetarian

EVERY RECIPE DESERVES

A Little Love Letter

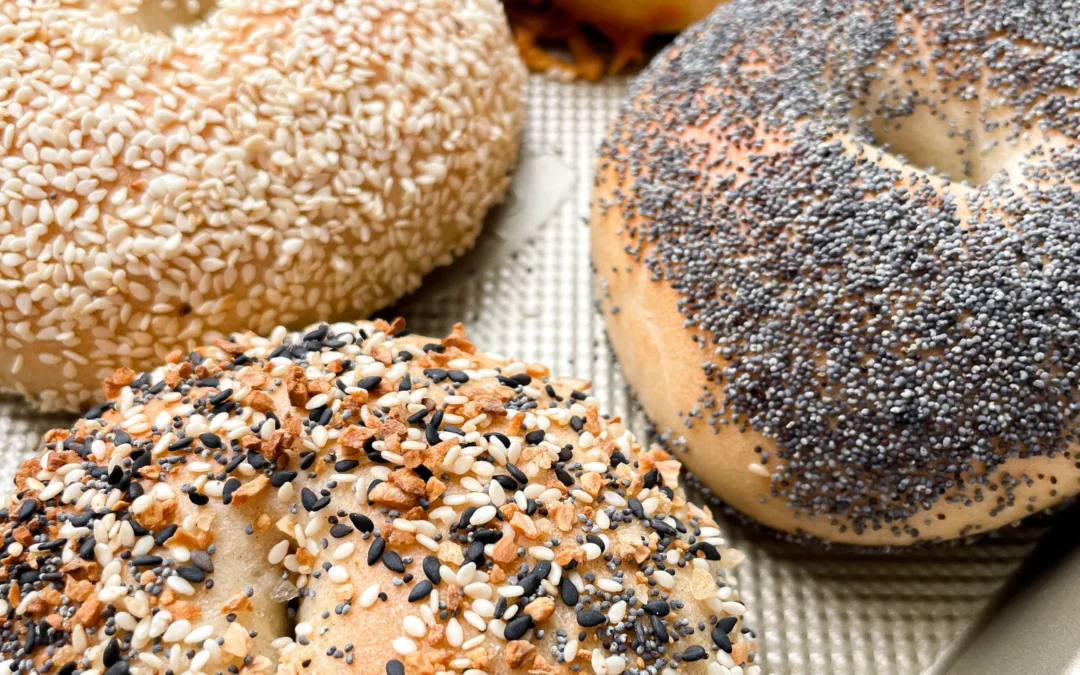
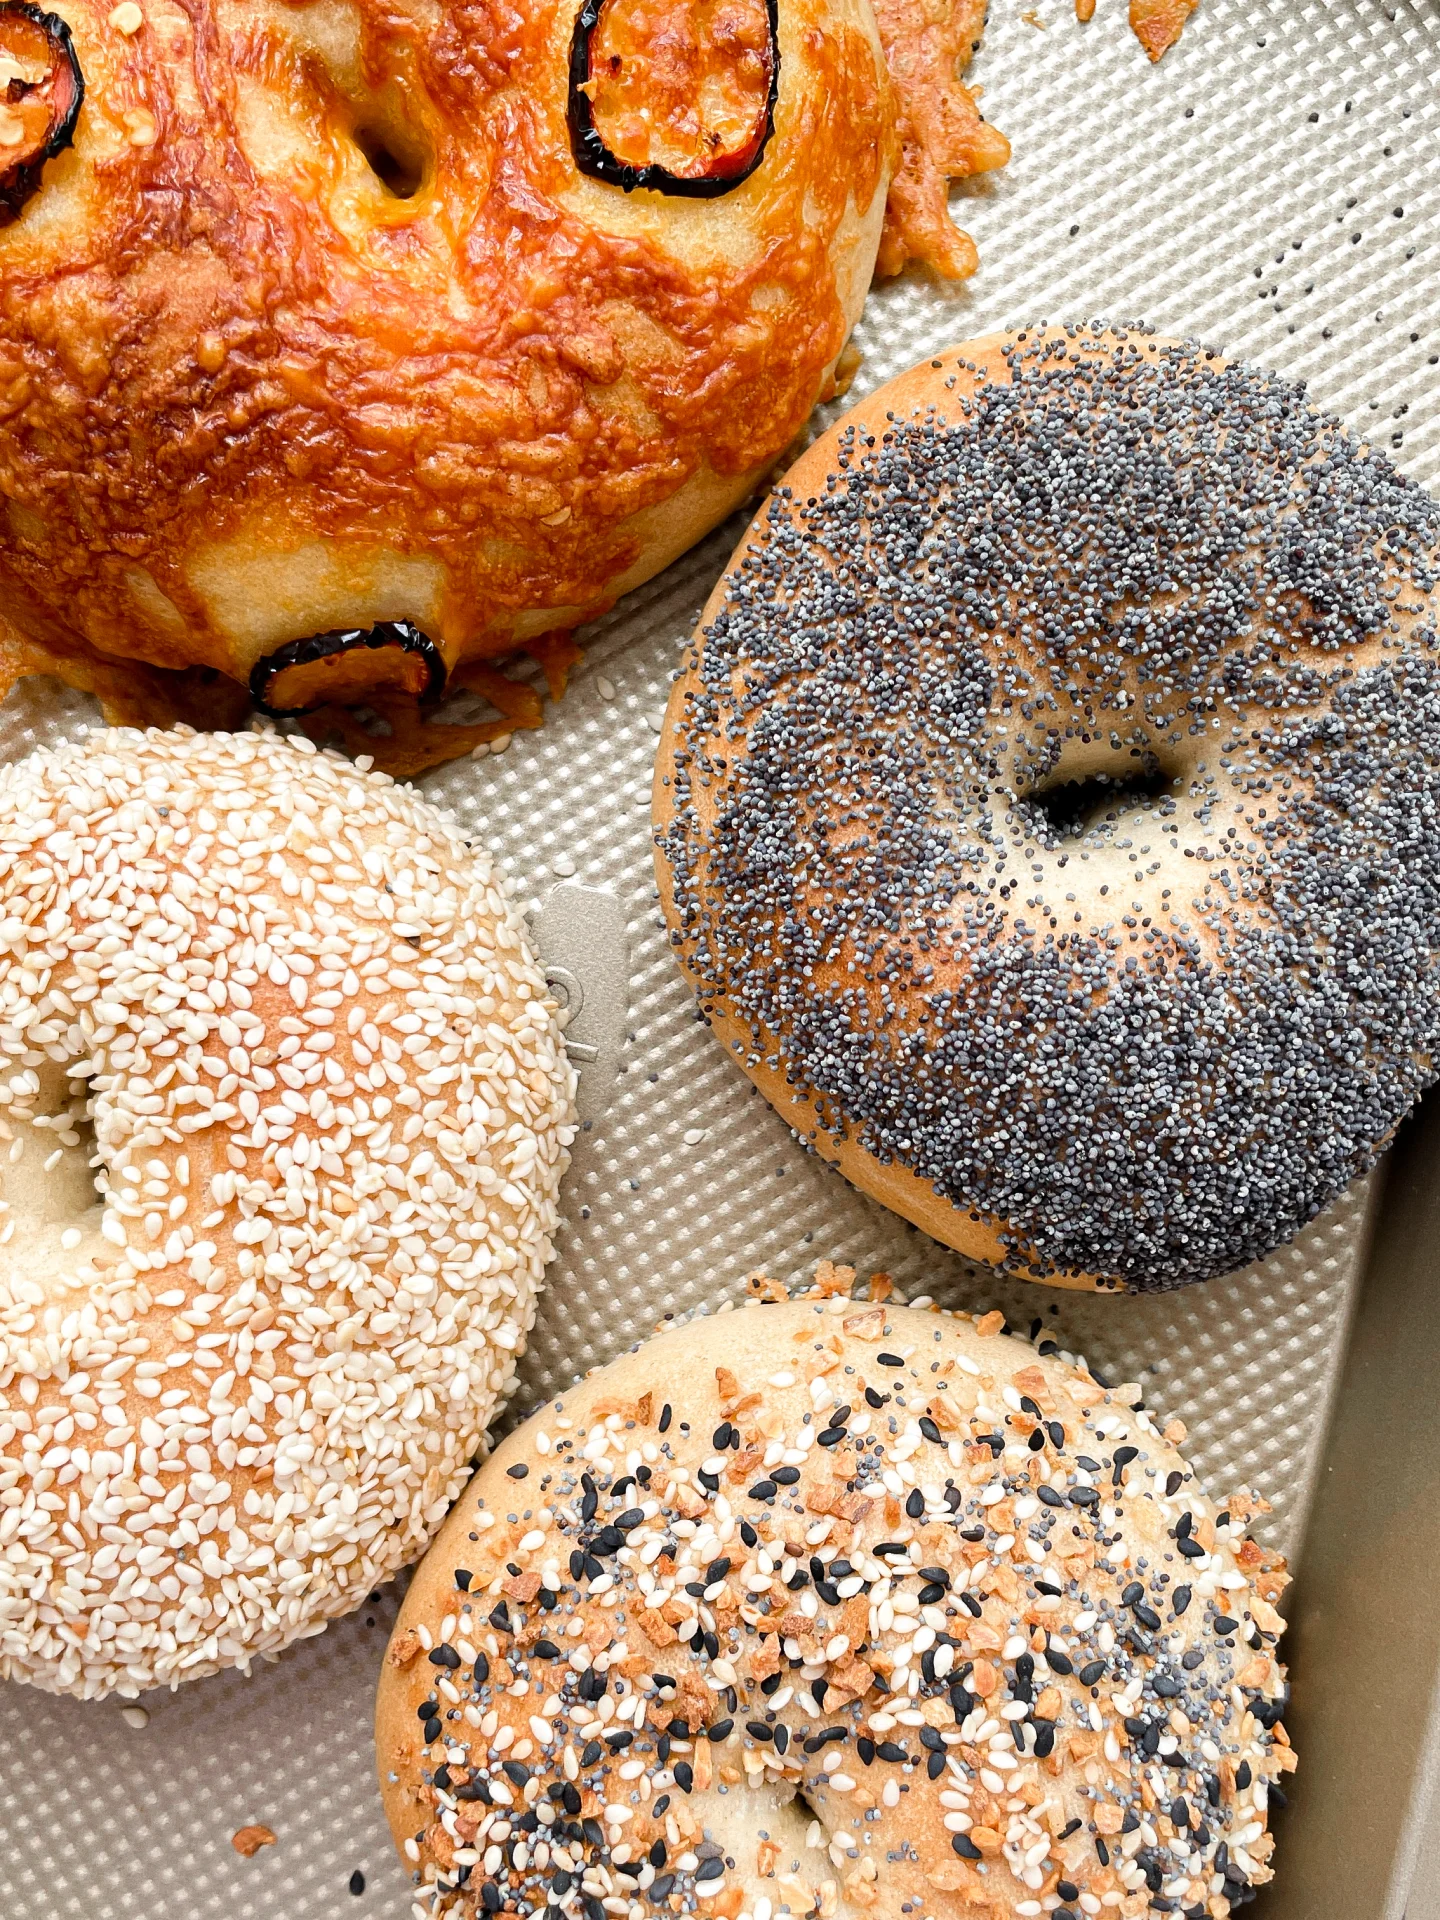
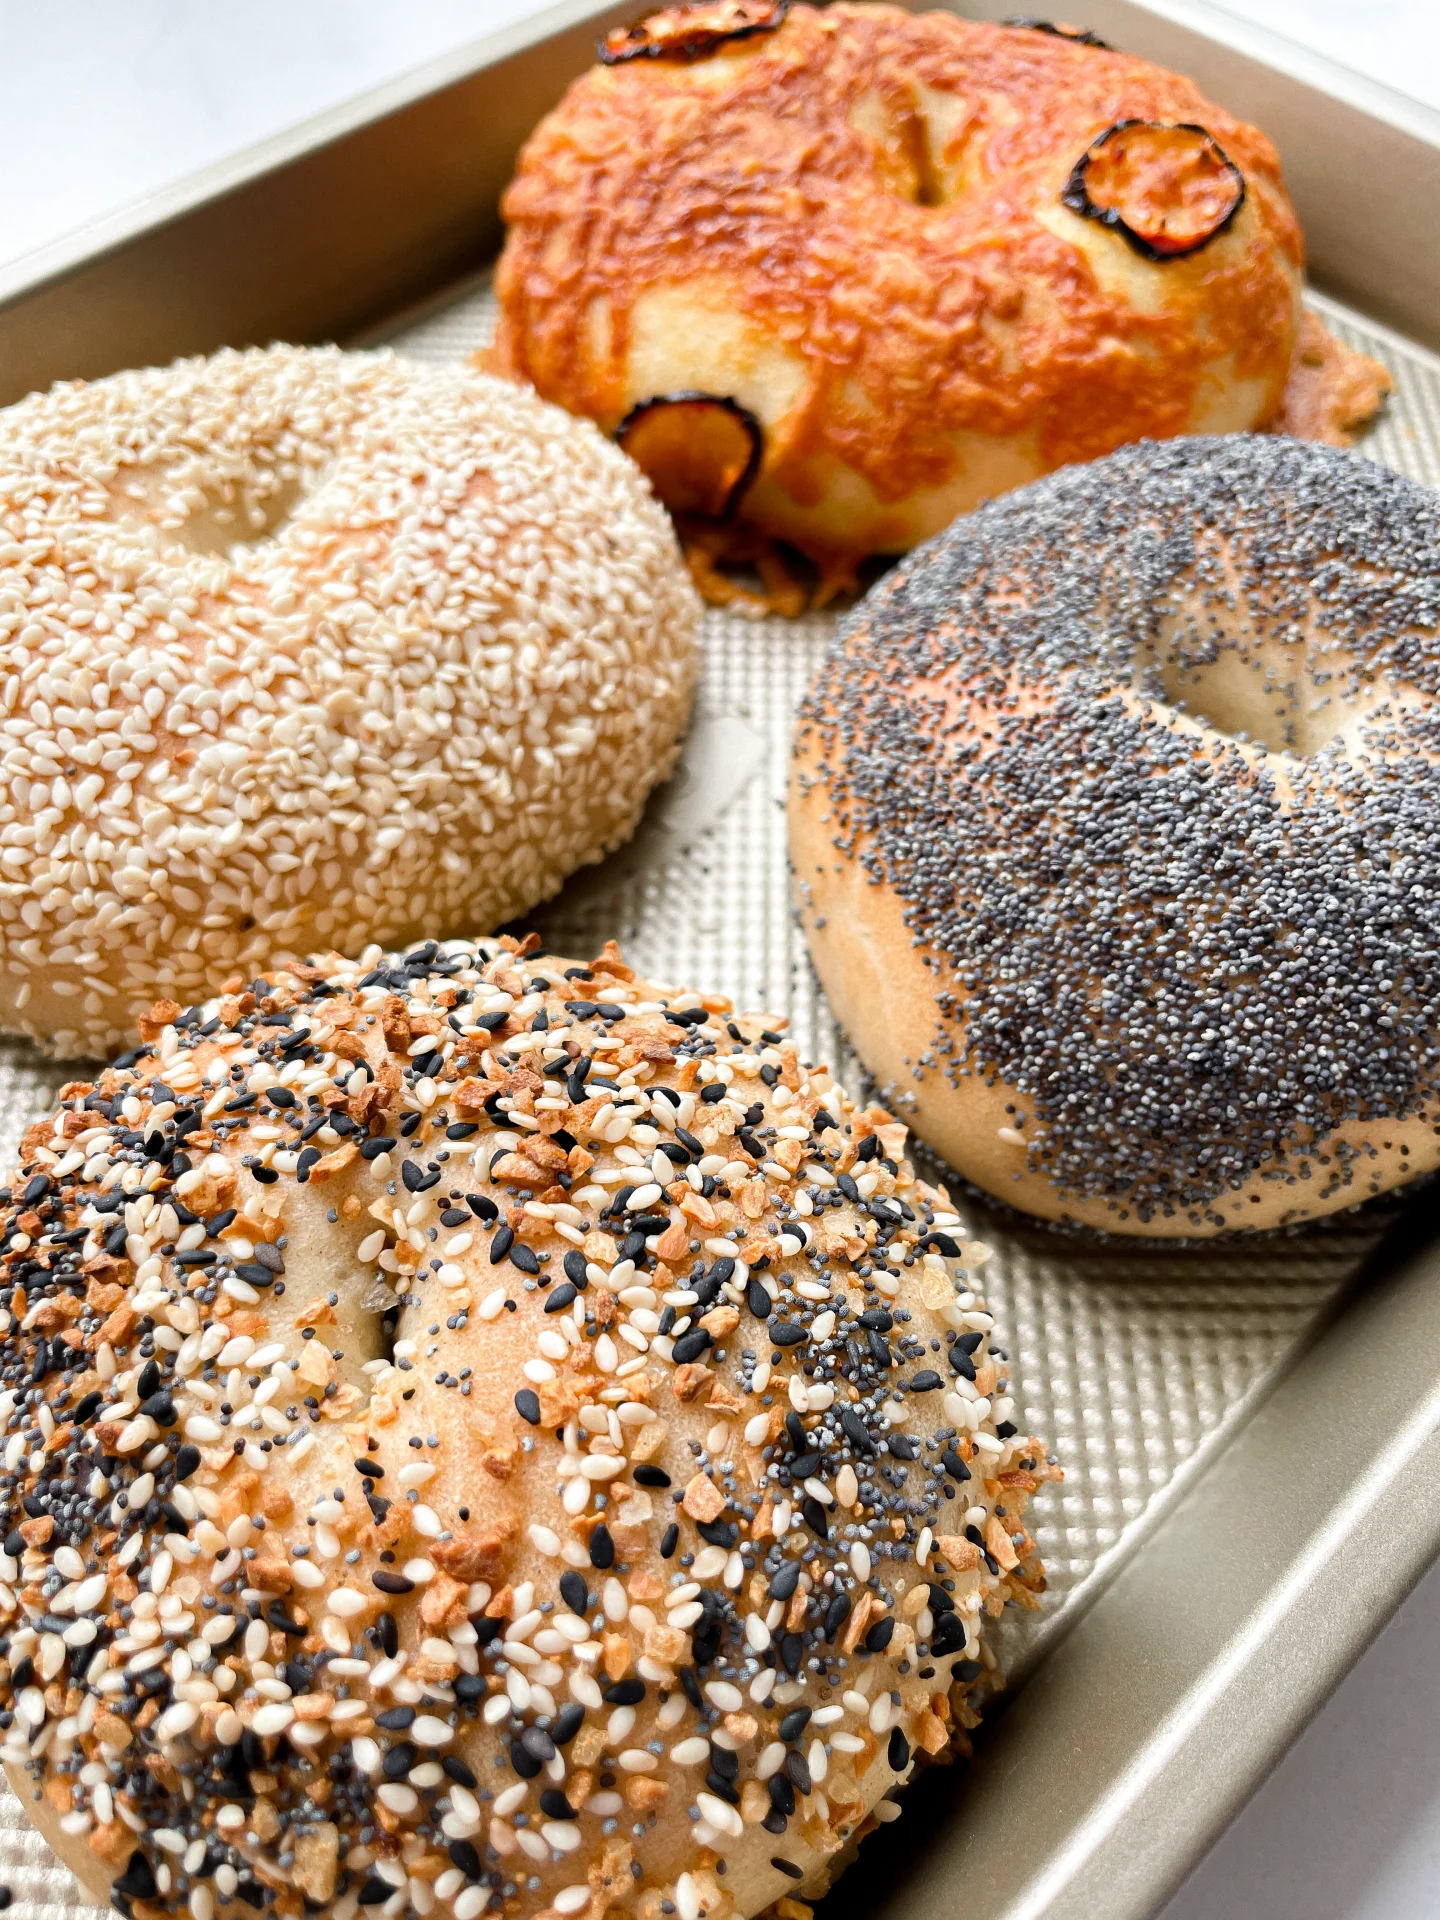
Imagine starting your day with the warm, comforting aroma of freshly baked bagels wafting through your kitchen. These delightful homemade bagels are not only easy to make but also offer a chewy, satisfying bite that pairs perfectly with your favorite toppings. Whether you prefer the nutty flavor of sesame seeds, the subtle crunch of poppyseeds, the spicy kick of cheddar and jalapeno, or the classic mix of everything bagel seasoning, there’s a bagel for everyone to love.

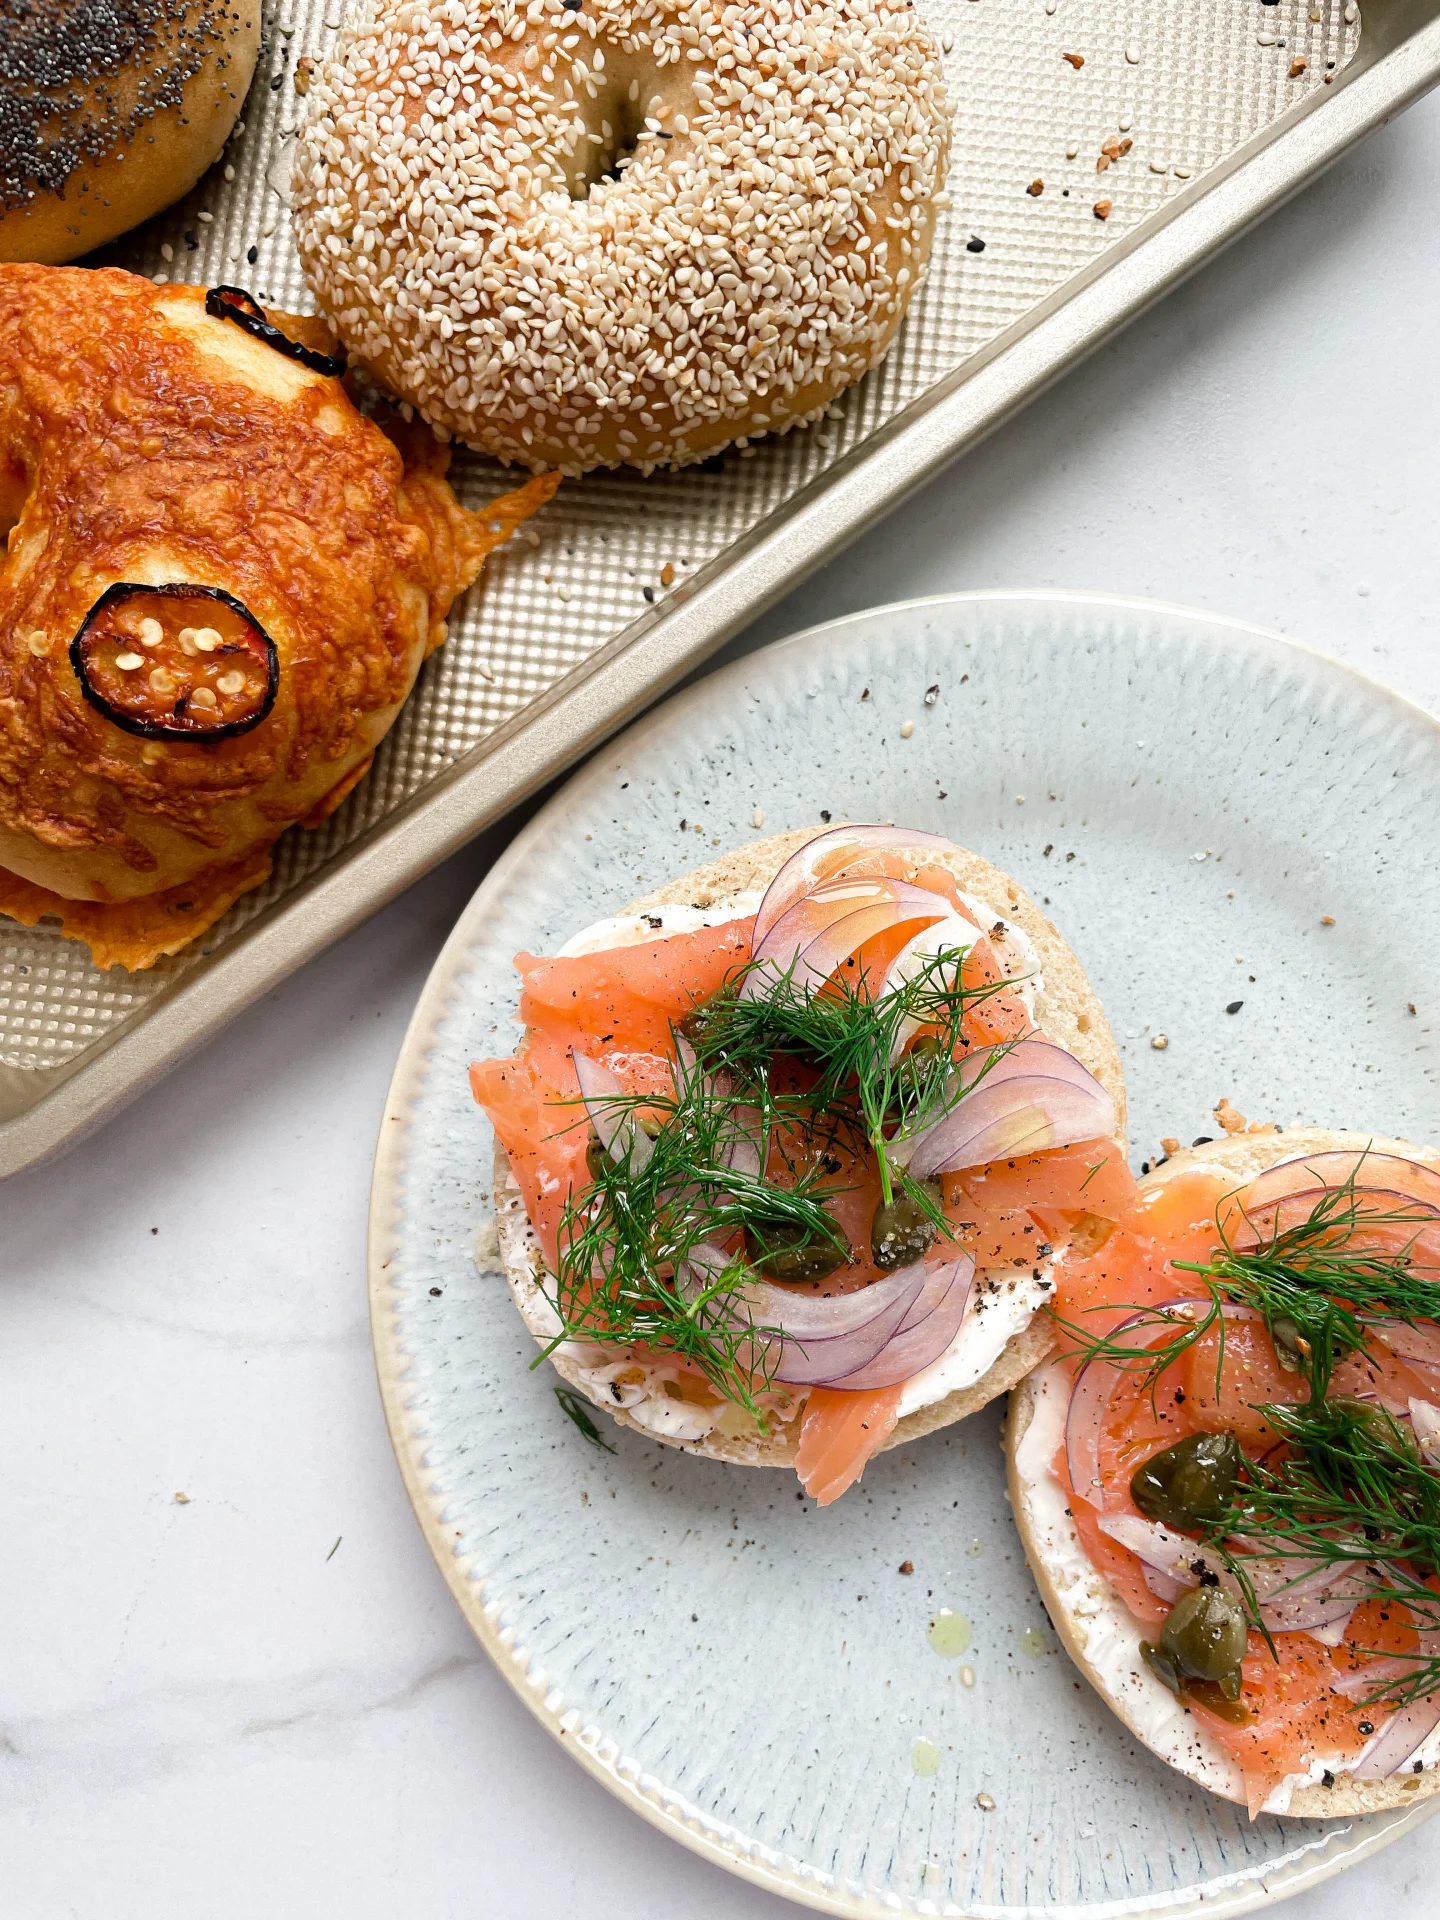
Slice them in half and spread on some creamy butter, tangy cream cheese, or your favorite jam. They also make fantastic bases for sandwiches – think smoked salmon with capers and red onion on a sesame bagel, or a turkey and avocado combo on a poppyseed bagel. For a real treat, try a cheddar and jalapeno bagel with a smear of guacamole. These bagels are versatile enough to be enjoyed any time of day, making them a must-have in your kitchen.

To keep your bagels fresh, store them in an airtight container at room temperature for up to two days. For longer storage, slice them in half and freeze them. When you’re ready to enjoy, simply pop them in the toaster straight from the freezer. This way, you’ll always have a delicious bagel ready whenever the craving strikes.

Hi, I'm Kimberly!

Hi, I'm Kimberly.

A hopeless romantic when it comes to food. Every recipe I share is a love letter to food itself. I’m so glad you’re here. Make yourself at home and stay a while.

Love,
Kimberly

Kimberly the Zett Signature

If you want to get to know me better,
click here!


Homemade Bagels
Homemade Bagels
Homemade Bagels
Homemade Bagels

LET’S MAKE A PIECE OF HAPPINESS

Print
clock clock iconcutlery cutlery iconflag flag iconfolder folder iconinstagram instagram iconpinterest pinterest iconfacebook facebook iconprint print iconsquares squares iconheart heart iconheart solid heart solid icon
Homemade Bagels

Homemade Bagels


5 Stars 4 Stars 3 Stars 2 Stars 1 Star

No reviews

  • Author: Kimberly
  • Total Time: 2 hrs
  • Yield: 8-12 1x

Description

Recommended Equipment

  • tall container
  • large bowl
  • damp cloth
  • oven
  • large pot

Ingredients

Units Scale
DOUGH - YEAST MIXTURE
  • 500 milliliters lukewarm water
  • 7 grams active dry yeast
  • 1 tbsp sugar
DOUGH - DRY INGREDIENTS
  • 900 grams bread flour (in Germany flour type 550)
  • 2 tsp salt
  • 30 grams white sugar
WATER BATH
  • 2 liters simmering water
  • 1/4 cup brown sugar
TOPPINGS
  • white sesame seeds
  • poppy seeds
  • everything but the bagel seasoning
  • cheddar & jalapeño

Instructions

  1. In a tall container, briefly stir together the yeast mixture ingredients: lukewarm water, yeast, and sugar, then let it sit for 10 minutes.
  2. Meanwhile, in a large bowl, mix the dry ingredients: flour, salt, and sugar. Add the yeast-water-sugar mixture and stir until just combined.
  3. Transfer the dough to a clean work surface and knead by hand until it barely sticks anymore.
  4. Shape the dough into 8 balls of 180g / 6oz each for large bagels or 12 balls of 120g / 4oz each for smaller bagels. Let them rest under a damp cloth for about 20 minutes.
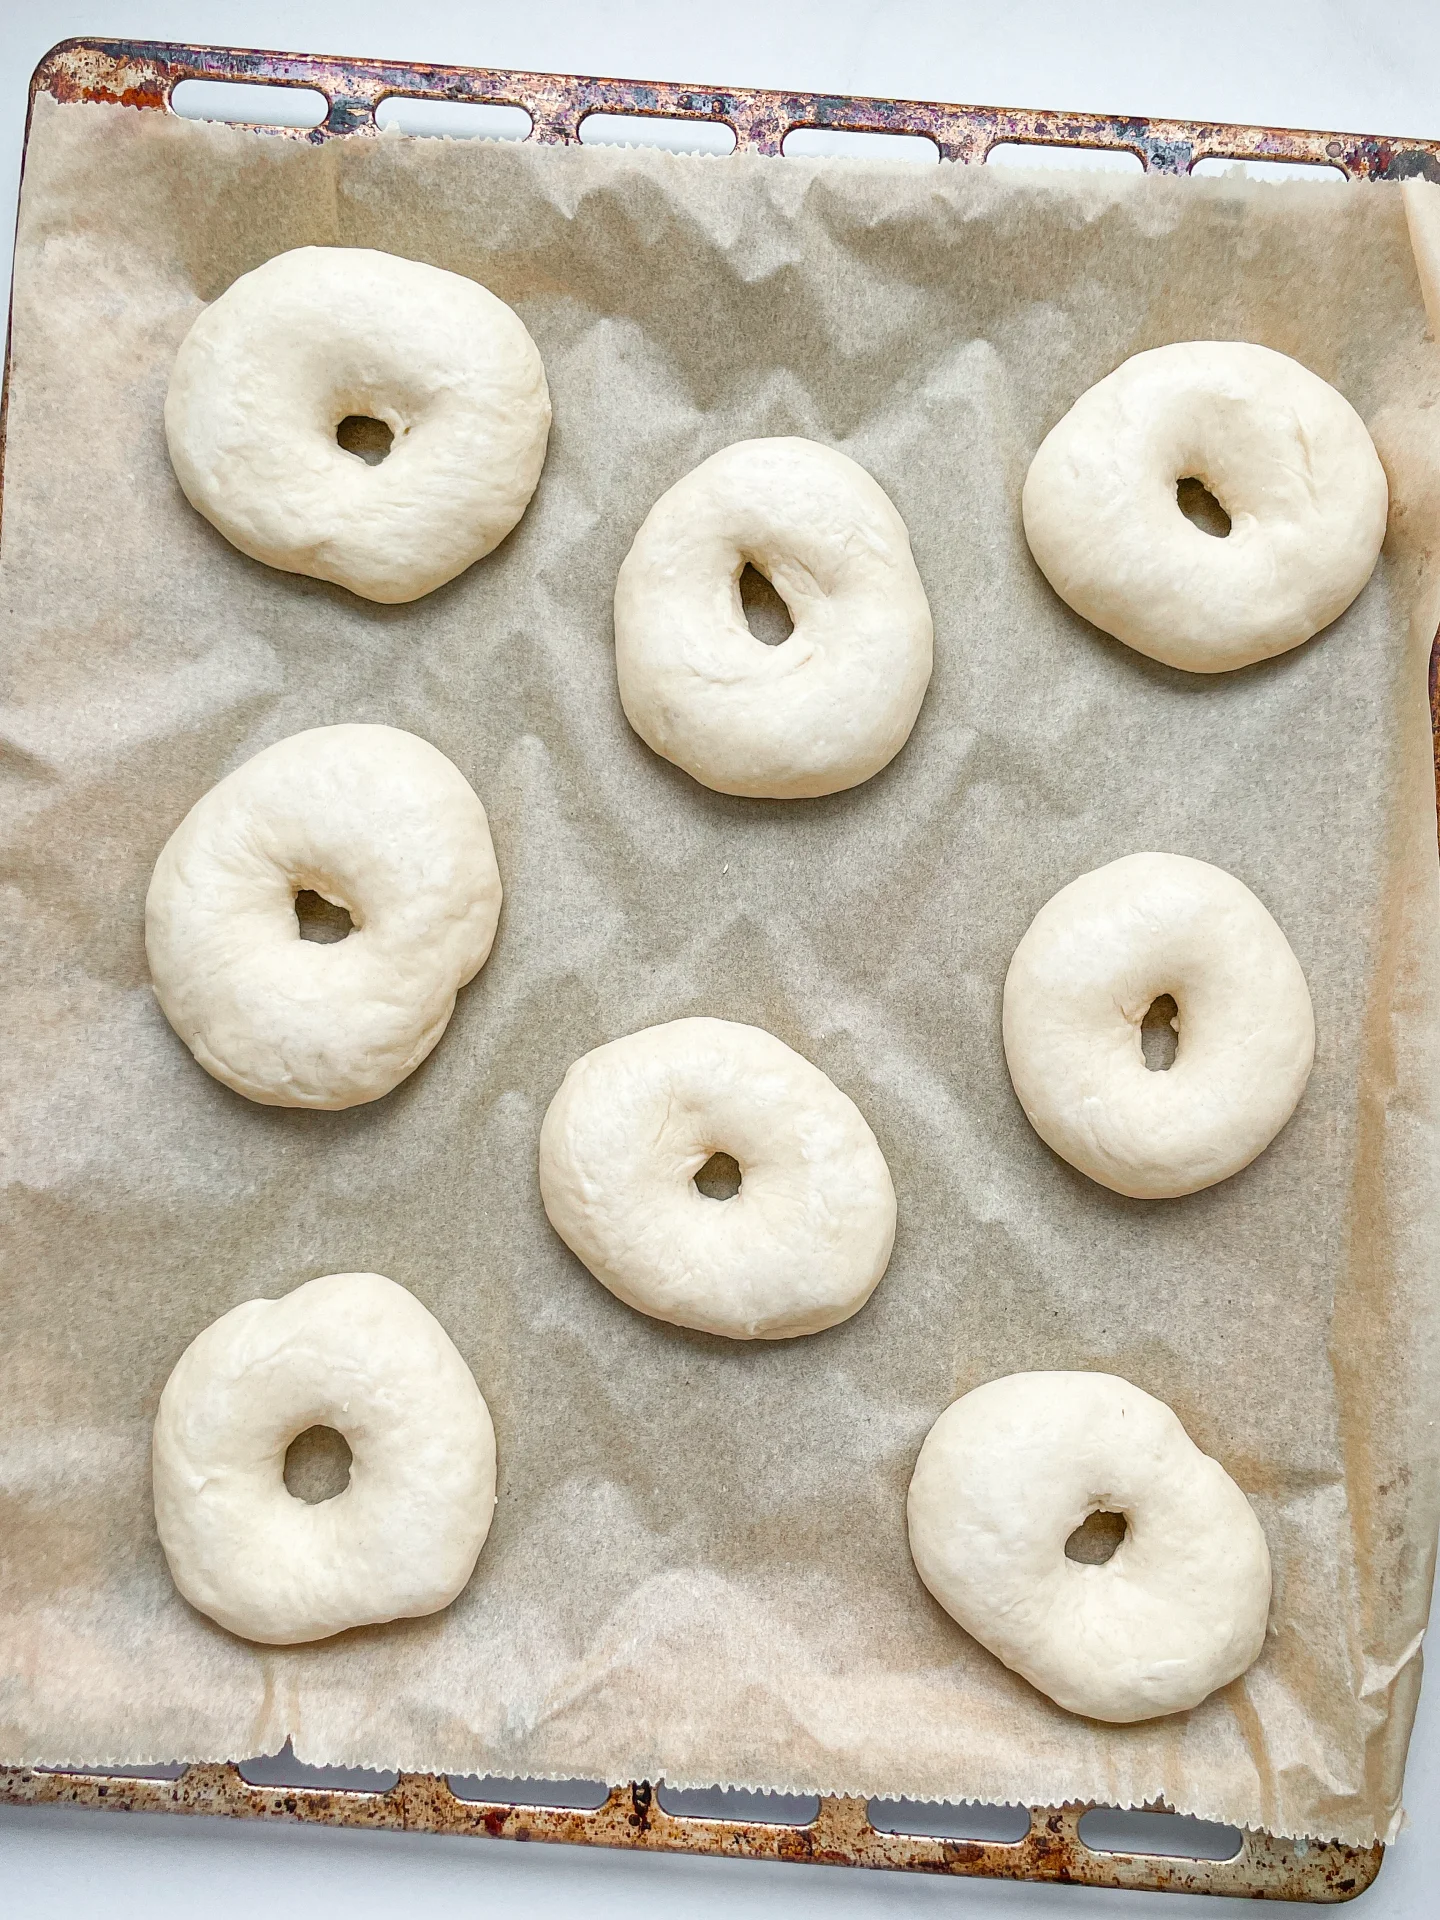
  5. Poke a hole in the center of each dough ball with your finger and form a bagel by stretching the dough evenly.
  6. Place the bagels on parchment paper and let them rise for another 30 minutes.
  7. Preheat the oven to 175°C / 350°F. Bring water to a simmer in a large pot and dissolve the brown sugar in it. Simmer each bagel for 1 minute on each side.
  8. Remove the bagels from the water and dip them in your favorite toppings or leave them plain. I like using poppy seeds, sesame seeds, everything but the bagel seasoning, or jalapenos and cheddar cheese.
  9. Once all bagels are topped, place them on a parchment-lined baking sheet and bake in the oven for about 25-30 minutes depending on their size.
  10. Remove the baking sheet and enjoy the bagels 🙂
  • Passive Time: 1 hr 30 min
  • Cook Time: 30 min
CRAVING MORE?

Follow along here & don’t forget to subscribe to my substack!

Jalapeño Oil

Jalapeño Oil

Jalapeño Oil

Jalapeño Oil

July 23, 2024 by Kimberly

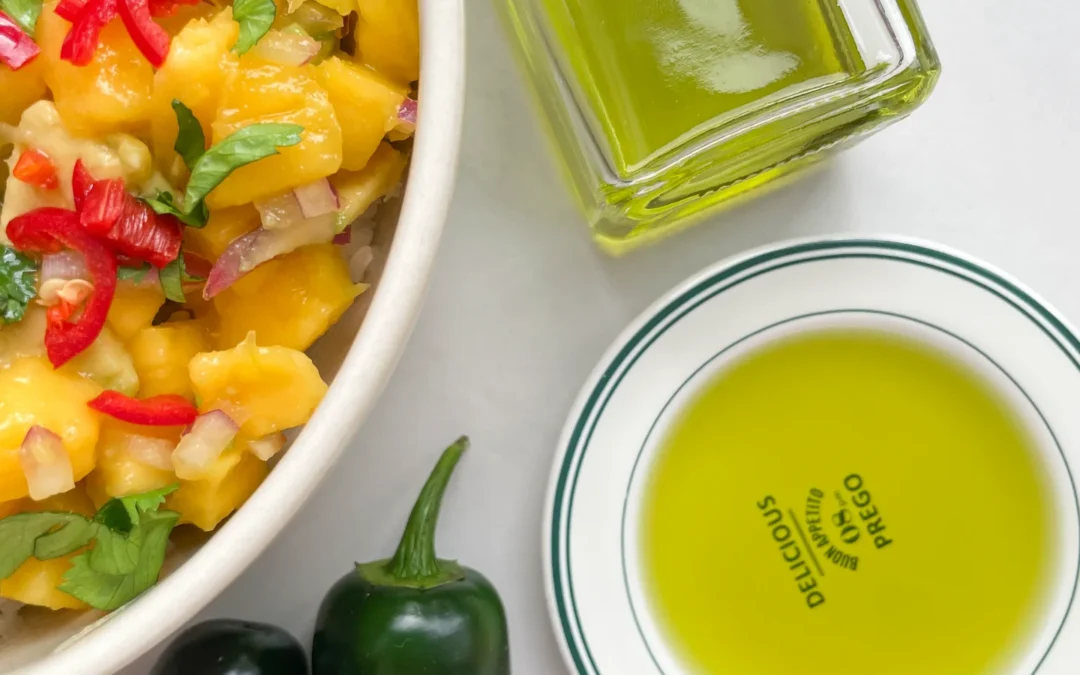
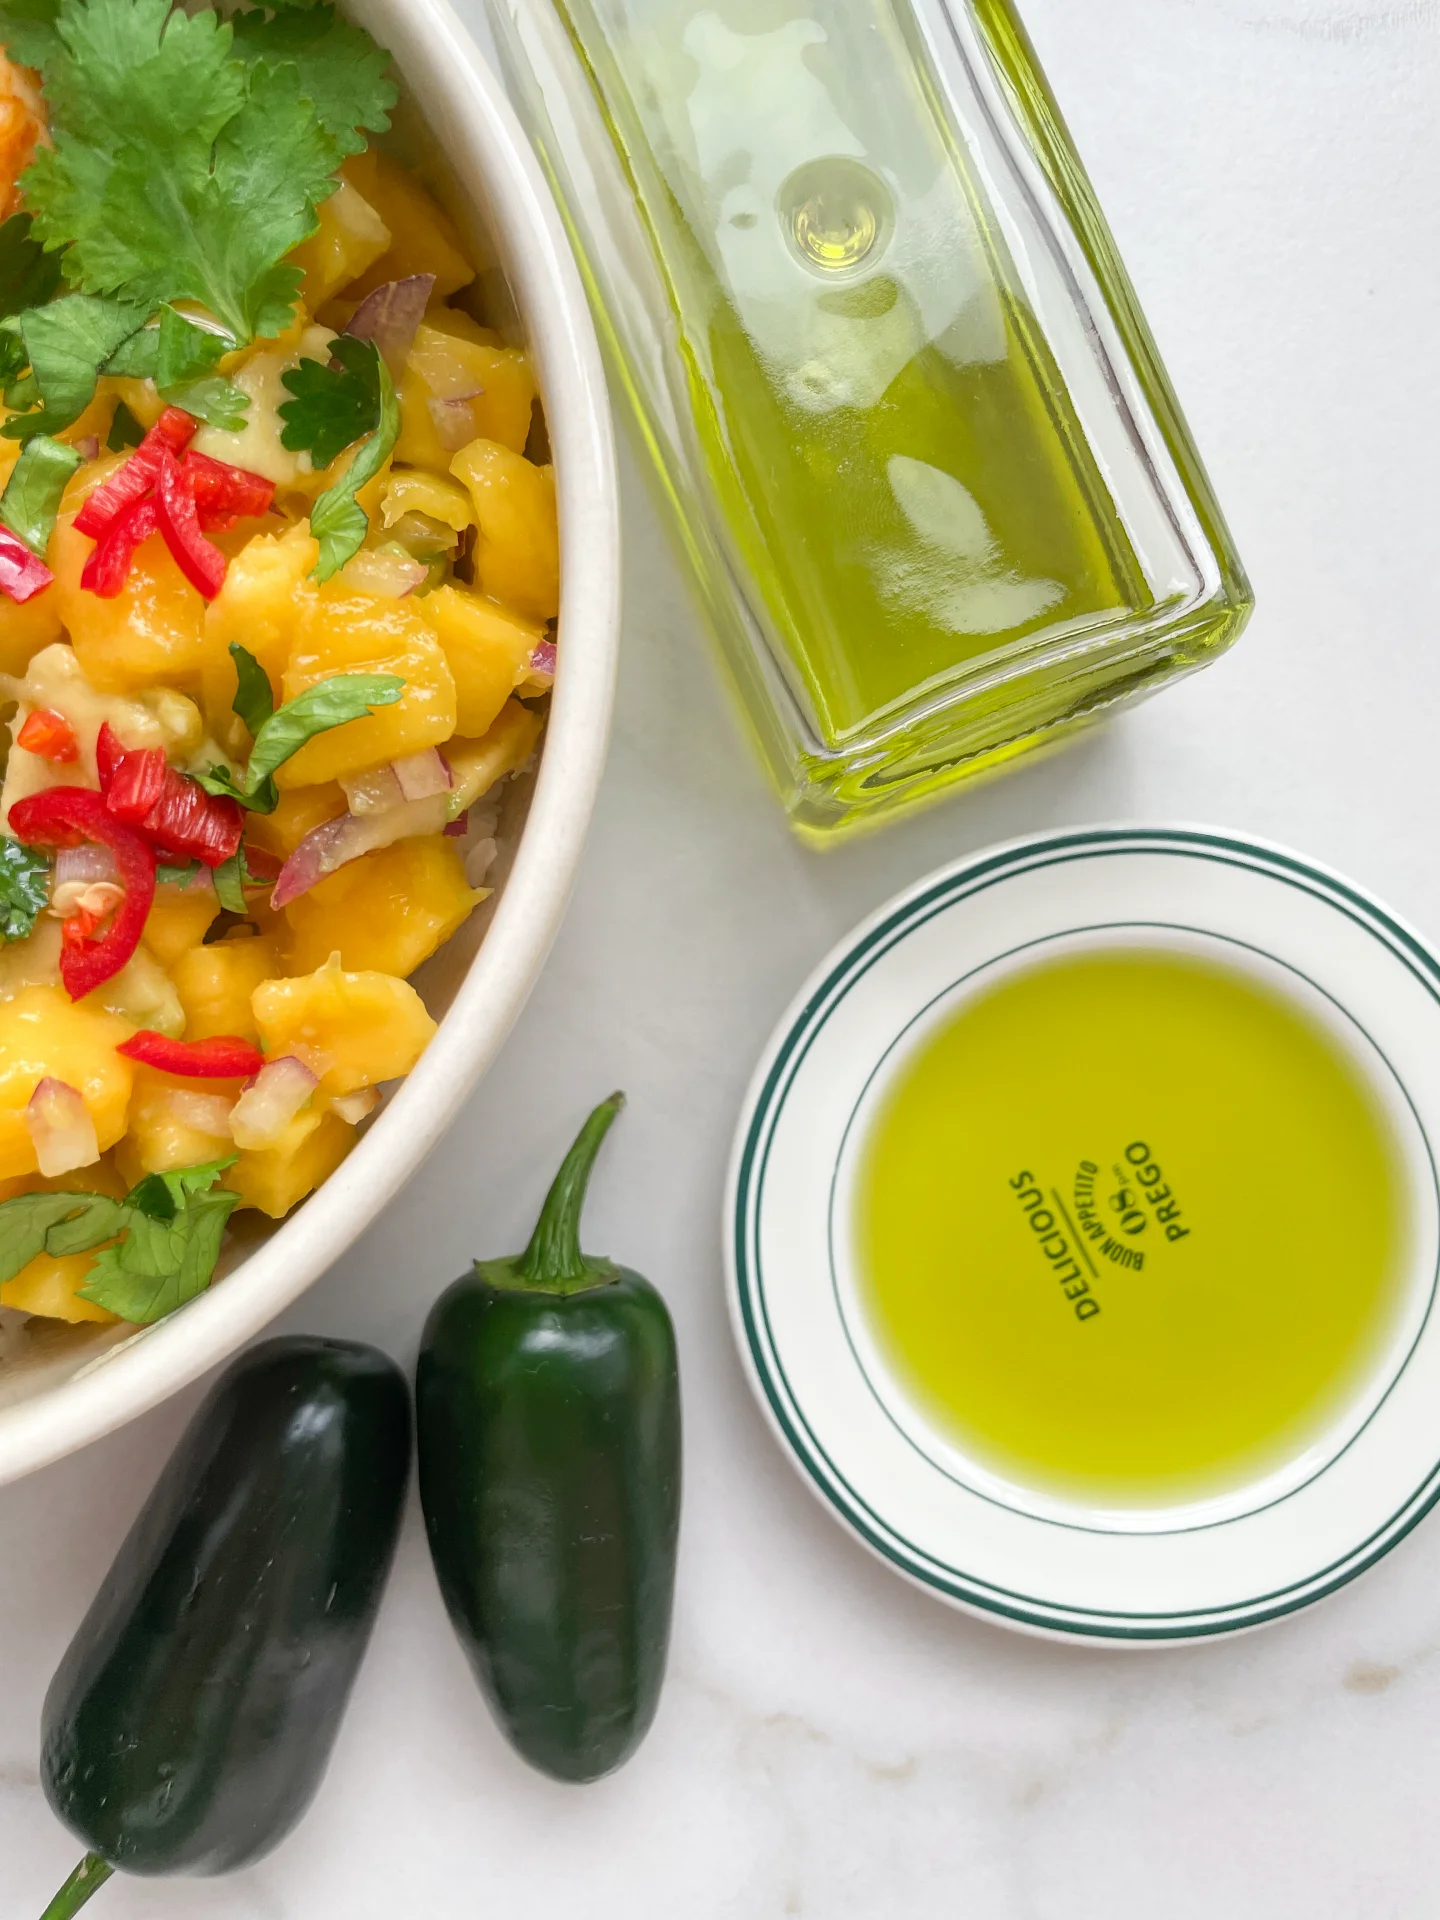
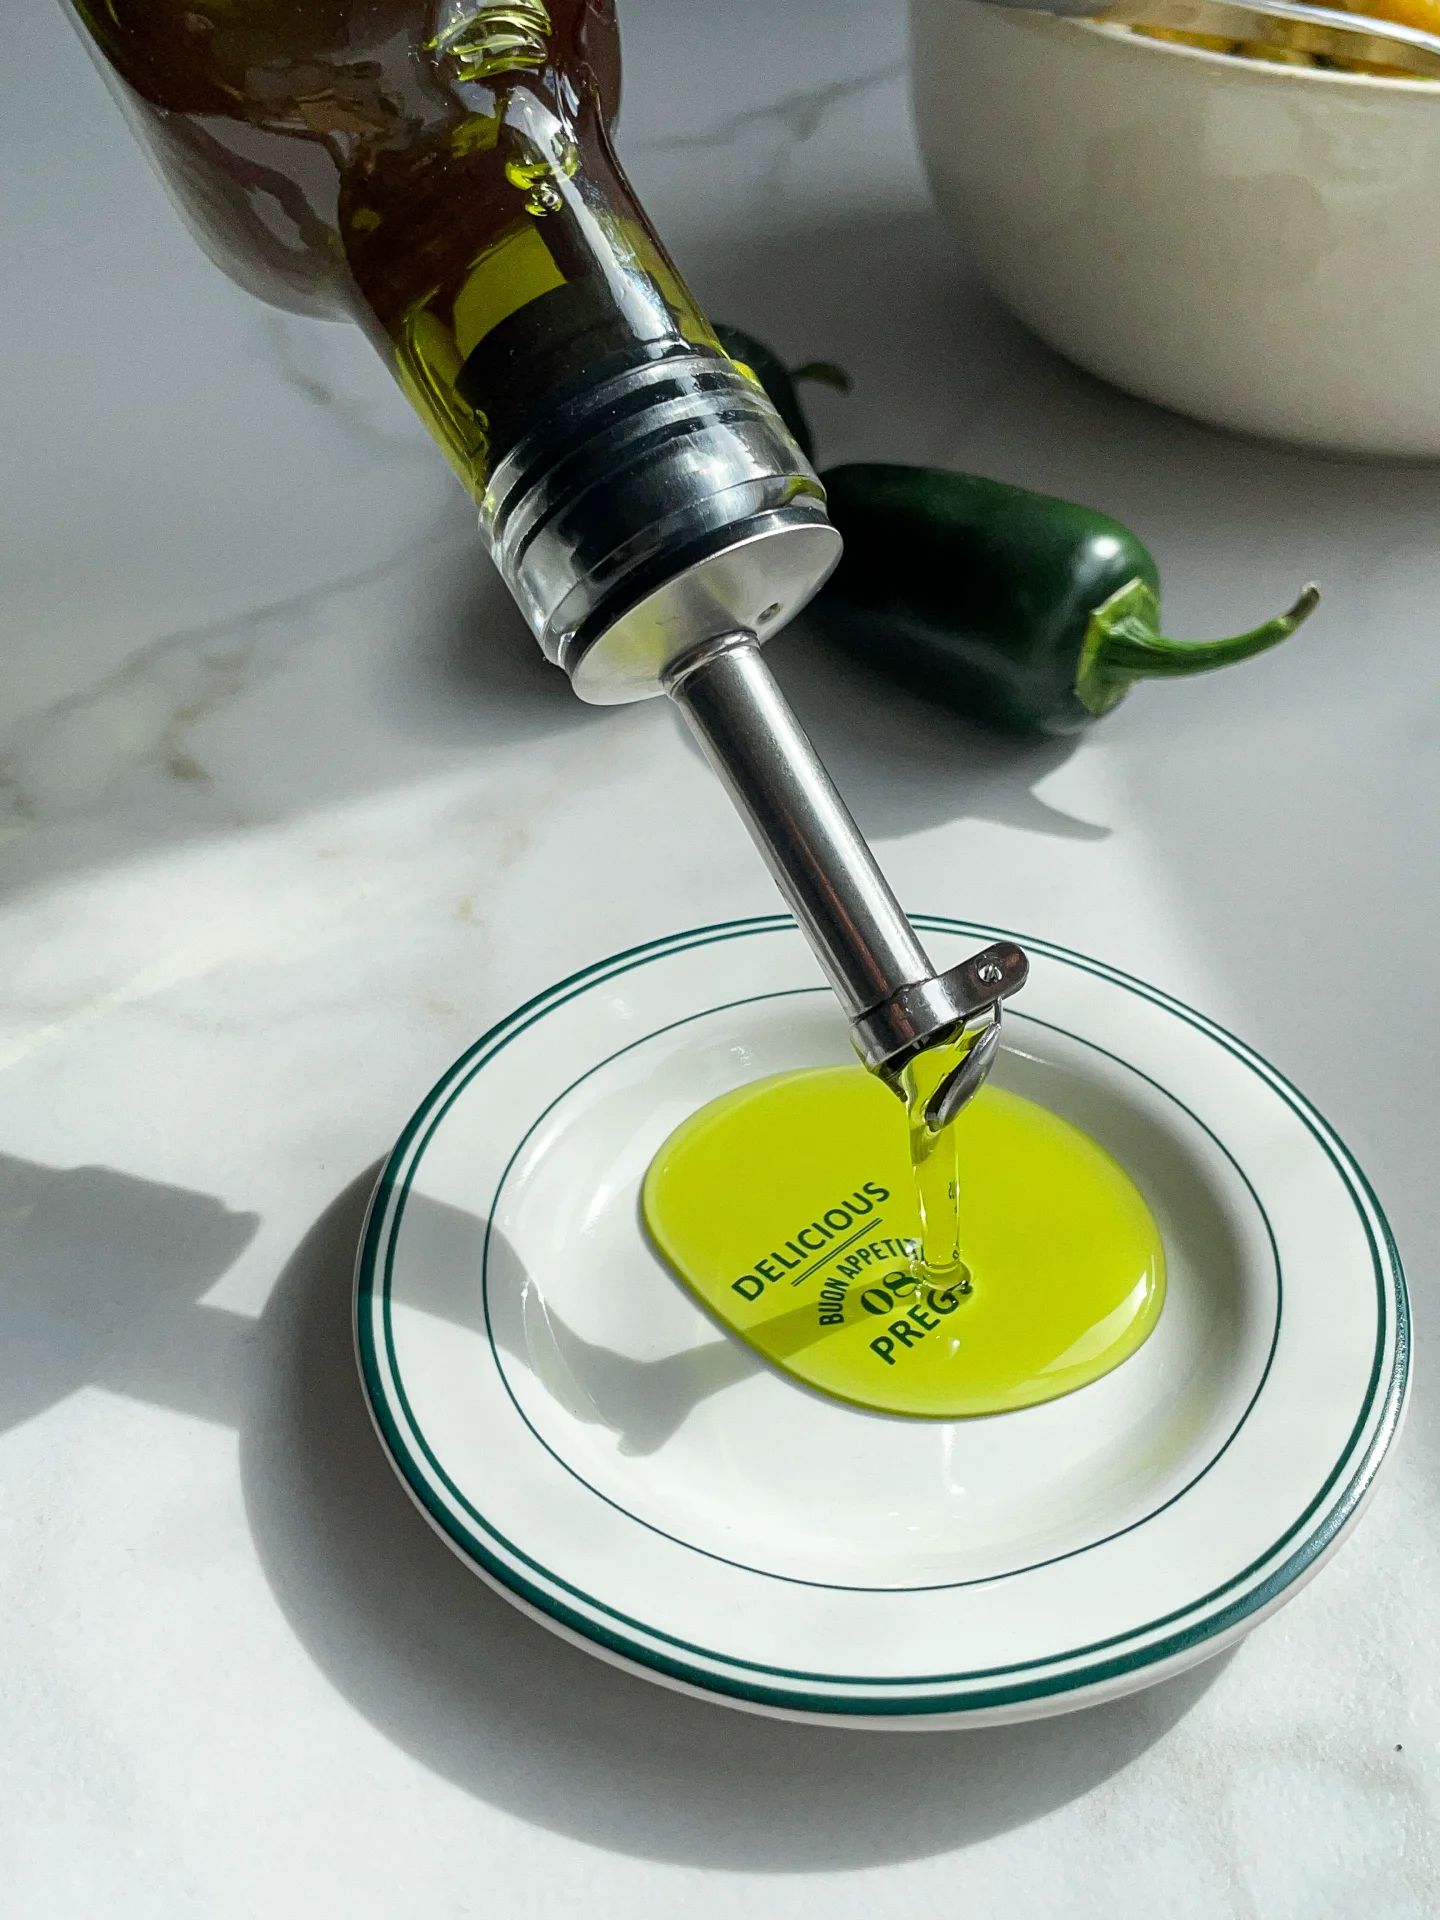
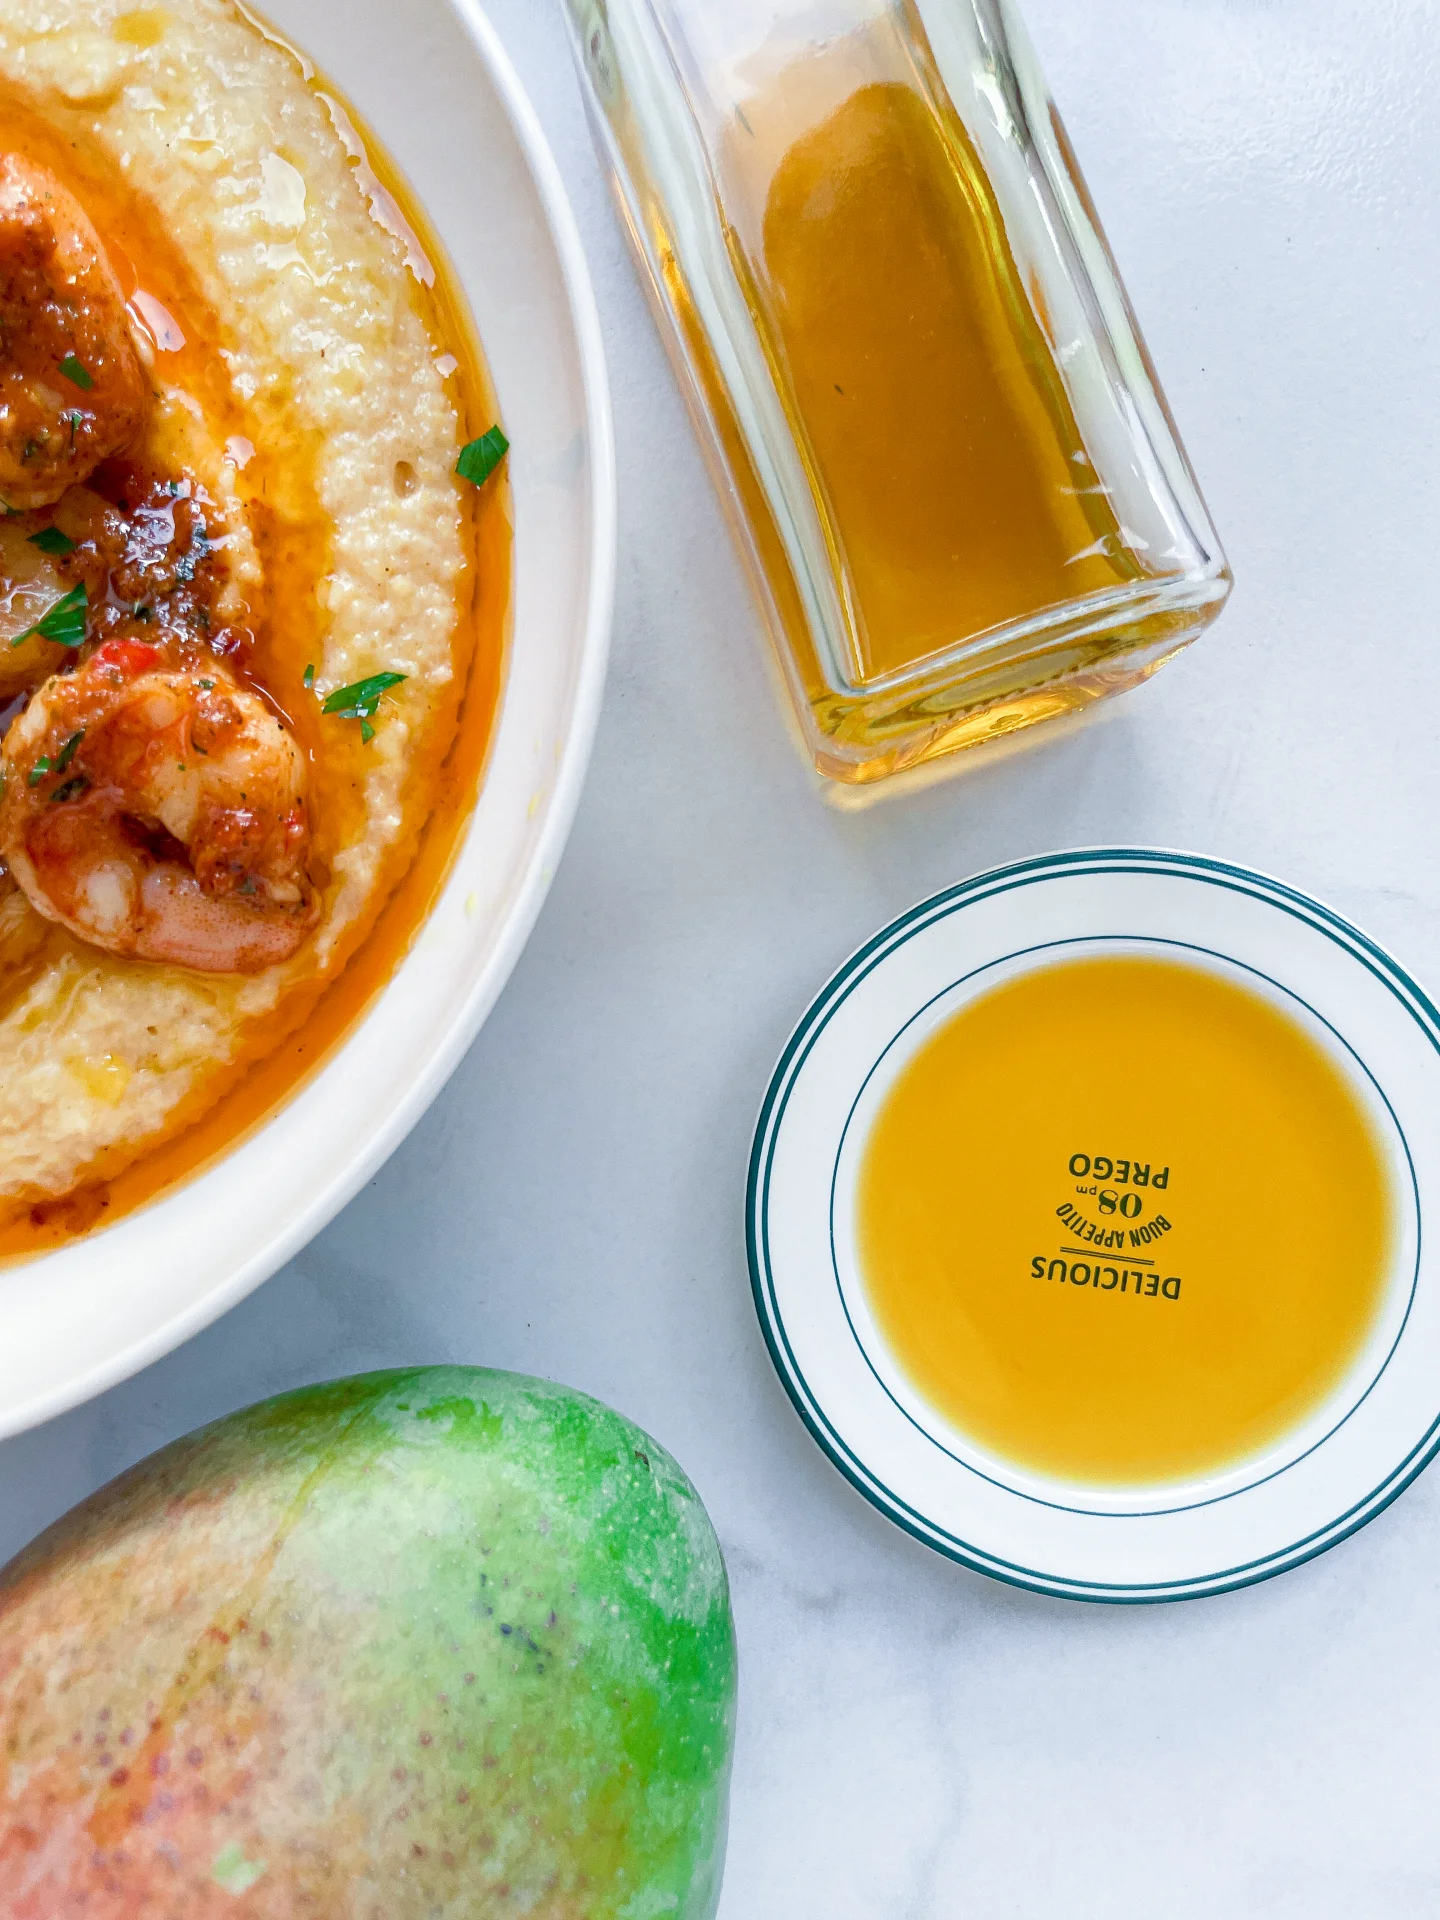
Jalapeño oil is the zesty kick your meals have been missing! It’s easy to make and instantly elevates any dish with its spicy, flavorful punch.

This website uses affiliate links which may earn commission for purchases made at no additional cost to you.

TOTAL TIME

50 min

SERVES

1 cup / 250 ml

DIET

vegan

EVERY RECIPE DESERVES

A Little Love Letter

Discover the magic of homemade jalapeño oil! This simple condiment adds a vibrant, spicy flair to your dishes. It’s a fantastic way to introduce a punch of flavor with minimal effort. Whether you’re drizzling it over pizza or stirring into soups, it’s guaranteed to impress.

Drizzle it over your morning eggs to kickstart your day or add a dash to your pasta for an evening treat. It’s perfect for enhancing grilled meats or as a zesty addition to your salad dressings. Experiment and let your taste buds lead the way! I love to eat it in this Spicy Rice Shrimp Bowl & Mango Avocado Salsa.

Keep your jalapeño oil in an airtight container in the fridge. It stays fresh and flavorful for up to 1-2 weeks, ready to add a spicy note whenever you need it.

Hi, I'm Kimberly!

Hi, I'm Kimberly.

A hopeless romantic when it comes to food. Every recipe I share is a love letter to food itself. I’m so glad you’re here. Make yourself at home and stay a while.

Love,
Kimberly

Kimberly the Zett Signature

If you want to get to know me better,
click here!


Jalapeño Oil
Jalapeño Oil
Jalapeño Oil
Jalapeño Oil

LET’S MAKE A PIECE OF HAPPINESS

Print
clock clock iconcutlery cutlery iconflag flag iconfolder folder iconinstagram instagram iconpinterest pinterest iconfacebook facebook iconprint print iconsquares squares iconheart heart iconheart solid heart solid icon
Jalapeño Oil

Jalapeño Oil


  • Author: Kimberly
  • Total Time: 50 min
  • Yield: 250 ml / 1 cup 1x

Description

RECOMMENDED EQUIPMENT

  • blender
  • medium-sized saucepan
  • whisk
  • a bowl which the medium saucepan fits into
  • 2 medium-sized bowls
  • 2 fine sieves
  • sealable container (oil bottle)
  • ice cubes
  • coffee filter

Ingredients

Units Scale
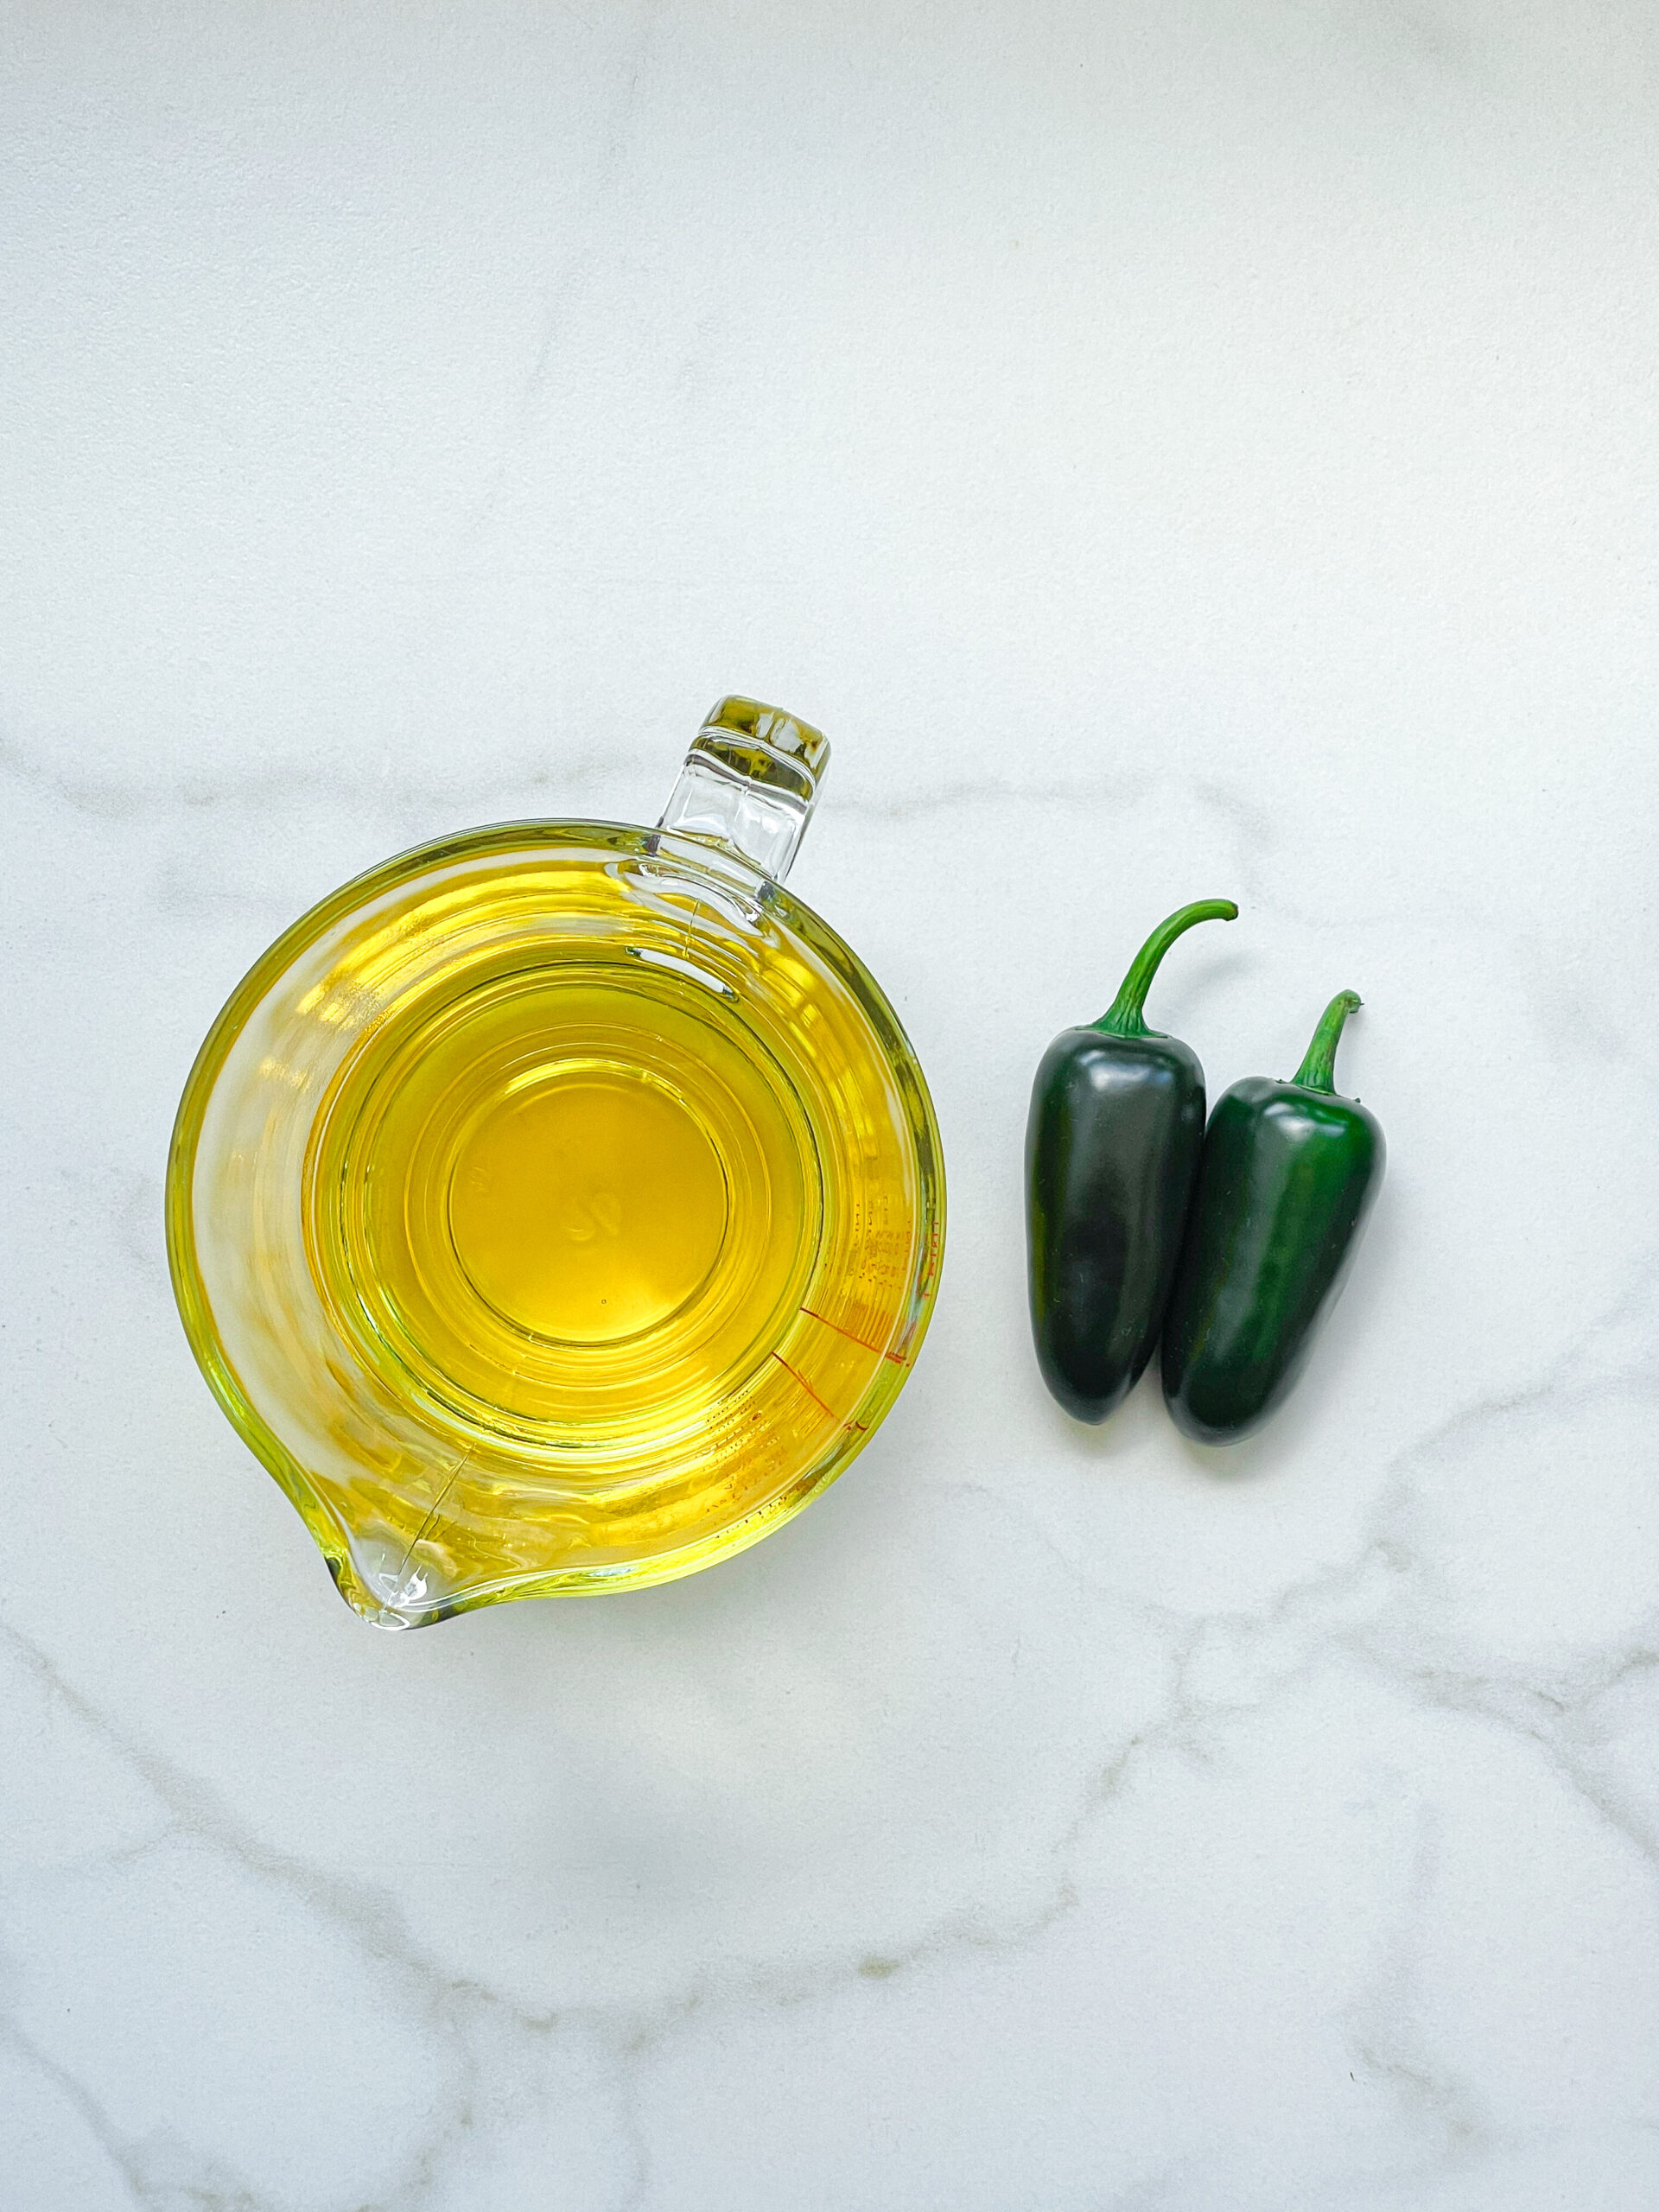
  • 2 jalapeños
  • 250 milliliters unrefined cold-pressed sunflower oil

Instructions

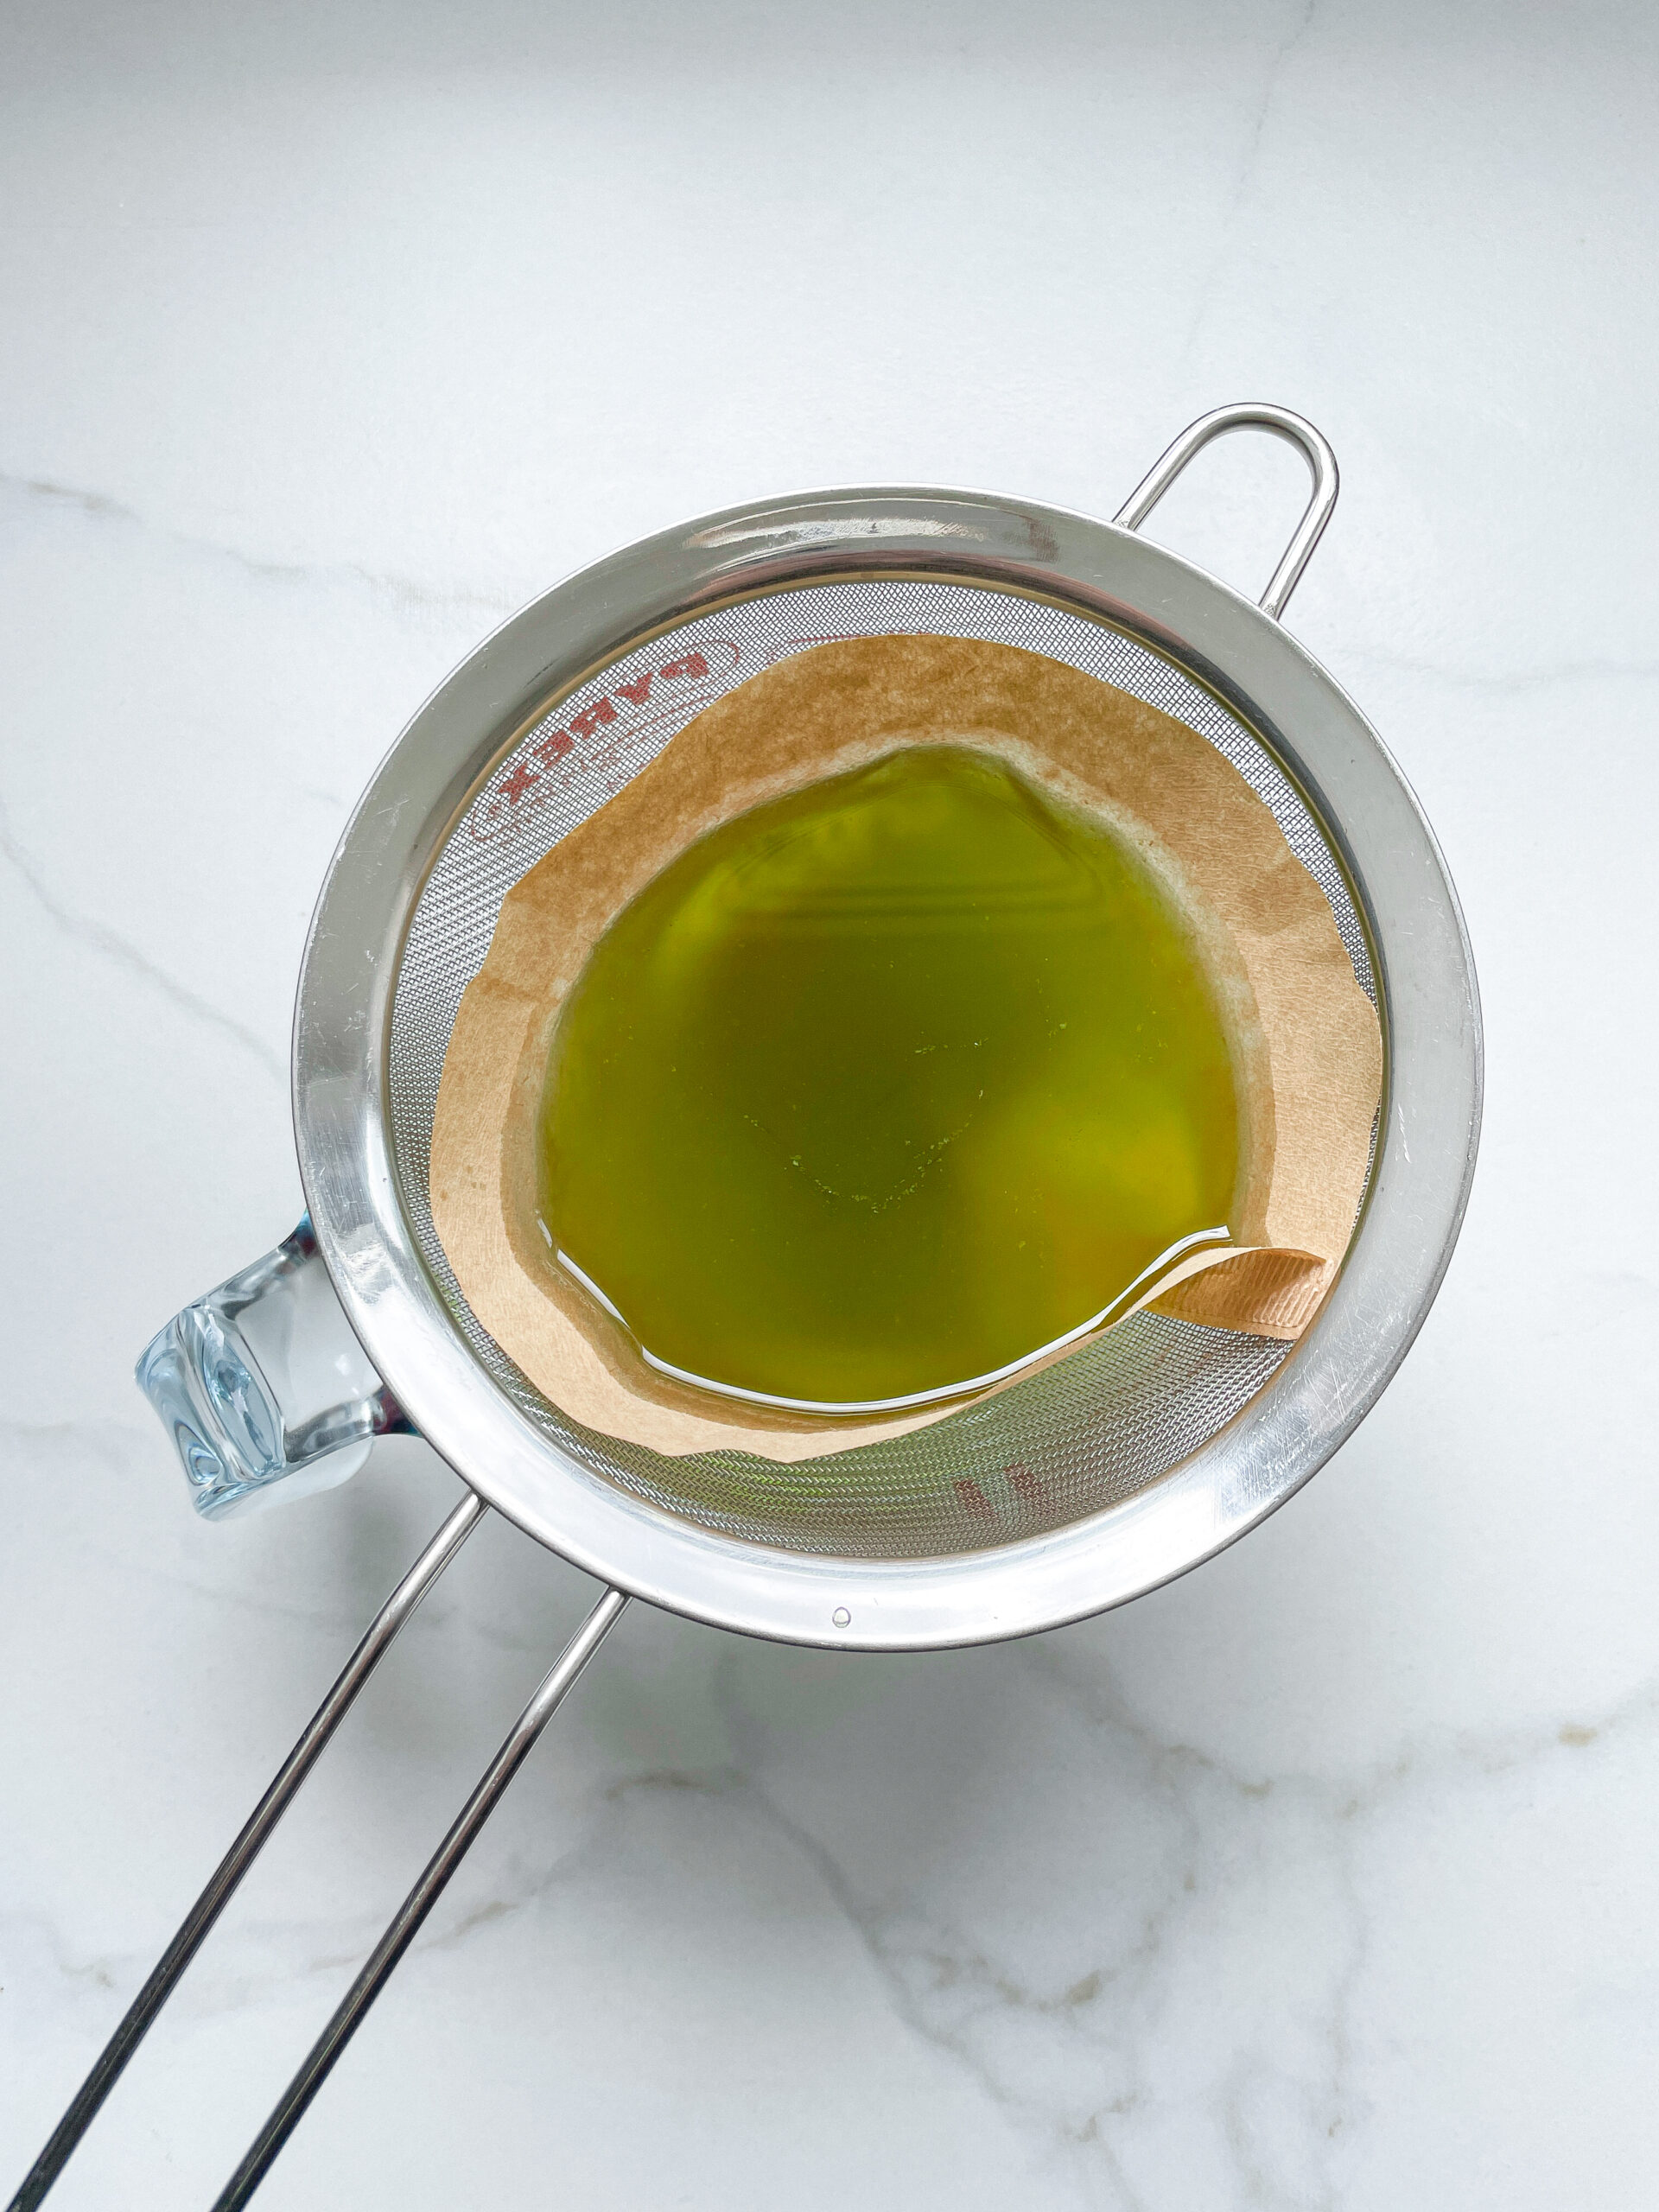
  1. Cut the stems off and put the jalapeños into the blender. Pour in the oil. Blend on the highest setting until there are only tiny pieces of the jalapeños left.
  2. Pour the mixture from the blender into a medium-sized pot and heat it over medium heat to a temperature of about 103°C (217°F), and maintain this temperature for the next 10-15 minutes. Stir occasionally, making sure the temperature remains steady and nothing gets burned.
  3. Prepare a bowl large enough to fit a medium-sized pot, and fill it with cold water and a handful of ice cubes. Also, hang a fine sieve strainer over one medium-sized bowl and another fine sieve strainer, with a coffee filter inside it, over another medium-sized bowl.
  4. Now, place the pot in the ice water and stir to cool the oil quickly. Once the oil is almost cold, remove the pot from the water and pour the oil into the prepared fine sieve to catch the coarse particles.
  5. Then, pour the oil into the second sieve, which is equipped with a coffee filter, to catch the remaining finer particles.
  6. Allow the oil to drip through for about 30 minutes or maybe less depending on how many remaining particles are in the coffee filter. Once all the oil has passed through the coffee filter, transfer the collected amount of oil into a sealable container or directly into an oil bottle. Store in the refrigerator for up to one week.
  • Prep Time: 5 min
  • Passive Time: 30 min
  • Cook Time: 15 min

CRAVING MORE?

Follow along here & don’t forget to subscribe to my substack!

Blueberry Lemon Curd Dutch Baby

Blueberry Lemon Curd Dutch Baby

Blueberry Lemon Curd Dutch Baby

Blueberry Lemon Curd Dutch Baby

July 16, 2024 by Kimberly

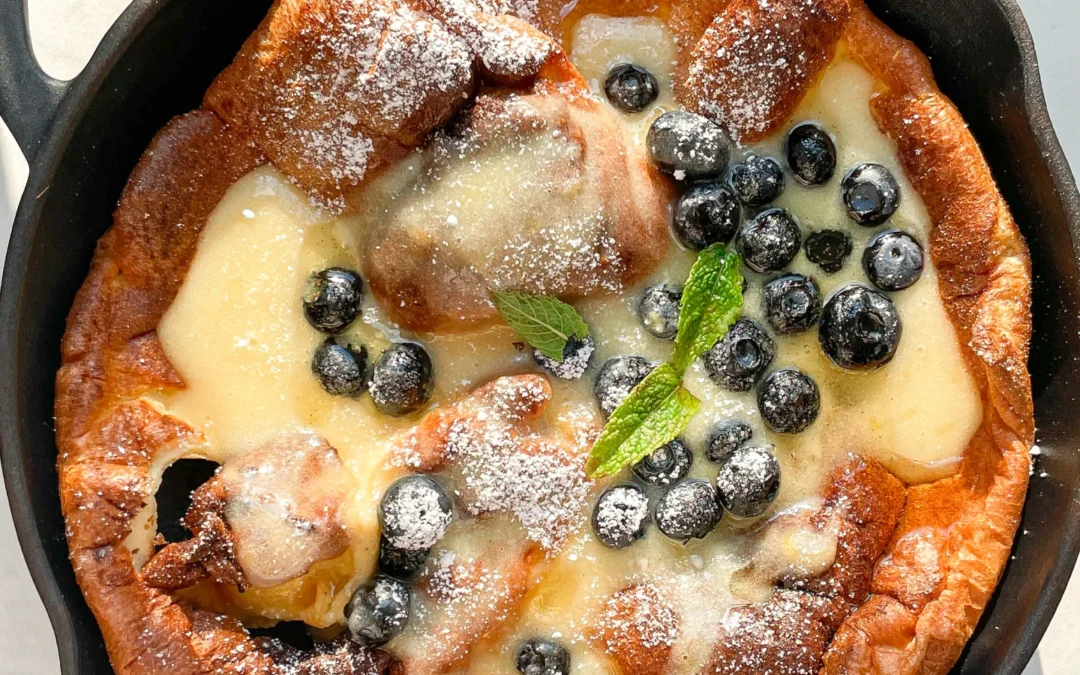
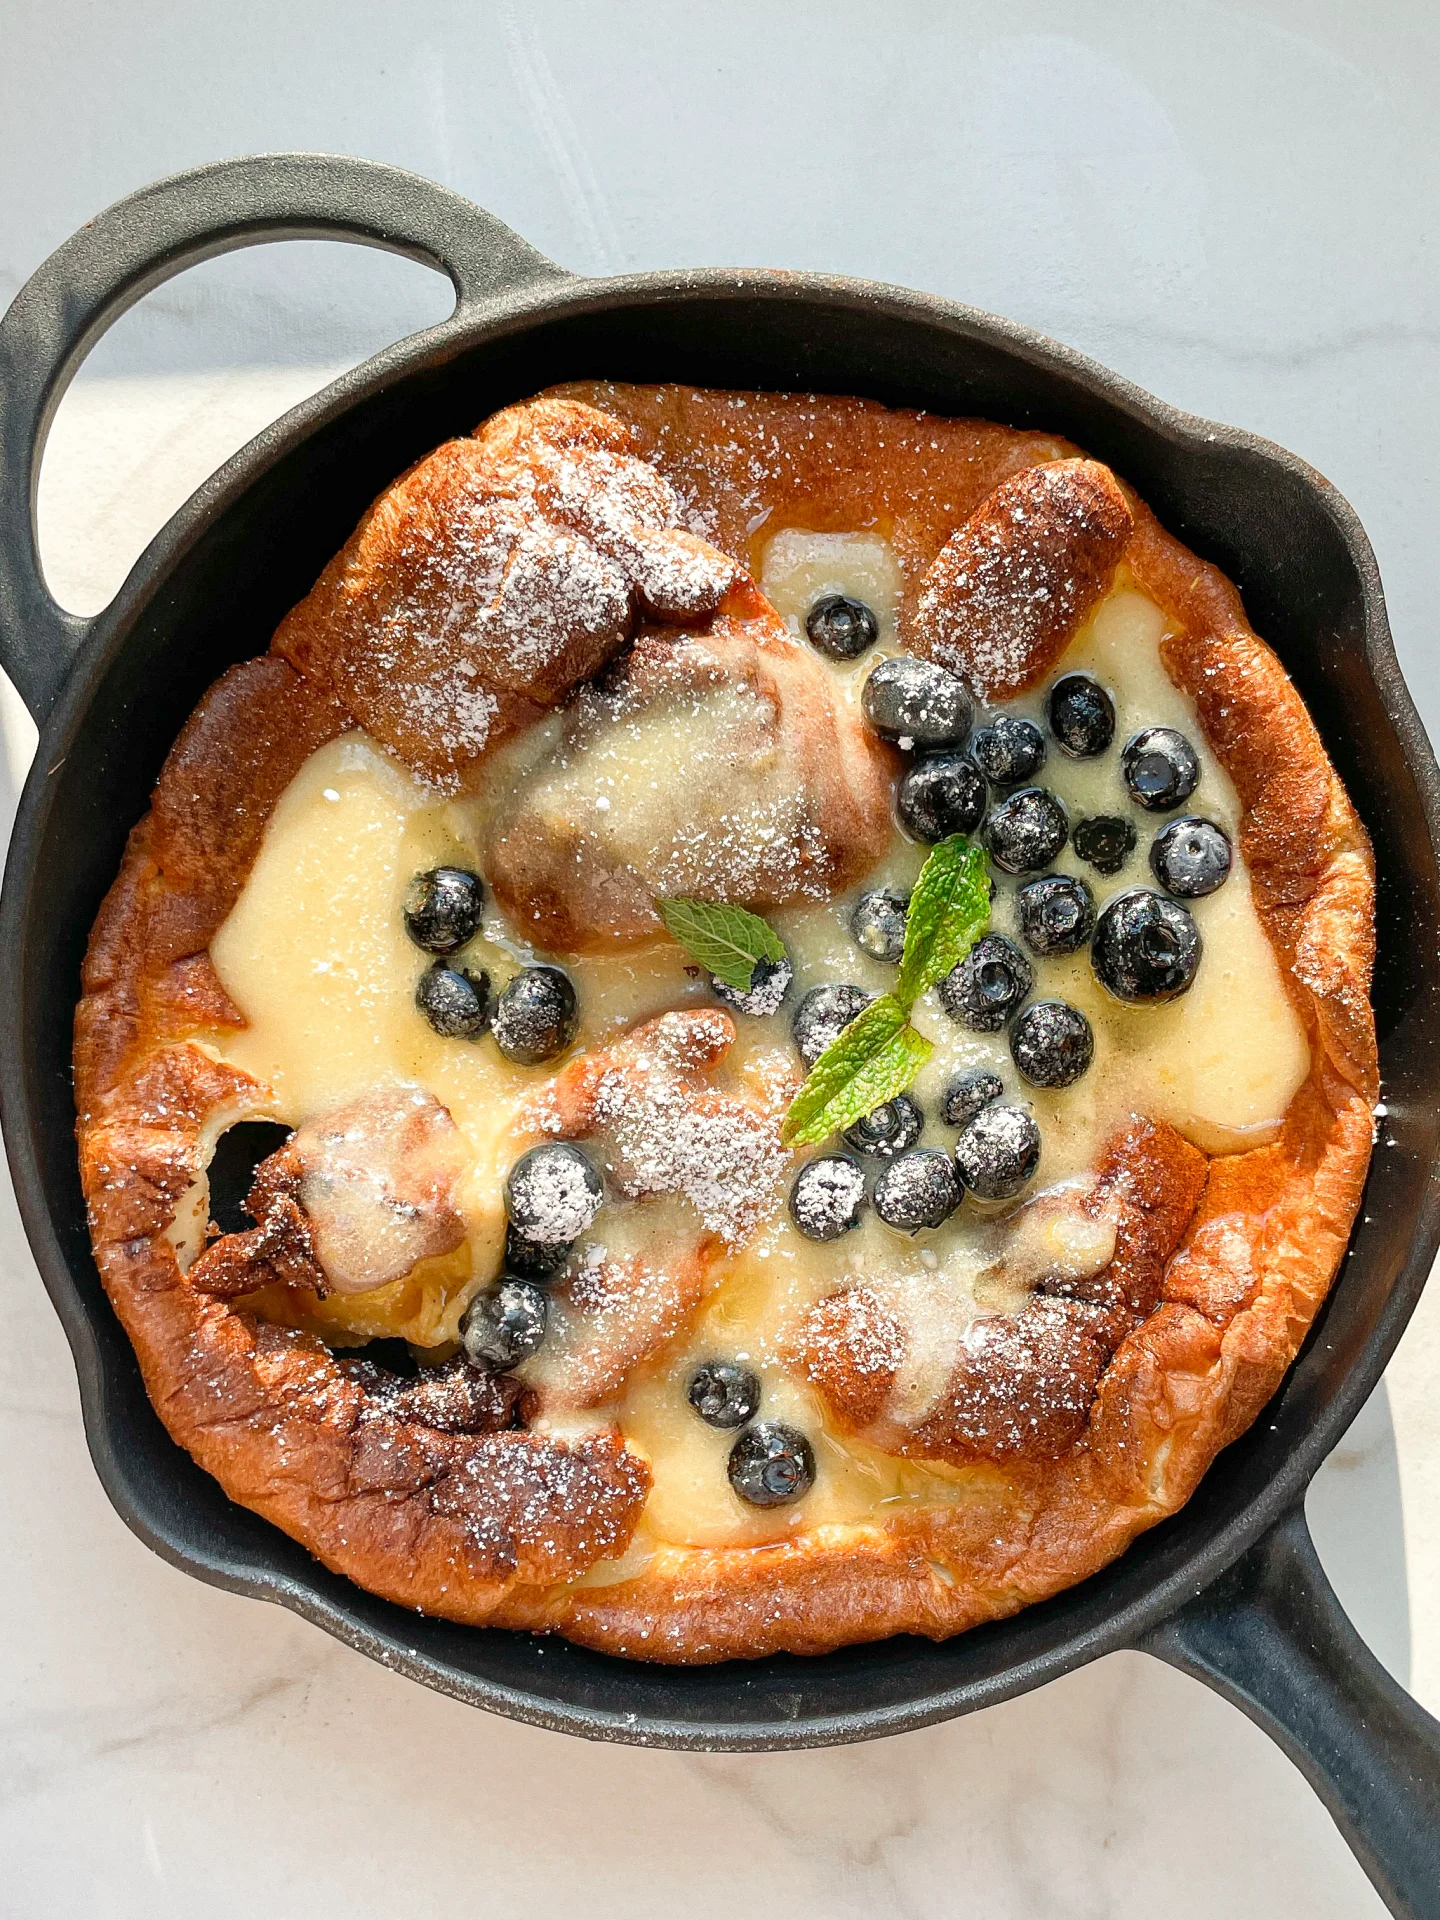
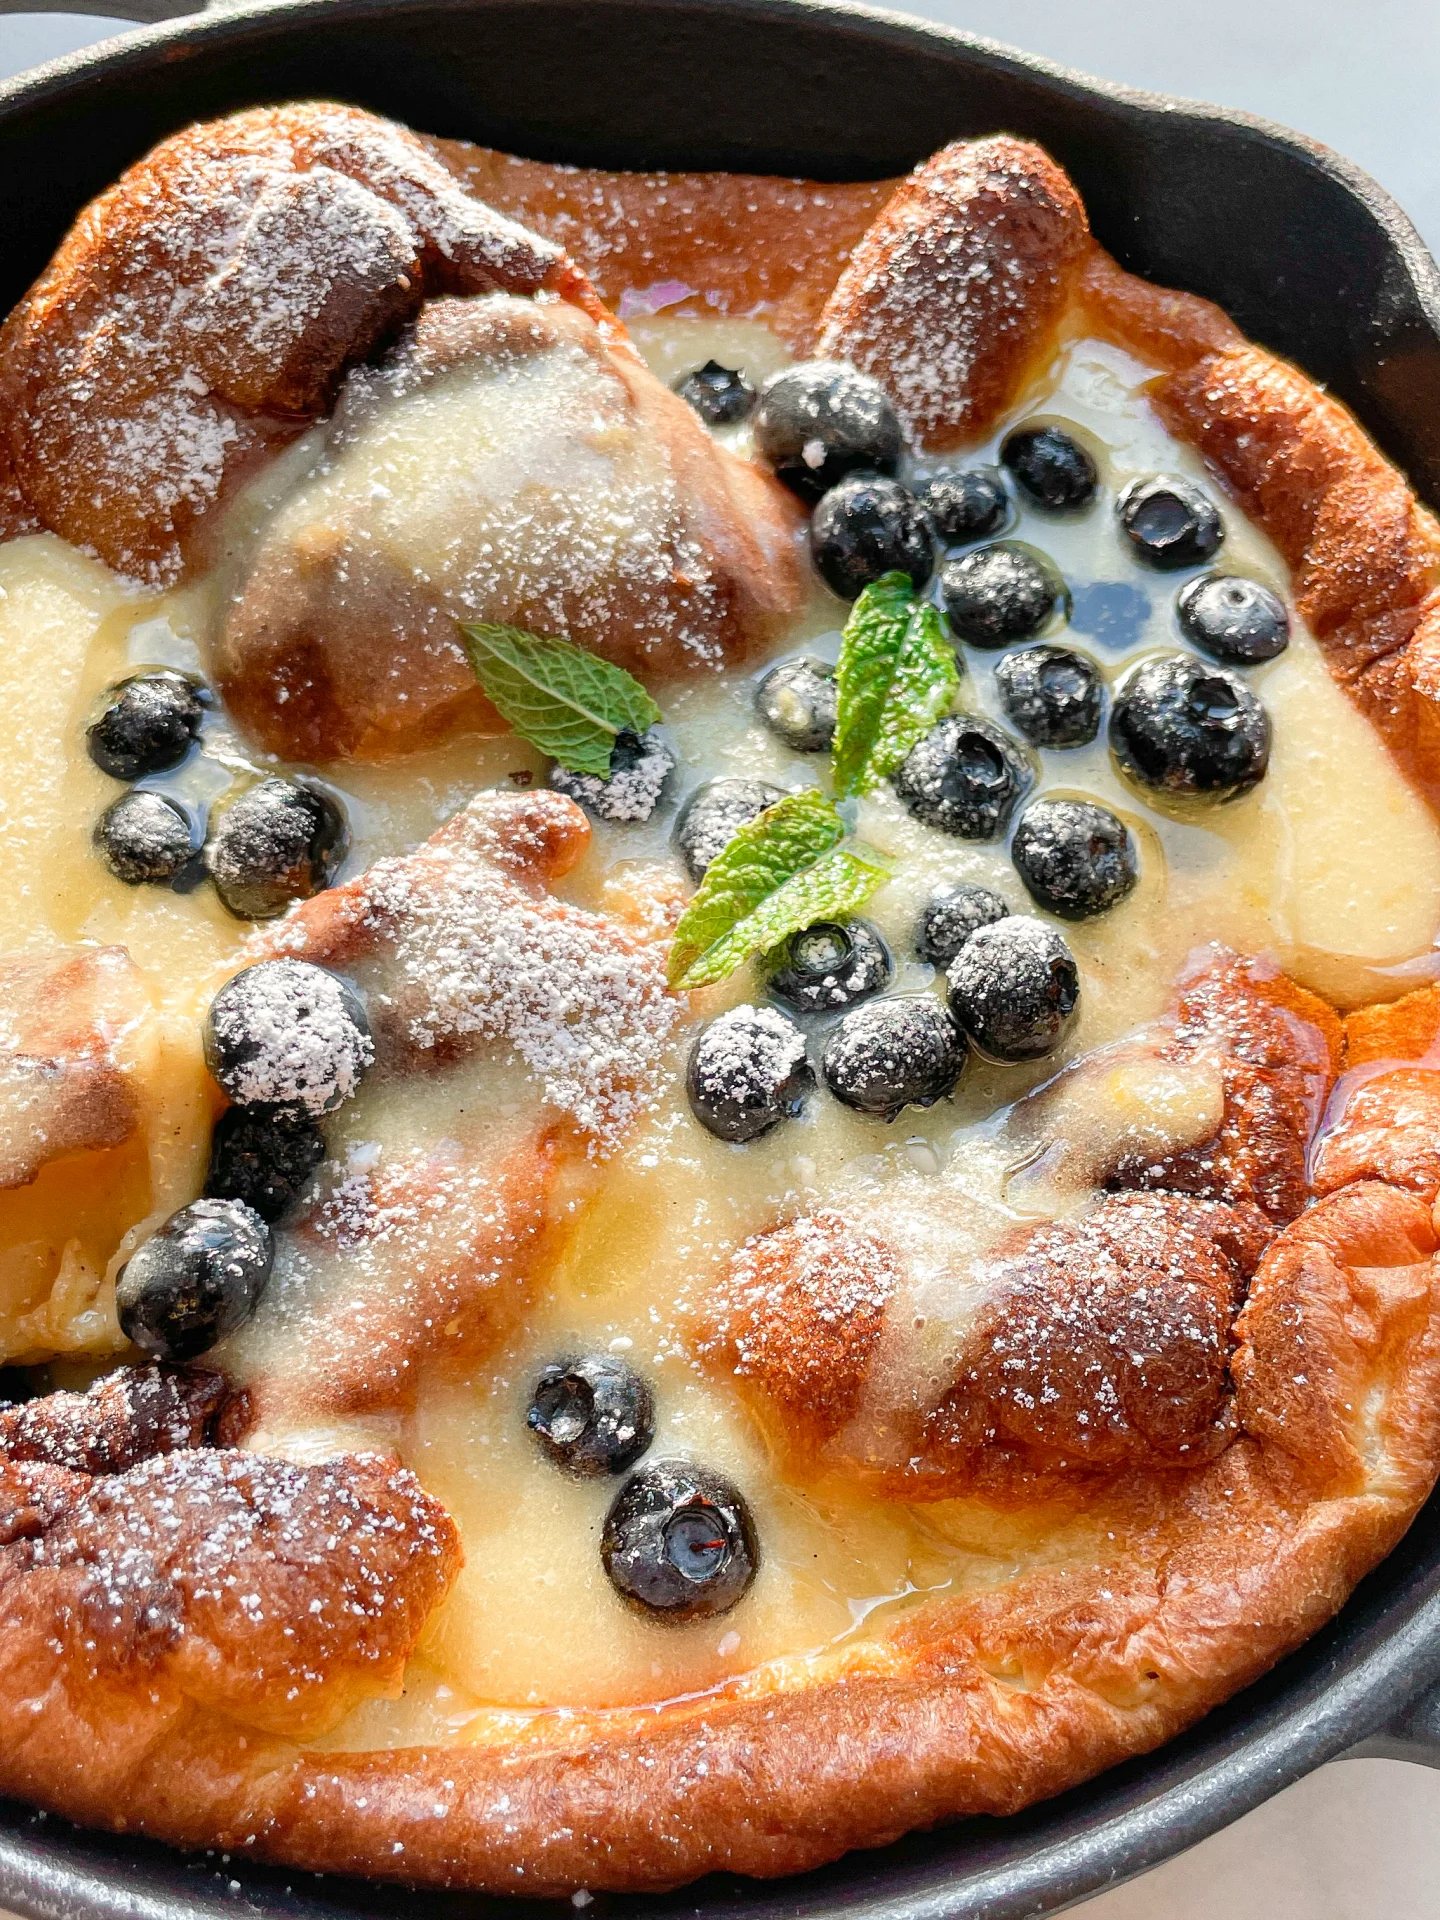
Indulge in a delightful Blueberry Lemon Curd Dutch Baby, bursting with fresh flavors and a fluffy, pancake-like texture. Perfect for a cozy brunch or special breakfast treat!

This website uses affiliate links which may earn commission for purchases made at no additional cost to you.

TOTAL TIME

45 min

SERVES

4 portions

DIET

vegetarian

EVERY RECIPE DESERVES

A Little Love Letter

Have you ever tried a Dutch Baby? It’s like a giant, fluffy pancake that’s perfect for impressing guests or treating yourself to something special. This Blueberry Lemon Curd Dutch Baby is a game-changer, blending tart lemon curd with sweet blueberries for an irresistible flavor combo. Plus, it’s super easy to make, so you can whip it up anytime you want a delicious, crowd-pleasing breakfast.

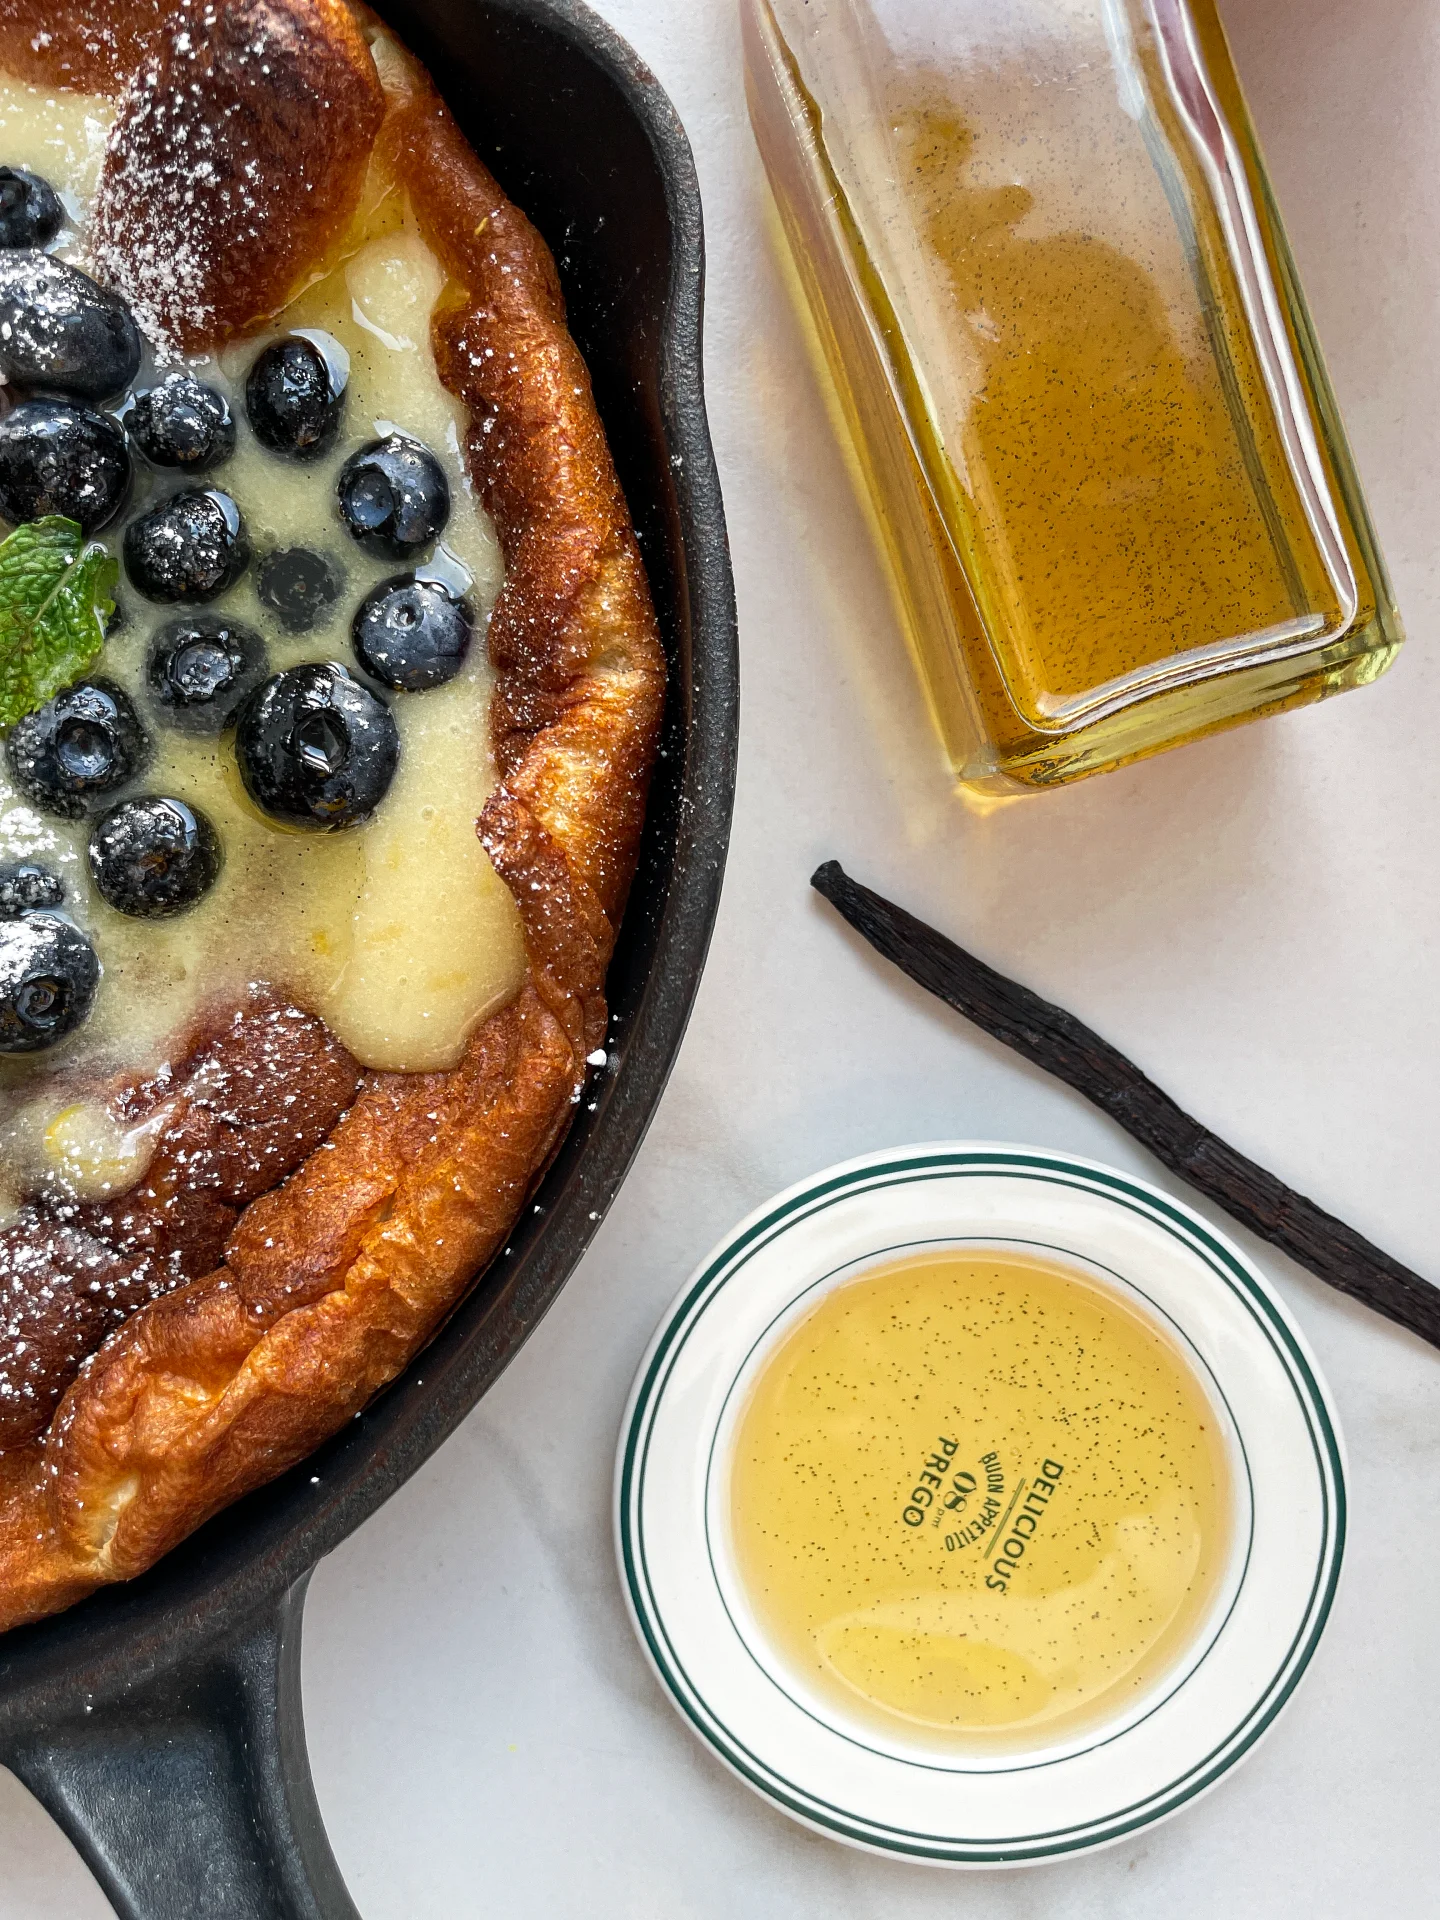
Simply dust it with powdered sugar, drizzle a bit more lemon curd on top, and scatter fresh blueberries for a beautiful presentation. Pair it with a cup of coffee or a mimosa for the ultimate brunch experience. This dish is also versatile – add a dollop of whipped cream or a scoop of vanilla ice cream for a decadent dessert version. Whether it’s a lazy weekend or a special occasion, this Dutch Baby is sure to impress. And for an extra decadent touch, my vanilla oil is a perfect match. Just drizzle a bit on top and serve.

Simply let it cool completely, then cover it with plastic wrap or place it in an airtight container. Keep it in the fridge for up to 2 days, and reheat it in the oven to retain its fluffiness.

Hi, I'm Kimberly!

Hi, I'm Kimberly.

A hopeless romantic when it comes to food. Every recipe I share is a love letter to food itself. I’m so glad you’re here. Make yourself at home and stay a while.

Love,
Kimberly

Kimberly the Zett Signature

If you want to get to know me better,
click here!


Blueberry Lemon Curd Dutch Baby

LET’S MAKE A PIECE OF HAPPINESS

Print
clock clock iconcutlery cutlery iconflag flag iconfolder folder iconinstagram instagram iconpinterest pinterest iconfacebook facebook iconprint print iconsquares squares iconheart heart iconheart solid heart solid icon
Blueberry Lemon Curd Dutch Baby

Blueberry Lemon Curd Dutch Baby


  • Author: Kimberly
  • Total Time: 45 min
  • Yield: 4 1x

Description

GOOD TO HAVE ON HAND

  • grater
  • food processor
  • medium metal bowl
  • electric mixer
  • small pot
  • whisk
  • sealable container (e.g., jam jar)
  • cast iron skillet
  • medium bowl
  • sharp knife
  • cutting board
  • small sieve


Ingredients

Units Scale
LEMON CURD
  • 2 lemons (we use the zest, the juice and the remaining lemon as garnish)
  • 150 grams white sugar
  • 2 eggs
  • 70 grams butter, room temperature
  • pinch of salt
DUTCH BABY BATTER
  • 2 eggs
  • 65 grams all-purpose flour
  • 120 milliliters whole-fat milk
  • 1 tbsp white sugar
  • 1/2 tsp vanilla extract
  • 1/8 tsp salt
  • 1 tbsp butter, for greasing the pan
TOPPINGS
  • blueberries
  • mint leaves
  • powdered sugar
  • lemon slices

Instructions

  1. First, make the lemon curd: Grate the zest of the two lemons and add them to a food processor with 150g / 3/4 cup of sugar. Mix for 1-1.5 minutes until the zest is finely chopped and blended with the sugar.
  2. Transfer the sugar to a metal bowl and mix in the butter with an electric mixer. Next, add one egg at a time, mixing in between. Juice 3 of the 4 lemon halves and add the juice to the butter-sugar-egg mixture along with a pinch of salt. Mix well.
  3. Fill a small pot halfway with water and bring to a simmer over medium heat. Place the metal bowl on top of the pot and whisk the mixture constantly until it thickens, about 10-15 minutes. The right consistency is reached when the mixture is around 80-85°C (175-185°F) or when it started to thicken.
  4. Remove the bowl from the pot and pour the lemon curd into a clean, sealable container (I used an old jam jar) and set aside. The lemon curd will make exactly 300g / 10.5 oz. It will become more firm the longer it sits.
  5. Now prepare the Dutch Baby. Preheat the oven to 210°C (410°F) and place a cast iron skillet inside to heat up.
  6. In a medium bowl, whisk the eggs with salt and vanilla extract. Add the flour and mix until creamy. Gradually add the milk, whisking until you have a smooth batter.
  7. Once the oven is preheated, use an oven mitt to remove the skillet and add 1 tbsp of butter. Coat the skillet with the melted butter and pour in the batter. Return the skillet to the oven and bake on the middle rack for 11-12 minutes.
  8. Meanwhile, wash and dry the blueberries and mint leaves. Slice the remaining lemon quarter. Have powdered sugar and a small sieve ready.
  9. Remove the skillet from the oven, spread the lemon curd over the Dutch Baby, and garnish with powdered sugar, blueberries, lemon slices, and mint leaves.
  10. And for an extra decadent touch, my vanilla oil is a perfect match. Just drizzle a bit on top and serve.
  • Passive Time: 15 min
  • Cook Time: 30 min
CRAVING MORE?

Follow along here & don’t forget to subscribe to my substack!

American Flag Pie

American Flag Pie

American Flag Pie

American Flag Pie

July 4, 2024 by Kimberly

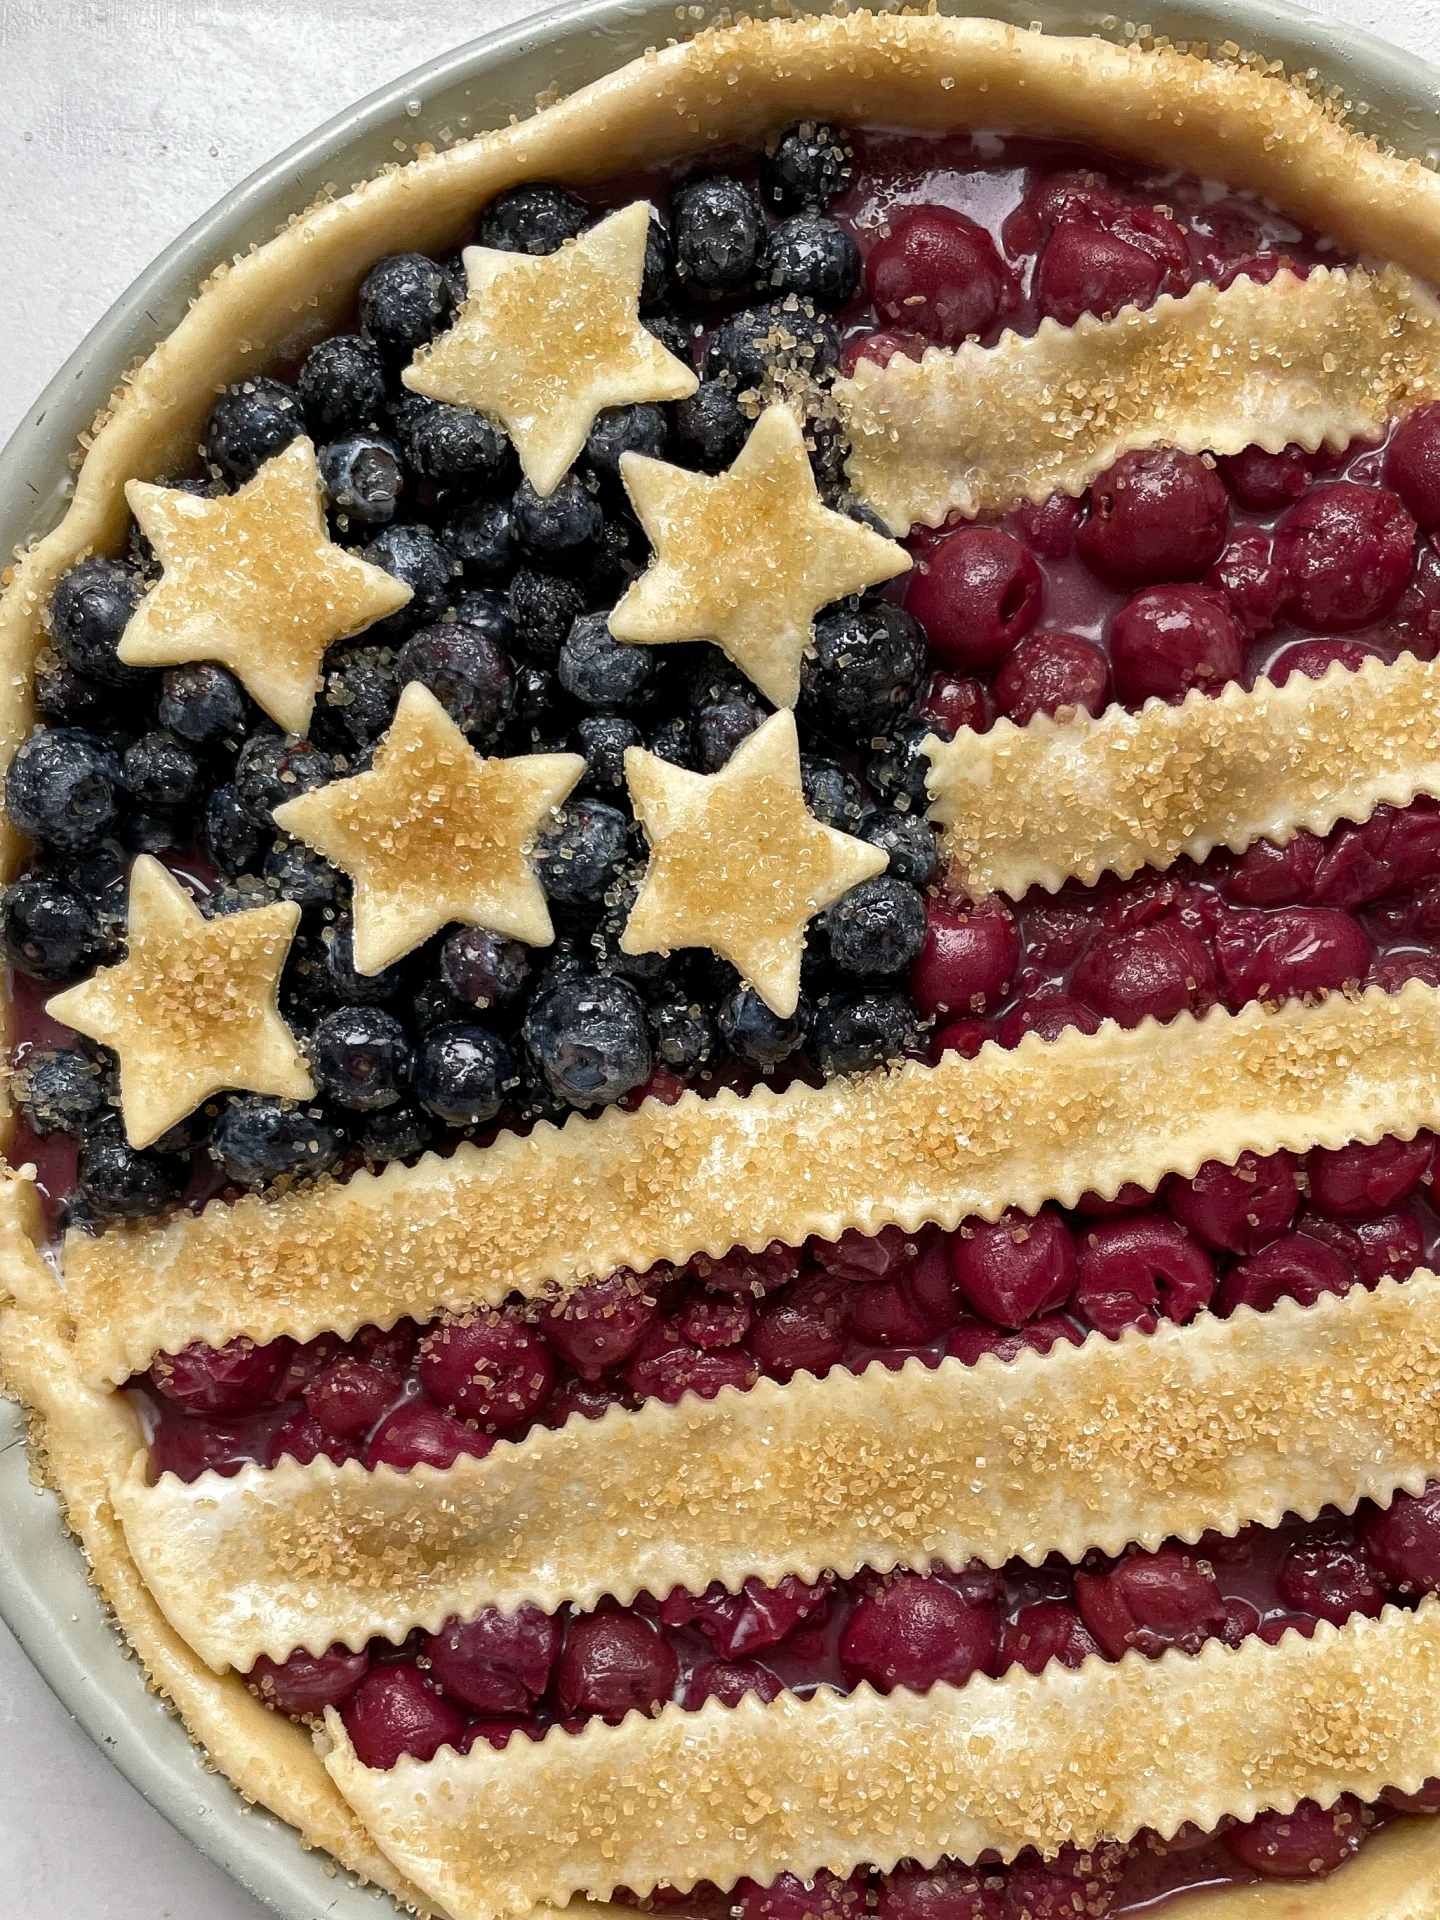
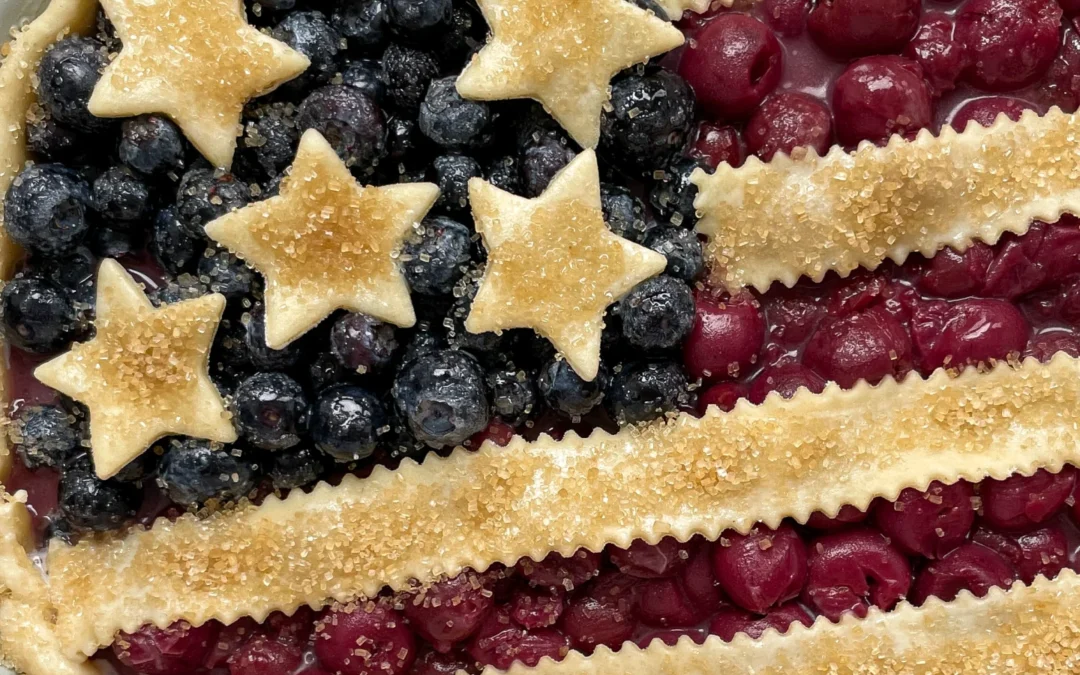
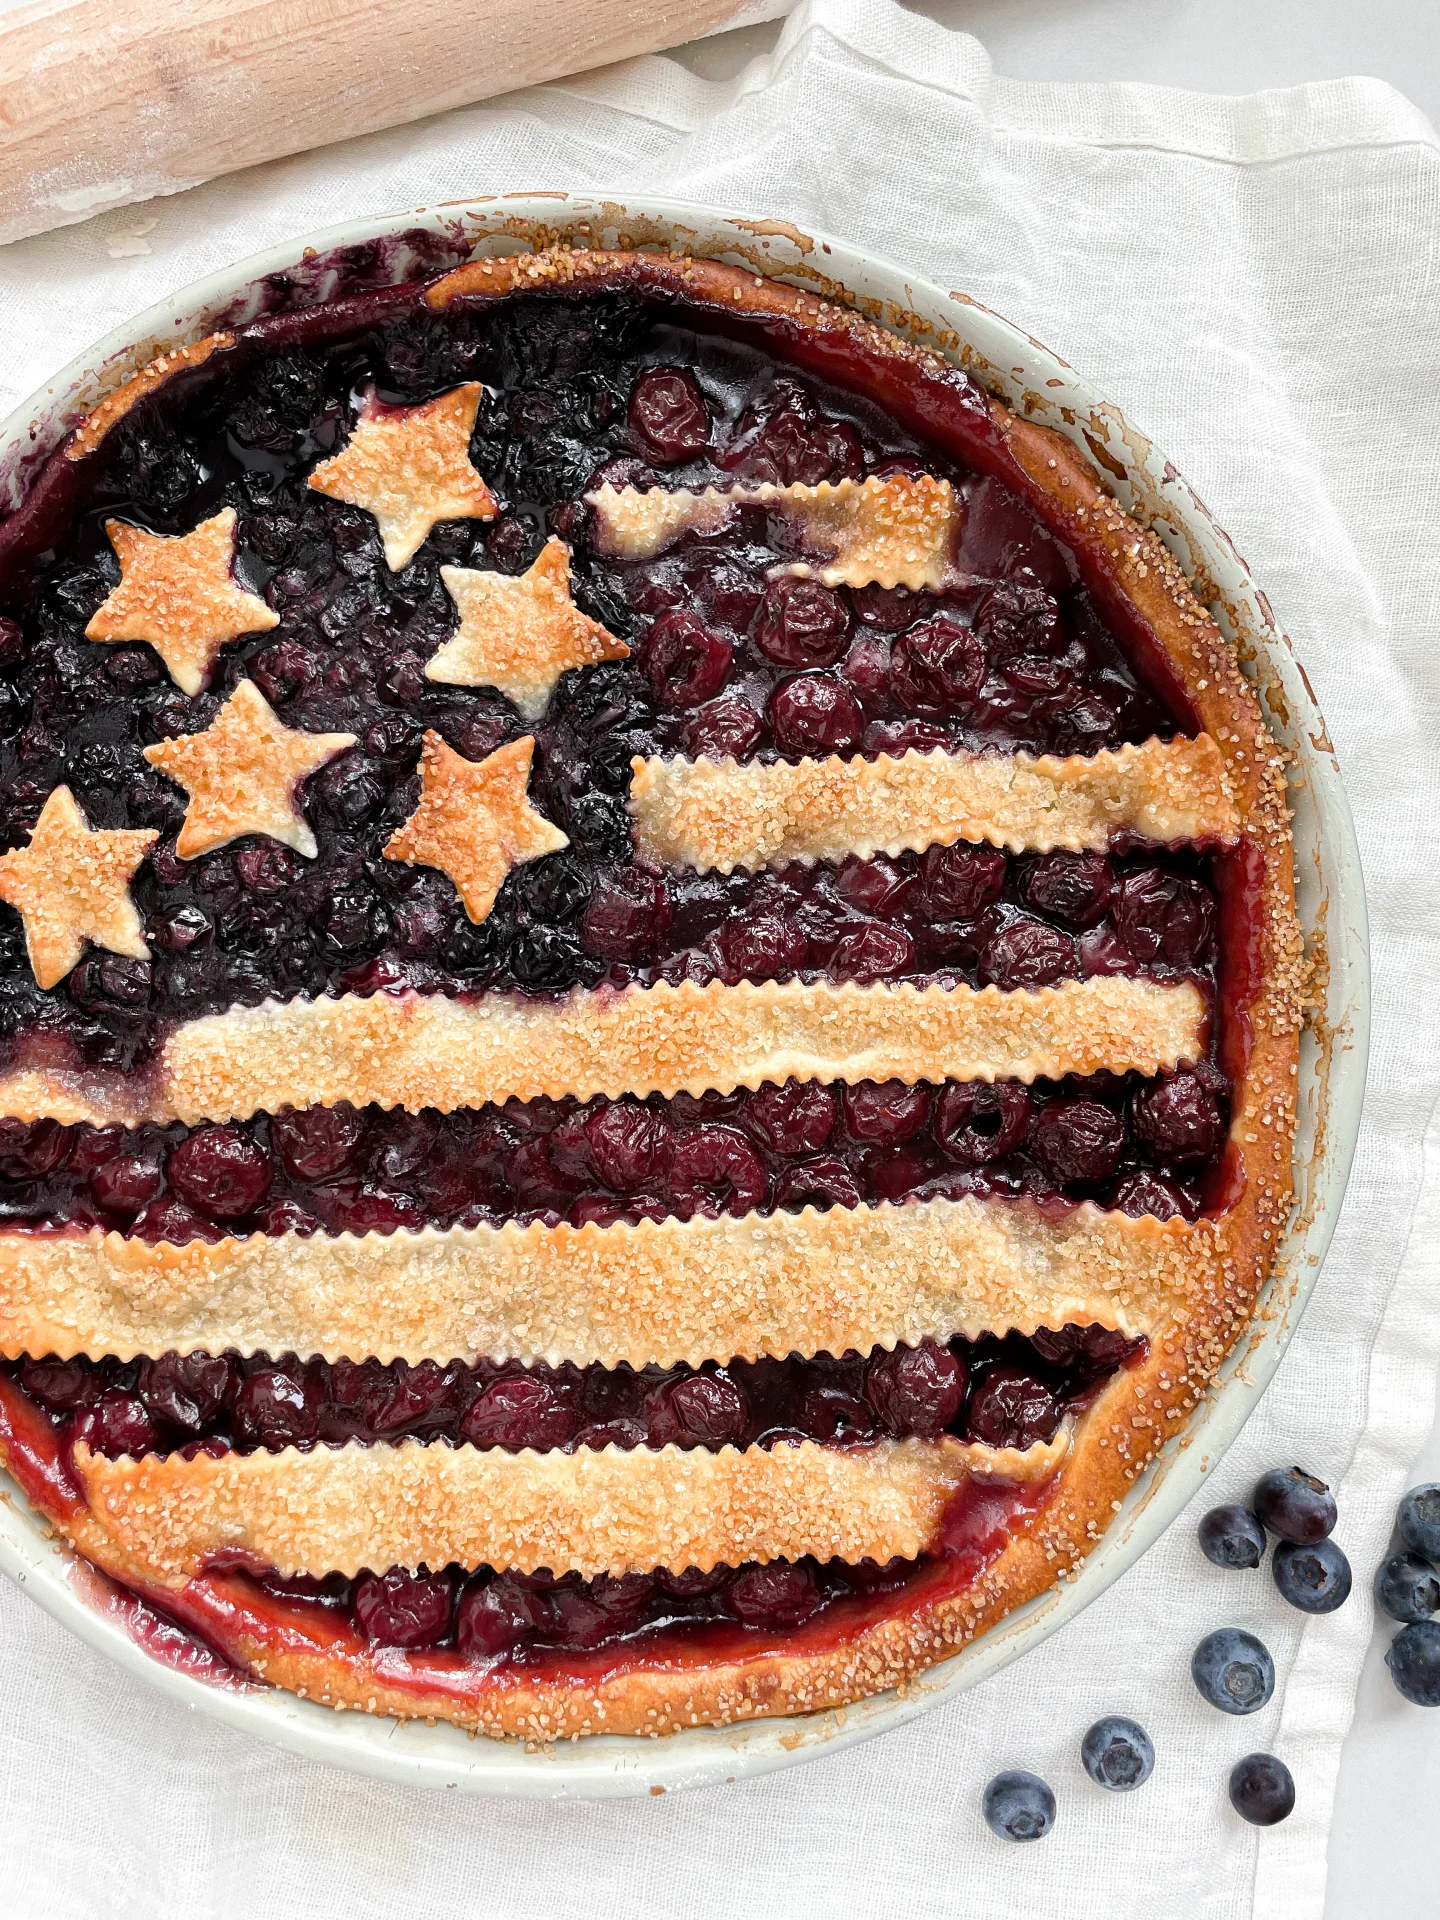
Diving into the 4th of July with a sweet tribute to America! This patriotic cherry and blueberry pie captures the festive spirit in every delicious, colorful slice.

This website uses affiliate links which may earn commission for purchases made at no additional cost to you.

TOTAL TIME

4 hrs + 45 min

SERVES

8 pieces

DIET

vegan

EVERY RECIPE DESERVES

A Little Love Letter

Nothing screams 4th of July like an American Flag Pie! This vibrant cherry and blueberry pie isn’t just a treat for your taste buds—it’s a festive homage to the USA, perfect for any patriotic celebration.

Best served chilled or at room temperature, this pie stands out at your holiday table. Top it off with a scoop of vanilla ice cream or a drizzle of fresh cream to complement the tangy berries. Gather around for fireworks and a slice of Americana!

Keep any leftover pie covered in the refrigerator. It stays fresh and tasty for up to three days, ensuring you can enjoy the flavors of the holiday a little longer.

Hi, I'm Kimberly!

Hi, I'm Kimberly.

A hopeless romantic when it comes to food. Every recipe I share is a love letter to food itself. I’m so glad you’re here. Make yourself at home and stay a while.

Love,
Kimberly

Kimberly the Zett Signature

If you want to get to know me better,
click here!


American Flag Pie
American Flag Pie
American Flag Pie
American Flag Pie

LET’S MAKE A PIECE OF HAPPINESS

Print
clock clock iconcutlery cutlery iconflag flag iconfolder folder iconinstagram instagram iconpinterest pinterest iconfacebook facebook iconprint print iconsquares squares iconheart heart iconheart solid heart solid icon
American Flag Pie

American Flag Pie


  • Author: Kimberly
  • Total Time: 4 hrs + 45 min
  • Yield: 8-10 pieces 1x

Description

GOOD TO HAVE ON HAND

  • 2 medium-sized bowls
  • plastic wrap
  • medium-sized pot
  • strainer + small bowl
  • whisk
  • oven
  • rolling pin
  • pie dish (28 cm / 11″)
  • sharp knife
  • star-shaped cutter
  • aluminum foil
  • pastry brush


Ingredients

Units Scale
PIE CRUST
  • 350 grams all-purpose flour
  • 50 grams white sugar
  • 130 grams unsalted butter, cold
  • 120 milliliters buttermilk, cold
  • pinch of salt
CHERRY FILLING
  • 700 grams morello cherries
  • 100 grams white sugar
  • 30 grams cornstarch
  • 1 tbsp butter
  • pinch of salt
BLUEBERRY FILLING
  • 250 grams blueberries
  • 50 grams white sugar
  • 1 tbsp cornstarch
  • 1 tbsp lemon juice
TOPPING
  • 1 tbsp full-fat milk
  • 1 tbsp brown sugar

Instructions

  1. Start by preparing the dough in a medium-sized bowl. Mix flour, sugar, and salt together. Then add cold butter, cut into small pieces, and crumble everything by hand until the butter is flaky. Add all the buttermilk and mix by hand until you have a somehow crumbly but firm dough. Wrap the dough in plastic wrap and chill it in the fridge for 30 minutes.
  2. Meanwhile, make the cherry filling in a medium-sized pot. Mix sugar, cornstarch, and salt together. Drain the cherries using a strainer, saving 1/2 cup of the juice, and add it to the pot. Cook over medium heat, letting it simmer until the mixture becomes creamy and the cloudiness disappears. Then add the cherries and a tablespoon of butter. Stir until the butter has melted. Set aside to cool.
  3. Next, prepare the blueberry filling. Wash the blueberries and place them in a medium-sized bowl. Add lemon juice, sugar, and cornstarch and mix well until all the blueberries are well coated.
  4. Preheat the oven to 215°C / 420°F and place the rack on the lowest shelf.
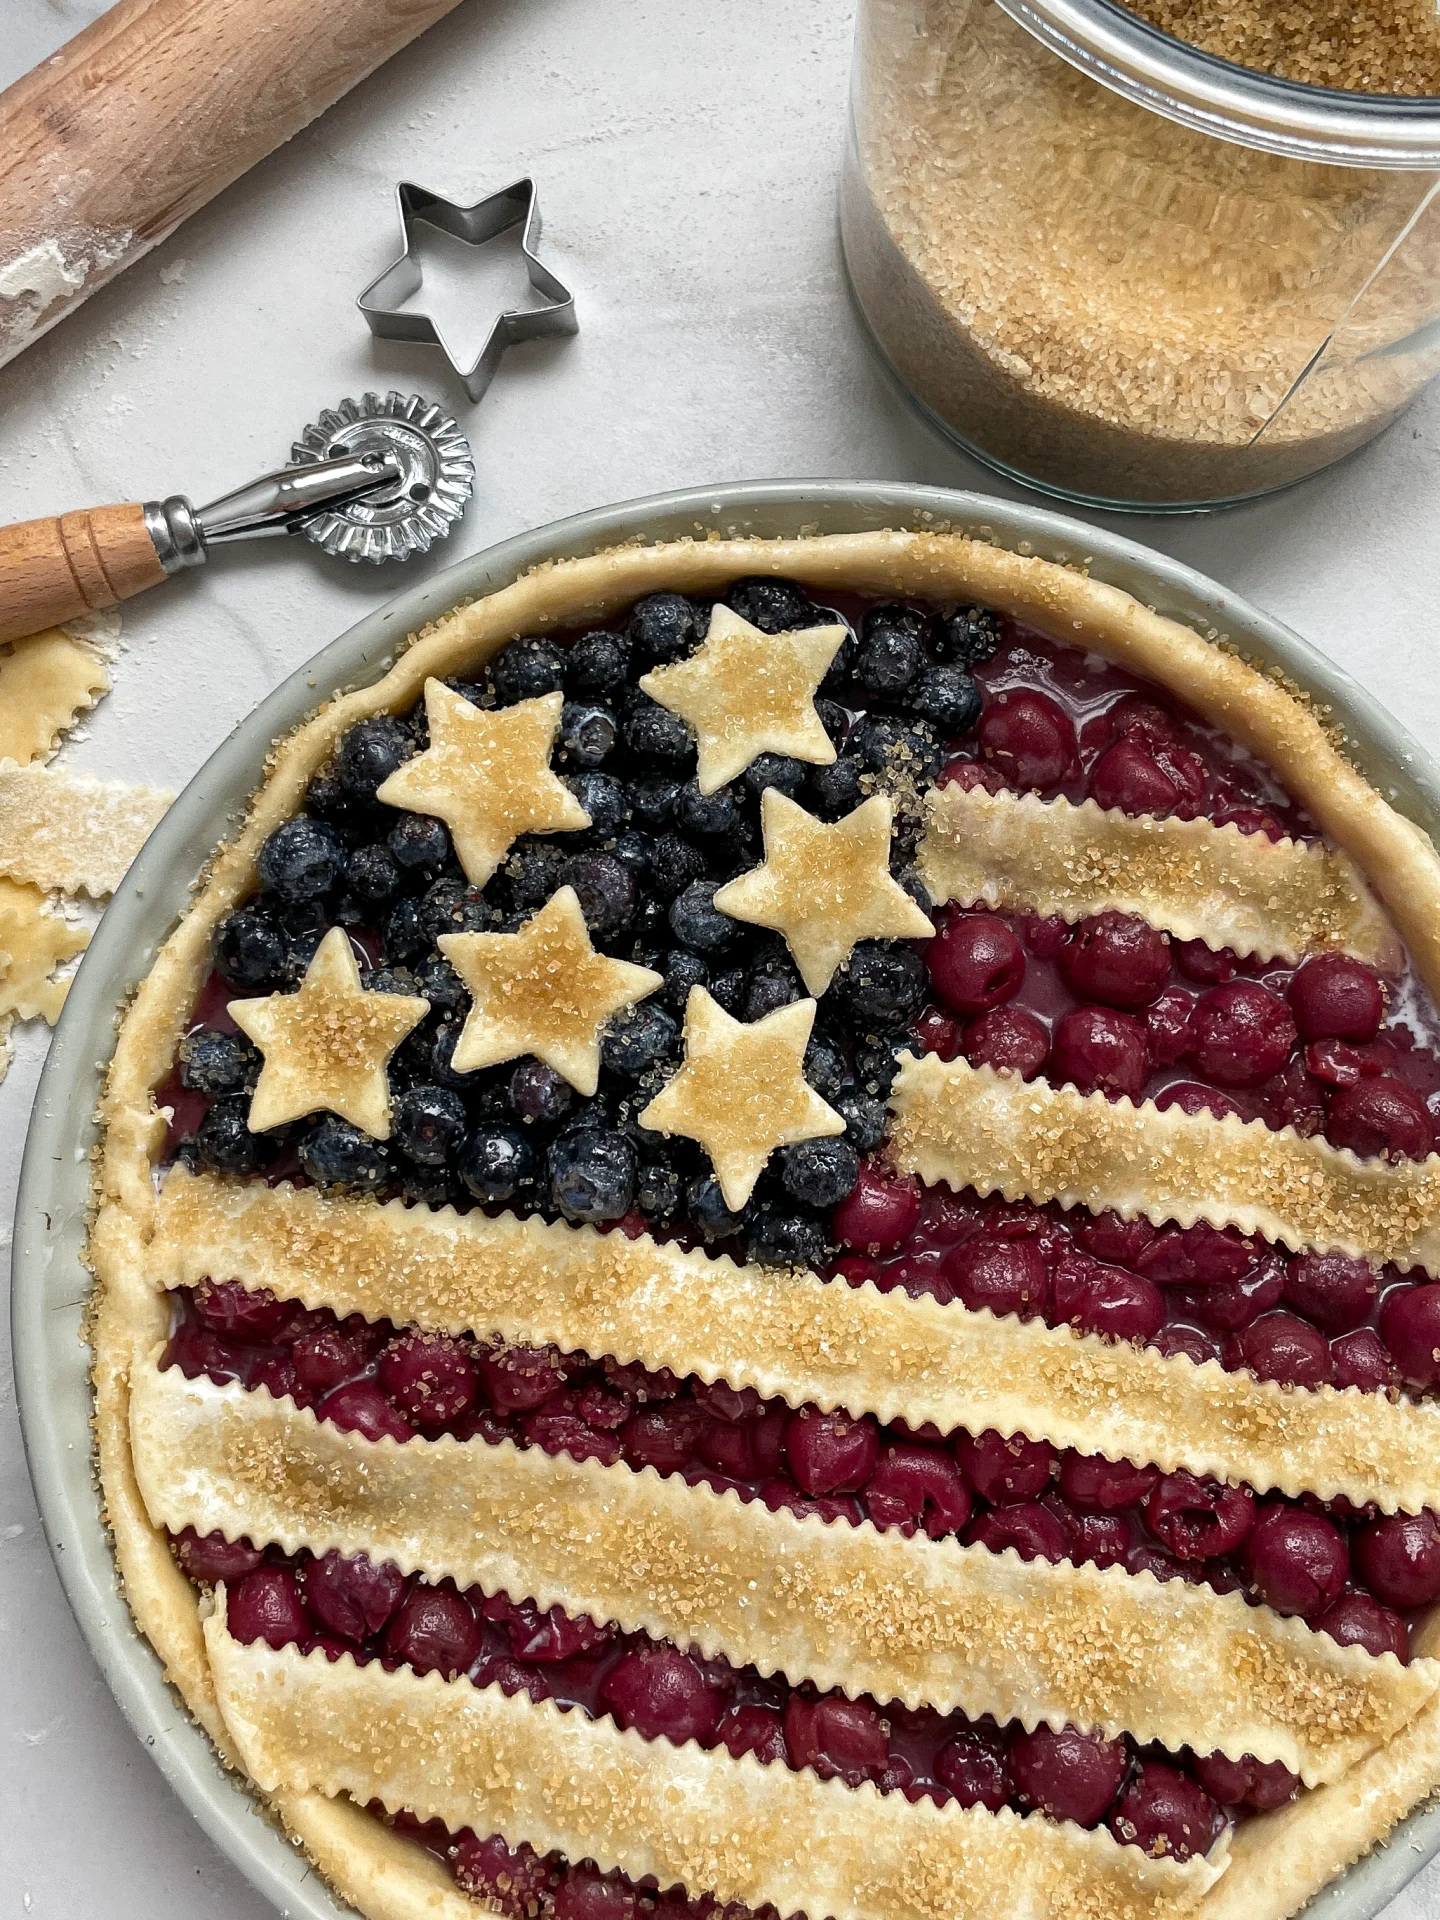
  5. Take the dough out of the fridge and shape it into a round ball. Place the dough on a heavily floured, clean work surface. Sprinkle more flour on the dough, then roll it out from the center using a rolling pin. The dough should be about 12 cm / 5″ larger in diameter than the pie dish. The dough itself should be 1cm / 1/3″ thick. Roll the dough around the rolling pin, then unroll it over the pie dish. Carefully fit the dough into the dish, then trim the excess edges. Tuck the edge inward to create a thicker top edge. From the remaining dough, cut out 4 long strips and 6 stars for the Stars & Stripes decoration. Set these aside.
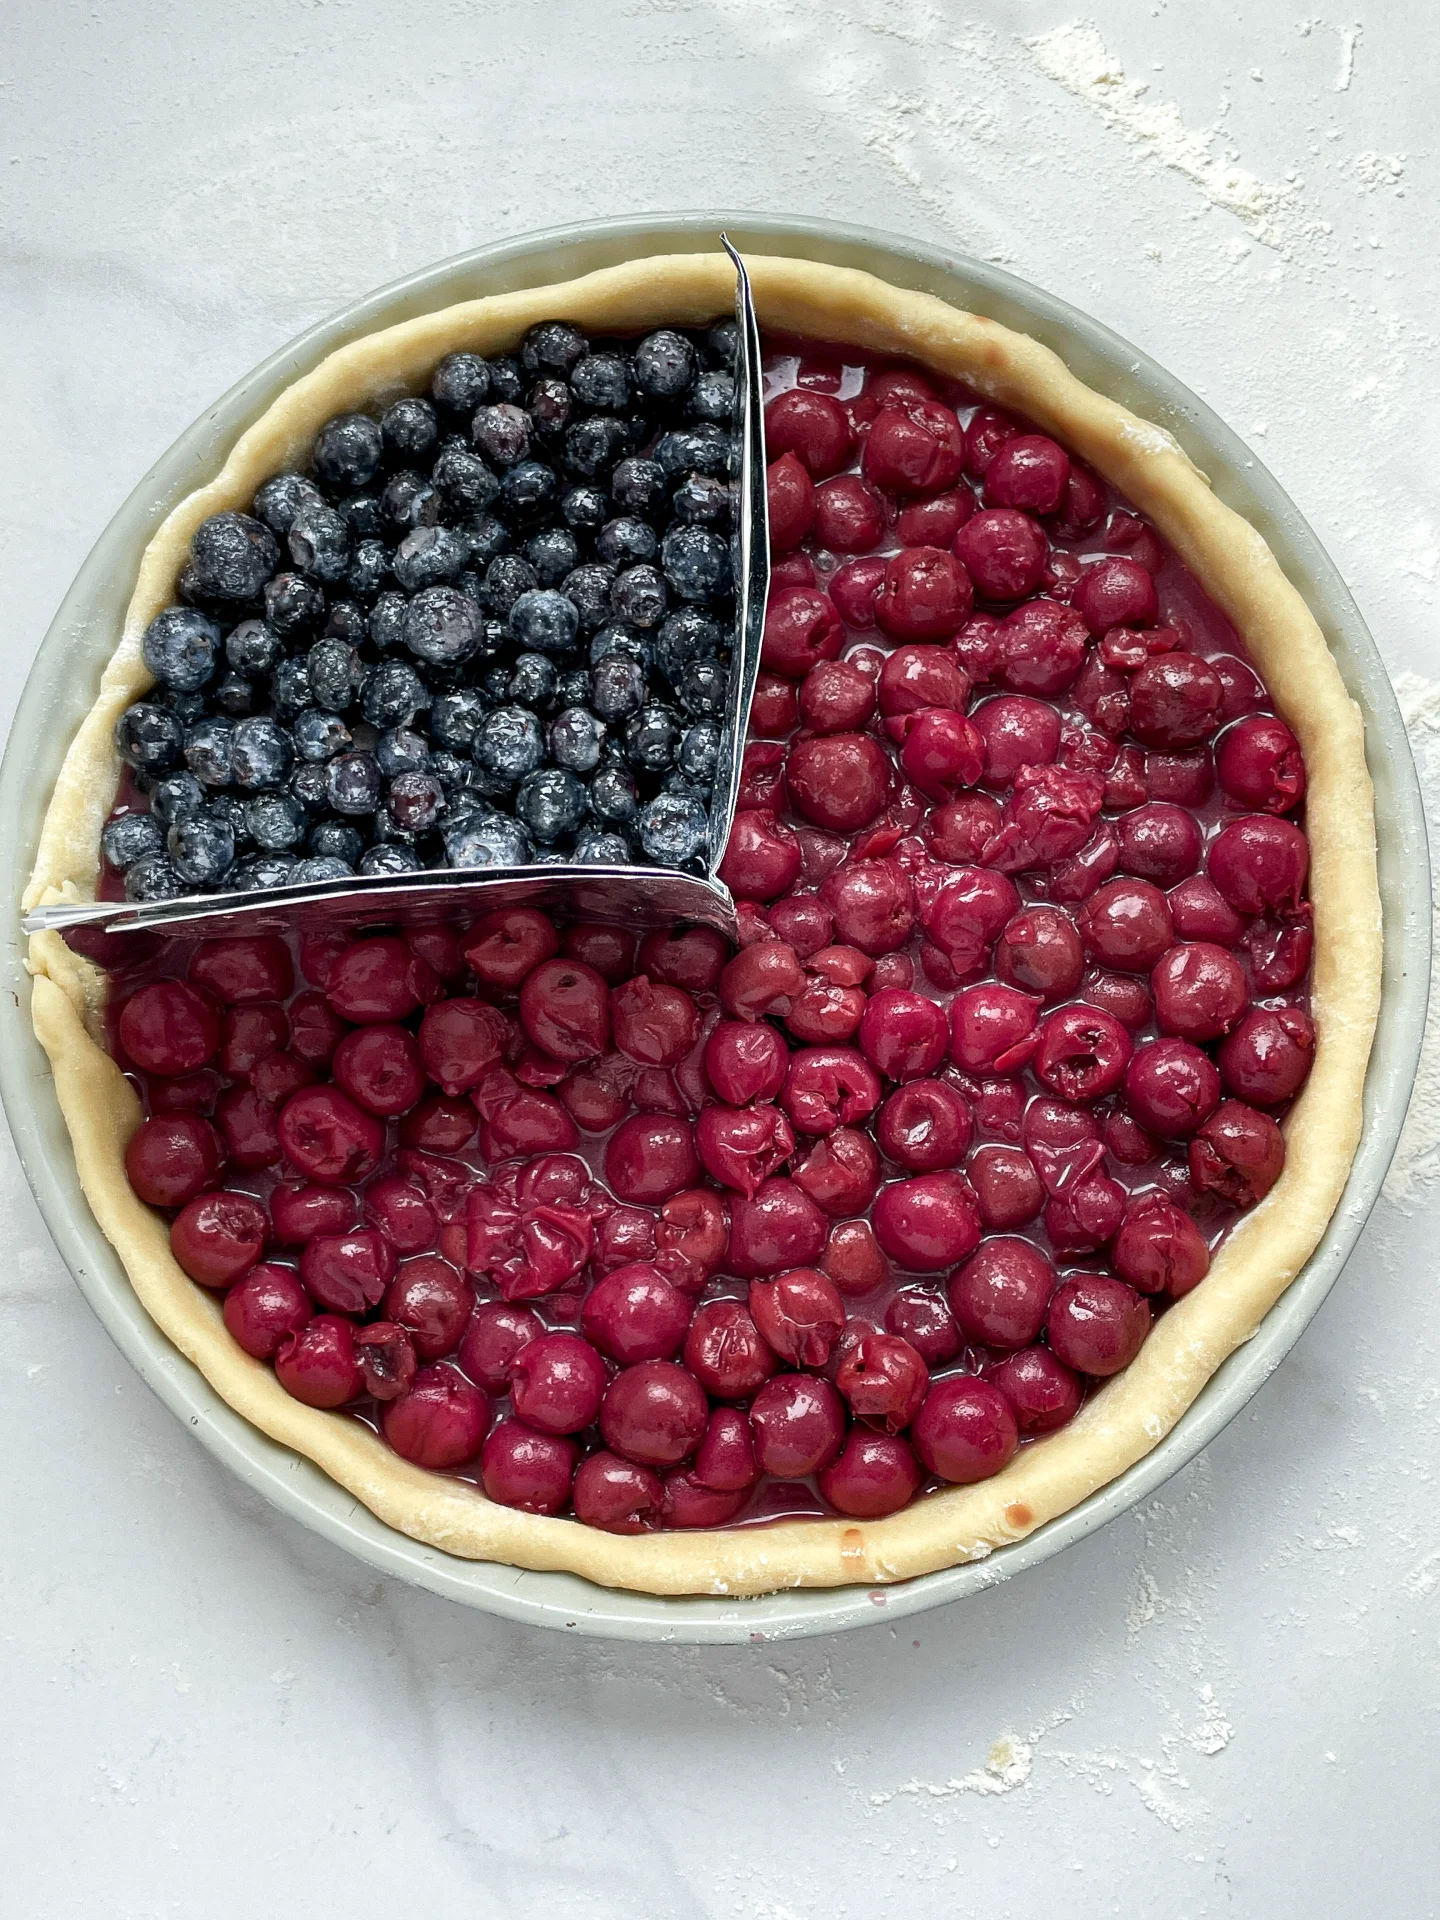
  6. Take a piece of aluminum foil, fold it lengthwise, and then shape it into a right angle so it fits into the upper left quarter of the pie dish, acting as a divider between the fillings. Fill the 1/4 area with the blueberry mixture and the 3/4 area with the cherry filling. Remove and discard the foil.
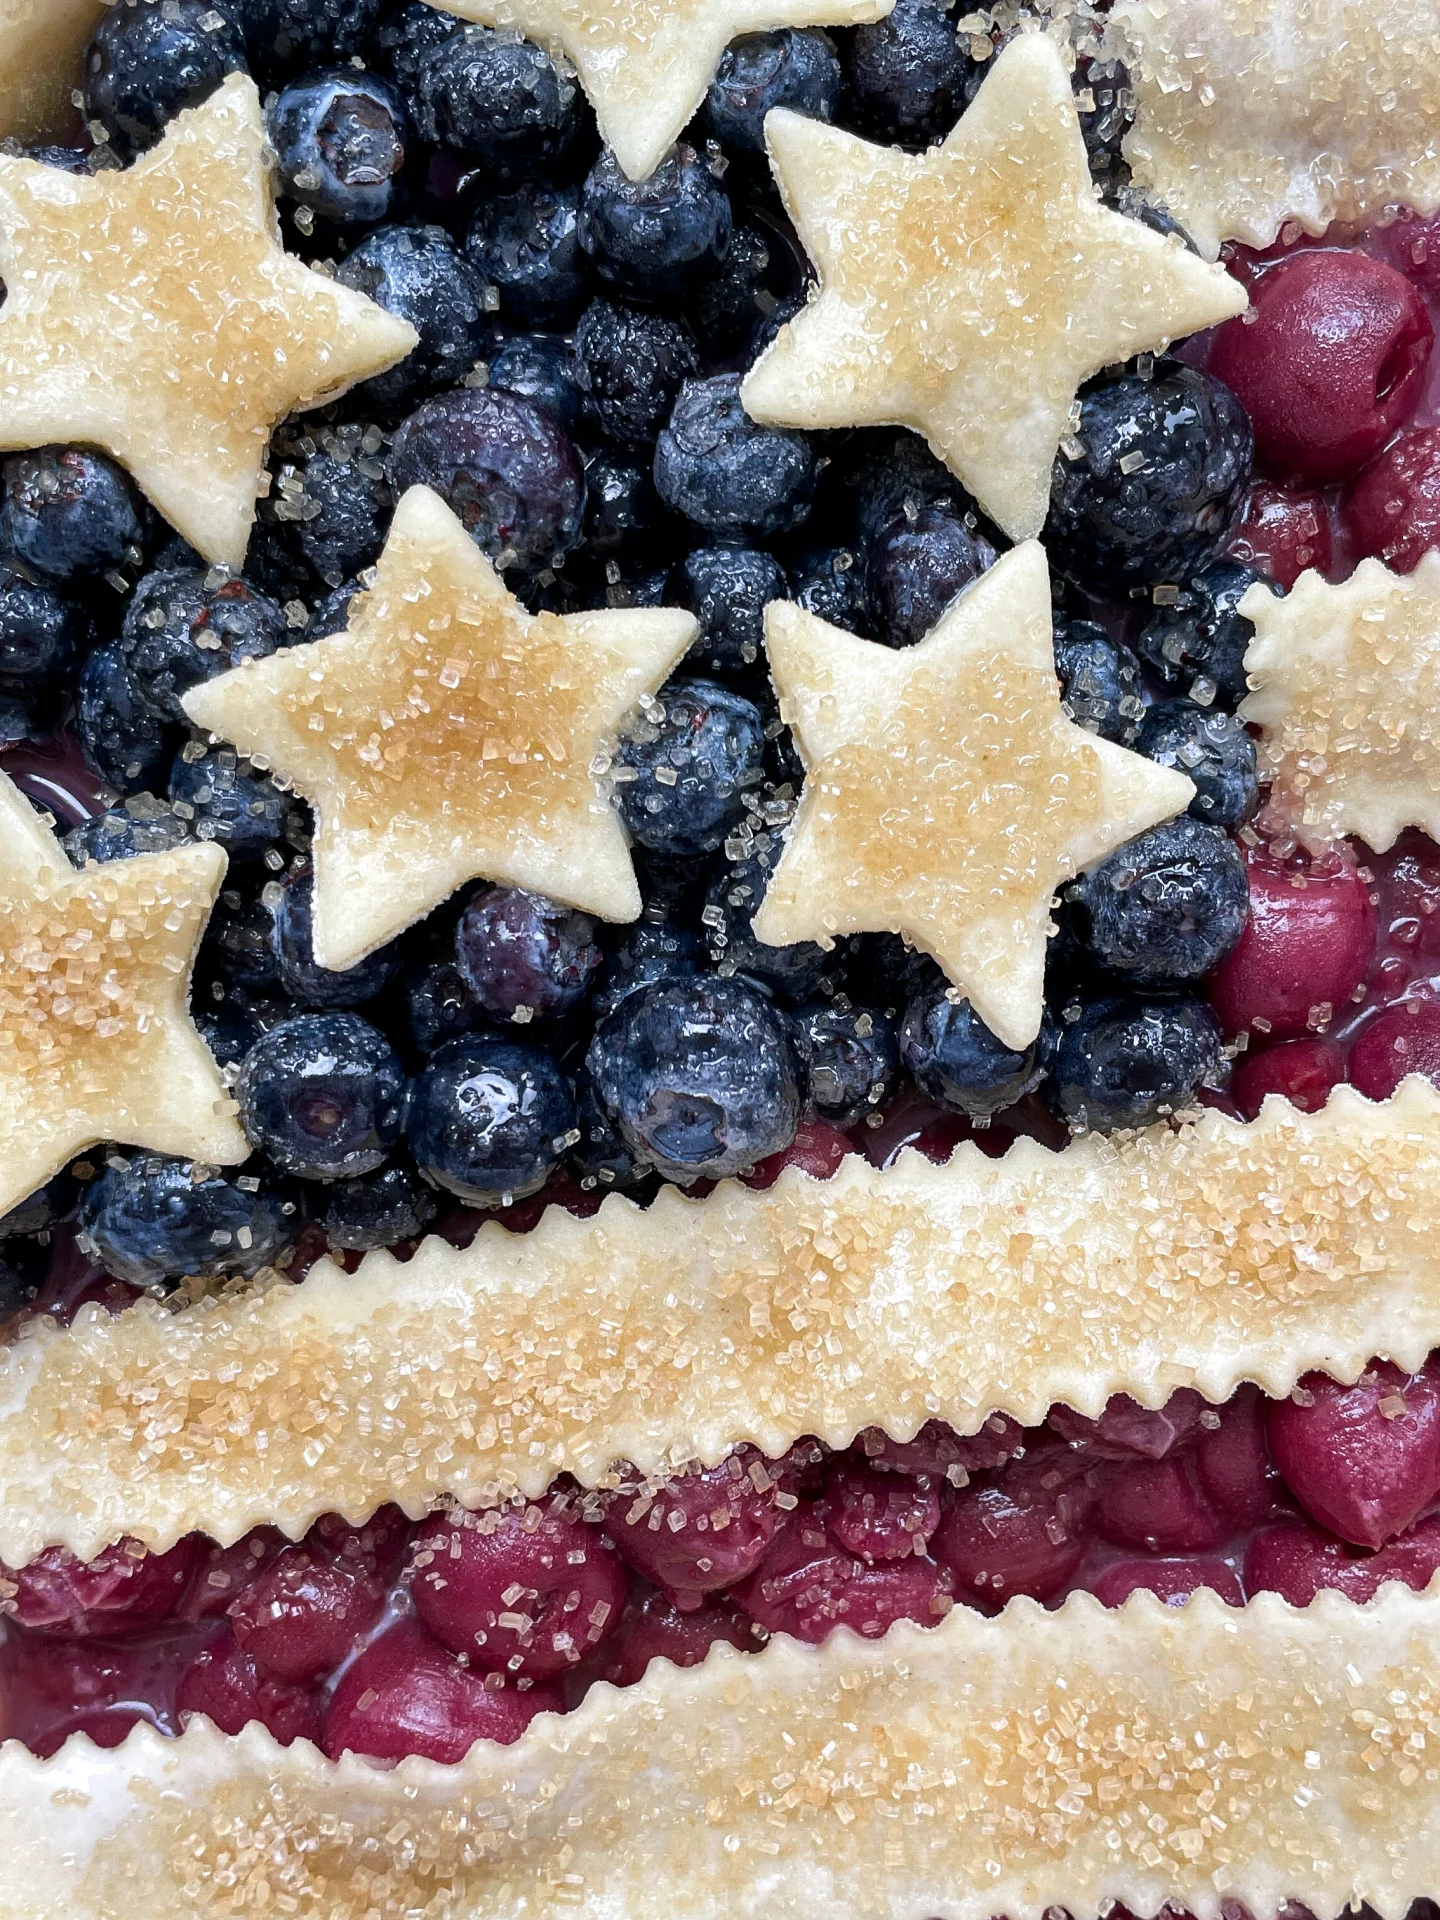
  7. Distribute the cut-out stars over the blueberry filling and arrange the strips over the cherry filling. Trim the strips at the edges and fold them in. Brush the Stars & Stripes and the edges of the crust with a little milk and sprinkle with brown sugar.
  8. Bake the pie in the oven for 20 minutes. Then reduce the temperature to 175°C / 350°F and bake for another 25 minutes. Let the pie cool completely, which can take 3-4 hours as the filling sets upon cooling. Happy 4th of July!

Notes

The calorie information may vary depending on the product used, country and region.

  • Prep Time: 60 min
  • Passive Time: 3 hrs
  • Cook Time: 45 min
CRAVING MORE?

Follow along here & don’t forget to subscribe to my substack!

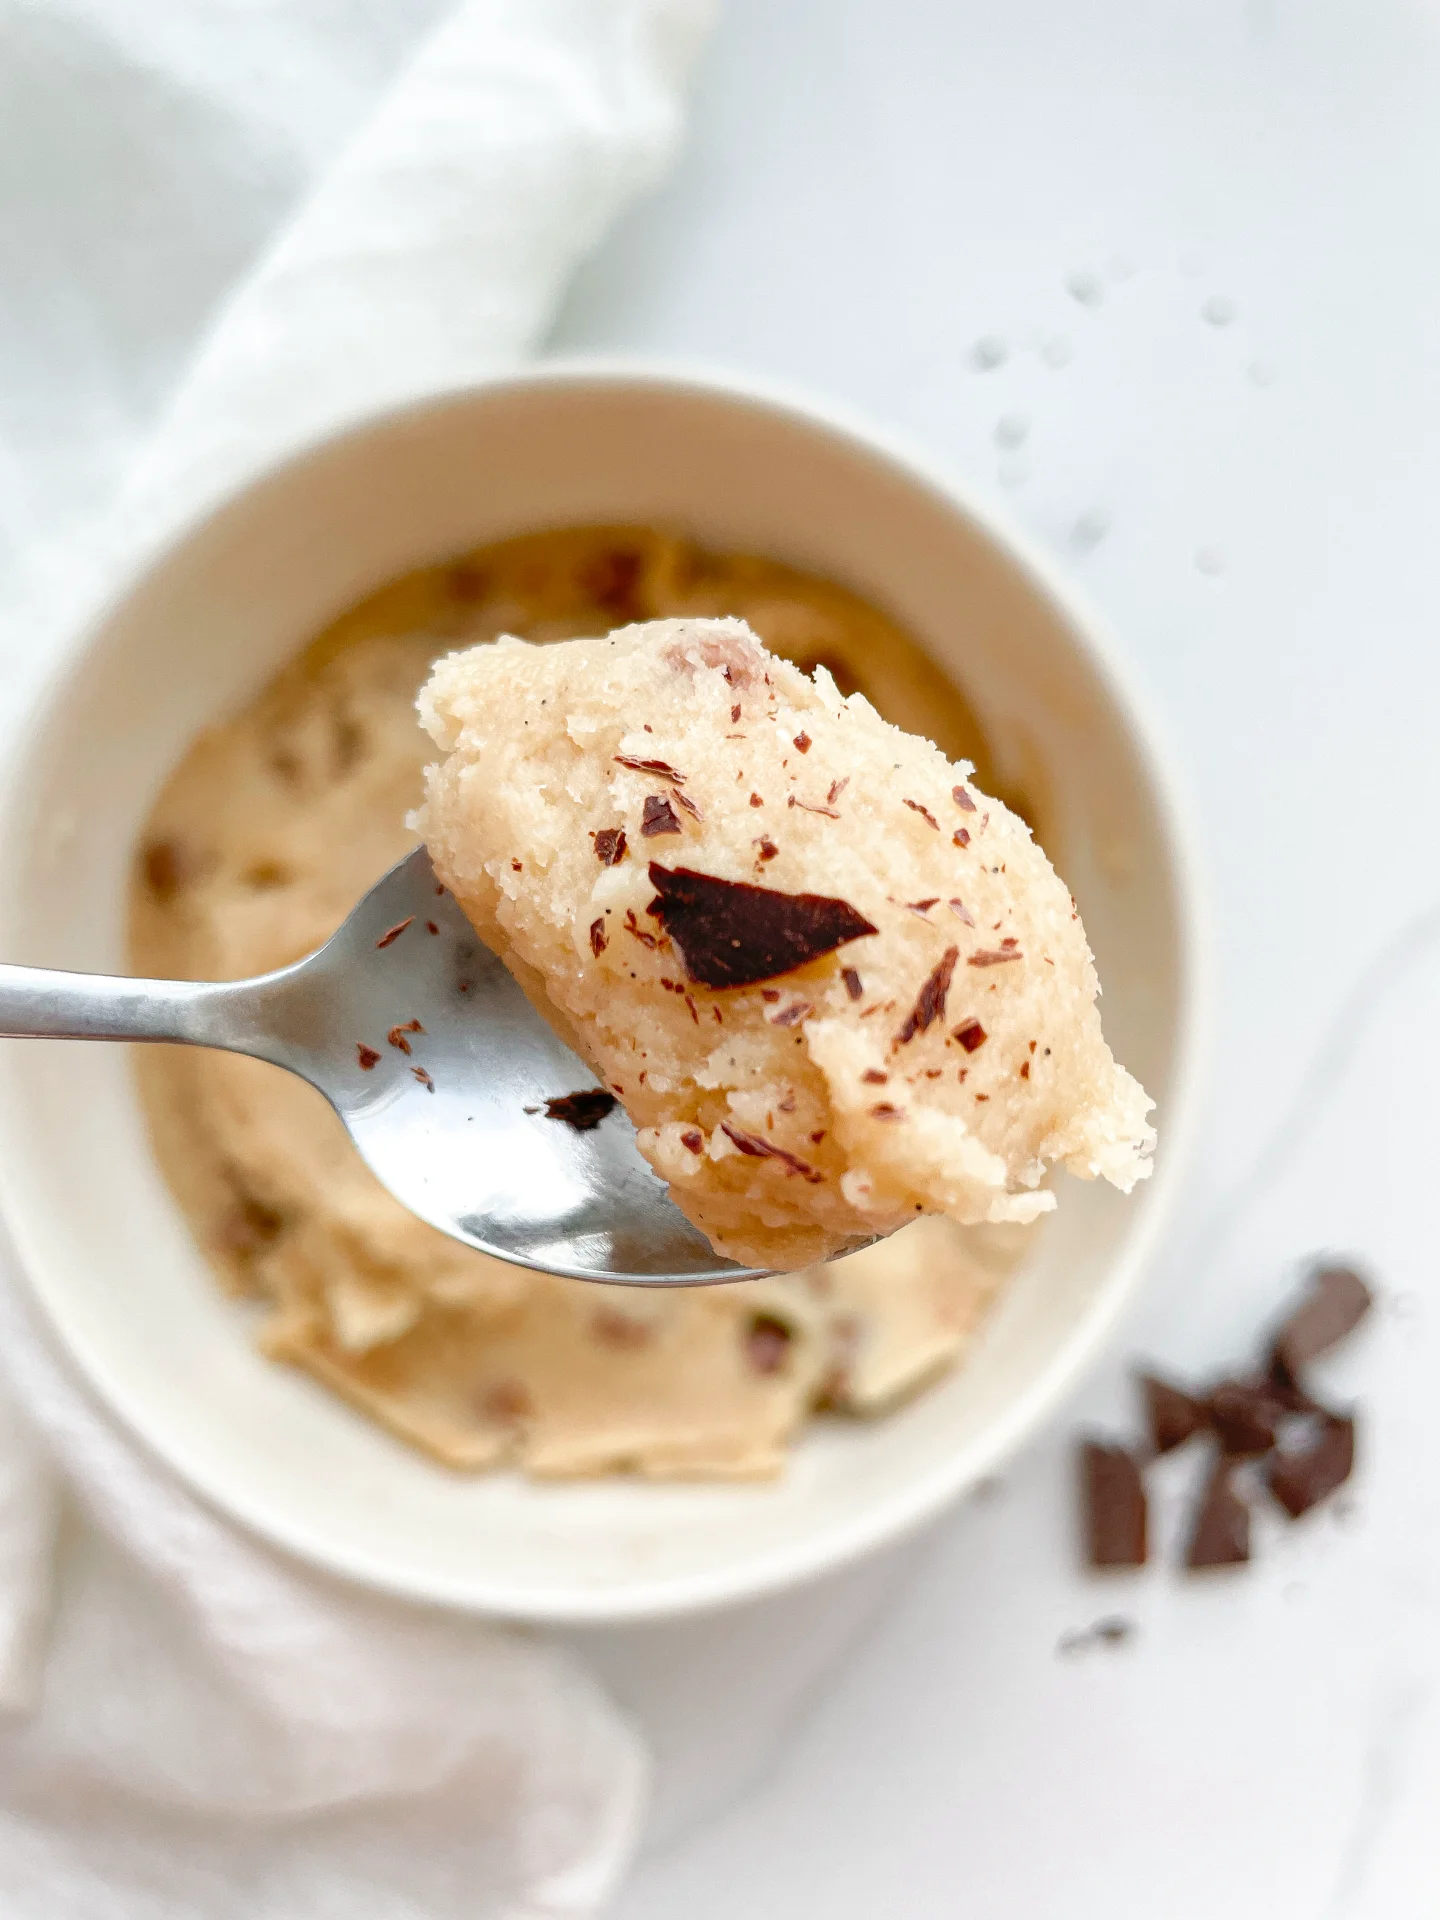
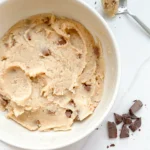
Chocolate Chip Cookie Dough

Chocolate Chip Cookie Dough

Chocolate Chip Cookie Dough

Chocolate Chip Cookie Dough

May 18, 2024 by Kimberly

Obsessed with cookie dough? This easy, edible chocolate chip version is your new go-to treat! Safe to eat and super delicious – perfect for any sweet craving!

This website uses affiliate links which may earn commission for purchases made at no additional cost to you.

TOTAL TIME

5 min
SERVES

4 portions

DIET

vegetarian

EVERY RECIPE DESERVES

A Little Love Letter

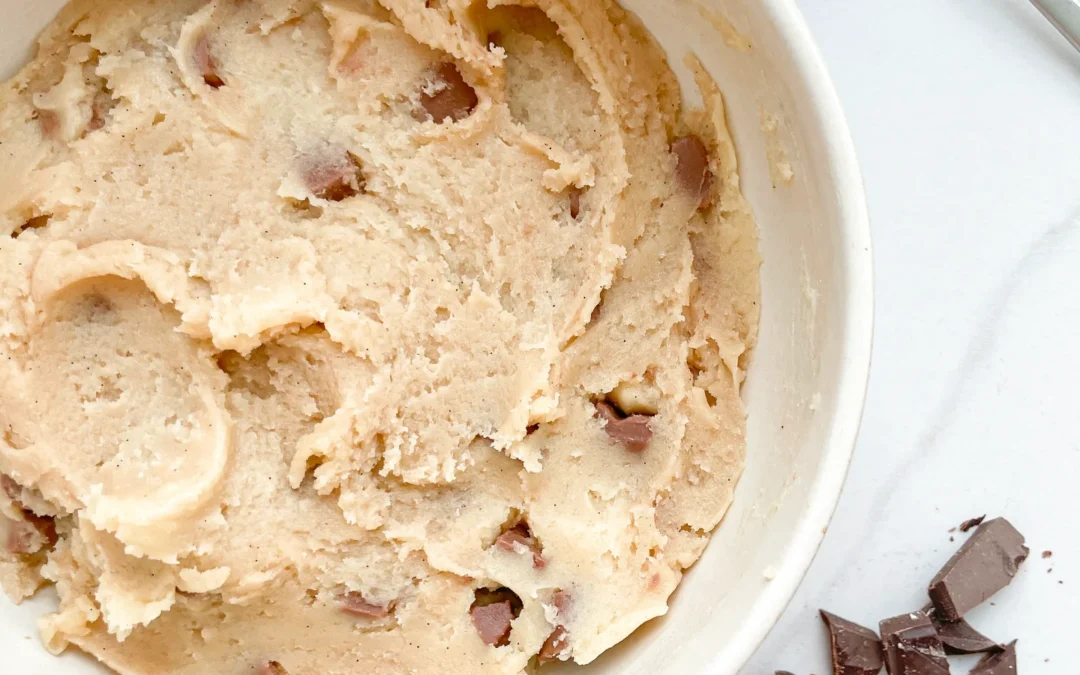
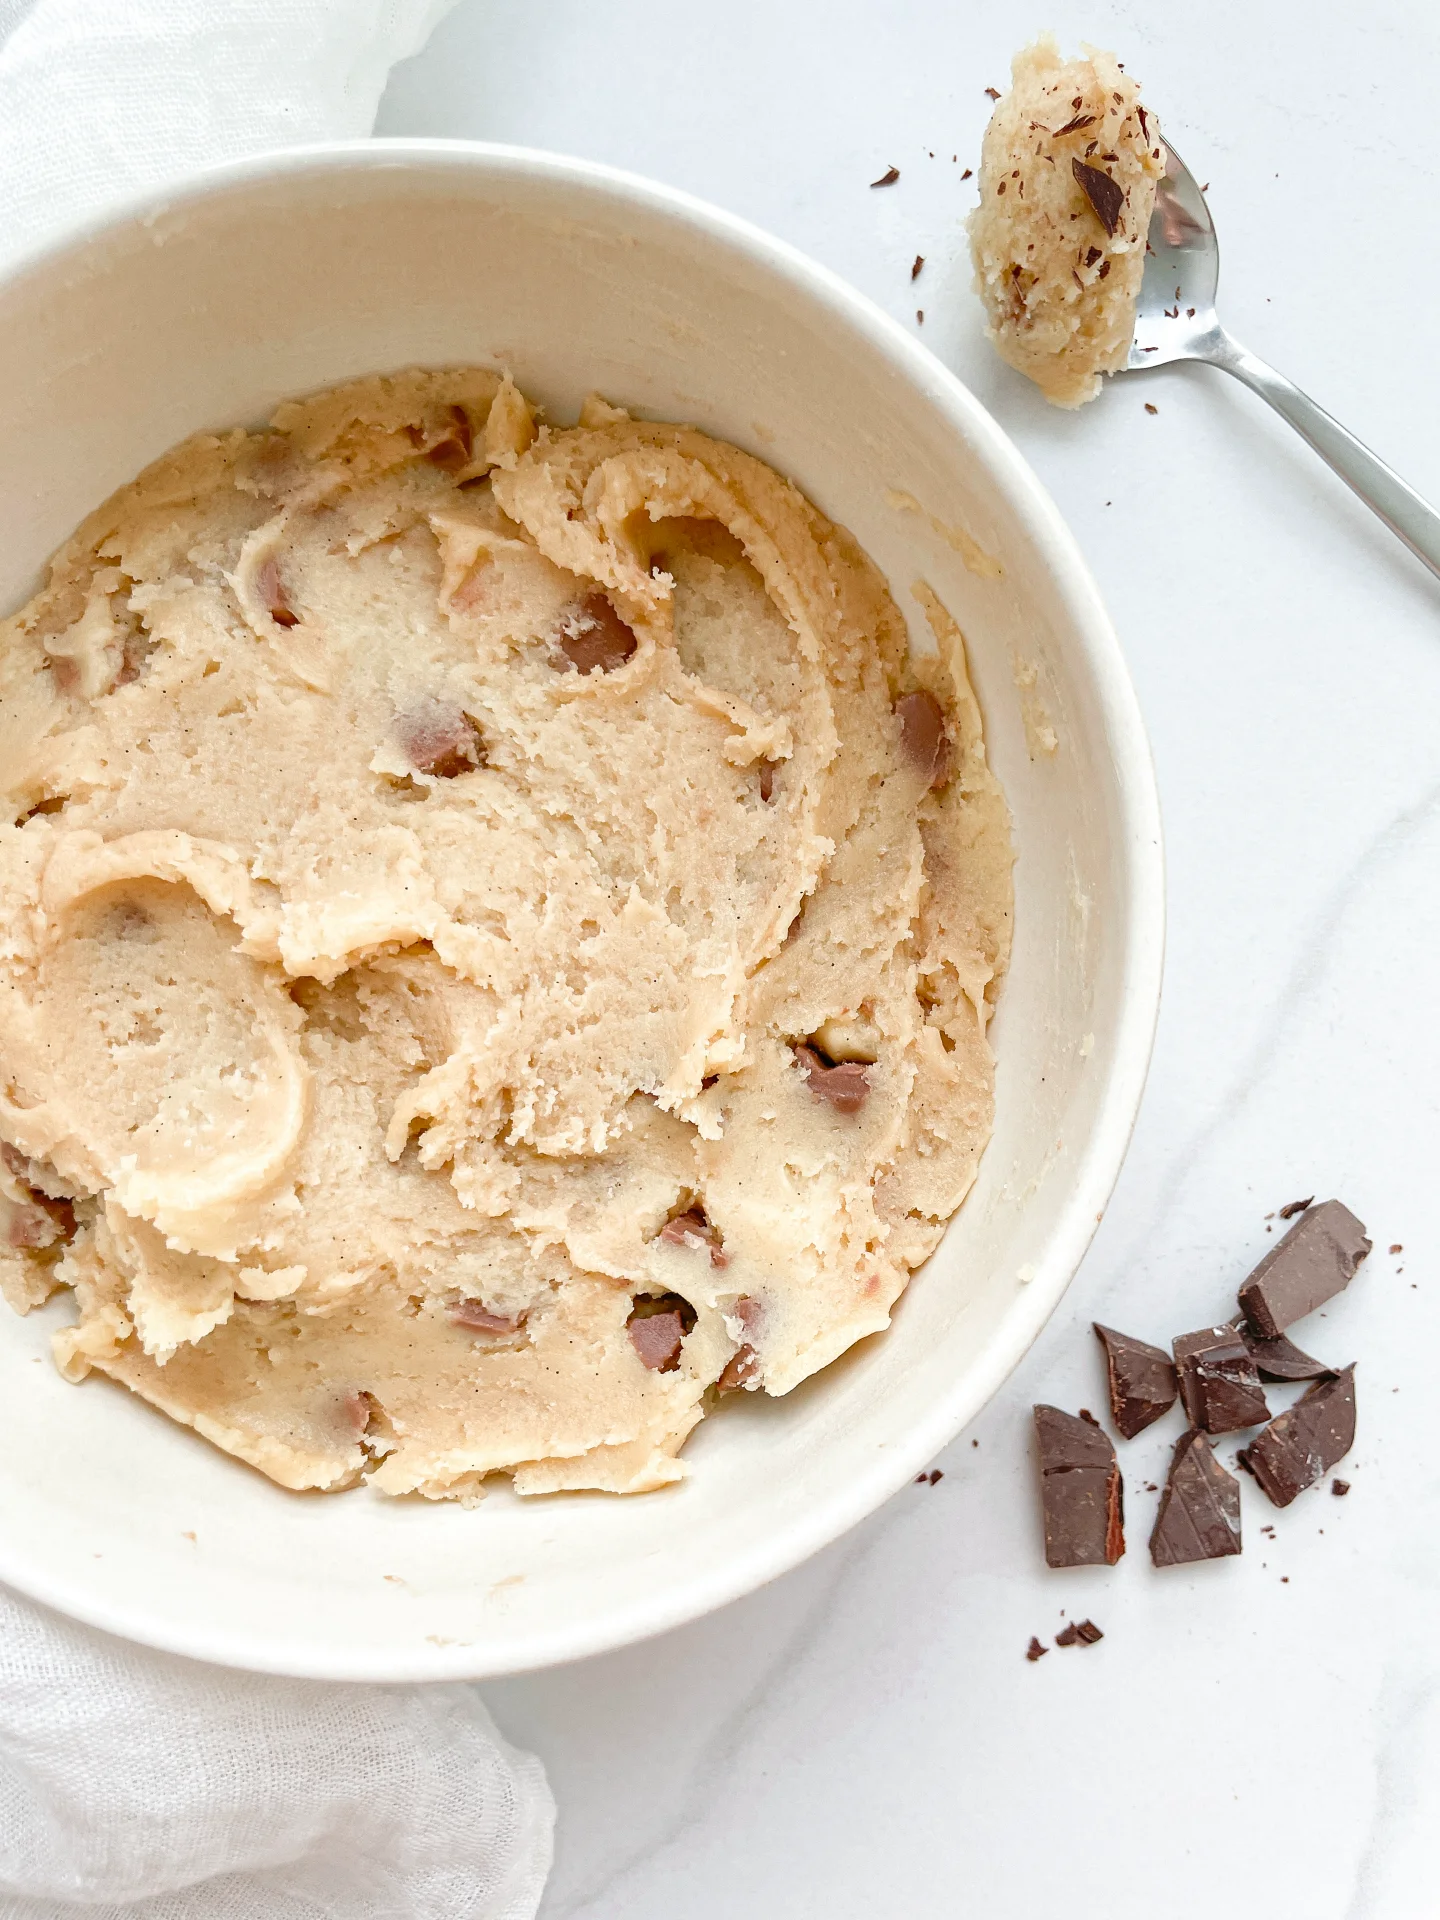
This edible chocolate chip cookie dough is a game-changer! It’s safe to eat, incredibly easy to make, and ridiculously tasty. Whether you’re snacking straight from the bowl or adding it to your favorite desserts, this no-bake cookie dough will quickly become your new favorite treat. Ready to dive in? Let’s whip up this sweet, satisfying delight!

Enjoy it straight from the bowl with a spoon, or roll it into bite-sized balls for a fun, shareable treat. For an extra indulgent experience, pair it with ice cream or spread it on a warm brownie. You can even use it as a topping for your favorite desserts, like cupcakes or cheesecakes, to add a delightful cookie dough twist.

Store your edible chocolate chip cookie dough in an airtight container in the refrigerator for up to a week. For longer storage, freeze it for up to three months. Simply thaw in the fridge before enjoying your sweet, ready-to-eat treat.
Hi, I'm Kimberly!

Hi, I'm Kimberly.

A hopeless romantic when it comes to food. Every recipe I share is a love letter to food itself. I’m so glad you’re here. Make yourself at home and stay a while.

Love,
Kimberly

Kimberly the Zett Signature

If you want to get to know me better,
click here!


Chocolate Chip Cookie Dough

LET’S MAKE A PIECE OF HAPPINESS

Print
clock clock iconcutlery cutlery iconflag flag iconfolder folder iconinstagram instagram iconpinterest pinterest iconfacebook facebook iconprint print iconsquares squares iconheart heart iconheart solid heart solid icon
Chocolate Chip Cookie Dough

Chocolate Chip Cookie Dough


  • Author: Kimberly
  • Total Time: 5 minutes
  • Yield: 4 1x
  • Diet: Vegetarian

Description

GOOD TO HAVE ON HAND

  • two small bowls
  • spoon
  • microwave or oven


Ingredients

Units Scale
  • 40 grams soft butter
  • 40 grams white sugar
  • 1/4 tsp vanilla extract
  • pinch of salt
  • 75 grams all-purpose flour
  • 2 tbsp milk
  • 35 grams semi-sweet chocolate

Instructions

  1. Microwave the flour in one of the bowls on high for 45 seconds. The flour should reach about 75°C/165°F to kill any bacteria and make it safe to eat raw. If you don’t have a microwave, you can bake the flour in the oven at 170°C/338°F for about 10 minutes.
  2. Meanwhile, mix the softened butter, sugar, vanilla extract, and salt until creamy. Add the milk and mix again.
  3. Now, add the flour and mix everything into a cookie dough.
  4. Fold in the chocolate chips and either snack on it right away or chill the bowl in the fridge for 10-15 minutes for a firmer texture.

Notes

The calorie information may vary depending on the product used, country and region.

  • Cook Time: 5 min
  • Category: Dessert
  • Method: NO BAKE
  • Cuisine: US AMERICAN

CRAVING MORE?

Follow along here & don’t forget to subscribe to my substack!

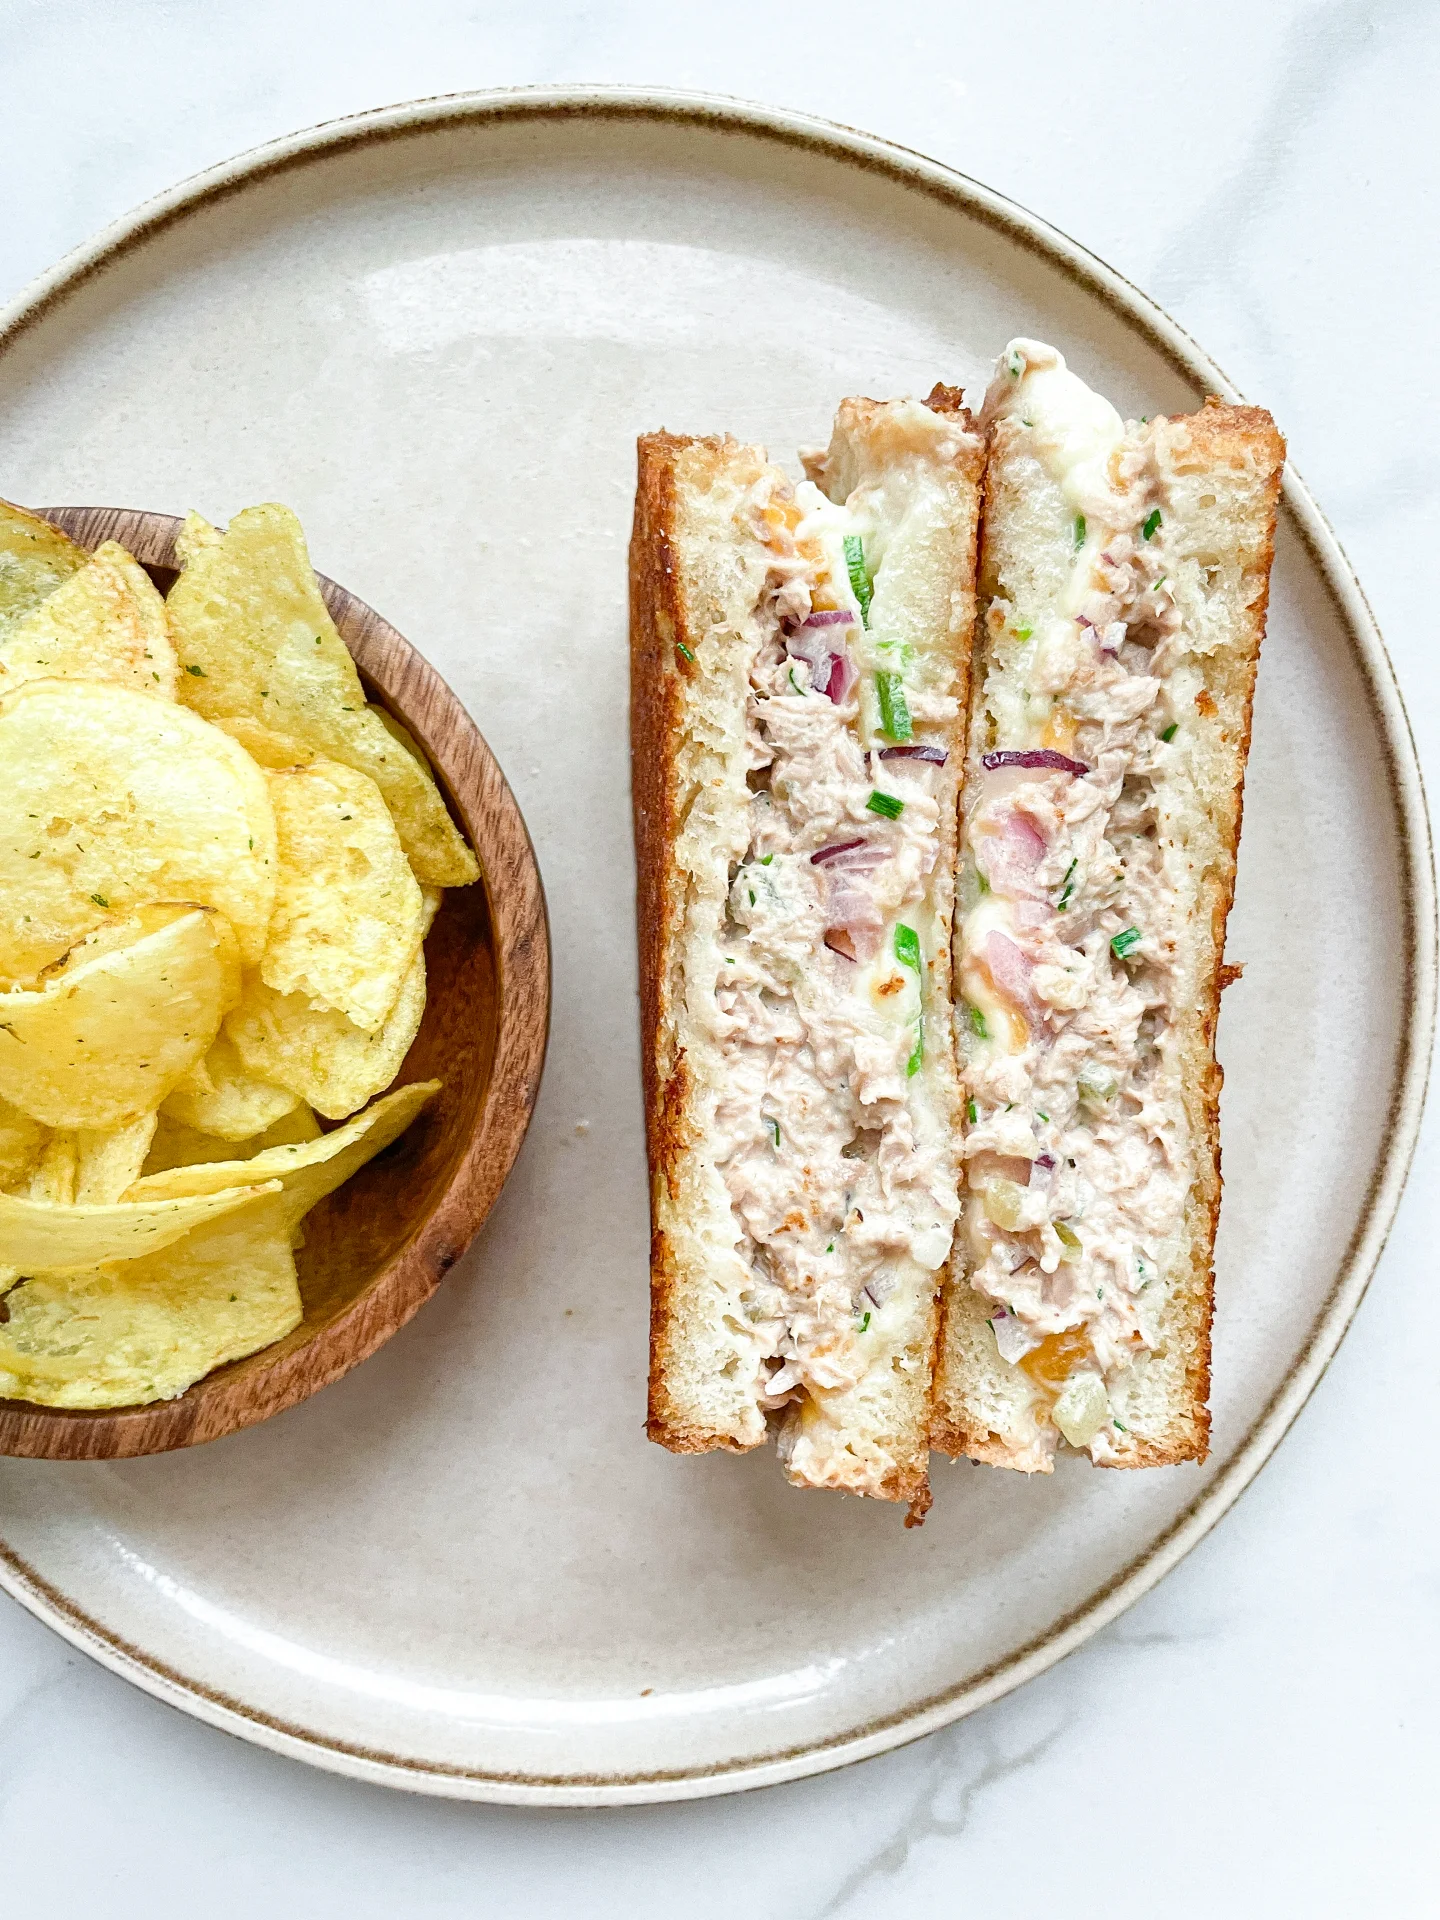
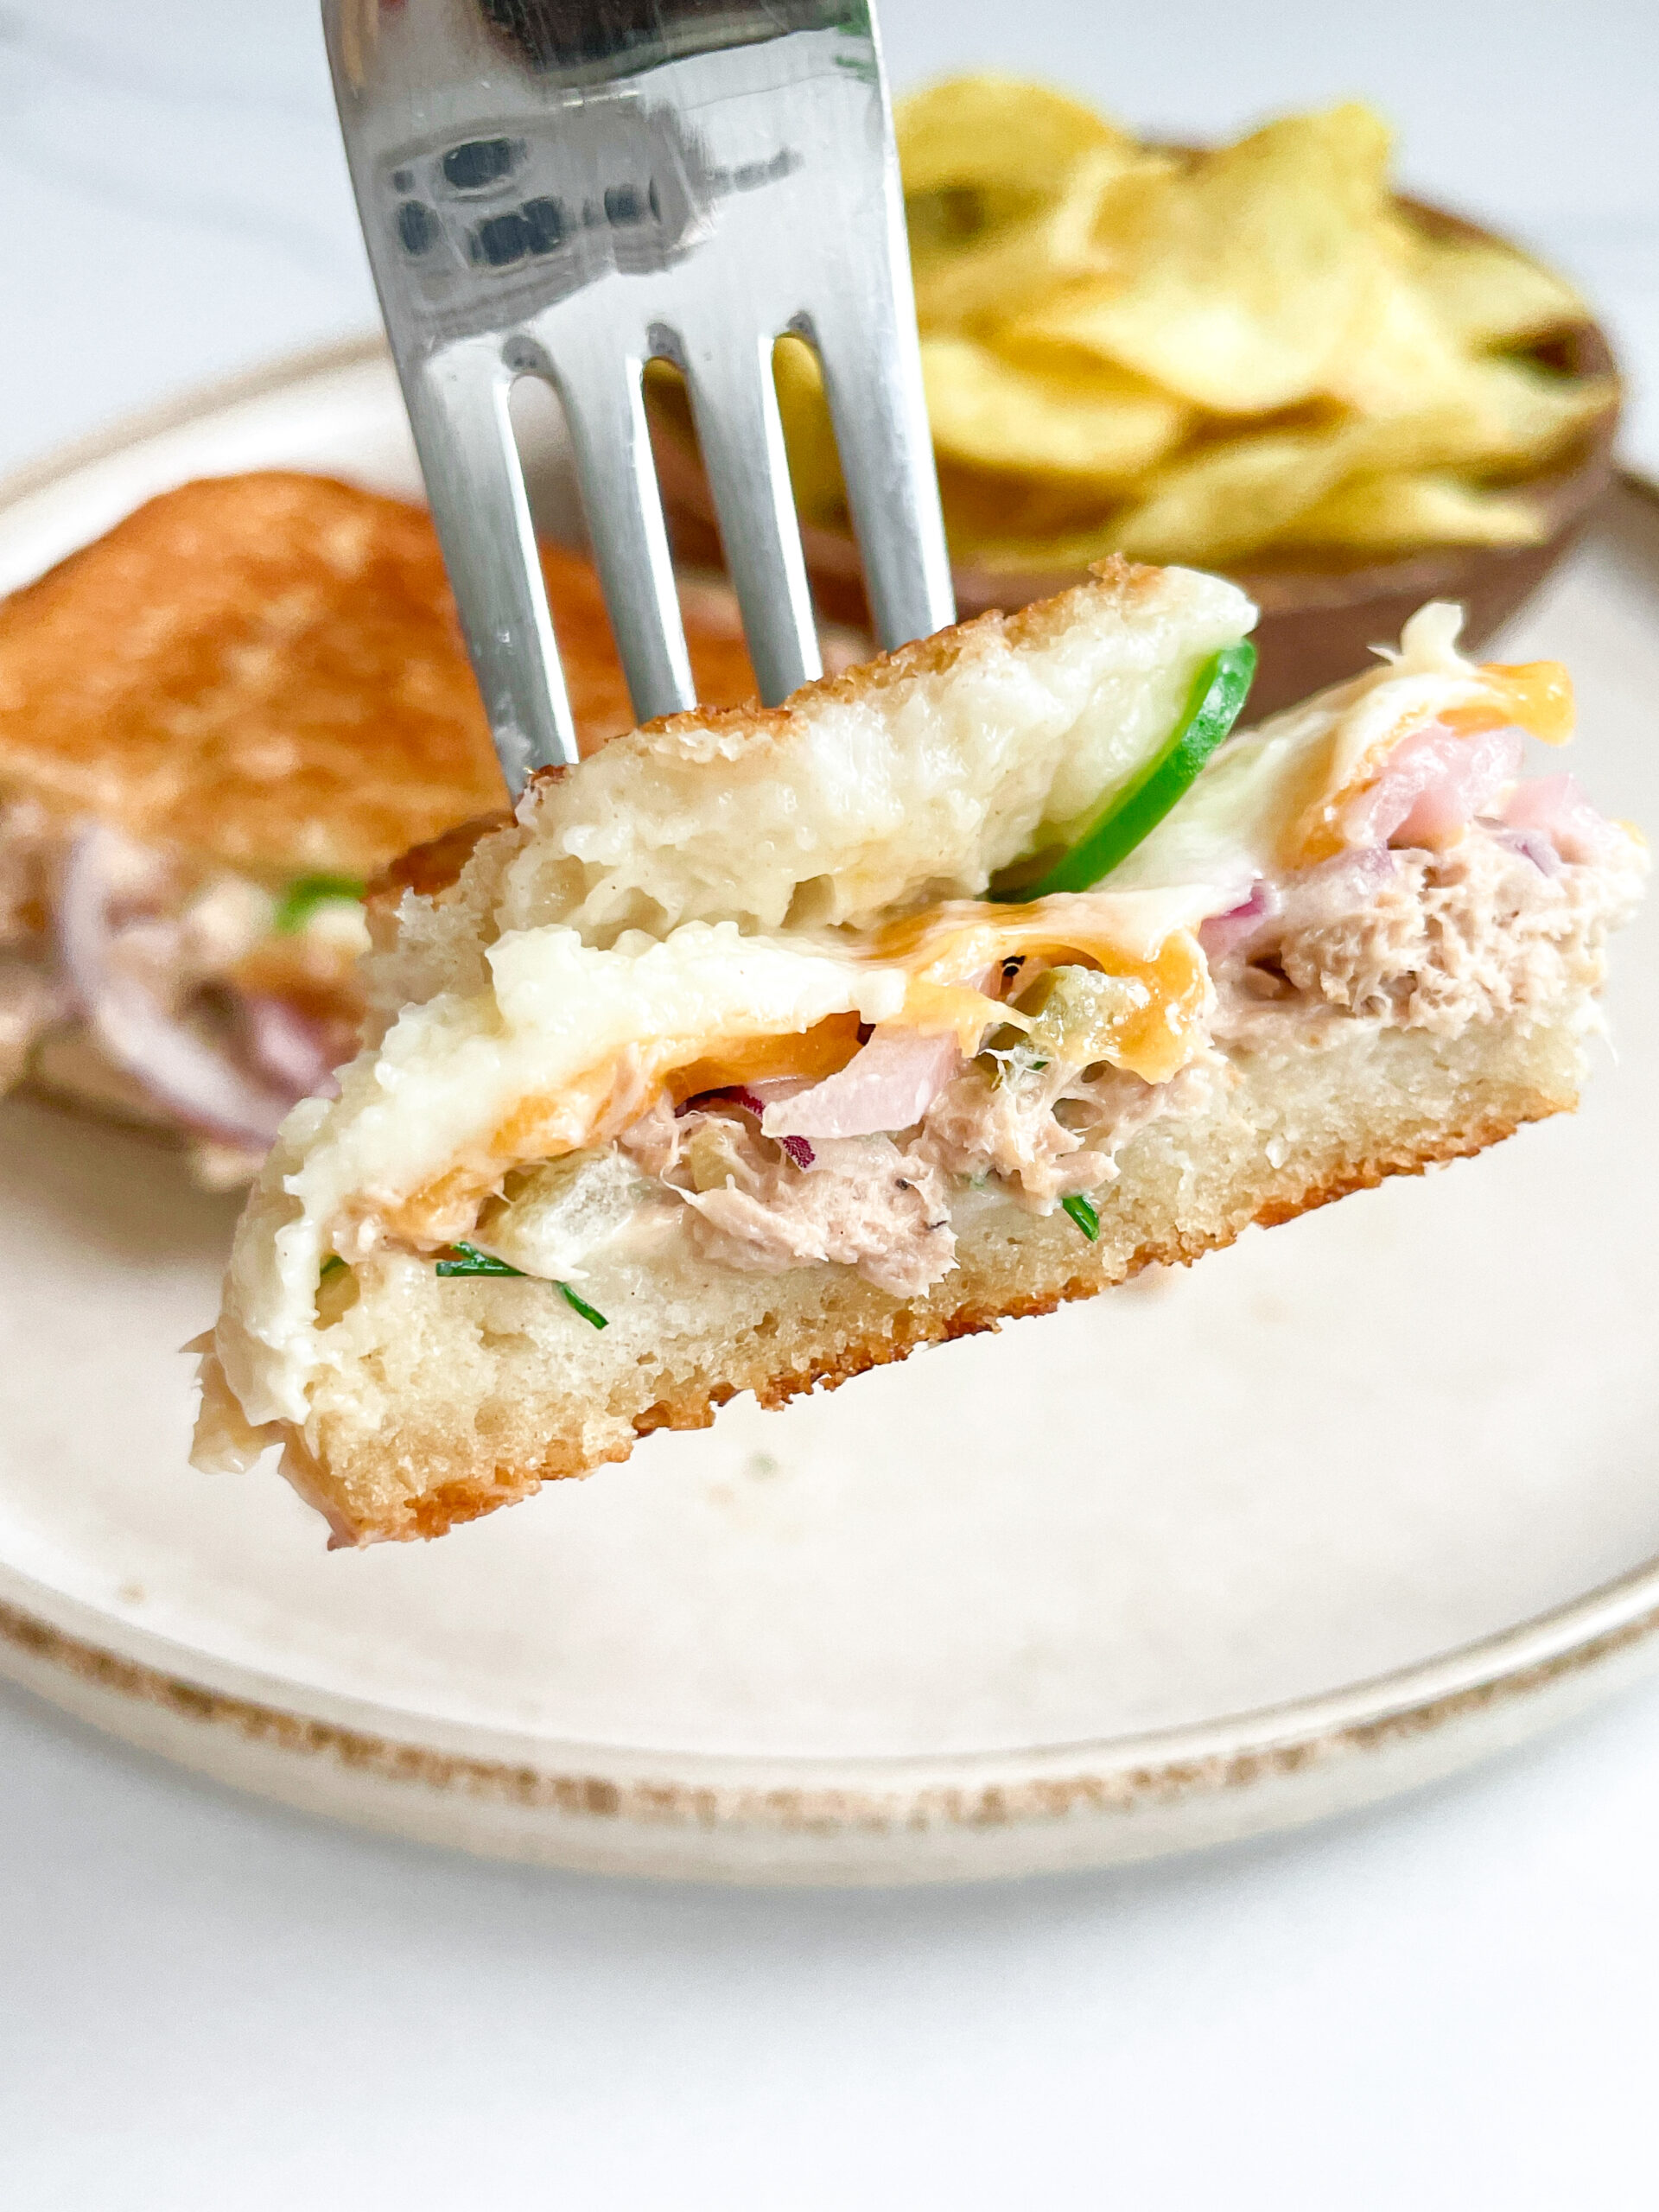
Tuna Melt

Tuna Melt

Tuna Melt

Tuna Melt

April 29, 2024 by Kimberly

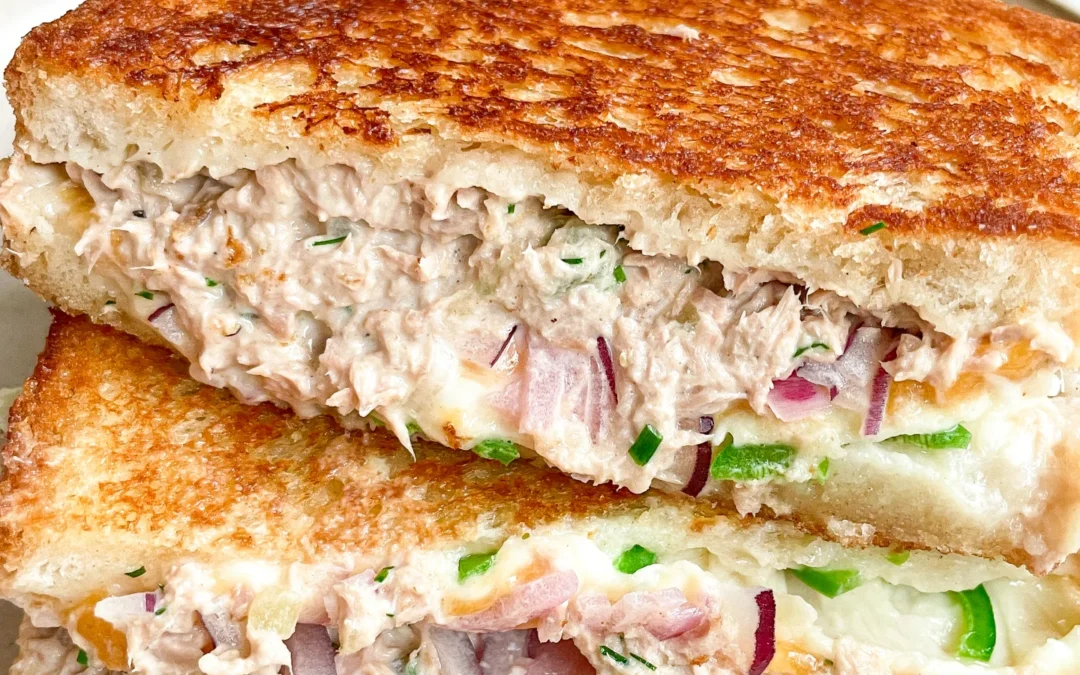
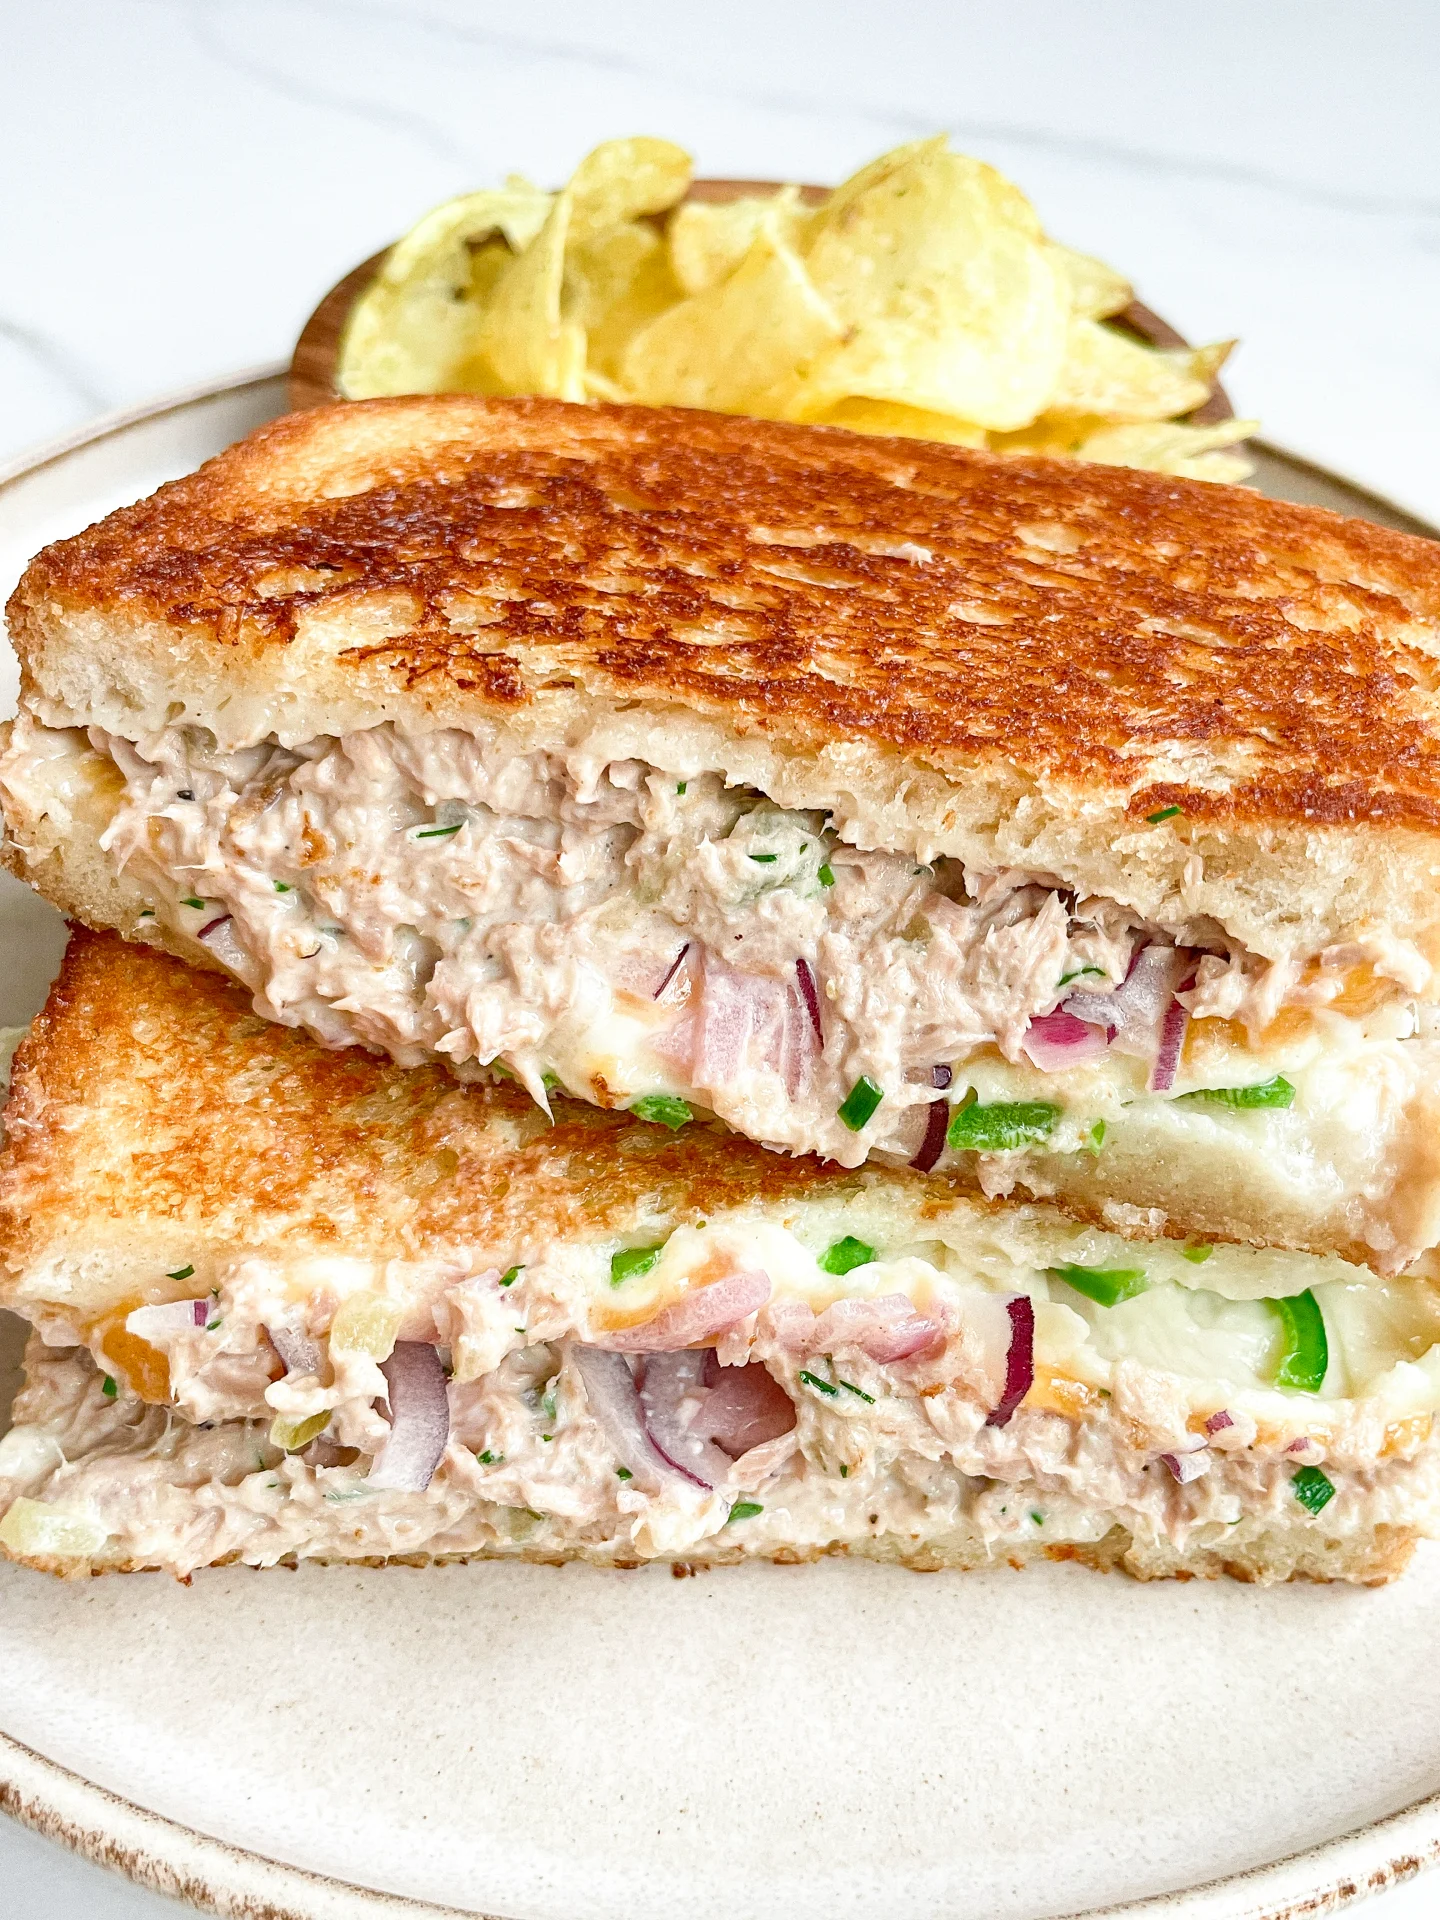
Experience the ultimate comfort with this tuna melt – crispy bread, creamy tuna salad, melted cheese, and a little heat combine for a mouthwatering lunch you can’t resist!

This website uses affiliate links which may earn commission for purchases made at no additional cost to you.

TOTAL TIME

20 min

SERVES

2 sandwiches

DIET

omnivore

EVERY RECIPE DESERVES

A Little Love Letter

Craving a quick and satisfying meal? Look no further than the classic Tuna Melt with a twist! It’s the perfect blend of creamy tuna, gooey melted cheese, and toasted bread – a true comfort food staple.

The best way to enjoy a Tuna Melt is freshly made and hot off the pan. Serve with a side of crispy potato chips or a light salad for a balanced meal. It’s ideal for a quick lunch or a casual dinner, guaranteed to please both kids and adults alike!

For best results, consume your Tuna Melt fresh. However, if you need to store it, keep the unassembled tuna salad in the refrigerator in an airtight container for up to two days, and assemble before reheating to maintain the best quality.

Hi, I'm Kimberly!

Hi, I'm Kimberly.

A hopeless romantic when it comes to food. Every recipe I share is a love letter to food itself. I’m so glad you’re here. Make yourself at home and stay a while.

Love,
Kimberly

Kimberly the Zett Signature

If you want to get to know me better,
click here!


Tuna Melt
Tuna Melt
Tuna Melt
Tuna Melt

LET’S MAKE A PIECE OF HAPPINESS

Print
clock clock iconcutlery cutlery iconflag flag iconfolder folder iconinstagram instagram iconpinterest pinterest iconfacebook facebook iconprint print iconsquares squares iconheart heart iconheart solid heart solid icon
Tuna Melt

Tuna Melt


  • Author: Kimberly
  • Total Time: 20 min
  • Yield: 2 sandwiches 1x

Description

RECOMMENDED EQUIPMENT

  • sharp knife
  • cutting board
  • medium-sized bowl
  • medium-sized frying pan
  • spatula

Ingredients

Units Scale
TUNA CREME
  • 150 grams canned tuna in water (drained)
  • 50 grams mayonnaise
  • 1 pickled cucumber
  • 1 tsp lemon juice
  • 1 garlic clove
  • 1/2 tsp dijon mustard
  • dill
  • chives
  • salt & pepper to taste
OTHER INGREDIENTS
  • 1/2 red onion
  • 4 slices bread of your choice
  • 2 slices cheddar cheese
  • 80 grams mozzarella cheese
  • 1 jalapeno
  • butter
  • Tabasco (optional)

Instructions

PREPARATIONS

  1. Peel the onion, halve it, and slice it into fine half circles. Set aside.
  2. Wash the jalapeño and slice it into thin rings. Set aside.
  3. Squeeze the mozzarella in paper towels to remove as much moisture as possible, then slice it thinly. Set aside.

COOKING

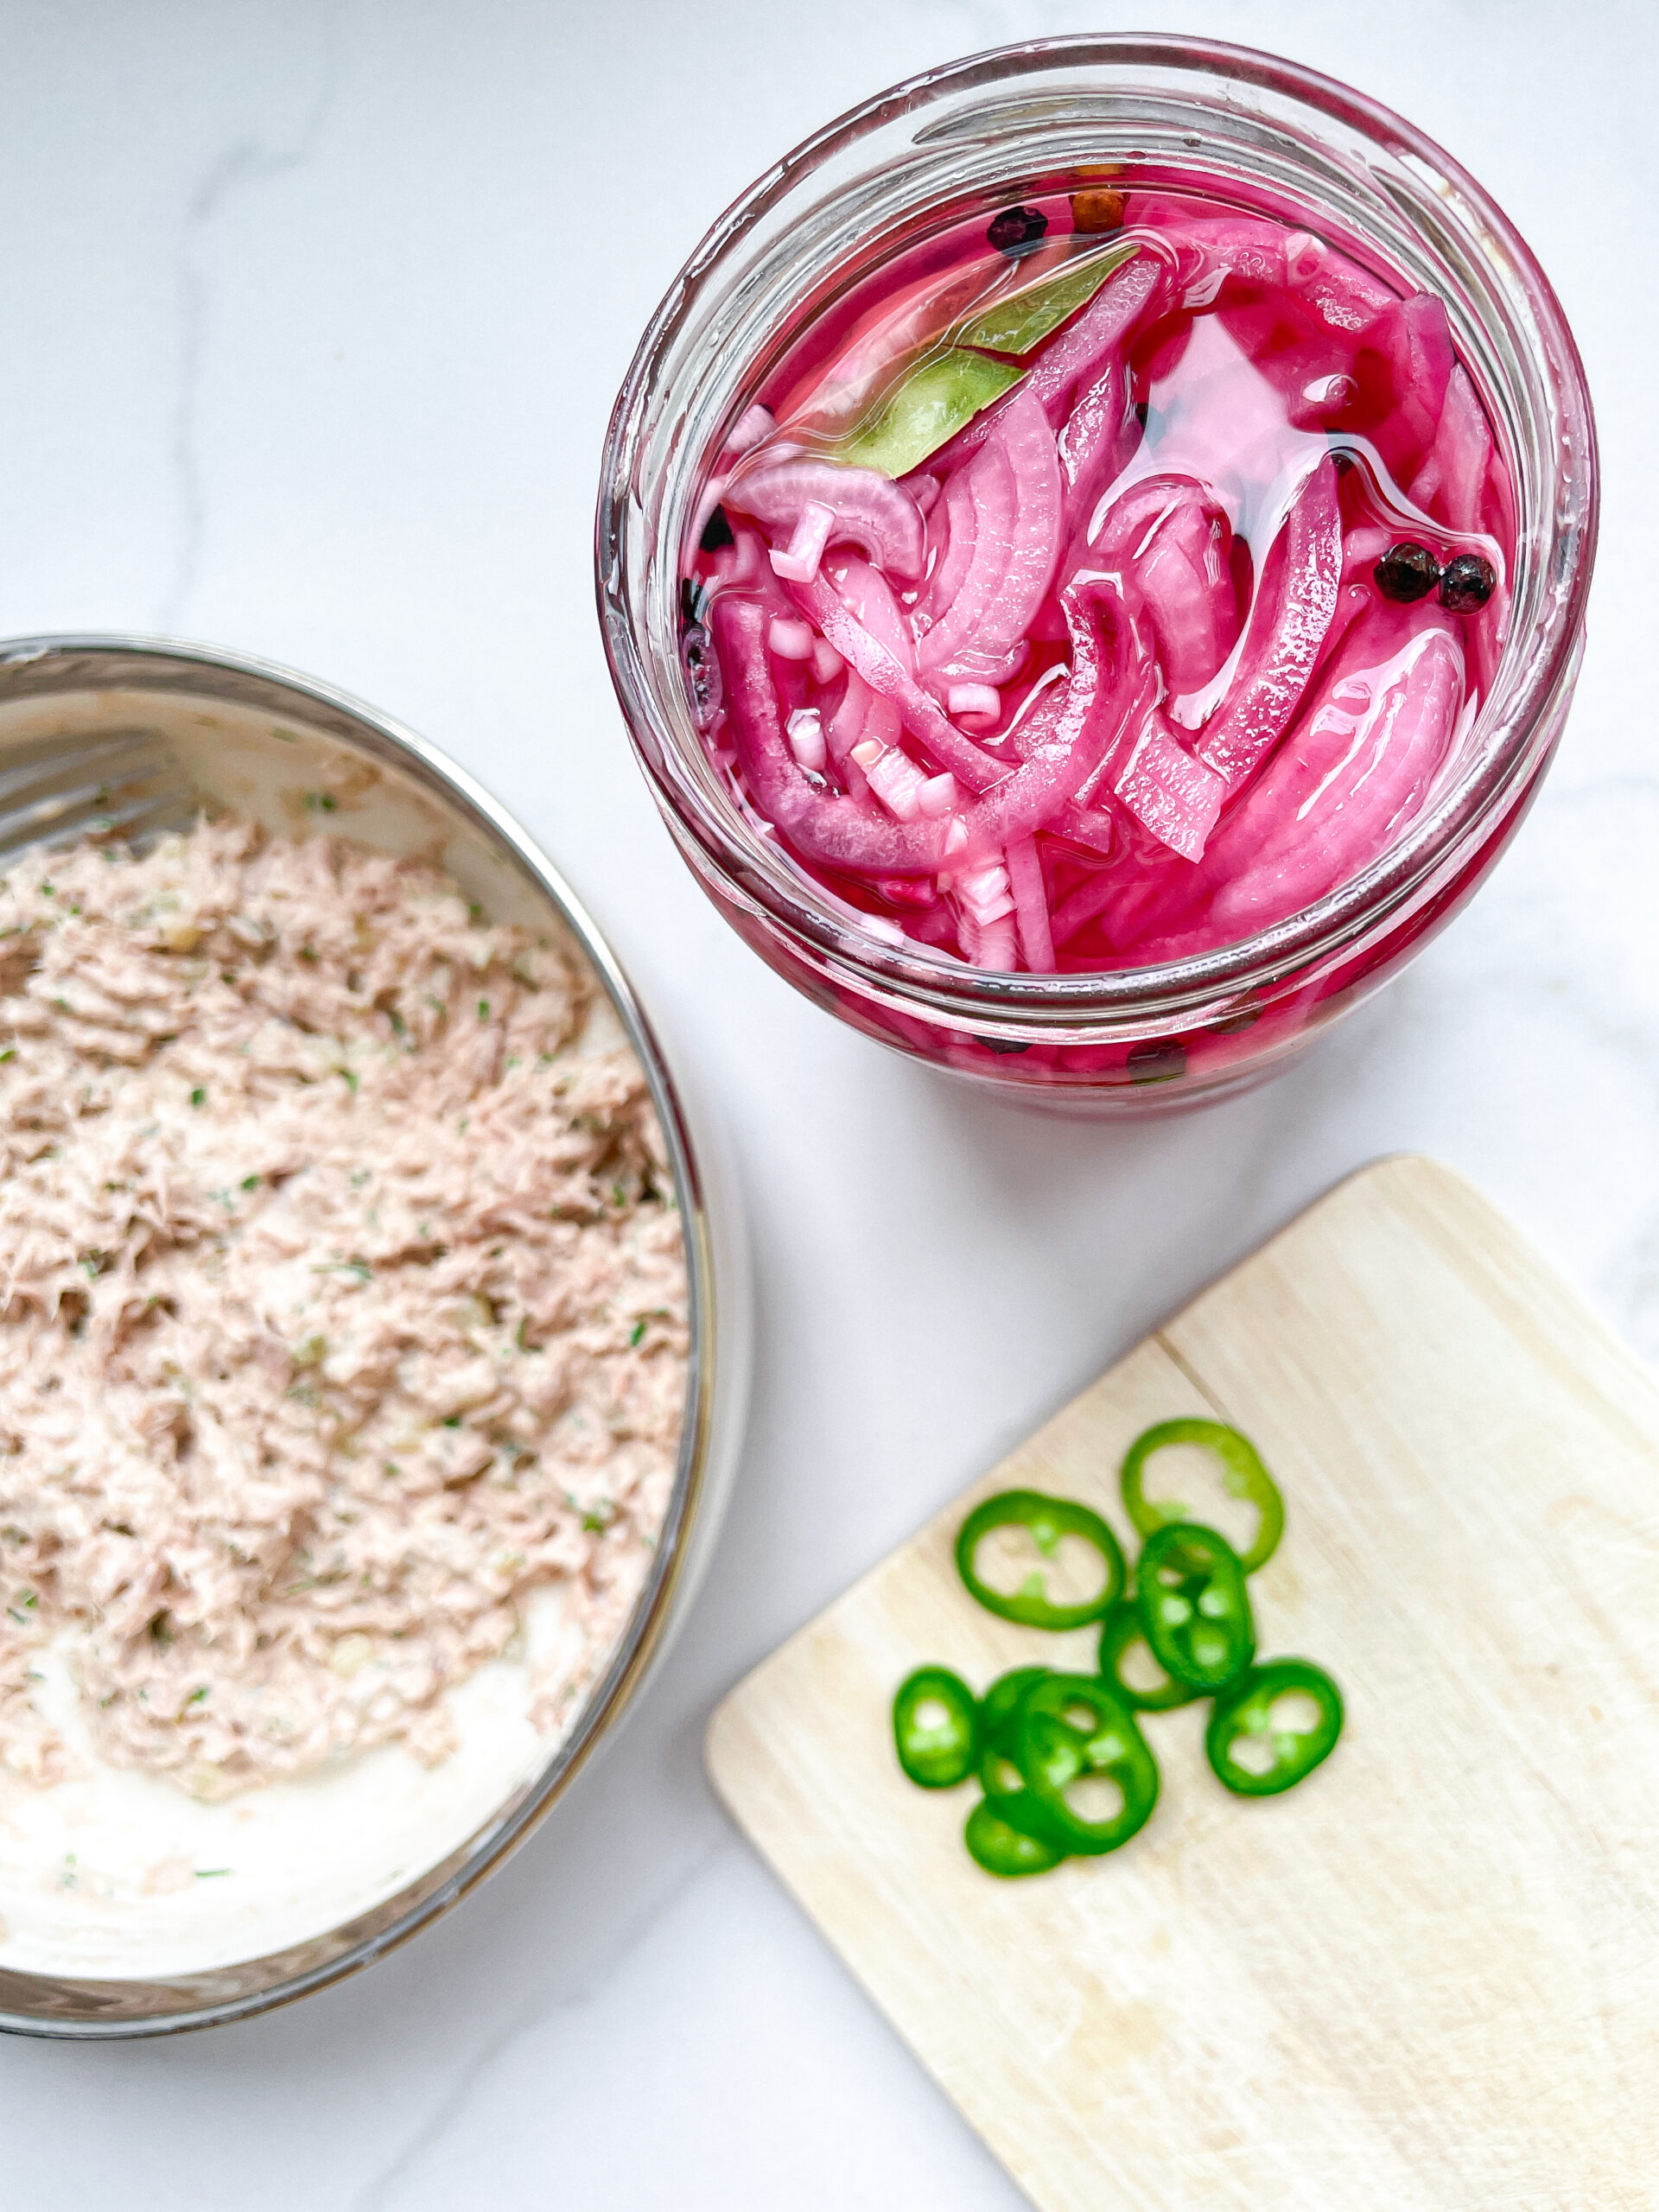
  1. For the tuna cream: Drain the can of tuna so there’s no water left. Place the tuna in a medium-sized bowl. Mix it with mayonnaise, lemon juice, Dijon mustard, salt, and pepper. Now chop the pickle into small pieces and add it to the bowl. Finely chop the dill and chives and add them to the bowl as well. Peel and finely chop the garlic clove, or press it into the bowl. Mix everything together. Season to taste and set aside.
  2. Heat a pan over medium heat without adding any additional fat. Meanwhile, spread a little butter on two slices of bread. Place the bread slices in the pan, buttered side down. Spread each with half of the tuna cream, then top with the red onions. Add half of the mozzarella and a slice of cheddar cheese to each. Top with the jalapeño slices. Let it all cook for a few minutes on low to medium heat.
  3. Meanwhile butter the other two bread slices. Once the bottom of the bread in the pan is golden brown and crispy, place the other bread slices, buttered side up, on top of the sandwiches in the pan. Use a spatula to lift the sandwich and quickly flip it, so it can brown on the other side.
  4. Let everything cook for another 5-8 minutes on low heat, allowing the cheese to melt and the bread slice to become crispy.
  5. Remove from the pan and cut in half. Serve immediately, drizzle with Tabasco to taste and enjoy your pieces of happiness.

Notes

The calorie information may vary depending on the product used, country and region.

  • Prep Time: 5 min
  • Cook Time: 15 min

CRAVING MORE?

Follow along here & don’t forget to subscribe to my substack!