


Description
RECOMMENDED EQUIPMENT
- electric mixer
- mixing bowl
- medium-sized bowl
- piping bag
- mortar & pestle
- small cookie scoop
Ingredients
- 120 grams butter, soft
- 100 grams brown sugar
- 50 grams white sugar
- 2 tsp vanilla extract
- 1 egg
- 220 grams all-purpose flour
- 1/2 tsp salt
- 1/2 tsp baking powder
- 1/4 tsp baking soda
- 15 grams freeze-dried raspberries
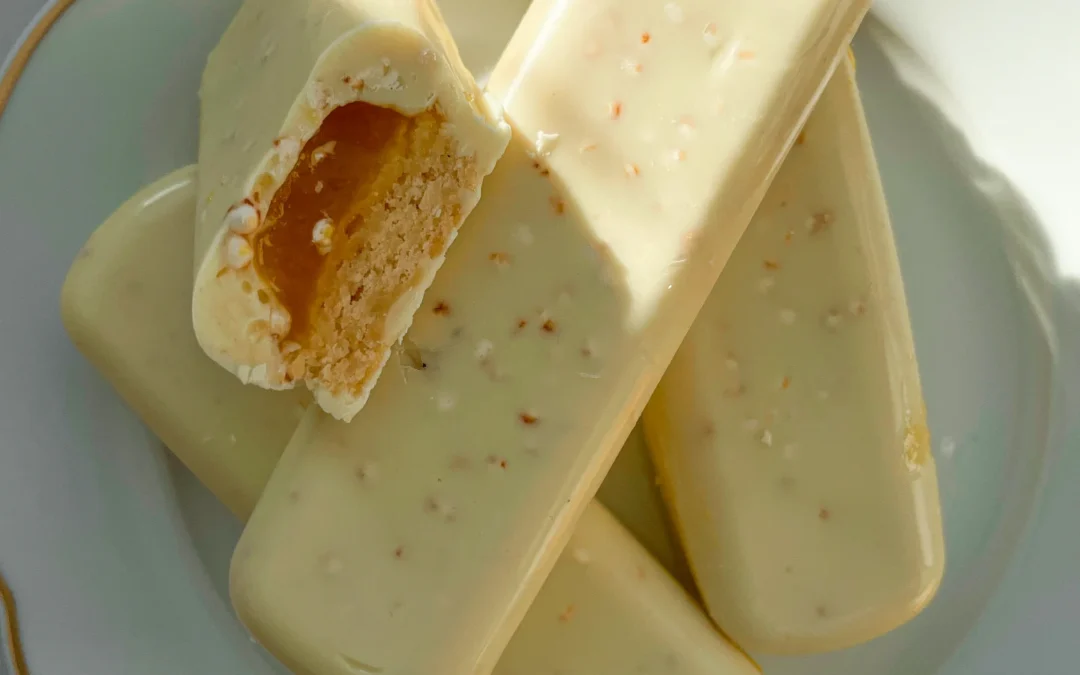
- 200 grams white chocolate
- 100 grams heavy cream
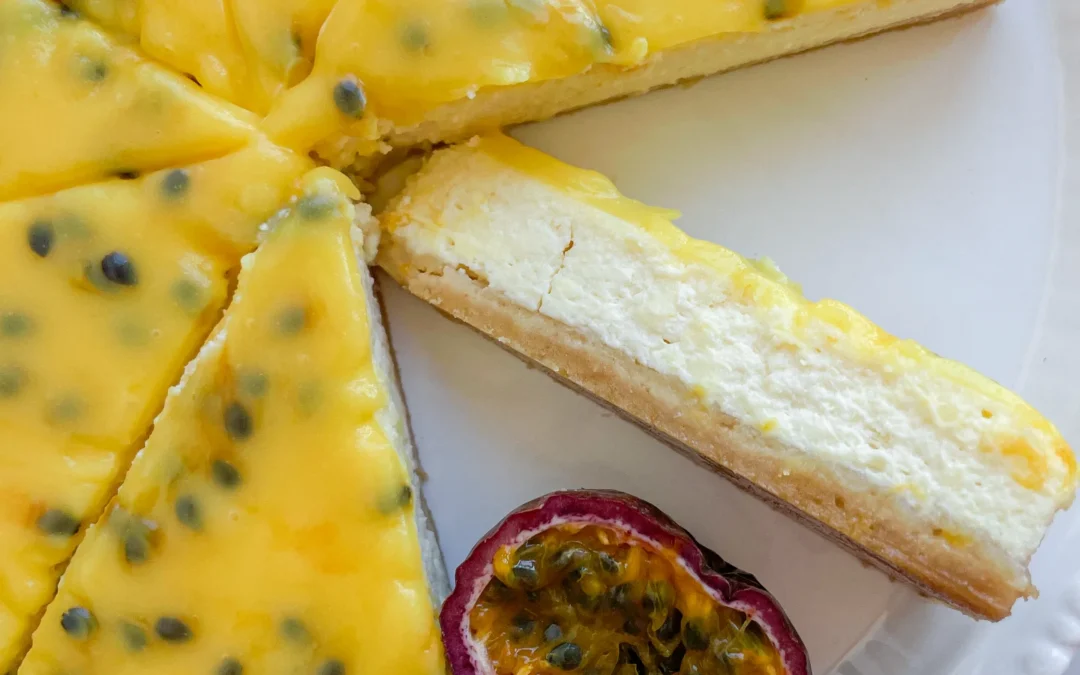
- 60 grams passionfruit purée
Instructions
Add soft butter, brown sugar, white sugar, and vanilla extract to the mixing bowl of a stand mixer. Beat until light and fluffy.
Mix in the egg just until combined. Then, add flour, salt, baking powder, and baking soda, mixing until no streaks of flour remain. Be careful not to overmix.
Divide the dough into two equal portions. Keep one half in the mixer and set the other aside. Grind the freeze-dried raspberries into a fine powder, then mix them into the dough in the mixer. You should now have one pink and one yellow dough.
Scoop equal portions of both doughs using a small cookie scoop. Press the two differently colored balls together, tear them apart in the middle, and press them back together for a marbled look. Shape into round balls, place them on a parchment-lined tray, and refrigerate.
Heat the heavy cream in a small saucepan until it starts forming small bubbles around the edges. Meanwhile, finely chop or grate the white chocolate and place it in a bowl. Pour the hot cream over the chocolate and let it sit for 3-4 minutes before stirring until smooth. Mix in the passionfruit purée until fully combined. Cover the ganache with plastic wrap directly on the surface to prevent skin from forming and refrigerate for at least 2 hours or overnight until set.
Once the ganache is set, preheat the oven to 175°C / 350°F. Place the chilled cookie dough balls on a parchment-lined baking sheet, leaving enough space between them. Bake for 13 minutes, then let them cool on a wire rack.
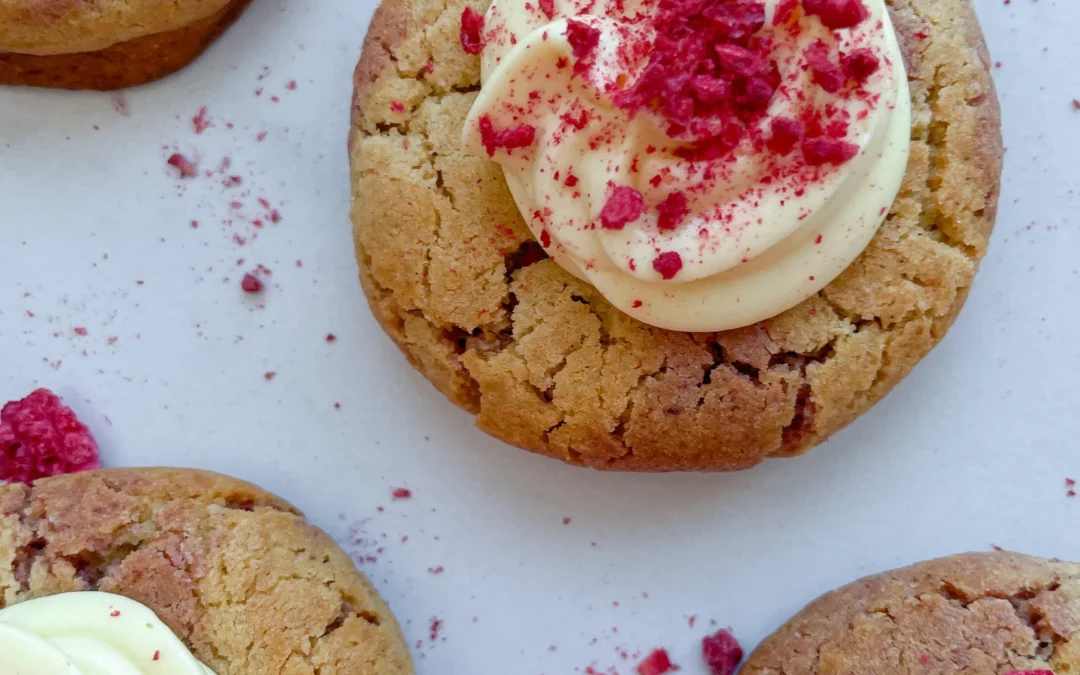
Once firm, transfer the ganache to a mixing bowl and whip until it reaches a buttercream-like consistency. Fill a piping bag fitted with a nozzle and pipe a swirl of ganache onto the center of each cooled cookie. Sprinkle with crushed freeze-dried raspberries for decoration.
- Passive Time: 2 hrs
- Cook Time: 20 min