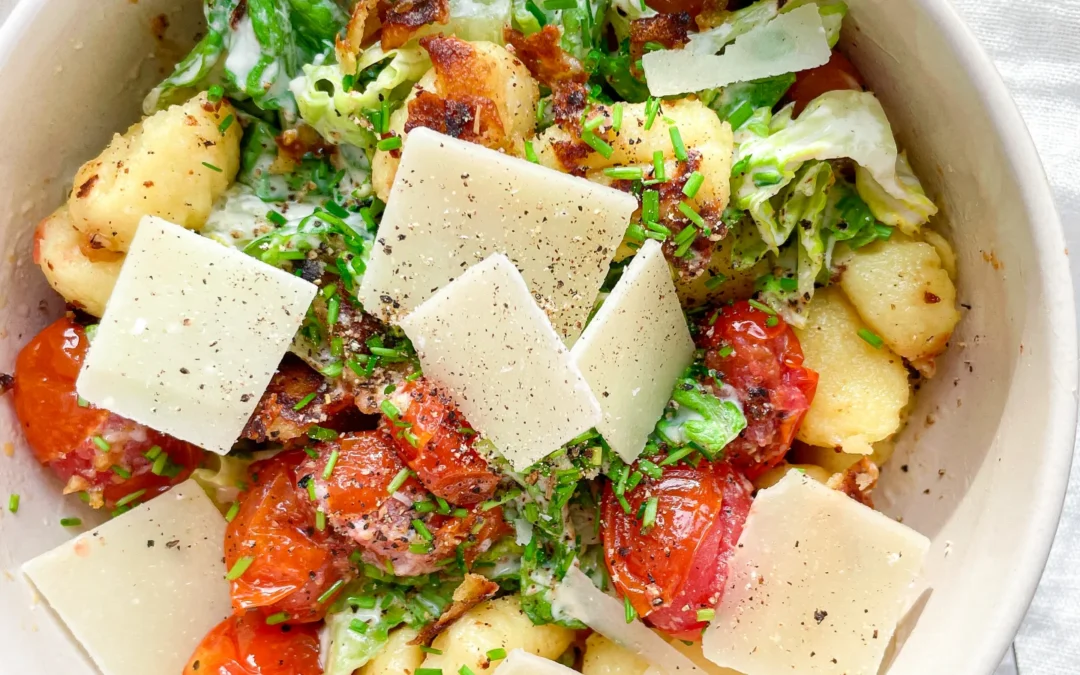
Gnocchi Romaine Salad with Oven-Roasted Tomatoes & Parmesan

Gnocchi Romaine Salad with Oven-Roasted Tomatoes & Parmesan

Gnocchi Romaine Salad with Oven-Roasted Tomatoes & Parmesan

Gnocchi Romaine Salad with Oven-Roasted Tomatoes & Parmesan

May 15, 2024 by Kimberly

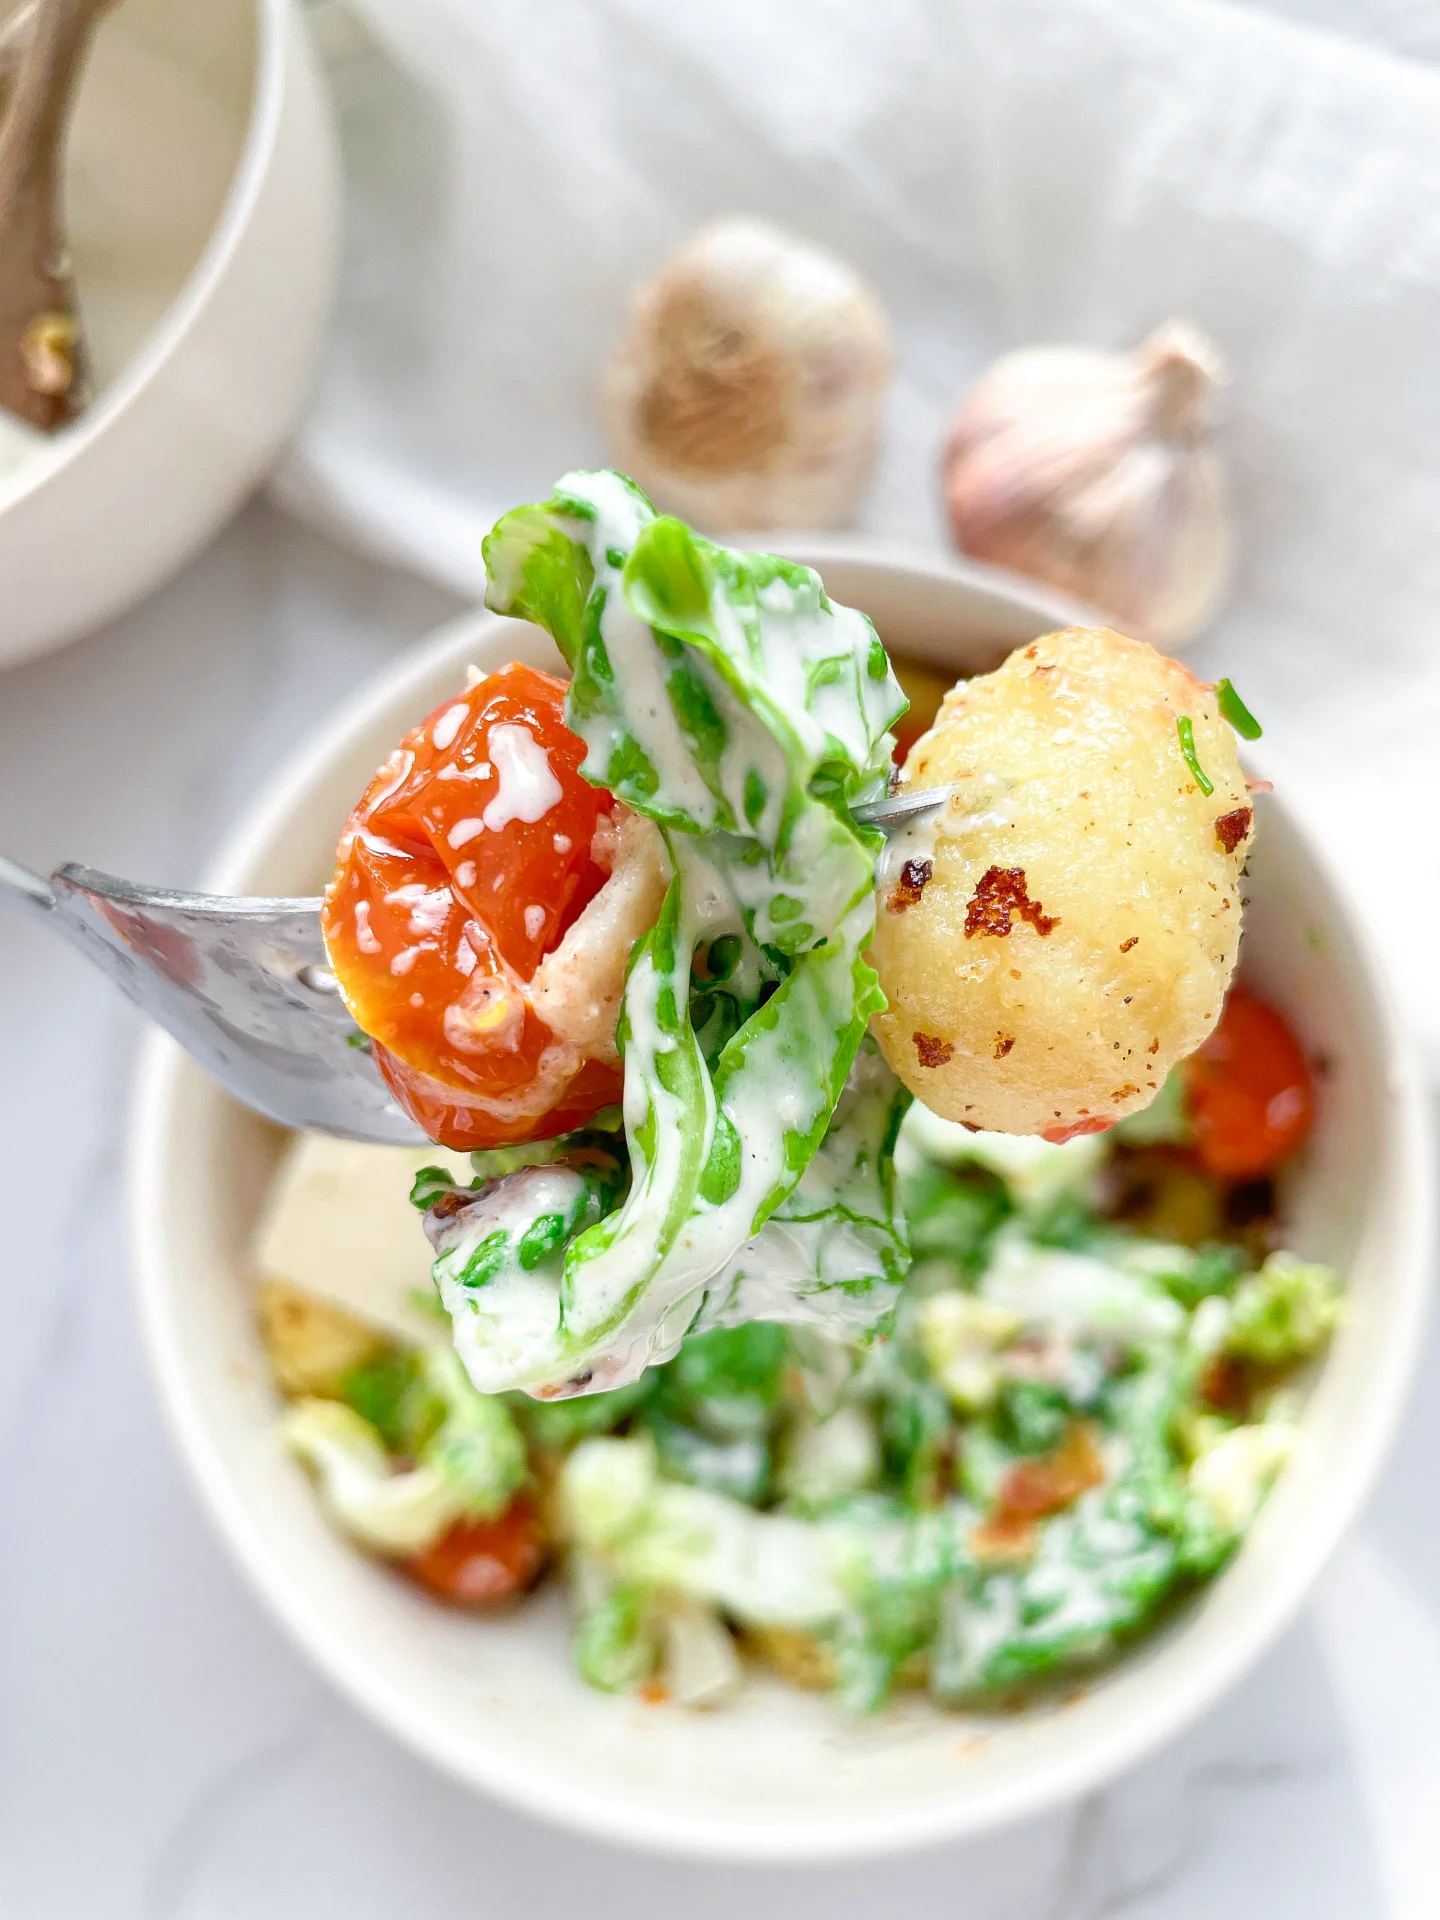
Savor the charm of this gnocchi romaine salad combined with roasted tomatoes and parmesan in a creamy garlic-yogurt dressing – perfect for a refreshing, hearty meal!

25 MINUTES

EASY

VEGETARIAN

ITALIAN

614 PER PORTION

COMFORT FOOD
TANGY

EVERYDAY

SALAD

SPRING
SUMMER

INTRODUCTION

ABOUT THE RECIPE

Elevate your dining experience with this gnocchi romaine salad, featuring oven-roasted tomatoes and a sprinkle of parmesan, all tossed in a zesty garlic-vinegar yogurt dressing. A delightful twist on classic ingredients!

How to serve
This salad shines whether served chilled or with tomatoes fresh out of the oven and gnocchi straight from the pan, making it a delightful choice for warm days. Pair it with red wine or a chilled rosé to complement the tangy yogurt dressing, along with a bit of baguette. Perfect for picnics or light lunches.

How to store
Keep the salad fresh by storing its components separately in sealed containers in the refrigerator. It’s best enjoyed within two days to ensure the flavors stay vibrant and the gnocchi retains its texture.

Hi, I'm Kimberly!

Hi, I'm Kimberly.

A passionate food lover who believes in the magic of homemade deliciousness that spreads love and warmth. Join me on this culinary adventure as I prepare wonderful dishes and let’s spread some happiness together!

Kimberly the Zett Signature

If you want to get to know me better, click here!


Gnocchi Romaine Salad with Oven-Roasted Tomatoes & Parmesan
„Let’s make a piece of happiness“
Print
clock clock iconcutlery cutlery iconflag flag iconfolder folder iconinstagram instagram iconpinterest pinterest iconfacebook facebook iconprint print iconsquares squares iconheart heart iconheart solid heart solid icon
Gnocchi Romaine Salad with Oven-Roasted Tomatoes & Parmesan

Gnocchi Romaine Salad with Oven-Roasted Tomatoes & Parmesan


5 Stars 4 Stars 3 Stars 2 Stars 1 Star

No reviews

  • Author: Kimberly
  • Total Time: 25 minutes
  • Yield: 2
  • Diet: Vegetarian

Description

RECOMMENDED EQUIPMENT

  • sharp knife
  • cutting board
  • medium-sized frying pan
  • two salad bowls
  • small bowl

Ingredients

Units Scale
DRESSING & SALAD
  • 2 romaine lettuces
  • 1 garlic clove
  • 20 grams parmesan
  • 8 grams Worcestershire sauce
  • 1 tsp dijon mustard
  • 100 grams yogurt
  • 12 grams red wine vinegar
ROASTED TOMATOES
  • 250 grams cocktail tomatoes
  • 1 tbsp olive oil
  • 1 garlic clove
GNOCCHI
  • 400 grams soft gnocchi
  • 2 tbsp olive oil
TOPPINGS
  • chives
  • parmesan
  • black pepper

Instructions

PREPARATIONS

  • Wash tomatoes, lettuce, and chives.
  • Chop the chives into fine rolls and cut the lettuce into bite-sized pieces.
  • Peel the garlic cloves and finely chop or press them.
  • Grate the Parmesan finely.
  • Line a baking tray with parchment paper.
  • Preheat the oven to 200°C/392°F.

INSTRUCTIONS

  1. Place the tomatoes on the baking tray. Mix with 1 tablespoon of olive oil and a pressed garlic clove, and roast in the oven for about 15 minutes.
  2. Heat 2 tablespoons of olive oil in a medium frying pan and sauté the gnocchi until crispy.
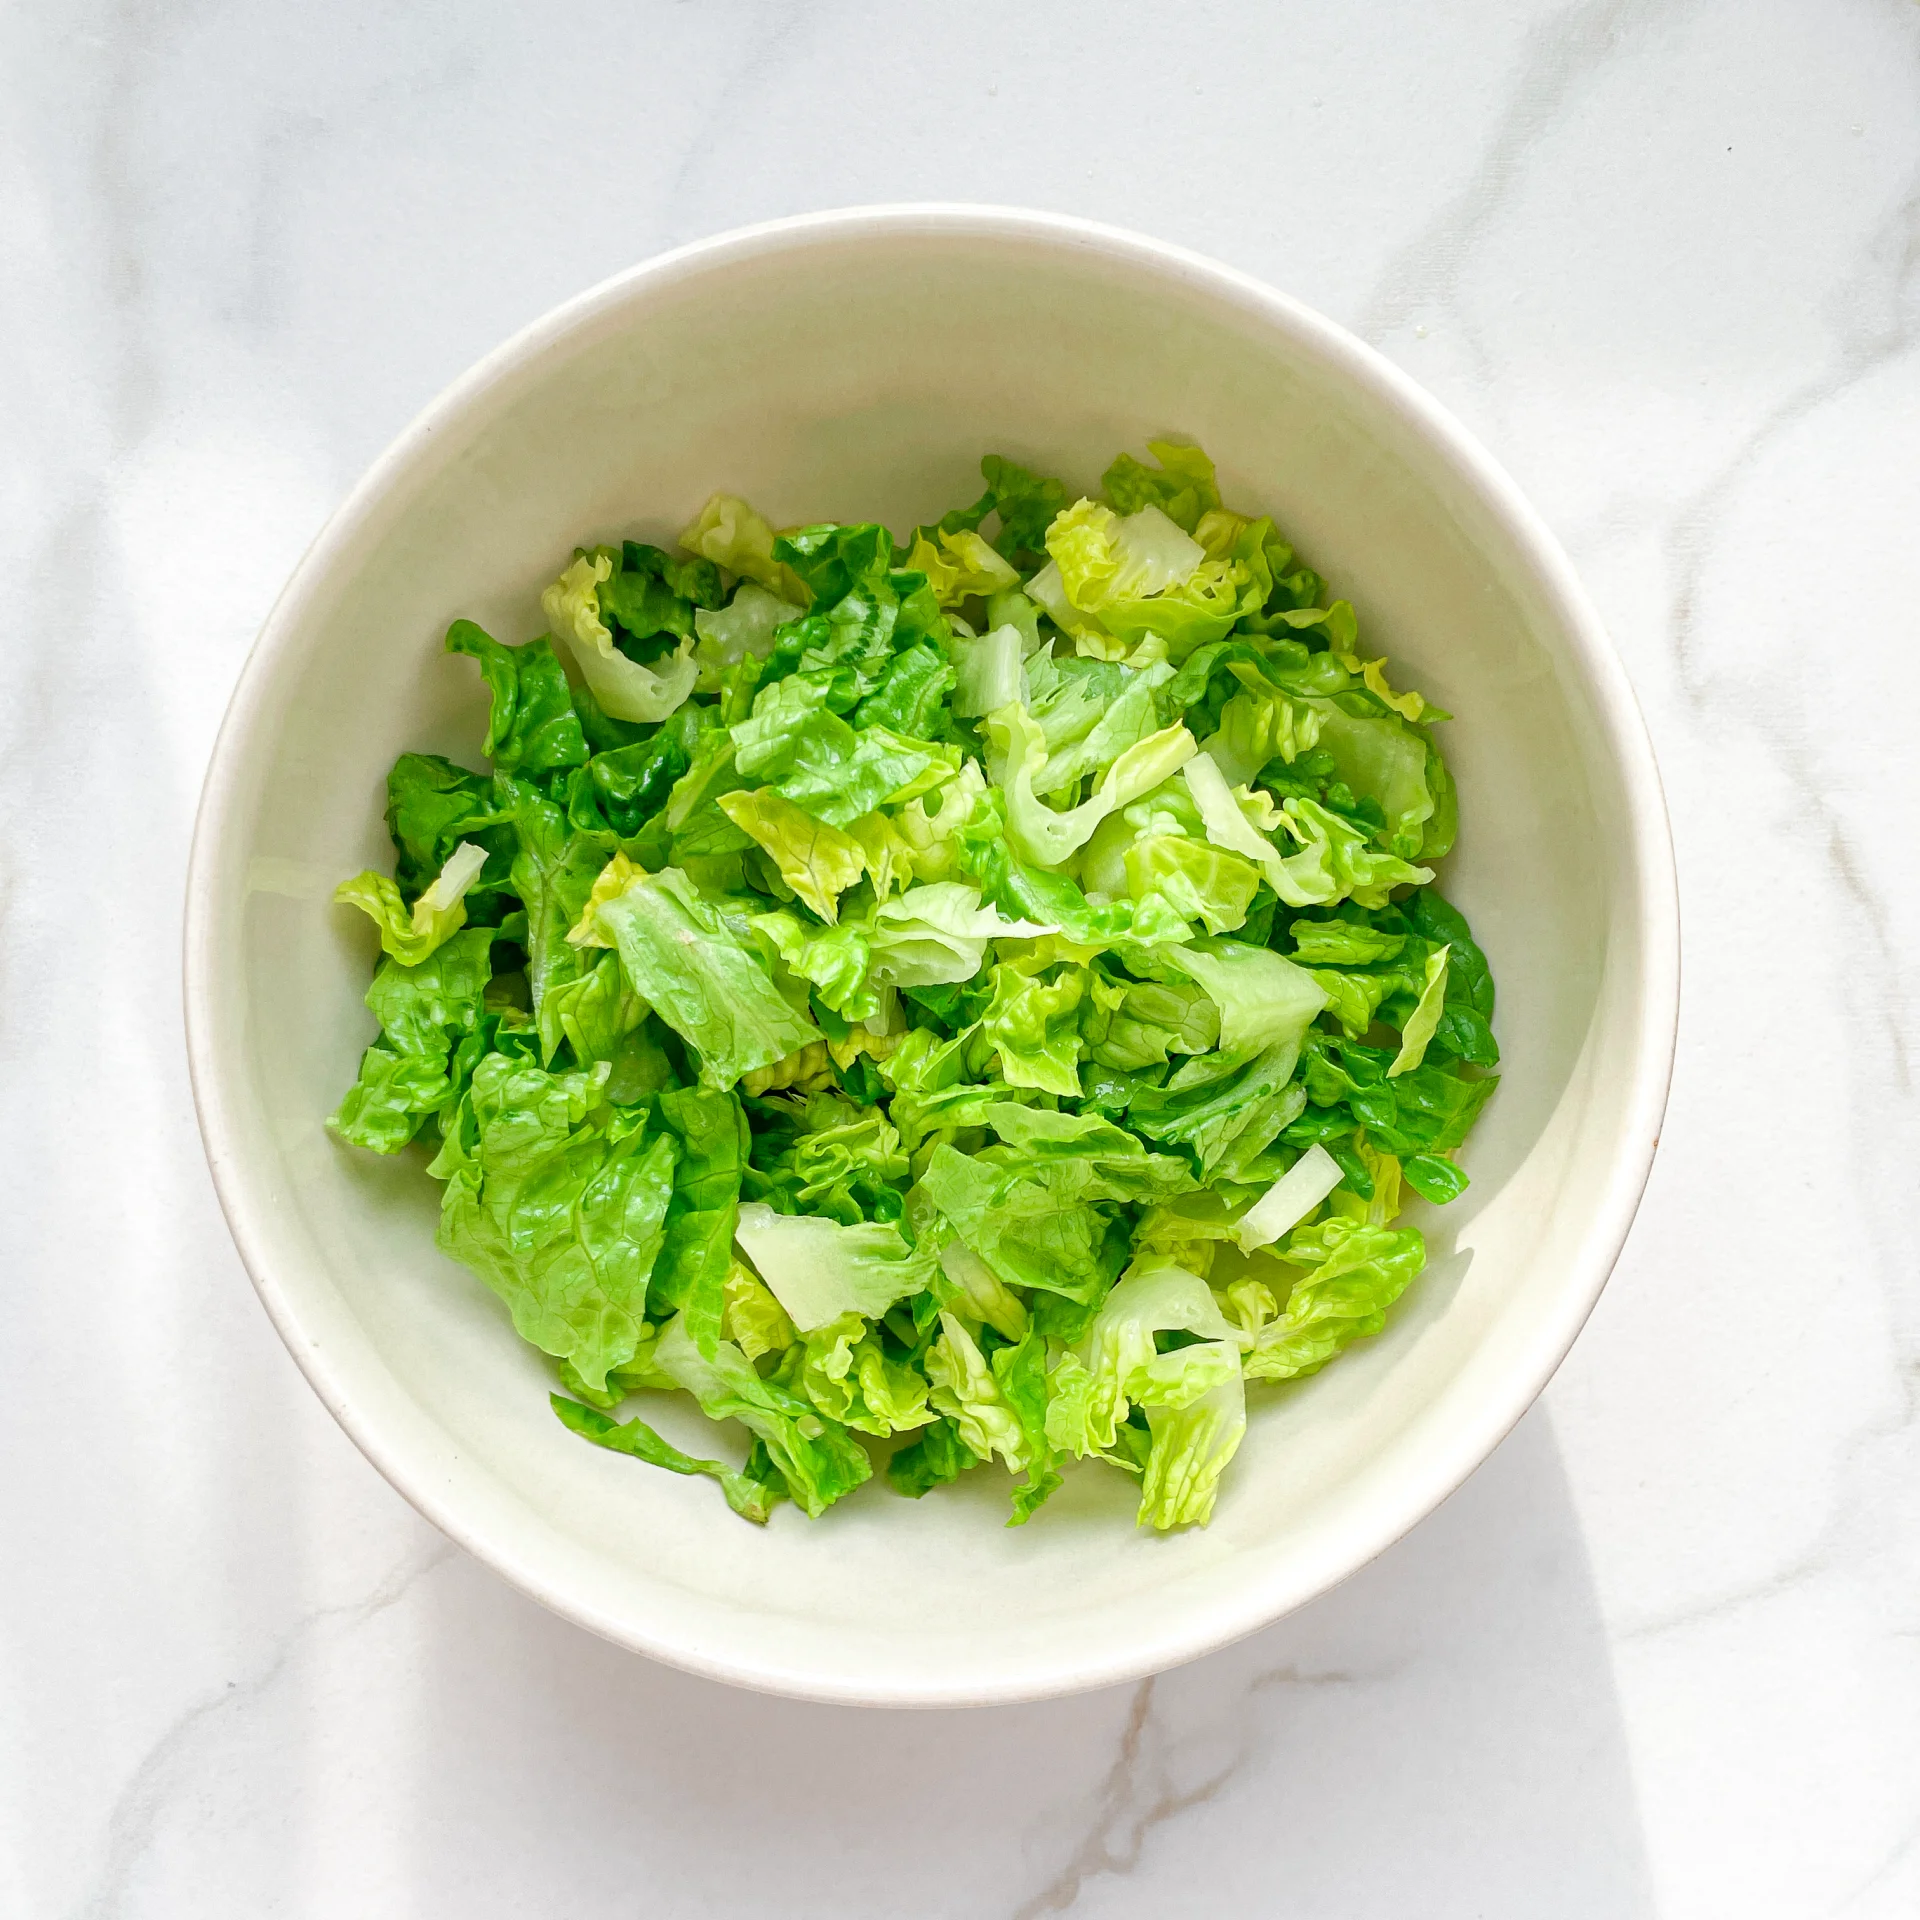
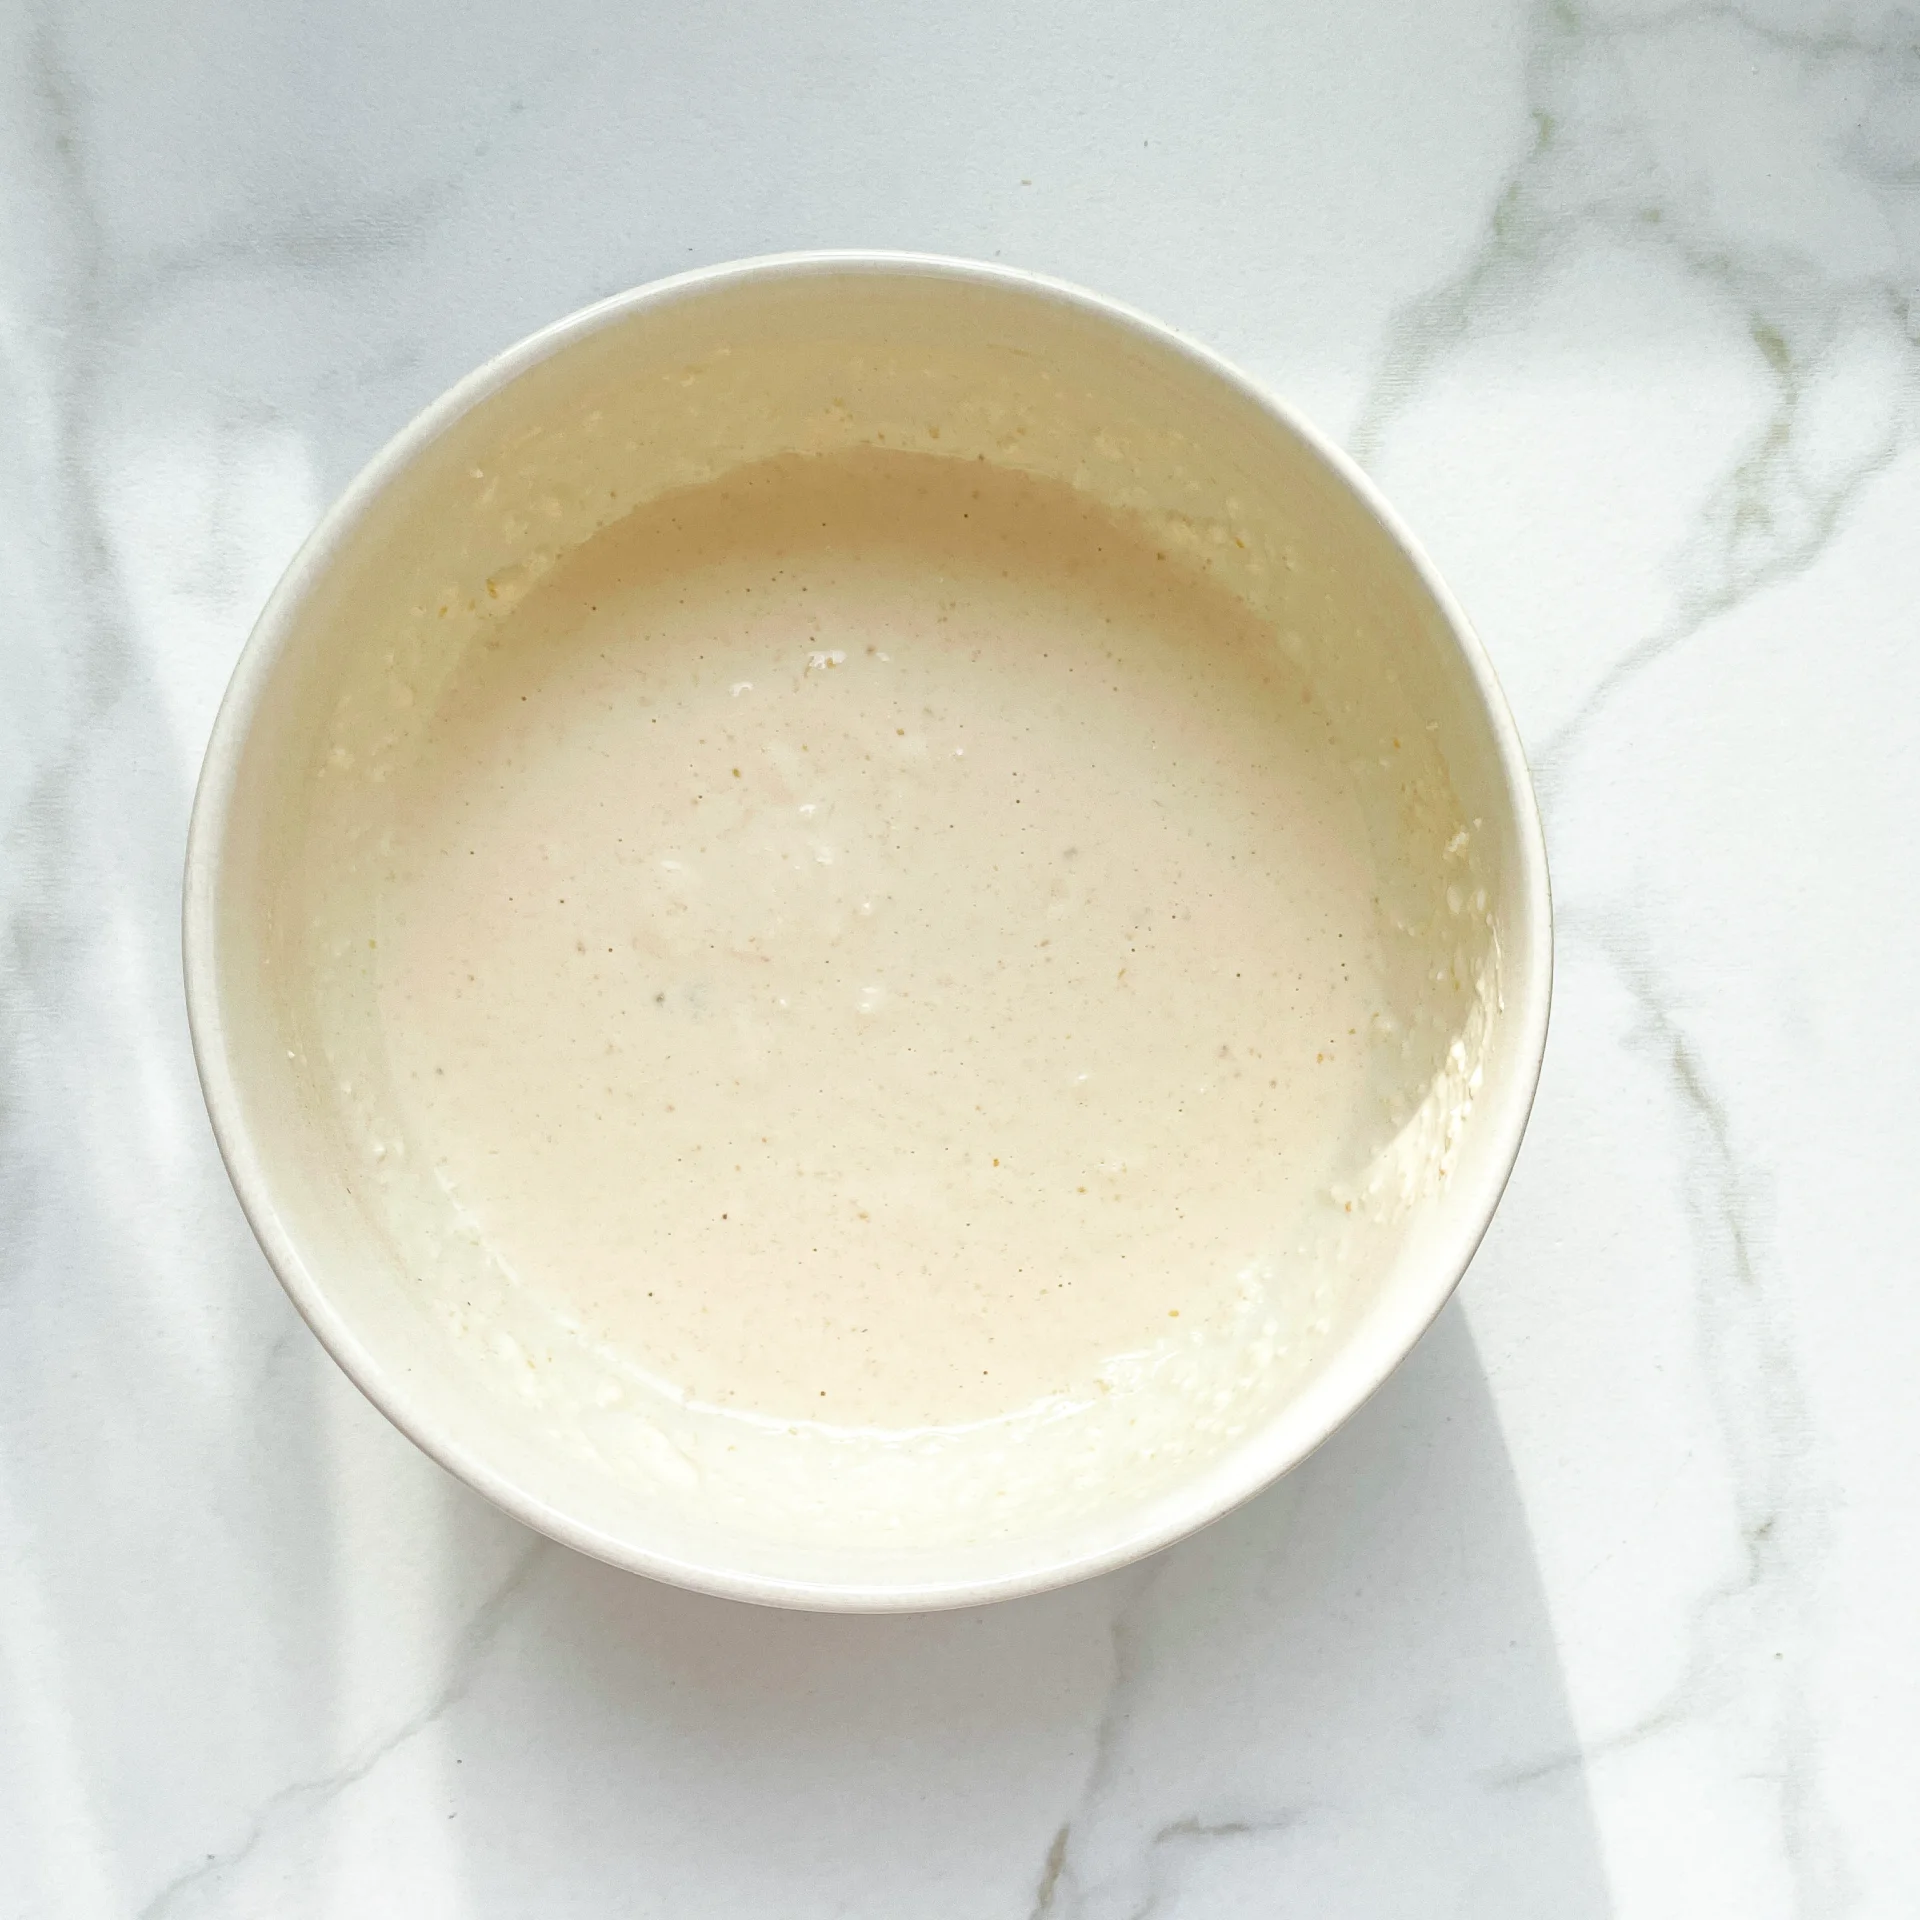
  3. Meanwhile, divide the Romaine lettuce between two bowls. In a small bowl, thoroughly mix all the ingredients for the dressing. Evenly distribute the dressing over the lettuce in the two bowls, toss well to coat the lettuce with the dressing.
  4. Remove the tomatoes from the oven and distribute them and the gnocchi among the bowls. Toss briefly. Top everything with chives and Parmesan and serve immediately.

Notes

The calorie information may vary depending on the product used, country and region.

  • Prep Time: 10
  • Cook Time: 15
  • Category: SALAD
  • Cuisine: ITALIAN
Peach Vanilla Jam

Peach Vanilla Jam

Peach Vanilla Jam

Peach Vanilla Jam

May 12, 2024 by Kimberly

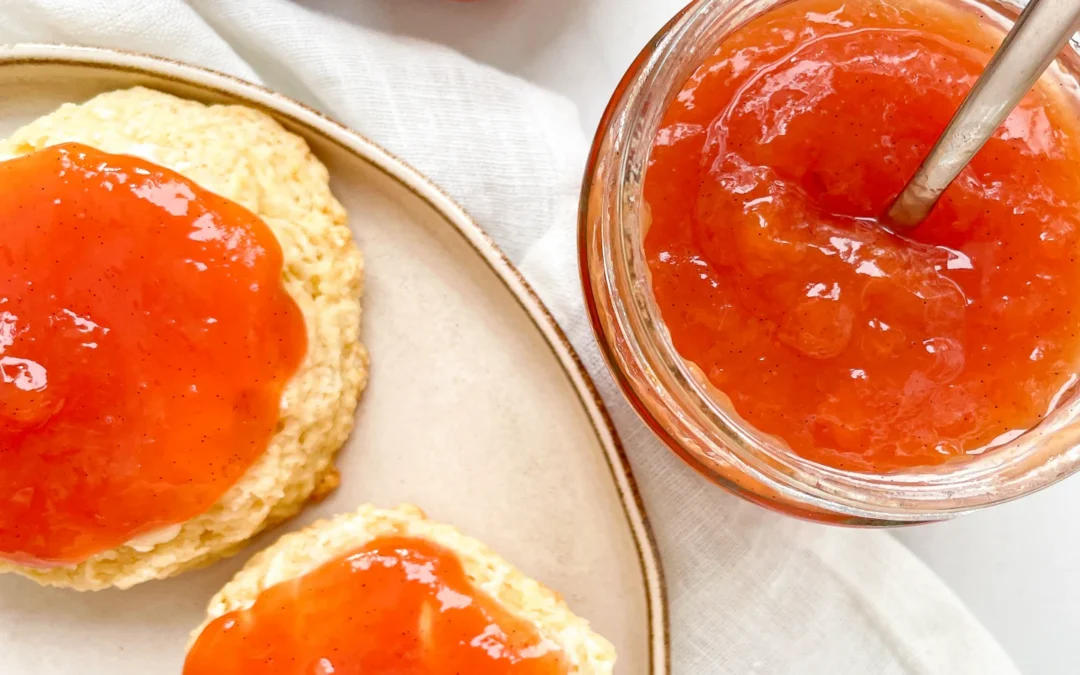
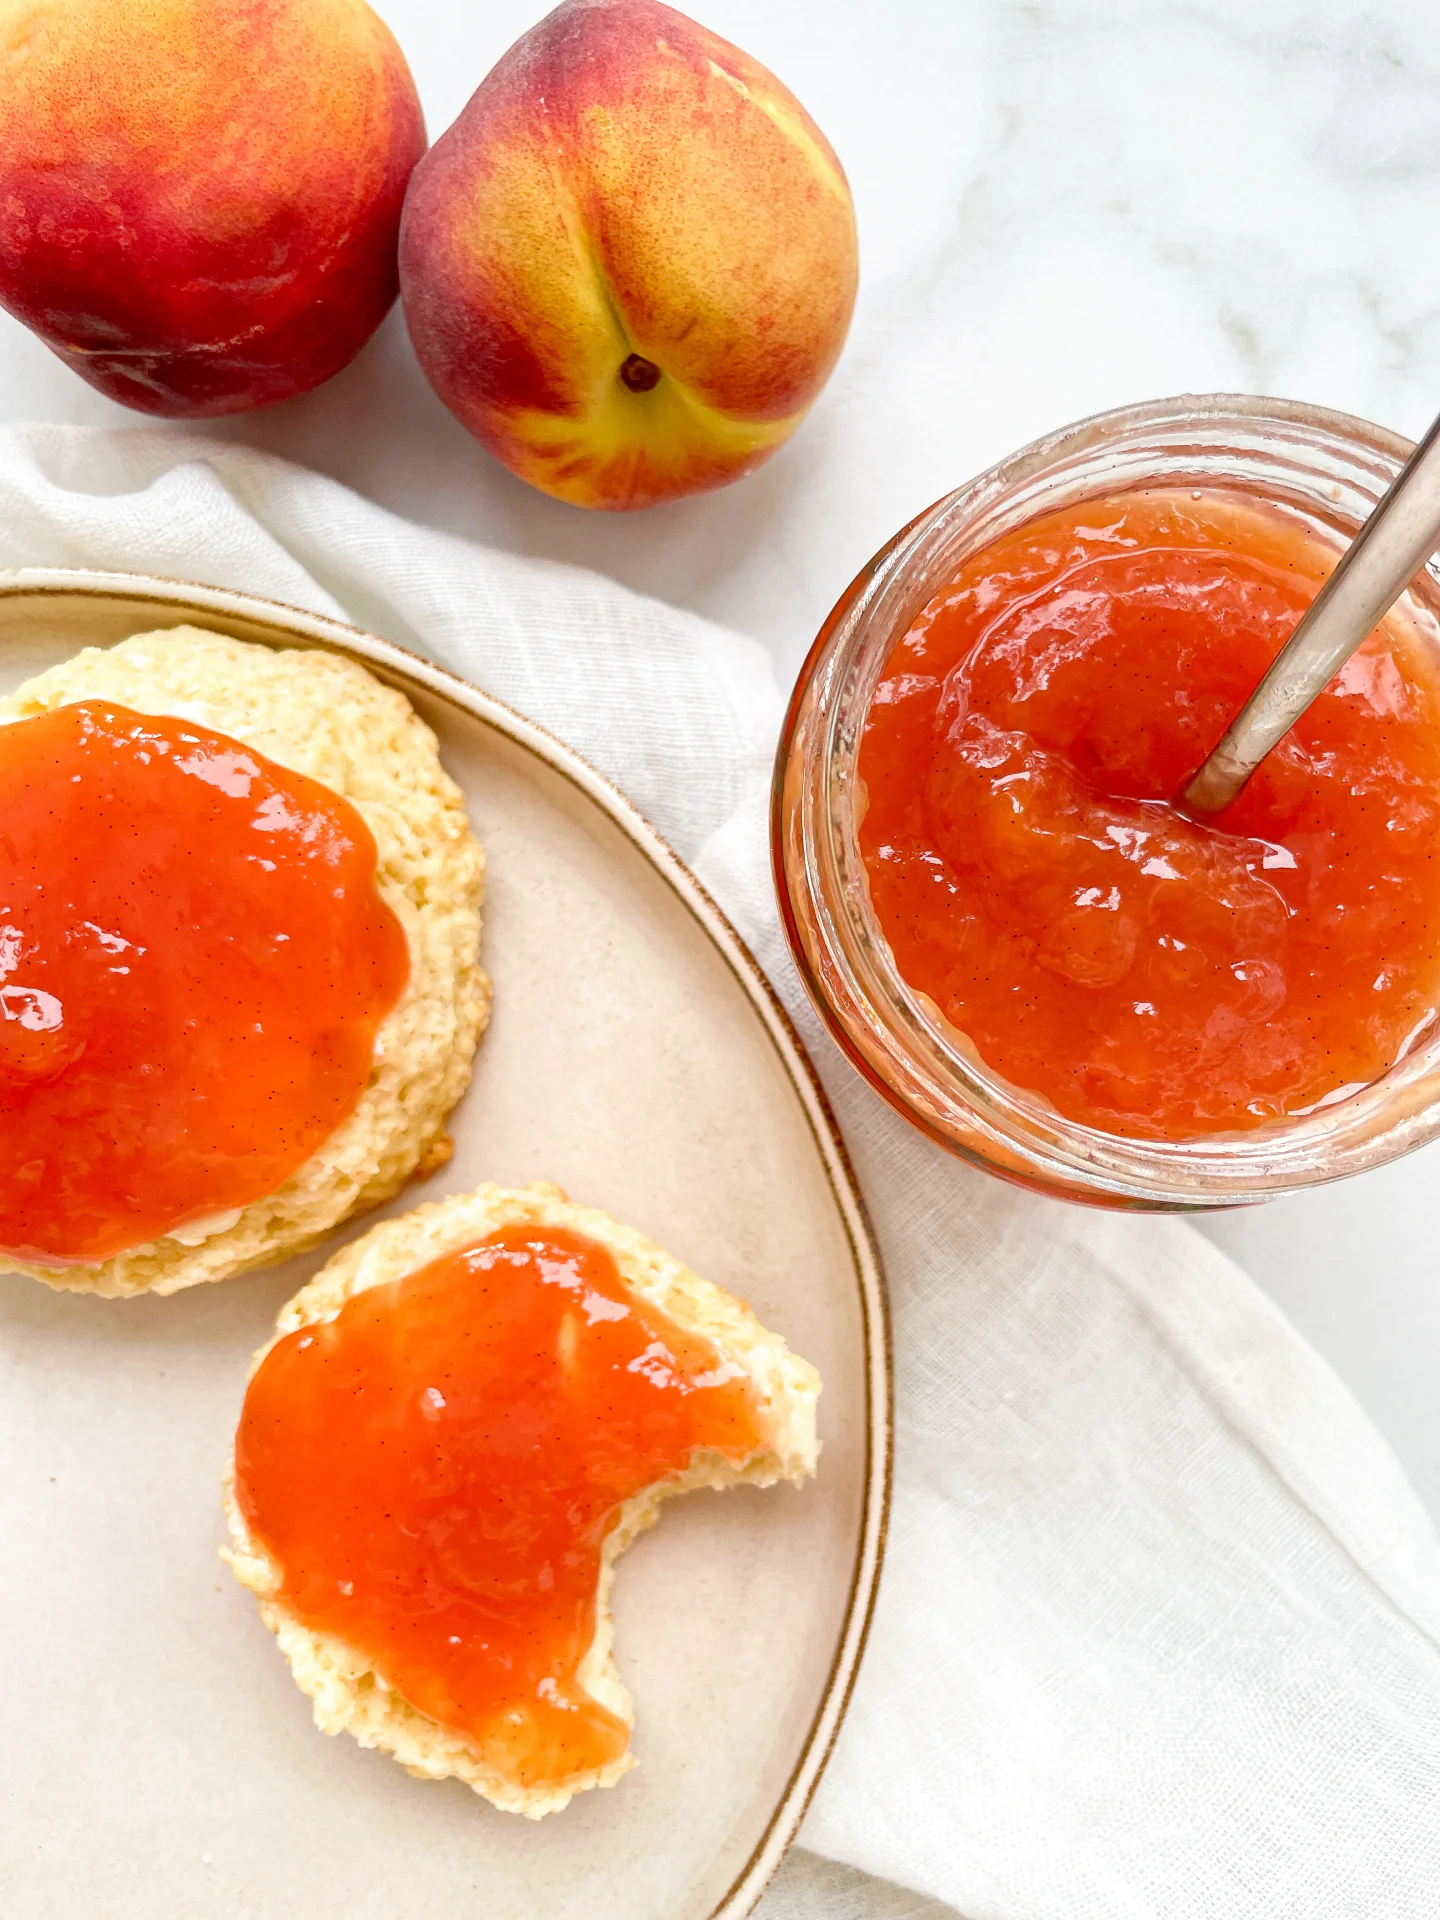
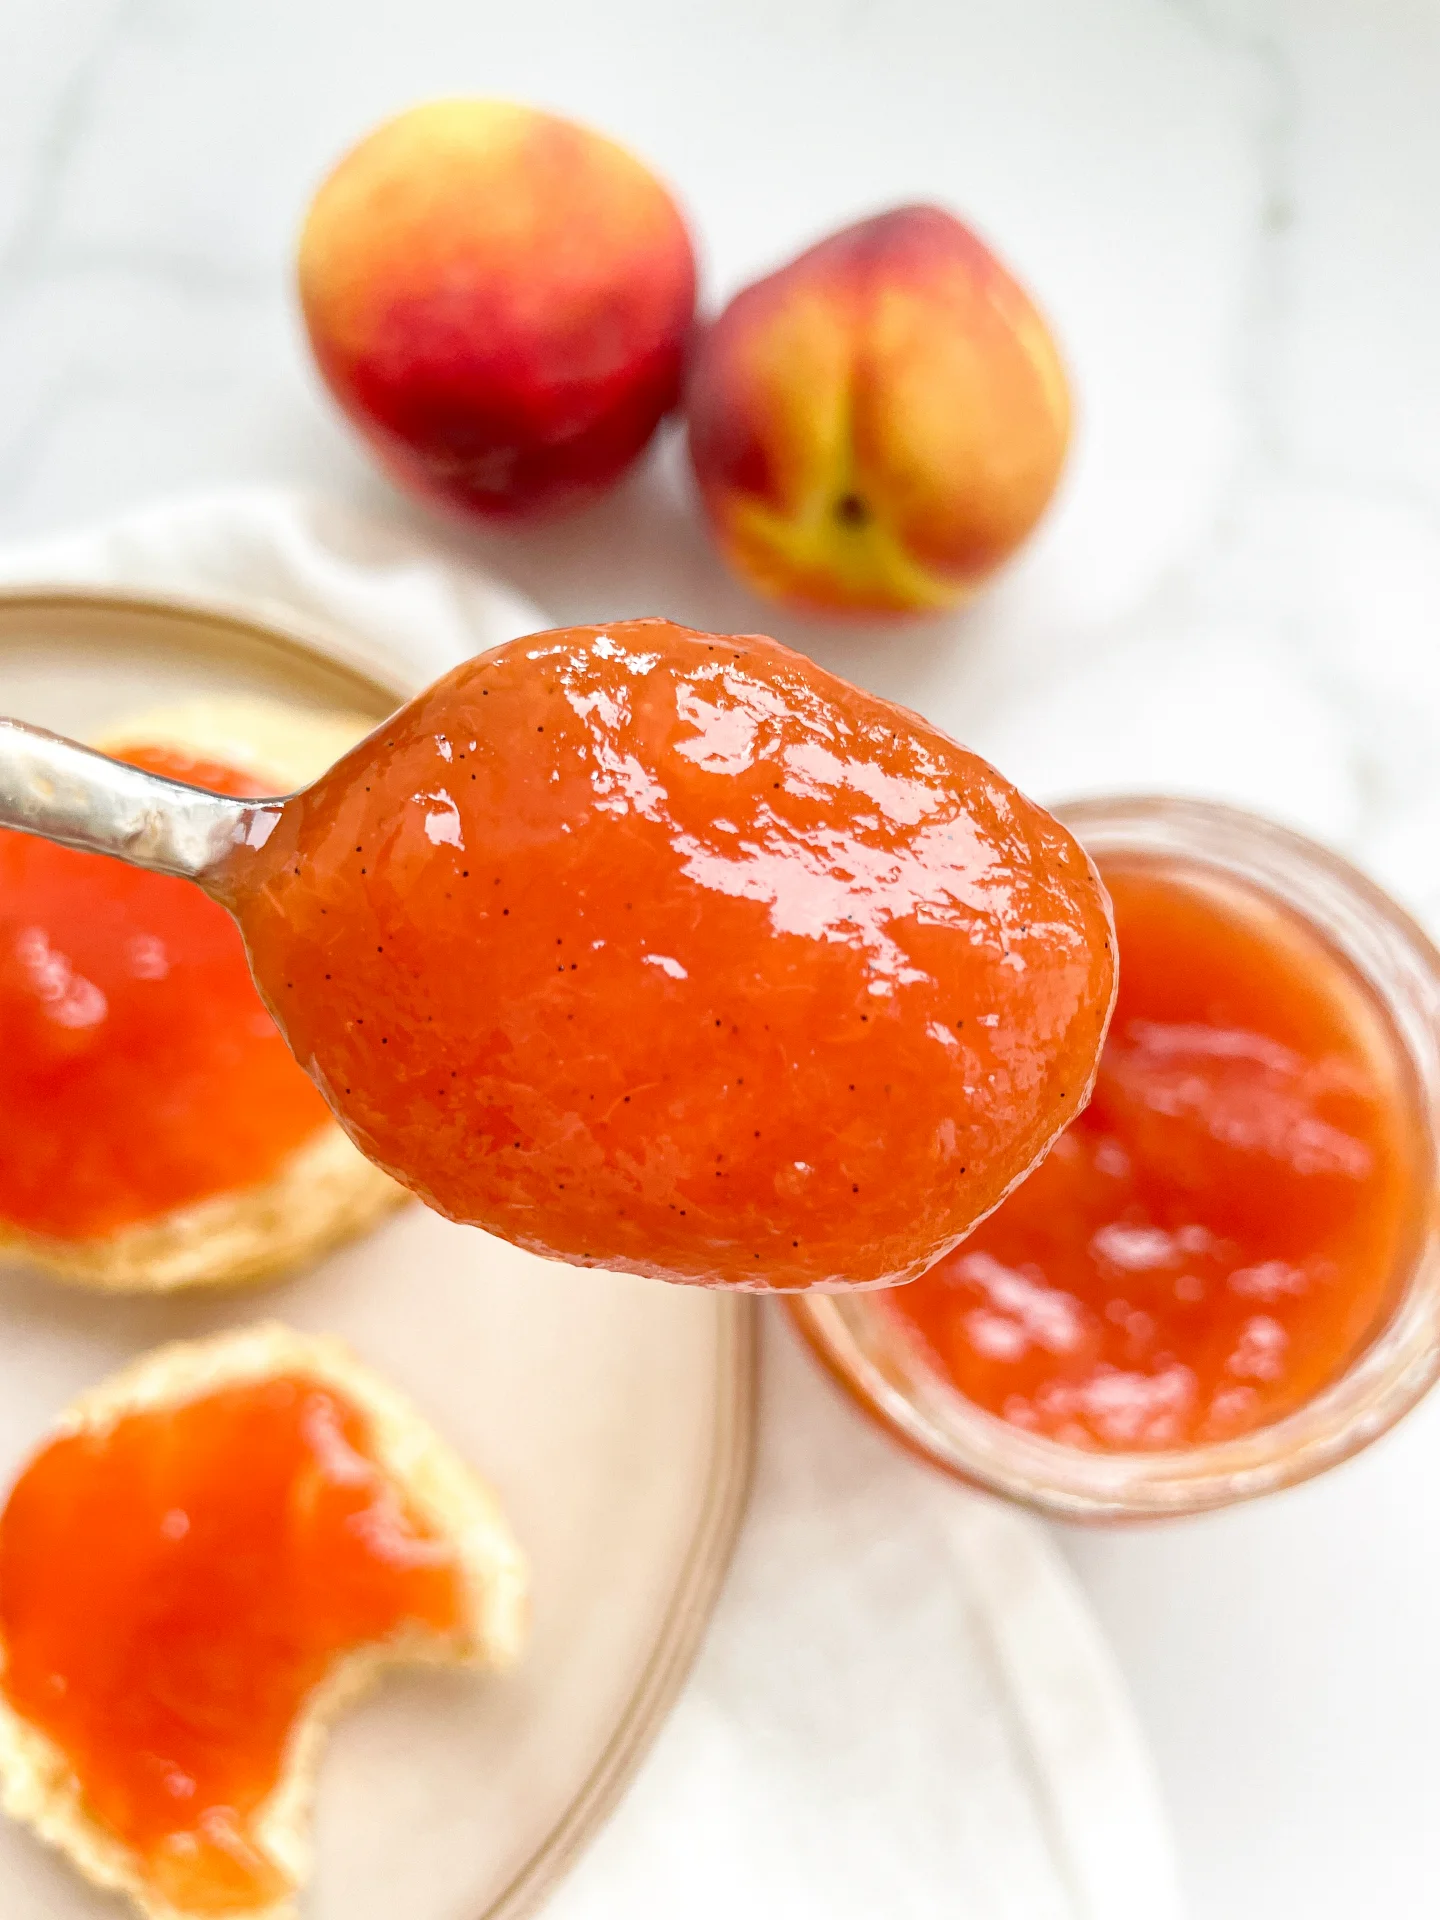
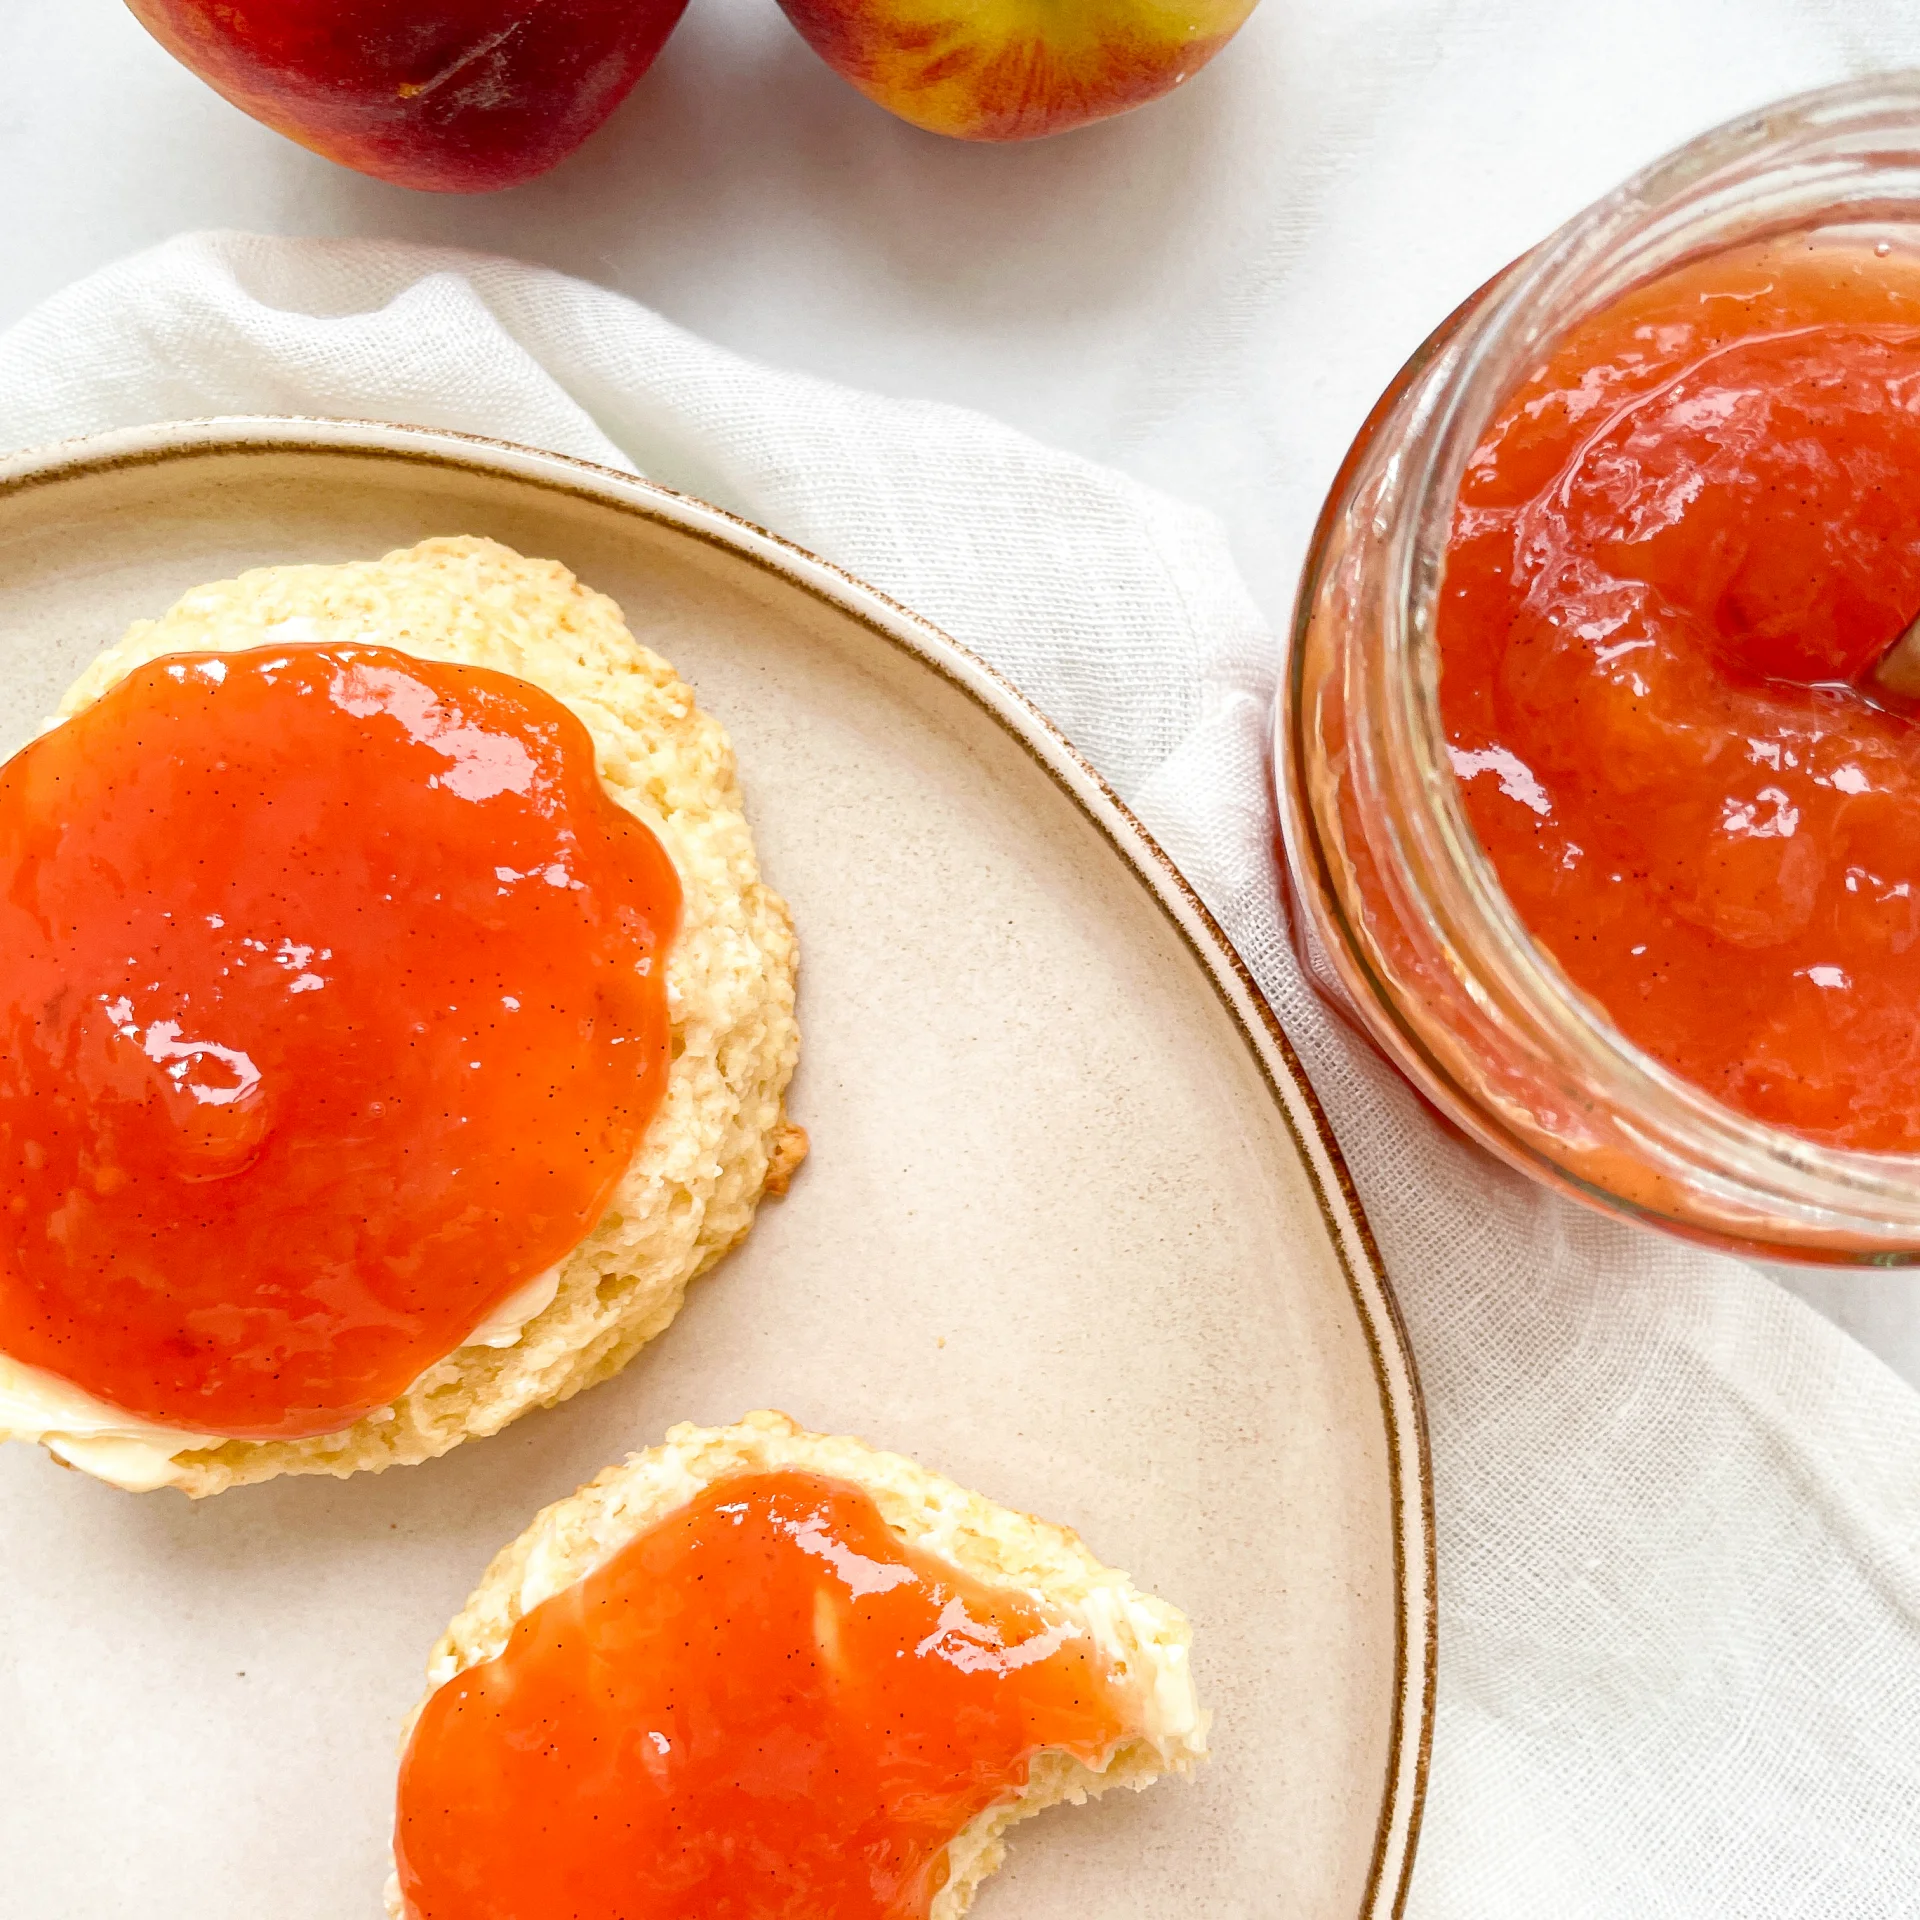
Discover the joy of homemade Peach Vanilla Jam! A sweet, fragrant blend perfect for breakfast spreads and desserts. Simple, delicious, and wonderfully aromatic.

2 HOURS
25 MINUTES

EASY

VEGETARIAN

INT.

16 PER TSP

SWEET
FRUITY

EVERYDAY

DIPS & SPREADS

SPRING
SUMMER

INTRODUCTION

ABOUT THE RECIPE

Dive into the delightful world of homemade jam with my peach vanilla jam recipe! This easy-to-follow recipe combines ripe peaches and fragrant vanilla for a heavenly spread.

How to serve
Spread it over warm toast, swirl it into your morning yogurt, or dollop it on pancakes. It’s the perfect addition to enhance any breakfast or snack time with a touch of homemade sweetness.

How to store
To keep your jam fresh, store it in airtight containers in the refrigerator. Properly sealed, it can last as long as store-bought jam once opened.

Hi, I'm Kimberly!

Hi, I'm Kimberly.

A passionate food lover who believes in the magic of homemade deliciousness that spreads love and warmth. Join me on this culinary adventure as I prepare wonderful dishes and let’s spread some happiness together!

Kimberly the Zett Signature

If you want to get to know me better, click here!


Peach Vanilla Jam
Peach Vanilla Jam
Peach Vanilla Jam
„Let’s make a piece of happiness“
Print
.tasty-recipe-responsive-iframe-container-f069ea23 { position: relative; overflow: hidden; padding-top: 56.3%; } .tasty-recipe-responsive-iframe-container-f069ea23 iframe { position: absolute; top: 0; left: 0; width: 100%; height: 100%; border: 0; } clock clock iconcutlery cutlery iconflag flag iconfolder folder iconinstagram instagram iconpinterest pinterest iconfacebook facebook iconprint print iconsquares squares iconheart heart iconheart solid heart solid icon
Peach Vanilla Jam

Peach Vanilla Jam


1 from 1 review

  • Author: Kimberly
  • Total Time: 145 min
  • Yield: 1.5 kg / 3.3 lbs

Description

RECOMMENDED EQUIPMENT

  • 4 screw-top jars
  • sharp knife
  • cutting board
  • medium-sized pot
  • immersion blender

Ingredients

Units Scale
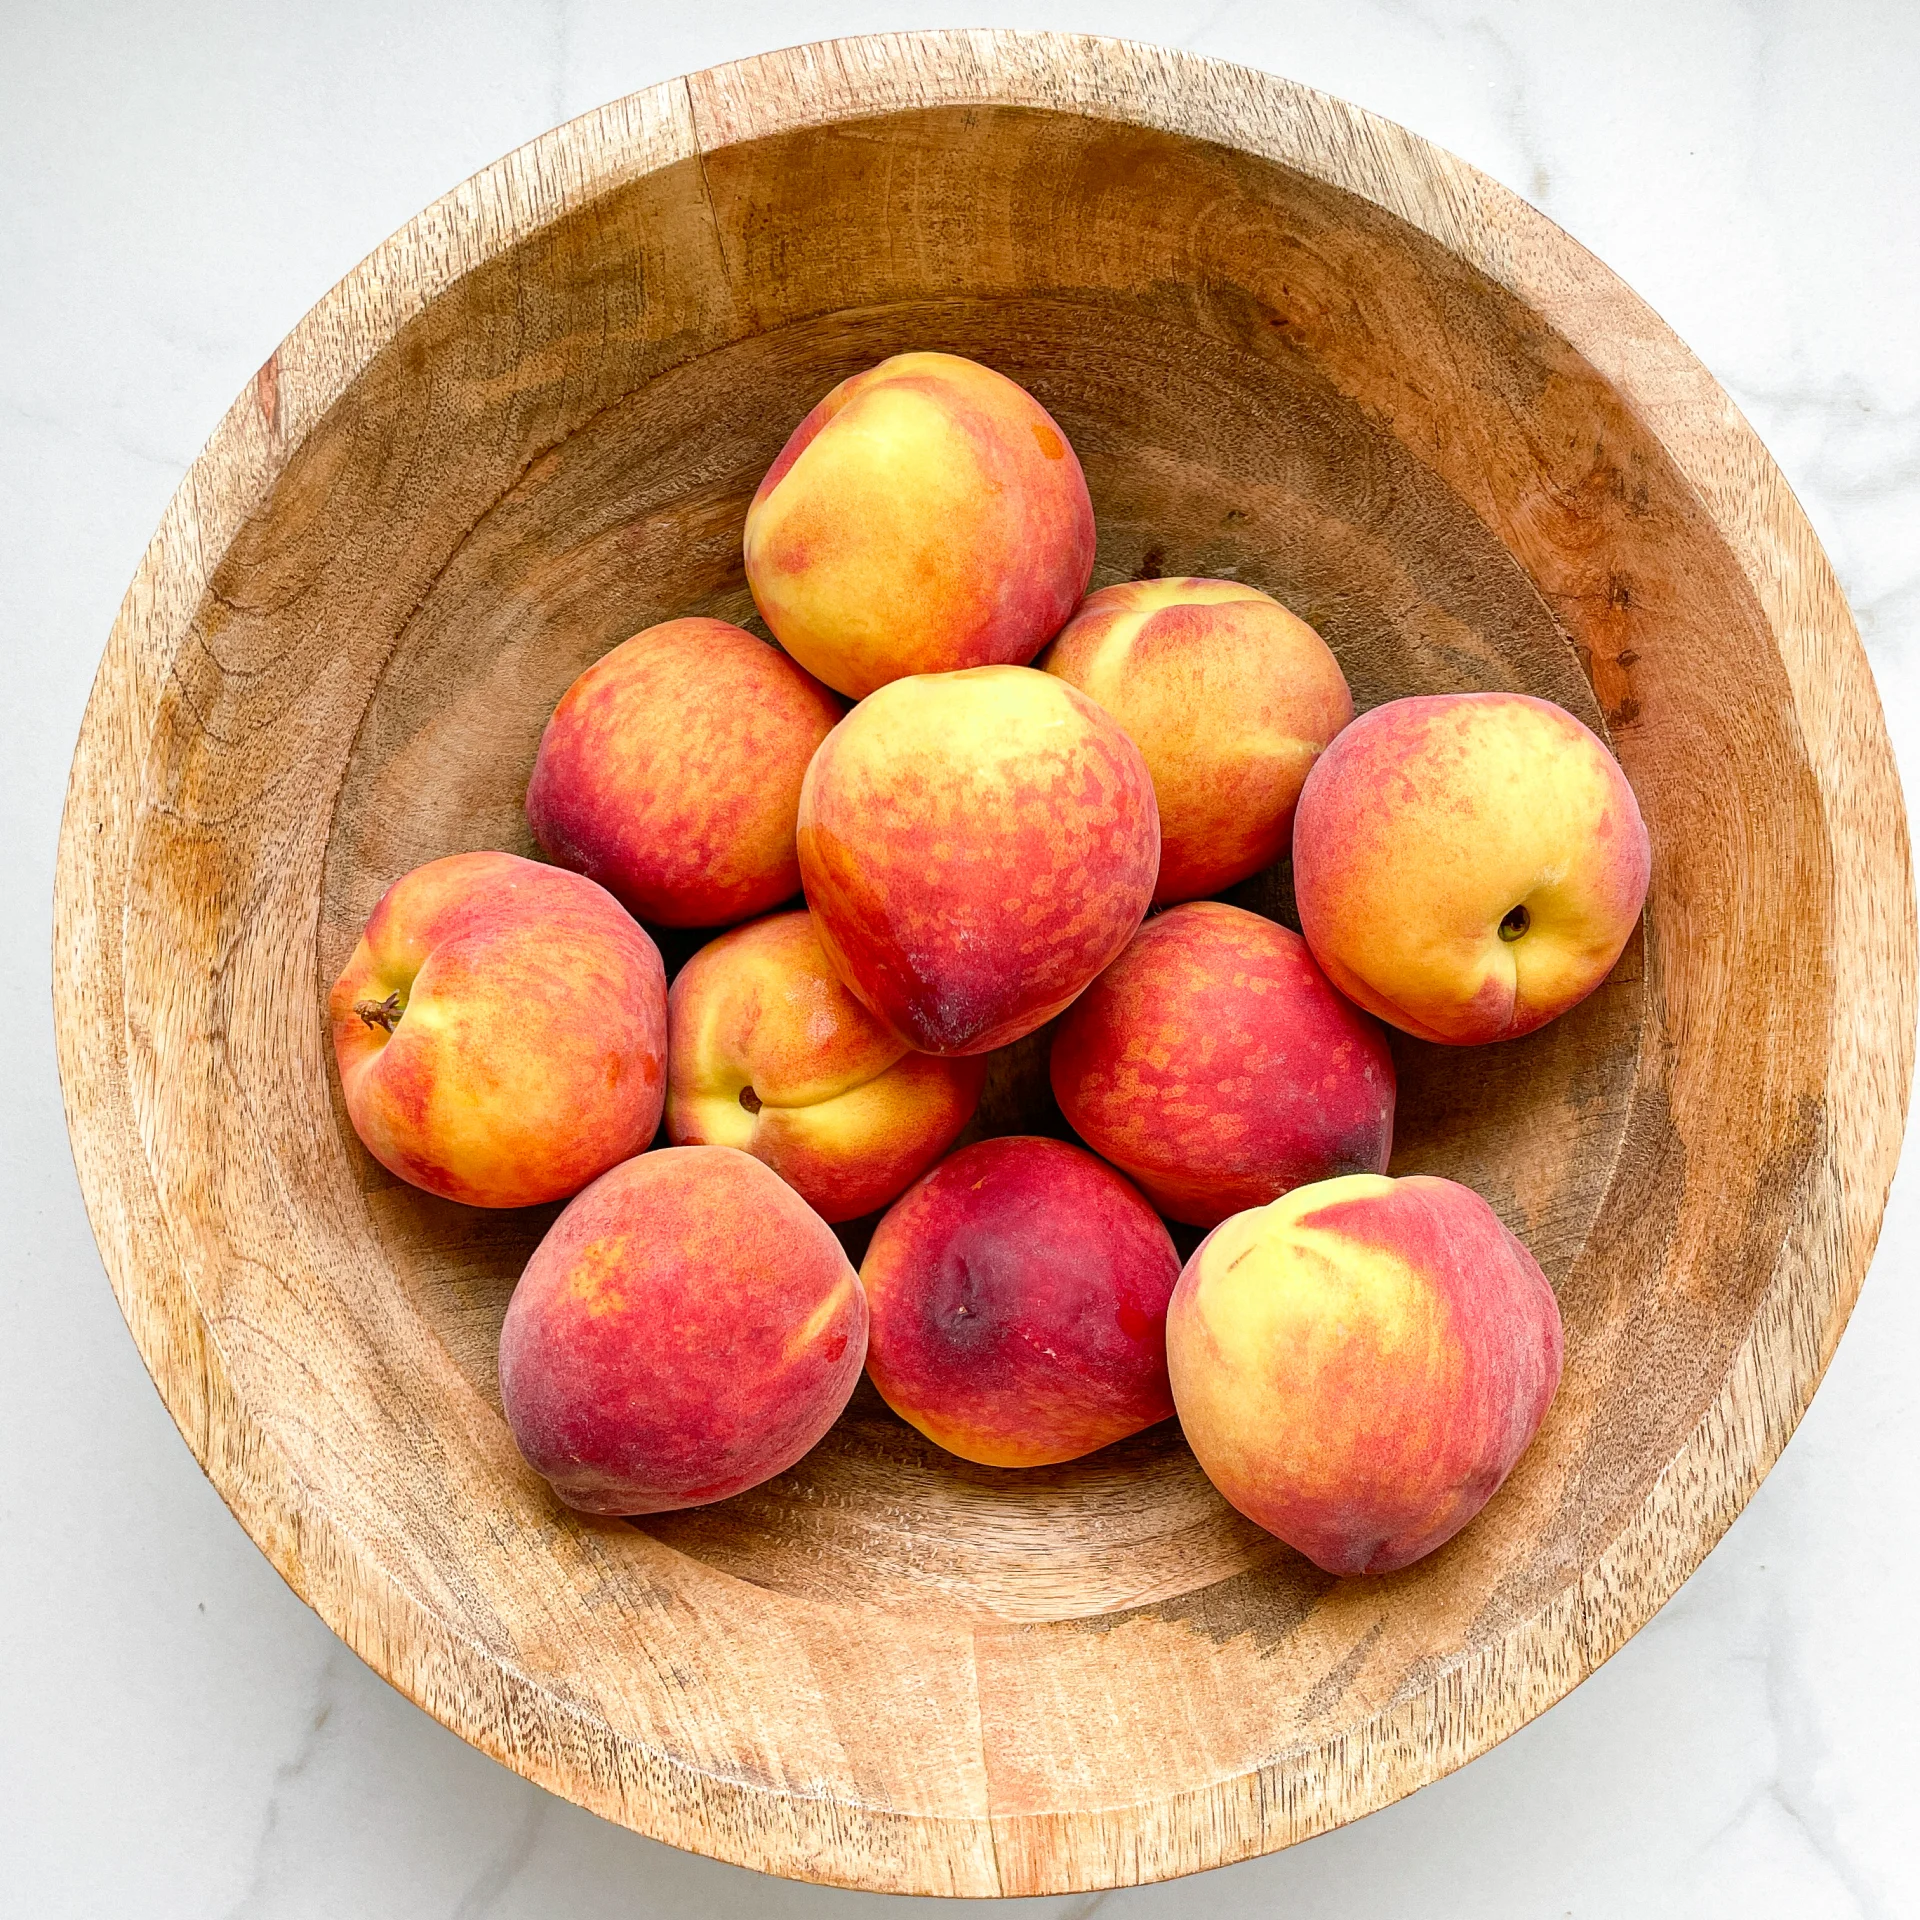
  • 1 kilograms ripe peaches
  • 500 grams jam sugar 2:1
  • 1 vanilla pod

Instructions

  1. Rinse four screw-top jars with boiling hot water, dry them, and keep them open and ready to be filled.
  2. Wash and dry the peaches. Remove the pits and chop the peaches into rough pieces. Place all the pieces in a medium-sized pot.
  3. Slit a vanilla pod lengthwise and scrape out the seeds. Add the vanilla seeds, the pod, and the jam sugar to the peaches. Stir well and bring to a boil over medium heat.
  4. Let it boil for about 5 minutes. Stir occasionally. Remove the vanilla pod, then puree the mixture with an immersion blender until smooth and simmer for another 5 minutes and stir occasionally.
  5. Fill the jam hot into the washed jars and seal them. Let them cool completely. The jam can be stored unrefrigerated and unopened for several months, and once opened, it lasts in the fridge as long as store-bought jam.

Notes

The calorie information may vary depending on the product used, country and region.

  • Passive Time: 120 min
  • Cook Time: 25 min

Café de Paris Butter

Café de Paris Butter

Café de Paris Butter

Café de Paris Butter

May 1, 2024 by Kimberly

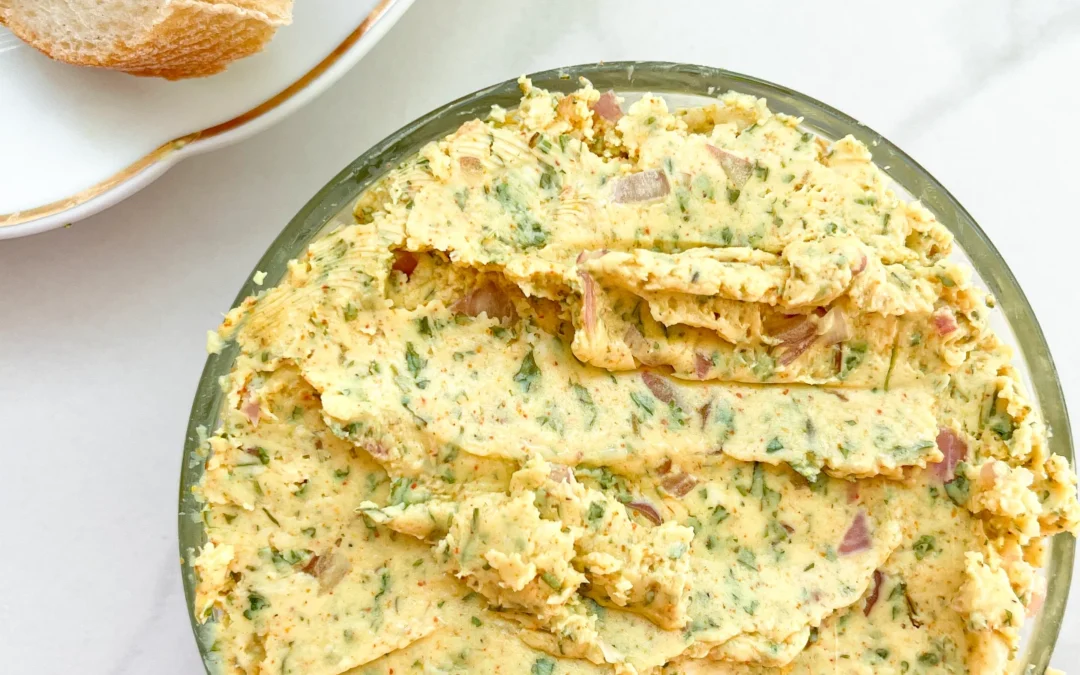
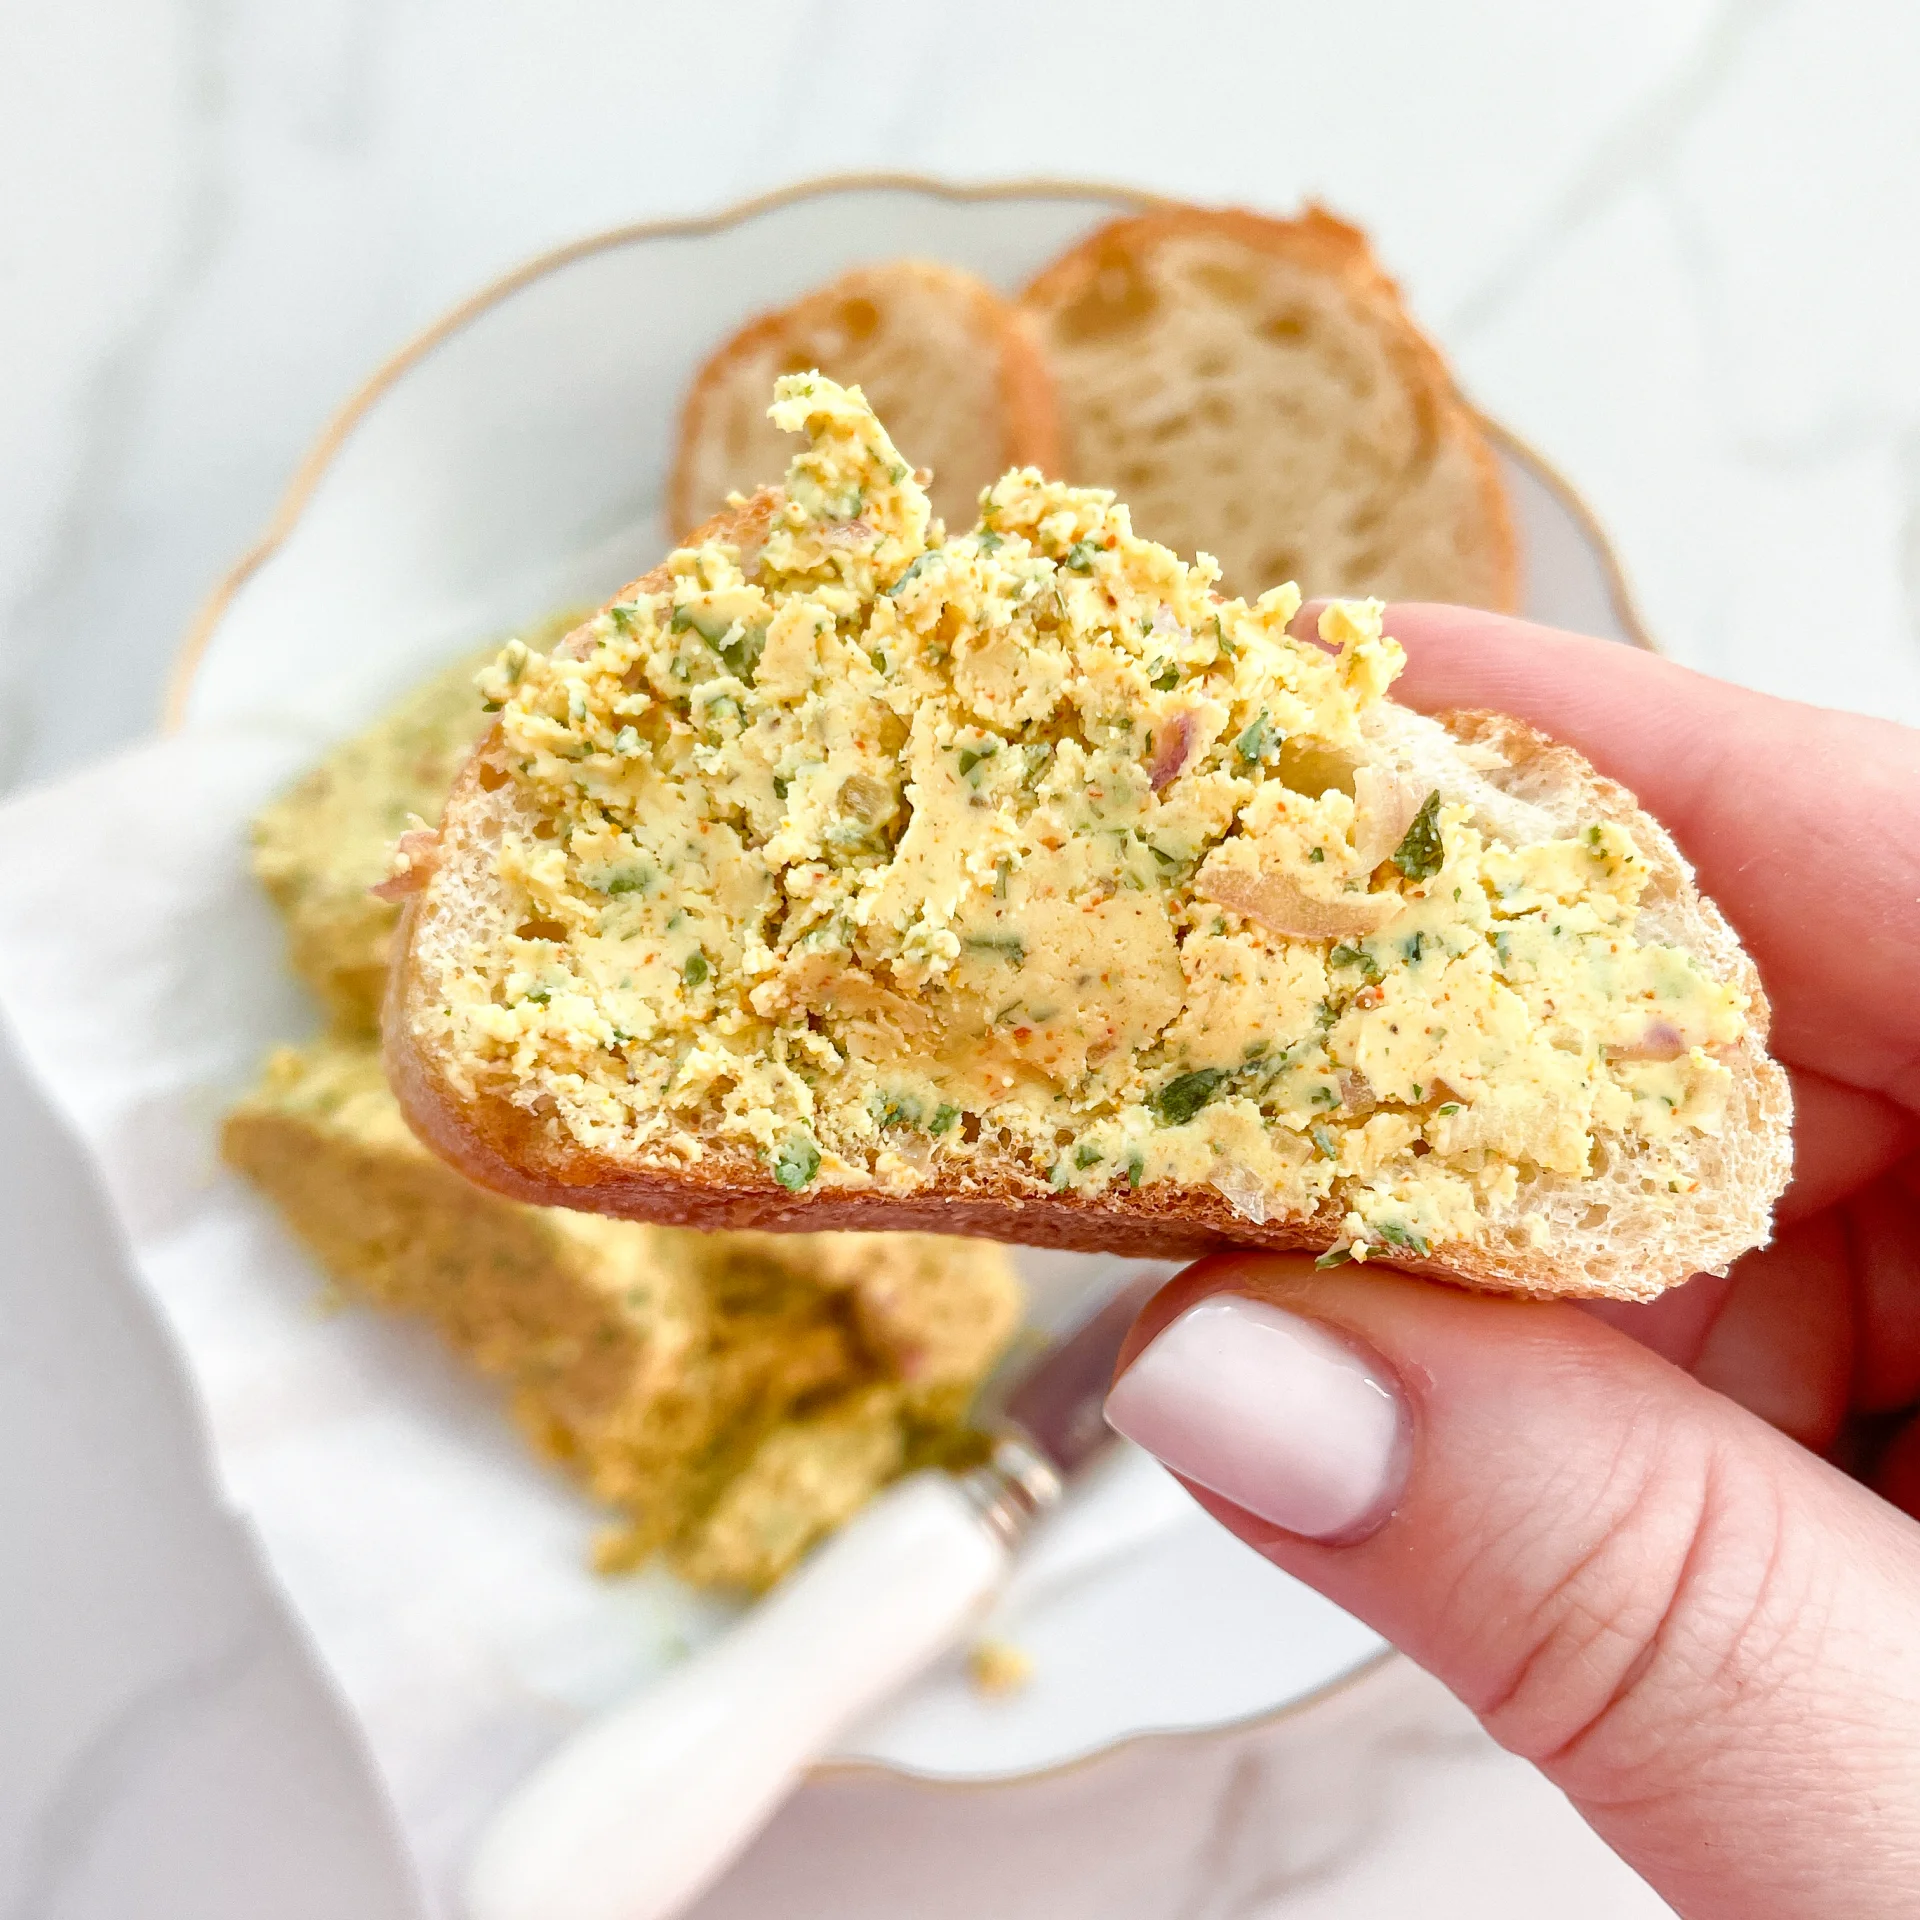
Unleash the flavors with Café de Paris Butter! A rich, herb-infused delight perfect for transforming steaks and vegetables into gourmet experiences.

10 MINUTES

EASY

VEGETARIAN

INT.

180 PER PORTION

HERBACOUS
BUTTERY

EVERYDAY

DIPS & SPREADS

ALL YEAR

INTRODUCTION

ABOUT THE RECIPE

Experience the essence of French cuisine with Café de Paris Butter, a luxurious compound butter that enriches any dish it touches. This delightful blend is packed with herbs and spices, making it an ideal gourmet addition to your kitchen repertoire.

How to serve:
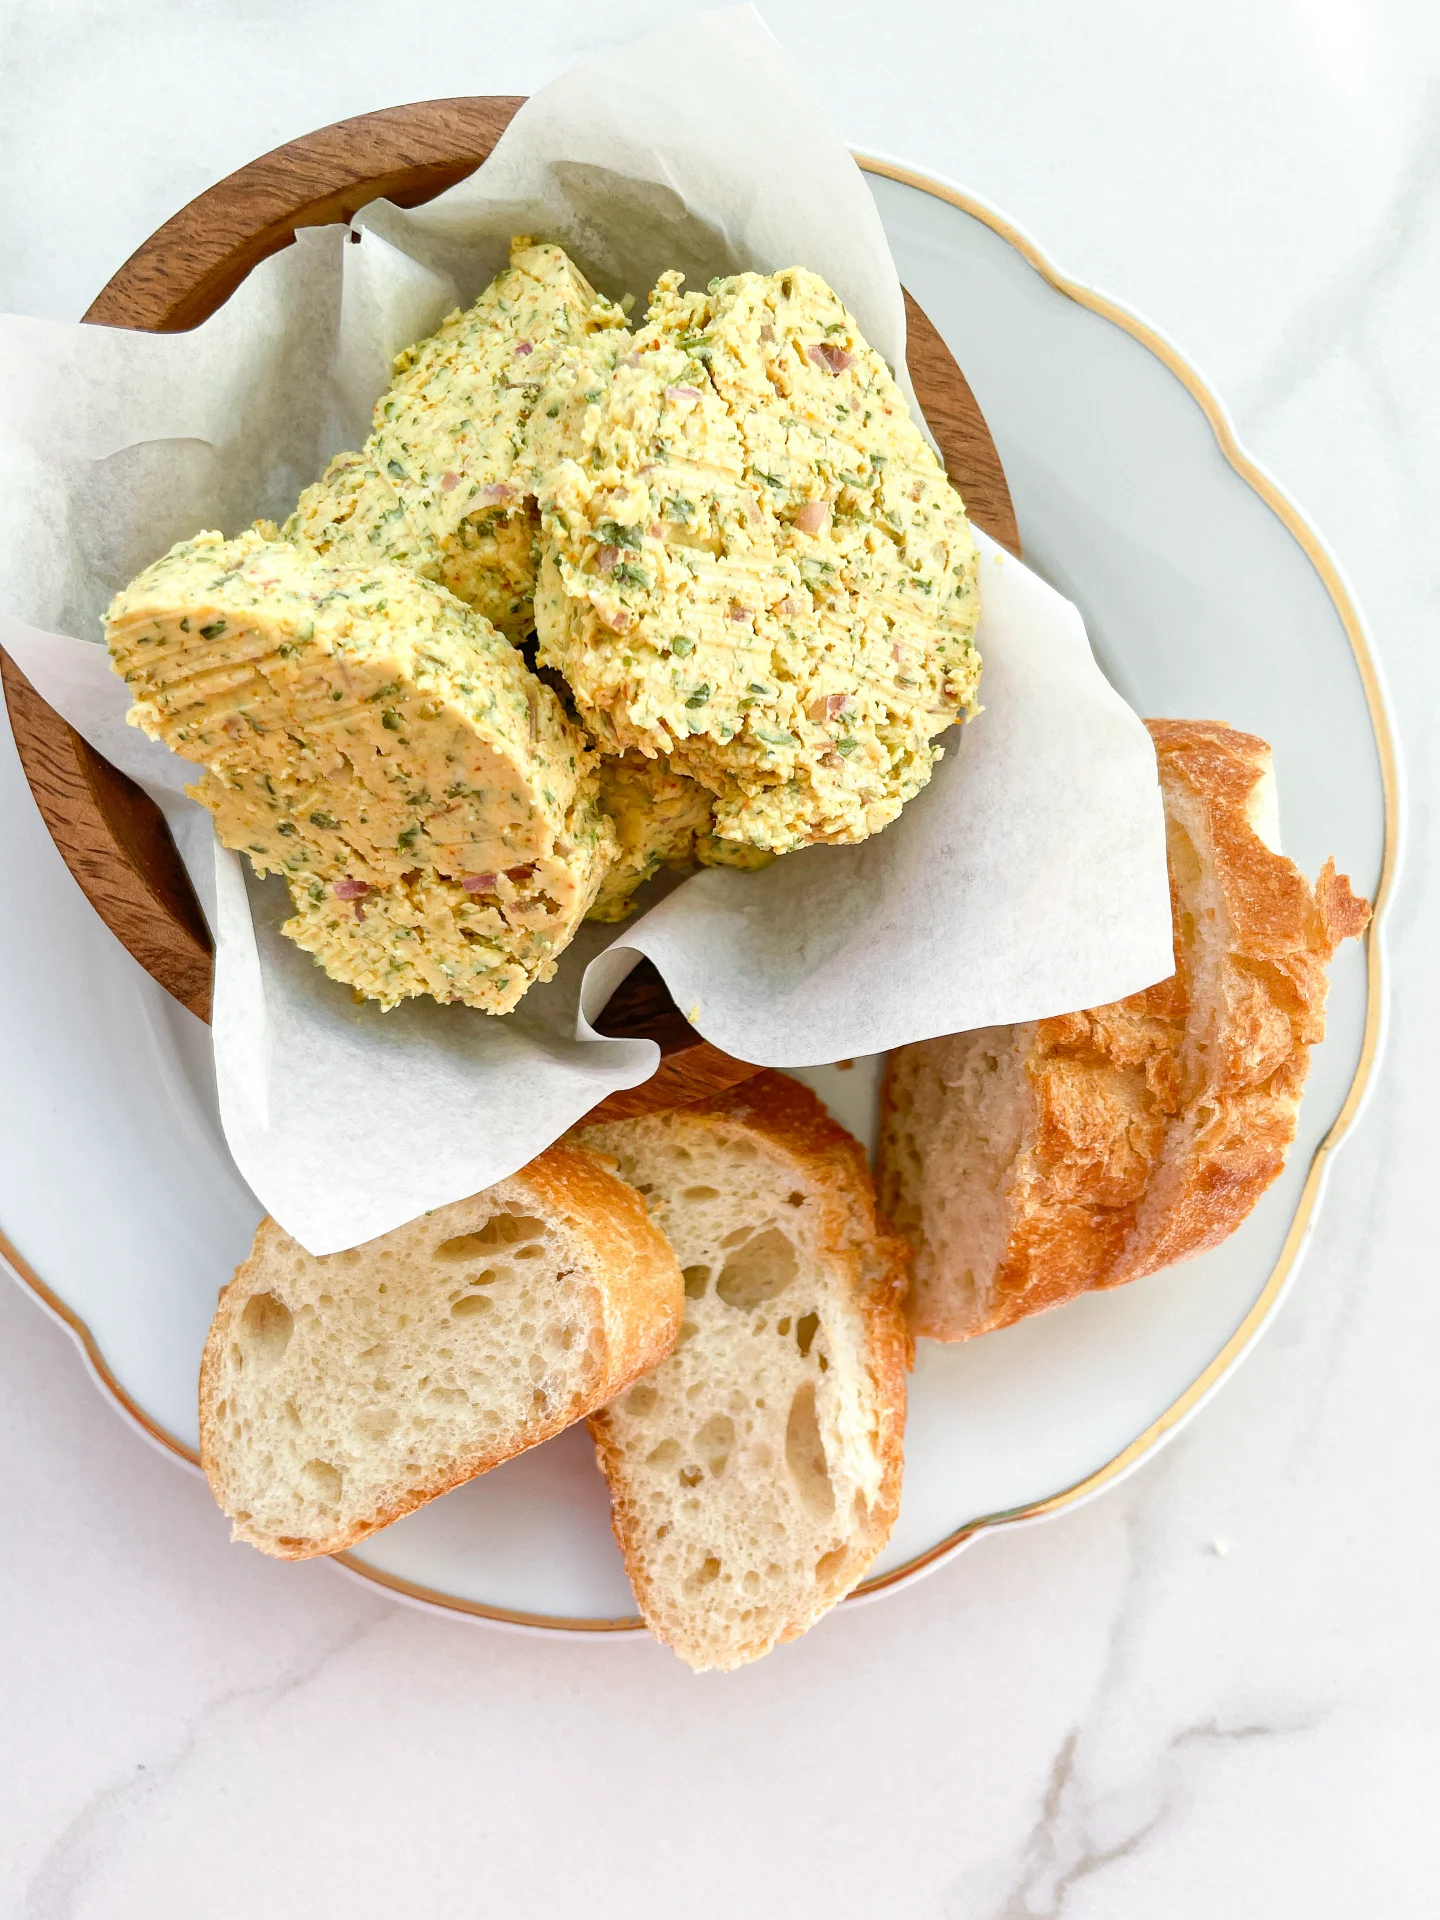
Café de Paris Butter is best served melted over hot steaks, grilled chicken, or roasted vegetables. Its rich flavor also complements baked potatoes and fresh bread. For an exquisite culinary twist, try spreading it on your favorite toasted baguette or incorporate it into pasta for a creamy, herbaceous sauce. Its gourmet flair will transform ordinary meals into memorable dining experiences.

How to store:
Keep your Café de Paris Butter fresh by storing it wrapped in parchment paper in the refrigerator, where it will last up to one week. For longer preservation, freeze it, ensuring you always have a batch ready for use.

Hi, I'm Kimberly!

Hi, I'm Kimberly.

A passionate food lover who believes in the magic of homemade deliciousness that spreads love and warmth. Join me on this culinary adventure as I prepare wonderful dishes and let’s spread some happiness together!

Kimberly the Zett Signature

If you want to get to know me better, click here!


Café de Paris Butter
„Let’s make a piece of happiness“

INGREDIENTS

FOR 8 PORTIONS

BASE

  • 150g butter (1 stick butter + 1 tbsp)
  • 100g creme fraiche (1/2 cup)
  • 1/2 tsp dijon mustard
  • 1 tsp white wine vinegar
  • 1 shallot
  • 1 garlic clove

HERBS & SPICES

  • 1 tbsp dried parsley
  • 1/2 tsp curry powder
  • 1/4 tsp dried dill
  • 1/4 tsp paprika powder
  • 1/4 tsp dried marjoram
  • 1/4 tsp salt
  • 1/8 tsp dried thyme
  • 1/8 tsp dried rosmary
  • 1/8 tsp ground black pepper
Café de Paris Butter
}

ACTIVE: 2 min

PASSIVE: –

PREPARATIONS

Recommended Equipment
  • sharp knife
  • cutting board
  • small bowl
  • fork
  • Let the butter come to room temperature.
  • Peel the shallot and finely dice it.
  • Peel the garlic clove.
}

ACTIVE: 5 min

PASSIVE: –

COOKING

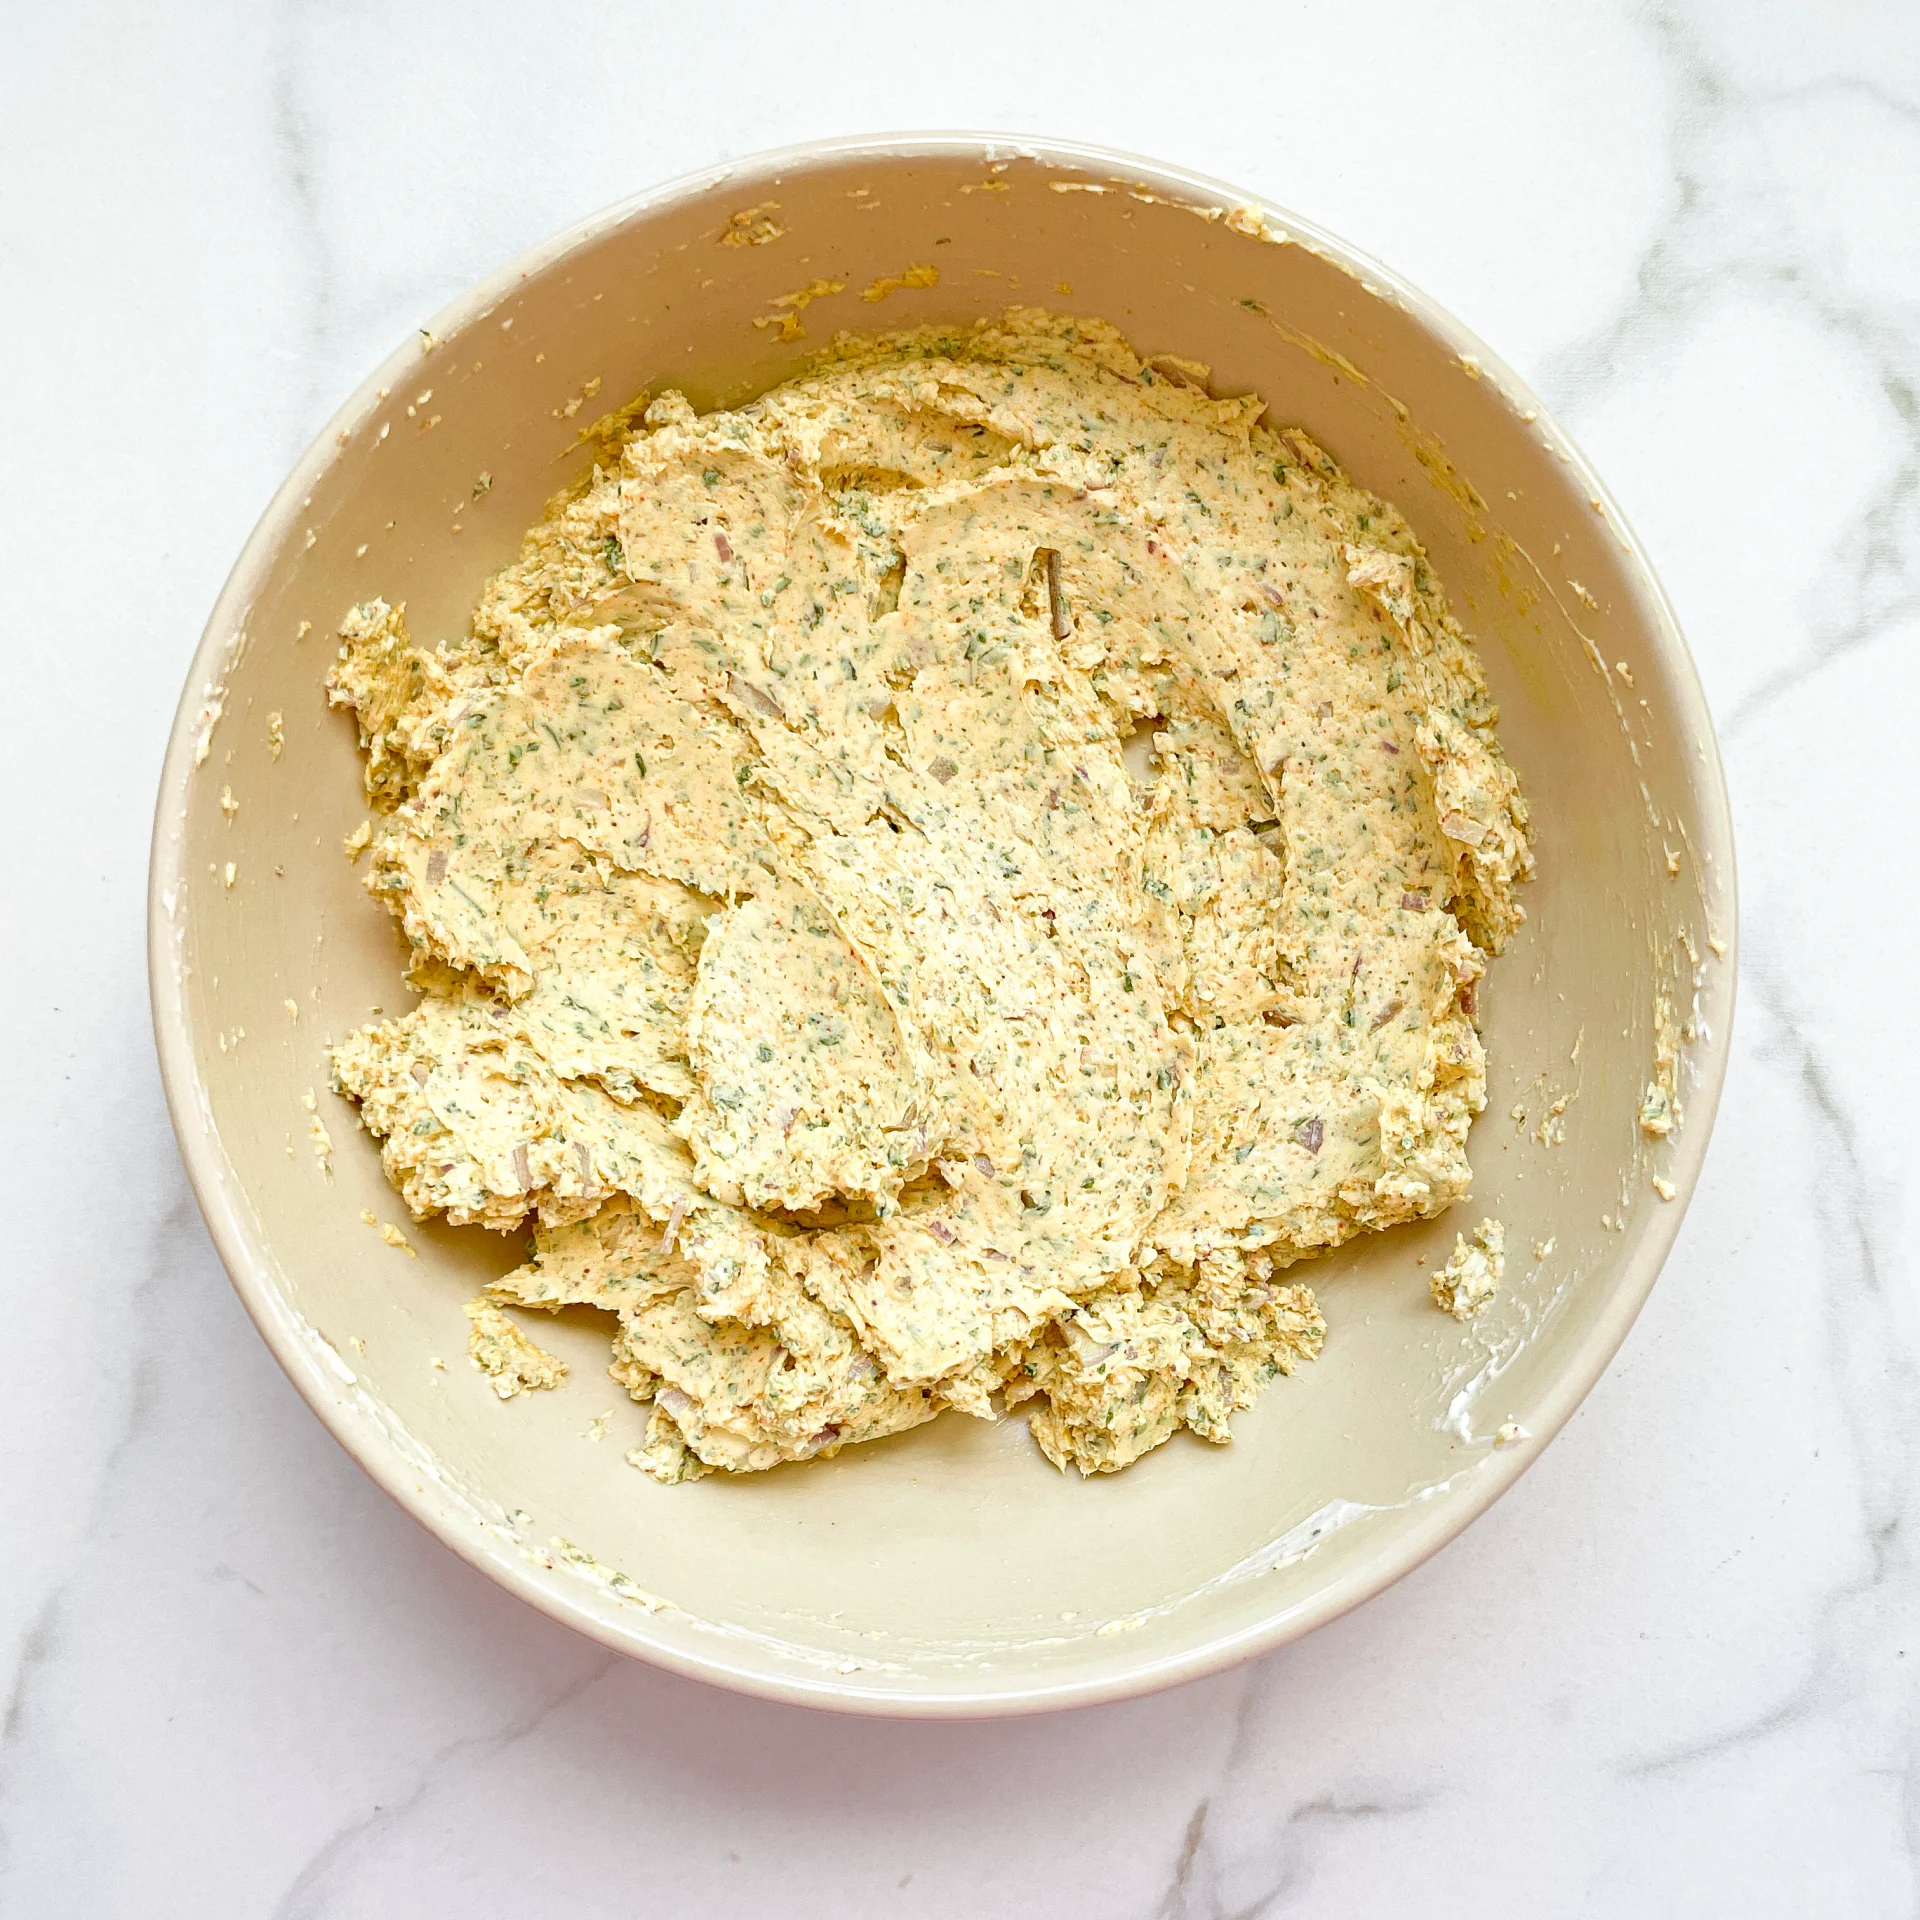
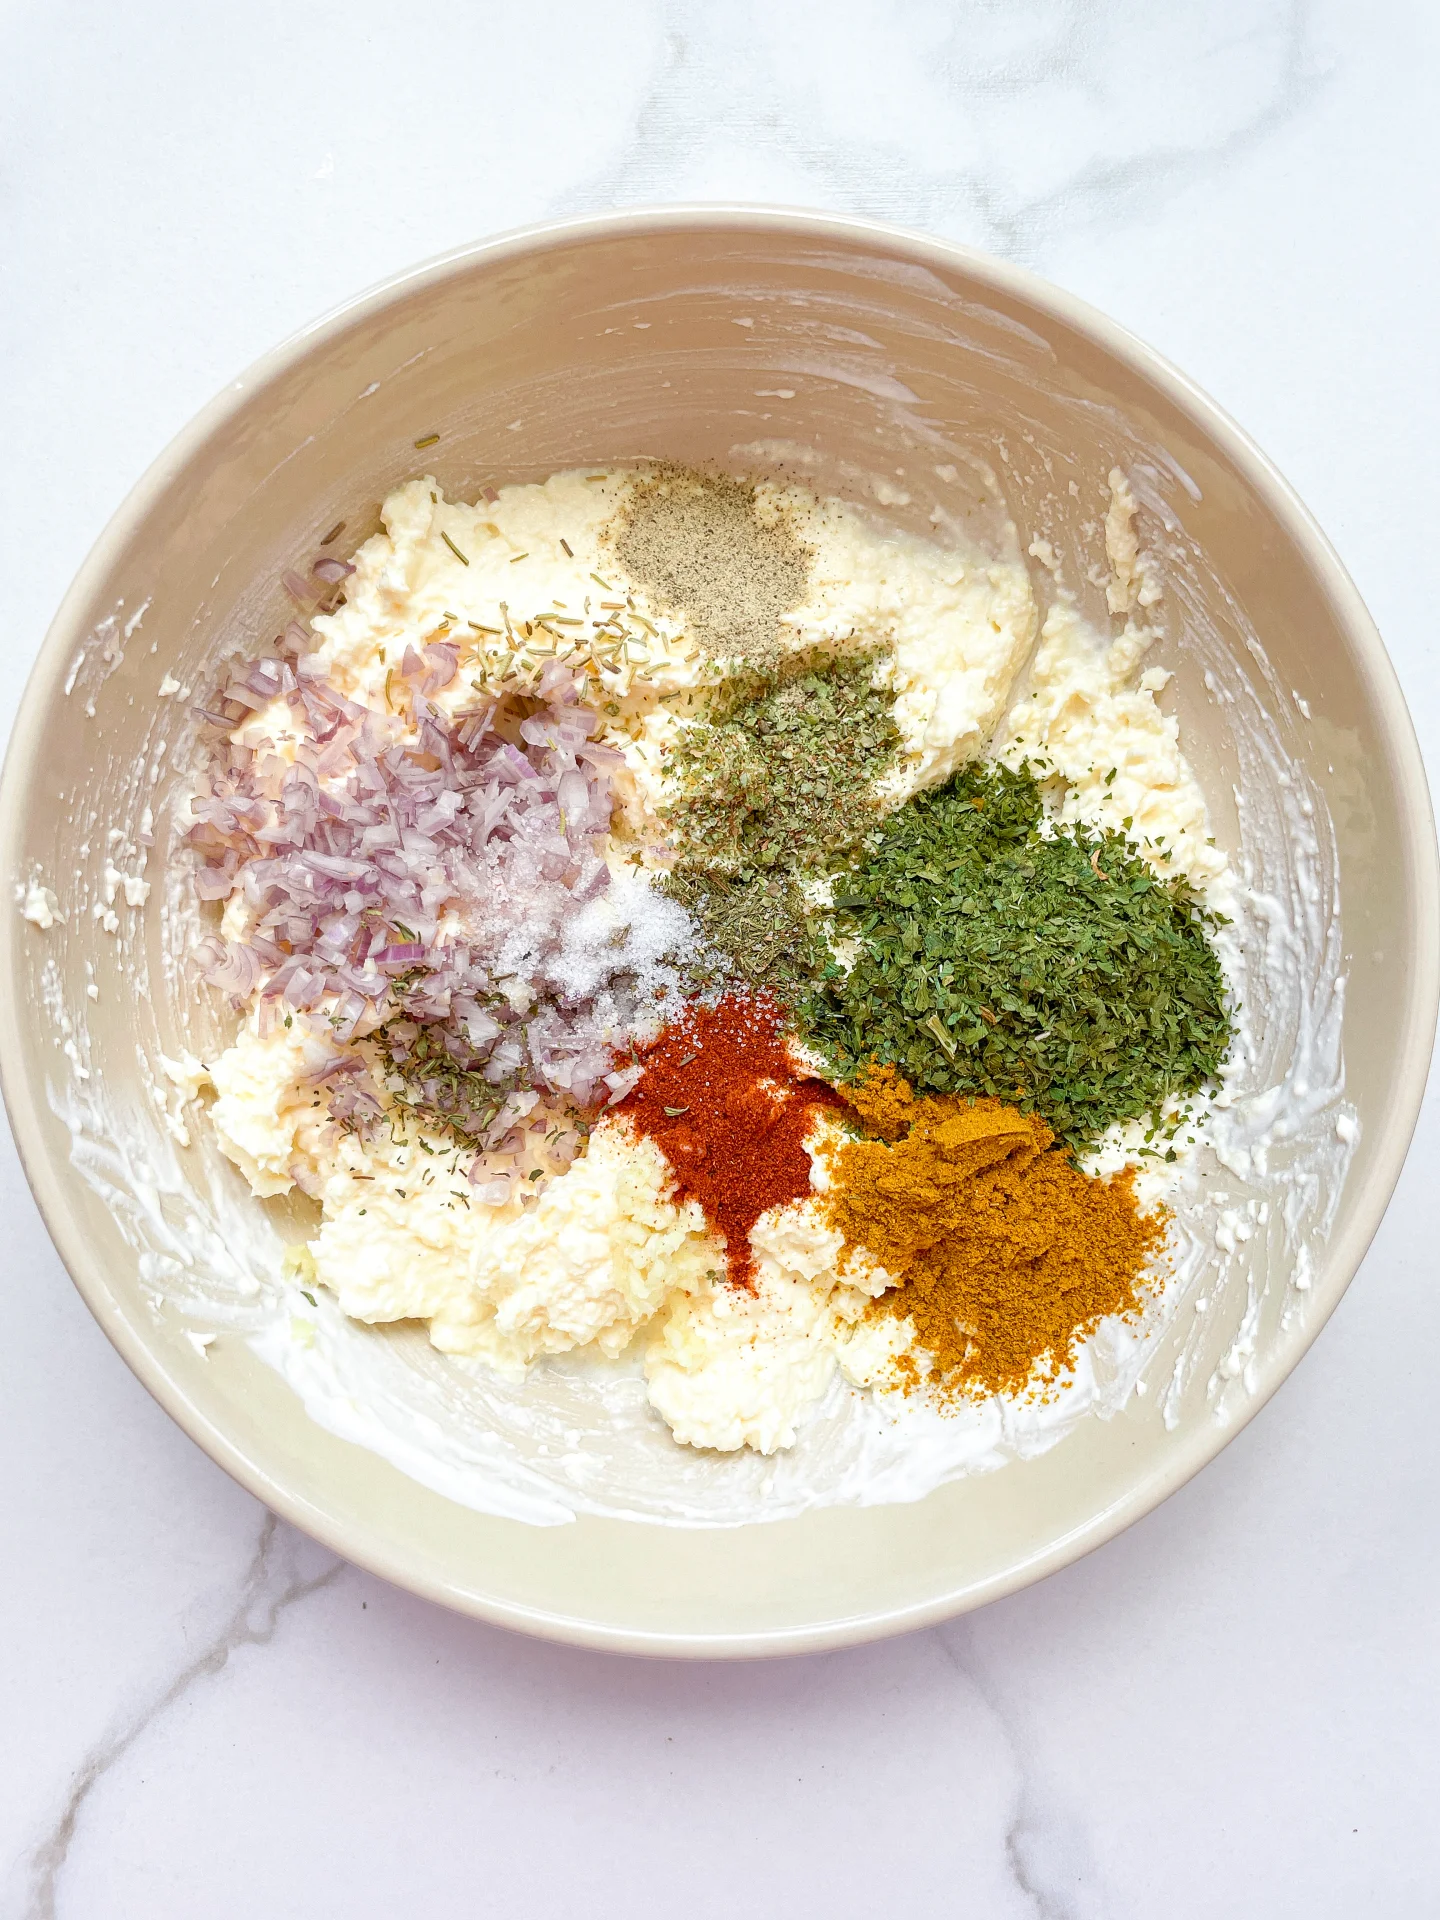
1. Mix butter, crème fraîche, white wine vinegar, and Dijon mustard together in a bowl.

2. Add the finely diced shallot. Also, finely chop or press the garlic clove and add it to the mixture.

3. Finally, add rosemary, parsley, dill, curry, paprika, marjoram, thyme, salt, and pepper to the bowl and mix everything well. Taste and adjust seasoning as needed.

4. Roll the butter in parchment paper or place it in a bowl.

NOTE: The calorie information may vary depending on the product used, country and region.

Tuna Melt

Tuna Melt

Tuna Melt

Tuna Melt

April 29, 2024 by Kimberly

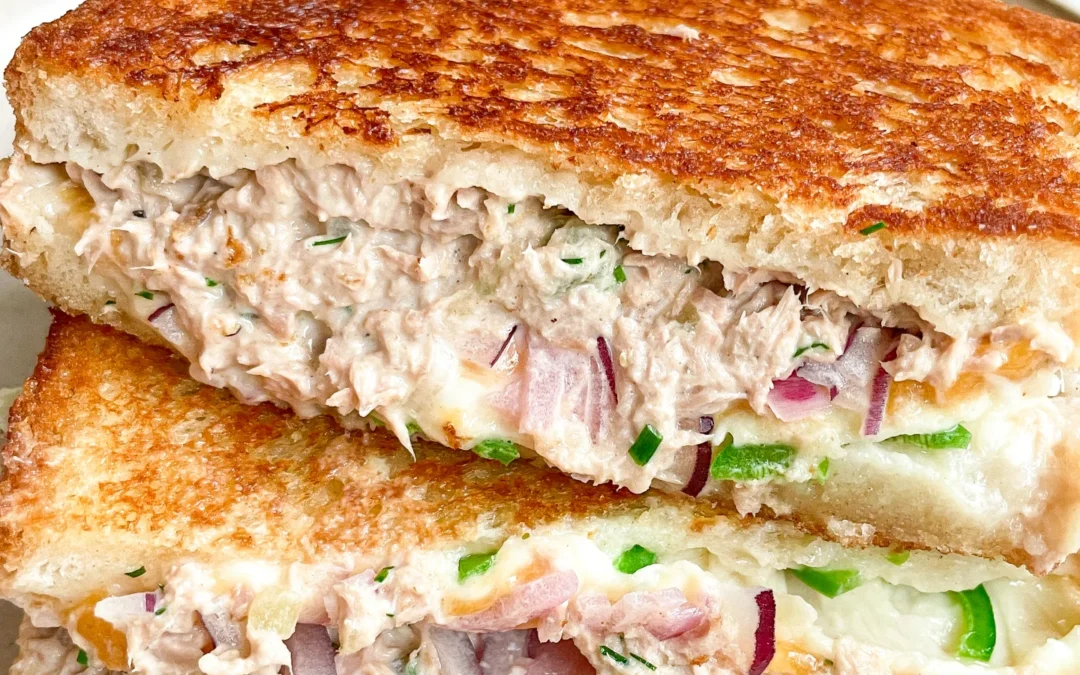
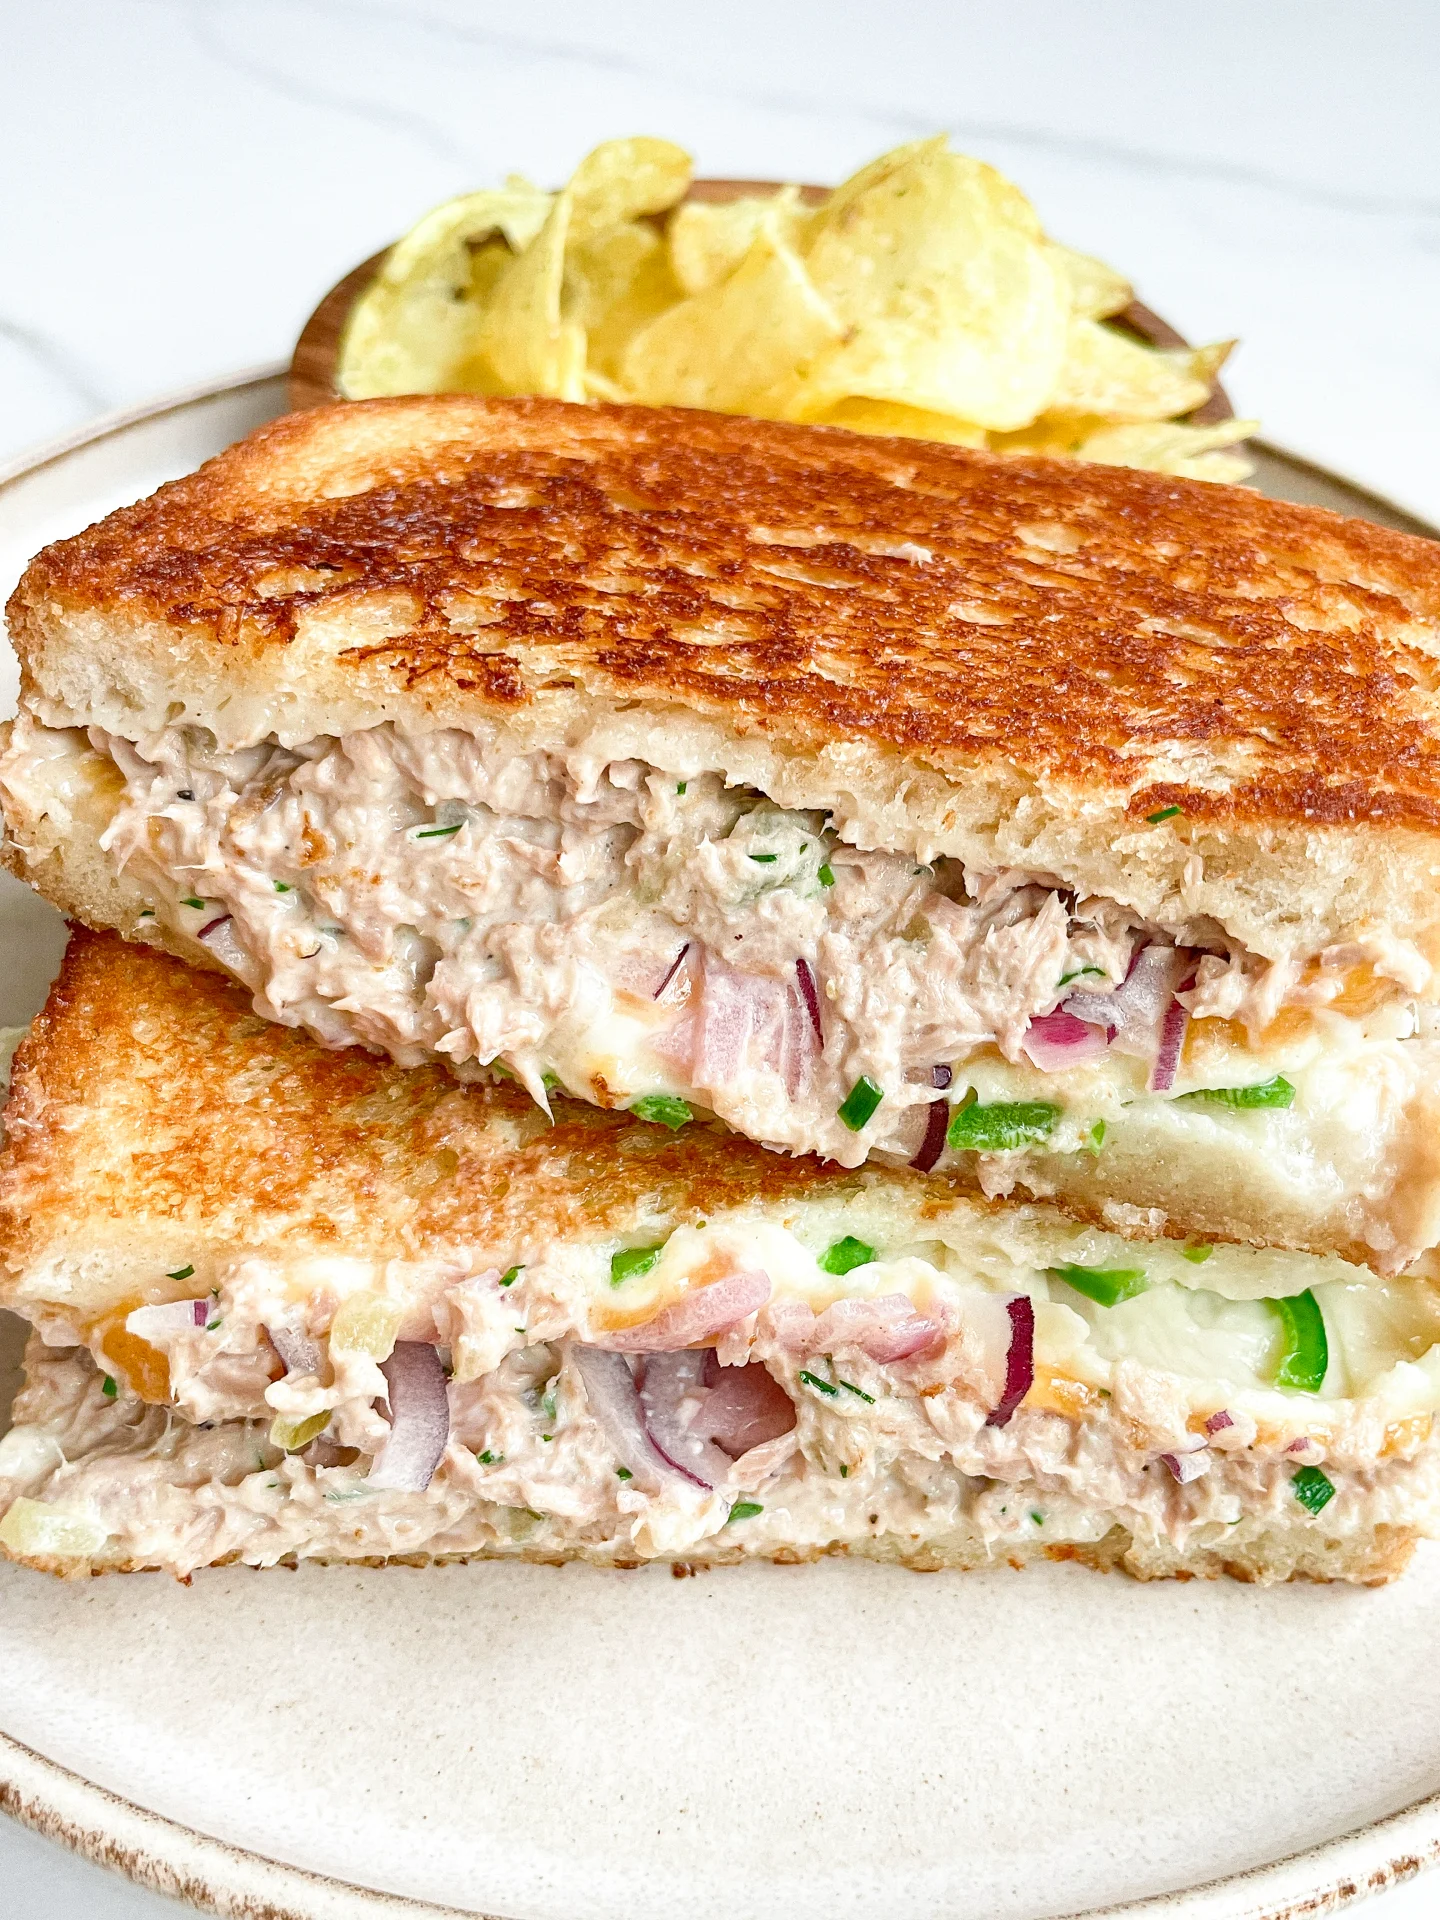
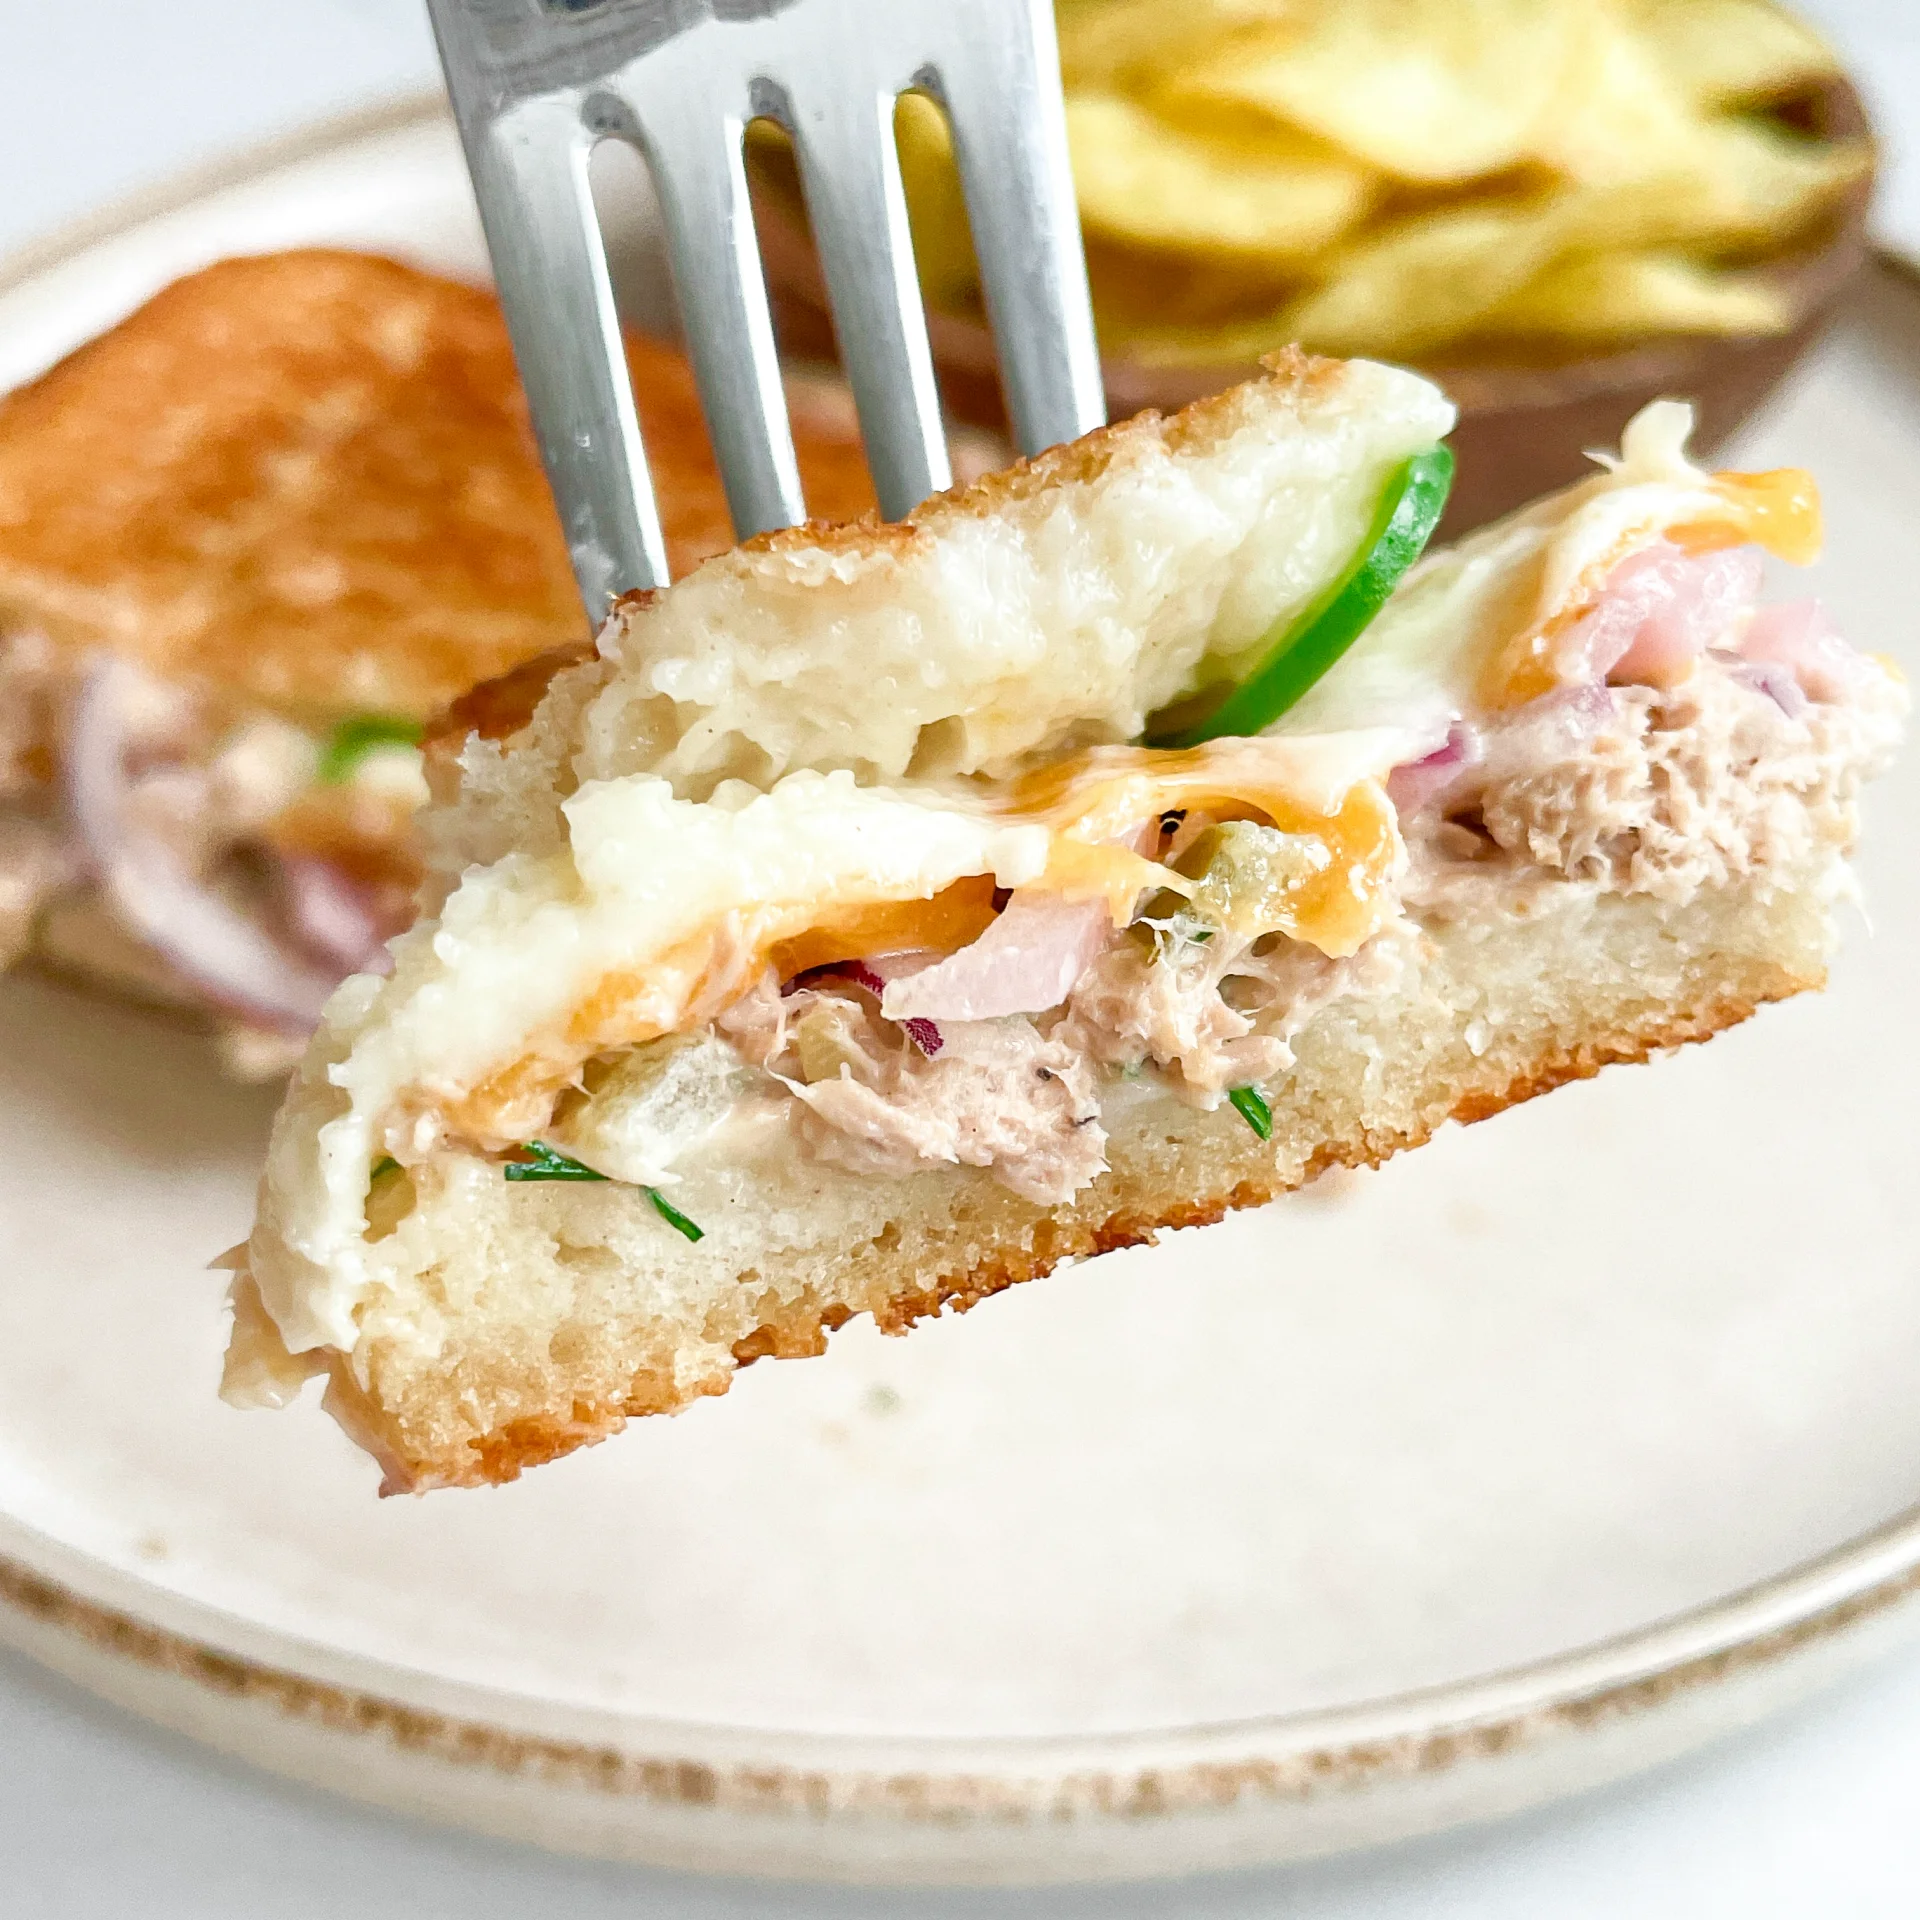
Experience the ultimate comfort with this tuna melt – crispy bread, creamy tuna salad, melted cheese, and a little heat combine for a mouthwatering lunch you can’t resist!

20 MINUTES

EASY

OMNIVORE

US AMERICAN

617 PER SANDWICH

CRISPY
CHEESY
CREAMY

EVERYDAY

SANDWICH
LUNCH

ALL YEAR

INTRODUCTION

ABOUT THE RECIPE

Craving a quick and satisfying meal? Look no further than the classic Tuna Melt with a twist! It’s the perfect blend of creamy tuna, gooey melted cheese, and toasted bread – a true comfort food staple.

HOW TO SERVE
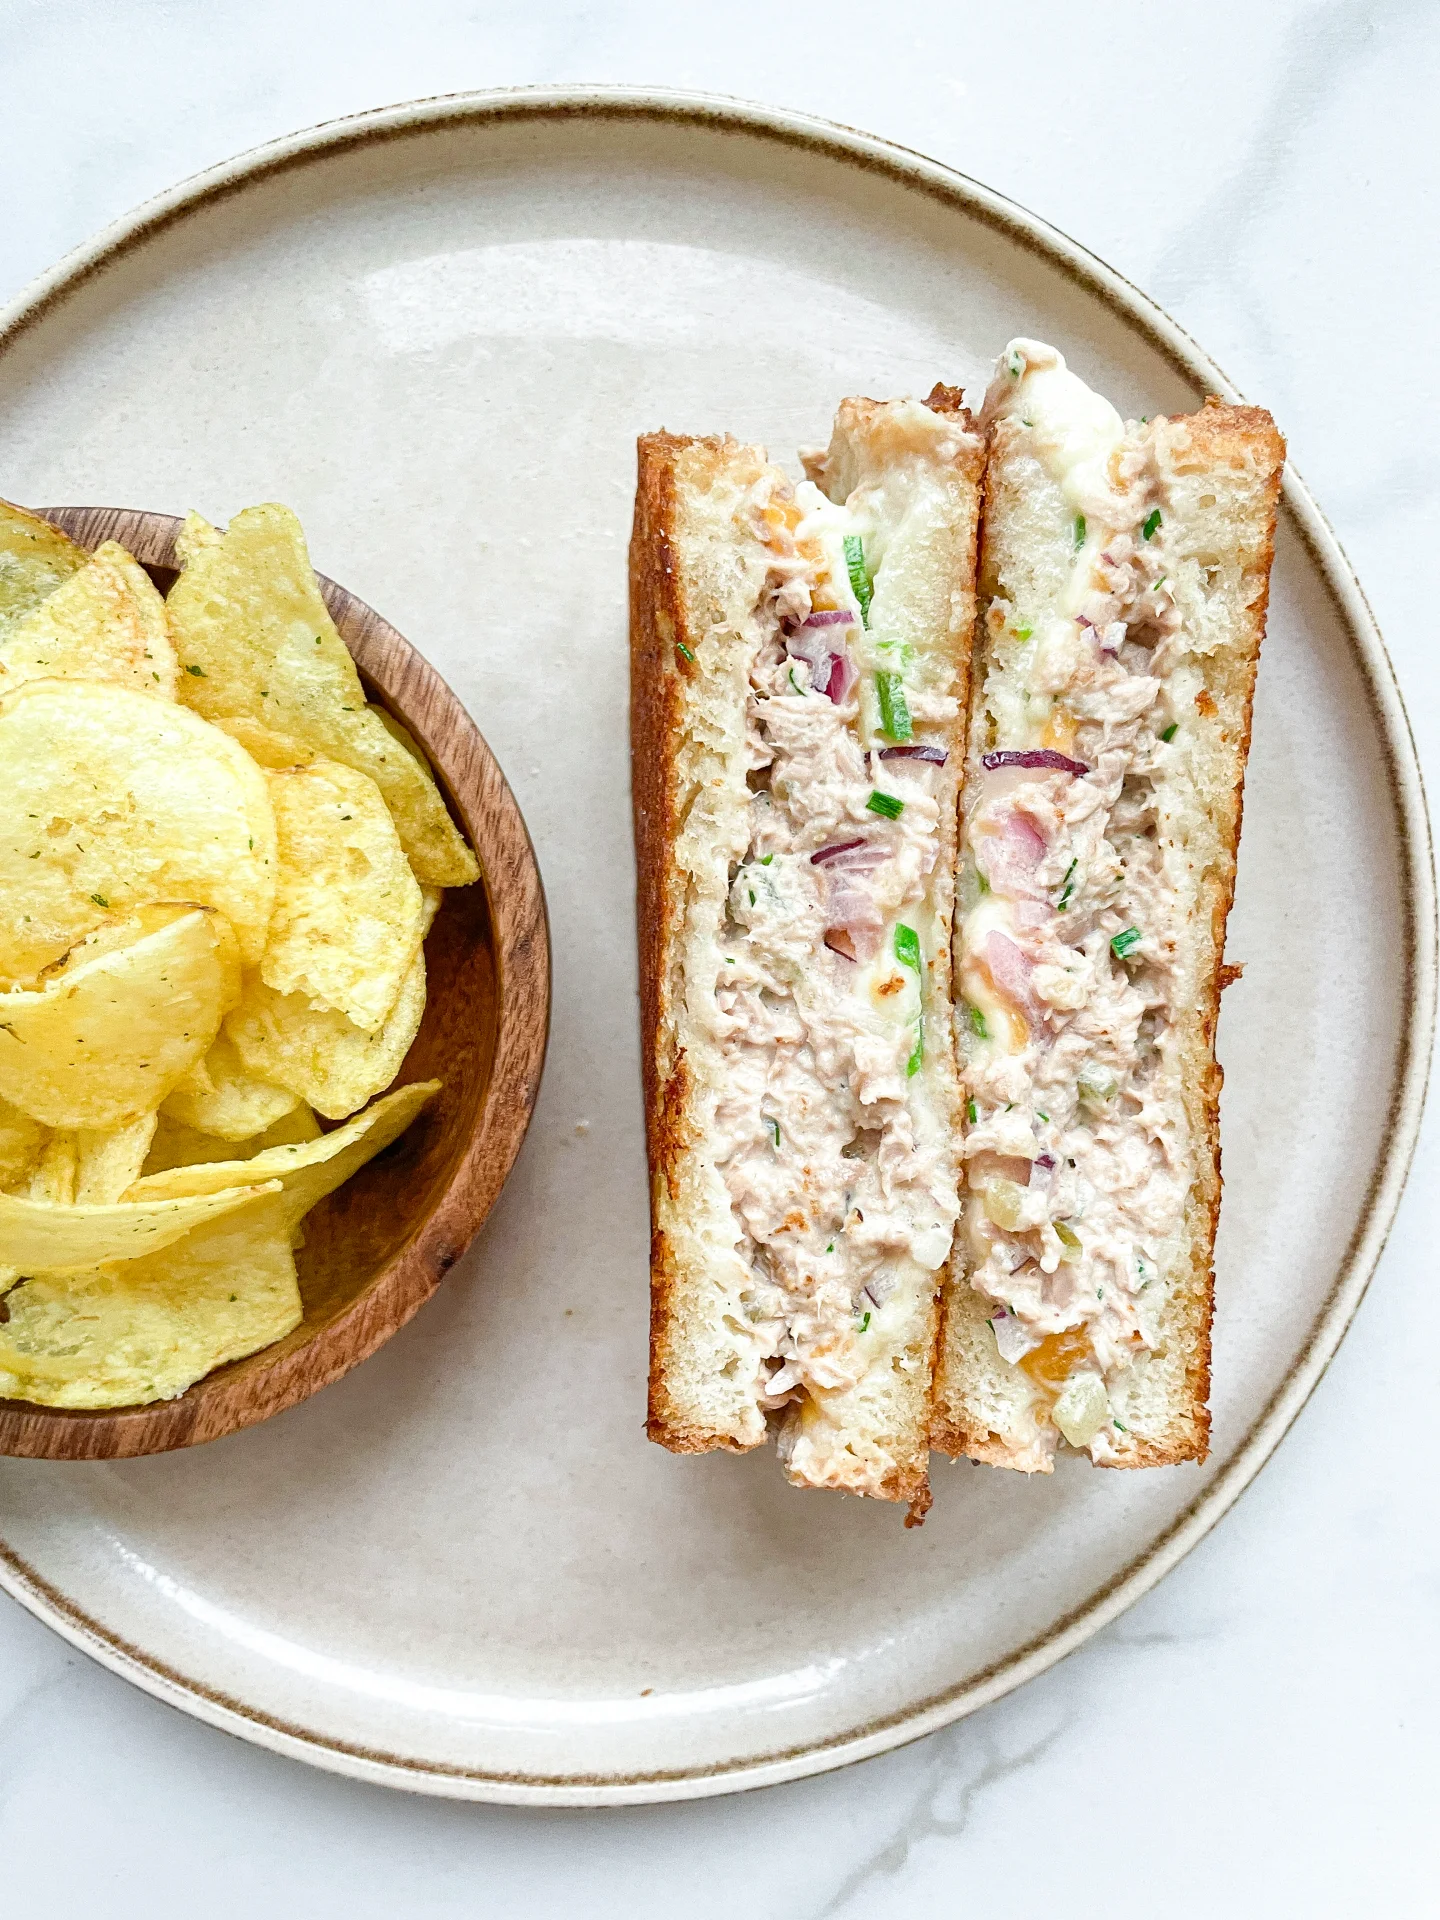
The best way to enjoy a Tuna Melt is freshly made and hot off the pan. Serve with a side of crispy potato chips or a light salad for a balanced meal. It’s ideal for a quick lunch or a casual dinner, guaranteed to please both kids and adults alike!

HOW TO STORE
For best results, consume your Tuna Melt fresh. However, if you need to store it, keep the unassembled tuna salad in the refrigerator in an airtight container for up to two days, and assemble before reheating to maintain the best quality.

Hi, I'm Kimberly!

Hi, I'm Kimberly.

A passionate food lover who believes in the magic of homemade deliciousness that spreads love and warmth. Join me on this culinary adventure as I prepare wonderful dishes and let’s spread some happiness together!

Kimberly the Zett Signature

If you want to get to know me better, click here!


Tuna Melt
Tuna Melt
Tuna Melt
„Let’s make a piece of happiness“
Print
.tasty-recipe-responsive-iframe-container-c09d2113 { position: relative; overflow: hidden; padding-top: 56.3%; } .tasty-recipe-responsive-iframe-container-c09d2113 iframe { position: absolute; top: 0; left: 0; width: 100%; height: 100%; border: 0; } clock clock iconcutlery cutlery iconflag flag iconfolder folder iconinstagram instagram iconpinterest pinterest iconfacebook facebook iconprint print iconsquares squares iconheart heart iconheart solid heart solid icon
Tuna Melt

Tuna Melt


  • Author: Kimberly
  • Total Time: 20 min
  • Yield: 2 sandwiches

Description

RECOMMENDED EQUIPMENT

  • sharp knife
  • cutting board
  • medium-sized bowl
  • medium-sized frying pan
  • spatula

Ingredients

Units Scale
TUNA CREME
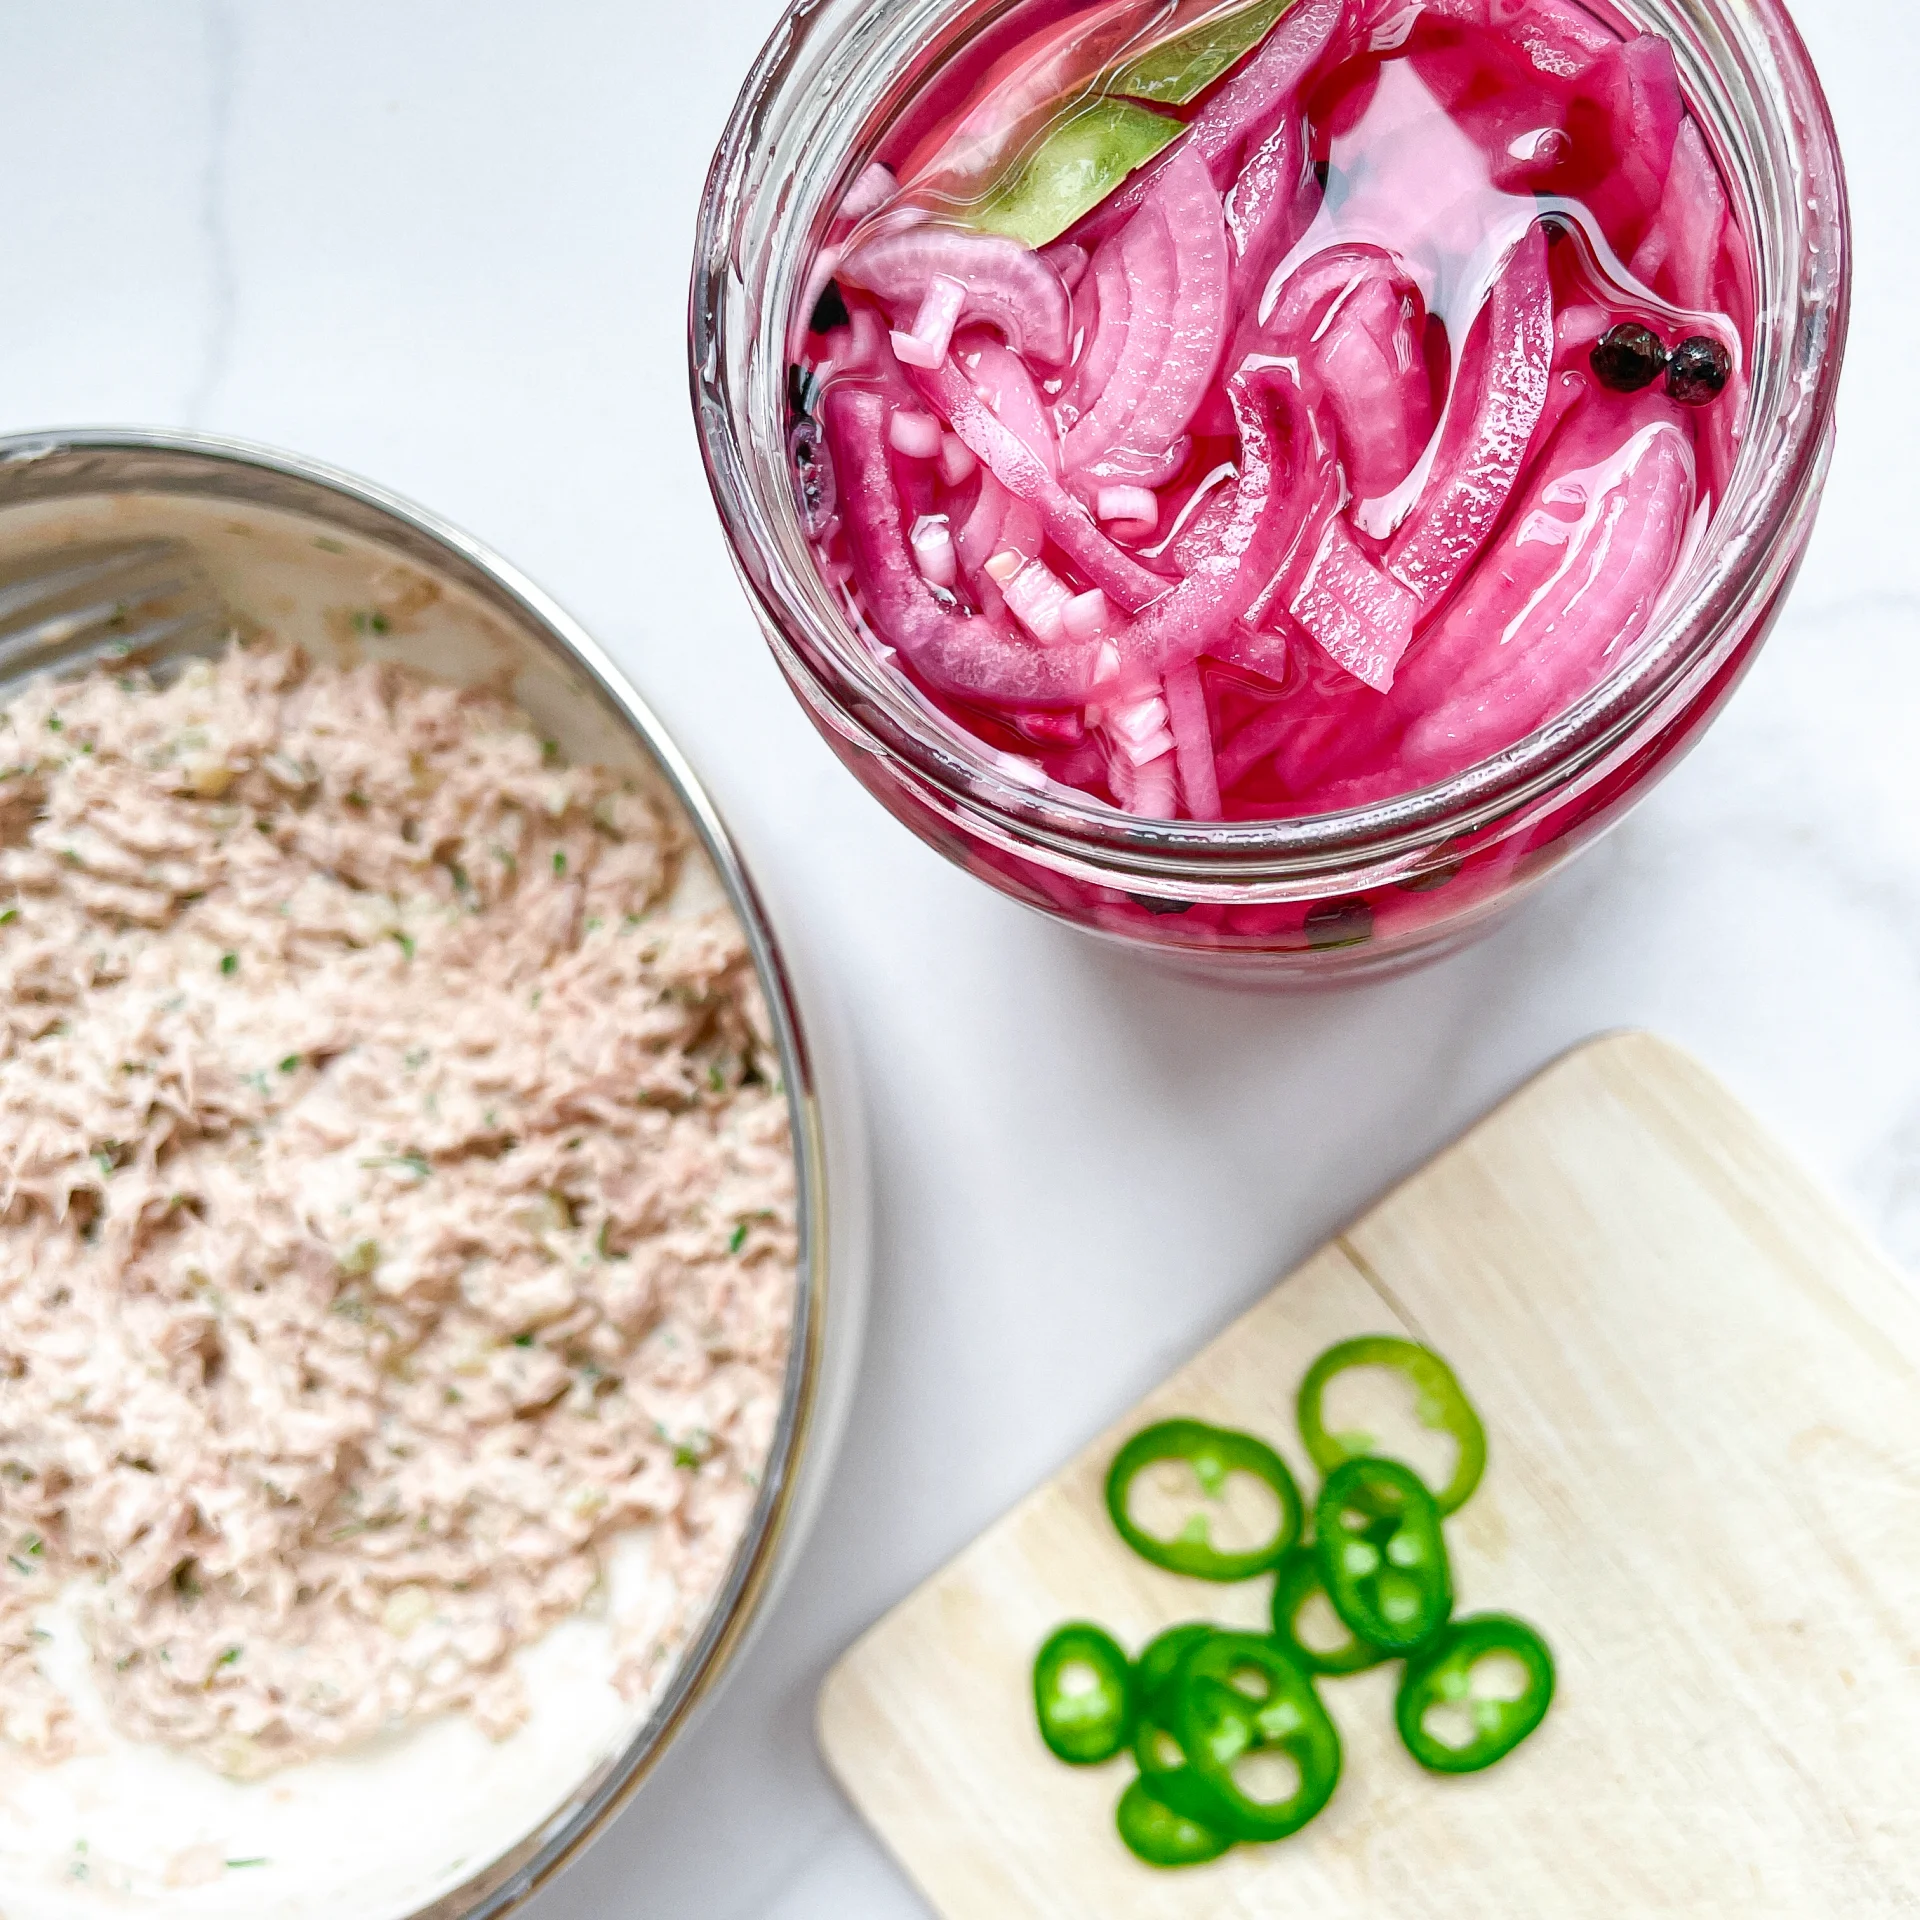
  • 150 grams canned tuna in water (drained)
  • 50 grams mayonnaise
  • 1 pickled cucumber
  • 1 tsp lemon juice
  • 1 garlic clove
  • 1/2 tsp dijon mustard
  • dill
  • chives
  • salt & pepper to taste
OTHER INGREDIENTS
  • 1/2 red onion
  • 4 slices bread of your choice
  • 2 slices cheddar cheese
  • 80 grams mozzarella cheese
  • 1 jalapeno
  • butter
  • Tabasco (optional)

Instructions

PREPARATIONS

  1. Peel the onion, halve it, and slice it into fine half circles. Set aside.
  2. Wash the jalapeño and slice it into thin rings. Set aside.
  3. Squeeze the mozzarella in paper towels to remove as much moisture as possible, then slice it thinly. Set aside.

COOKING

  1. For the tuna cream: Drain the can of tuna so there’s no water left. Place the tuna in a medium-sized bowl. Mix it with mayonnaise, lemon juice, Dijon mustard, salt, and pepper. Now chop the pickle into small pieces and add it to the bowl. Finely chop the dill and chives and add them to the bowl as well. Peel and finely chop the garlic clove, or press it into the bowl. Mix everything together. Season to taste and set aside.
  2. Heat a pan over medium heat without adding any additional fat. Meanwhile, spread a little butter on two slices of bread. Place the bread slices in the pan, buttered side down. Spread each with half of the tuna cream, then top with the red onions. Add half of the mozzarella and a slice of cheddar cheese to each. Top with the jalapeño slices. Let it all cook for a few minutes on low to medium heat.
  3. Meanwhile butter the other two bread slices. Once the bottom of the bread in the pan is golden brown and crispy, place the other bread slices, buttered side up, on top of the sandwiches in the pan. Use a spatula to lift the sandwich and quickly flip it, so it can brown on the other side.
  4. Let everything cook for another 5-8 minutes on low heat, allowing the cheese to melt and the bread slice to become crispy.
  5. Remove from the pan and cut in half. Serve immediately, drizzle with Tabasco to taste and enjoy your pieces of happiness.

Notes

The calorie information may vary depending on the product used, country and region.

  • Prep Time: 5 min
  • Cook Time: 15 min

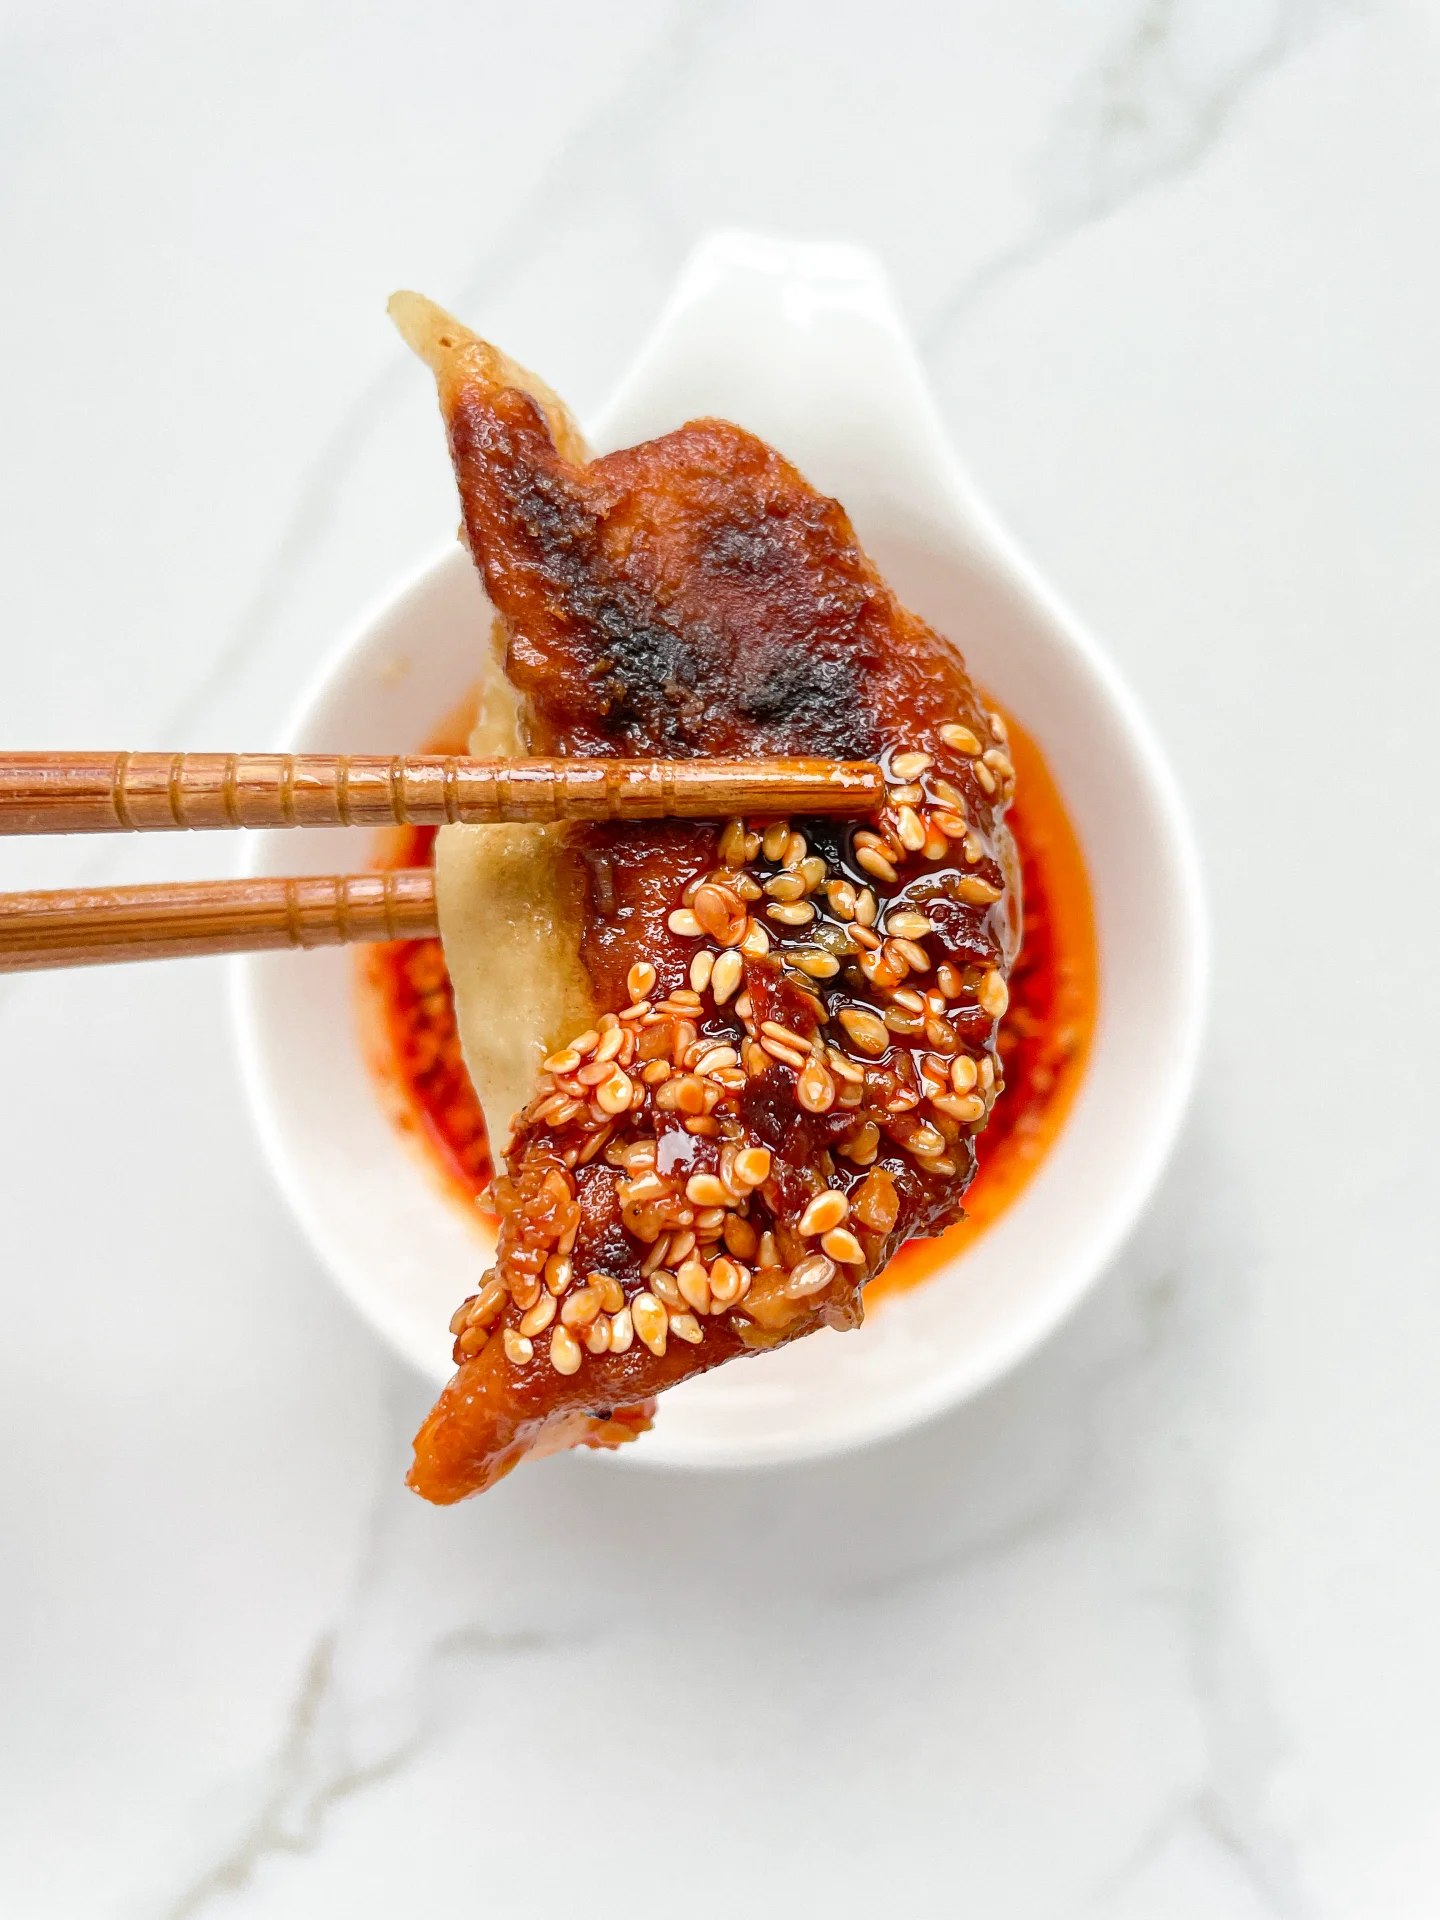
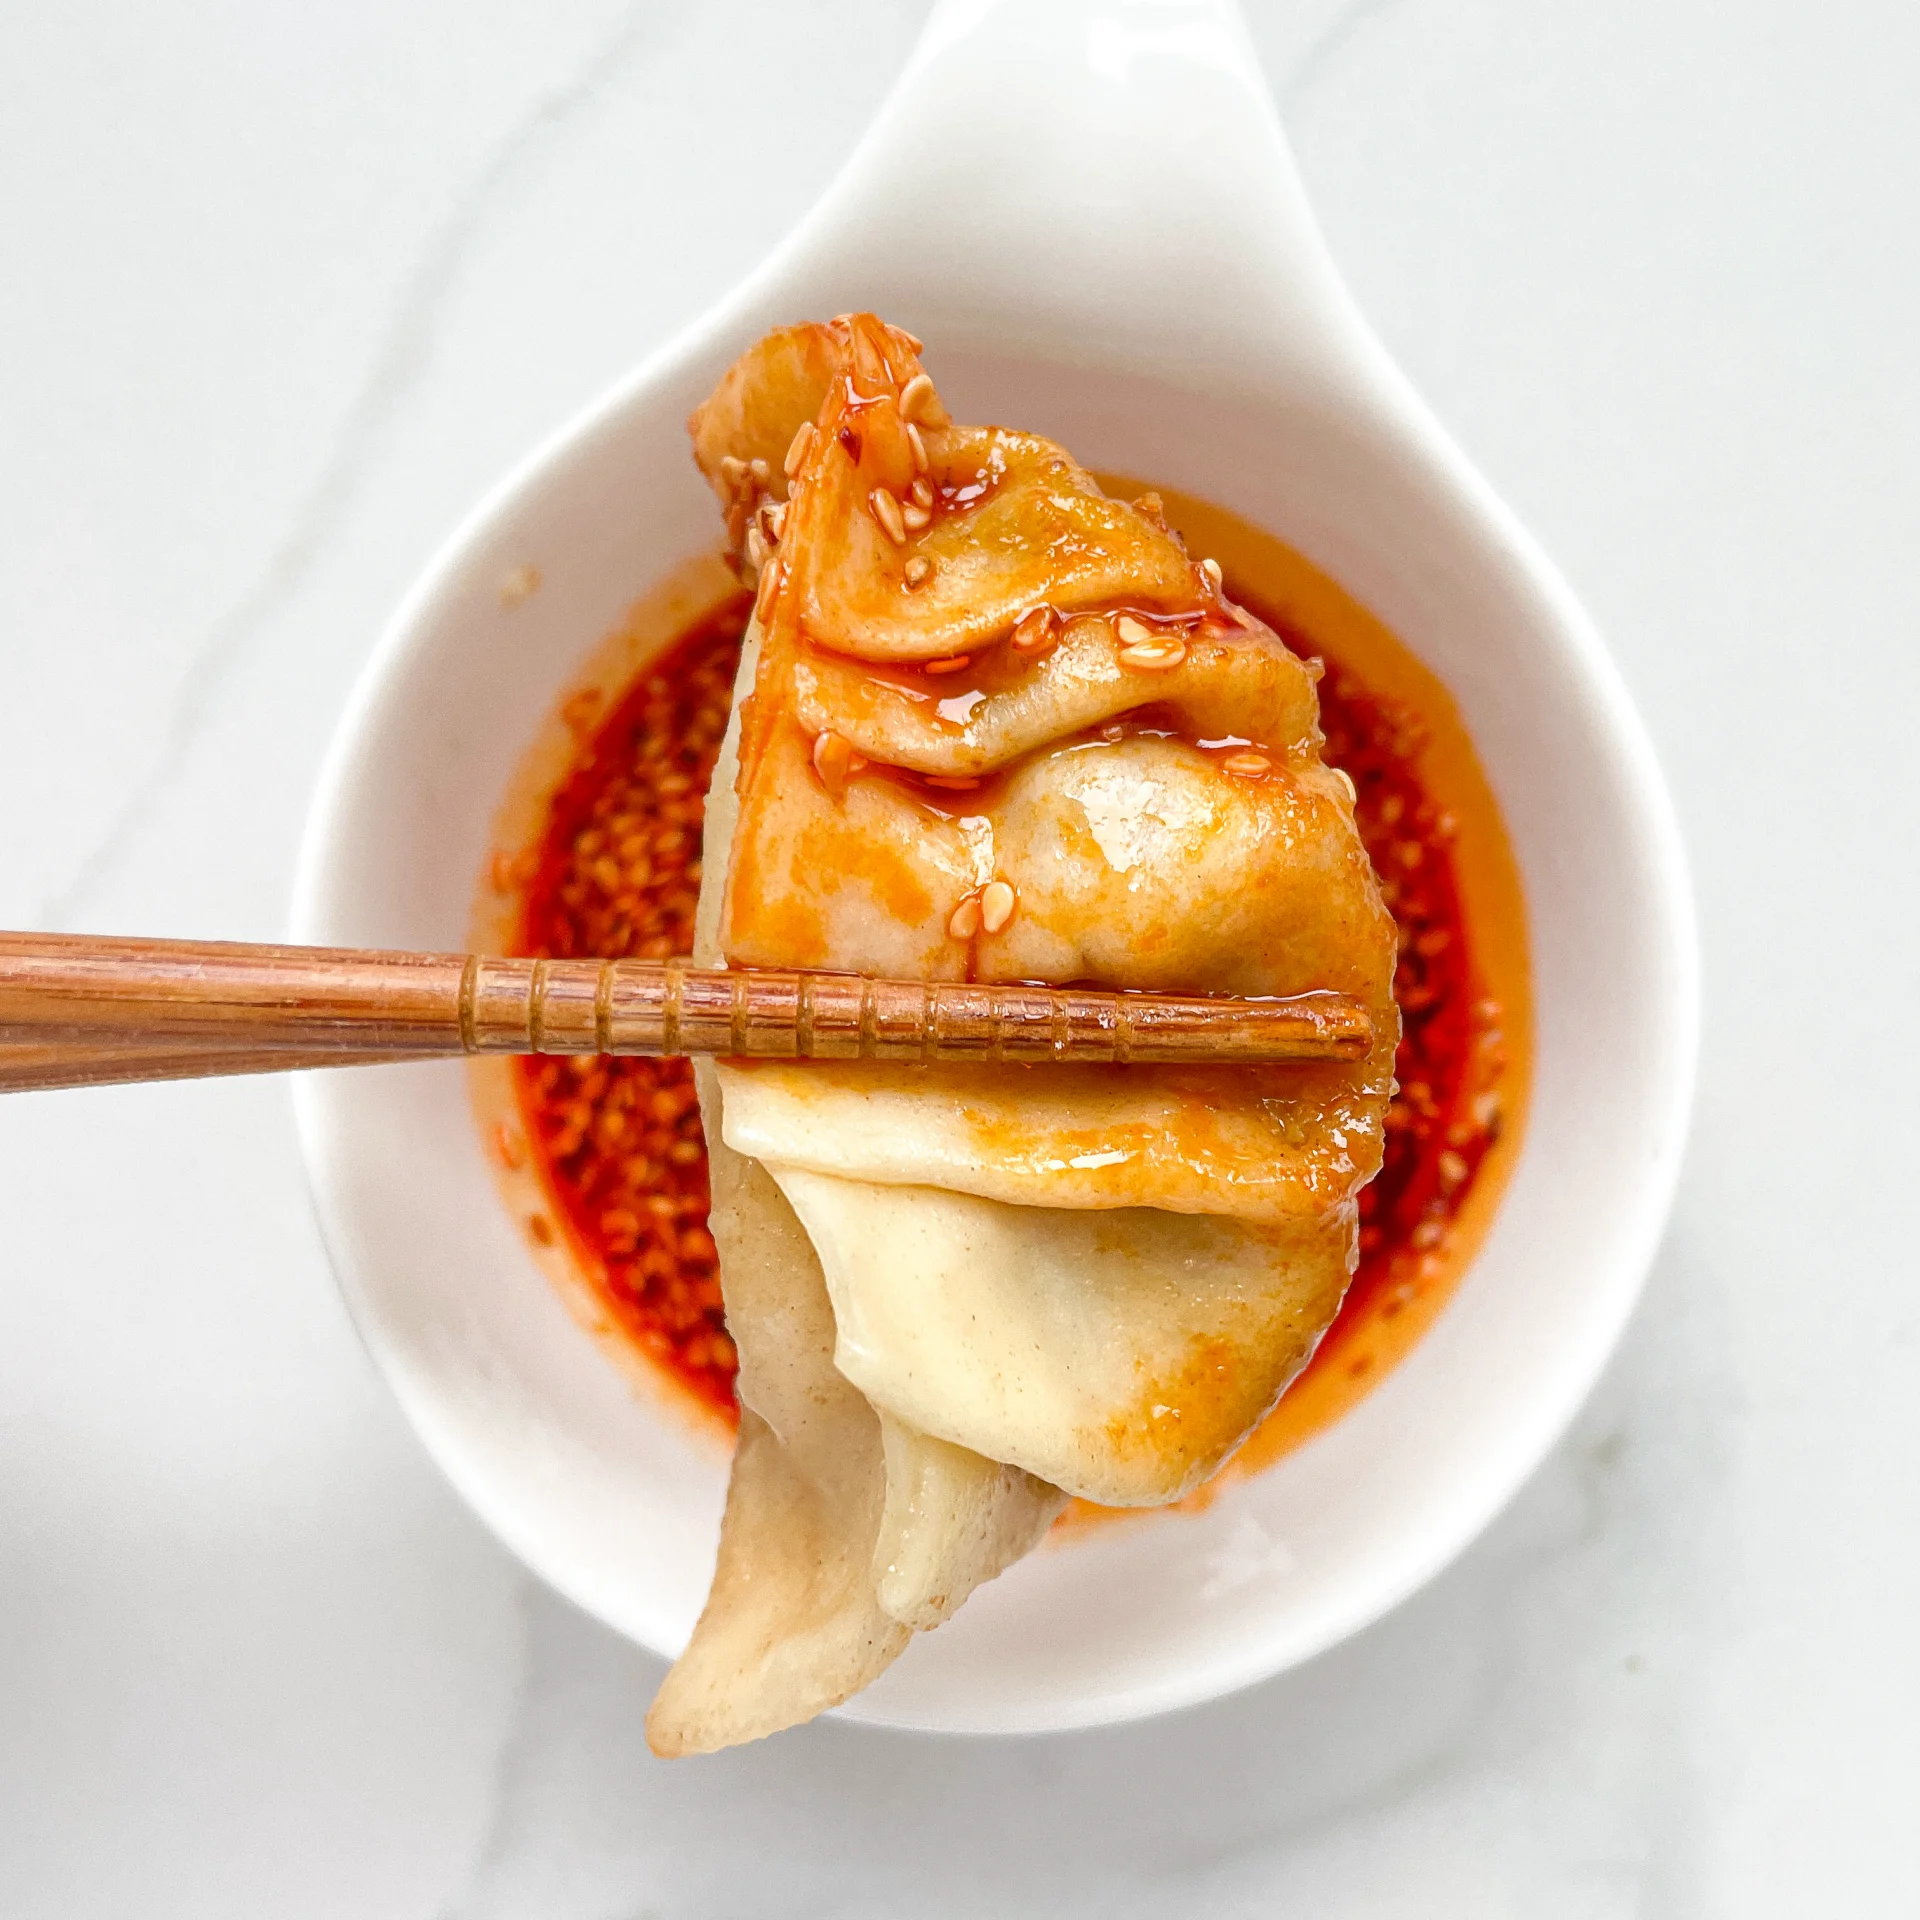
Sesame Chili Dumpling Dipping Sauce

Sesame Chili Dumpling Dipping Sauce

Sesame Chili Dumpling Dipping Sauce

Sesame Chili Dumpling Dipping Sauce

April 21, 2024 by Kimberly

Kick up your dumpling game with Sesame Chili Dumpling Dipping Sauce! Spicy, nutty, and bursting with flavor, it’s the perfect match for any dumpling.

5 MINUTES

EASY

VEGAN

ASIAN

65 PER PORTION

SPICY
UMAMI

EVERYDAY

DIPS & SPREADS

ALL YEAR

INTRODUCTION

ABOUT THE RECIPE

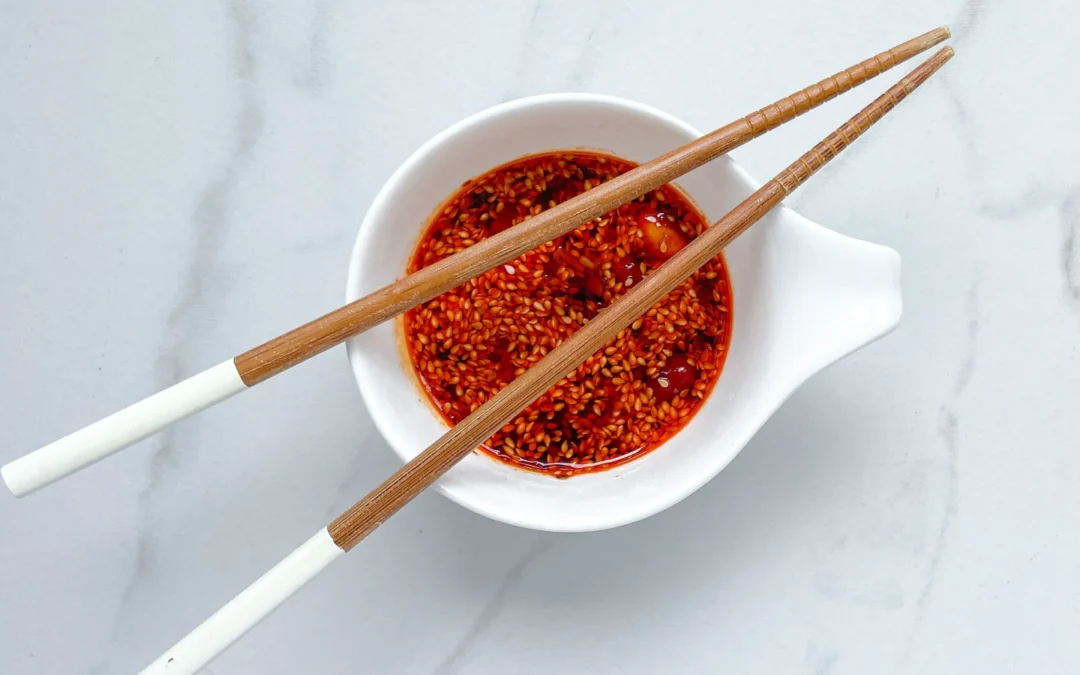
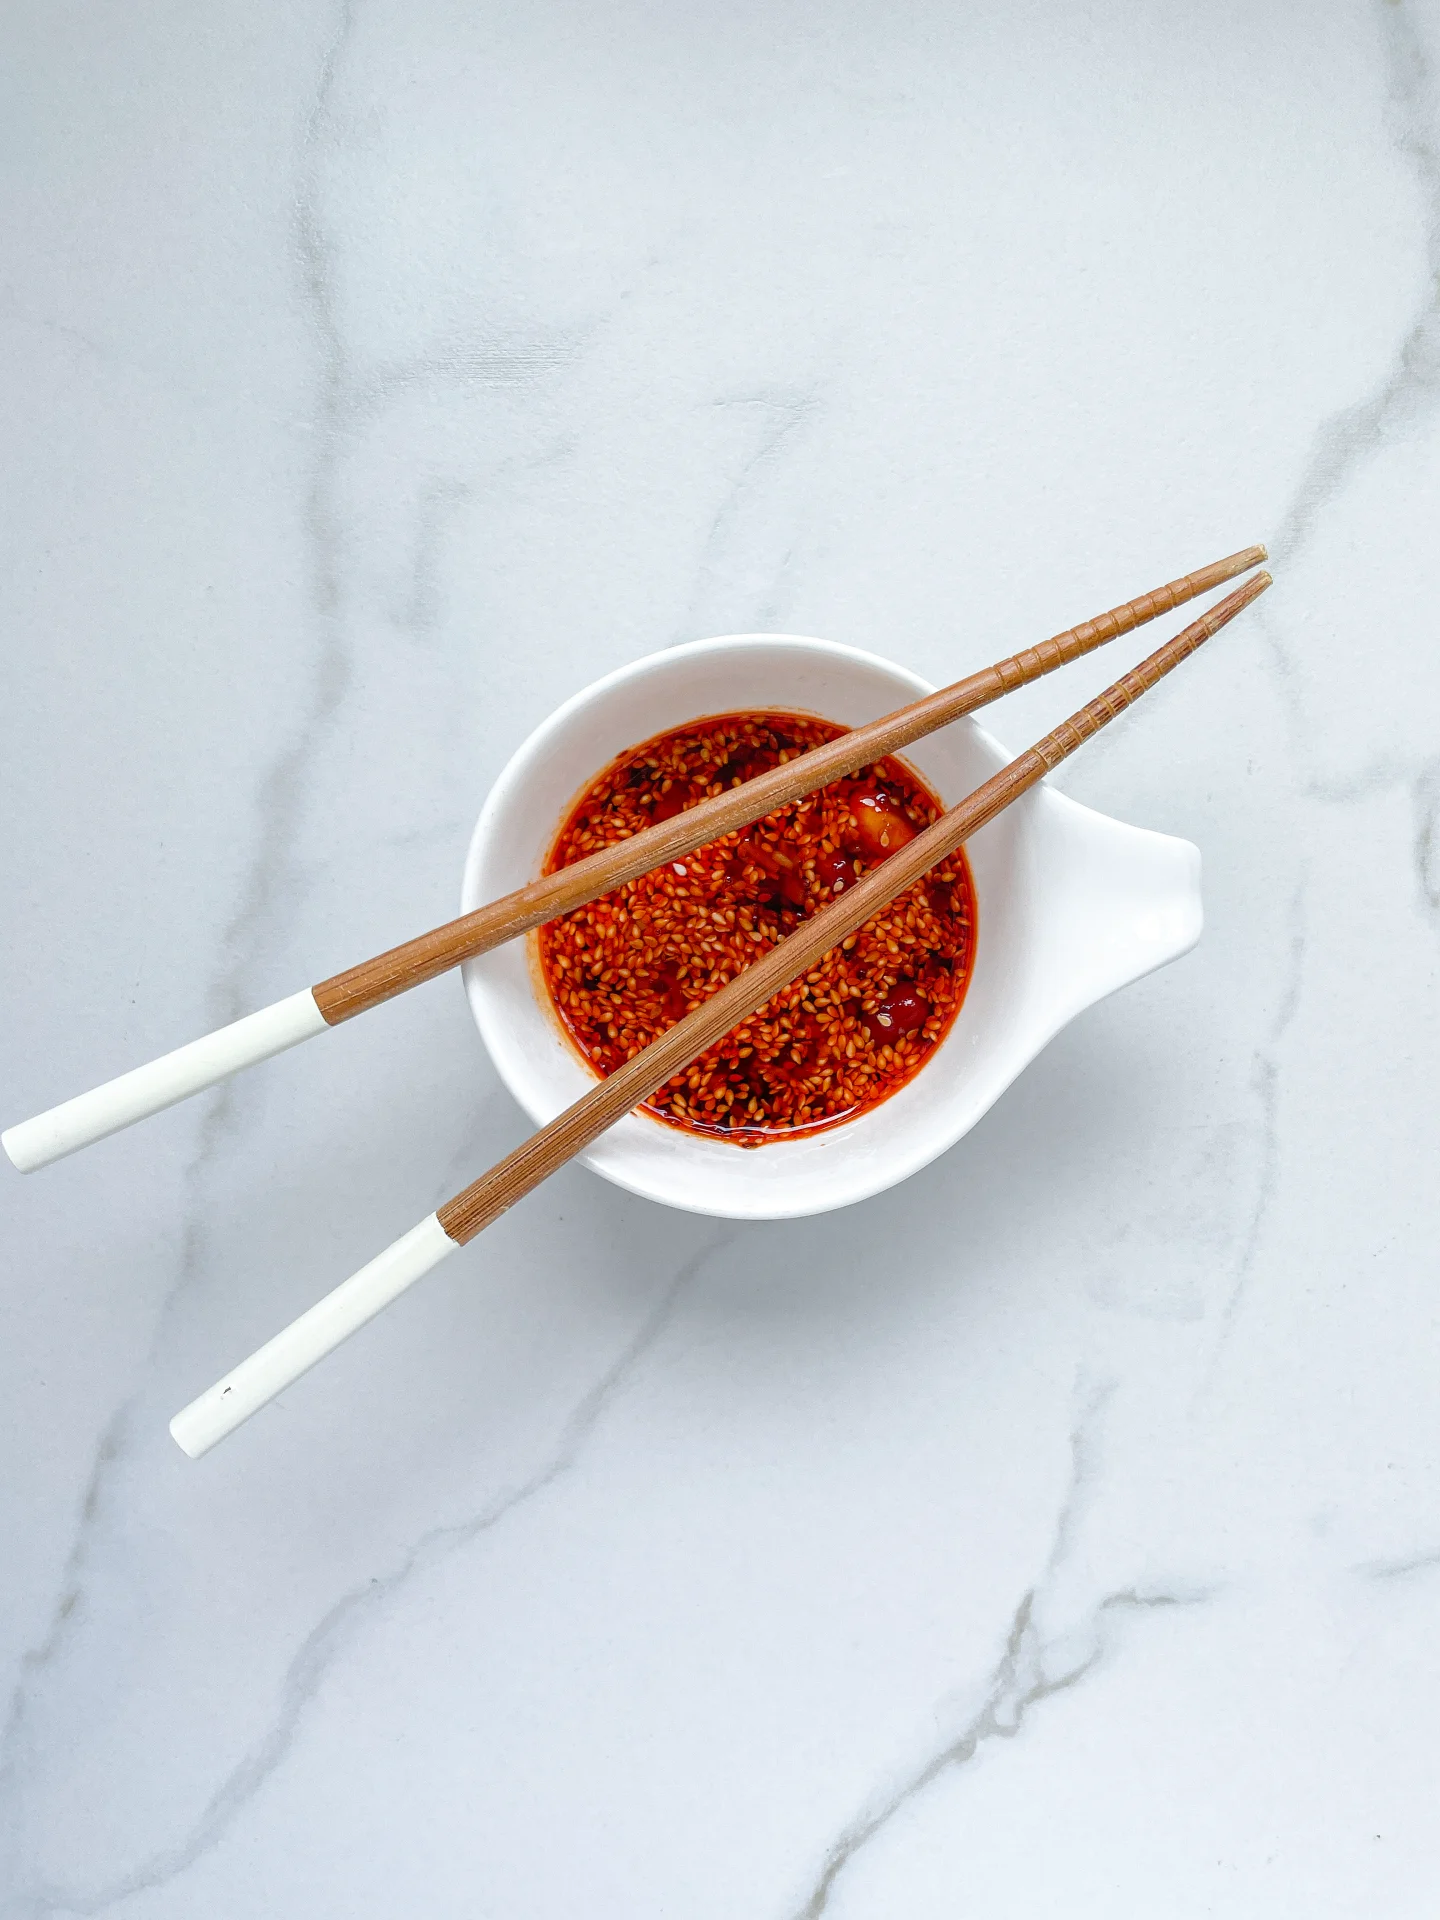
Elevate your dumplings with this Sesame Chili Dumpling Dipping Sauce, a bold blend that combines the nutty depth of toasted sesame with the fiery kick of chili. This sauce is not just a side but a star, turning any dumpling, whether homemade or store-bought, into a gourmet treat. It’s perfect for those who love a little heat and a lot of flavor in their meals.

How to serve:
Serve this Sesame Chili Dumpling Dipping Sauce alongside your favorite dumplings. Its vibrant flavor complements everything from classic pork dumplings to vegetable gyoza. It’s also fantastic as a dressing for Asian salads or as a spicy drizzle over grilled meats. Whether you’re hosting a dinner party or enjoying a quiet meal at home, this sauce will add a delicious, zesty twist to your dishes.

How to store:
Keep this sauce fresh by storing it in an airtight container in the refrigerator. It stays vibrant and tasty for up to three days, making it a convenient and flavorful addition to quick meals and snacks.

Hi, I'm Kimberly!

Hi, I'm Kimberly.

A passionate food lover who believes in the magic of homemade deliciousness that spreads love and warmth. Join me on this culinary adventure as I prepare wonderful dishes and let’s spread some happiness together!

Kimberly the Zett Signature

If you want to get to know me better, click here!


Sesame Chili Dumpling Dipping Sauce
„Let’s make a piece of happiness“

INGREDIENTS

FOR 2 PORTIONS

DIPPING SAUCE

  • 2 tbsp soy sauce
  • 1 tbsp hot water
  • 1 tsp crispy chili oil
  • 1 tsp sugar
  • 1/2 tsp sesame oil
  • 1/2 tsp rice vinegar
  • 1.5 tsp sesame seeds
  • 2 garlic cloves
Sesame Chili Dumpling Dipping Sauce
}

ACTIVE: –

PASSIVE: –

PREPARATIONS

Recommended Equipment
  • sharp knife
  • cutting board
  • small bowl
  • small frying pan
  • none
}

ACTIVE: 5 min

PASSIVE: –

COOKING

1. Dissolve the sugar in the bowl by stirring in hot water.

2. Then, in a small pan without adding any oil, toast the sesame seeds until they are golden brown and fragrant.

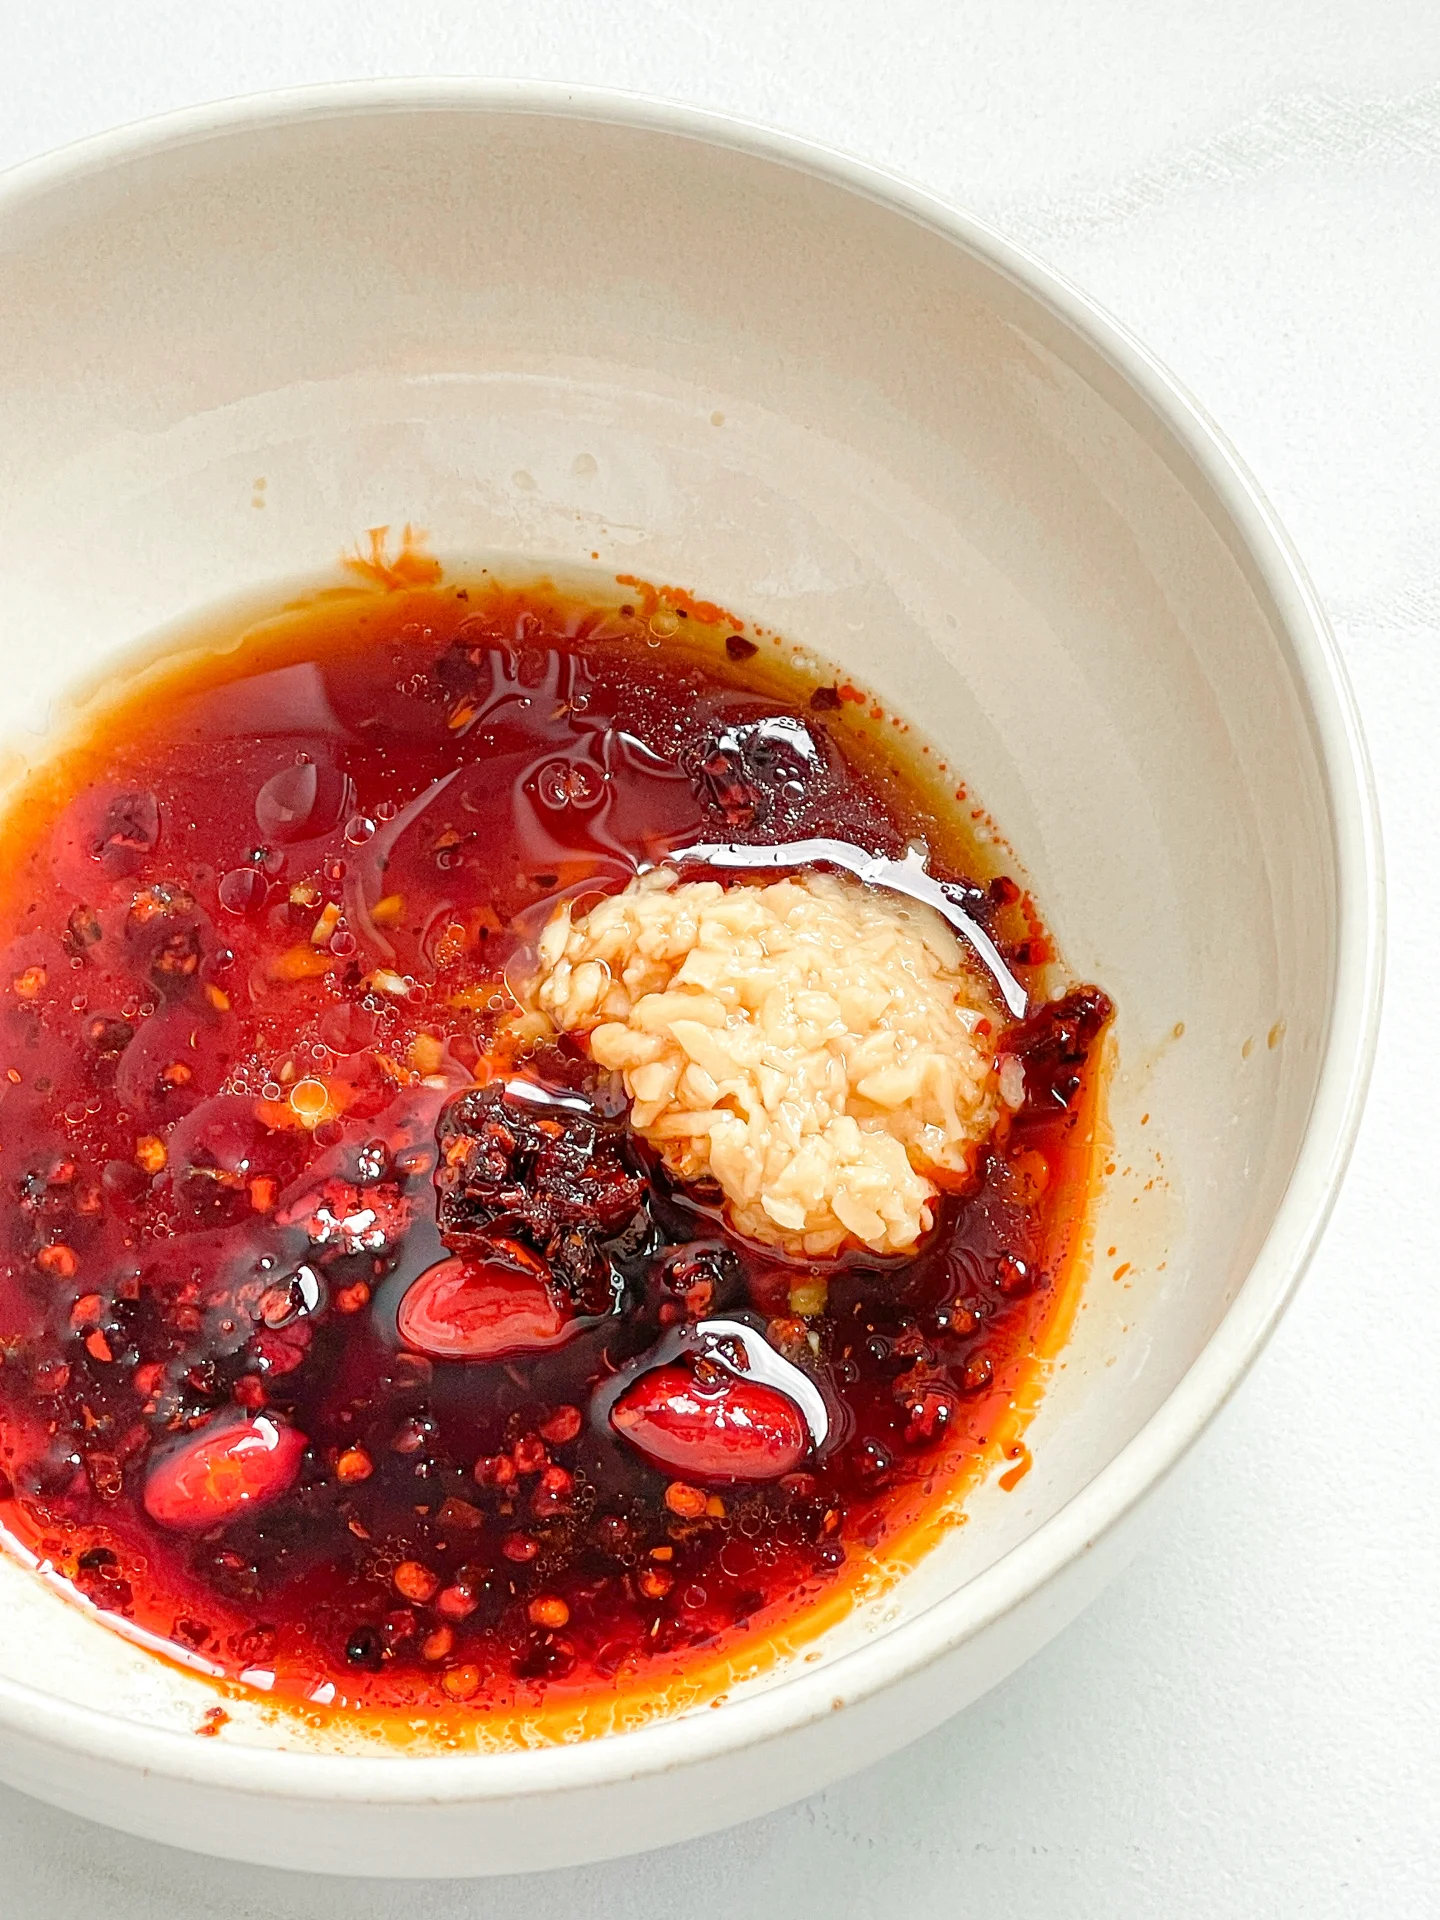
3. Meanwhile, add the following ingredients to the sugar in the bowl: 2 tablespoons soy sauce, 1 teaspoon crispy chili oil, 1/2 teaspoon sesame oil, and 1/2 teaspoon rice vinegar. Peel and finely chop or press two garlic cloves and add them to the sauce. Stir everything well.

4. Carefully pour the hot sesame seeds into the sauce. It will sizzle beautifully 🙂 Now stir everything together and serve.

NOTE: The calorie information may vary depending on the product used, country and region.

German Bacon Pancake

German Bacon Pancake

German Bacon Pancake

German Bacon Pancake

April 15, 2024 by Kimberly

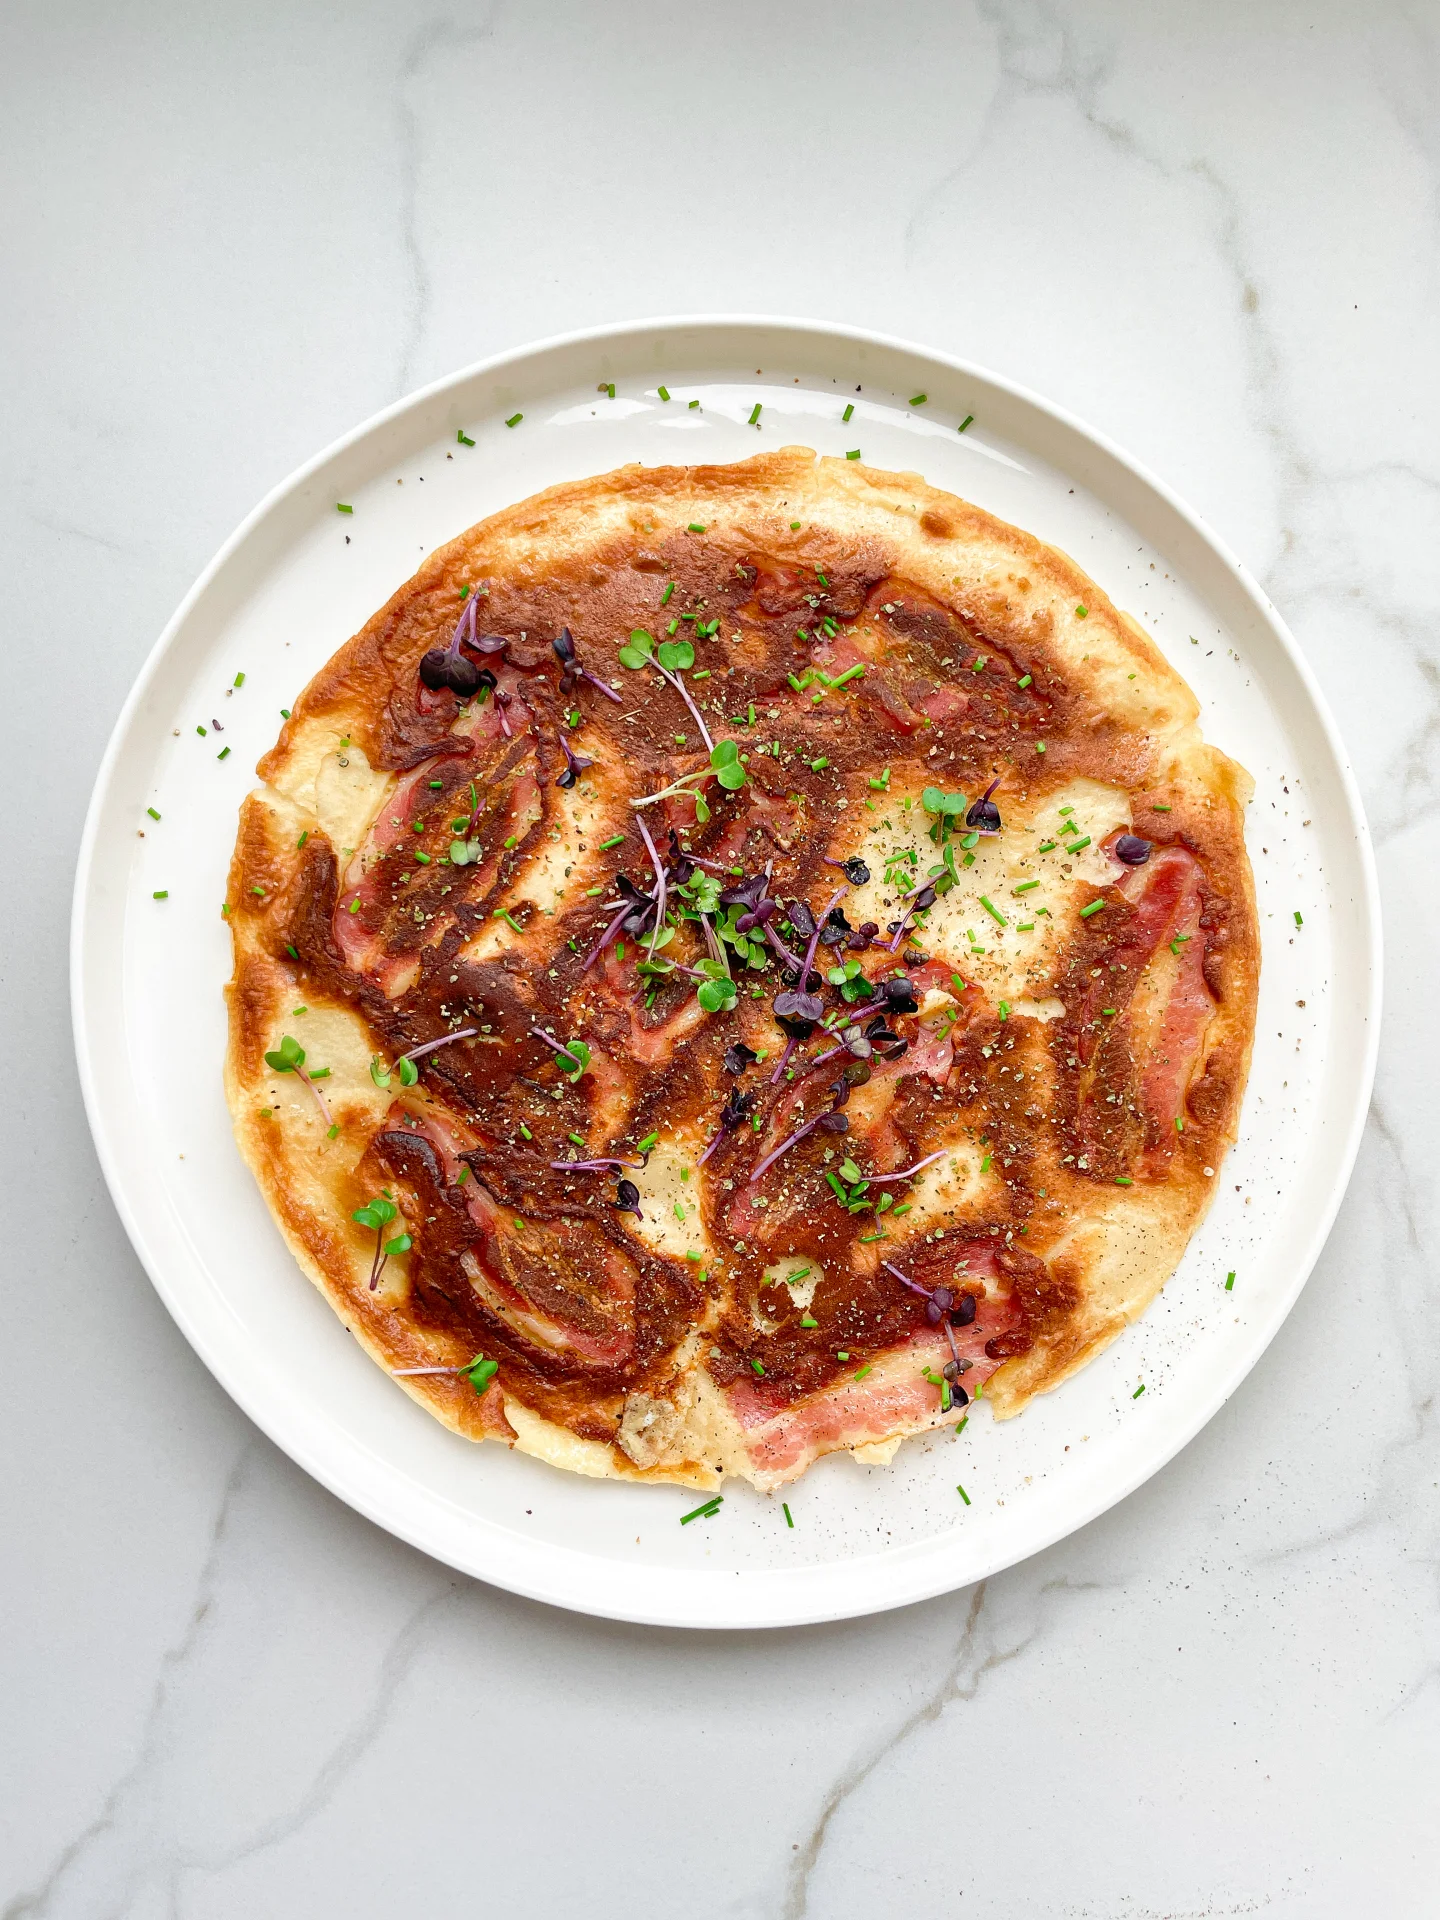
Experience a German classic! A perfect blend of crispy bacon and fluffy pancake, it’s the dinner you’ve been dreaming of.

30 MINUTES

EASY

OMNIVORE

GERMAN

512 PER PANCAKE

CRISPY
FLUFFY
COMFORT FOOD

EVERYDAY

DINNER

ALL YEAR

INTRODUCTION

ABOUT THE RECIPE

This savory twist on the classic pancake combines the crispiness of bacon with the soft, fluffy texture of pancakes to create a dinner that’s both satisfying and unique. It’s a traditional German dish that has stood the test of time, offering a perfect balance of flavors that will have everyone asking for seconds.

How to serve:
Serve these mouth-watering pancake fresh off the griddle, topped with some micro greens and chives. This dish is perfect for a lazy weeknight dinner or a brunch gathering with friends and family. Pair with a white wine or a side side salad to round out the meal and turn it into a feast fit for any appetite.

How to store:
Store your Bacon Pancake in the refrigerator, tightly covered, for up to one day. Reheat in the oven or on the stovetop to bring back that fresh-from-the-griddle warmth and crispiness.

Hi, I'm Kimberly!

Hi, I'm Kimberly.

A passionate food lover who believes in the magic of homemade deliciousness that spreads love and warmth. Join me on this culinary adventure as I prepare wonderful dishes and let’s spread some happiness together!

Kimberly the Zett Signature

If you want to get to know me better, click here!


German Bacon Pancake
„Let’s make a piece of happiness“

INGREDIENTS

FOR 2 PANCAKES

Batter

  • 125g all-purpose flour (1 cup)
  • 125ml whole-fat milk (1/2 cup)
  • 2 eggs
  • 1/2 tsp salt

FRYING

  • 70g bacon (2.5 oz)
  • 2 tsp clarified butter

TOPPINGS

  • chives
  • cress
  • majoram
  • black pepper
German Bacon Pancake
}

ACTIVE: 2 min

PASSIVE: –

PREPARATIONS

Recommended Equipment
  • sharp knife
  • cutting board
  • medium-sized bowl
  • whisk
  • large frying pan
  • spatula
  • Cut the bacon strips in half or thirds – depending on your preference.
}

ACTIVE: 15 min

PASSIVE: 15 min

COOKING

1. In a medium-sized bowl, whisk together milk and eggs. Now add the salt and flour and beat with the whisk until smooth. Let the batter sit for 10-15 minutes to thicken.

2. Place the bacon slices in a cold pan and cook over medium heat until they start to shrink and turn slightly brown. Then add a teaspoon of clarified butter and continue cooking the bacon for another 2-3 minutes—it should be dark pink but not too crispy.

3. Pour half of the batter over the bacon and let it cook for about 6-8 minutes. The batter should be fully cooked on one side, firm, and barely liquid before flipping.

4. Use a spatula to flip the pancake and cook for another minute on the other side, then transfer to a plate. Serve garnished with marjoram, freshly ground pepper, and microgreens.

NOTE: The calorie information may vary depending on the product used, country and region.