")


")
")
Description
Recommended Equipment
- oven
- parchment paper
- medium-sized bowl
- small saucepan
- sharp knife
- cutting board
- airtight container
Ingredients
Units Scale
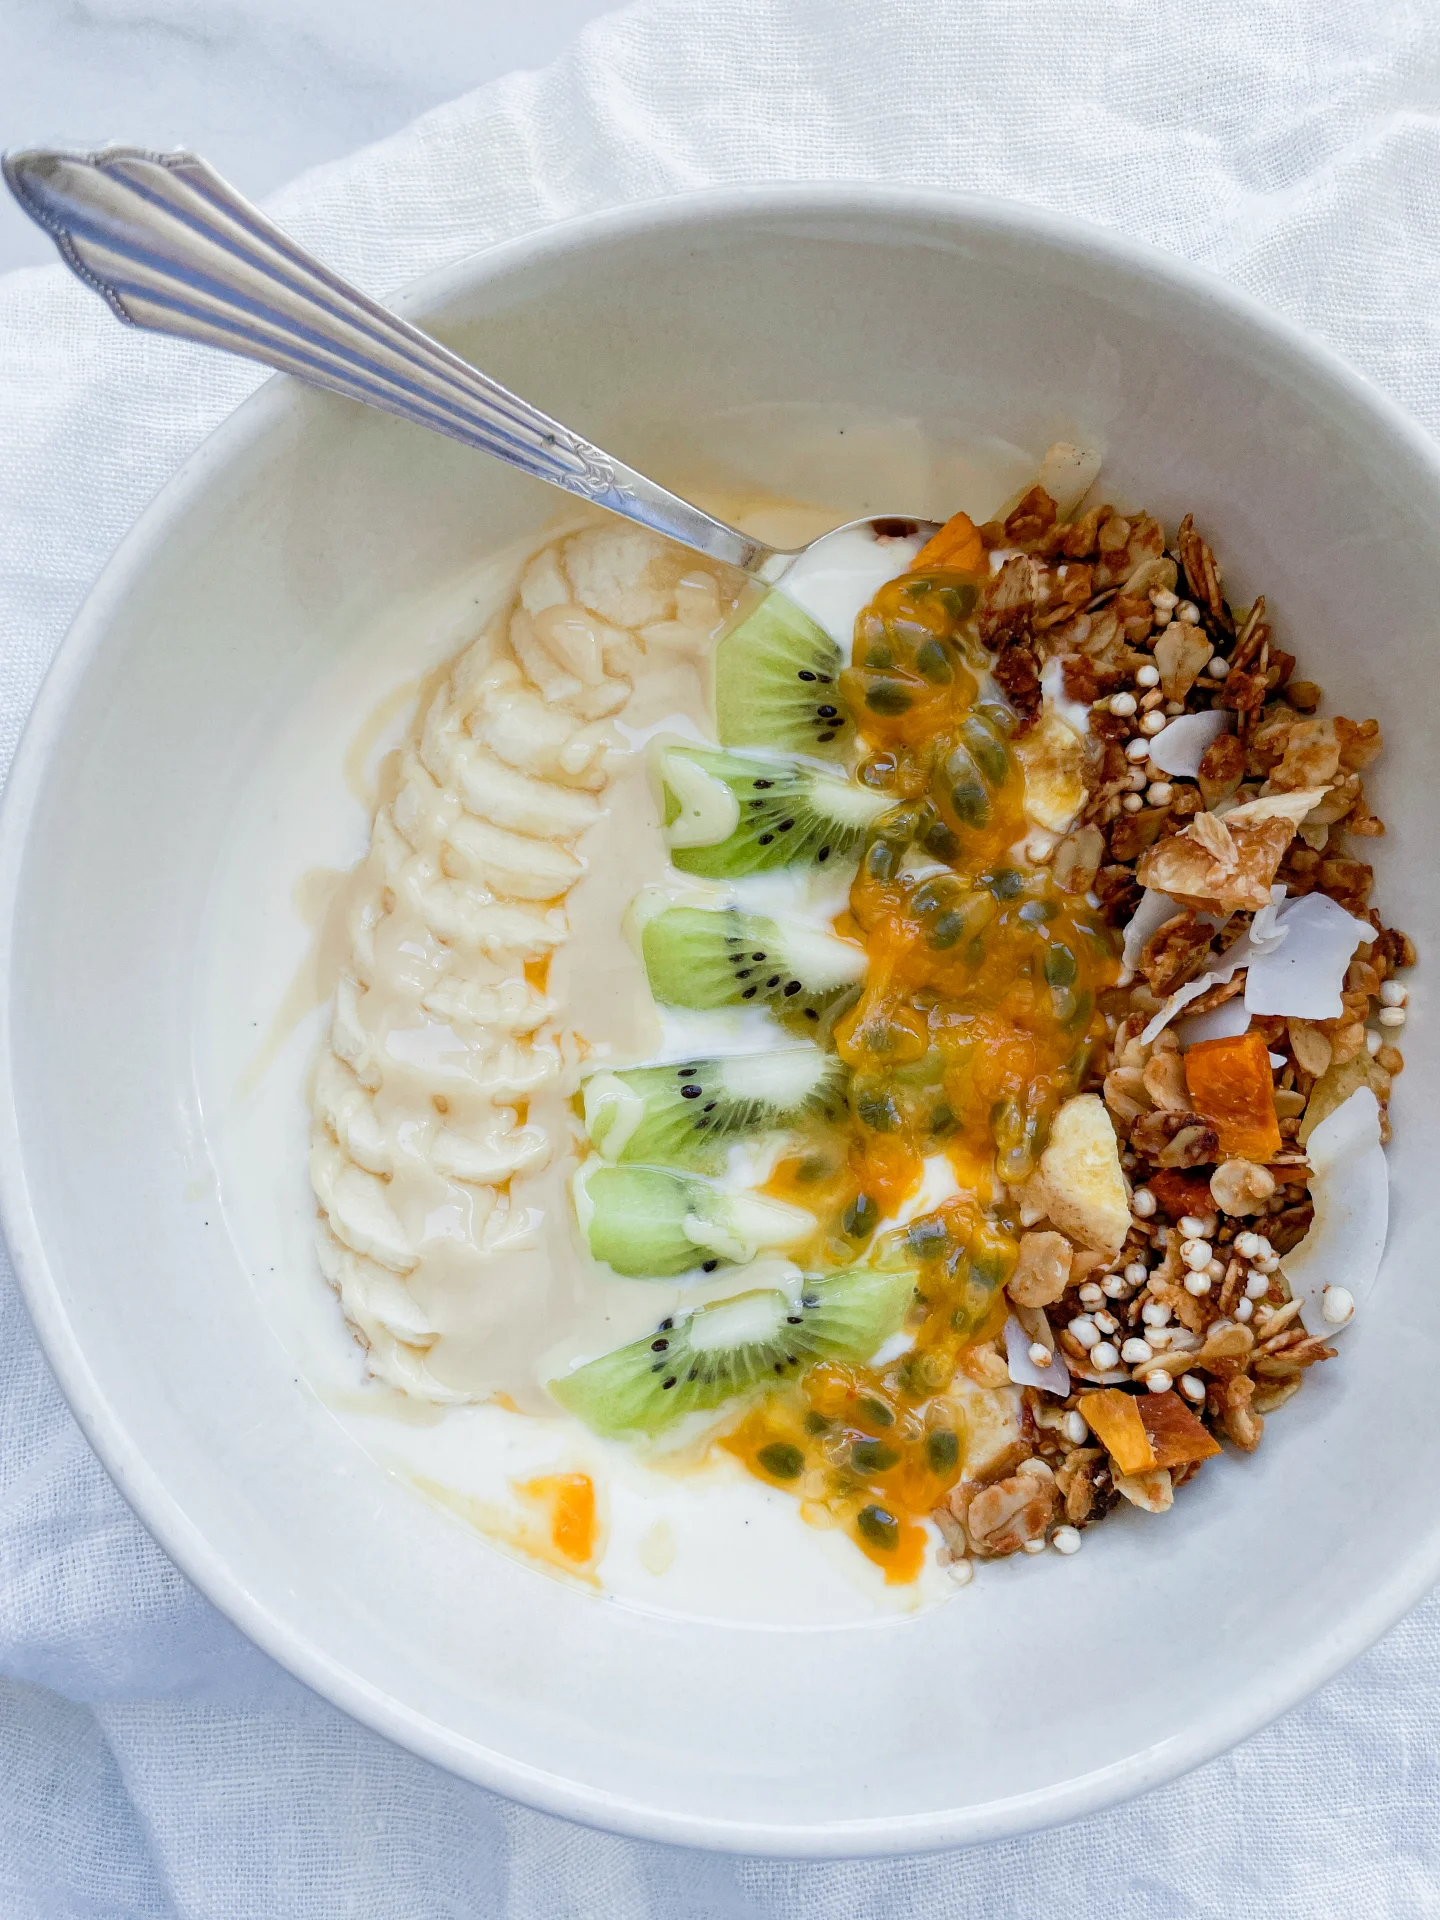
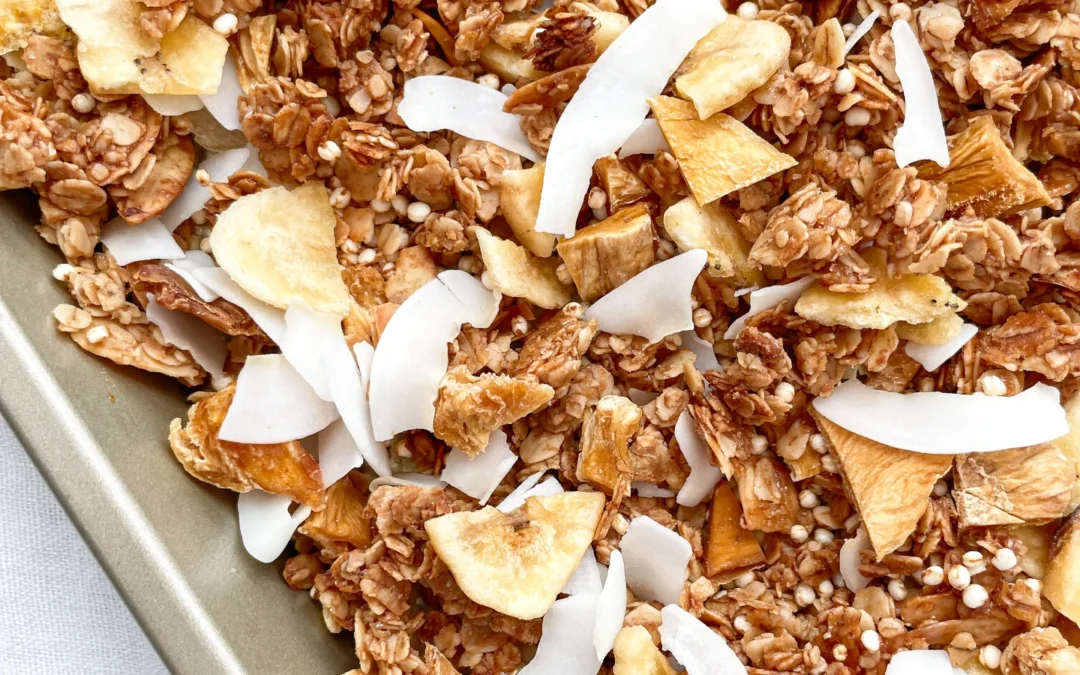
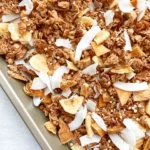
- 100 grams rolled oats
- 15 grams almonds
- 30 grams dried mango
- 30 grams freeze-dried banana
- 30 grams dried pineapple
- 20 grams coconut chips
- 15 grams puffed quinoa
- 30 grams cold-pressed coconut oil
- 10 grams brown sugar
- 25 grams agave syrup
- 1/2 tsp vanilla extract
- 1/8 tsp salt
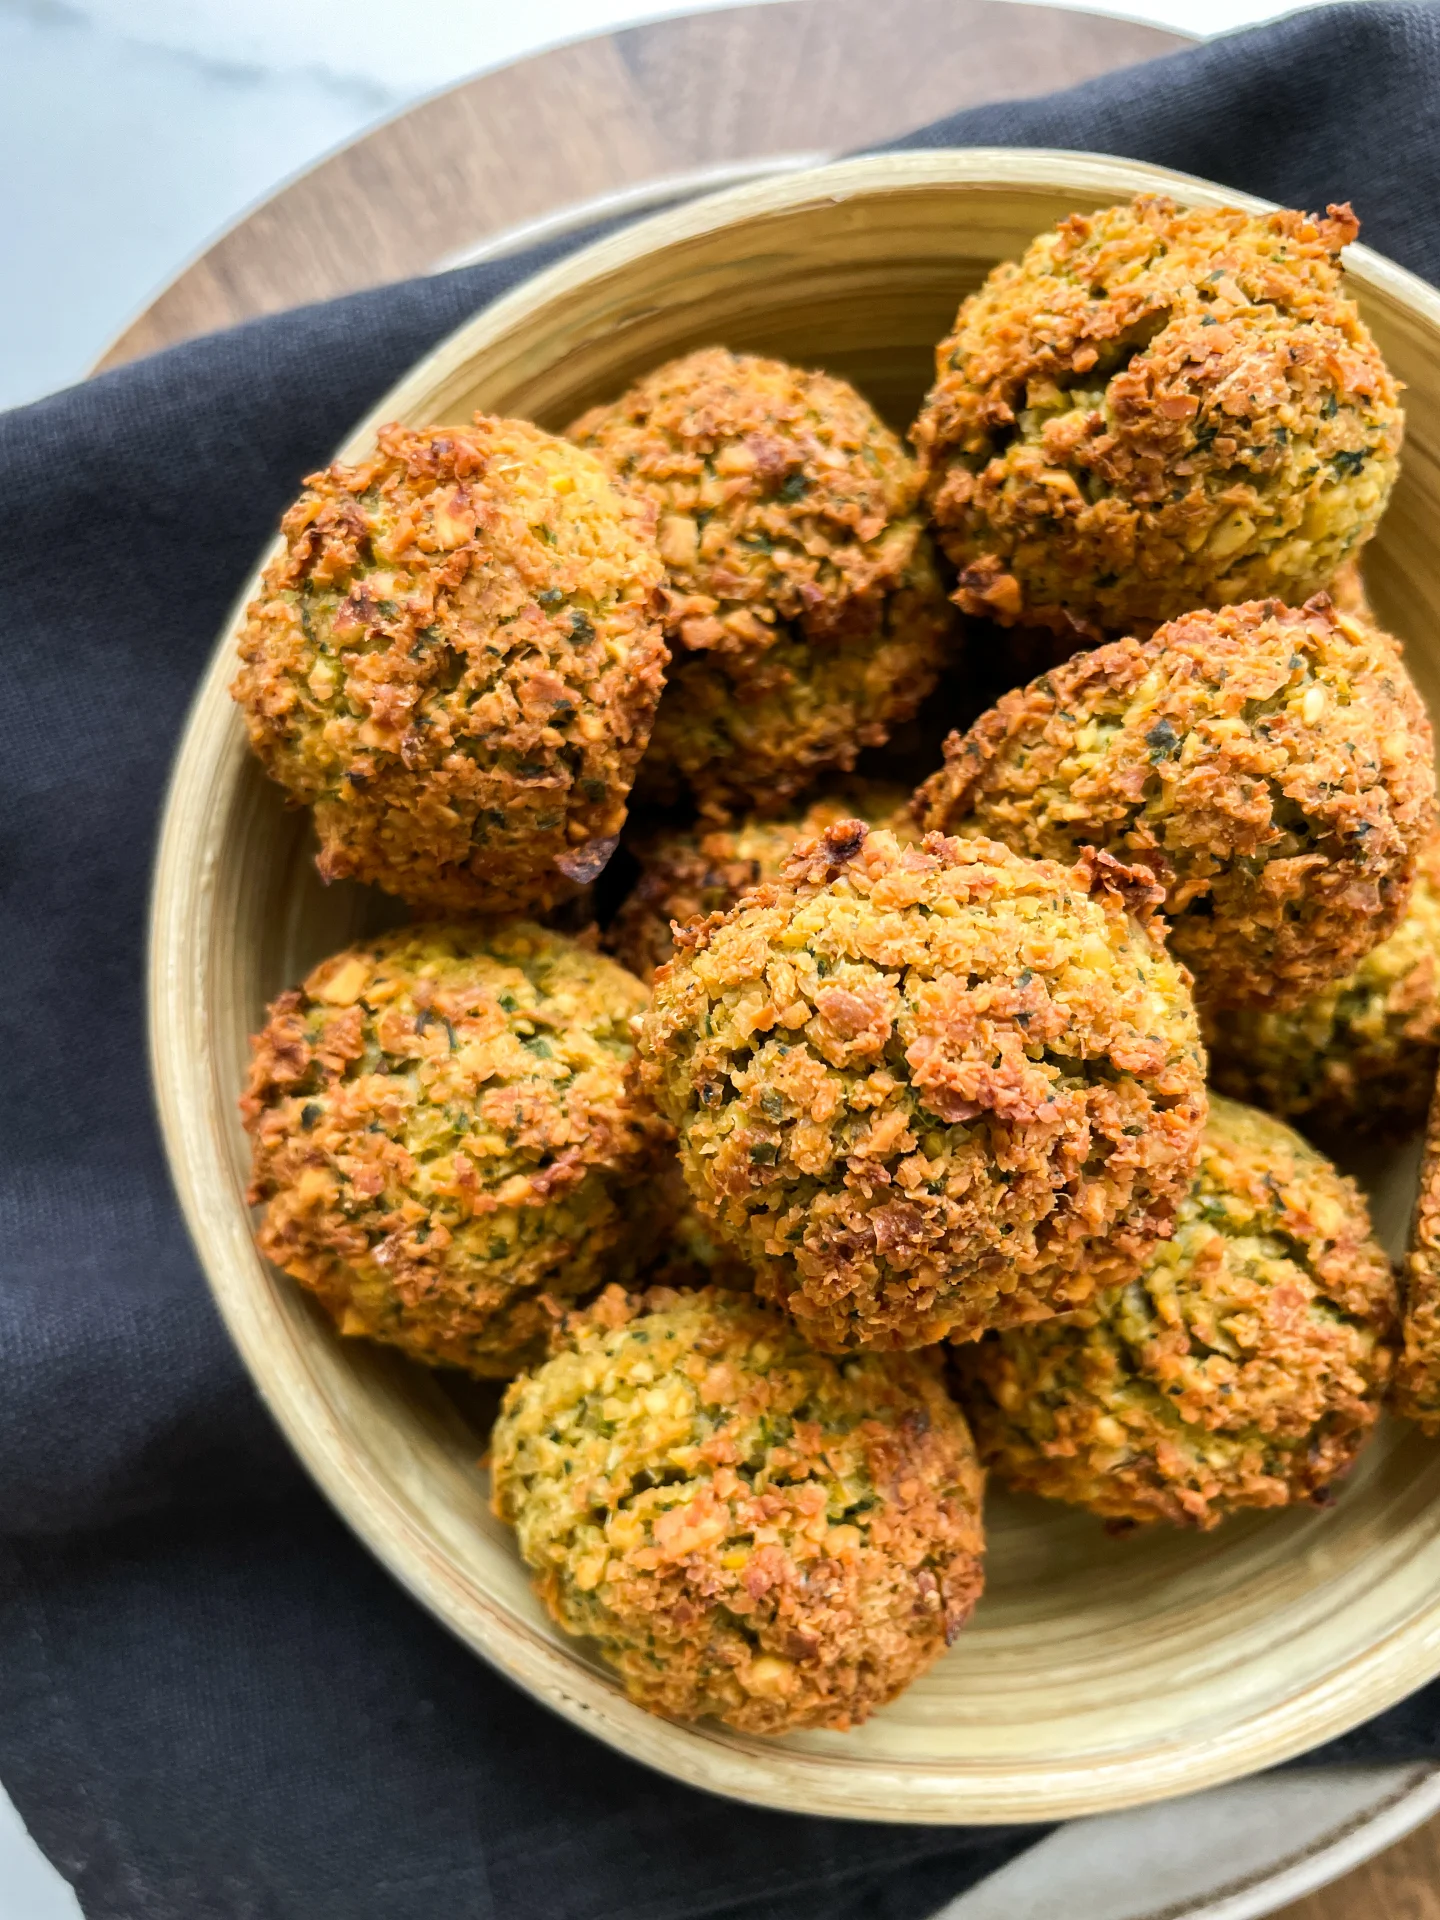
Instructions
PREPARATIONS
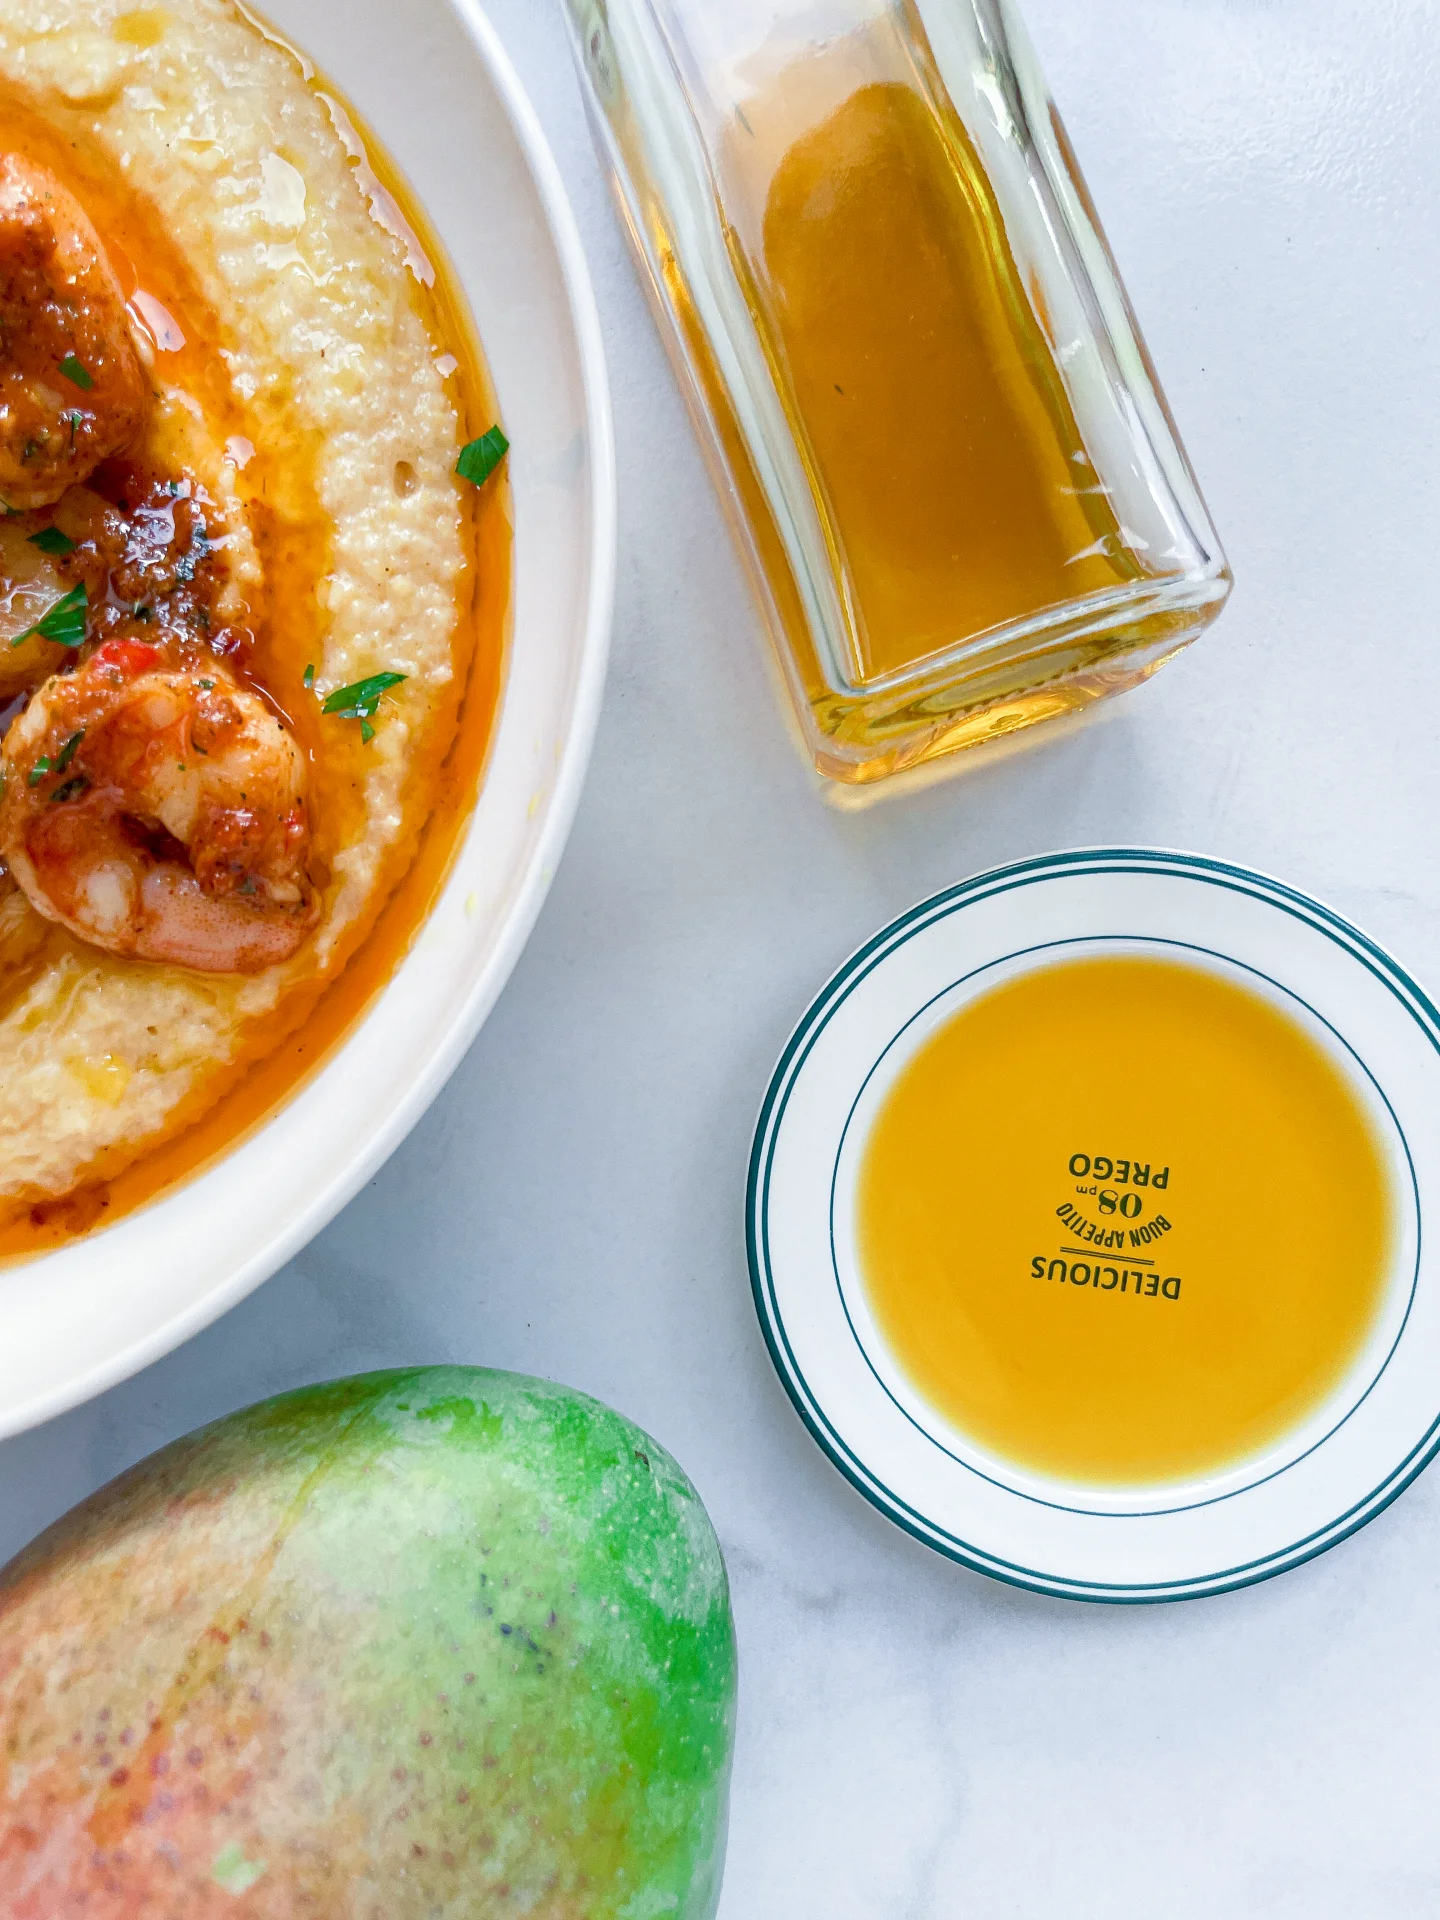
- Here’s the recipe for the Pineapple Coconut Oil. You’ll need about 30g of it.
INSTRUCTIONS
- Preheat the oven to 160°C / 320°F. Line a baking sheet with parchment paper and set it aside.
- In a medium-sized bowl, mix together the oats and almonds. Set aside.
- In a small saucepan, stir together sugar, agave syrup, vanilla extract, and coconut oil. Heat on low until the sugar melts. Pour this mixture over the oat-almond mix and stir well.
- Spread the mixture evenly onto the baking sheet. Bake for about 20 minutes.
- While the granola is baking, chop the freeze-dried bananas, pineapple, mango, and coconut chips to your desired size, and measure out the quinoa. Set everything aside.
- Once the granola is done baking, take it out of the oven and add the other ingredients. Mix everything well and let it cool.
- Once it’s completely cooled, crumble the granola and store it in an airtight container.
- Passive Time: 20 min
- Cook Time: 20 min