


Description
Recommended Equipment
- cupcake tin
- cupcake liners
- two mixing bowls
- electric mixer
- fine mesh strainer
- piping bag
Ingredients
Units Scale
CUPCAKE BATTER
- 2 eggs
- 200 grams white sugar
- 115 grams butter
- 2 tsp vanilla extract
- 235 grams all-purpose flour
- 120 milliliters full-fat milk
- 1.5 tsp baking powder
- pinch of salt
- 150 grams cream cheese
- 80 grams butter
- 1 tsp vanilla extract
- 300 grams powdered sugar
- 50 grams flesh of a pink dragonfruit
Instructions
- Prepare the cupcake tin by lining it with cupcake liners. Set it aside. Preheat the oven to 175°C / 350°F.
- In a mixing bowl, use an electric mixer to combine the eggs and sugar until they come together. Then, add the vanilla extract and softened butter. Mix everything until it’s well combined.
- Sift the flour, salt, and baking powder into another bowl using a fine mesh strainer. Measure the milk. Now, in 4 additions, alternately add the milk and flour mixture to the butter-sugar-egg mixture, mixing after each addition. Don’t overmix, or the batter will become tough.
- Use a cookie scoop or a spoon to portion the batter into the liners. Fill each about 2/3 full so the cupcakes don’t rise over the edges while baking.
- Bake the cupcakes for 18-20 minutes. They’re done when you insert a toothpick into the center, and it comes out clean, without any batter sticking to it.
- Let the cupcakes cool on a wire rack.
- Meanwhile, prepare the frosting. Dice the pink dragon fruit and place it in a medium-sized bowl. Add the cream cheese, butter, vanilla extract, powdered sugar, and a pinch of salt to the bowl. Use an electric mixer to blend everything into a creamy mixture. If the frosting is too soft to hold its shape, place the bowl in the fridge for about 20 minutes.
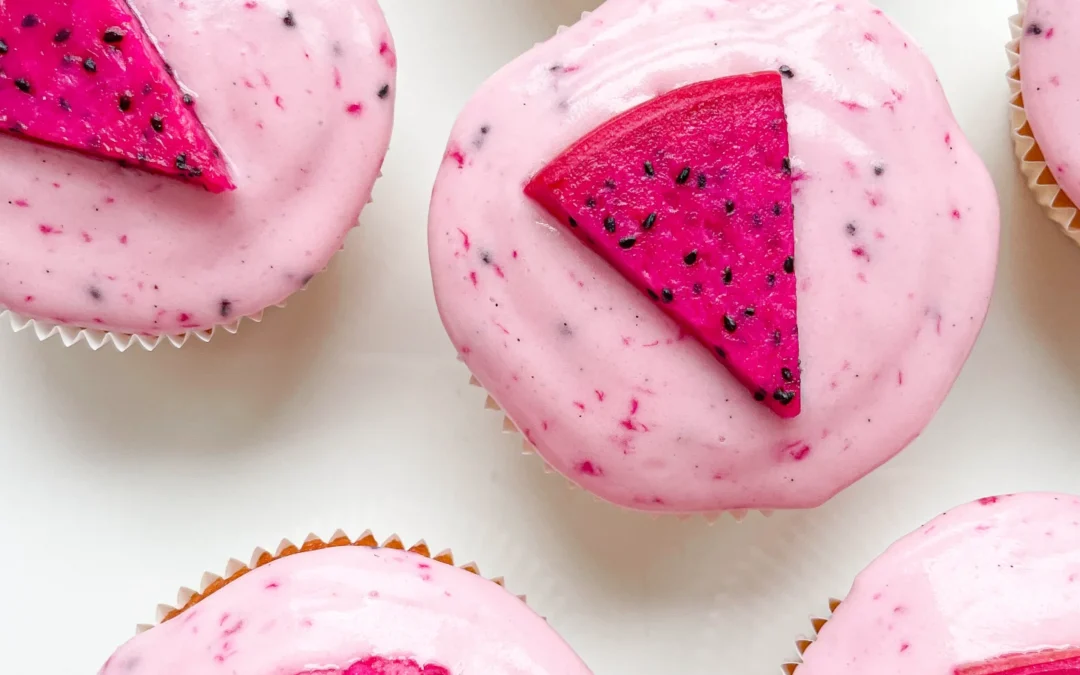
- Fill a piping bag with the frosting and decorate the cupcakes. Optionally, garnish with a few pieces of dragon fruit.
- Passive Time: 40 min
- Cook Time: 20 min