Chicken Katsudon with Napa Cabbage

Chicken Katsudon with Napa Cabbage

Chicken Katsudon with Napa Cabbage

Chicken Katsudon with Napa Cabbage

August 27, 2024 by Kimberly

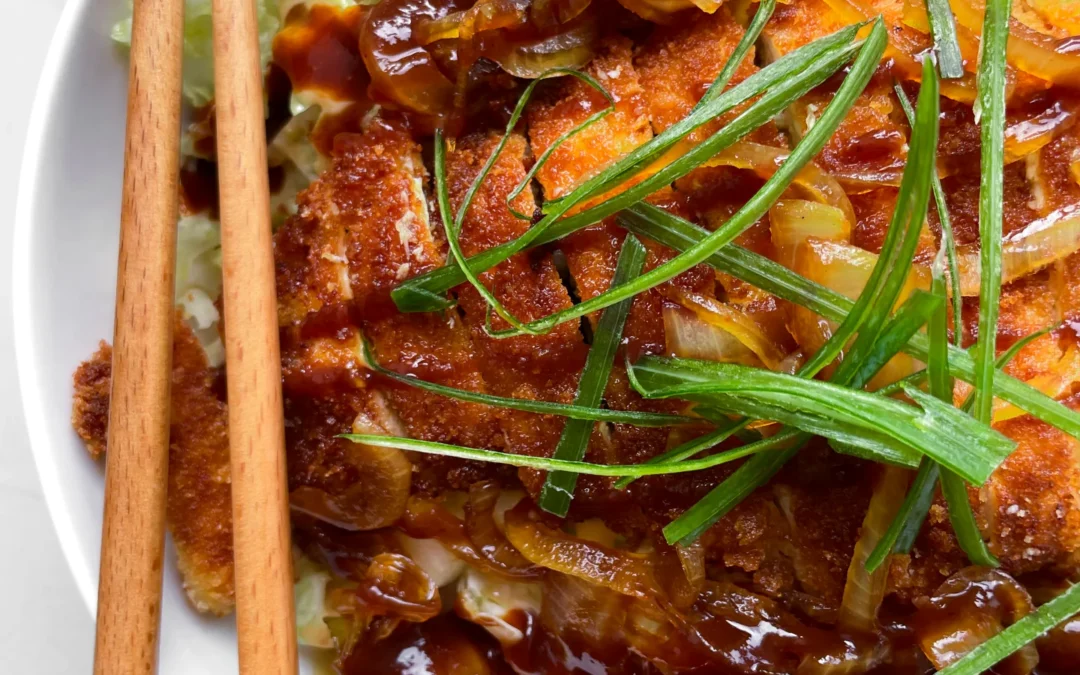
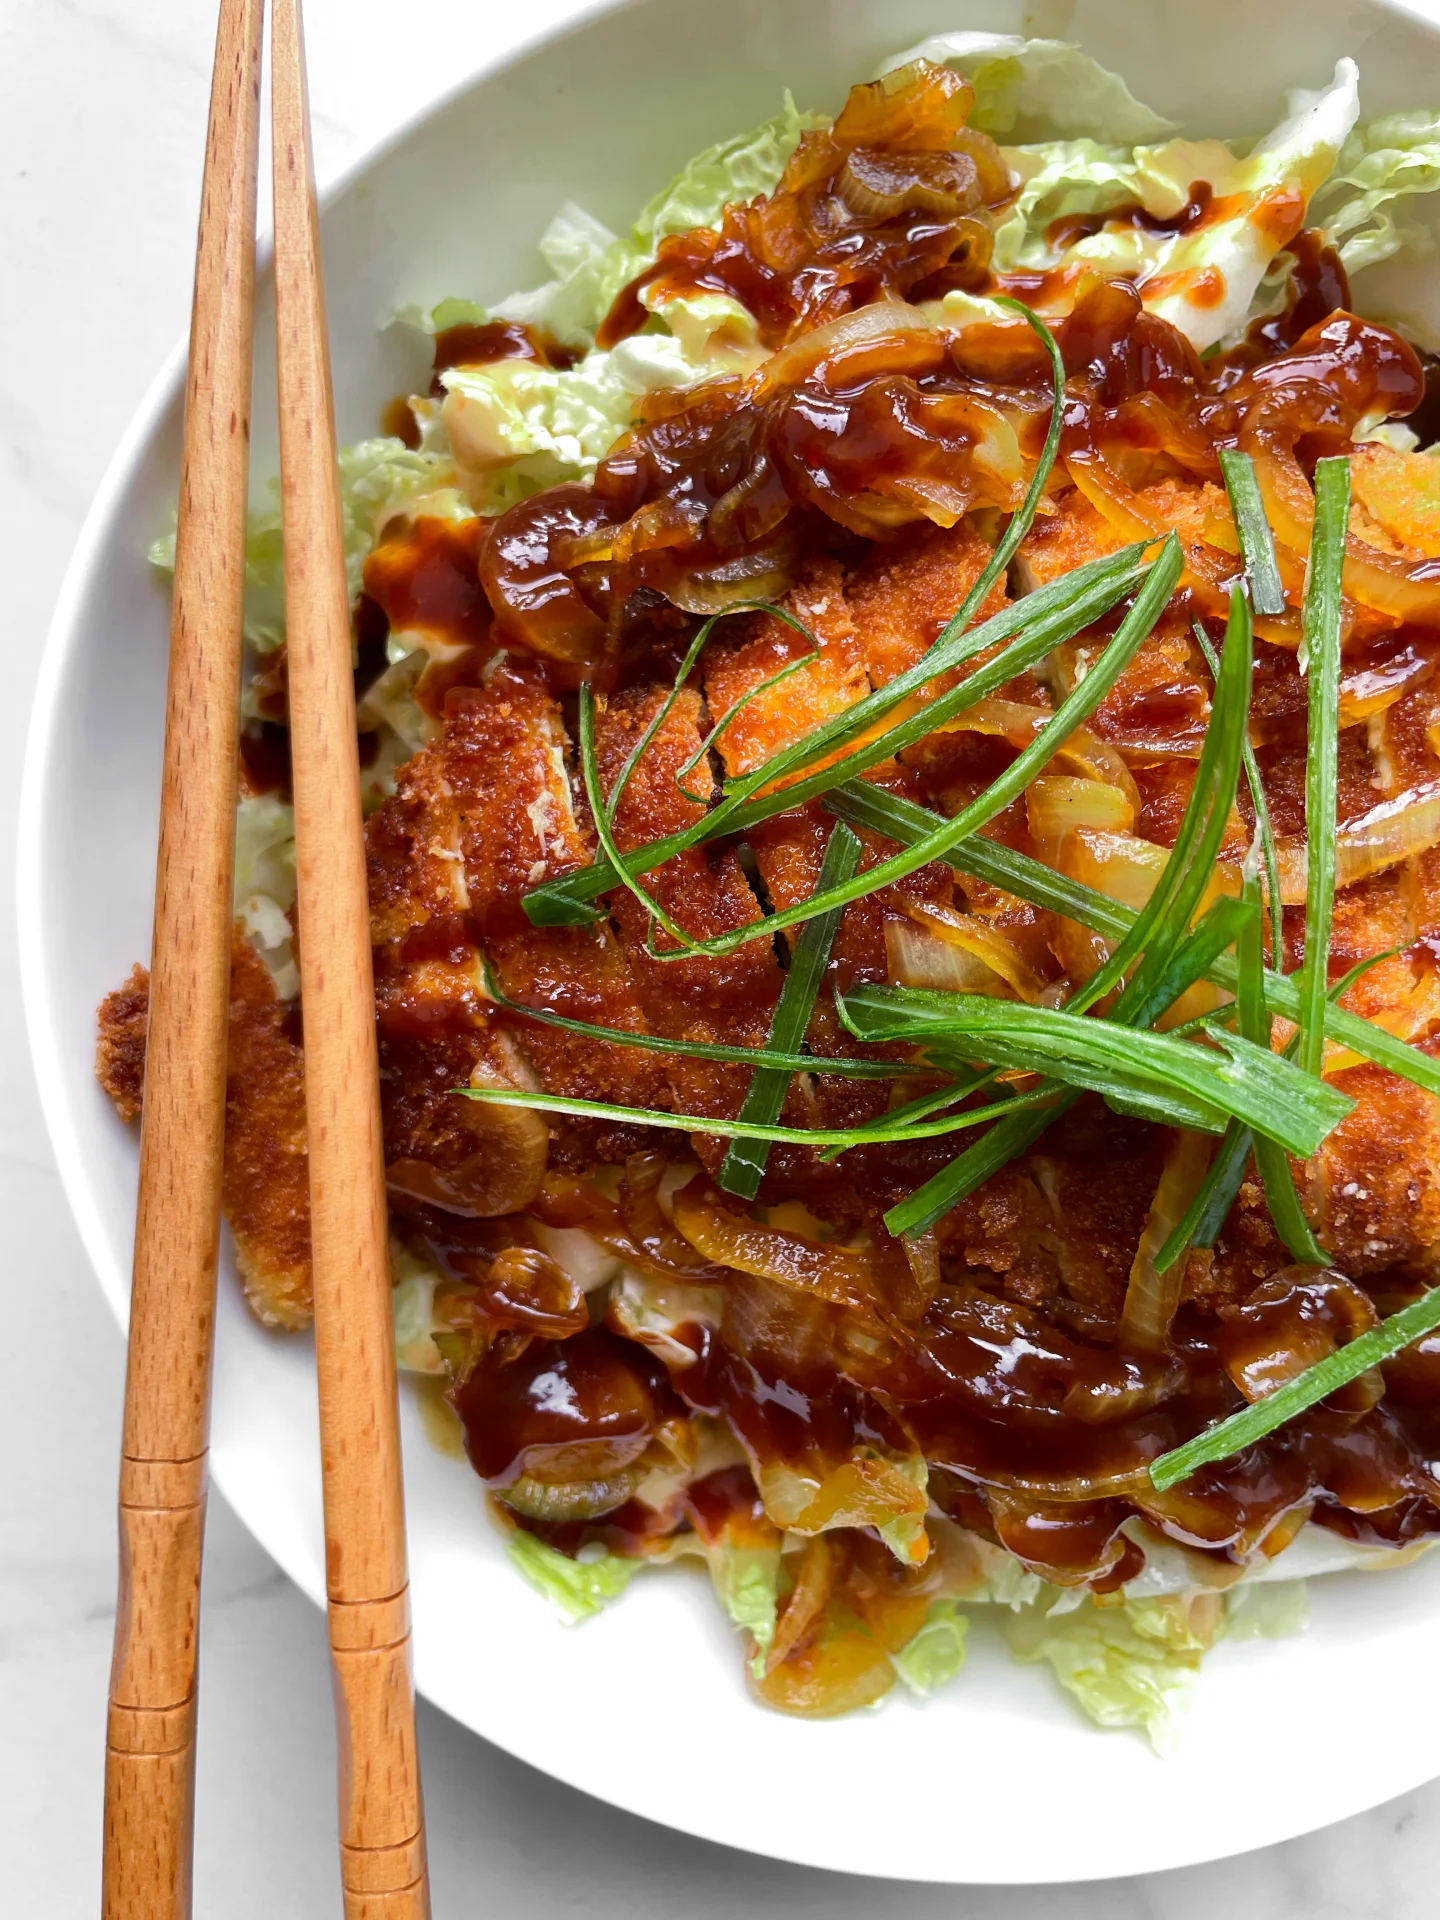
Savor a golden bite of crispy chicken wrapped in rich, savory sauces, fluffy rice and tender napa cabbage – this dish is a warm hug for your taste buds, perfect for a cozy night in and better than take out.

80 MINUTES

EASY

OMNIVORE

JAPANESE

928 PER PORTION

COMFORT FOOD

EVERYDAY

DINNER

ALL YEAR

INTRODUCTION

ABOUT THE RECIPE

Get ready to dive into a bowl of pure comfort with this deliciously crispy chicken paired with rich, savory sauces and tender cabbage. This dish is like a cozy night in a bowl, combining the crunch of perfectly fried chicken with the deep, satisfying flavors of homemade, roasted sesame, tonkatsu and tsuyu sauces. Whether you’re new to Japanese cooking or a seasoned pro, this recipe will quickly become your go-to for a quick and comforting dinner idea that never disappoints.

How to serve
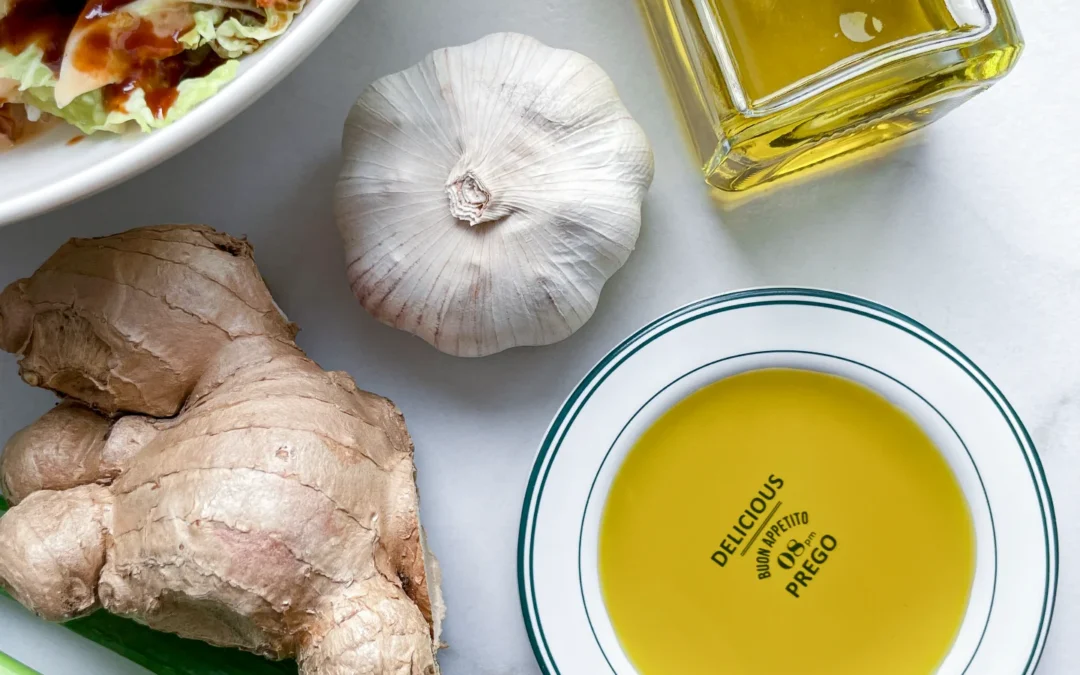
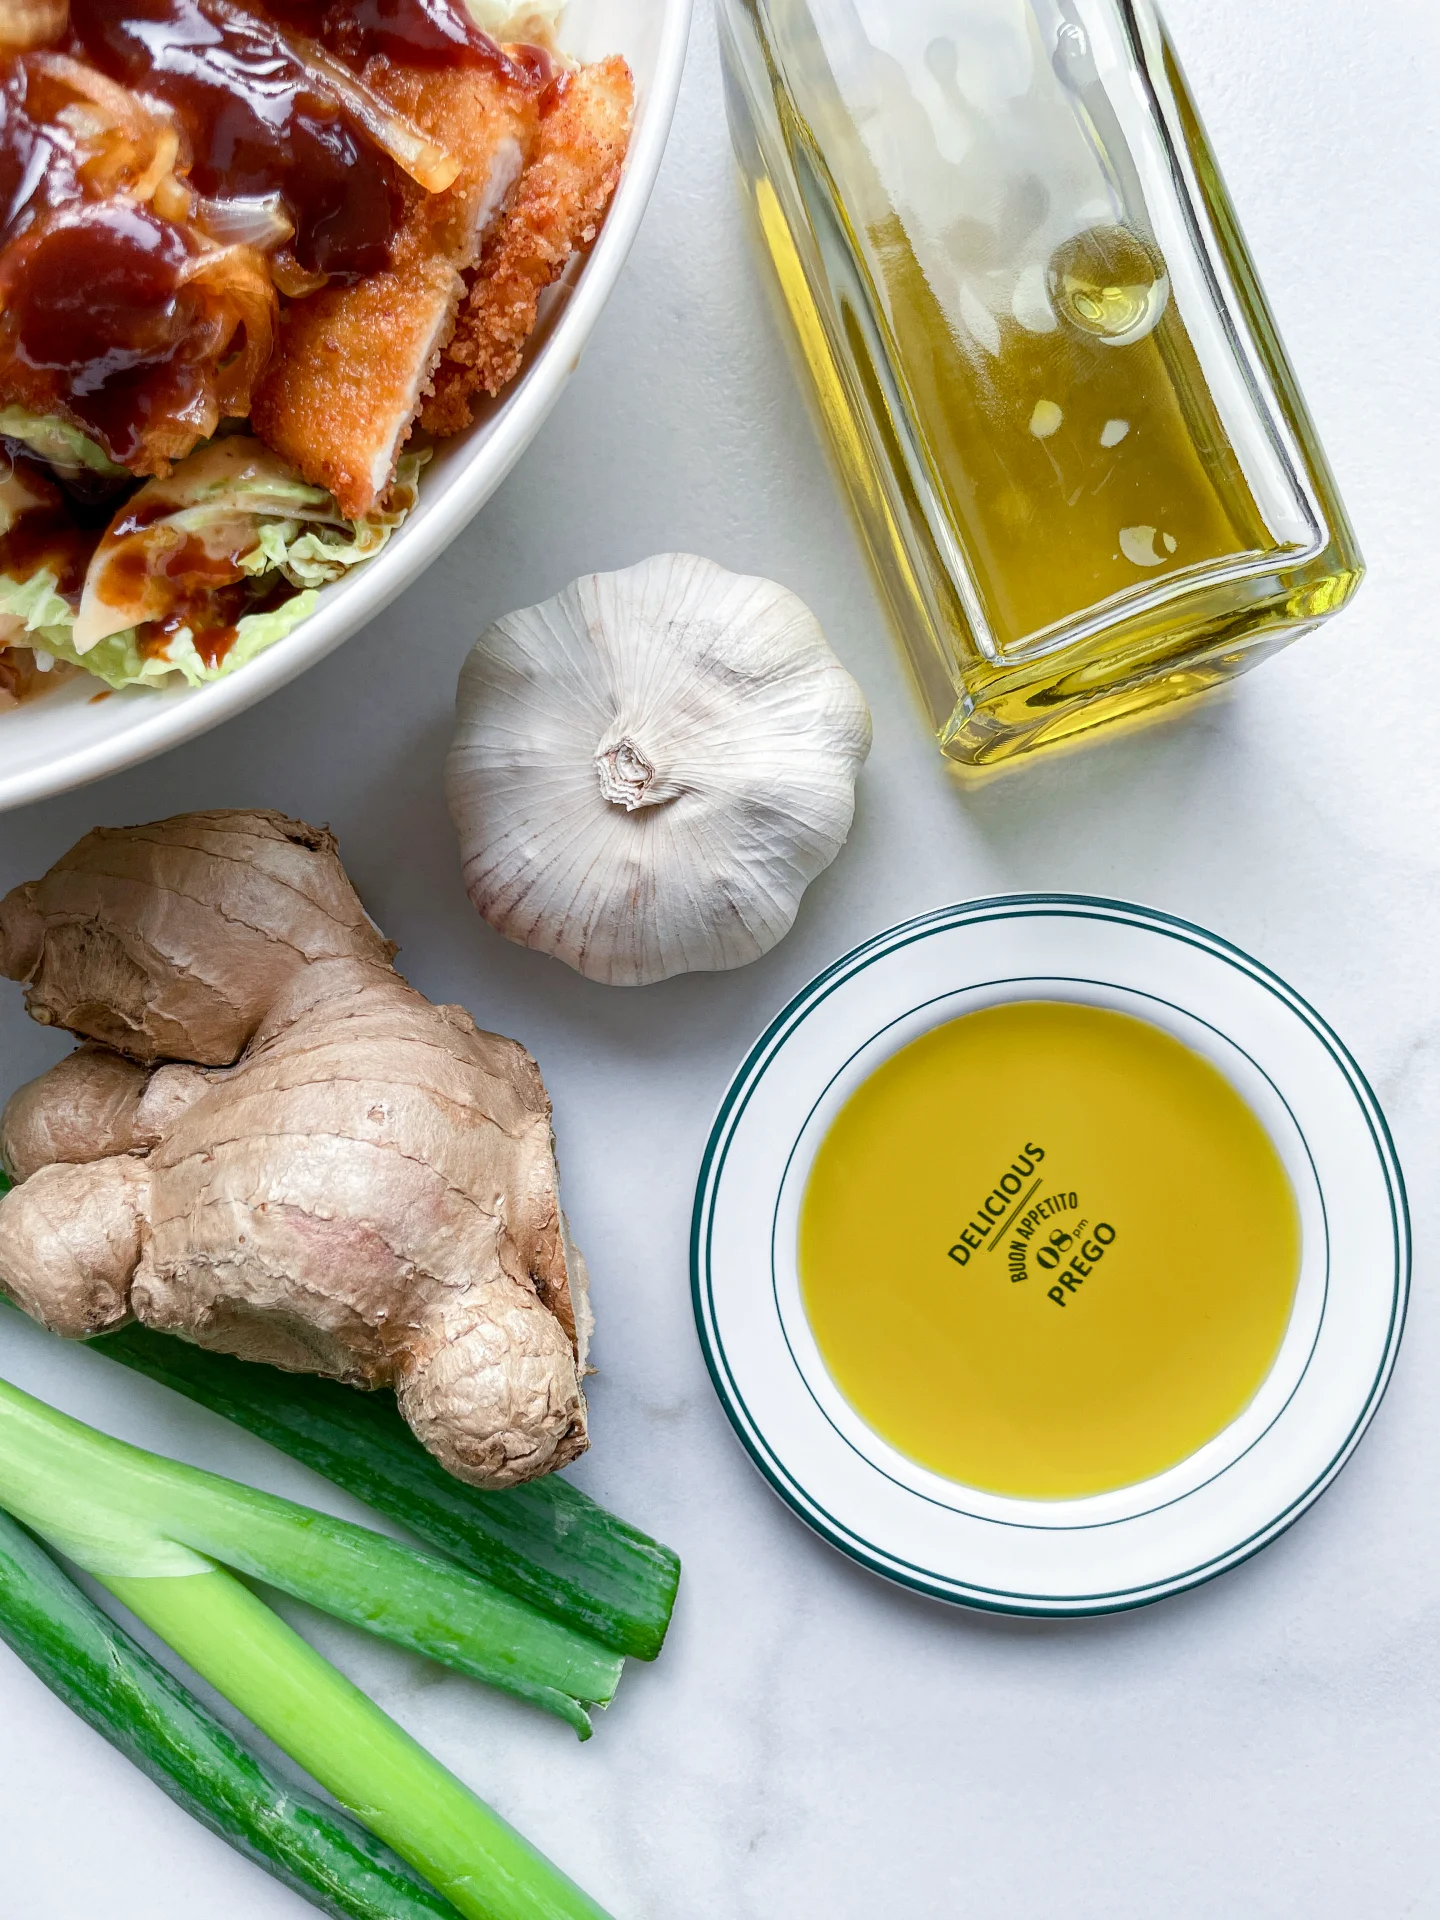
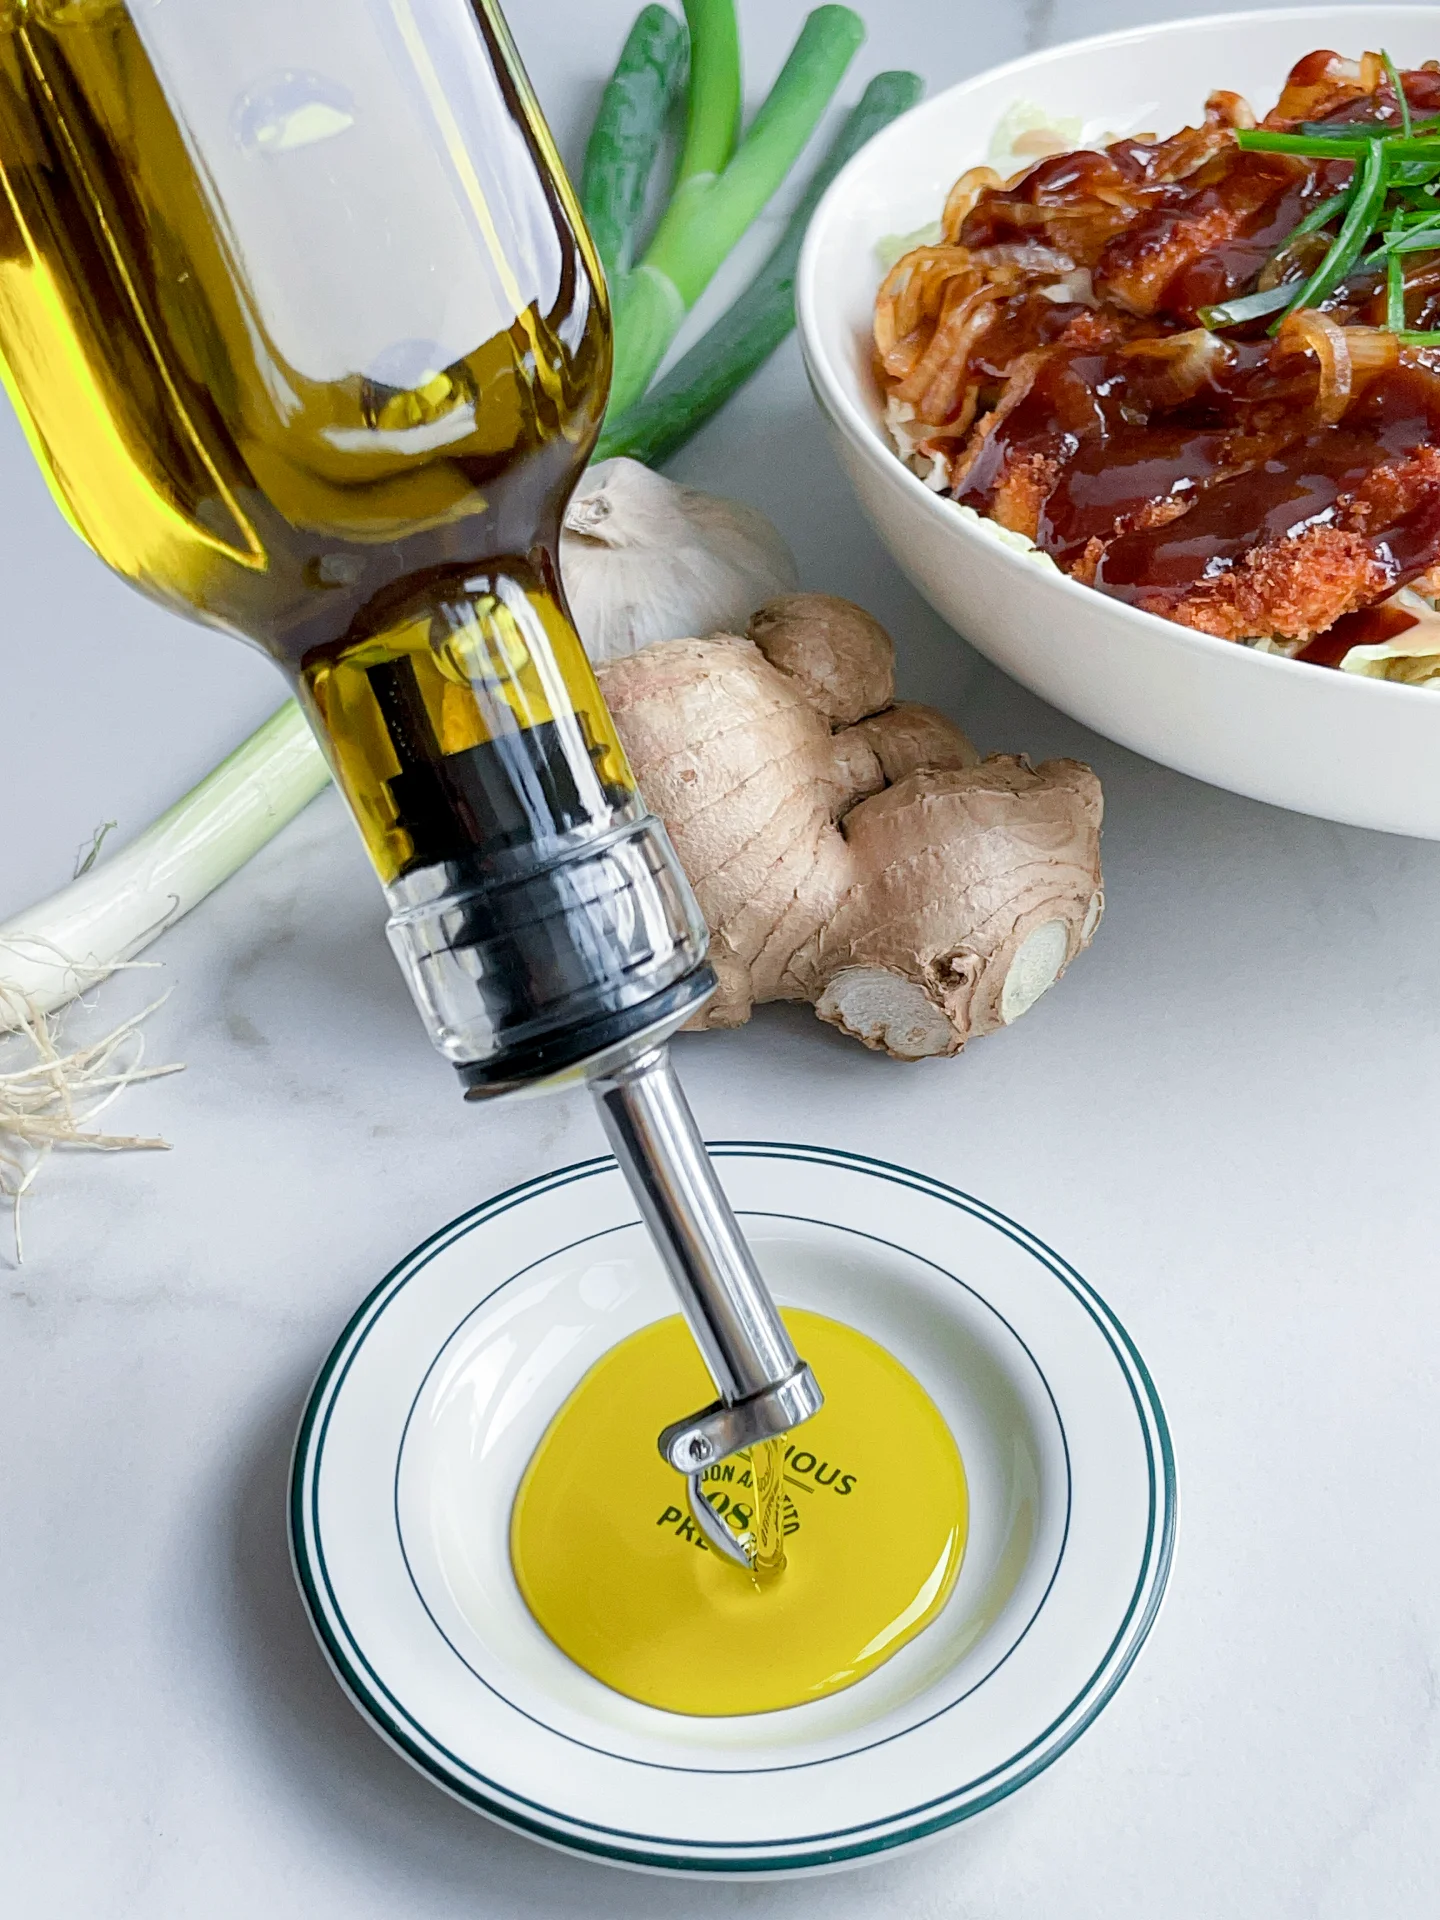
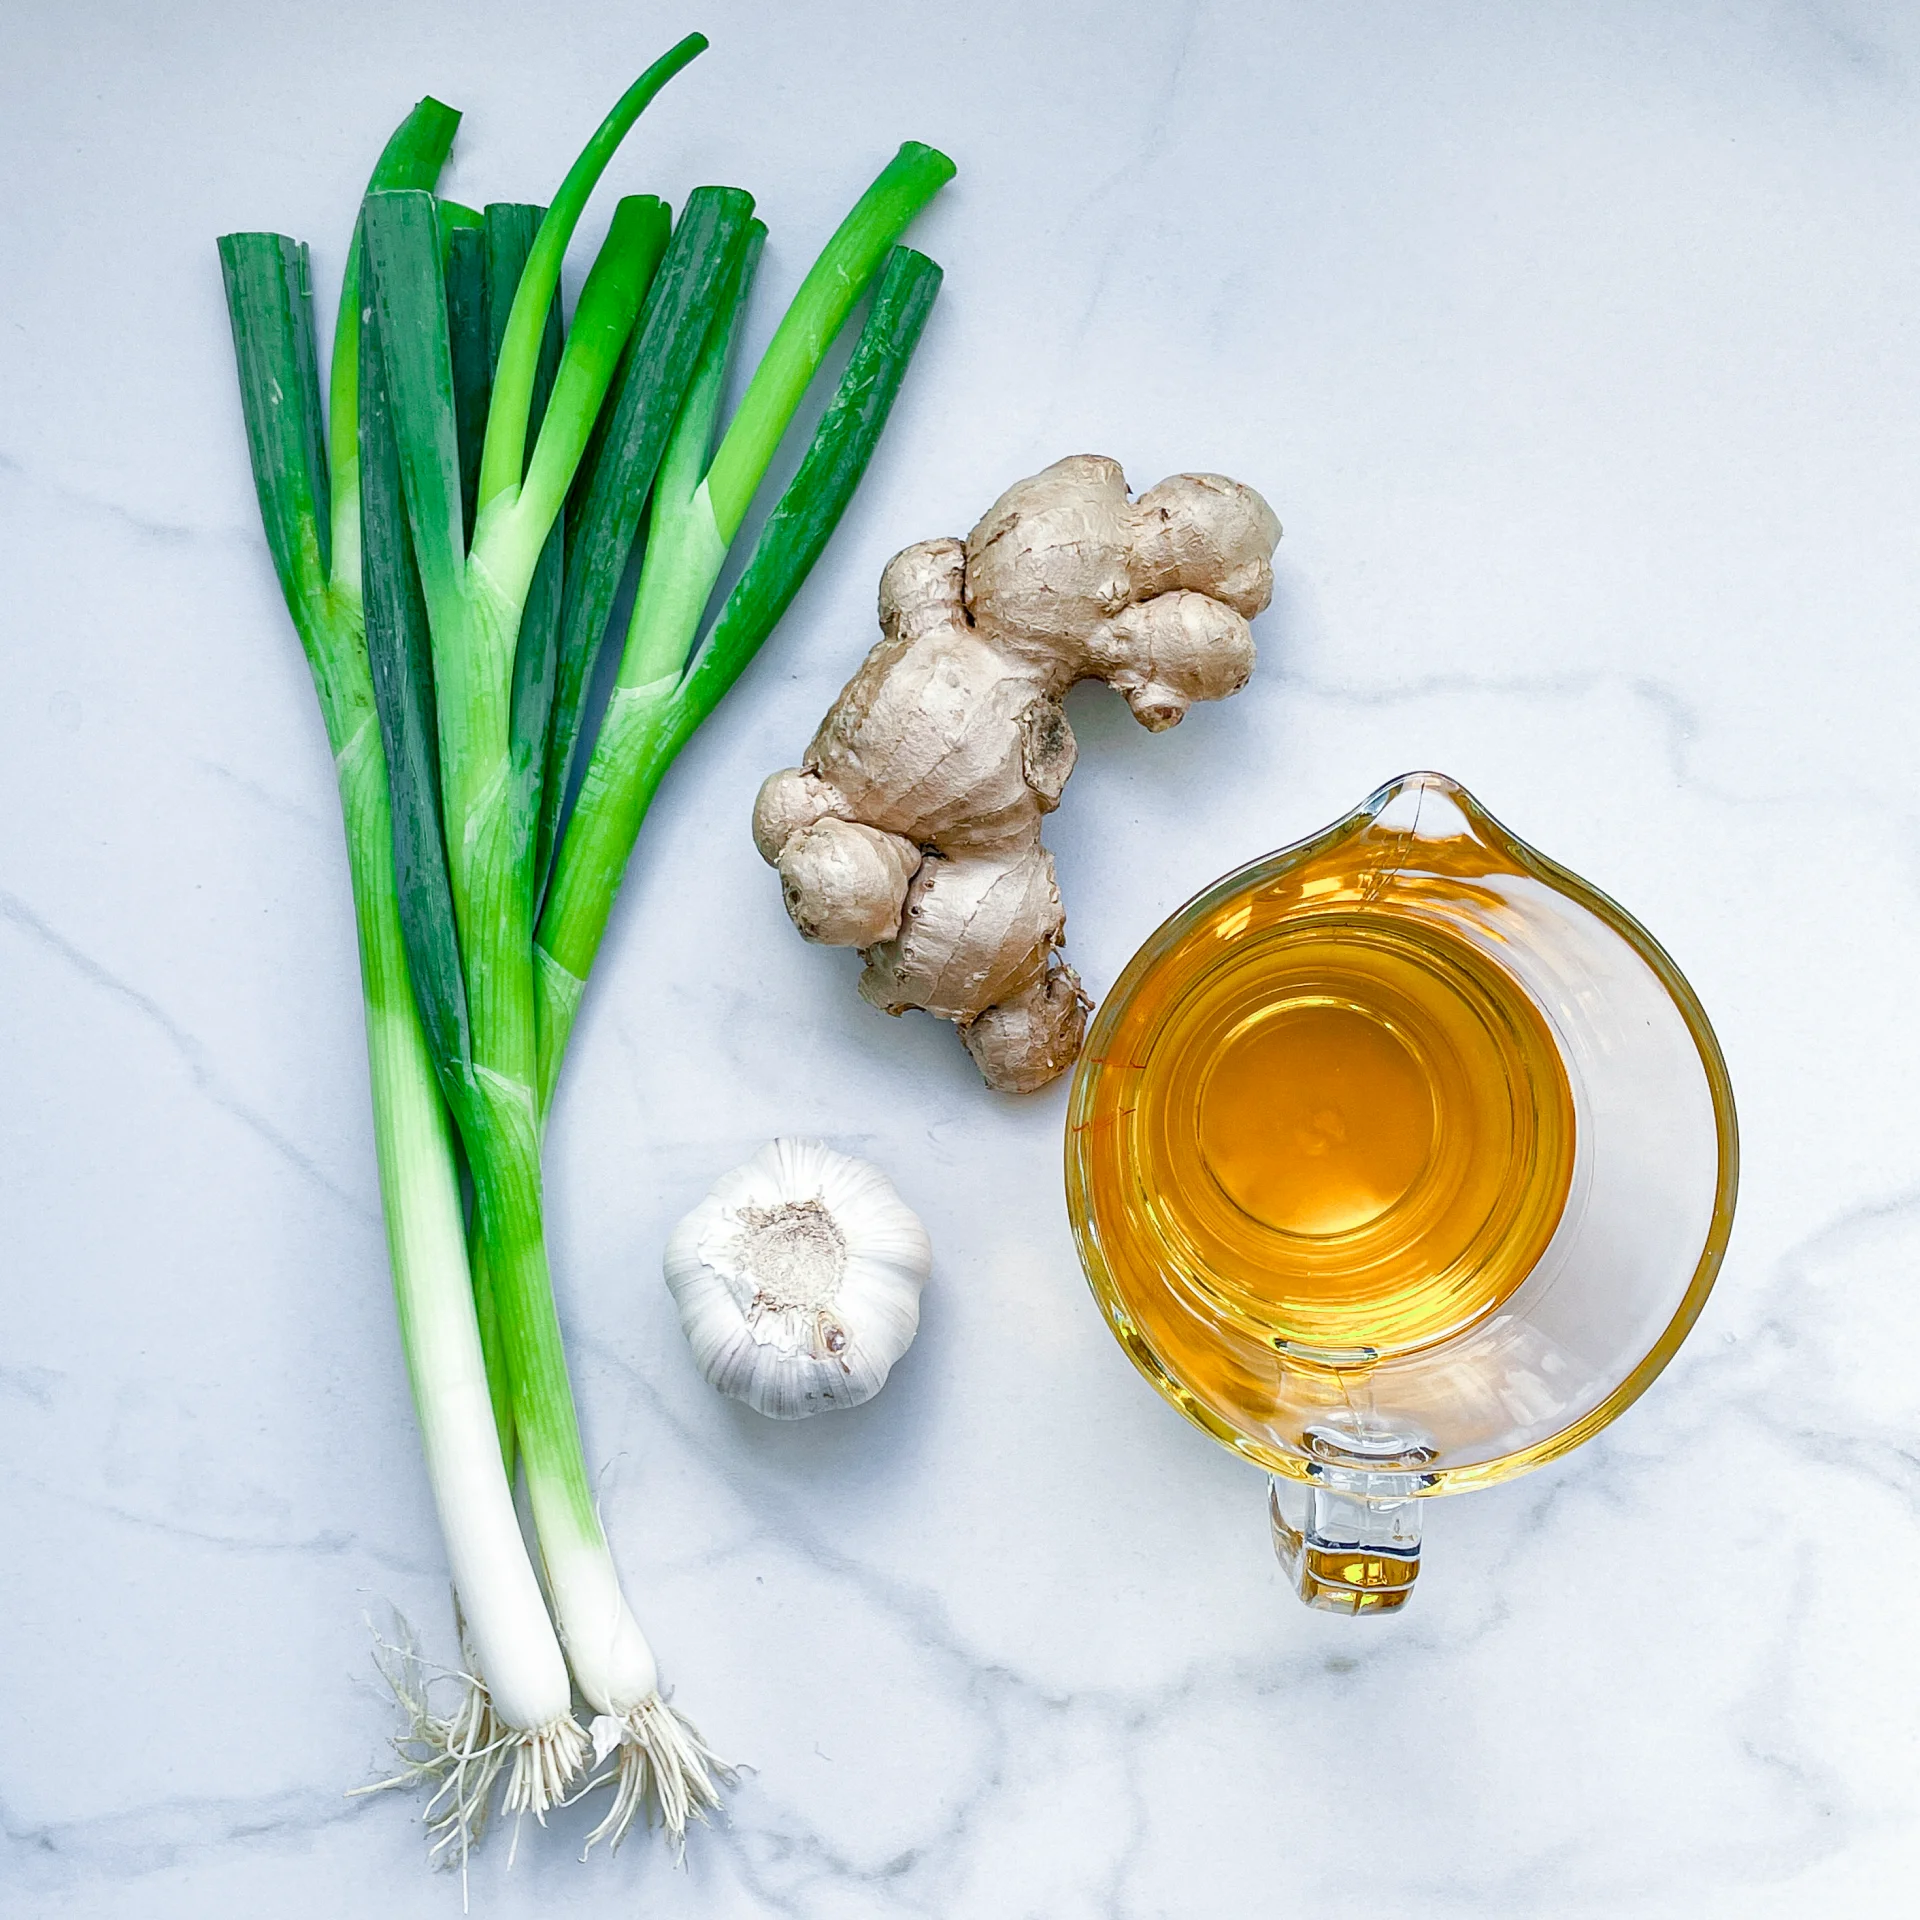
Serve this flavorful chicken dish over a bed of steaming hot rice. Add a generous portion of tender cabbage on the side for a bit of freshness that perfectly balances the crispy, savory chicken. For an extra crunch, sprinkle some toasted sesame seeds and scallions on top. This dish is ideal for a cozy dinner at home, but it’s also a fantastic option for impressing guests with something both comforting and deliciously unique. For that extra fancy touch massage the napa cabbage with 1-2 tbsp of this Chinese Holy Trinity Oil.

How to store
If you have leftovers (which is rare because it’s so good!), store the chicken, cabbage and rice separately in airtight containers in the fridge. The chicken will stay crispy for up to two days, and you can reheat it in the oven to keep that satisfying crunch. The sauces can be stored in the fridge for up to a week, ready to drizzle over fresh rice or veggies whenever you crave a quick, tasty meal.

Hi, I'm Kimberly!

Hi, I'm Kimberly.

A passionate food lover who believes in the magic of homemade deliciousness that spreads love and warmth. Join me on this culinary adventure as I prepare wonderful dishes and let’s spread some happiness together!

Kimberly the Zett Signature

If you want to get to know me better, click here!


Chicken Katsudon with Napa Cabbage
„Let’s make a piece of happiness“
Print
clock clock iconcutlery cutlery iconflag flag iconfolder folder iconinstagram instagram iconpinterest pinterest iconfacebook facebook iconprint print iconsquares squares iconheart heart iconheart solid heart solid icon
Chicken Katsudon with Napa Cabbage

Chicken Katsudon with Napa Cabbage


5 Stars 4 Stars 3 Stars 2 Stars 1 Star

5 from 1 review

  • Author: Kimberly
  • Total Time: 80 min
  • Yield: 4 1x

Description

Recommended Equipment

  • small pan
  • mortar & pestle
  • medium-sized bowl
  • two squeeze bottles
  • small pot
  • sharp knife
  • cutting board
  • hand blender
  • fine mesh strainer
  • plastic wrap
  • meat tenderizer
  • three shallow bowls for breading
  • medium-sized pot
  • large pan
  • paper towels
  • salad spinner

Ingredients

Units Scale

SESAME SAUCE

  • 2 tbsp tahini
  • 1 tbsp rice vinegar
  • 1.5 tbsp soy sauce
  • 1 tbsp mirin
  • 1/8 tsp salt
  • 1 tbsp white sesame seeds
  • 2 tbsp mayonnaise
  • 1 tsp sesame oil
  • 1 tbsp water
  • 1 garlic clove

TONKATSU SAUCE

  • 1 tbsp tomato paste
  • 1 tsp honey
  • 1 tsp white sugar
  • 1 tbsp apple cider vinegar
  • 100 milliliter cold water
  • pinch of salt
  • 2 tbsp soy sauce
  • 2 tbsp Worcestershire sauce
  • 2 tbsp Hoisin sauce
  • 1 tbsp brown sugar
  • 4 dried plums
  • 1/4 of 1 apple
  • 1 tbsp mirin
  • 1 centimeter fresh ginger
  • 1 garlic cloves

CHICKEN SCHNITZEL

  • 400 grams chicken breast
  • 12 eggs
  • 4 tbsp all-purpose flour
  • 8 tbsp bread crumbs
  • 8 tbsp panko
  • clarified butter for frying

RICE & CABBAGE

TSUYU SAUCE

  • 6 tbsp soy sauce
  • 6 tbsp mirin
  • 1 tbsp white sugar
  • 1/2 tsp dashi powder
  • 6 tbsp water
  • 4 small yellow onions

TOPPING

  • green part of 2 scallions

Instructions

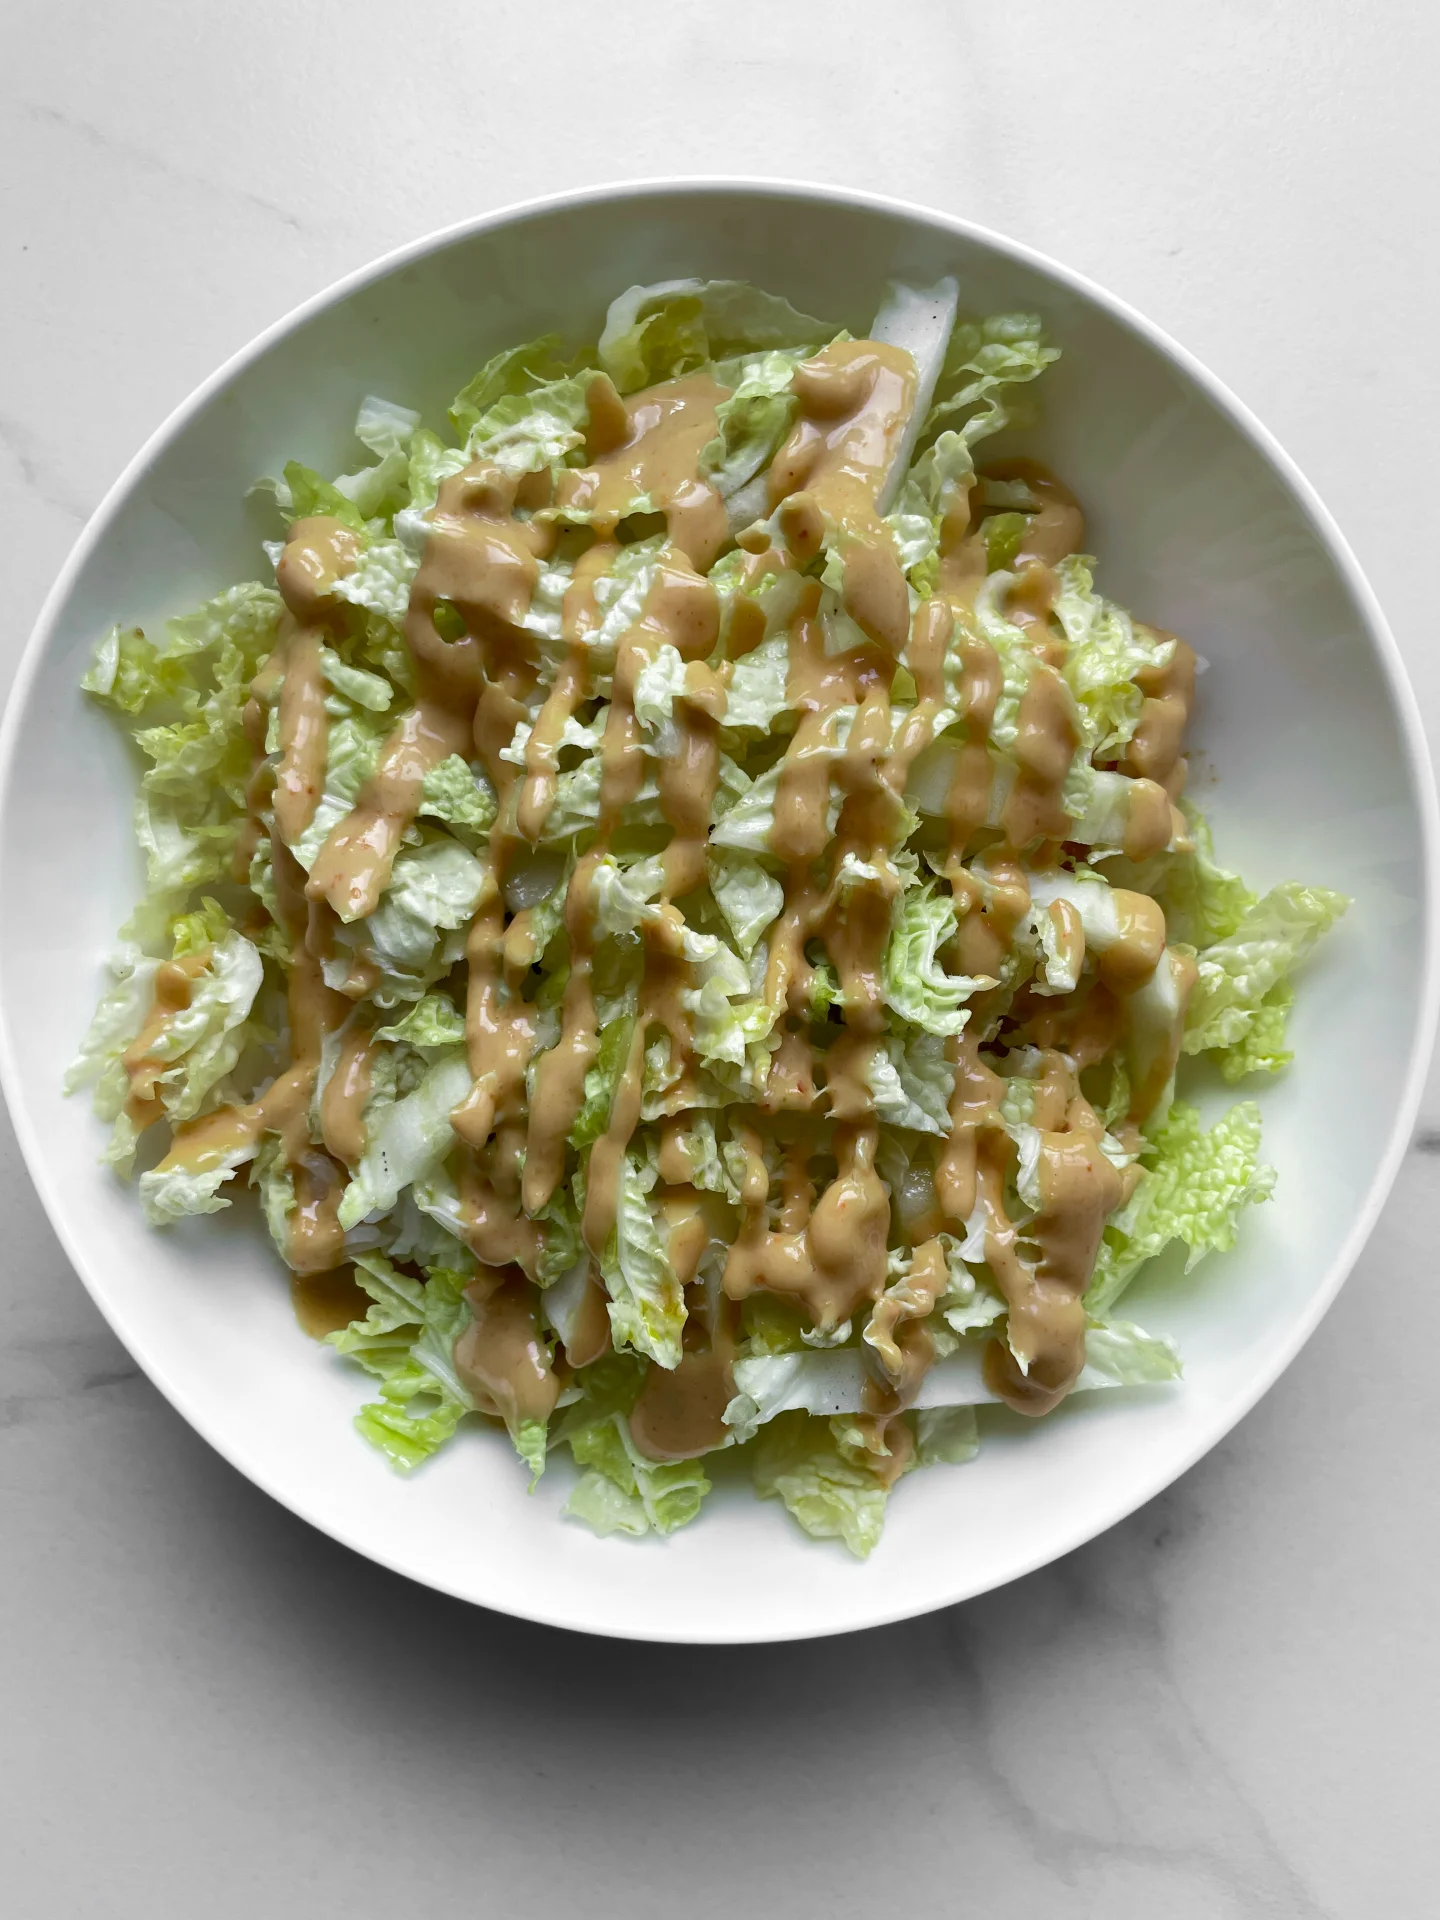
  1. Sesame Sauce: First, toast the white sesame seeds in a small pan until they turn golden brown, without adding any oil. Transfer the toasted sesame seeds to a mortar and grind them to a semi-coarse consistency. Then, place the sesame in a medium-sized bowl and mix it with tahini, rice vinegar, soy sauce, mirin, salt, mayonnaise, sesame oil, water, and a grated clove of garlic to create a creamy sauce. Pour the sauce into a squeeze bottle and refrigerate.
  2. Tonkatsu Sauce: In a small pot, mix together tomato paste, honey, sugar, apple cider vinegar, water, and salt, and gently heat the mixture. Meanwhile, cut the dried plums into small pieces and add them to the pot. Peel the apple, cut a quarter of it into small pieces, and add it to the pot along with the other ingredients. Peel the ginger and garlic clove, grate them into the pot, and stir well. Finally, add soy sauce, Worcestershire sauce, hoisin sauce, brown sugar, and mirin. Heat the mixture for a few minutes and bring it to a brief boil until the sugar dissolves and the apple softens. If your sauce it still too thick, add gradually more water until it reaches your desired consistency. Use a hand blender to puree the sauce until smooth, and if needed, strain it through a fine mesh strainer. Pour the sauce into a squeeze bottle and refrigerate.
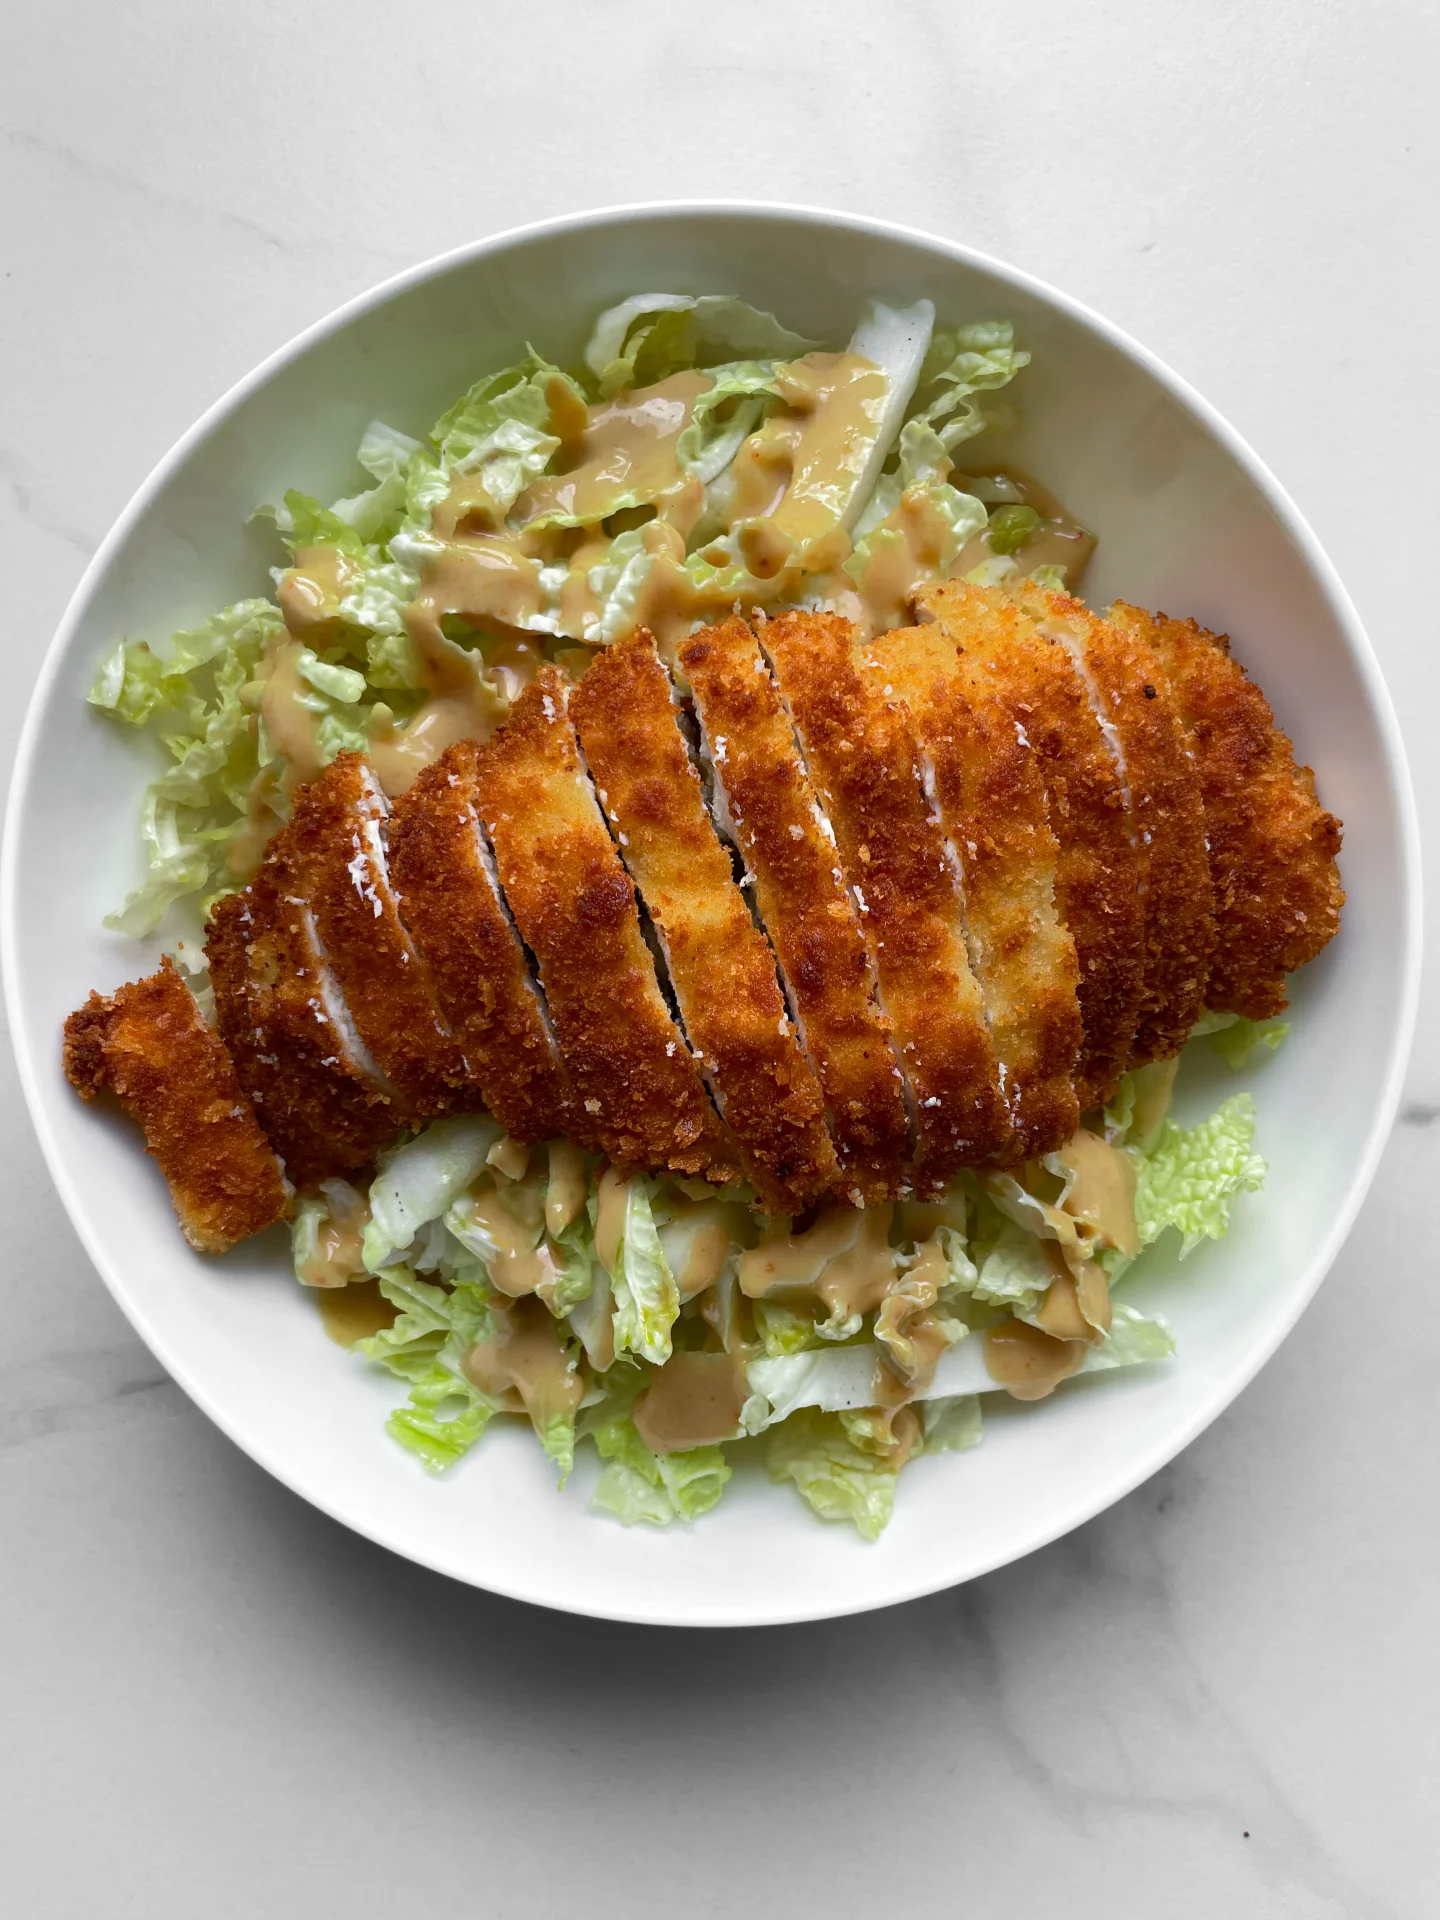
  3. Chicken Schnitzel: If you bought whole chicken breasts, cut them horizontally using a butterfly cut so that you end up with two teardrop-shaped pieces. Place each piece between two layers of plastic wrap and gently and evenly flatten them with a meat tenderizer. Repeat this process with each piece of chicken and set them aside on a plate. Prepare the breading station using three shallow bowls. In the first bowl, place the flour; in the second bowl, beat the eggs; and in the third bowl, mix the breadcrumbs with panko. Dredge each chicken piece in flour, making sure it’s fully coated, then shake off the excess and dip it in the beaten egg, coating both sides. Finally, press the chicken into the breadcrumb-panko mixture, ensuring it’s well-covered on all sides. Set the breaded chicken pieces aside on a plate.
  4. Rice: Cook the rice according to the package instructions. If you don’t have the instructions, rinse the rice in a medium-sized pot until the water runs clear. Drain the water, then add fresh water in a 1.5:1 ratio to the rice (so, for this recipe, use 420g of water for 280g of rice after rinsing). Place the pot on the stove over high heat and cover with a lid. Once the water comes to a boil, reduce the heat to the lowest setting. Let the rice cook with the lid on for about 15 minutes. The rice is done when you see small, even holes forming between the grains. Leave the pot on the turned-off stove with the lid on.
  5. While the rice is cooking, heat a large pan for the schnitzel. Add clarified butter or another high-heat oil to the pan and fry the chicken on both sides over medium heat until golden brown. Place the fried schnitzel on paper towels to drain.
  6. While the chicken is frying, slice the onions for the Tsuyu sauce. Halve the onions and then cut them into thin strips.
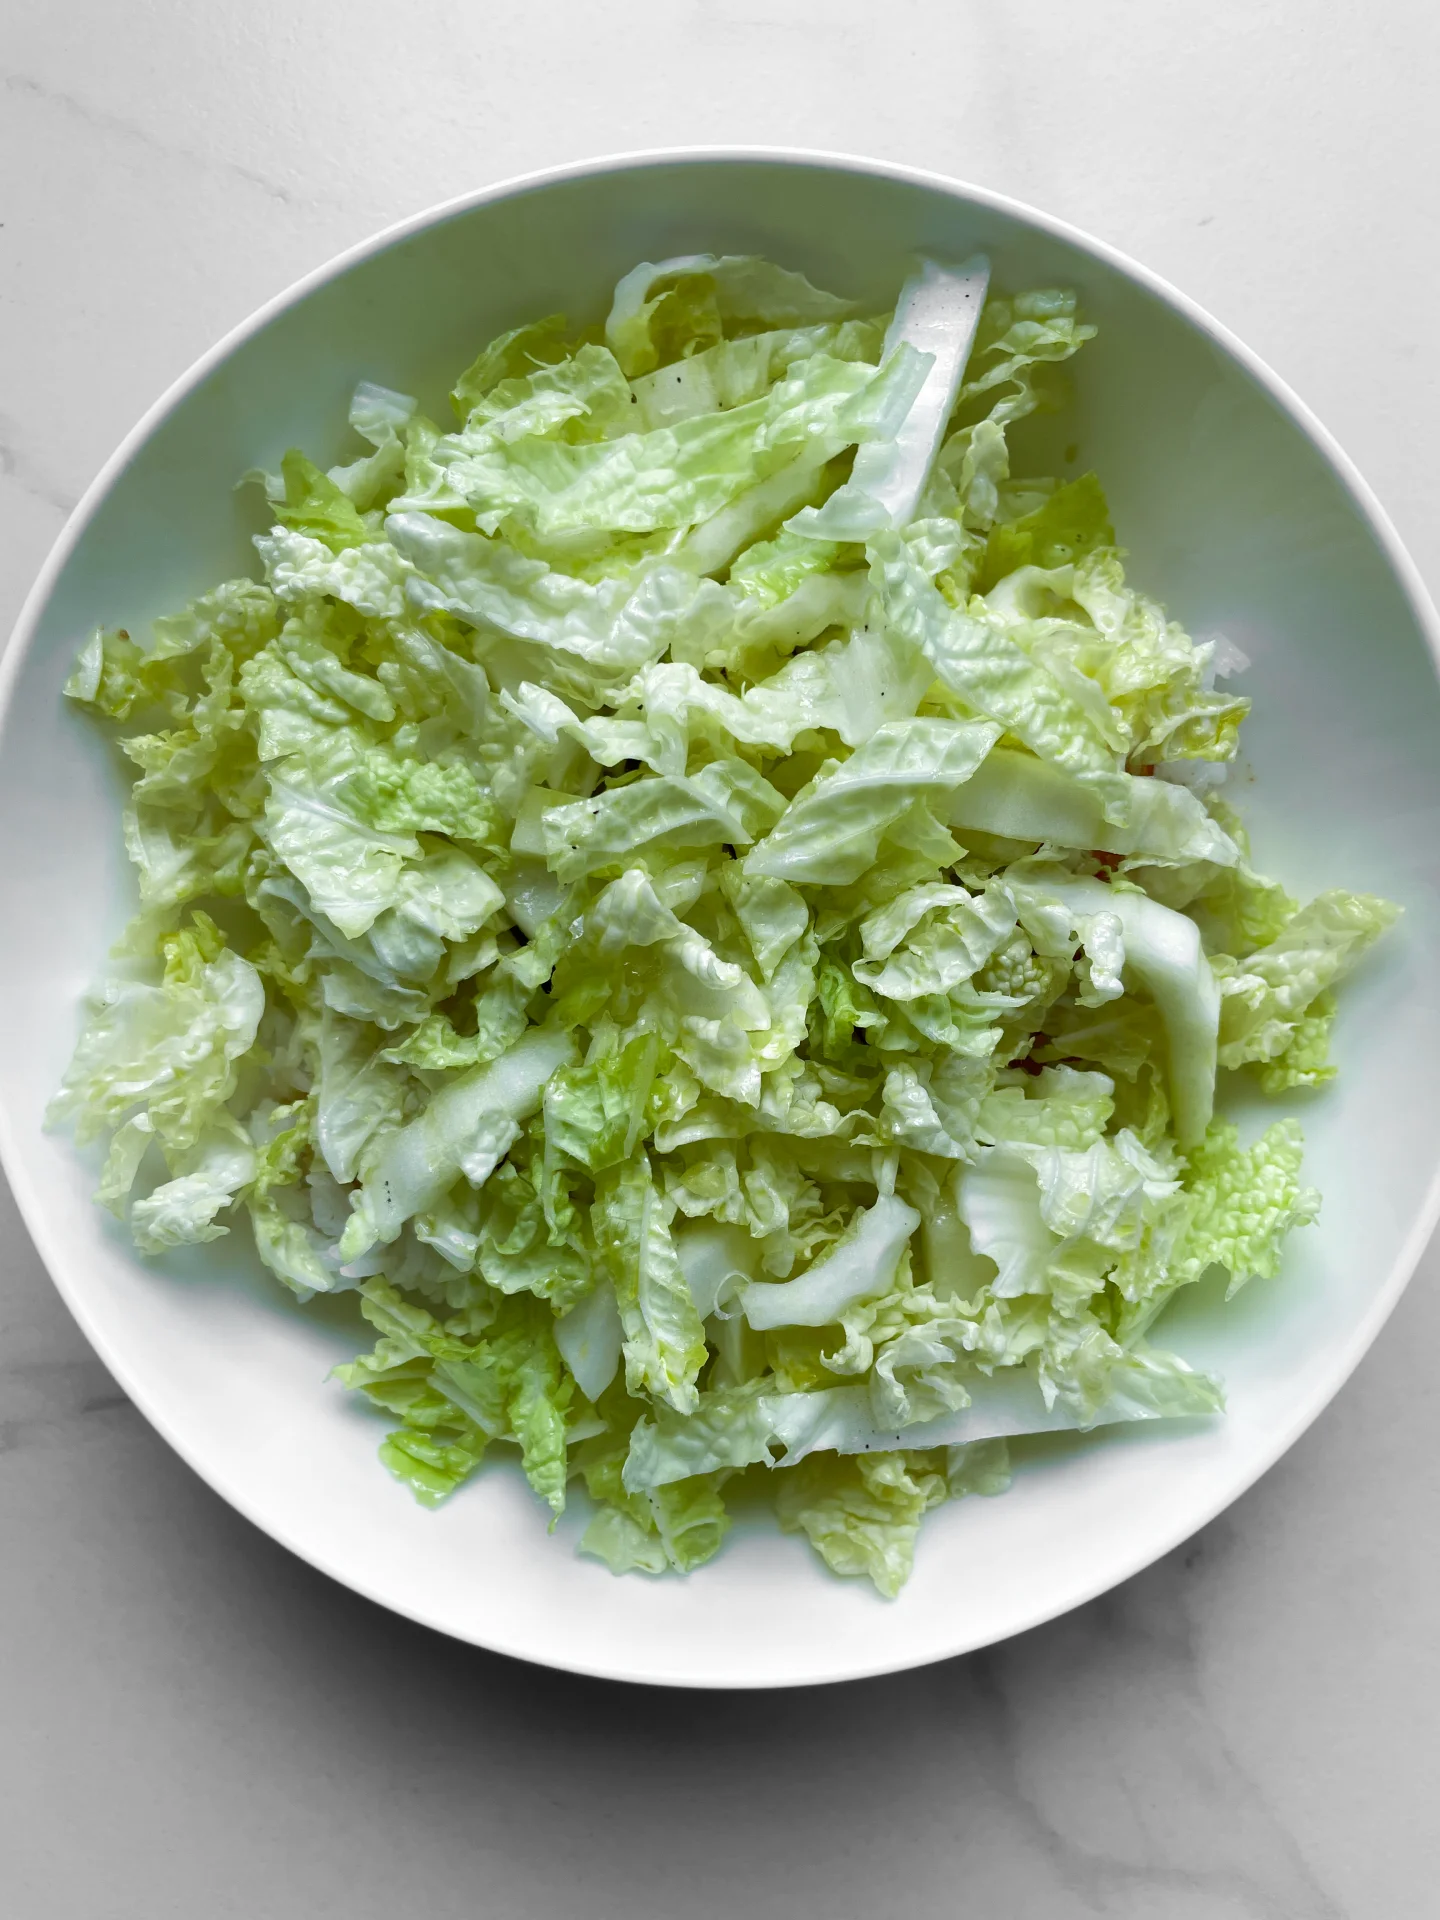
  7. Napa Cabbage: While the chicken is frying, quarter the napa cabbage and slice two quarters into thin strips. Wash them under cold water and spin them dry. Set the cabbage aside. If you’d like to add a special touch, you can drizzle 1-2 tablespoons of my Chinese Holy Trinity Oil over the cabbage and massage it in.
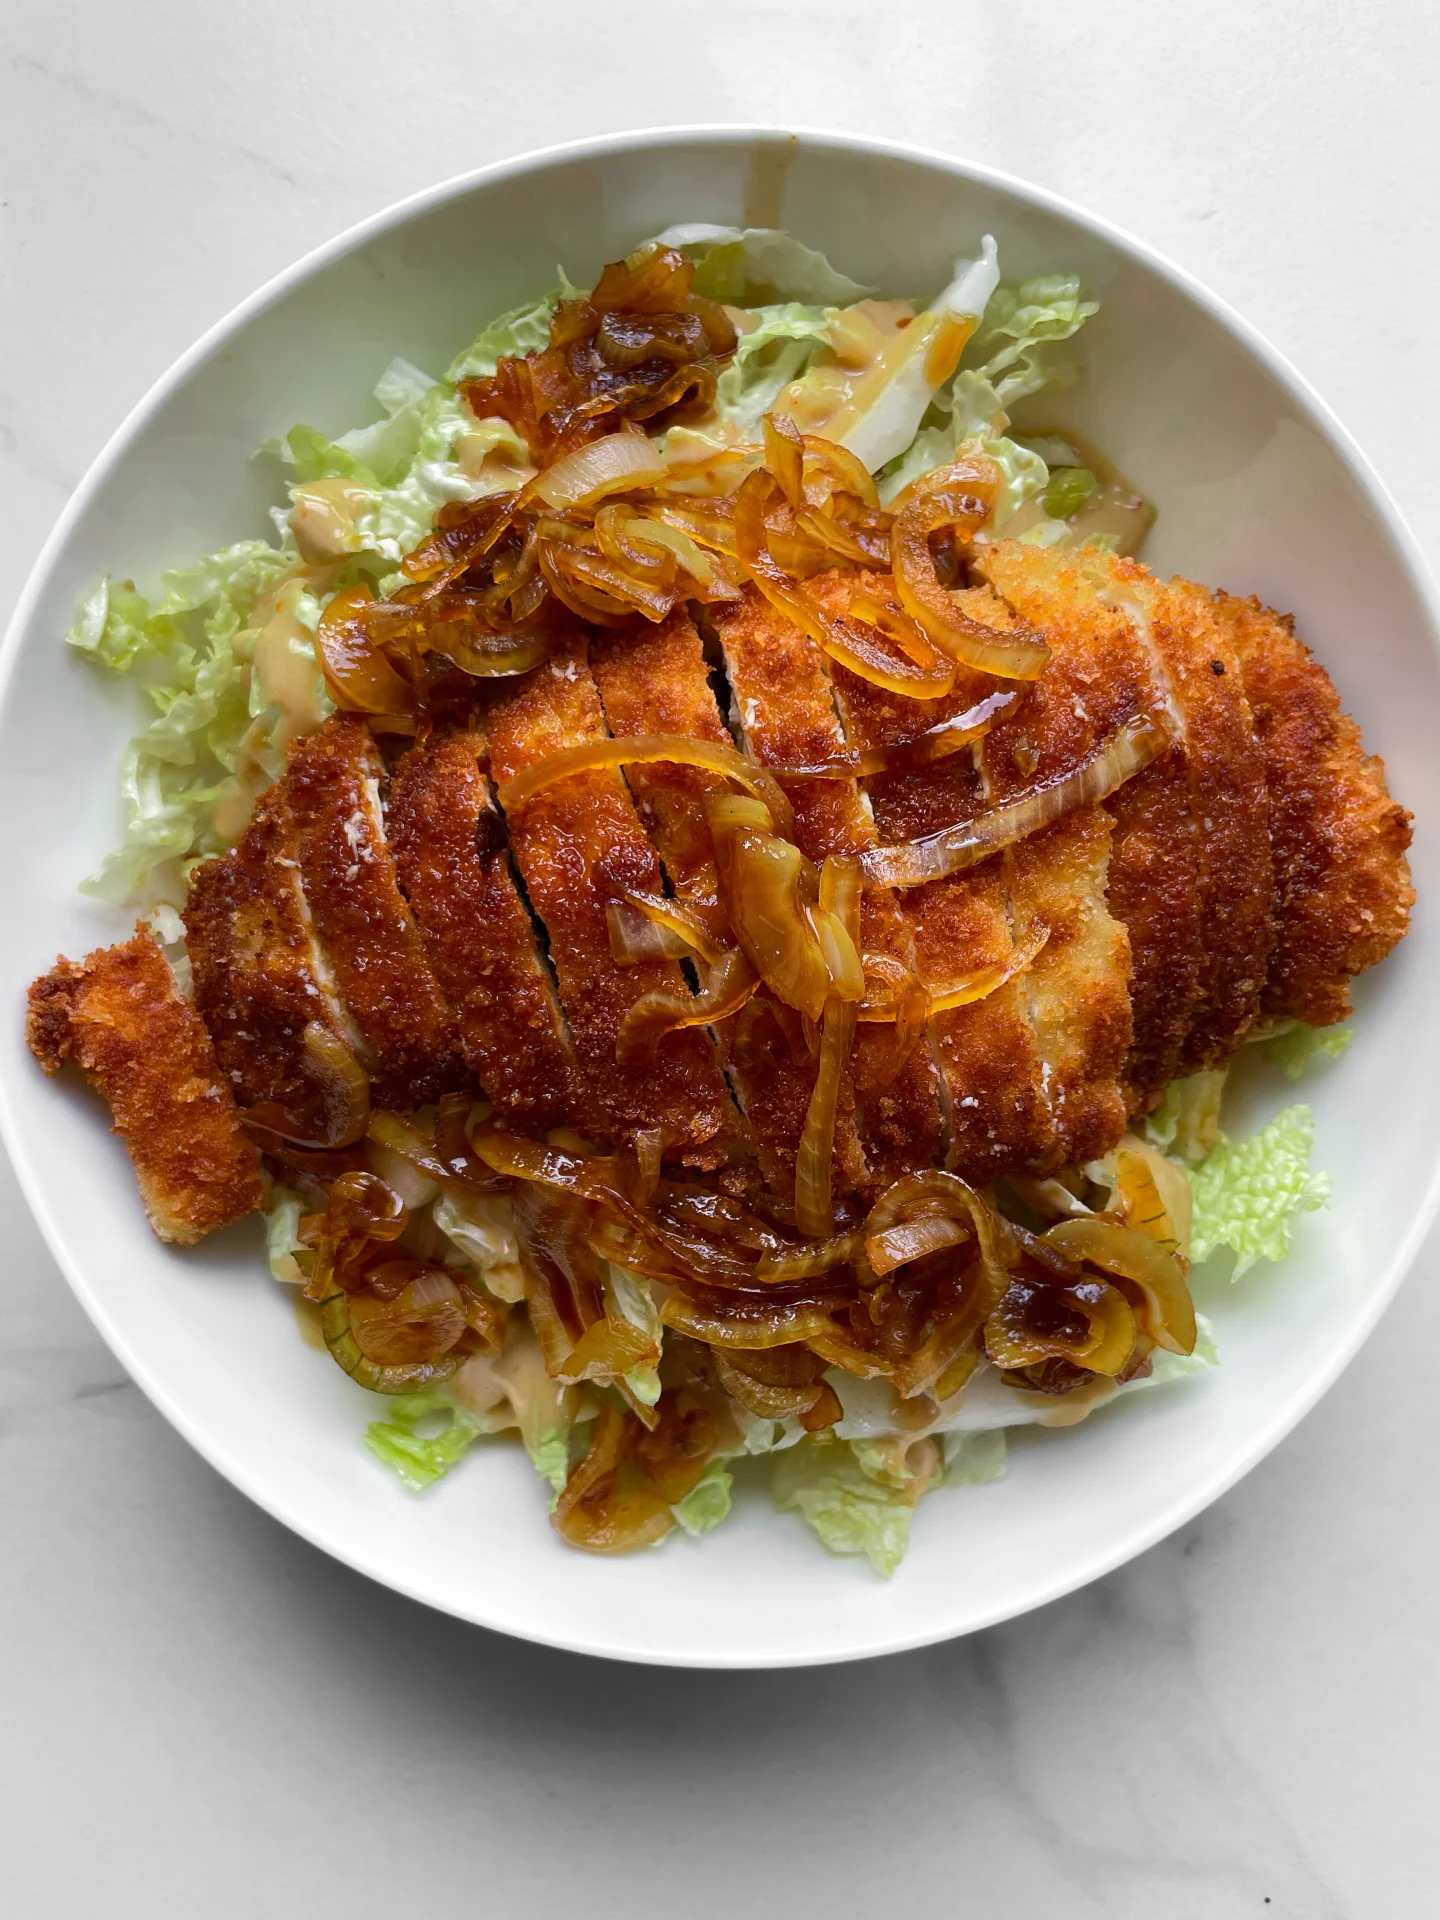
  8. Tsuyu Sauce: Once the chicken is done frying, remove the remaining fat from the pan and place it back on the stove. Add soy sauce, mirin, sugar, dashi powder, and water to the pan and bring it to a quick boil. Then, add the onions and let it simmer for 5-7 minutes until the onions are soft but still slightly firm.
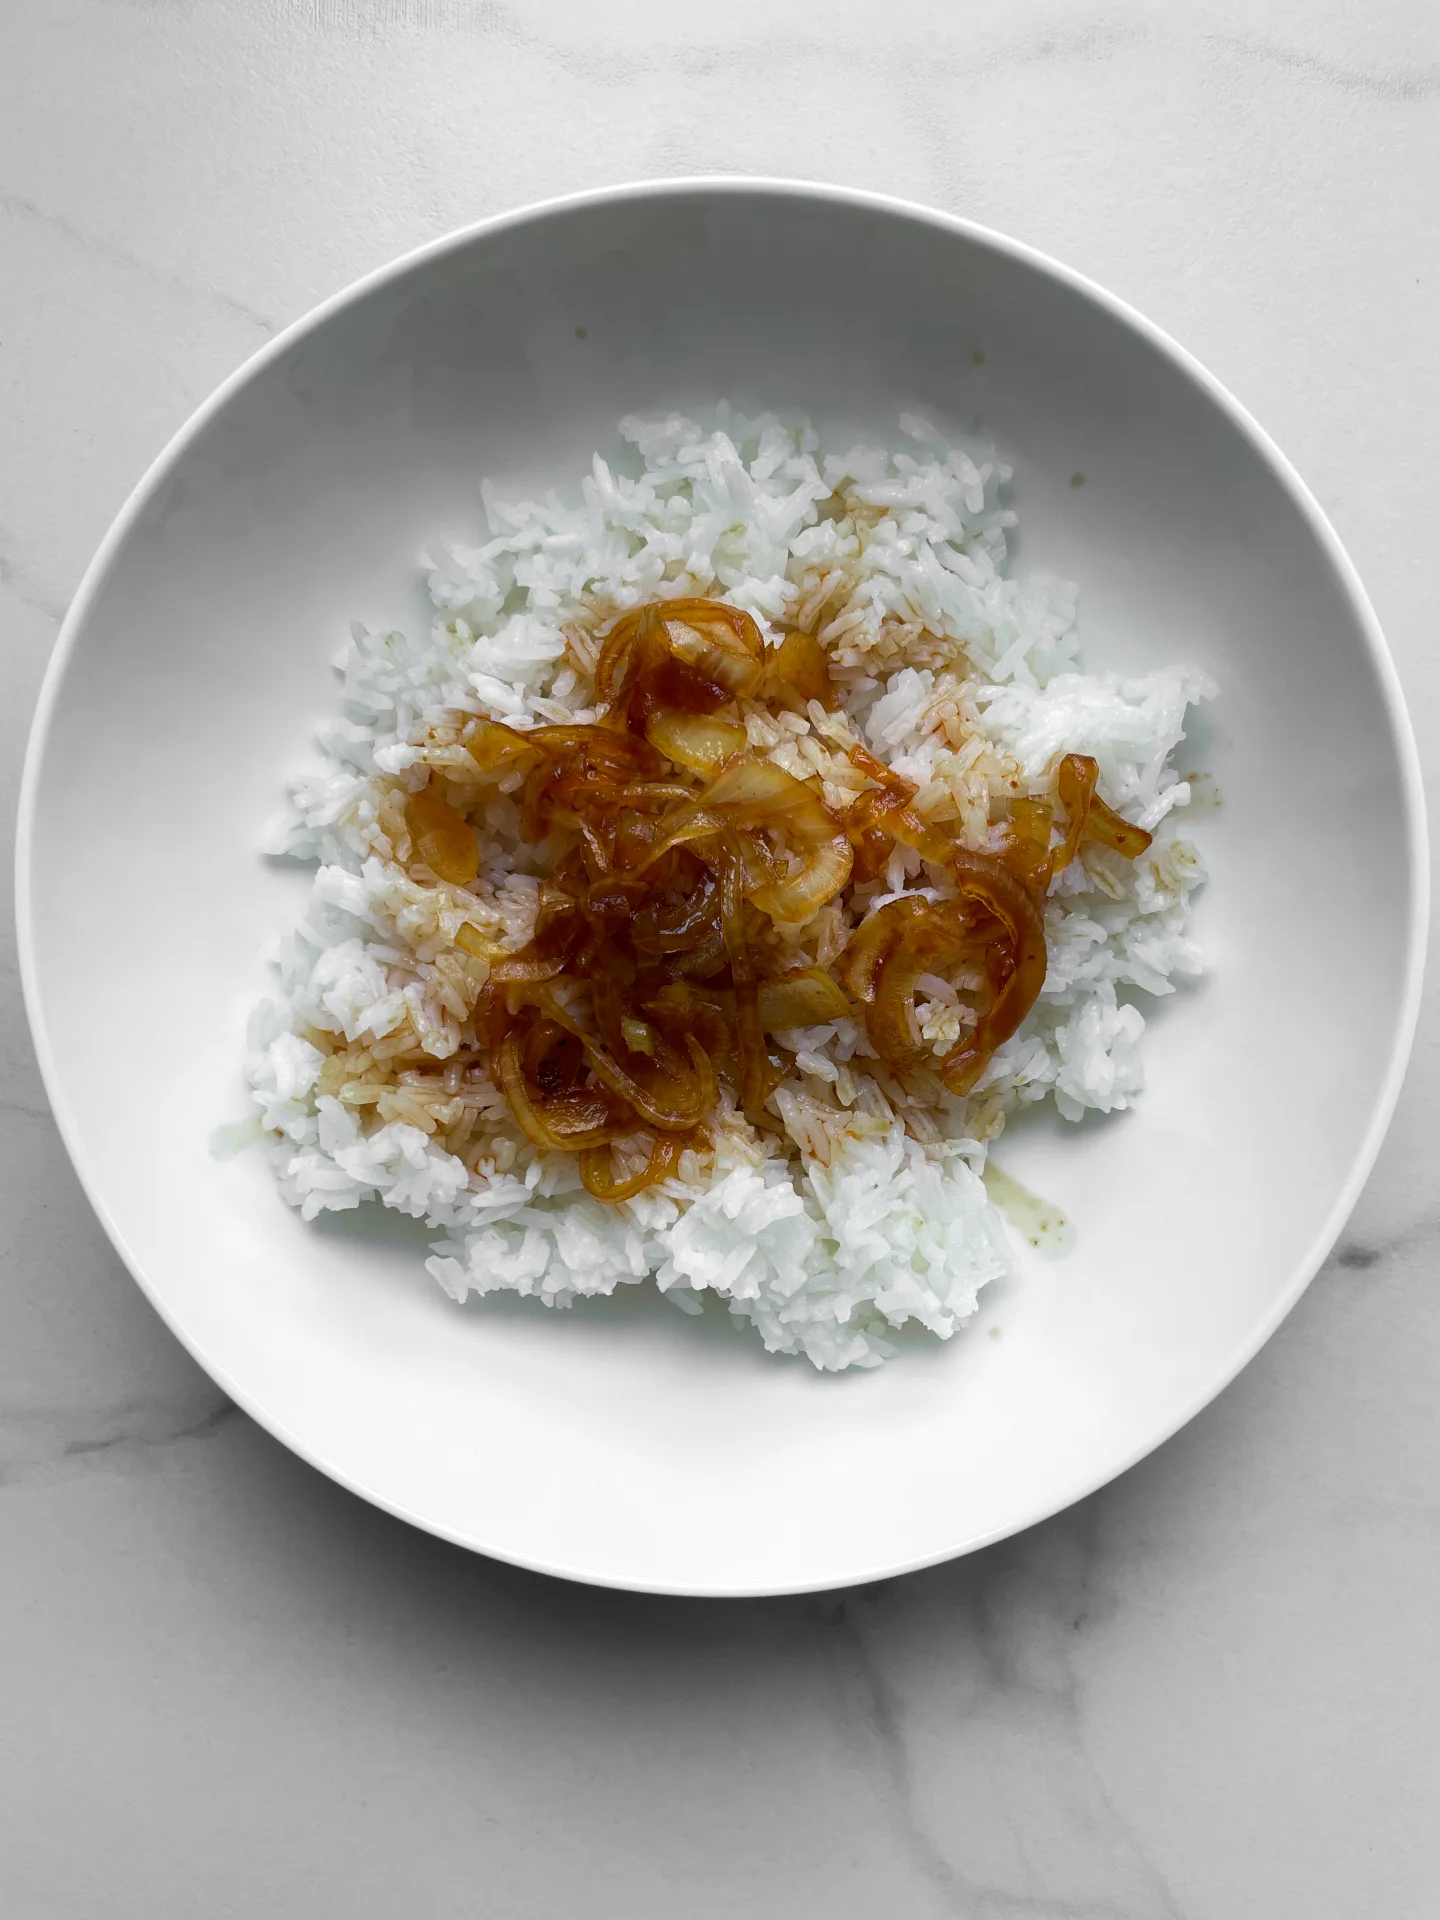
  9. Once the Tsuyu sauce is ready, you can start plating. Take four bowls. First, add the rice, then drizzle 1-2 tablespoons of Tsuyu sauce and some onions over the rice. Next, add a handful of napa cabbage on top, and drizzle the sesame sauce over it in a zigzag pattern. Slice the schnitzel into thin strips and place it on top of the cabbage. Finally, drizzle the remaining Tsuyu sauce and onions over the chicken, and finish with a zigzag of Tonkatsu sauce. Optional: garnish with fresh scallions.
  • Cook Time: 80 min

Apple Fritters with Lemon Vanilla Glaze

Apple Fritters with Lemon Vanilla Glaze

Apple Fritters with Lemon Vanilla Glaze

Apple Fritters with Lemon Vanilla Glaze

August 25, 2024 by Kimberly

Imagine biting into warm, fluffy fritters bursting with juicy apples, drizzled with a sweet, tangy glaze. It’s like a cozy hug on a chilly morning – a little piece of homemade heaven!

30 MINUTES

EASY

VEGETARIAN

US AMERICAN

150 PER FRITTER

FLUFFY

EVERYDAY

DESSERT

ALL YEAR

INTRODUCTION

ABOUT THE RECIPE

Ever feel like treating yourself to something that’s a mix of comfort and a touch of fancy? These fluffy apple fritters are just that! They’re packed with juicy apple chunks, fried to golden perfection, and then topped with a mouthwatering lemon vanilla glaze. It’s the kind of snack that feels like a warm hug, perfect for cozy mornings or as a delightful dessert to share with friends. Trust me, once you try these, they’ll become your go-to treat!

How to serve
They’re best enjoyed fresh and warm, right out of the frying pan, with the glaze still slightly gooey and dripping down the sides. Pair them with a hot cup of coffee or tea for a perfect morning pick-me-up. If you’re feeling extra indulgent, a scoop of vanilla ice cream on the side turns these fritters into an irresistible dessert.

How to store
If you have leftovers (which I doubt!), store these fritters in an airtight container at room temperature for up to two days. For the best experience, reheat them in the oven at a low temperature.

Hi, I'm Kimberly!

Hi, I'm Kimberly.

A passionate food lover who believes in the magic of homemade deliciousness that spreads love and warmth. Join me on this culinary adventure as I prepare wonderful dishes and let’s spread some happiness together!

Kimberly the Zett Signature

If you want to get to know me better, click here!


Apple Fritters with Lemon Vanilla Glaze
„Let’s make a piece of happiness“
Print
clock clock iconcutlery cutlery iconflag flag iconfolder folder iconinstagram instagram iconpinterest pinterest iconfacebook facebook iconprint print iconsquares squares iconheart heart iconheart solid heart solid icon
Apple Fritters with Lemon Vanilla Glaze

Apple Fritters with Lemon Vanilla Glaze


  • Author: Kimberly
  • Total Time: 30 min
  • Yield: 12 fritters 1x

Description

Recommended Equipment

  • small pot
  • cooling rack
  • two bowls
  • whisk
  • sharp knife
  • cutting board
  • small bowl

Ingredients

Units Scale

BATTER

  • 100 grams all-purpose flour
  • 50 grams brown sugar
  • 1 tsp baking powder
  • 1/4 tsp salt
  • 1/3 cup milk
  • 1 egg
  • 1 tbsp butter, melted
  • 1/2 tsp vanilla extract
  • 2 apples
  • fat for frying

GLAZE

  • 65 grams powdered sugar
  • 1 tbsp milk
  • 1 tbsp lemon juice
  • 1/2 tsp vanilla extract

Instructions

  1. Heat frying fat in a small pot to around 175°C / 350°F. Prepare a cooling rack with some paper towels underneath to catch any excess oil when the fritters are done.
  2. Meanwhile, in a mixing bowl, combine the flour, brown sugar, baking powder, and salt. Set aside.
  3. In another mixing bowl, crack the egg and whisk it together with milk, vanilla extract, and melted butter. Set aside.
  4. Peel, core, and dice the apples into small pieces. Set aside.
  5. Pour the wet ingredients into the dry ingredients and stir until a thick batter forms. Then, add the apple pieces and mix everything together again.
  6. Drop spoonfuls of the batter into the hot oil, frying each side for about 2-3 minutes, depending on thickness. I used about 1 heaping tablespoon of batter per fritter. Place the fritters on the cooling rack to drain any excess oil.
  7. While the fritters are frying, mix powdered sugar, lemon juice, and vanilla extract in a small bowl to create a thick glaze. Drizzle the glaze over the fritters. I think they taste best when warm, so feel free to enjoy them right away 🙂
  • Cook Time: 30 min

Coconut Lime Popcorn

Coconut Lime Popcorn

Coconut Lime Popcorn

Coconut Lime Popcorn

August 28, 2024 by Kimberly

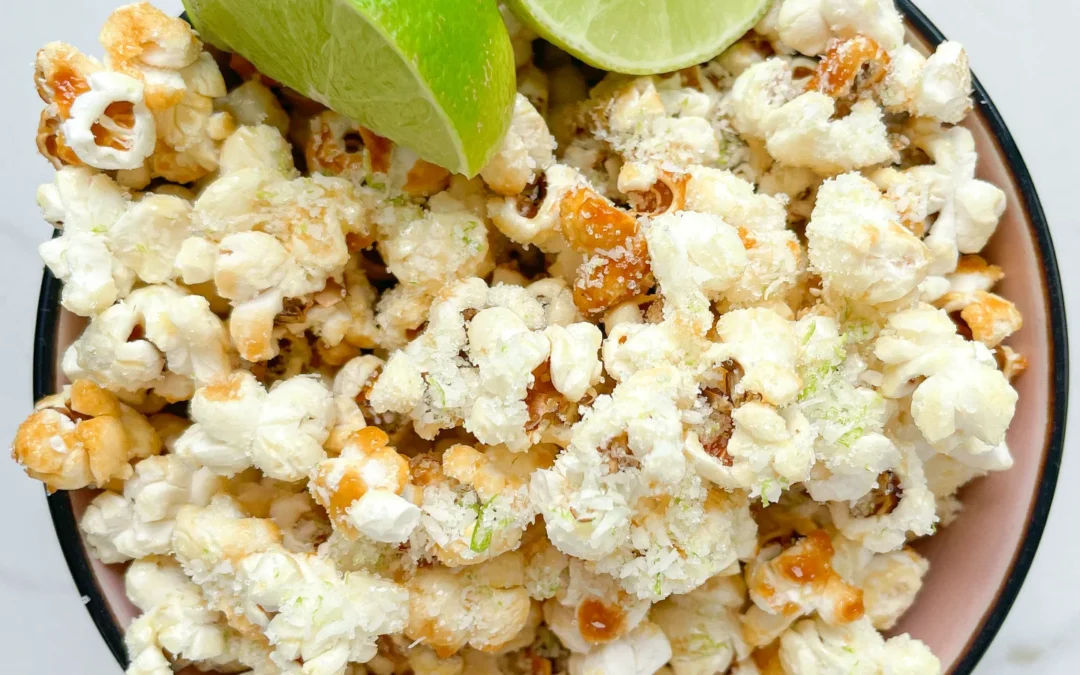
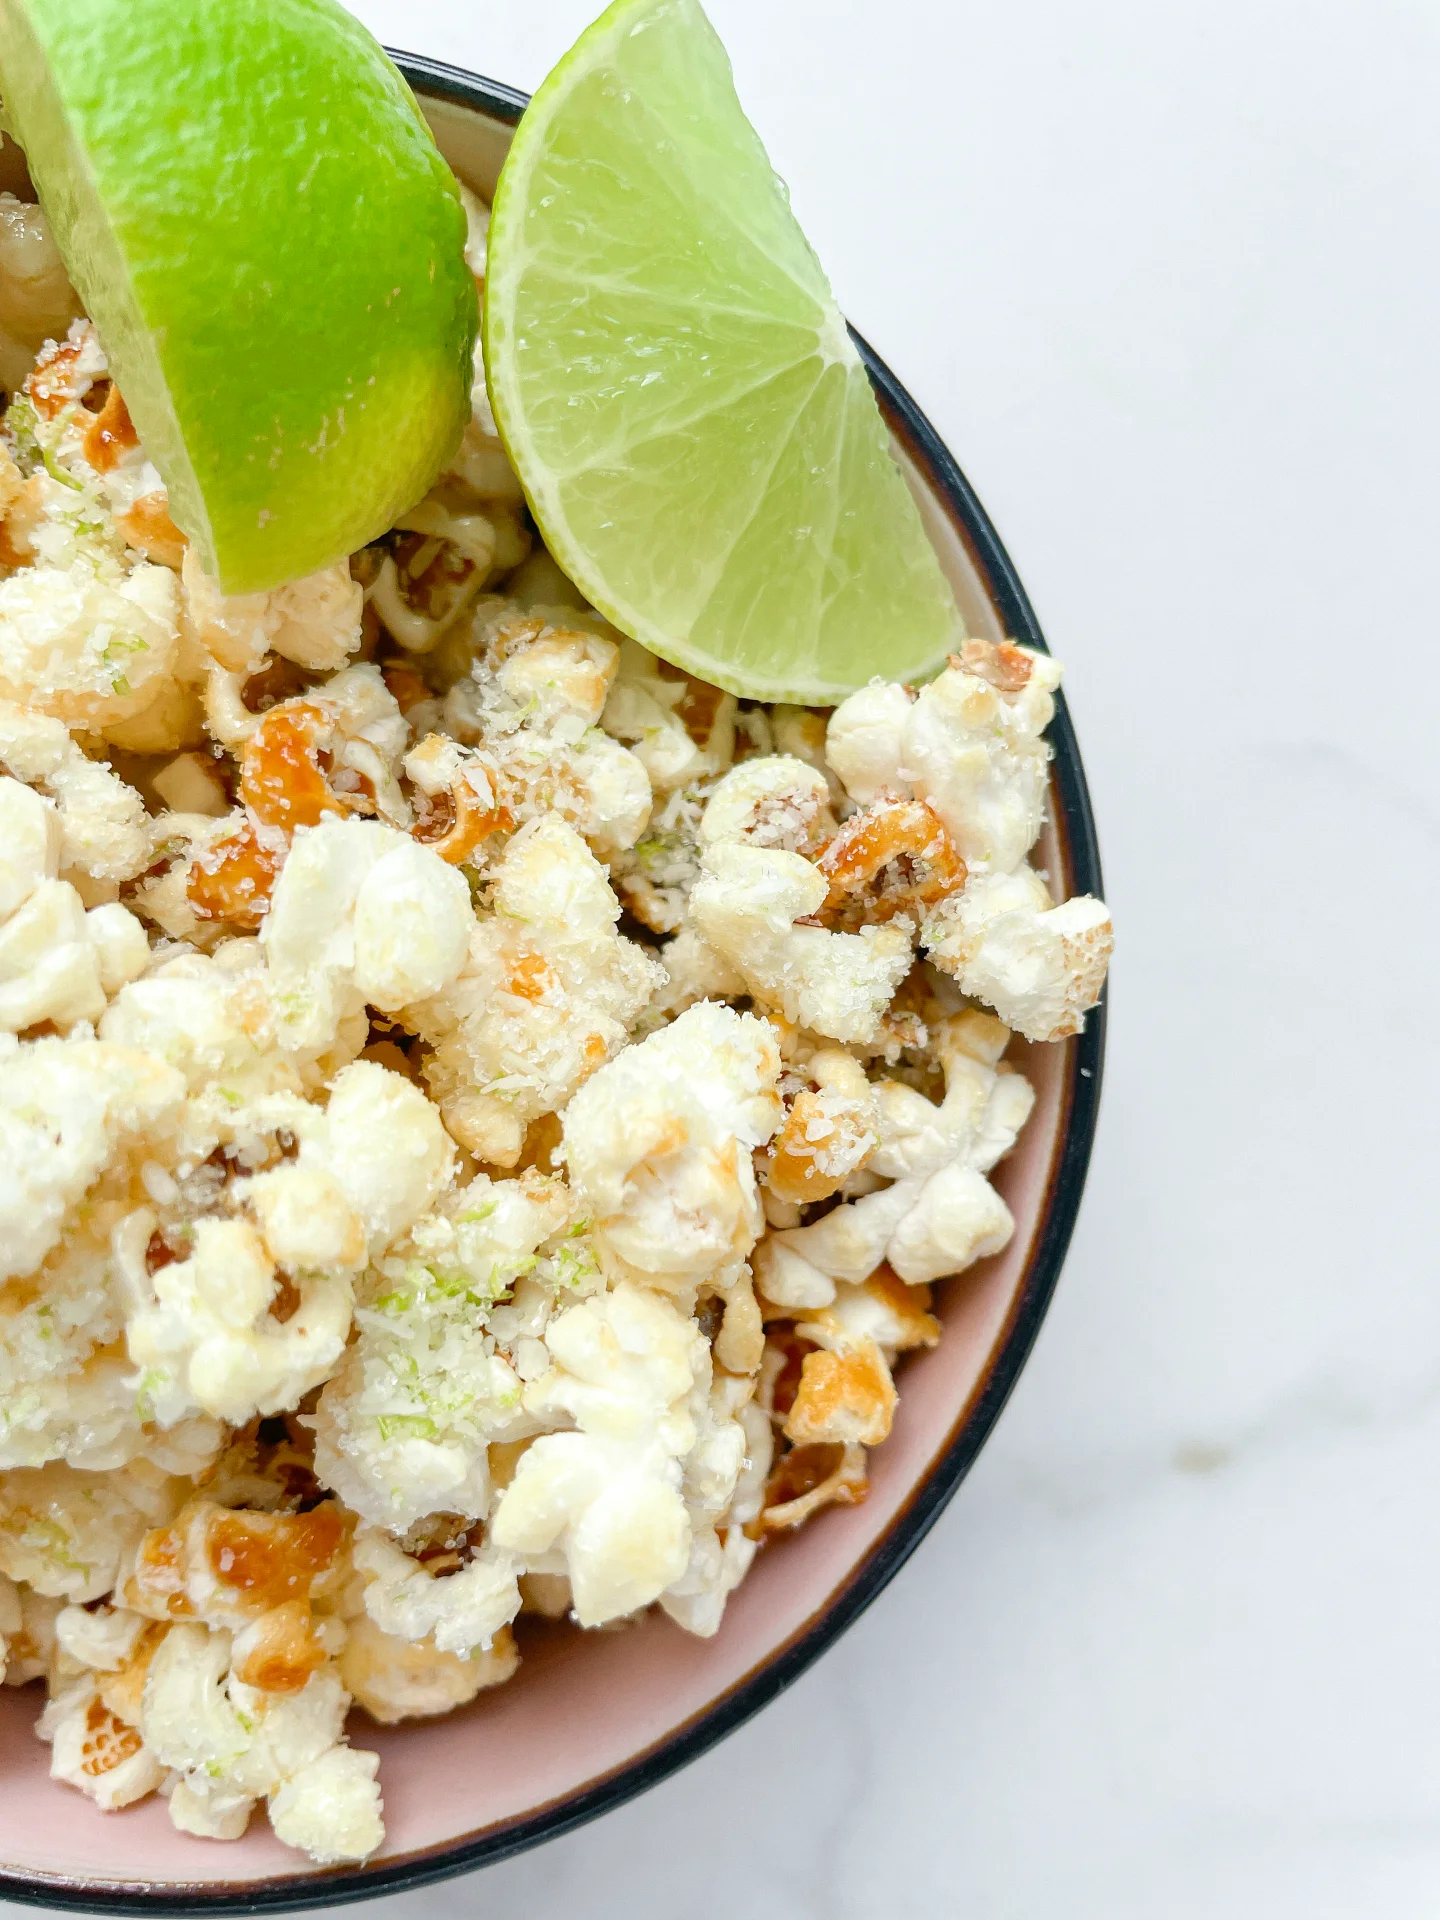
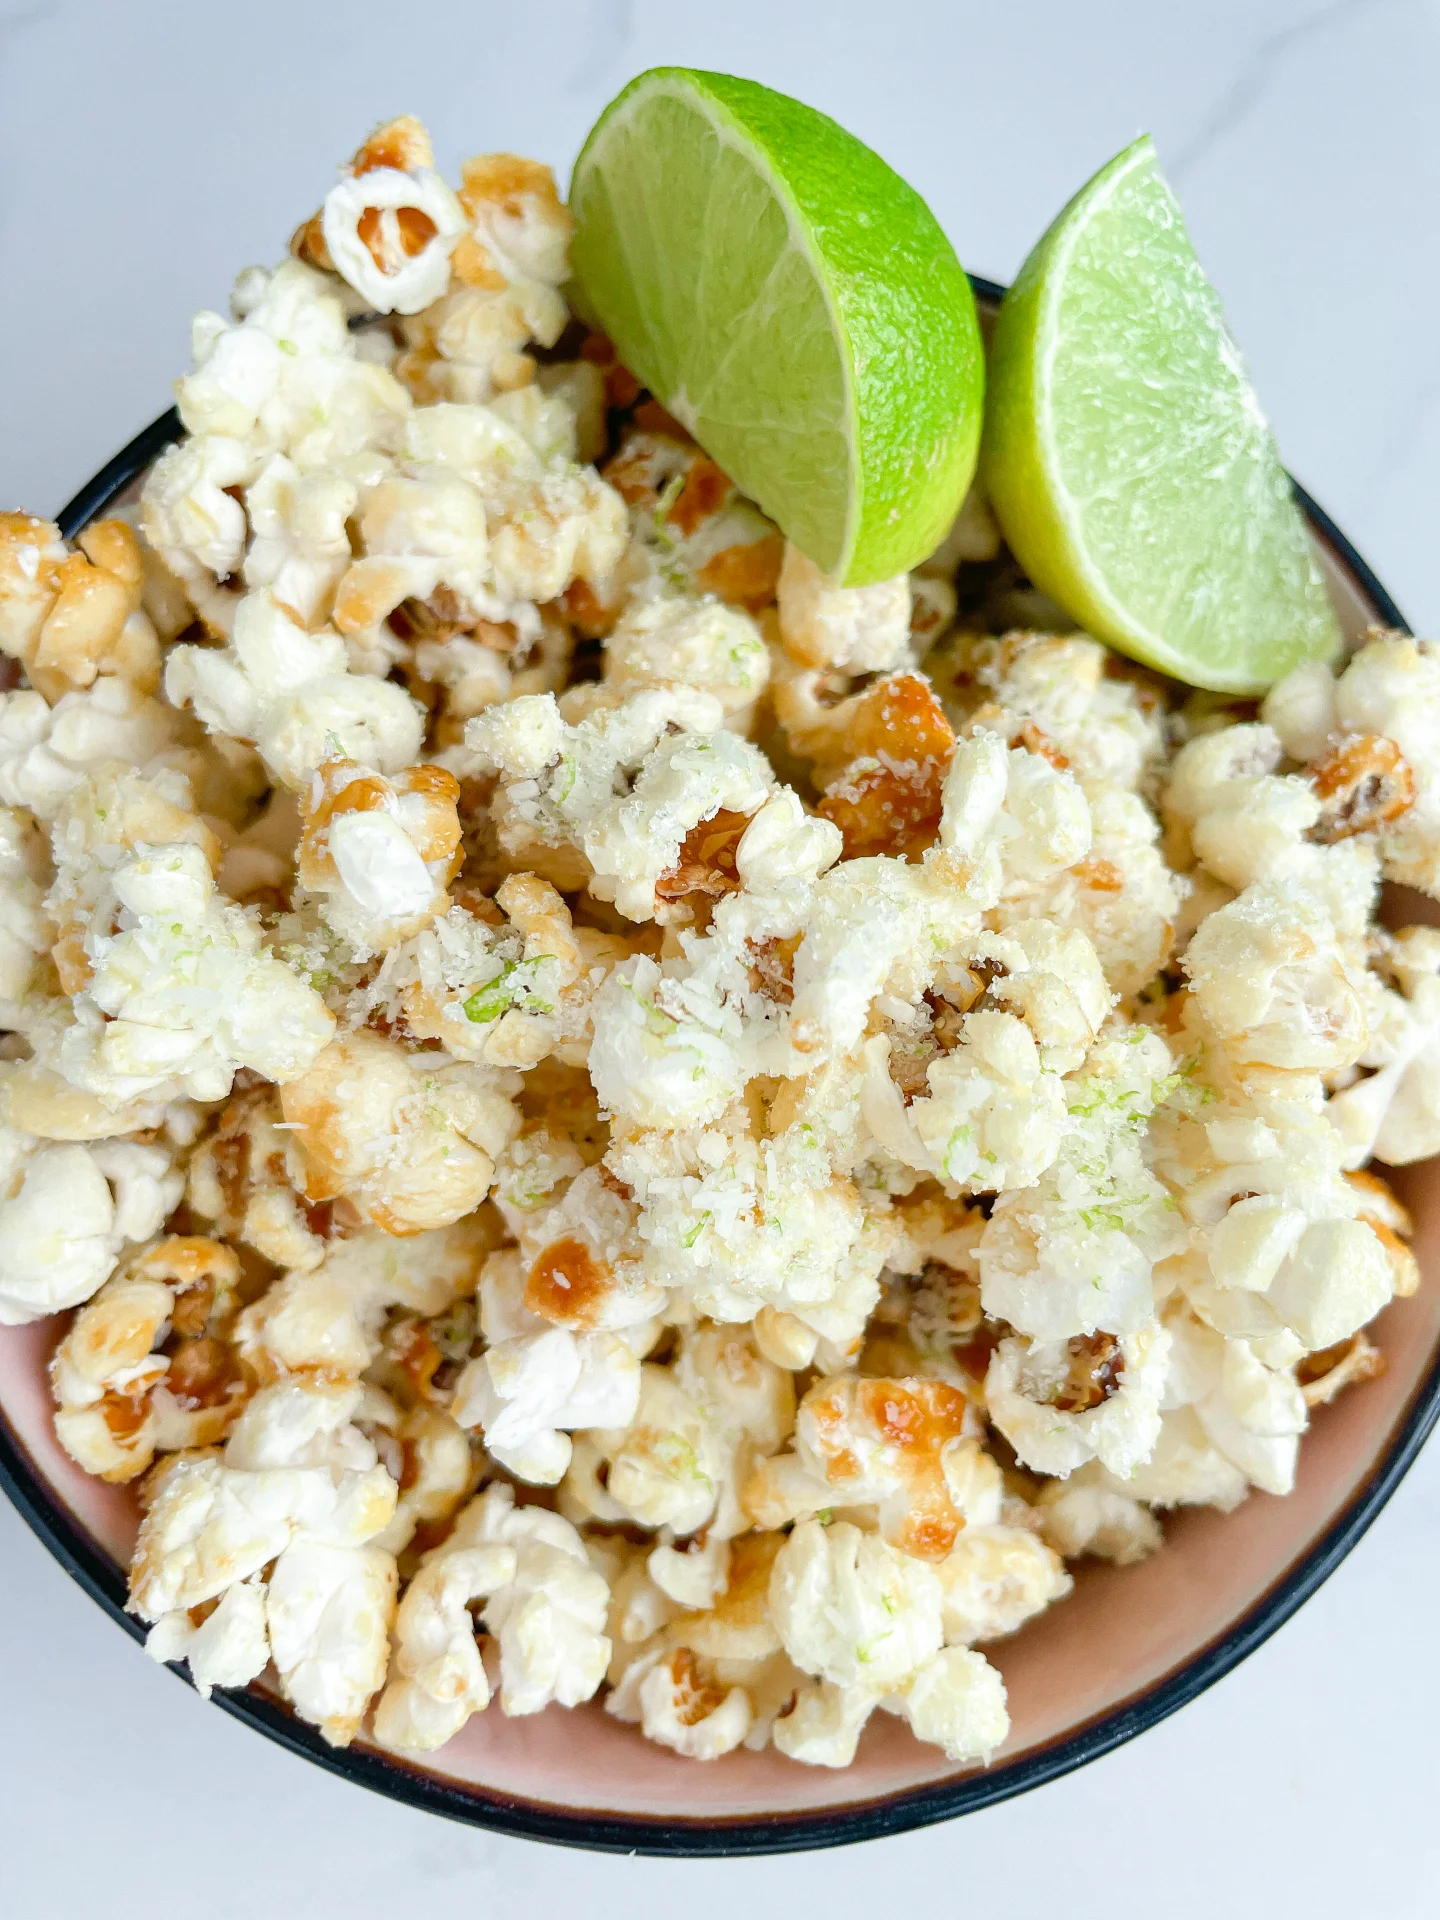
Indulge in this tropical popcorn treat! The refreshing burst of lime and the rich coconut flavor make every bite a mini vacation. Perfect for cozy movie nights or fun gatherings.

20 MINUTES

EASY

VEGAN

INT.

387 PER PORTION

CRUNCHY
ZESTY

EVERYDAY

DESSERT

SPRING
SUMMER

INTRODUCTION

ABOUT THE RECIPE

Ready to take your snack game to the next level? This coconut and lime flavored popcorn is a game-changer. Imagine the zingy taste of lime combined with the rich, creamy flavor of coconut. It’s a tropical twist on your favorite snack that’s perfect for movie nights, parties, or just because. Quick to make and absolutely delicious, this popcorn will become your go-to treat for every occasion!

How to serve
It’s perfect for a cozy movie night at home, adding a tropical vibe to your entertainment. For a party, place it in colorful bowls for a festive touch. You can also pack it into little snack bags for a sweet and tangy treat on the go. This popcorn pairs wonderfully with a cold drink, making it an ideal companion for both casual and special moments.

How to store
Simply let it cool completely before placing it in an airtight container. It stays fresh and crunchy for up to three days.

Hi, I'm Kimberly!

Hi, I'm Kimberly.

A passionate food lover who believes in the magic of homemade deliciousness that spreads love and warmth. Join me on this culinary adventure as I prepare wonderful dishes and let’s spread some happiness together!

Kimberly the Zett Signature

If you want to get to know me better, click here!


Coconut Lime Popcorn
„Let’s make a piece of happiness“
Print
clock clock iconcutlery cutlery iconflag flag iconfolder folder iconinstagram instagram iconpinterest pinterest iconfacebook facebook iconprint print iconsquares squares iconheart heart iconheart solid heart solid icon
Coconut Lime Popcorn

Coconut Lime Popcorn


  • Author: Kimberly
  • Total Time: 20 min
  • Yield: 2 1x

Description

RECOMMENDED EQUIPMENT

  • medium pot with lid
  • grater
  • food processor
  • large bowl

Ingredients

Units Scale
  • 60 grams popcorn kernels
  • 30 grams lime coconut oil
  • 60 grams white sugar

TOPPING

  • zest from one lime
  • 1 tbsp shredded coconut
  • 1 tbsp white sugar

Instructions

PREPARATIONS

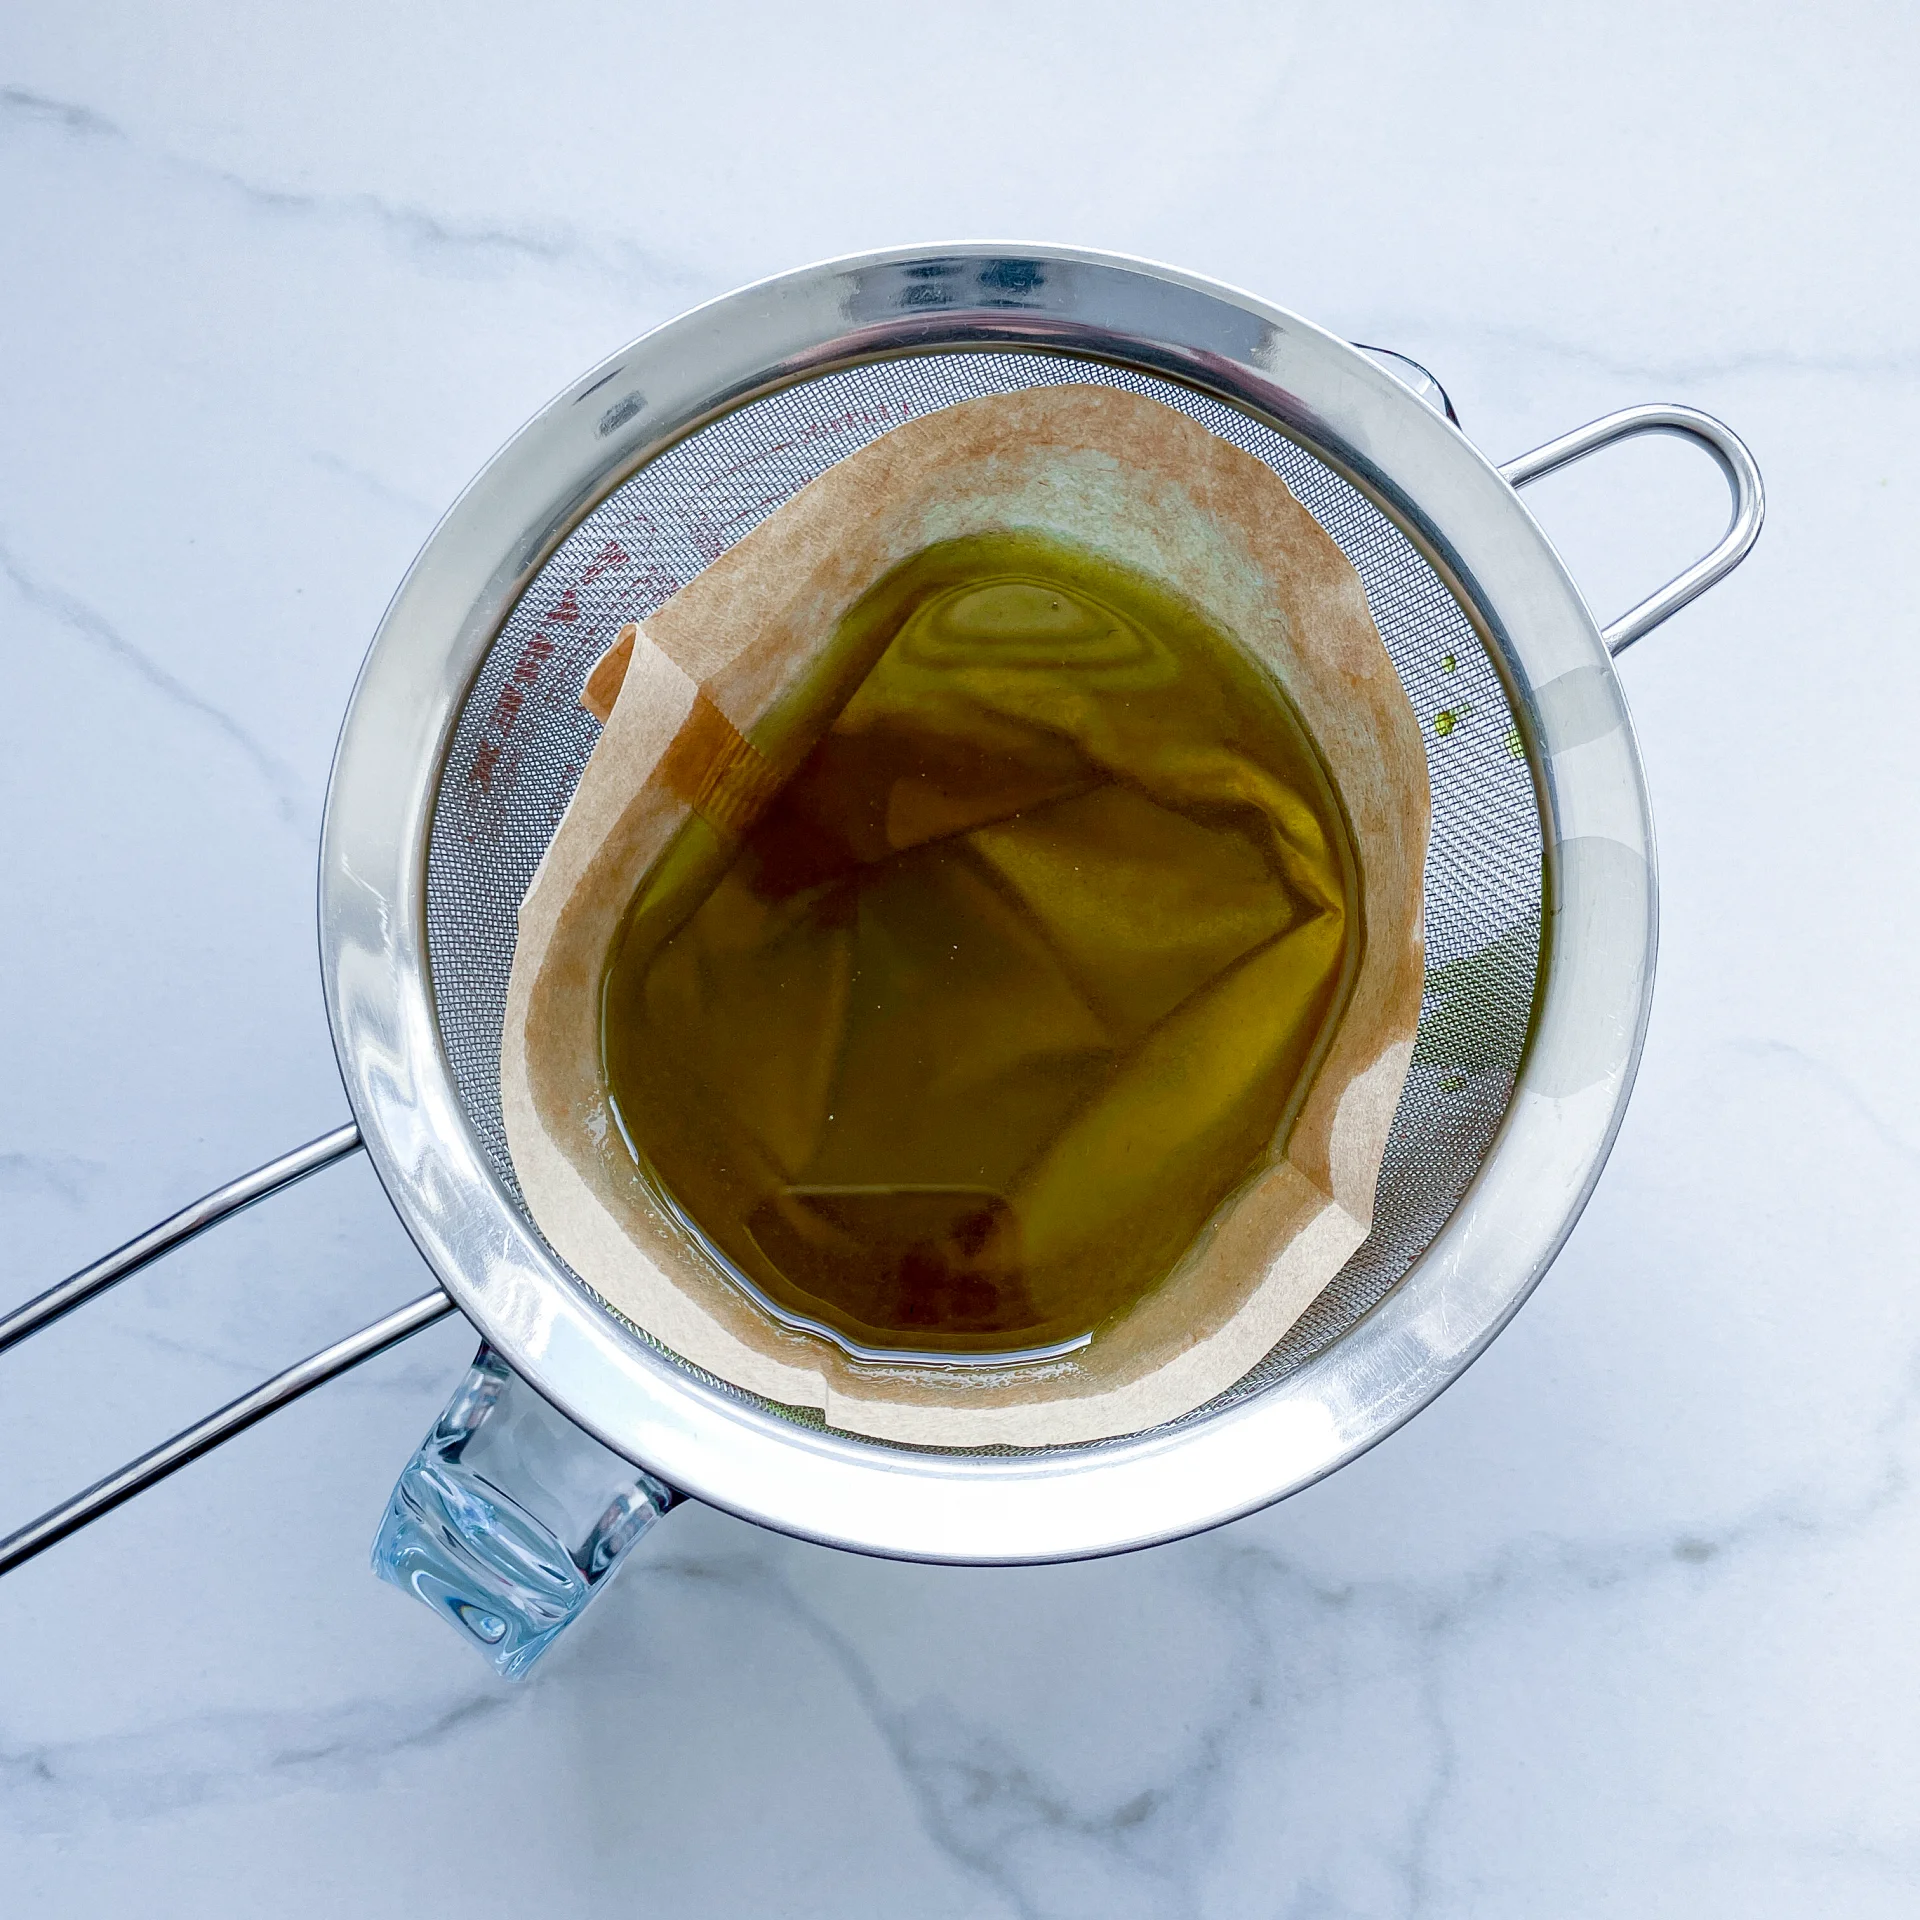
  • Here you can find the recipe for the lime coconut oil. You need 30g / 1 oz of the oil.
  1. In a medium pot, combine lime-coconut oil, sugar, and popcorn kernels, ensuring all kernels are coated with sugar and oil.
  2. Place the pot on the stove with the lid on and set to medium heat. Wait until the first kernel pops.
  3. While waiting, zest a lime and place the zest in a food processor. Add 1 tablespoon of sugar and 1 tablespoon of shredded coconut. Pulse a few times until the mixture is fragrant. Set aside.
  4. As the kernels start to pop, occasionally shake and gently swirl the pot to ensure even heating. After about 3-5 minutes, all kernels should be popped, and the sugar should have turned a light amber color.
  5. Carefully open the lid and pour the popcorn into a large bowl.
  6. Immediately sprinkle the topping over the popcorn and mix well to coat the popcorn evenly. Divide the popcorn into two bowls and enjoy!
  • Passive Time: 10 min
  • Cook Time: 10 min

Spicy Turkish Vegetable Spread (Ezme)

Spicy Turkish Vegetable Spread (Ezme)

Spicy Turkish Vegetable Spread (Ezme)

Spicy Turkish Vegetable Spread (Ezme)

August 20, 2024 by Kimberly

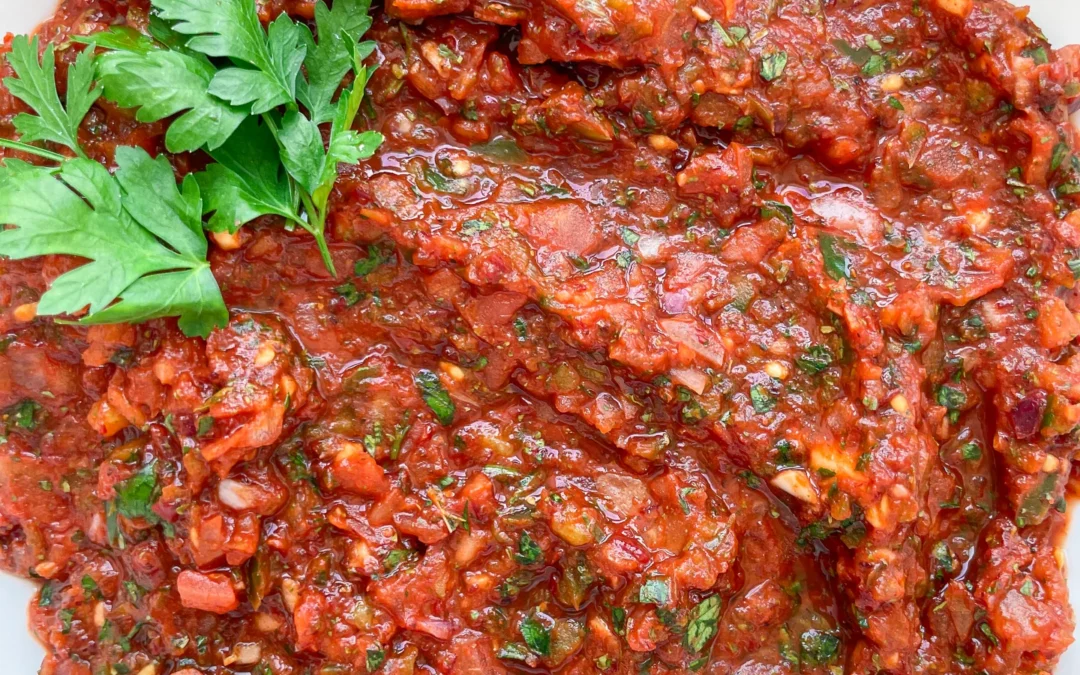
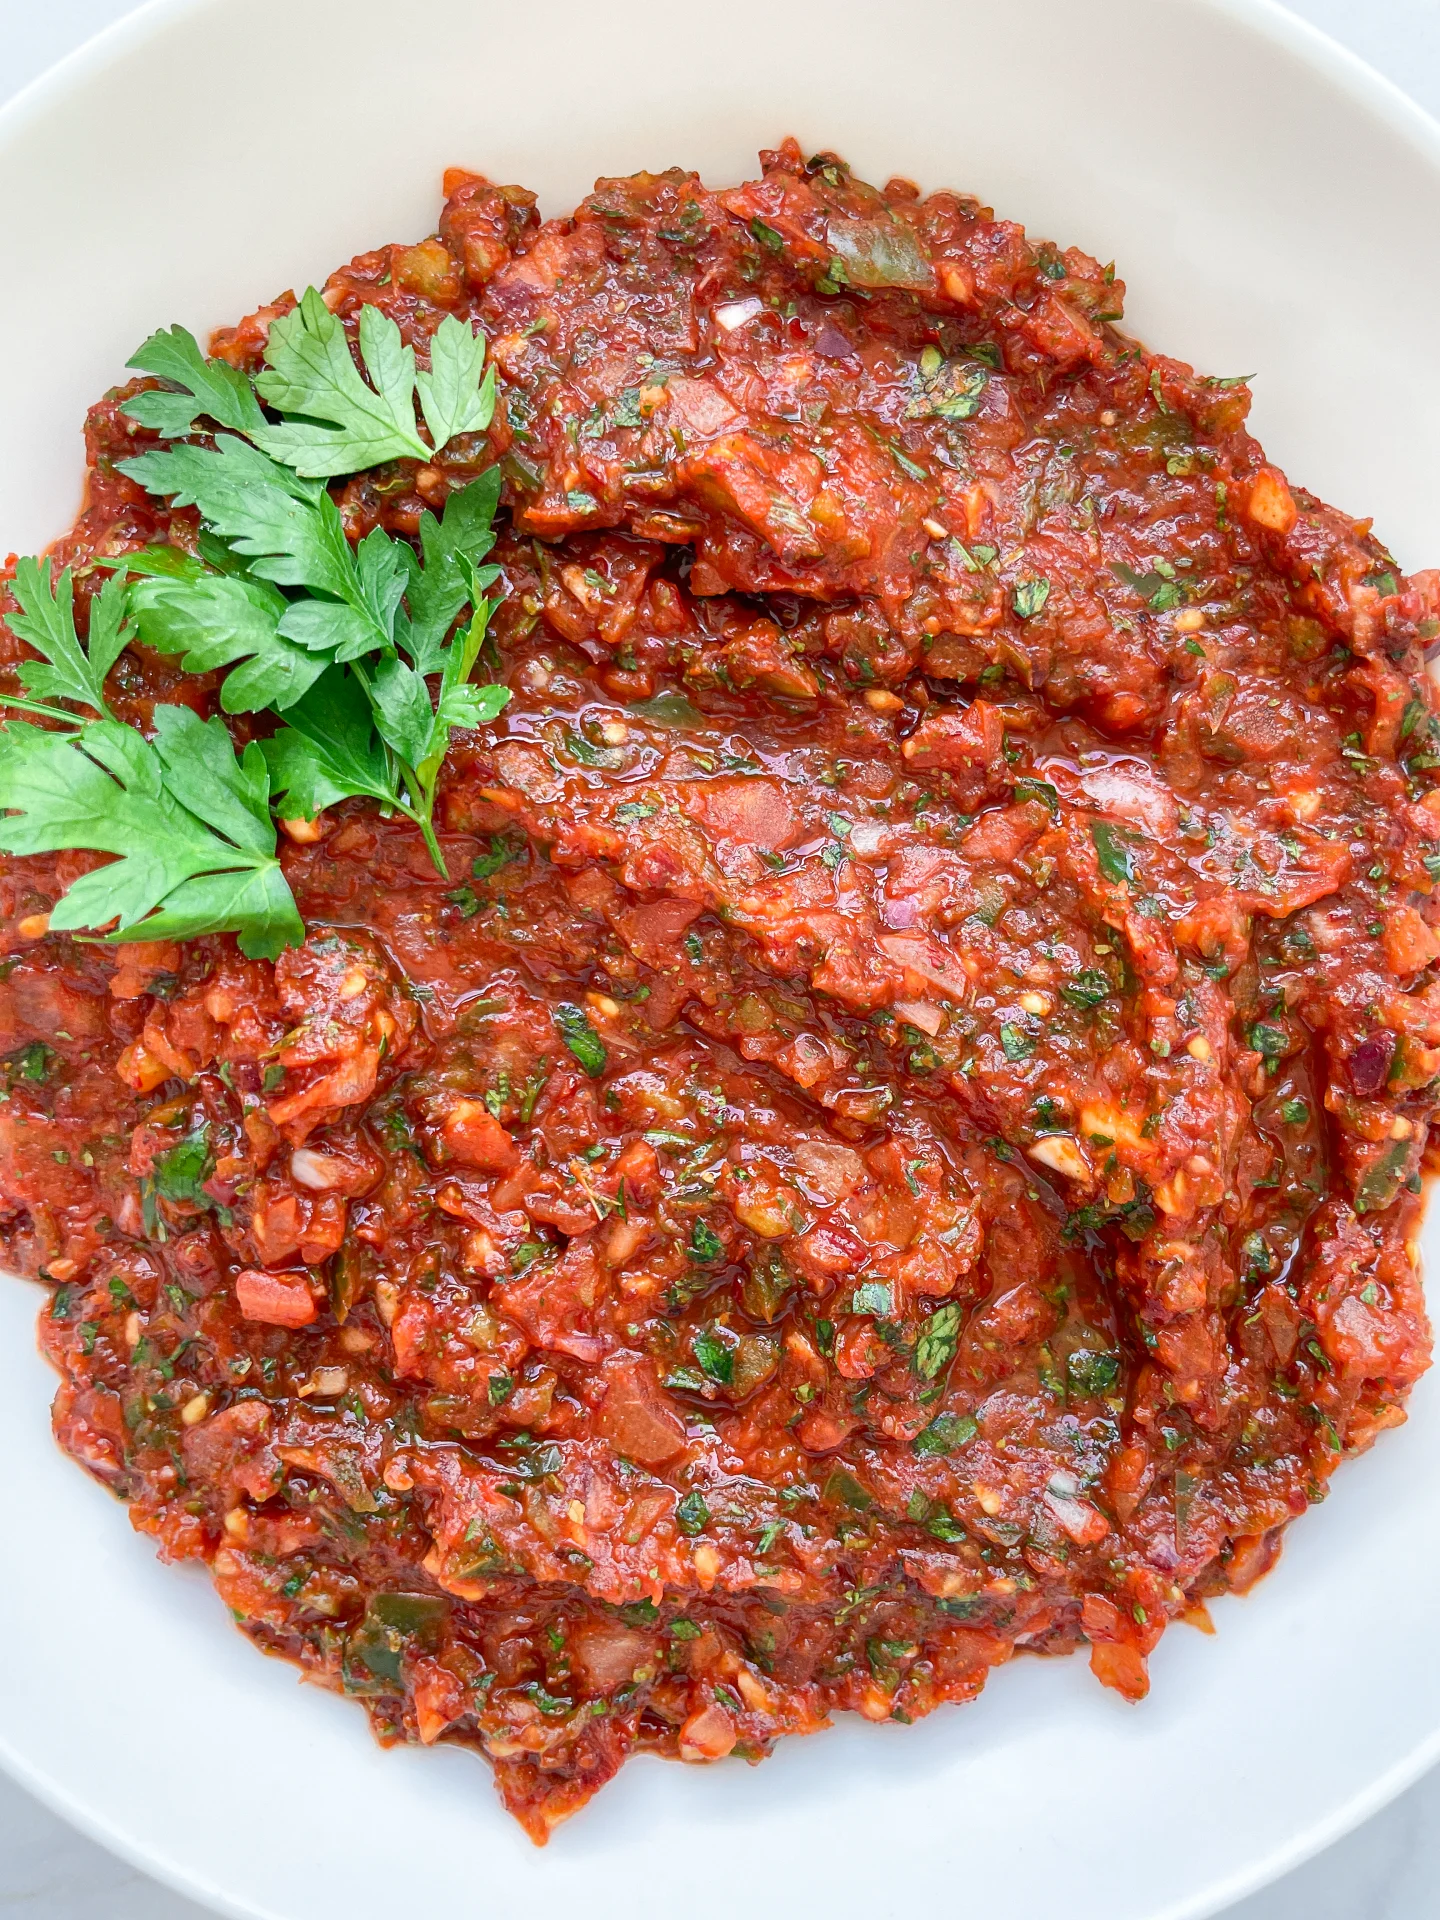
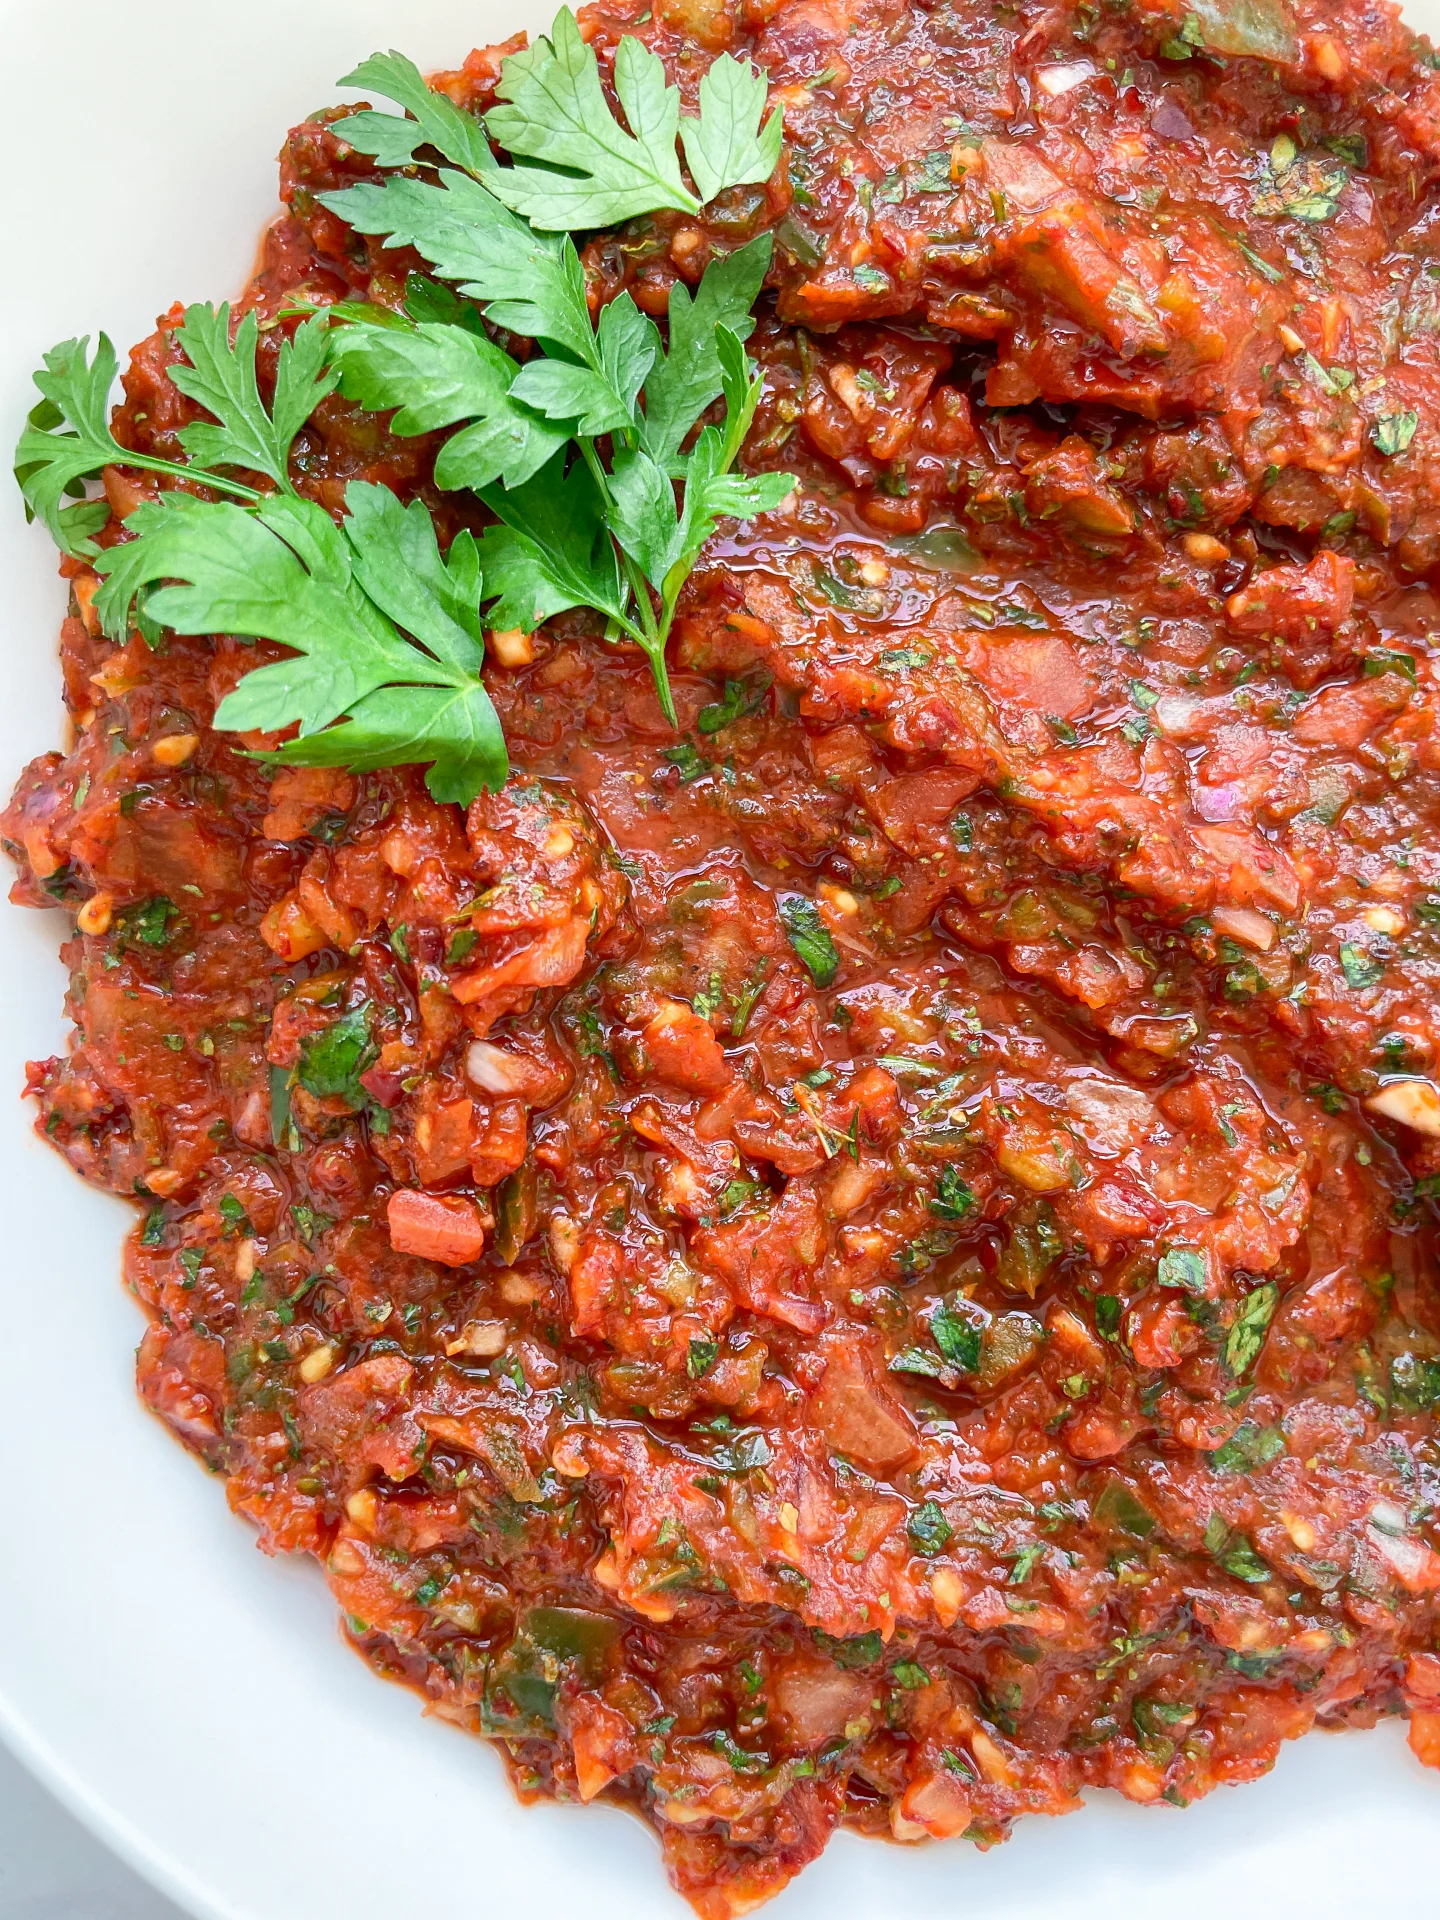
Experience a burst of flavors with this spicy Turkish veggie spread! Fresh, zesty, and vibrant – it’s the perfect addition to your meals, bringing a touch of excitement and warmth.

20 MINUTES

EASY

VEGAN

TURKISH

65 PER PORTION

SPICY

EVERYDAY

DIPS & SPREADS

ALL YEAR

INTRODUCTION

ABOUT THE RECIPE

Ready to spice up your snack game? Meet Ezme, a fiery and flavorful Turkish vegetable spread that’s about to become your new favorite. Packed with fresh ingredients and a spicy kick, this spread is perfect for those who love a bit of heat in their meals. Easy to make and bursting with vibrant flavors, Ezme is not just a dish – it’s an experience. Let’s dive into this exciting world of Turkish cuisine together!

How to serve
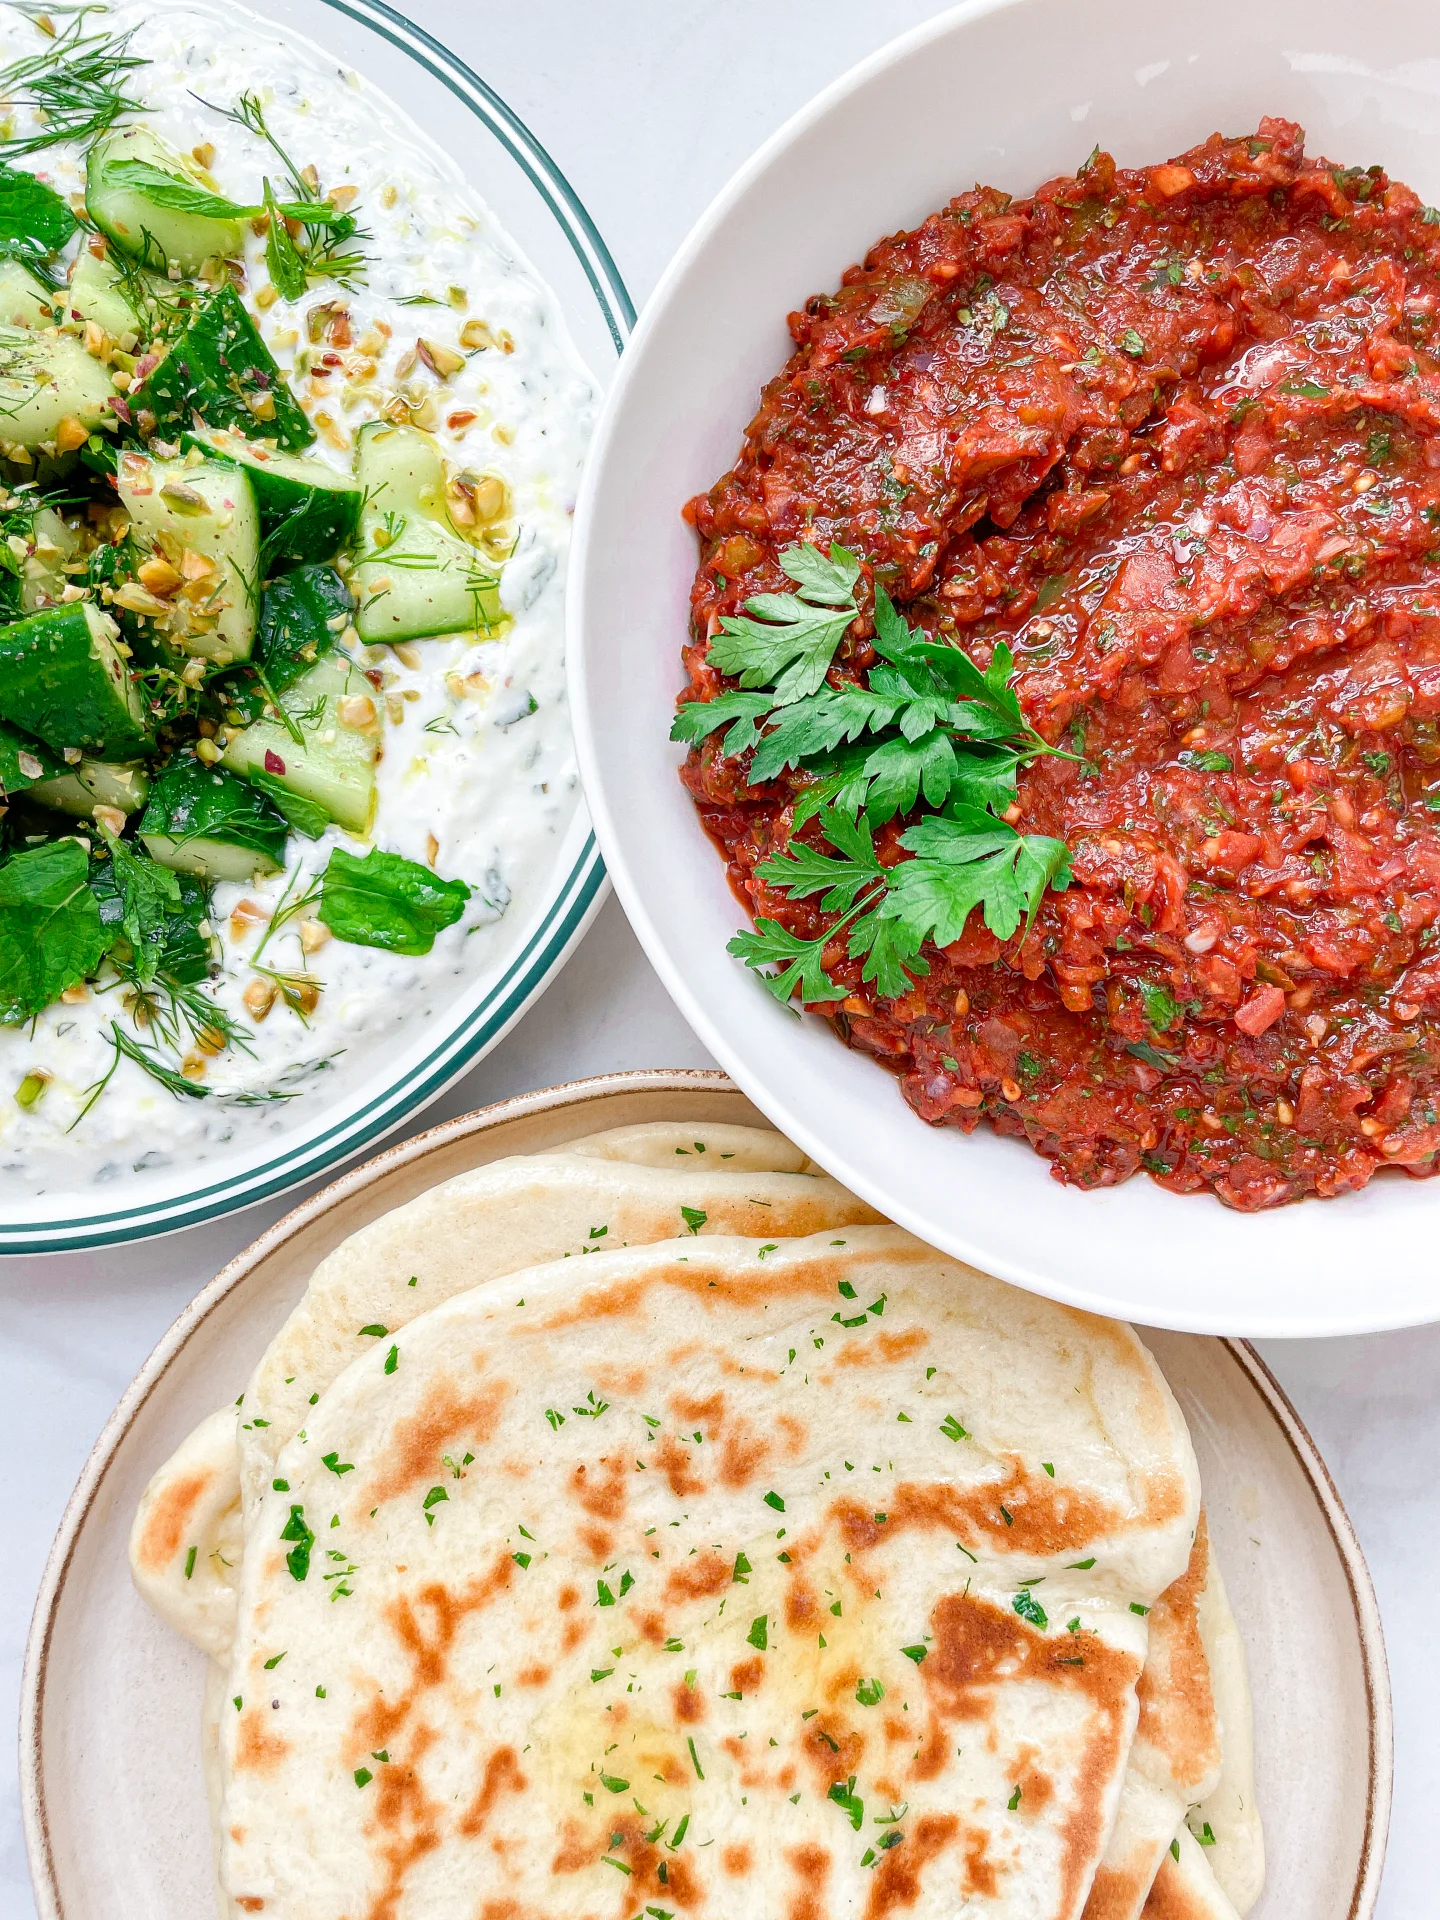
It’s an excellent companion to warm, crusty bread or pita. For a traditional touch, pair it with other mezze like hummus, baba ganoush, or tzatziki. It also makes a fantastic topping for grilled meats or veggies, adding a zesty punch to your meals. For a quick snack, spread it on toast or use it as a dip for fresh veggies. The spicy, tangy flavors will elevate any dish you serve it with. I like to serve it with this Turkish Flatbread (Bazlama) and Mint Yogurt & Cucumber Dill Salad (Cacik inspired) as a Meze variation.

How to store
Place it in an airtight container and keep it in the fridge. It stays fresh for up to 5 days, allowing you to enjoy its spicy goodness throughout the week. If you’re planning to make a big batch, you can freeze portions for up to a month. Just thaw it in the fridge overnight, and it’s ready to bring that burst of flavor back to your table.

Hi, I'm Kimberly!

Hi, I'm Kimberly.

A passionate food lover who believes in the magic of homemade deliciousness that spreads love and warmth. Join me on this culinary adventure as I prepare wonderful dishes and let’s spread some happiness together!

Kimberly the Zett Signature

If you want to get to know me better, click here!


Spicy Turkish Vegetable Spread (Ezme)
„Let’s make a piece of happiness“
Print
clock clock iconcutlery cutlery iconflag flag iconfolder folder iconinstagram instagram iconpinterest pinterest iconfacebook facebook iconprint print iconsquares squares iconheart heart iconheart solid heart solid icon
Spicy Turkish Vegetable Spread (Ezme)

Spicy Turkish Vegetable Spread (Ezme)


  • Author: Kimberly
  • Total Time: 20 min
  • Yield: 4-6 1x

Description

Recommended Equipment

  • sharp knife
  • cutting board
  • food processor
  • sieve
  • bowl
  • medium bowl

Ingredients

Units Scale

SALAD

  • 2 tomatoes
  • 1 red onion
  • 1 green bell pepper
  • 2 garlic cloves
  • 15 grams parsley

DRESSING

  • 2 tbsp pepper paste
  • 1 tbsp tomato paste
  • 2 tbsp pomegranate molasses
  • 1 tbsp lemon juice
  • 1 tbsp olive oil
  • 1 tsp sumach
  • 1 tsp dried mint
  • 1/2 tsp salt
  • 1/2 tsp paprika powder

Instructions

  1. Wash and thoroughly dry the tomatoes, bell pepper, and parsley. Quarter the tomatoes, deseed the bell pepper and cut into large pieces. Peel and quarter the red onion, peel the garlic cloves, and roughly remove the thick stems from the parsley. Place everything in a food processor and pulse until everything is finely chopped but still recognizable. We don’t want a paste!
  2. Transfer the mixture to a fine sieve over a bowl and press it with a spoon to extract as much liquid as possible. Let the mixture continue to drain in the sieve and set aside.
  3. In a bowl, mix the dressing ingredients: hot paprika paste, tomato paste, olive oil, sumac, dried mint, salt, pomegranate syrup, and lemon juice until it forms a creamy consistency.
  4. Place the vegetable mixture into a larger bowl and add the dressing. Stir well until it becomes a creamy, firm, dark red mixture. Taste and adjust seasoning if needed. You can serve it immediately or refrigerate it for a few hours to enhance the flavors.
  • Cook Time: 20 min

Turkish Flatbread (Bazlama)

Turkish Flatbread (Bazlama)

Flatbread serving ideas

Turkish Flatbread (Bazlama)

August 20, 2024 by Kimberly

Imagine the warmth of freshly made Turkish flatbread, delightfully fluffy and perfect for any meal. This cozy, homemade treat brings a touch of comfort and joy to your table.

90 MINUTES

EASY

VEGETARIAN

TURKISH

254 PER PORTION

BUTTERY

EVERYDAY

BREAD

ALL YEAR

INTRODUCTION

ABOUT THE RECIPE

If you’re craving something warm, fluffy, and straight out of your cozy food dreams, you’re in for a treat. This traditional Turkish flatbread, known as Bazlama, is super easy to whip up and is perfect for any meal. Imagine the delight of pulling apart a piece of this soft, pillowy bread, fresh from the pan. This recipe will become your go-to favorite. Let’s dive into the comforting world of Turkish cuisine with this delightful bread.

How to serve
Pair it with a spread of hummus, baba ganoush, or tzatziki. It’s also fantastic as a side with soups, stews, or your favorite salads. For a quick and satisfying snack, enjoy it warm with a generous pat of butter or your preferred cheese. I like to serve it with this Spicy Turkish Vegetable Spread (Ezme) and Mint Yogurt & Cucumber Dill Salad (Cacik inspired) as a Meze variation.

How to store
Simply let it cool completely, then wrap it tightly in plastic wrap or store in an airtight container. It stays fresh at room temperature for up to two days. For longer storage, pop it in the freezer for up to a month. When you’re ready to enjoy it again, just reheat it in a warm oven or toaster, and it’ll be as good as new.

Hi, I'm Kimberly!

Hi, I'm Kimberly.

A passionate food lover who believes in the magic of homemade deliciousness that spreads love and warmth. Join me on this culinary adventure as I prepare wonderful dishes and let’s spread some happiness together!

Kimberly the Zett Signature

If you want to get to know me better, click here!


Flatbread serving ideas
„Let’s make a piece of happiness“
Print
clock clock iconcutlery cutlery iconflag flag iconfolder folder iconinstagram instagram iconpinterest pinterest iconfacebook facebook iconprint print iconsquares squares iconheart heart iconheart solid heart solid icon
Flatbread serving ideas

Turkish Flatbread (Bazlama)


  • Author: Kimberly
  • Total Time: 90 min
  • Yield: 4-8 1x

Description

Recommended Equipment

  • measuring cup
  • large bowl
  • plastic wrap
  • pan
  • rolling pin
  • small bowl
  • kitchen brush
  • sharp knife
  • cutting board

Ingredients

Units Scale

DOUGH

  • 250 grams all-purpose flour
  • 80 milliliters warm water
  • 80 milliliters warm full-fat milk
  • 3/4 tsp active dry yeast
  • 1/2 tbsp white sugar
  • 1/2 tsp salt

TOPPING

  • 1 tbsp butter
  • 1 tbsp chopped parsley

Instructions

  1. In a measuring cup, mix warm water and warm milk with sugar and dry yeast, and let it sit for 10 minutes. Meanwhile, combine flour and salt in a bowl.
  2. Add the yeast mixture to the flour and stir with a spoon until it becomes crumbly.
  3. Place the dough on a clean surface and knead by hand until it is smooth and no longer sticky. Shape the dough into a ball, place it back in the bowl, cover well with plastic wrap, and let it rise for at least 1 hour.
  4. Divide the dough into 4 pieces (for larger flatbreads) or 8 pieces (for smaller flatbreads). Keep the individual pieces in the bowl and loosely cover with plastic wrap.
  5. Heat a pan over medium heat without adding any fat.
  6. Roll each piece of dough into a very thin, round flatbread using a rolling pin. If the dough is too sticky, sprinkle a little flour on the surface.
  7. Cook the flatbreads one at a time in the pan without adding any fat. Once you see several bubbles, flip the flatbread to the other side. Remove from the pan and keep warm under a cloth.
  8. While the first flatbread is cooking, melt the butter and chop the parsley. Mix the parsley with the melted butter and brush each flatbread with the butter mixture.
  9. Serve the bread immediately for the best taste.
  • Passive Time: 60 min
  • Cook Time: 30 min