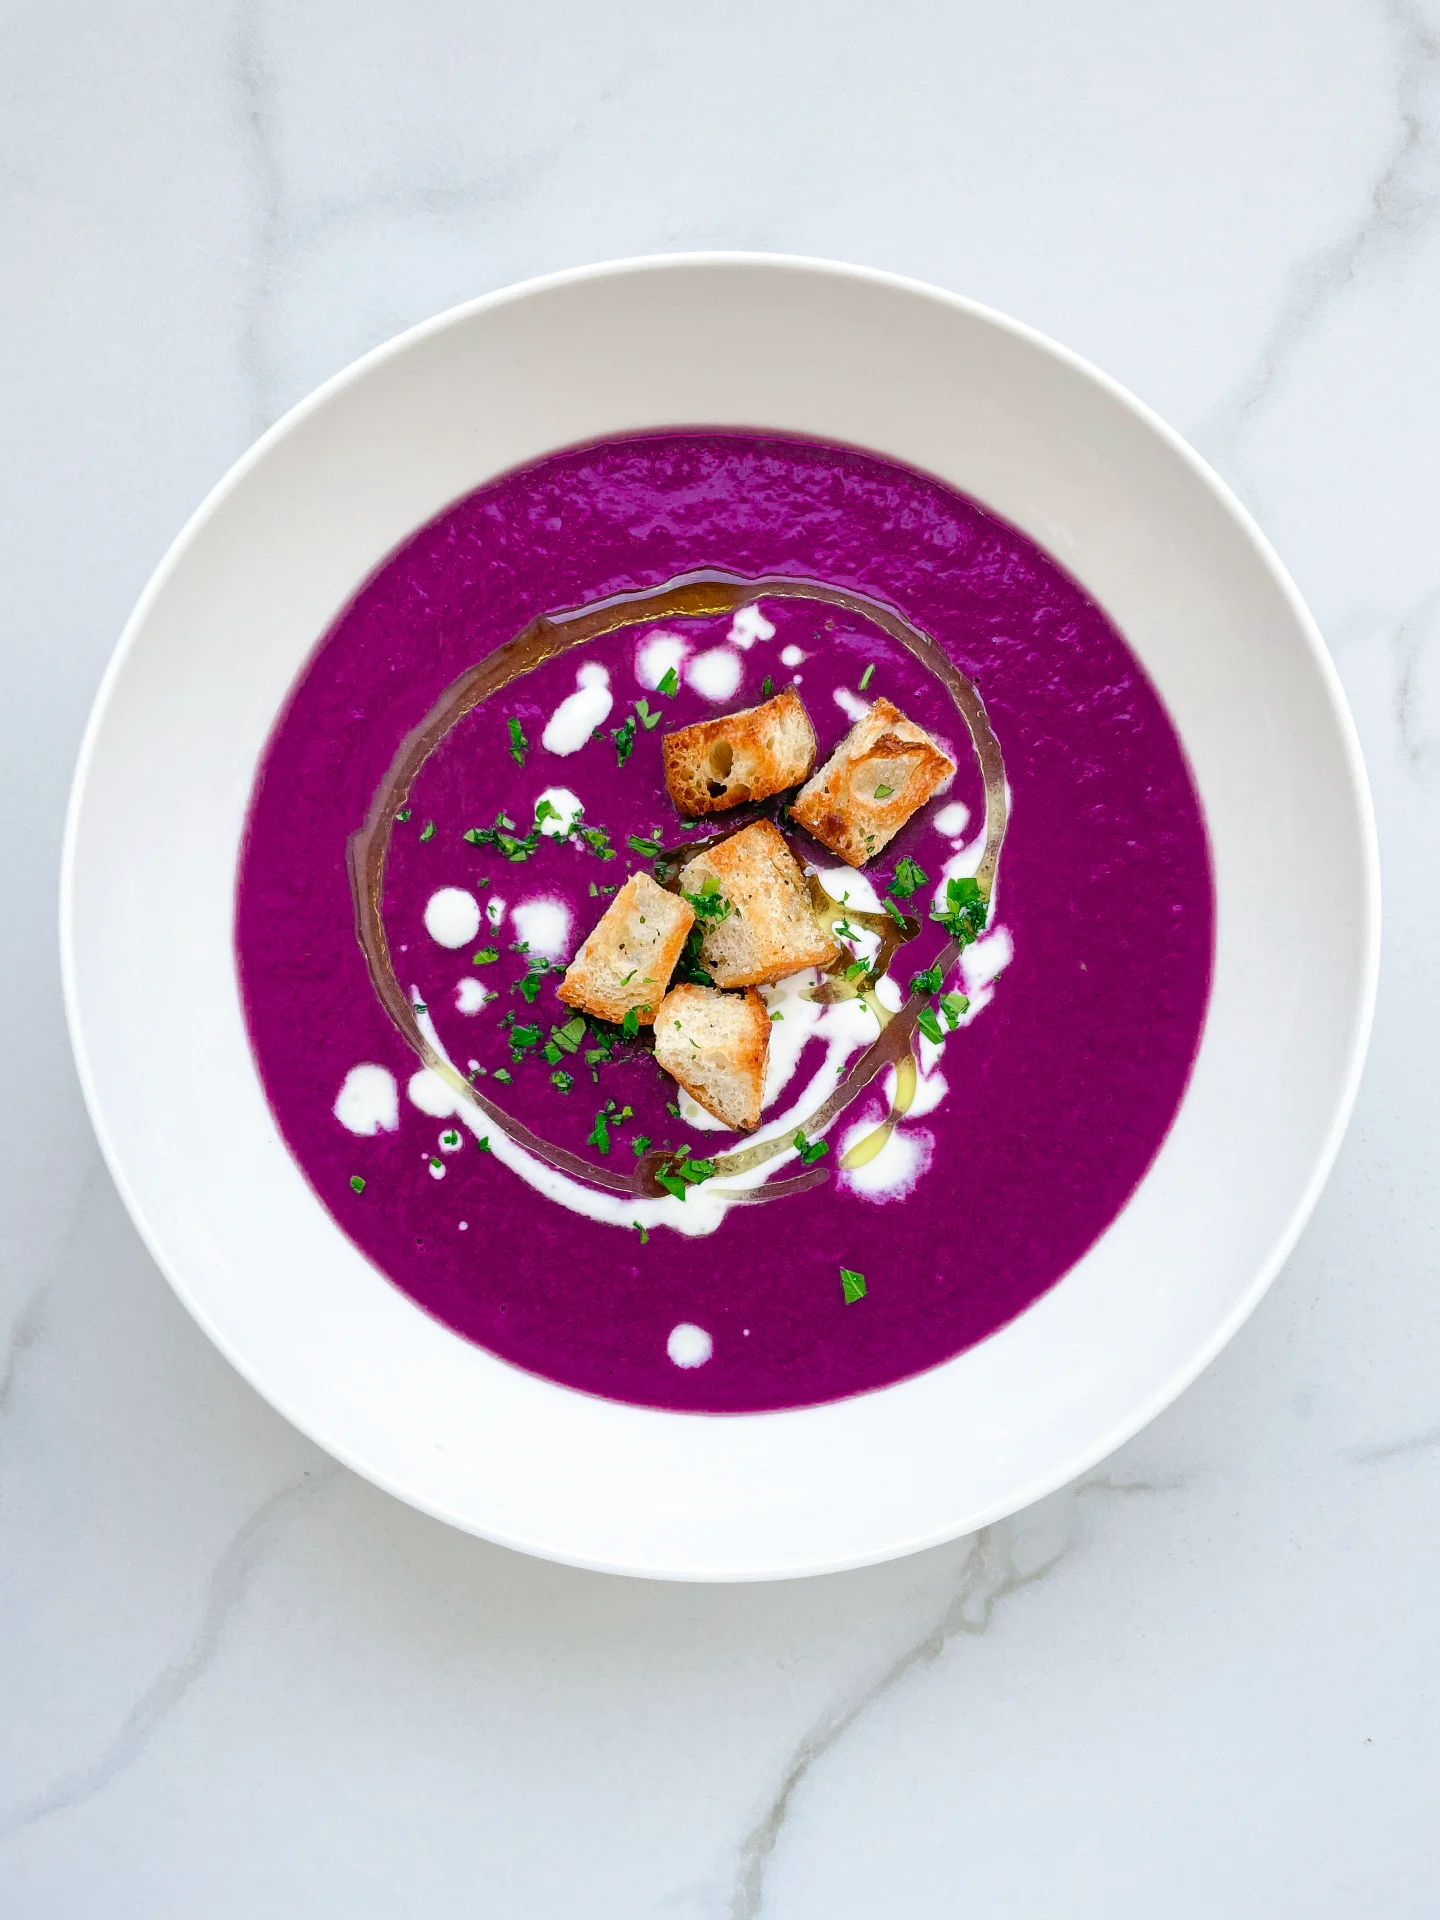
Description
Ingredients
Units
Scale
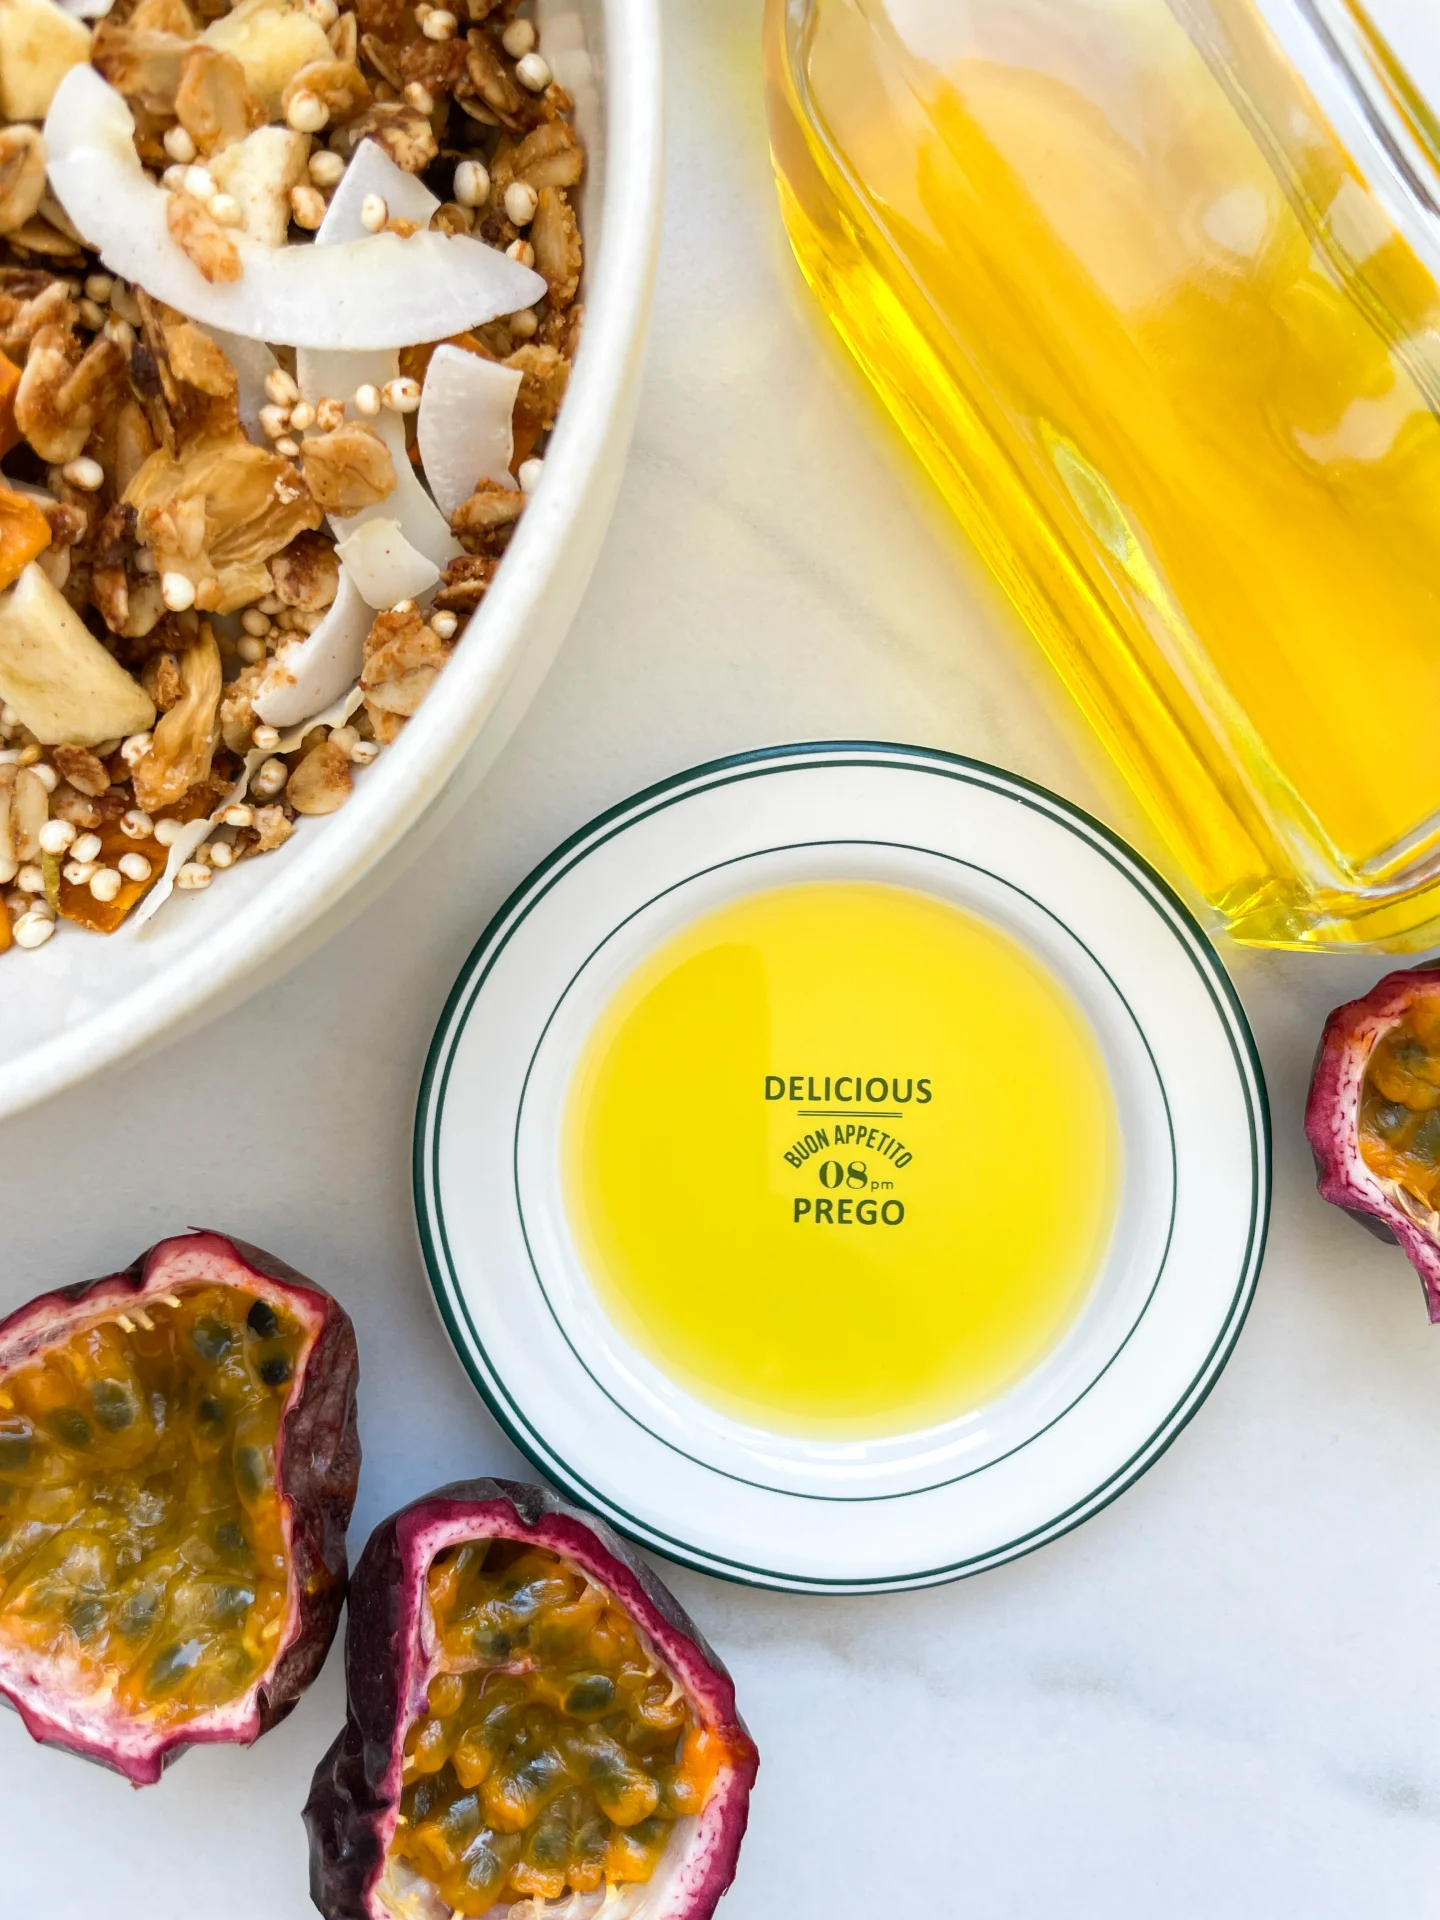
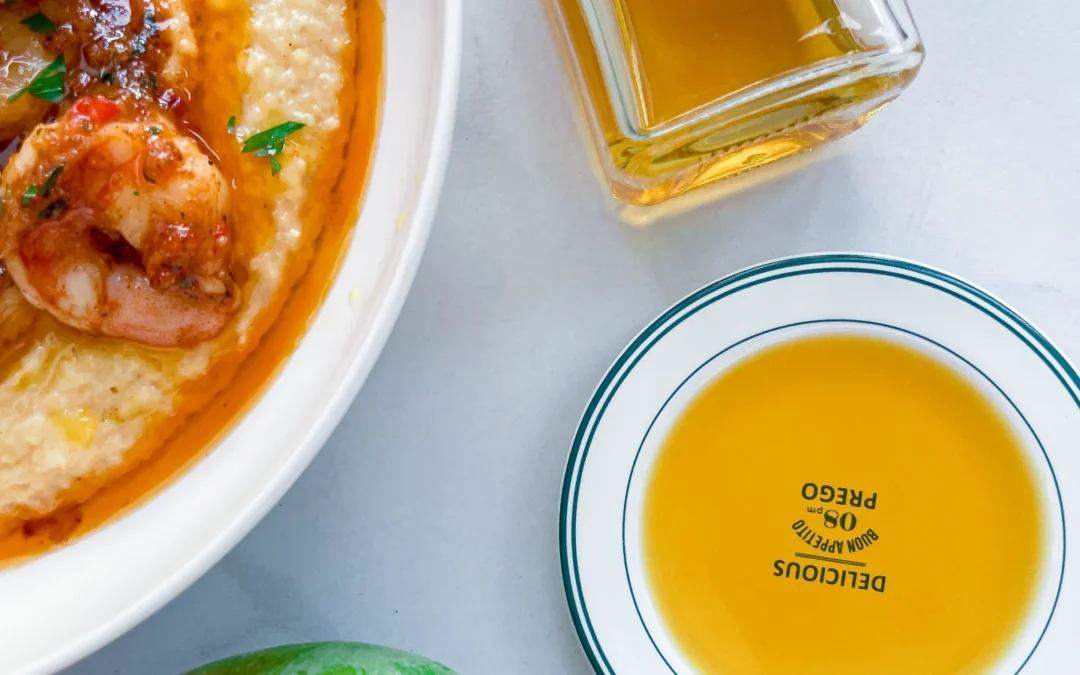
- 150 grams fresh mango
- 250 milliliters cold-pressed rapeseed oil
Instructions
- Prep Time: 10 min
- Passive Time: 30 min
- Cook Time: 20 min

August 17, 2024 by Kimberly
TOTAL TIME
60 min
SERVES
1 cup / 250 ml
DIET
vegan
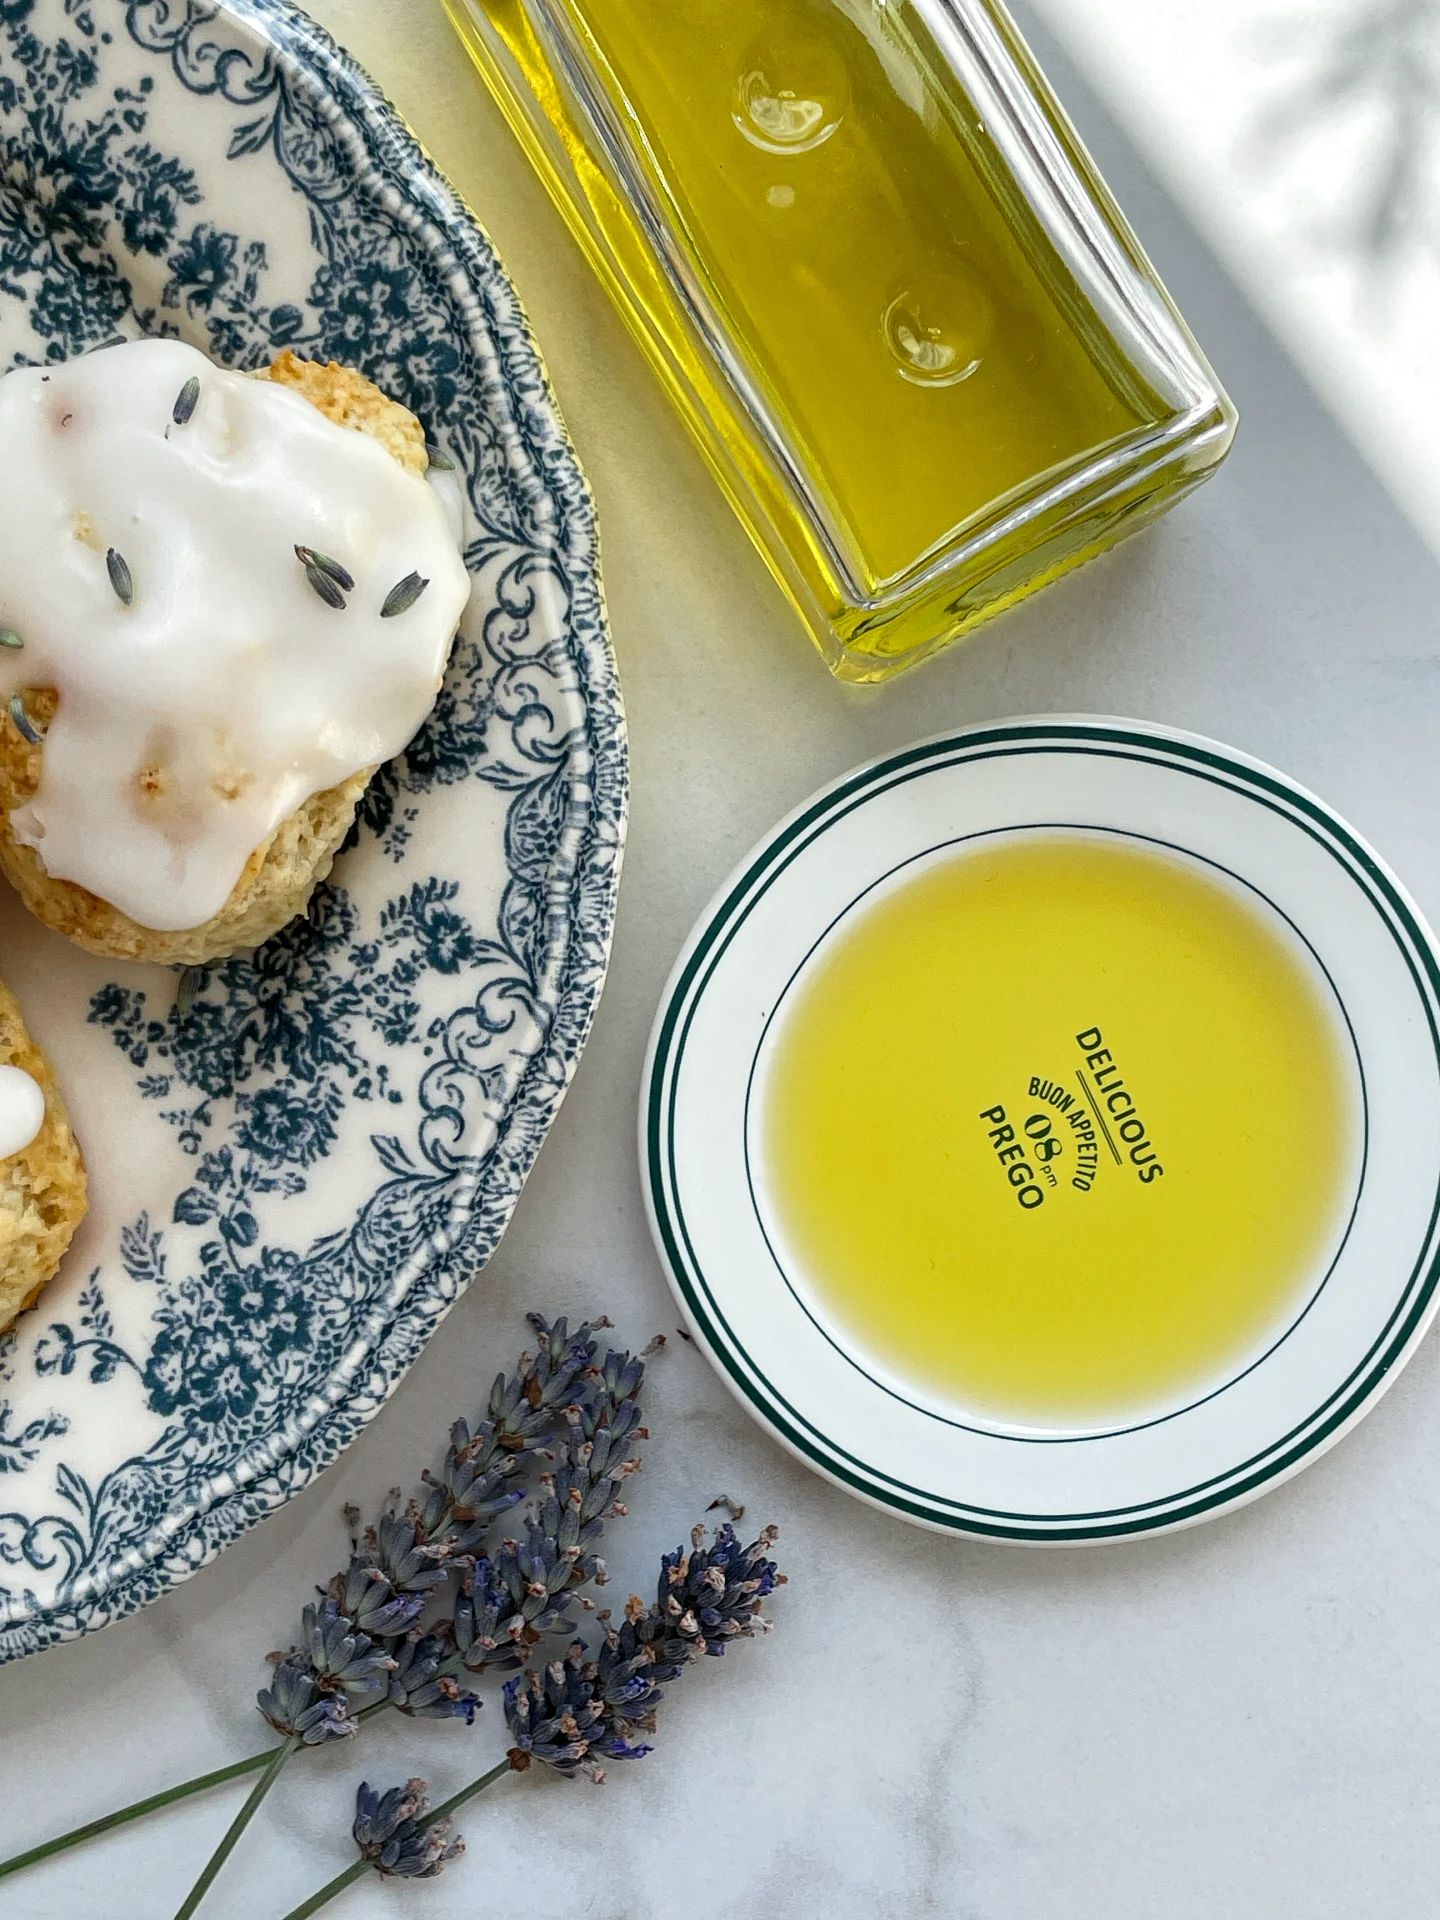
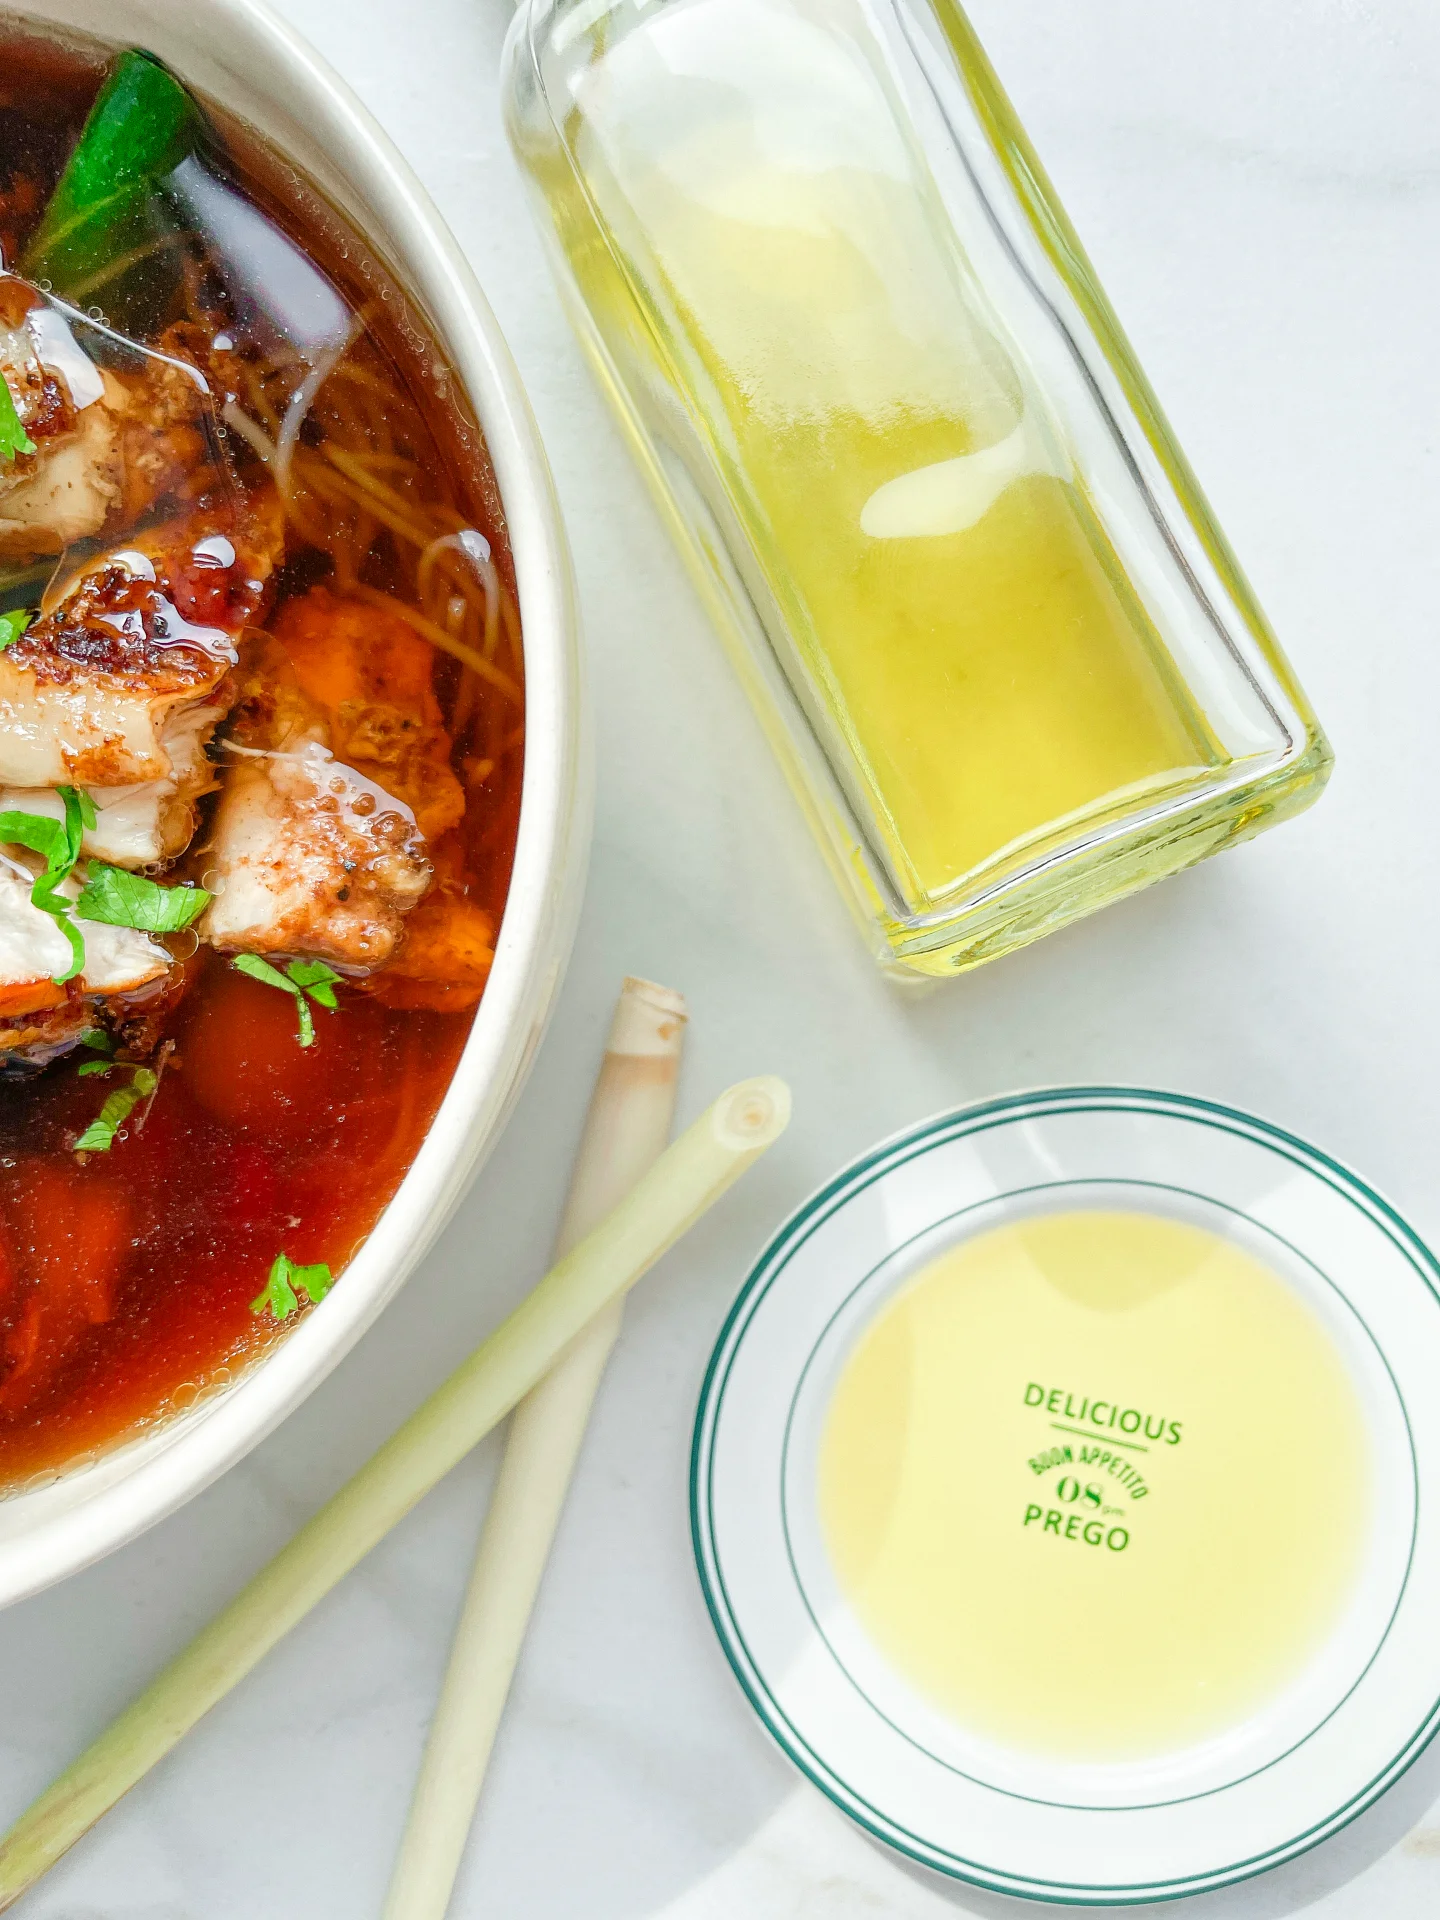
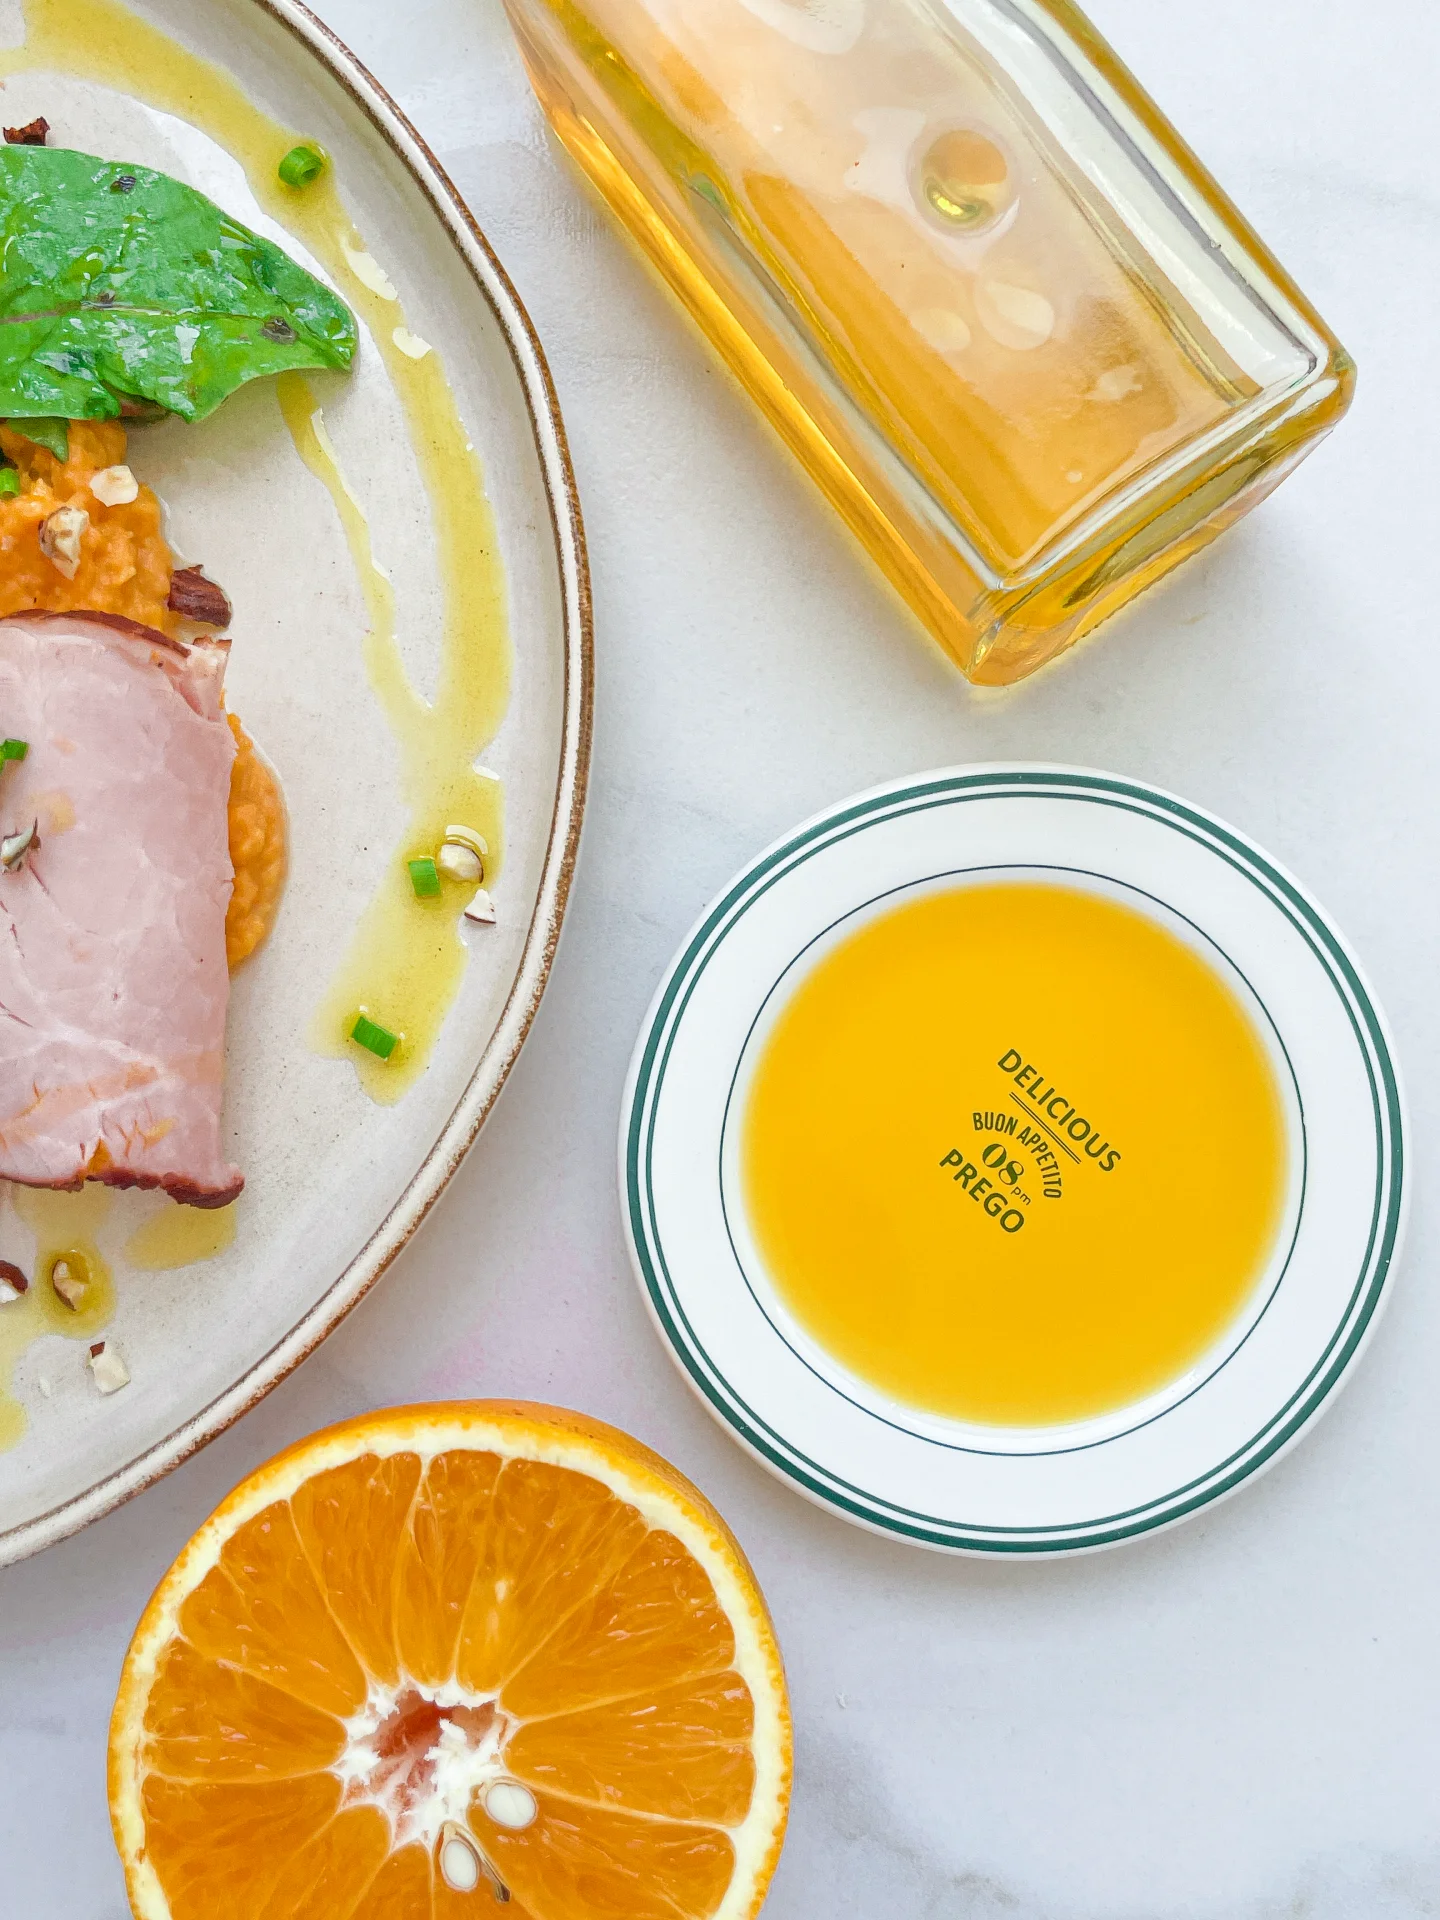
This mango oil is your go-to for adding a hint of summer to just about anything. Try drizzling it over a fresh spinach or arugula salad for a light, fruity kick. It’s also fantastic as a finishing touch on grilled seafood, where its subtle sweetness complements the smoky flavors. Or, for a quick and easy twist, toss it with pasta or use it as a dip for crusty bread—simple yet satisfying. I like to incorporate some of the oil into my Cajun Shrimp with Honey Glaze & Cheesy Polenta.
To keep the vibrant flavor of your mango oil fresh, store it in a cool, dark place, tightly sealed. Avoid direct sunlight and extreme temperatures, and it’ll stay good for 1-2 weeks.

A hopeless romantic when it comes to food. Every recipe I share is a love letter to food itself. I’m so glad you’re here. Make yourself at home and stay a while.
Love,
Kimberly

If you want to get to know me better,
click here!


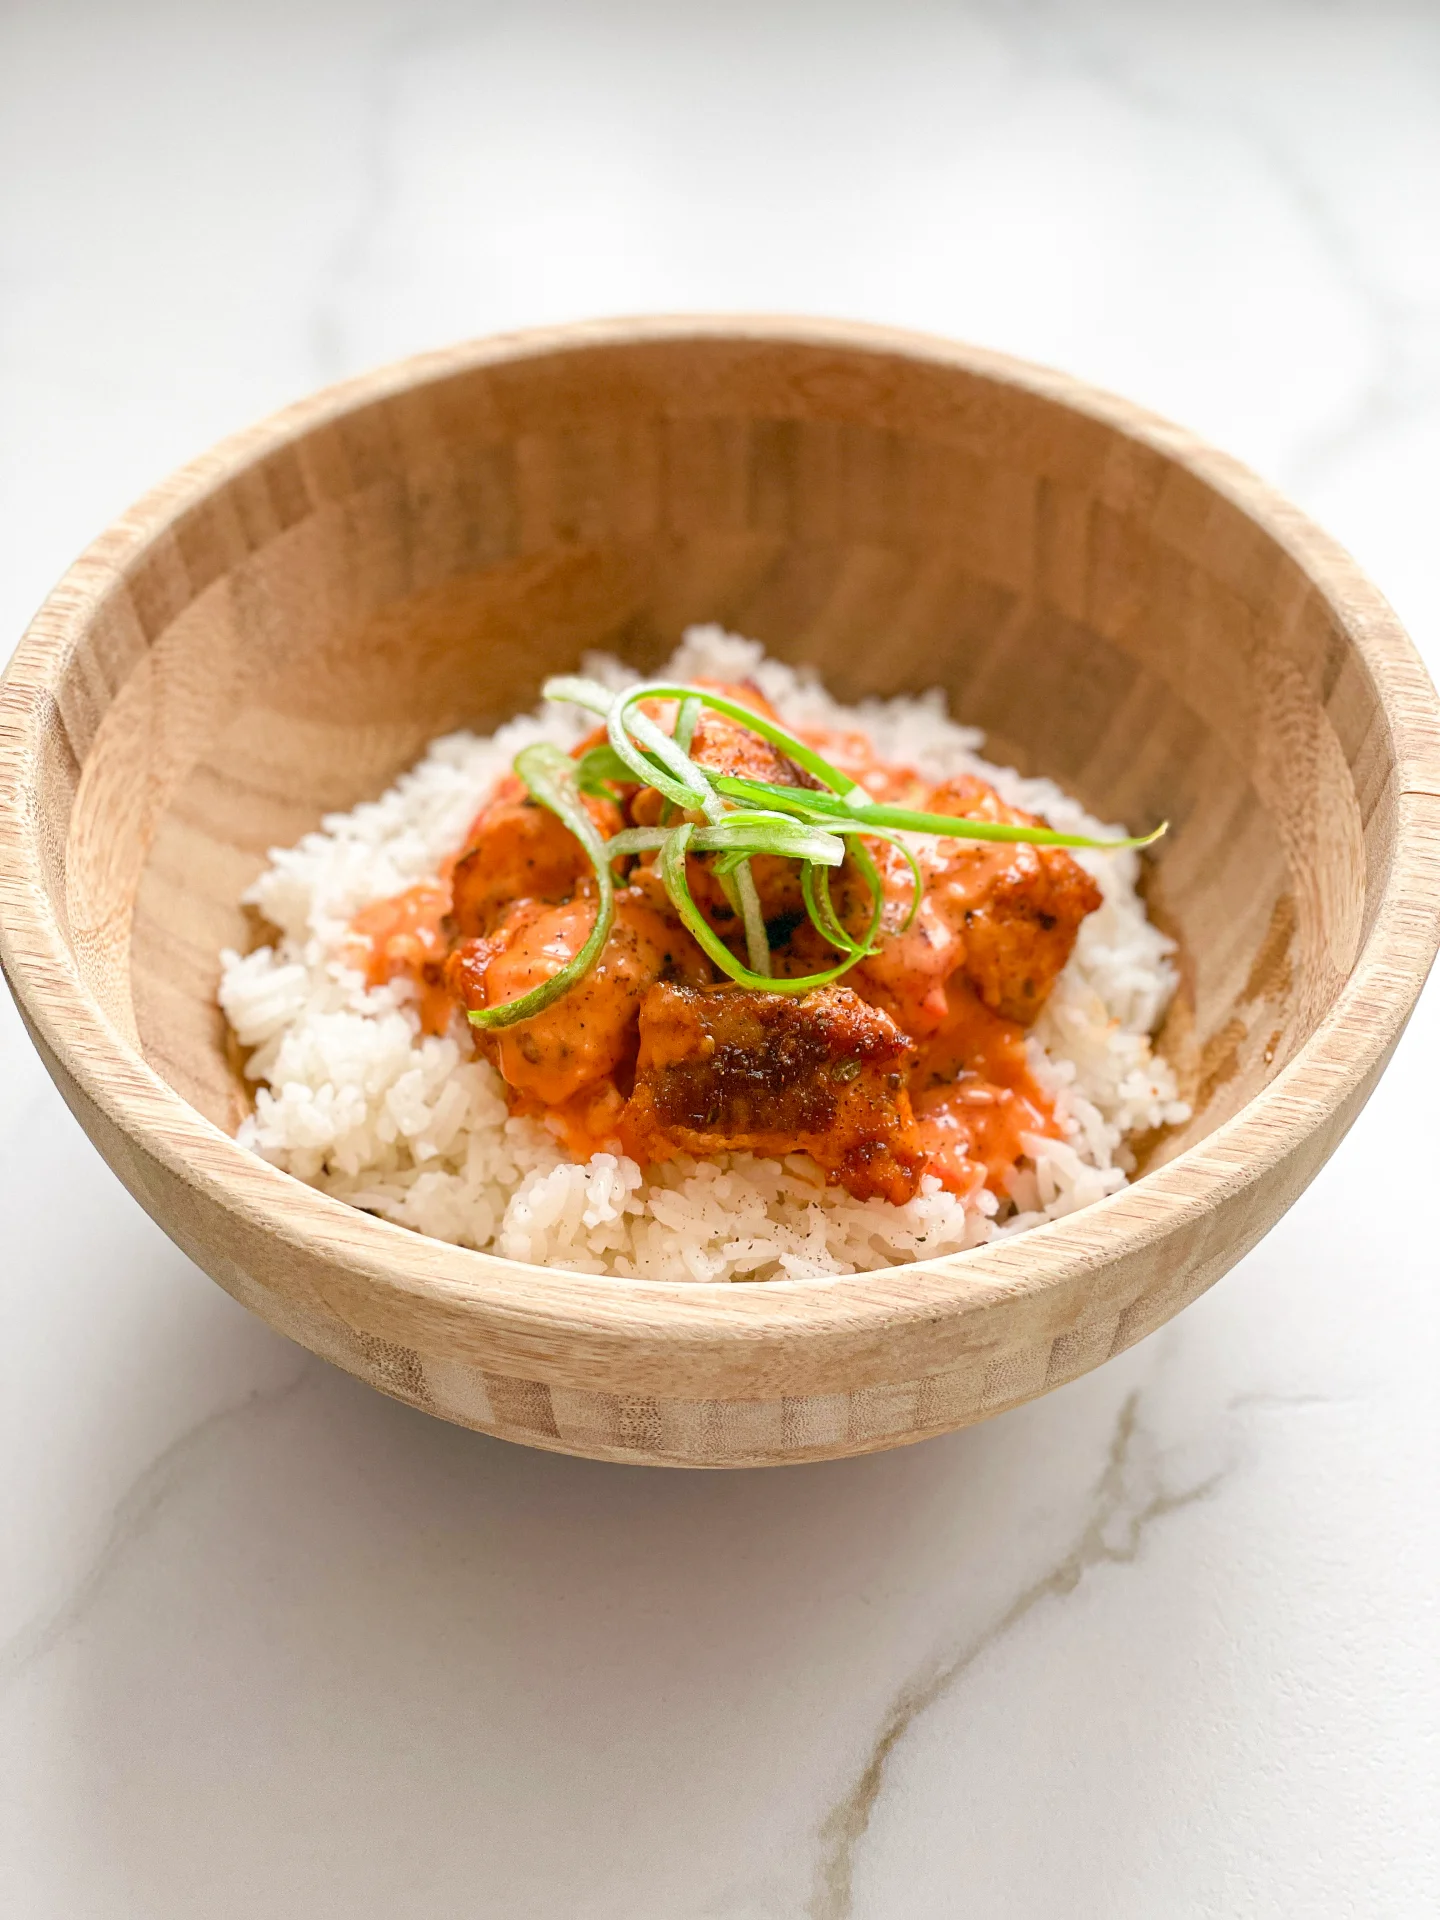
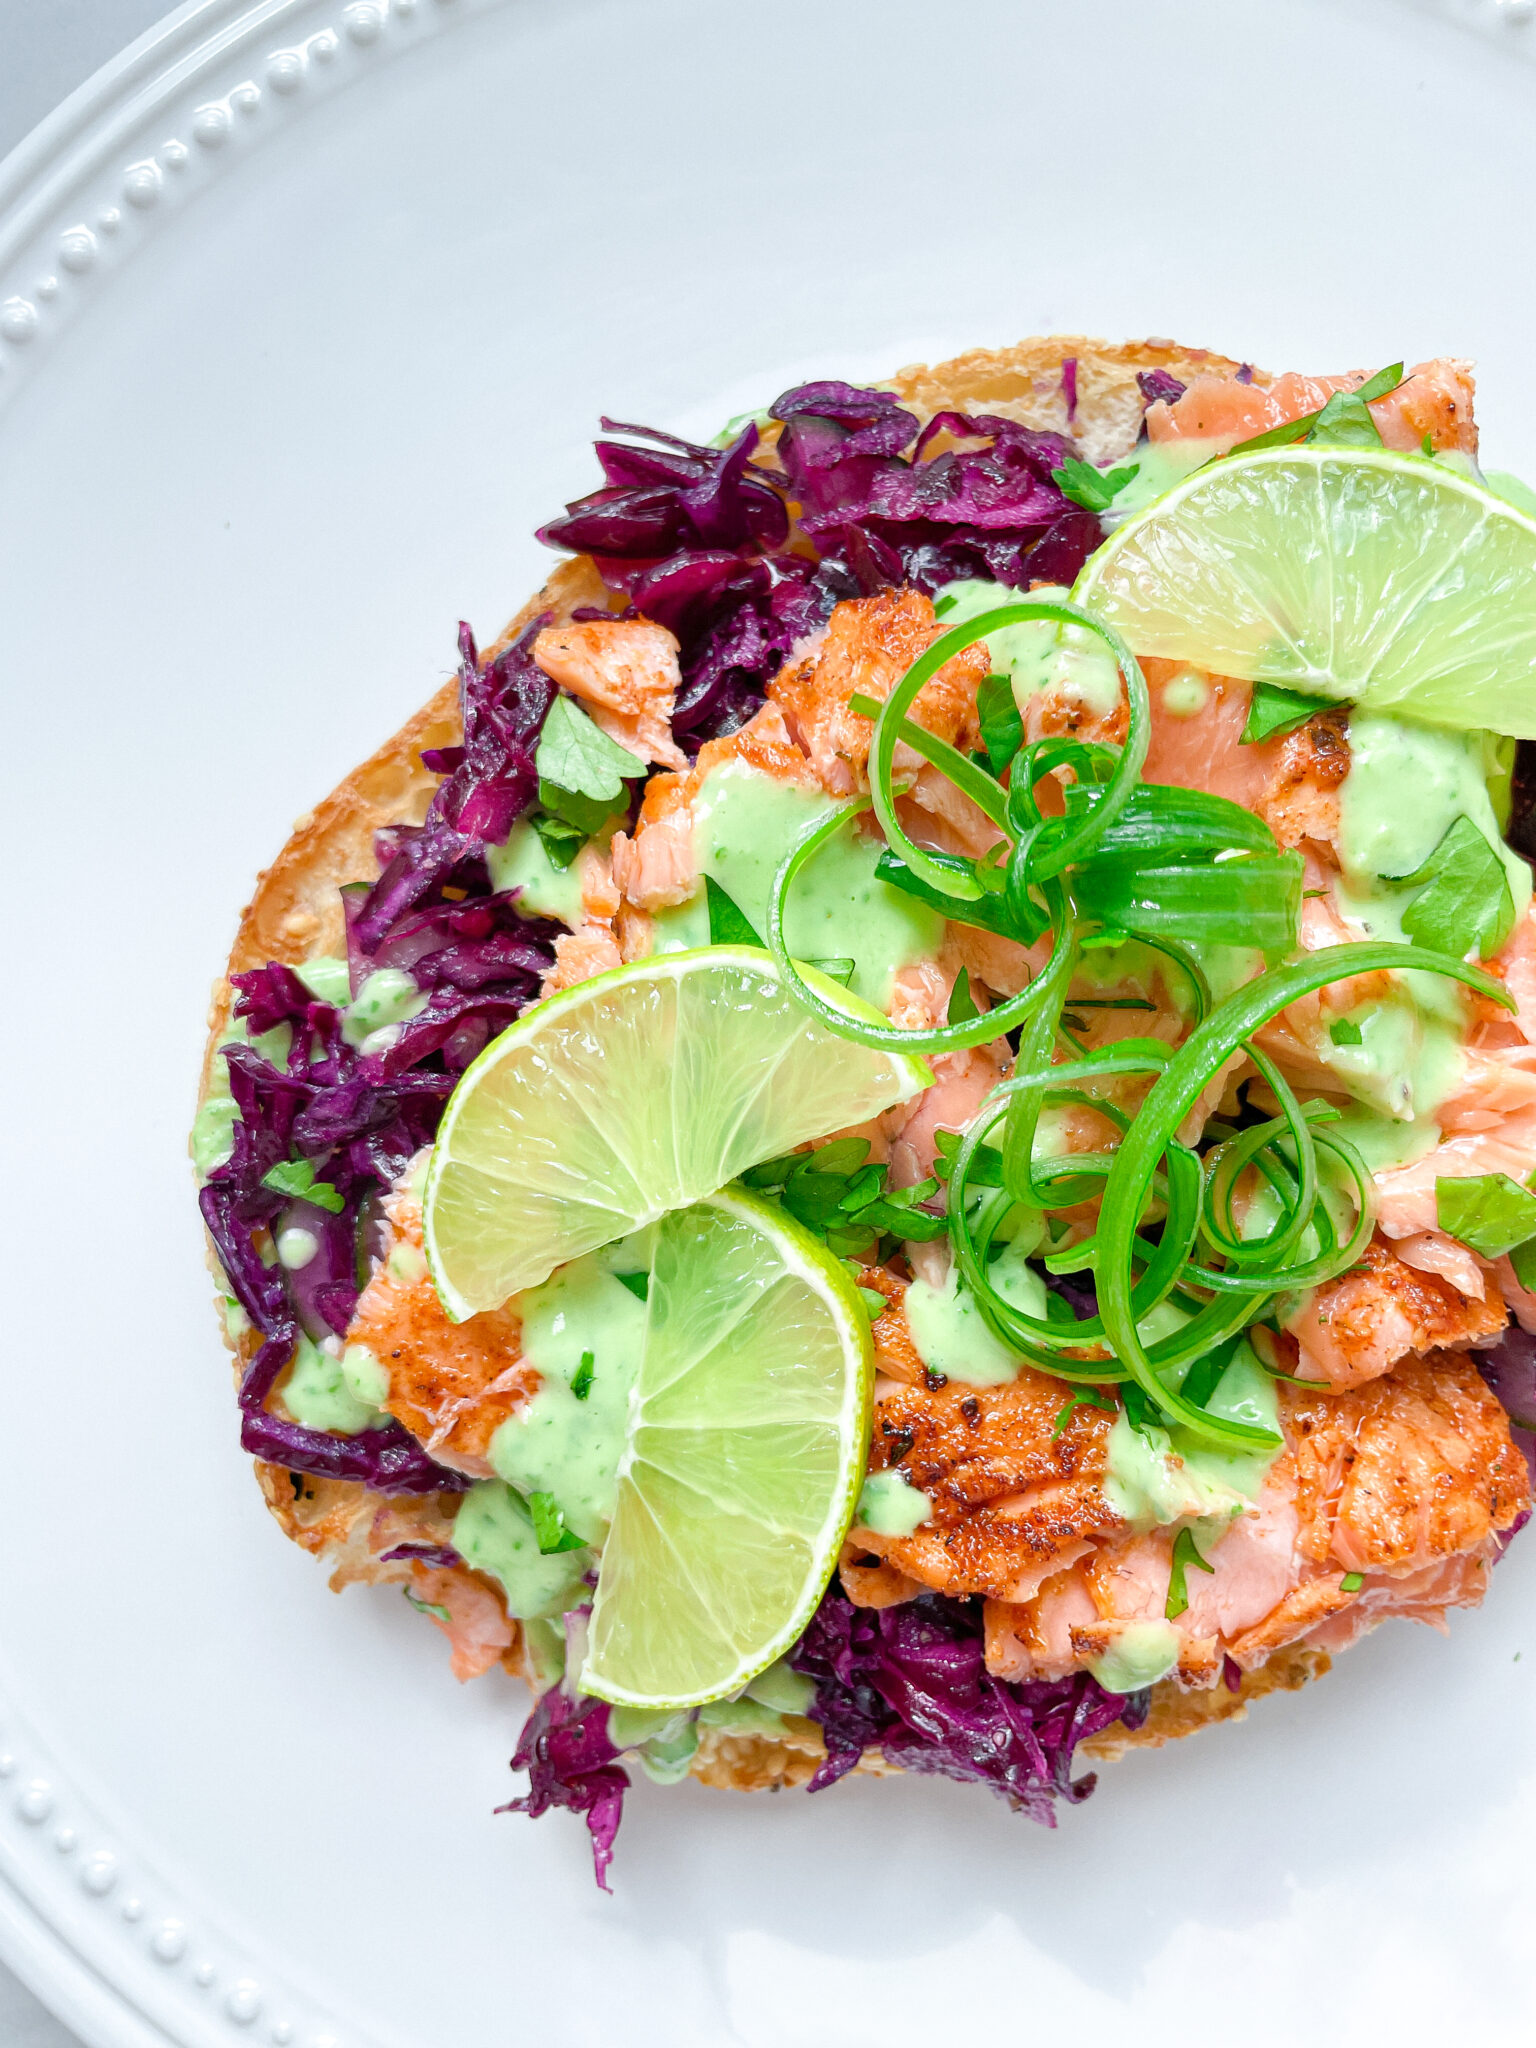
Cajun Shrimps with Honey Glaze & Cheesy Polenta
August 17, 2024 by Kimberly
Indulge in a cozy, Southern-inspired meal that’s all about comfort. Juicy shrimp, sweet honey glaze, and creamy, cheesy polenta come together for a dish that feels like a warm hug.
This website uses affiliate links which may earn commission for purchases made at no additional cost to you.
TOTAL TIME
40 min
SERVES
4 portions
DIET
omnivore
EVERY RECIPE DESERVES
Get ready to treat yourself to a deliciously comforting meal that’s sure to become a favorite in your home. This dish brings together tender cajun shrimp with a sweet and spicy honey glaze, paired perfectly with creamy, cheesy polenta. It’s the kind of meal that feels fancy, but it’s surprisingly easy to make. Whether you’re cooking for a special occasion or just a cozy night in, this dish hits all the right notes.
Serve this dish fresh out of the pan, with the shrimp nestled on top of a generous scoop of polenta. For a little extra flair, garnish with fresh herbs like parsley or cilantro, and a wedge of lemon on the side to squeeze over the shrimp. It’s great as a stand-alone meal, but you can also pair it with a crisp salad or some sautéed greens for a complete dinner experience.
If you’ve got leftovers (lucky you!), store them in an airtight container in the fridge for up to 3 days. Reheat the shrimp and polenta separately in the microwave or on the stovetop, adding a splash of water or broth to keep the polenta creamy.
A hopeless romantic when it comes to food. Every recipe I share is a love letter to food itself. I’m so glad you’re here. Make yourself at home and stay a while.
Love,
Kimberly
If you want to get to know me better,
click here!


LET’S MAKE A PIECE OF HAPPINESS

Recommended Equipment
CRAVING MORE?
Follow along here & don’t forget to subscribe to my substack!
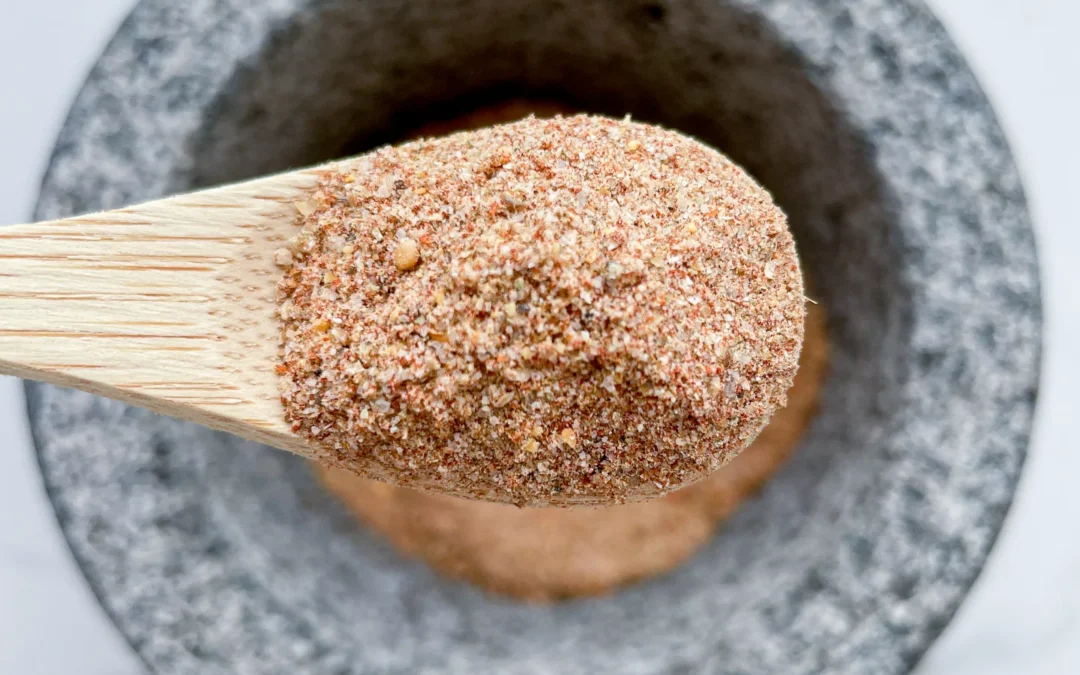

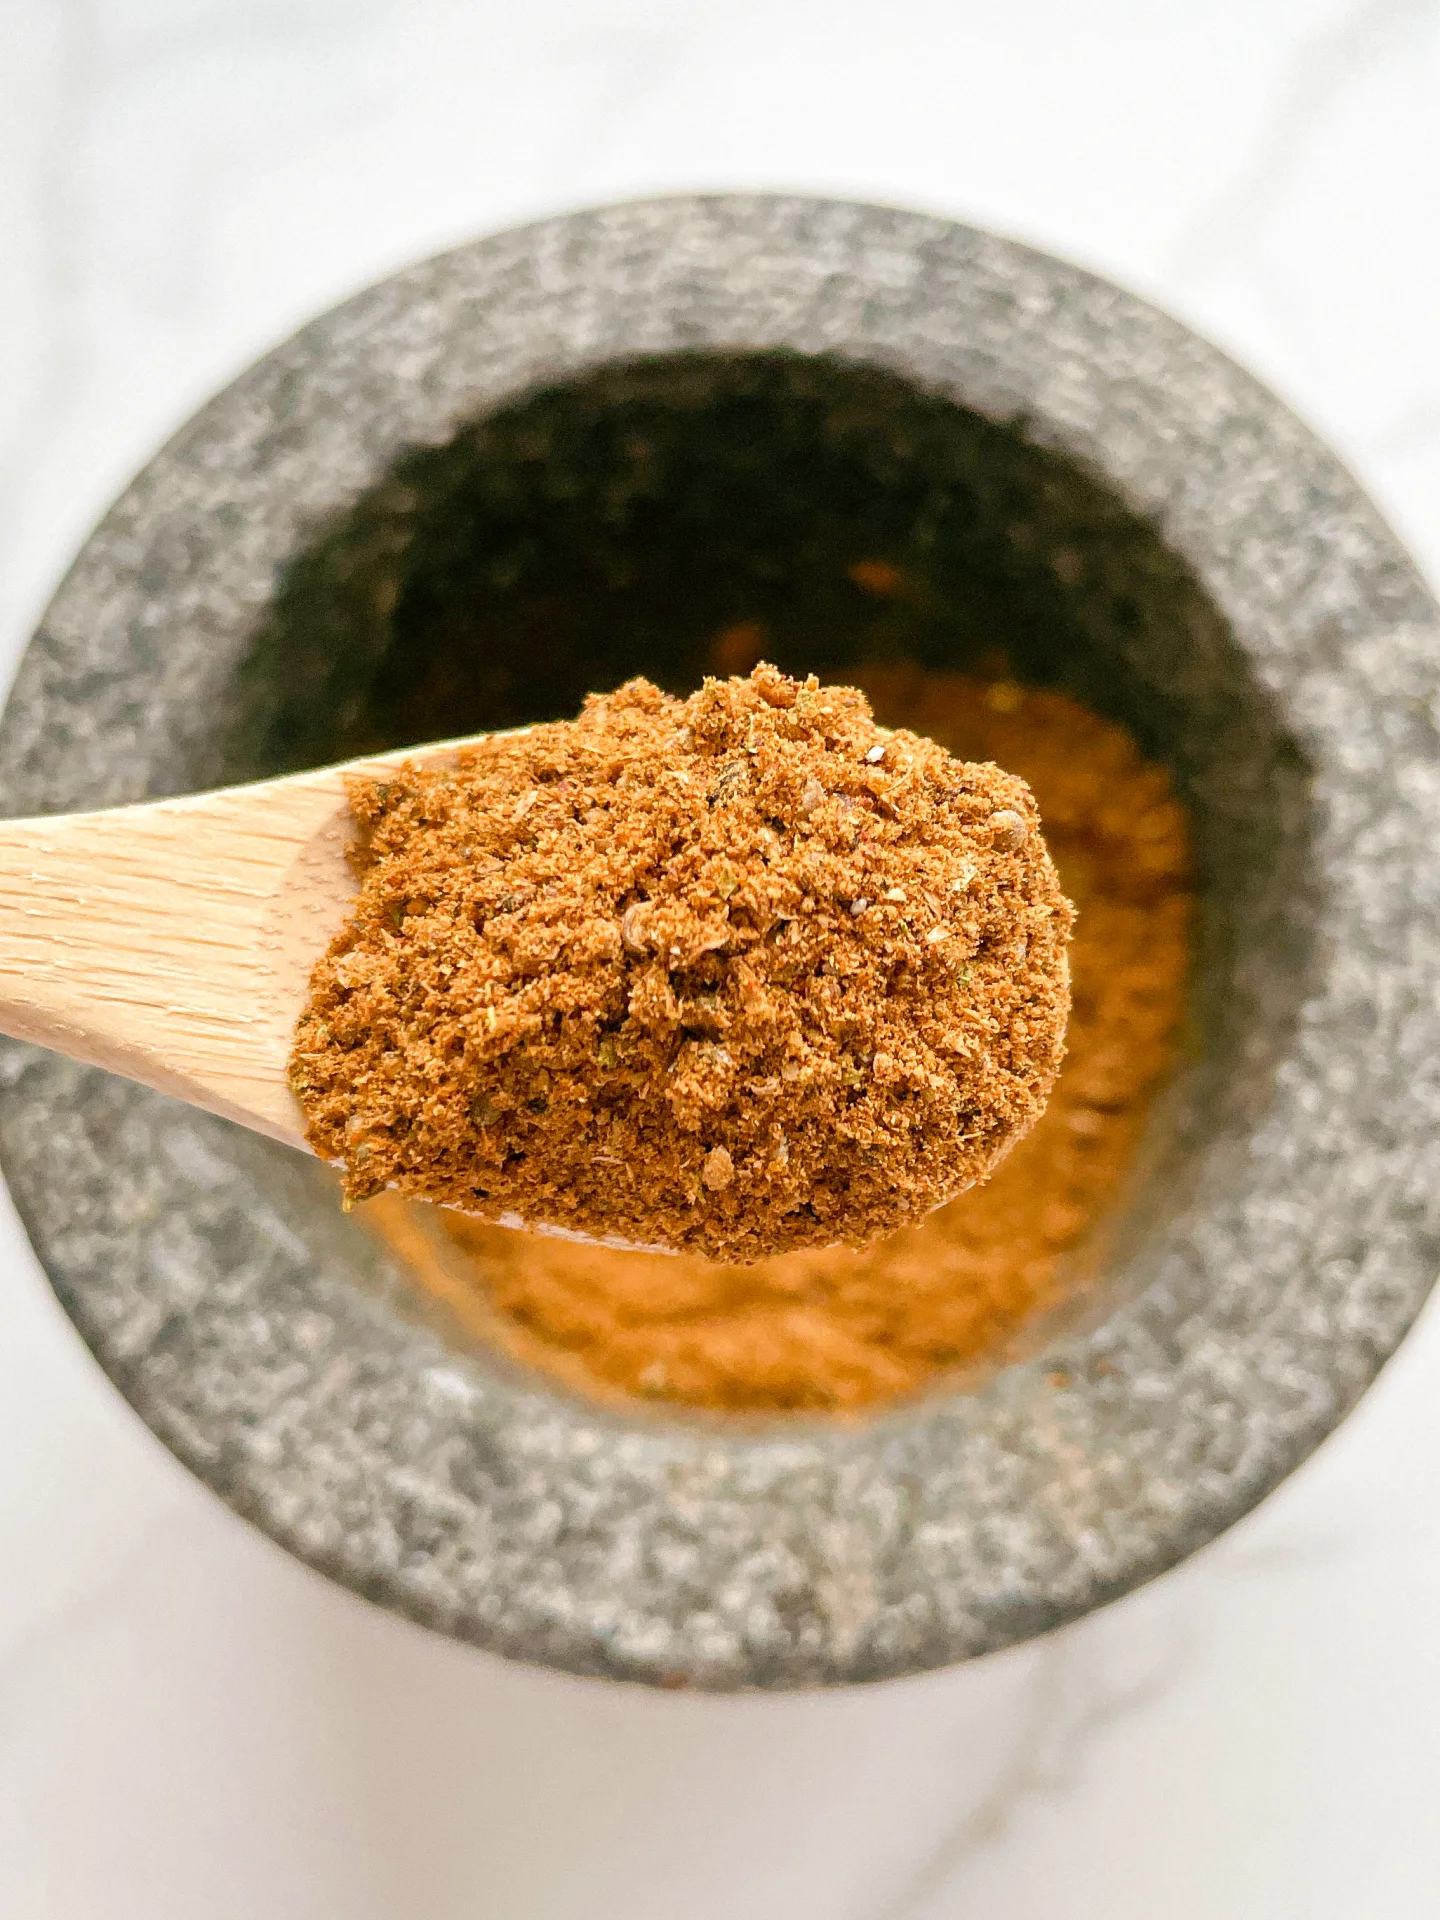
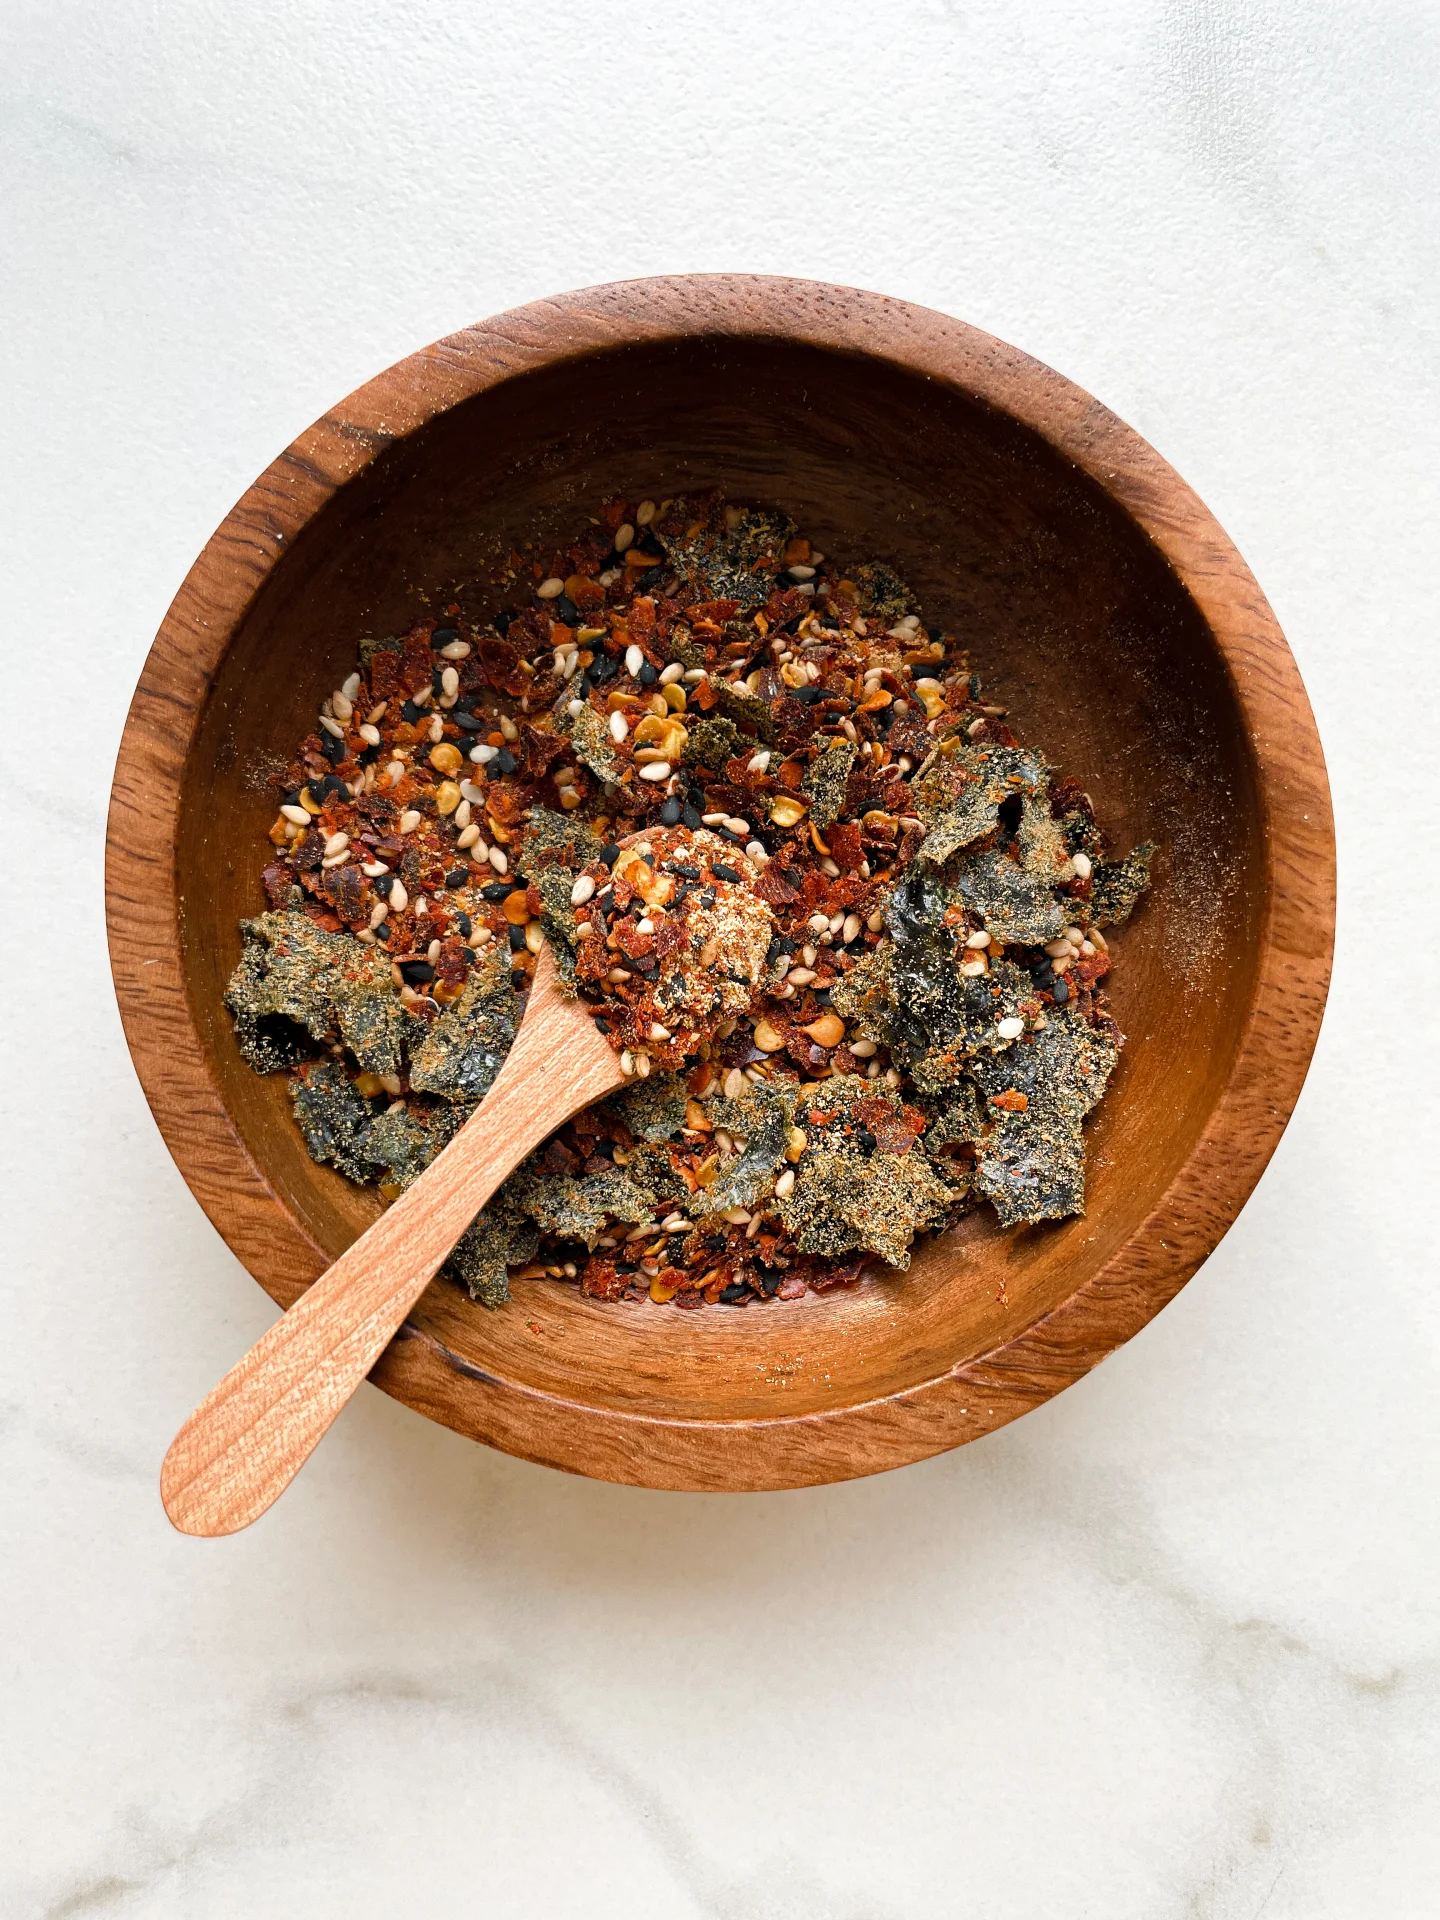
Cajun Seasoning
August 17, 2024 by Kimberly
Spice up your meals with this vibrant blend! Perfect for adding a kick to your favorite dishes, it brings a burst of flavor that makes every bite irresistible.
This website uses affiliate links which may earn commission for purchases made at no additional cost to you.
TOTAL TIME
10 min
SERVES
10 tbsp
DIET
vegan
EVERY RECIPE DESERVES
If you’re looking to add some serious flavor to your meals, this spicy seasoning blend is your new best friend. With its bold and zesty mix of spices, it’s perfect for turning any dish into a flavor explosion. Whether you’re a seasoned chef or just starting out in the kitchen, this versatile spice blend is super easy to make and will quickly become a staple in your pantry.
This vibrant spice mix is incredibly versatile and can be used in so many ways. Sprinkle it over grilled chicken, fish, or veggies for an instant flavor boost. Mix it into soups, stews, or even pasta for a zesty kick. You can also use it as a rub for your favorite meats before cooking. The possibilities are endless, and it’s guaranteed to make your dishes stand out!
To keep your spice blend fresh and flavorful, store it in an airtight container in a cool, dry place. It’ll stay potent for up to six months, so you can always have this flavor powerhouse ready to go whenever you need it.
A hopeless romantic when it comes to food. Every recipe I share is a love letter to food itself. I’m so glad you’re here. Make yourself at home and stay a while.
Love,
Kimberly
If you want to get to know me better,
click here!


LET’S MAKE A PIECE OF HAPPINESS
Recommended Equipment
CRAVING MORE?
Follow along here & don’t forget to subscribe to my substack!
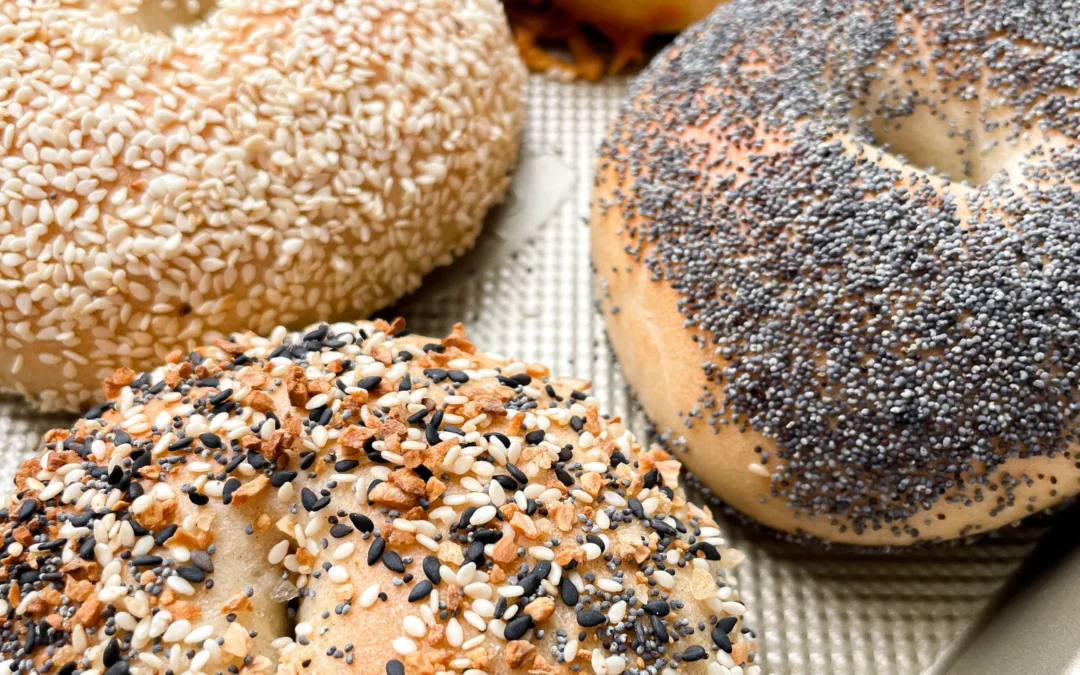

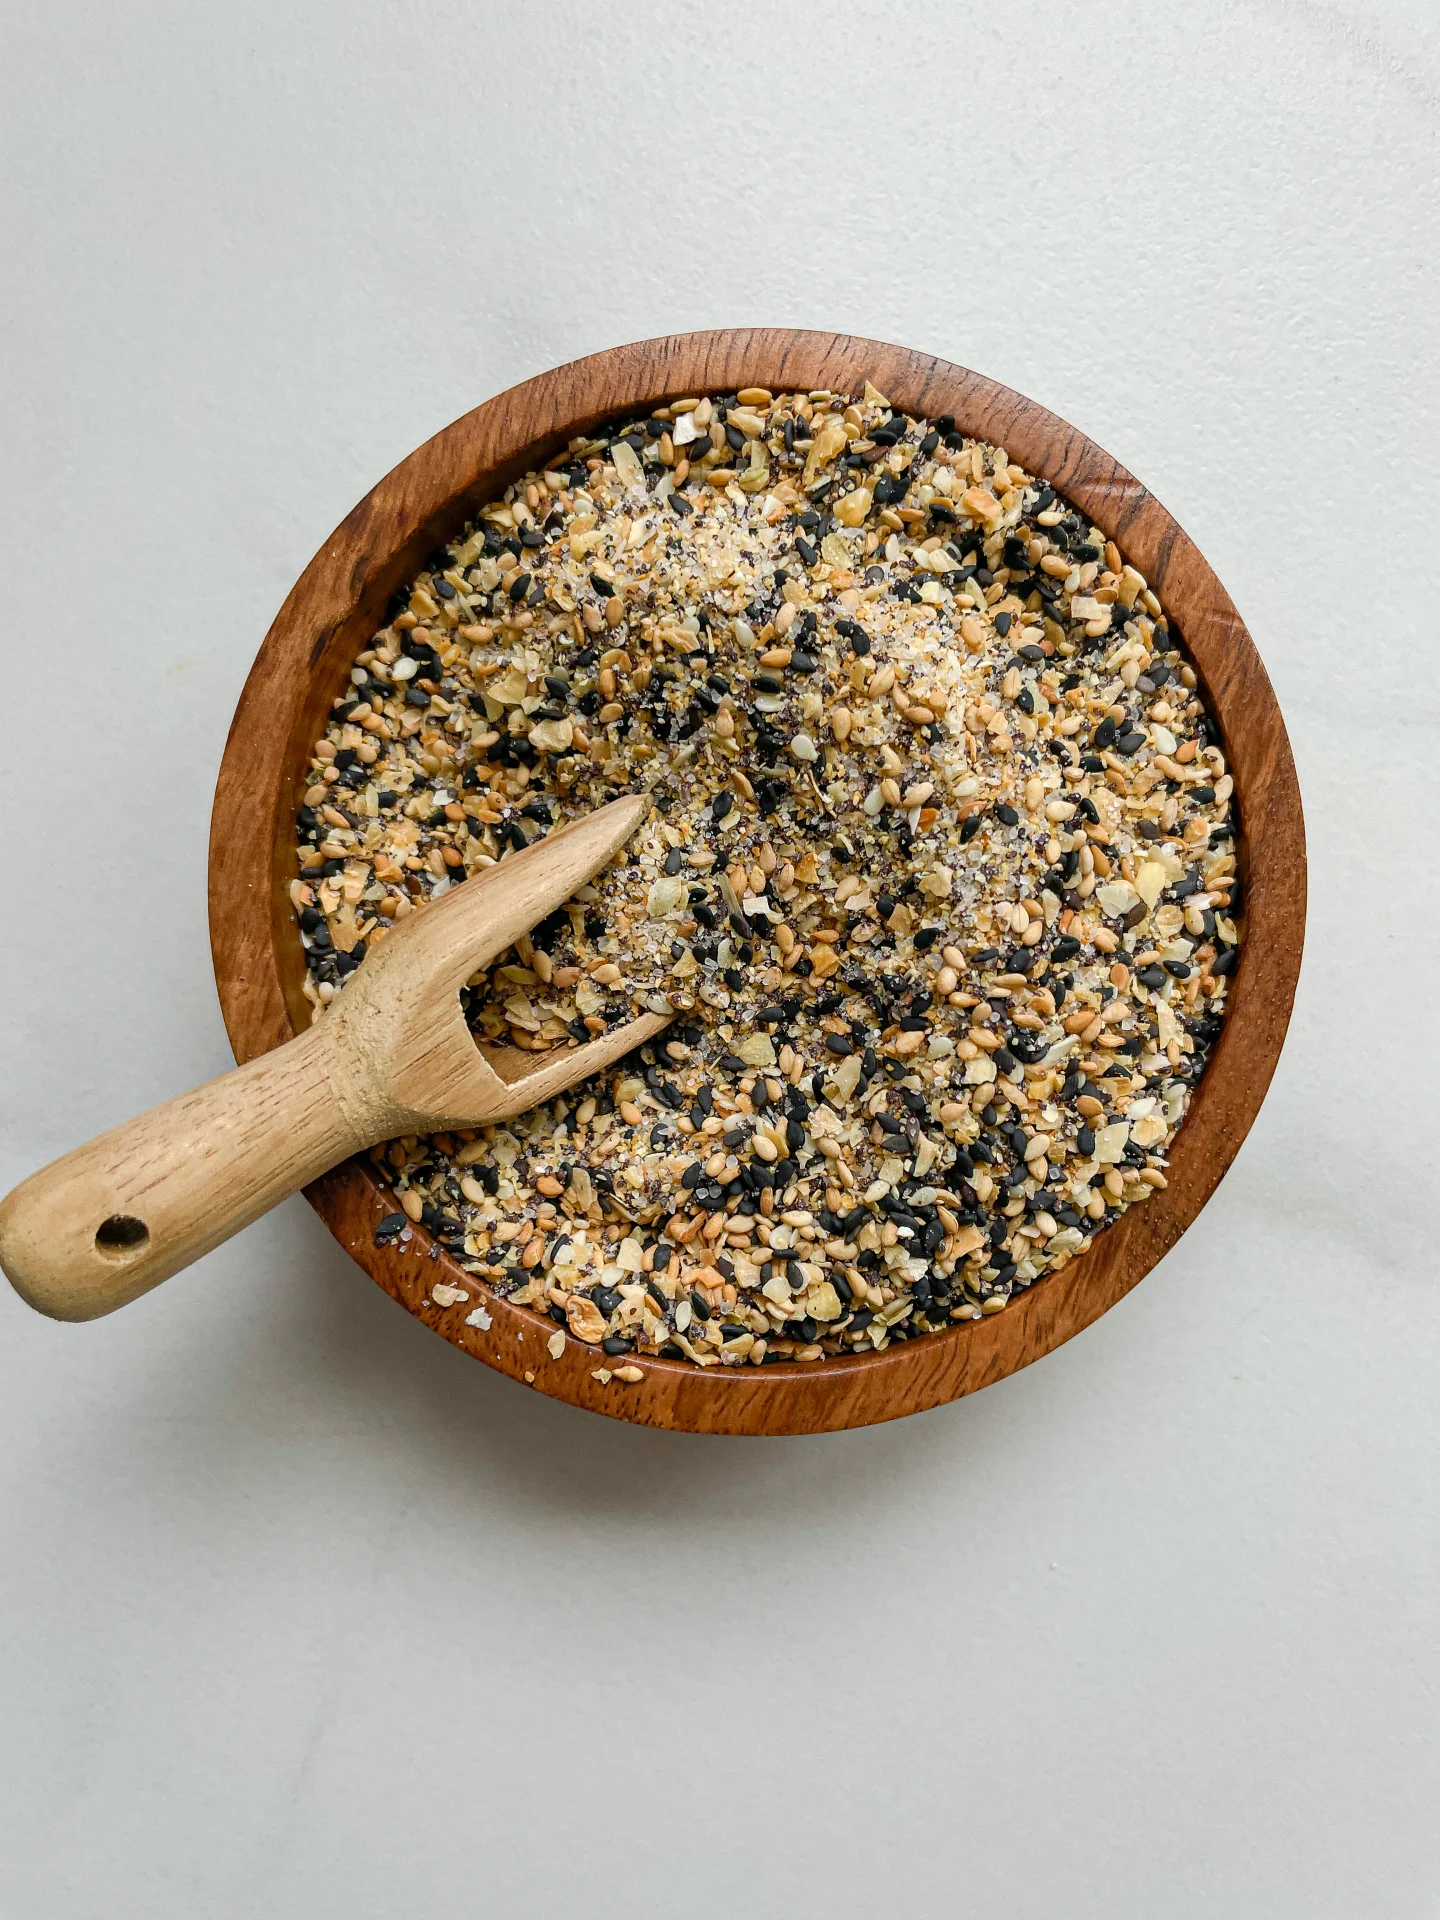
Homemade Bagels
August 15, 2024 by Kimberly
Indulge in these cozy, chewy homemade bagels with irresistible toppings! Perfect for breakfast or brunch, they bring a warm, homemade touch to your mornings. Once you try these, you’ll never buy bagels again!
This website uses affiliate links which may earn commission for purchases made at no additional cost to you.
TOTAL TIME
2 hrs
SERVES
8 bagels
DIET
vegetarian
EVERY RECIPE DESERVES
Imagine starting your day with the warm, comforting aroma of freshly baked bagels wafting through your kitchen. These delightful homemade bagels are not only easy to make but also offer a chewy, satisfying bite that pairs perfectly with your favorite toppings. Whether you prefer the nutty flavor of sesame seeds, the subtle crunch of poppyseeds, the spicy kick of cheddar and jalapeno, or the classic mix of everything bagel seasoning, there’s a bagel for everyone to love.
Slice them in half and spread on some creamy butter, tangy cream cheese, or your favorite jam. They also make fantastic bases for sandwiches – think smoked salmon with capers and red onion on a sesame bagel, or a turkey and avocado combo on a poppyseed bagel. For a real treat, try a cheddar and jalapeno bagel with a smear of guacamole. These bagels are versatile enough to be enjoyed any time of day, making them a must-have in your kitchen.
To keep your bagels fresh, store them in an airtight container at room temperature for up to two days. For longer storage, slice them in half and freeze them. When you’re ready to enjoy, simply pop them in the toaster straight from the freezer. This way, you’ll always have a delicious bagel ready whenever the craving strikes.
A hopeless romantic when it comes to food. Every recipe I share is a love letter to food itself. I’m so glad you’re here. Make yourself at home and stay a while.
Love,
Kimberly
If you want to get to know me better,
click here!


LET’S MAKE A PIECE OF HAPPINESS

Recommended Equipment
CRAVING MORE?
Follow along here & don’t forget to subscribe to my substack!
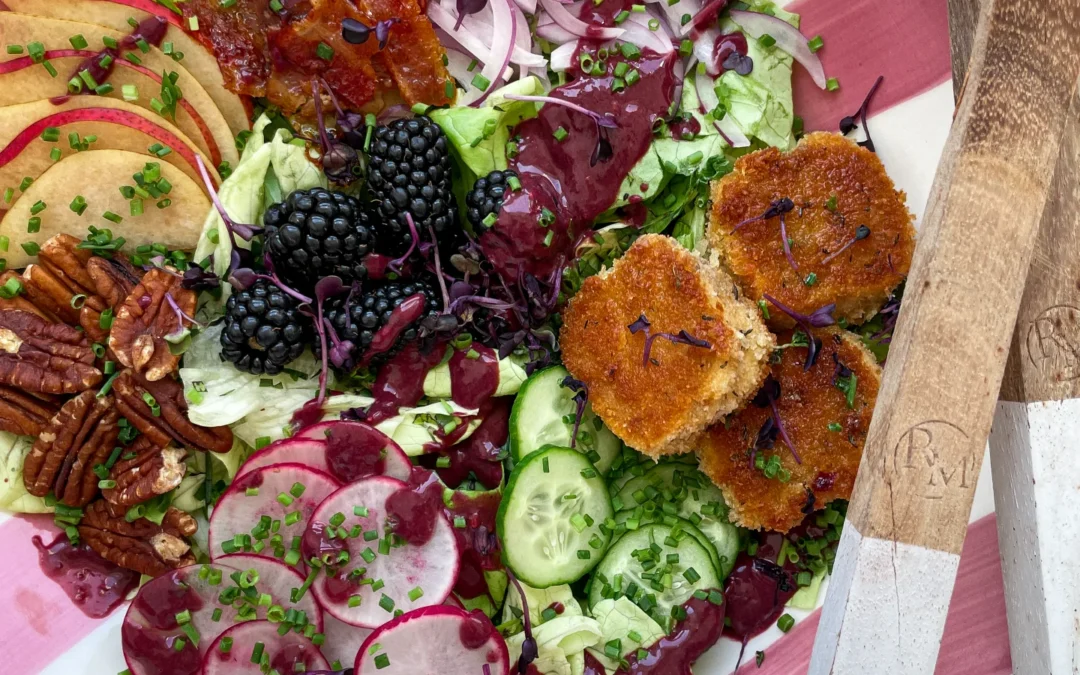

Caramelized Bacon Fried Goat Cheese Salad with Blackberry Balsamic Vinaigrette
August 13, 2024 by Kimberly
Indulge in this irresistibly crunchy, savory-sweet salad that’s bursting with flavor. Each bite is a vibrant mix of textures and tastes, making it the ultimate comfort food meets gourmet delight.
This website uses affiliate links which may earn commission for purchases made at no additional cost to you.
TOTAL TIME
30 min
SERVES
2 portions
DIET
omnivore
EVERY RECIPE DESERVES
Imagine sitting down to a salad that feels like a hug on a plate – some warm components, some crispy ones, and bursting with flavors that dance together perfectly. The savory crunch of caramelized bacon paired with the creamy, tangy goat cheese is an experience in itself. Add in the fresh burst of blackberries, crisp cucumber, and the subtle sweetness of pear, and you’ve got a dish that’s not just a salad but a full-on flavor journey.
This salad is perfect as a main dish or a side, but honestly, it’s so good you’ll want to make it the star of the meal. Serve it on a large platter, allowing all those gorgeous colors to pop. Drizzle the blackberry balsamic vinaigrette just before serving for that fresh, tangy finish. Pair it with a light white wine or sparkling water with a splash of lemon, and you’ve got yourself a meal that feels like a treat.
If you’ve got leftovers, store the salad and dressing separately to keep everything crisp and fresh. Place the salad in an airtight container in the fridge, and it should stay good for about 1-2 days. The vinaigrette can be stored in a jar for up to three days.
A hopeless romantic when it comes to food. Every recipe I share is a love letter to food itself. I’m so glad you’re here. Make yourself at home and stay a while.
Love,
Kimberly
If you want to get to know me better,
click here!


LET’S MAKE A PIECE OF HAPPINESS

Recommended Equipment
CRAVING MORE?
Follow along here & don’t forget to subscribe to my substack!