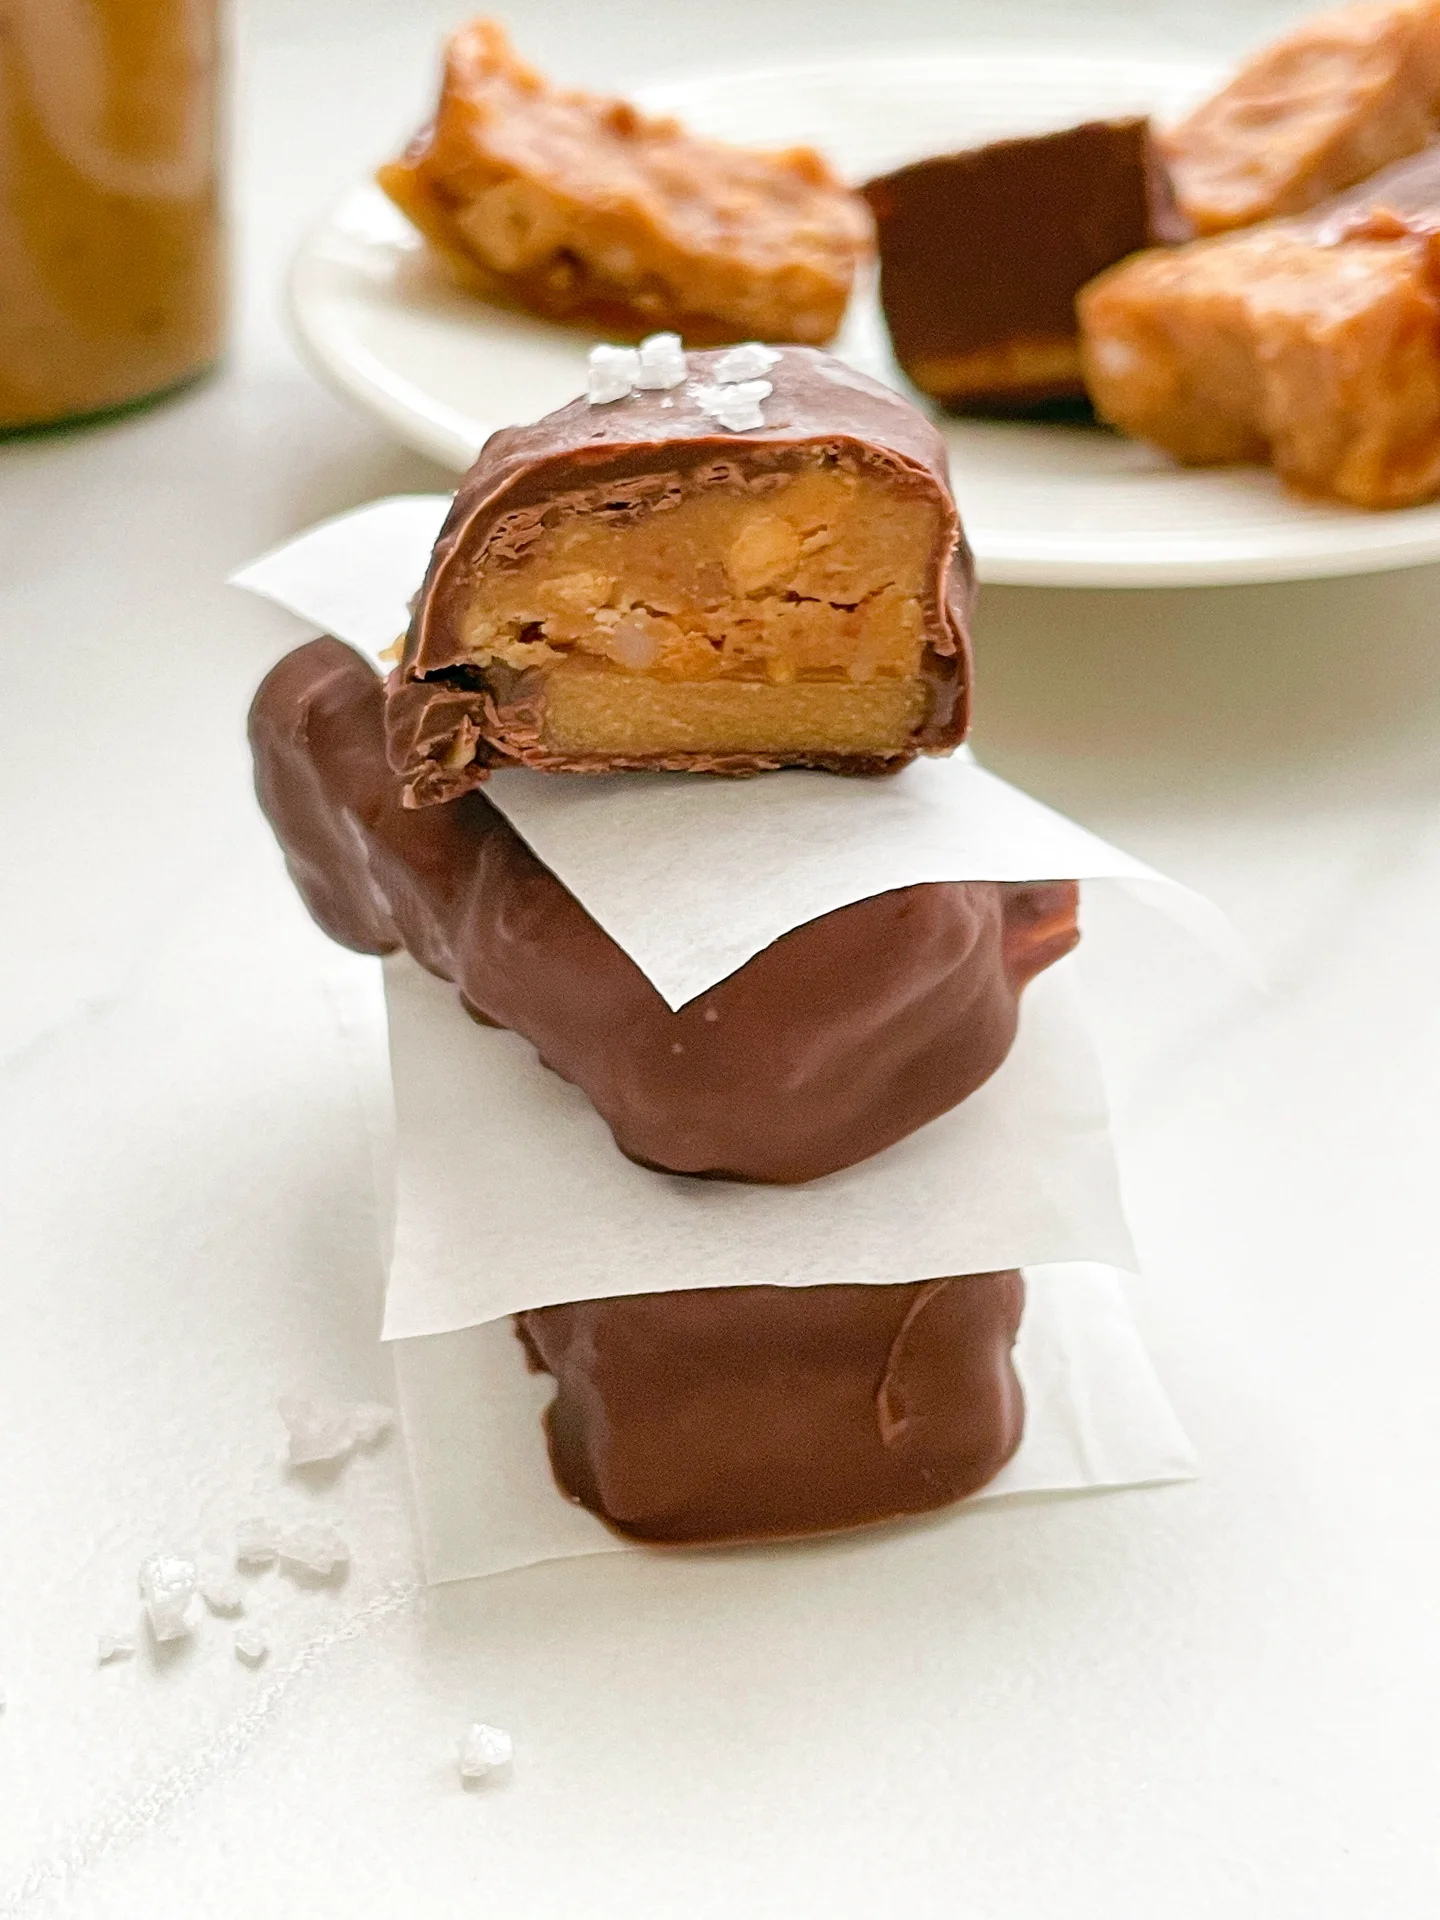
Pecan Caramel Pie Cobbler

Pecan Caramel Pie Cobbler

Pecan Caramel Pie Cobbler

Pecan Caramel Pie Cobbler

November 27, 2024 by Kimberly

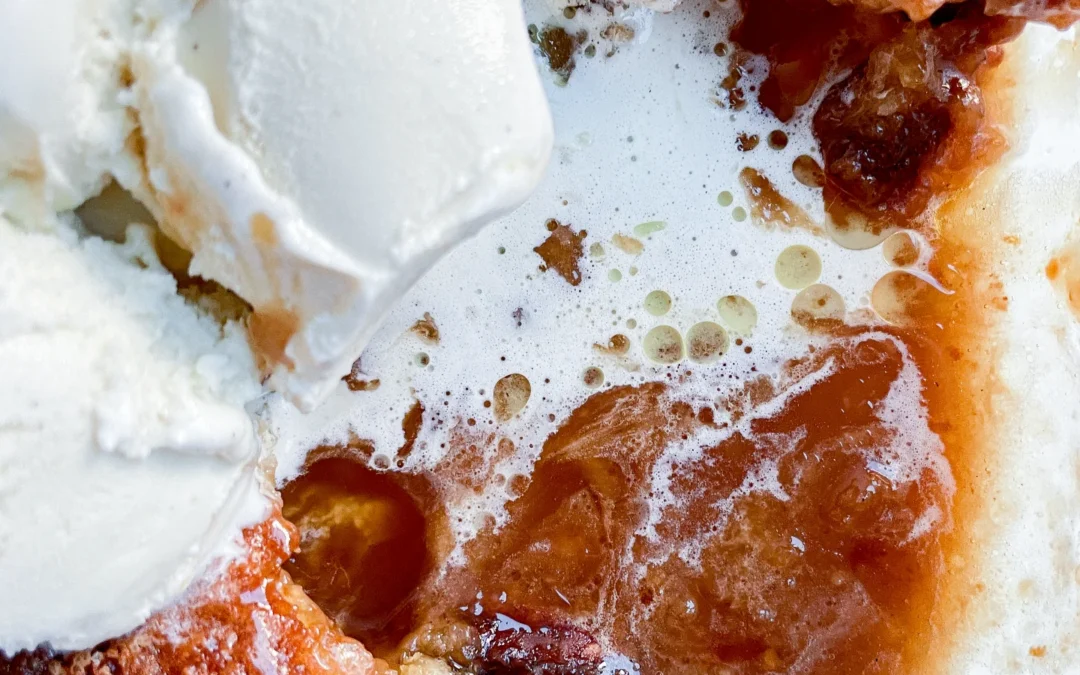
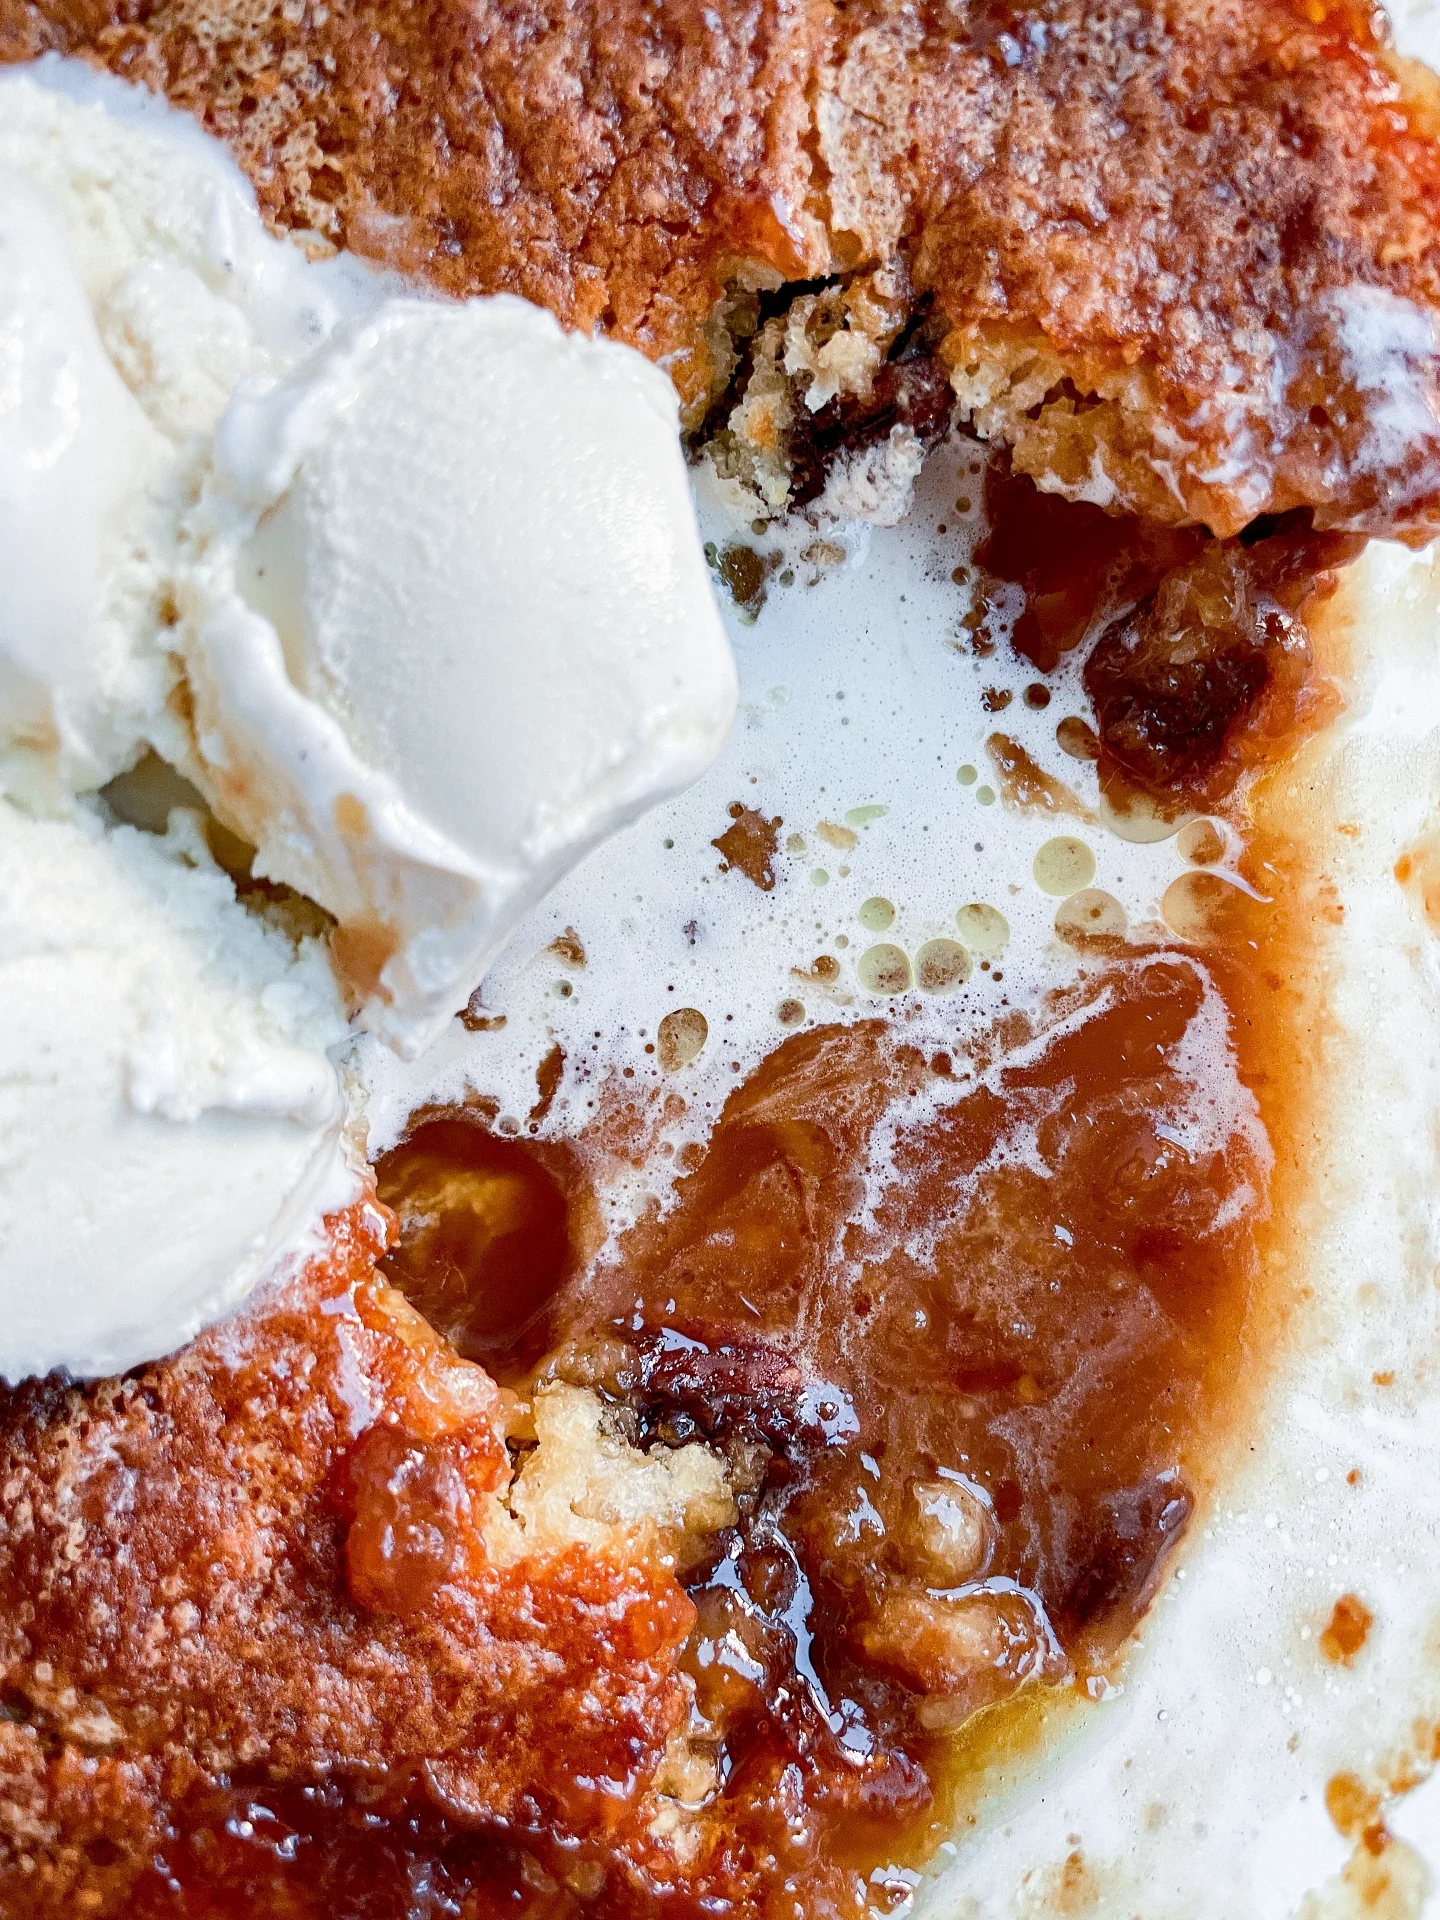
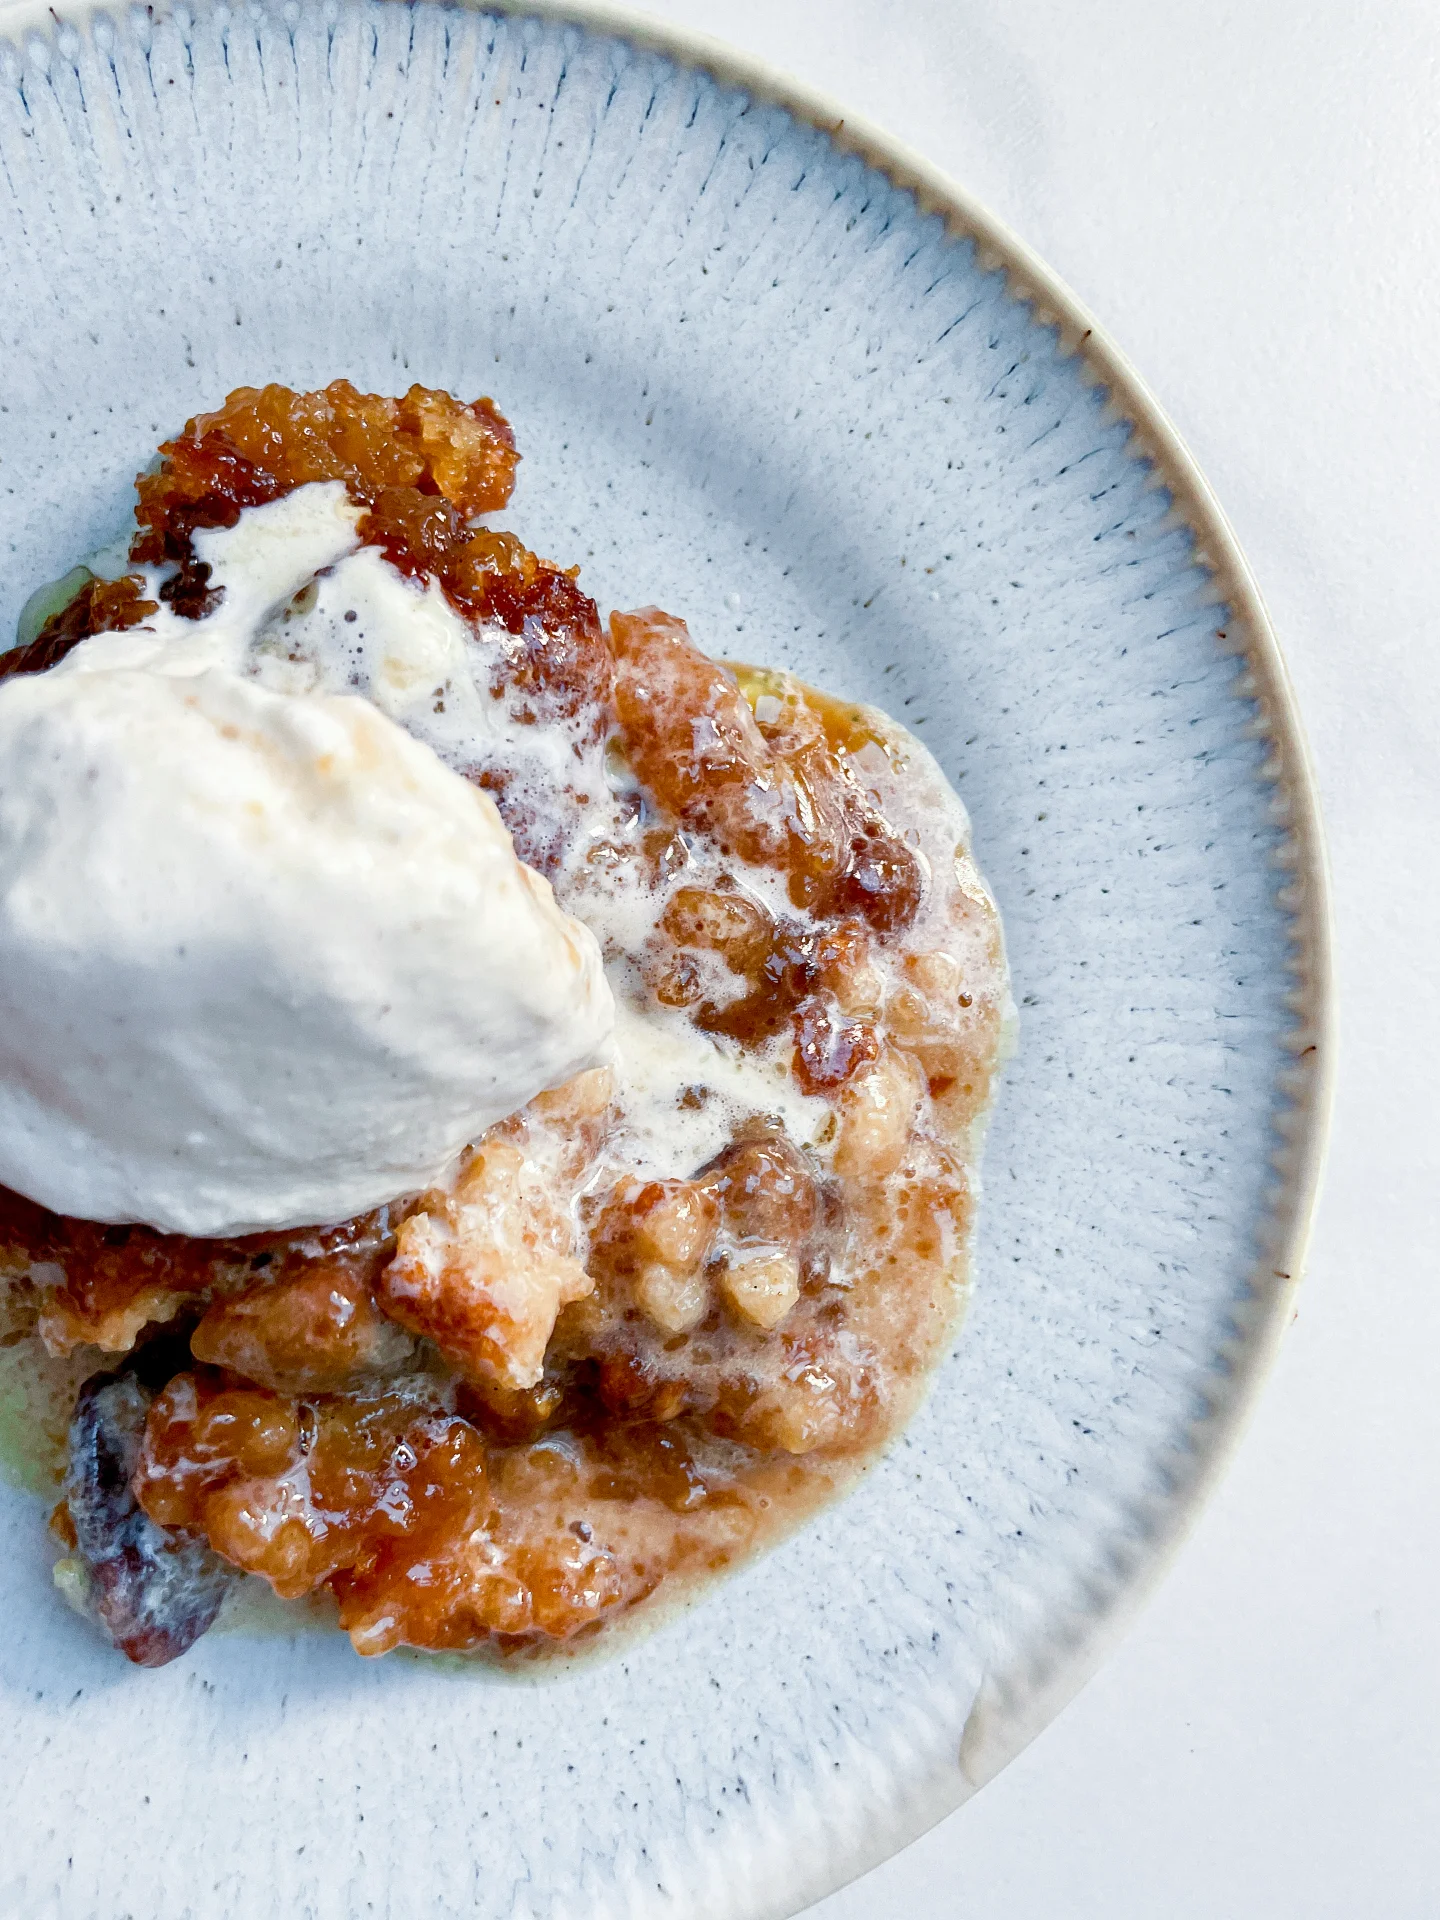
This warm, gooey cobbler is the ultimate comfort dessert – melty caramel candies, crunchy pecans, and buttery dough baked into golden perfection. A cozy, sweet treat for every dessert lover out there!

75 MINUTES

EASY

VEGETARIAN

US AMERICAN

505 PER PORTION

COMFORT FOOD

CHRISTMAS

DESSERT

AUTUMN
WINTER

INTRODUCTION

ABOUT THE RECIPE

There’s something magical about desserts that feel like a warm hug, and this cobbler delivers just that. Melty caramel candies and crunchy pecans create a gooey filling, while the buttery dough bakes into a golden, rustic crust. It’s the perfect dessert for chilly evenings or holiday gatherings, combining the cozy flavors of caramel and pecans into one irresistible dish. Trust me, once you try this cobbler, it’ll quickly become a go-to comfort dessert for every season.

How to serve
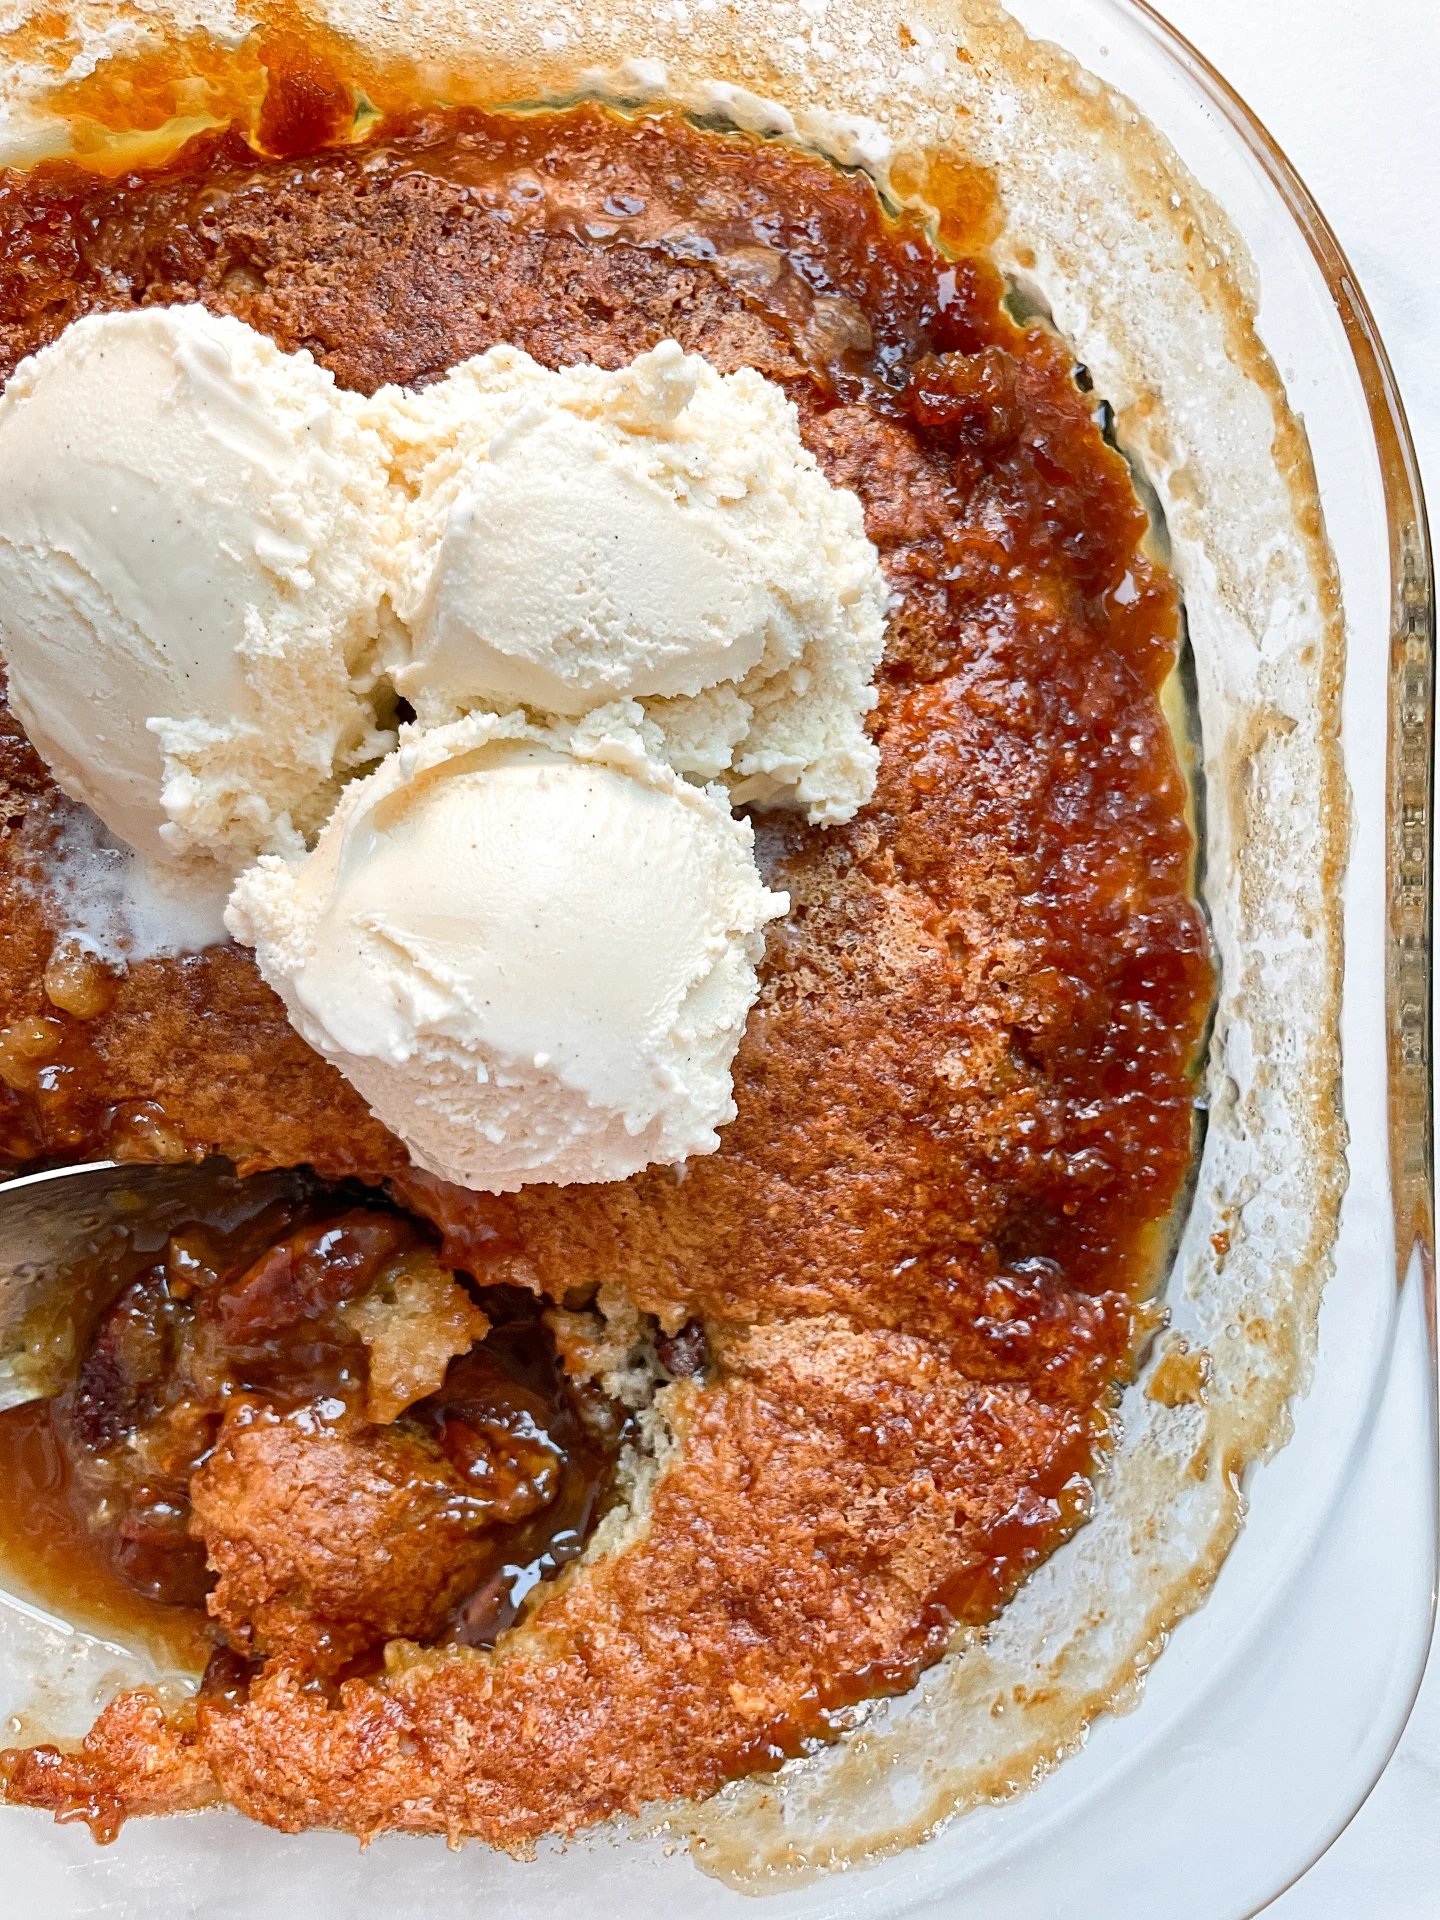
This cobbler is best served warm, straight out of the oven, with a scoop of vanilla ice cream or a dollop of whipped cream on top. The cold creaminess of the topping perfectly balances the gooey caramel and crunchy pecans. Sprinkle a few extra pecans over the top for added texture. It’s perfect for family gatherings, dinner parties, or just a cozy night in.

How to store
Store any leftovers in an airtight container at room temperature for up to one day, or in the fridge for up to four days. Reheat individual portions in the microwave for 20-30 seconds to bring back the gooey, warm goodness.

Hi, I'm Kimberly!

Hi, I'm Kimberly.

A passionate food lover who believes in the magic of homemade deliciousness that spreads love and warmth. Join me on this culinary adventure as I prepare wonderful dishes and let’s spread some happiness together!

Kimberly the Zett Signature

If you want to get to know me better, click here!


Pecan Caramel Pie Cobbler
„Let’s make a piece of happiness“
Print
clock clock iconcutlery cutlery iconflag flag iconfolder folder iconinstagram instagram iconpinterest pinterest iconfacebook facebook iconprint print iconsquares squares iconheart heart iconheart solid heart solid icon
Pecan Caramel Pie Cobbler

Pecan Caramel Pie Cobbler


5 Stars 4 Stars 3 Stars 2 Stars 1 Star

No reviews

  • Author: Kimberly
  • Total Time: 75 min
  • Yield: 8 1x

Description

RECOMMENDED EQUIPMENT

  • baking dish (approx. 20×30 cm or similar)
  • mixing bowl
  • whisk or hand mixer
  • kettle (for boiling water)


Ingredients

Units Scale
  • 120 grams butter
  • 125 grams all-purpose flour
  • 125 grams white sugar
  • 3 tsp baking powder
  • 1/4 tsp salt
  • 170 milliliter full-fat cow milk
  • 1 tsp vanilla extract
  • 100 grams pecans
  • 50 grams brown sugar
  • 125 grams caramel candies
  • 250 milliliter boiling water
  • vanilla ice cream

Instructions

  1. Preheat the oven to 175°C / 350°F. Grab a baking dish, drop in the butter, and pop it into the oven for a few minutes and let it melt.
  2. In a bowl, combine flour, sugar, baking powder, and a pinch of salt. Stir in milk and a splash of vanilla extract until it’s all smooth, creamy, and totally lump-free.
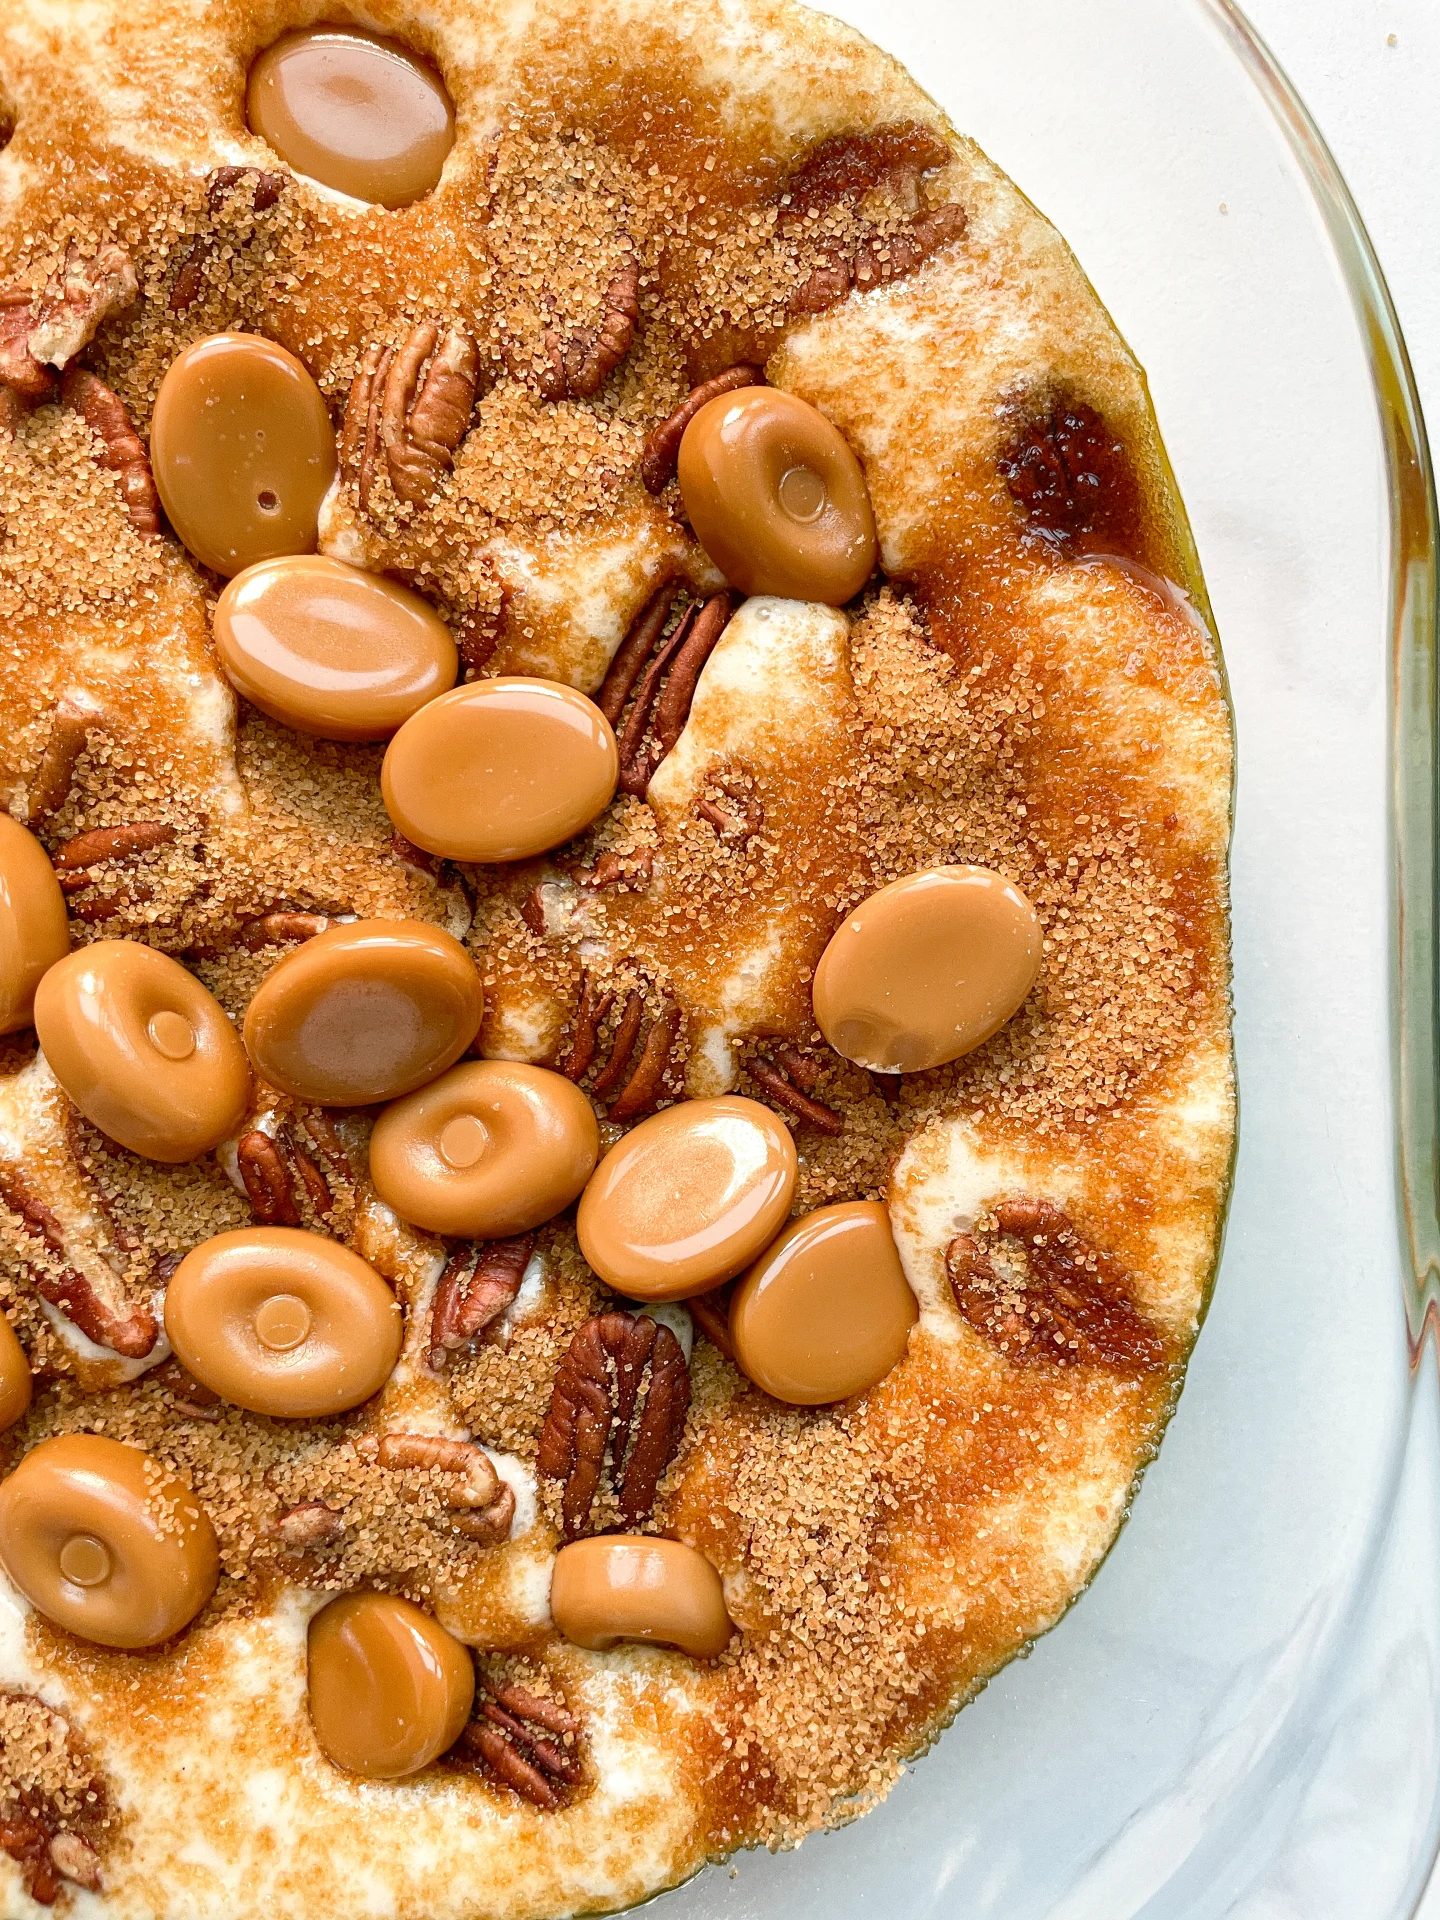
  3. Carefully pull the now-buttery baking dish out of the oven. Pour the batter right over that melted butter. Trust the process – it looks weird now, but it’s all part of trust the process. Sprinkle pecans on top and follow up with a layer of brown sugar. Finally, add the caramel candies. Whole or crushed? Dealer’s choice.
  4. Next, get that kettle boiling and slowly pour the hot water over everything in the dish. Yes, everything. No stirring allowed! Just trust me on this one.
  5. Bake uncovered for 30–35 minutes or until the top is golden brown and smells like a caramel dream.
  6. Take it out and let it cool for about 30 minutes. Patience is key – the caramel sauce underneath thickens and gets all creamy during this time.
  7. Scoop it into bowls, drizzle with that caramel sauce hiding underneath, and top with a big ol’ scoop of vanilla ice cream.

  • Passive Time: 60 min
  • Cook Time: 15 min
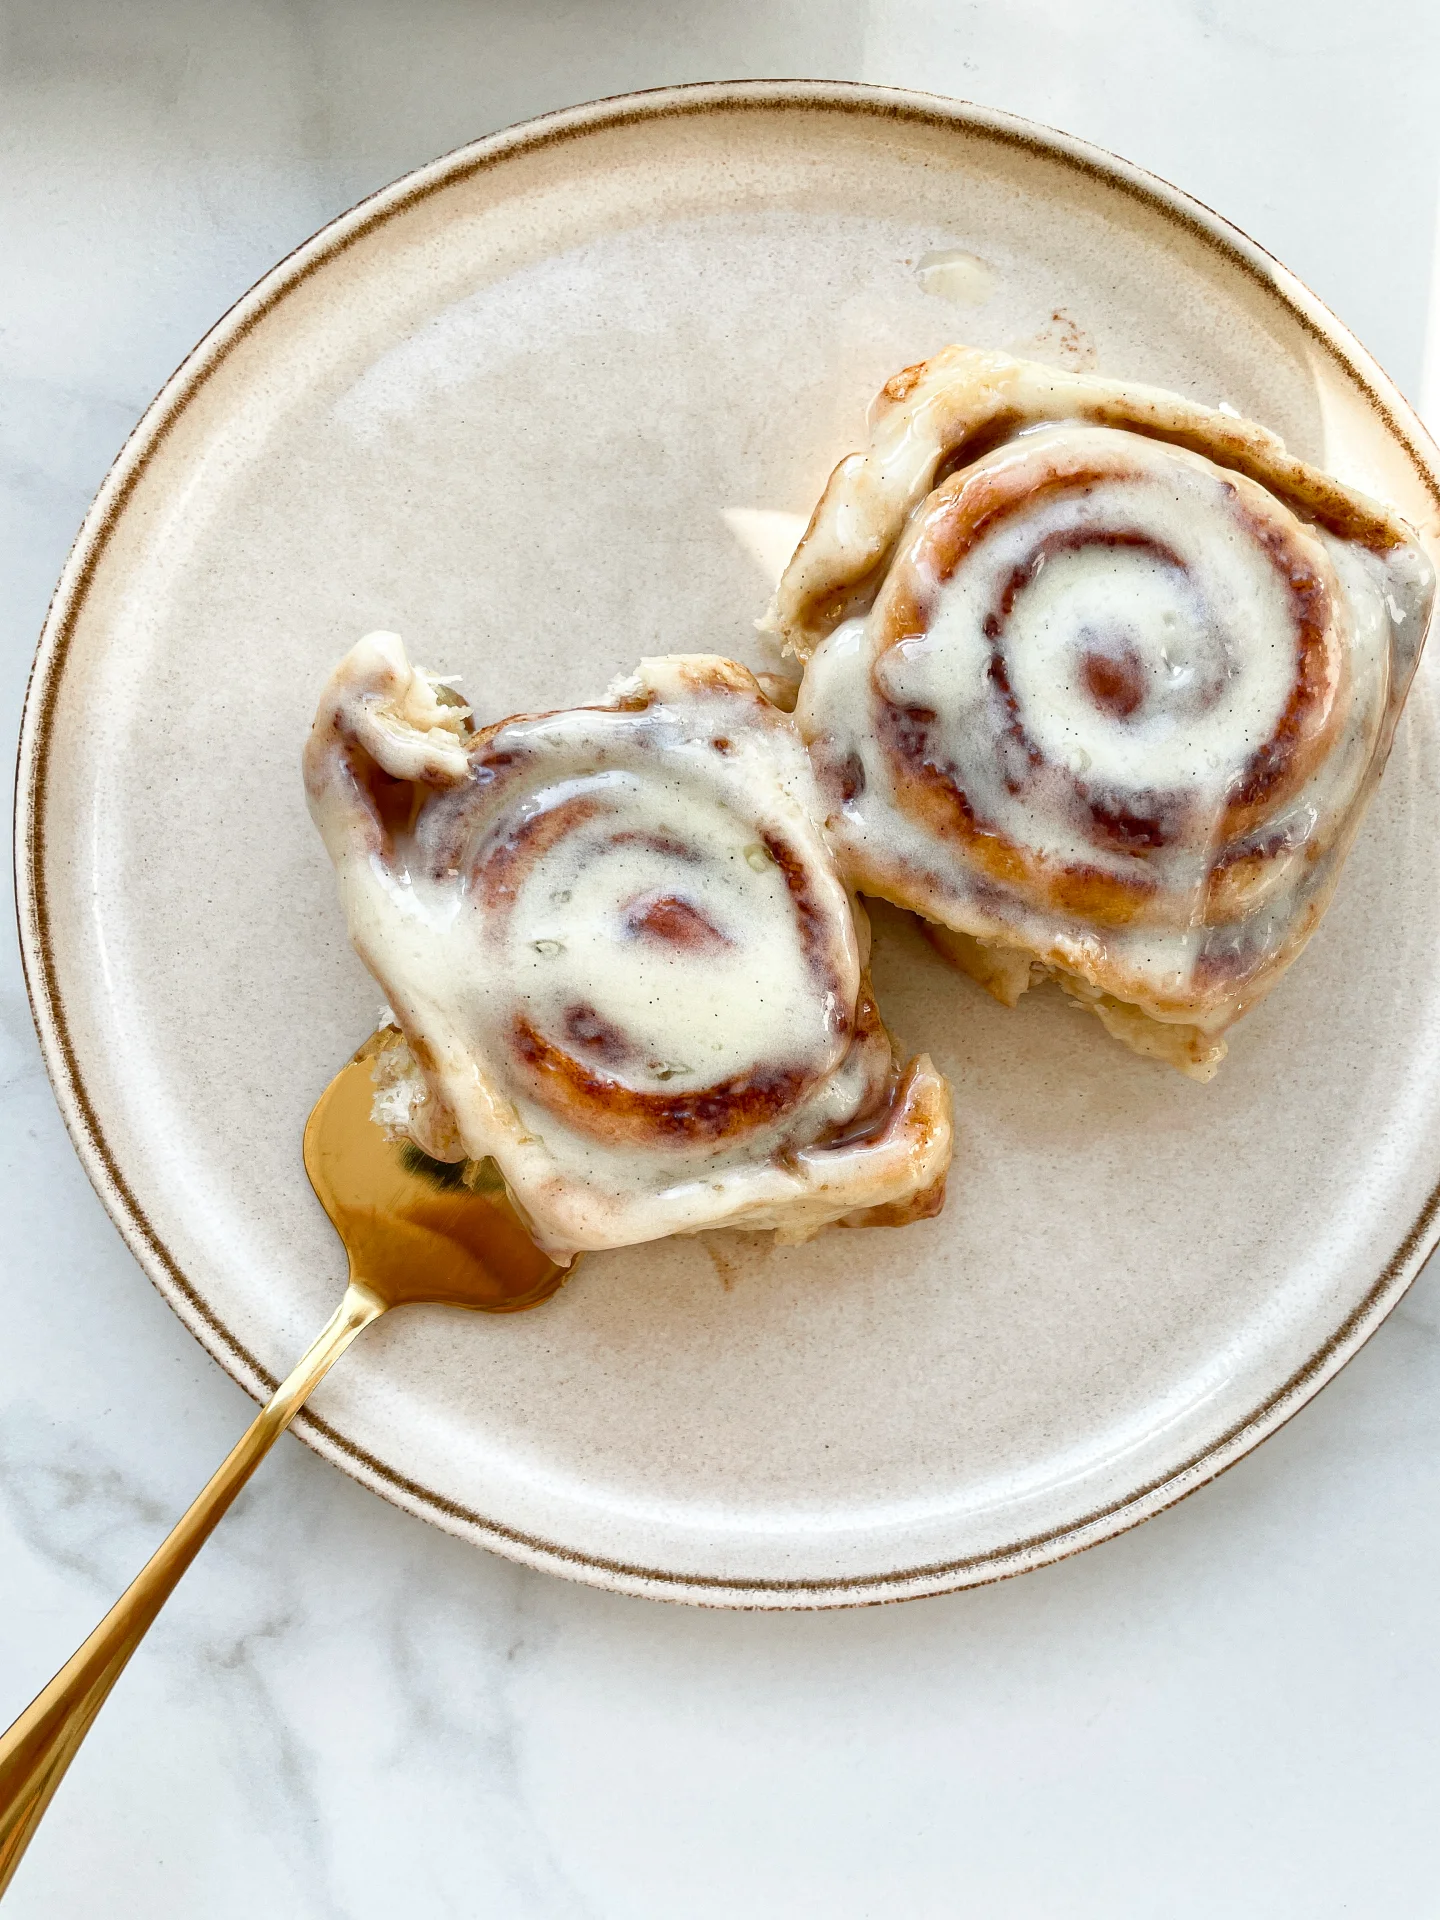
Cinnamon Rolls

Cinnamon Rolls

Cinnamon Rolls

Cinnamon Rolls

October 2, 2024 by Kimberly

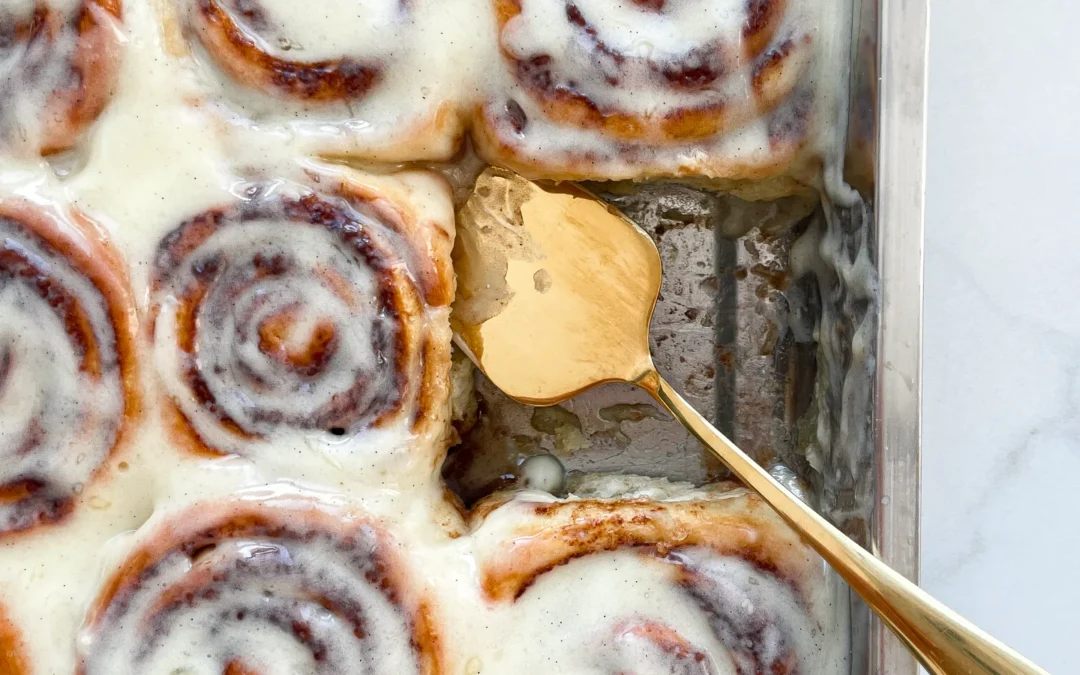
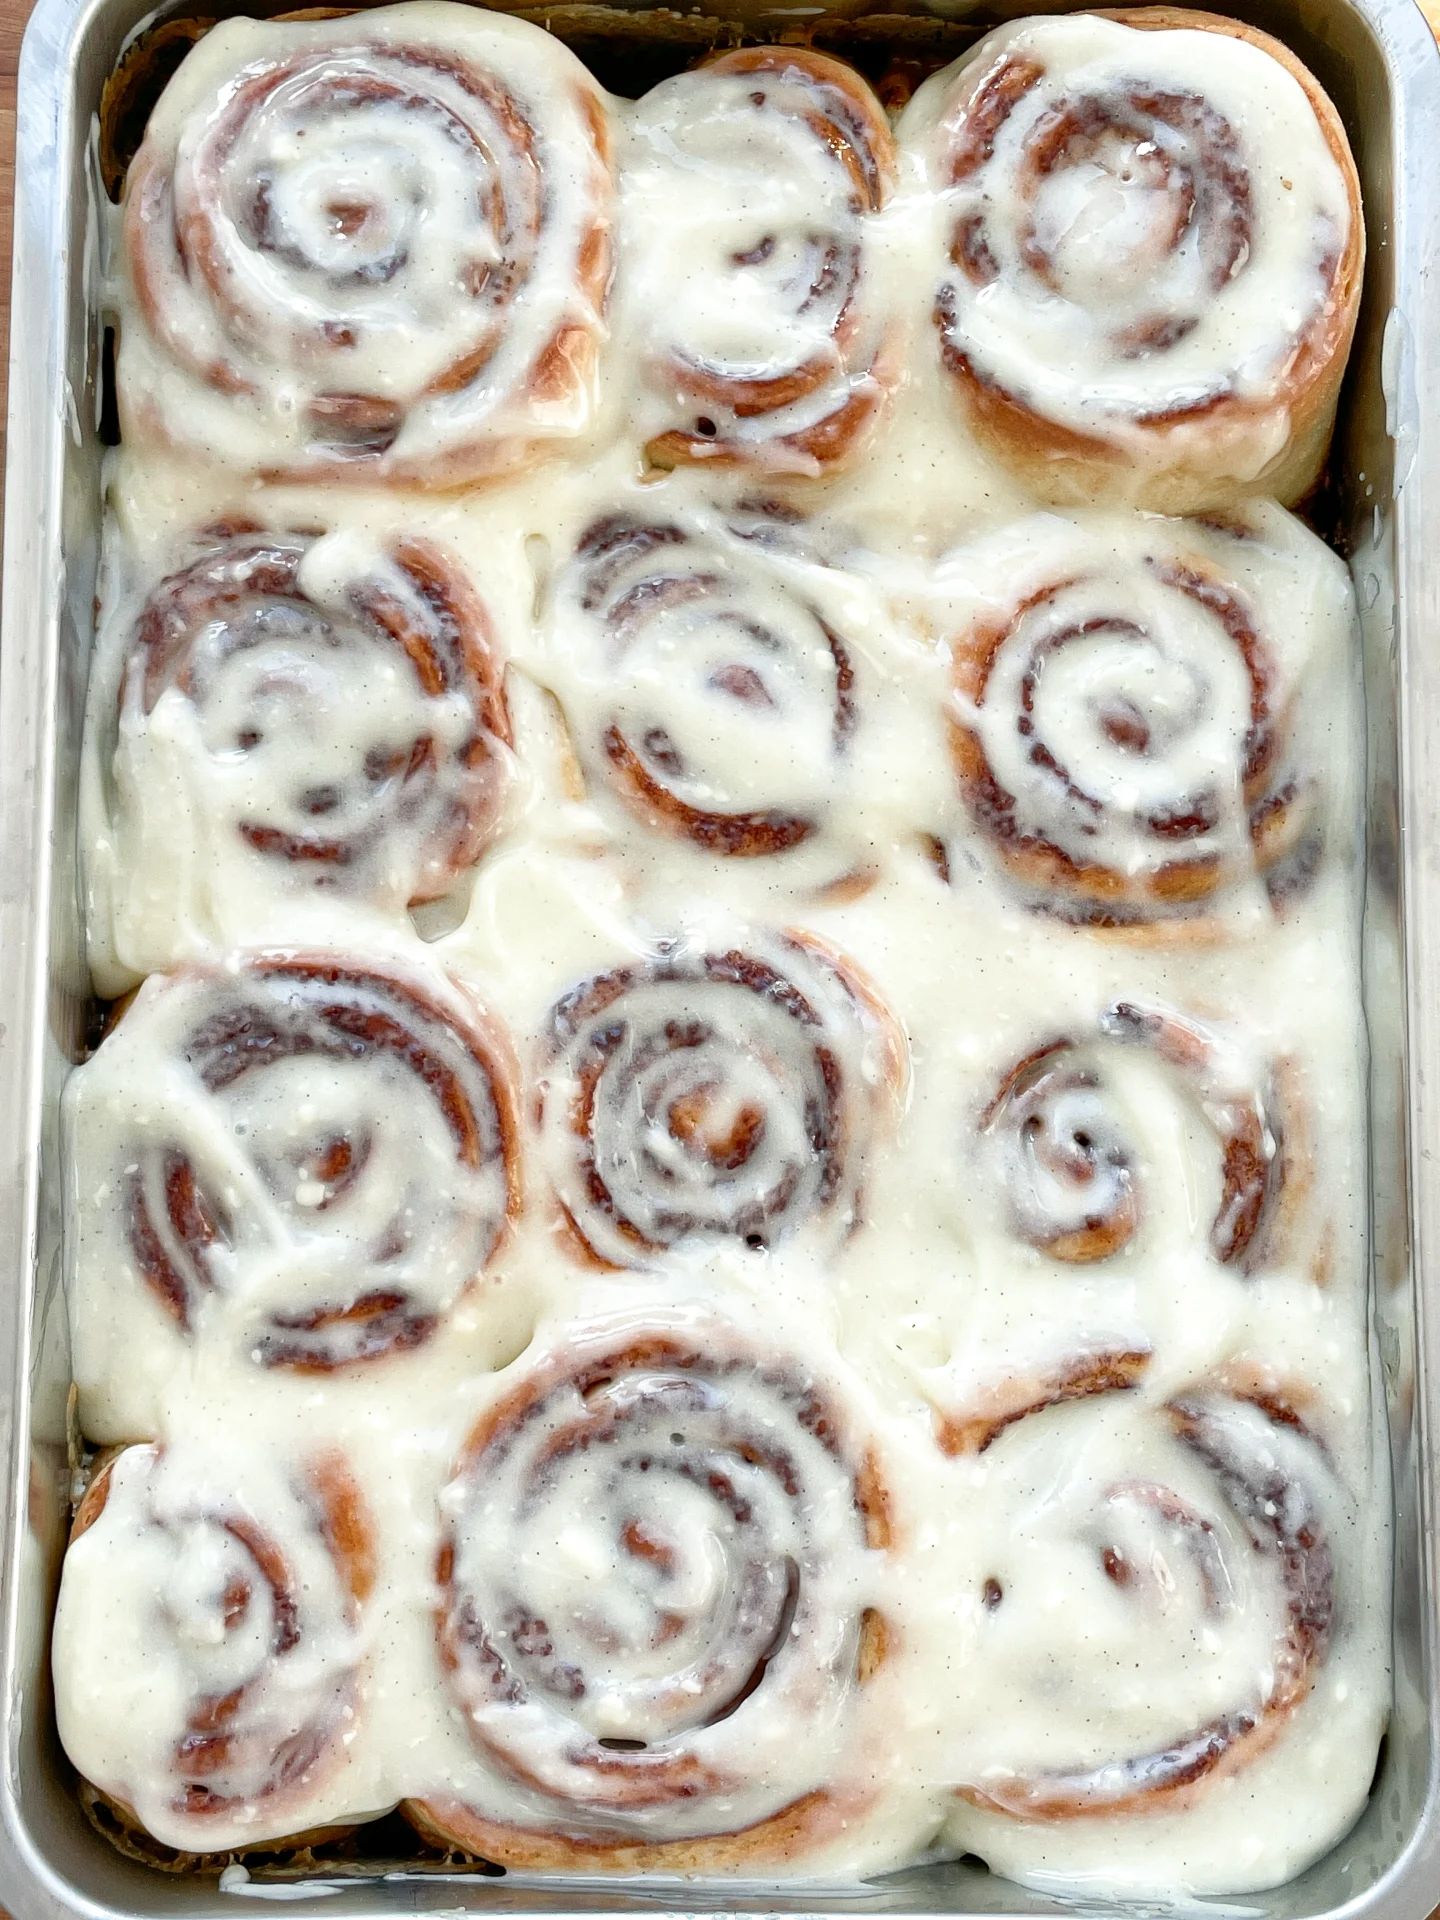
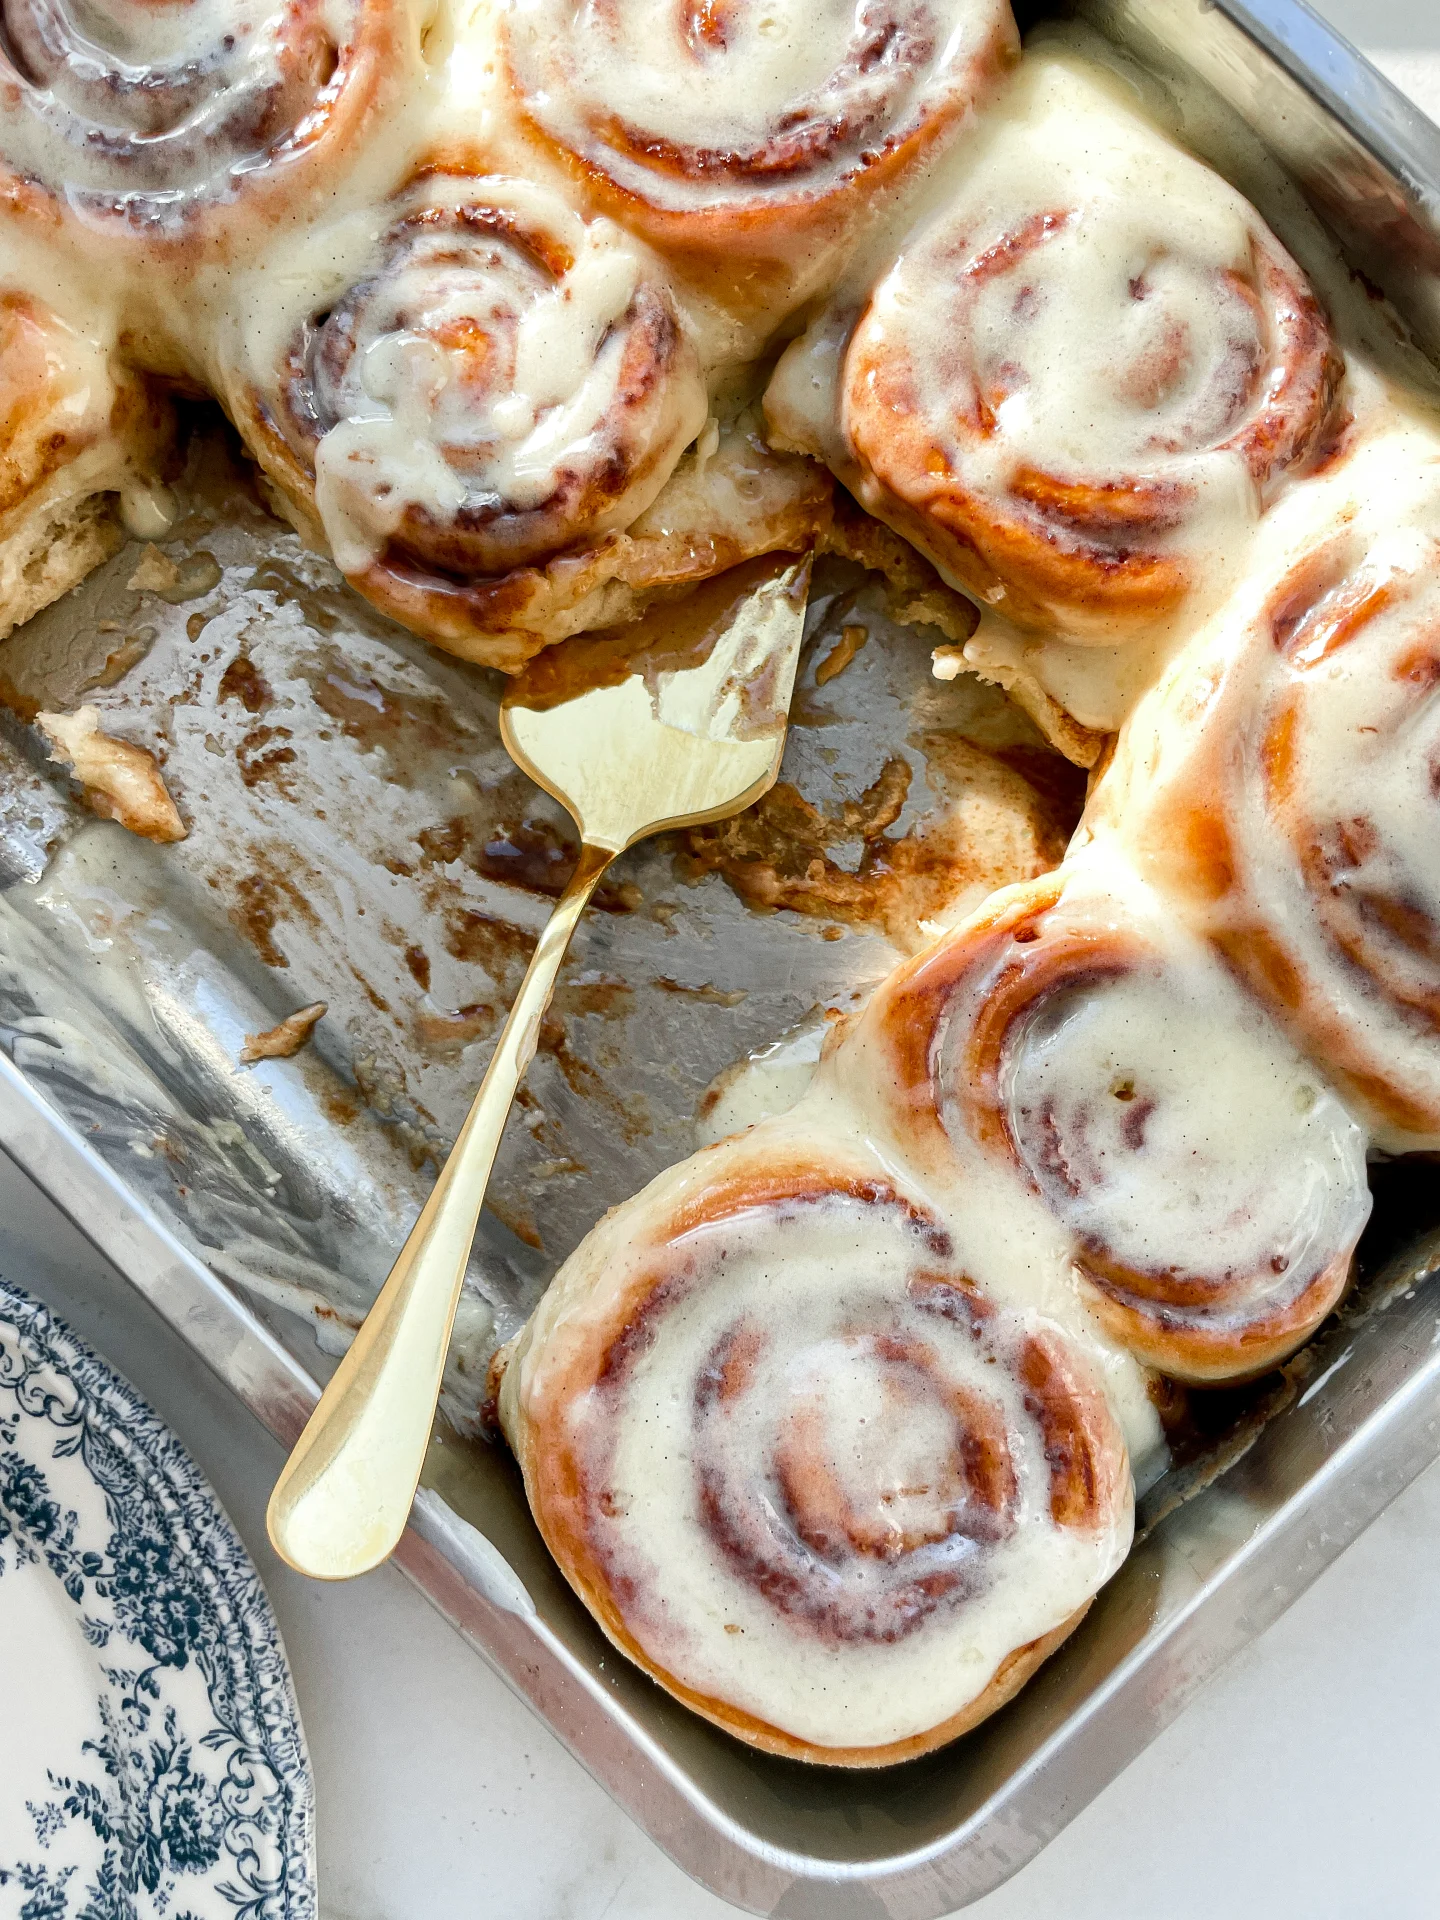
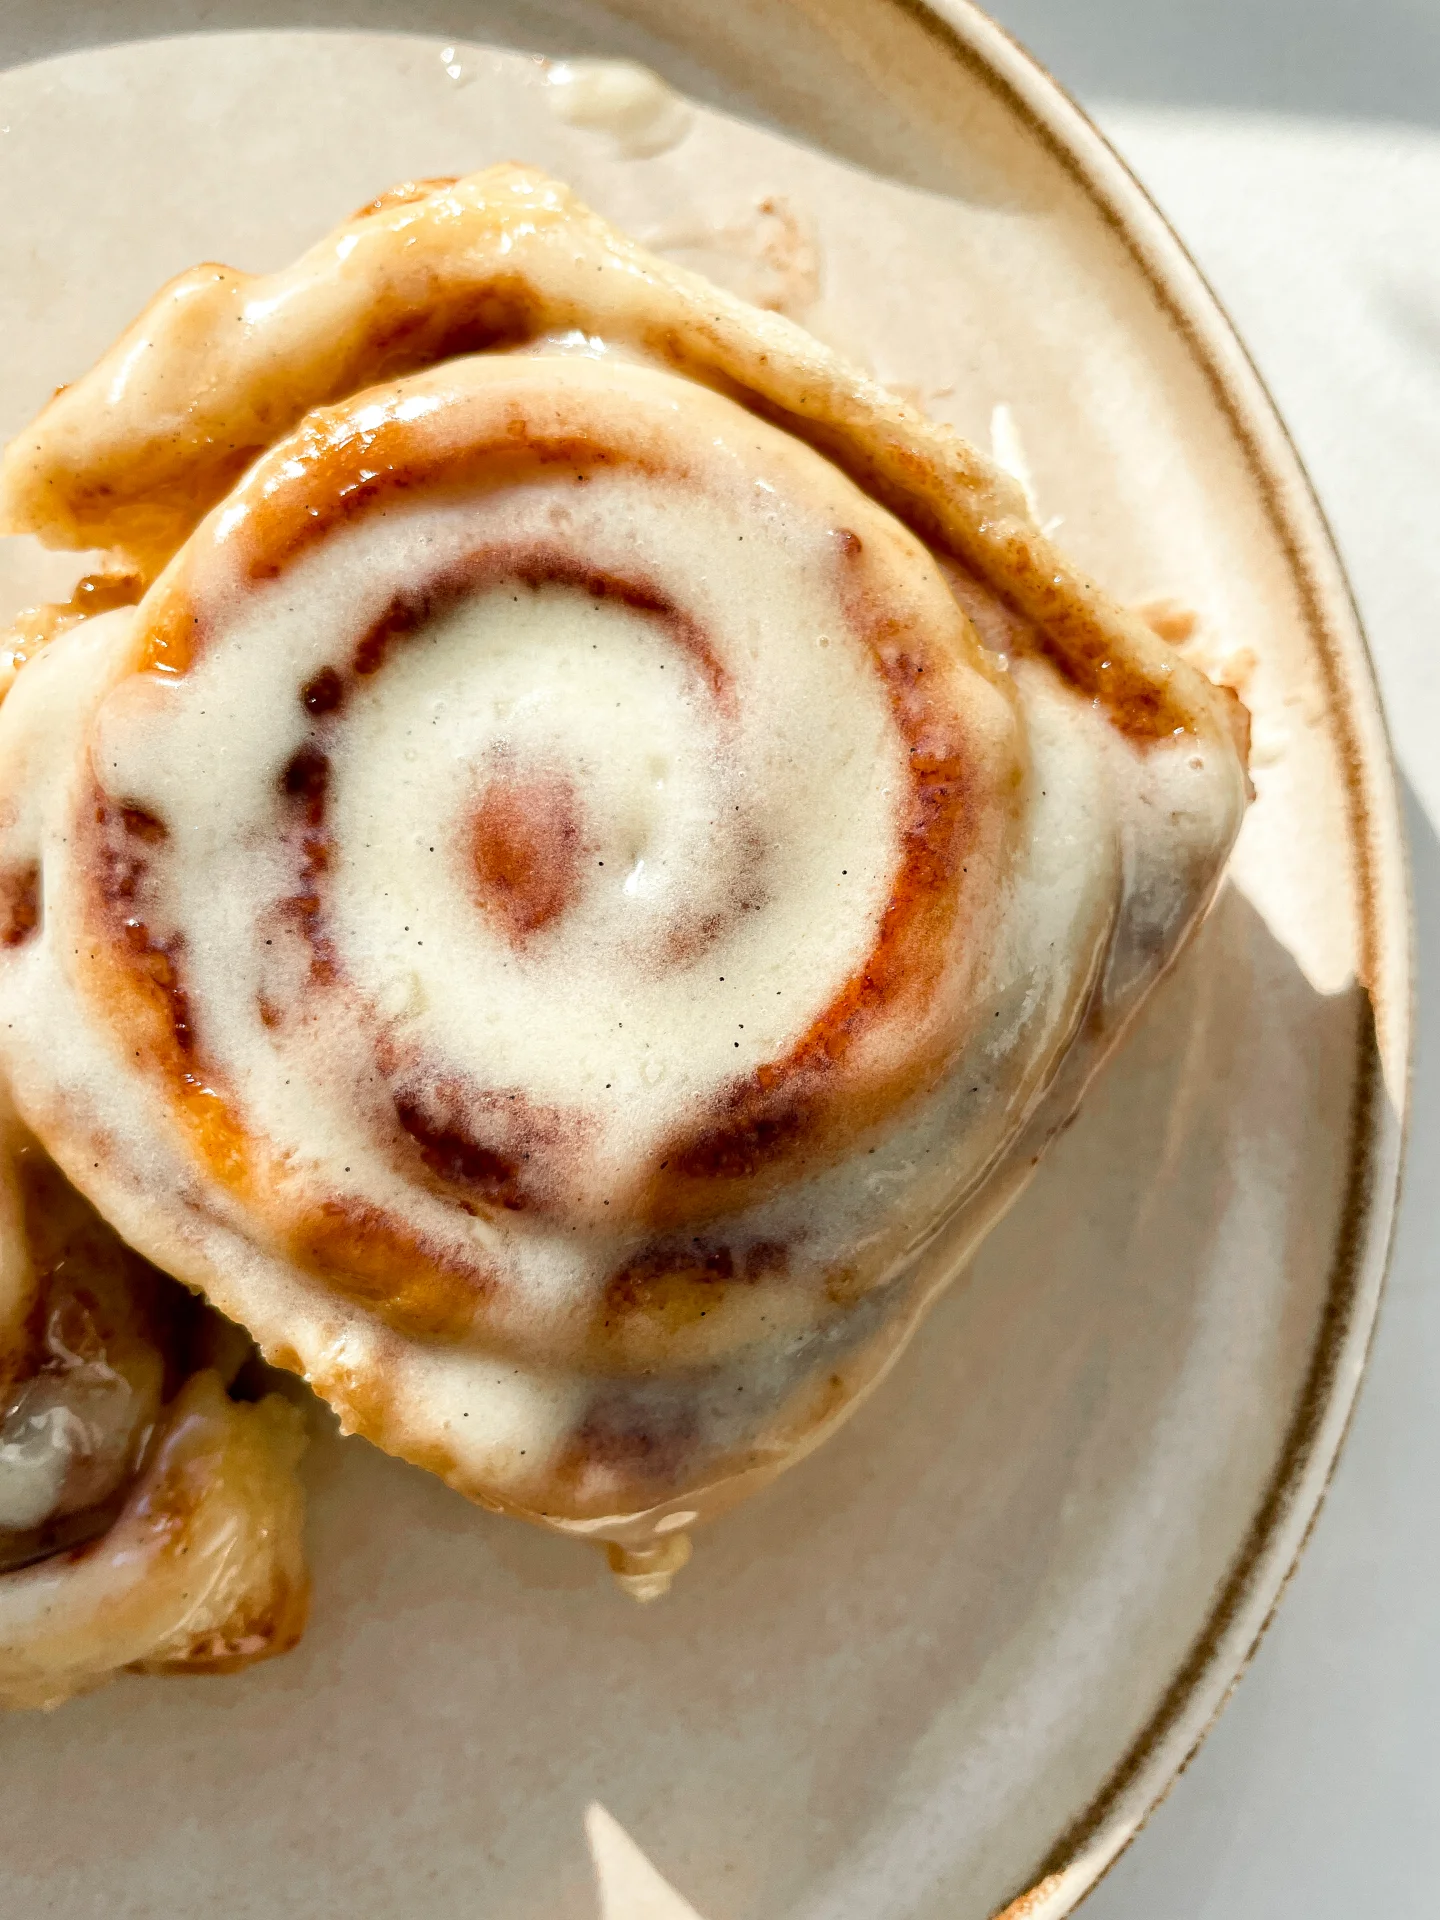
Get ready for the fluffiest, most melt-in-your-mouth rolls ever! Soft, buttery layers soaked in cream before baking—it’s like biting into a cloud of sweet cinnamon heaven with every bite.

100 MINUTES

INTERMEDIATE

VEGETARIAN

US AMERICAN

429 PER ROLL

SWEET
FLUFFY
CREAMY

BRUNCH

DESSERT

AUTUMN
WINTER

INTRODUCTION

ABOUT THE RECIPE

Imagine starting your day with soft, pillowy rolls that are bursting with cinnamon sweetness. The secret? A little heavy cream poured between the rolls before baking. It creates the dreamiest, most moist cinnamon rolls you’ll ever try. These rolls are more than just a treat – they’re a cozy, comforting hug wrapped in cinnamon-sugar goodness. Whether you’re baking them for a holiday morning or just because, they bring that extra something special to the table.

How to serve
These rolls are perfect fresh out of the oven, still warm and gooey. Drizzle them with a sweet vanilla glaze or a classic cream cheese frosting for that extra indulgent touch. Pair them with your morning coffee, or serve them up as a weekend brunch star alongside fresh fruit or a light mimosa. Trust me, they’re a hit at any gathering, or even for a solo cozy morning in!

How to store
To keep these rolls soft and fluffy, store them in an airtight container at room temperature for up to two days. Want to enjoy them later? Pop them in the fridge and reheat in the oven to bring back that fresh-baked magic.

Hi, I'm Kimberly!

Hi, I'm Kimberly.

A passionate food lover who believes in the magic of homemade deliciousness that spreads love and warmth. Join me on this culinary adventure as I prepare wonderful dishes and let’s spread some happiness together!

Kimberly the Zett Signature

If you want to get to know me better, click here!


Cinnamon Rolls
Cinnamon Rolls
Cinnamon Rolls
„Let’s make a piece of happiness“
Print
clock clock iconcutlery cutlery iconflag flag iconfolder folder iconinstagram instagram iconpinterest pinterest iconfacebook facebook iconprint print iconsquares squares iconheart heart iconheart solid heart solid icon
Cinnamon Rolls

Cinnamon Rolls


  • Author: Kimberly
  • Total Time: 100 min
  • Yield: 12 rolls 1x

Description

Recommended Equipment

  • small bowl
  • small whisk
  • large bowl
  • plastic wrap
  • two medium bowls
  • rolling pin
  • sharp knife
  • baking dish
  • oven

Ingredients

Units Scale

DOUGH

  • 500 grams bread flour (in Germany that’s Type 550)
  • 170 grams yogurt
  • 1/2 tsp salt
  • 1 egg
  • 130 milliliters full-fat milk
  • 1 tbsp white sugar
  • 21 grams fresh yeast

FILLING

  • 115 grams butter, room temperature
  • 150 grams brown sugar
  • 2 tbsp cinnamon
  • 1/4 tsp salt
  • 100 milliliters heavy cream
  • 50 milliliters cinnamon oil (optional)

FROSTING

  • 120 grams cream cheese
  • 120 grams powdered sugar
  • 50 grams butter, room temperature
  • 1 tsp vanilla extract
  • 1 tsp lemon juice

Instructions

  1. First, we activate the fresh yeast. Heat the milk to a temperature between 32°C and 38°C (90°F to 100°F). Add the white sugar and stir well. Crumble the fresh yeast into the warm milk and whisk it until fully dissolved. Let the mixture sit for 5 minutes. You should see small bubbles forming on the surface by then.
  2. Meanwhile, in a large bowl, add the flour, salt, yogurt, and egg. Pour in the yeast mixture and stir everything together with a wooden spoon. Transfer the dough to a clean work surface and knead by hand for about 10-15 minutes. The goal is to get a smooth and elastic dough. Using an electric mixer will cut the time in half. The dough is ready when you can stretch a piece thin enough to let light through without tearing. Place the dough back in the bowl and cover it with plastic wrap to keep it from drying out. Let it rise in a warm, draft-free spot for about an hour until it doubles in size.
  3. In the meantime, prepare the filling. Mix together softened butter, brown sugar, cinnamon, and a pinch of salt into a creamy mixture. Set it aside at room temperature.
  4. Next, prepare the frosting. Mix together cream cheese, powdered sugar, softened butter, vanilla extract, and lemon juice until smooth and creamy. Store in the fridge until ready to use.
  5. After the dough has risen for an hour, it should have doubled in size and is ready to work with. Prepare a large baking dish. Transfer the dough to a lightly floured, clean surface and roll it out to a 50×30 cm (about 20×12 inch) rectangle. Spread the butter-sugar-cinnamon mixture evenly over the dough. Then, cut the dough lengthwise into 12 equal strips. Roll each strip into a spiral and place them in the baking dish, forming 3 rows of 4 rolls. Let the rolls rise again for another 30 minutes.
  6. About 10 minutes before the rising time is up, preheat the oven to 190°C (375°F). Once the rolls have risen, pour the heavy cream and optional cinnamon oil in between the rolls. Bake for 20-25 minutes until the tops are golden brown. Be careful not to overbake them, as they may become dry.
  7. Remove the rolls from the oven and let them cool for about 10 minutes. Take the frosting out of the fridge and spread it evenly over the warm rolls. Enjoy!
  • Passive Time: 60 min
  • Cook Time: 40 min

Mochi Matcha Brownies

Mochi Matcha Brownies

Mochi Matcha Brownies

Mochi Matcha Brownies

July 13, 2024 by Kimberly

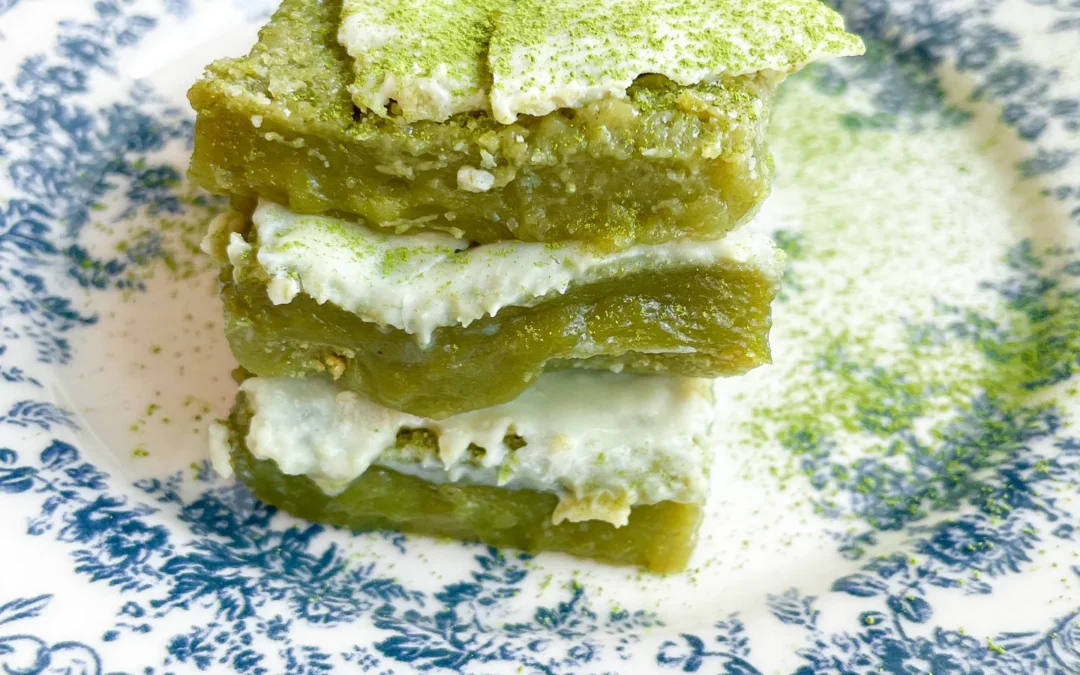
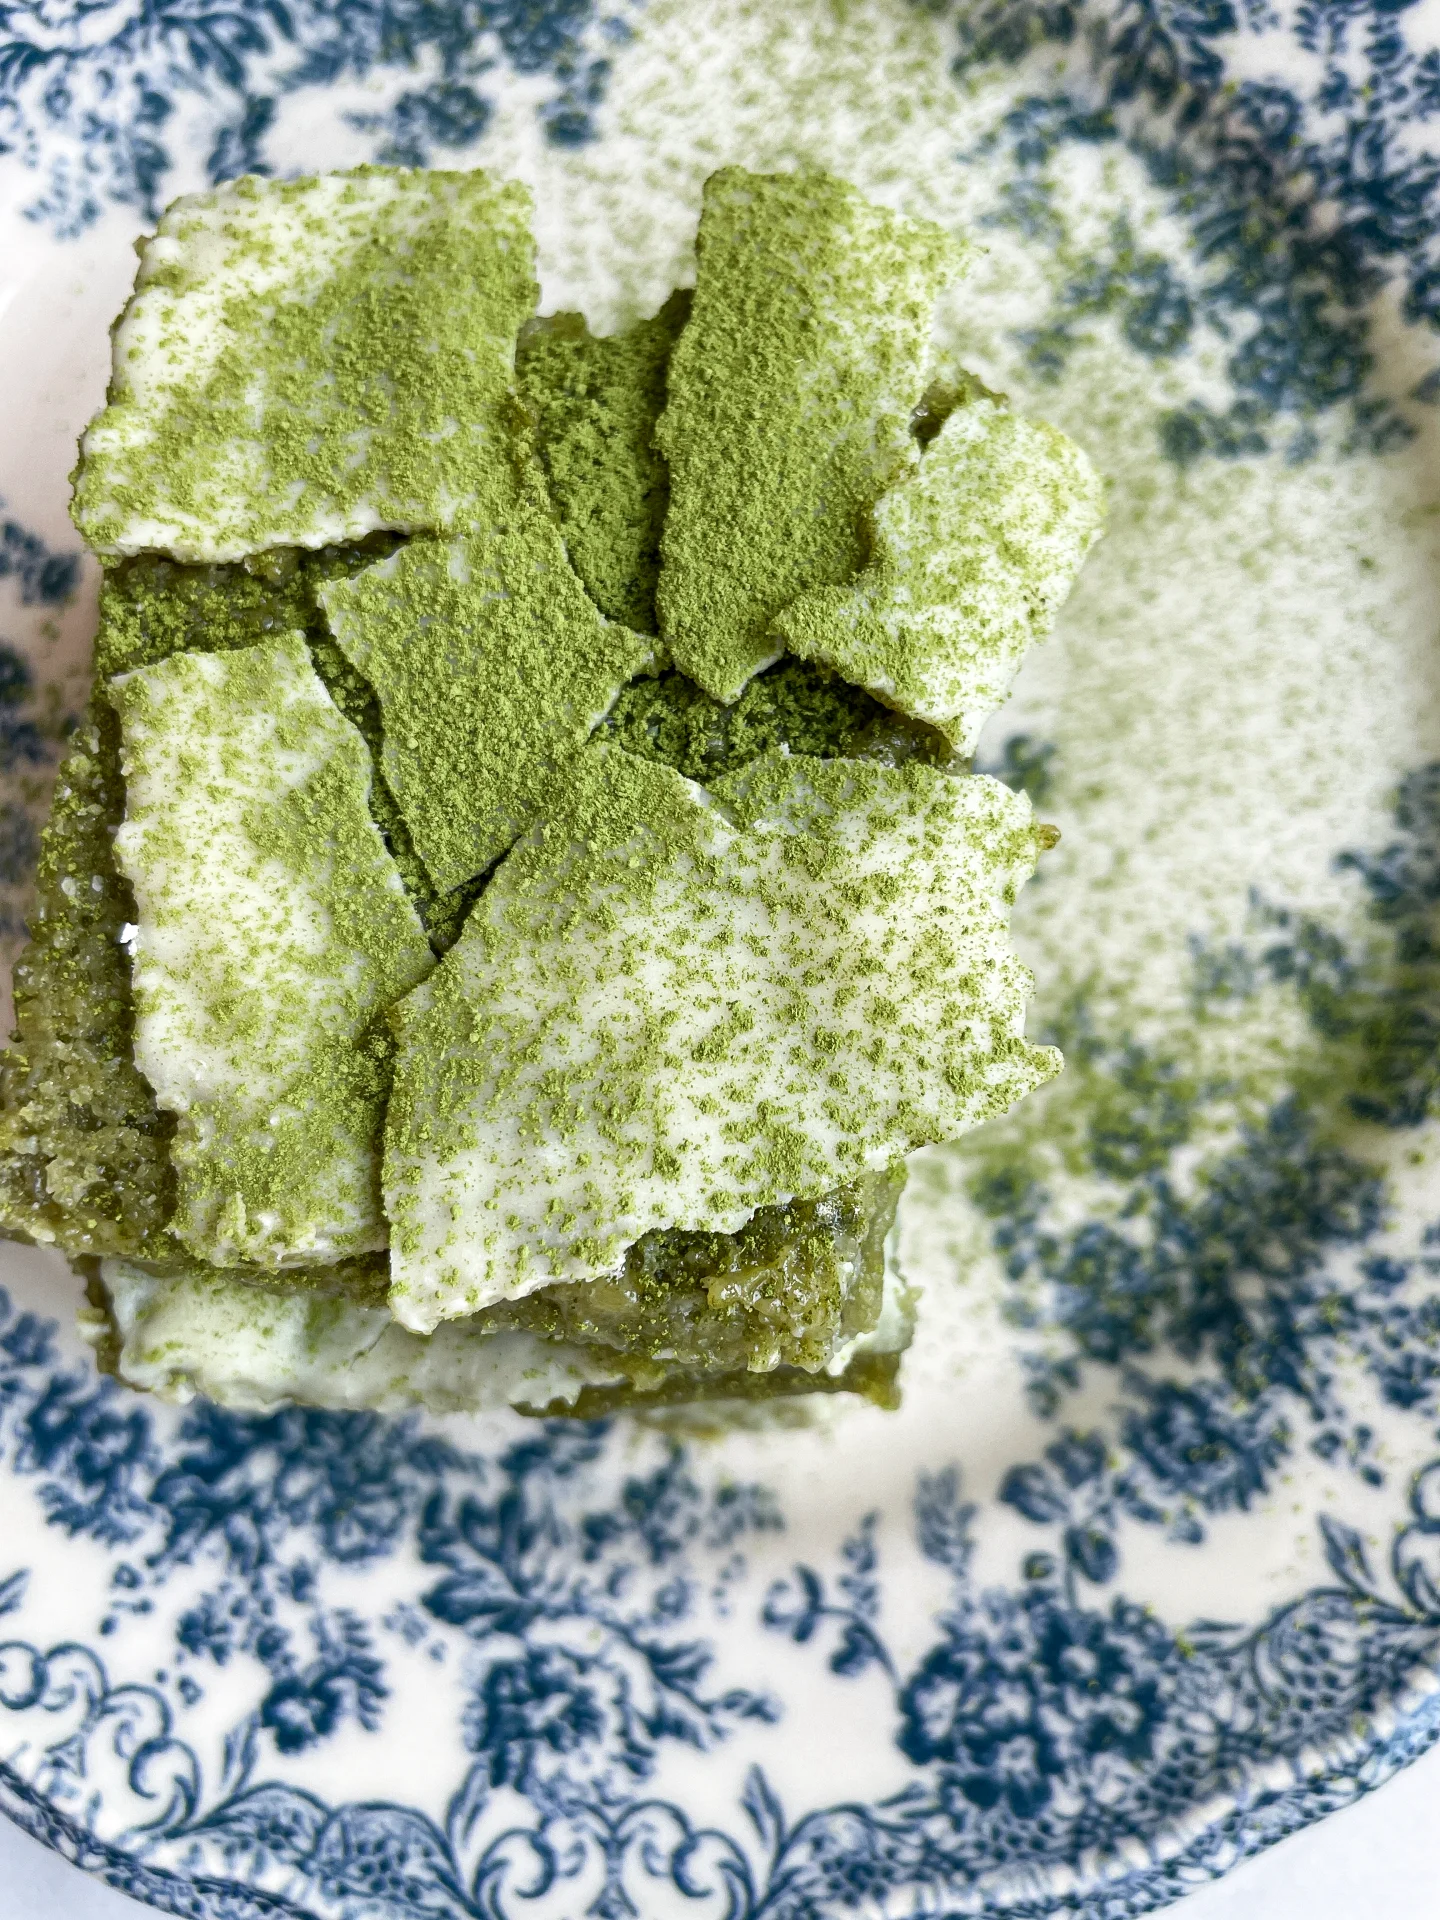
Whip up these irresistibly gooey mochi matcha brownies topped with creamy white chocolate! Simple, decadent, and perfect for any sweet tooth.

3 HOURS
20 MINUTES

EASY

VEGAN

JAPANESE

203 PER PIECE

GOOEY
SWEET

EVERYDAY

DESSERT

SUMMER

INTRODUCTION

ABOUT THE RECIPE

Dive into the world of baking with these mochi matcha brownies! These delights blend the chewy texture of mochi with the rich taste of matcha, topped with luscious white chocolate.

How to serve
Serve these brownies chilled to fully enjoy their gooey texture. They pair beautifully with a cup of coffee or matcha latte, making them perfect for dessert or a special afternoon treat. Cut into small squares for an elegant presentation.

How to store
Keep leftover brownies in an airtight container at room temperature to maintain their moisture. They stay fresh and delicious for up to three days.

Hi, I'm Kimberly!

Hi, I'm Kimberly.

A passionate food lover who believes in the magic of homemade deliciousness that spreads love and warmth. Join me on this culinary adventure as I prepare wonderful dishes and let’s spread some happiness together!

Kimberly the Zett Signature

If you want to get to know me better, click here!


Mochi Matcha Brownies
„Let’s make a piece of happiness“
Print
clock clock iconcutlery cutlery iconflag flag iconfolder folder iconinstagram instagram iconpinterest pinterest iconfacebook facebook iconprint print iconsquares squares iconheart heart iconheart solid heart solid icon
Mochi Matcha Brownies

Mochi Matcha Brownies


  • Author: Kimberly
  • Total Time: 3 hrs + 20 min
  • Yield: 9 1x

Description

Recommended Equipment

  • oven
  • baking pan dish (20x20cm / 8×8″)
  • 2 medium-sized bowls
  • whisk
  • small pot
  • small metal (or glass) bowl
  • sharp knife

Ingredients

Units Scale

BATTER

  • 230 grams rice flour
  • 100 grams white sugar
  • 1/4 tsp backing powder
  • 1 tsp matcha powder
  • 120 milliliters oat milk (or any other milk you prefer)
  • 90 milliliters coconut milk
  • 1/4 tsp vanilla extract
  • 1 tsp butter, for greasing

TOPPING

  • 100 grams white chocolate
  • 1 tsp coconut oil

Instructions

  1. Preheat your oven to 135°C / 275°F.
  2. Grease your baking pan with a teaspoon of butter and set it aside.
  3. In a medium bowl, whisk together all the dry ingredients: rice flour, sugar, matcha powder, and baking powder.
  4. In another medium bowl, combine the wet ingredients: oat milk, coconut milk, and vanilla extract. Whisk these together well.
  5. Slowly add the wet ingredients to the dry, mixing until you have a smooth, creamy batter.
  6. Pour the batter into the greased pan, smoothing it out to an even layer, and bake for about 70 minutes.
  7. Once done, take the brownie out of the oven and let it cool completely. As it cools, it will sink slightly and the surface will dry out, but it will become deliciously gooey.
  8. For the topping, fill a small pot with water and bring it to a simmer, then take it off the heat. Break the white chocolate into small pieces and place them in a small metal bowl. Set this bowl over the simmering water pot to melt the chocolate, stirring until smooth. Add a teaspoon of coconut oil, mix well, then pour the melted chocolate over the cooled brownie. Let this cool down again.
  9. I got a bit impatient and cut into the brownies too soon while the chocolate was still soft – it was a bit messy, but I wasn’t mad about it! Once everything is fully set, cut the brownie into 9 even squares and enjoy.
  • Passive Time: 3 hrs
  • Cook Time: 20 min

Chocolate Chip Cookies

Chocolate Chip Cookies

Chocolate Chip Cookies

Chocolate Chip Cookies

March 13, 2024 by Kimberly

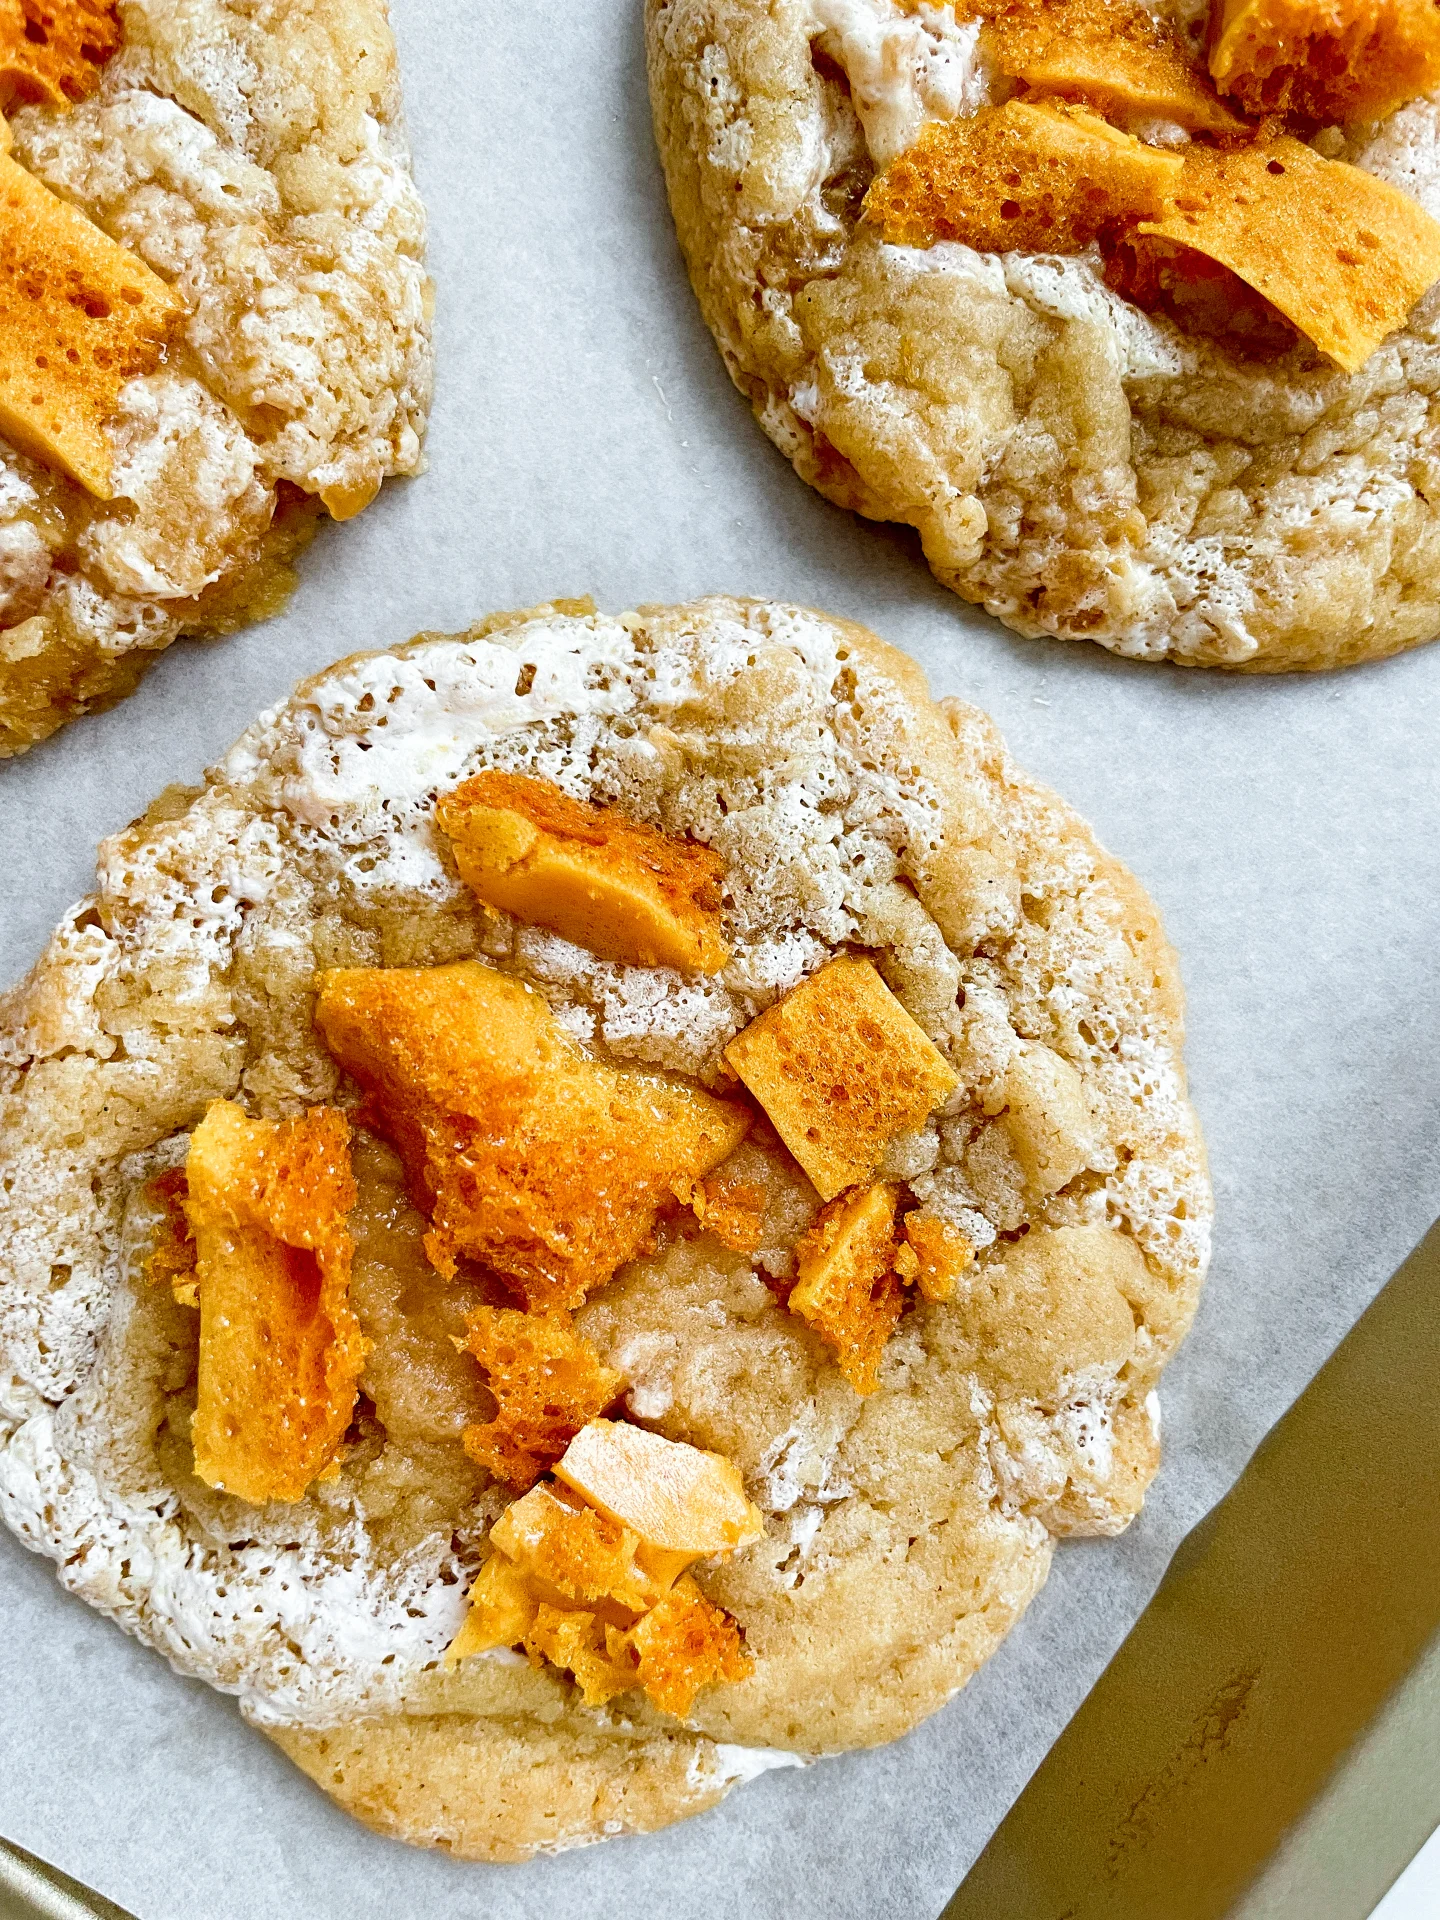
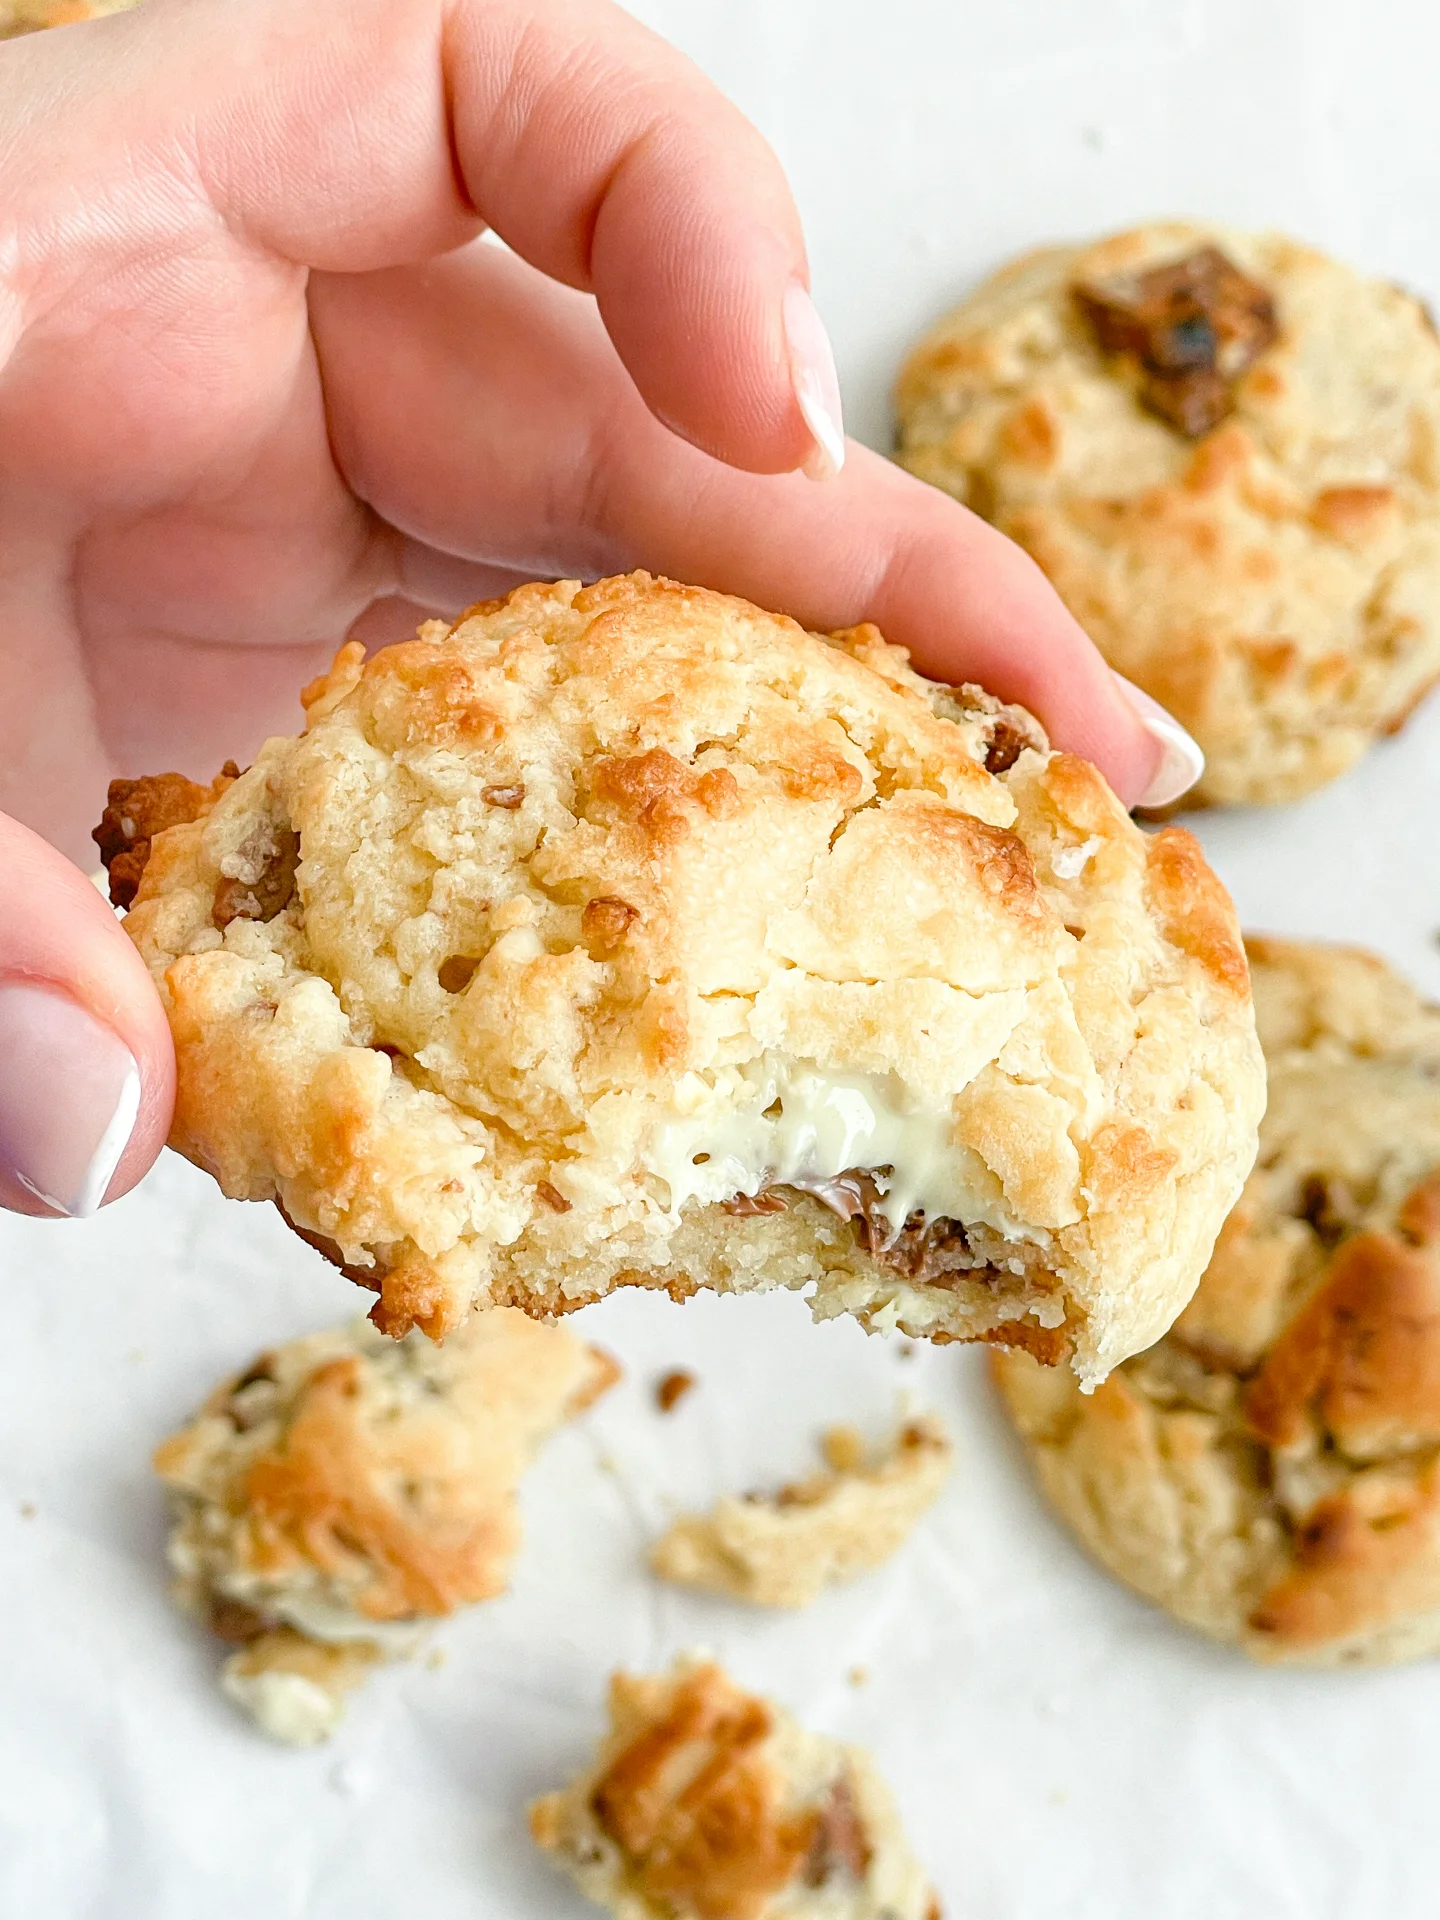
Look no further for the ultimate chocolate chip cookies. Dive into this rich, double chocolate chip cookie recipe, featuring a generous amount of dough and massive chocolate chunks!

2 HRS &
50 MINUTES

EASY

VEGETARIAN

US AMERICAN

434 PER COOKIE

CRUNCHY / GOOEY / SWEET

EVERYDAY

DESSERT / SNACK

ALL YEAR

INTRODUCTION

ABOUT THE RECIPE

Get ready to fill your kitchen with the mouthwatering aroma of freshly baked Chocolate Chip Cookies! This recipe combines the perfect blend of sweet, gooey, and chocolaty in every bite. Ideal for any occasion, from family gatherings to a personal treat, these homemade cookies promise to be your new favorite. Let’s dive into the simple steps to create these delightful treats that everyone loves!

How to serve:
Serve these delicious Chocolate Chip Cookies fresh out of the oven for the ultimate gooey experience, or let them cool to achieve a delightful crunch. Pair with a glass of cold milk or your favorite coffee for a classic combo. They’re perfect for parties, as a sweet snack, or as a thoughtful homemade gift. Remember, warm cookies and cold milk are a match made in heaven for any cookie lover!

How to store:
Store your Chocolate Chip Cookies in an airtight container to keep them fresh and chewy. They’ll last for up to a week at room temperature or can be frozen for longer enjoyment. Perfect for having a sweet treat on hand anytime!

Hi, I'm Kimberly!

Hi, I'm Kimberly.

A passionate food lover who believes in the magic of homemade deliciousness that spreads love and warmth. Join me on this culinary adventure as I prepare wonderful dishes and let’s spread some happiness together!

Kimberly the Zett Signature

If you want to get to know me better, click here!


Chocolate Chip Cookies
„Let’s make a piece of happiness“

INGREDIENTS

FOR 9 COOKIES

COOKIES

  • 200g all-purpose flour (1.5 cups)
  • 35g cornstarch (1/4 cup)
  • 140g butter (2/3 cup)
  • 150g brown sugar (2/3 cup)
  • 50g white sugar (1/4 cup)
  • 100g semi-sweet chocolate (1/2 cup)
  • 100g white chocolate (1/2 cup)
  • 1 egg
  • 1 egg yolk
  • 1 tsp baking powder
  • 3/4 tsp salt
Chocolate Chip Cookies
}

ACTIVE: 5 min
PASSIVE: –

PREPARATIONS

Recommended Equipment
  • sharp knife
  • cutting board
  • small bowl
  • small pot (or microwave)
  • two medium-sized bowls
  • whisk
  • spatula
  • Chop the chocolate into big chunks.
  • Melt the butter in a pot or in the microwave.
}

ACTIVE: 20 min

PASSIVE: 2 hrs + 25 min
COOKING

1. In a medium-sized bowl, mix the flour, starch, and salt. Set aside.

2. In another medium-sized bowl, mix the brown and white sugar. Add the melted butter with a whisk and beat the mixture until it becomes kind of creamy.

3. Now add one whole egg and one egg yolk and beat until the mixture becomes thicker.

4. Next, add the dry ingredients from the other bowl and stir a little, then add the chocolate and mix everything until no more flour is visible and stop stirring to avoid overmixing the dough.

5. Form the dough into 9 equal-sized balls and place them in a container that fits in the fridge. Place the cookie balls in the refrigerator for at least 2 hours – if you want to prepare the dough in advance, you can leave it in the fridge for up to 48 hours.
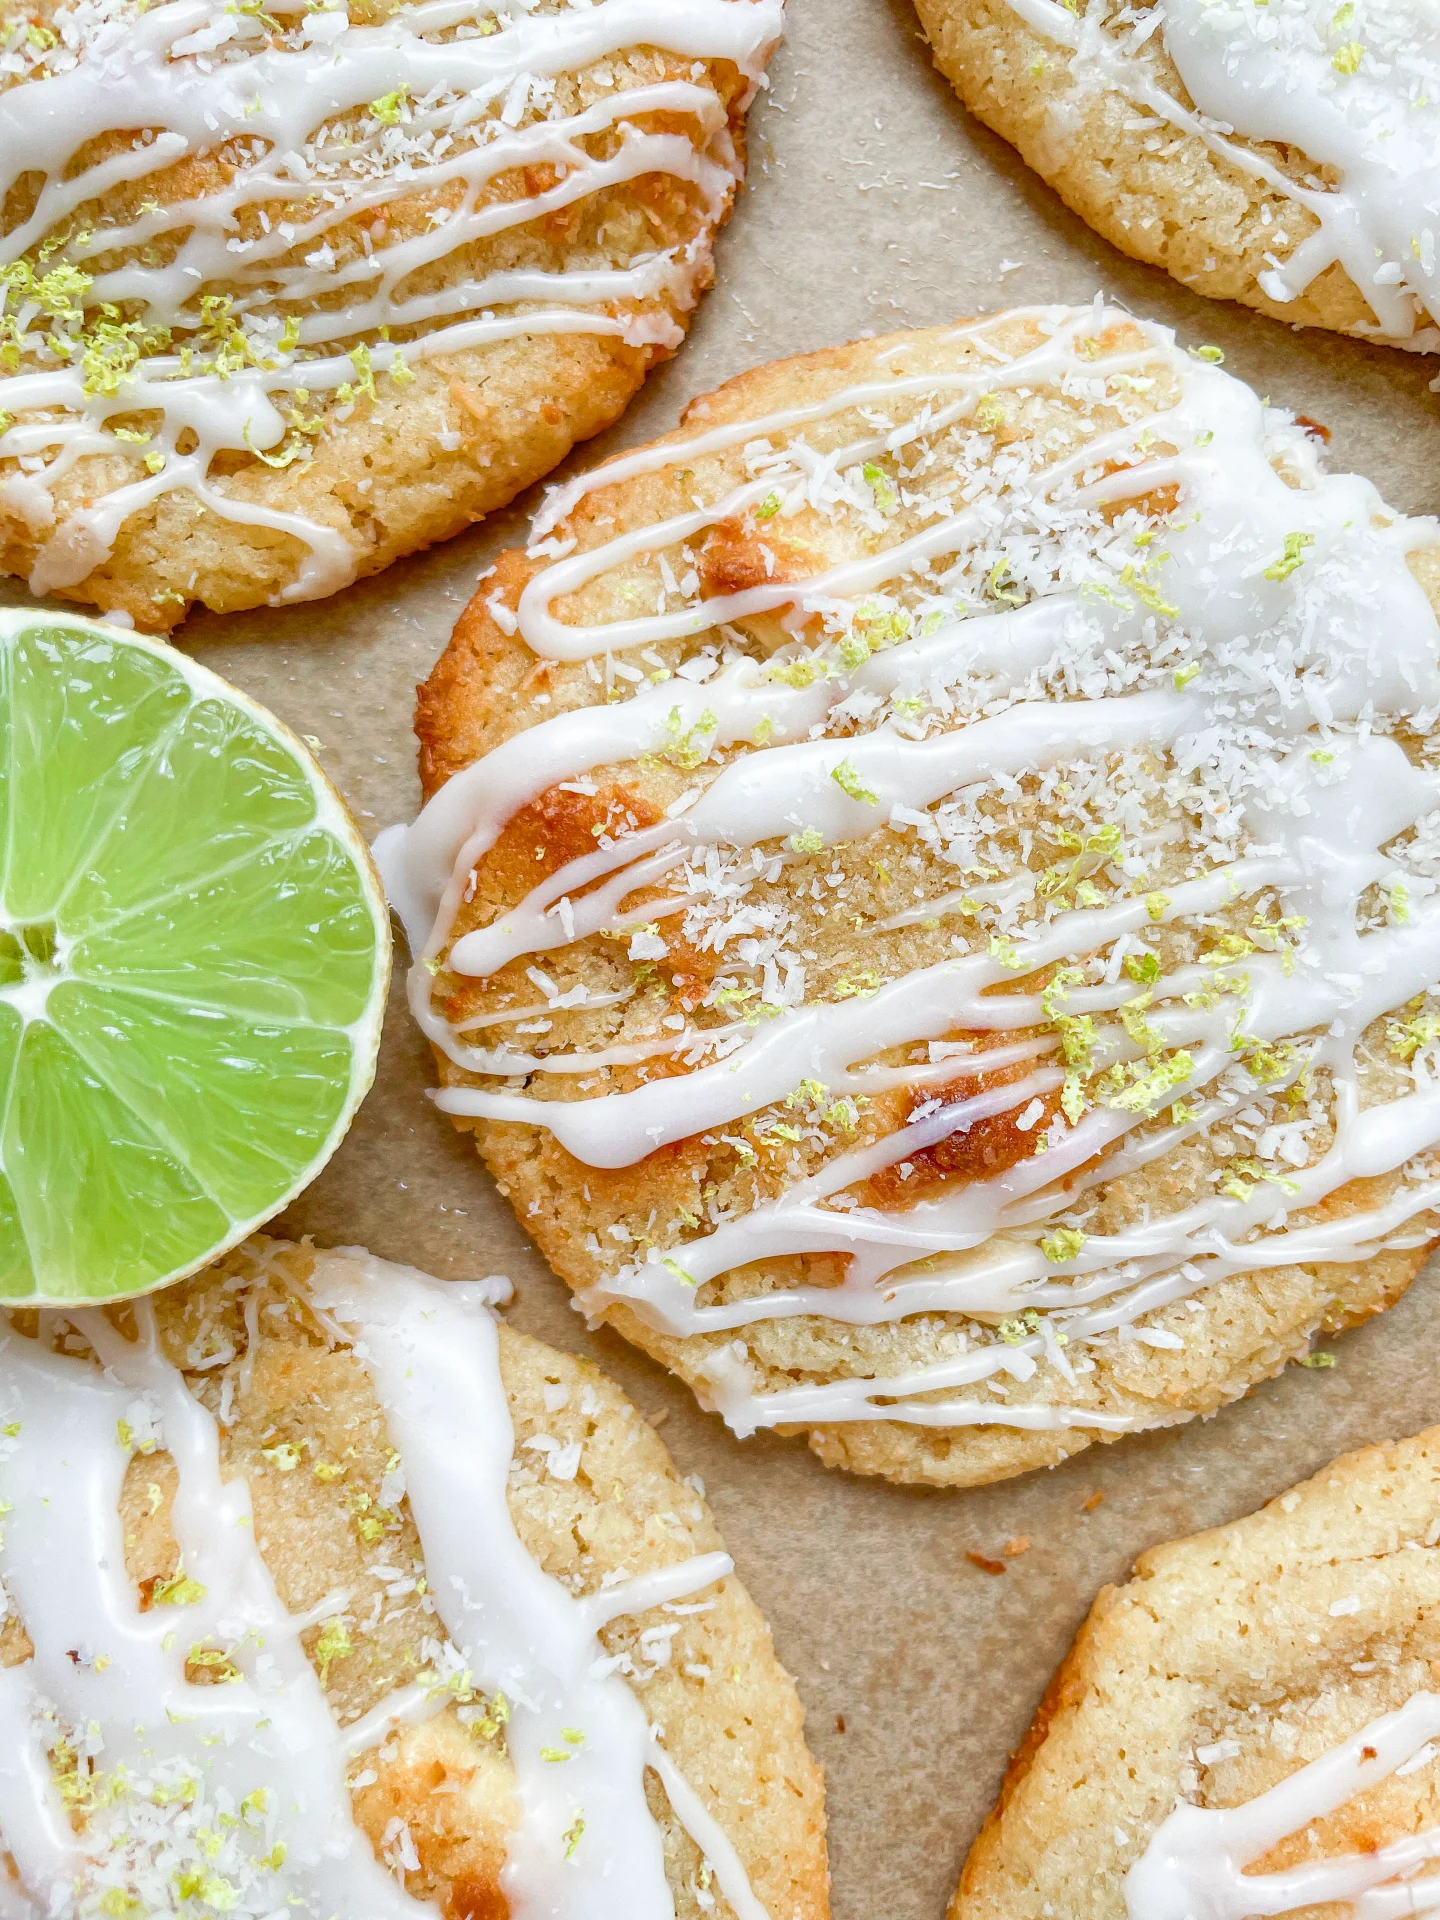
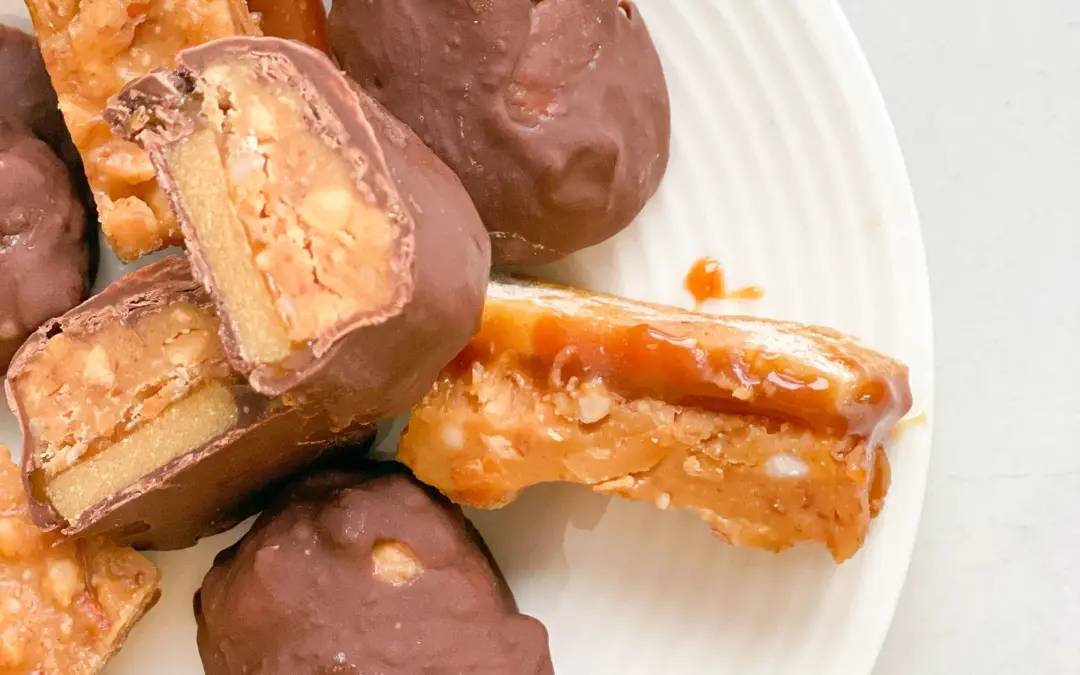
6. Preheat the oven to 220°C (425°F). Once the oven is hot, place the cookies on a baking sheet lined with parchment paper and bake for 8-10 minutes.

7. Remove the tray with the cookies from the oven and let them cool for 15 minutes. I know it’s hard, but it’s worth the wait 😉

NOTE: The calorie information may vary depending on the product used, country and region.

Peanut Caramel Chocolate Protein Bars

Peanut Caramel Chocolate Protein Bars

Peanut Caramel Chocolate Protein Bars

Peanut Caramel Chocolate Protein Bars

February 17, 2024 by Kimberly

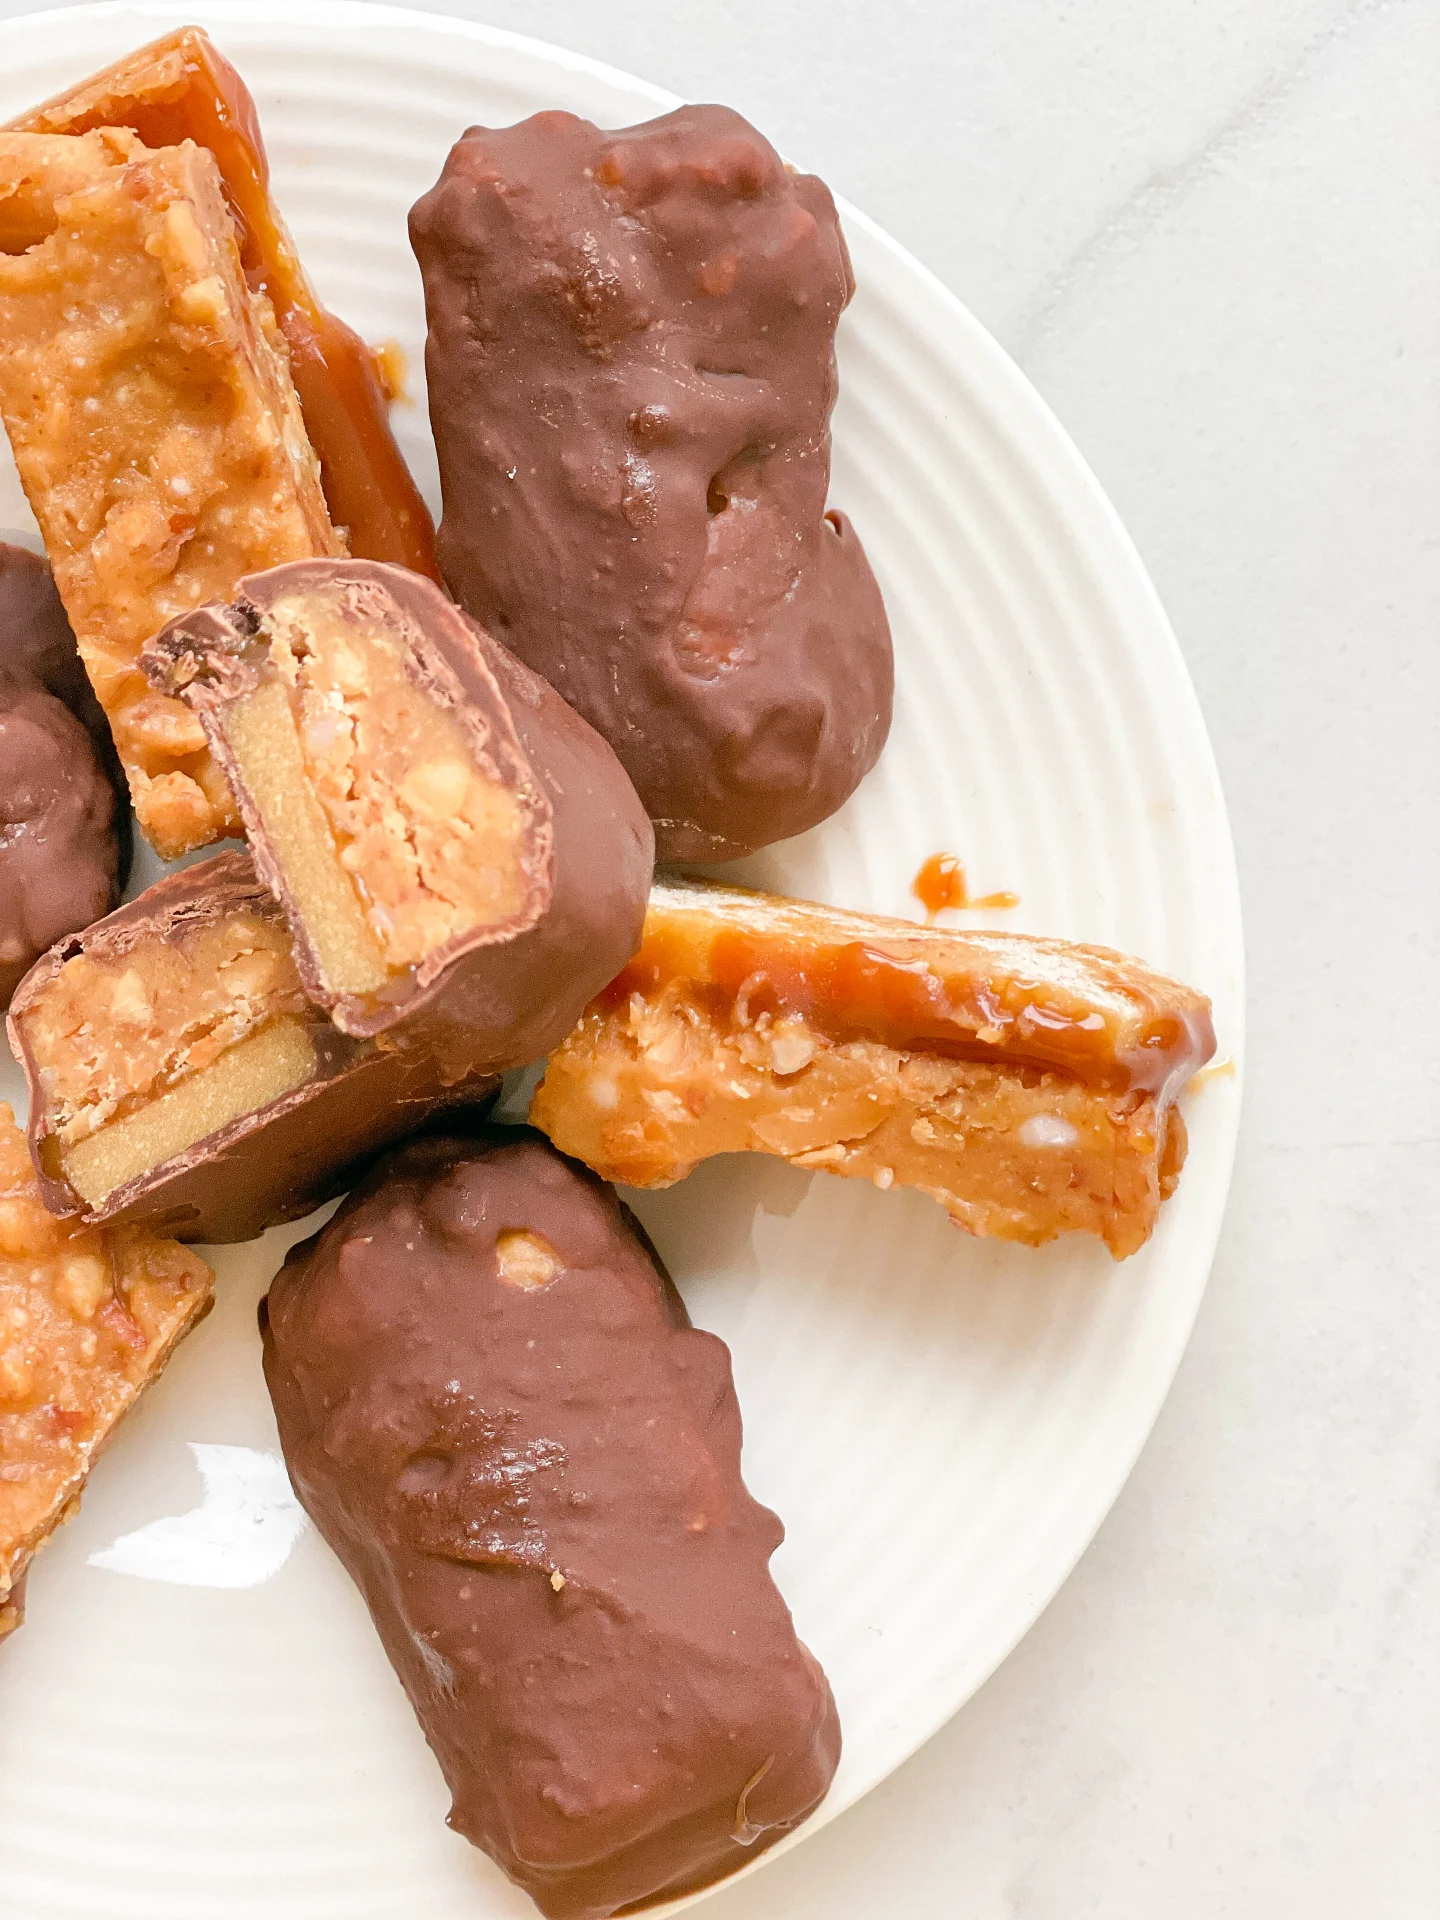
Energize your day with Protein-Rich Peanut Caramel Chocolate Bars! Perfect for fitness enthusiasts, these bars are a delicious, nutritious twist on your favorite Snickers bar.

2 HRS 30 MIN

EASY

VEGETARIAN

INT.

168 PER BAR

GOOEY
NUTTY

EVERYDAY

SNACK / DESSERT

ALL YEAR

INTRODUCTION

ABOUT THE RECIPE

These homemade protein-rich Peanut Caramel Chocolate Bars delights are your alternative to a regular peanut bar, packed with protein and full of flavor. They’re crafted for those who love to indulge without compromising their protein goals. Perfect as a post-workout snack or a midday energy booster, these bars are sure to satisfy your sweet tooth and your nutritional needs.

How to serve:
They’re an excellent snack after a workout, a sweet companion with your coffee break, or a healthy dessert option. Cut them into smaller pieces for a quick snack or enjoy a full bar for a more substantial energy boost. They’re not just a treat – they’re a satisfying choice to support your active lifestyle.

How to store:
Store your bars in an airtight container to keep them fresh. Place them in the refrigerator for a firmer texture or at room temperature for a softer bite. Enjoy them within one week for optimal freshness.

Hi, I'm Kimberly!

Hi, I'm Kimberly.

A passionate food lover who believes in the magic of homemade deliciousness that spreads love and warmth. Join me on this culinary adventure as I prepare wonderful dishes and let’s spread some happiness together!

Kimberly the Zett Signature

If you want to get to know me better, click here!


Peanut Caramel Chocolate Protein Bars

„Let’s make a piece of happiness“

INGREDIENTS

FOR 15 BARS

LAYER 1

  • 85g protein powder vanilla (2/3 cups)
  • 50g almond flour (1/2 cup)
  • 2 tbsp maple syrup
  • 60ml soy milk (1/4 cup)

LAYER 2

  • 2 tbsp caramel spread

LAYER 3

  • 120g crunchy peanut butter (1/2 cup)
  • 2 tbsp coconut oil
  • 2 tbsp maple syrup
  • 1/8 salt

LAYER 4

  • 150g semi sweet chocolate
  • 1/2 tsp coconut oil
Peanut Caramel Chocolate Protein Bars
}

ACTIVE: 1 min

PASSIVE: –

PREPARATIONS

Recommended Equipment
  • 2 medium sized bowls
  • medium-sized aluminum or glass bowl
  • rectangular flat container
  • baking paper
  • small pot
  • Line a rectangular flat container with baking paper.
    }

    ACTIVE: 30 min

    PASSIVE: 120 min

    COOKING

    1. In a medium bowl, prepare the first layer by mixing the protein powder, almond flour, maple syrup and soy milk into a dense, malleable dough. My recommendation is to place the dough between two layers of baking paper, roll it out and then place it in the container. Because the dough is really sticky. 

    2. Next, spread 2 tablespoons of caramel over the dough layer as a second layer. Then place the container in the freezer for about an hour.

    3. For the third layer, mix the crunchy peanut butter, coconut oil, maple syrup and a pinch of salt together in a medium bowl. After taking the container from the freezer, spread the mixture over the caramel layer evenly. Place the mold back in the freezer for 60 minutes.

    4. Fill a small pot with water, bring to the boil and then remove from the heat. Place a heatproof aluminum or glass bowl over the pot. Melt the chocolate in it together with half a teaspoon of coconut oil, stirring regularly.

    5. Once the chocolate has melted completely, remove the frozen bar mixture from the freezer and cut into 15 bars. Pull each bar individually through the melted chocolate with two forks, drain and place on baking paper or a rack to harden. If the room temperature is too warm, leave the bars to set in the fridge.

    NOTE: The calorie information may vary depending on the product used, country and region.