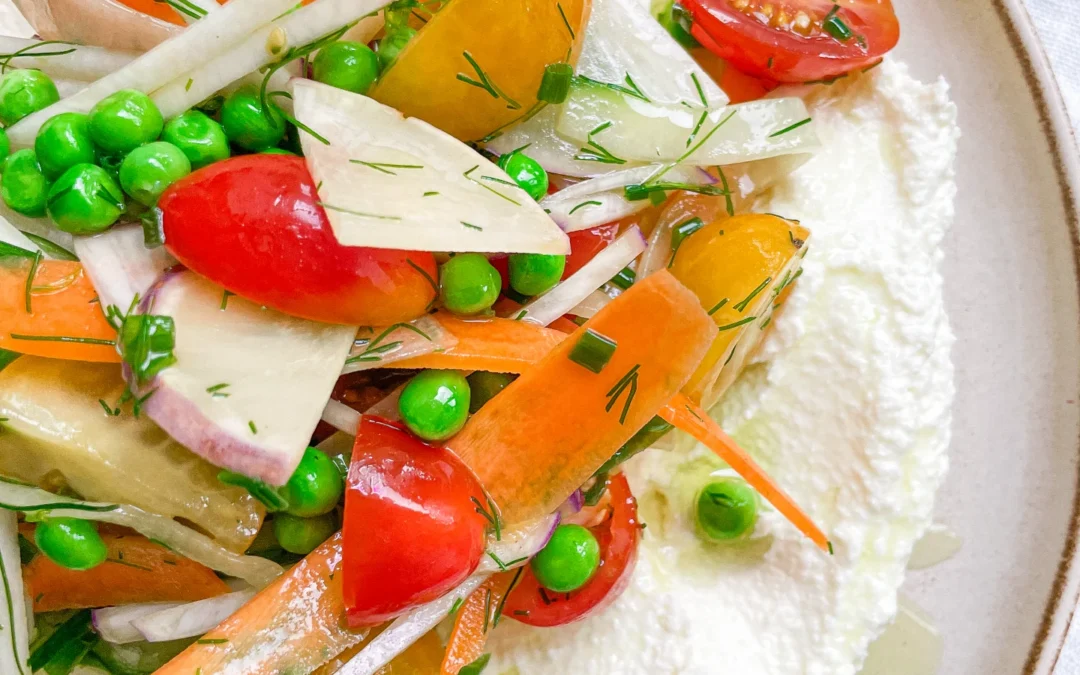
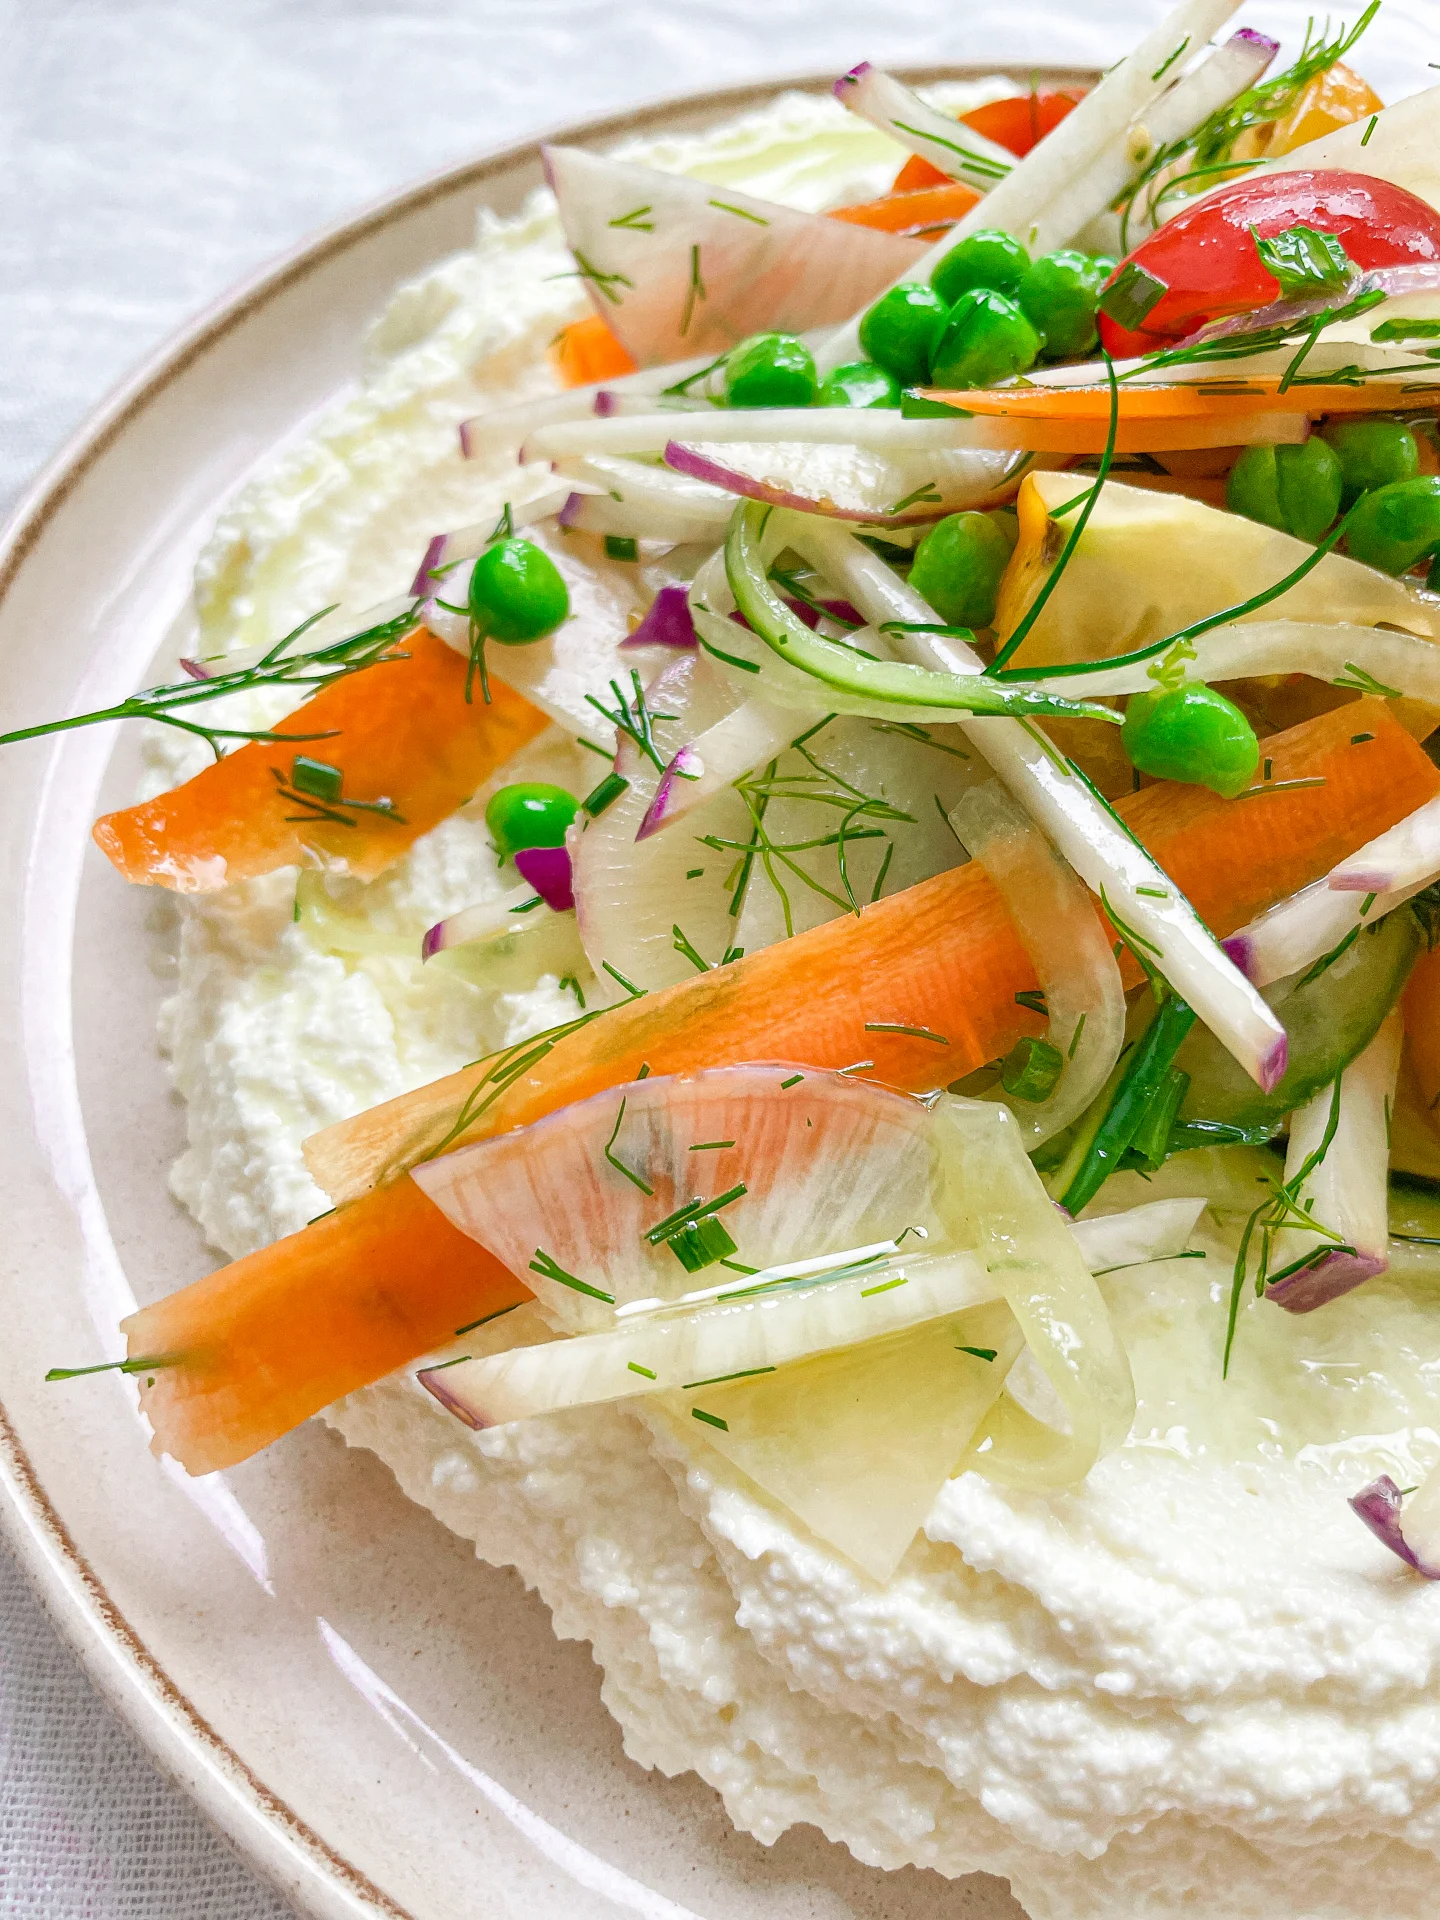
Whipped Feta & Rainbow Veggies

Whipped Feta & Rainbow Veggies

Whipped Feta & Rainbow Veggies

Whipped Feta & Rainbow Veggies

June 20, 2024 by Kimberly

Dive into this vibrant dish of whipped feta topped with colorful rainbow veggies. It’s fresh, it’s flavorful, and it’s sure to brighten your day!

15 MINUTES

EASY

VEGETARIAN

INT.

244 PER PORTION

CREAMYEVERDAY

DIPS & SPREADS

SUMMER

INTRODUCTION

ABOUT THE RECIPE

Who says healthy can’t be fun and delicious? This whipped feta with marinated rainbow veggies is a testament to just that. Bursting with colors and flavors, it’s the perfect pick-me-up any day!

How to serve
Serve this whipped feta as a delightful dip or spread over toasted bread. Pair it with the veggies for a mouth-watering appetizer or a light, satisfying lunch. It’s a versatile dish that plays well at your brunch table or as a snack during a busy workday.

How to store
Keep the whipped feta and marinated veggies in separate airtight containers in the fridge. They’ll stay fresh and tasty for up to five days, making them perfect for meal prep.

Hi, I'm Kimberly!

Hi, I'm Kimberly.

A passionate food lover who believes in the magic of homemade deliciousness that spreads love and warmth. Join me on this culinary adventure as I prepare wonderful dishes and let’s spread some happiness together!

Kimberly the Zett Signature

If you want to get to know me better, click here!


Whipped Feta & Rainbow Veggies
„Let’s make a piece of happiness“
Print
clock clock iconcutlery cutlery iconflag flag iconfolder folder iconinstagram instagram iconpinterest pinterest iconfacebook facebook iconprint print iconsquares squares iconheart heart iconheart solid heart solid icon
Whipped Feta & Rainbow Veggies

Whipped Feta & Rainbow Veggies


5 Stars 4 Stars 3 Stars 2 Stars 1 Star

No reviews

  • Author: Kimberly
  • Total Time: 15 minutes
  • Yield: 4 1x

Description

Recommended Equipment

  • sharp knife
  • cutting board
  • medium-sized bowl
  • food processor
  • measuring spoons
  • medium-sized plate

Ingredients

Units Scale

WHIPPED FETA

  • 200 grams feta cheese
  • 3 tbsp extra-virgin olive oil

RAINBOW VEGGIES

  • 1/4 cucumber
  • 46 cocktail tomatoes
  • 2 tbsp peas
  • 23 radishes
  • 1/2 carrot
  • 1 tbsp fresh dill
  • 1 tbsp fresh chives
  • 1 tbsp extra-virgin olive oil

Instructions

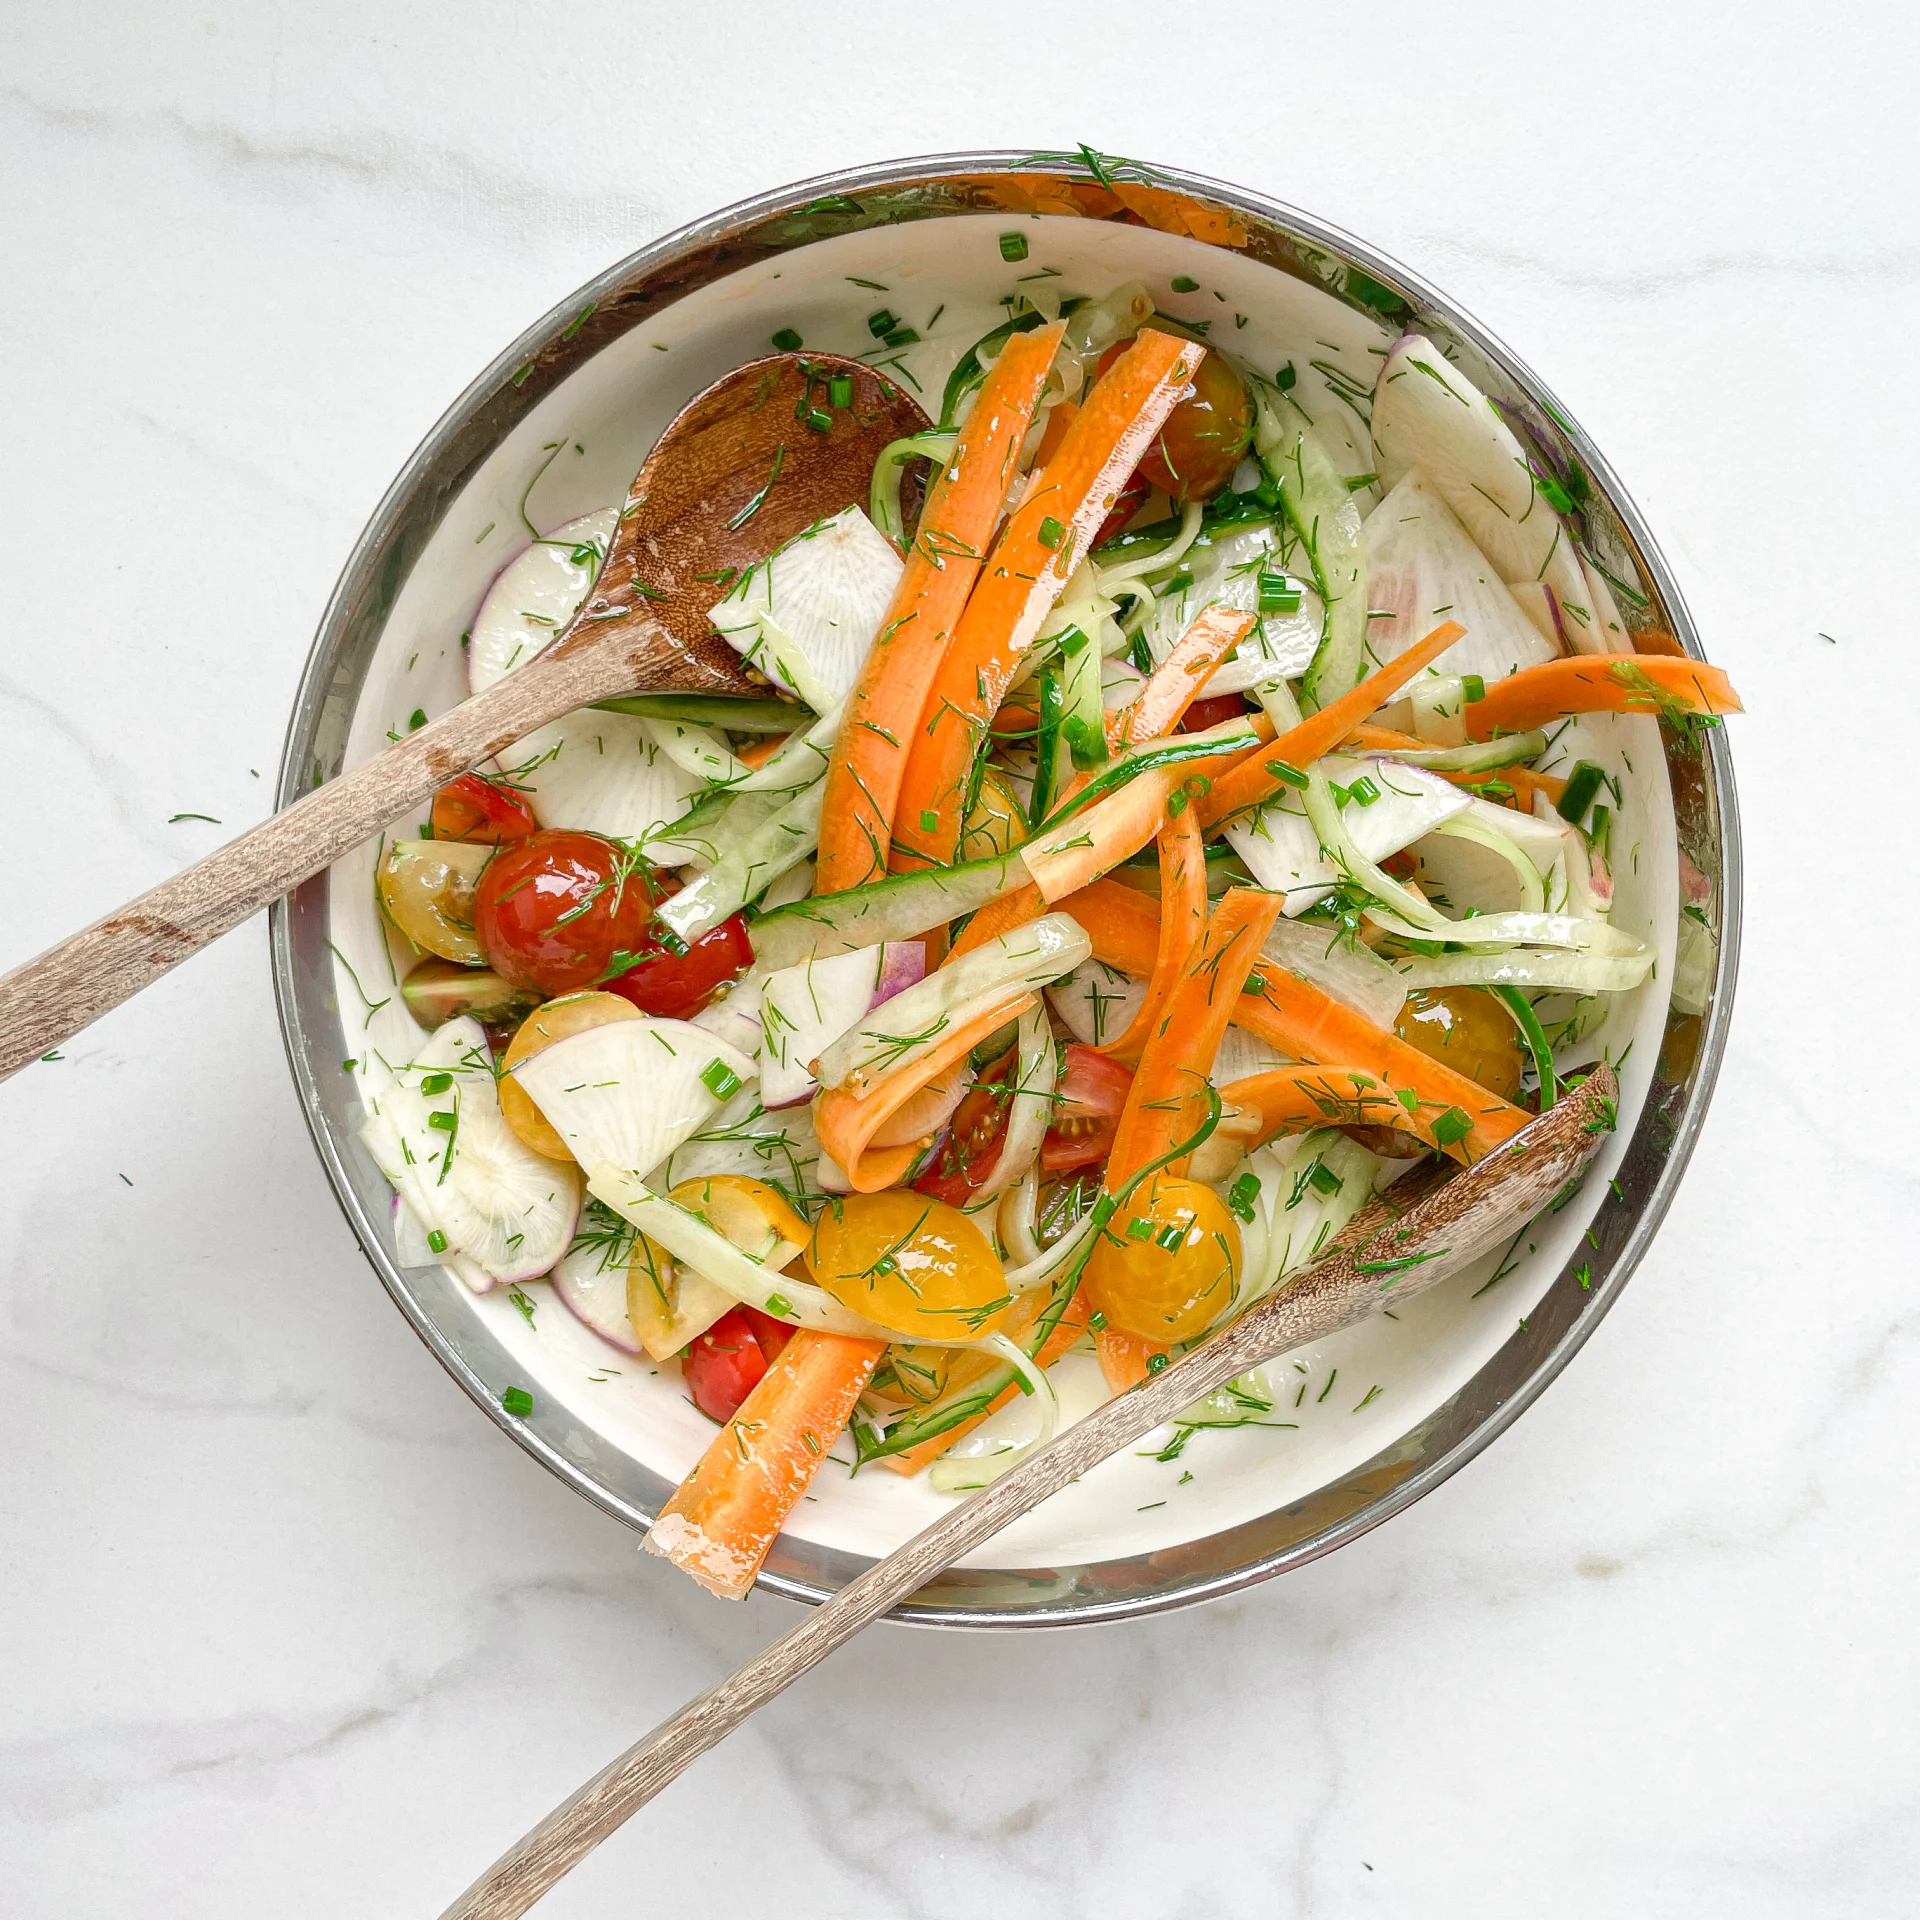
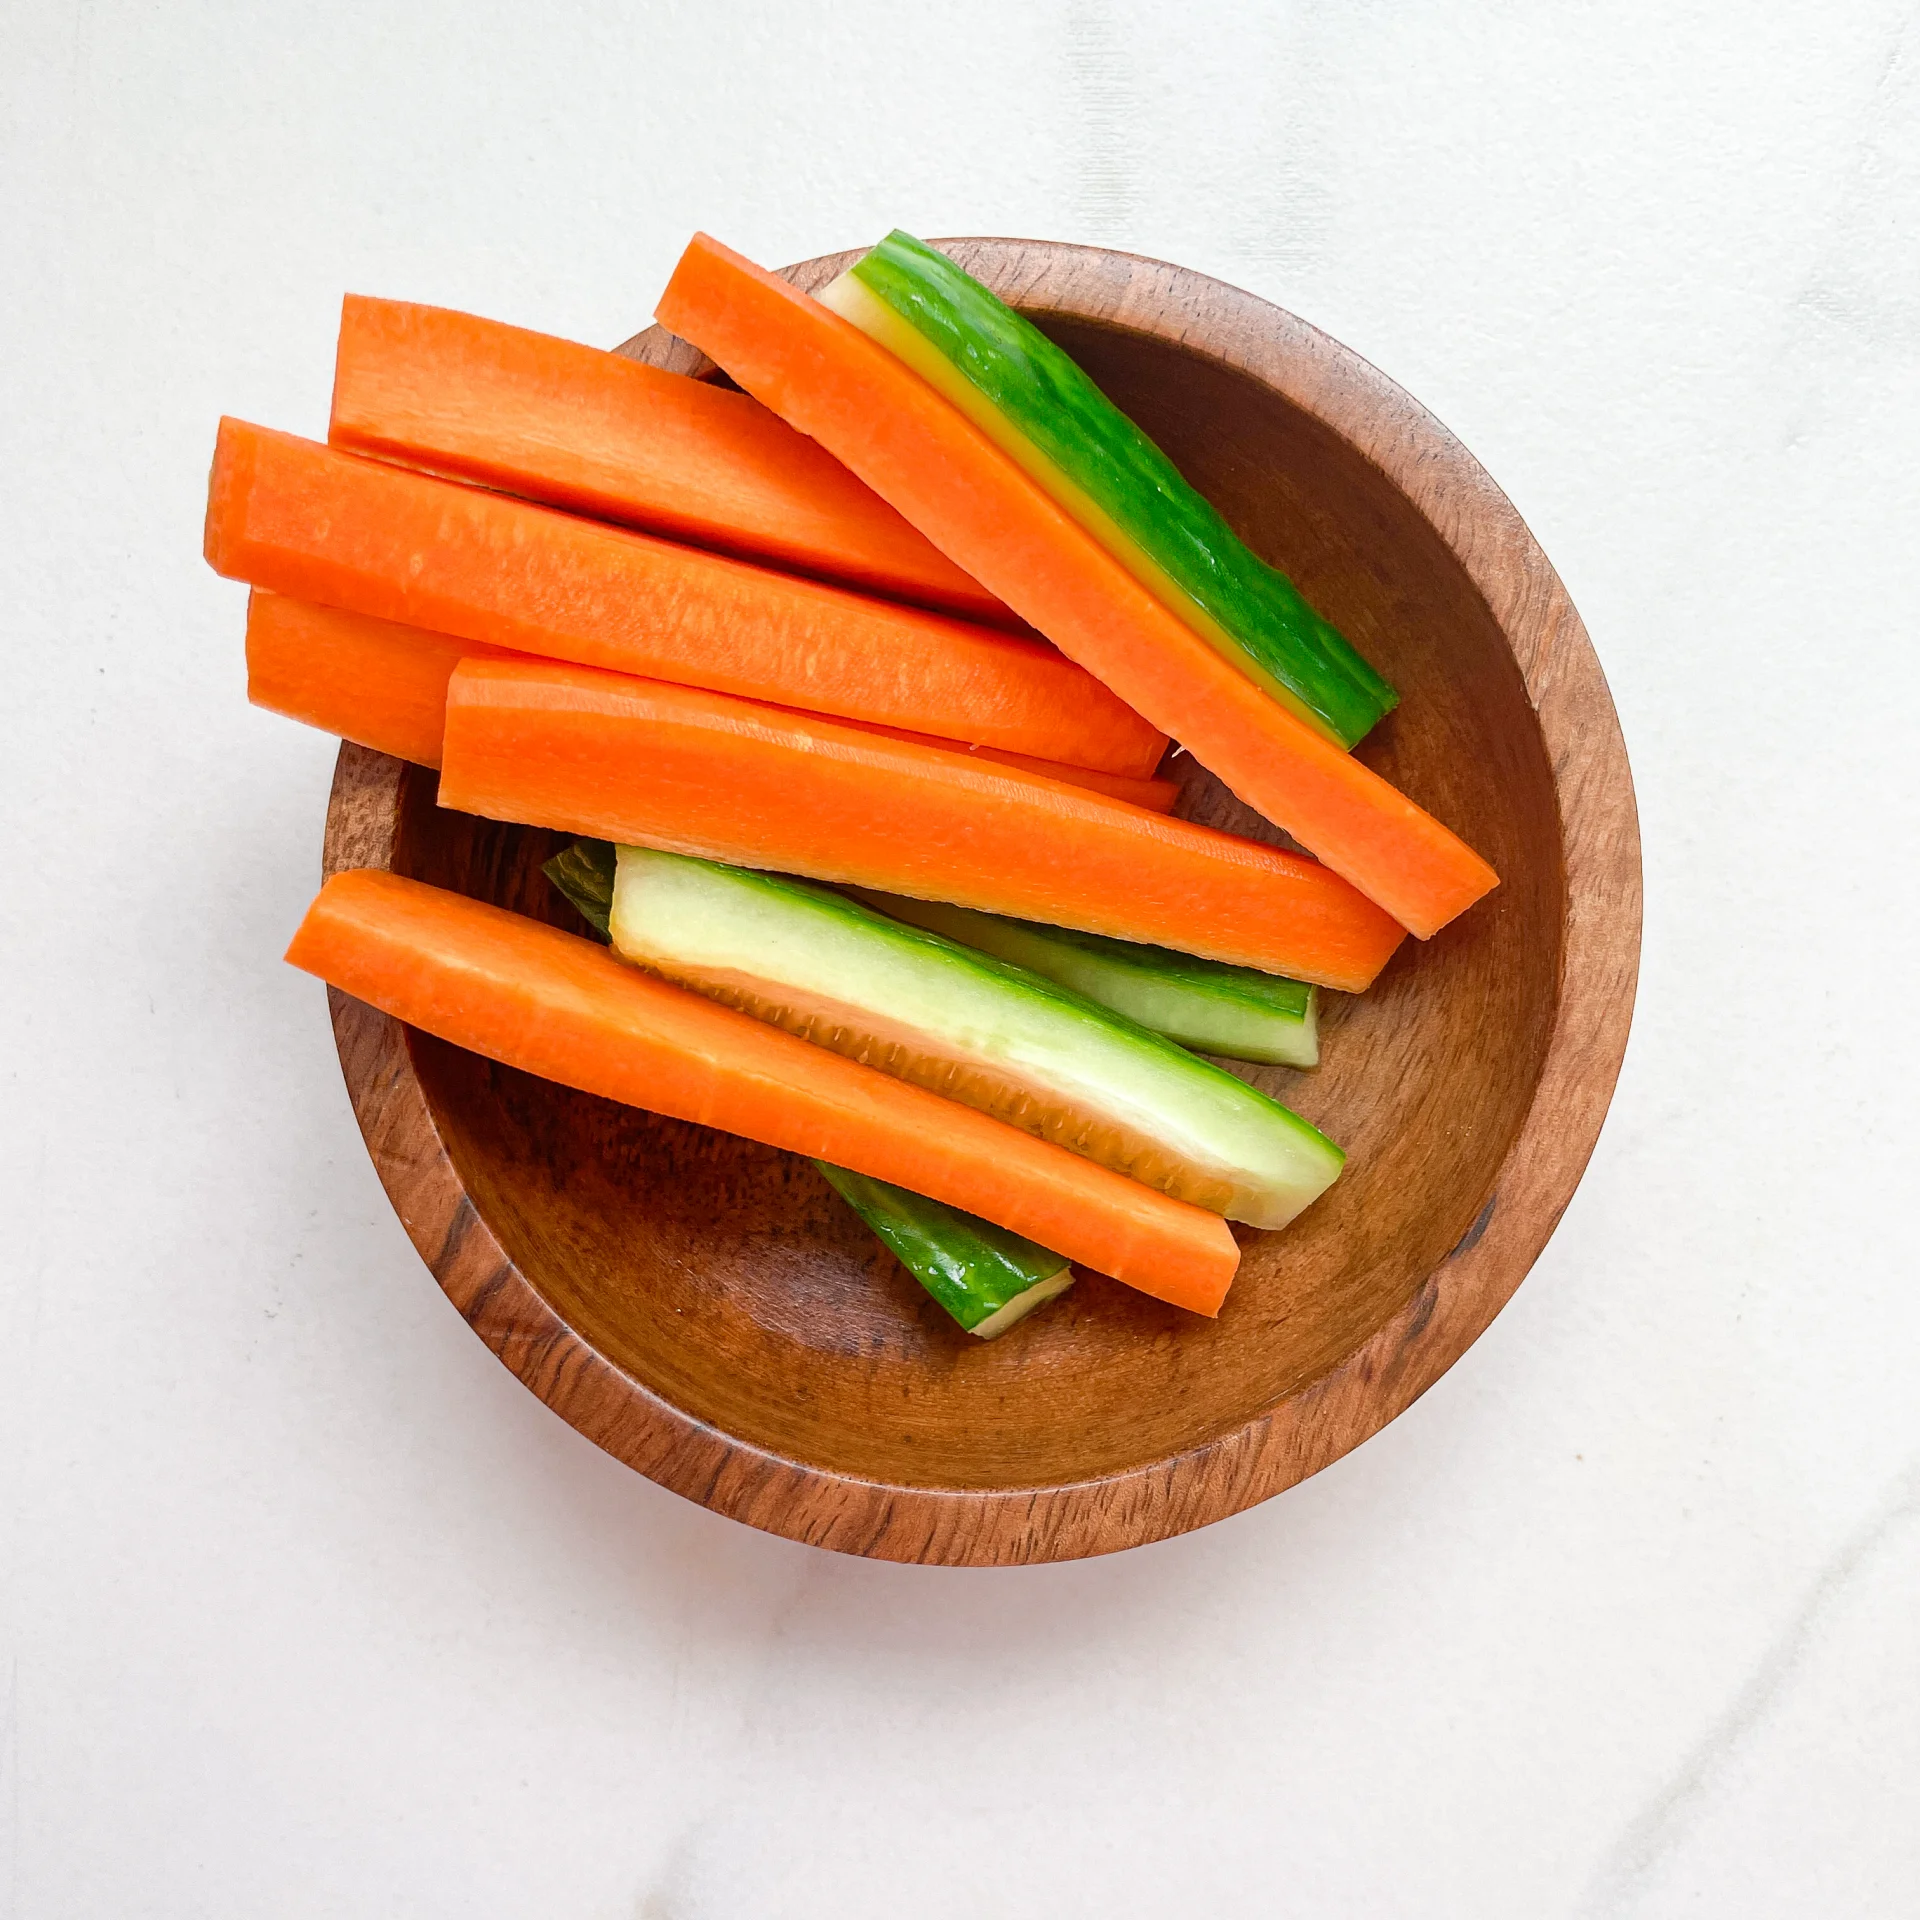
  • Thoroughly wash the cucumber, carrot, tomatoes, radishes, dill, and chives. Peel the cucumber and carrot and cut them into fine strips, halve the cherry tomatoes, slice the radishes thinly, finely chop the dill, and cut the chives into little rolls. Put everything into a medium-sized bowl and mix with 1 tablespoon of olive oil. If the feta cheese is very salty, I would not add any more salt to the vegetables.
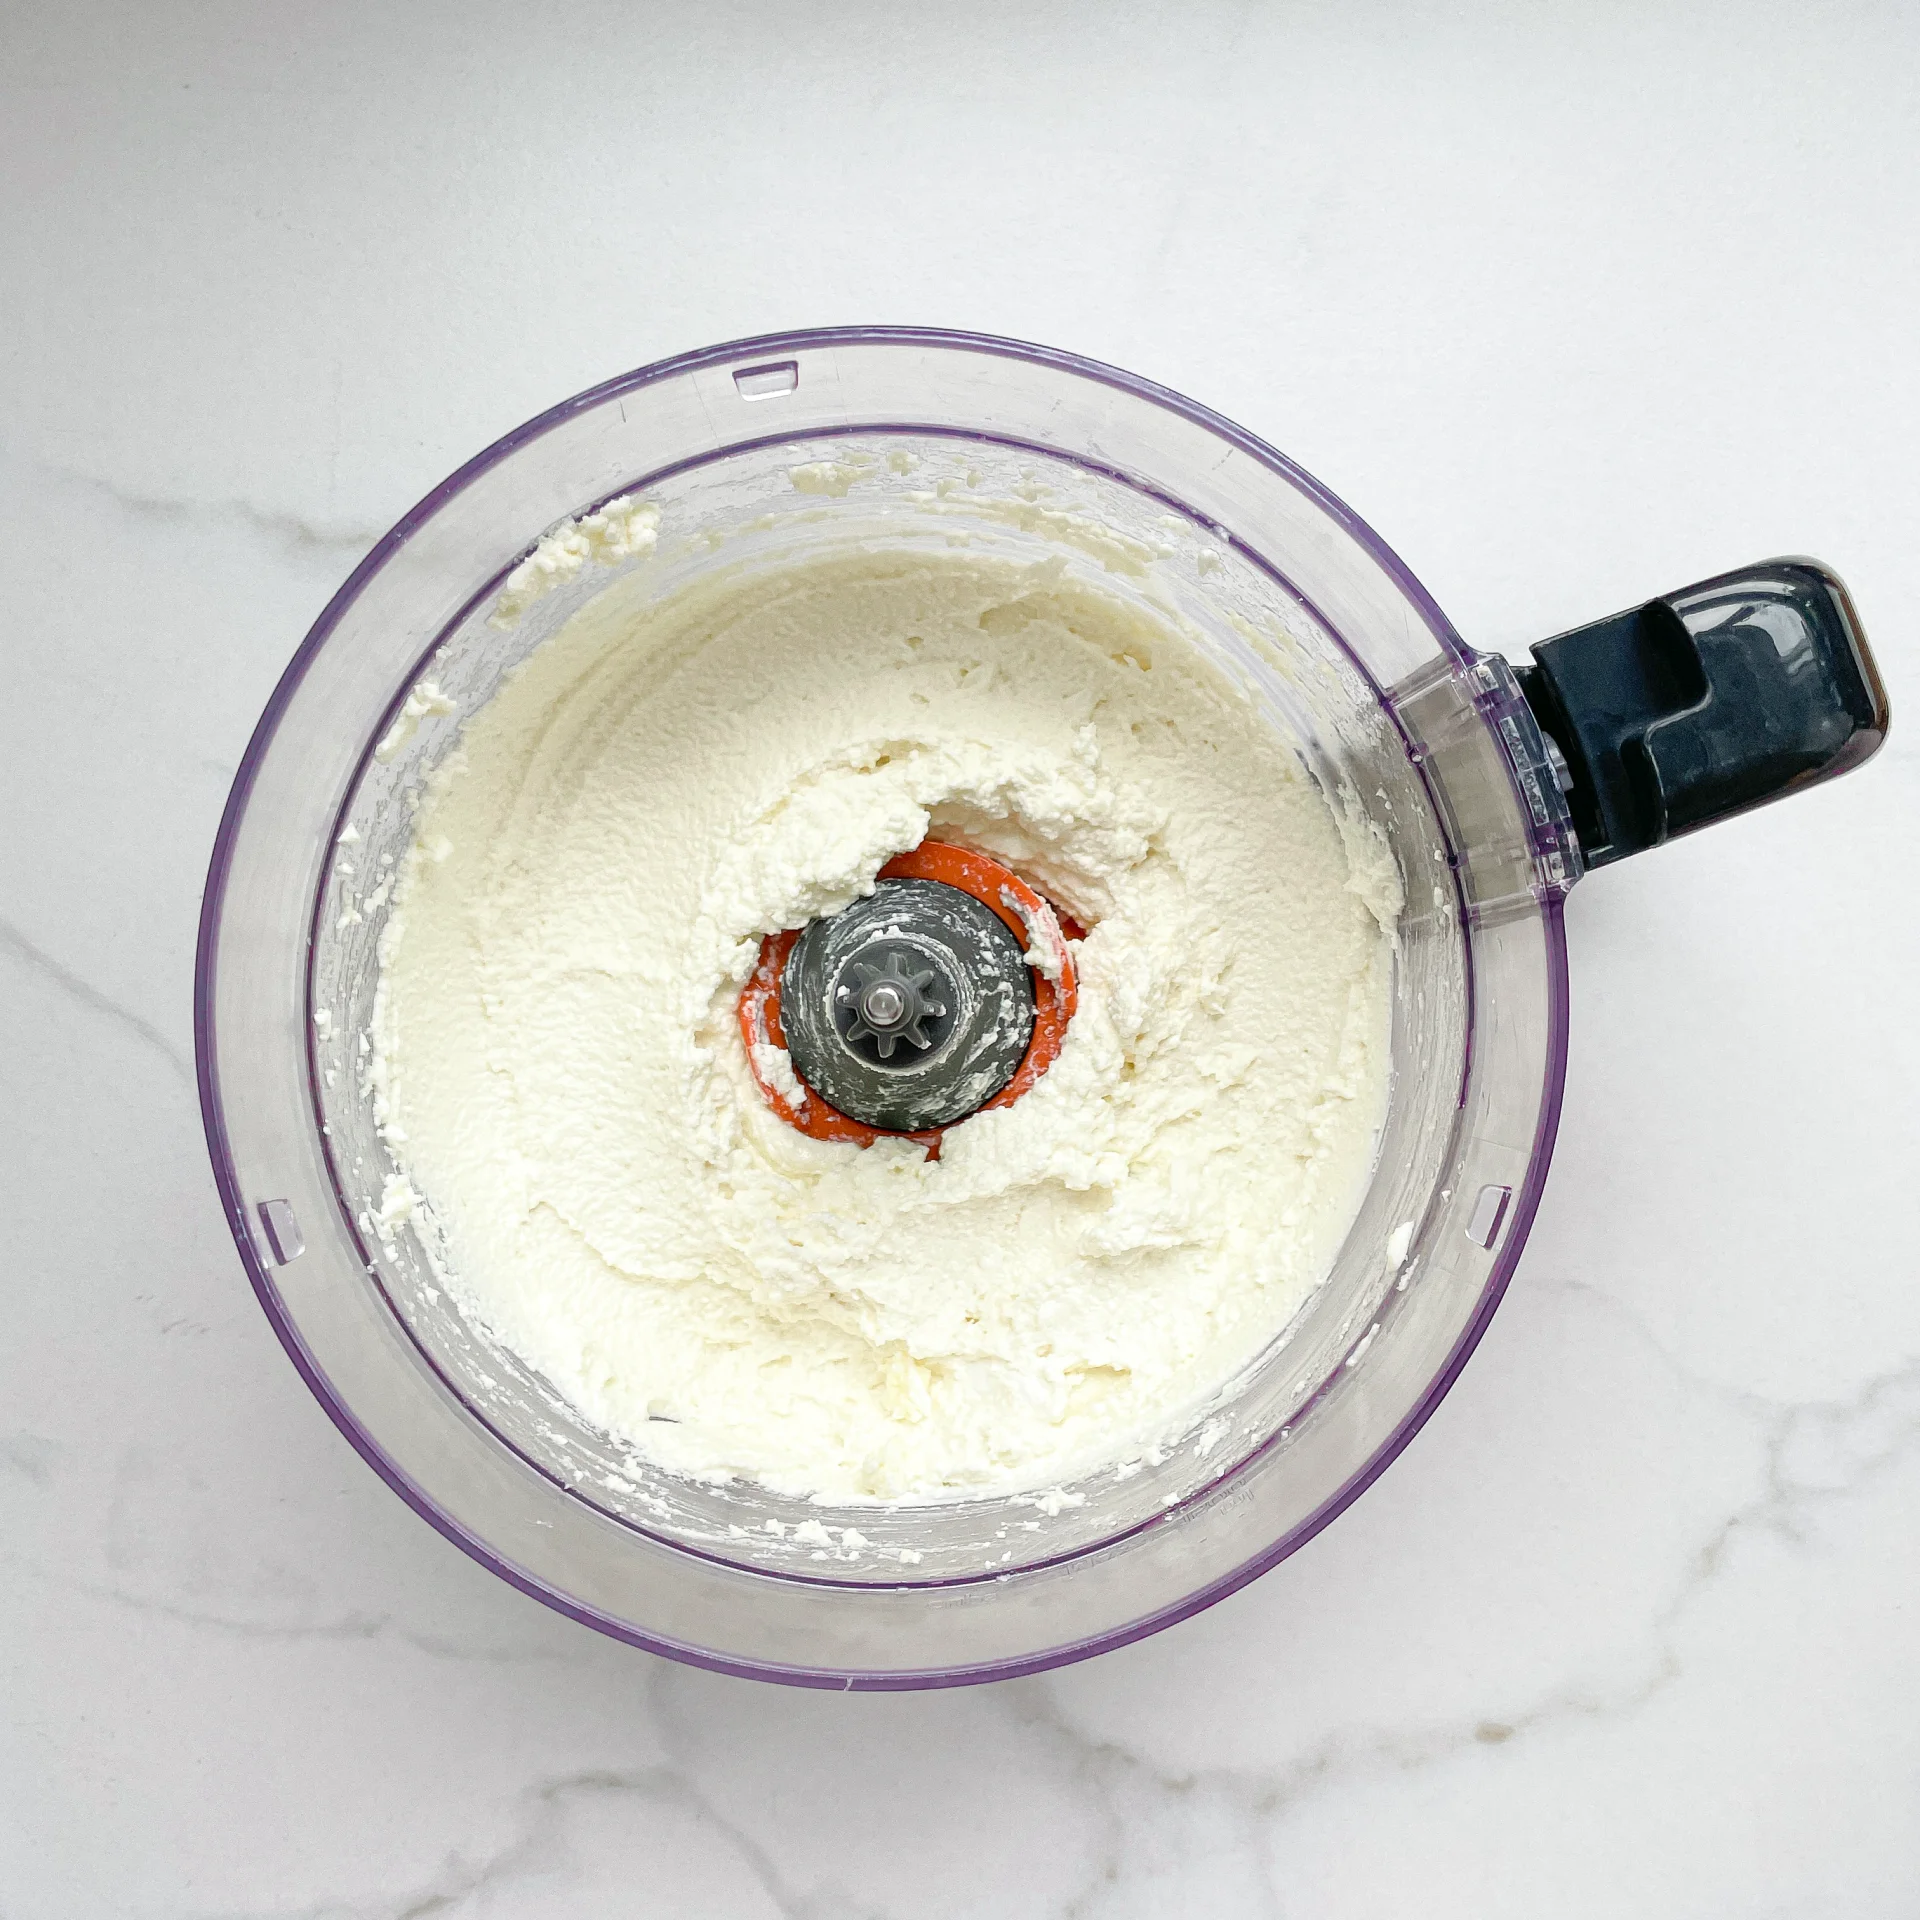
  • Place the feta cheese in the food processor and turn it on. Gradually add 3 tablespoons of olive oil until the cheese is creamily blended.
  • Spread the feta on a flat plate and smooth it out. Distribute the vegetables over the cheese and serve. If you store the plate in the fridge, the cheese might harden a bit. I would recommend bringing it to room temperature before serving.

Notes

The calorie information may vary depending on the product used, country and region.

  • Cook Time: 15 min
Carrot Oil

Carrot Oil

Carrot Oil

Carrot Oil

May 21, 2024 by Kimberly

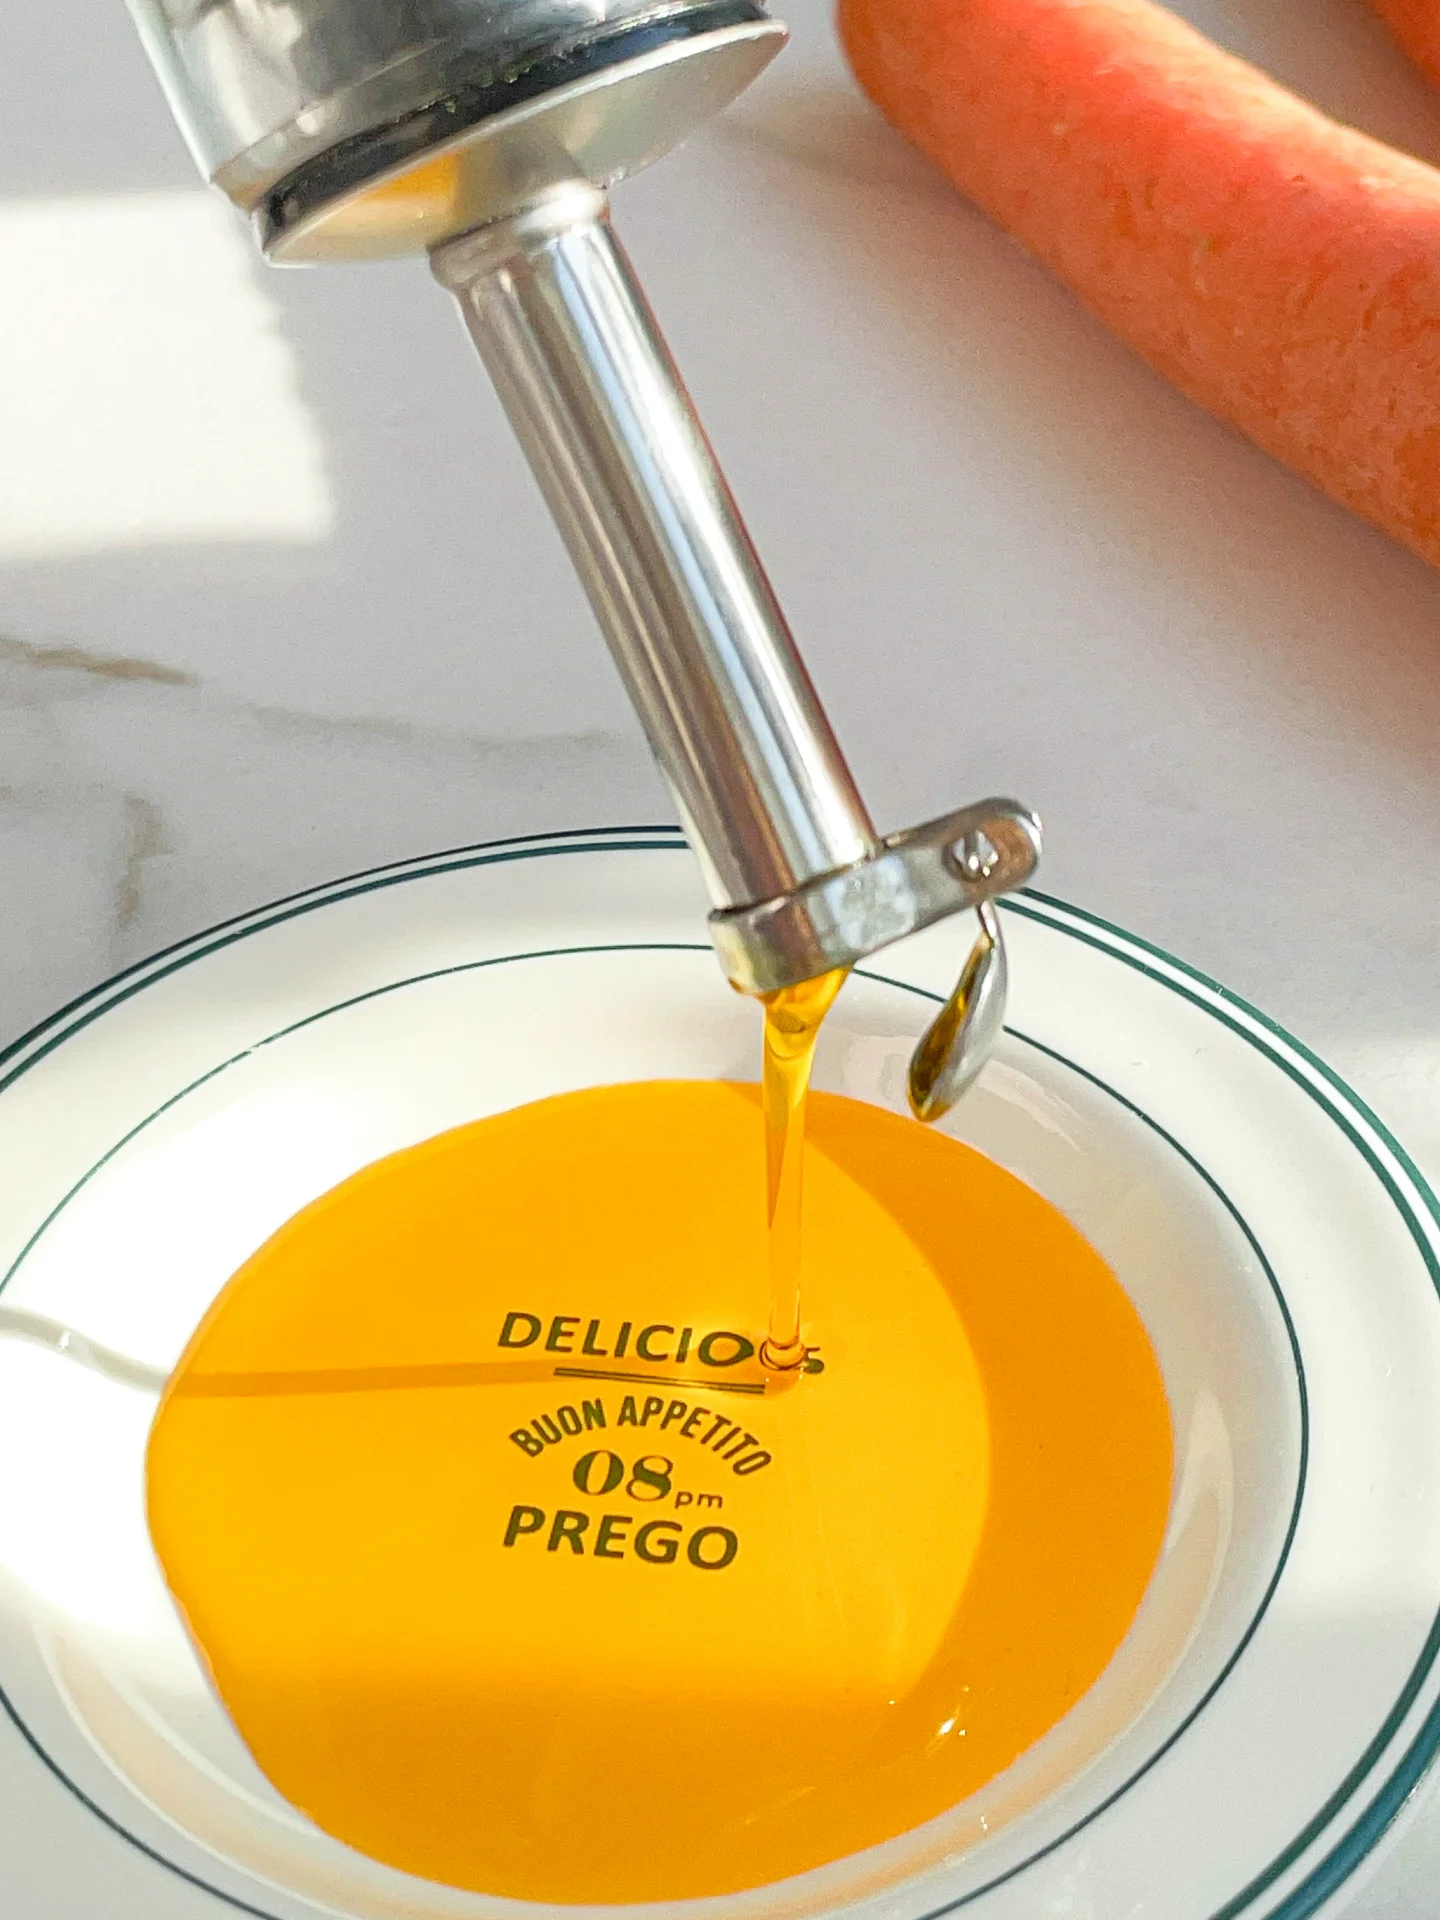
You’ve got to try this Carrot Oil! Made with rapeseed oil and fresh carrots, it adds an amazing burst of flavor to salads and cheese.

105 MINUTES

ADVANCED

VEGAN

INT.

40 PER TSP

NUTTY
REFRESHING

MICHELIN

OIL

ALL YEAR

INTRODUCTION

ABOUT THE RECIPE

Take your culinary creations to the next level with homemade Carrot Oil! This easy recipe blends the sweet earthiness of carrots with the light, nutty flavor of rapeseed oil. Perfect for drizzling over salads or adding a gourmet touch to your favorite cheeses, this carrot oil is a must-try for any foodie.

How to serve
Drizzle this vibrant carrot oil over fresh salads for an extra burst of flavor. It’s also fantastic for adding a gourmet touch to cheese platters. Just a few drops can transform simple dishes into something truly special. Experiment by using it as a finishing oil on roasted vegetables or as a dip for artisan bread.

How to store
Store your carrot oil in a dark, airtight bottle to maintain its freshness. Keep it in a cool, dry place away from direct sunlight. Properly stored, your carrot oil will stay delicious and vibrant for up to a few weeks.

Hi, I'm Kimberly!

Hi, I'm Kimberly.

A passionate food lover who believes in the magic of homemade deliciousness that spreads love and warmth. Join me on this culinary adventure as I prepare wonderful dishes and let’s spread some happiness together!

Kimberly the Zett Signature

If you want to get to know me better, click here!


Carrot Oil
Carrot Oil
Carrot Oil
„Let’s make a piece of happiness“
Print
clock clock iconcutlery cutlery iconflag flag iconfolder folder iconinstagram instagram iconpinterest pinterest iconfacebook facebook iconprint print iconsquares squares iconheart heart iconheart solid heart solid icon
Carrot Oil

Carrot Oil


  • Author: Kimberly
  • Total Time: 105 min
  • Yield: 250 ml / 1 cup 1x
  • Diet: Vegan

Description

RECOMMENDED EQUIPMENT

  • blender
  • medium-sized saucepan
  • whisk
  • a bowl which the medium saucepan fits into
  • 2 medium-sized bowls
  • 2 fine sieves
  • sealable container (oil bottle)
  • ice cubes
  • coffee filter

Ingredients

Units Scale
  • 150 grams carrot
  • 250 milliliters unrefined/cold-pressed rapeseed oil

Instructions

  1. Peel the carrots, roughly chop them and put them into the blender. Pour in the oil. Blend on the highest setting until there are only tiny pieces of the carrots left.
  2. Pour the mixture from the blender into a medium-sized pot and heat it over medium heat to a temperature of about 104°-106°C (219°-222°F), and maintain this temperature for the next 40 minutes. Stir occasionally, making sure the temperature remains steady and nothing gets burned.
  3. Prepare a bowl large enough to fit a medium-sized pot, and fill it with cold water and a handful of ice cubes. Also, hang a fine sieve strainer over one medium-sized bowl and another fine sieve strainer, with a coffee filter inside it, over another medium-sized bowl.
  4. Now, place the pot in the ice water and stir to cool the oil quickly. Once the oil is almost cold, remove the pot from the water and pour the oil into the prepared fine sieve to catch the coarse particles.
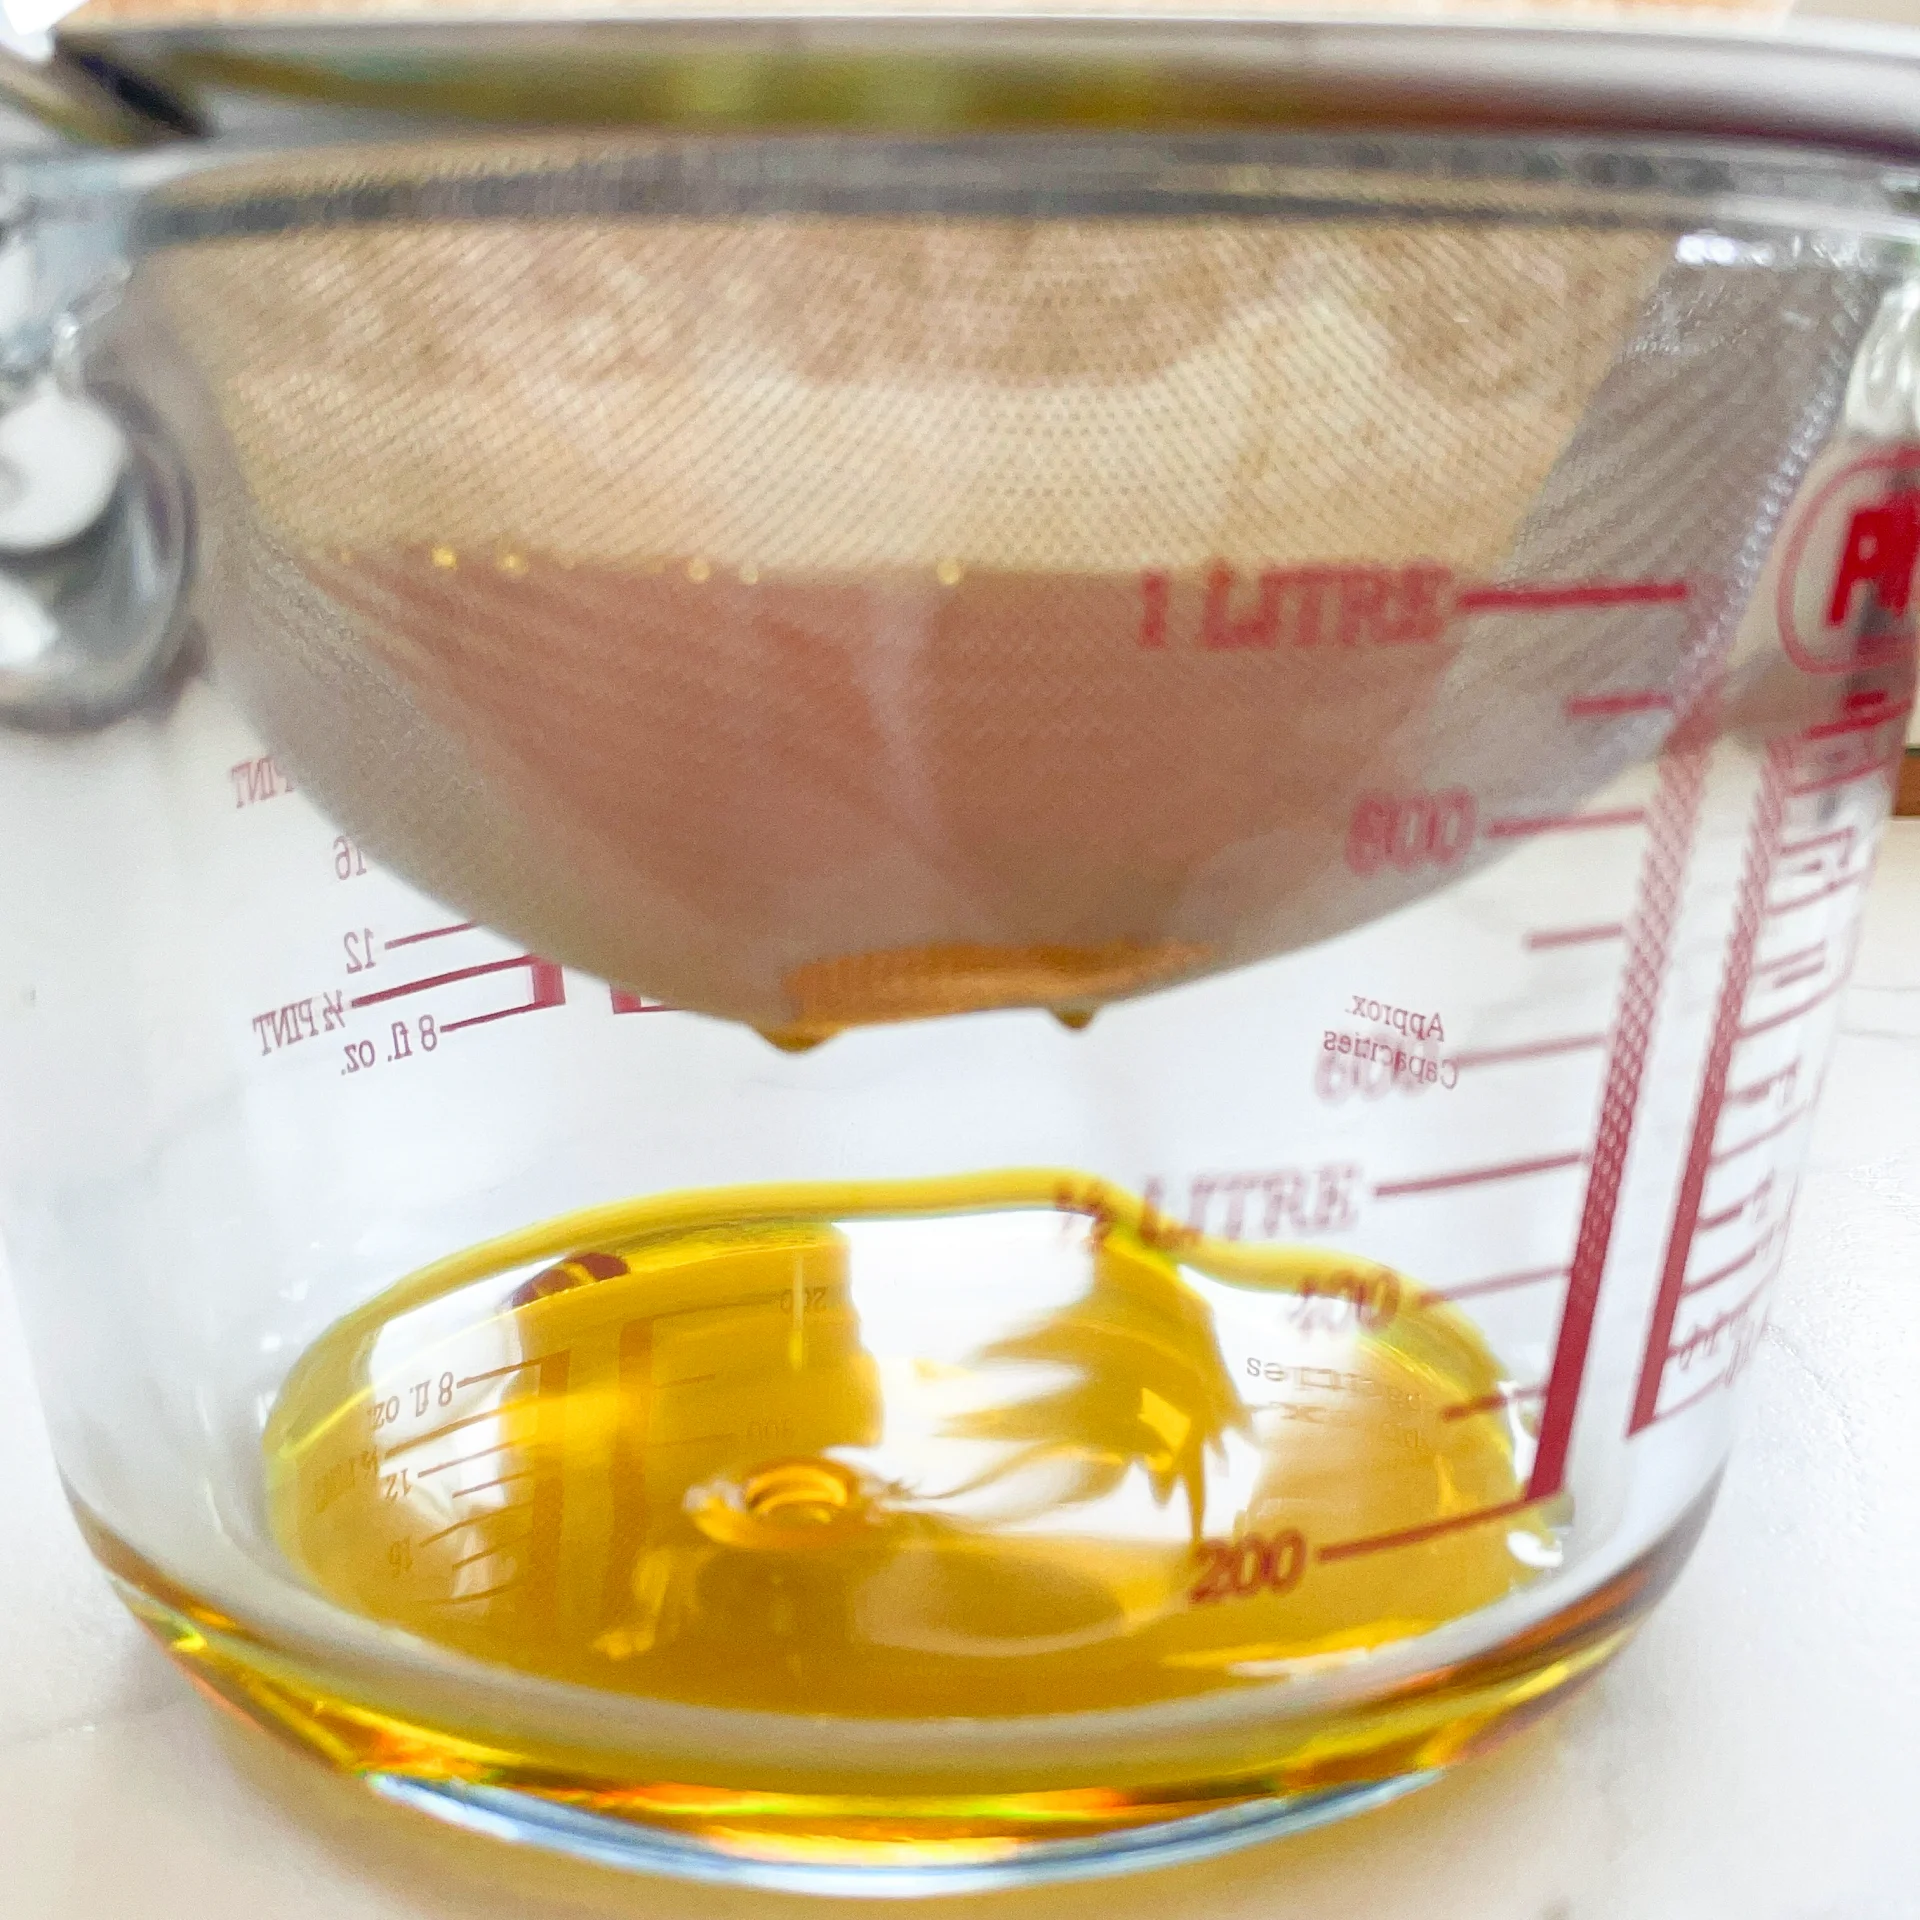
  5. Then, pour the oil into the second sieve, which is equipped with a coffee filter, to catch the remaining finer particles.
  6. Allow the oil to drip through for about 1 hour or maybe less depending on how many remaining particles are in the coffee filter. Once all the oil has passed through the coffee filter, transfer the collected amount of oil into a sealable container or directly into an oil bottle. Store in the refrigerator for up to one week.

Notes

The calorie information may vary depending on the product used, country and region.

  • Prep Time: 5 min
  • Passive Time: 60 min
  • Cook Time: 40 min
  • Category: OILS
  • Method: COOKING
  • Cuisine: INTERNATIONAL

Pink Hummus

Pink Hummus

Pink Hummus

Pink Hummus

May 20, 2024 by Kimberly

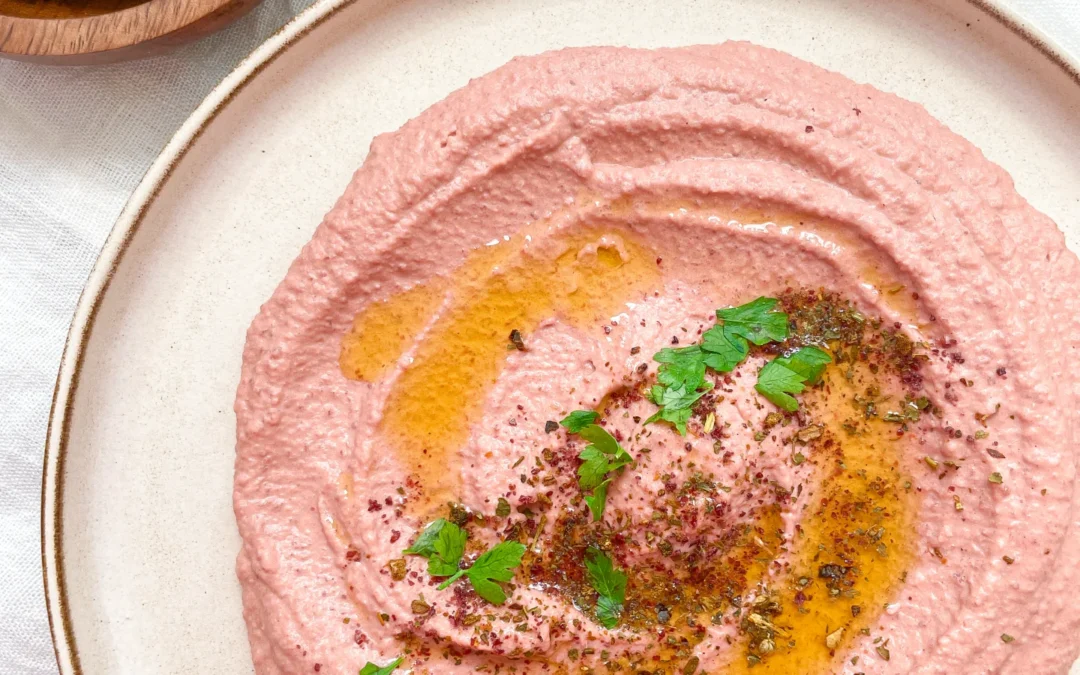
Get ready to wow your taste buds with this vibrant pink beetroot hummus! It’s creamy, delicious, and packed with nutrients – a perfect, colorful twist on a classic.

10 MINUTES

EASY

VEGAN

ARABIC

150 PER PORTION

NUTTY
CREAMY

EVERYDAY

DIPS & SPREADS

ALL YEAR

INTRODUCTION

ABOUT THE RECIPE

If you’re looking to add a pop of color and a burst of flavor to your snack game, pink beetroot hummus is your go-to recipe! This delightful dip combines the earthy sweetness of beetroots with the creamy goodness of traditional hummus. Not only is it visually stunning, but it’s also packed with nutrients, making it a healthy choice for any occasion. Perfect for impressing guests or just treating yourself!

How to serve
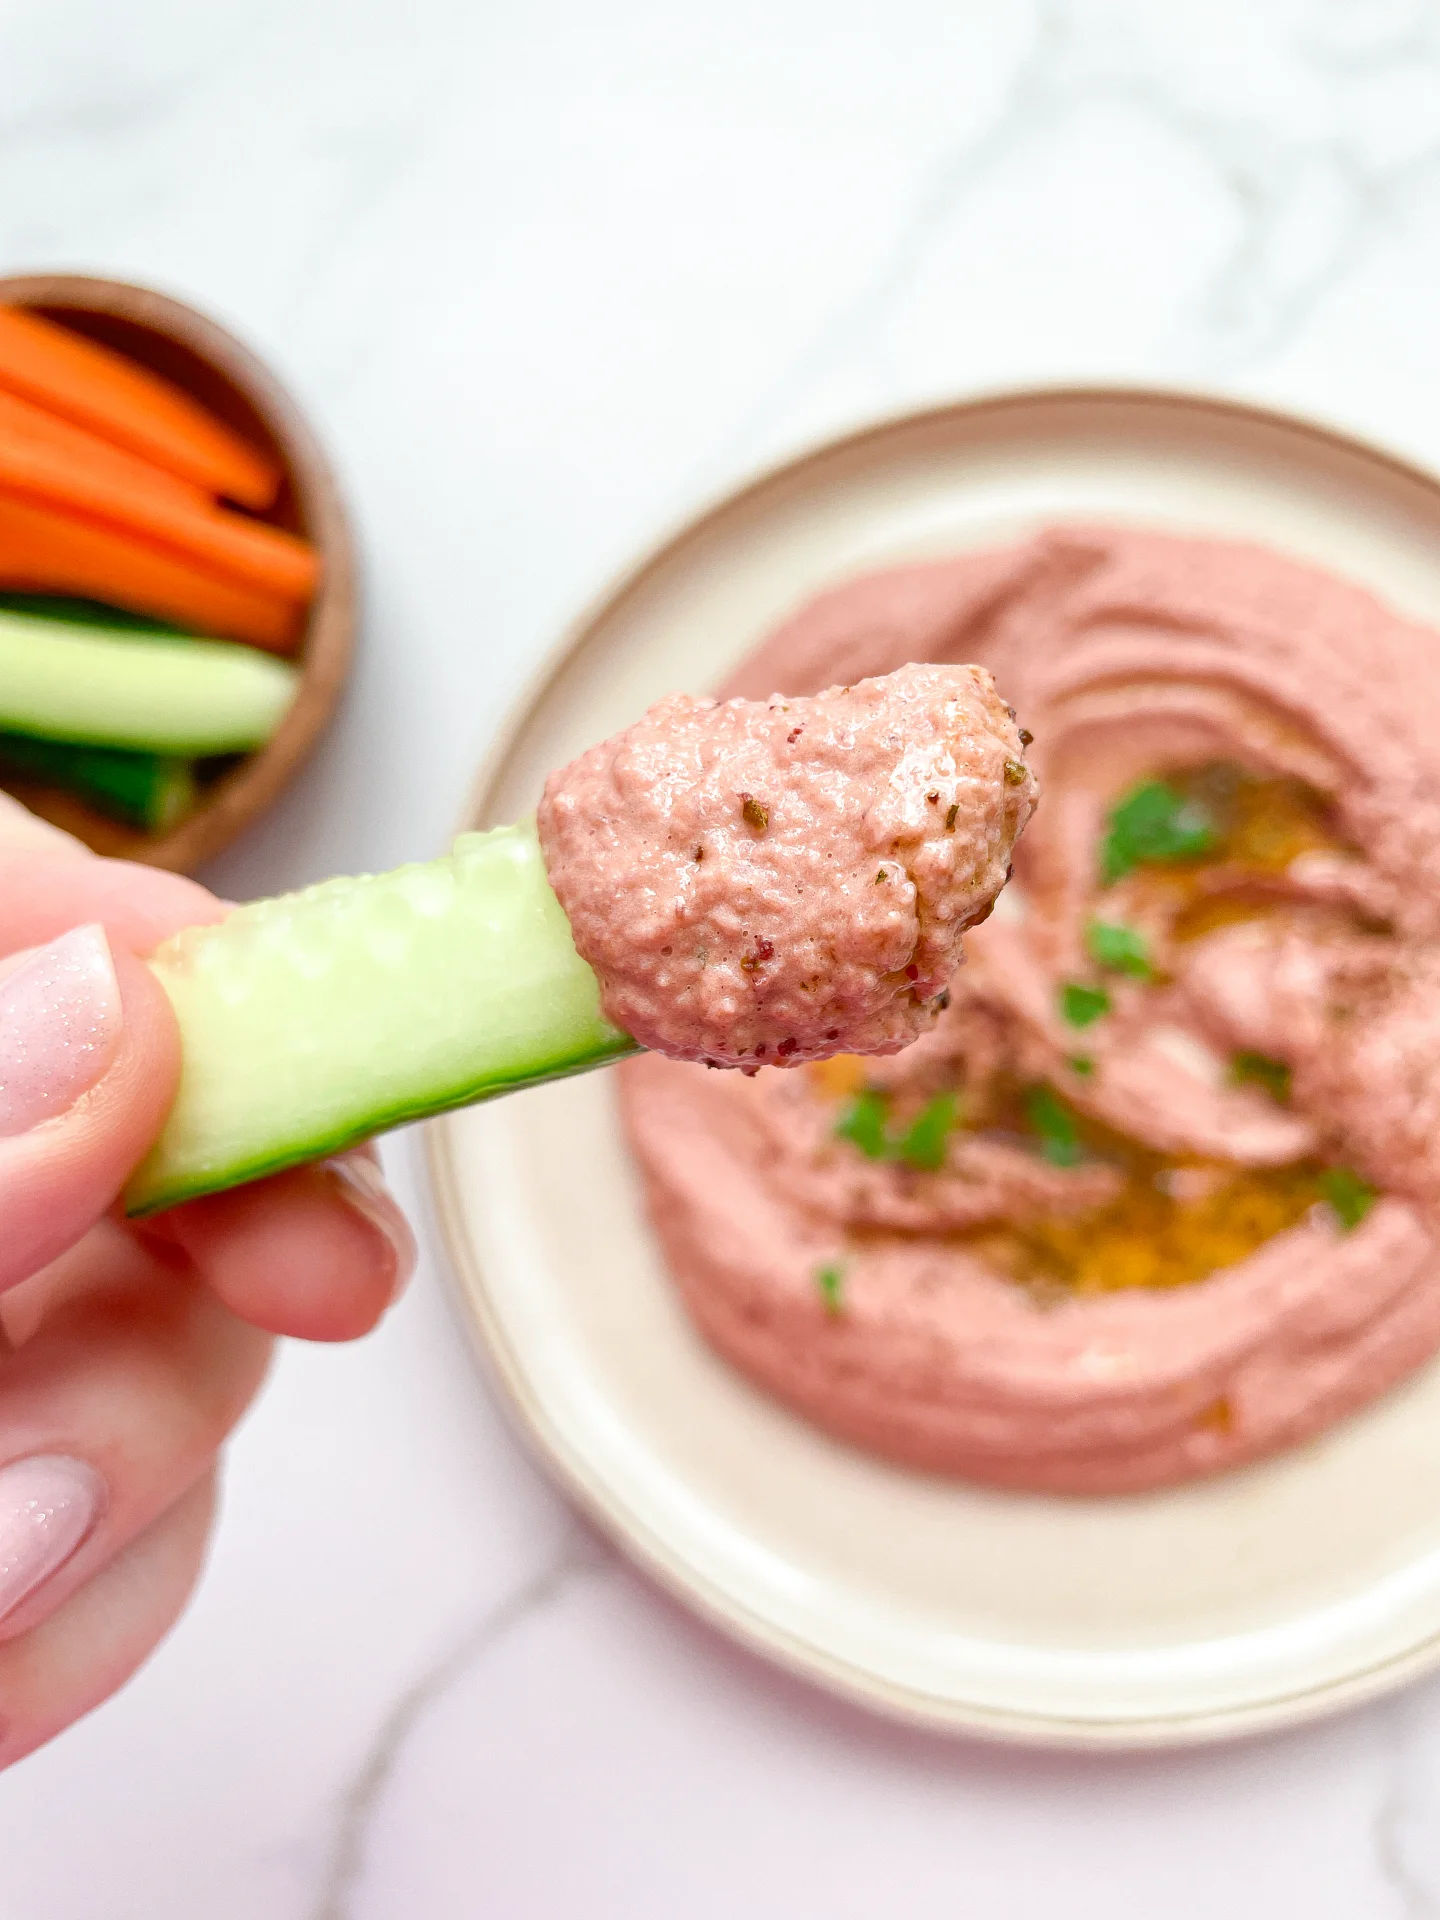
Pink beetroot hummus is incredibly versatile and can be served in numerous ways. Spread it on toast for a vibrant breakfast, pair it with fresh veggies for a healthy snack, or use it as a flavorful addition to your sandwich or wrap. It’s also a hit at parties when served with pita chips or crackers. The possibilities are endless, and each bite is as delightful as the last!

How to store
To keep your pink beetroot hummus fresh, store it in an airtight container in the refrigerator. It will stay delicious for up to a week. Just give it a good stir before serving, and you’re ready to enjoy!

Hi, I'm Kimberly!

Hi, I'm Kimberly.

A passionate food lover who believes in the magic of homemade deliciousness that spreads love and warmth. Join me on this culinary adventure as I prepare wonderful dishes and let’s spread some happiness together!

Kimberly the Zett Signature

If you want to get to know me better, click here!


Pink Hummus
Pink Hummus
Pink Hummus
„Let’s make a piece of happiness“
Print
clock clock iconcutlery cutlery iconflag flag iconfolder folder iconinstagram instagram iconpinterest pinterest iconfacebook facebook iconprint print iconsquares squares iconheart heart iconheart solid heart solid icon
Pink Hummus

Pink Hummus


  • Author: Kimberly
  • Total Time: 10 min
  • Yield: 6 1x
  • Diet: Vegan

Description

RECOMMENDED EQUIPMENT

  • sharp knife
  • cutting board
  • sieve
  • food processor

Ingredients

Units Scale
  • 265 grams chickpeas (drained)
  • 2 garlic cloves
  • juice of 1/2 lemon
  • 60 grams tahini
  • 2 tbsp olive oil
  • 1/4 tsp salt
  • 1/4 tsp – 1/2 tsp cumin
  • 4 ice cubes
  • 200 grams beetroot (cooked)

Instructions

PREPARATIONS

  • Pour the canned chickpeas into a sieve and rinse with cold water until the Aquafaba stops foaming. You can save the Aquafaba for other recipes.
  • Peel the garlic cloves.
  • Halve the lemon.
  • Cut the beetroot into chunks. If using fresh beetroot, peel it first.

INSTRUCTIONS

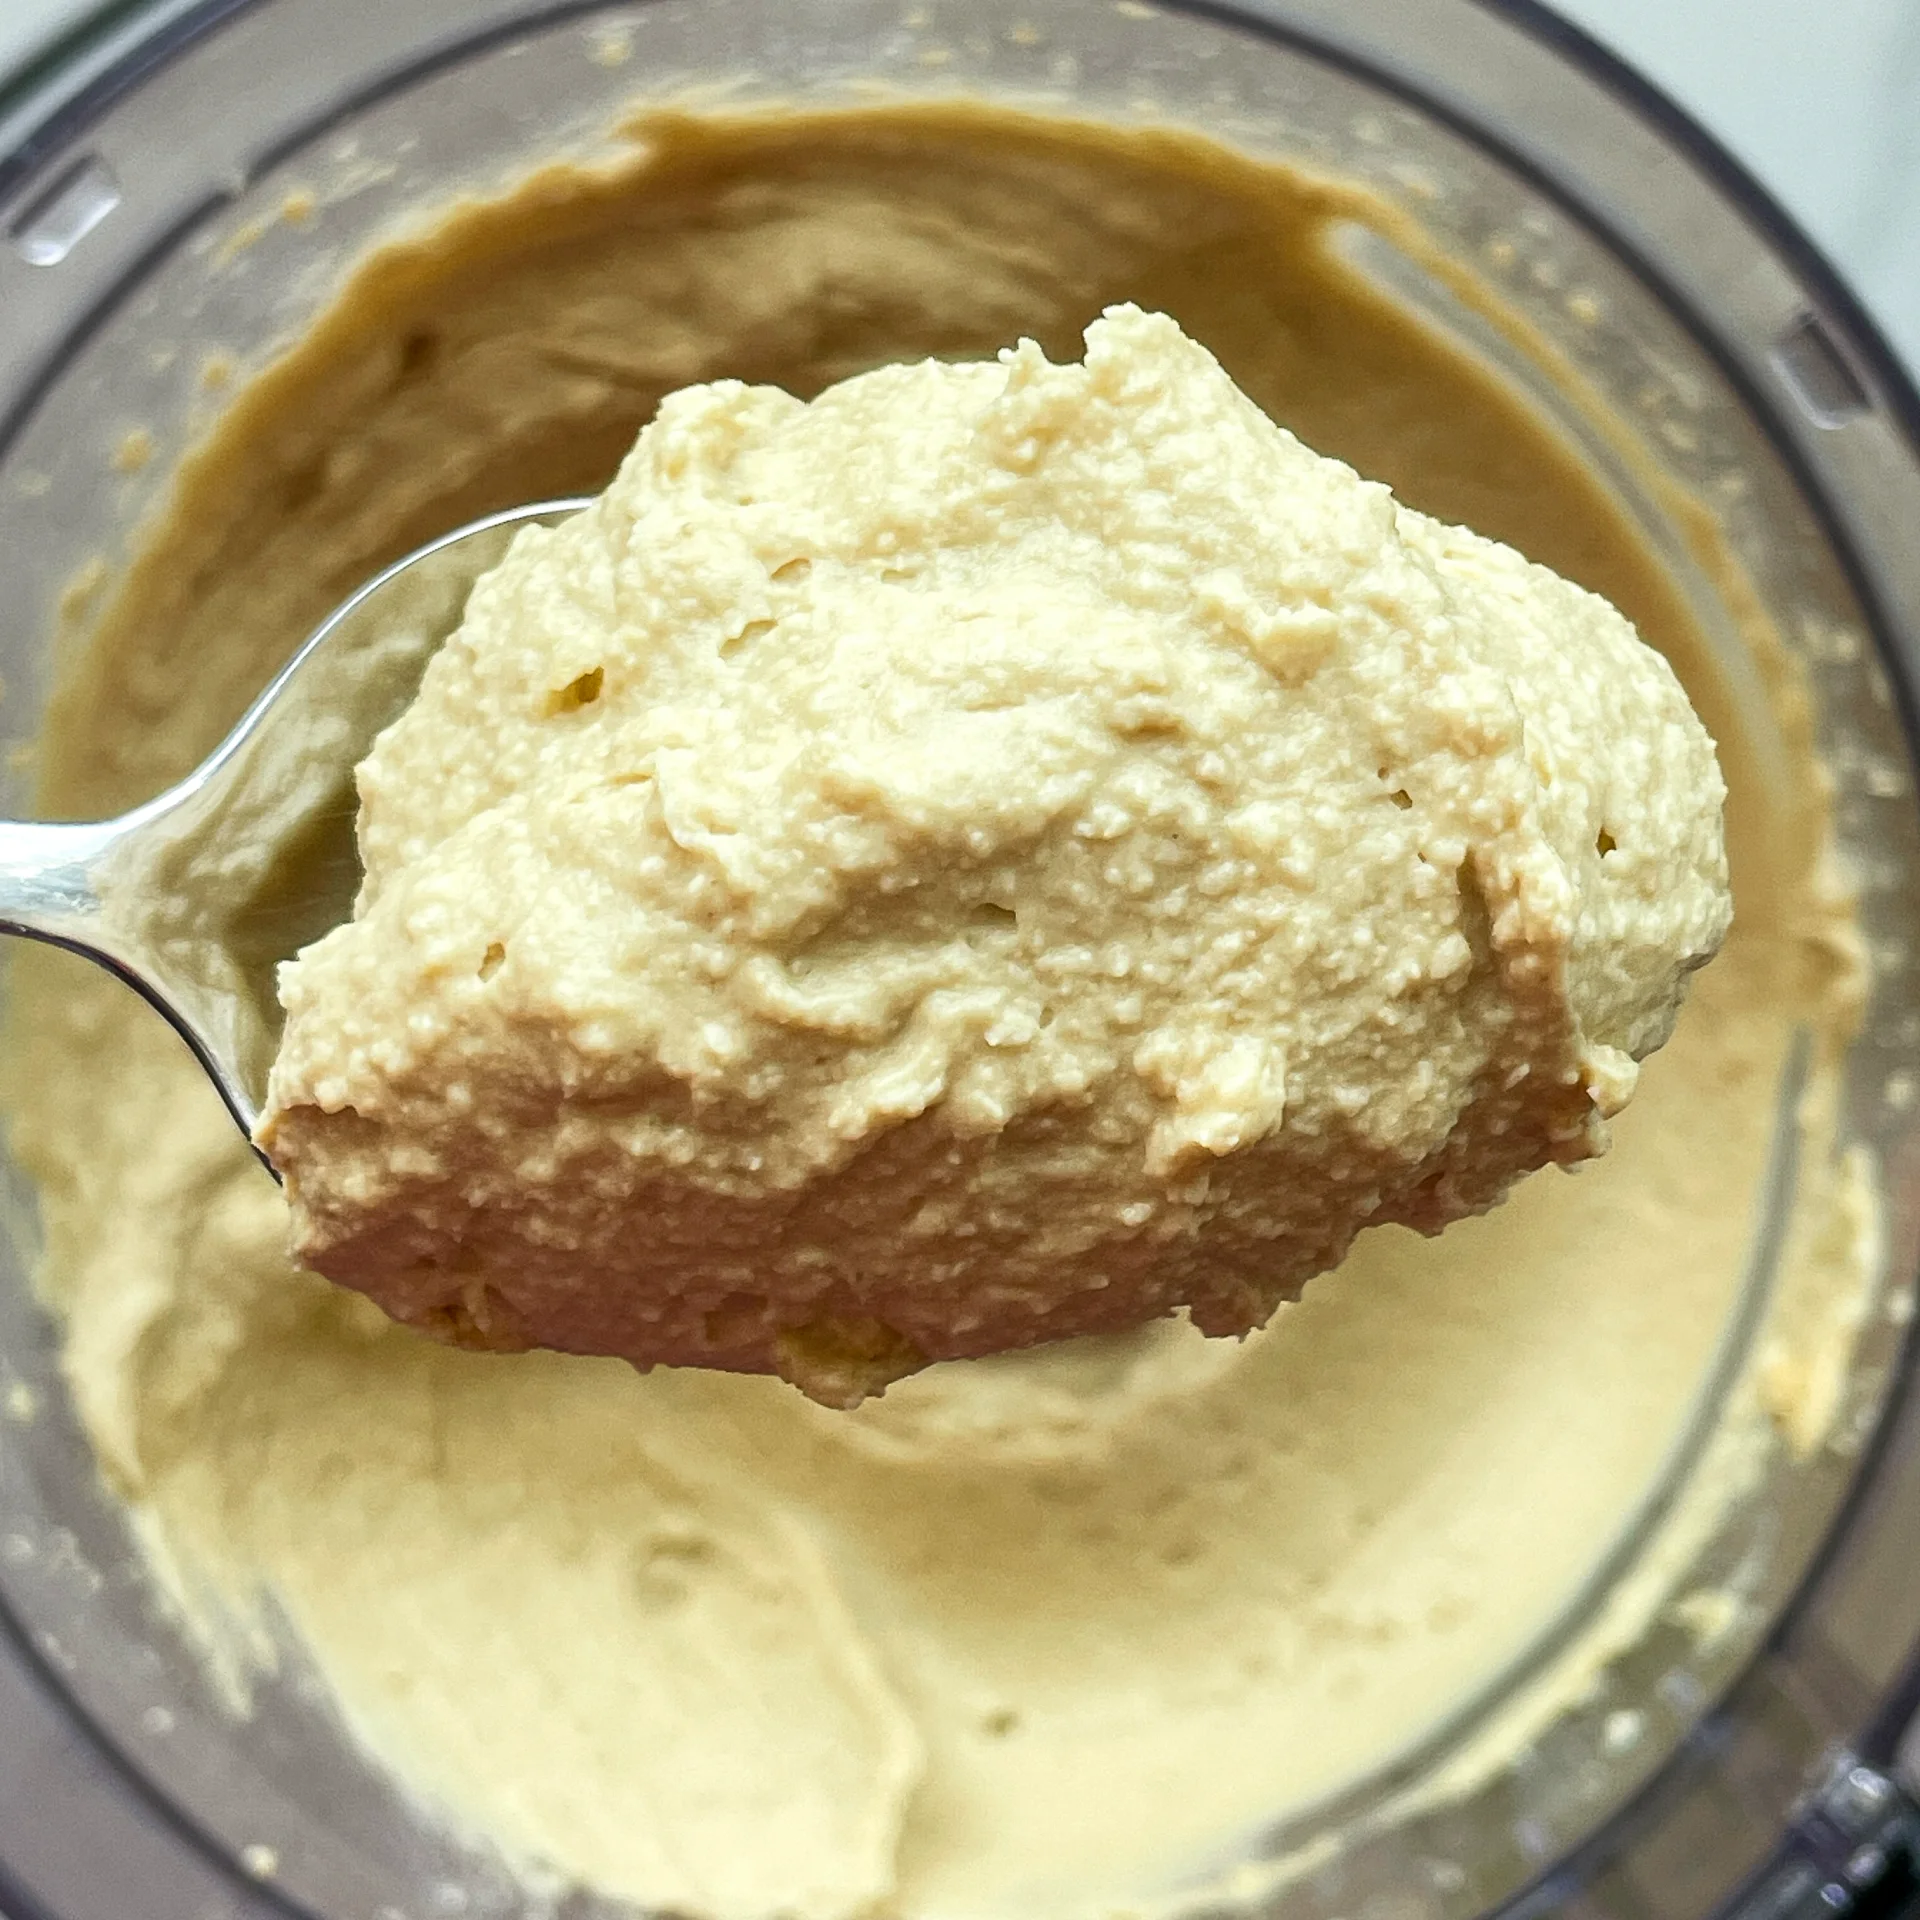
  1. Pour the chickpeas into the food processor. Add the garlic cloves, tahini, salt, olive oil, and cumin. Blend on medium until you get a chunky but creamy consistency.
  2. While the machine is running, gradually add the ice cubes. Blend for about 1-3 minutes (depending on your machine) until smooth and creamy. Adjust the seasoning with salt and lemon juice if needed.
  3. Add the beetroot chunks and blend again until well combined.
  4. Transfer the hummus to a bowl and garnish with olive oil, chickpeas, herbs, and paprika as desired.

Notes

The calorie information may vary depending on the product used, country and region.

  • Prep Time: 5 min
  • Cook Time: 5 min
  • Category: DIP
  • Cuisine: ARABIC

Basil Oil

Basil Oil

Basil Oil

Basil Oil

April 16, 2024 by Kimberly

Experience the vibrant, fresh flavors of homemade basil oil! Perfect for drizzling over pasta or enhancing salads and many more dished with its aromatic touch.

75 MINUTES

ADVANCED

VEGAN

ITALIAN

40 PER TSP

HERBACEOUS

MICHELIN

OIL

ALL YEAR

INTRODUCTION

ABOUT THE RECIPE

Discover the simplicity and elegance of homemade basil oil. This delightful infusion captures the essence of fresh basil, offering a quick way to add gourmet flair to your meals. Its vibrant color and fragrance enhance any dish effortlessly.

How to serve:
Drizzle basil oil over fresh pasta, salads, or toasted bread for an instant flavor boost. It’s also perfect as a finishing oil for pizzas and soups, adding a touch of sophistication. For a refreshing twist, mix it into your favorite vinaigrettes.

How to store:
Keep your basil oil refrigerated in an airtight container. It stays fresh for up to a week, ensuring you can savor its herbal freshness in various dishes.

Hi, I'm Kimberly!

Hi, I'm Kimberly.

A passionate food lover who believes in the magic of homemade deliciousness that spreads love and warmth. Join me on this culinary adventure as I prepare wonderful dishes and let’s spread some happiness together!

Kimberly the Zett Signature

If you want to get to know me better, click here!


Basil Oil
Basil Oil
Basil Oil
„Let’s make a piece of happiness“

INGREDIENTS

FOR 250ml (1 CUP)

BASIL OIL

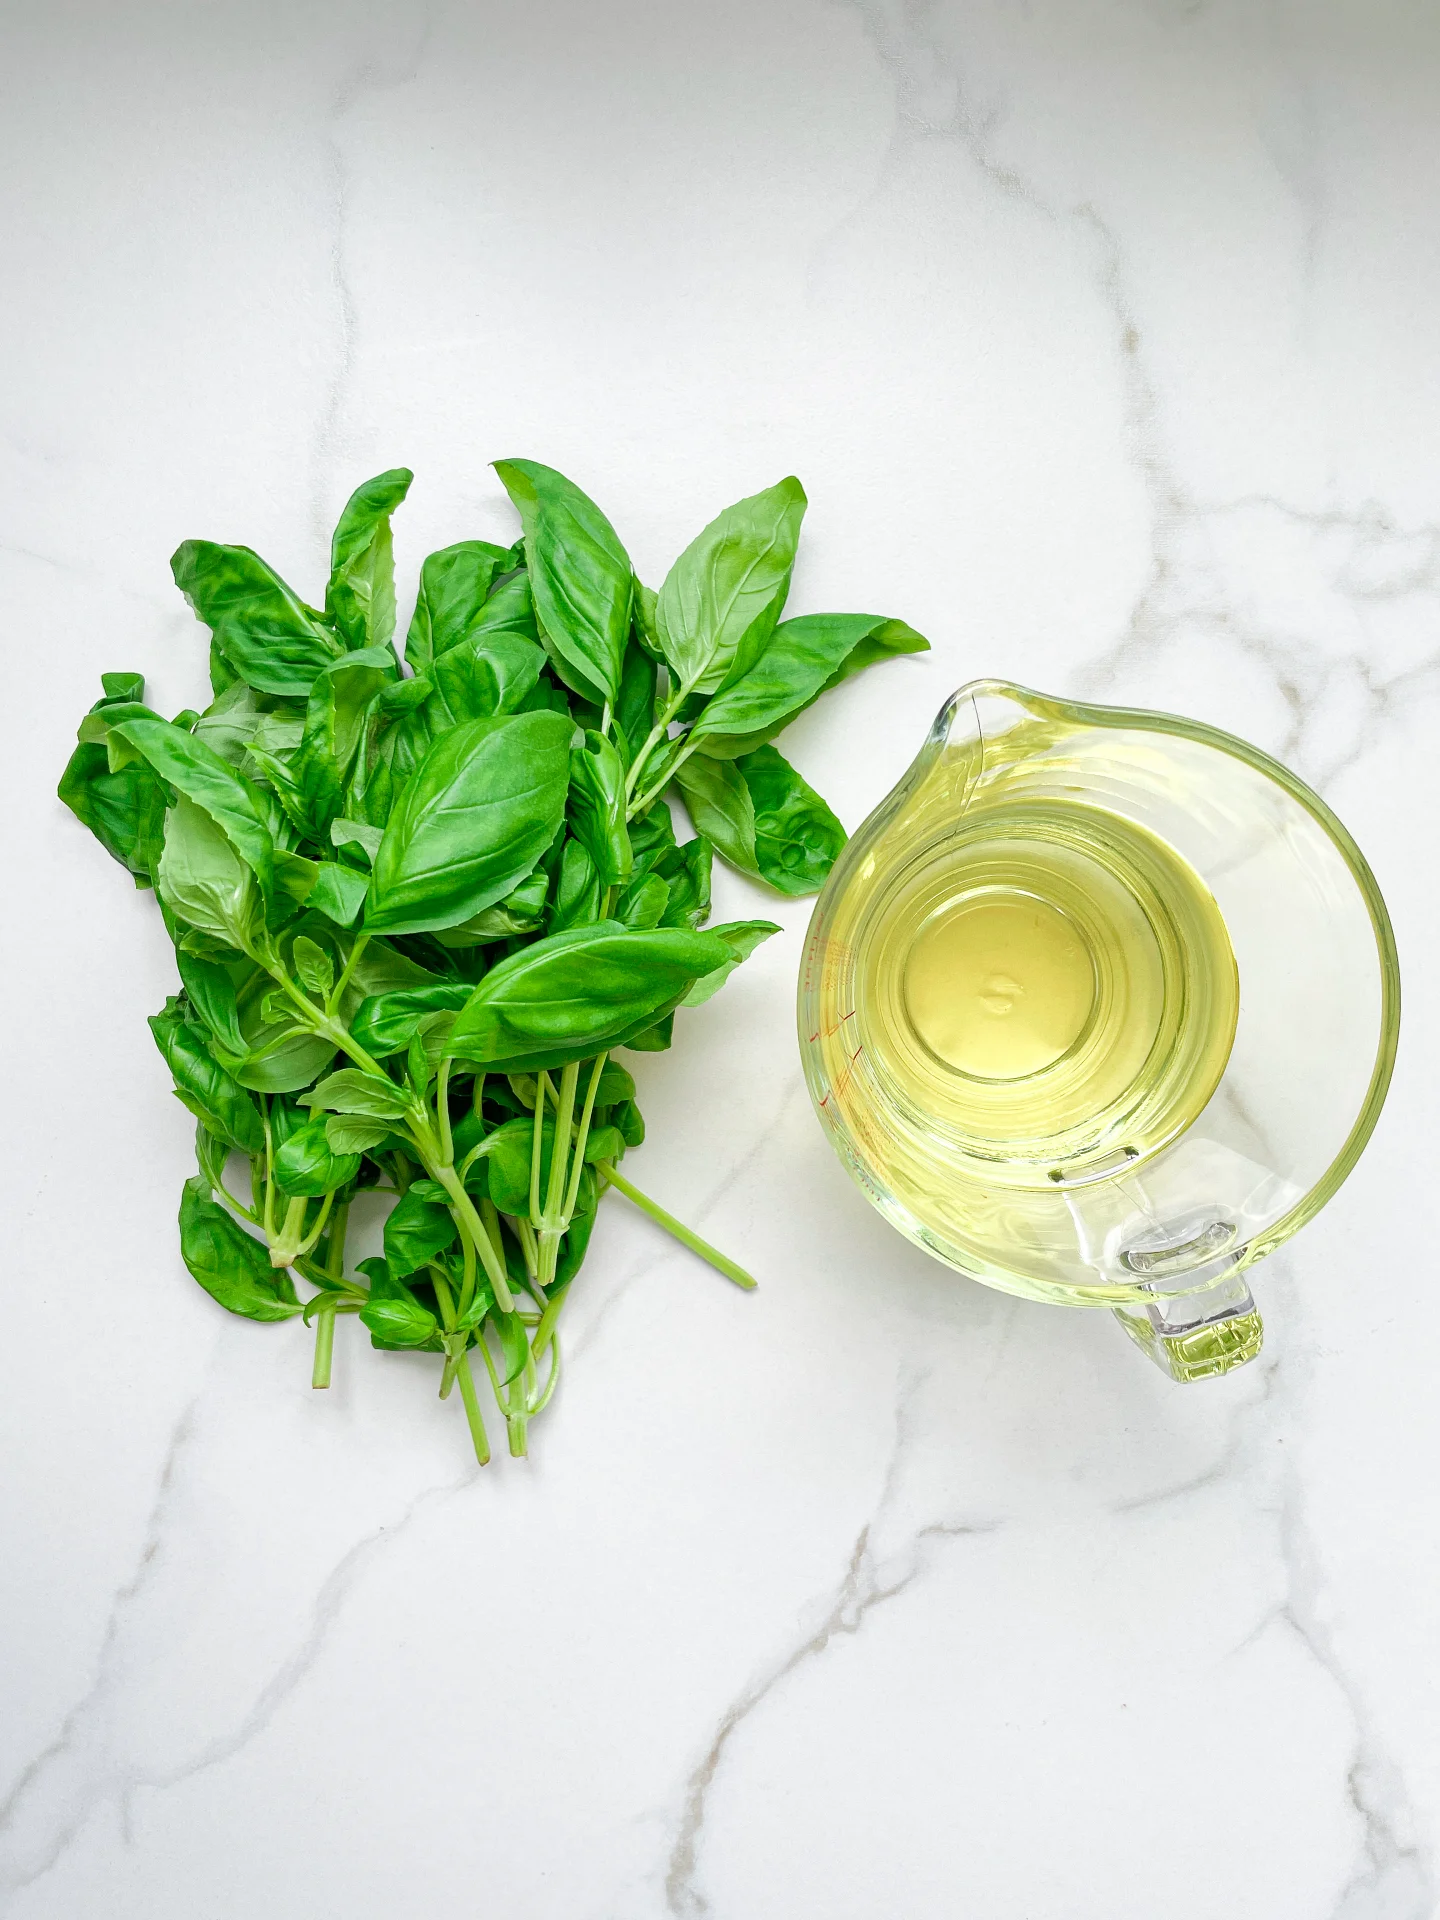
  • 75g fresh basil leaves (1.7 oz)
  • 250ml neutral cooking oil (1 cup)
Basil Oil
}

ACTIVE: –

PASSIVE: –

PREPARATIONS

Recommended Equipment
  • blender
  • medium-sized saucepan
  • whisk
  • a bowl into which the medium saucepan fits
  • 2 medium-sized bowls
  • fine sieve
  • sealable container
  • ice cubes
  • coffee filter
  • none
}

ACTIVE: 15 min
PASSIVE: 60 min

COOKING

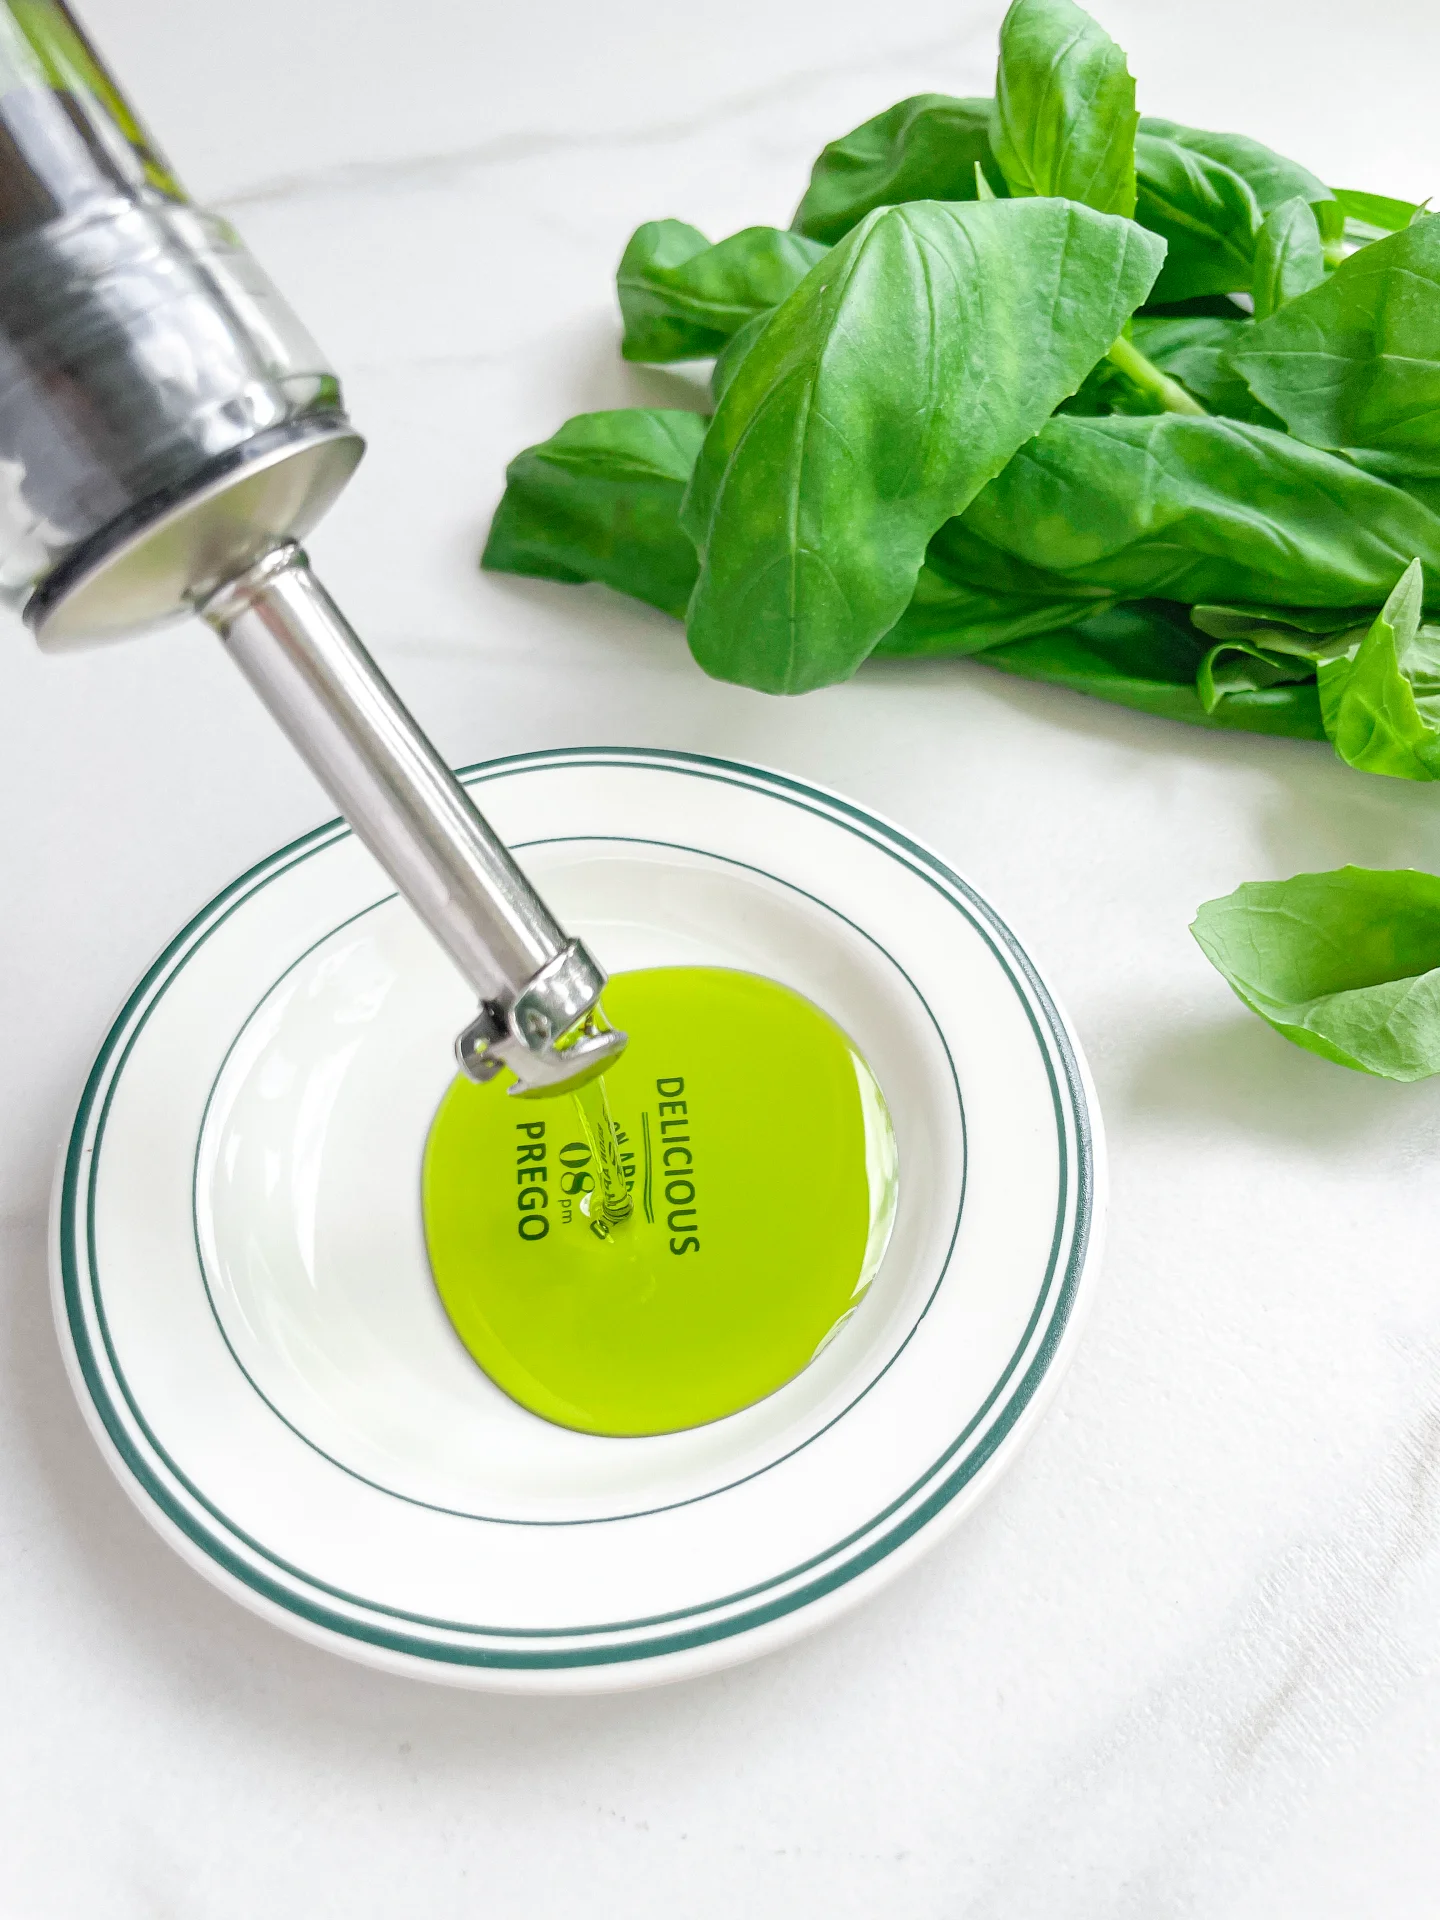
1. Separate the leaves from the stems and put the leaves into the blender. Pour in the oil. Blend on the highest setting until it becomes bright green and no pieces of basil are longer visible.

2. Pour the mixture from the blender into a medium-sized pot and heat it over medium heat, constantly stirring, to a temperature of about 102°-103°C (215°-217°F). Then, let the oil simmer with the lid partially on for the next 10 minutes. Stir only occasionally, making sure the temperature remains steady. This cooking time is essential for all the water to evaporate, allowing the perishable solids to settle at the bottom and the dark green oil to float on top. You’ll know all the water has evaporated when the oil in the pot barely bubbles anymore – so if it’s still bubbling vigorously, keep it simmering.

3. Meanwhile, prepare a bowl large enough to fit the medium-sized pot, filled with cold water and a handful of ice cubes. Also, hang a fine sieve strainer over a medium-sized bowl.

4. Now, place the pot in the ice water and stir to stop the cooking process. Once the oil is no longer boiling and is almost cold, remove the pot from the water and pour the oil into the fine sieve to catch the coarse particles.

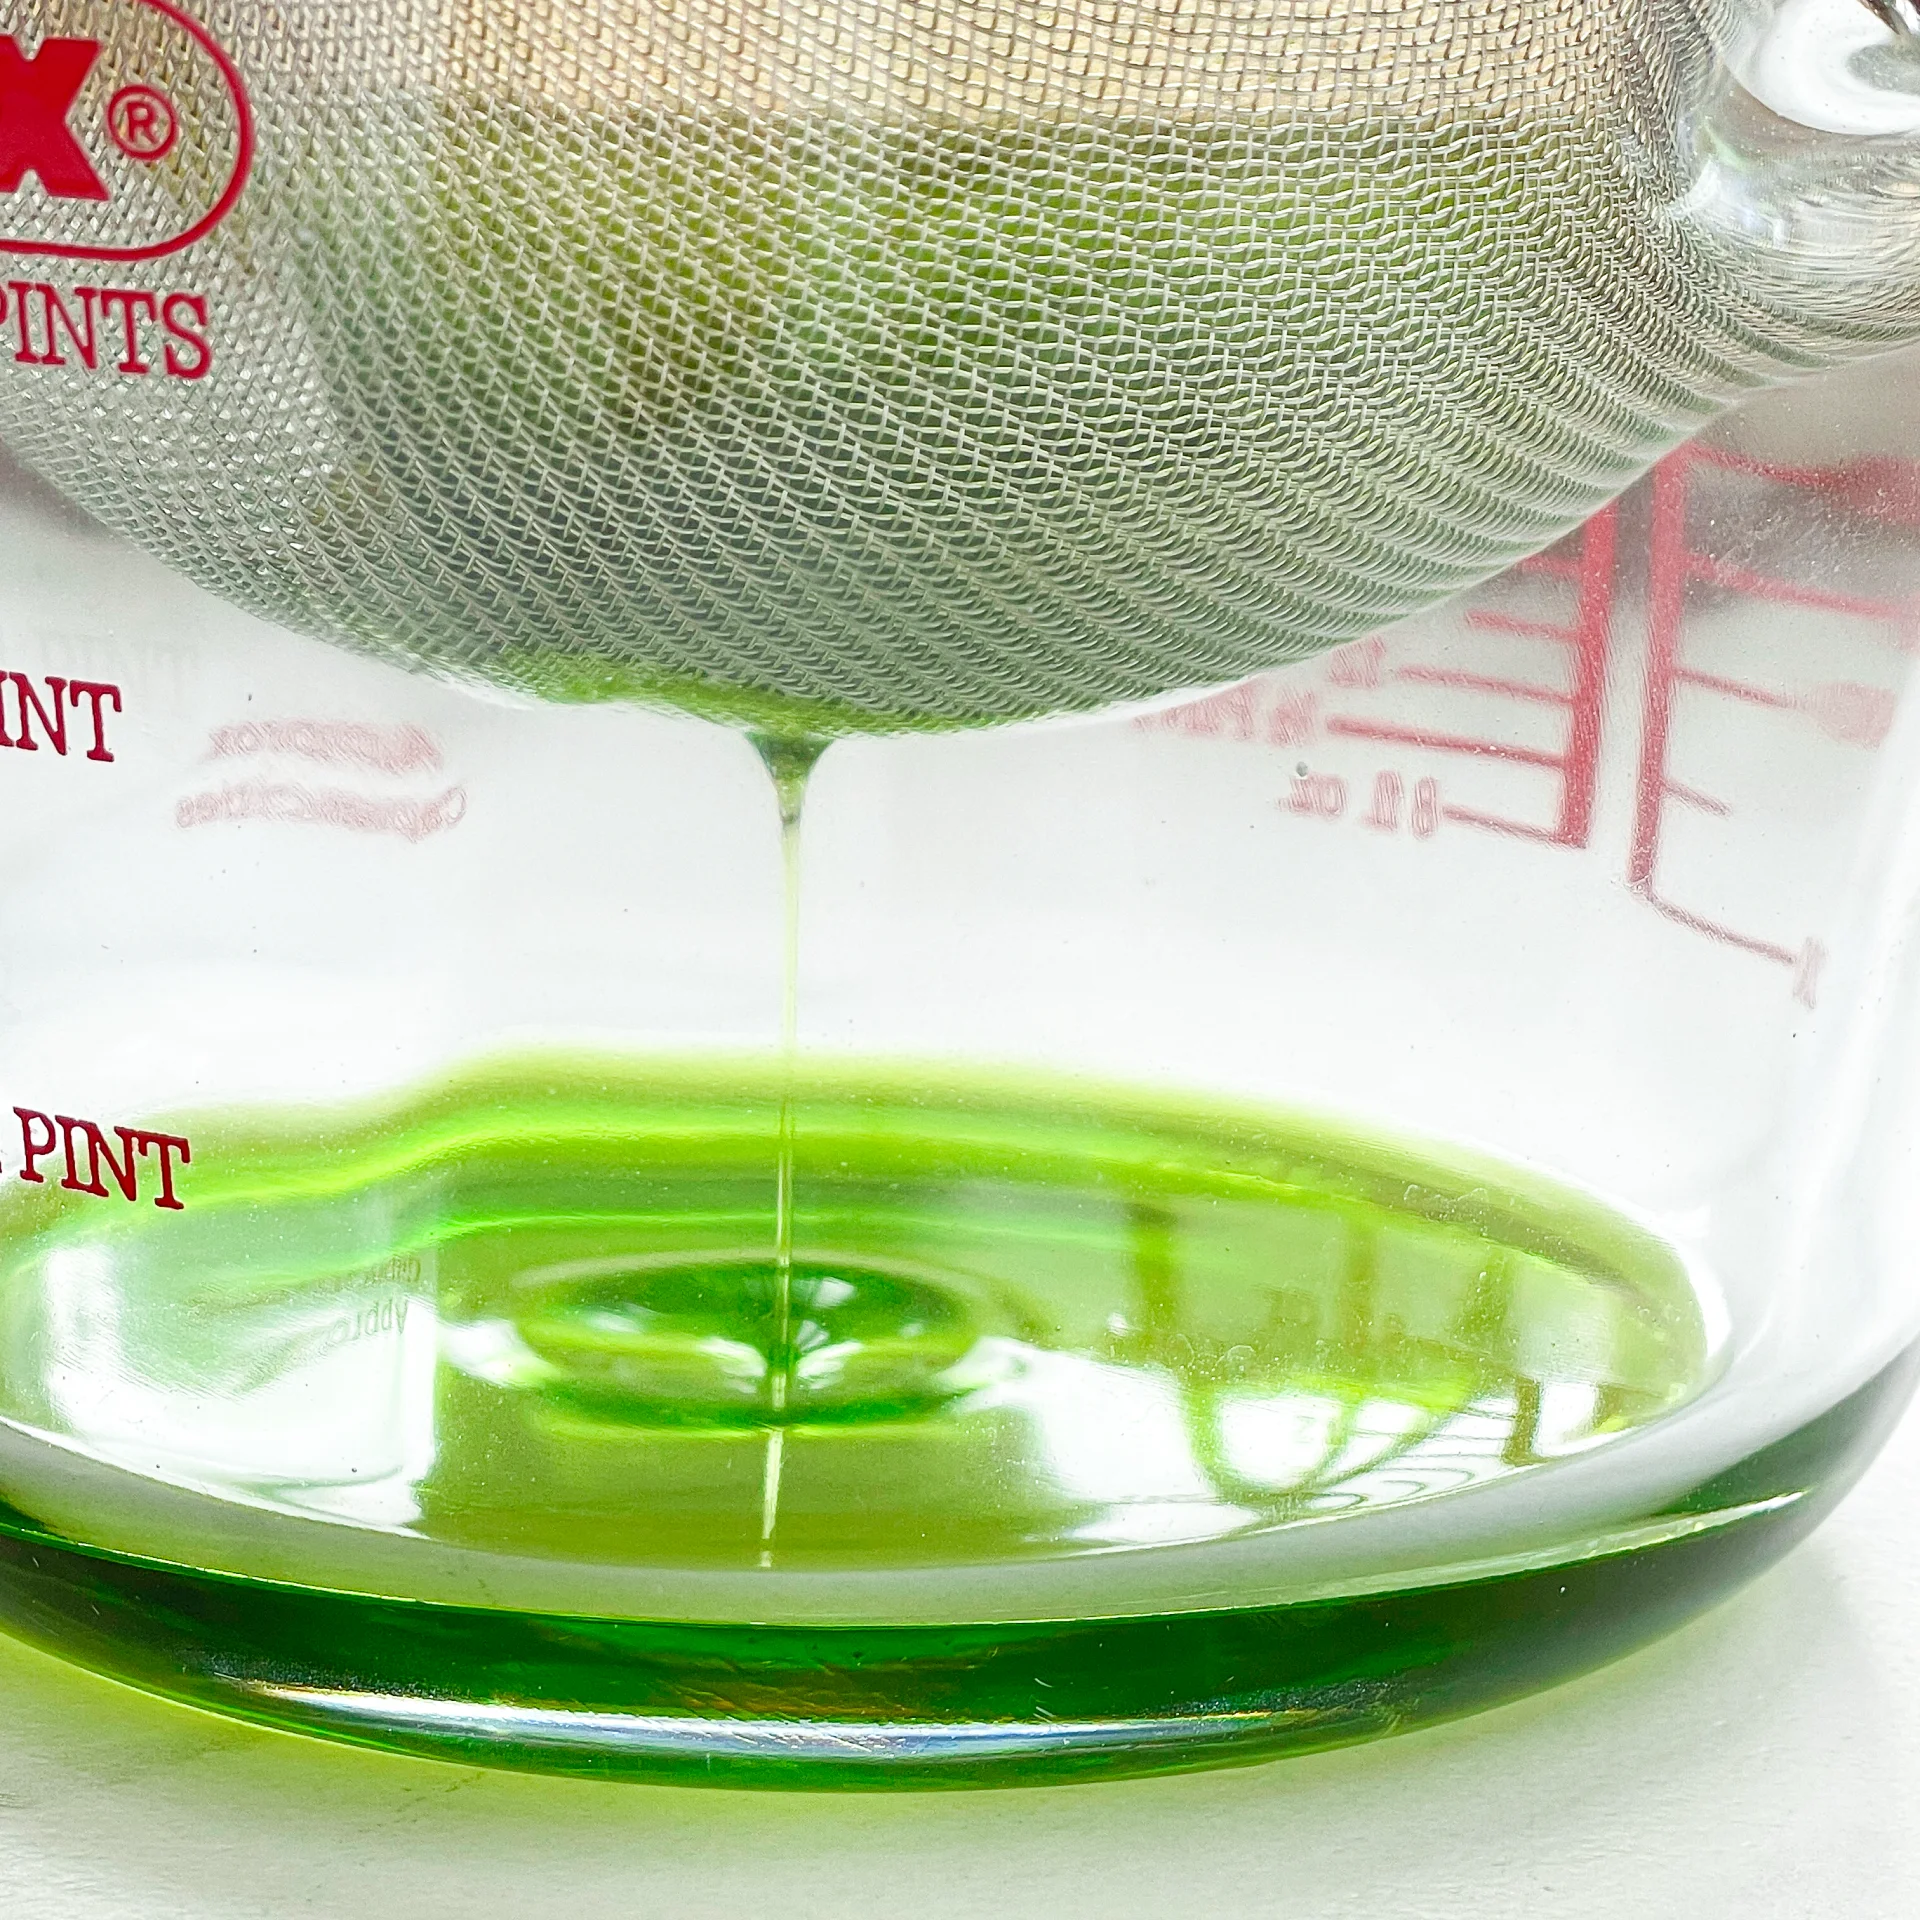
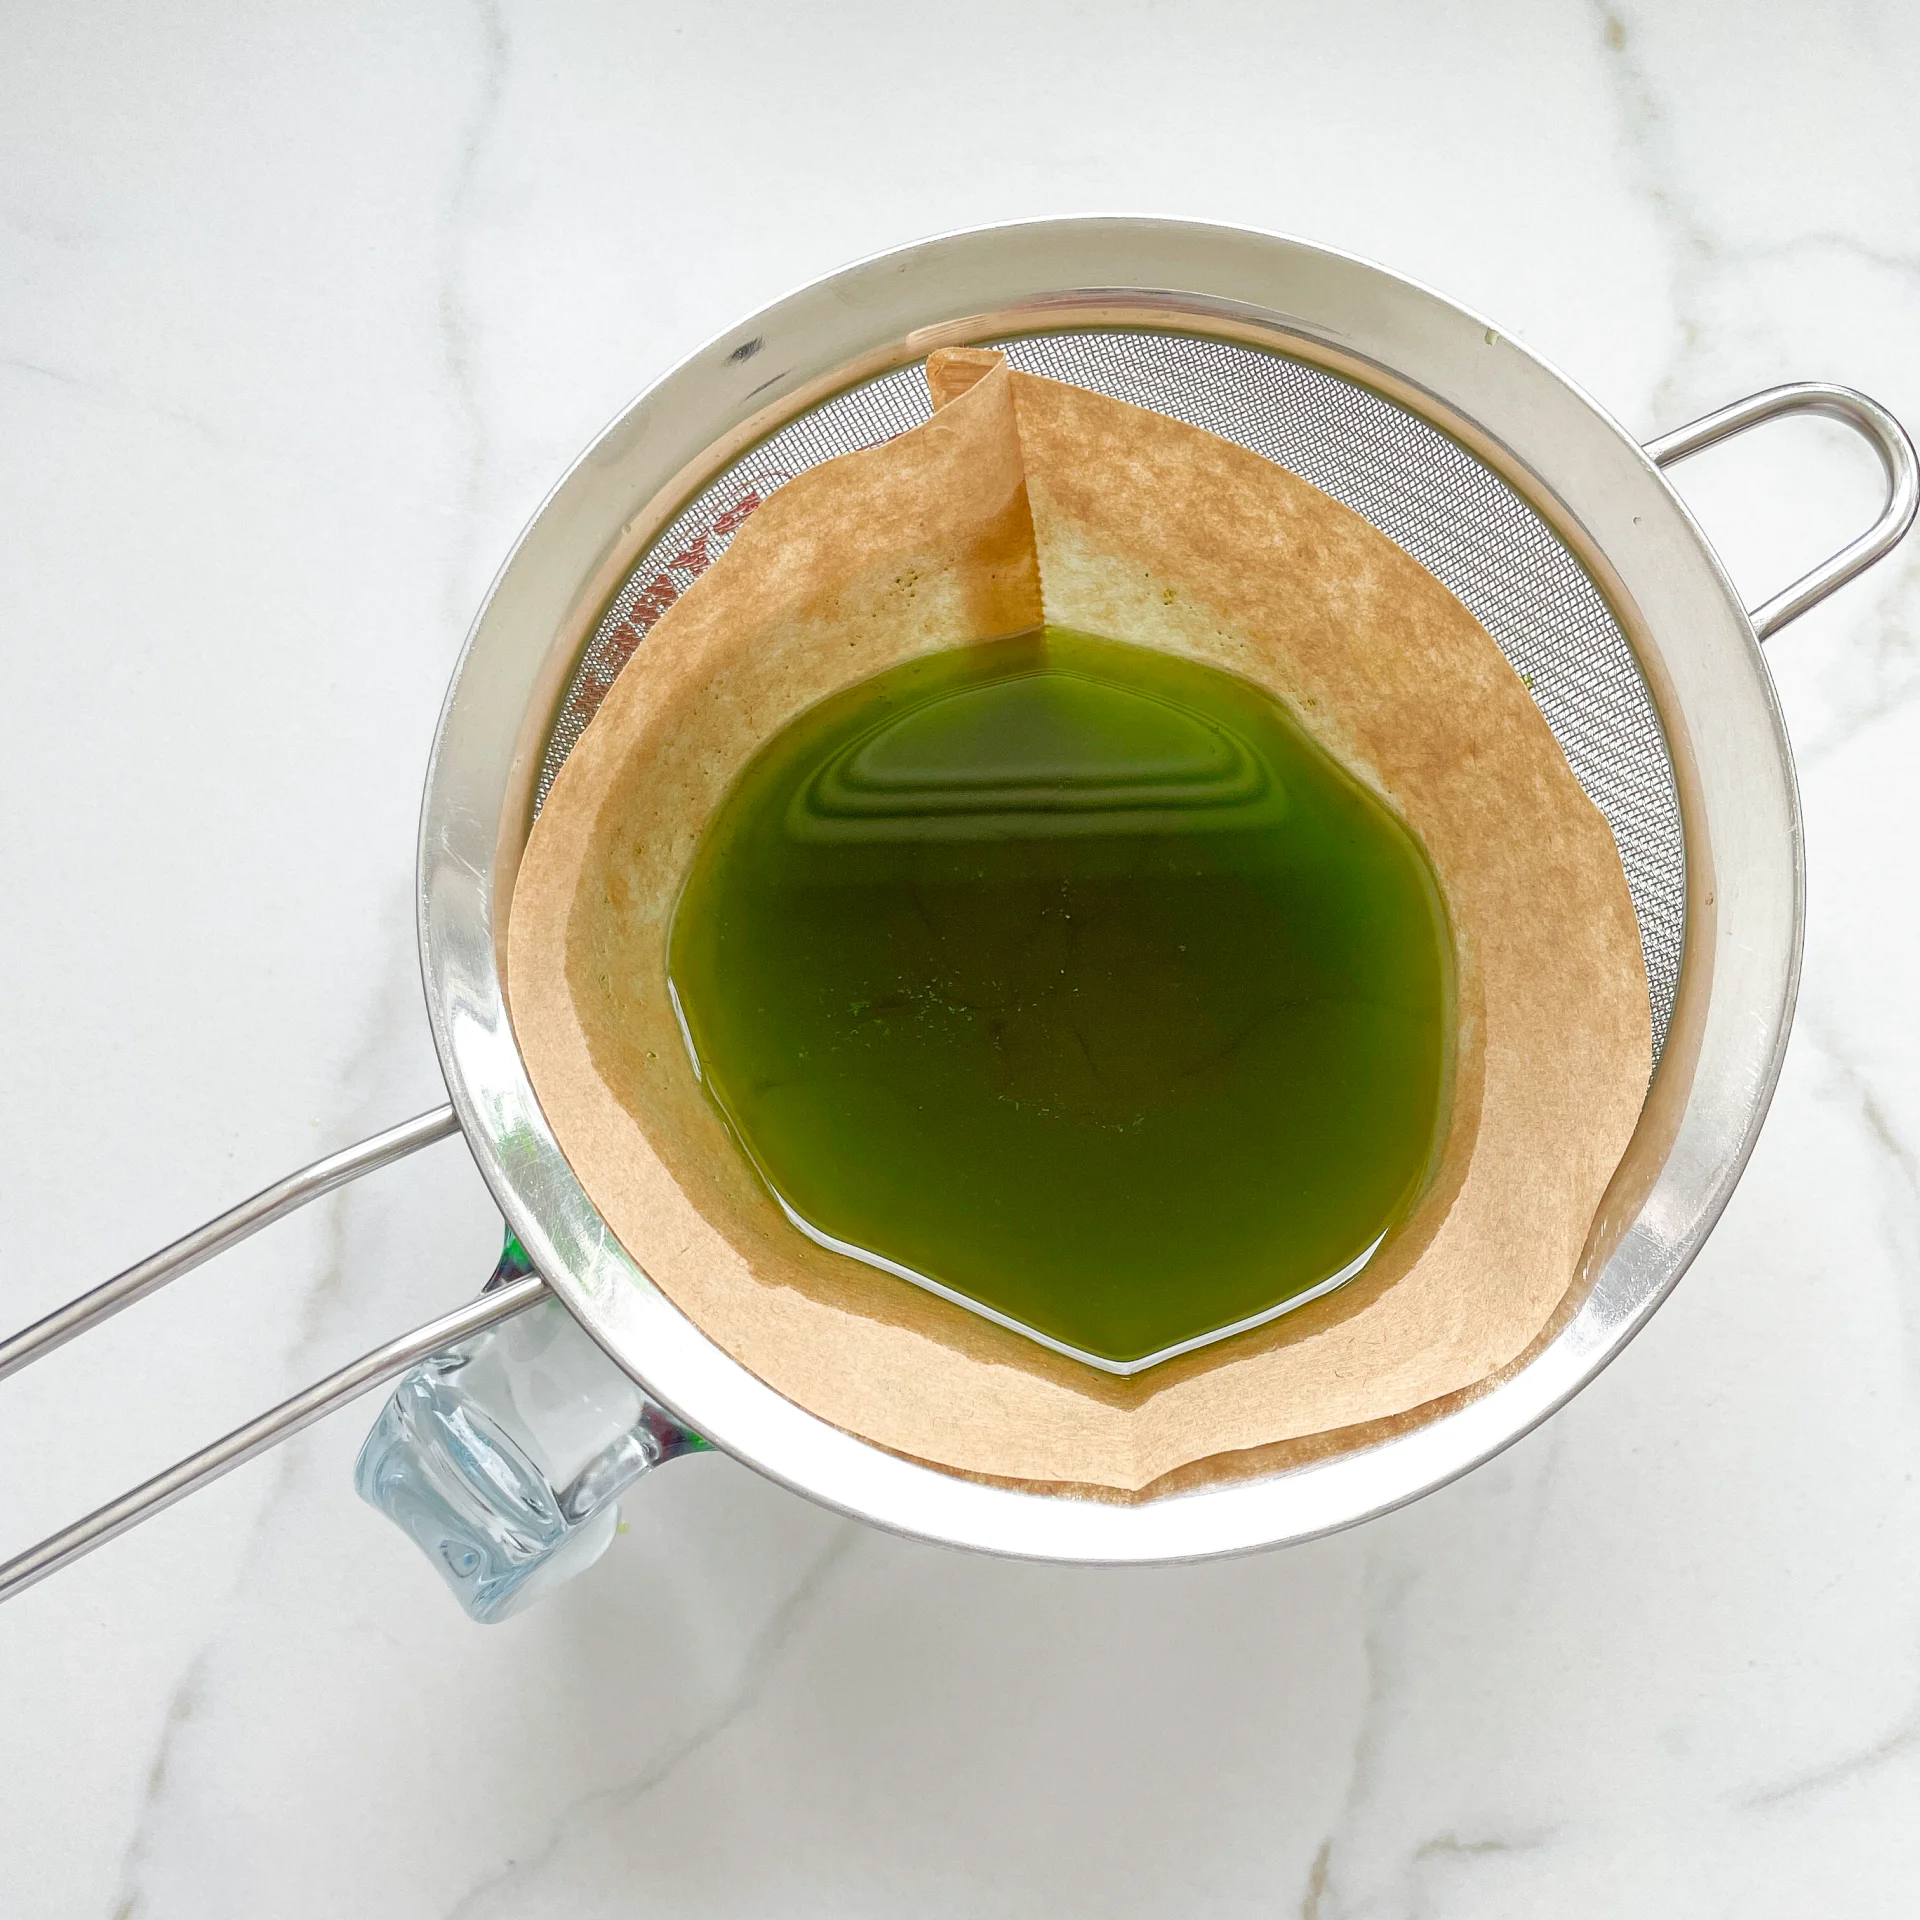
5. Then, rinse the strainer and hang it over the second medium-sized bowl. Press a coffee filter into the strainer and pour the captured oil into the coffee filter, so that the remaining perishable and coarser particles are caught.

6. Allow the oil to drip through for about 1 hour or maybe more depending on how many remaining particles are in there. Once all the oil has passed through the coffee filter, transfer the collected amount into a sealable container or directly into an oil bottle. Store in the refrigerator for up to one week.

NOTE: The calorie information may vary depending on the product used, country and region.

Guacamole with Tomatoes & Red Onion

Guacamole with Tomatoes & Red Onion

Guacamole with Tomatoes & Red Onion

Guacamole with Tomatoes & Red Onion

February 10, 2024 by Kimberly

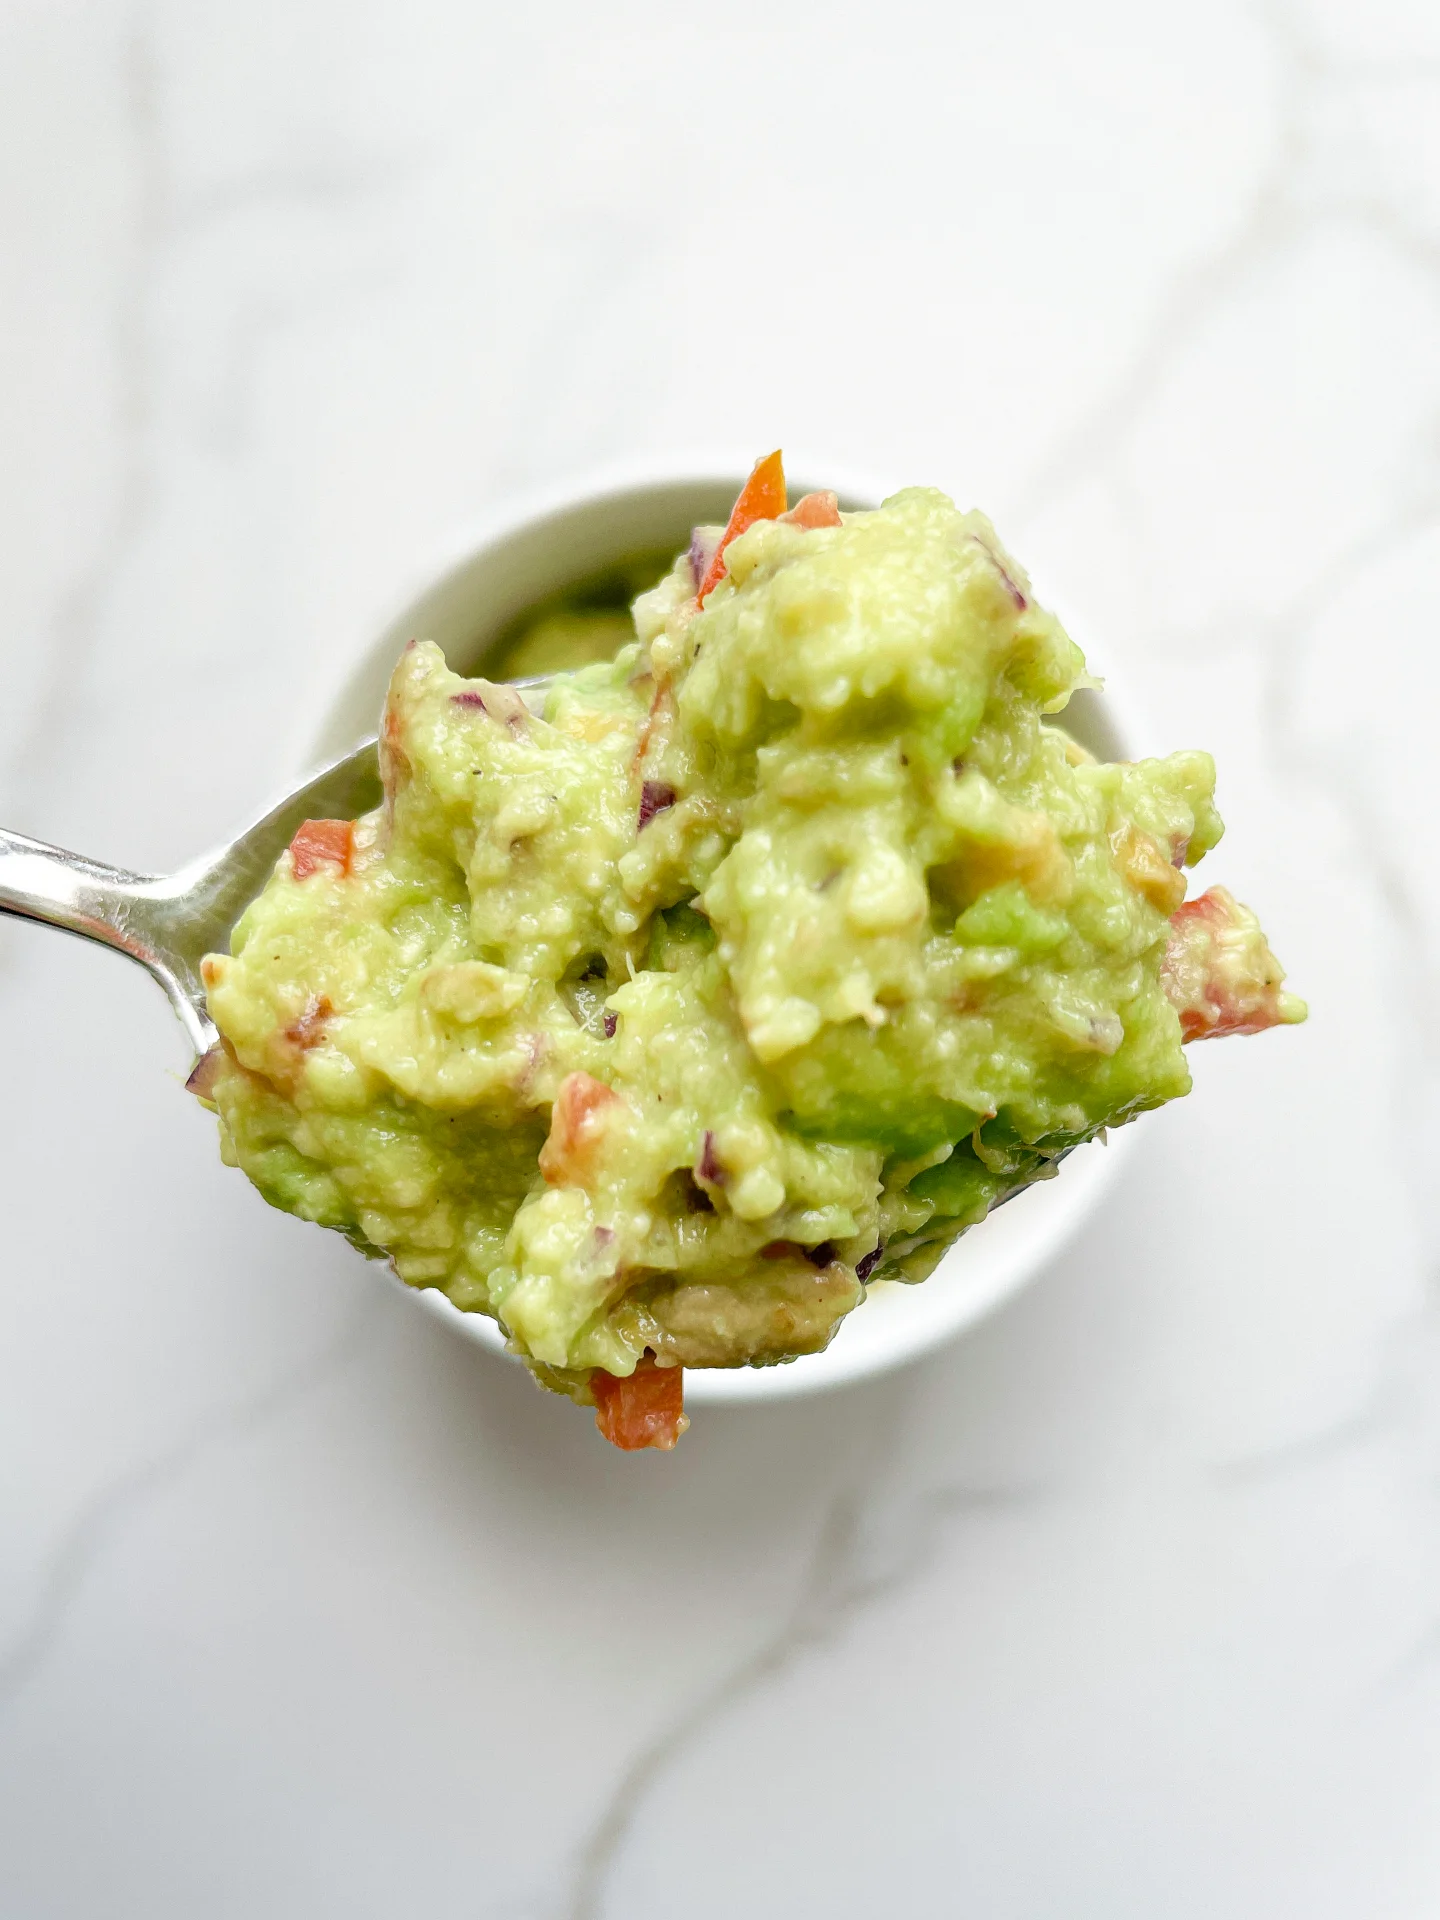
Indulge in the best Guacamole with Tomatoes & Red Onion! Simple, healthy, and bursting with flavor, it’s the perfect snack for every avocado lover. Quick and delicious!

10 MINUTES

EASY

VEGAN

MEXICAN

170 PER PORTION

CREAMY

EVERYDAY

DIPS & SPREADS

SPRING / SUMMER

INTRODUCTION

ABOUT THE RECIPE

Dive into the creamy, tangy world of my easy Guacamole with tomatoes & red onion! Perfect for any occasion, this homemade guacamole recipe combines ripe avocados, juicy tomatoes, and sharp red onions to create a mouthwatering dip. Whether you’re hosting a party, looking for healthy snack ideas, or simply craving a fresh, vegan-friendly treat, this quick avocado recipe is the way to go.

How to serve:
Serve this vibrant guacamole with a side of crunchy tortilla chips, as a topping for tacos, alongside your favorite grilled dishes or fresh out of the oven enchiladas for an added burst of flavor. Its versatility makes it a hit for any gathering or a cozy night in.

How to store:
Keep any leftover guacamole fresh by storing it in an airtight container in the fridge. Press plastic wrap or directly onto the surface to prevent browning, and enjoy within 2 days for the best taste and texture.

Hi, I'm Kimberly!

Hi, I'm Kimberly.

A passionate food lover who believes in the magic of homemade deliciousness that spreads love and warmth. Join me on this culinary adventure as I prepare wonderful dishes and let’s spread some happiness together!

Kimberly the Zett Signature

If you want to get to know me better, click here!


Guacamole with Tomatoes & Red Onion

„Let’s make a piece of happiness“

INGREDIENTS

FOR 4 PORTIONS

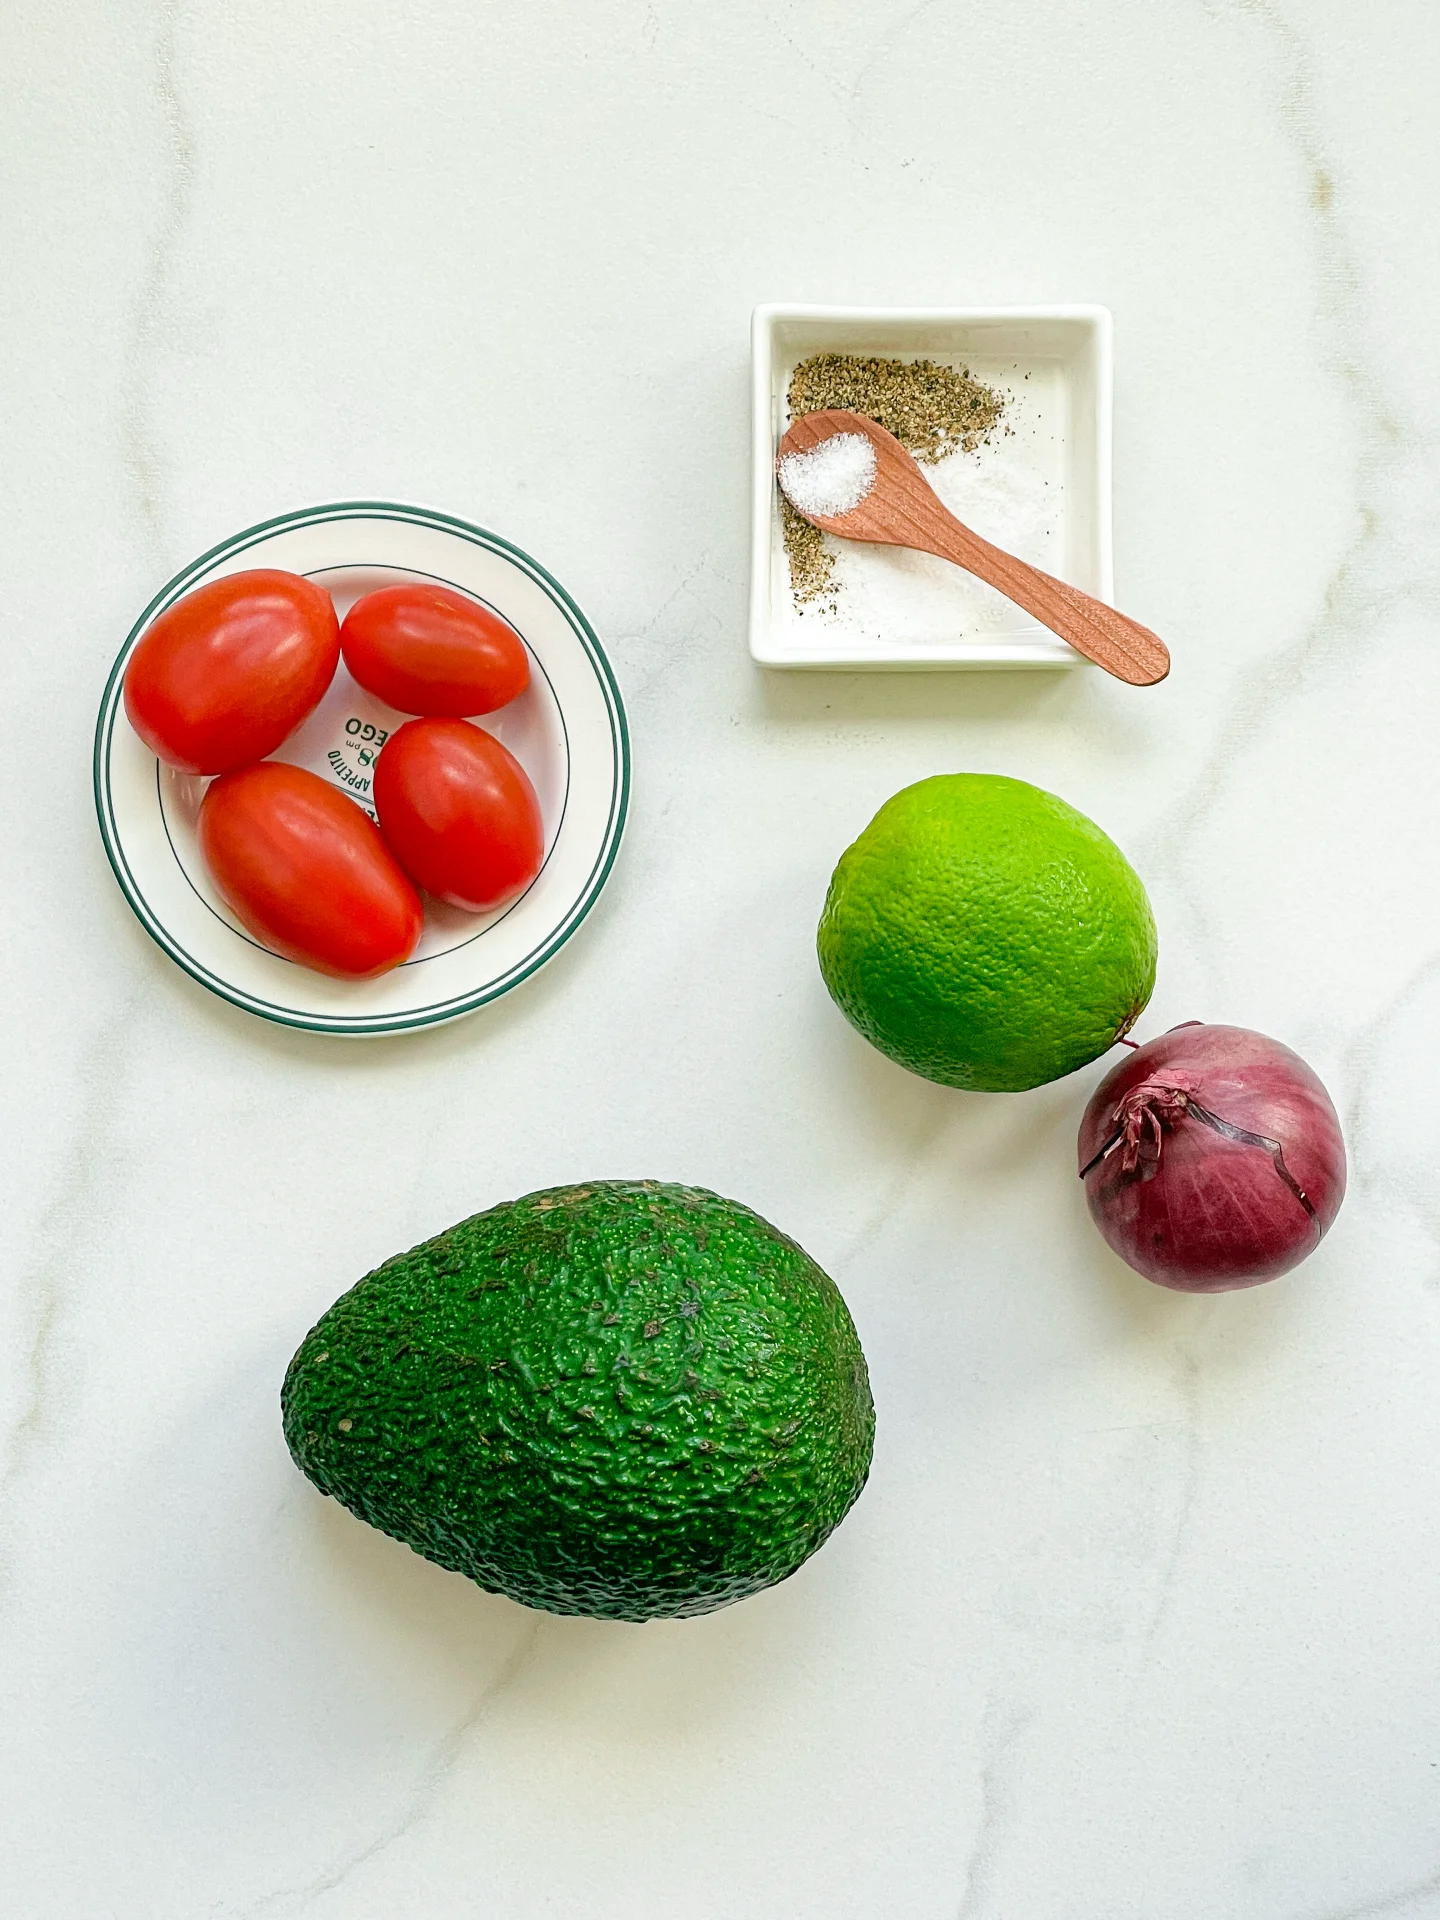
VEGETABLES

  • 2 avocados
  • 1/2 red onion
  • 4 cocktail tomatoes
  • juice of 1/2 lime
  • salt & pepper to taste


Guacamole with Tomatoes & Red Onion
}

ACTIVE: –

PASSIVE: –

PREPARATIONS

Recommended Equipment
  • sharp knife
  • cutting board
  • medium sized bowl
  • none
    }

    ACTIVE: 10 min

    PASSIVE: –

    COOKING

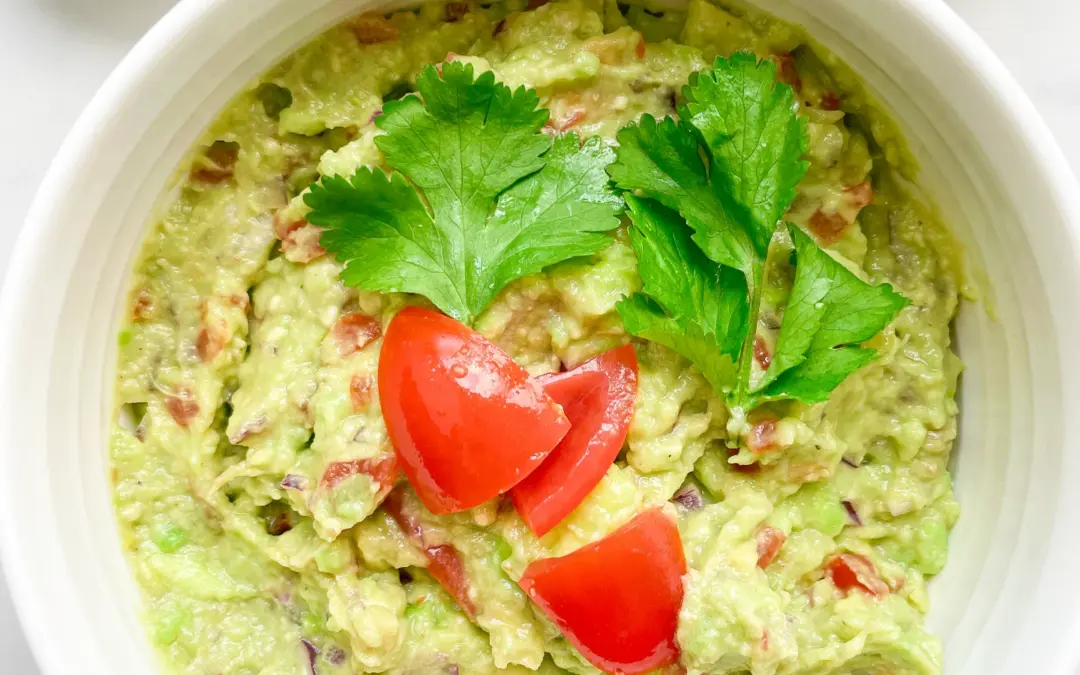
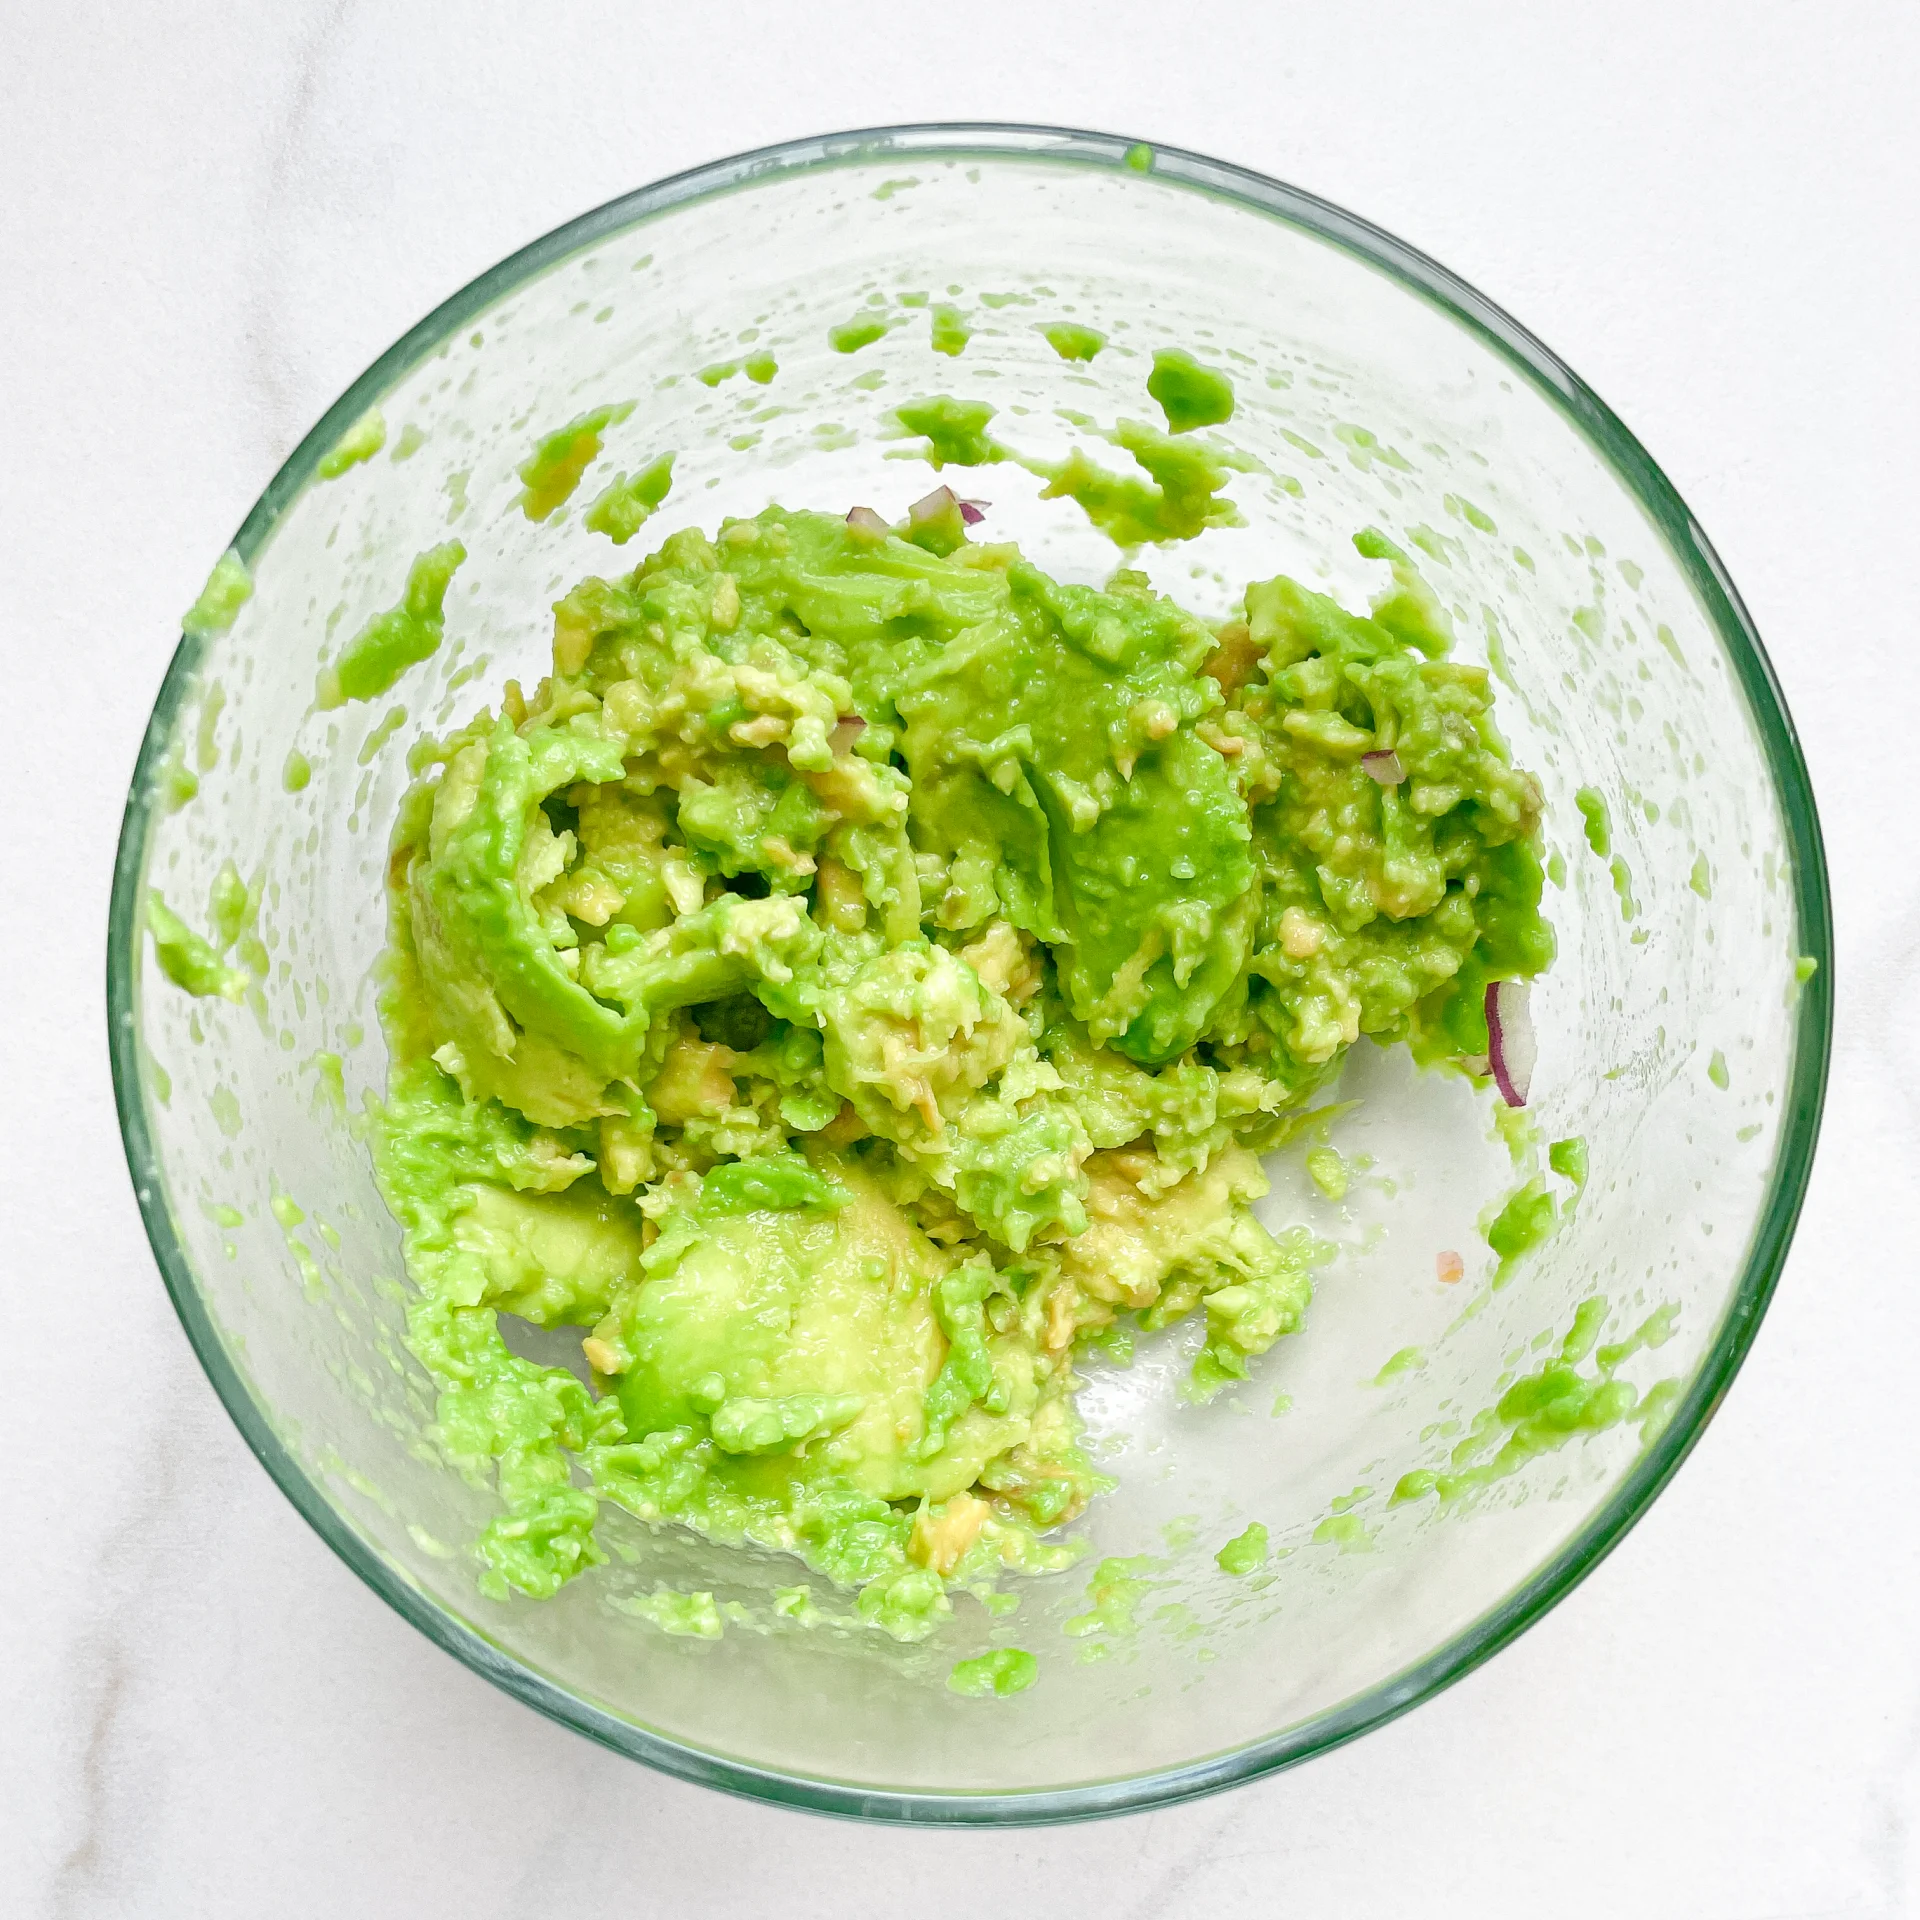
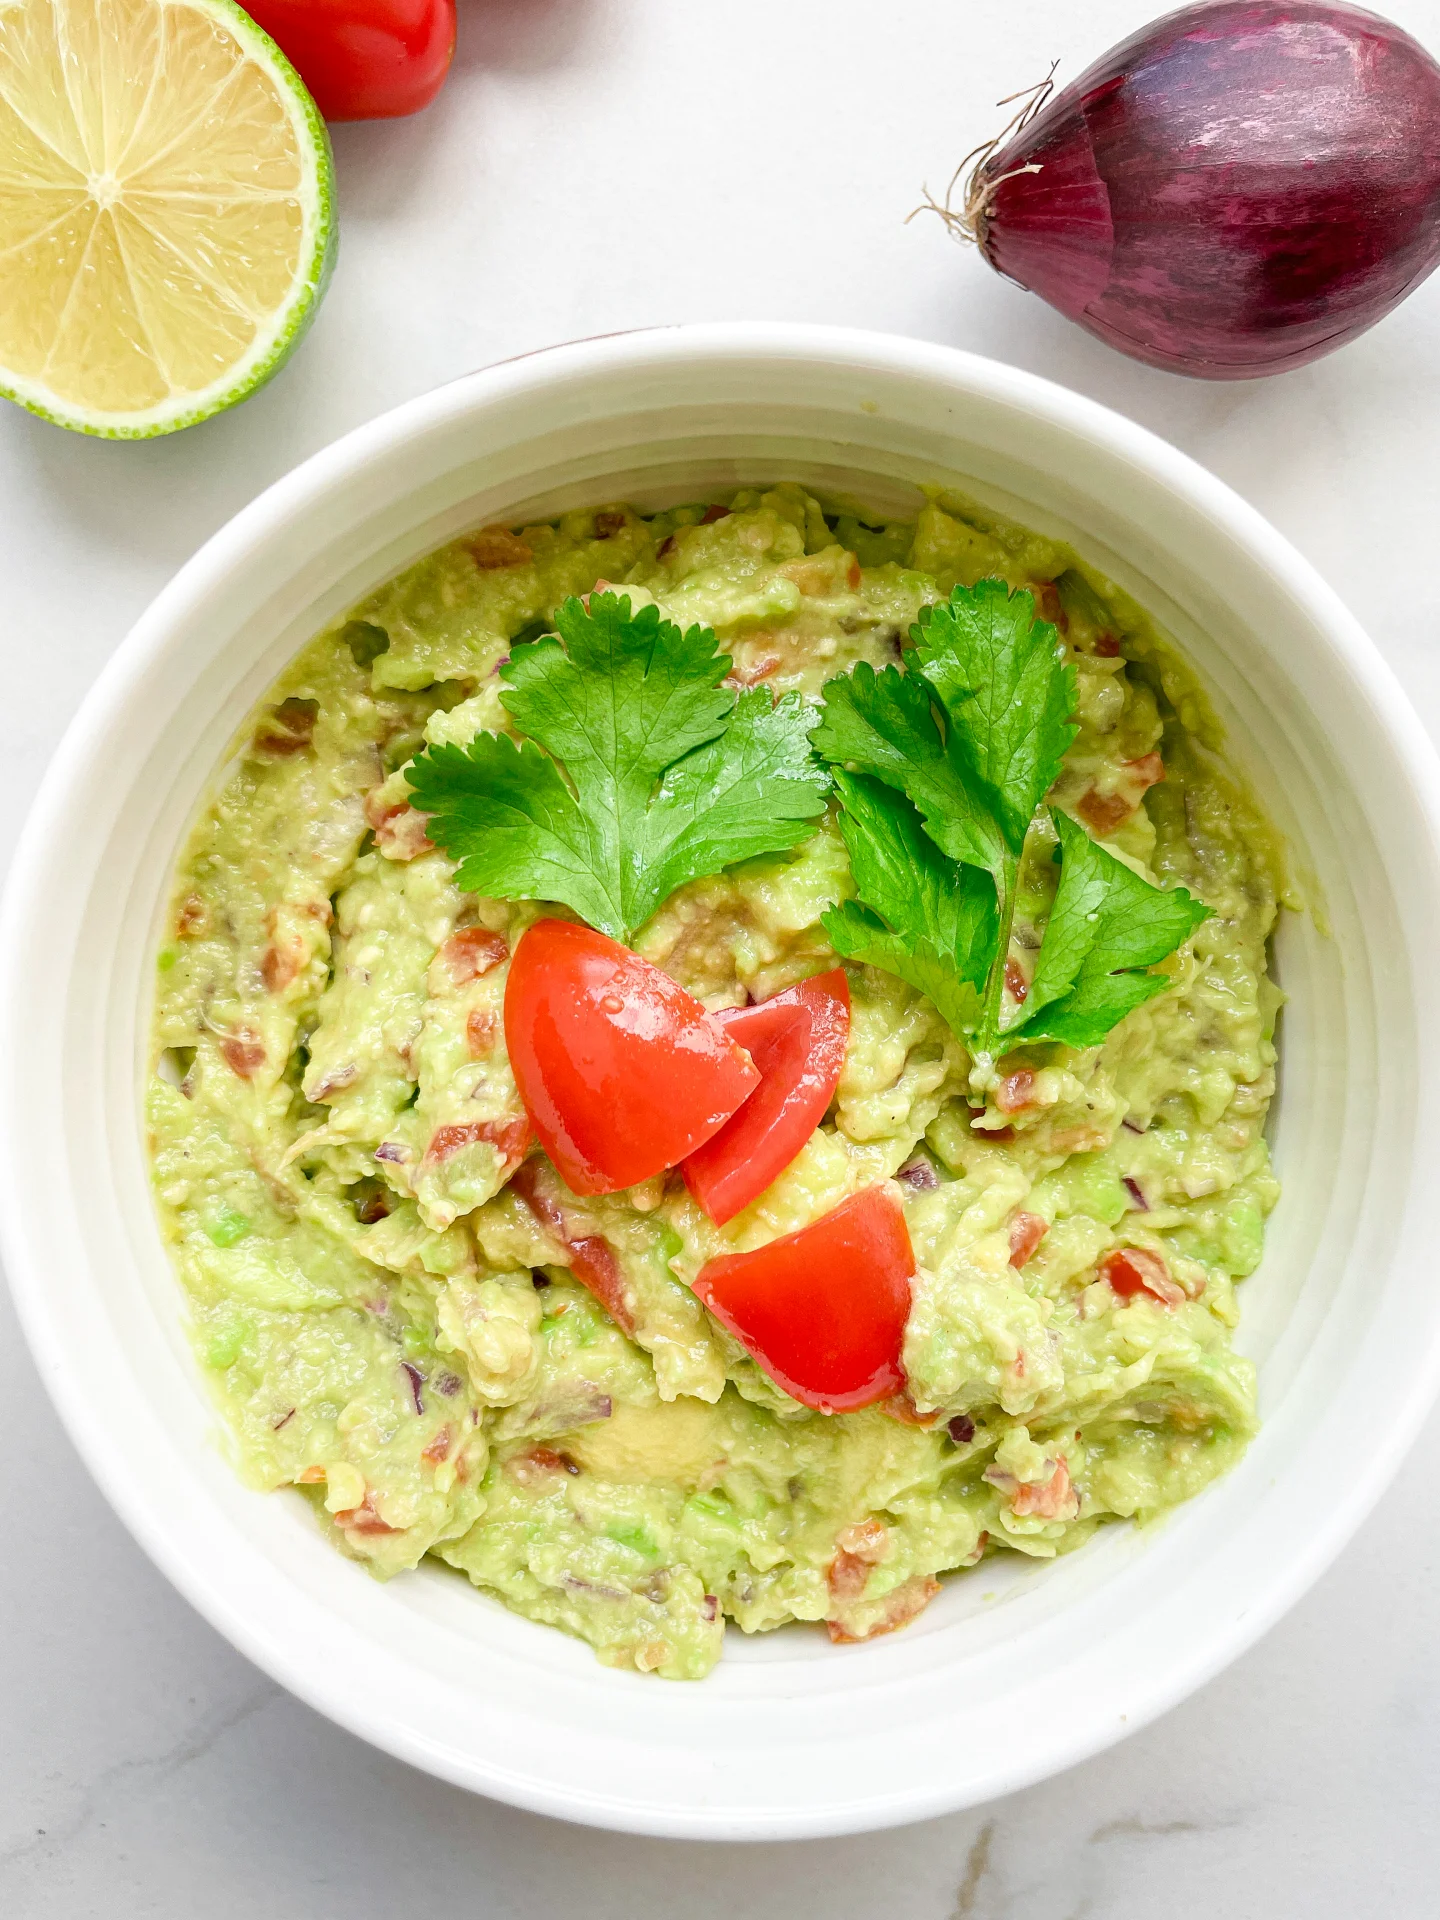
    1. Slice the avocado lengthways, remove the pit and place the flesh in the bowl. Cut the lime in half and squeeze one half over the avocado. Mash the avocado with a fork until a cream is formed.

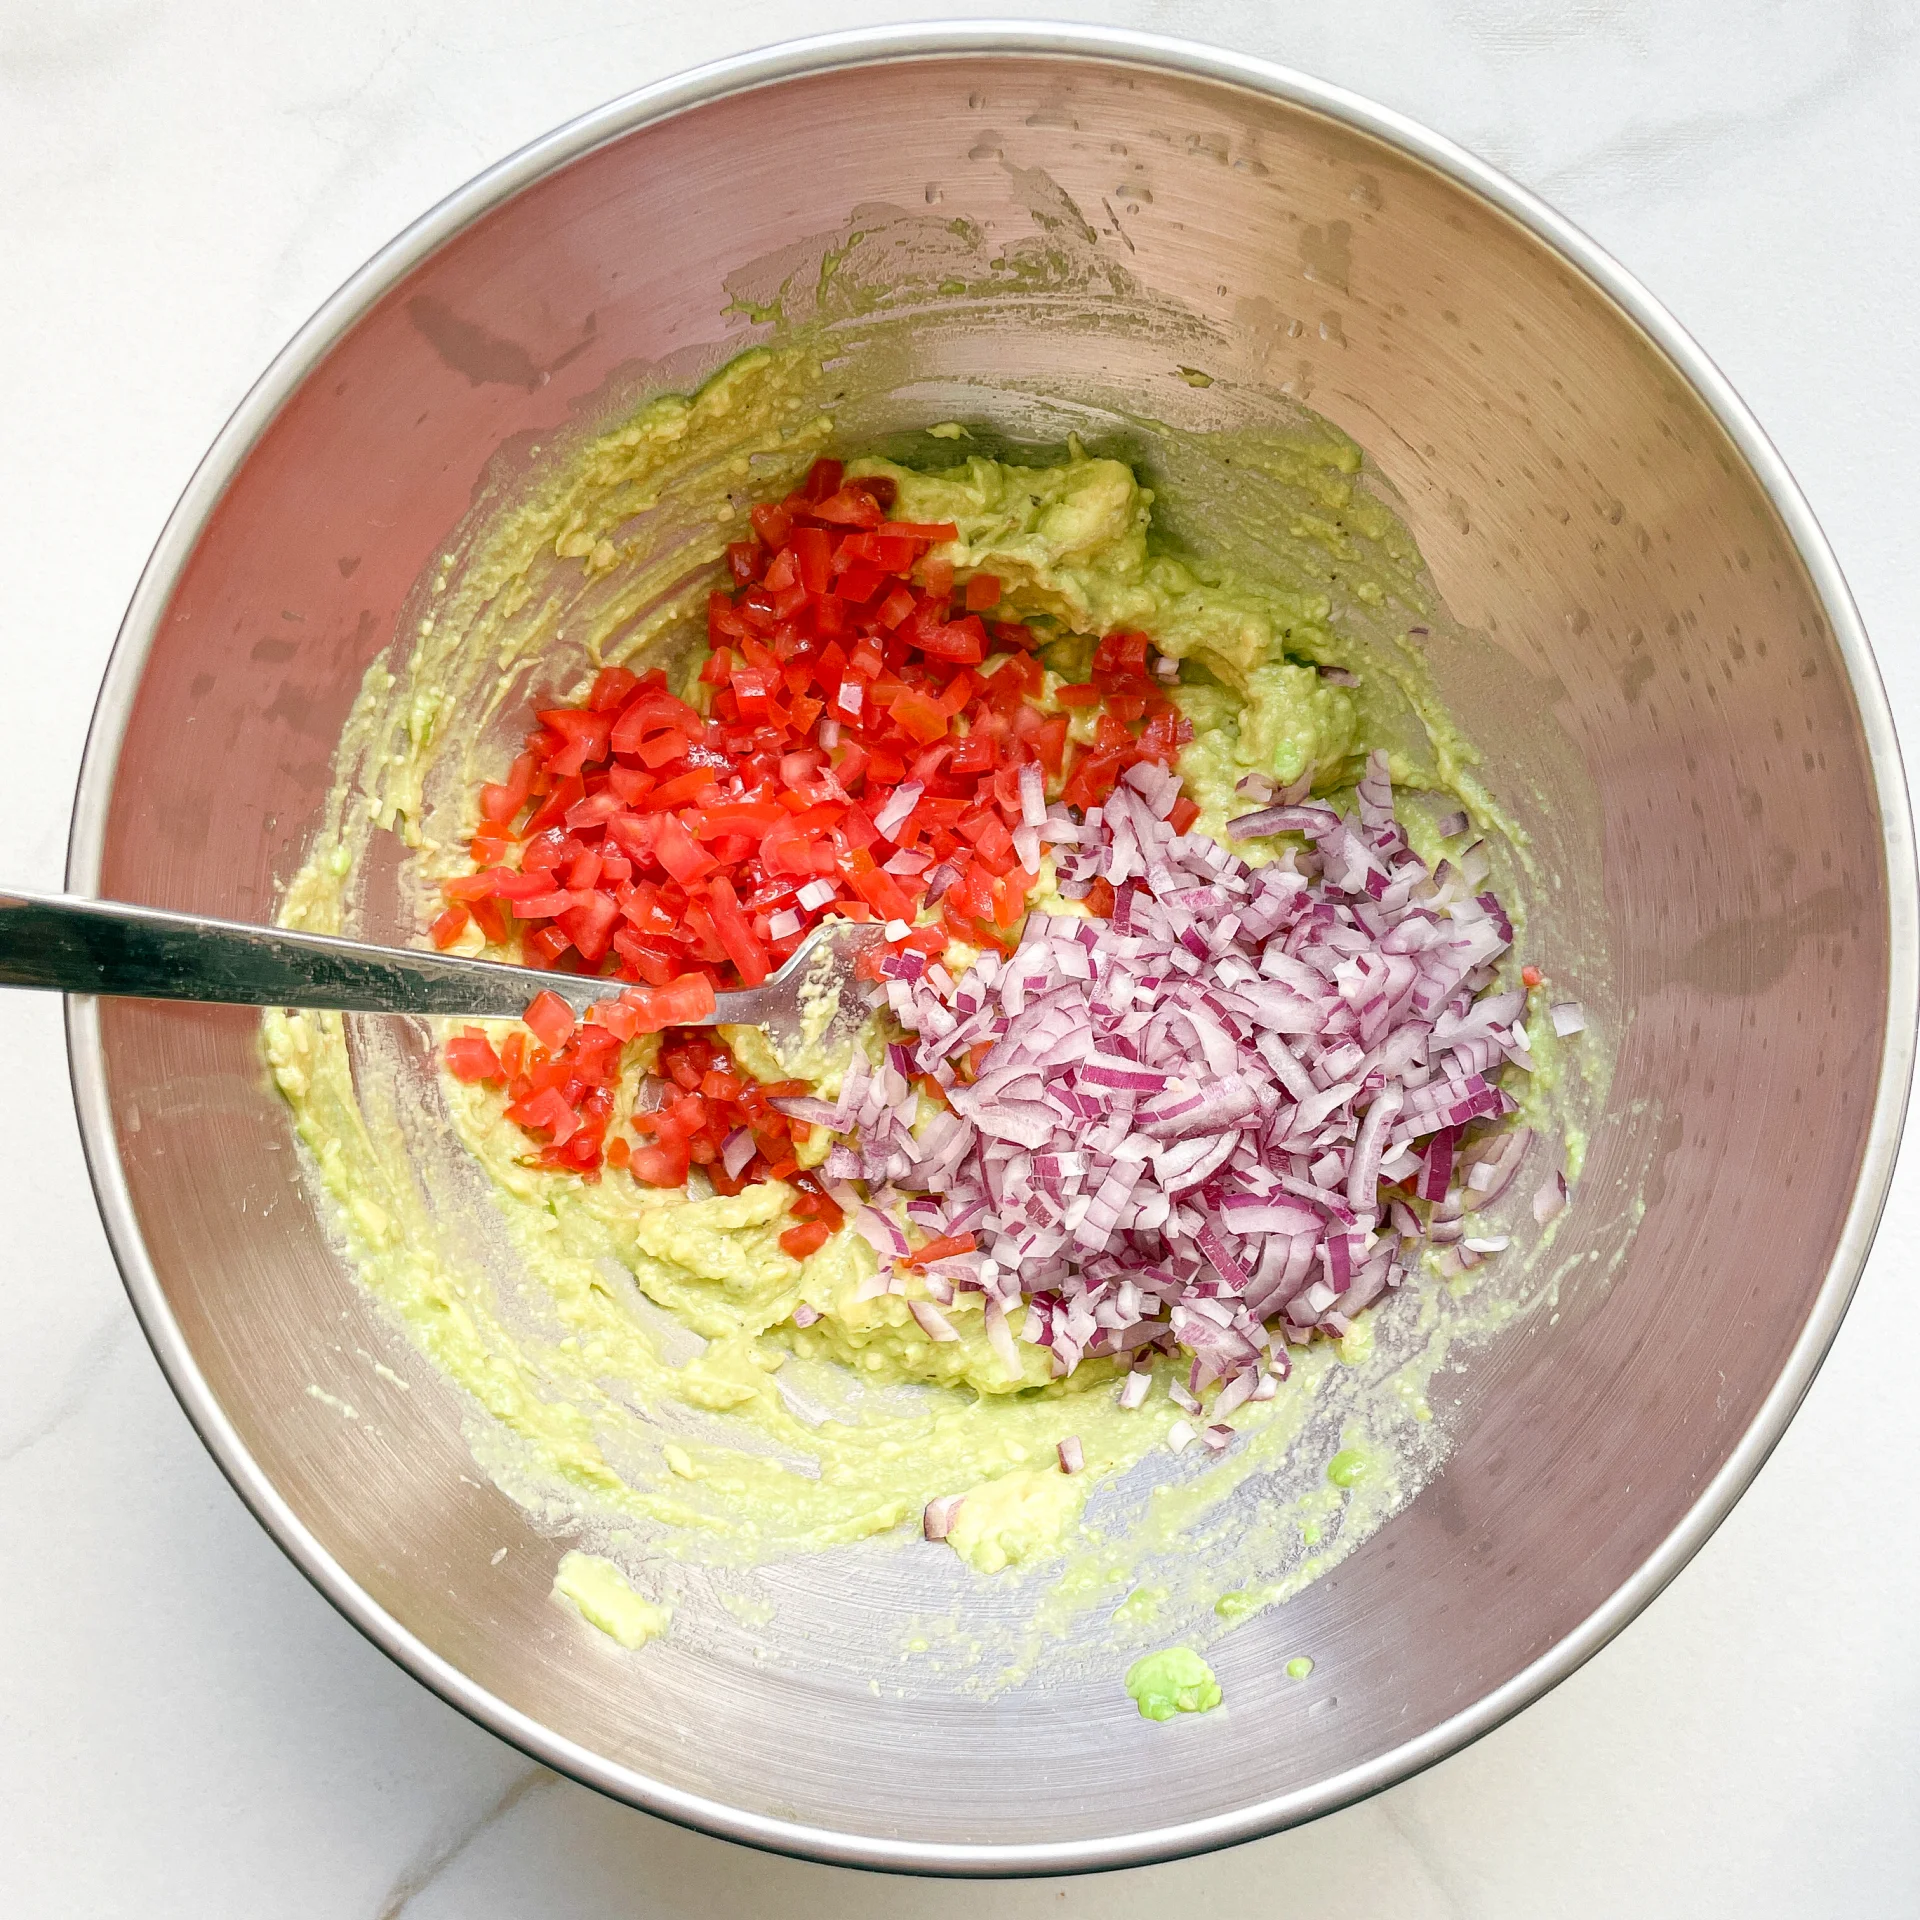
    2. Wash and halve the tomatoes. Remove the seeds. Halve the tomatoes again and cut into small pieces and add to the avocado in the bowl.

    3. Halve, peel and dice the onion and add to the bowl.

    4. Season everything with salt and pepper. If you like, you can squeeze in a clove of garlic at this point or stir in 100g of crème fraiche for even more creaminess.

    NOTE: The calorie information may vary depending on the product used, country and region.

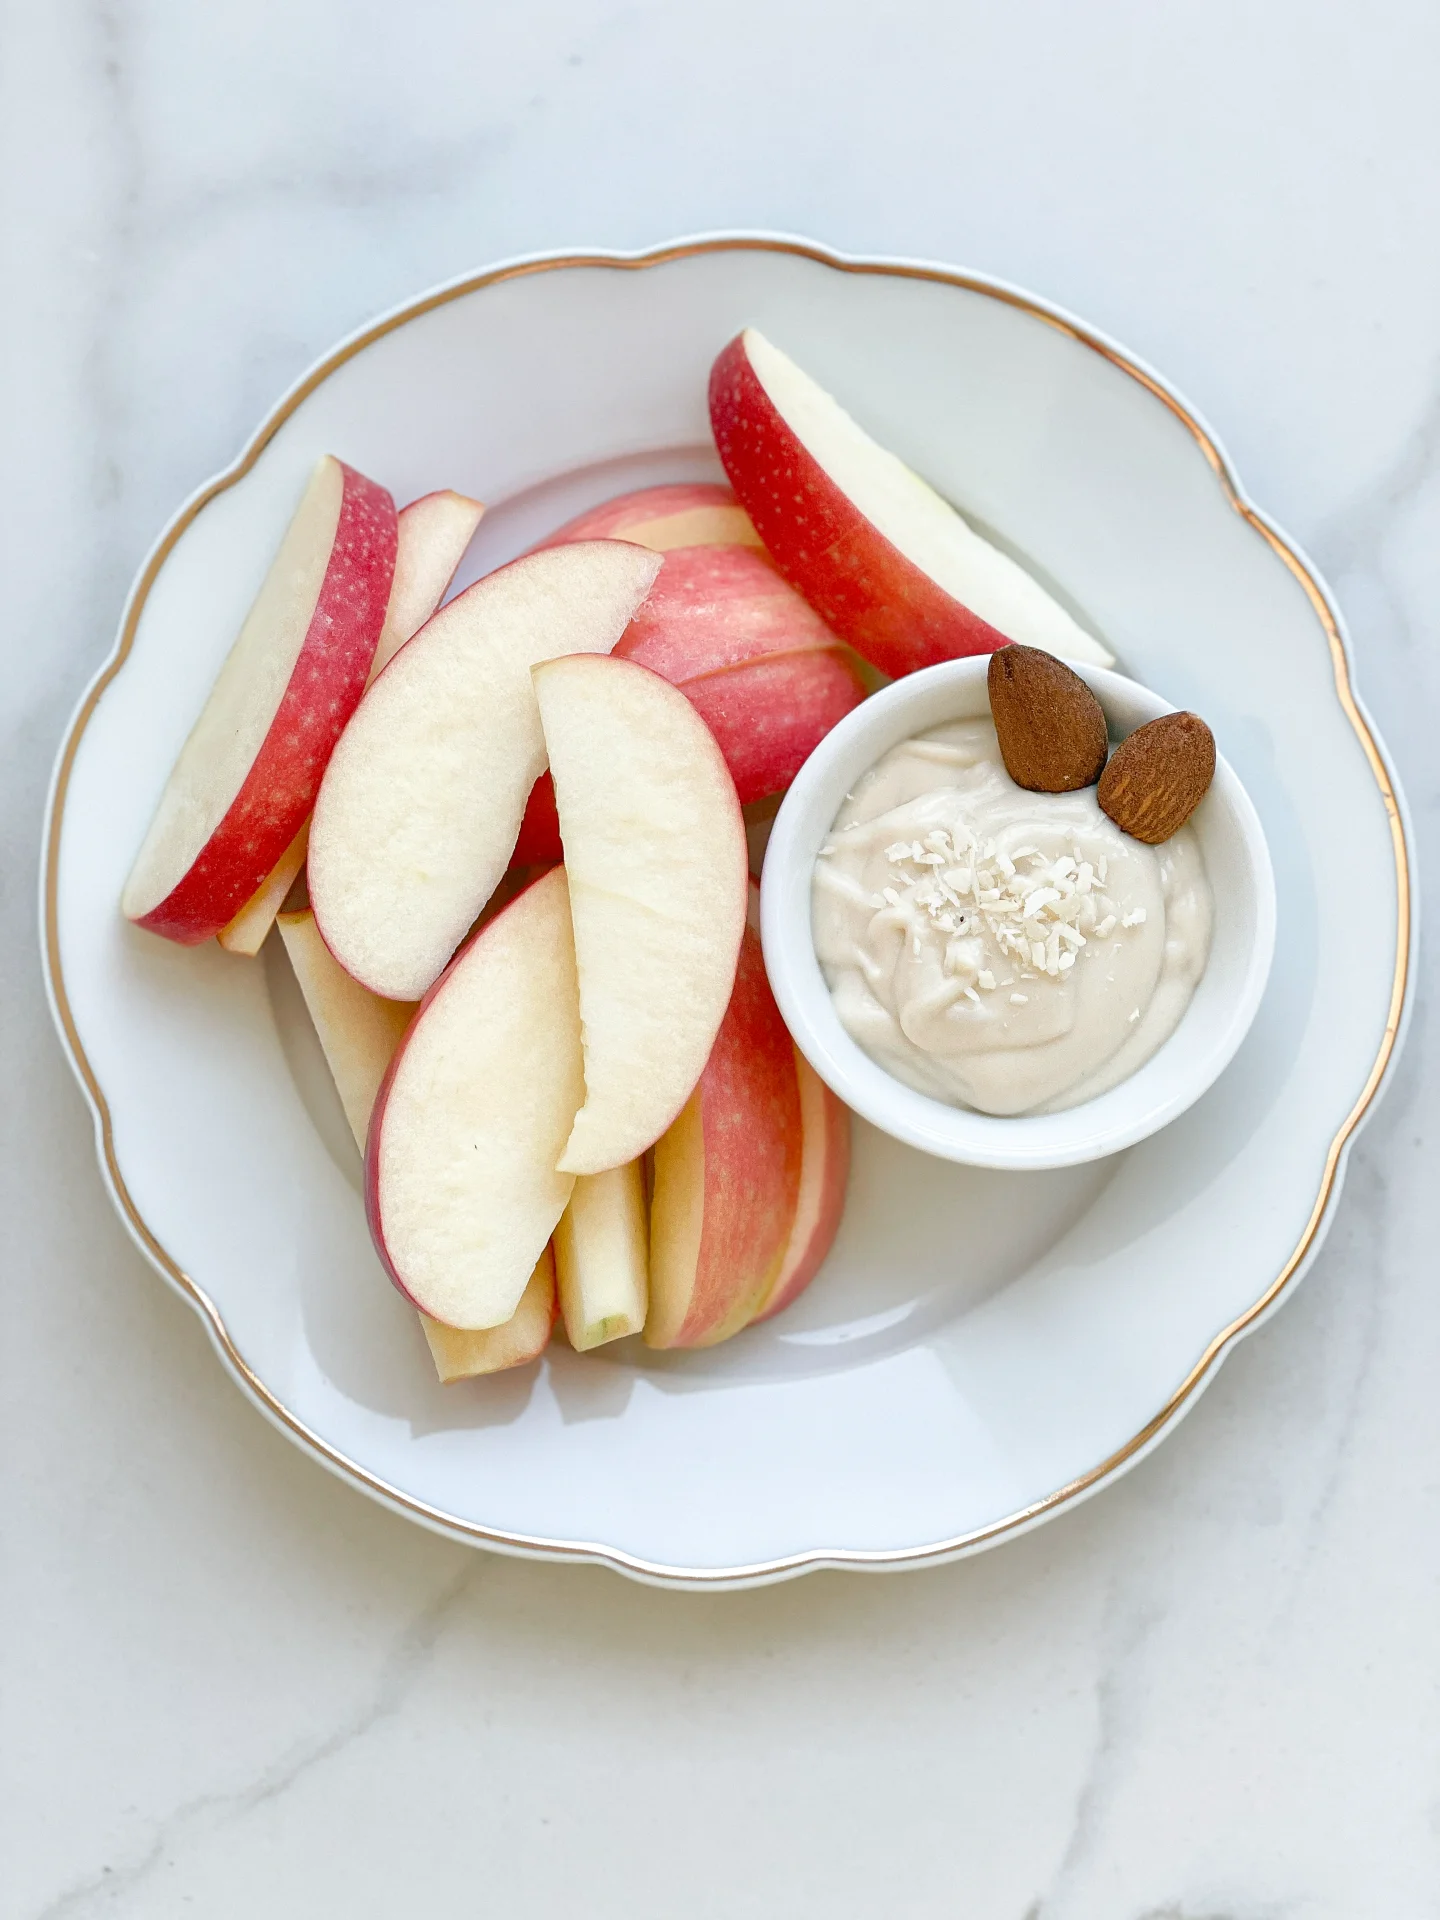
    Apple Slices with Almond Coconut Dip

    Apple Slices with Almond Coconut Dip

    Apple Slices with Almond Coconut Dip

    Apple Slices with Almond Coconut Dip

    January 26, 2024 by Kimberly

    Enjoy a healthy treat with crisp Apple Slices and rich Almond Coconut Dip – a simple, delicious snack perfect for satisfying your sweet cravings!

    5 MINUTES

    EASY

    VEGAN

    INT.

    333 PER PORTION

    CRUNCHY

    EVERYDAY

    SNACK / DESSERT

    ALL YEAR

    INTRODUCTION

    ABOUT THE RECIPE

    Dive into the delightful pairing of Apple Slices with Almond Coconut Dip, a healthy snack recipe that’s as nutritious as it is delicious. This easy fruit snack combines the sweet and crunchy apple with a creamy, nutty coconut flavor, creating a perfect balance of taste and texture. Ideal for anyone looking for a quick, tasty treat, this vegan almond dip with fresh apple treat is sure to be a crowd-pleaser.

    How to serve:
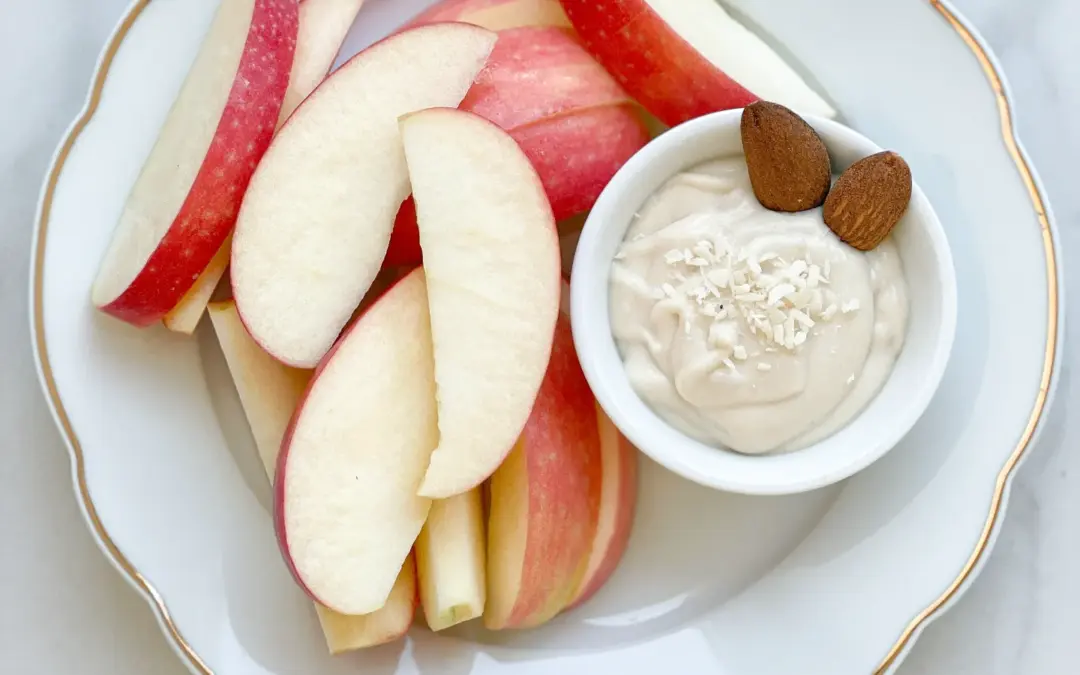
    Arrange the apple slices on a plate, and place the almond coconut dip in a bowl for an inviting snack platter. This combination is perfect for after-school snacks, party appetizers, or as a refreshing dessert alternative. You can also get creative by adding a sprinkle of cinnamon or a drizzle of honey over the apples for extra flair. This gluten-free snacking option is not only appealing to the eye but also to the palate, satisfying both sweet cravings and the desire for something crunchy.

    How to store:
    Keep it in an airtight container in the refrigerator, where it will stay fresh for up to a week. As for the apple slices, it’s best to cut them fresh to maintain their crispness and prevent browning. This way, you can always enjoy the creamy dip and fresh apple slices at their best, ready to serve up a quick and delicious treat anytime.

    Hi, I'm Kimberly!

    Hi, I'm Kimberly.

    A passionate food lover who believes in the magic of homemade deliciousness that spreads love and warmth. Join me on this culinary adventure as I prepare wonderful dishes and let’s spread some happiness together!

    Kimberly the Zett Signature

    If you want to get to know me better, click here!


    Apple Slices with Almond Coconut Dip
    Apple Slices with Almond Coconut Dip
    Apple Slices with Almond Coconut Dip

    „Let’s make a piece of happiness“

    INGREDIENTS

    FOR 1 PORTION

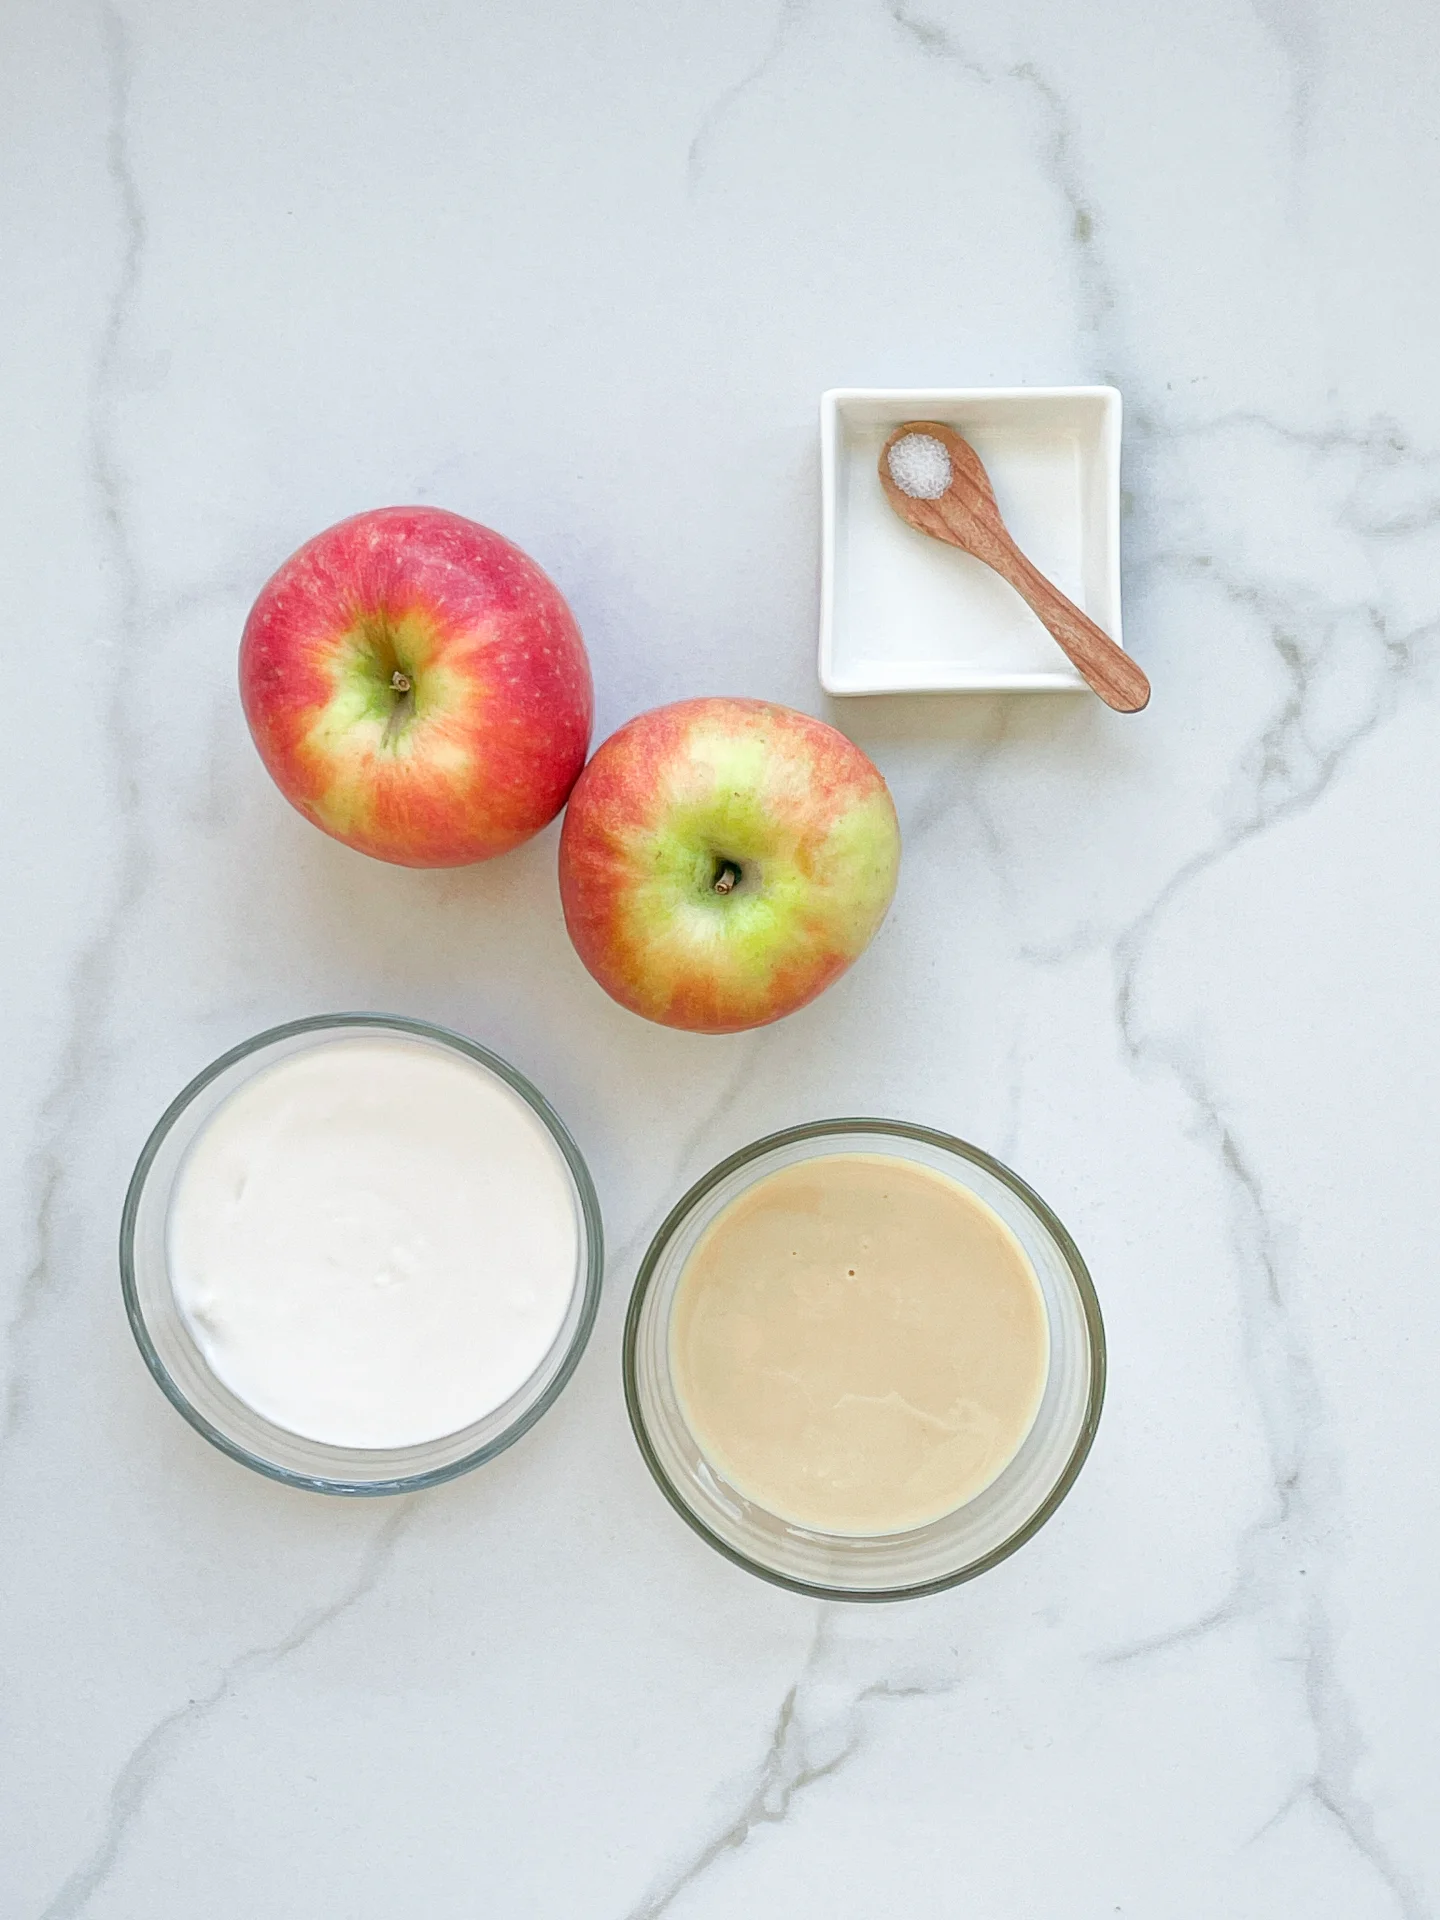
    DIP

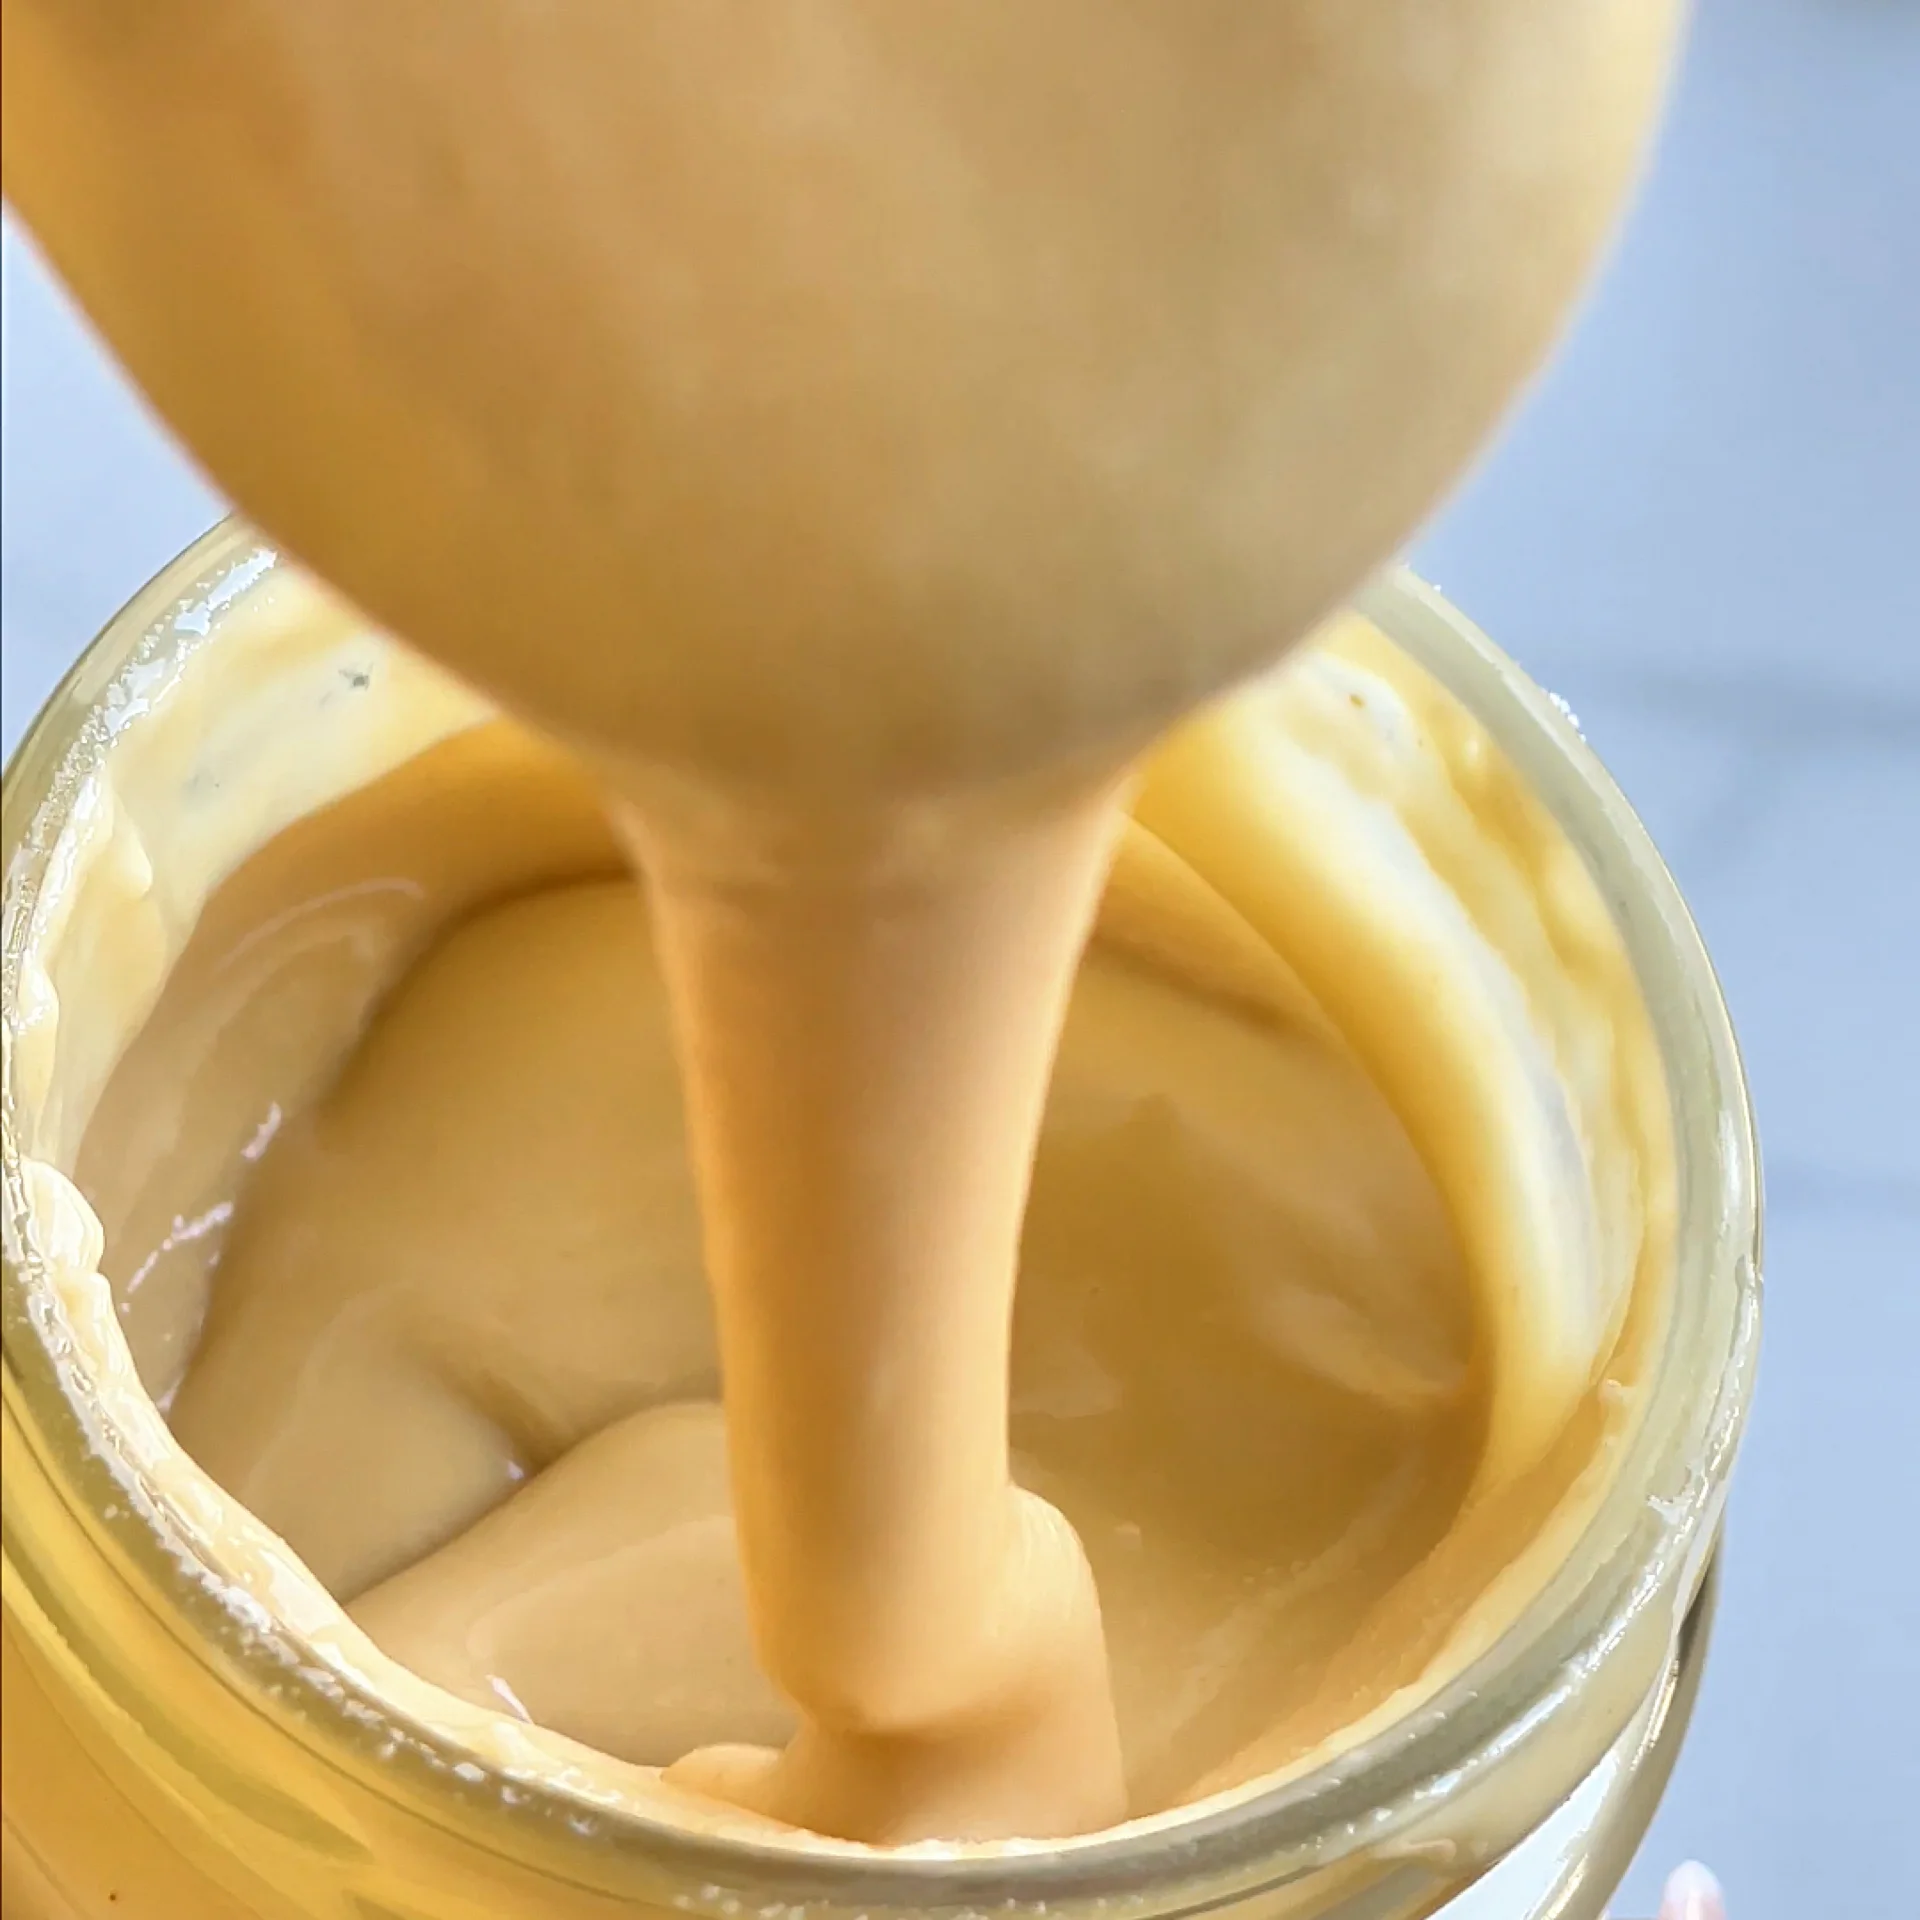
    • 1 tbsp almond butter
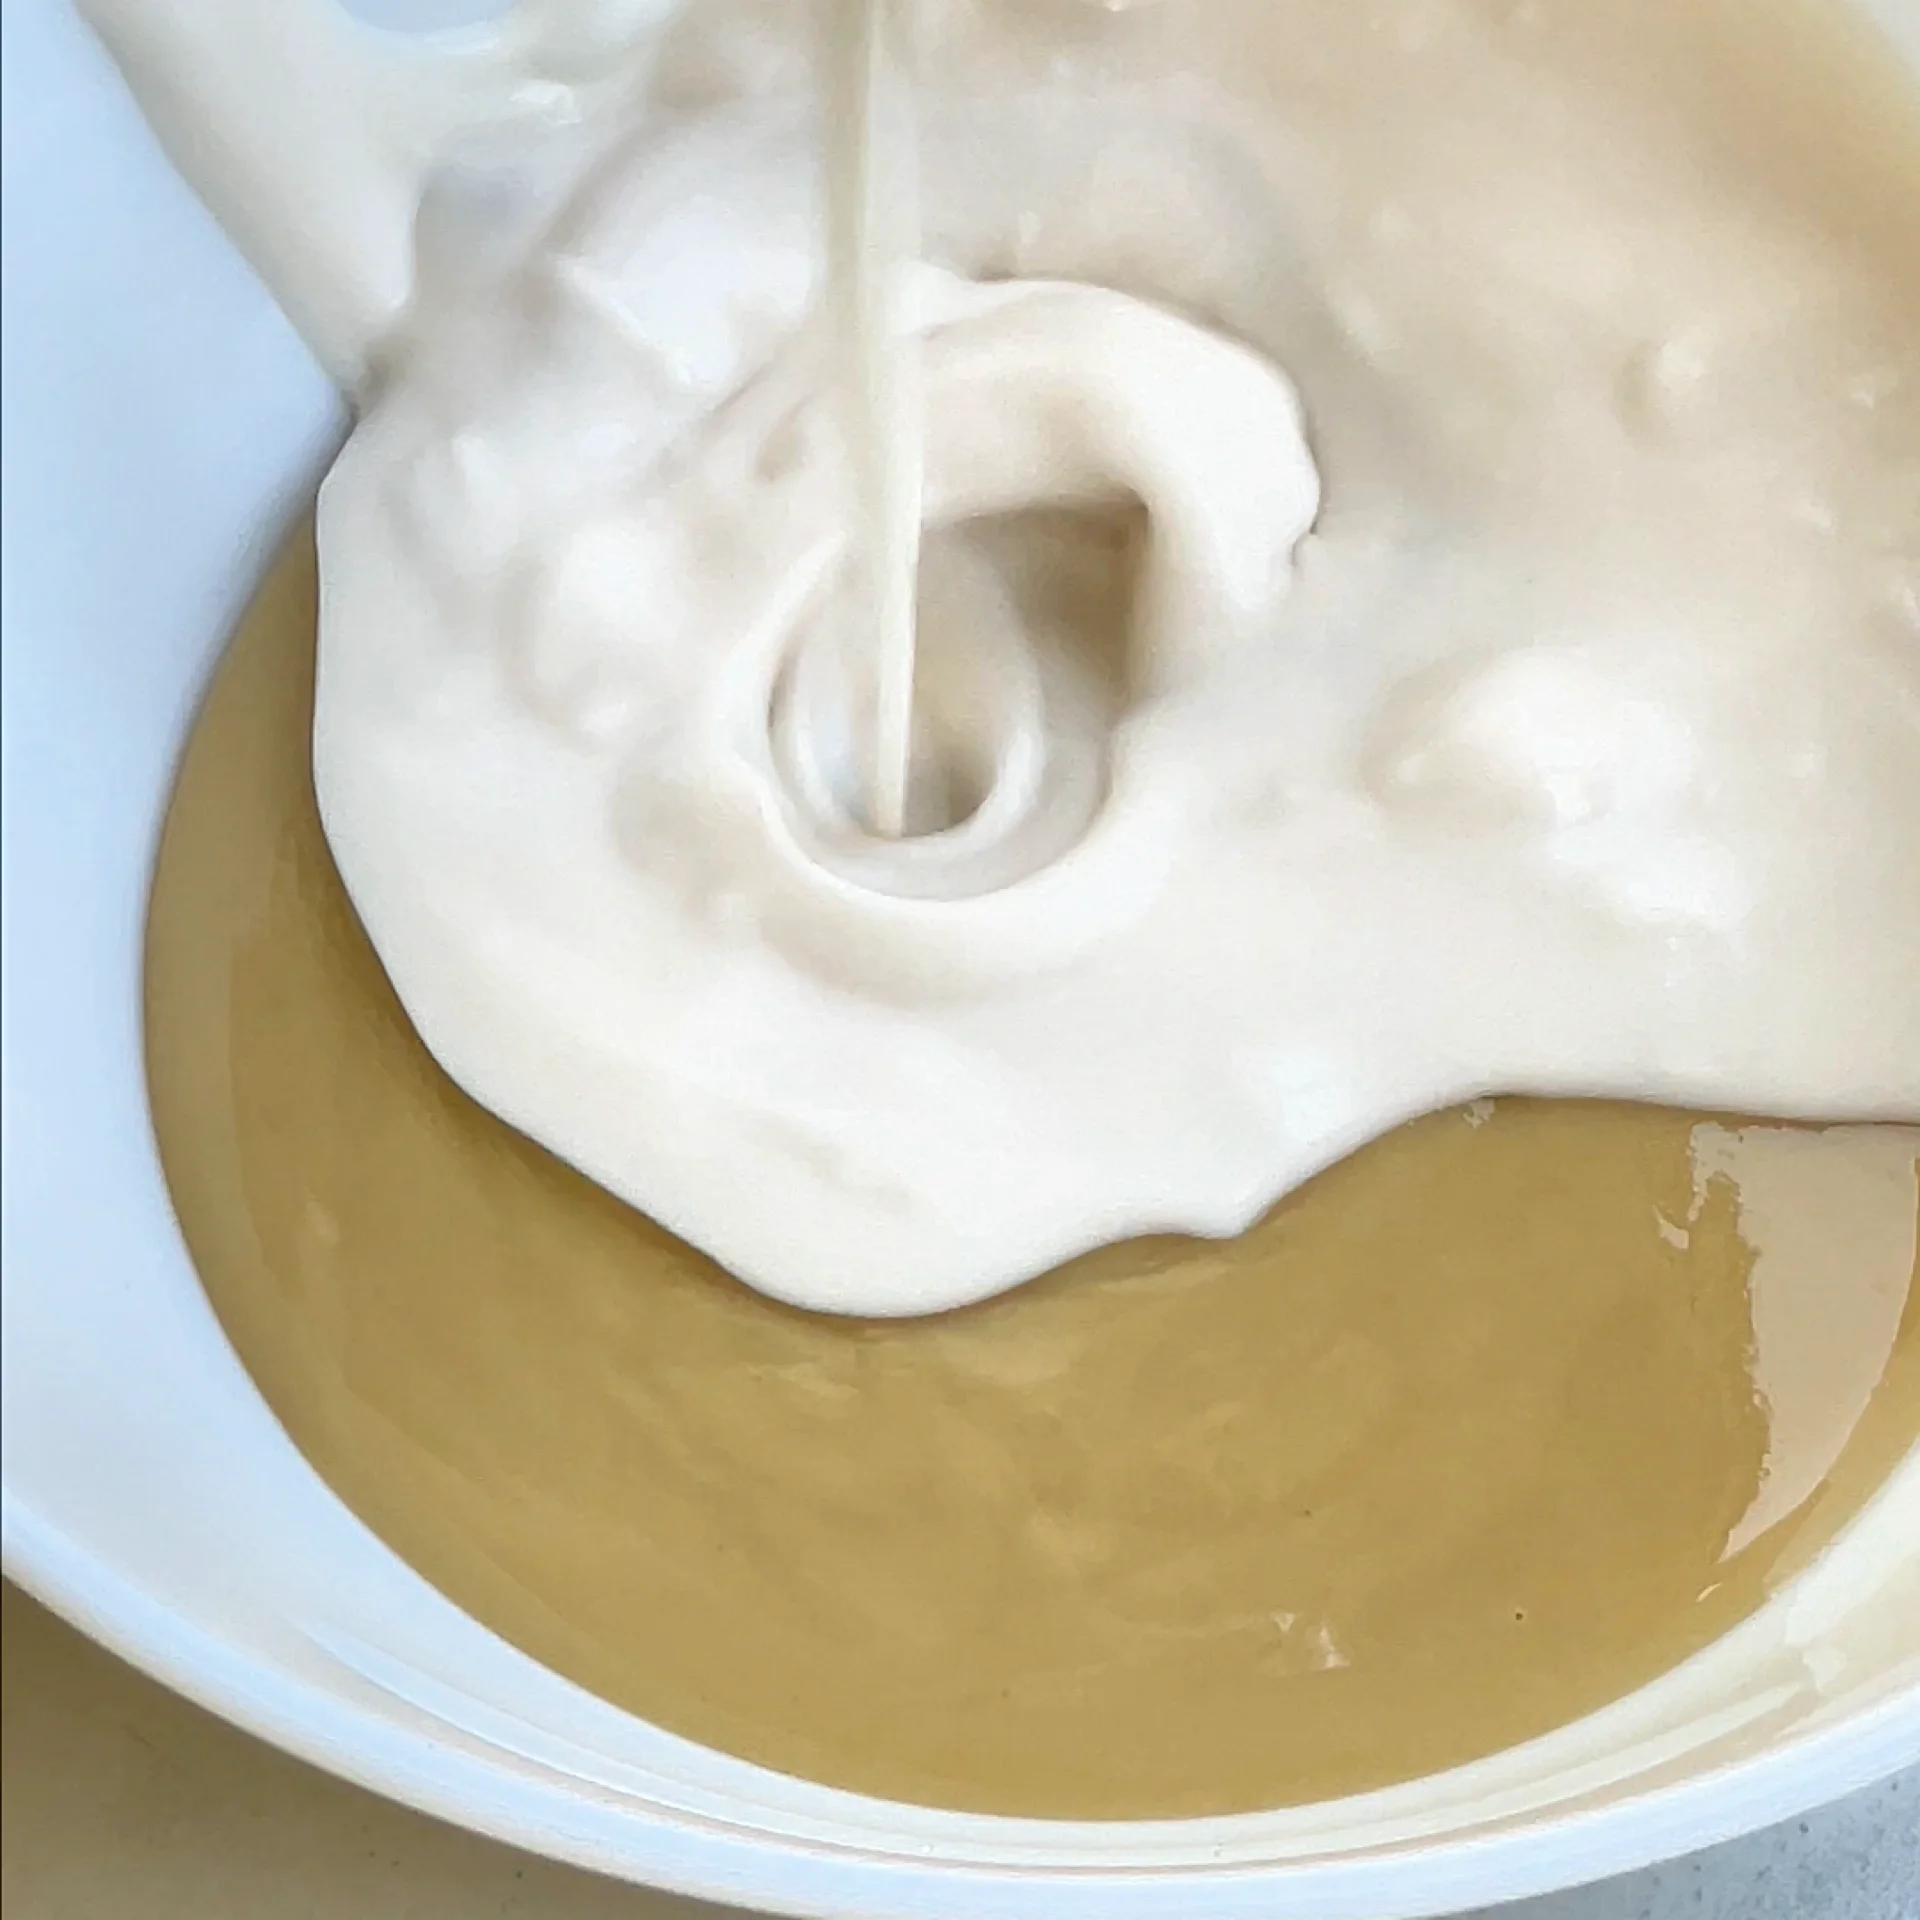
    • 2 tbsp coconut milk
    • pinch of salt

    FRUIT

    • 1 apple
    Apple Slices with Almond Coconut Dip
    }

    ACTIVE: 1 min

    PASSIVE: –

    PREPARATIONS

    Recommended Equipment
    • sharp knife
    • chopping board
    • small bowl
    • Wash the apple thoroughly.
      }

      ACTIVE: 5 min
      PASSIVE: –

      COOKING

      1. Cut the apple into slices.

      2. In a small bowl, mix the almond butter with the coconut milk and a pinch of salt.
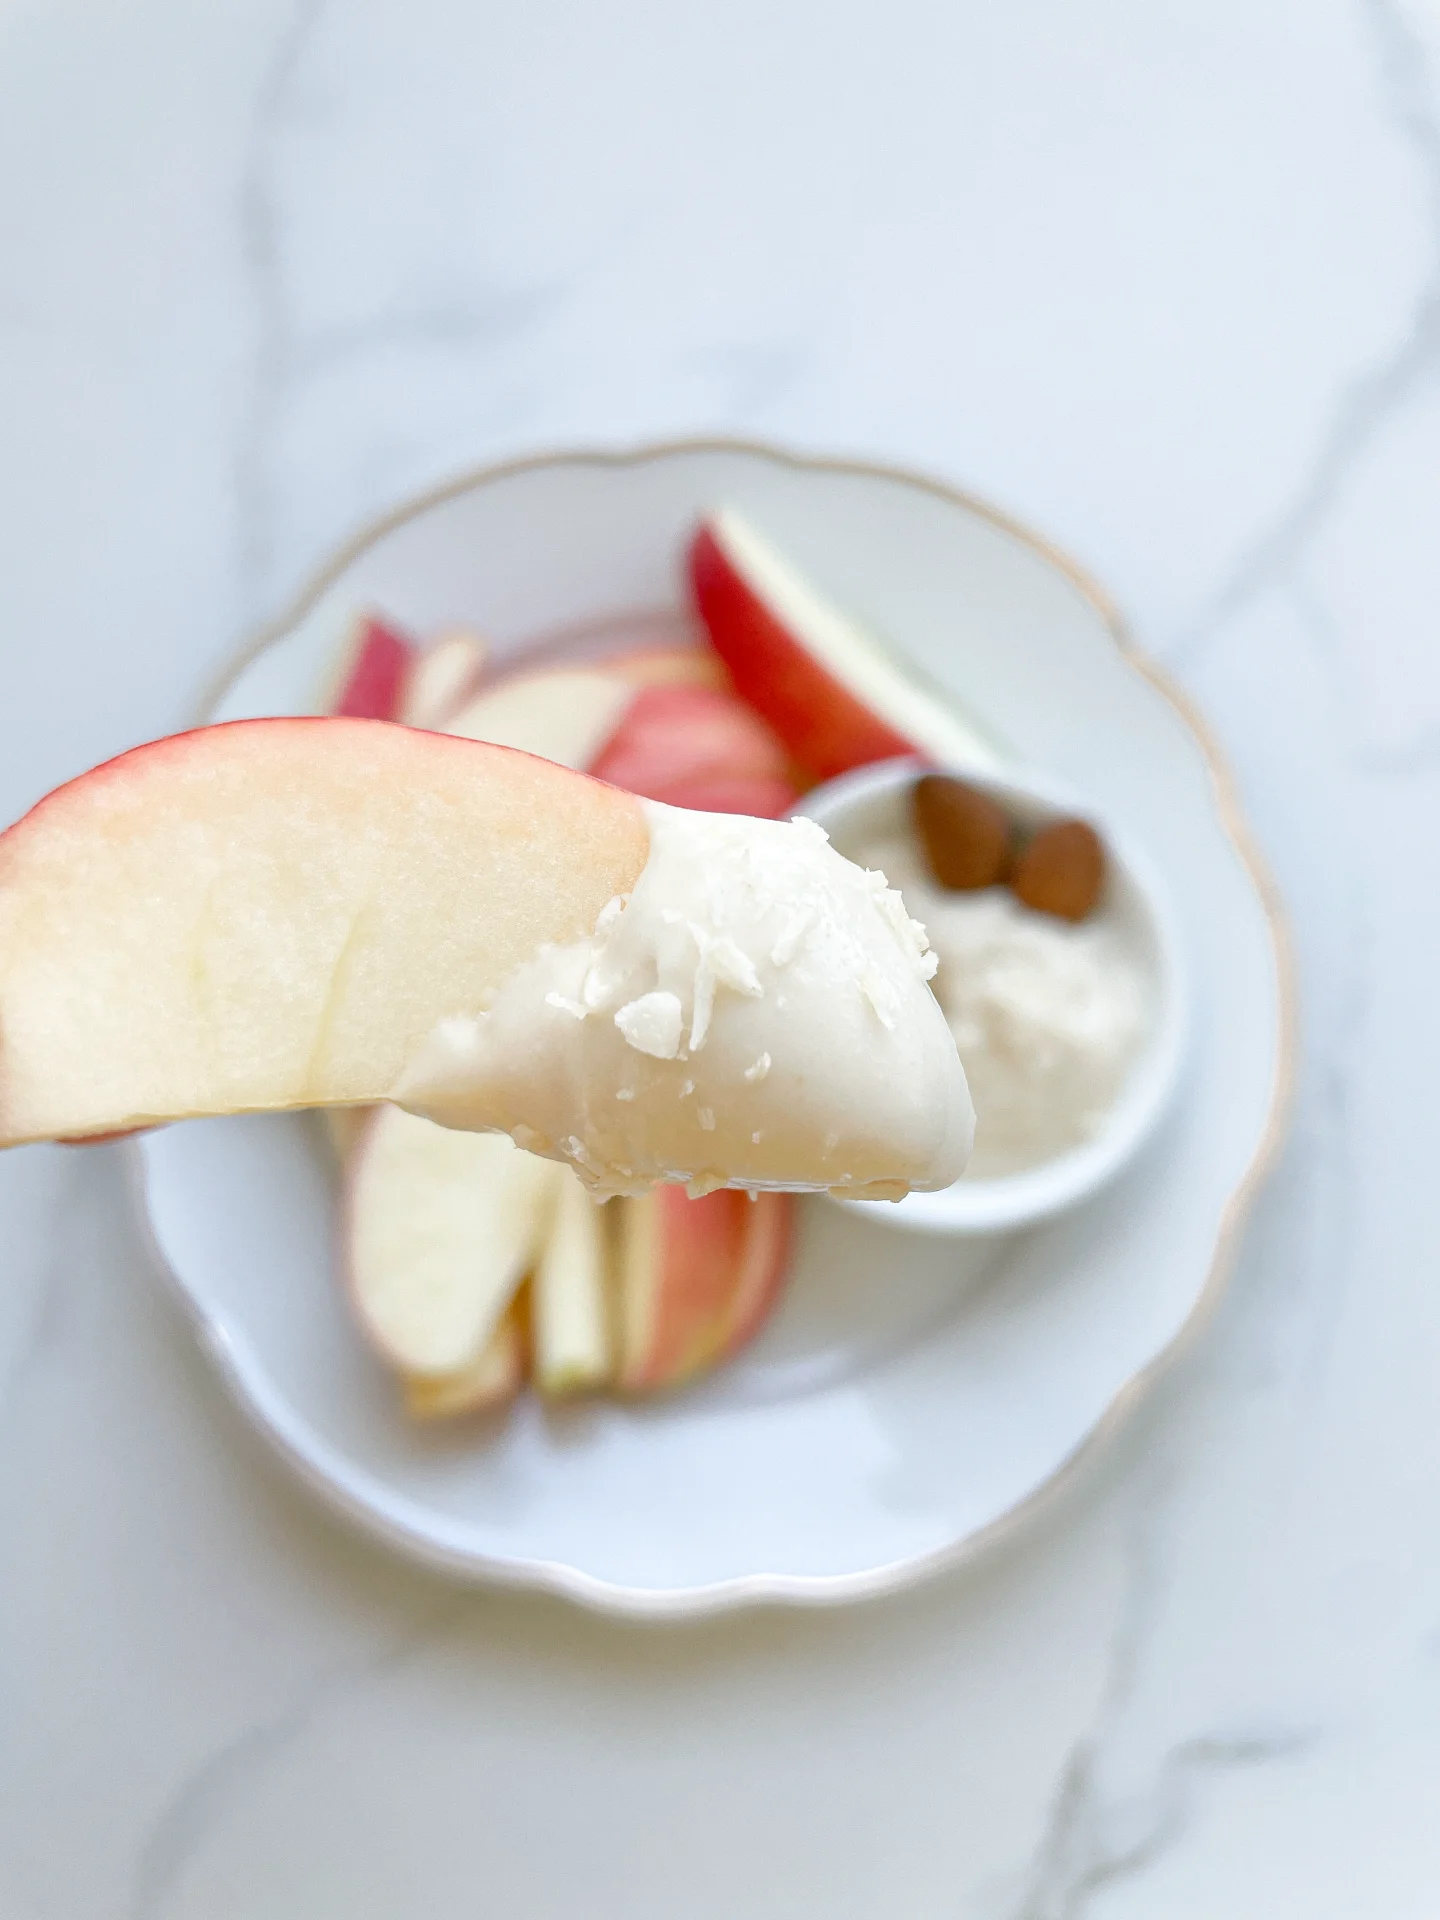
      3. Arrange the apple slices and the sweet dip on a plate and enjoy.

      NOTE: The calorie information may vary depending on the product used, country and region.