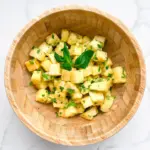


Description
GOOD TO HAVE ON HAND
- Mandolin (or sharp knife)
- sealable glass
- salad bowl
Ingredients
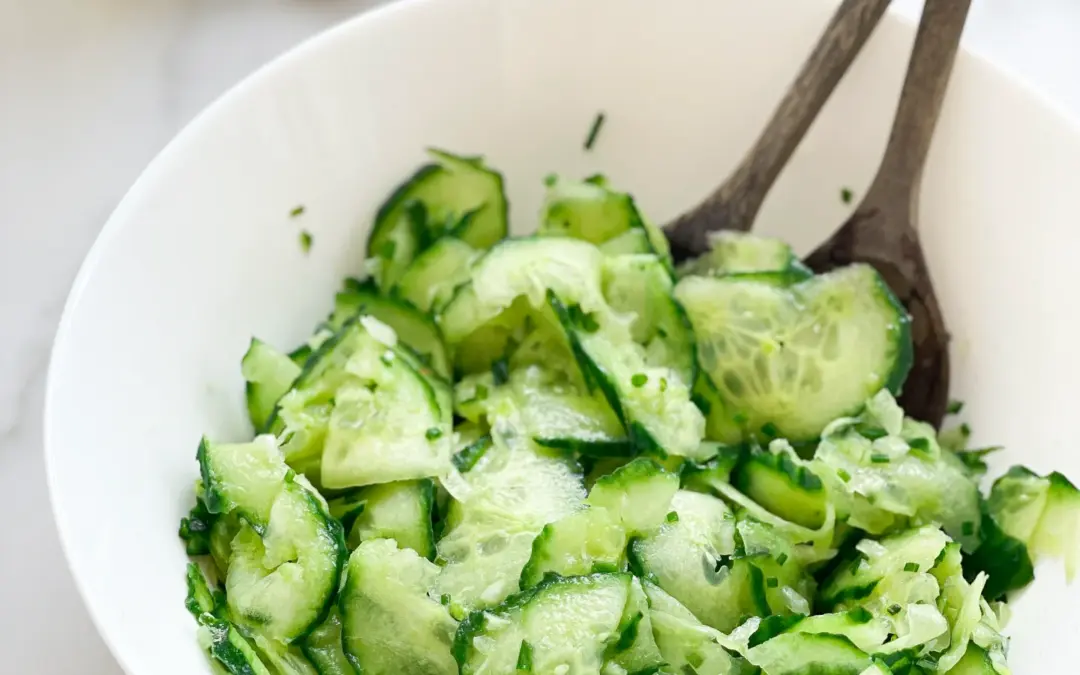
SALAD
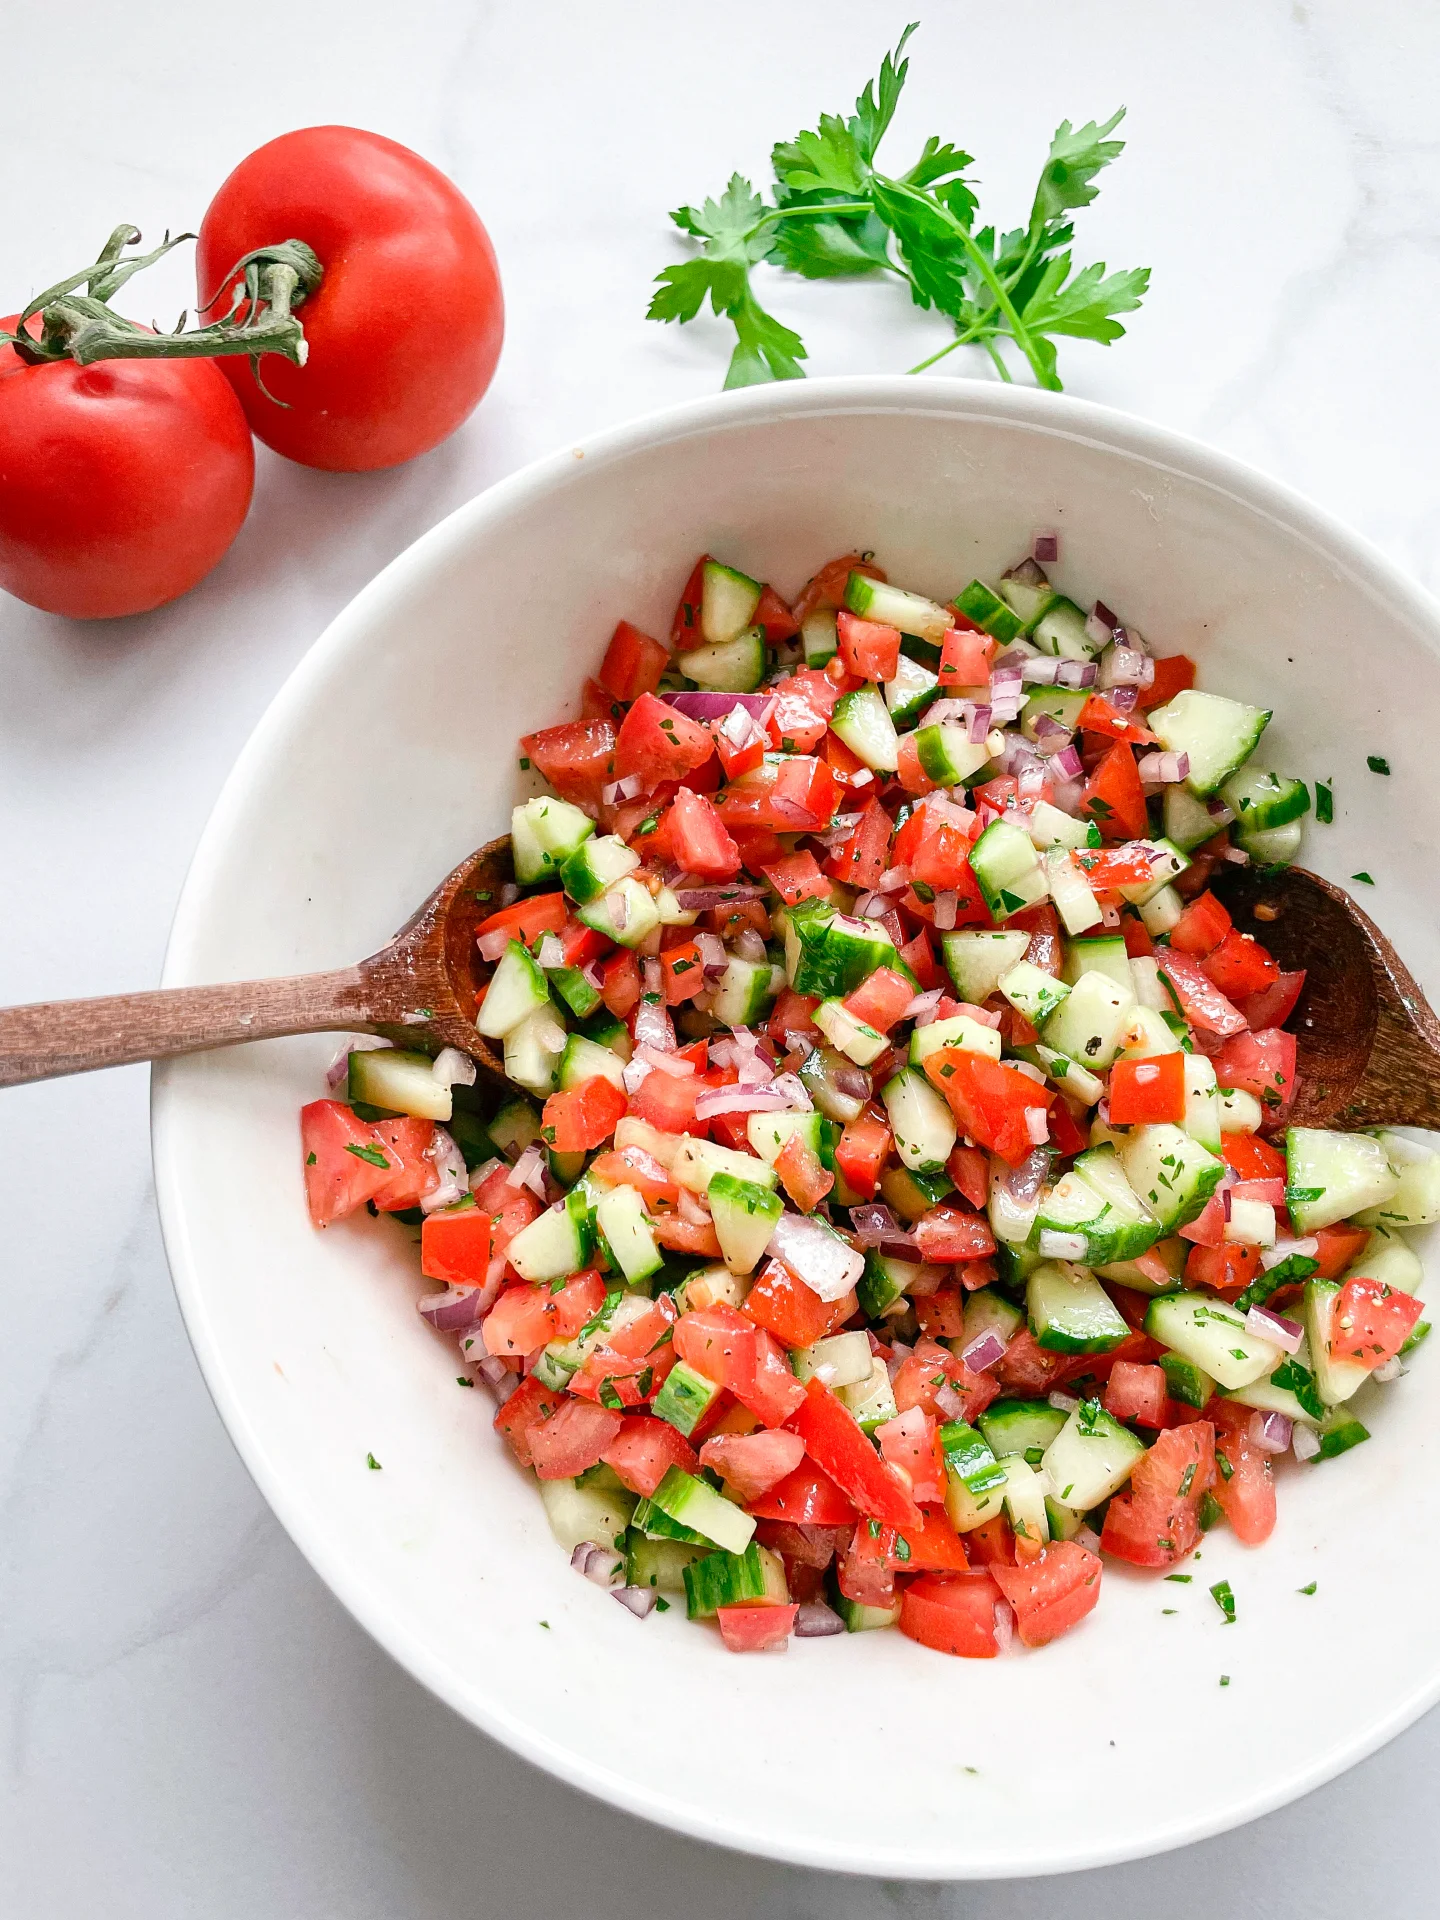
- 1 cucumber
- 1 small onion
- chives
DRESSING
- 1 garlic clove
- 2 tbsp olive oil
- 2 tbsp white wine vinegar
- 1/2 tsp sugar
- 1 tsp salt
- chives
Instructions
- Wash the cucumber thoroughly.
- Slice the cucumber into very thin slices. Finely chop the onion.
- For the dressing, pour the vinegar, oil, salt, sugar and crushed garlic into a sealable jar and shake well. Flavour the dressing and season with salt and ground pepper to taste.
- Mix the cucumber slices and onion pieces with the dressing in a bowl and leave to stand in the fridge for 20 minutes.
- Passive Time: 20 min
- Cook Time: 10 min