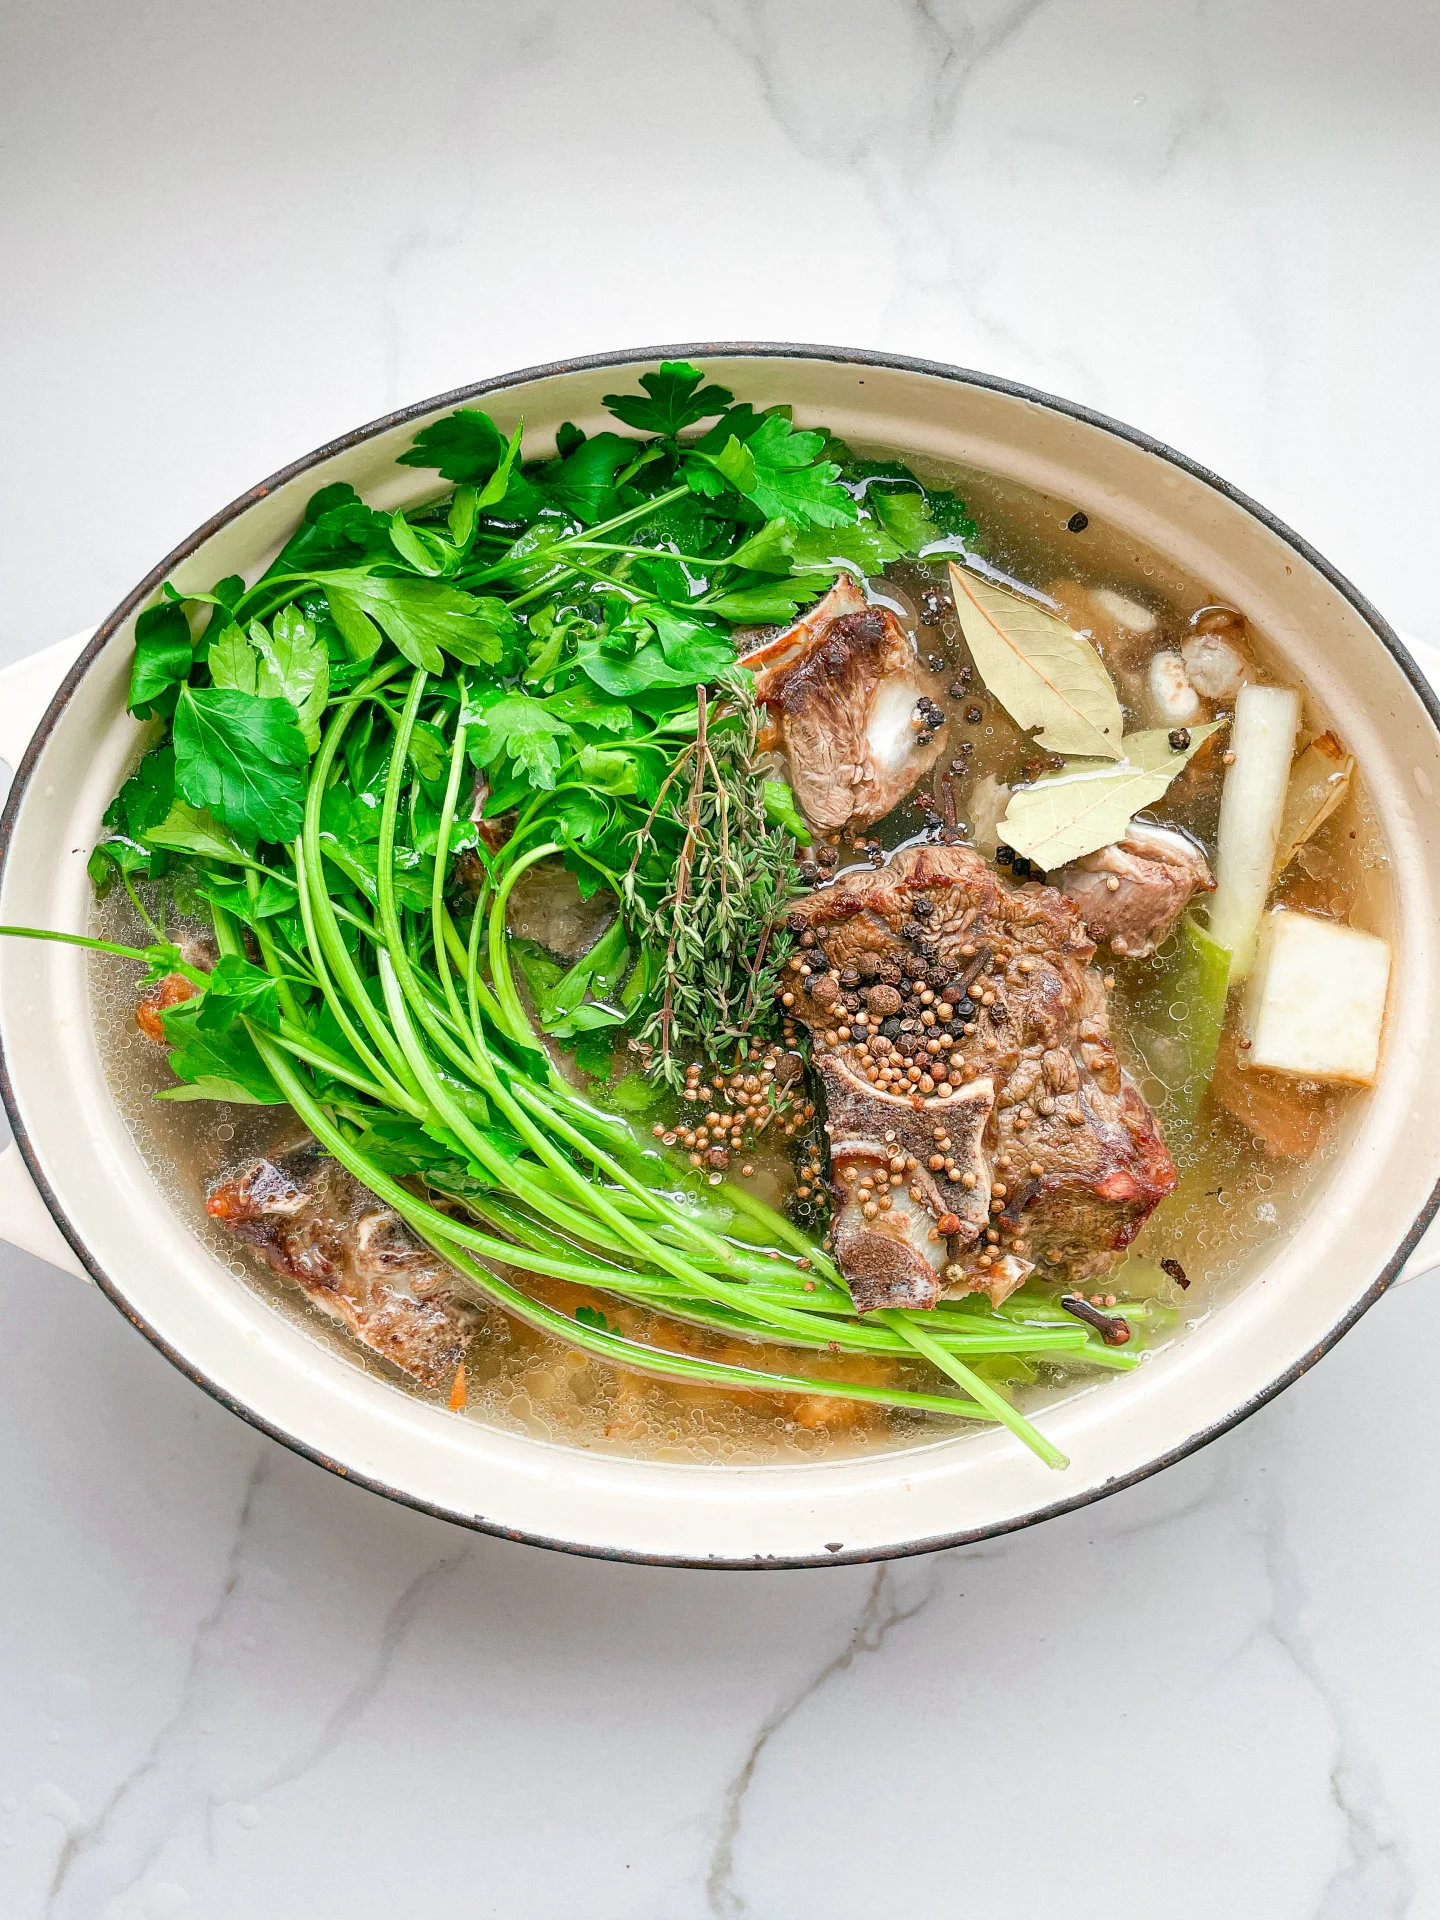


Description
GOOD TO HAVE ON HAND
- sharp knife
- cutting board
- juicer & citrus press (or blender & fine mesh strainer)
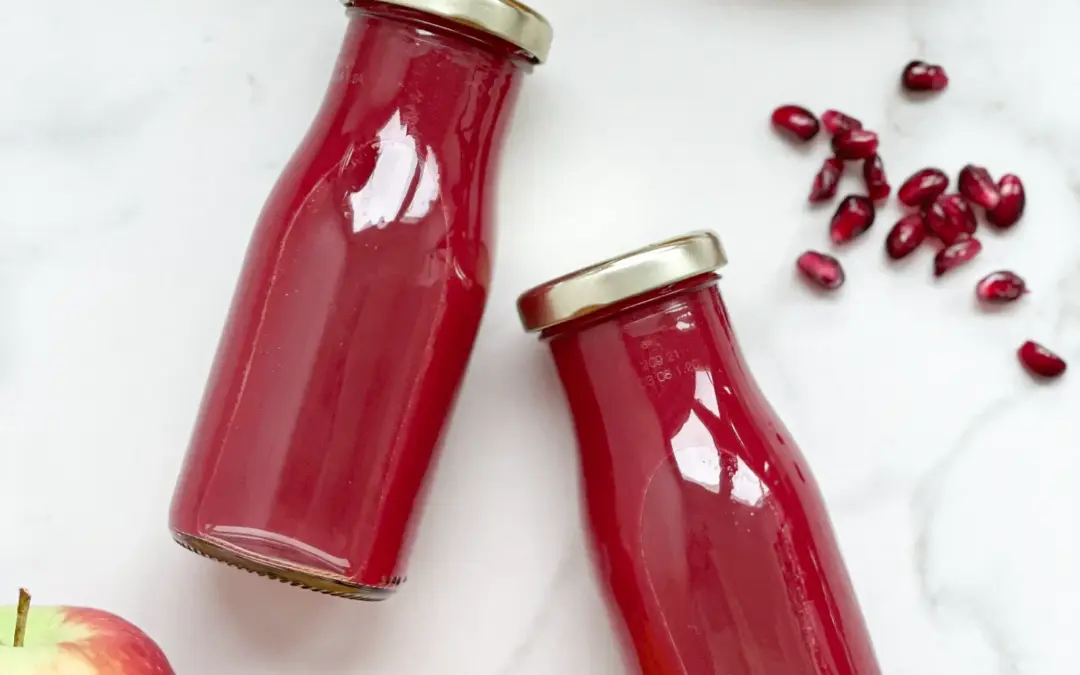
Ingredients
Units Scale
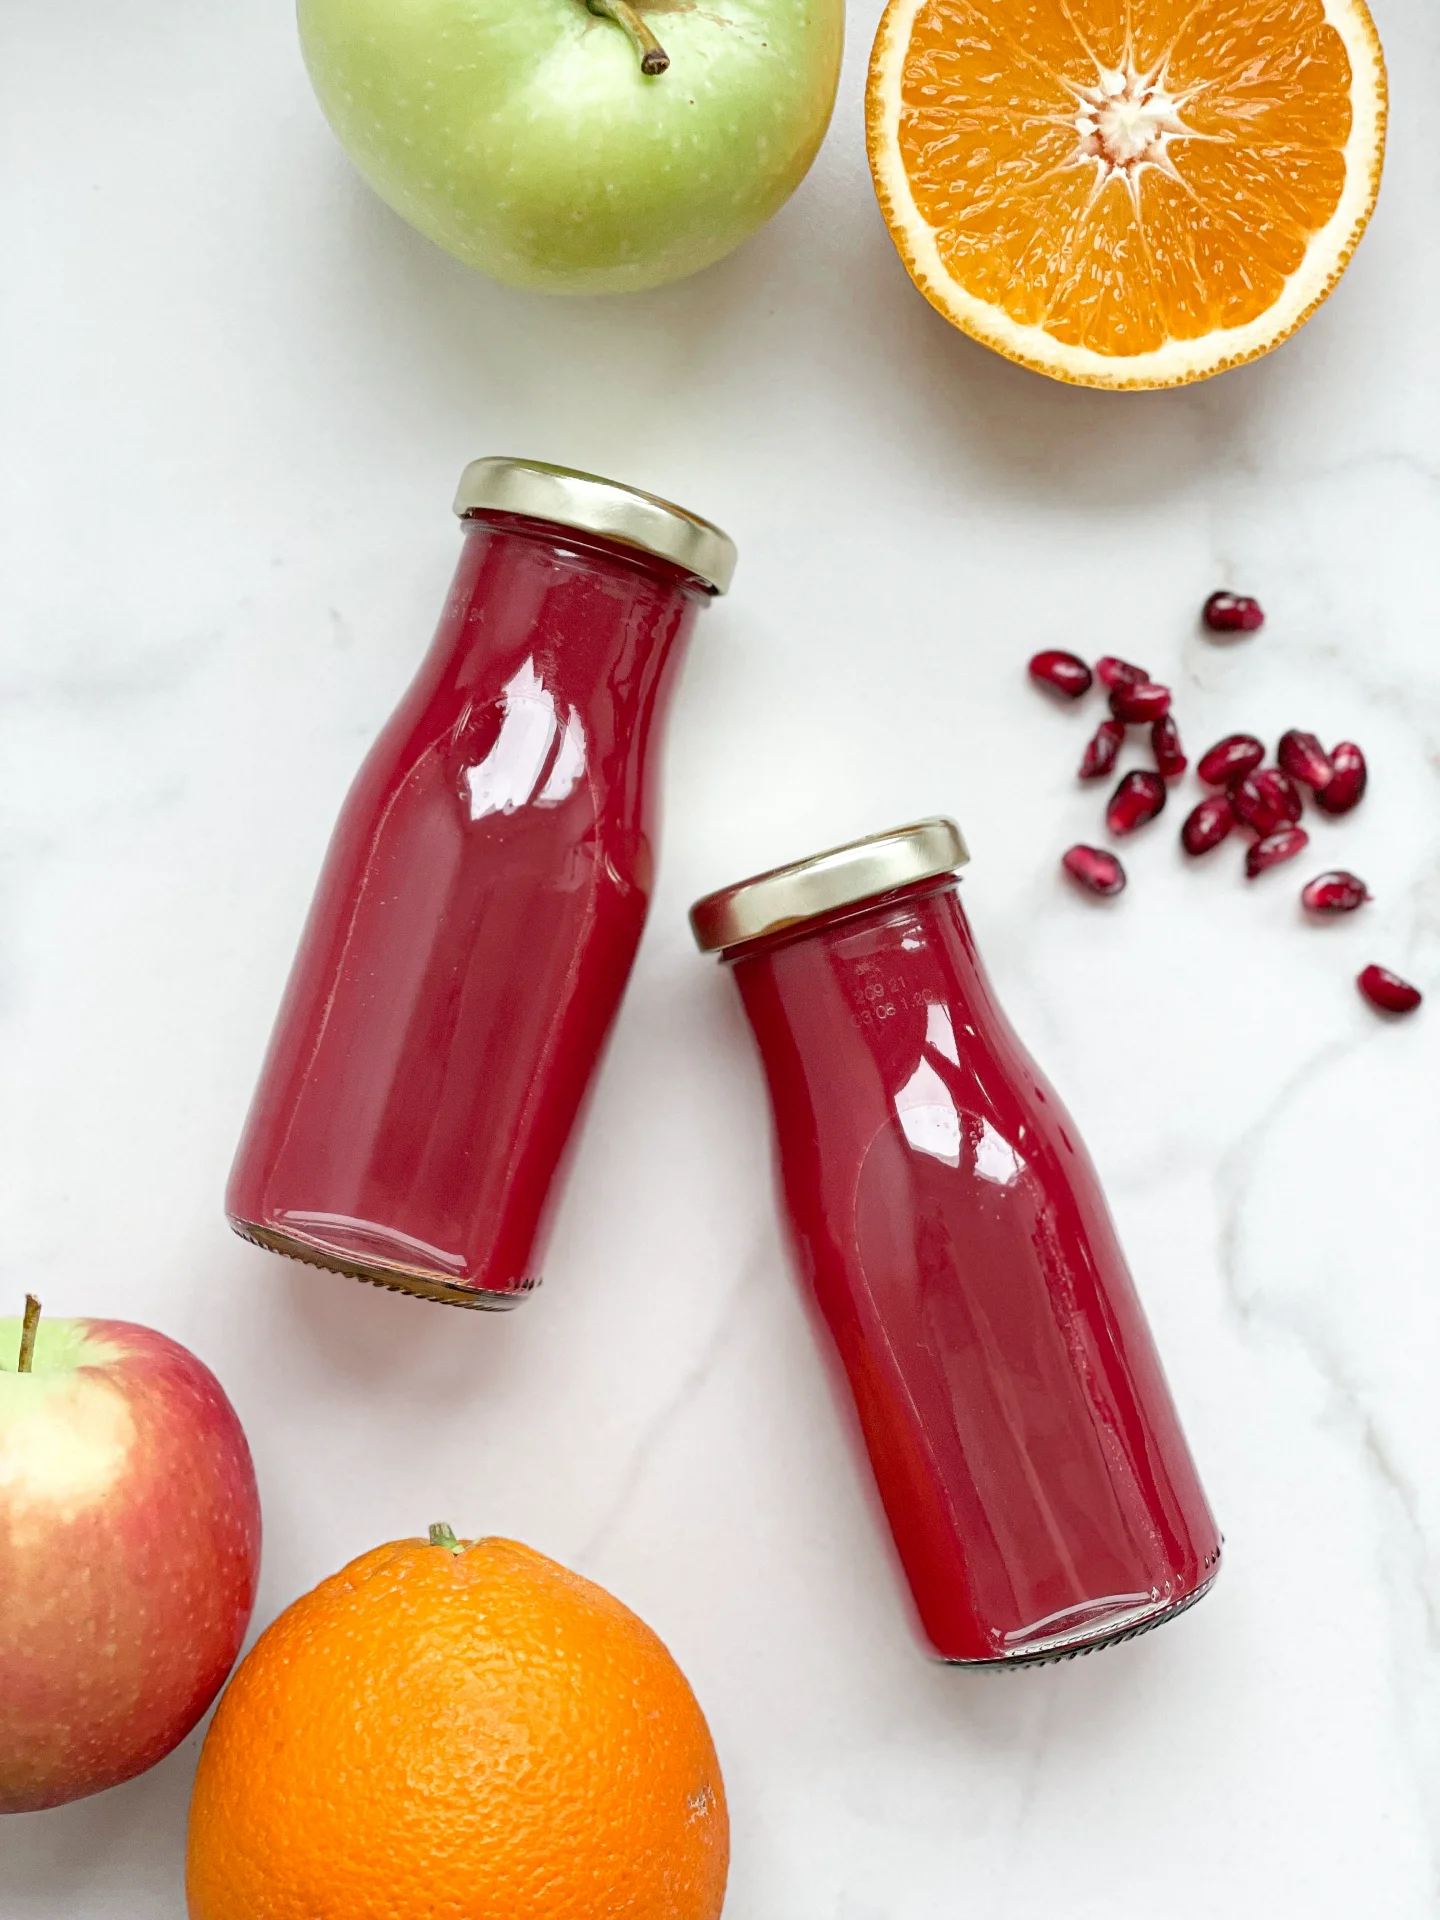
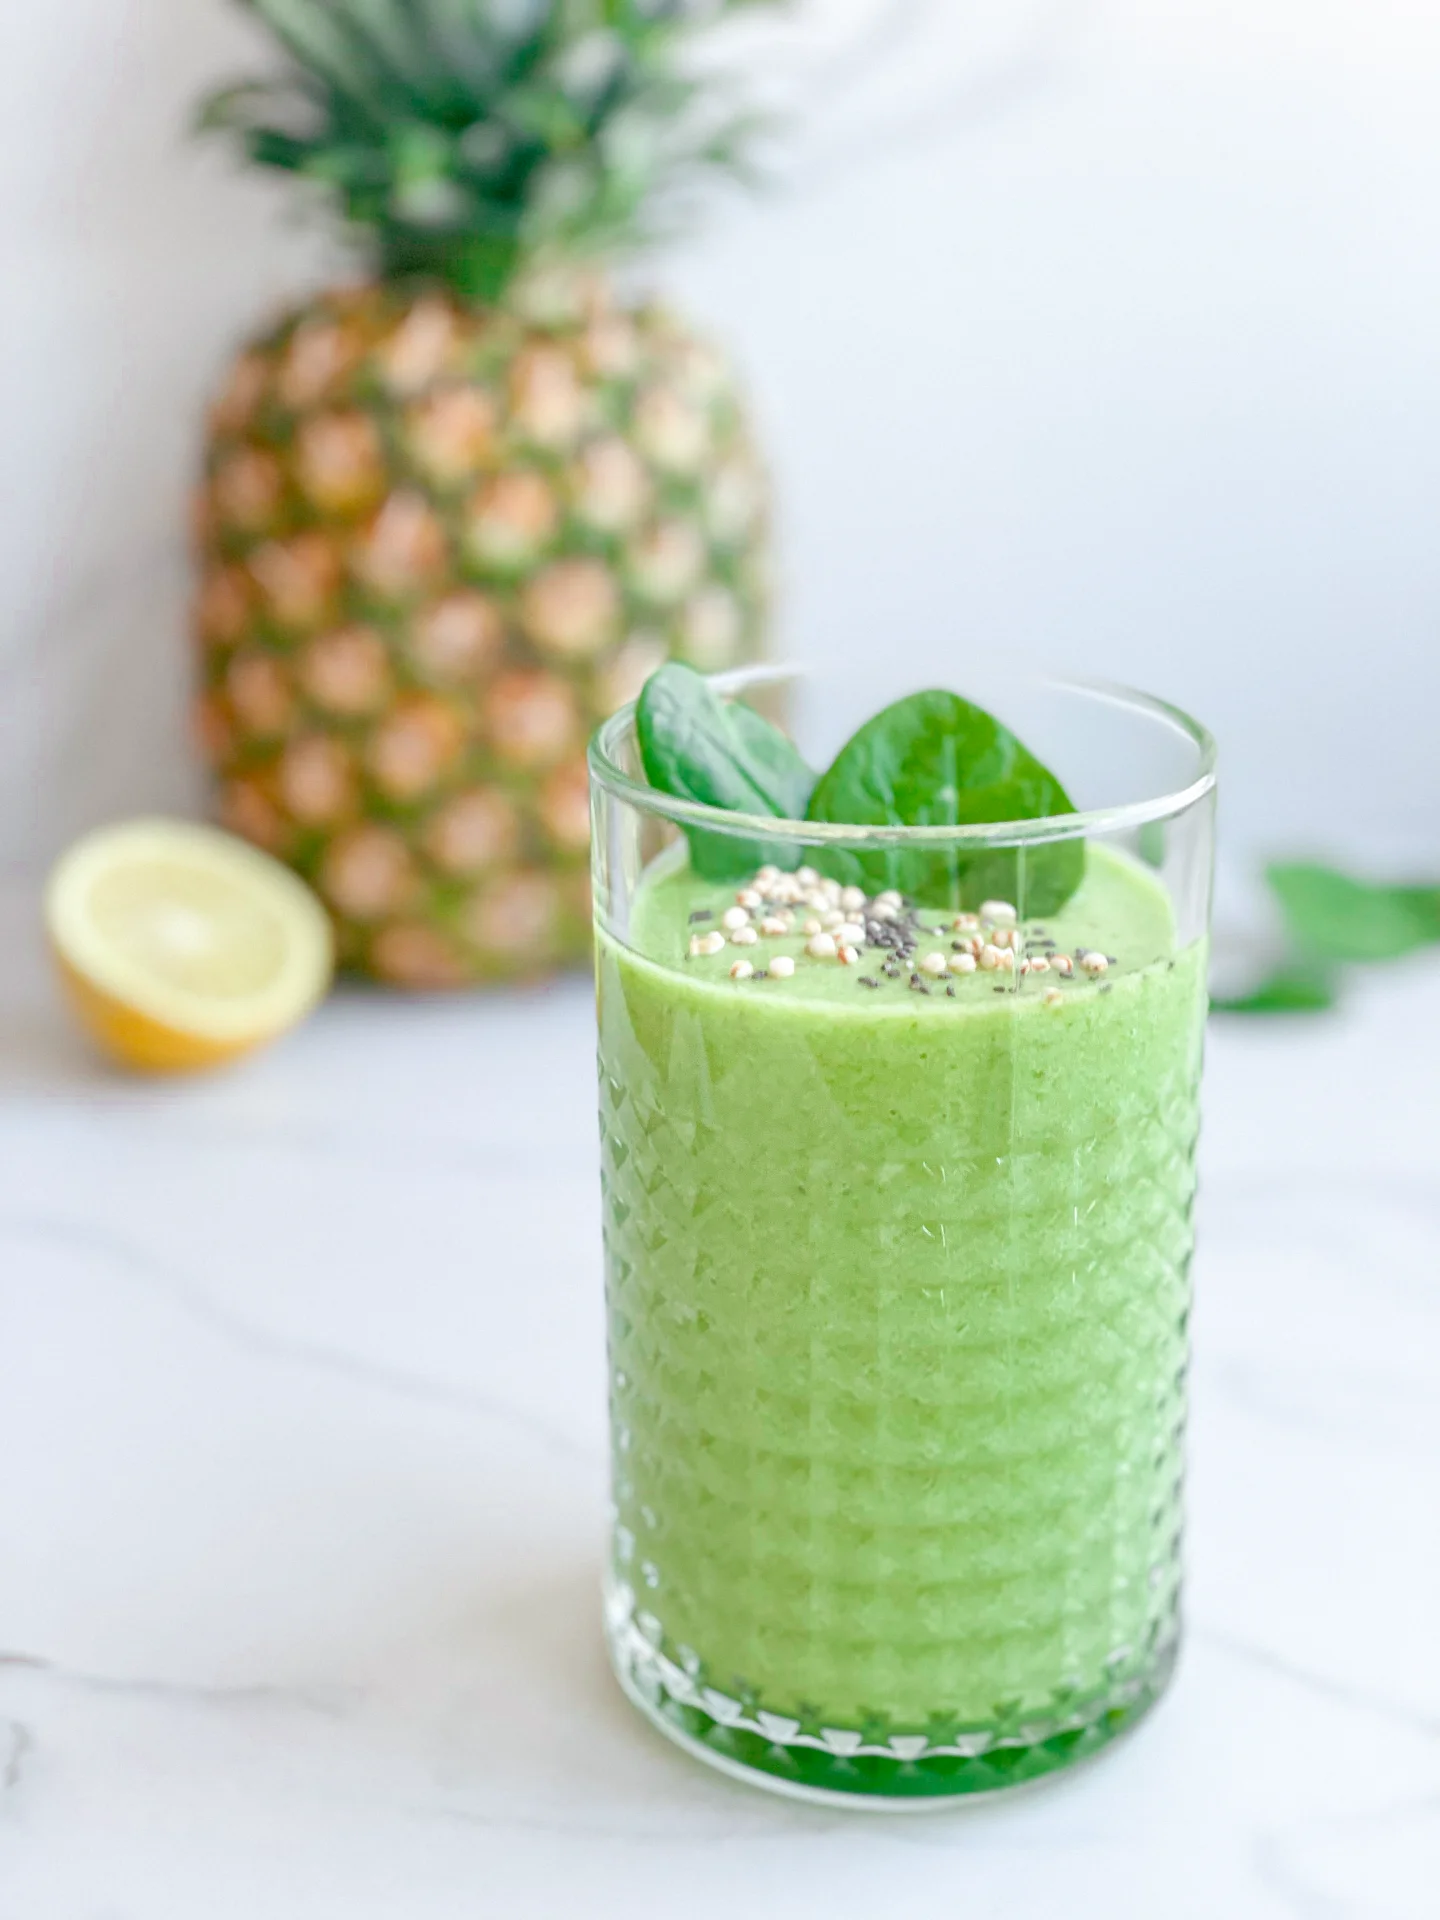
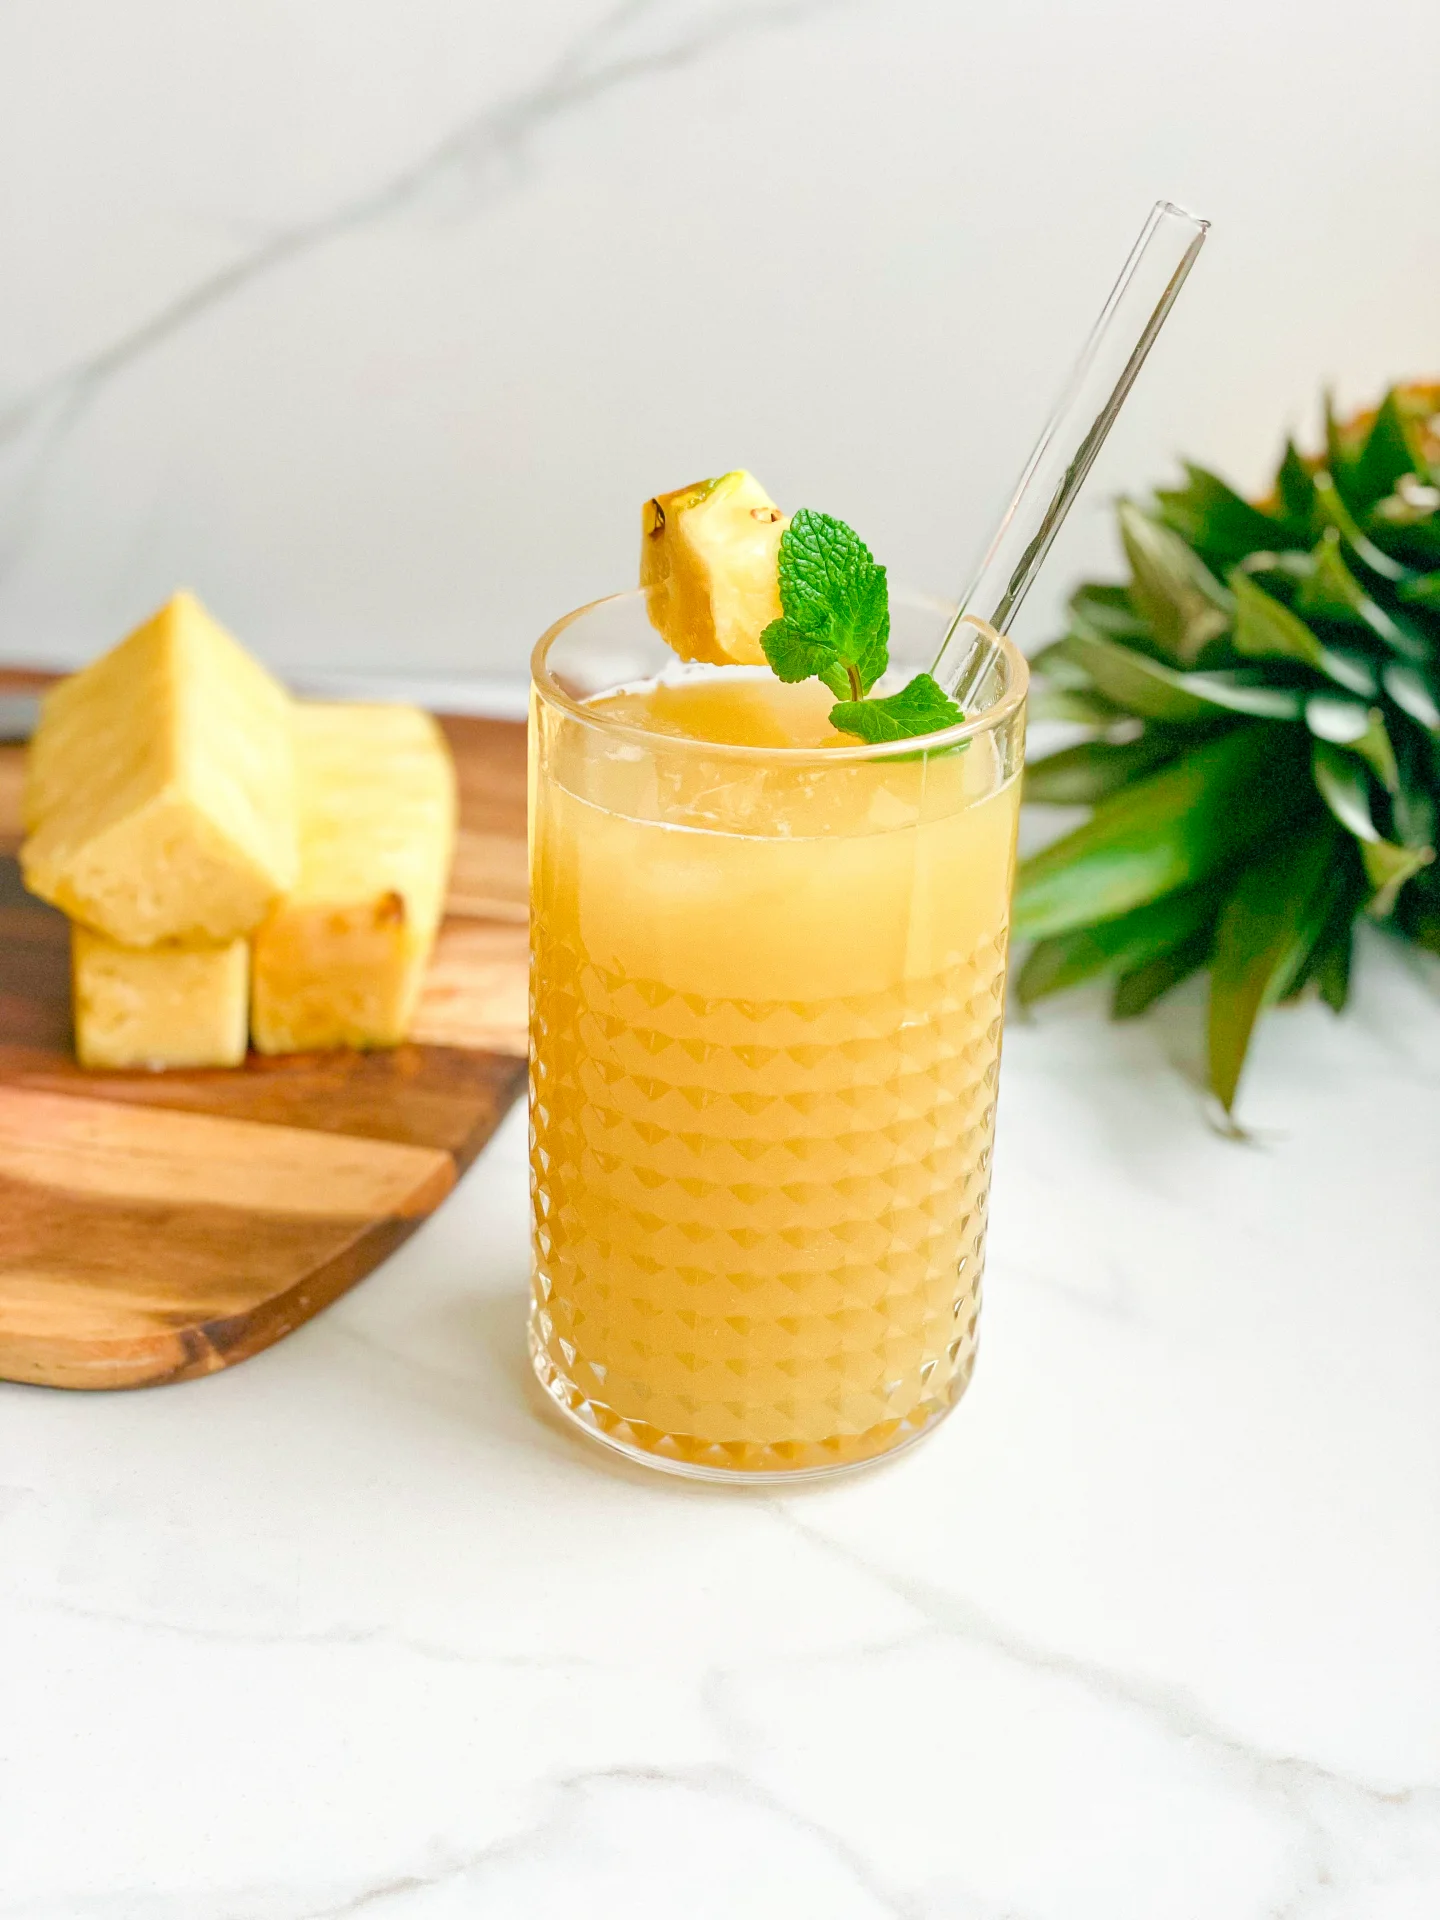
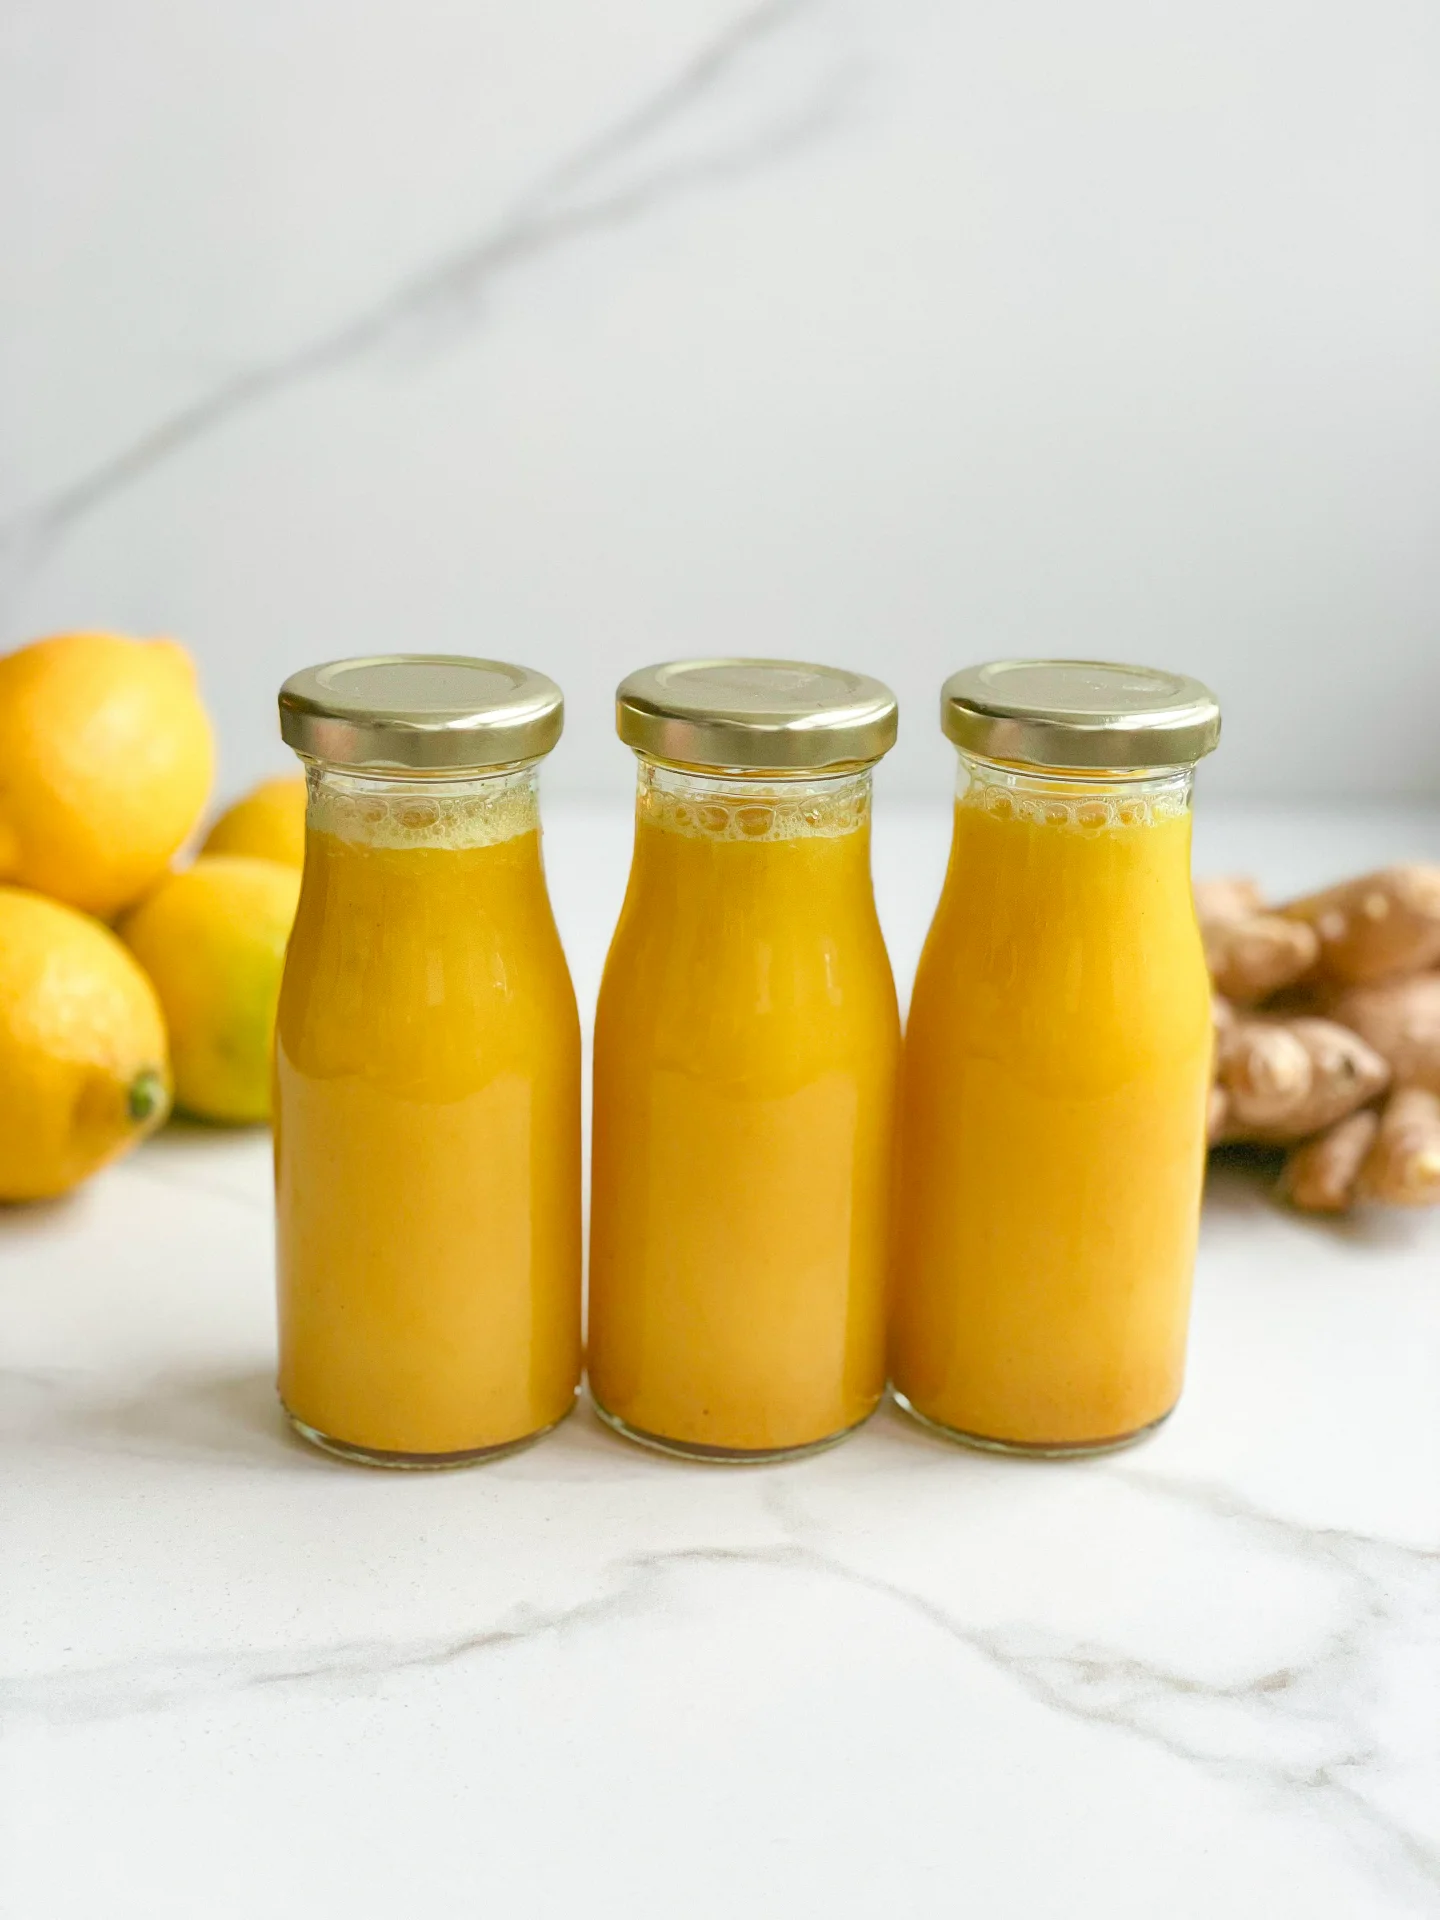
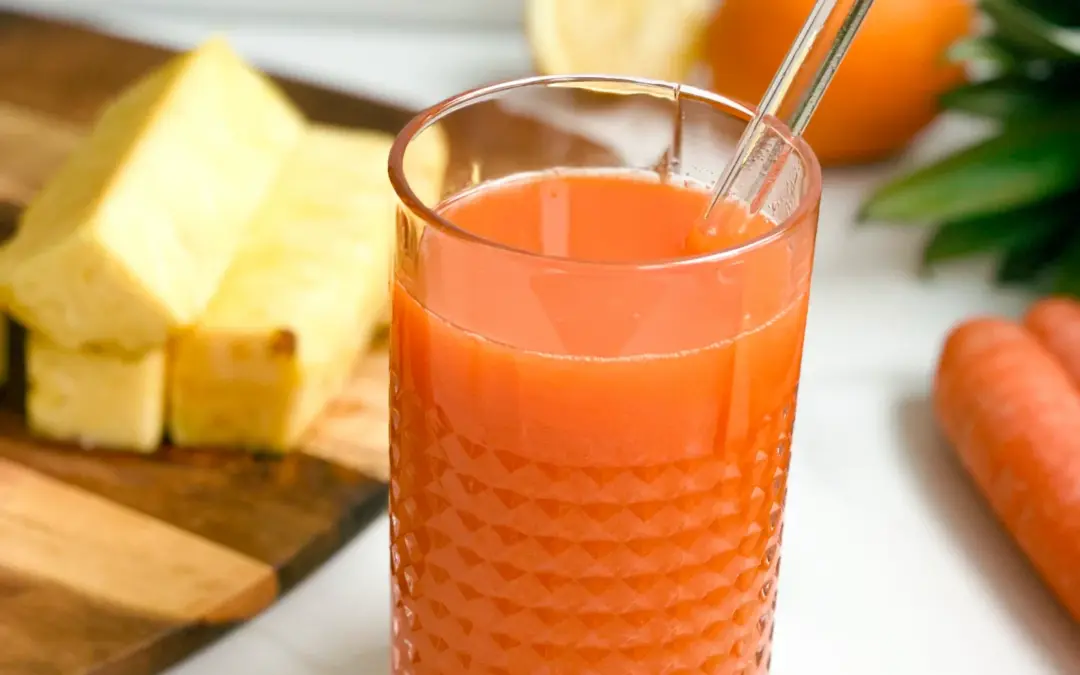
- 1 lemon
- 1 orange
- 3 carrots
- 200 grams pineapple
Instructions
PREPARATION WITH A JUICER & CITRUS PRESS
- Wash the carrots. Cut of the skin of the pineapple and cut the flesh into sticks. Put 1/4 of the pineapple into the juicer.
- Add the carrots to the juicer.
- Halve the orange and lemon and squeeze with a citrus juicer.
- How pour all the juices obtained into a glass.
PREPARATION WITH A BLENDER & FINE MESH STRAINER
- We need around 1/4 of the pineapple. Cut of the skin of the pineapple and carrots. Roughly chop everything. Put the pineapple and carrots to the blender.
- Peel the orange and lemon and also put the flesh into the blender.
- Blend everything at the highest setting for 30 seconds. Now pass the entire mixture through a fine sieve. If you like the pulp, you can of course skip this step.
- Pour the juice into a glass bottle.
- Cook Time: 10 min