Turmeric Oil

Turmeric Oil

Turmeric Oil

Turmeric Oil

June 25, 2024 by Kimberly

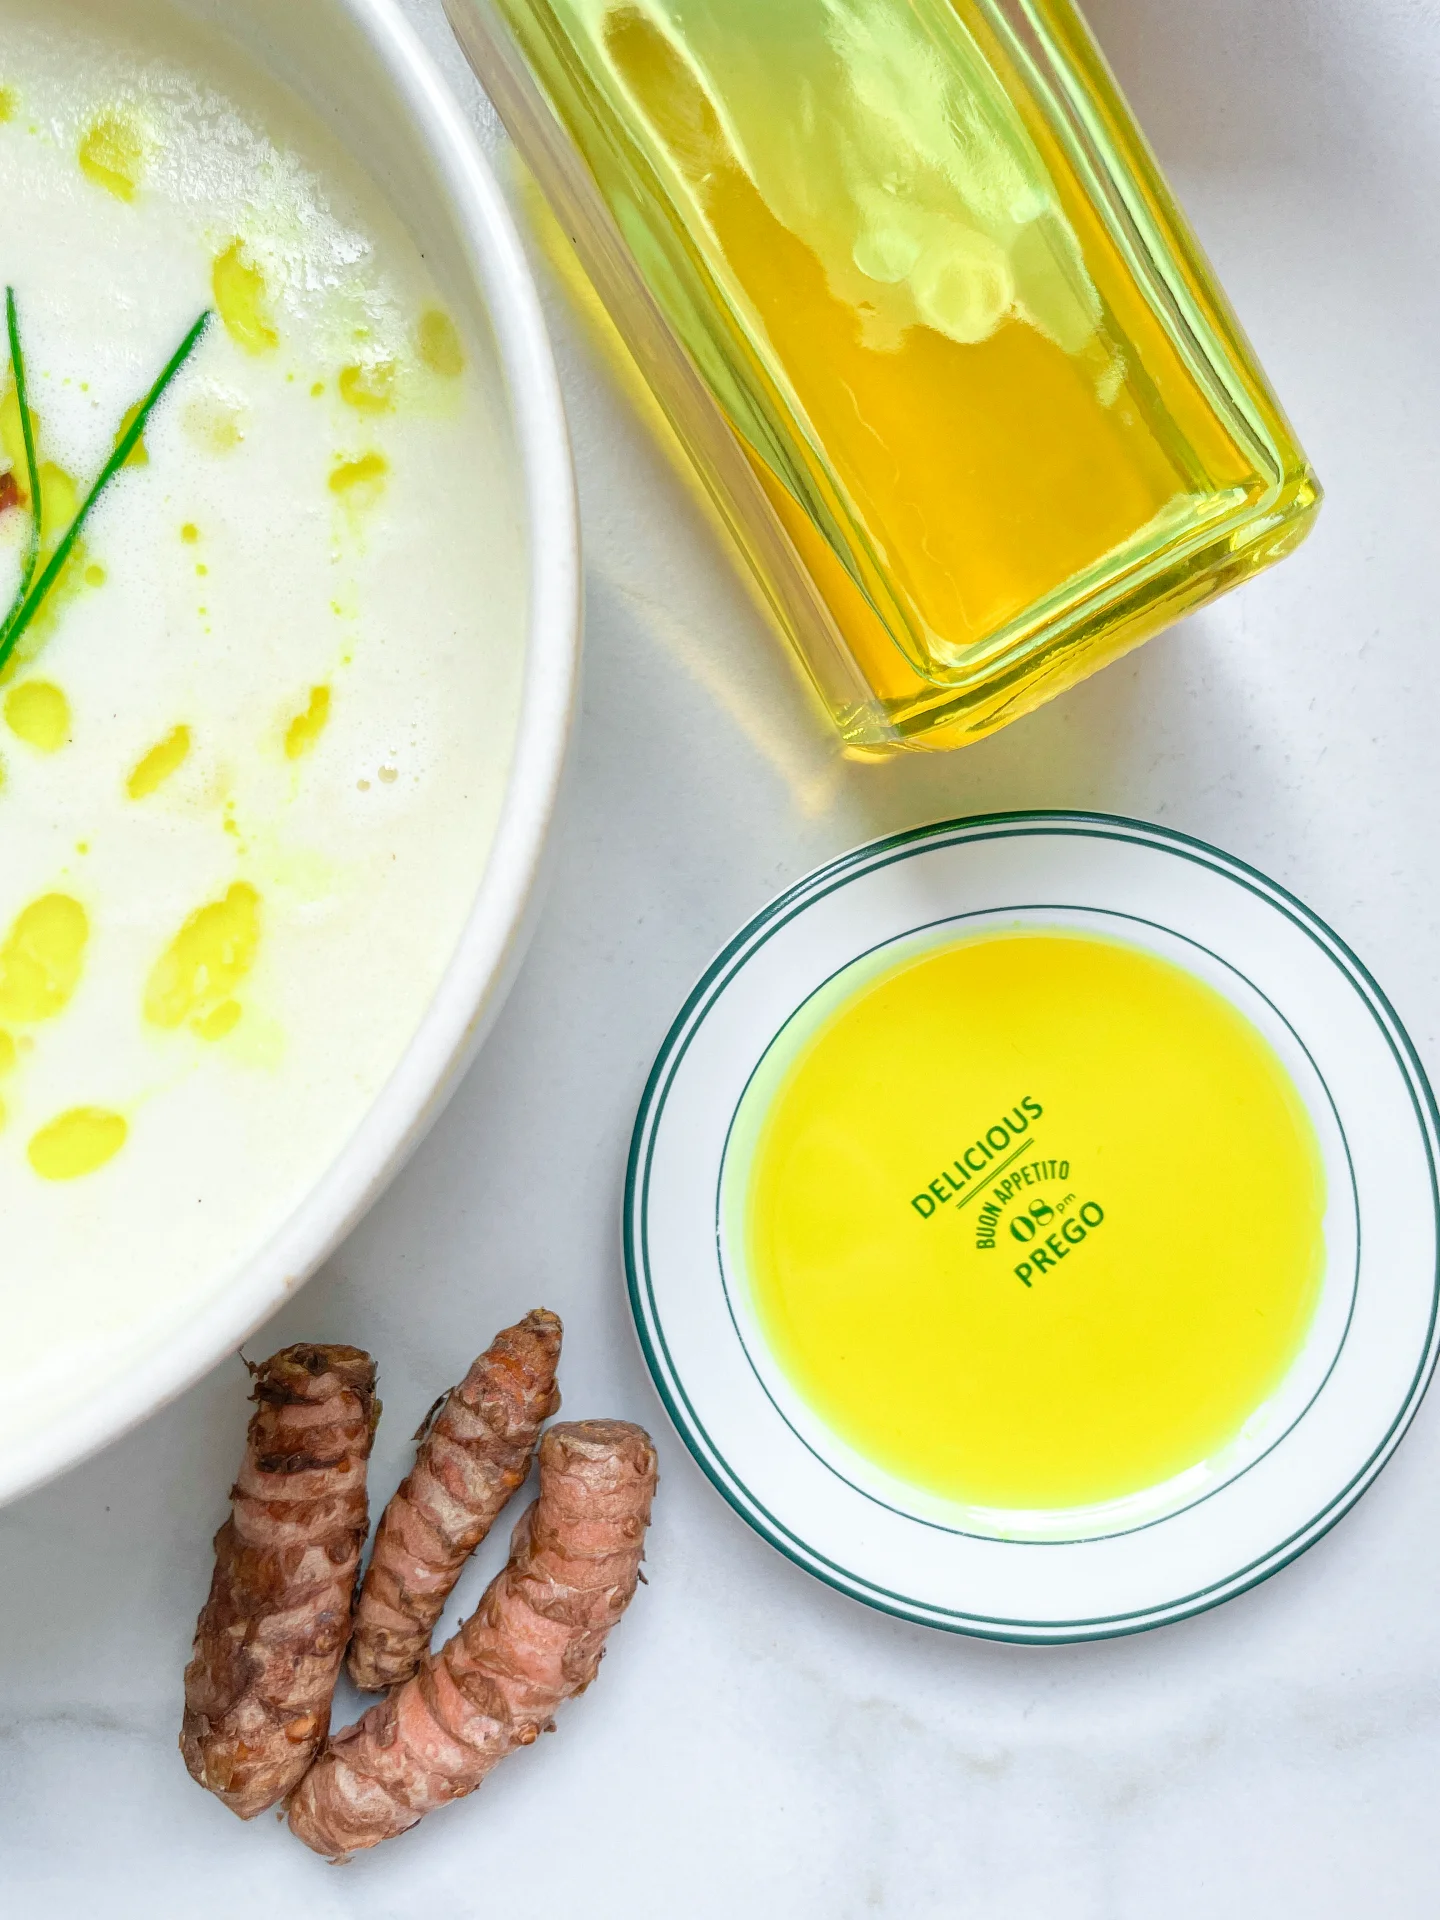
Add a splash of sunshine to your meals! Turmeric oil is your go-to for an instant flavor lift and a hint of earthy zest. Perfect for any dish!

50 MINUTES

ADVANCED

VEGAN

INT.

40 PER TSP

SPICY
SWEET

MICHELIN

OIL

ALL YEAR

INTRODUCTION

ABOUT THE RECIPE

Turmeric oil isn’t just a kitchen staple – it’s a game changer. Infused with the vibrant, health-boosting properties of turmeric, this oil adds both nutrition and a burst of color to your culinary creations.

How to serve
Drizzle Turmeric Oil over your favorite salads, use it to sauté vegetables, or add a few drops to finish off your soups. It’s also fantastic for marinating proteins like chicken or fish, bringing a subtle, earthy depth to your dishes.

How to store
Store your Turmeric Oil in a cool, dark place to maintain its freshness. In a well-sealed bottle, it can last up to 1-2 weeks.

Hi, I'm Kimberly!

Hi, I'm Kimberly.

A passionate food lover who believes in the magic of homemade deliciousness that spreads love and warmth. Join me on this culinary adventure as I prepare wonderful dishes and let’s spread some happiness together!

Kimberly the Zett Signature

If you want to get to know me better, click here!


Turmeric Oil
Turmeric Oil
Turmeric Oil
„Let’s make a piece of happiness“
Print
clock clock iconcutlery cutlery iconflag flag iconfolder folder iconinstagram instagram iconpinterest pinterest iconfacebook facebook iconprint print iconsquares squares iconheart heart iconheart solid heart solid icon
Turmeric Oil

Turmeric Oil


5 Stars 4 Stars 3 Stars 2 Stars 1 Star

No reviews

  • Author: Kimberly
  • Total Time: 50 min
  • Yield: 250 ml / 1 cup 1x

Description

RECOMMENDED EQUIPMENT

  • blender
  • medium-sized saucepan
  • whisk
  • a bowl which the medium saucepan fits into
  • 2 medium-sized bowls
  • 2 fine sieves
  • sealable container (oil bottle)
  • ice cubes
  • coffee filter

Ingredients

Units Scale
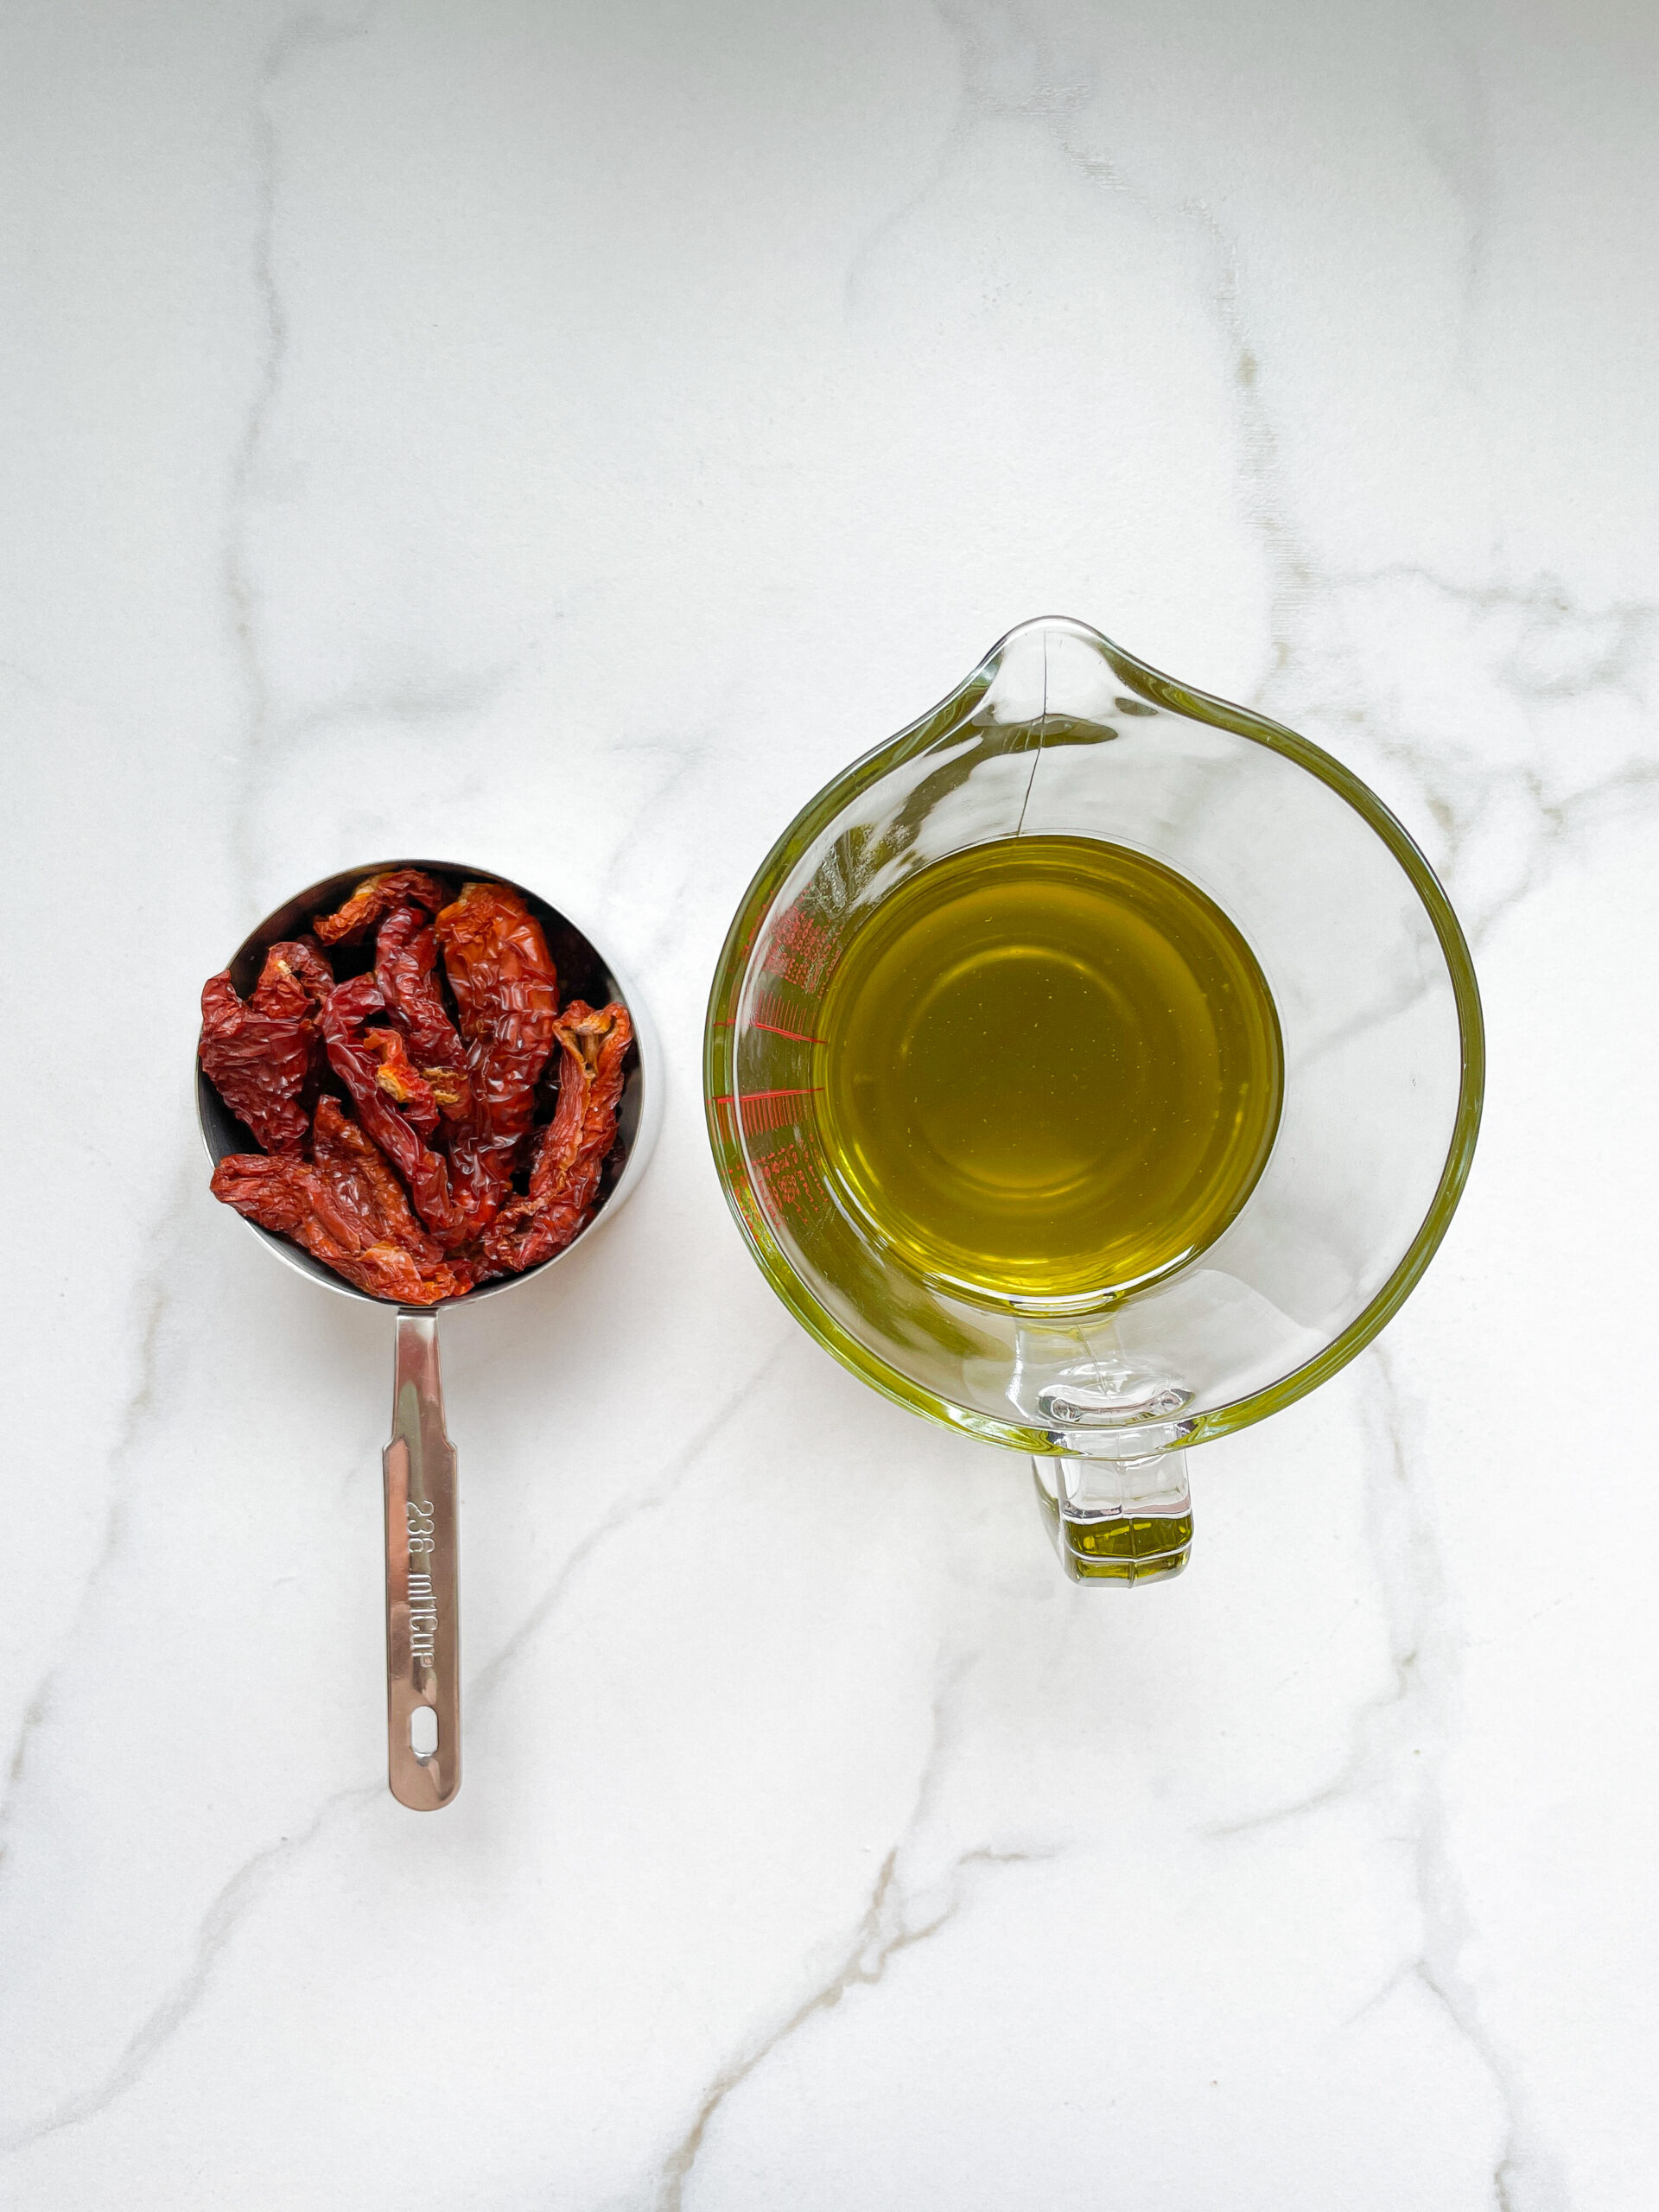
  • 50 grams fresh turmeric
  • 250 milliliters sunflower oil

Instructions

  1. Wash the turmeric, roughly chop it and put it into the blender. Pour in the oil. Blend on the highest setting until there are only tiny pieces of the turmeric left.
  2. Pour the mixture from the blender into a medium-sized pot and heat it over medium heat to a temperature of about 101°-104°C (213°-219°F), and maintain this temperature for the next 15 to 20 minutes. Stir occasionally, making sure the temperature remains steady and nothing gets burned.
  3. Prepare a bowl large enough to fit a medium-sized pot, and fill it with cold water and a handful of ice cubes. Also, hang a fine sieve strainer over one medium-sized bowl and another fine sieve strainer, with a coffee filter inside it, over another medium-sized bowl.
  4. Now, place the pot in the ice water and stir to cool the oil quickly. Once the oil is almost cold, remove the pot from the water and pour the oil into the prepared fine sieve to catch the coarse particles.
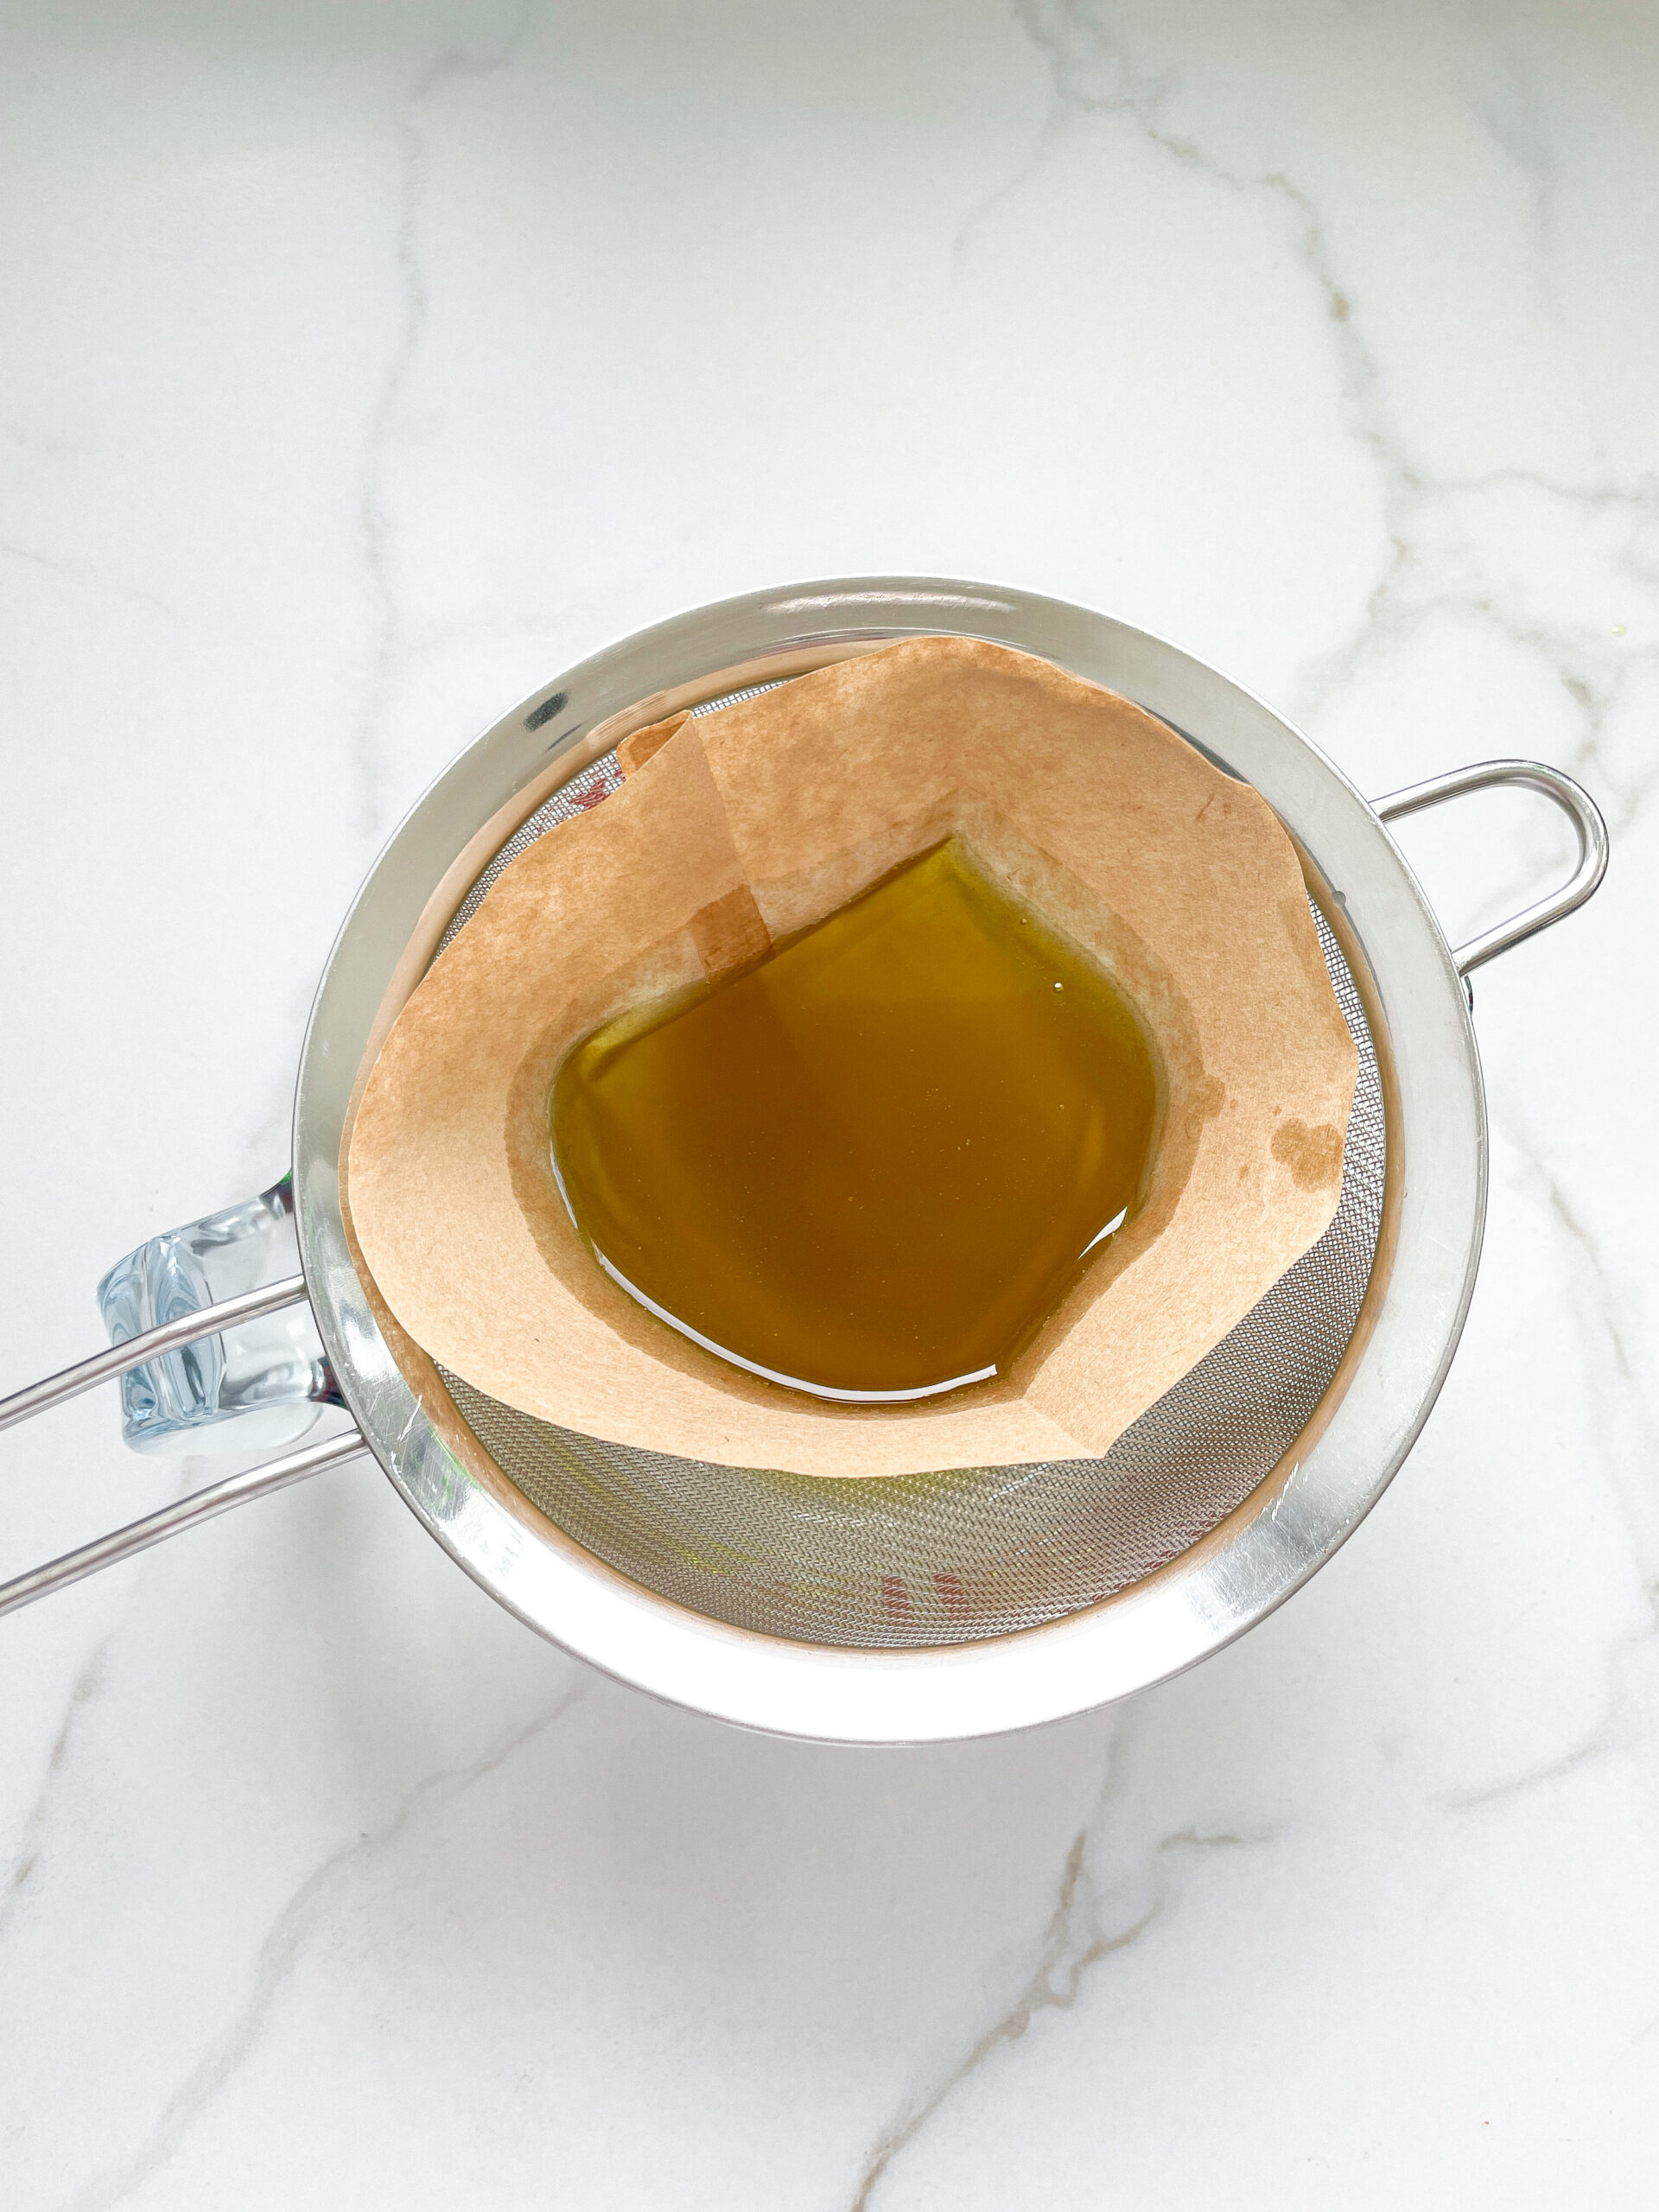
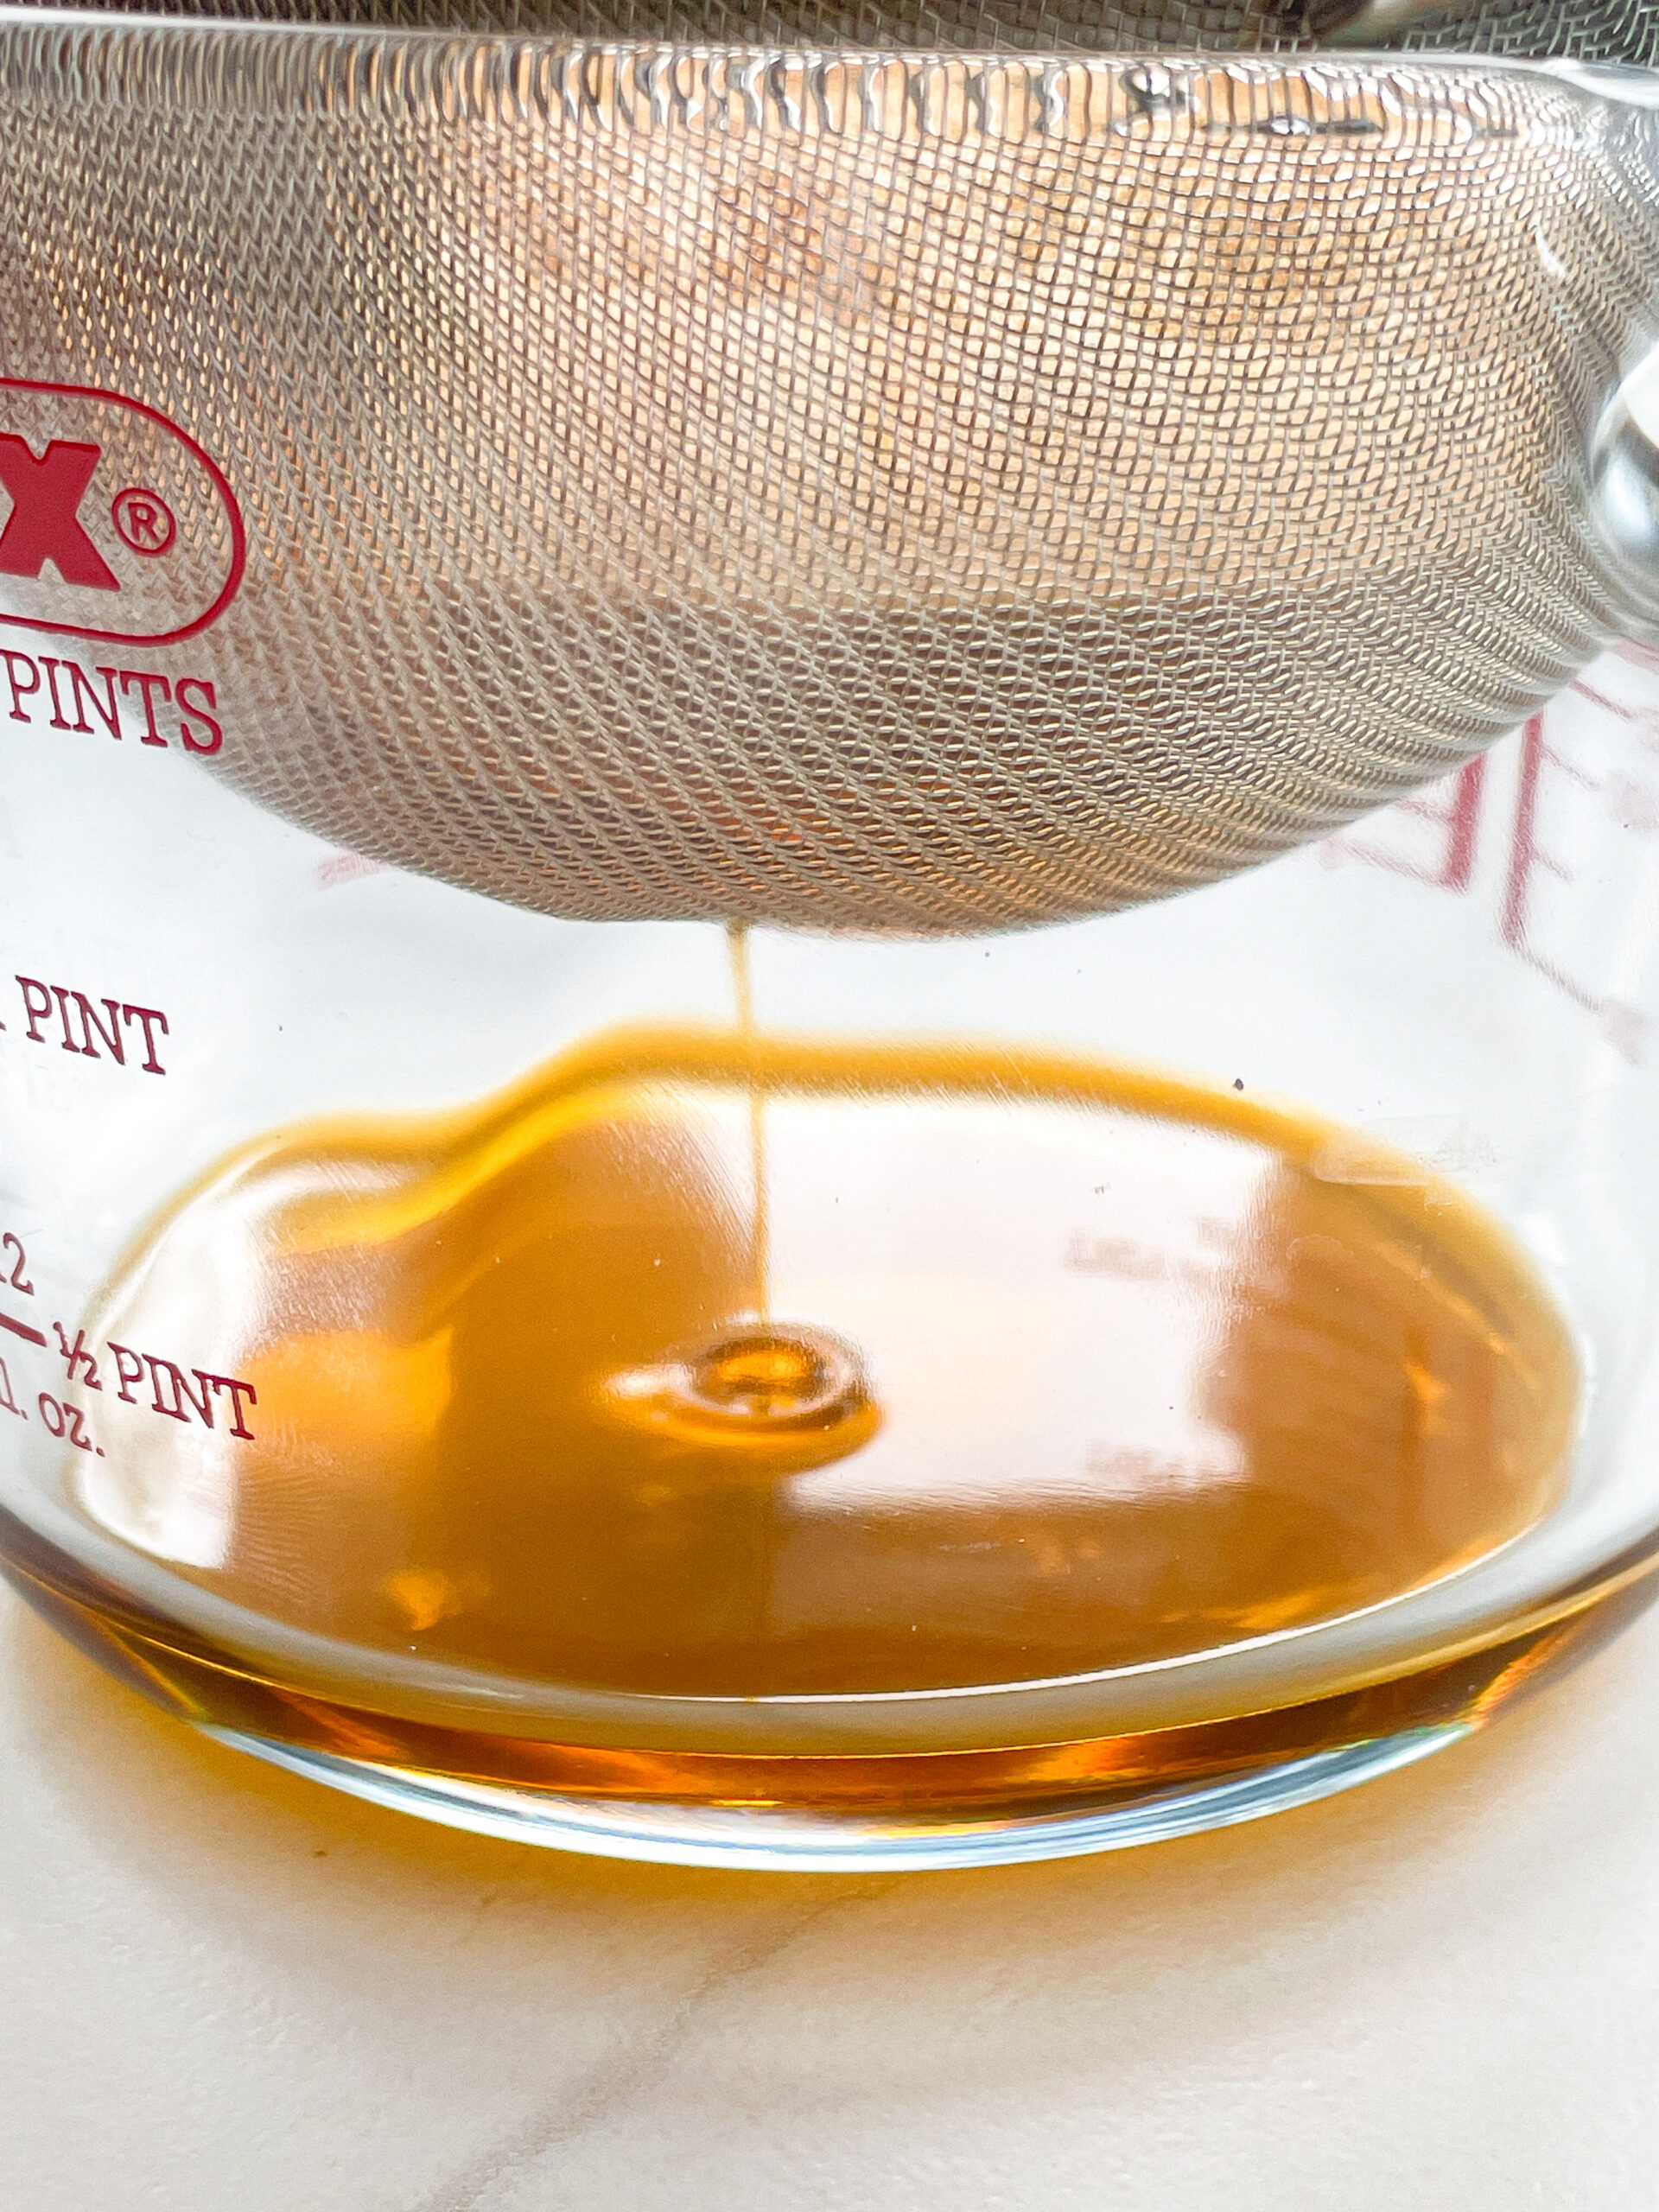
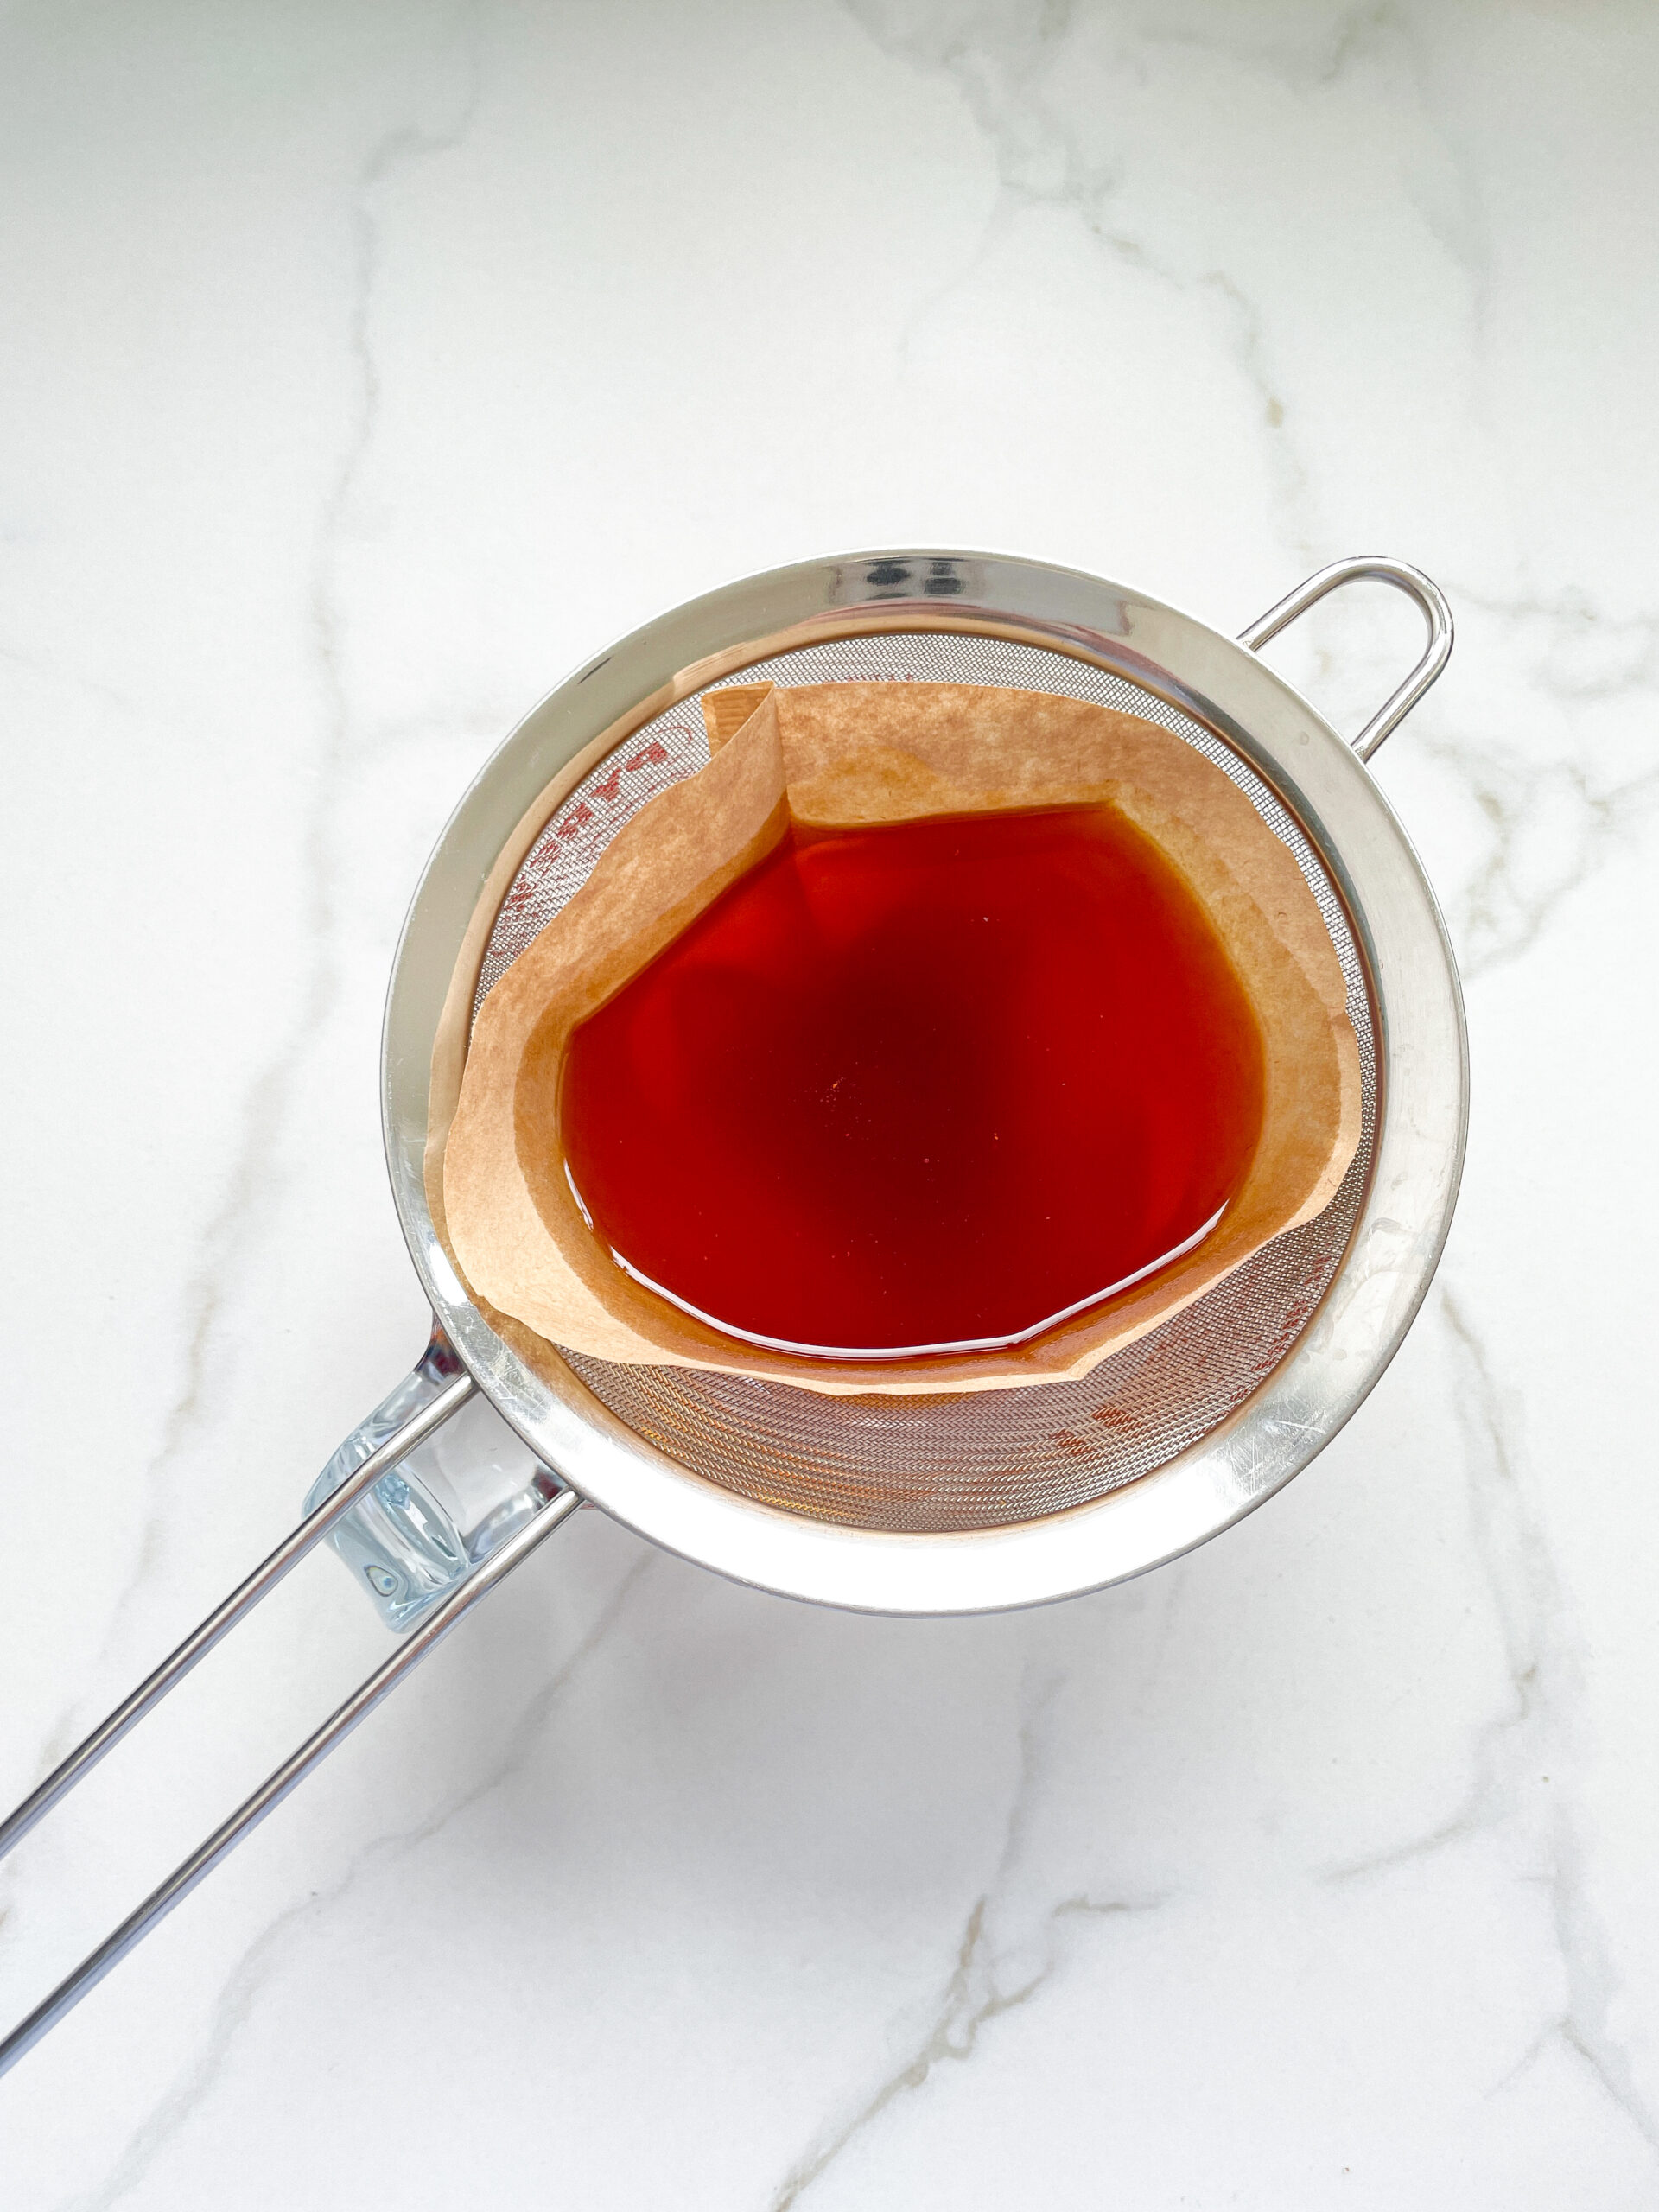
  5. Then, pour the oil into the second sieve, which is equipped with a coffee filter, to catch the remaining finer particles.
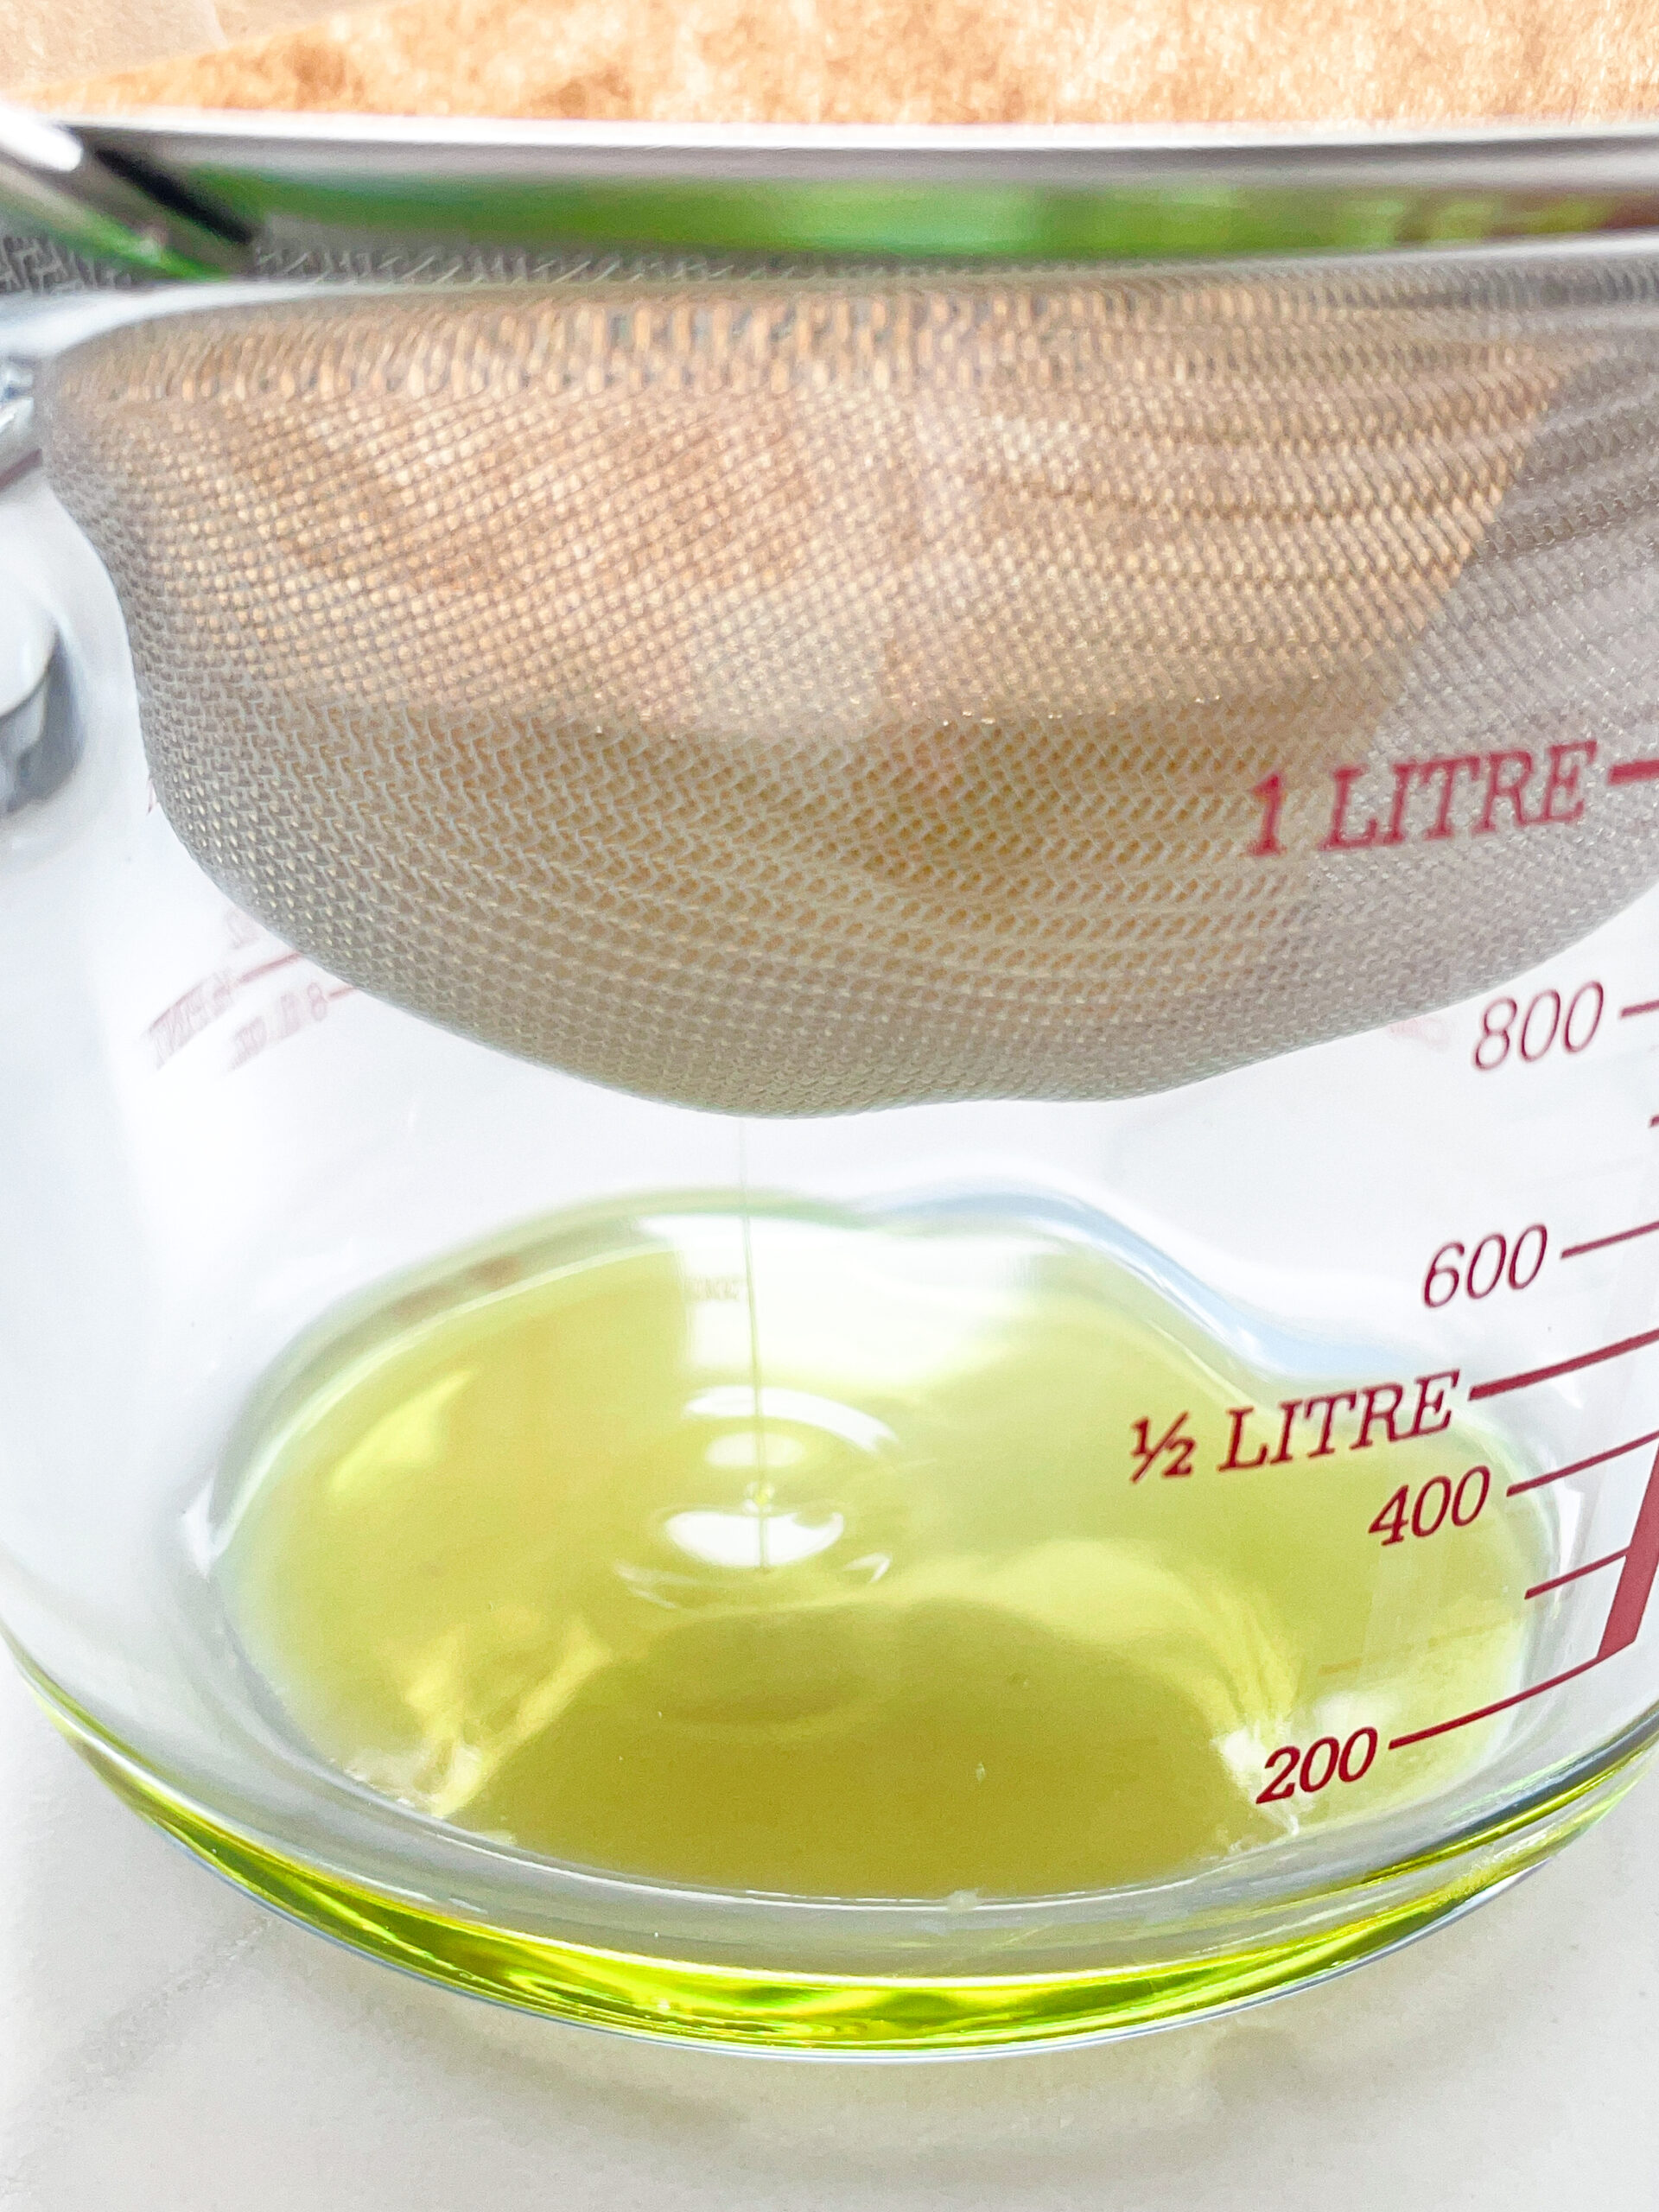
  6. Allow the oil to drip through for about 30 minutes or maybe less depending on how many remaining particles are in the coffee filter. Once all the oil has passed through the coffee filter, transfer the collected amount of oil into a sealable container or directly into an oil bottle. Store in the refrigerator for up to one week.

Notes

The calorie information may vary depending on the product used, country and region.

  • Prep Time: 5 min
  • Passive Time: 30 min
  • Cook Time: 15 min

Scallion Oil

Scallion Oil

Scallion Oil

Scallion Oil

June 18, 2024 by Kimberly

Dive into the vibrant, aromatic world of scallion oil! Perfect for drizzling over dishes, it adds a fresh, zesty kick that’ll elevate your home cooking.

40 MINUTES

ADVANCED

VEGAN

INT.

40 PER TSP

UMAMI

MICHELIN

OIL

ALL YEAR

INTRODUCTION

ABOUT THE RECIPE

Discover the simple joy of homemade scallion oil, a must-have kitchen staple that transforms any ordinary meal into something extraordinary. With just a few minutes and minimal ingredients, you can whip up this versatile, flavorful condiment that’s perfect for enhancing a variety of dishes with a burst of freshness and aroma.

How to serve
Drizzle it over steamed vegetables, mix it into rice, or use it as a topping for meats and soups. Its bright, oniony flavor makes it an excellent finisher for soups and stews. Whether you’re looking to add a touch of gourmet to everyday meals or impress guests at your next dinner party, scallion oil is your go-to condiment.

How to store
Keep your scallion oil fresh by storing it in an airtight container in the refrigerator. It typically stays fresh for up to a week, ensuring you have delicious, zesty oil ready whenever you need it.

Hi, I'm Kimberly!

Hi, I'm Kimberly.

A passionate food lover who believes in the magic of homemade deliciousness that spreads love and warmth. Join me on this culinary adventure as I prepare wonderful dishes and let’s spread some happiness together!

Kimberly the Zett Signature

If you want to get to know me better, click here!


Scallion Oil
Scallion Oil
Scallion Oil
„Let’s make a piece of happiness“
Print
clock clock iconcutlery cutlery iconflag flag iconfolder folder iconinstagram instagram iconpinterest pinterest iconfacebook facebook iconprint print iconsquares squares iconheart heart iconheart solid heart solid icon
Scallion Oil

Scallion Oil


  • Author: Kimberly
  • Total Time: 40 min
  • Yield: 250 ml / 1 cup 1x

Description

RECOMMENDED EQUIPMENT

  • blender
  • medium-sized saucepan
  • whisk
  • a bowl which the medium saucepan fits into
  • 2 medium-sized bowls
  • 2 fine sieves
  • sealable container (oil bottle)
  • ice cubes
  • coffee filter

Ingredients

Units Scale
  • 85 grams scallions
  • 250 milliliters unrefined / cold-pressed sunflower oil

Instructions

  1. Wash the scallions, roughly chop them and put them into the blender. Pour in the oil. Blend on the highest setting until there are only tiny pieces of the scallions left.
  2. Pour the mixture from the blender into a medium-sized pot and heat it over medium heat to a temperature of about 101°-104°C (213°-219°F), and maintain this temperature for the next 15 minutes. Stir occasionally, making sure the temperature remains steady and nothing gets burned.
  3. Prepare a bowl large enough to fit a medium-sized pot, and fill it with cold water and a handful of ice cubes. Also, hang a fine sieve strainer over one medium-sized bowl and another fine sieve strainer, with a coffee filter inside it, over another medium-sized bowl.
  4. Now, place the pot in the ice water and stir to cool the oil quickly. Once the oil is almost cold, remove the pot from the water and pour the oil into the prepared fine sieve to catch the coarse particles.
  5. Then, pour the oil into the second sieve, which is equipped with a coffee filter, to catch the remaining finer particles.
  6. Allow the oil to drip through for about 20 minutes or maybe less depending on how many remaining particles are in the coffee filter. Once all the oil has passed through the coffee filter, transfer the collected amount of oil into a sealable container or directly into an oil bottle. Store in the refrigerator for up to one week.

Notes

The calorie information may vary depending on the product used, country and region.

  • Prep Time: 5 min
  • Passive Time: 20 min
  • Cook Time: 15 min

Strawberry Coconut Oil

Strawberry Coconut Oil

Strawberry Coconut Oil

Strawberry Coconut Oil

June 11, 2024 by Kimberly

Elevate your culinary creations with a splash of Strawberry Coconut Oil—adding a sweet, tropical twist to every bite. Perfect for turning simple meals into gourmet experiences!

95 MINUTES

ADVANCED

VEGAN

INT.

40 PER TSP

FRUITY

MICHELIN

OIL

ALL YEAR

INTRODUCTION

ABOUT THE RECIPE

Introducing a delightful twist to your kitchen: Strawberry Coconut Oil. This unique infusion brings a touch of sweetness and a hint of the tropics to your favorite dishes, enhancing them with the fresh, fruity flavor of strawberries and the rich, creamy essence of coconut.

How to serve
Drizzle Strawberry Coconut Oil over pancakes or waffles for a morning treat, or blend it into your smoothies for a fruity twist. It’s also fantastic when tossed with fresh salads or used as a finishing oil in desserts, lending a subtle sweetness and depth that complements a variety of flavors. Whether you’re baking or cooking, this oil adds a luxurious dimension to any meal.

How to store
Keep your Strawberry Coconut Oil in a cool, dark place to maintain its fresh flavor and nutritional benefits. A tightly sealed container is ideal to avoid exposure to air, which can degrade the oil over time. Use within a few weeks for optimal freshness.

Hi, I'm Kimberly!

Hi, I'm Kimberly.

A passionate food lover who believes in the magic of homemade deliciousness that spreads love and warmth. Join me on this culinary adventure as I prepare wonderful dishes and let’s spread some happiness together!

Kimberly the Zett Signature

If you want to get to know me better, click here!


Strawberry Coconut Oil
„Let’s make a piece of happiness“
Print
clock clock iconcutlery cutlery iconflag flag iconfolder folder iconinstagram instagram iconpinterest pinterest iconfacebook facebook iconprint print iconsquares squares iconheart heart iconheart solid heart solid icon
Strawberry Coconut Oil

Strawberry Coconut Oil


  • Author: Kimberly
  • Total Time: 95 min
  • Yield: 250 ml / 1 cup 1x

Description

RECOMMENDED EQUIPMENT
  • blender
  • medium-sized saucepan
  • whisk
  • a bowl into which the medium saucepan fits
  • 2 medium-sized bowls
  • fine sieve
  • sealable container
  • ice cubes
  • coffee filter

Ingredients

Units Scale
  • 200 grams strawberries
  • 250 milliliters unrefined coconut oil

Instructions

  1. Cut off the green parts of the strawberries and put them into the blender. Since coconut oil solidifies below 23°C (73°F), you need to warm it up briefly so it can be poured over the strawberries in liquid form. Pour the oil into the blender and blend everything on the highest setting until it becomes pastel red and no pieces of strawberries are longer visible.
  2. Pour the mixture from the blender into a medium-sized pot and heat it over medium heat, constantly stirring, to a temperature of about 102°-103°C (215°-217°F). Then, let the mixture cook for the next 30 to 40 minutes. Stir only occasionally, making sure the temperature remains steady. This cooking time is essential for all the water to evaporate, allowing the perishable solids to settle at the bottom and the oil to float on top. You’ll know all the water has evaporated when the oil in the pot barely bubbles anymore – so if it’s still bubbling vigorously, keep it simmering.
  3. Once the oil mixture is no longer bubbling, remove the pot from the heat and let it cool a bit. Pour the oil into the fine sieve to catch the coarse particles.
  4. Then, rinse the strainer and hang it over the second medium-sized bowl. Press a coffee filter into the strainer and pour the captured oil into the coffee filter, so that the remaining perishable and coarser particles are caught.
  5. Allow the oil to drip through for about 1 hour or maybe more depending on how many remaining particles are in there. Once all the oil has passed through the coffee filter, transfer the collected amount into a sealable container or directly into an oil bottle. Store in the refrigerator for up to one week. If you want to use it, fill a glass with hot water and place the bottle of strawberry coconut oil in it for a few minutes so it can liquefy again.

Notes

The calorie information may vary depending on the product used, country and region.

  • Prep Time: 5 min
  • Passive Time: 60 min
  • Cook Time: 30 min

Artichoke Chickpeas Salad

Artichoke Chickpeas Salad

Artichoke Chickpeas Salad

Artichoke Chickpeas Salad

June 8, 2024 by Kimberly

Fresh, zesty, and packed with flavor, this salad is a vibrant blend of artichokes and chickpeas, tossed in a light dressing—a refreshing twist to your meals!

15 MINUTES

EASY

VEGAN

INT.

325 PER SIDE PORTION

UMAMIEVERYDAY

SALAD

SUMMER

INTRODUCTION

ABOUT THE RECIPE

Revitalize your lunch routine with this bright and nutritious chickpea and artichoke salad. It’s a breeze to whip up, making it perfect for quick meal or a side salad for dinner.

How to serve
This salad shines when served chilled, making it an excellent choice for picnics. Elevate it by topping with fresh herbs or a sprinkle of feta cheese for those who enjoy a creamy contrast. It pairs wonderfully with crusty bread or as a hearty side to grilled meats.

How to store
To keep the salad fresh, store it in an airtight container in the fridge. It tastefully holds up for about three days, with the flavors melding beautifully over time, making it even more delicious!

Hi, I'm Kimberly!

Hi, I'm Kimberly.

A passionate food lover who believes in the magic of homemade deliciousness that spreads love and warmth. Join me on this culinary adventure as I prepare wonderful dishes and let’s spread some happiness together!

Kimberly the Zett Signature

If you want to get to know me better, click here!


Artichoke Chickpeas Salad
„Let’s make a piece of happiness“
Print
clock clock iconcutlery cutlery iconflag flag iconfolder folder iconinstagram instagram iconpinterest pinterest iconfacebook facebook iconprint print iconsquares squares iconheart heart iconheart solid heart solid icon
Artichoke Chickpeas Salad

Artichoke Chickpeas Salad


  • Author: Kimberly
  • Total Time: 15 minutes
  • Yield: 2 mains or 4 sides 1x

Description

RECOMMENDED EQUIPMENT

  • sharp knife
  • cutting board
  • salad bowl
  • small bowl
  • small whisk
  • garlic press

Ingredients

Units Scale

SALAD

  • 450 grams canned artichoke hearts
  • 150 grams canned roasted bell pepper
  • 250 grams canned chickpeas
  • 200 grams cocktail tomatoes
  • 1 red onion

DRESSING

  • 4 tbsp olive oil
  • 2 tbsp red wine vinegar
  • 2 tbsp maple syrup or honey
  • 1 garlic clove
  • salt & pepper to taste

TOPPING

  • fresh basil
  • fresh oregano

Instructions

  1. Drain the artichoke hearts and let them drip off a bit. Then place them in the salad bowl.
  2. Next, drain the chickpeas and rinse with water until no more bubbles form. Dry the chickpeas with a clean towel and pick out any loose skins. Add them to the salad bowl as well.
  3. Cut the grilled peppers into small pieces and add to the other ingredients in the bowl.
  4. Next, chop the tomatoes and peel and slice the onion into fine strips. Add both to the bowl.
  5. In a small bowl, mix the dressing. For this, peel the garlic and press or finely chop it into the bowl, then add olive oil, red wine vinegar, honey (or maple syrup), and dried oregano. Season with salt and pepper. Stir well and pour over the salad.
  6. Gently mix everything so that it’s evenly coated with the dressing. Finally, chop fresh basil and fresh oregano and sprinkle over the salad. Now enjoy your piece of happiness!

Notes

The calorie information may vary depending on the product used, country and region.

  • Cook Time: 15 min

Sabich Sandwich

Sabich Sandwich

Sabich Sandwich

Sabich Sandwich

June 6, 2024 by Kimberly

Dive into the ultimate Sabich sandwich: crispy eggplant, fresh tomato cucumber salad, creamy tahini, spicy zhough, tangy mango sauce and crunchy chickpeas. Pure flavor explosion!

40 MINUTES

EASY

VEGAN

MIDDLE EAST

721 PER PORTION

SPICY

EVERYDAY

DINNER

ALL YEAR

INTRODUCTION

ABOUT THE RECIPE

Meet your new favorite sandwich: the Sabich. Inspired by Yottam Ottolenghi this Middle Eastern delight packs a punch with crispy eggplant, fresh tomato cucumber salad, creamy tahini, spicy zhoug, tangy mango sauce, and crunchy chickpeas. It’s a vegan feast that’s not only incredibly delicious but also super easy to make. Perfect for lunch or dinner, this Sabich sandwich is all about bold flavors and textures.

How to serve
Start with a warm bread, then layer on the crispy eggplant, followed by the tomato cucumber salad. Drizzle with tahini sauce and add a spoonful of zhoug for that spicy kick. Top it off with chickpeas and a splash of mango sauce. Wrap it up and enjoy! It’s best served fresh and warm, making it a perfect quick meal.

How to store
Store any leftover components separately in airtight containers. The crispy eggplant and salad can stay fresh in the fridge for up to two days. When ready to eat, reheat the eggplant in the oven and assemble your sandwich fresh for the best taste.

Hi, I'm Kimberly!

Hi, I'm Kimberly.

A passionate food lover who believes in the magic of homemade deliciousness that spreads love and warmth. Join me on this culinary adventure as I prepare wonderful dishes and let’s spread some happiness together!

Kimberly the Zett Signature

If you want to get to know me better, click here!


Sabich Sandwich
Sabich Sandwich
Sabich Sandwich
„Let’s make a piece of happiness“
Print
clock clock iconcutlery cutlery iconflag flag iconfolder folder iconinstagram instagram iconpinterest pinterest iconfacebook facebook iconprint print iconsquares squares iconheart heart iconheart solid heart solid icon
Sabich Sandwich

Sabich Sandwich


  • Author: Kimberly
  • Total Time: 40 minutes
  • Yield: 2 1x

Description

RECOMMENDED EQUIPMENT

  • small bowl
  • garlic press
  • sharp knife
  • cutting board
  • hand blender (or food processor)
  • mortar & pestle
  • medium bowl
  • 3 small bowls
  • sieve
  • large pan

Ingredients

Units Scale

TAHINI SAUCE

  • 2 tbsp tahini
  • 2 tbsp lemon juice
  • 1 tsp maple syrup
  • 1 garlic clove
  • salt & pepper to taste

MANGO SAUCE

  • 1 ripe mango
  • 1/8 tsp chili flakes

ZHOUG

  • 10 grams fresh cilantro
  • 5 grams fresh parsley
  • 1 jalapeno
  • 2 tbsp olive oil
  • 2 tbsp lime juice
  • 4 tbsp cold water
  • 1 garlic clove
  • 5 cardamom capsules
  • 3 cloves
  • 1/2 tsp cumin
  • pinch of pepper

TOMATE CUCUMBER SALAD

  • 100 grams tomatoes
  • 100 grams cucumber
  • 1 small red onion
  • 1 tbsp olive oil
  • 1 tbsp lemon juice
  • some parsley leaves

ROASTED CHICKPEAS

  • 130 grams drained chickpeas
  • 1/2 tbsp olive oil
  • 1/4 tsp cumin
  • 1/4 tsp smoked paprika
  • 1/8 tsp salz
  • 1/8 tsp curry
  • 1/8 tsp garlic powder
  • 1/8 tsp onion powder

EGGPLANT SLICES

  • 1 eggplant
  • 2 tbsp cornstarch
  • 2 tbsp ghee/clarified butter

OTHER INGREDIENTS

  • 2 pita breads

Instructions

  1. For the tahini sauce, mix tahini and water in a small bowl until smooth. Press in one peeled garlic clove, add maple syrup and lemon juice, and mix well. Season with salt and pepper and set aside.
  2. For the mango sauce, peel the mango and blend the soft flesh in a tall container with a hand blender until creamy, adding a bit of water if needed. Add chili flakes to taste and stir. Set aside.
  3. For the Zhoug, first grind the 3 cloves and the contents of 5 cardamom pods in a mortar. Put this powder in a tall container that fits the hand blender, and add the following: cilantro leaves, parsley leaves, 4 tablespoons of cold water, 2 tablespoons of olive oil, 2 tablespoons of lime juice, 1/2 teaspoon of cumin, 1 jalapeno without the stem, and 2 peeled garlic cloves. Blend everything into a pesto-like paste and set aside.
  4. For the tomato-cucumber salad, wash the tomatoes and cucumber well. Cut both into small, even pieces and put them in a medium bowl. Peel the red onion, cut it into thin strips, and add to the bowl. Finely chop a few parsley leaves and add them too. Finally, add 1 tablespoon of olive oil and 1 tablespoon of lemon juice and mix well. Set aside.
  5. For the roasted chickpeas, preheat the oven to 200°C / 392°F. Rinse the chickpeas thoroughly under running water and let them drain. In a medium bowl, mix together the spice blend: 1/2 tablespoon of olive oil, 1/4 teaspoon of cumin, 1/4 teaspoon of smoked paprika, 1/8 teaspoon of salt, 1/8 teaspoon of curry powder, 1/8 teaspoon of dried garlic, and 1/8 teaspoon of dried onion. Put the chickpeas in a clean kitchen towel and gently rub them dry, removing any loose skins. Mix the chickpeas with the spice paste in the bowl until they’re well coated. Spread the chickpeas on a baking sheet lined with parchment paper and roast in the oven for 20-25 minutes. Place the pita breads in the oven for the last 10 minutes.
  6. Finally, prepare the eggplant slices. Wash and dry the eggplant, then cut it into slices about 1 cm thick. Spread 2 tablespoons of cornstarch on a small plate and coat the eggplant slices on both sides, shaking off any excess. Fry the slices in a hot pan with 2 tablespoons of clarified butter until crispy on both sides, then let them drain on a paper towel.
  7. To assemble, spread tahini sauce on each piece of bread, add tomato-cucumber salad, then a few eggplant slices, and top with Zhoug and mango sauce. Finally, sprinkle the roasted chickpeas on top. Enjoy your delicious creation!

Notes

The calorie information may vary depending on the product used, country and region.

  • Cook Time: 40 min

Cilantro Oil

Cilantro Oil

Cilantro Oil

Cilantro Oil

June 4, 2024 by Kimberly

Get ready to transform your dishes with cilantro oil! This vibrant, zesty oil packs a punch, adding a burst of fresh flavor to any meal.

75 MINUTES

ADVANCED

VEGAN

INT.

40 PER TSP

REFRESHING
ZESTY

MICHELIN

OIL

ALL YEAR

INTRODUCTION

ABOUT THE RECIPE

Cilantro oil is a game-changer in the kitchen! This easy-to-make, vibrant oil infuses any dish with a fresh, zesty kick. Perfect for drizzling over salads, soups, or grilled veggies, it’s a must-have for any home cook. Plus, it’s a fantastic way to use up leftover cilantro, reducing waste while adding a flavor explosion to your meals.

How to serve
Serve cilantro oil as a finishing touch to elevate your dishes. Drizzle it over roasted vegetables, mix it into salad dressings, or use it as a marinade for your favorite proteins. It’s also amazing on top of soups or stirred into grains like rice and quinoa. The possibilities are endless, making it a versatile addition to your kitchen.

How to store
Store your cilantro oil in an airtight container in the refrigerator for up to a week. For longer storage, freeze it in ice cube trays and use as needed. This way, you’ll always have a burst of fresh, zesty flavor ready to enhance your meals.

Hi, I'm Kimberly!

Hi, I'm Kimberly.

A passionate food lover who believes in the magic of homemade deliciousness that spreads love and warmth. Join me on this culinary adventure as I prepare wonderful dishes and let’s spread some happiness together!

Kimberly the Zett Signature

If you want to get to know me better, click here!


Cilantro Oil
Cilantro Oil
Cilantro Oil
„Let’s make a piece of happiness“
Print
clock clock iconcutlery cutlery iconflag flag iconfolder folder iconinstagram instagram iconpinterest pinterest iconfacebook facebook iconprint print iconsquares squares iconheart heart iconheart solid heart solid icon
Cilantro Oil

Cilantro Oil


  • Author: Kimberly
  • Total Time: 75 min
  • Yield: 250 ml / 1 cup 1x

Description

RECOMMENDED EQUIPMENT
  • blender
  • medium-sized saucepan
  • whisk
  • a bowl into which the medium saucepan fits
  • 2 medium-sized bowls
  • fine sieve
  • sealable container
  • ice cubes
  • coffee filter

Ingredients

Units Scale
  • 30 grams cilantro
  • 250 milliliters unrefined / cold-pressed rapeseed oil

Instructions

  1. Separate the leaves from the stems and put the leaves into the blender. Pour in the oil. Blend on the highest setting until it becomes bright green and no pieces of cilantro are longer visible.
  2. Pour the mixture from the blender into a medium-sized pot and heat it over medium heat, constantly stirring, to a temperature of about 102°-103°C (215°-217°F). Then, let the oil simmer for the next 10 minutes. Stir only occasionally, making sure the temperature remains steady. This cooking time is essential for all the water to evaporate, allowing the perishable solids to settle at the bottom and the dark green oil to float on top. You’ll know all the water has evaporated when the oil in the pot barely bubbles anymore – so if it’s still bubbling vigorously, keep it simmering.
  3. Meanwhile, prepare a bowl large enough to fit the medium-sized pot, filled with cold water and a handful of ice cubes. Also, hang a fine sieve strainer over a medium-sized bowl.
  4. Now, place the pot in the ice water and stir to stop the cooking process. Once the oil is no longer boiling and is almost cold, remove the pot from the water and pour the oil into the fine sieve to catch the coarse particles.
  5. Then, rinse the strainer and hang it over the second medium-sized bowl. Press a coffee filter into the strainer and pour the captured oil into the coffee filter, so that the remaining perishable and coarser particles are caught.
  6. Allow the oil to drip through for about 1 hour or maybe more depending on how many remaining particles are in there. Once all the oil has passed through the coffee filter, transfer the collected amount into a sealable container or directly into an oil bottle. Store in the refrigerator for up to one week.

Notes

The calorie information may vary depending on the product used, country and region.

  • Passive Time: 60 min
  • Cook Time: 15 min