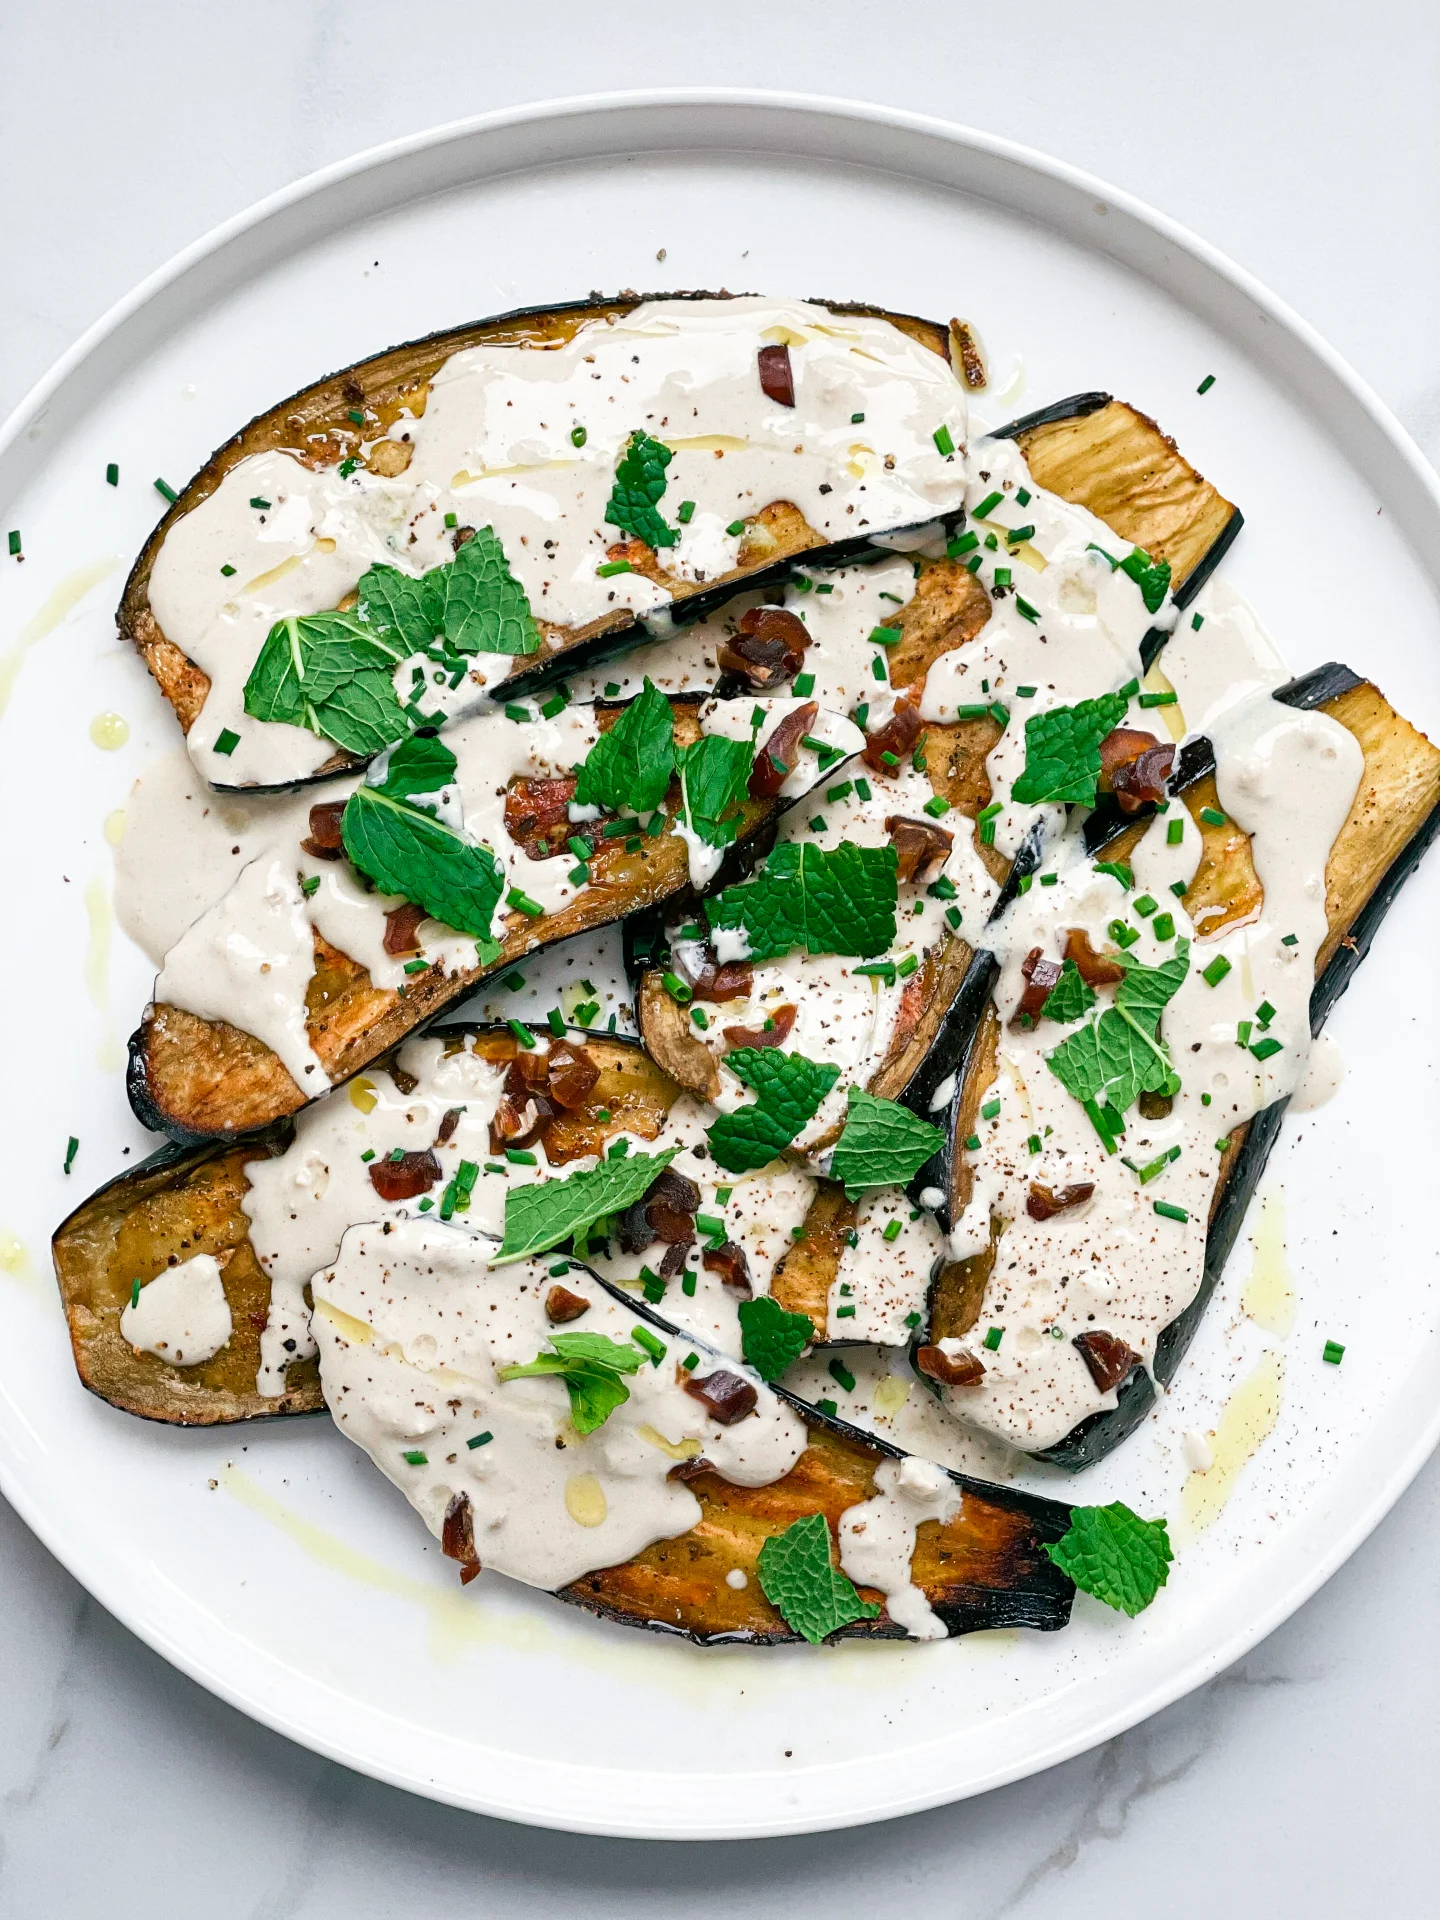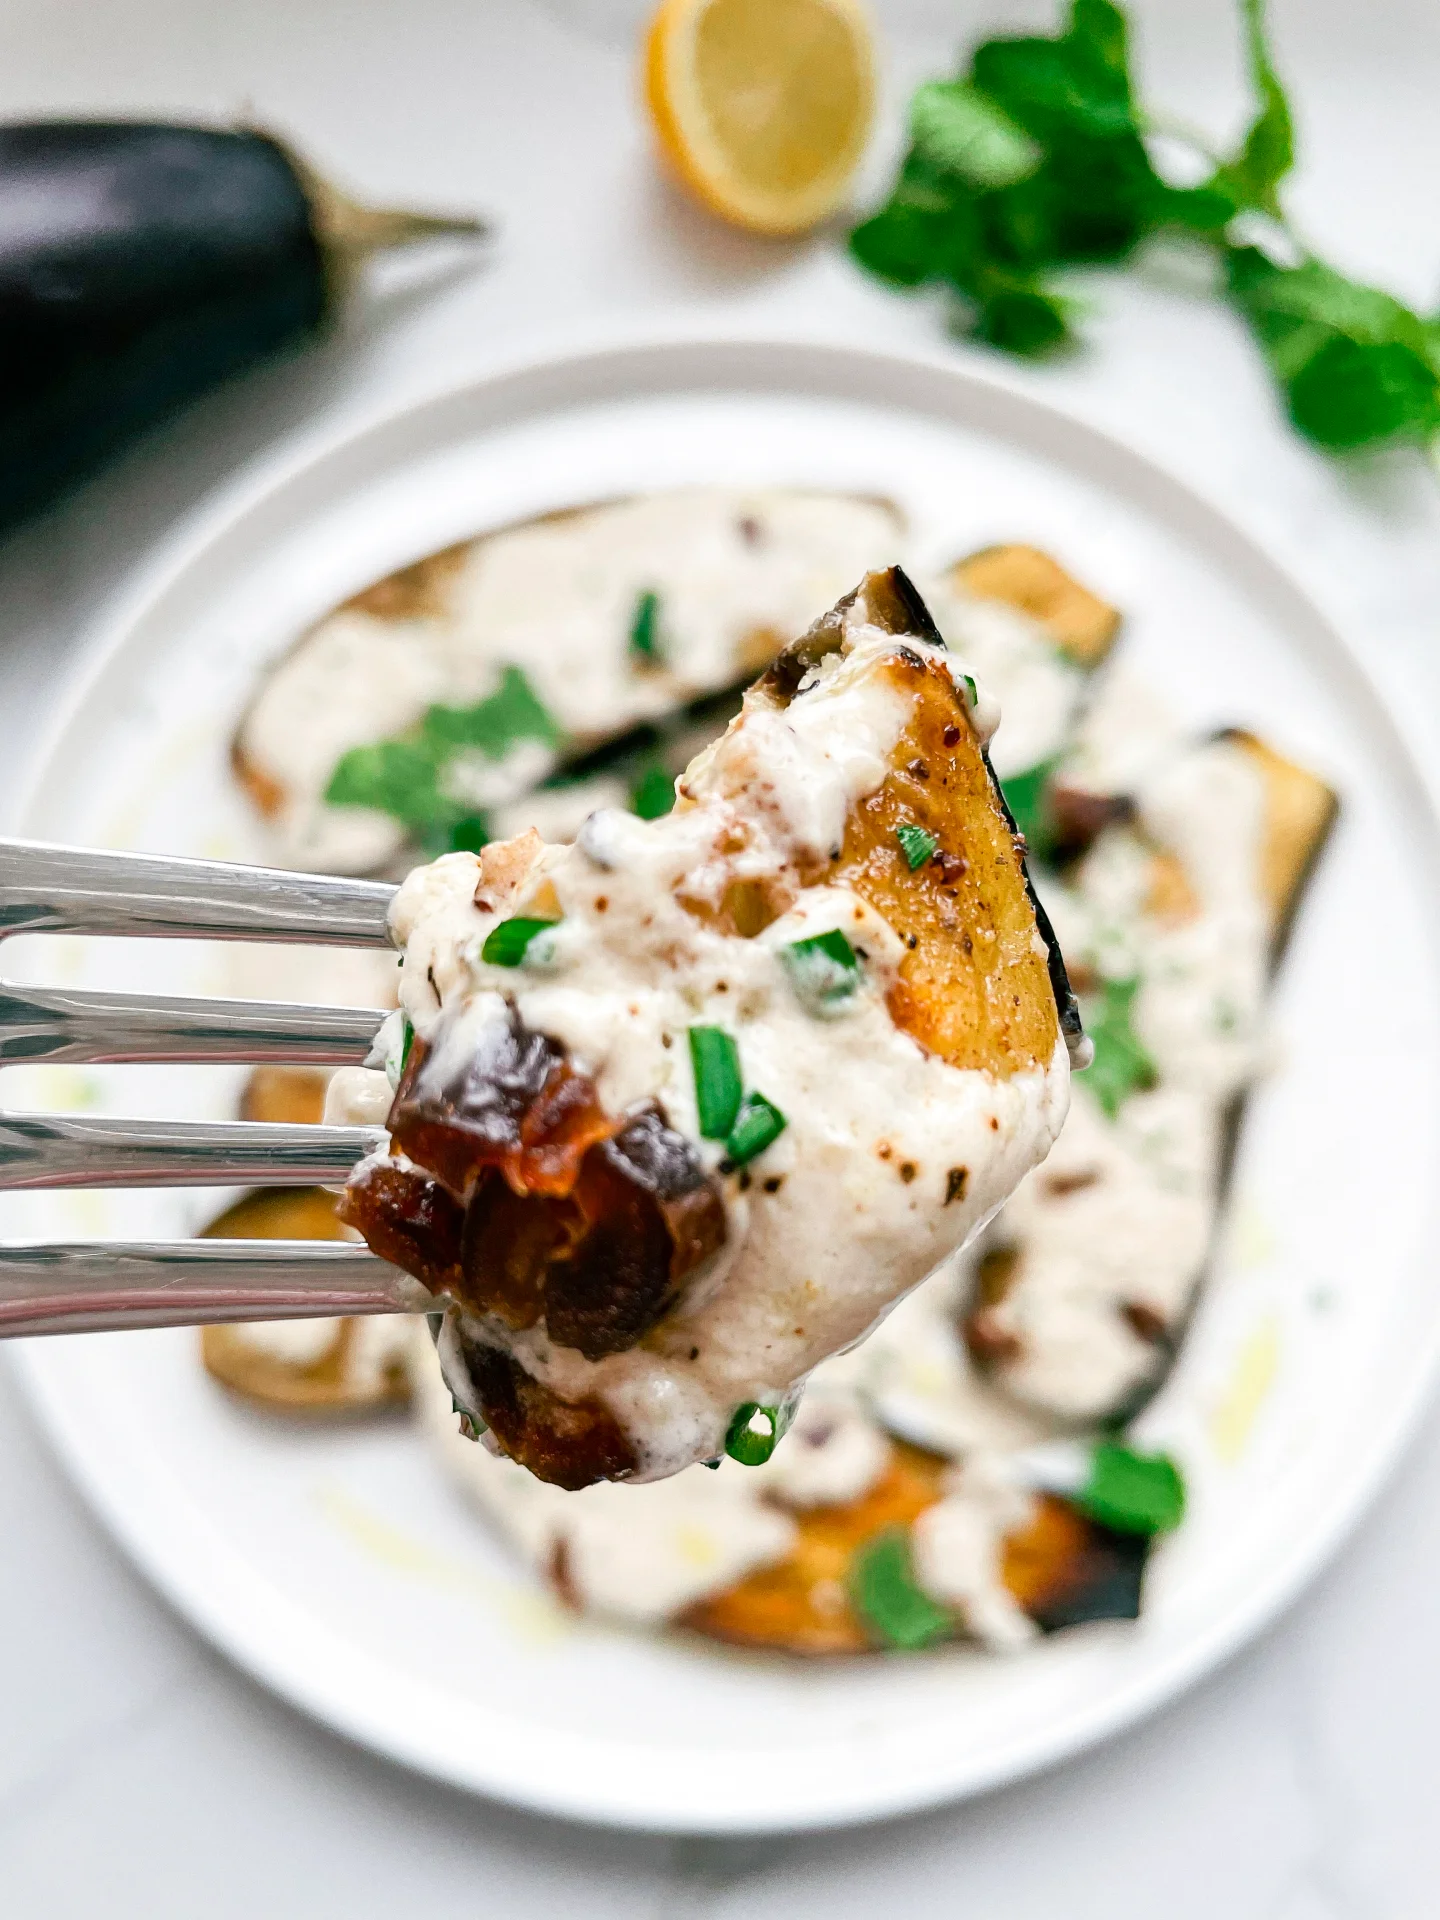
Roasted Pumpkin with Garlic Yogurt Sauce and Pistachios

Roasted Pumpkin with Garlic Yogurt Sauce and Pistachios

Roasted Pumpkin with Garlic Yogurt Sauce & Pistachios

Roasted Pumpkin with Garlic Yogurt Sauce & Pistachios

January 3, 2024 by Kimberly

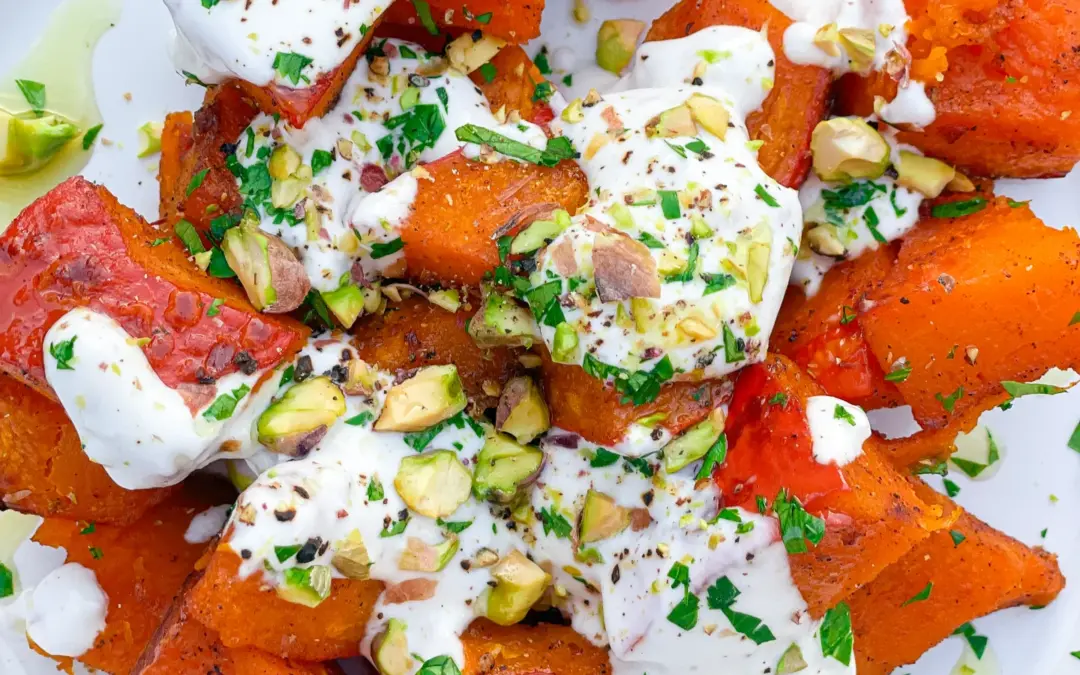
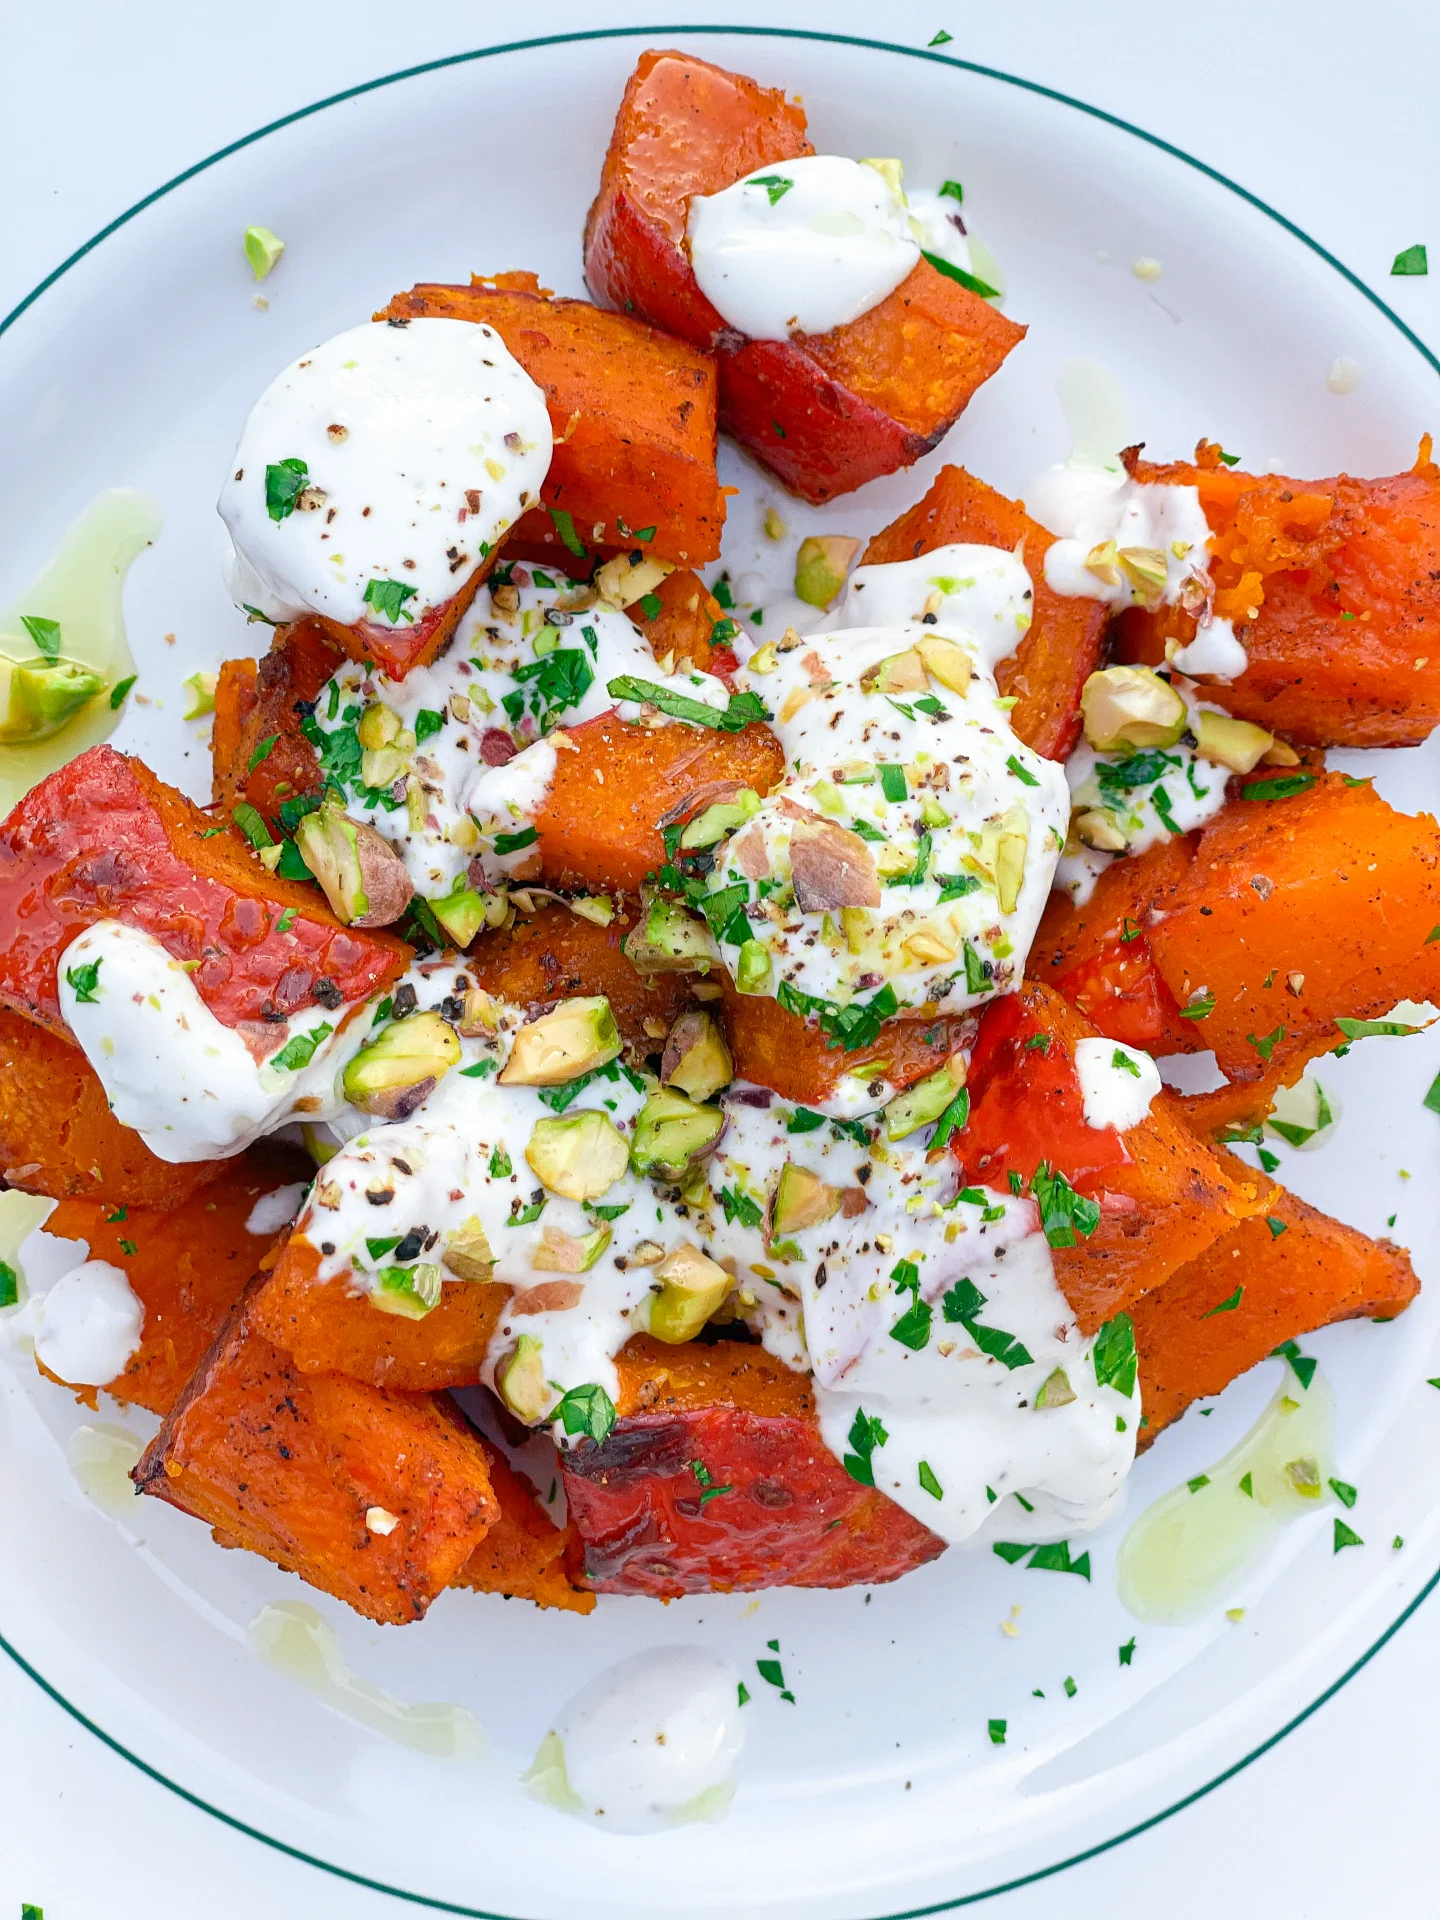
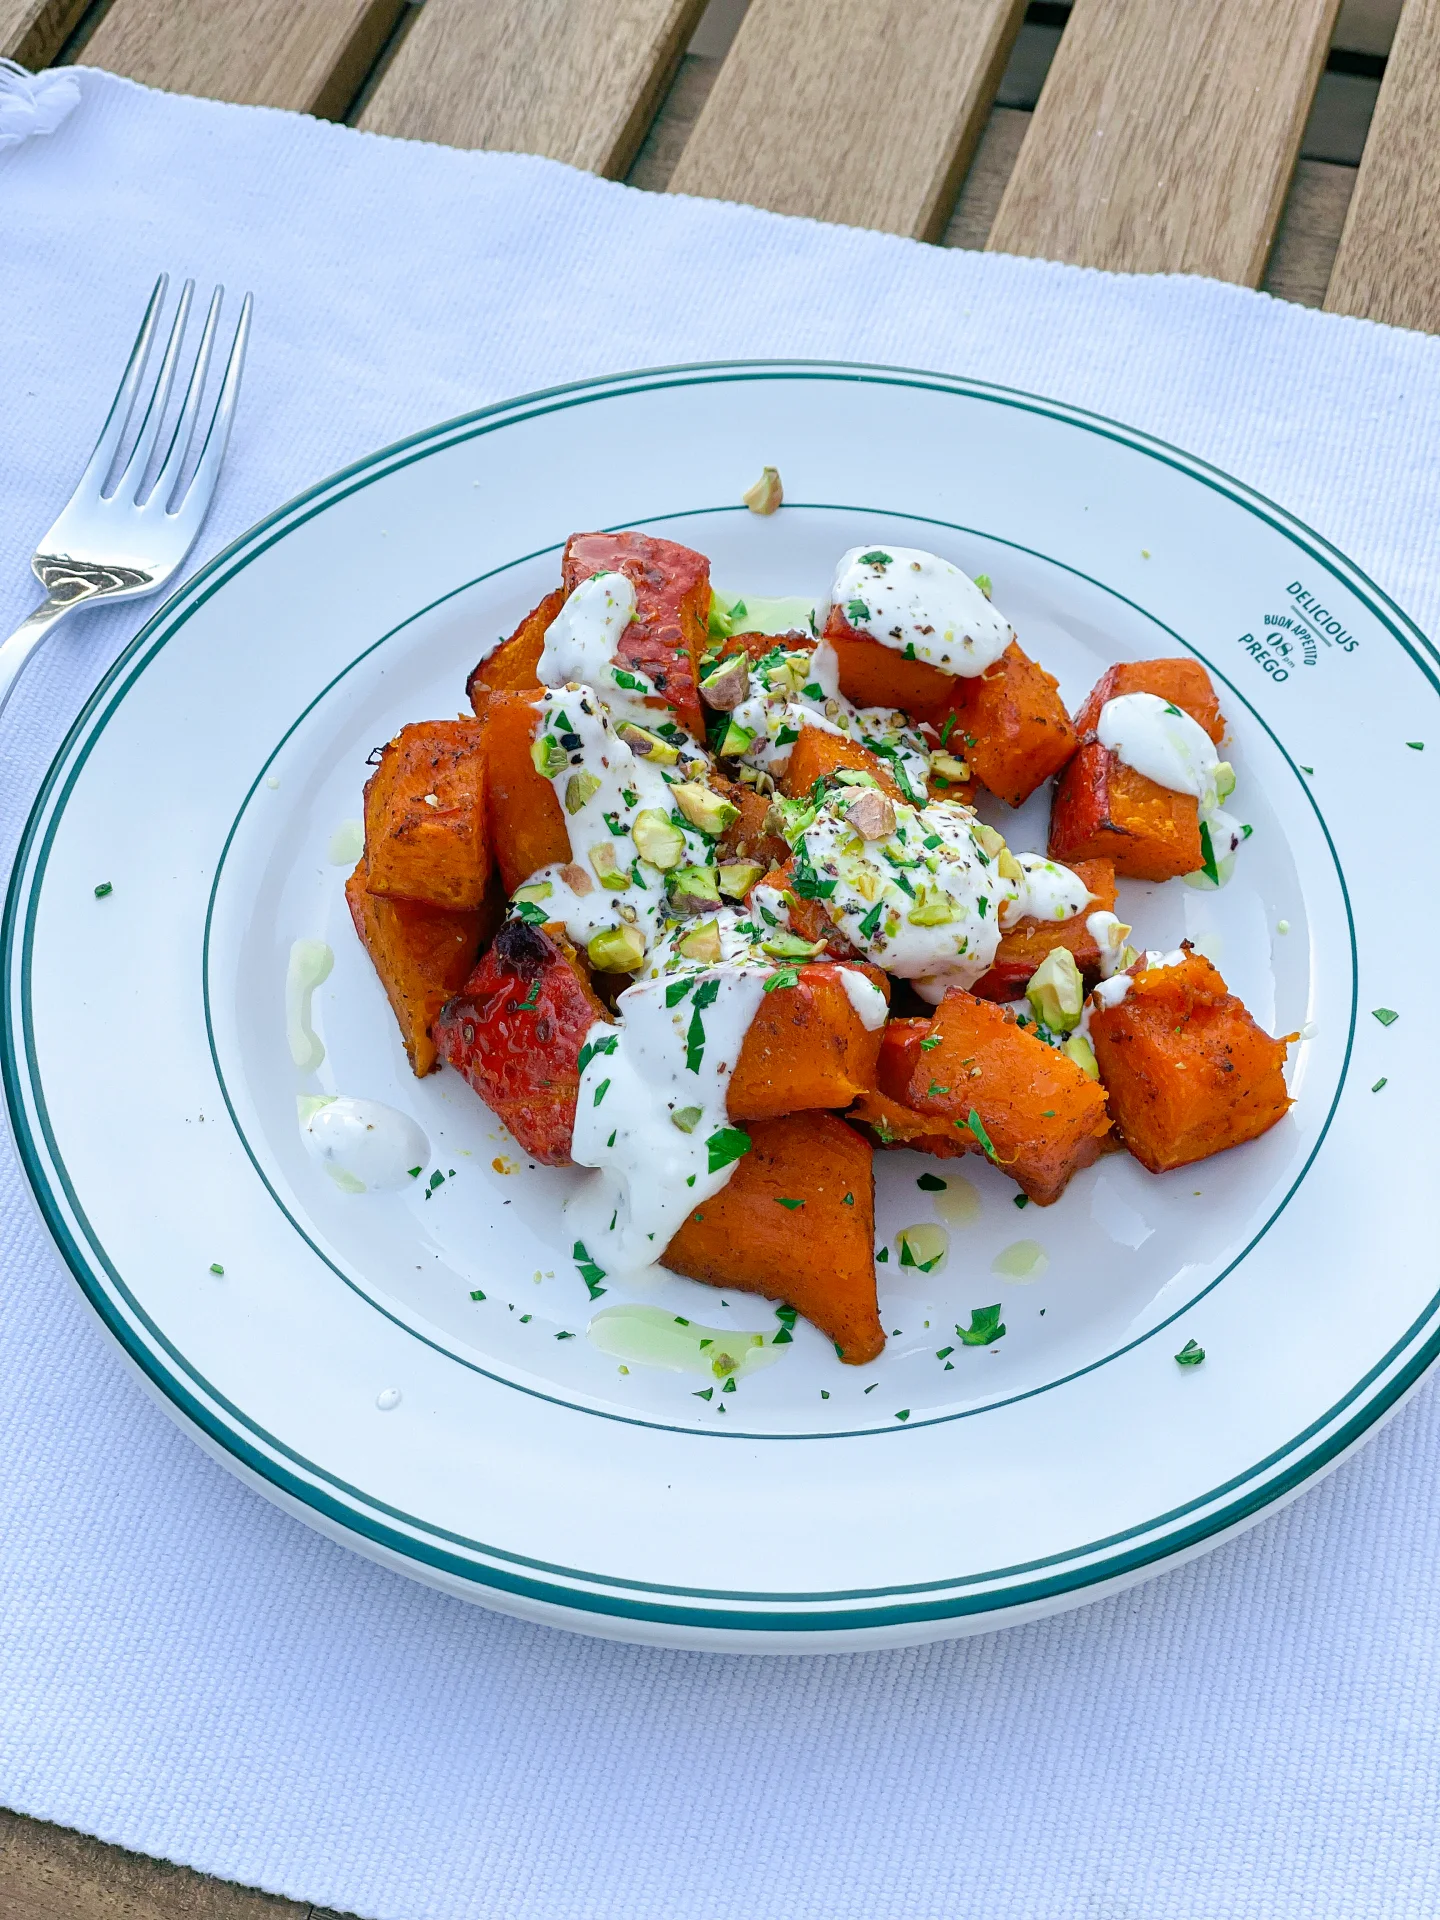
Indulge in this delectable Roasted Pumpkin, adorned with creamy Garlic Yogurt Sauce and crunchy Pistachios, offering a wholesome, flavorful, and aromatic delight with every savory, nutritious bite.

30 MINUTES

EASY

VEGETARIAN

INT.

375 PER PORTION

MASHY

EVERYDAY

LUNCH

AUTUMN / WINTER

INTRODUCTION

ABOUT THE RECIPE

Welcome to the delightful world of Roasted Pumpkin with Garlic Yogurt Sauce and Pistachios. This dish is a perfect amalgamation of sweet, earthy pumpkin, enriched with a tangy and creamy garlic yogurt sauce, and finished with a sprinkle of crunchy pistachios. It’s an ideal recipe for those seeking a nutritious yet indulgent addition to their meal, blending the warmth of winter flavors with a touch of elegance.

How to serve:
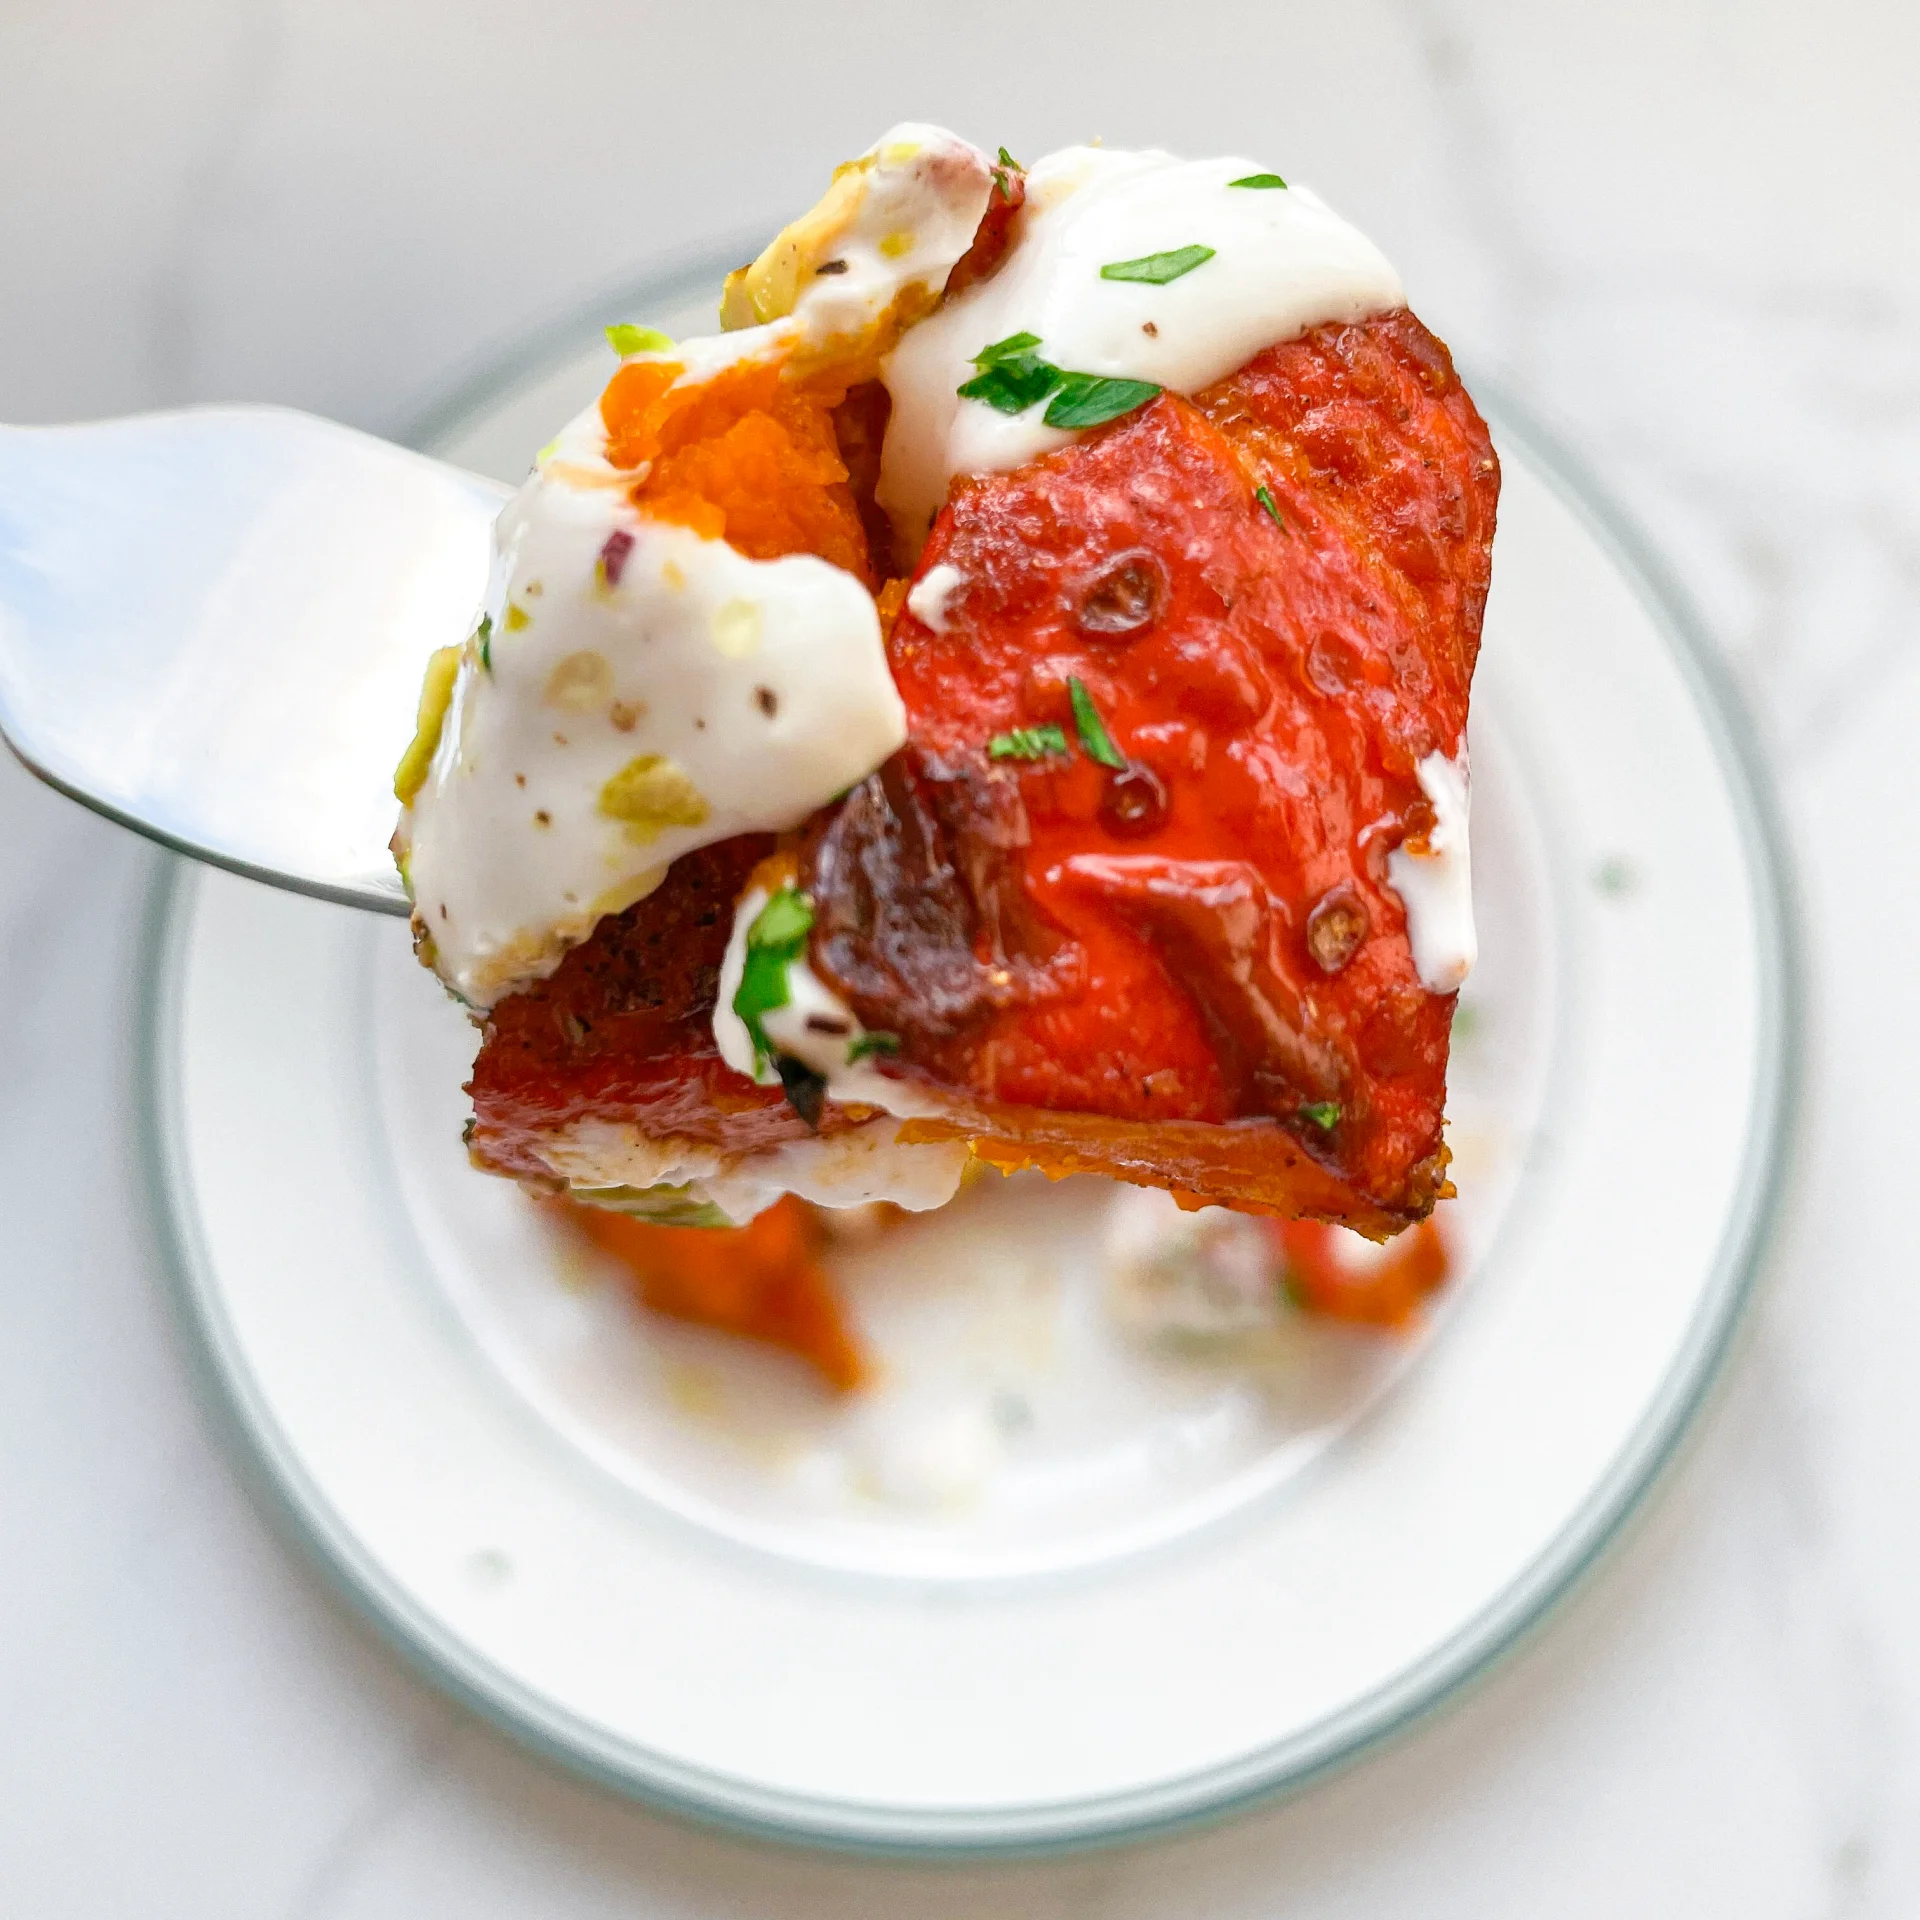
Serve this exquisite dish as a stunning side or a main course. It pairs beautifully with grilled meats or can stand alone for a satisfying vegetarian option. The creamy garlic yogurt sauce complements the soft, caramelized pumpkin, while the pistachios add a delightful crunch. Garnish with fresh parsley for a pop of color and flavor. It’s best enjoyed warm, making it a comforting choice for chilly evenings or festive gatherings.

How to store:
Leftovers can be stored in an airtight container in the refrigerator for up to 3 days. Reheat in the oven or microwave until warm. It’s recommended to store the pumpkin and garlic yogurt sauce separately to maintain the best texture and flavor when enjoying it later.

Hi, I'm Kimberly!

Hi, I'm Kimberly.

A passionate food lover who believes in the magic of homemade deliciousness that spreads love and warmth. Join me on this culinary adventure as I prepare wonderful dishes and let’s spread some happiness together!

Kimberly the Zett Signature

If you want to get to know me better, click here!


Roasted Pumpkin with Garlic Yogurt Sauce & Pistachios

„Let’s make a piece of happiness“

INGREDIENTS

FOR 4 PORTIONS AS SIDE DISH

PUMPKIN

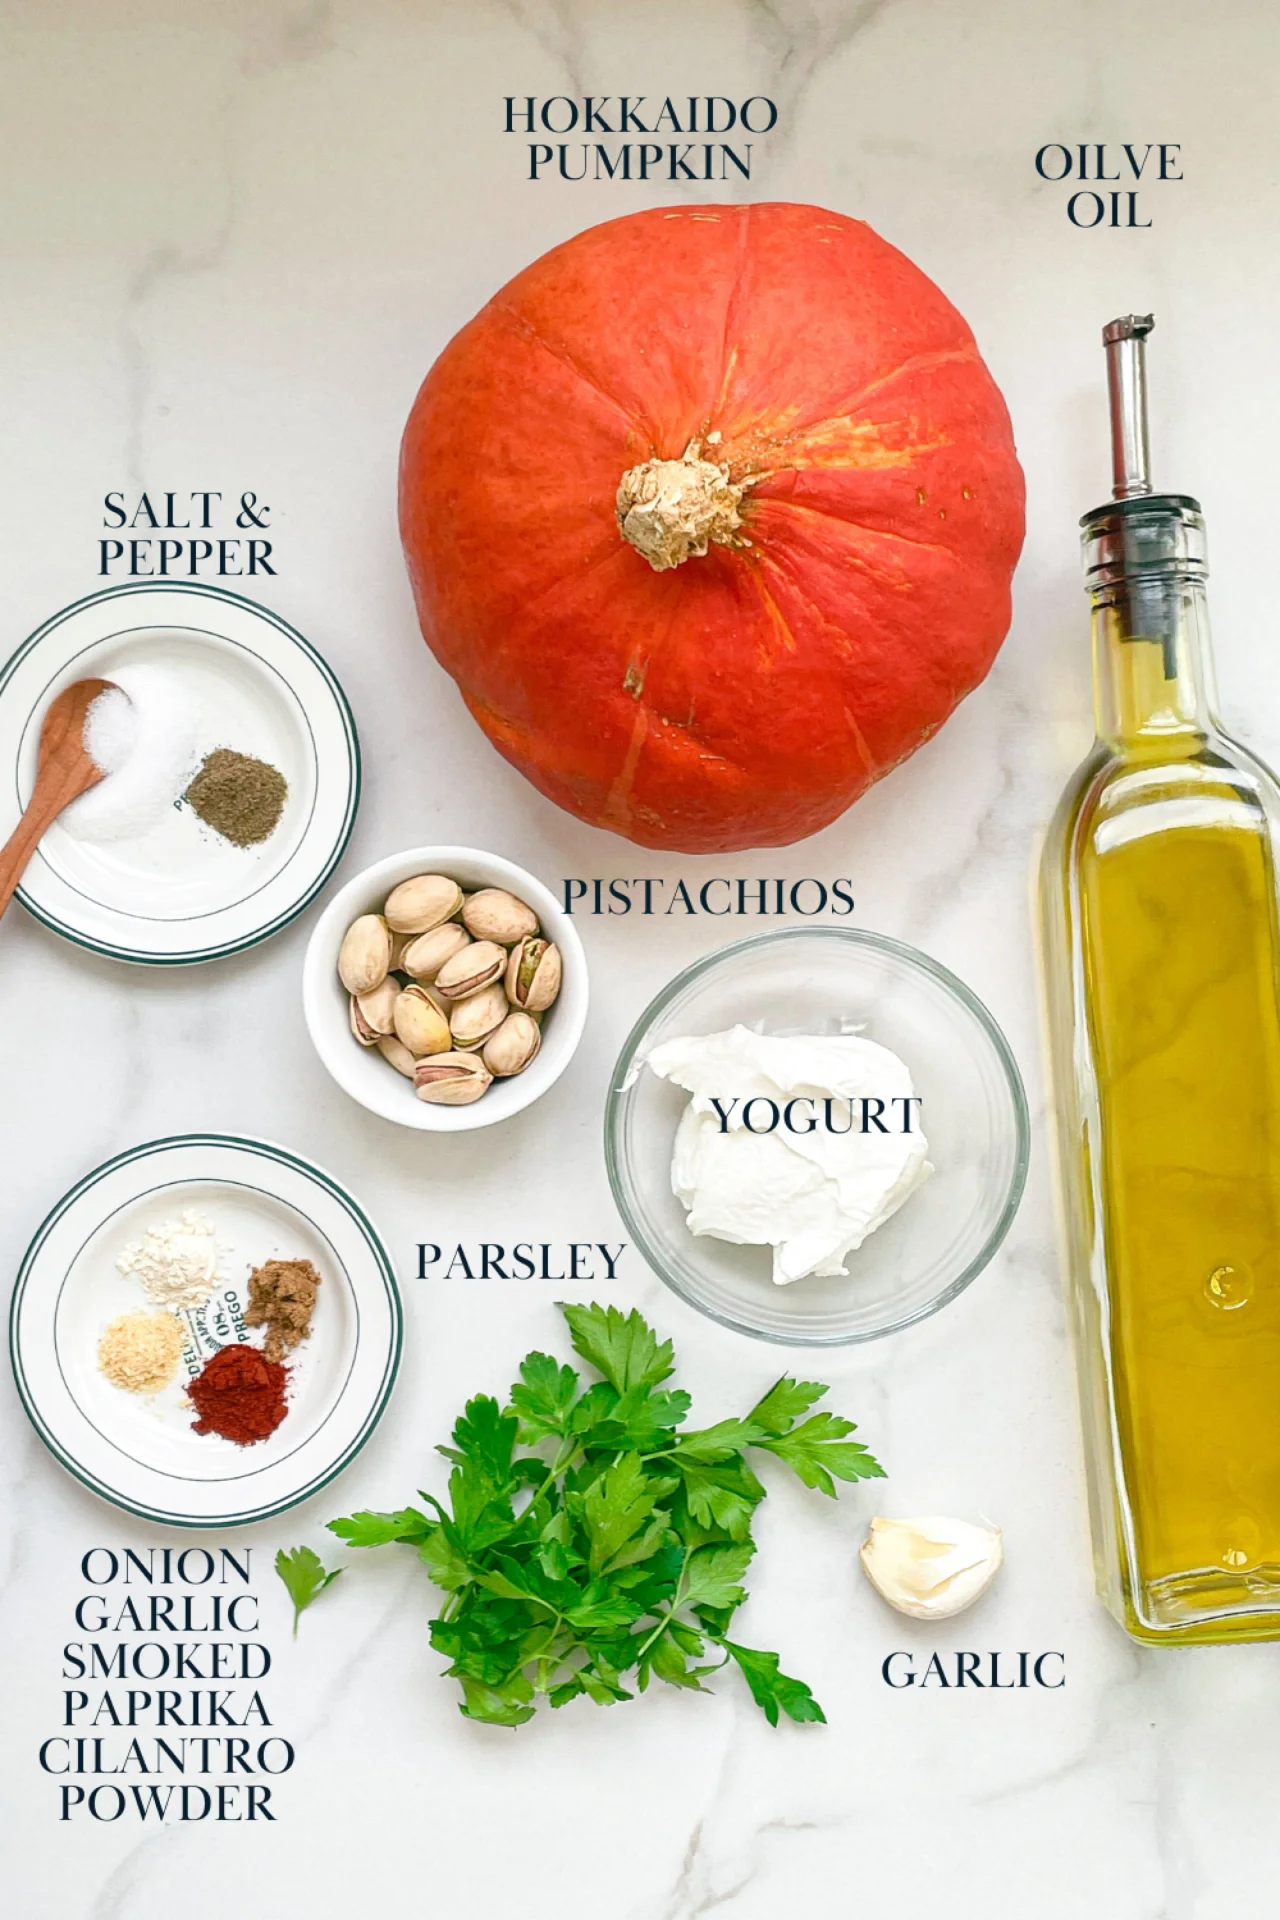
  • 750g pumpkin – I used Hokkaido (1.5 lbs.)
  • 2 tbsp olive oil
  • 1/4 tsp salt
  • 1/4 tsp black pepper
  • 1/4 tsp onion powder
  • 1/4 tsp garlic powder
  • 1/4 tsp cilantro powder
  • 1/4 tsp smoked paprika powder

GARLIC YOGURT SAUCE

  • 250g yogurt (2 cups)
  • 1 garlic clove
  • 1/8 tsp salt
  • 1/8 tsp black pepper

TOPPINGS

  • pistachios
  • parsley
  • olive oil
Roasted Pumpkin with Garlic Yogurt Sauce & Pistachios
}

ACTIVE: 10 min

PASSIVE: 0 min

PREPARATIONS

Recommended Equipment
  • sharp knife
  • cutting board
  • medium bowl
  • small bowl
  • Preheat the oven to 230°C (450°F)
  • Remove the seeds from the pumpkin and cut into bite-sized pieces. You do not need to peel the Hokkaido.
  • Remove the skin from the garlic.
    }

    ACTIVE: 15 min

    PASSIVE: 5 min

    COOKING

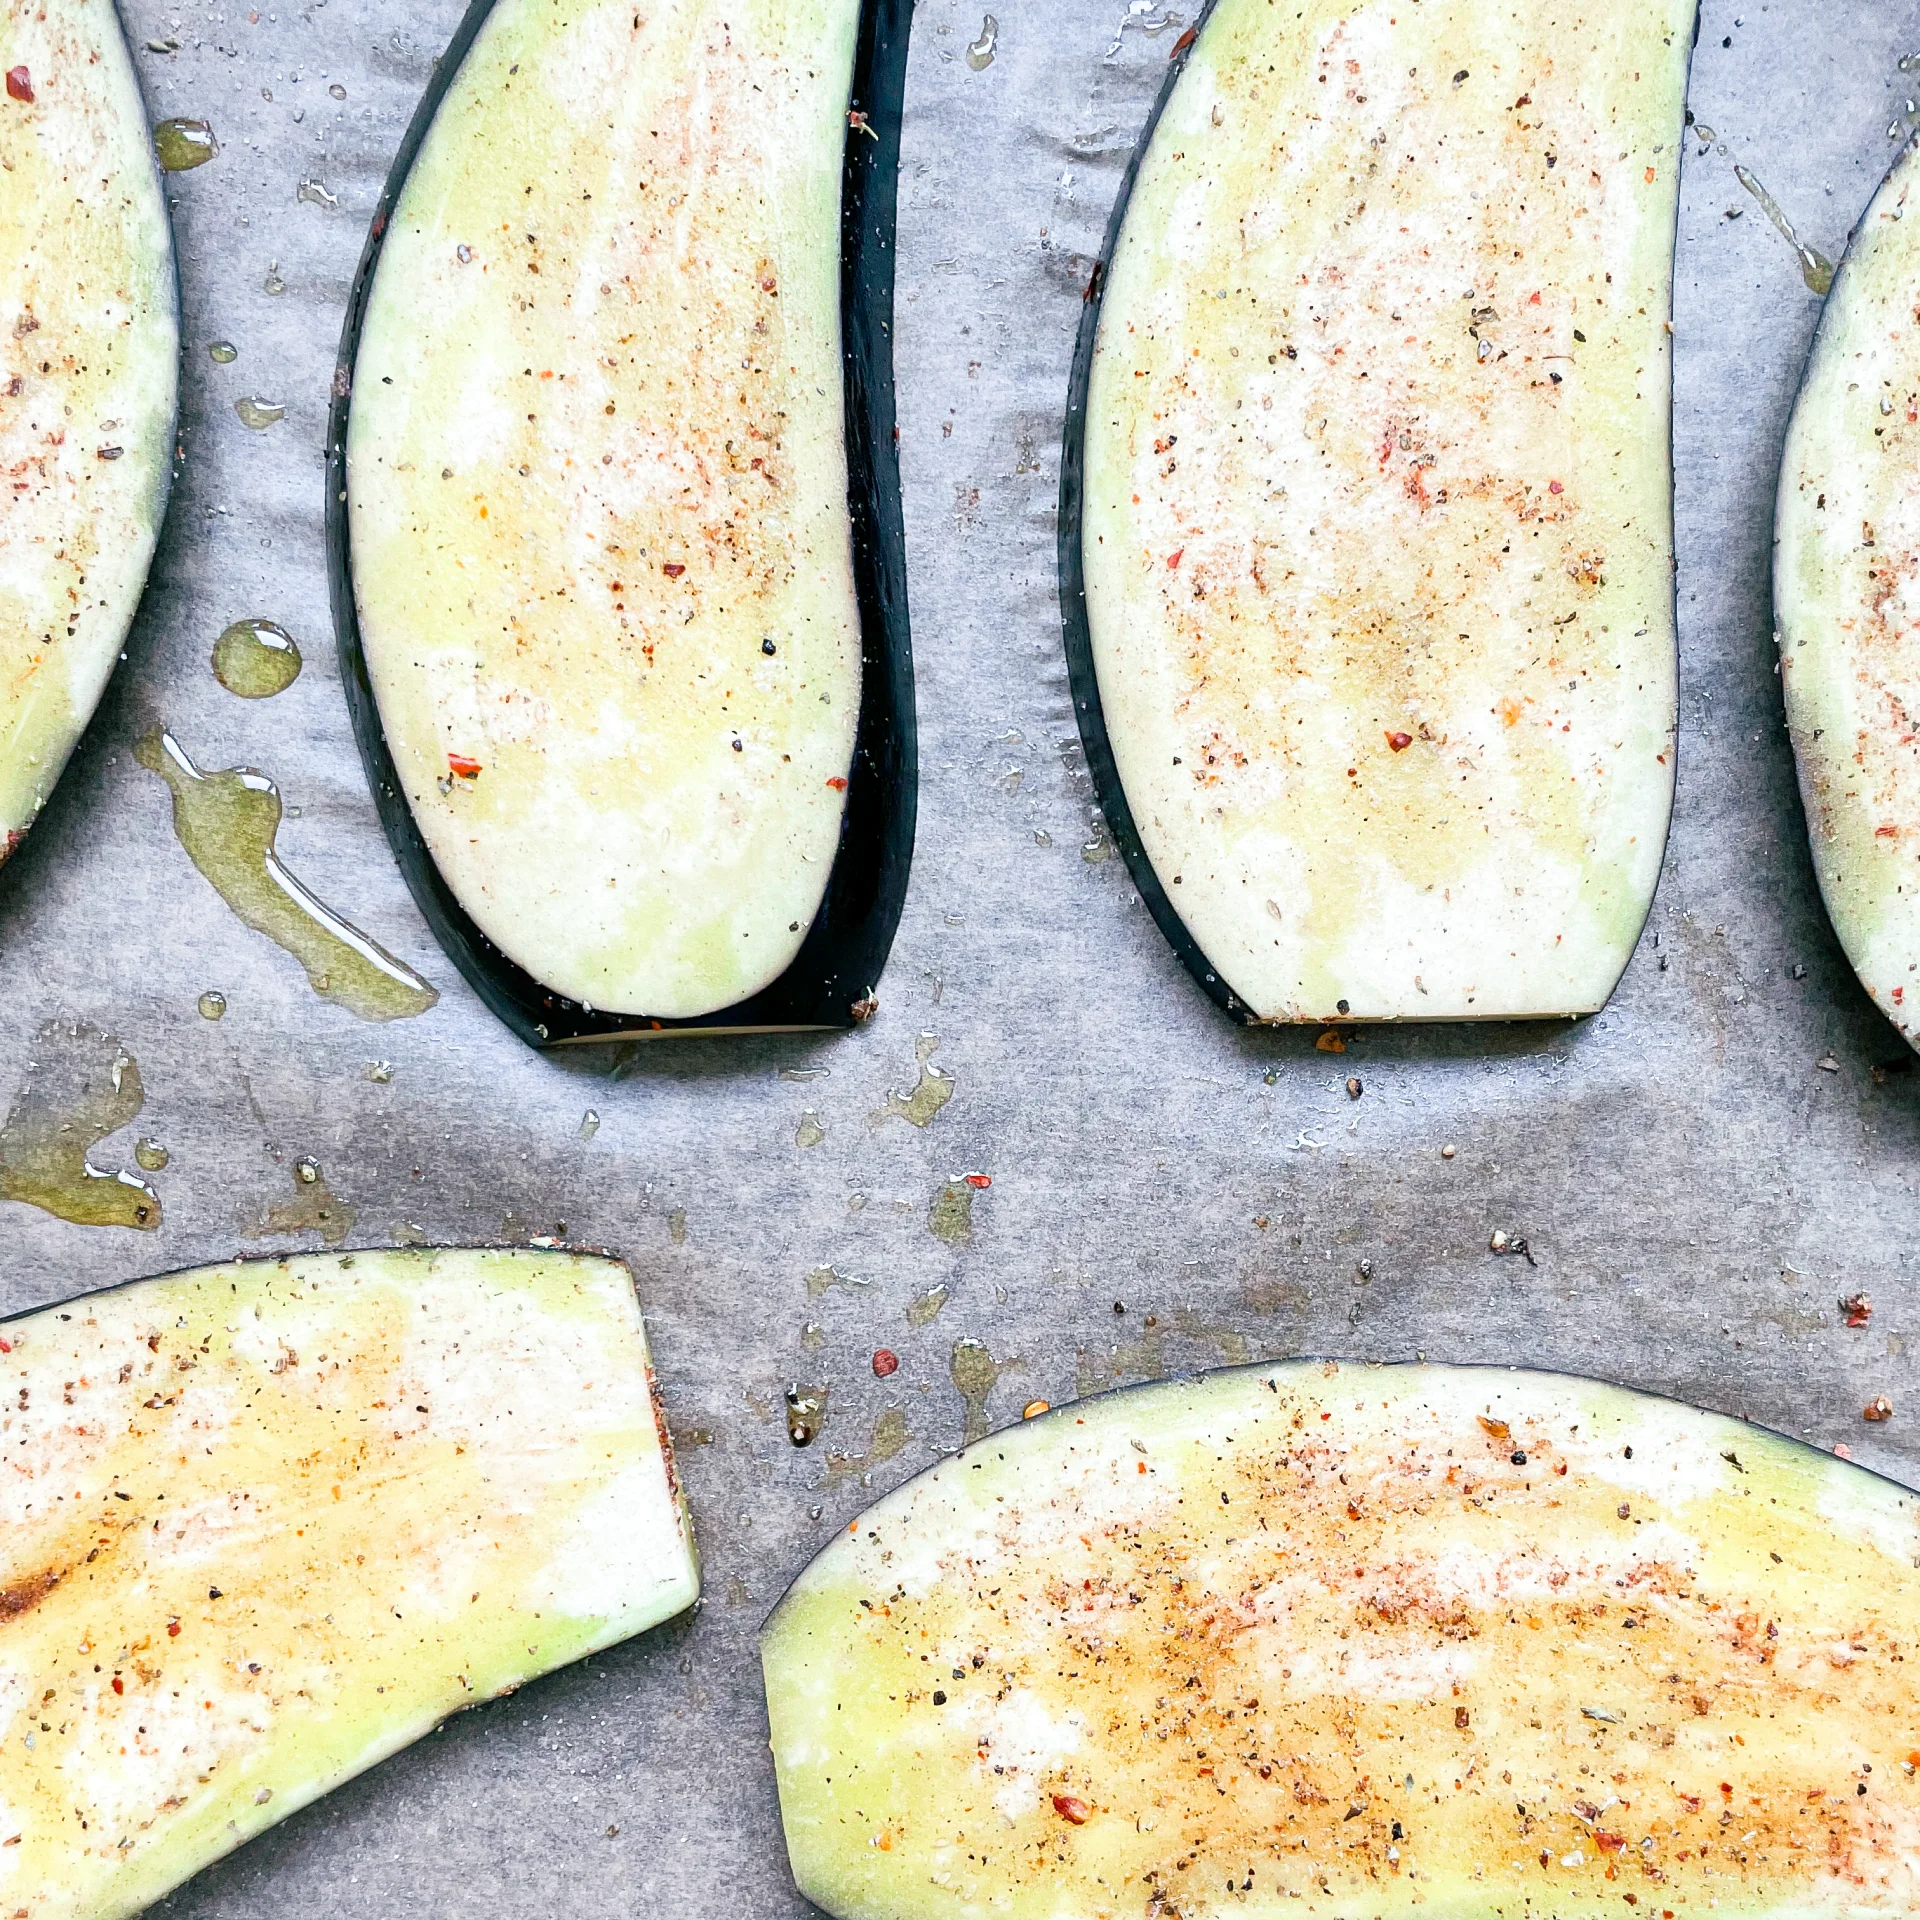
    1. Place the pumpkin pieces in a medium-sized bowl. Now pour the olive oil and 1/4 tsp each of salt, pepper, dried coriander, smoked paprika, garlic and onion over the pumpkin pieces and mix so that the pieces are evenly coated with everything. Place the pumpkin pieces on a baking tray lined with baking paper.

    2. Place the baking tray in the preheated oven and roast for 20 minutes.

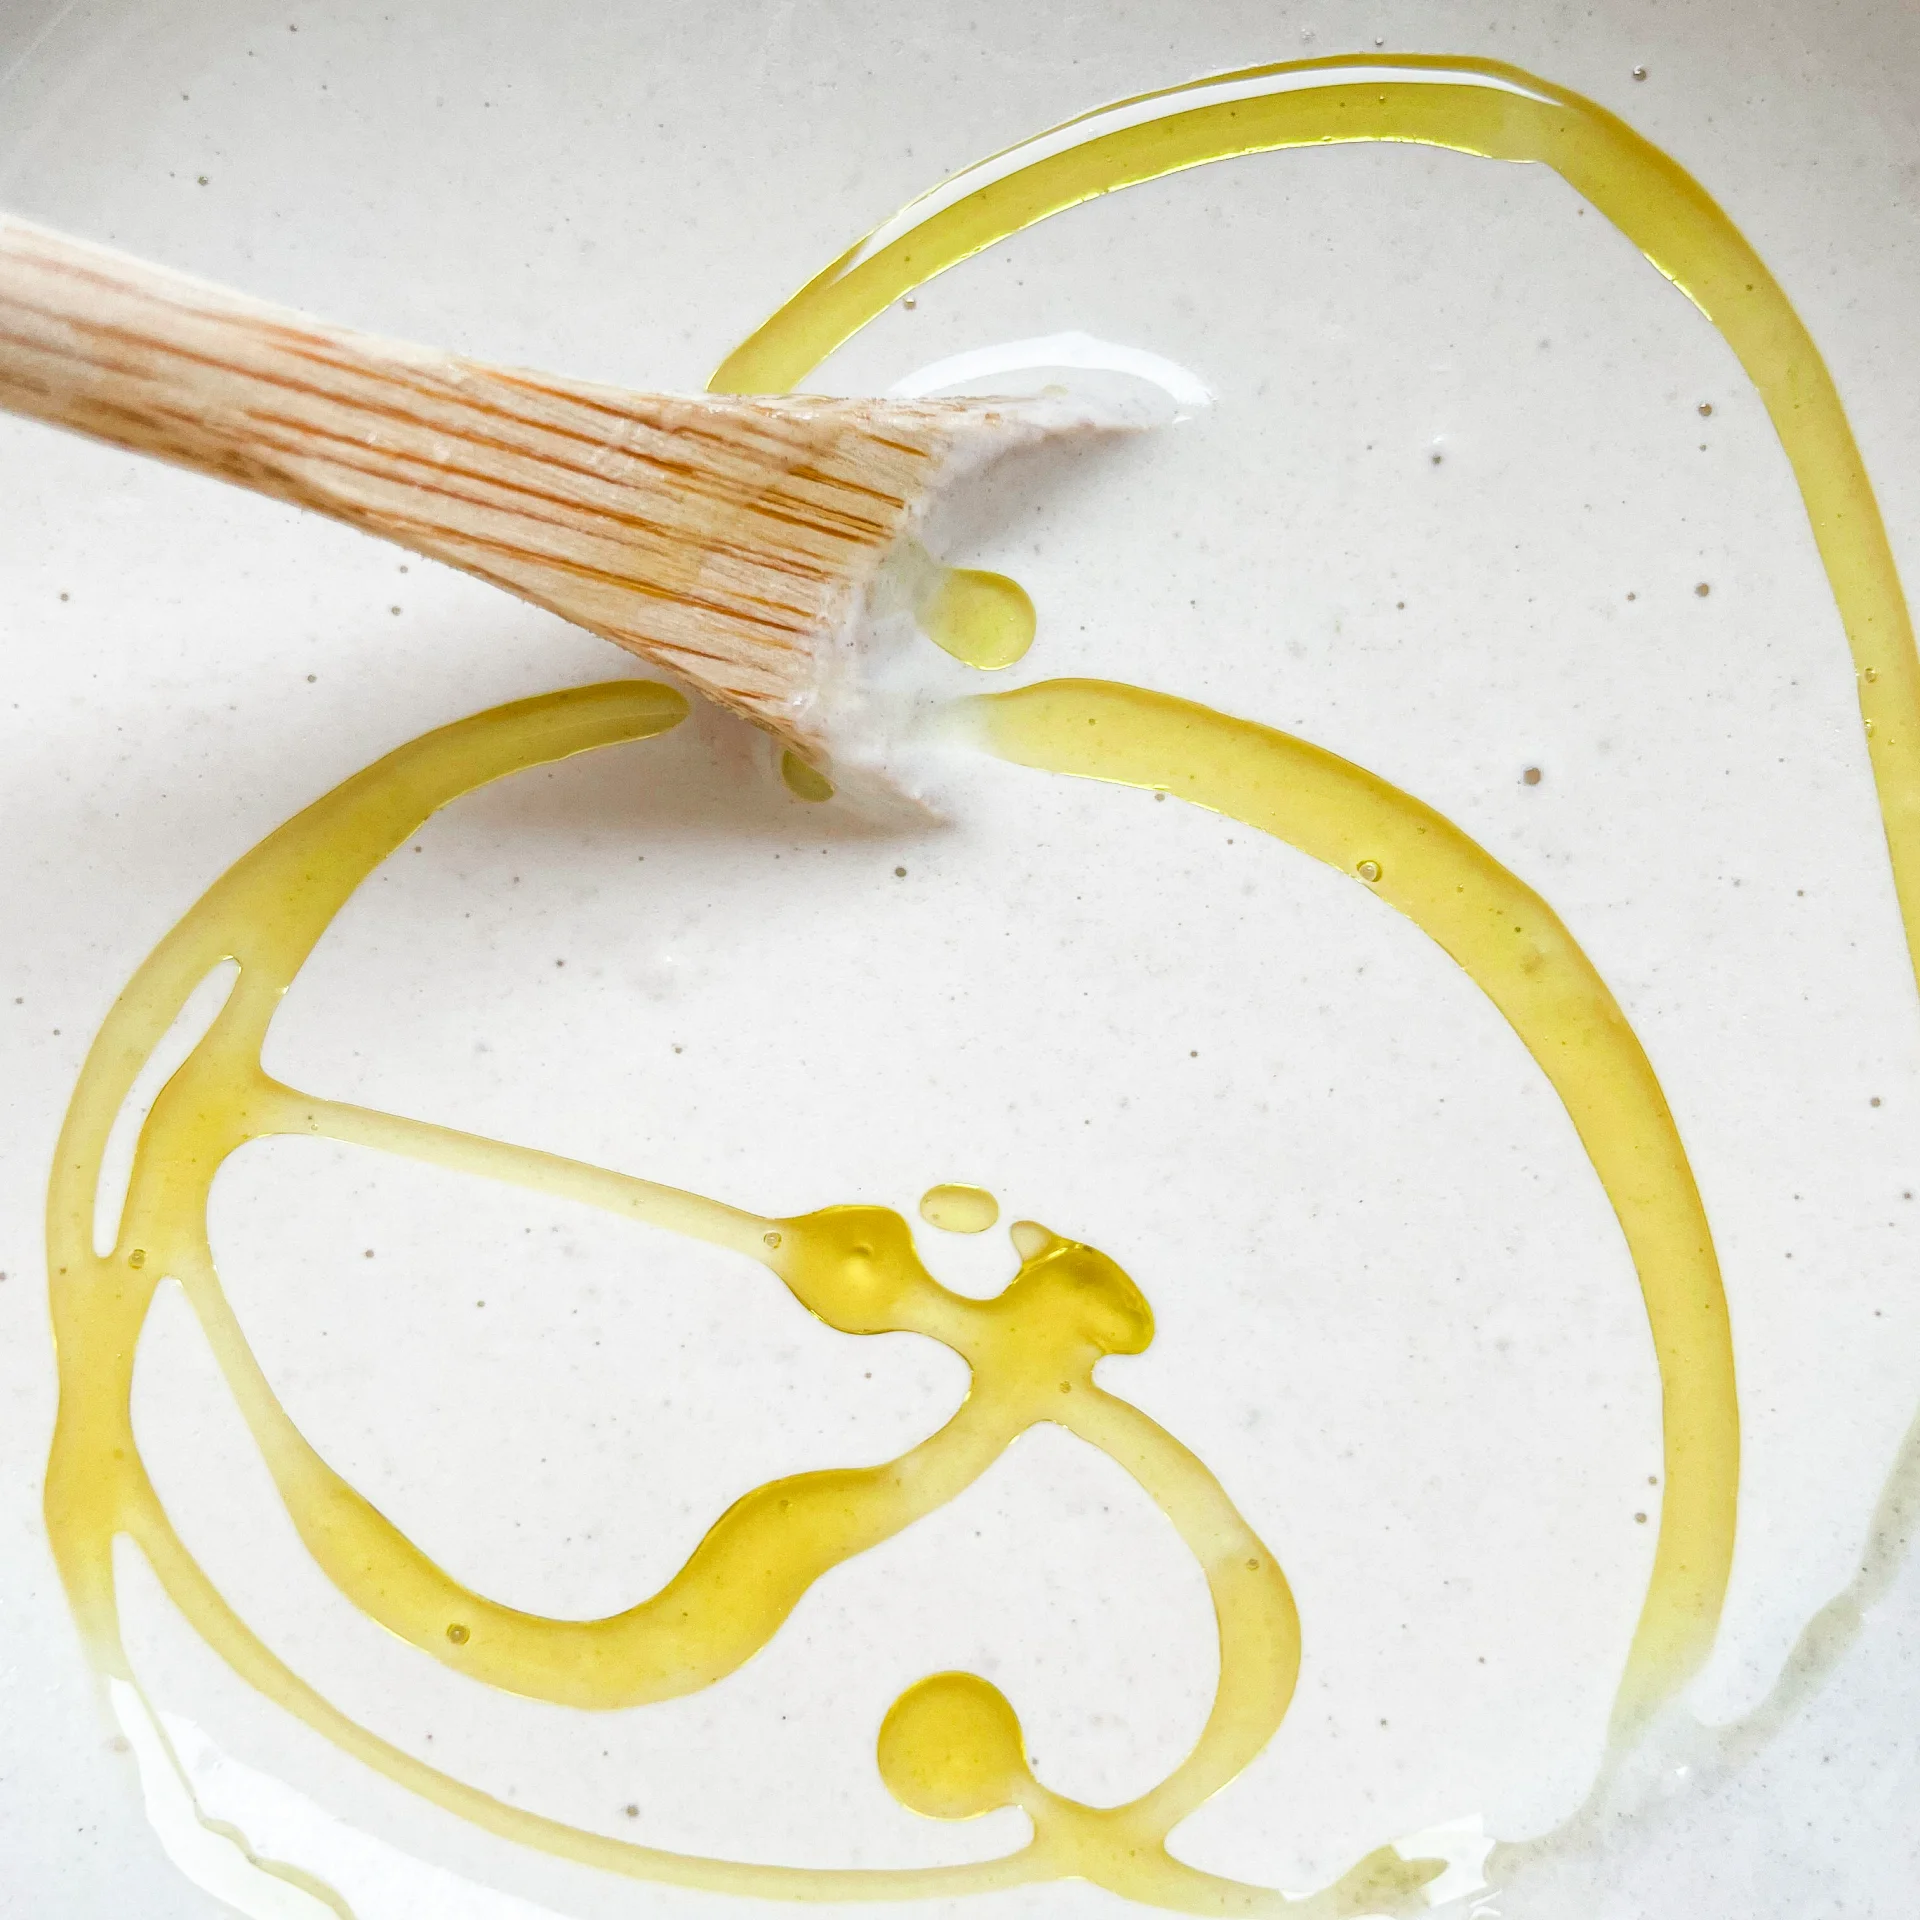
    3. While the pumpkin is in the oven, mix the yoghurt, fresh garlic, salt and pepper together in a small bowl and season to taste.

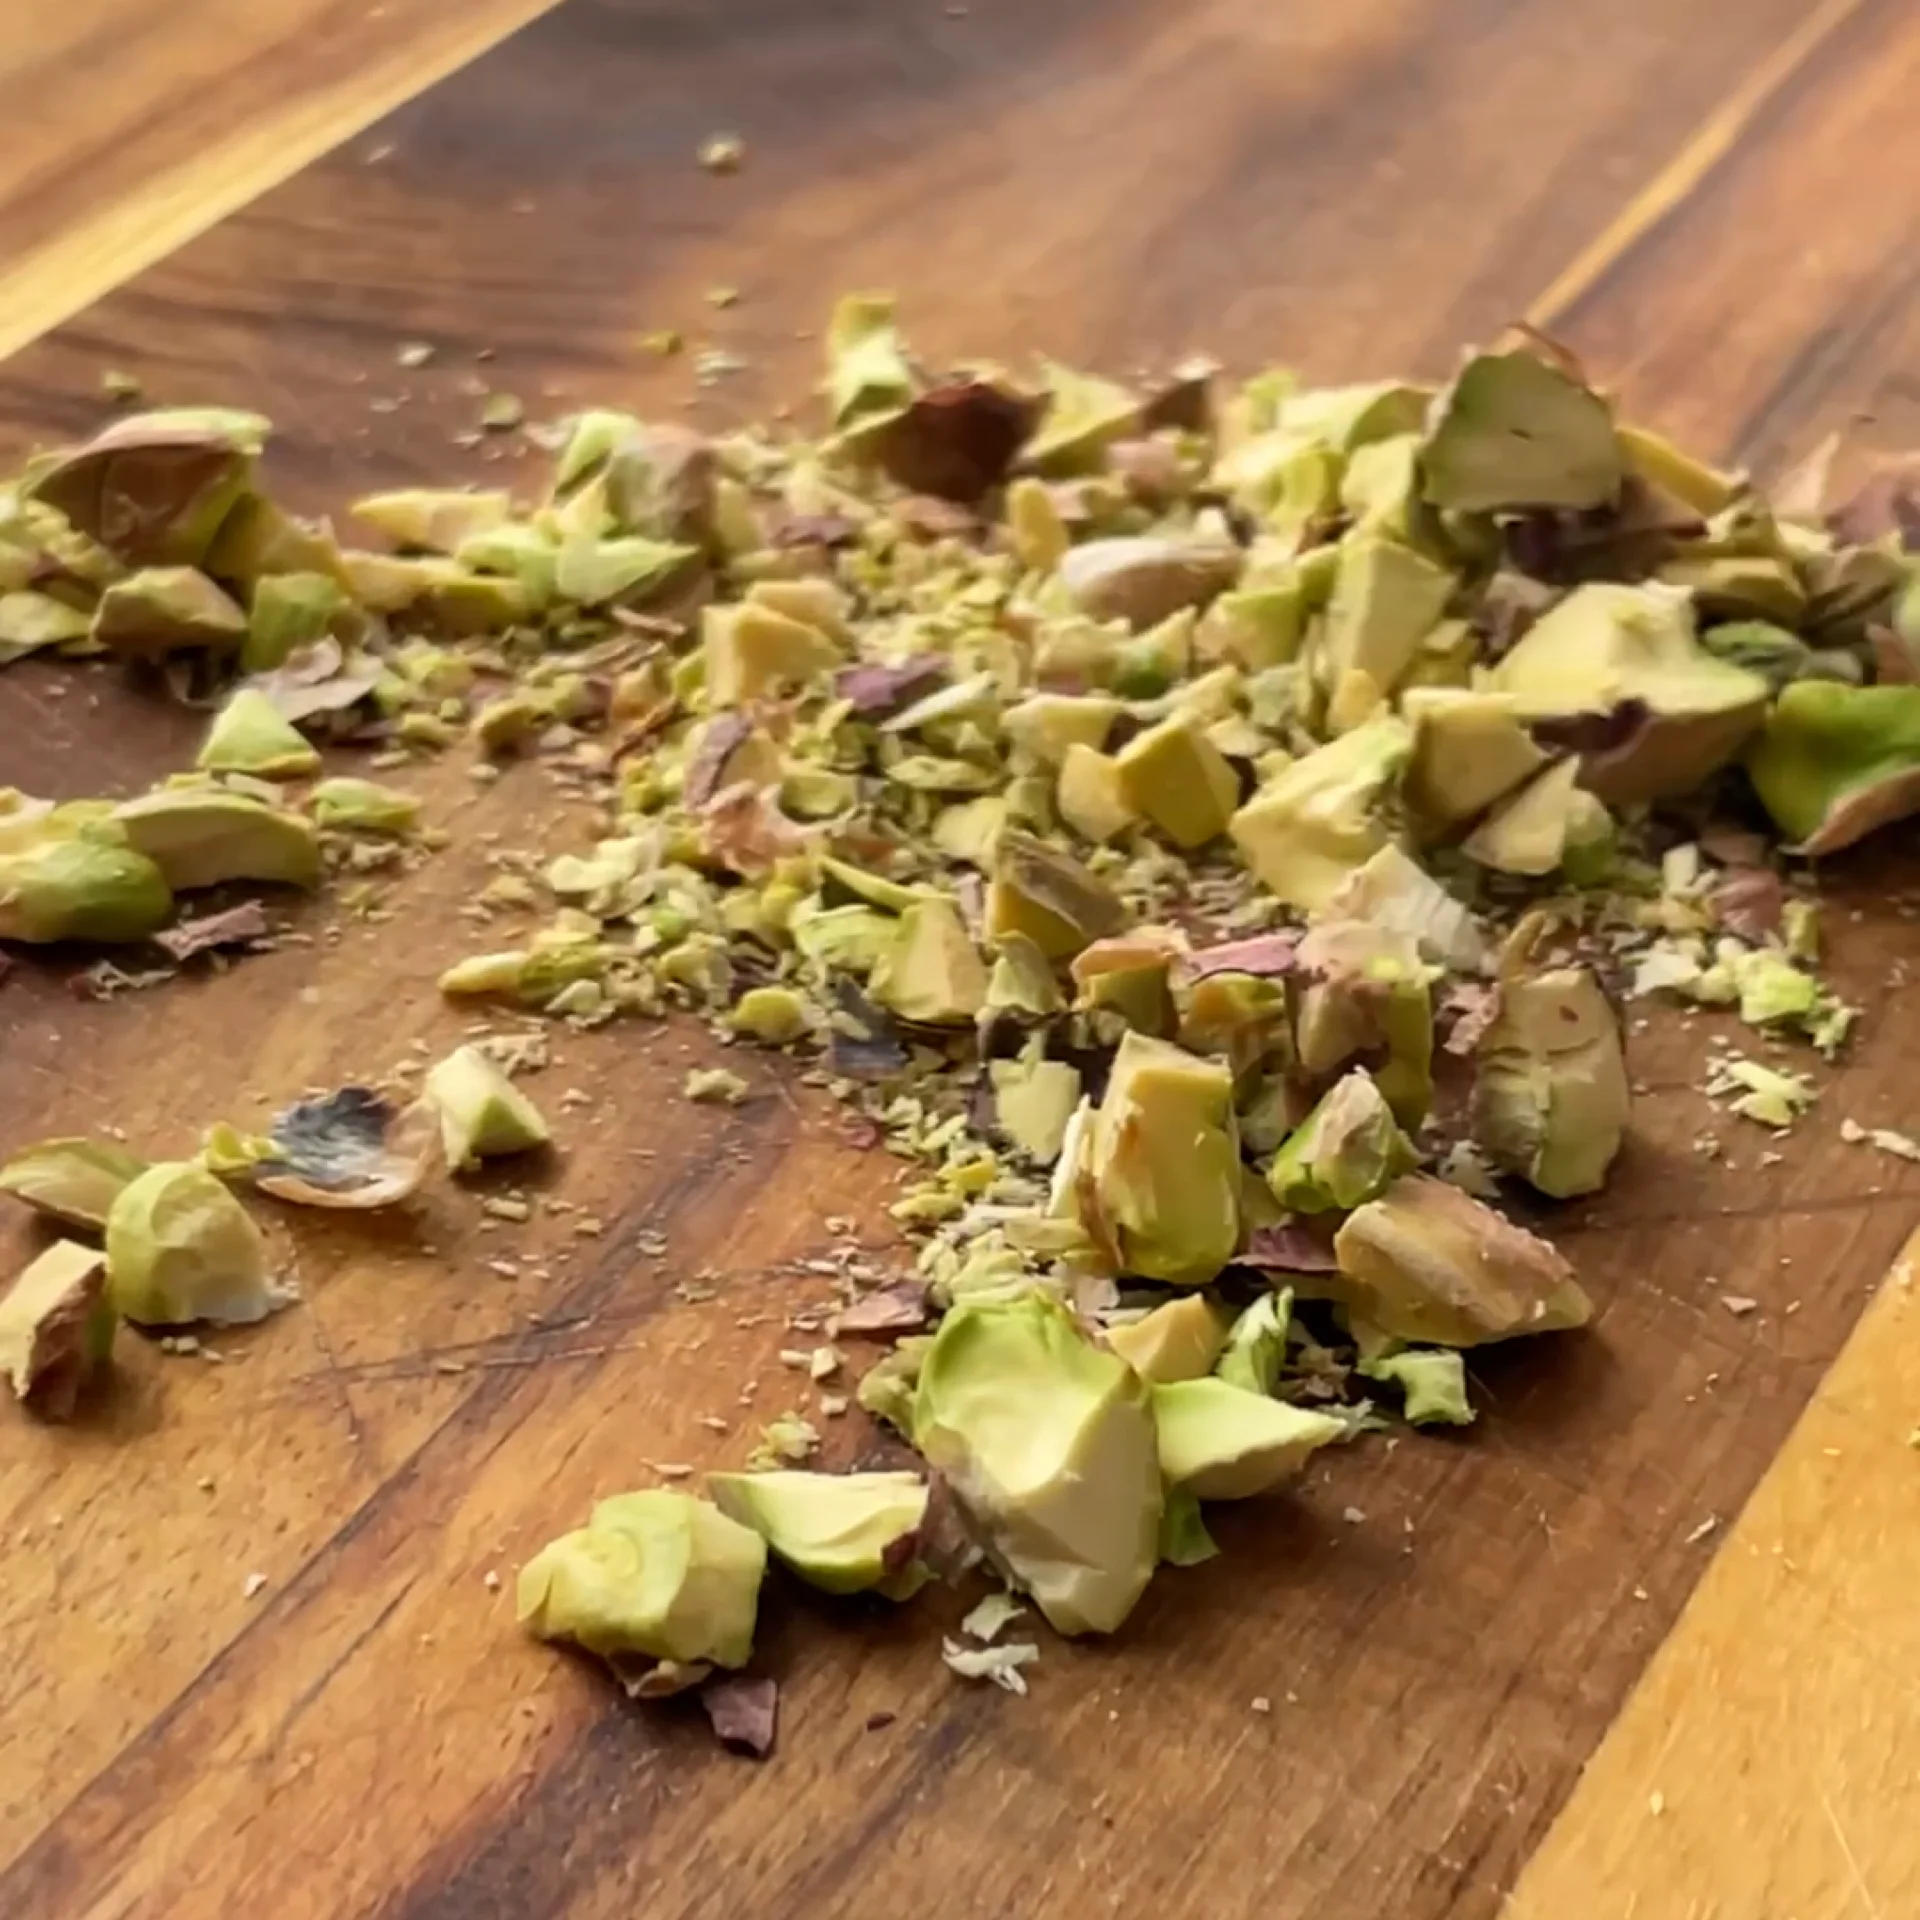
    4. Remove the shells from the pistachios and chop them into small pieces. Pluck the parsley from the stalks and chop finely too.

    5. Now remove the tray from the oven. Pour the yoghurt sauce over the pumpkin and then top with olive oil, parsley and pistachios.

    NOTE: The calorie information may vary depending on the product used, country and region.

    Tarte Flambée

    Tarte Flambée

    Tarte Flambée

    Tarte Flambée

    November 29, 2023 by Kimberly

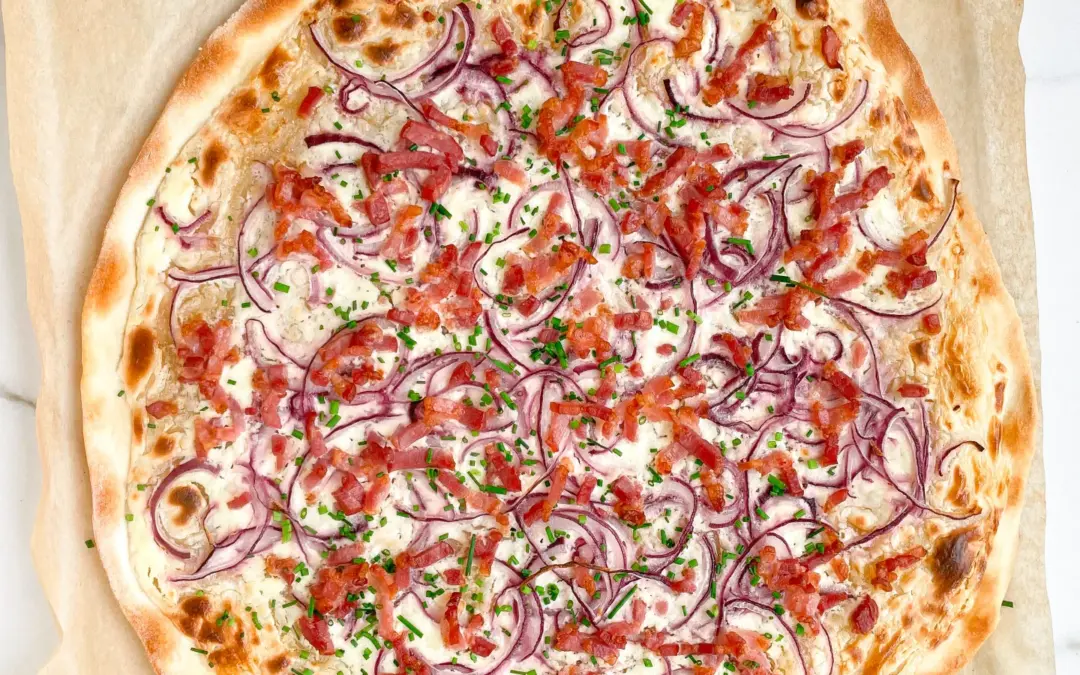
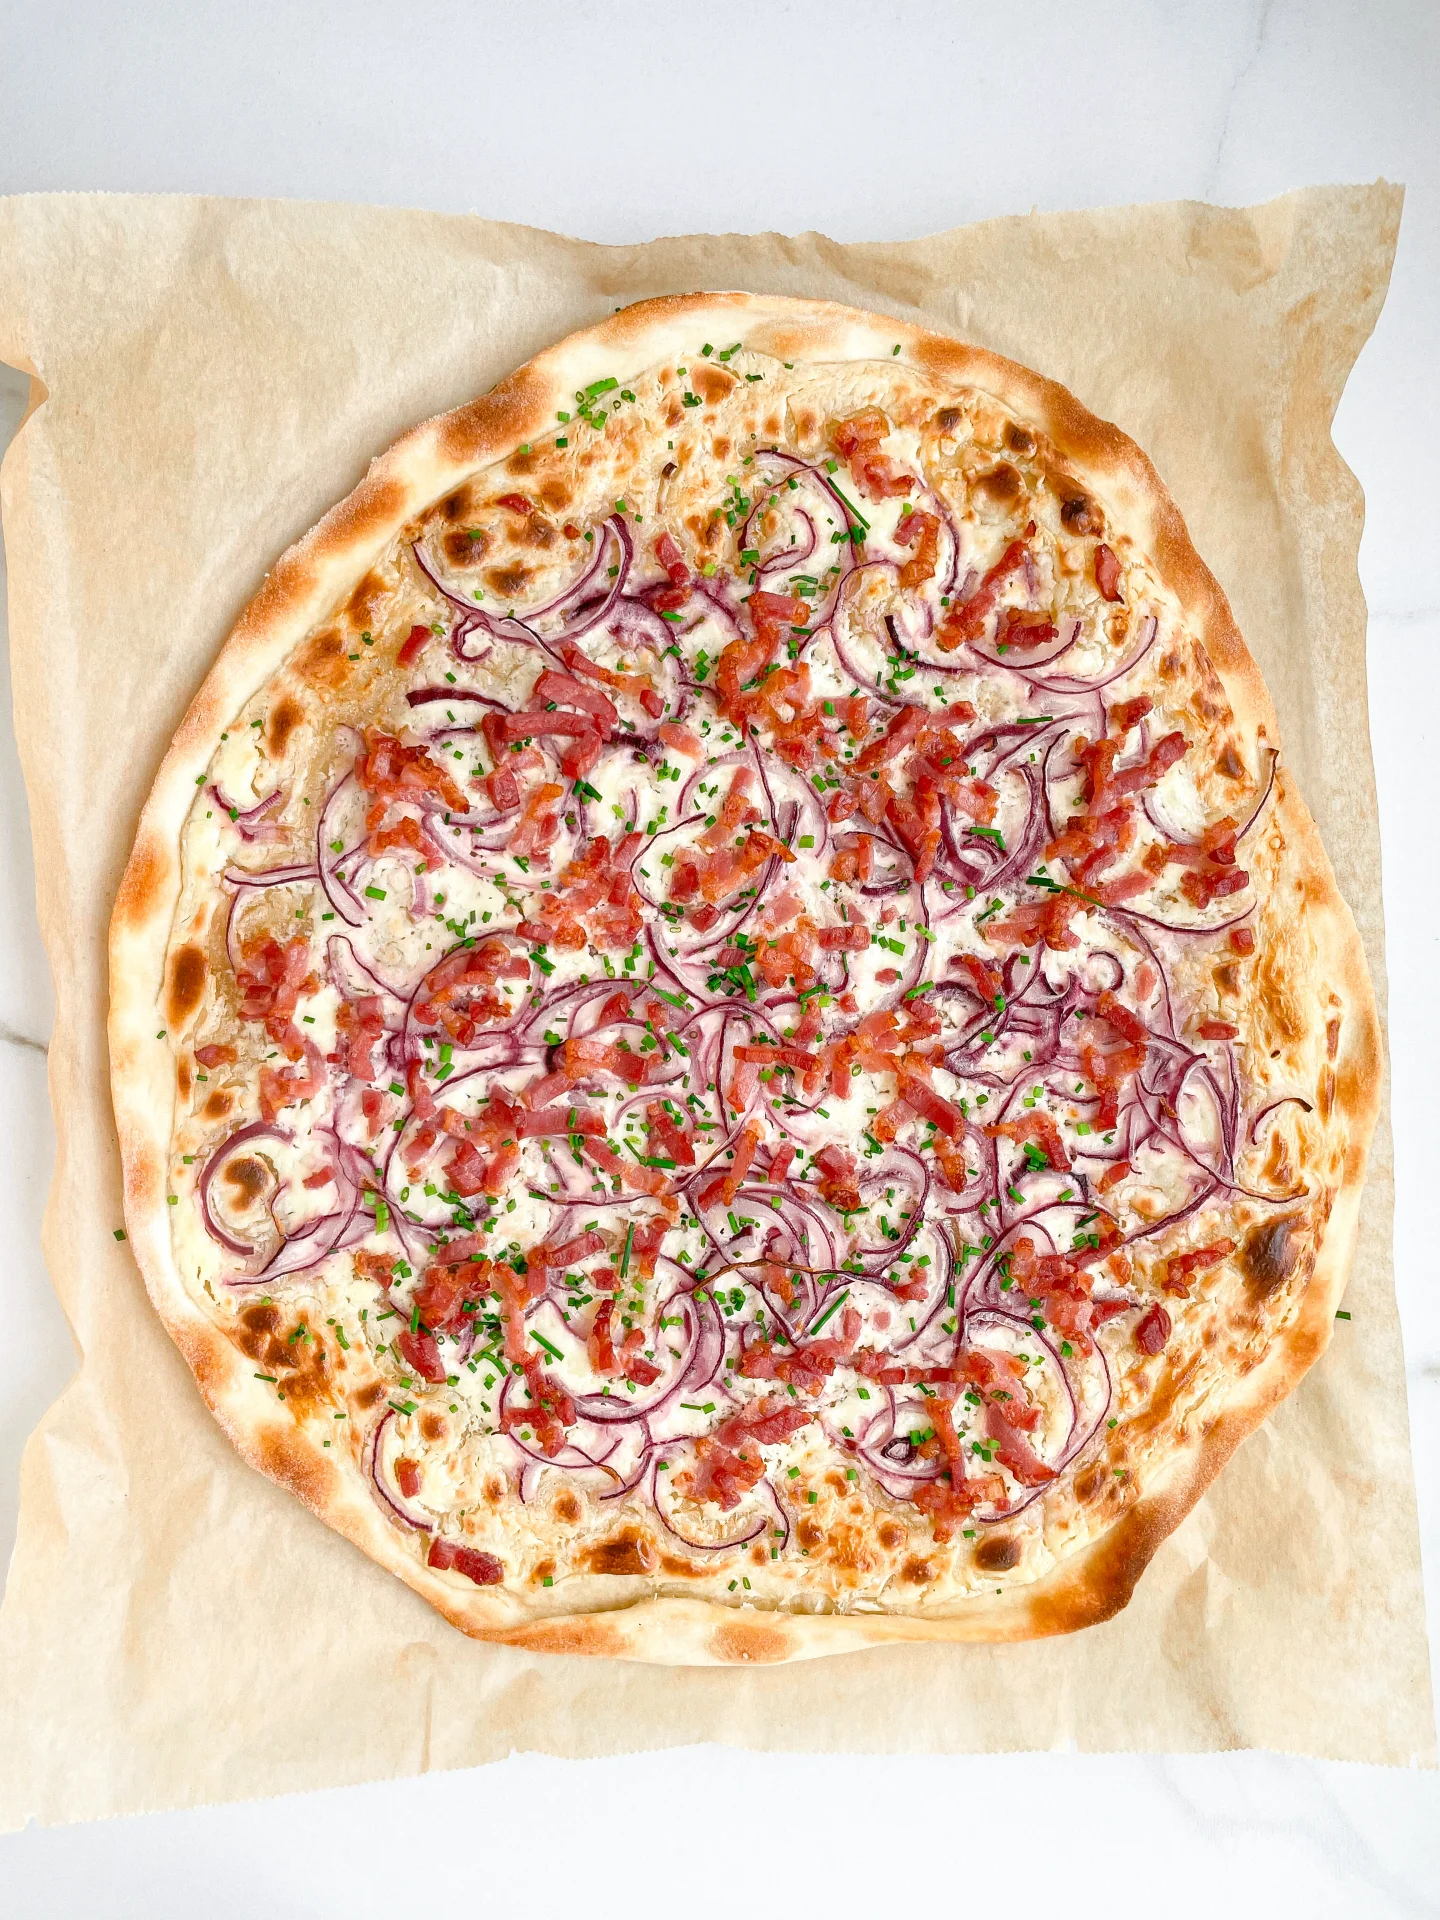
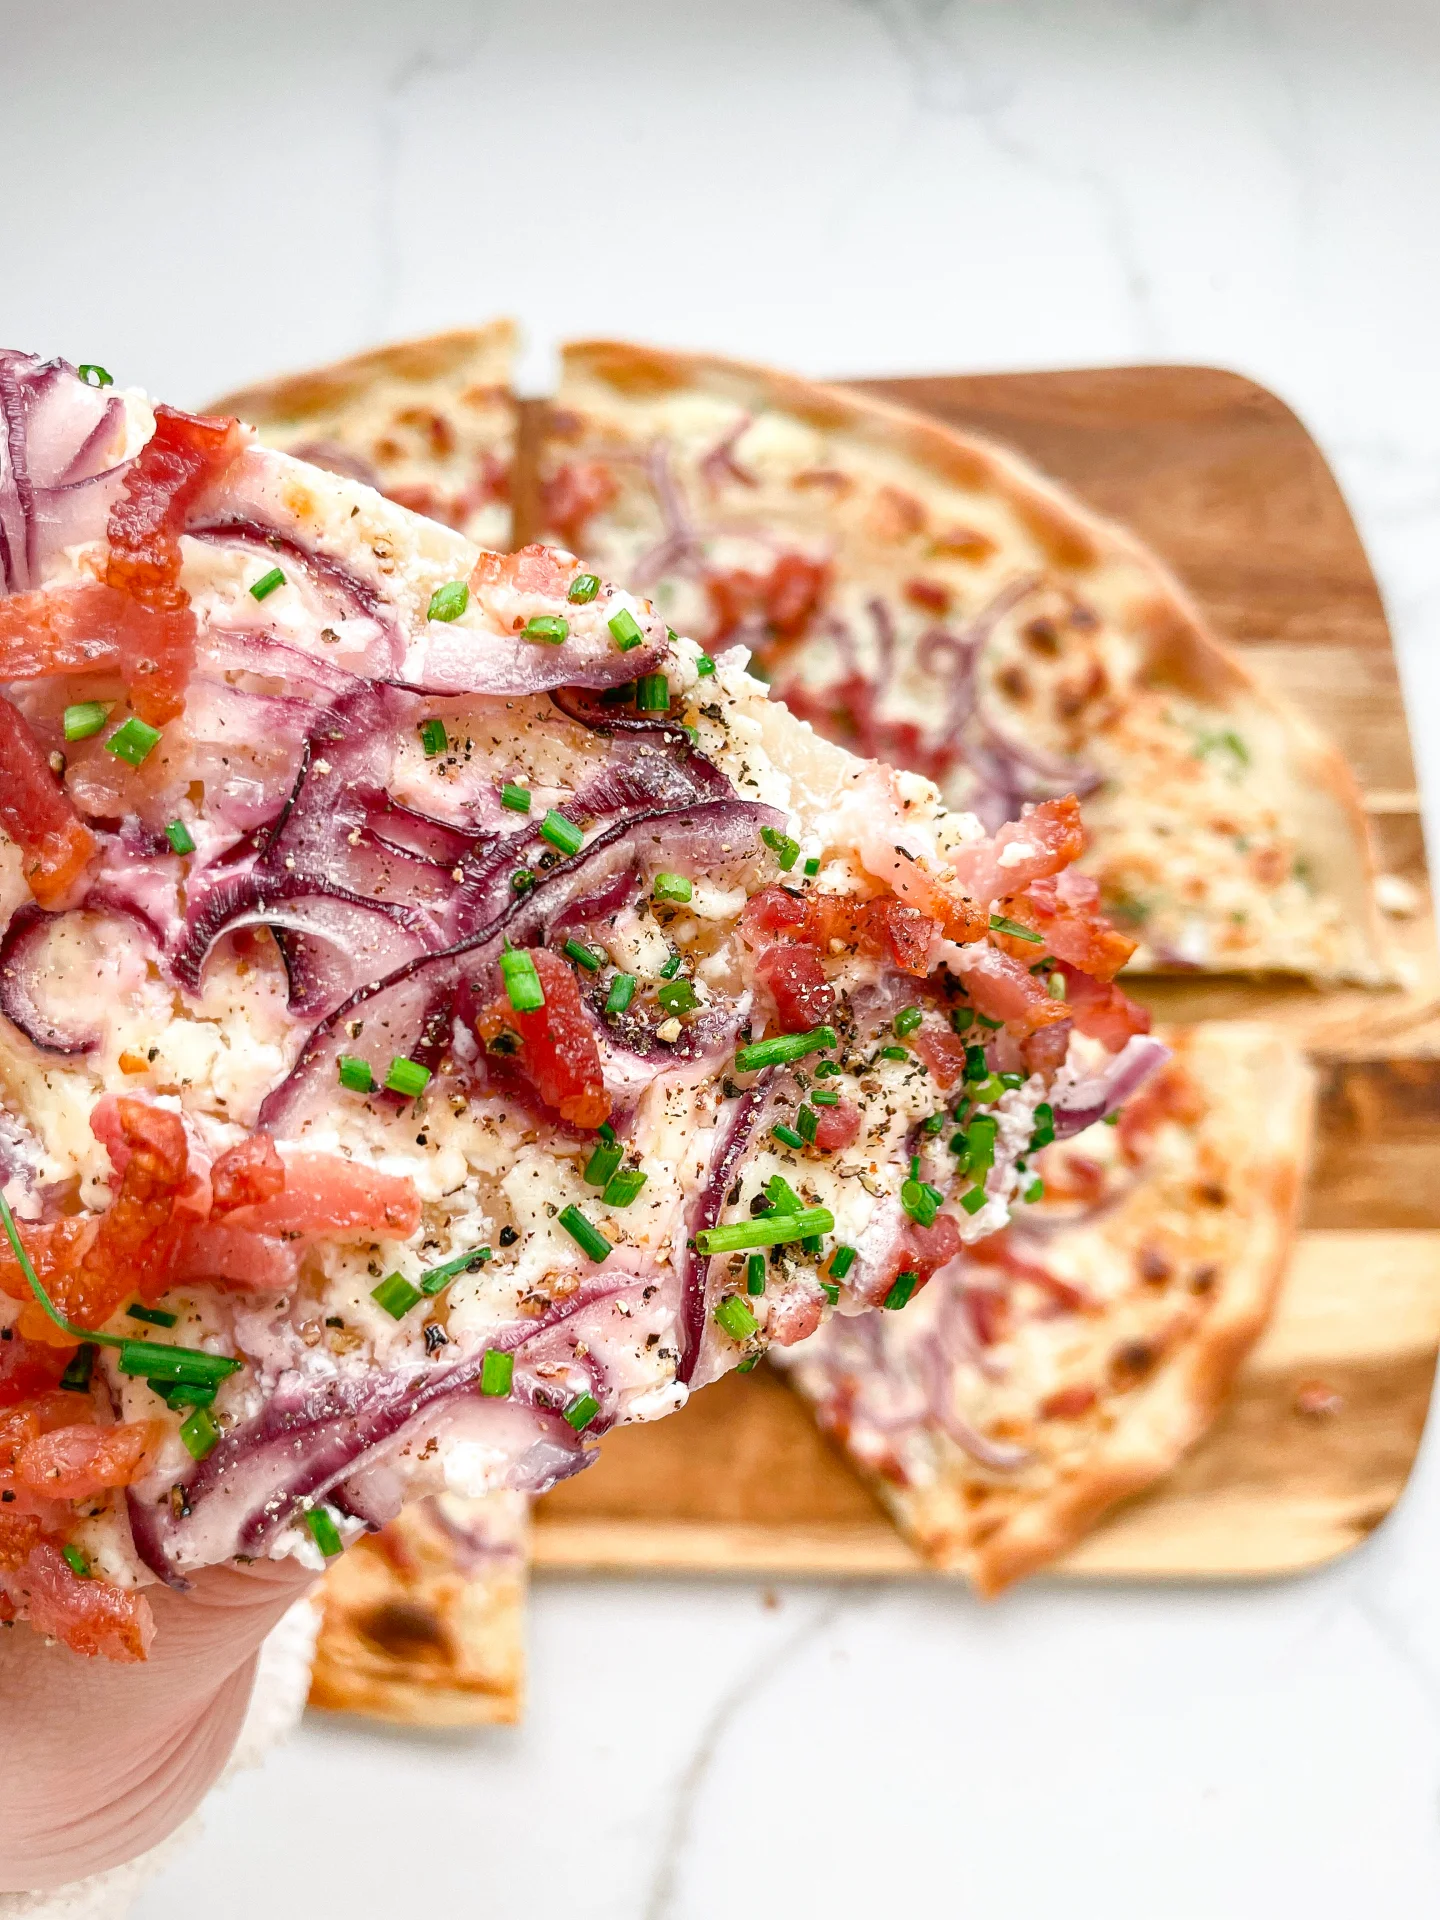
    A thin crust, full-bodied crème fraîche, spicy bacon and savory onions – the classic Alsatian tarte flambée.

    60 MINUTES

    EASY

    OMNIVORE

    FRENCH

    718 PER BAKING TRAY

    CRISPY / SALTY

    EVERYDAY

    LUNCH / DINNER

    ALL YEAR

    INTRODUCTION

    ABOUT THE RECIPE

    Indulge in the delectable charm of Tarte Flambée, a French classic celebrated for its crispy thin crust, creamy allure, and the delightful interplay of savory bacon and onions. Hailing from the picturesque Alsace region, this dish is a culinary masterpiece that elevates the dining experience with its unique blend of flavors.

    How to serve:
    This culinary delight pairs perfectly with a light salad or stands alone for a satisfying meal, bringing the essence of French cuisine to your table.

    How to store:
    For later enjoyment, store any leftover Tarte Flambée in an airtight container in the refrigerator. Reheat slices in the oven. Avoid microwaving to maintain its crispy texture.

    Hi, I'm Kimberly!

    Hi, I'm Kimberly.

    A passionate food lover who believes in the magic of homemade deliciousness that spreads love and warmth. Join me on this culinary adventure as I prepare wonderful dishes and let’s spread some happiness together!

    Kimberly the Zett Signature

    If you want to get to know me better, click here!


    Tarte Flambée
    Tarte Flambée
    Tarte Flambée

    „Let’s make a piece of happiness“

    INGREDIENTS

    For 1 BAKING TRAY

    DOUGH

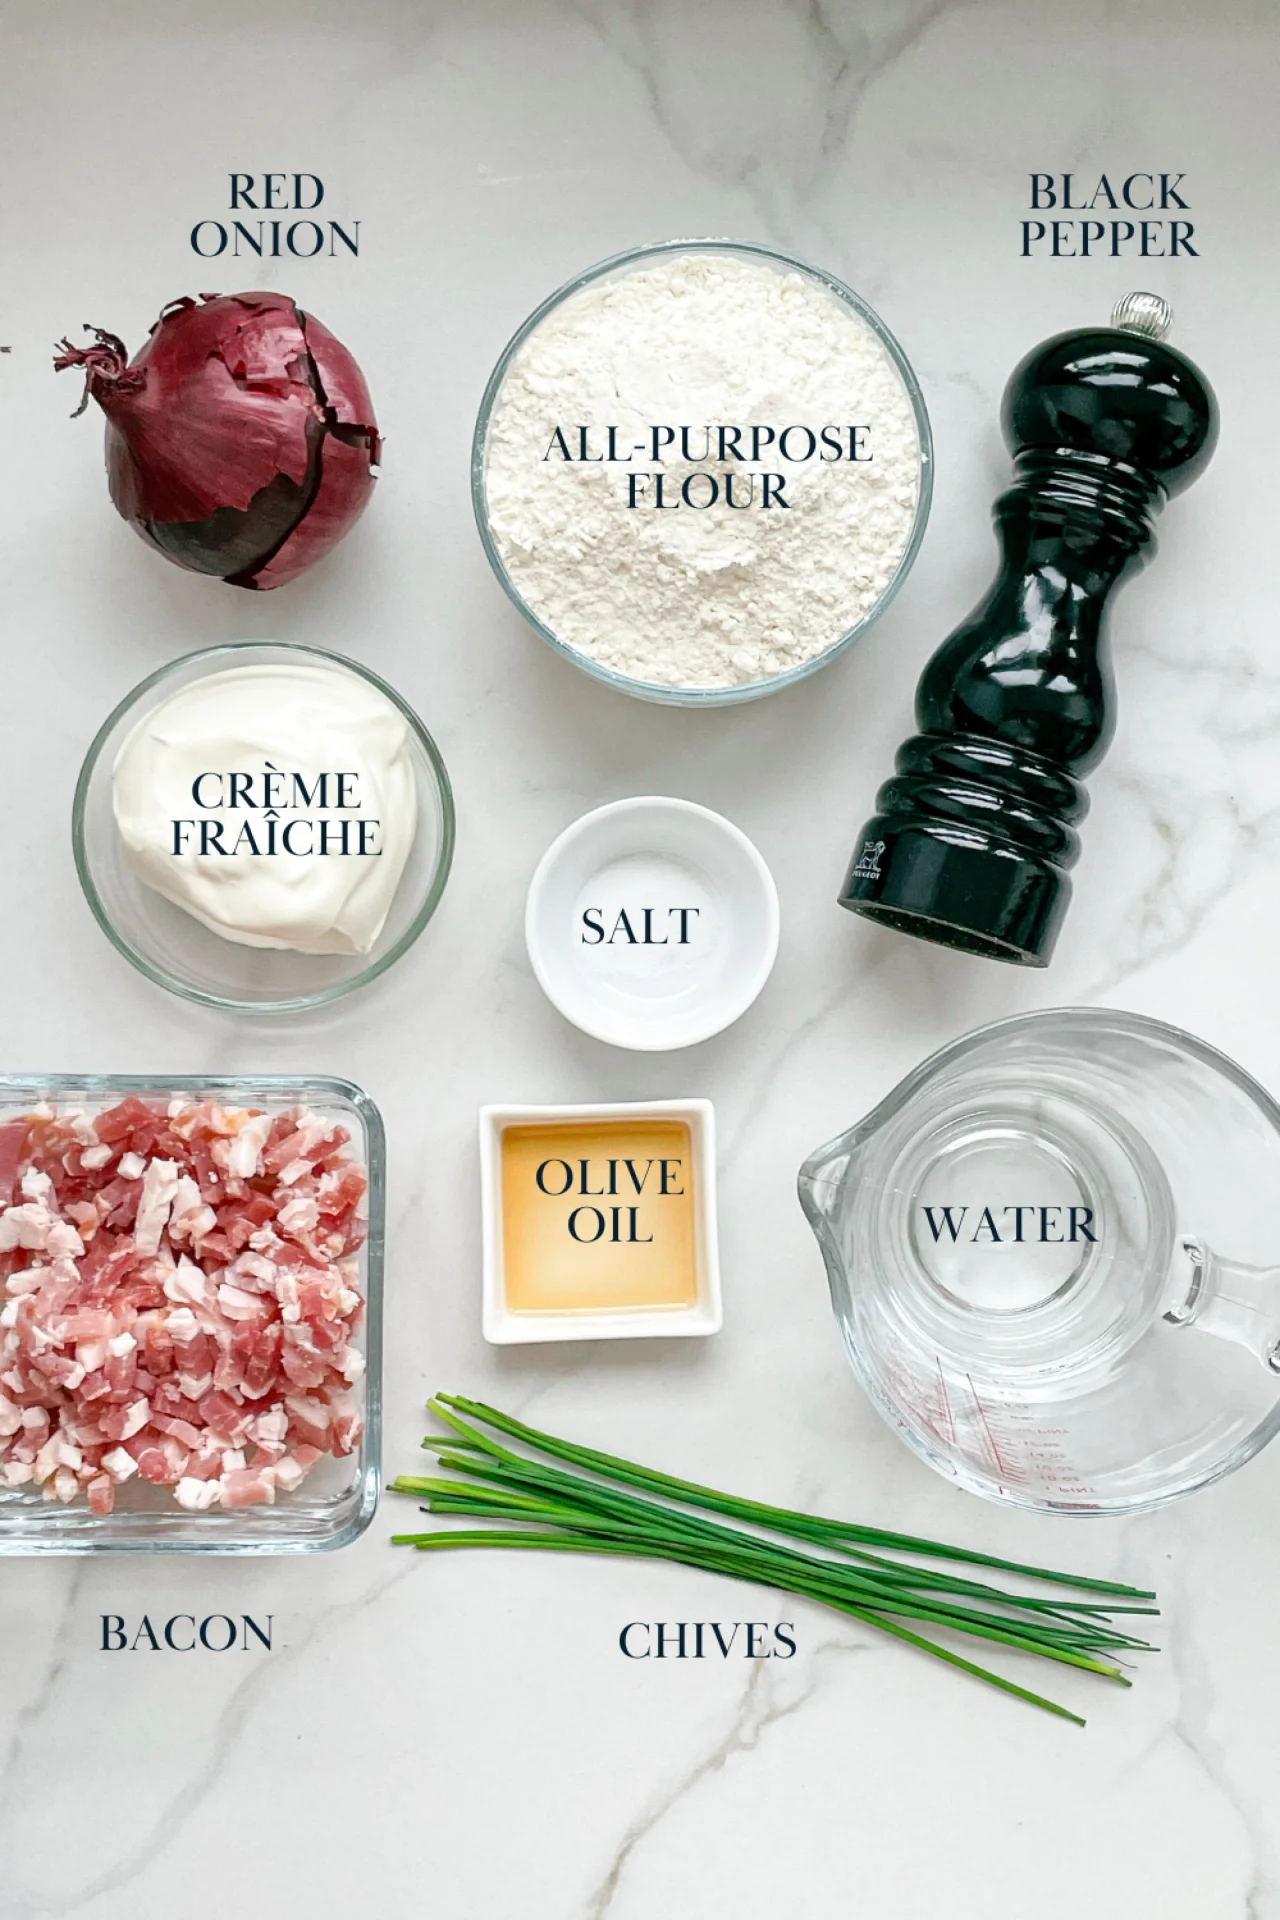
    • 250g all-purpose flour (8.8 oz.)
    • 125ml water (4.2 fl. oz.)
    • 2 tbsp olive oil
    • 2 tsp salt

    TOPPINGS

    • 100g crème fraîche (3.5 oz.)
    • 125g bacon (4.5 oz.)
    • 1 red onion
    • salt
    • pepper
    • chives
    Tarte Flambée
    }

    ACTIVE: 5 min

    PASSIVE: 30 min

    PREPARATIONS

    Recommended Equipment
    • large mixing bowl
    • sieve
    • sharp knife
    • cutting board
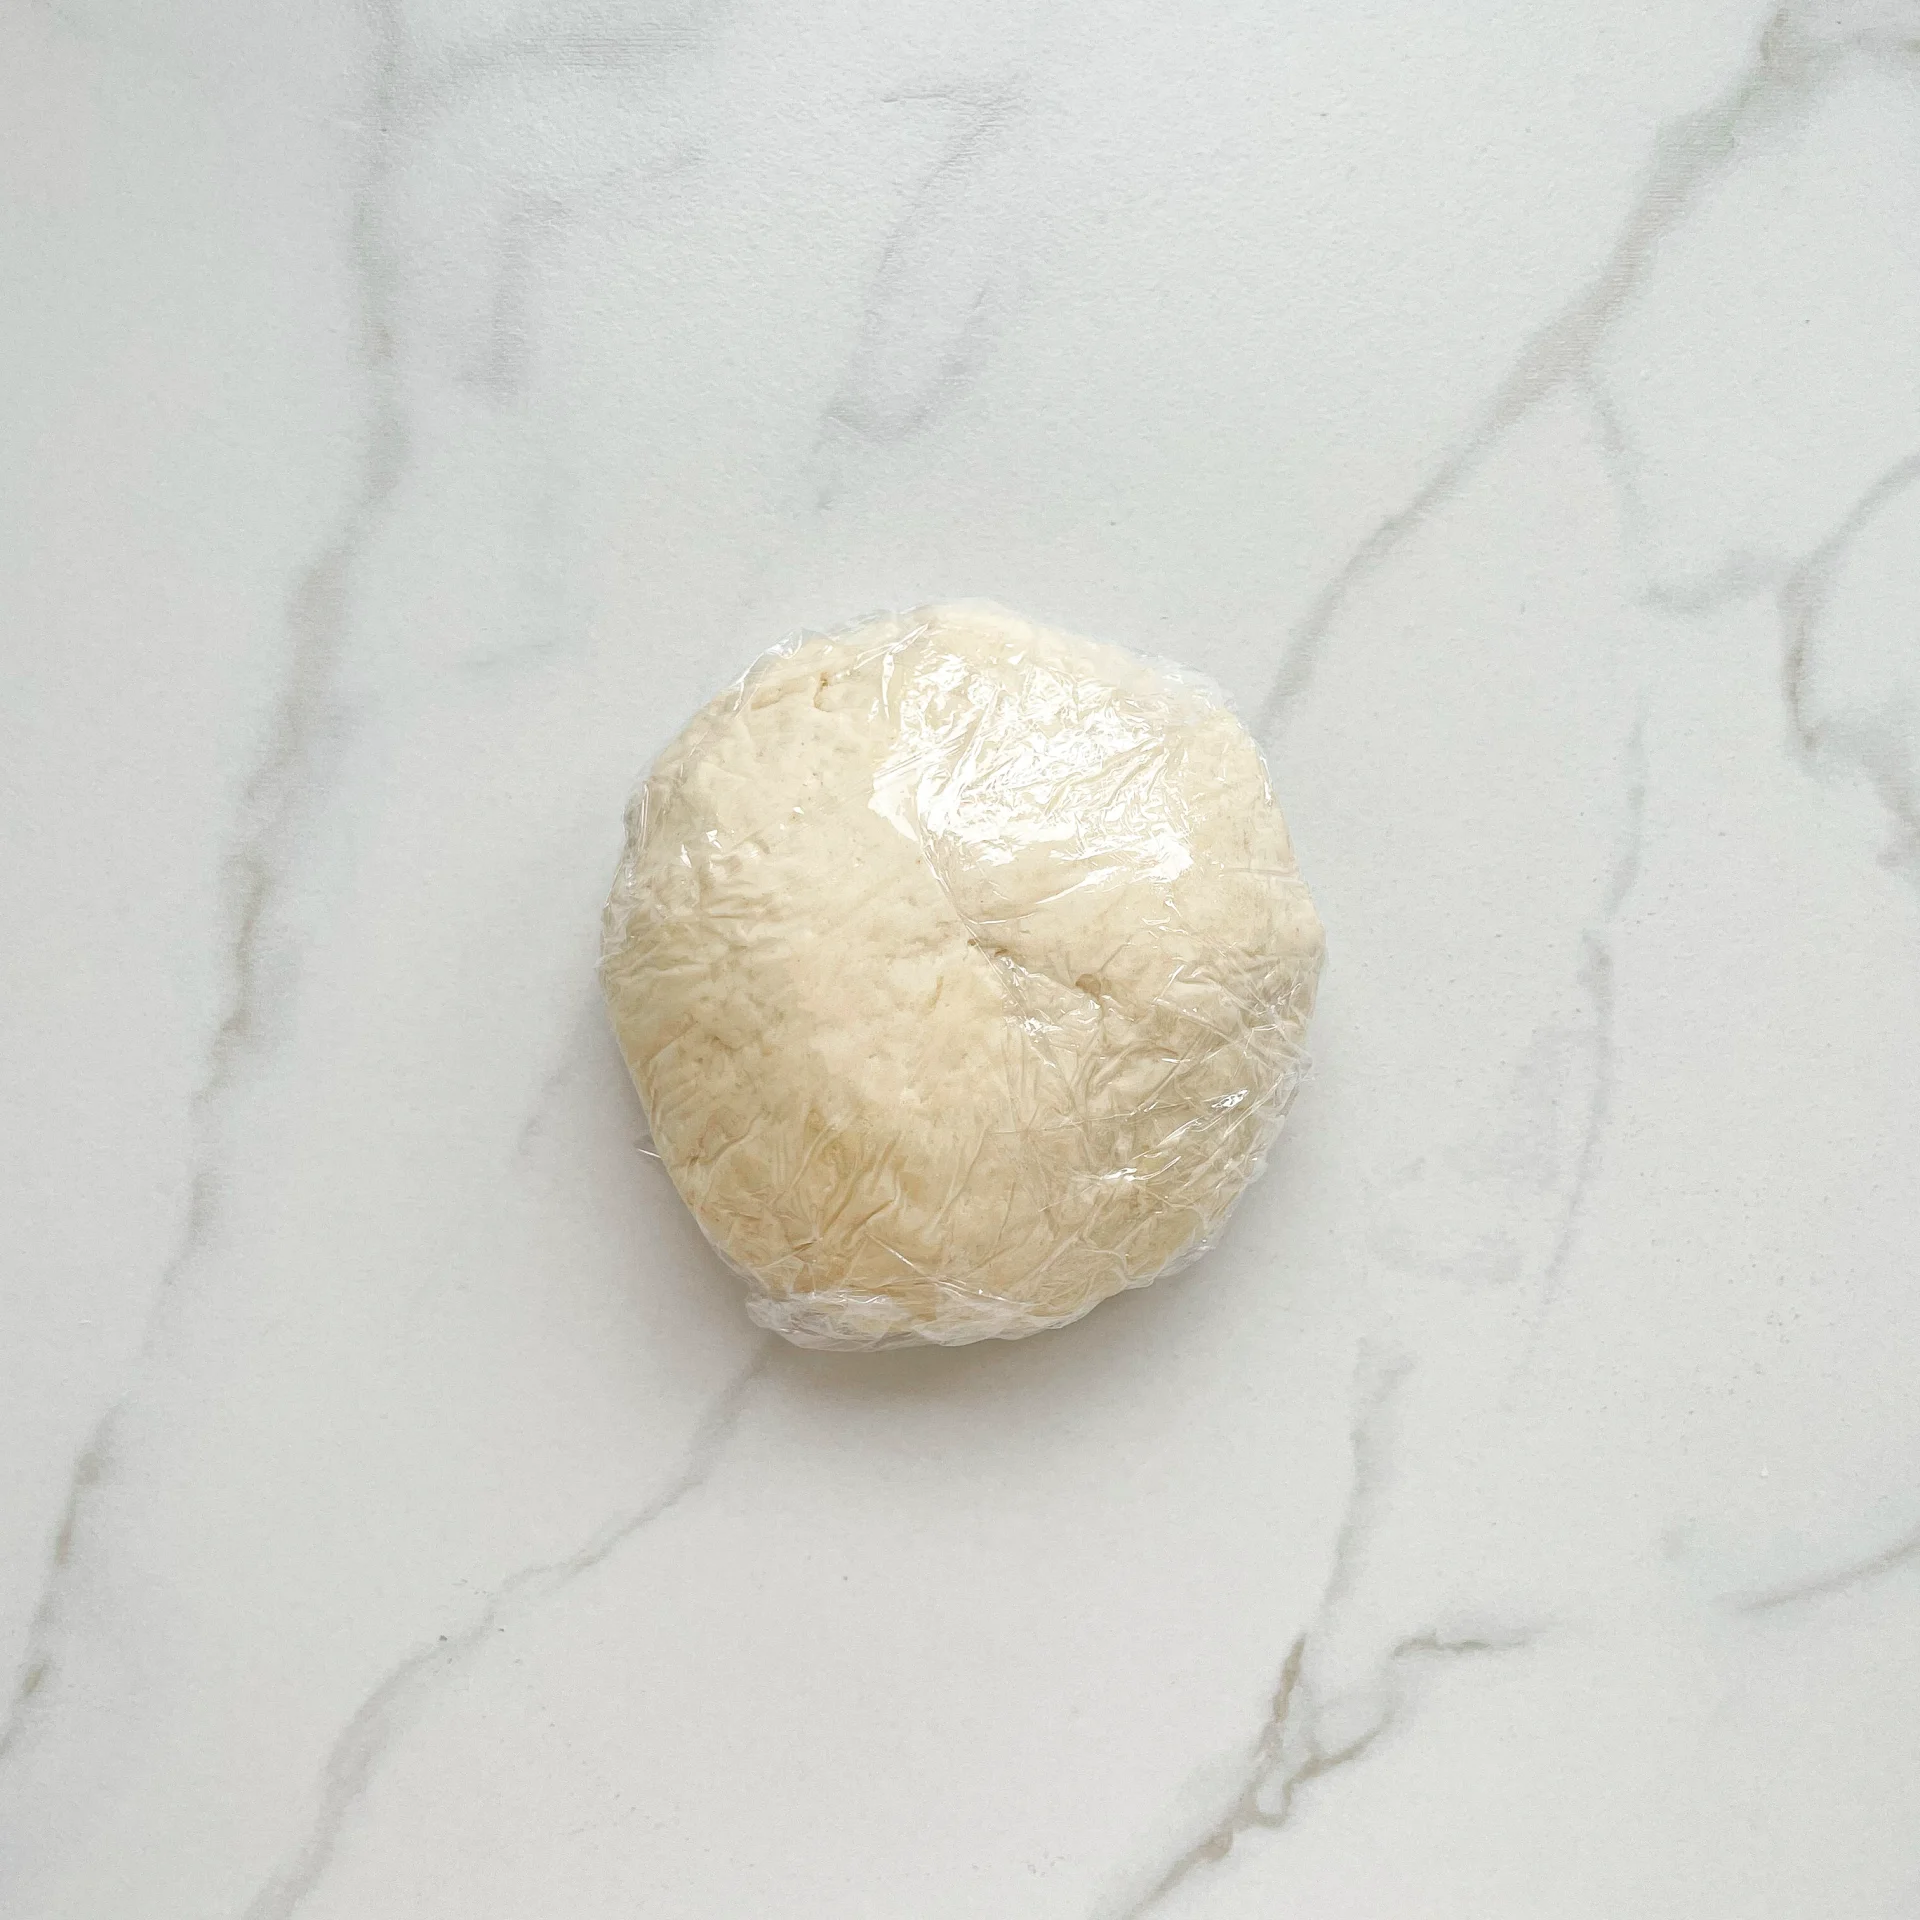
    • Put the water, salt, olive oil and sifted flour in a bowl. Stir with a spoon until it is no longer sticky. Then remove everything from the bowl and work into a smooth dough with your hands for approx. 3 minutes. Do not add any more flour. Then wrap the dough in cling film and leave to rest at room temperature for approx. 30 minutes.
    }

    ACTIVE: 10 min

    PASSIVE: 15 min

    COOKING

    1. Remove the skin from the onions and cut into thin stripes.

    2. Sprinkle a little flour on a work surface. Place the dough piece on top and also sprinkle with a little flour. Then use a rolling pin to roll out the dough to the size of a baking tray, approx. 40×30 cm (16×12 inches).

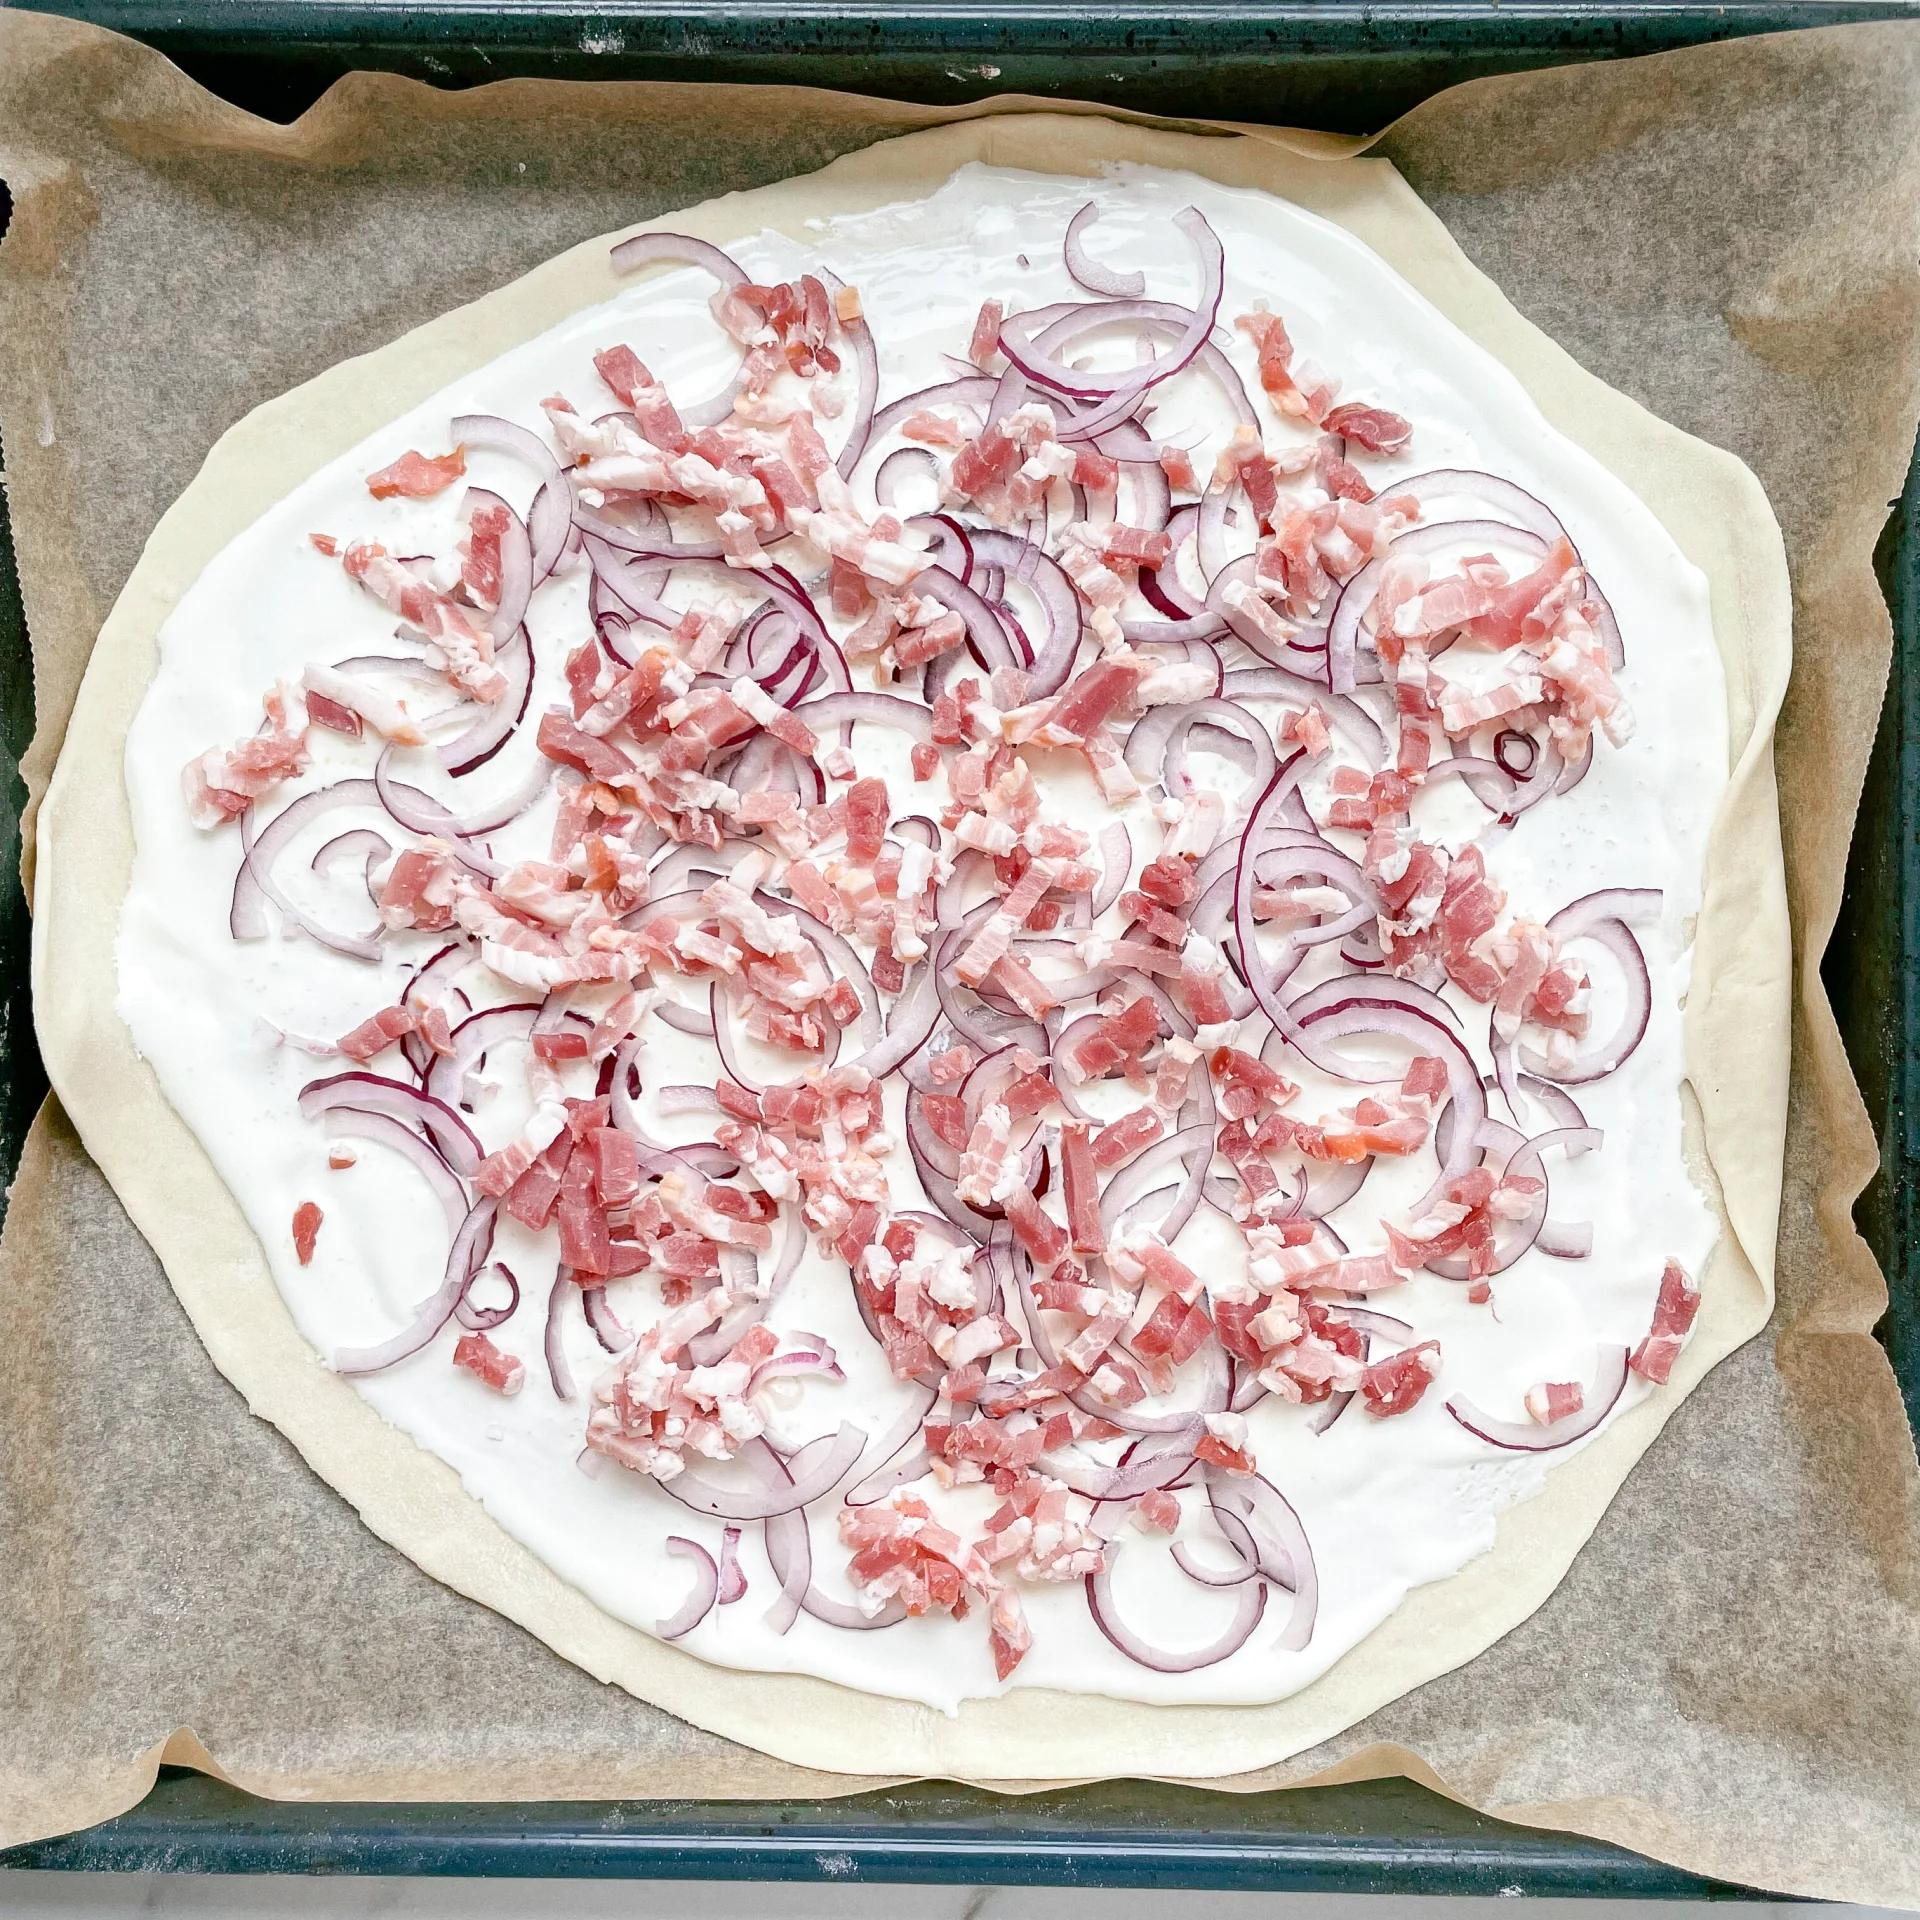
    3. Place the dough on a baking tray lined with baking paper and brush with crème fraîche. Season with salt. Then spread the onions and bacon evenly on top.

    4. Bake the pastry at 250°C (480°F) using the grill function for approx. 15 minutes. Take out and top with freshly cracked pepper and chives.

    NOTE: The calorie information may vary depending on the product used, country and region.

    Smashed Chinese Cucumber Salad

    Smashed Chinese Cucumber Salad

    Smashed Chinese Cucumber Salad

    Smashed Chinese Cucumber Salad

    November 29, 2023 by Kimberly

    Crisp cucumbers mingle with a savory symphony of soy sauce, sesame oil, and garlic, creating a refreshing Chinese Cucumber Salad that’s a burst of flavors in every delightful bite.

    10 MINUTES

    EASY

    VEGAN

    CHINESE

    87 PER PORTION

    REFRESHING

    EVERYDAY

    SNACK / LUNCH

    ALL YEAR

    INTRODUCTION

    ABOUT THE RECIPE

    Embark on a culinary adventure with this Chinese cucumber salad – a harmonious fusion of simplicity and robust flavor. The marriage of crisp cucumbers and an array of spices yields a salad that is not only easy to prepare but also satisfyingly filling.

    How to serve:
    Prepare this salad as a delightful side dish for gatherings or alongside your preferred main meals to elevate your dining experience. Its refreshing flavor and satisfying crunch make it a versatile accompaniment or a light, tasty standalone meal. Enhance it further by topping it with fresh coriander and roasted peanuts.

    How to store:
    To preserve its freshness, store the salad in an airtight container in the refrigerator. Consume within 24 hours for optimal flavor and texture.

    Hi, I'm Kimberly!

    Hi, I'm Kimberly.

    A passionate food lover who believes in the magic of homemade deliciousness that spreads love and warmth. Join me on this culinary adventure as I prepare wonderful dishes and let’s spread some happiness together!

    Kimberly the Zett Signature

    If you want to get to know me better, click here!


    Smashed Chinese Cucumber Salad
    Smashed Chinese Cucumber Salad
    Smashed Chinese Cucumber Salad

    „Let’s make a piece of happiness“

    INGREDIENTS

    For 2 PORTIONS

    SALAD

    • 1 cucumber
    • 1 spring onion
    • 1 small red onion
    • 1/2 tsp roasted sesame seeds

    DRESSING

    • 1 tsp sesame oil
    • 2 tbsp soy sauce
    • 1/2 tsp rice vinegar
    • 1/4 tsp sugar (or honey)
    • 1/2 tsp crispy chili oil
    • 1 garlic clove
    Smashed Chinese Cucumber Salad
    }

    ACTIVE: 0 min

    PASSIVE: 0 min

    PREPARATIONS

    Recommended Equipment
    • sharp knife
    • cutting board
    • meat mallet (or rolling pin)
    • small frying pan
    • medium sized bowl
    • None
      }

      ACTIVE: 10 min

      PASSIVE: 0 min

      COOKING

      1. Beat the cucumber lightly all over with a meat mallet or rolling pin. Then cut the cucumber into large pieces and place in a medium-sized bowl.

      2. Cut the red onion into thin strips and finely slice the spring onion and add everything to the bowl.

      3. Remove the skin from the garlic and press it into the bowl.

      4. Toast the sesame seeds in a small pan and add to the bowl.

      5. Now add the sesame oil, soy sauce, rice vinegar, sugar and chilli oil to the bowl and then mix with the other ingredients to make a salad. Optionally, add fresh coriander and chopped peanuts.

      NOTE: The calorie information may vary depending on the product used, country and region.

      Chicken Shawarma Plate

      Chicken Shawarma Plate

      Chicken Shawarma Plate

      Chicken Shawarma Plate

      November 28, 2023 by Kimberly

      Experience a taste symphony with this Chicken Shawarma Plate – succulent spiced chicken, vibrant fresh veggies, and a zesty mint-garlic dip. A flavorful journey on every plate!

      60 MINUTES

      EASY

      OMNIVORE

      ARABIC

      485 PER PORTION

      COMFORT FOOD

      EVERYDAY

      DINNER

      ALL YEAR

      INTRODUCTION

      ABOUT THE RECIPE

      Savor the exotic flavors of my Chicken Shawarma Plate! Succulent, spice-infused chicken, paired with a medley of fresh tomatoes and cucumbers, all enhanced by a zesty mint-garlic dip. This culinary masterpiece promises a taste journey that’s as bold and exciting as it is delicious. Elevate your dining experience with this harmonious fusion of textures and spices, making every bite a celebration of Middle Eastern culinary delights.

      How to serve:
      Serve a delicious chicken shawarma plate by combining the seasoned chicken with the fresh tomato, cucumber and parsley salad and the spicy mint garlic dip. Feel free to add rice or chubz, a Lebanese bread, as well. This versatile dish offers a fusion of flavors and textures that can be enjoyed on any occasion. A simple but delicious culinary adventure awaits!

      How to store:
      To store the Chicken Shawarma Plate, refrigerate any leftovers promptly. Keep the spiced chicken, tomato-cucumber salad, mint-garlic dip, and other components in separate airtight containers. This helps maintain their individual flavors and textures. When reheating, warm the chicken separately to preserve its tenderness. Consume within a day or two for the best taste and freshness.

      Hi, I'm Kimberly!

      Hi, I'm Kimberly.

      A passionate food lover who believes in the magic of homemade deliciousness that spreads love and warmth. Join me on this culinary adventure as I prepare wonderful dishes and let’s spread some happiness together!

      Kimberly the Zett Signature

      If you want to get to know me better, click here!


      Chicken Shawarma Plate
      Chicken Shawarma Plate
      Chicken Shawarma Plate

      „Let’s make a piece of happiness“

      INGREDIENTS

      For 2 People

      CHICKEN

      • 400g (14 oz.) chicken breast or boneless, skinless chicken thighs
      • 1 tsbp olive oil
      • 1 tbsp lemon juice
      • 3 garlic cloves
      • 1 tsp cumin
      • 1 tsp smoked paprika
      • 1 tsp salt
      • 1/4 tsp turmeric
      • 1/4 tsp curry
      • 1/8 tsp cinnamon
      • 1/8 tsp pepper

      SALAD

      • 200g tomatoes (7 oz.)
      • 150g cucumber (5 oz.)
      • 80g red onion (3 oz.)
      • 1 tbsp parsley
      • 2 tbsp olive oil
      • 1 tbsp lemon juice
      • 1/8 tsp salt
      • 1/8 tsp pepper

      DIP

      • 200g yogurt (7 oz.)
      • 12 leaves fresh mint
      • 1 garlic clove
      • 1/4 tsp salt
      • 1/8 tsp pepper
      Chicken Shawarma Plate
      }

      ACTIVE: 20 min

      PASSIVE: 0 min

      PREPARATIONS

      Recommended Equipment
      • sharp knife
      • cutting board
      • small bowl
      • medium bowl
      • frying pan

      Chicken

      • If you are using chicken breast, cut it into small pieces. If you are using boneless and skinless chicken thighs, you can also leave them whole.
      • Remove the skin from the 3 garlic cloves.
      • In a bowl, mix together 1 tbsp olive oil and 1 tbsp lemon juice.
      • Squeeze the garlic cloves into the bowl with the olive oil and lemon juice. Now add 1 tsp cumin, 1 tsp smoked paprika powder, 1/4 tsp turmeric, 1/4 tsp curry powder, 1/8 tsp cinnamon, 1 tsp salt and 1/8 tsp black pepper and mix well.
      • Place the chicken in the marinade and mix everything well so that the entire chicken is covered with the marinade.
      • Now place the bowl in the fridge. Leave it in the fridge to marinate for about 30 minutes.

      Salad

      • Meanwhile cut the tomatoes into small pieces.
      • Cut the cucumber into small pieces.
      • Cut the onion into small pieces.
      • Pluck the parsley from the stalks and chop finely.

      Dip

      • Remove the skin from the garlic clove.
      • Stack the mint leaves on top of each other and roll them up. Then cut into rings and chop finely.
      }

      ACTIVE: 10 min

      PASSIVE: 30 min

      COOKING

      1. Place 200g (7 oz.) yogurt in the small bowl. Add the garlic clove with a press. Finally, add 1/4 tsp salt and 1/8 tsp finely ground pepper, as well as the finely chopped mint, and mix everything into a creamy dip.

      2. In a medium bowl, whisk together 2 tbsp olive oil, 1 tbsp lemon juice and salt and pepper to taste.

      3. Now add the chopped tomato, cucumber and onion pieces and the finely chopped parsley and mix everything into a salad.

      4. When the chicken has finished marinating, heat a large frying pan over a medium heat. It is not necessary to add any more fat, as the chicken already has oil in the marinade. The chicken pieces can now be placed on wooden or metal skewers before frying, but this is not a must. Tip: If you want to use wooden skewers, place them in a bowl of water 1 hour before use so that they can soak up the oil and won’t burn during frying.

      5. Either place the chicken on skewers in the pan or fry them individually. To ensure proper juiciness in chicken so that it does not become dry, turn it only once during frying. When you place the raw chicken in the pan, let it cook on the side over a medium heat until it turns white around the edges, which is the sign that the bottom half is cooked through. Then you can turn it over. Then fry for the same amount of time on the other side.

      6. When the meat is ready, arrange it on two plates, place the salad next to it and serve the mint and garlic sauce separately or spread directly over the chicken.

      NOTE: The calorie information may vary depending on the product used, country and region.