Shichimi Togarashi (Japanese 7 Spice Blend)

Shichimi Togarashi (Japanese 7 Spice Blend)

Shichimi Togarashi (Japanese 7 Spice Blend)

Shichimi Togarashi (Japanese 7 Spice Blend)

April 10, 2025 by Kimberly

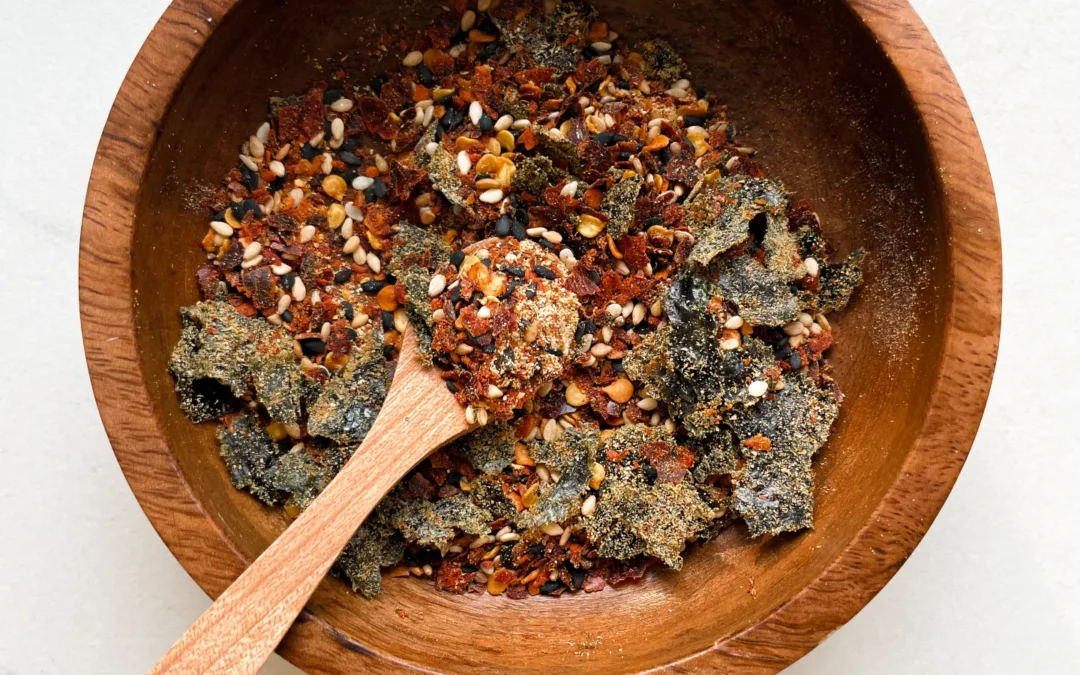
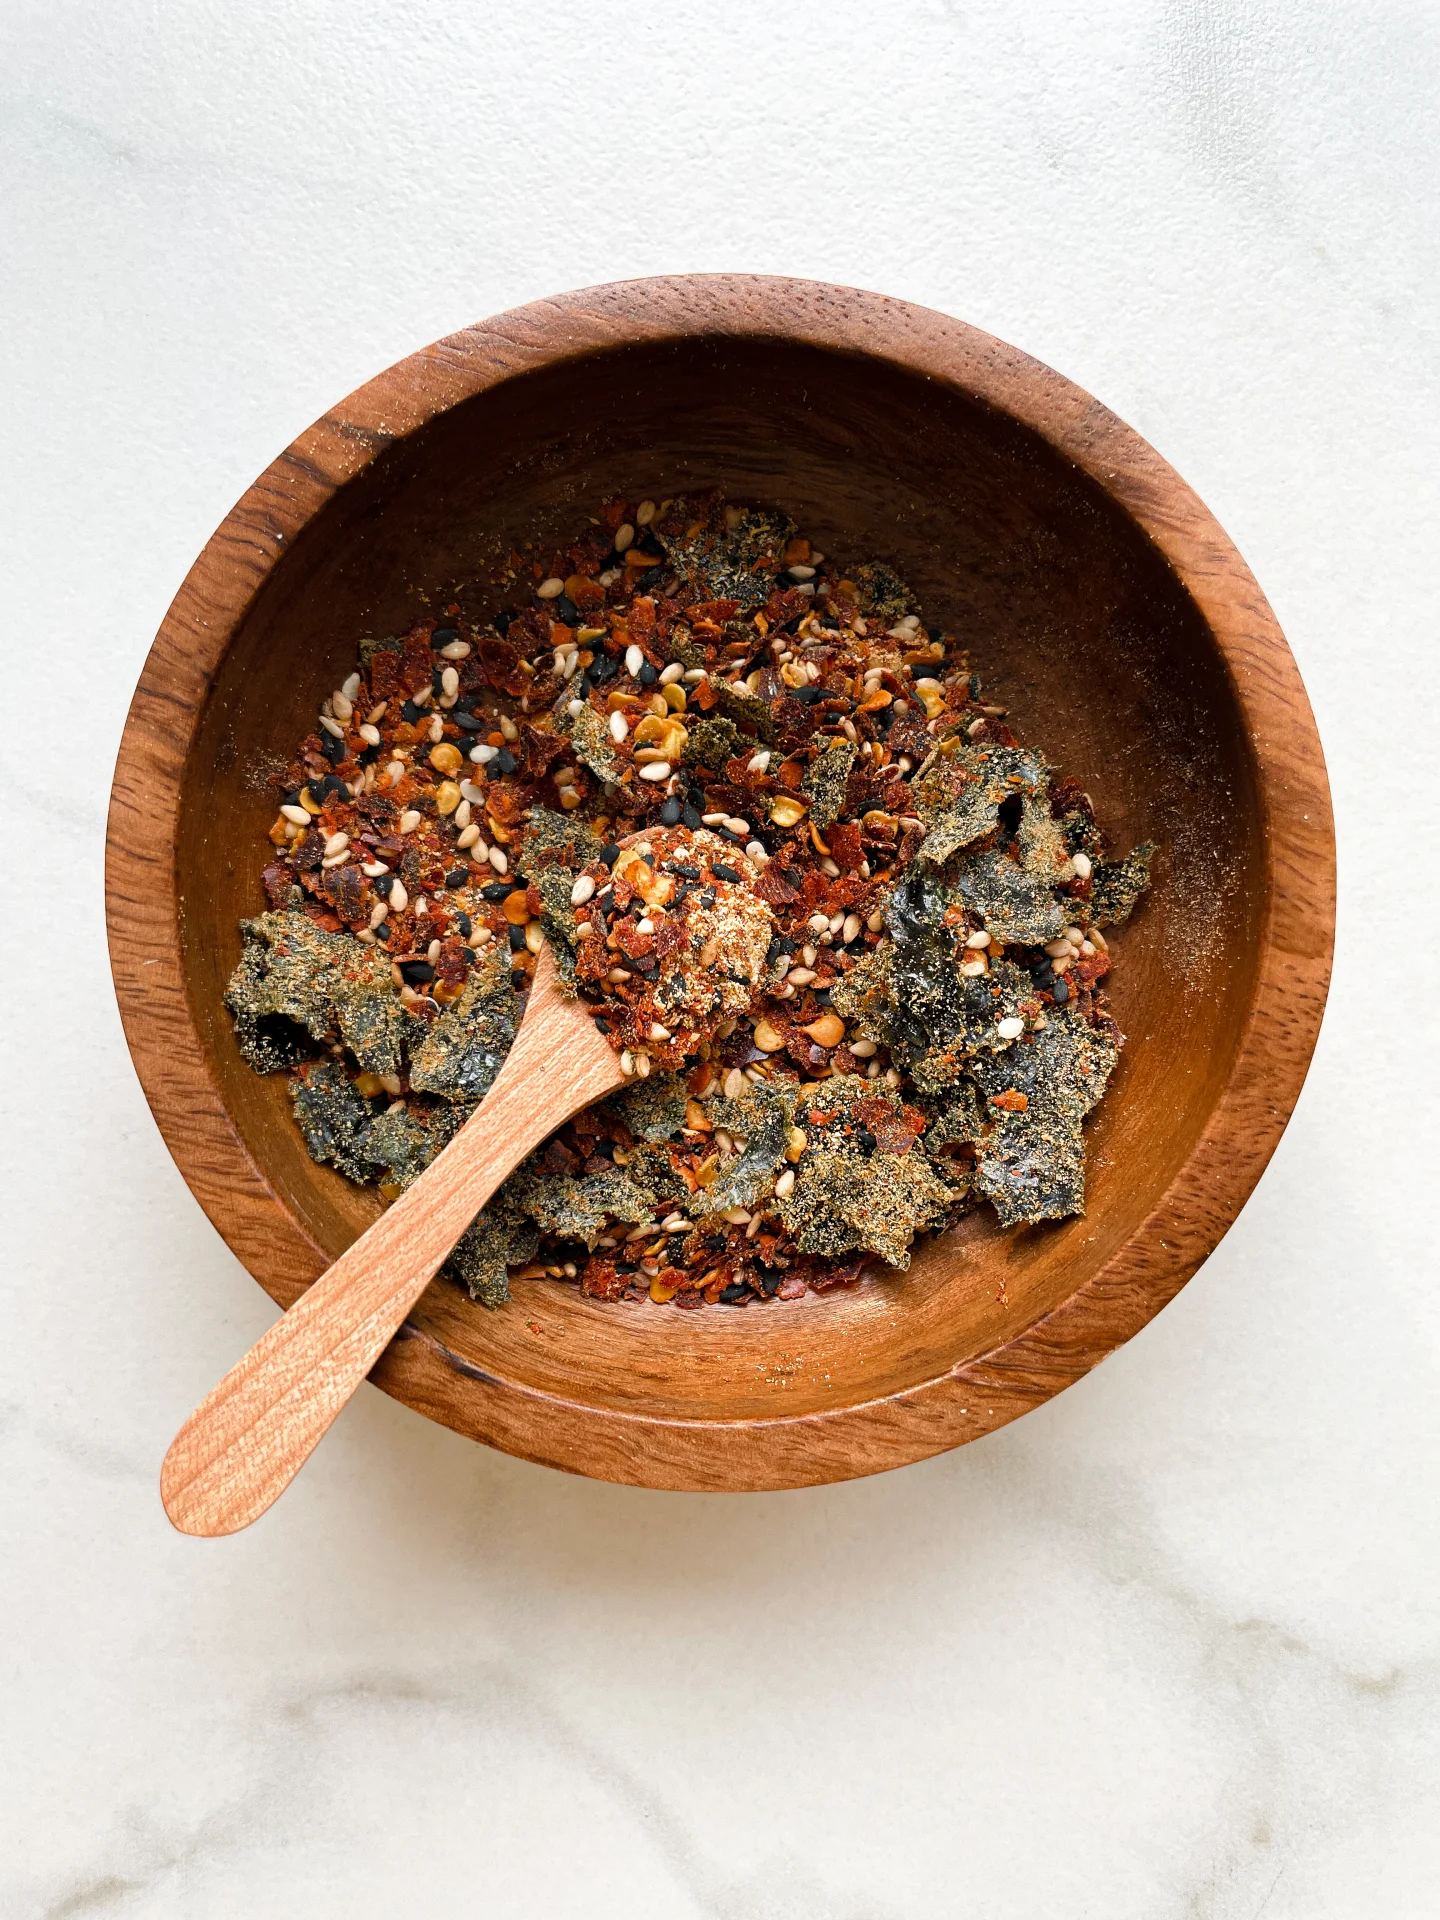
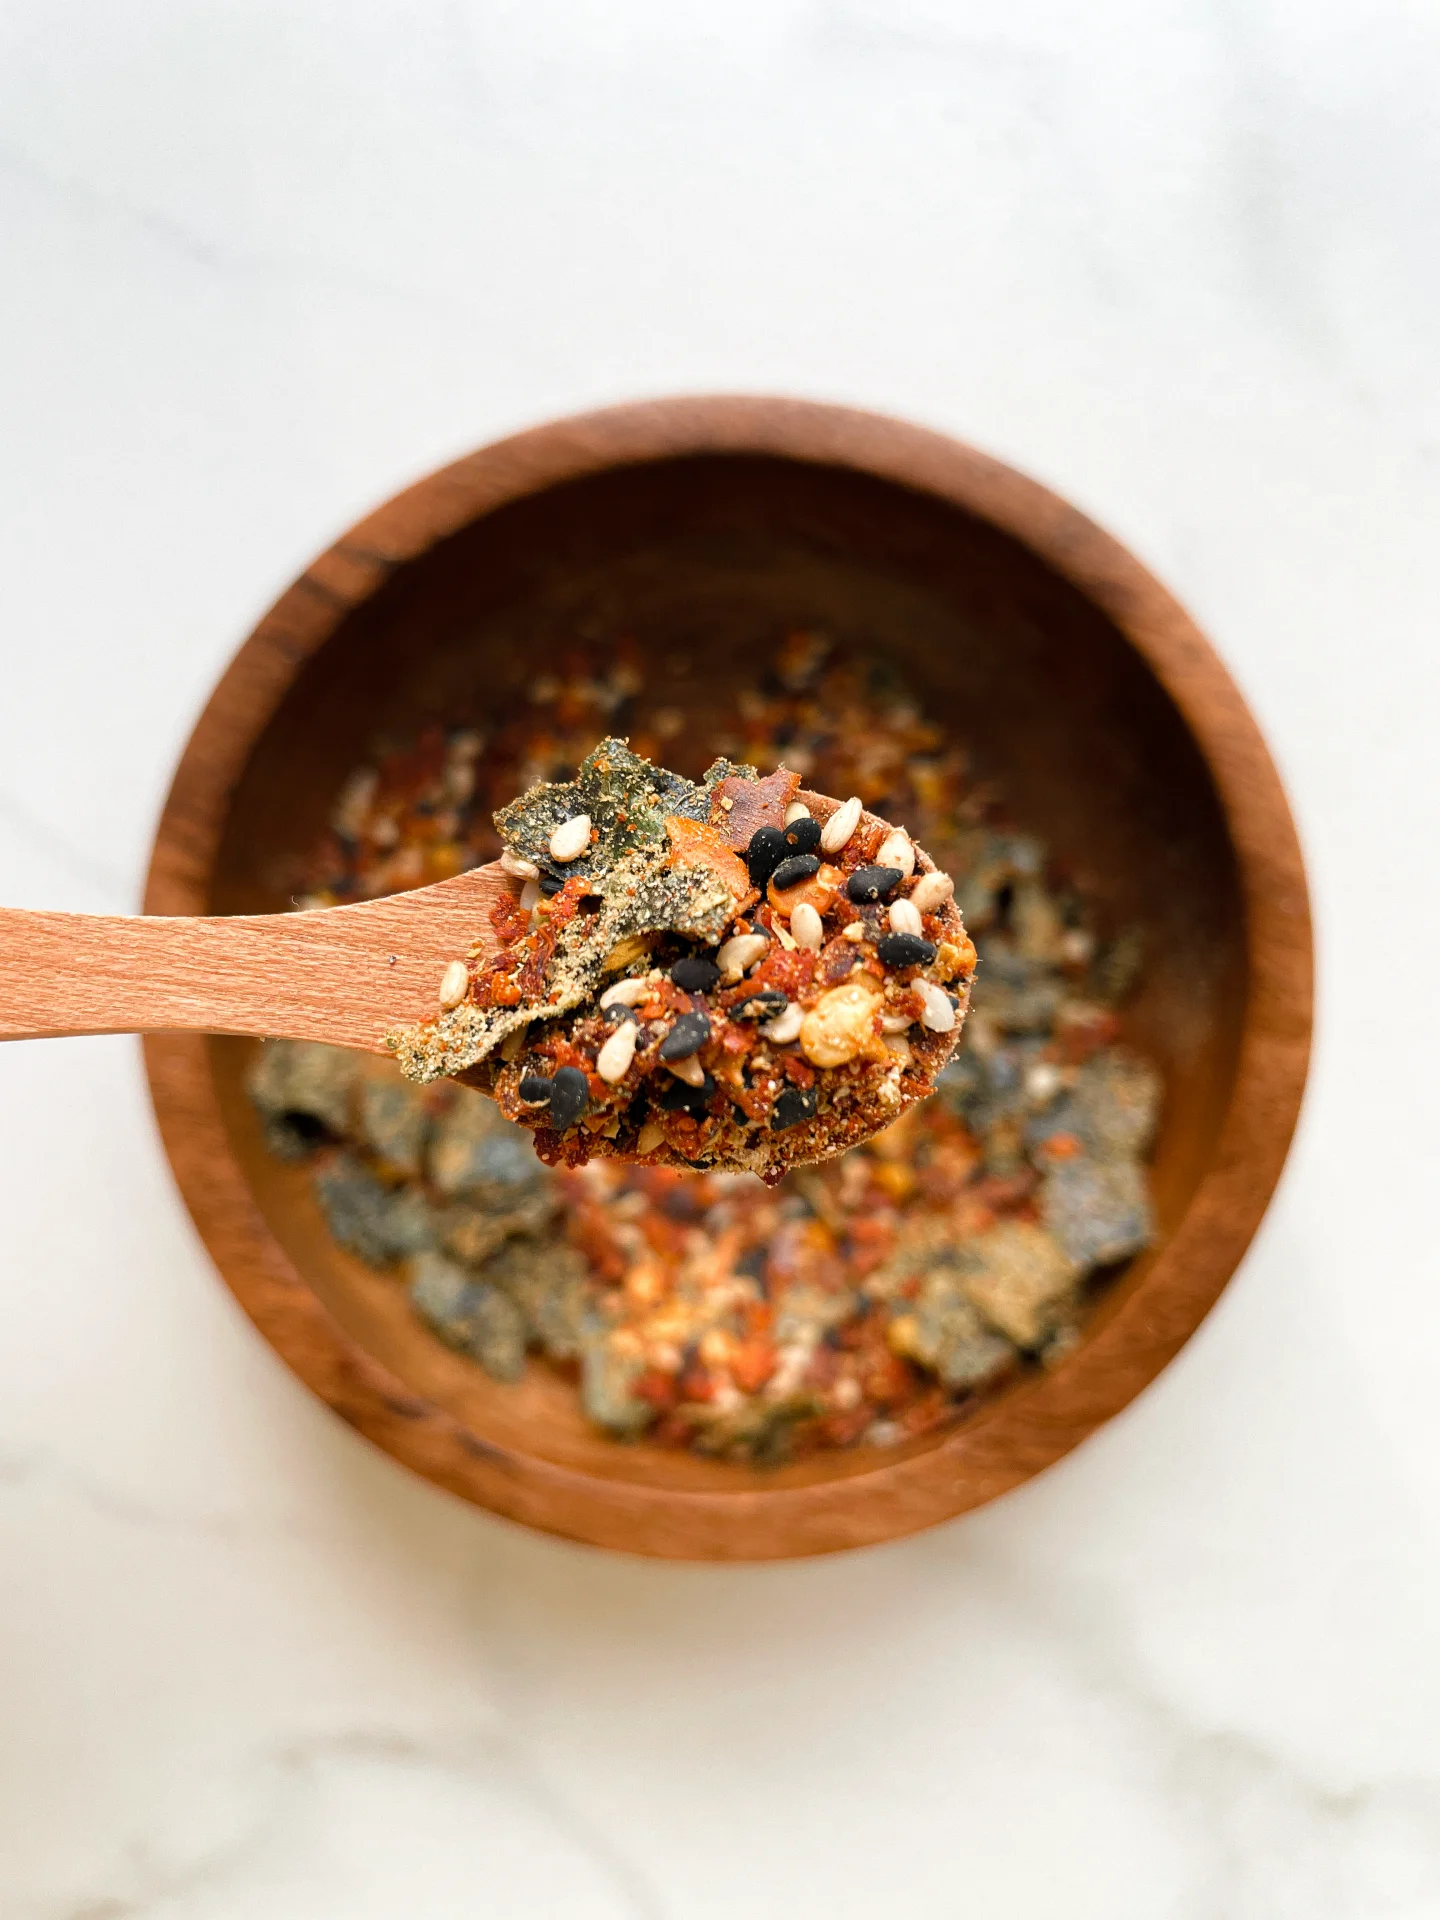
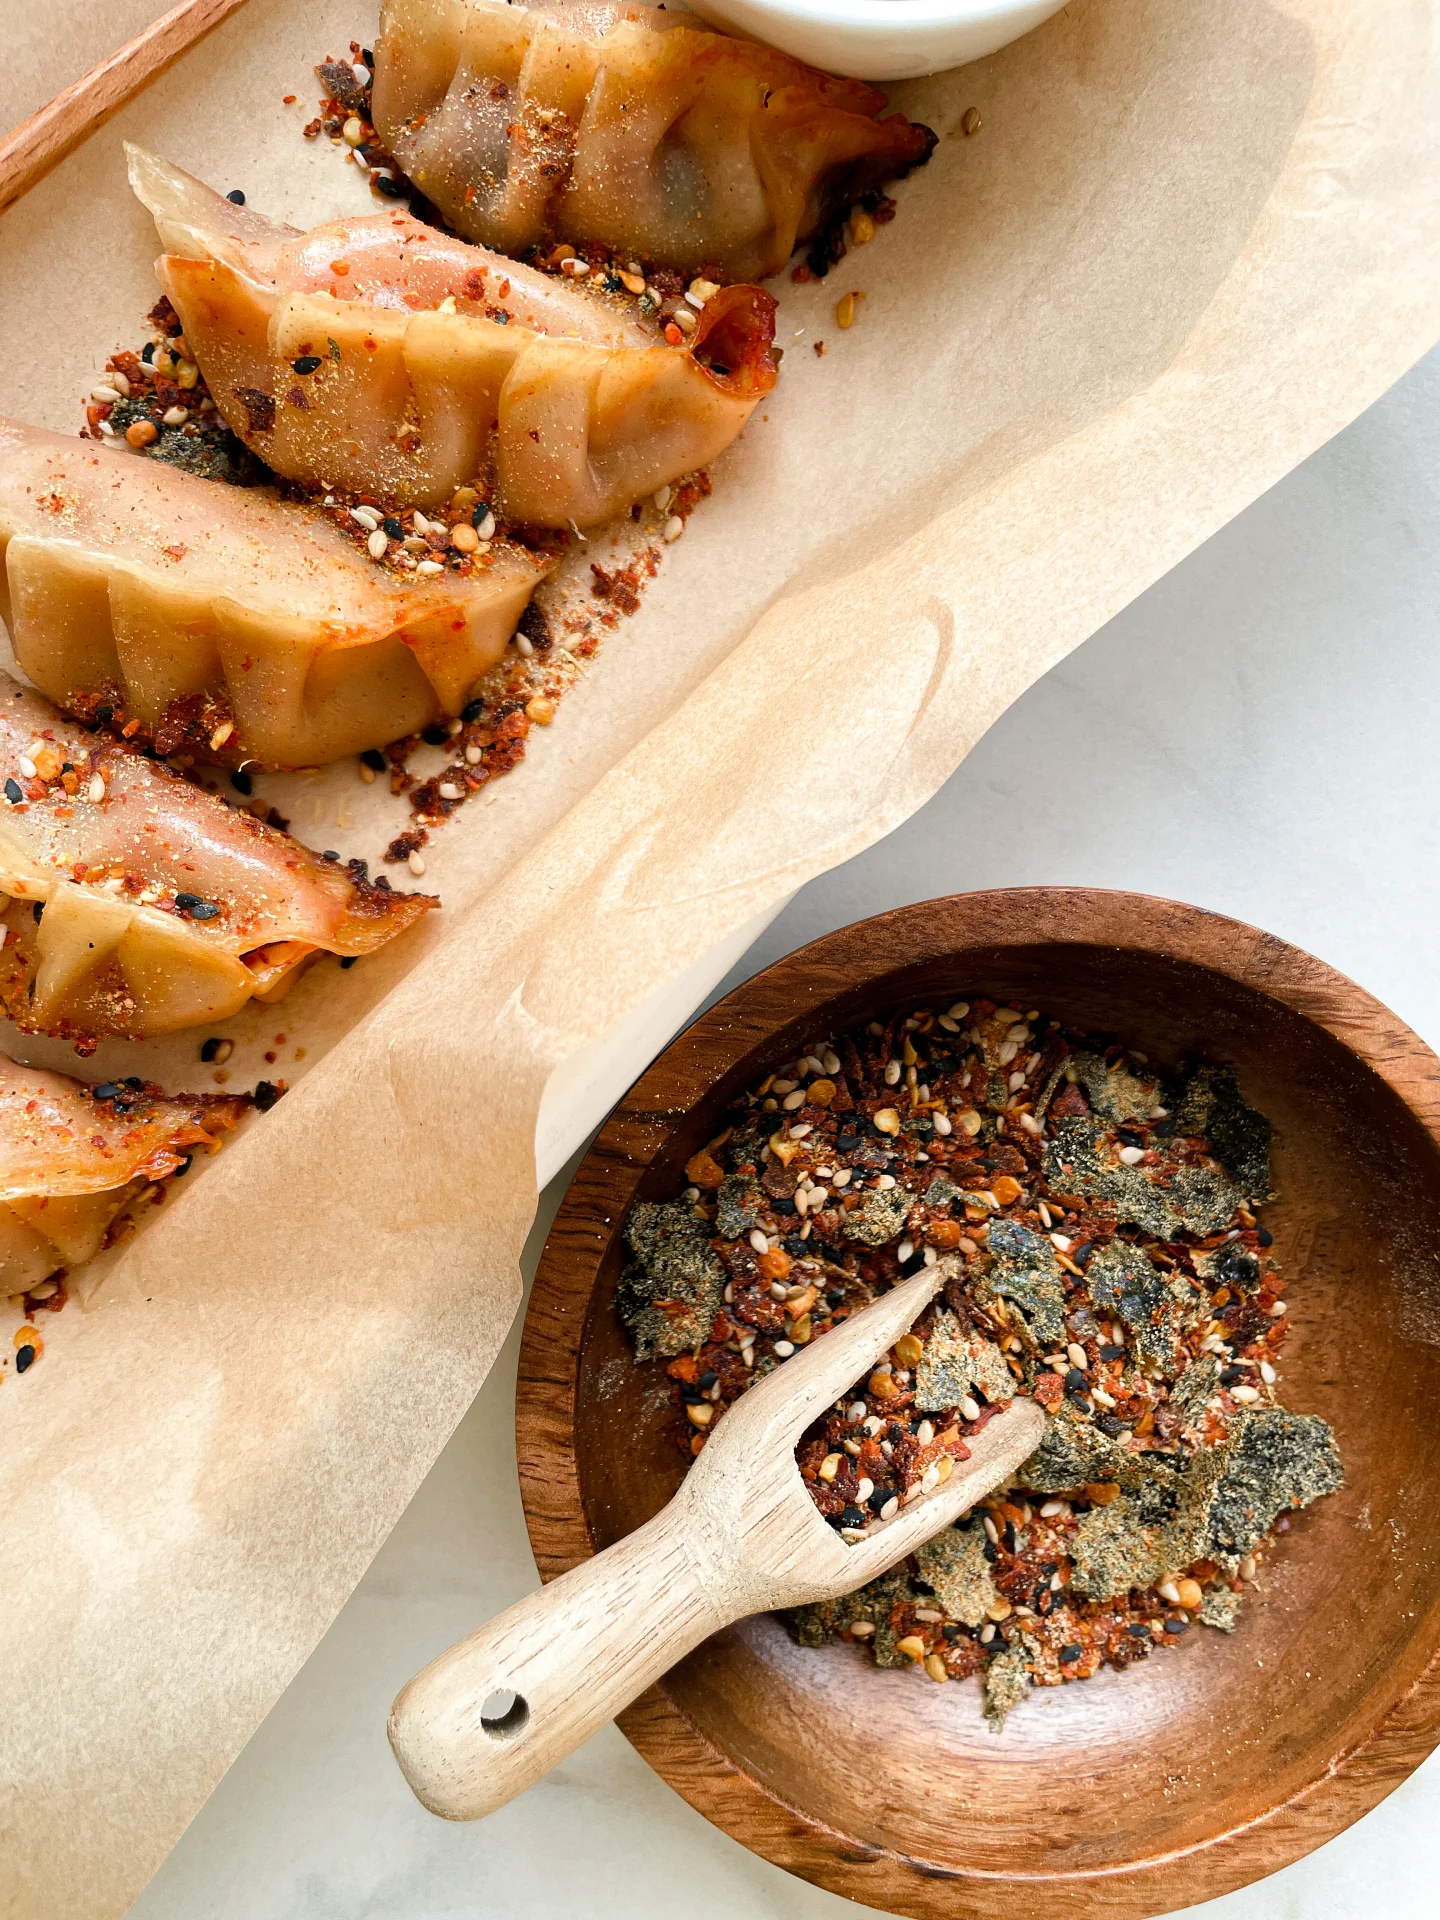
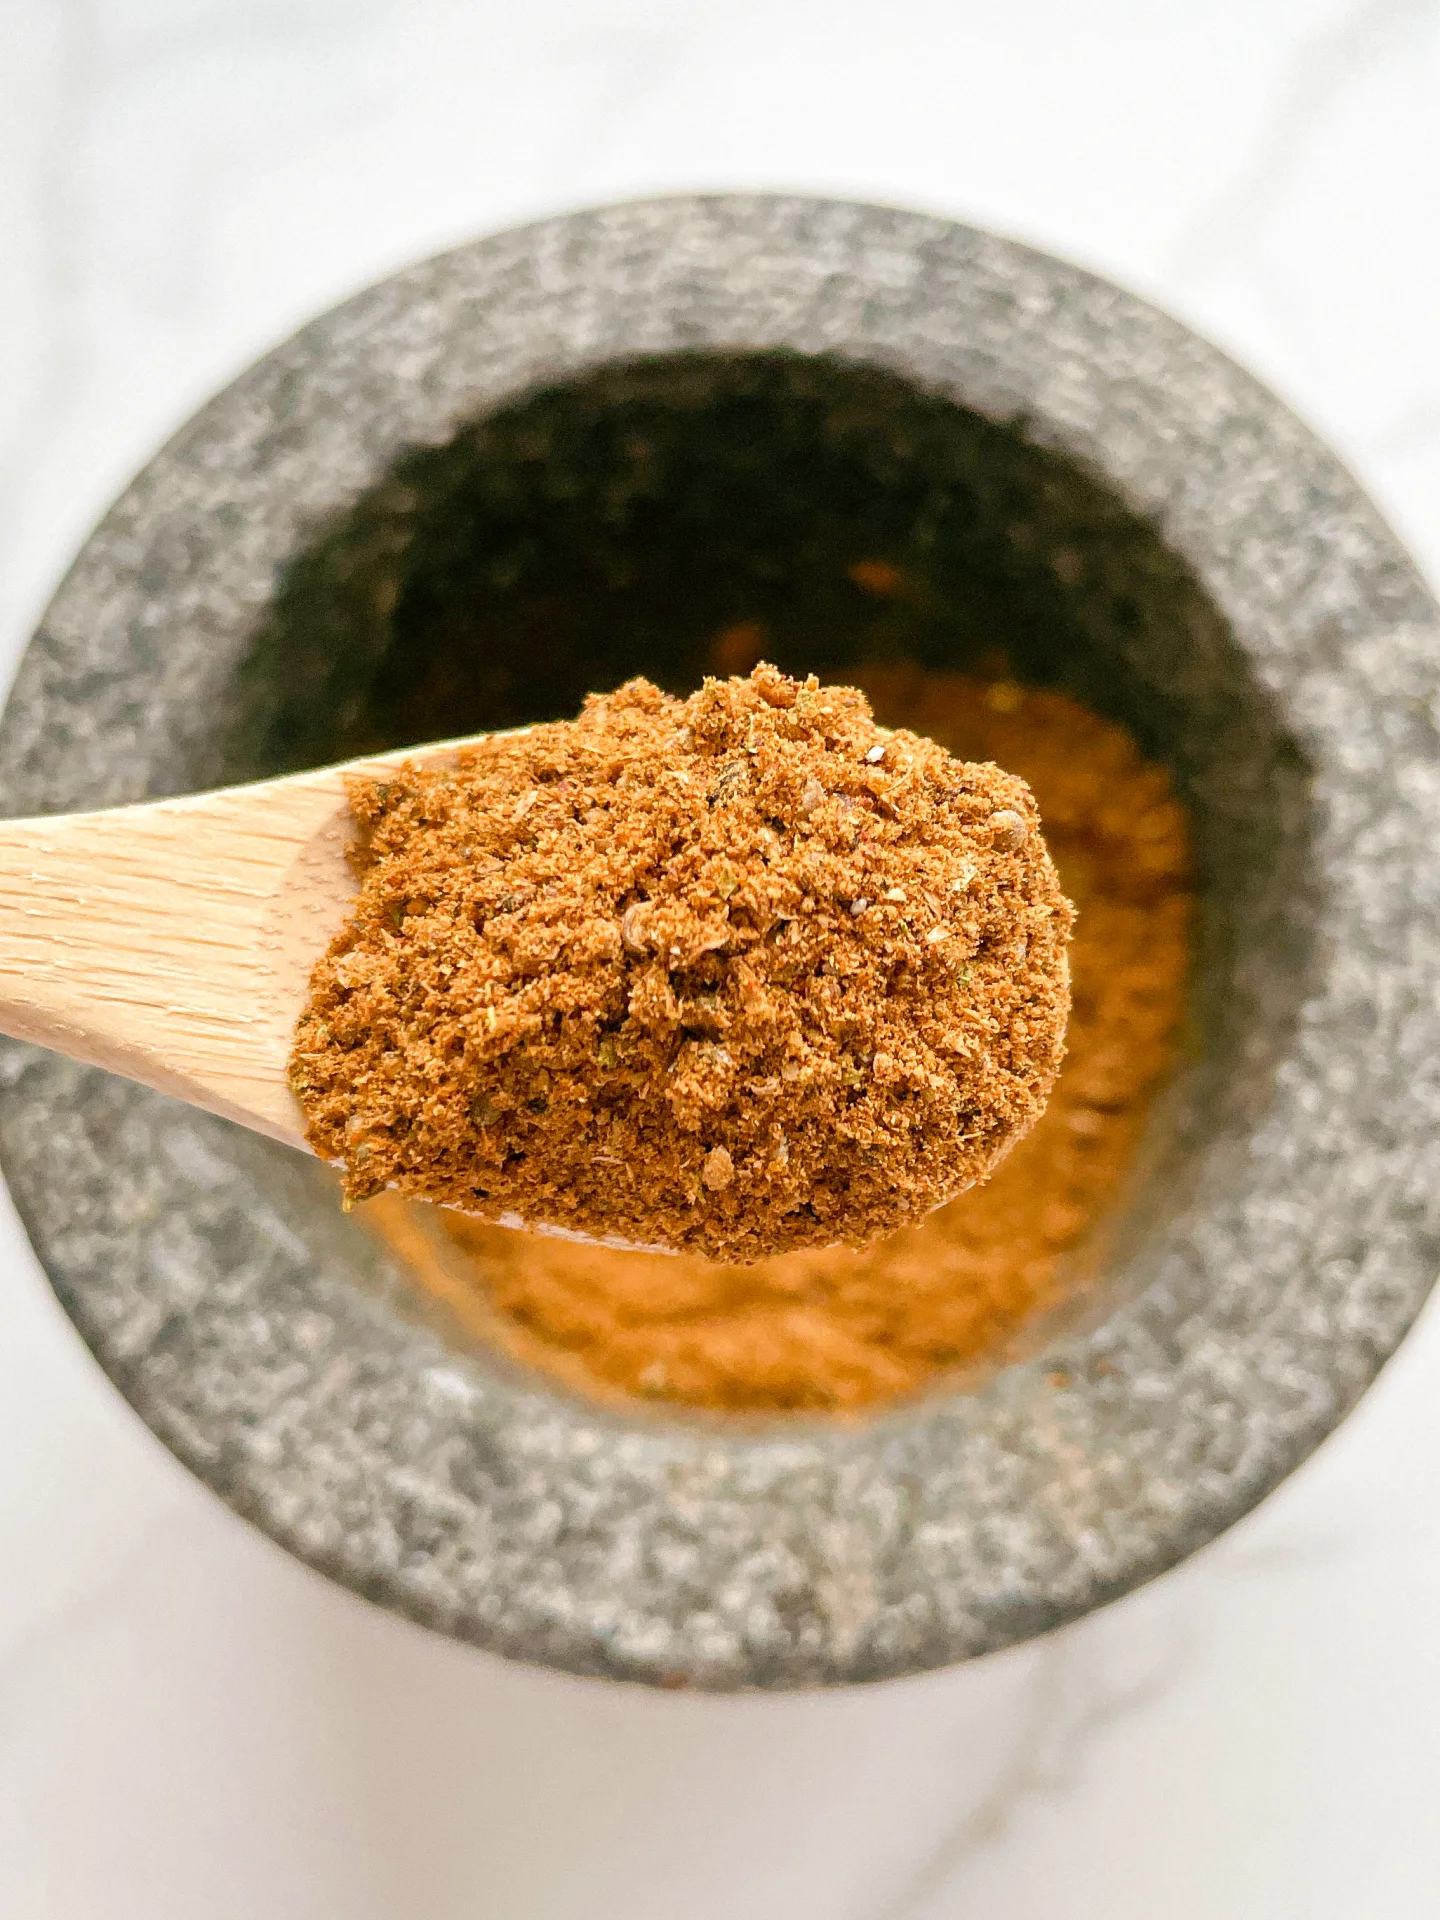
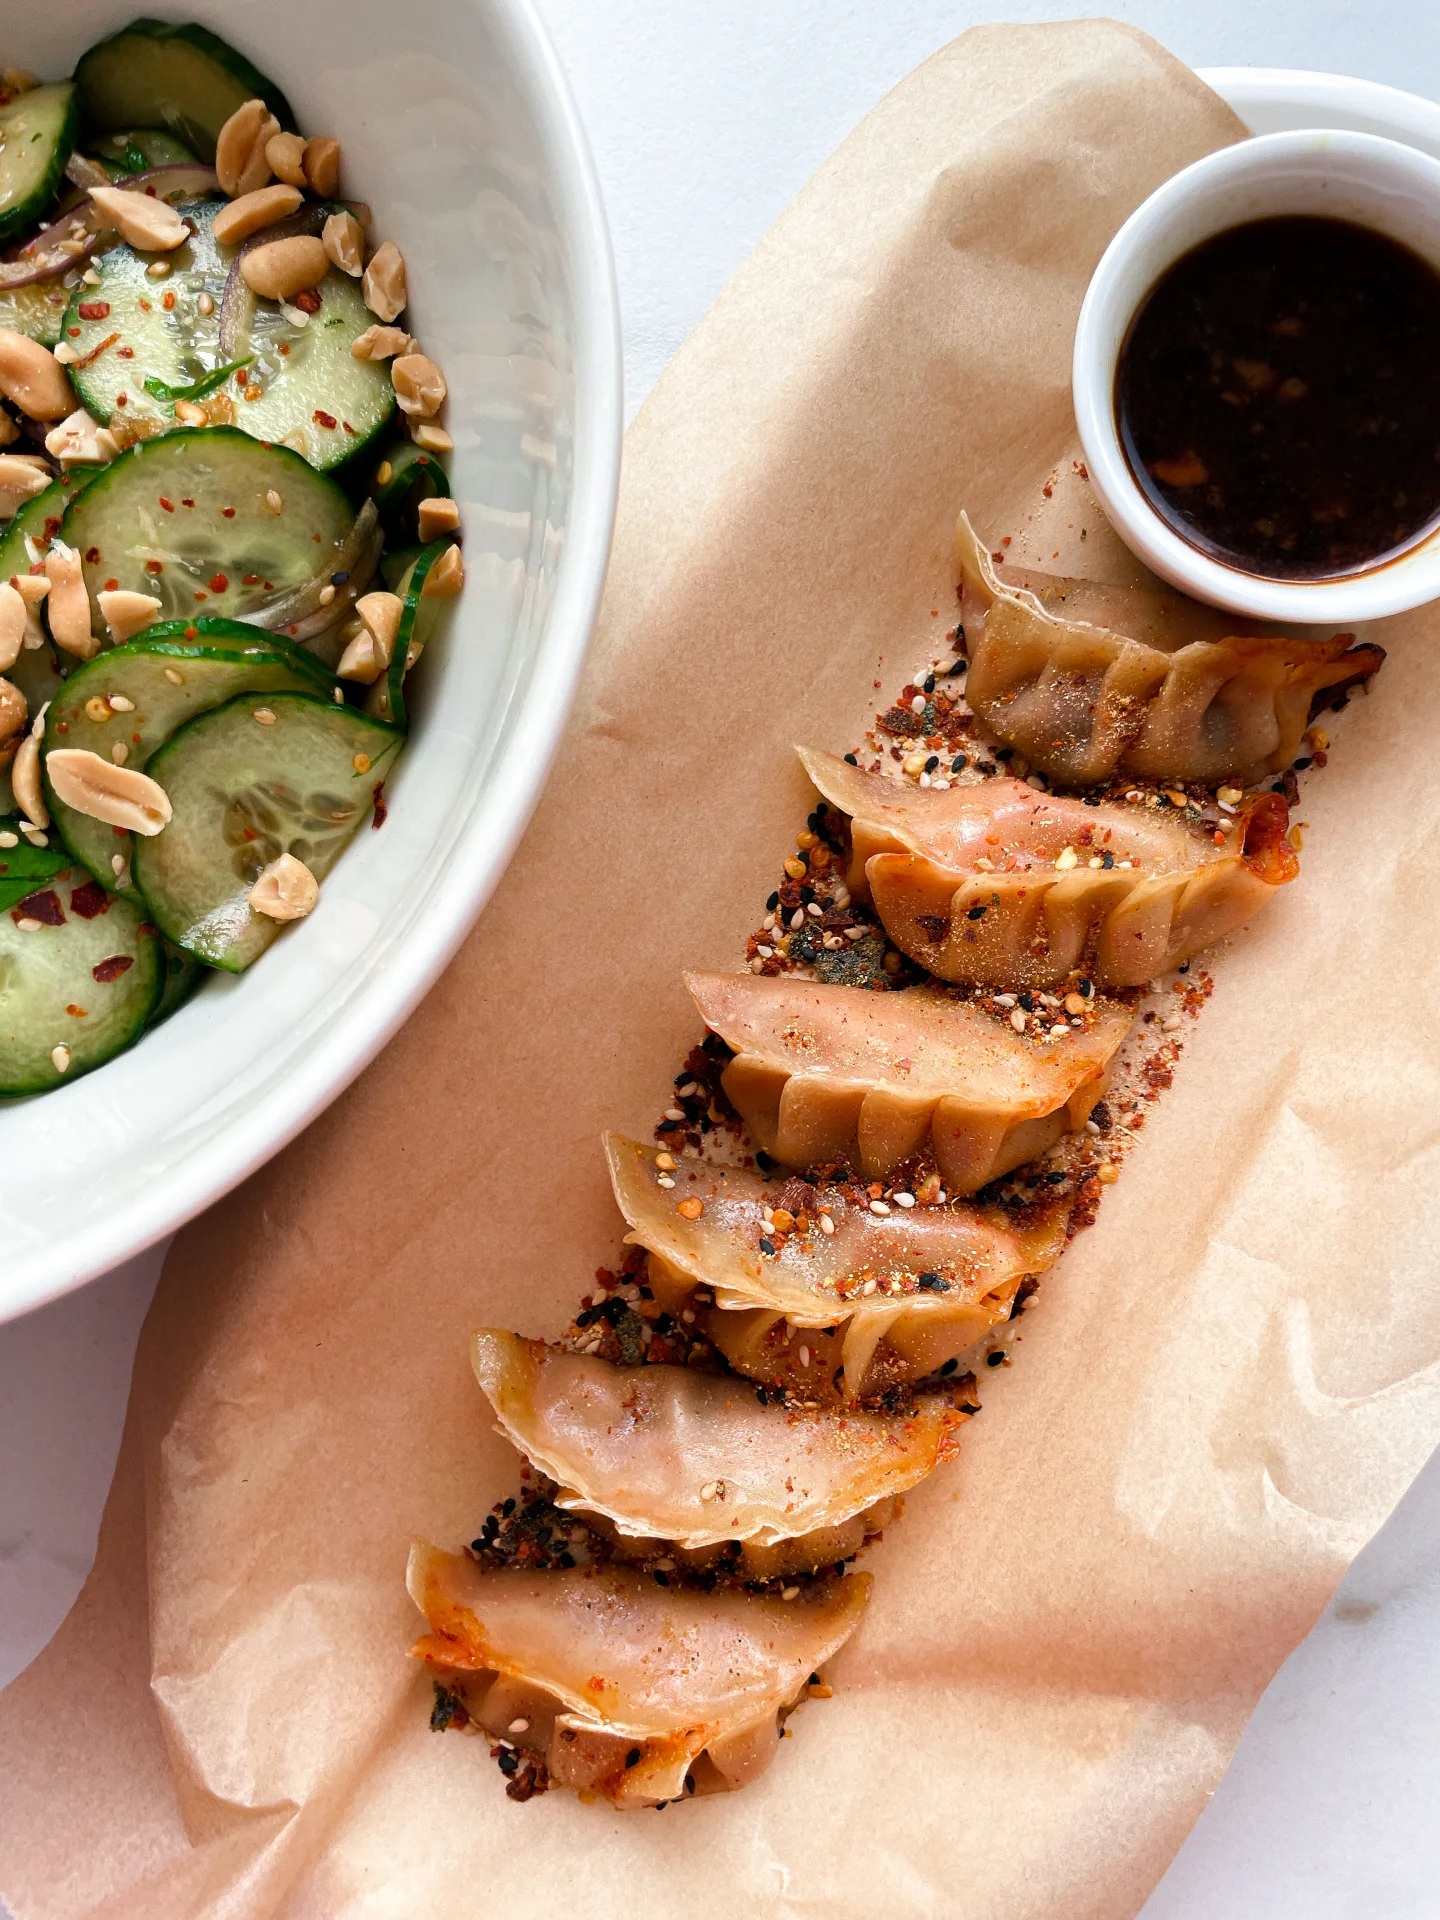
Making Shichimi Togarashi at home sounds more complicated than it actually is, because in reality, it comes together in no time. This Japanese seven-spice blend combines chili, sesame, nori, and orange peel into a flavor that’s not just spicy, but also fresh, nutty, and lightly citrusy. Just a pinch is enough to turn everyday dishes into something instantly more exciting. Sprinkle it over dumplings, avocado toast, or ramen, and suddenly it tastes like an evening at a Tokyo street market. That’s the magic of Shichimi Togarashi. A little adventure in your everyday cooking.

This website uses affiliate links which may earn commission for purchases made at no additional cost to you.

TOTAL TIME

10 min

SERVES

3 tbsp

DIET

vegan

EVERY RECIPE DESERVES

A Little Love Letter

It might sound fancy, but at the end of the day it’s really just a bold, citrusy-spicy topping with a whole lot of personality. Chili with character, toasted sesame, a hint of orange zest. Together they transform “tastes good” into “tastes special.” It’s that perfect balance of fiery, salty, and fresh that makes any dish feel instantly more alive. Almost like bringing street food vibes into your own kitchen, minus the effort and chaos.

I honestly use this spice blend all the time. In my Crispy Pork Gyoza, Miso Ginger Oil Glaze & Fried Seaweed, it pulls all the flavors together like the final brushstroke on a painting. And in my Kimchi Gyoza, it delivers just the right kick that makes my friends and family ask, “Wait, what’s in this?!” That’s my favorite moment when everyone thinks I’ve been fussing with some secret technique, but it was really just a tiny spoonful of this mix. The best part? There’s zero planning involved. A quick sprinkle and suddenly the whole dish feels elevated.

And of course, you’ll want to keep it fresh. I always store mine in a small airtight jar in the pantry. That way, it keeps its full flavor for about two to three months. It’s the kind of simple little habit that makes cooking so much more fun: one unassuming jar on the shelf that has the power to make your food taste ten times more interesting, without you having to lift a finger more than usual. And now, that so-called fancy flavor is just your everyday companion. A jar that started out sounding special and elaborate has quietly turned into the easiest little ritual in your kitchen.

Hi, I'm Kimberly!

Hi, I'm Kimberly.

A hopeless romantic when it comes to food. Every recipe I share is a love letter to food itself. I’m so glad you’re here. Make yourself at home and stay a while.

Love,
Kimberly

Kimberly the Zett Signature

If you want to get to know me better,
click here!


Shichimi Togarashi (Japanese 7 Spice Blend)

LET’S MAKE A PIECE OF HAPPINESS

Print
clock clock iconcutlery cutlery iconflag flag iconfolder folder iconinstagram instagram iconpinterest pinterest iconfacebook facebook iconprint print iconsquares squares iconheart heart iconheart solid heart solid icon
Shichimi Togarashi (Japanese 7 Spice Blend)

Shichimi Togarashi (Japanese 7 Spice Blend)


5 Stars 4 Stars 3 Stars 2 Stars 1 Star

No reviews

  • Author: Kimberly
  • Total Time: 10 min
  • Yield: 3 tbsp

Description

Making Shichimi Togarashi at home sounds more complicated than it actually is, because in reality, it comes together in no time. This Japanese seven-spice blend combines chili, sesame, nori, and orange peel into a flavor that’s not just spicy, but also fresh, nutty, and lightly citrusy. Just a pinch is enough to turn everyday dishes into something instantly more exciting. Sprinkle it over dumplings, avocado toast, or ramen, and suddenly it tastes like an evening at a Tokyo street market. That’s the magic of Shichimi Togarashi. A little adventure in your everyday cooking.

GOOD TO HAVE ON HAND

  • mortar & pestle
  • sealable jar

Ingredients

  • 1 tbsp chili flakes
  • 1 tsp orange zest
  • 1/2 tsp Szechuan pepper corns
  • 1/2 tsp white sesame seeds
  • 1/2 tsp black sesame seeds
  • 1/4 nori sheet
  • 1/4 tsp ginger powder

Instructions

  1. Toast ½ tsp white sesame seeds and ½ tsp black sesame seeds in a dry pan over medium heat until golden and fragrant.
  2. Add ½ tsp Szechuan peppercorns and ¼ nori sheet (torn into small pieces) to a mortar and grind them finely, or use a spice grinder if you prefer.
  3. Combine the ground spices with 1 tbsp chili flakes, 1 tsp orange zest, and ¼ tsp ginger powder in a sealable jar. Give it a good shake to mix everything together.
  • Prep Time: 10 min

CRAVING MORE?

Follow along here & don’t forget to subscribe to my substack!

Everything But The Bagel Seasoning

Everything But The Bagel Seasoning

Everything But The Bagel Seasoning

Everything But The Bagel Seasoning

February 10, 2025 by Kimberly

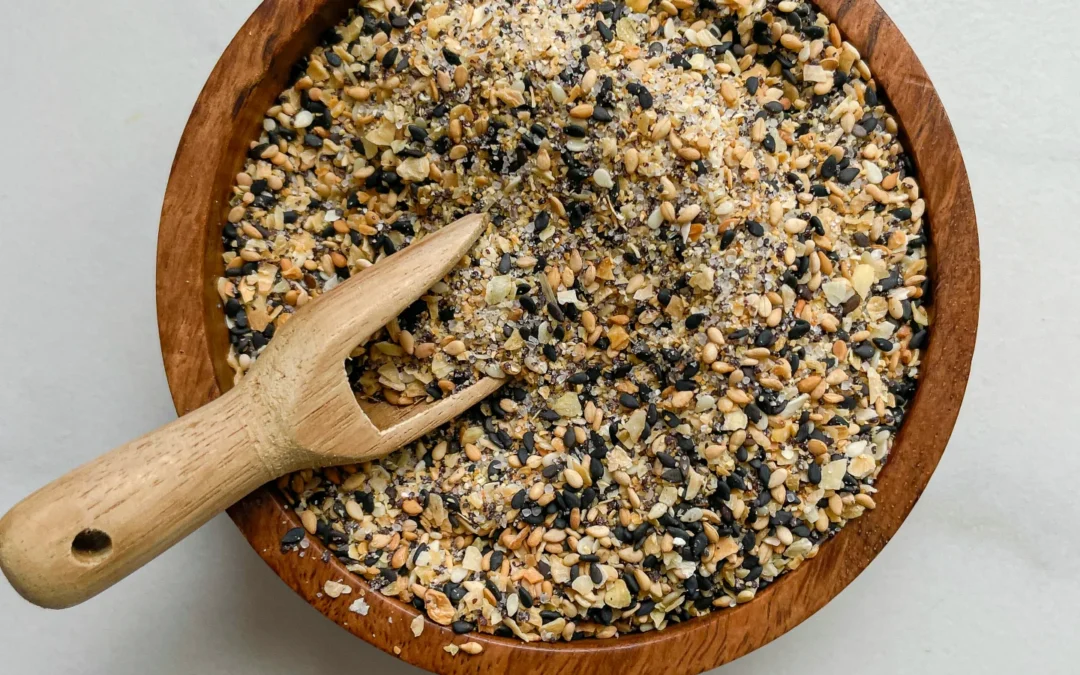
This crunchy, garlicky, toasty magic takes anything from basic to brilliant. Sprinkle it on eggs, avo toast, or even buttered bread, and suddenly, breakfast feels like a weekend brunch moment.

5 MINUTES

EASY

VEGAN

US AMERICAN

11 TBSP (110g)


CRUNCHY

EVERYDAY

TOPPING


ALL YEAR

INTRODUCTION

ABOUT THE RECIPE

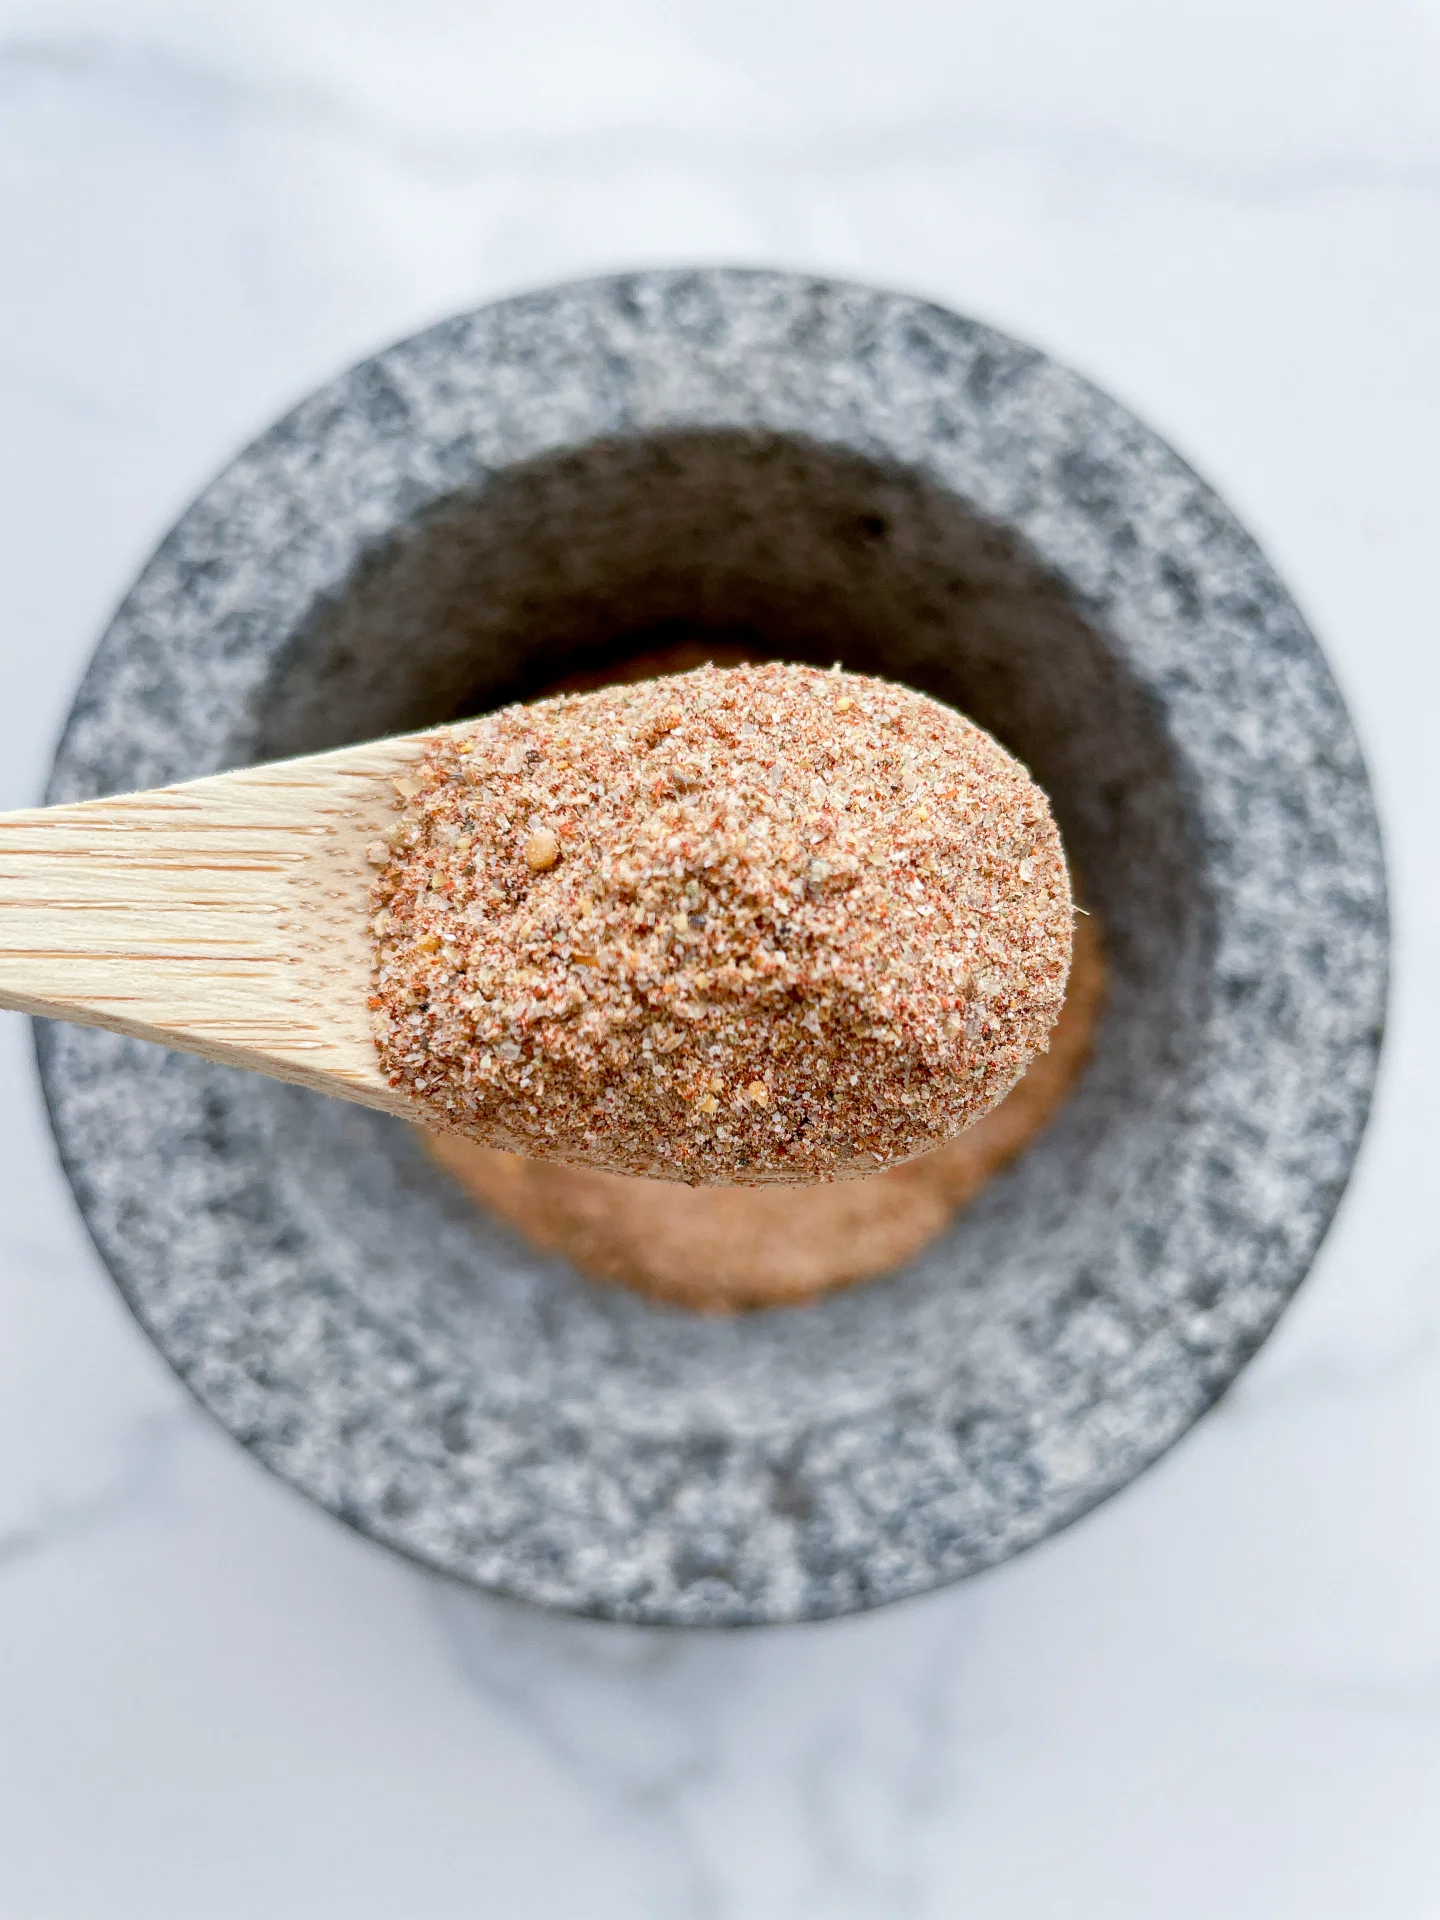
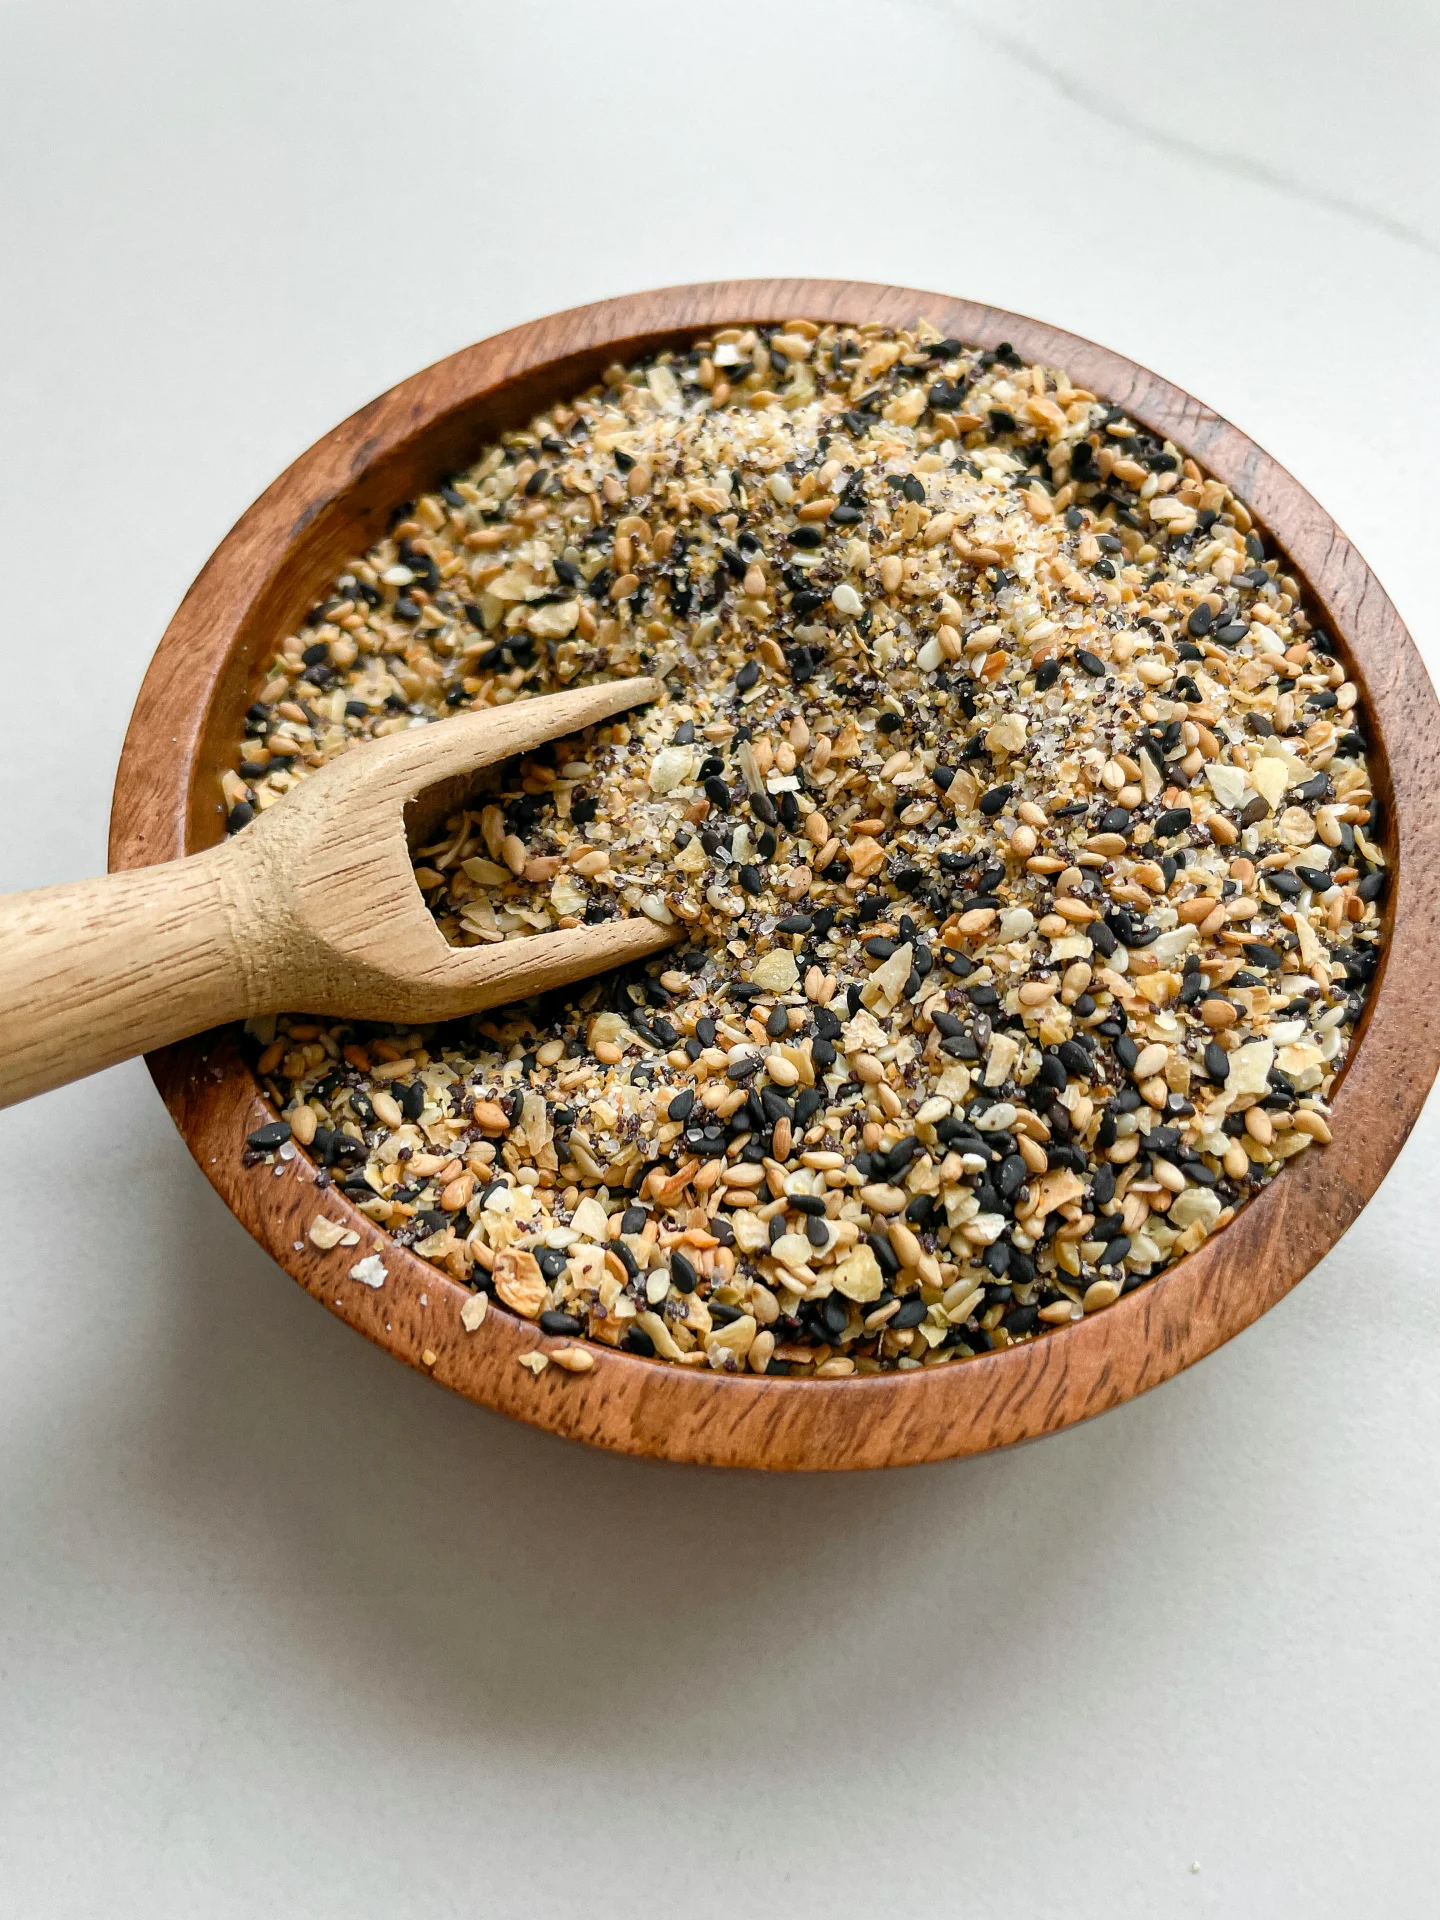
If you’ve ever wished your food had that little extra something, this crunchy, garlicky, nutty magic – this is the answer. Inspired by the iconic everything bagel topping, this homemade blend is an absolute game-changer. Sprinkle it on avo toast, eggs, cottage cheese, or even a basic buttered bread slice – it instantly upgrades anything. And the best part? You can whip it up in minutes with pantry staples.

How to serve
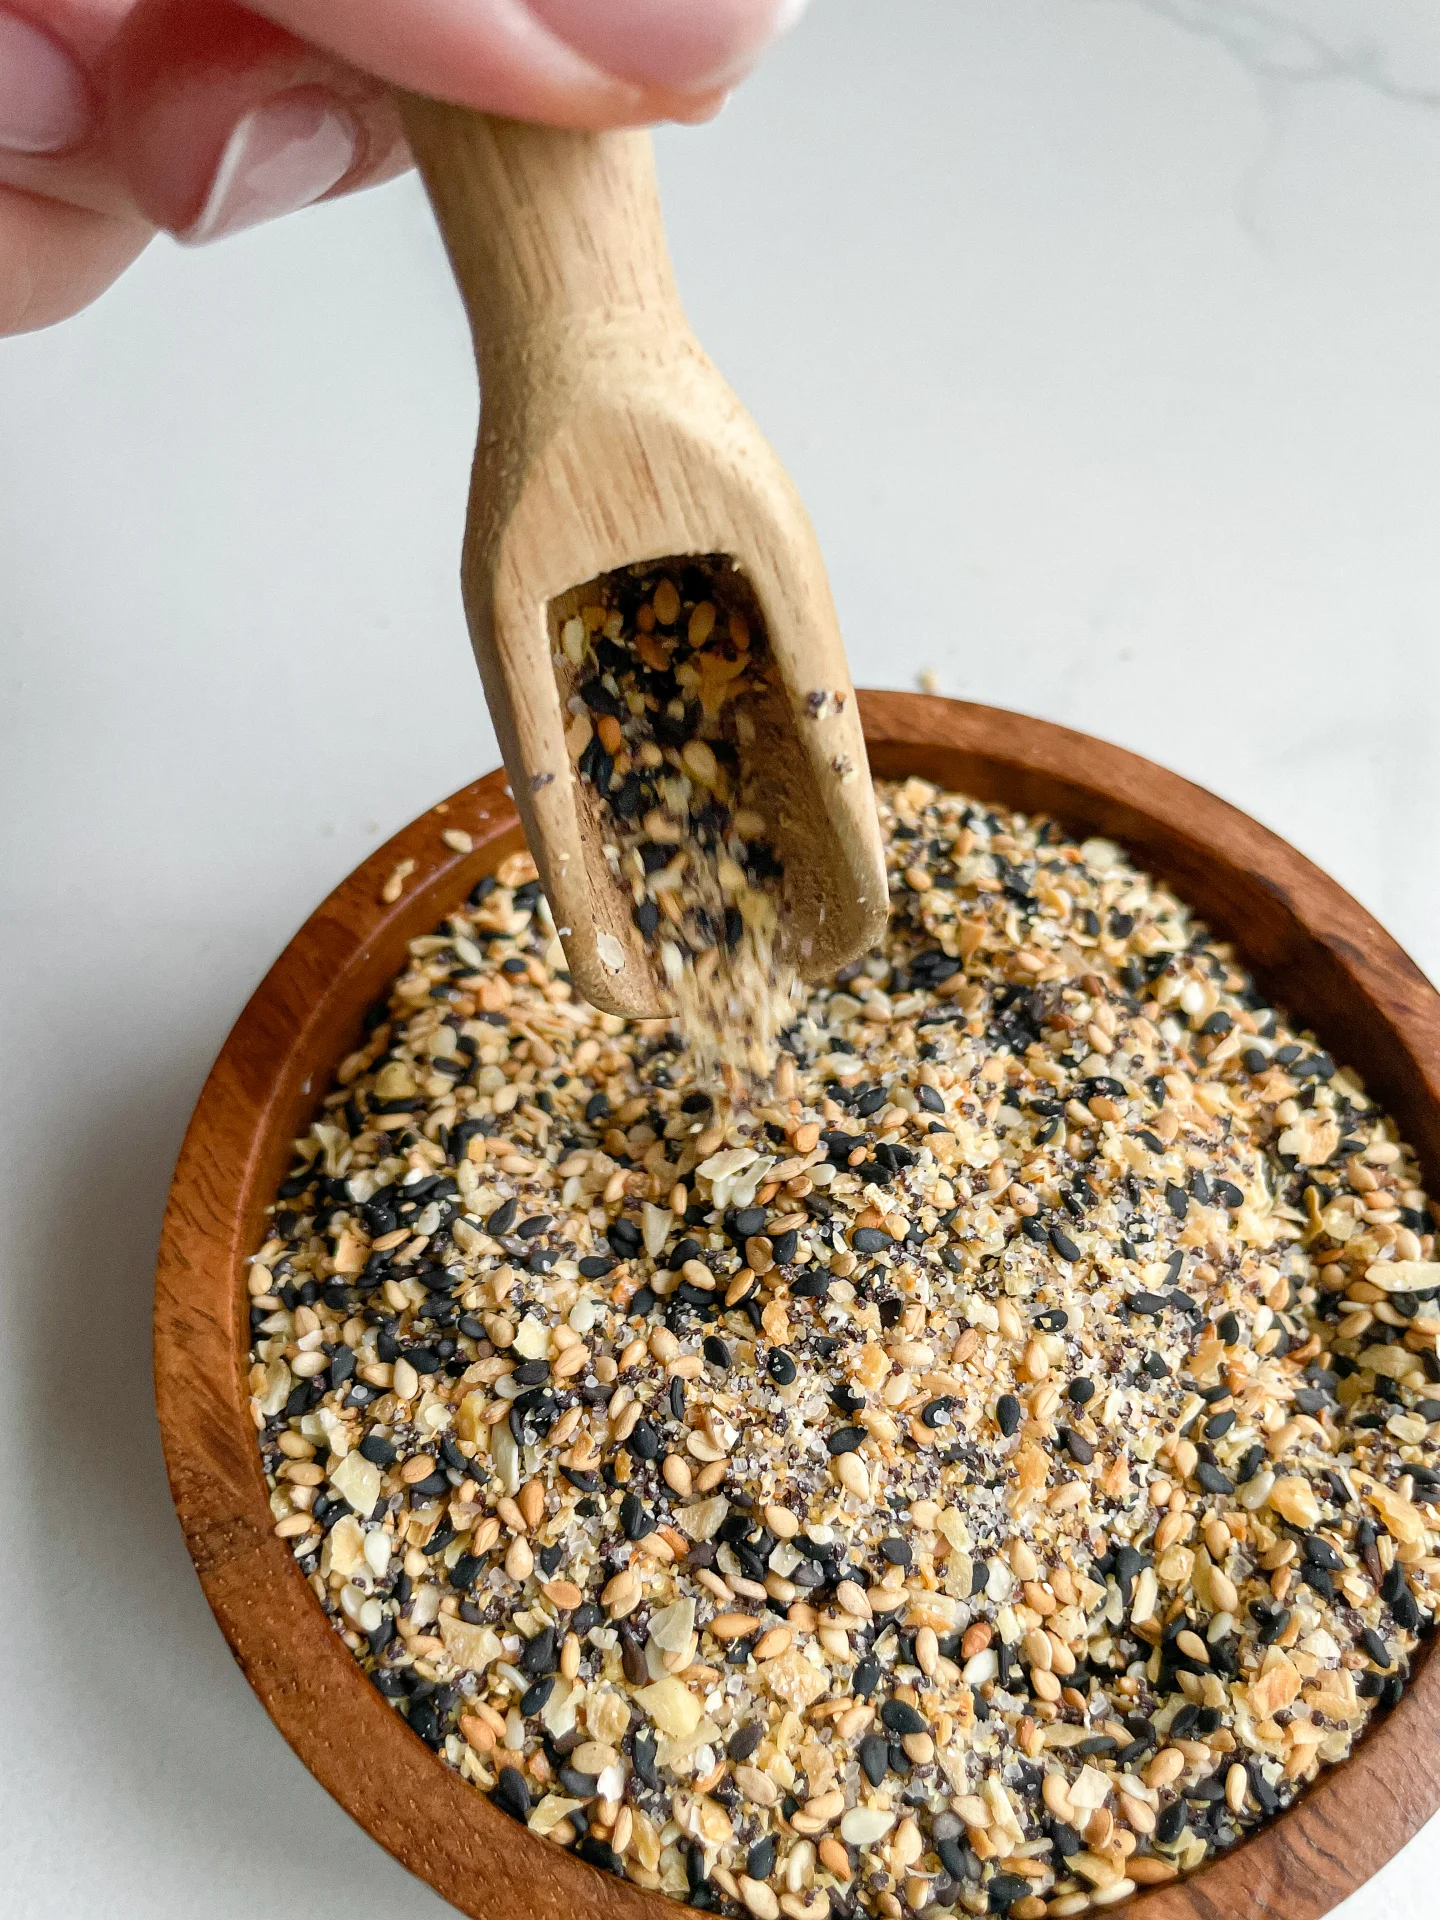
This seasoning is the ultimate finishing touch for pretty much everything. Stir it into cream cheese for an instant dip, sprinkle it over popcorn for a salty-savory snack, or coat roasted veggies in olive oil and this mix before baking for an unreal crunch. It’s also a next-level game-changer for grilled cheese, scrambled eggs, and even fried rice.

How to store
Keep your seasoning blend fresh by storing it in an airtight jar in a cool, dry spot. It stays crunchy and flavorful for up to six months (if you don’t use it all before then). A quick shake before each use keeps the flavors evenly distributed.

Hi, I'm Kimberly!

Hi, I'm Kimberly.

A passionate food lover who believes in the magic of homemade deliciousness that spreads love and warmth. Join me on this culinary adventure as I prepare wonderful dishes and let’s spread some happiness together!

Kimberly the Zett Signature

If you want to get to know me better, click here!


Everything But The Bagel Seasoning
„Let’s make a piece of happiness“
Print
clock clock iconcutlery cutlery iconflag flag iconfolder folder iconinstagram instagram iconpinterest pinterest iconfacebook facebook iconprint print iconsquares squares iconheart heart iconheart solid heart solid icon
Everything But The Bagel Seasoning

Everything But The Bagel Seasoning


  • Author: Kimberly
  • Total Time: 5 min
  • Yield: 110g / 11 tbsp

Description

Recommended Equipment

  • small bowl
  • airtight container

Ingredients

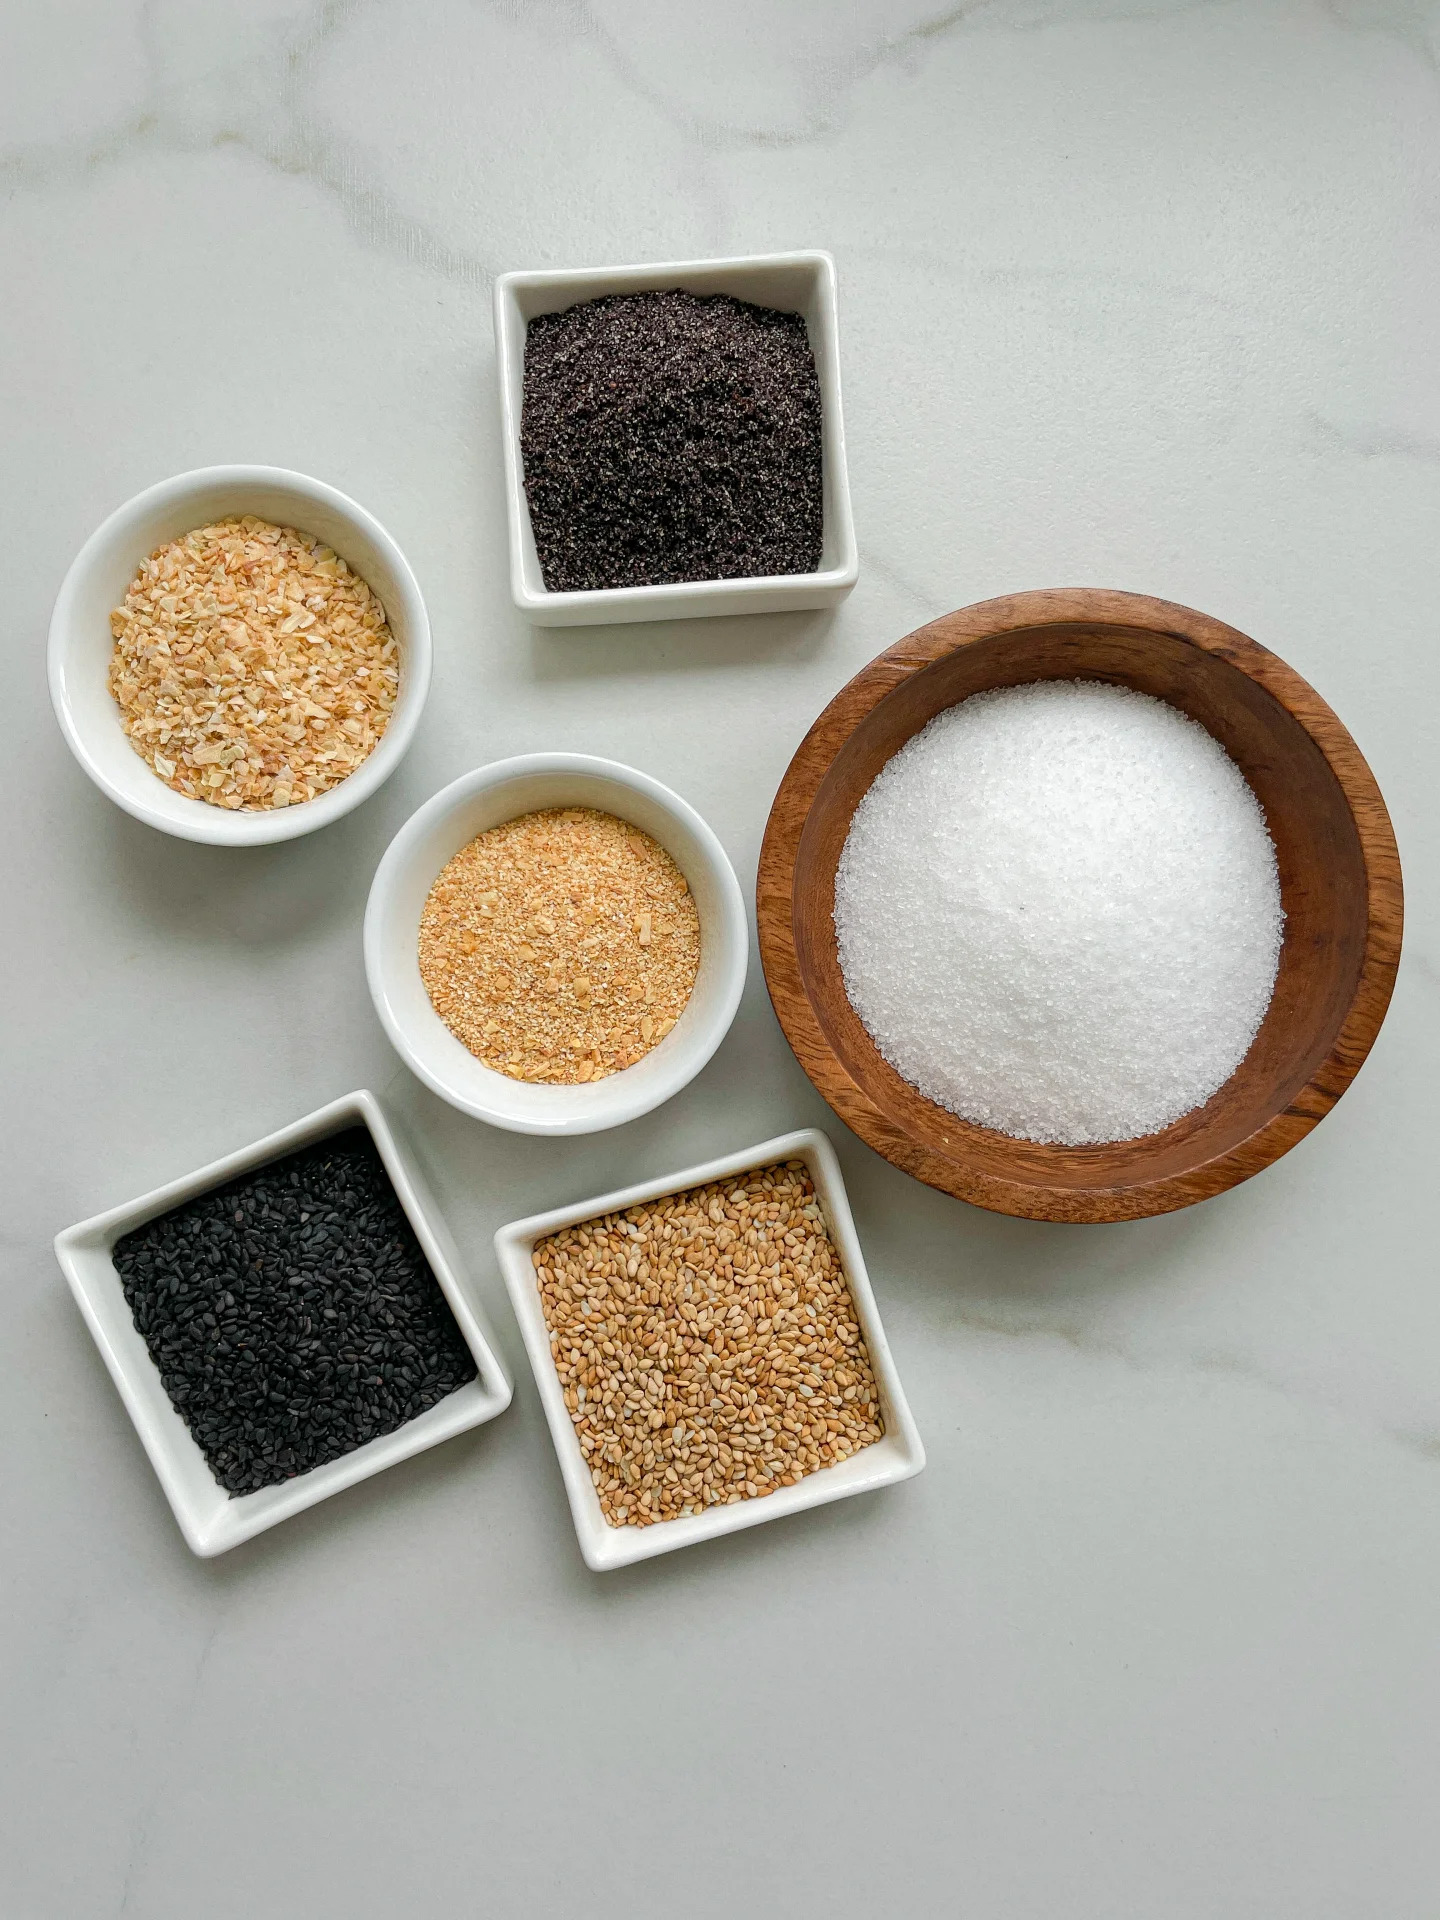
  • 6 tsp white sesame seeds
  • 5 tsp dried minced onion
  • 4 tsp black sesame seeds
  • 4 tsp dried minced garlic
  • 4 tsp sea salt
  • 3 tsp poppy seeds

Instructions

Add all spices to a bowl, mix well, and transfer to an airtight container.

  • Prep Time: 5 min

Cured Egg Yolk

Cured Egg Yolk

Cured Egg Yolk

CURED EGG YOLK

March 22, 2024 by Kimberly

Discover the unique, umami-rich world of cured egg yolks! Elevate your dishes with this simple, gourmet addition. A culinary secret for a luxurious, savory flavor boost!

80 MIN + 5 DAYS

EASY

VEGETARIAN

INT.

50 PER EGG YOLK

UMAMI

MICHELIN

TOPPING

ALL YEAR

INTRODUCTION

ABOUT THE RECIPE

Embark on a culinary adventure with cured egg yolks, an artisanal delight that transforms ordinary meals into gourmet experiences. This luxurious ingredient, known for its rich umami flavor and silky texture, is surprisingly simple to make at home. Perfect for food enthusiasts looking to add a touch of elegance and depth to their dishes, cured egg yolks will become your new secret weapon in the kitchen.

How to serve:
Grate cured egg yolks over pasta, salads, pizza or soups to add a burst of savory flavor and a touch of sophistication. Use them to enhance the taste of roasted vegetables or to elevate your morning avocado toast. Their rich, salty taste complements a wide range of dishes, making them a versatile addition to your culinary repertoire.

How to store:
Keep your cured egg yolks in an airtight container in the refrigerator. They can last for up to a month, retaining their flavor and texture. Ensure they are fully dried and cured before storage to maintain their quality.

Hi, I'm Kimberly!

Hi, I'm Kimberly.

A passionate food lover who believes in the magic of homemade deliciousness that spreads love and warmth. Join me on this culinary adventure as I prepare wonderful dishes and let’s spread some happiness together!

Kimberly the Zett Signature

If you want to get to know me better, click here!


Cured Egg Yolk
Cured Egg Yolk
Cured Egg Yolk
„Let’s make a piece of happiness“

INGREDIENTS

FOR 6 EGG YOLKS

EGGS

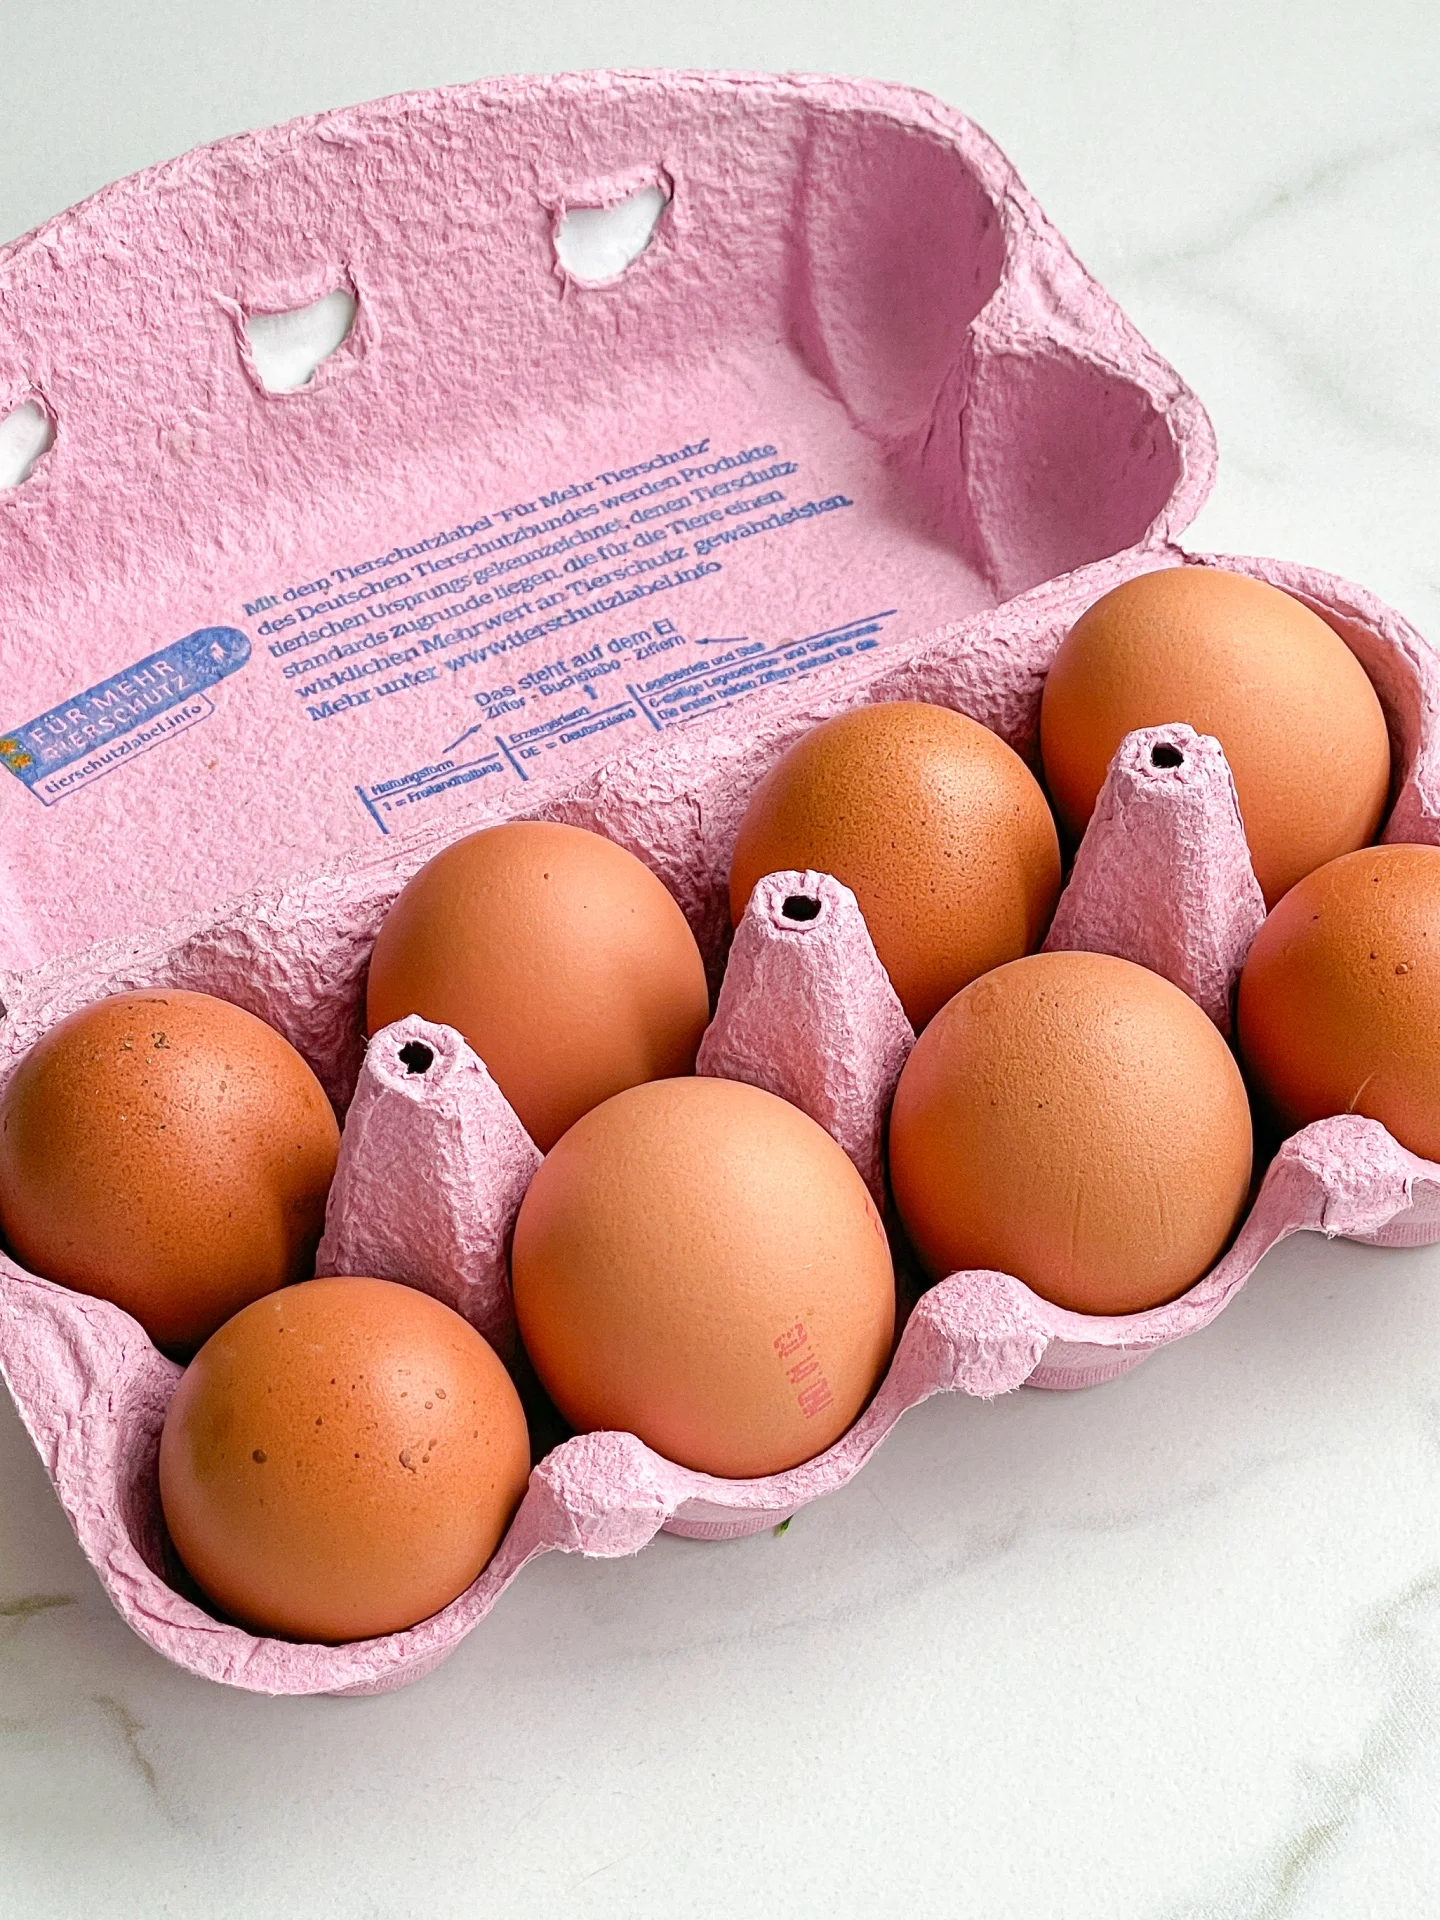
  • 6 fresh eggs
  • 500g to 1kg fine-grained salt (1-2 lbs. depending on the size of your container)
Cured Egg Yolk
}

ACTIVE: 5 min

PASSIVE: –

PREPARATIONS

Recommended Equipment
  • shallow deep dish
  • oven
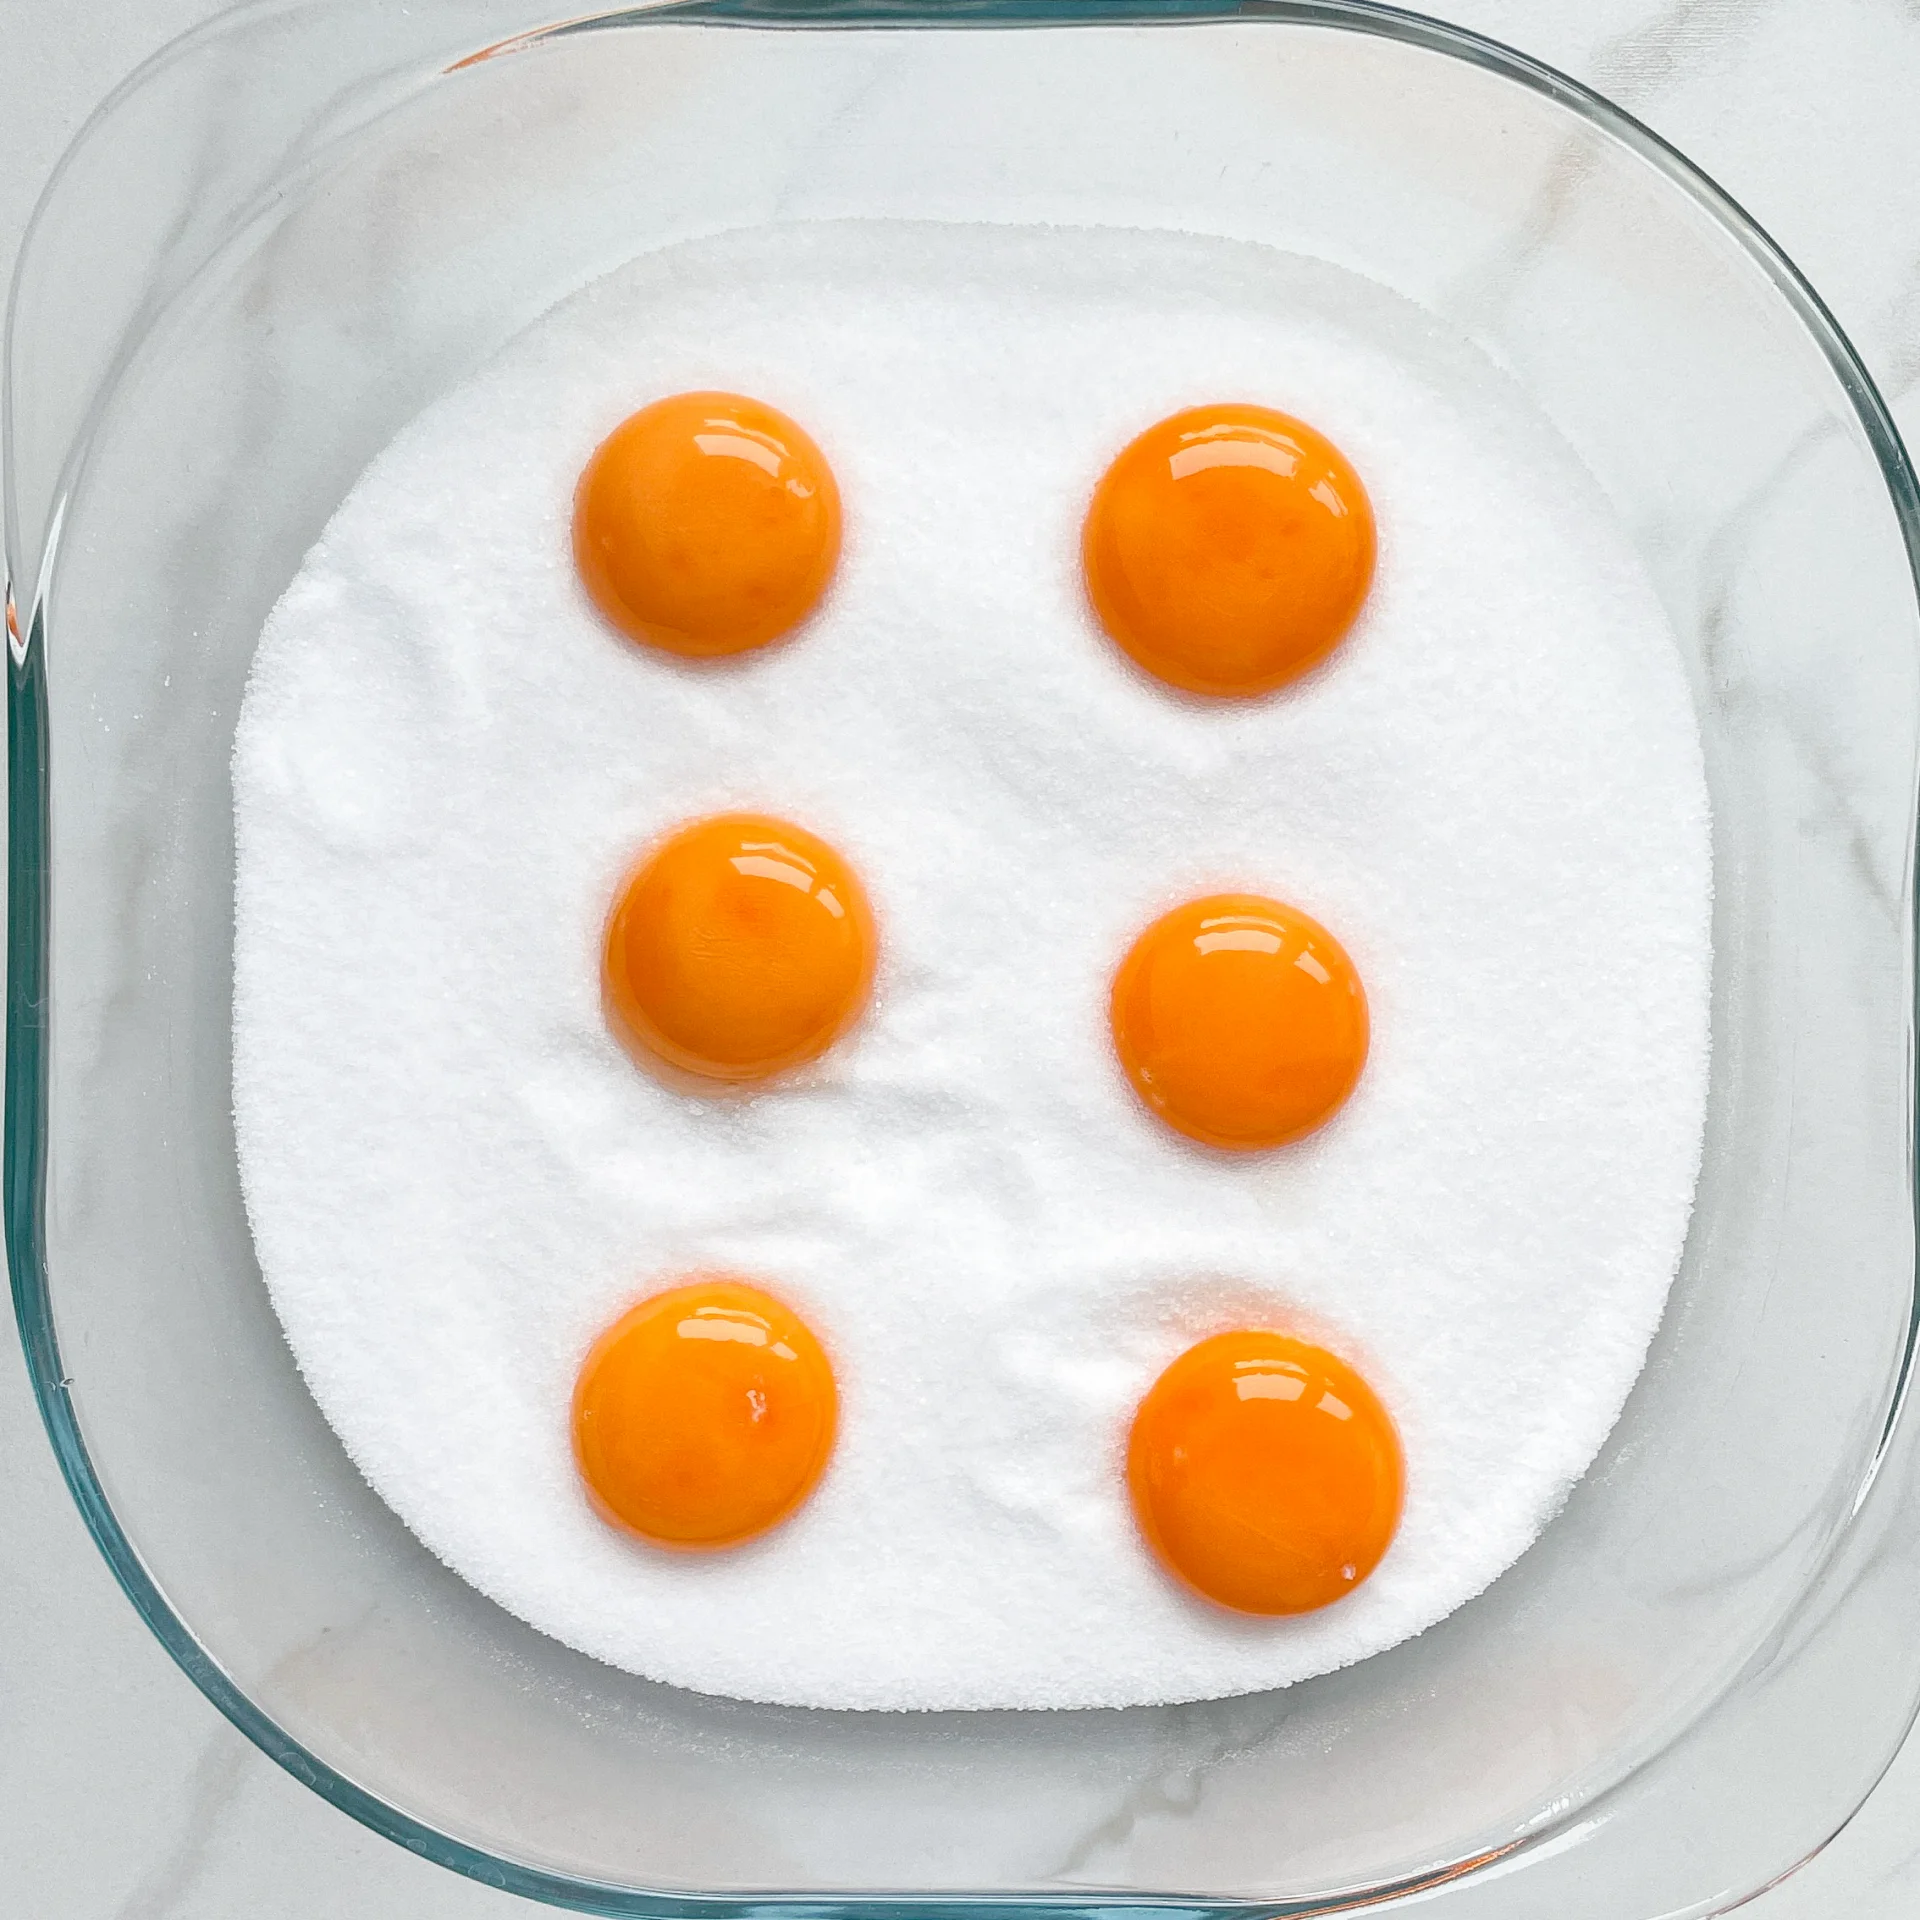
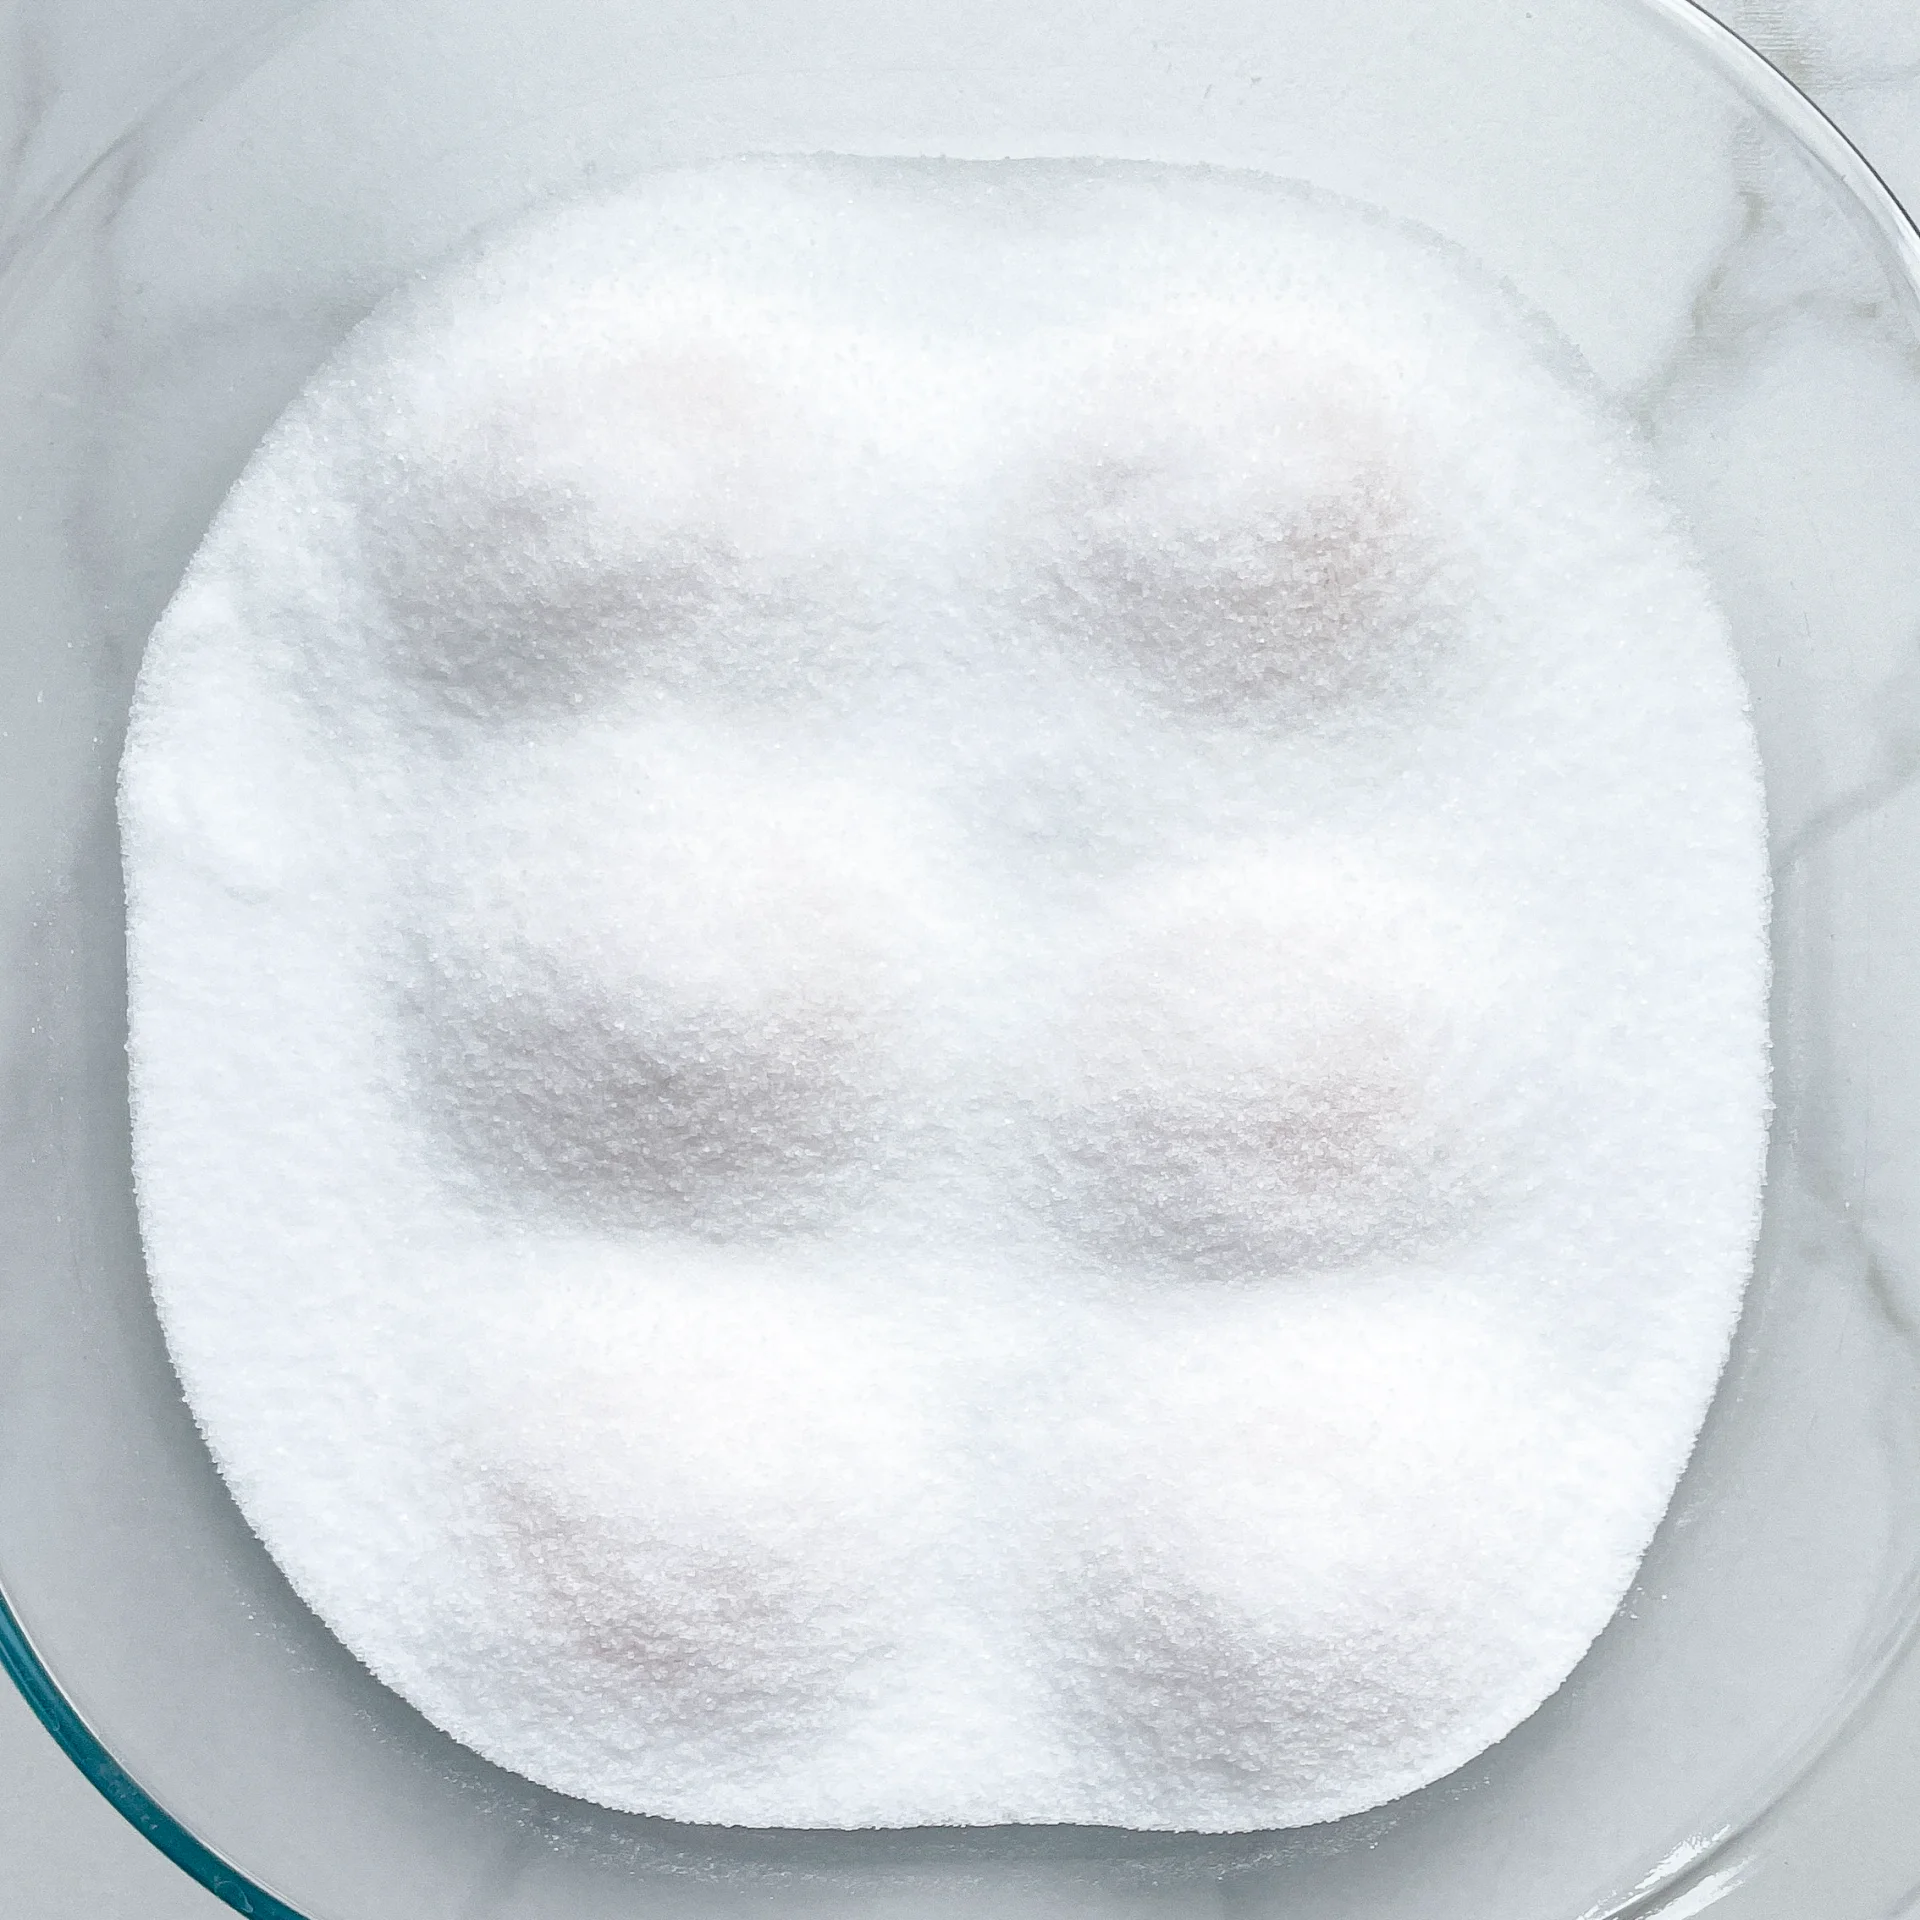
  • Distribute the half of your fine-grained salt evenly in the shallow deep container and form six wells for the egg yolks. You should not be able to see the bottom. The wells should be completely formed out of salt, ensuring that the egg yolks are completely surrounded by salt.
}

ACTIVE: 15 min

PASSIVE: 60 min + 5 days

COOKING

1. Separate one egg at a time. Carefully let the yolks slide into the wells in the salt. Do not discard the egg whites – they can be used for making meringue or egg white omelet, for example.

2. Once you have placed all the egg yolks into the wells, cover them with the other half of fine-grained salt and put them in the refrigerator for 5 days.

3. After 5 days, take your container with the egg yolks out of the refrigerator and carefully remove the yolks from the salt. The yolk will now be very sticky and feel a bit like firmer hair gel. Rinse off the remaining salt from each yolk under cold water. Place the egg yolks on a baking rack lined with parchment paper and dry them in the oven at approximately 80°C (175°F) for one hour. Occasionally open the oven door for a few seconds to let all the moisture escape.

4. Once the egg yolks are fully dried, remove them from the oven and let them cool completely.

5. The egg yolks are now firm and ready to use. The cured egg yolks can be stored in a sealable glass jar in the refrigerator for 3-4 weeks. And I like to grate a bit of them over every savory dish 🙂

NOTE: The calorie information may vary depending on the product used, country and region.