


Description
Recommended Equipment
- food processor
- sharp knife
- cutting board
- two small bowls
- small pan
- paper towels
- slotted spoon
- medium-sized pot
- medium-sized bowl
- ice cubes
Ingredients
Units Scale
WHIPPED RICOTTA
- 250 grams ricotta
- juice of half a lemon
- 2 tbsp olive oil
- salt & pepper to taste
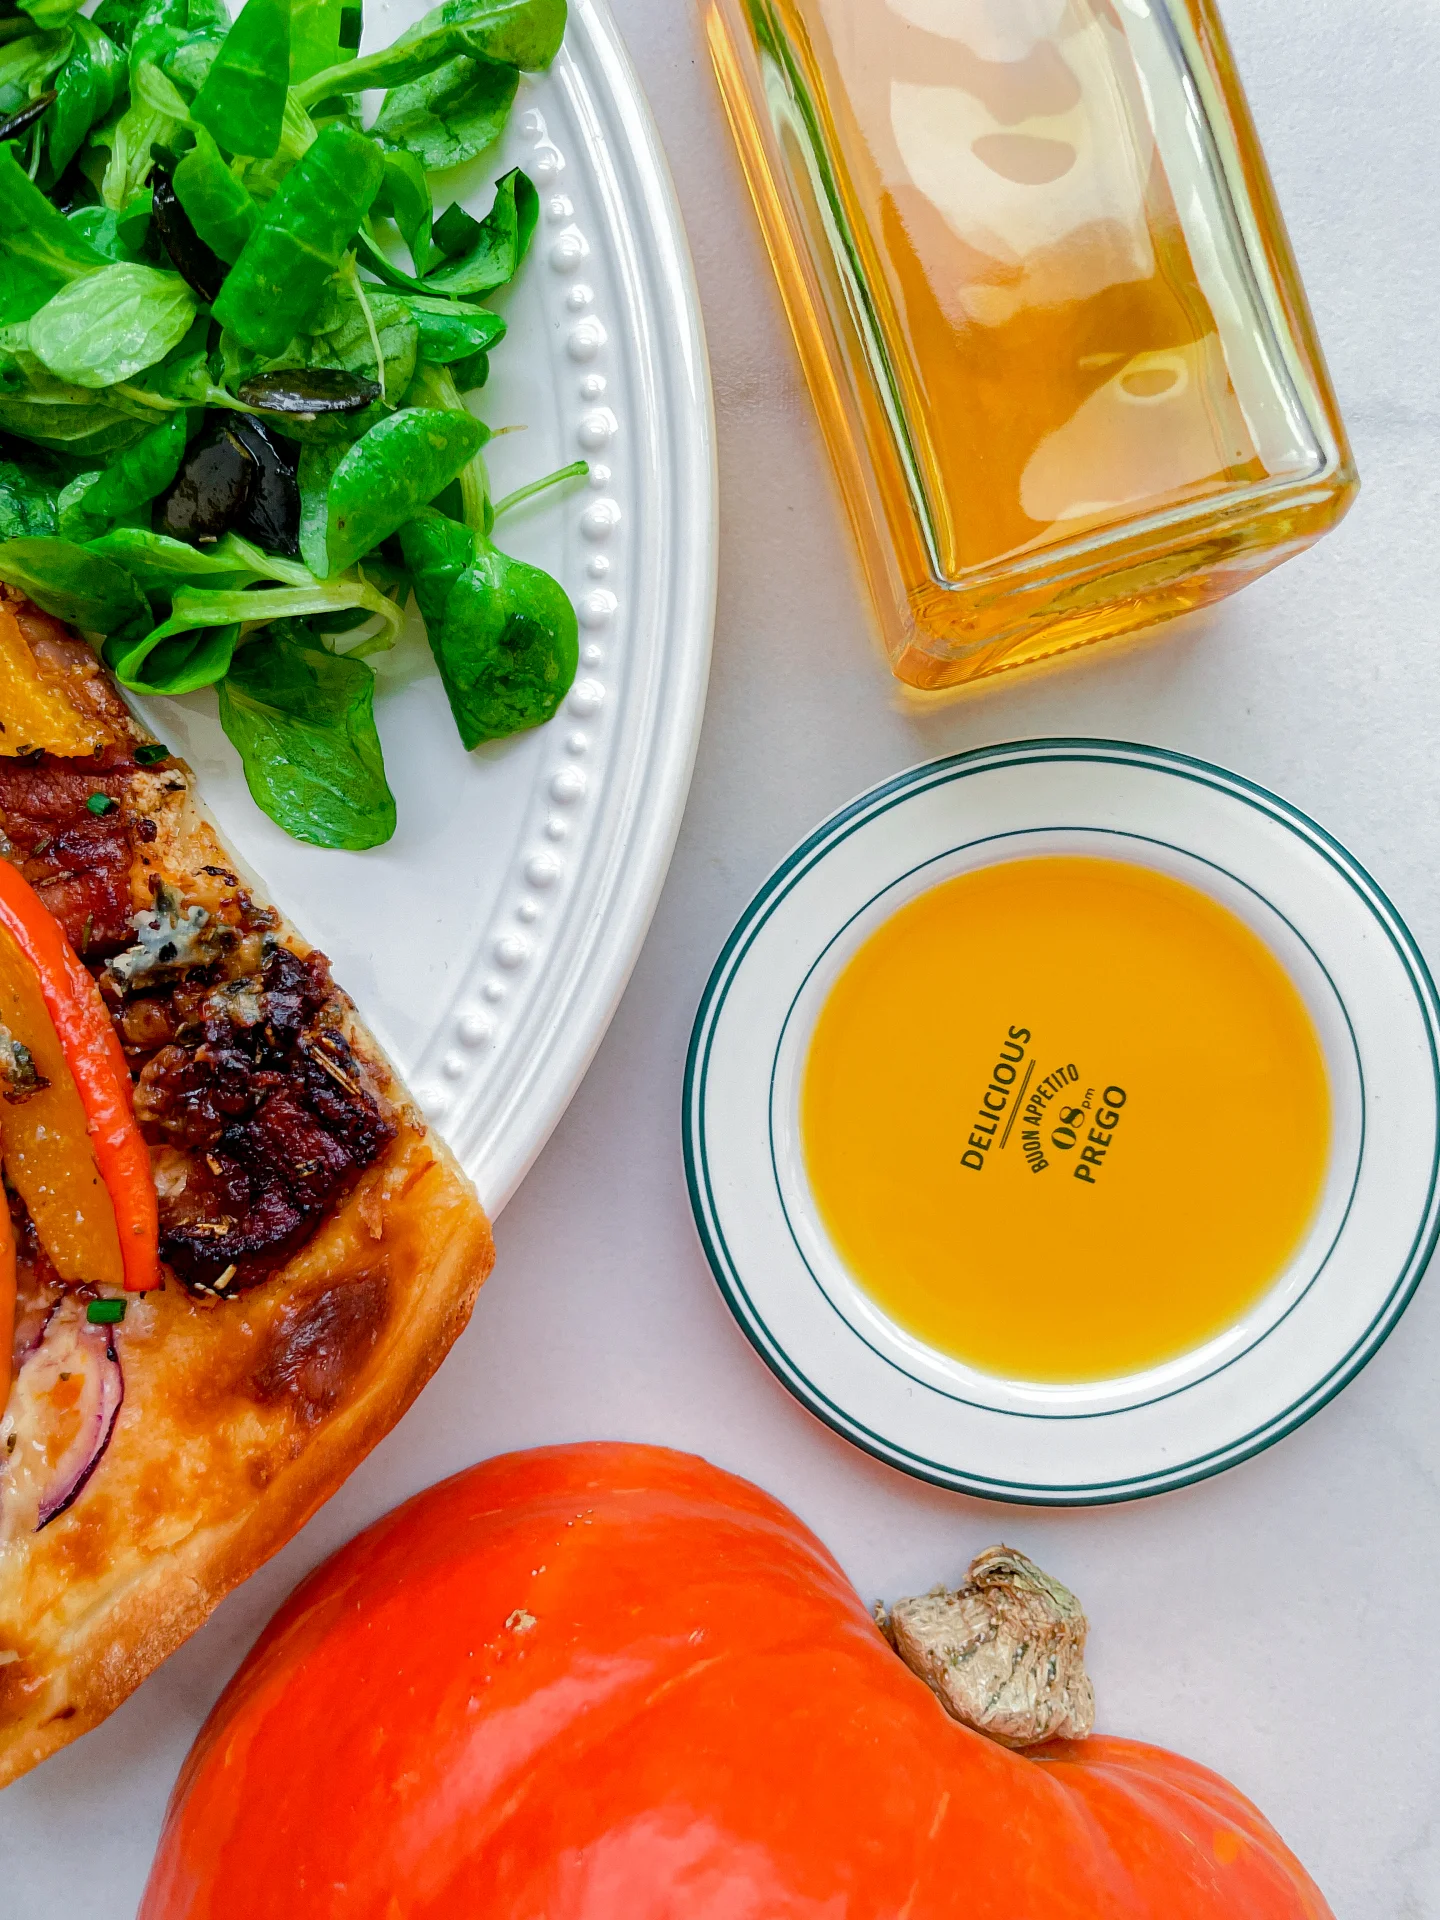
- 3tbsp - 4 tbsp rosemary oil
- 10 grams fresh parsley
- juice of half a lemon
- 1 garlic clove
- salt & pepper to taste
- 100 grams broccolini
- 100 grams green asparagus
- 50 grams frozen peas
- clarified butter for frying
- 1 shallot
- 1 tsp cornstarch
- 1 tbsp capers
- rosemary oil
Instructions
PREPARATIONS
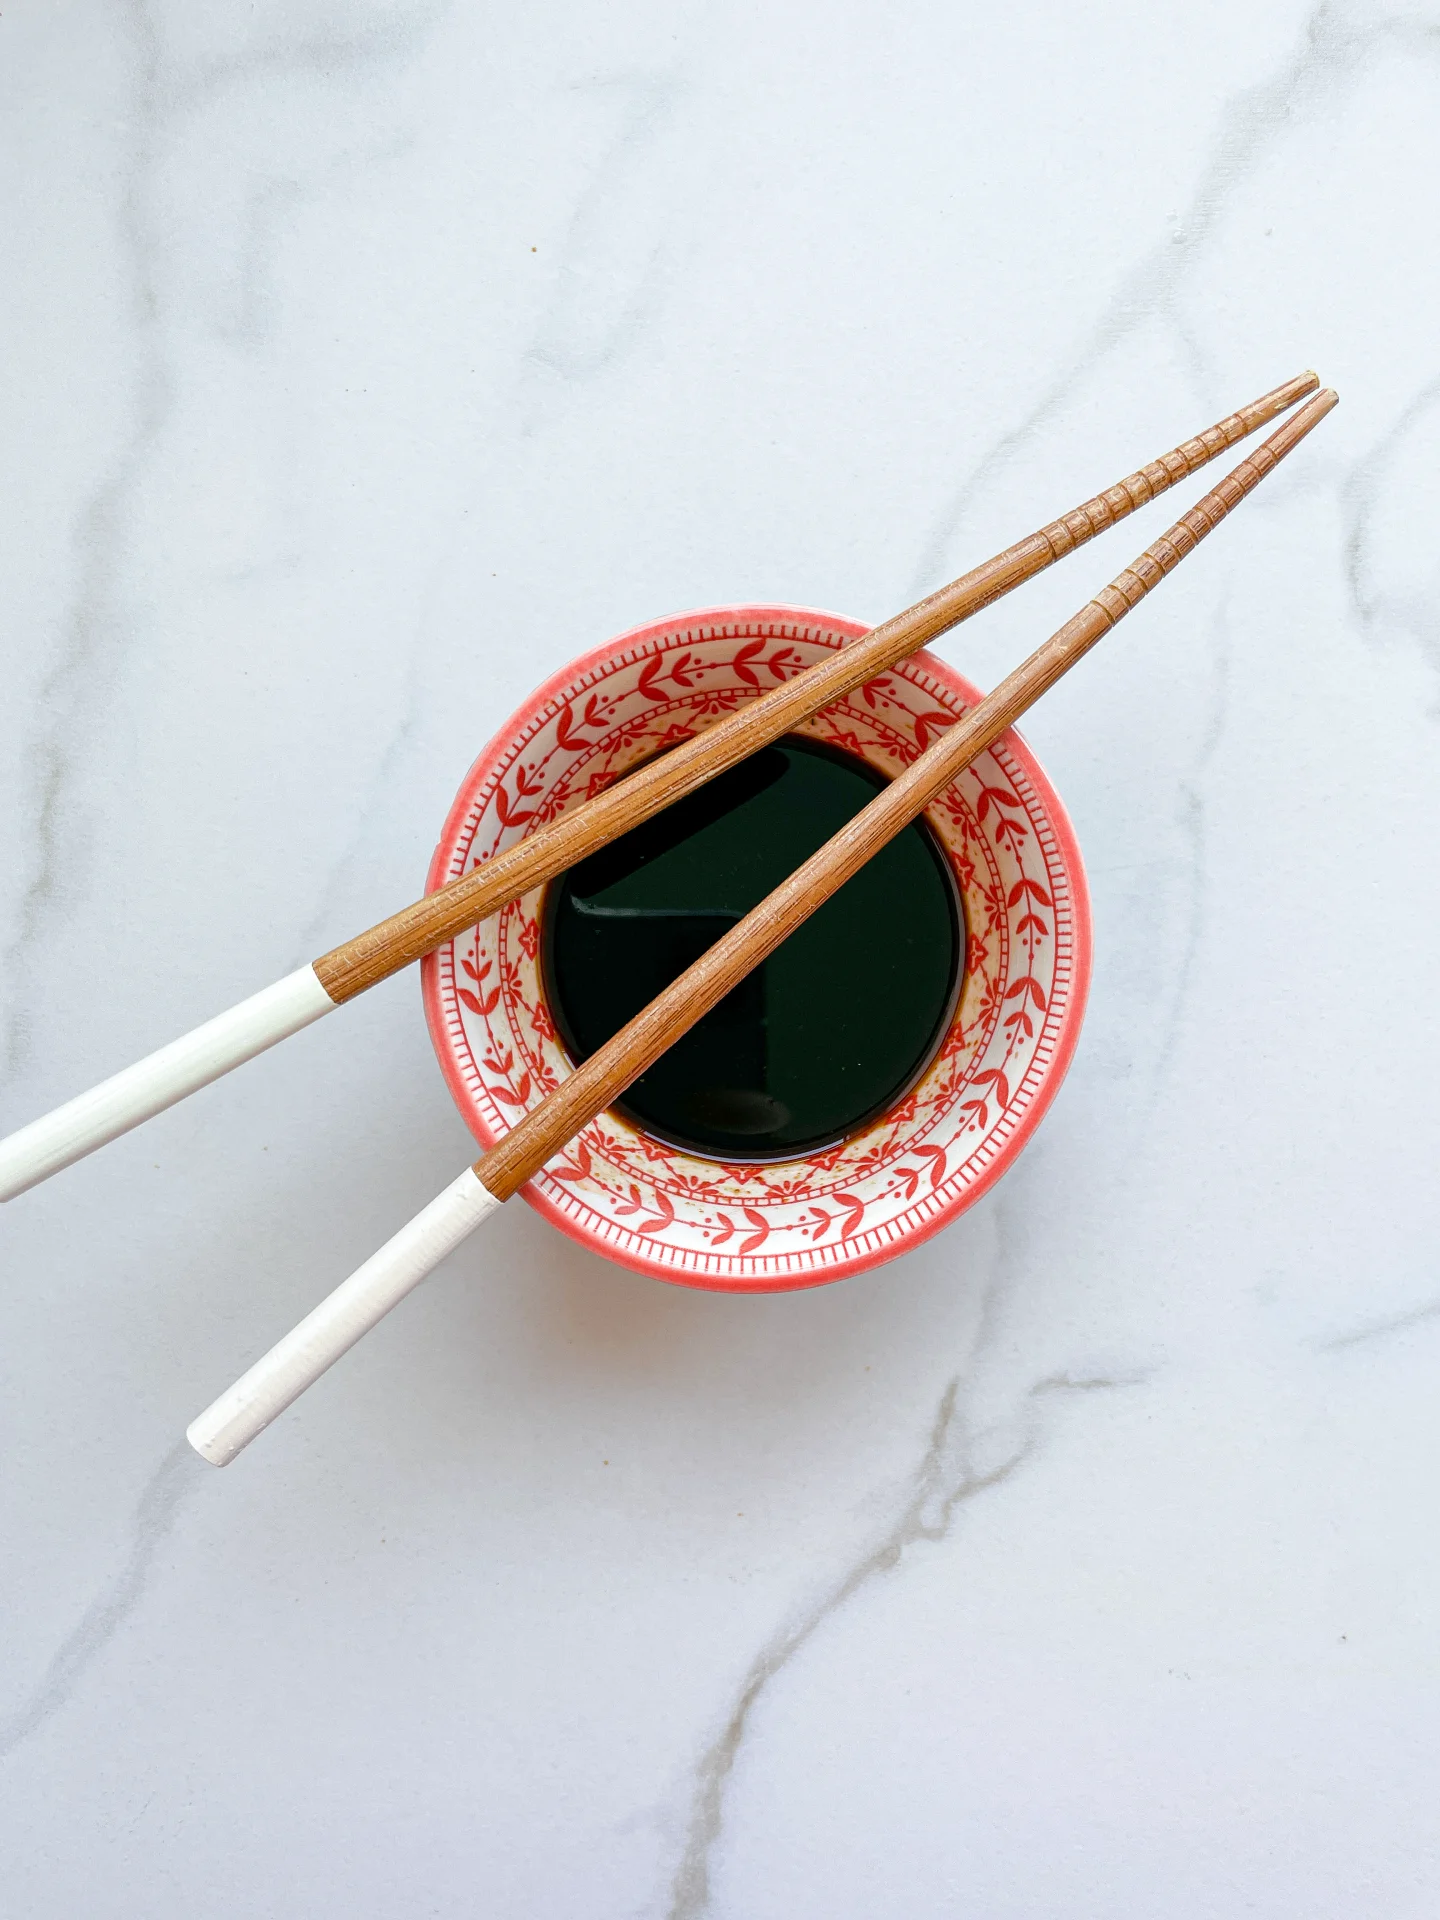
- Here you’ll find the recipe for the rosemary oil. You’ll need about 4-5 tablespoons of it.
INSTRUCTIONS
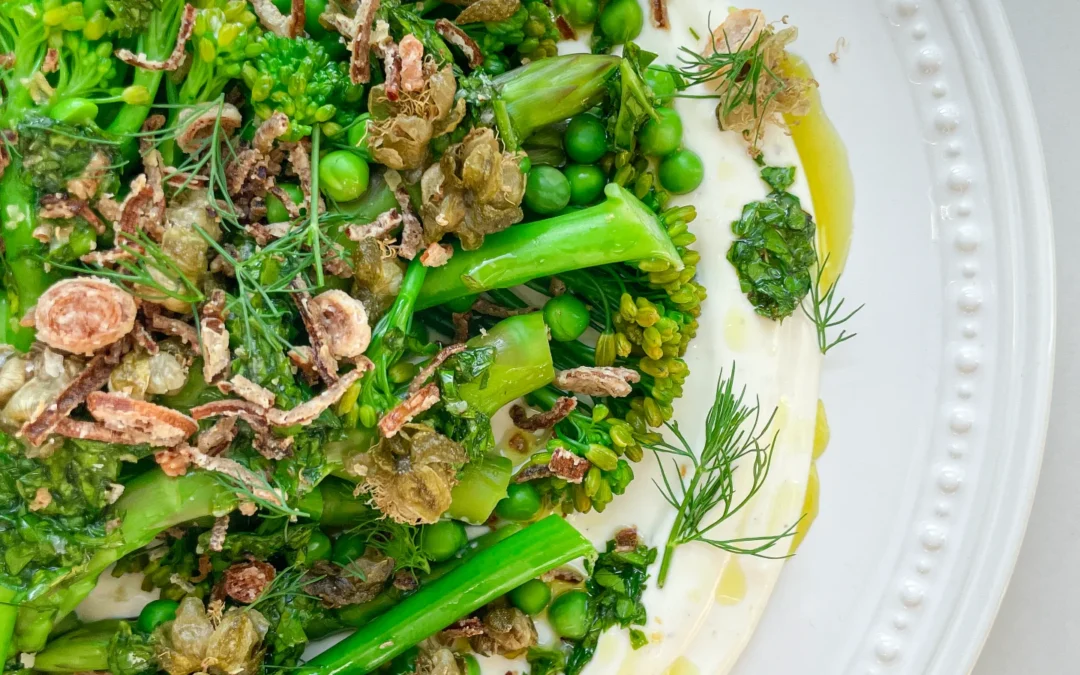
- For the whipped ricotta, put the ricotta cheese in a food processor. Add lemon juice, olive oil, salt, and pepper, and blend for 1-2 minutes until creamy. Place in the fridge for later use.
- Next, make the gremolata. Prepare a small bowl. Finely chop the parsley and put it in the bowl. Halve the lemon and squeeze the juice from one half into the parsley. Add the rosemary oil, salt, and pepper and grate the garlic clove. Place in the fridge for later use.
- Now prepare the toppings. Heat some clarified butter in a small pan. While the ghee is heating, peel and finely slice the shallot into rings. Mix the rings with cornstarch in a small bowl and set aside. Drain the capers and pat them dry with a paper towel.
- Once the ghee is hot, add the capers and fry for 1 minute or so until they burst open. Remove from the fat and drain on a paper towel. Next, add the shallot rings to the hot fat and fry until golden brown. Drain on a paper towel and set aside.
- Bring water to a boil in a medium-sized pot. Meanwhile, trim the ends of the asparagus and remove the tough leaves from the broccolini. Wash both well under cold water and place them on a plate. Prepare a medium-sized bowl with ice water and set it aside. Once the water is boiling, add the asparagus, broccolini, and frozen peas to the pot and blanch for 2 minutes. Use a slotted spoon to transfer them directly into the ice water for a minute. Remove the vegetables from the ice water and place them on a paper towel to drain. If you want to eat the vegetables cold, you’re done. If you prefer them warm, you can briefly sauté them in a pan with some butter or roast them in the oven. I used them cold.
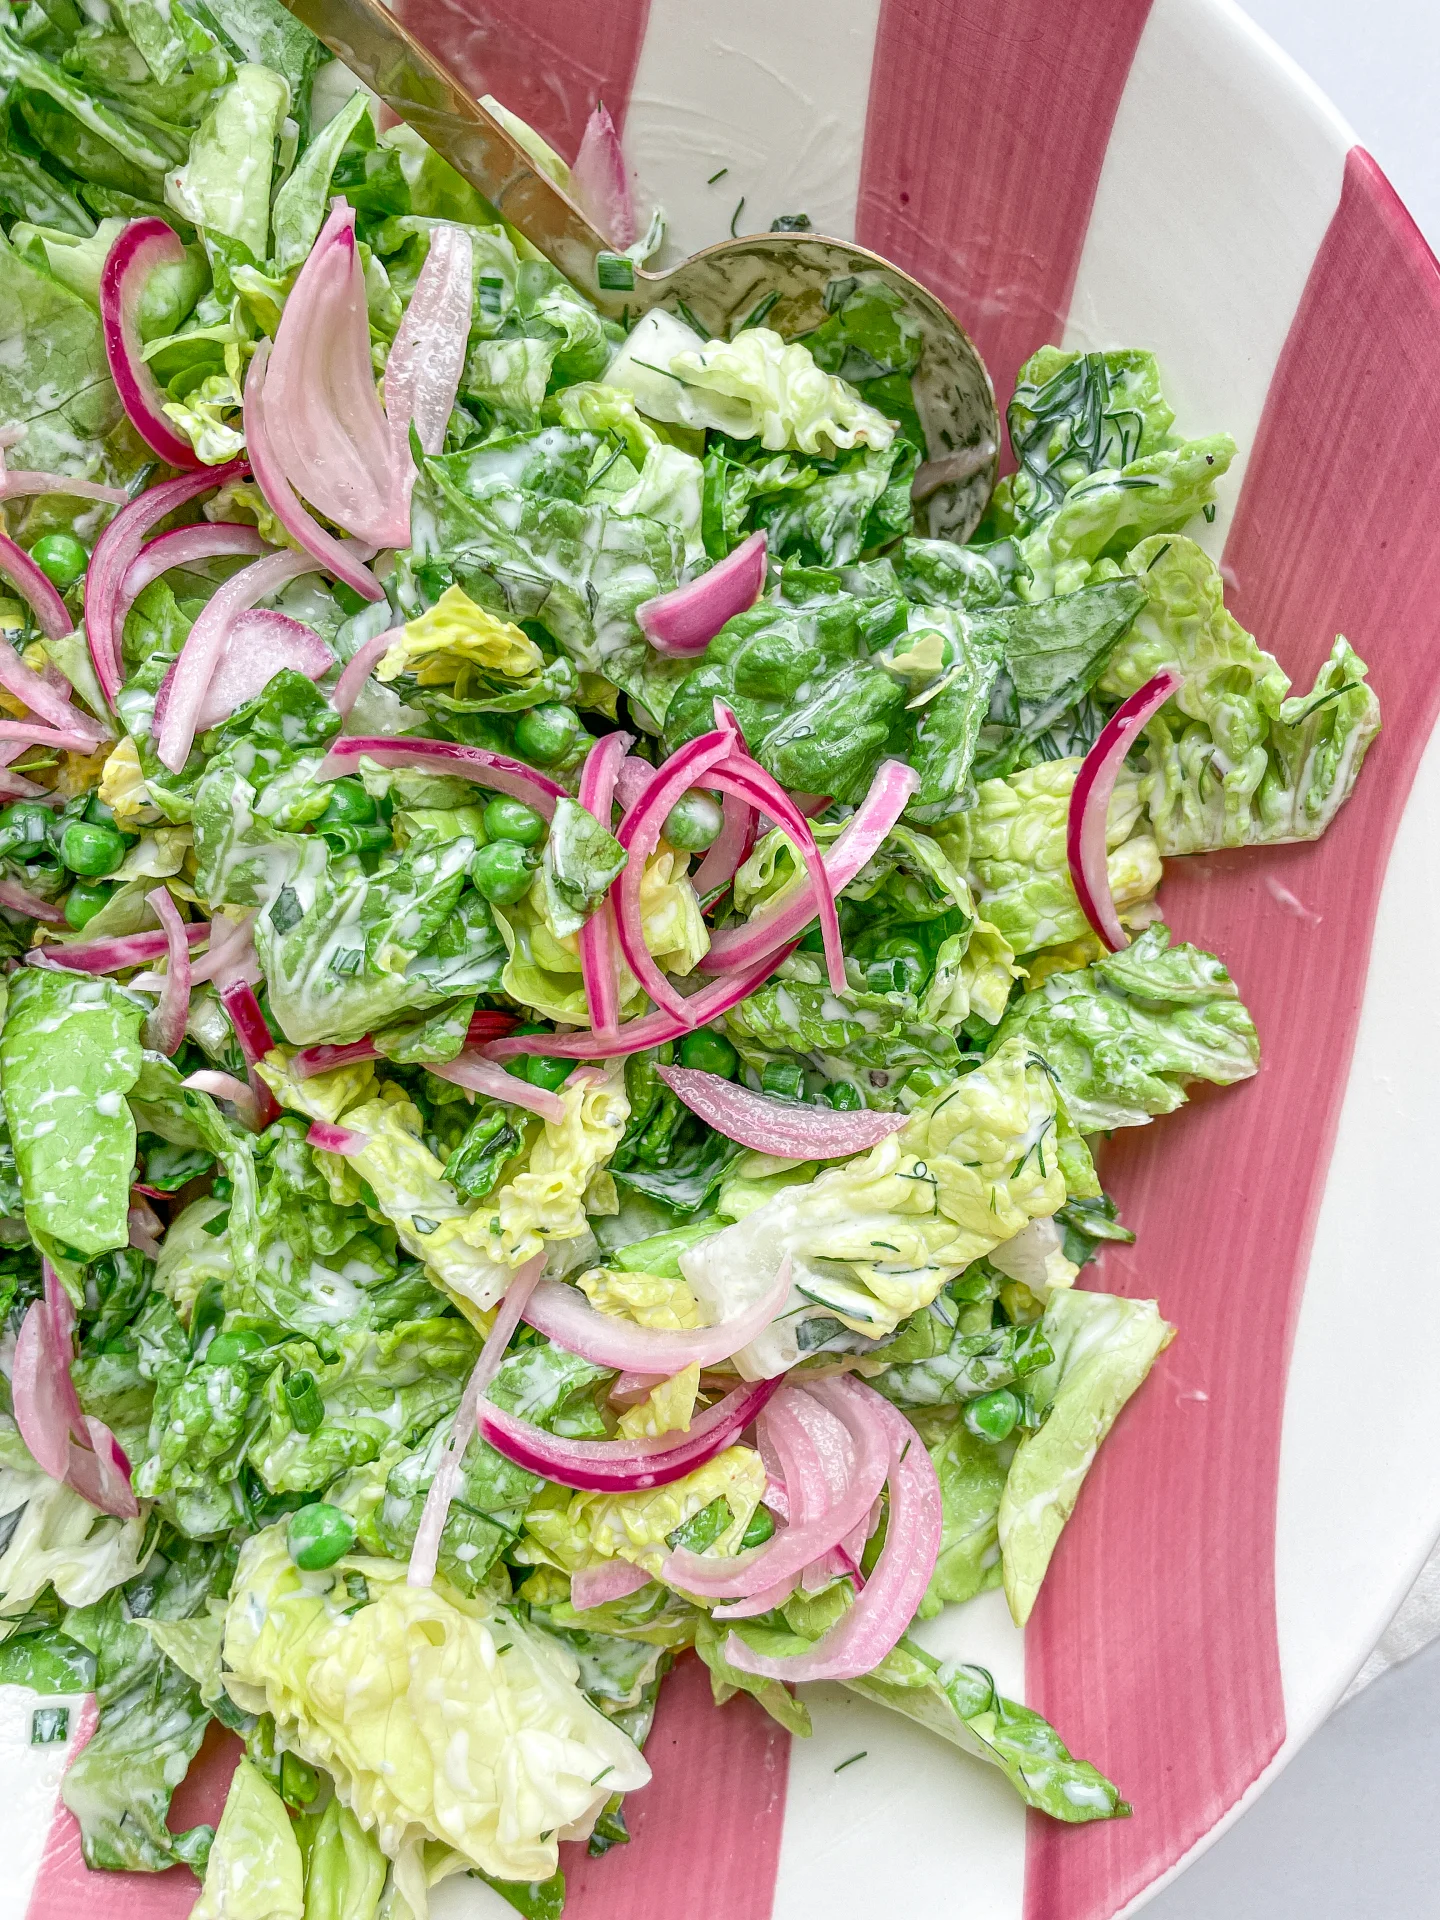
- Take a large plate and spread the whipped ricotta in a large circle. Place the vegetables in the center on top of the whipped ricotta. Next, distribute the gremolata over the vegetables and top everything with the fried capers and shallots. For a final touch, drizzle more rosemary oil over the vegetables.
- Cook Time: 30 min