Baked Falafel

Baked Falafel

Baked Falafel

Baked Falafel

February 2, 2025 by Kimberly

Crispy on the outside, soft and herby inside! These golden bites are the ultimate flavor bomb. Packed with chickpeas, garlic, and spices, they’re the kind of snack you’ll keep reaching for.

40 MINUTES

EASY

VEGAN

MIDDLE EAST

24 FALAFEL BALLS

CRISPY

PICNIC

SNACKS

ALL YEAR

INTRODUCTION

ABOUT THE RECIPE

Golden, crispy, and packed with bold flavors!! These herby chickpea bites are everything you want in a falafel, minus the frying. They’re light but satisfyingly crunchy, loaded with garlic, cumin, and fresh herbs for that perfect balance of flavor. Whether you stuff them in a warm pita, toss them over a fresh salad, or dip them in creamy tahini sauce, they’re the kind of meal that feels both nourishing and indulgent. And the best part? They’re baked, not fried, so you get all the crunch without the extra oil.

How to serve
These little crispy gems are beyond versatile! Tuck them into warm pita with fresh veggies and a drizzle of tahini for a classic falafel wrap. Throw them over a big salad with cucumbers, tomatoes, and a lemony dressing for a light but filling meal. Or just dunk them straight into hummus (no judgment here). Want to level it up? Pair them with roasted veggies, herby yogurt sauce, or even a spicy harissa dip.

How to store
Got leftovers? Pop them in an airtight container in the fridge for up to 4 days. Reheat them in the oven or air fryer at 180°C (350°F) for about 5 minutes to keep that crispy magic alive. For long-term storage, freeze them on a baking sheet before transferring them to a bag – just bake straight from frozen when you’re ready!

Hi, I'm Kimberly!

Hi, I'm Kimberly.

A passionate food lover who believes in the magic of homemade deliciousness that spreads love and warmth. Join me on this culinary adventure as I prepare wonderful dishes and let’s spread some happiness together!

Kimberly the Zett Signature

If you want to get to know me better, click here!


Baked Falafel
Baked Falafel
Baked Falafel
Baked Falafel
„Let’s make a piece of happiness“
Print
clock clock iconcutlery cutlery iconflag flag iconfolder folder iconinstagram instagram iconpinterest pinterest iconfacebook facebook iconprint print iconsquares squares iconheart heart iconheart solid heart solid icon
Baked Falafel

Baked Falafel


5 Stars 4 Stars 3 Stars 2 Stars 1 Star

No reviews

  • Author: Kimberly
  • Total Time: 12-24 hrs + 40 min
  • Yield: 24 falafel balls 1x

Description

Recommended Equipment

  • medium mixing bowl
  • food processor
  • small cookie scoop (or tablespoon)

Ingredients

Units Scale
  • 250 grams dry chickpeas
  • 2 tbsp olive oil
  • 2 tsp baking powder
  • 5 grams fresh parsley
  • 5 grams fresh cilantro
  • 5 leaves fresh mint
  • 1 yellow onion
  • 4 garlic cloves
  • 1 tsp salt
  • 1 tsp paprika
  • 1 tsp cumin
  • 1 tsp za’atar
  • 1/2 tsp white pepper

Instructions

  1. Soak the dried chickpeas in 750ml (3 cups) of cold water for about 12-24 hours and store them in the fridge. The next day, drain, rinse, and let them sit for a moment to remove excess water. Preheat the oven to 220°C / 428°F (fan-assisted).
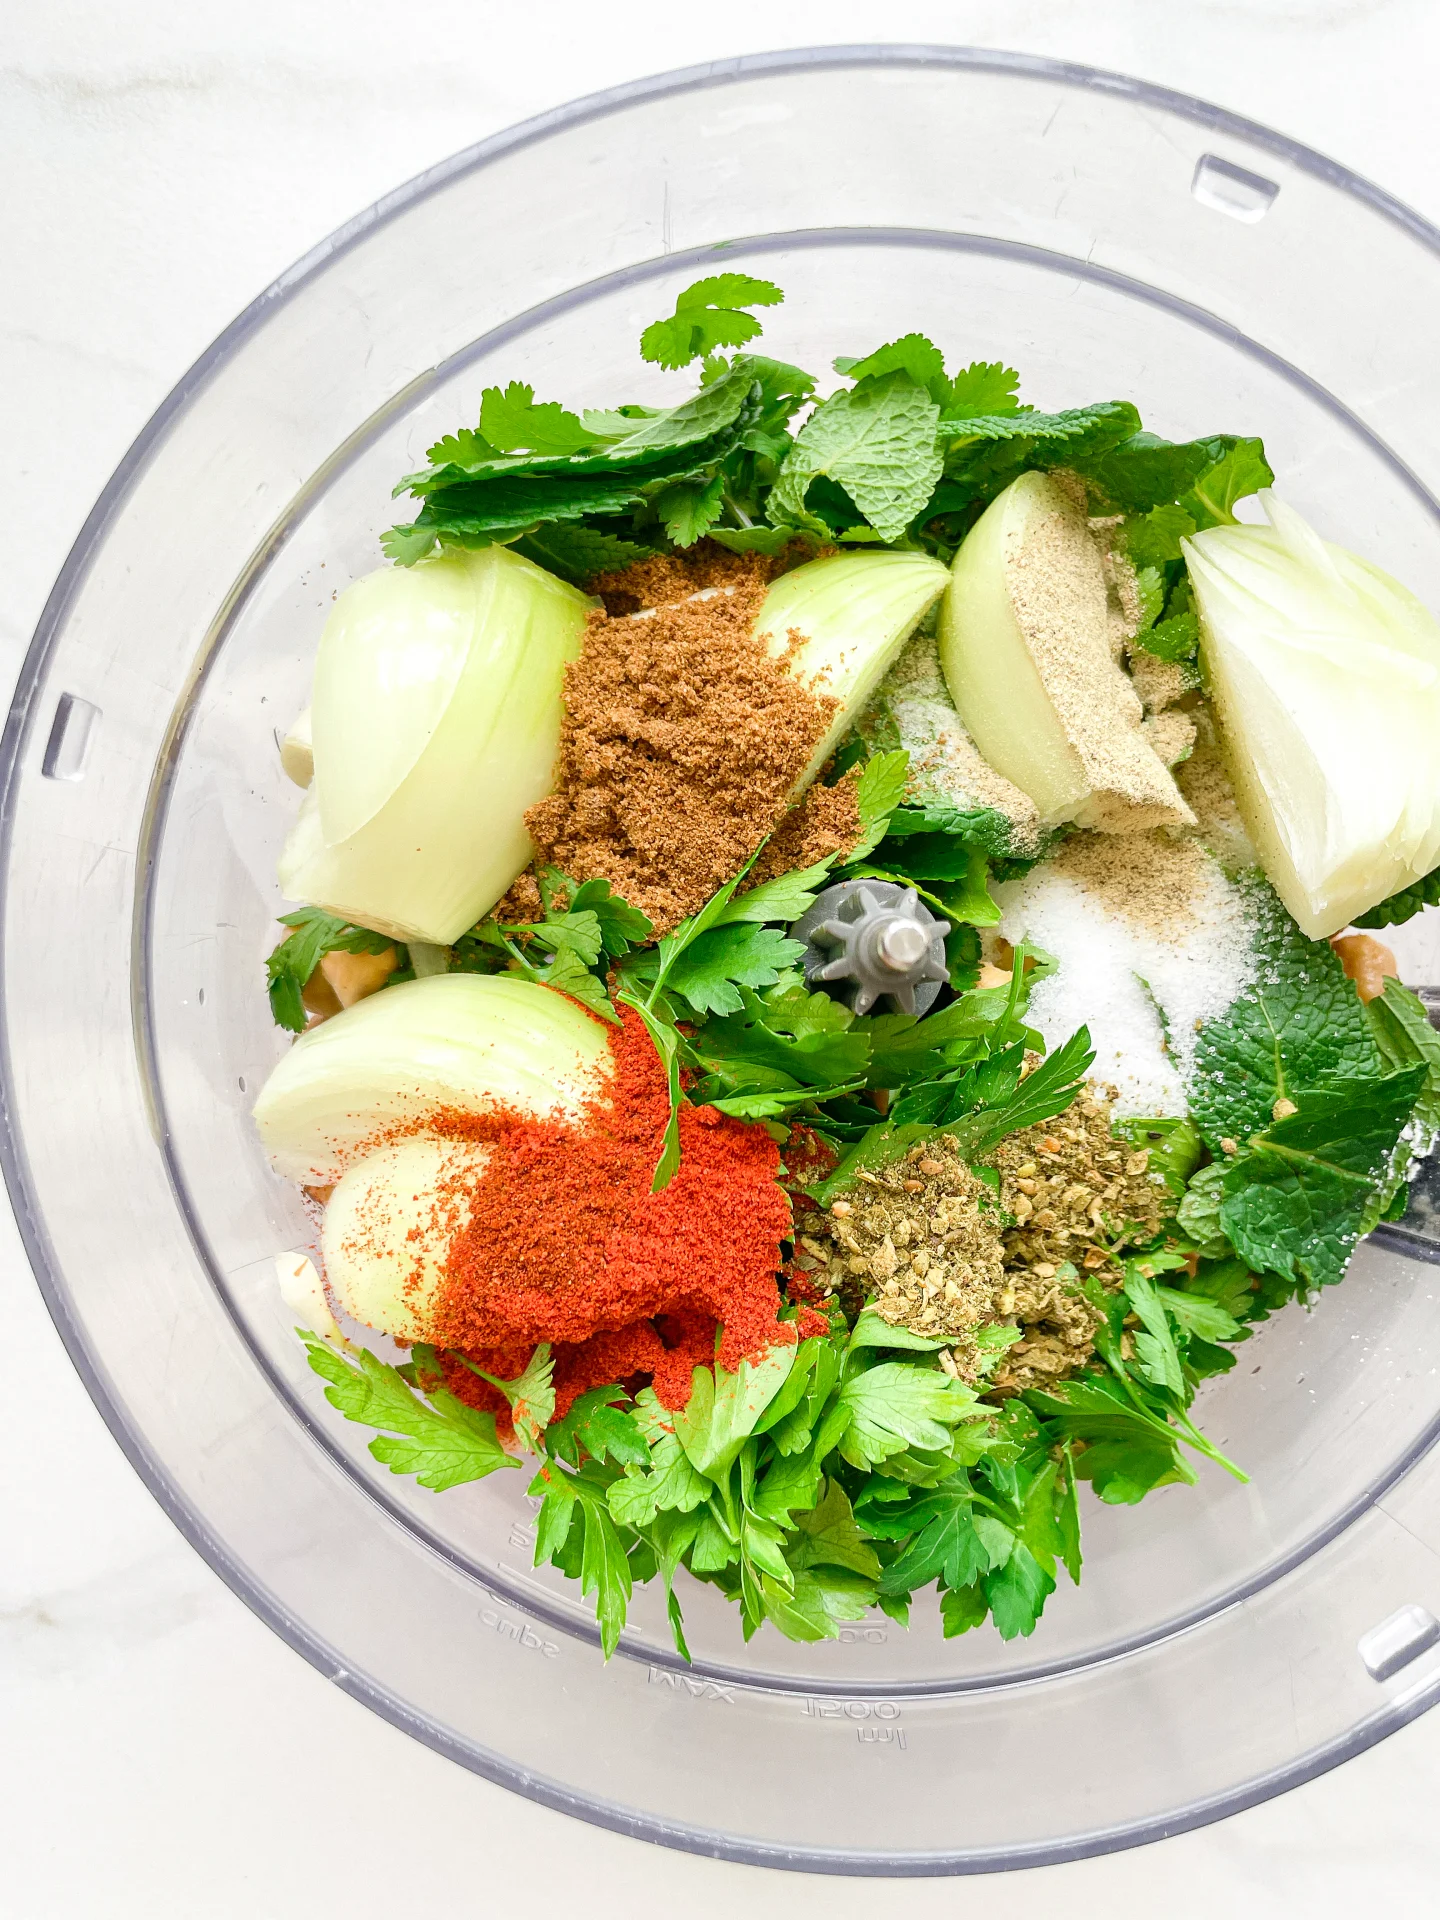
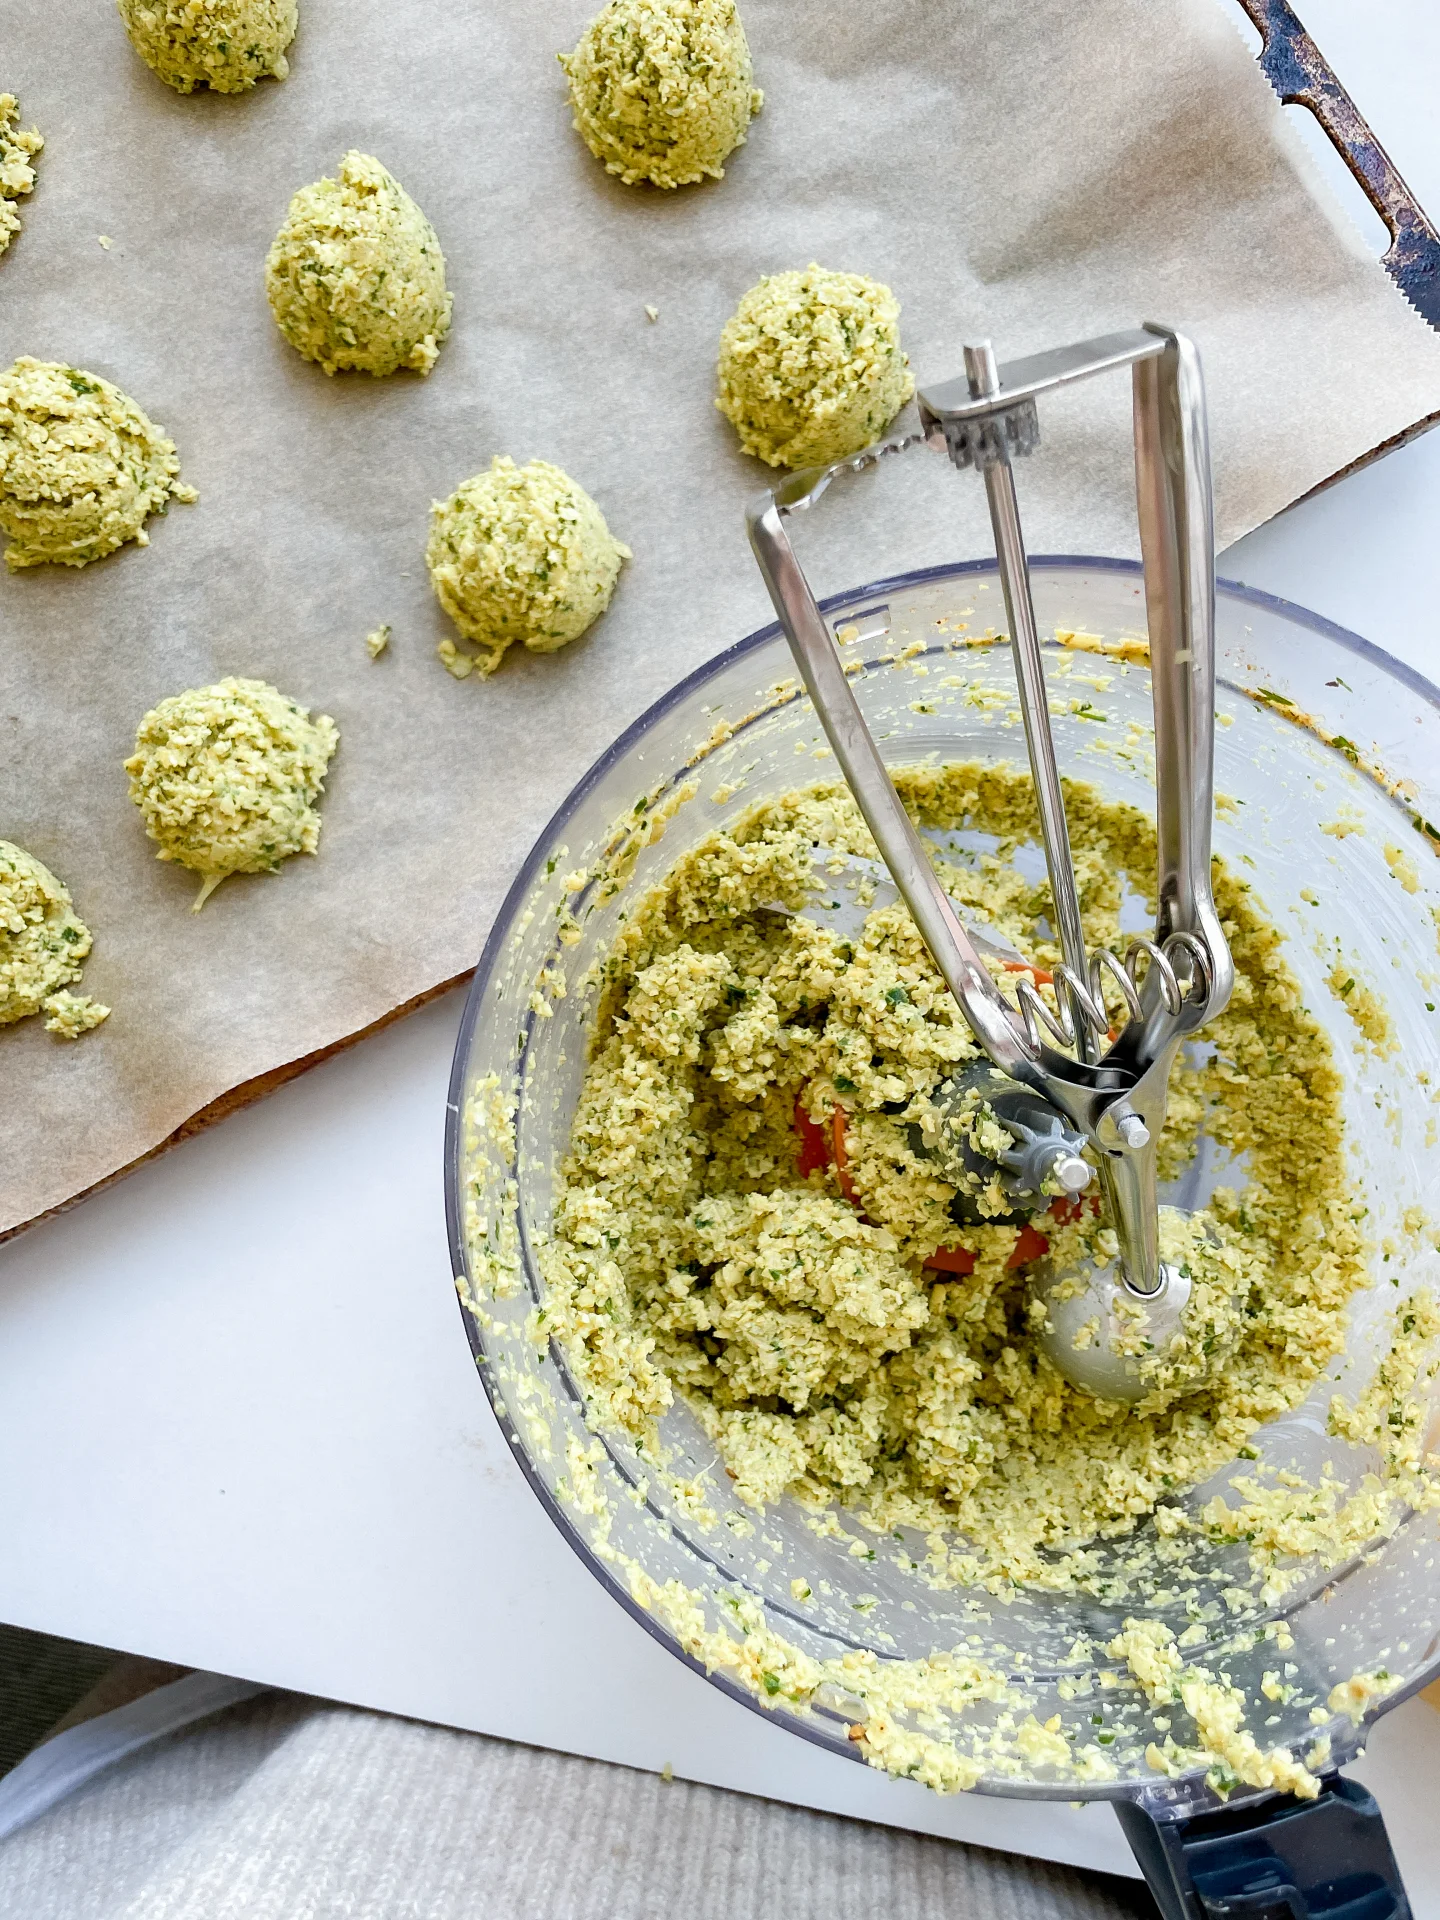
  2. Add the chickpeas along with the other ingredients to a food processor and blend until you get a crumbly yet moldable mixture. Use a small cookie scoop to shape the mixture into 30g/1oz falafel balls and place them on a baking sheet lined with parchment paper. Bake for about 25-30 minutes until golden brown.
  • Passive Time: 12-24 hrs
  • Cook Time: 40 min

Cheese Fondue Oil

Cheese Fondue Oil

Cheese Fondue Oil

Cheese Fondue Oil

December 23, 2024 by Kimberly

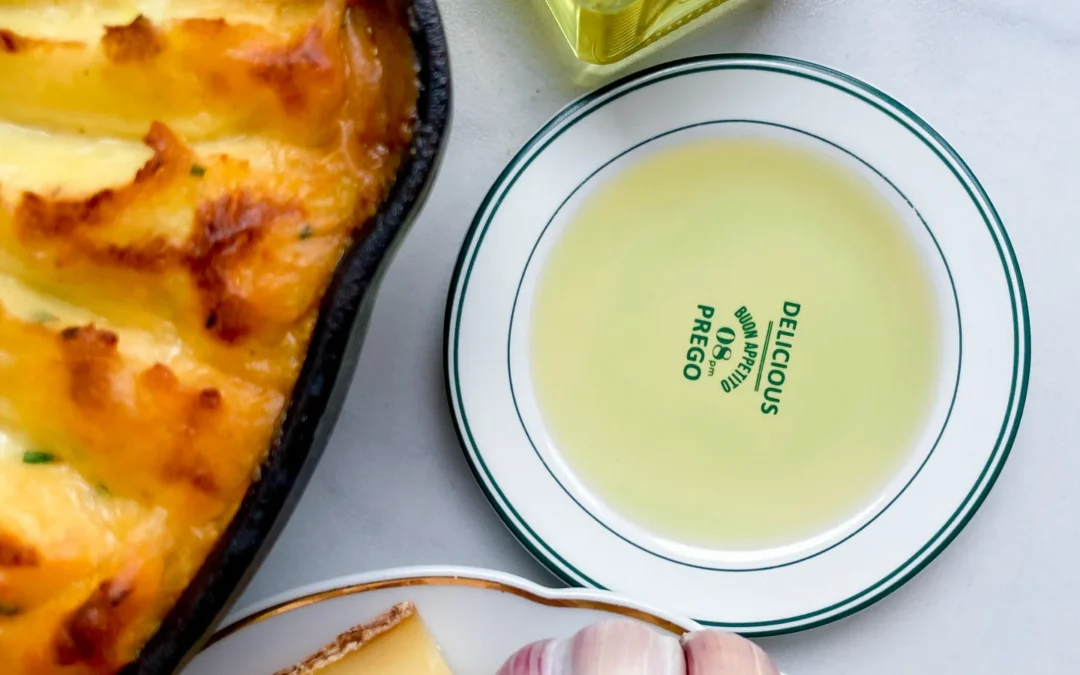
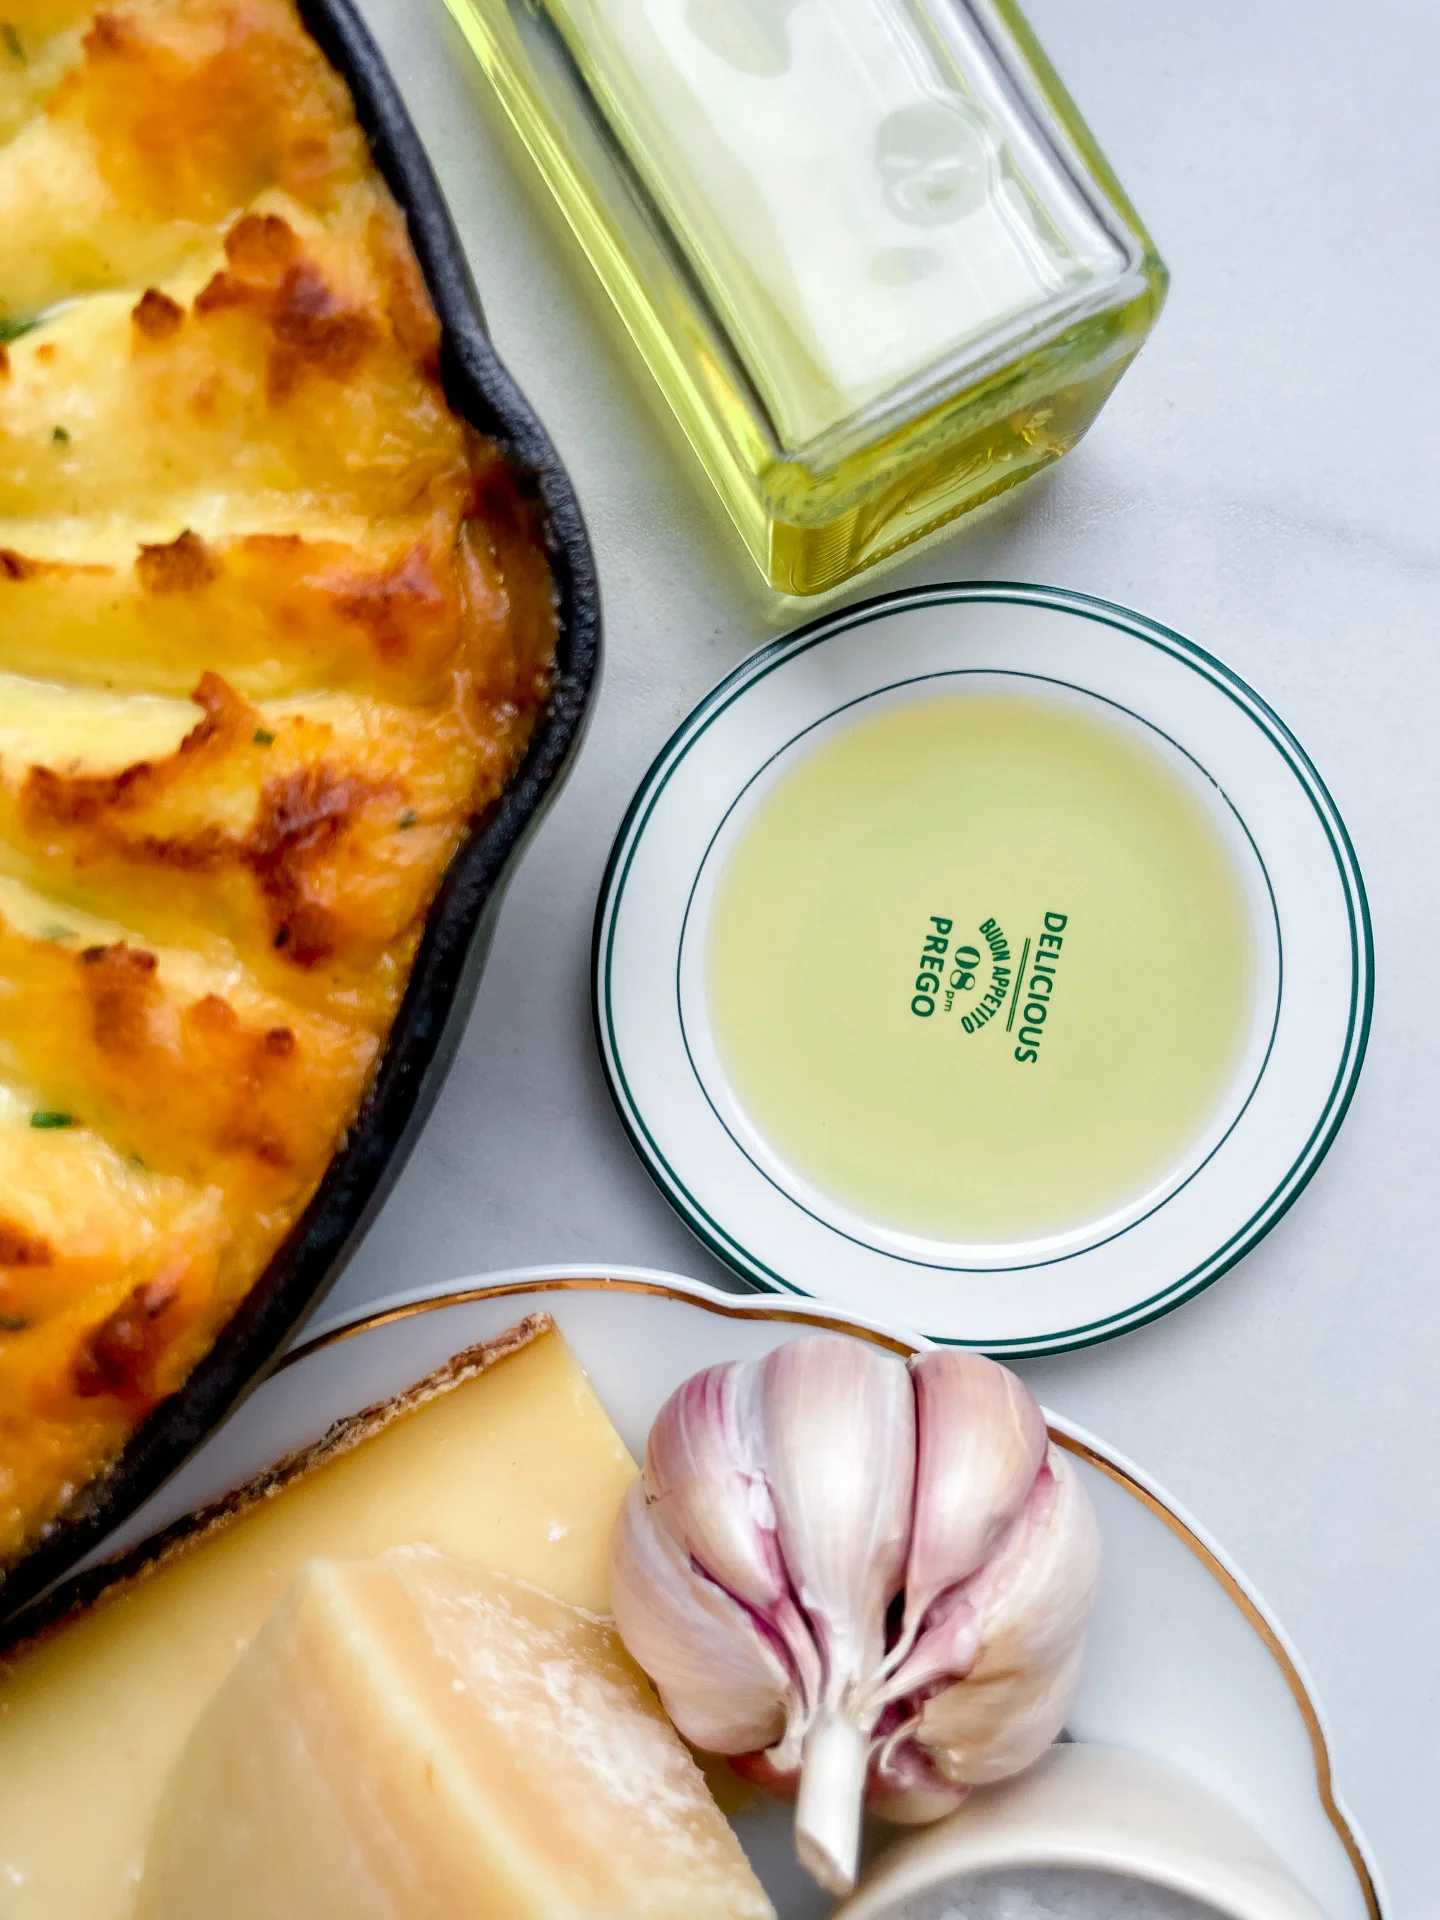
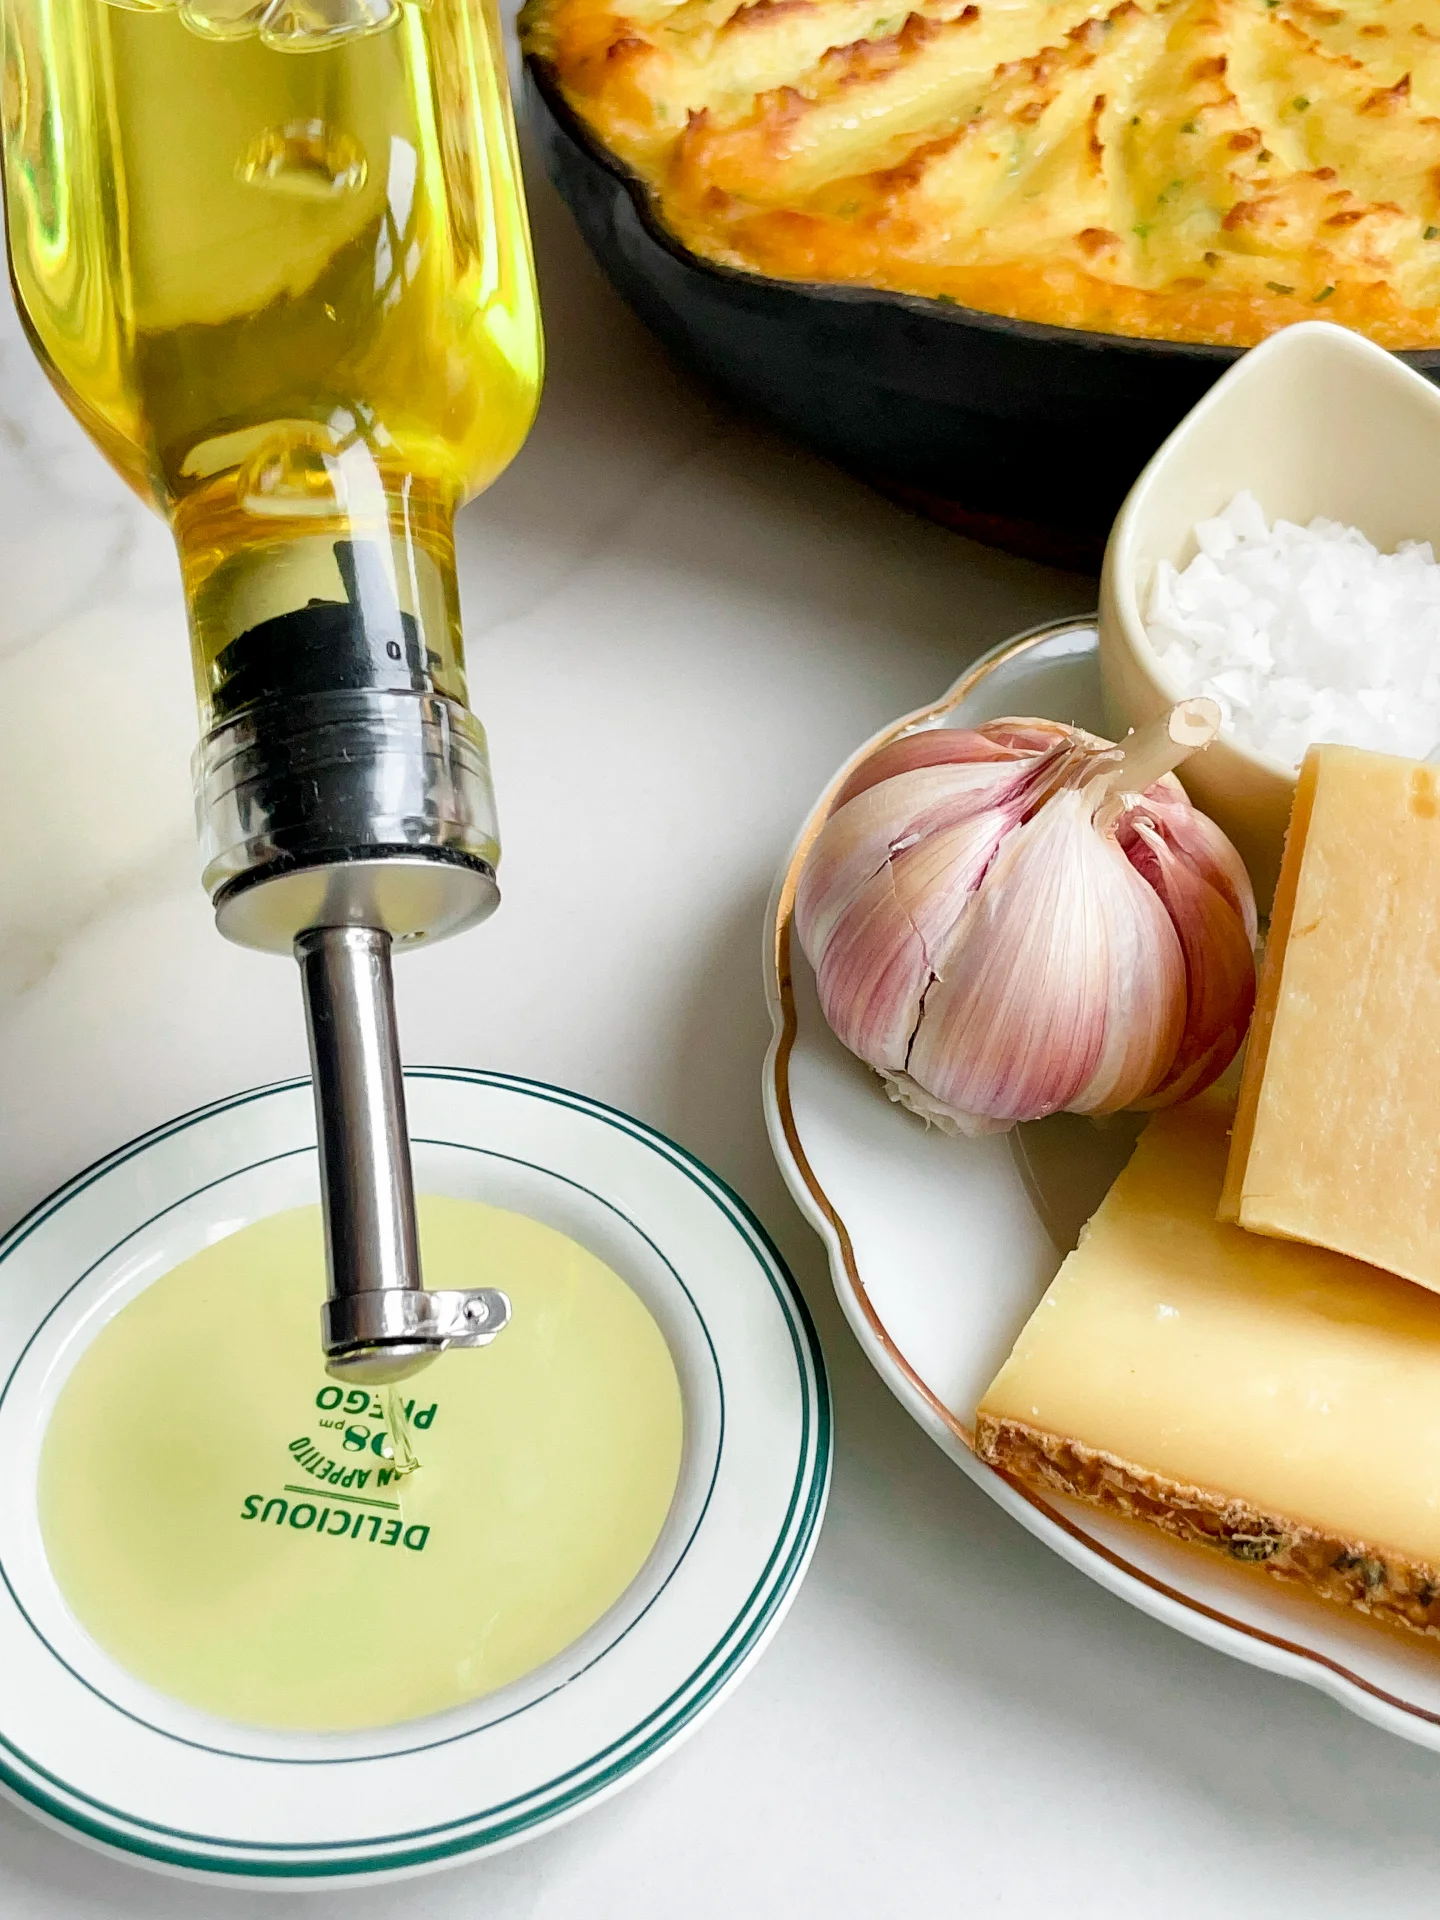
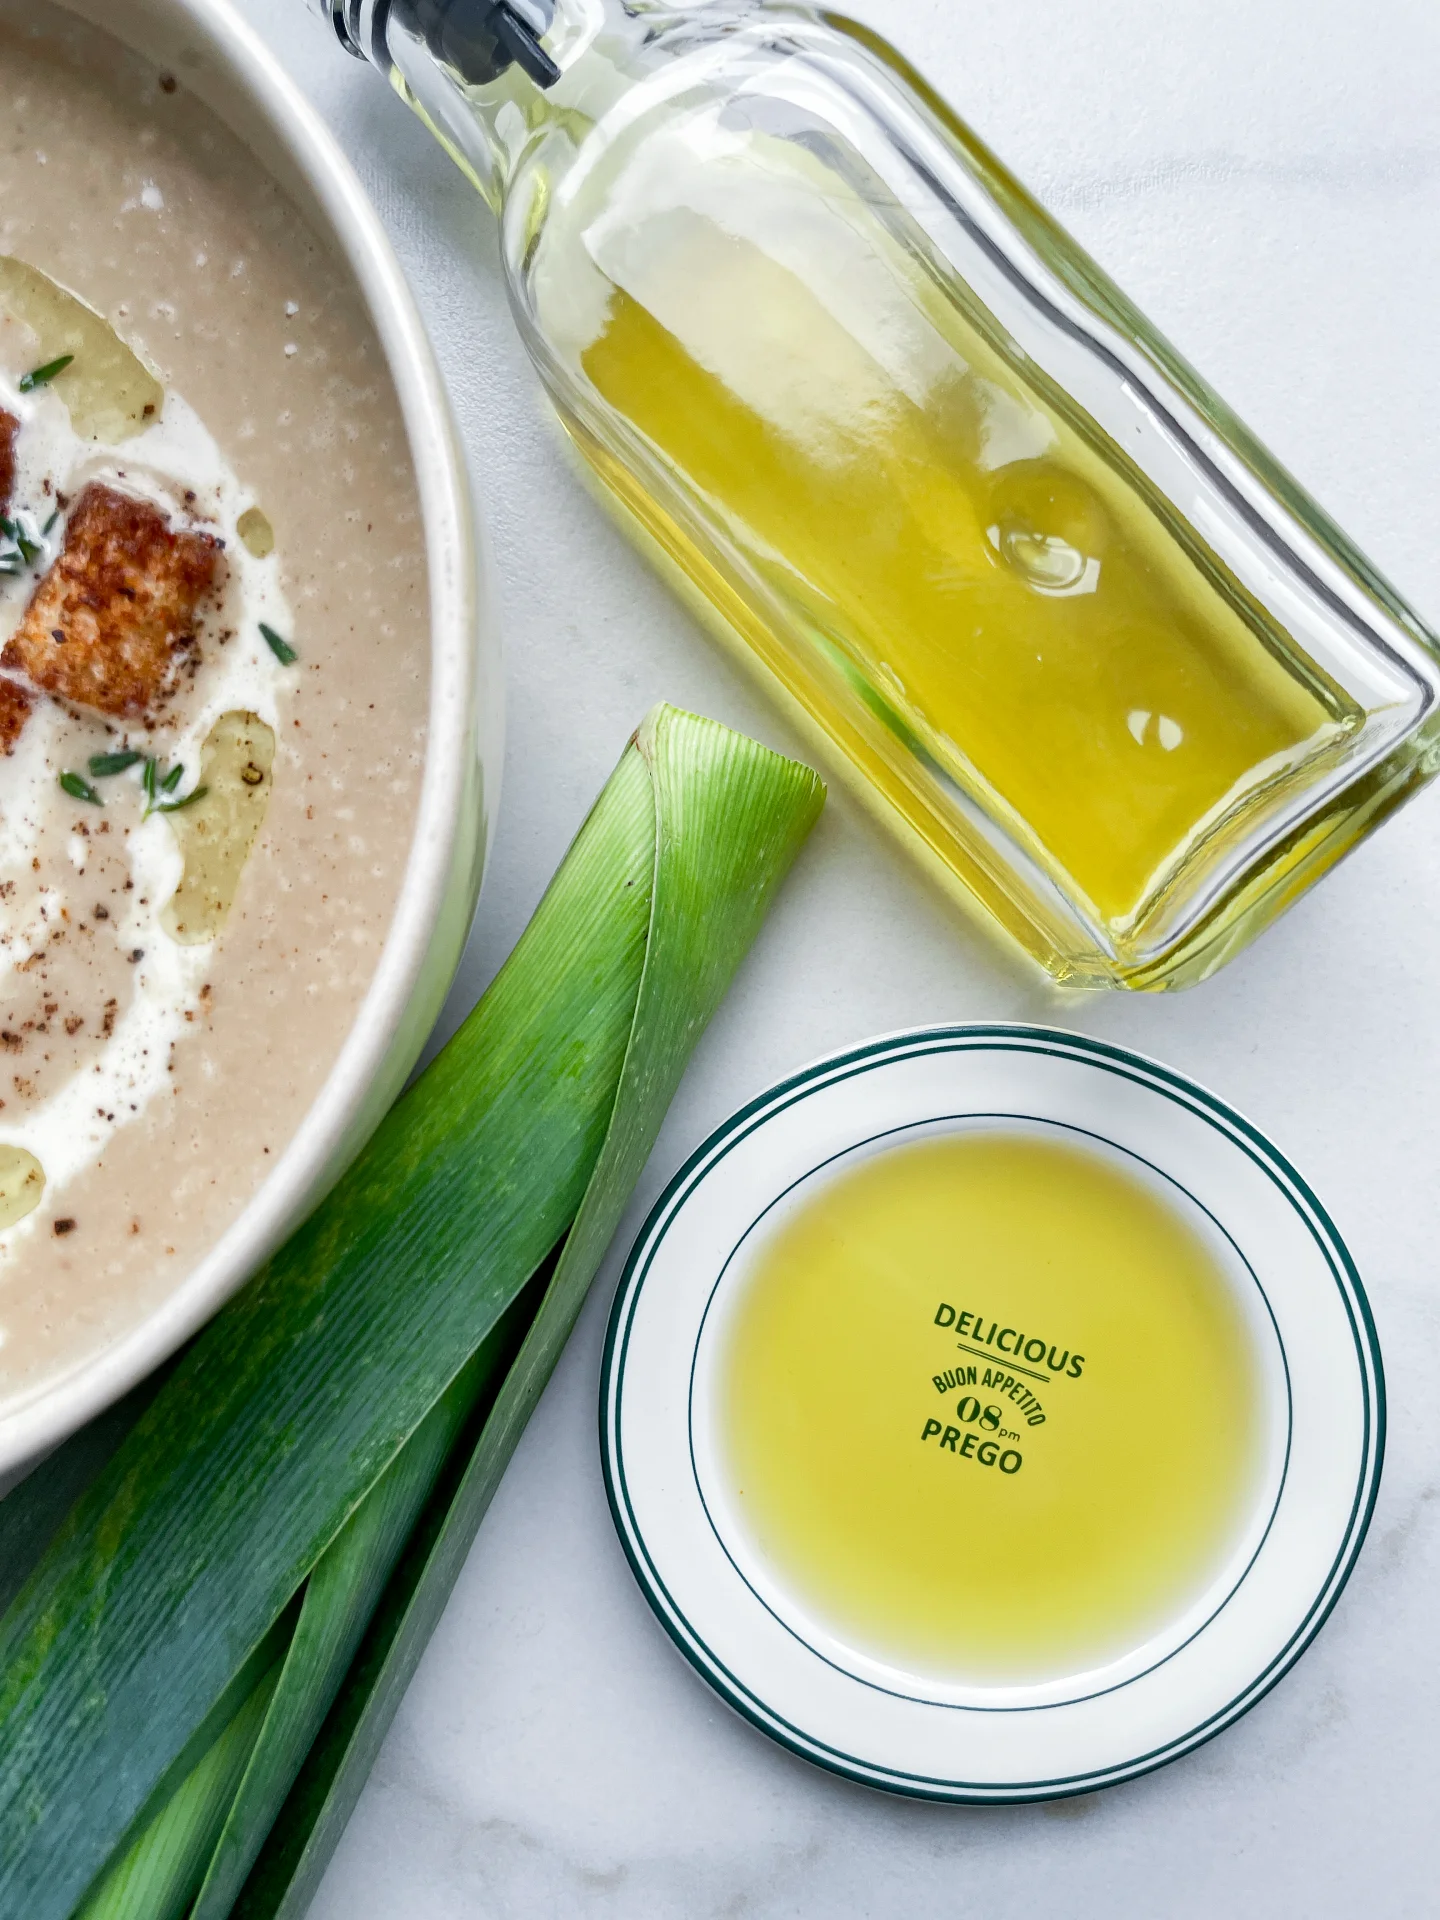
Velvety and savory, this infused oil captures the essence of garlic and cheese, delivering pure fondue vibes. Drizzle it, dip with it, or savor it – it’s a total flavor bomb.

40 MINUTES

ADVANCED

VEGETARIAN

INT.

40 PER TSP

UMAMI

MICHELIN

OIL

WINTER

INTRODUCTION

ABOUT THE RECIPE

This oil was a fun experiment that turned into a total win! Infused with Gruyere, Parmesan, and garlic, it packs a cheesy, savory punch that’s perfect for dipping or drizzling. While the salt didn’t quite come through, the rich flavors of garlic and cheese infused beautifully into the oil, creating a gourmet touch for any meal. Whether you’re hosting friends or elevating a simple dinner, this oil is a little bottle of magic.

How to serve
Drizzle this flavorful oil over fresh bread, roasted vegetables, or pasta to take your meal to the next level. Use it as a dip for crusty baguettes or even as a topping for grilled meats. It’s also a game-changer when swirled into soups for an extra burst of richness. For cheese lovers, this oil is the ultimate gourmet hack for effortless flavor in seconds. By the way it pairs perfectly with my Cottage Pie!

How to store
Store the oil in an airtight glass container in the fridge for up to one week. Keep it away from direct sunlight to preserve the flavor. If you notice any changes in smell or texture, it’s time to make a fresh batch!

Hi, I'm Kimberly!

Hi, I'm Kimberly.

A passionate food lover who believes in the magic of homemade deliciousness that spreads love and warmth. Join me on this culinary adventure as I prepare wonderful dishes and let’s spread some happiness together!

Kimberly the Zett Signature

If you want to get to know me better, click here!


Cheese Fondue Oil
Cheese Fondue Oil
Cheese Fondue Oil
„Let’s make a piece of happiness“
Print
clock clock iconcutlery cutlery iconflag flag iconfolder folder iconinstagram instagram iconpinterest pinterest iconfacebook facebook iconprint print iconsquares squares iconheart heart iconheart solid heart solid icon
Cheese Fondue Oil

Cheese Fondue Oil


  • Author: Kimberly
  • Total Time: 40 min
  • Yield: 1 cup / 250ml 1x

Description

RECOMMENDED EQUIPMENT

  • blender
  • medium-sized saucepan
  • whisk
  • a bowl which the medium saucepan fits into
  • 2 medium-sized bowls
  • 2 fine sieves
  • sealable container (oil bottle)
  • ice cubes
  • coffee filter

Ingredients

Units Scale
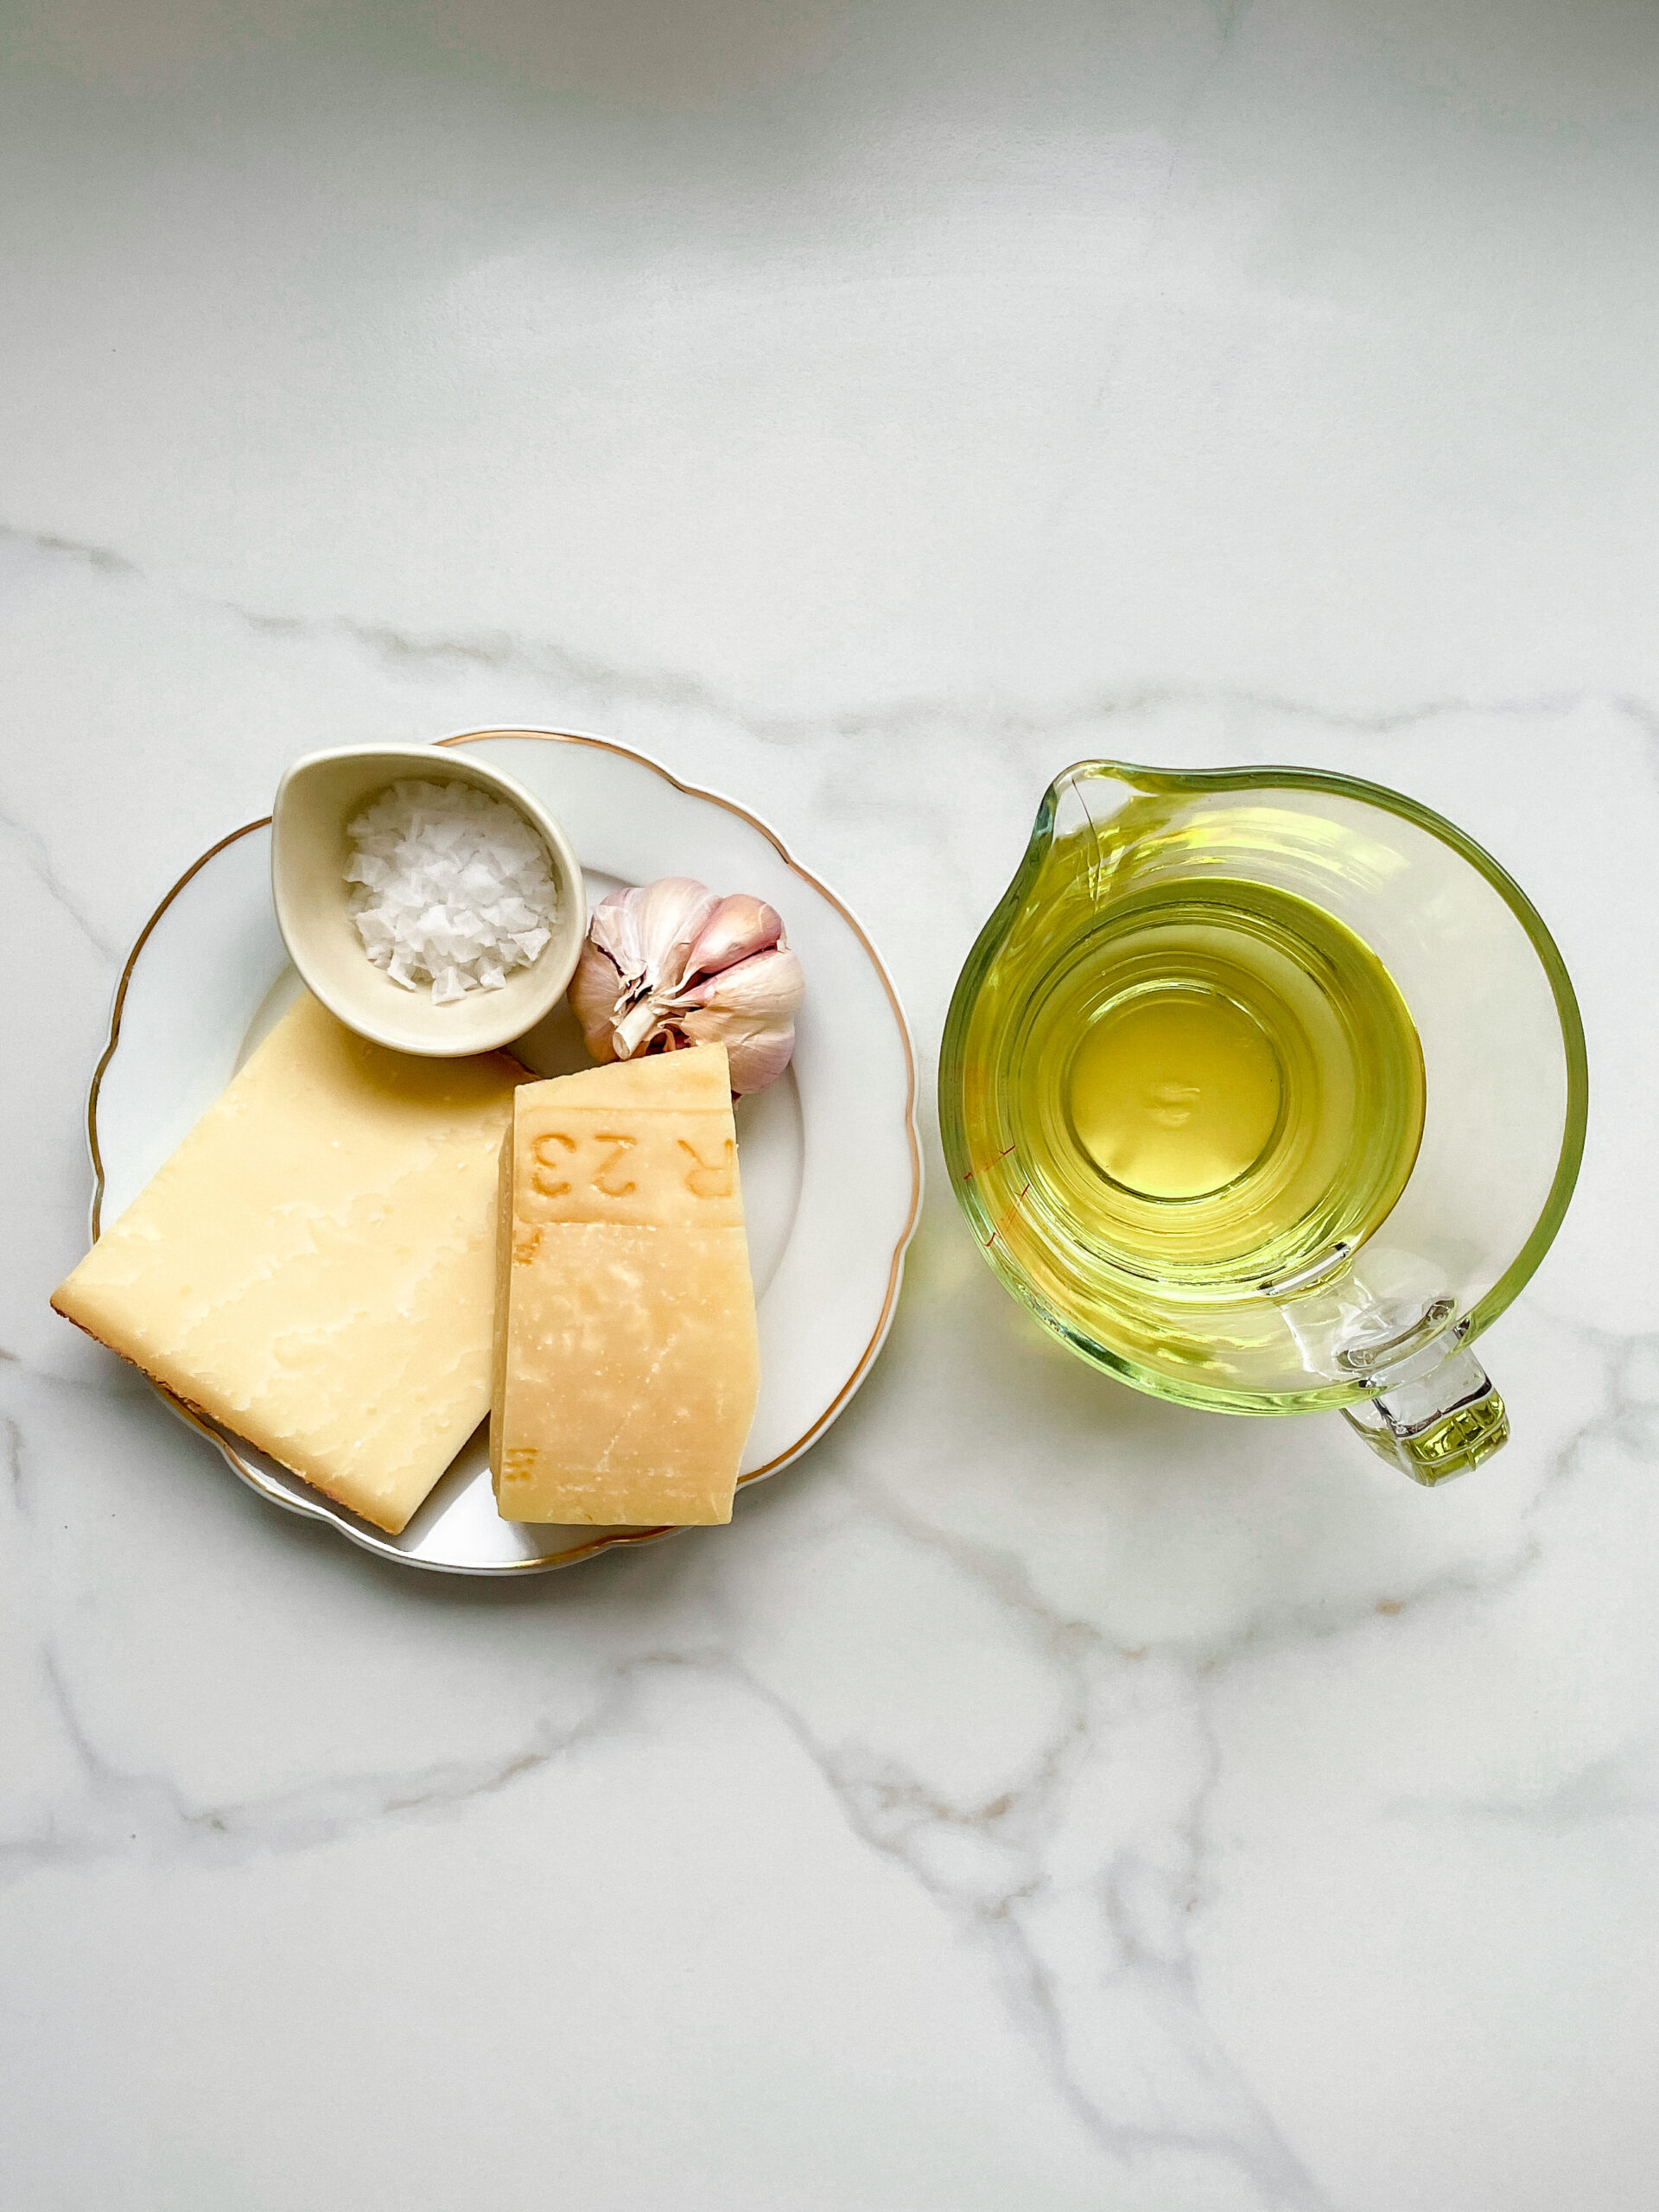
  • 50 grams parmesan
  • 30 grams gruyere
  • 4 garlic cloves
  • 1 tbsp sea salt
  • 250 milliliter oil

Instructions

  1. Cut the cheese into coarse pieces and peel the garlic cloves. Add everything to the blender along with the salt and oil.
  2. Pour the mixture from the blender into a medium-sized pot and heat it over medium heat to a temperature of about 101°-104°C (213°-219°F), and maintain this temperature for the next 15 minutes. Stir occasionally, making sure the temperature remains steady and nothing gets burned.
  3. Prepare a bowl large enough to fit a medium-sized pot, and fill it with cold water and a handful of ice cubes. Also, hang a fine sieve strainer over one medium-sized bowl and another fine sieve strainer, with a coffee filter inside it, over another medium-sized bowl.
  4. Now, place the pot in the ice water and stir to cool the oil quickly. Once the oil is almost cold, remove the pot from the water and pour the oil into the prepared fine sieve to catch the coarse particles.
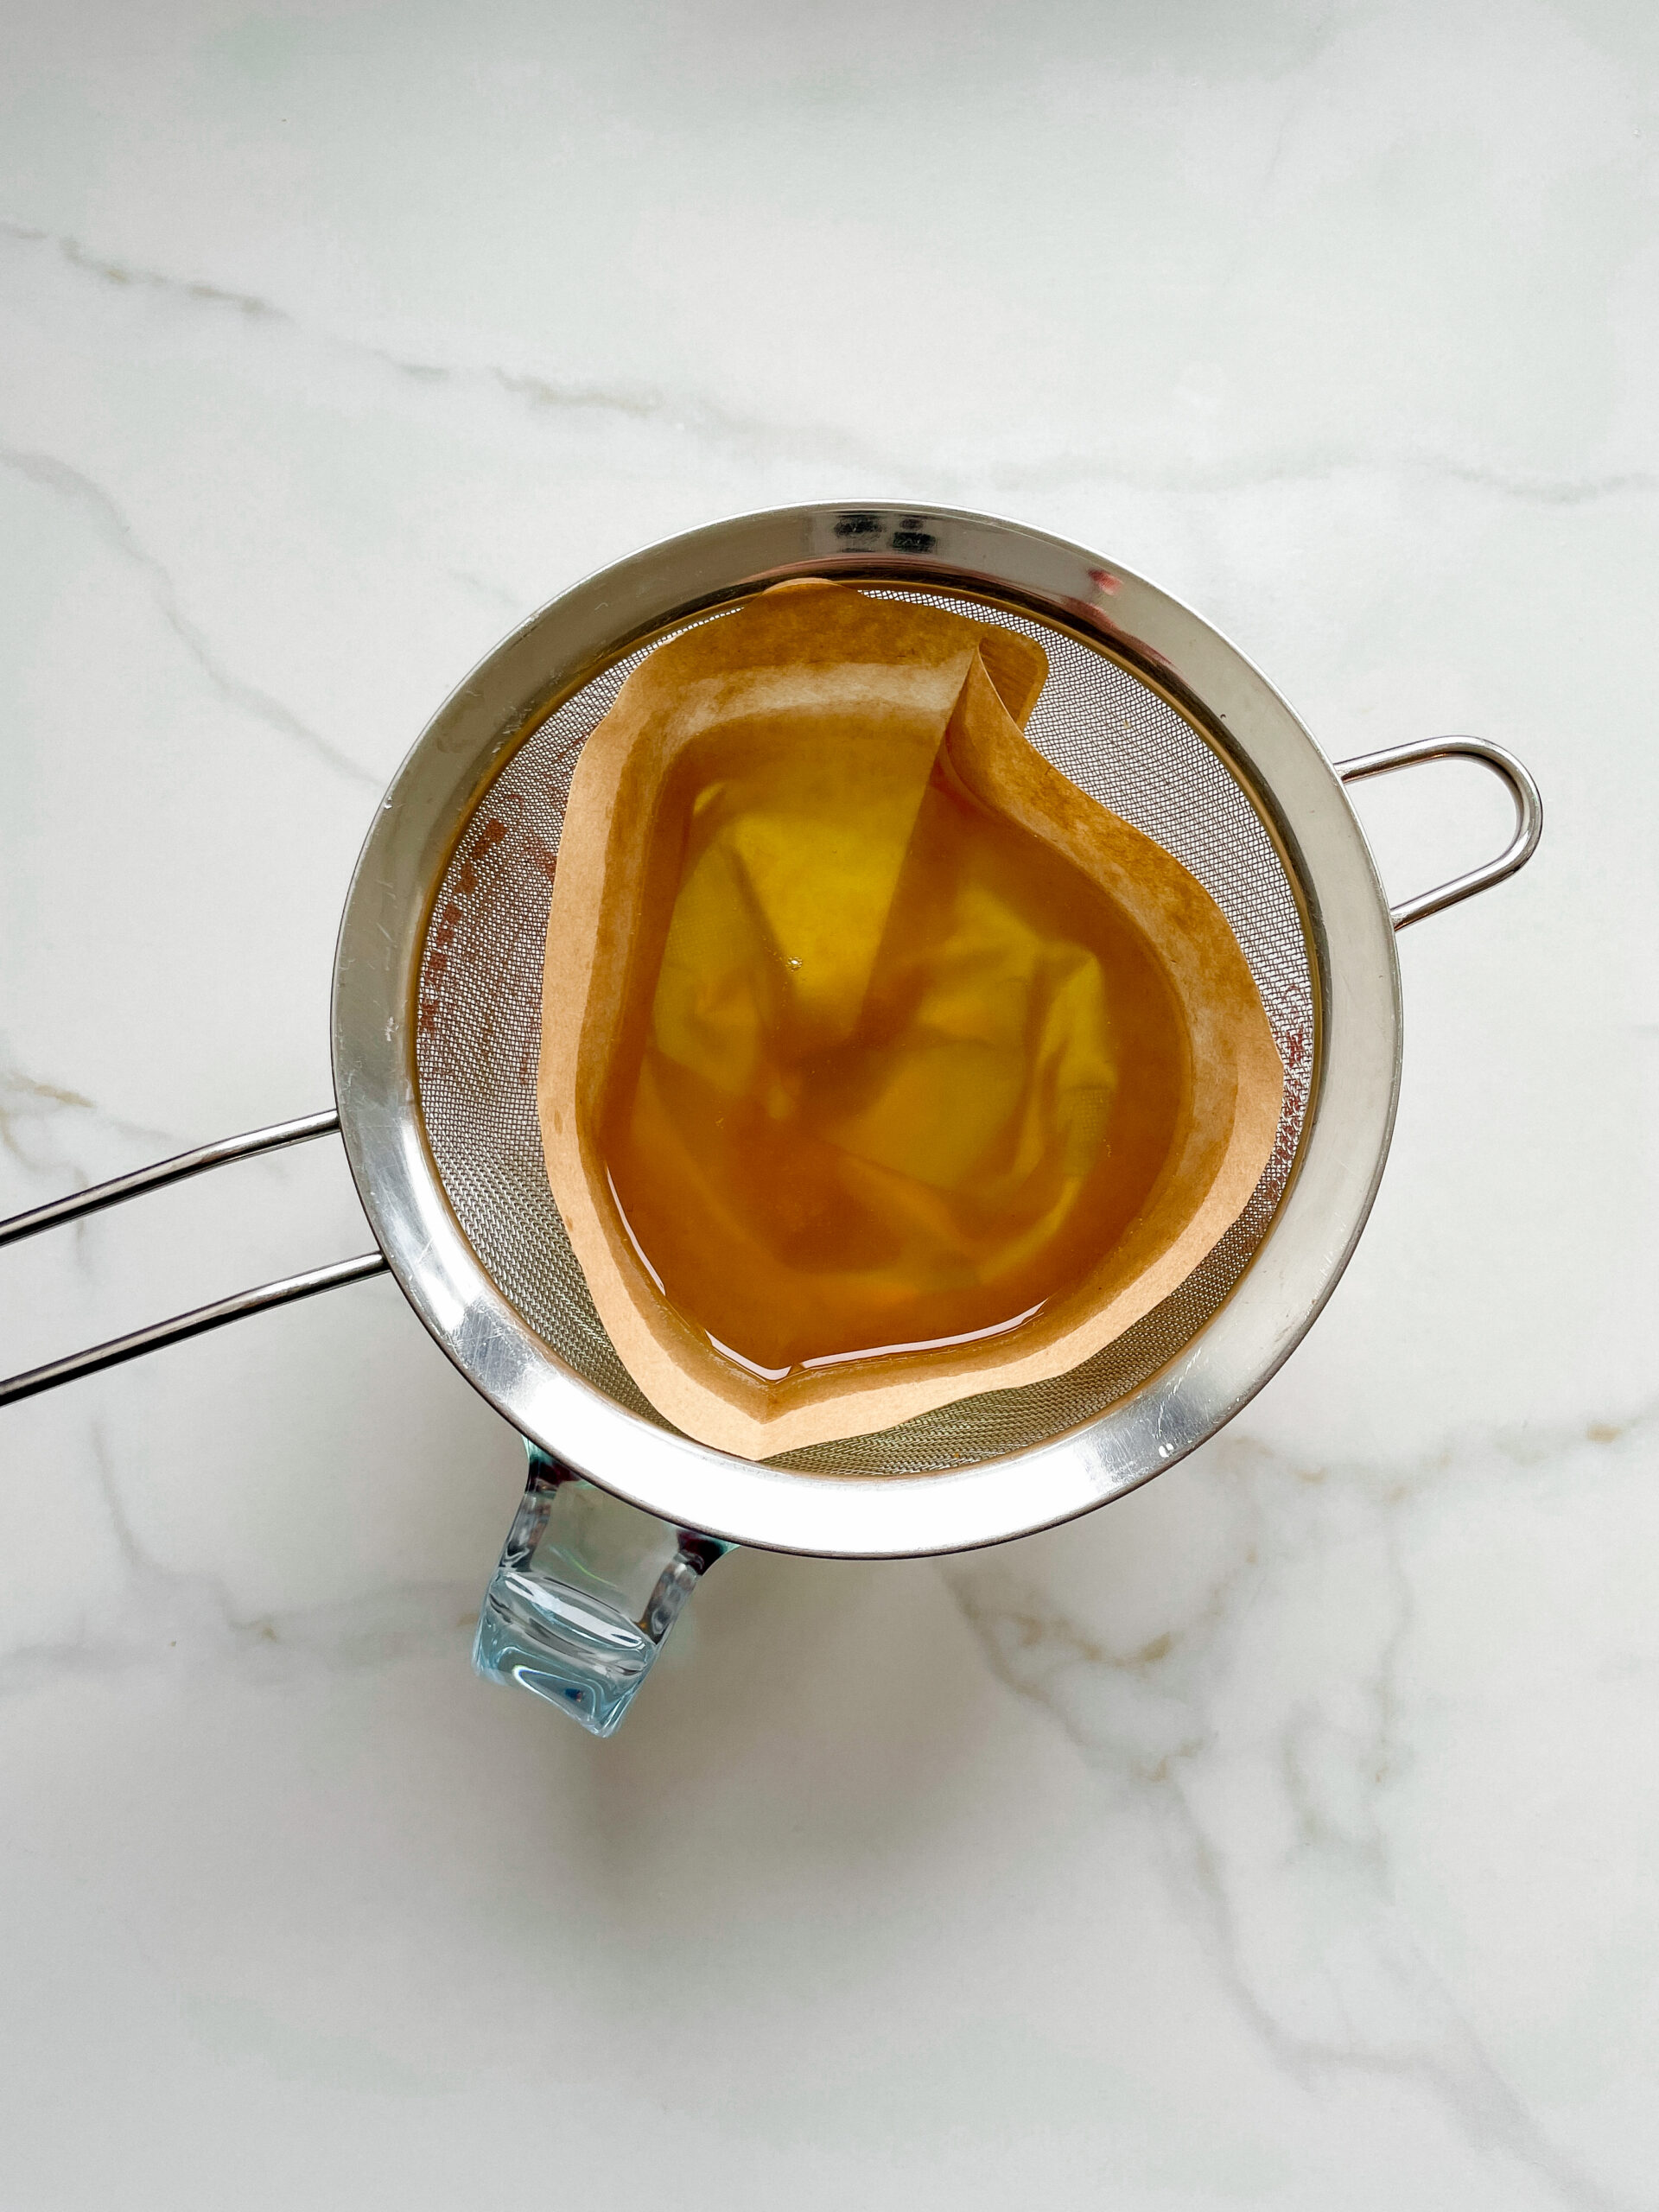
  5. Then, pour the oil into the second sieve, which is equipped with a coffee filter, to catch the remaining finer particles.
  6. Allow the oil to drip through for about 20 minutes or maybe less depending on how many remaining particles are in the coffee filter. Once all the oil has passed through the coffee filter, transfer the collected amount of oil into a sealable container or directly into an oil bottle. Store in the refrigerator for up to one week.
  • Prep Time: 5 min
  • Passive Time: 20 min
  • Cook Time: 15 min

Cherry Bakewell Oil

Cherry Bakewell Oil

Cherry Bakewell Oil

Cherry Bakewell Oil

December 22, 2024 by Kimberly

This Cherry Bakewell Oil was meant to be sweet, nutty, and elegant – but let’s just say it didn’t live up to the dream. Honest reviews and lessons learned inside!

40 MINUTES

ADVANCED

VEGAN

ENGLISH

40 PER TSP

MICHELIN

OIL

WINTER

INTRODUCTION

ABOUT THE RECIPE

Let’s get real: not every recipe turns out as dreamy as planned. This Cherry Bakewell Oil, infused with candied cherries and almonds, had all the right ideas but didn’t deliver on flavor. Instead of the sweet, nutty depth I envisioned, the result was underwhelming and lacked the vibrant punch I hoped for. But hey, it’s all part of the journey, and I’m here to share the lessons I learned from this kitchen experiment.

How to serve
Honestly, this oil didn’t bring the wow factor. The sweetness from the candied cherries didn’t infuse at all, and the almond flavor got lost in translation. If you do give it a try, maybe use it as a light drizzle over mild salads or simple desserts where subtlety is welcome. But don’t expect it to steal the show – it’s more of a whisper than a statement. But if you’re still craving cherry and almond, you should definitely try these Cherry Almond Marzipan Oats!


How to store
Keep the infused oil in an airtight container for up to a week at room temperature. Be sure to shake it before using, as the ingredients can settle at the bottom.

Hi, I'm Kimberly!

Hi, I'm Kimberly.

A passionate food lover who believes in the magic of homemade deliciousness that spreads love and warmth. Join me on this culinary adventure as I prepare wonderful dishes and let’s spread some happiness together!

Kimberly the Zett Signature

If you want to get to know me better, click here!


Cherry Bakewell Oil
Cherry Bakewell Oil
Cherry Bakewell Oil
„Let’s make a piece of happiness“
Print
clock clock iconcutlery cutlery iconflag flag iconfolder folder iconinstagram instagram iconpinterest pinterest iconfacebook facebook iconprint print iconsquares squares iconheart heart iconheart solid heart solid icon
Cherry Bakewell Oil

Cherry Bakewell Oil


  • Author: Kimberly
  • Total Time: 40 min
  • Yield: 1 cup / 250 ml 1x

Description

RECOMMENDED EQUIPMENT

  • blender
  • medium-sized saucepan
  • whisk
  • a bowl which the medium saucepan fits into
  • 2 medium-sized bowls
  • 2 fine mesh strainers
  • oil bottle
  • ice cubes
  • coffee filter

Ingredients

Units Scale
  • 50 grams raw almonds
  • 50 grams candied cherries
  • 250 milliliter rapeseed oil

Instructions

  1. Put the almonds and candied cherries into the blender. Pour in the oil. Blend on the highest setting until it no coarse pieces are longer visible.
  2. Pour the mixture from the blender into a medium-sized pot and heat it over medium heat, constantly stirring, to a temperature of about 102°-103°C (215°-217°F). Then, let the oil simmer with the lid partially on for the next 10 minutes. Stir only occasionally, making sure the temperature remains steady and nothing gets burned.
  3. At the end of the cooking process, prepare a bowl large enough to fit the medium-sized pot, filled with cold water and a handful of ice cubes. Also, hang a fine mesh sieve strainer over a medium-sized bowl.
  4. Now, place the pot in the ice water and stir to stop the cooking process. Once the oil is almost cold, remove the pot from the water and pour the oil into the first fine mesh sieve to catch the coarse particle.
  5. Then, pour the oil into the second fine mesh sieve, which you before equipped with a coffee filter, to catch the remaining finer particles.
  6. Allow the oil to drip through for about 30 minutes or maybe less depending on how many remaining particles are in the coffee filter. Once all the oil has passed through the coffee filter, transfer the collected amount of oil into an oil bottle. Store in the refrigerator for up to 1 week.
  • Passive Time: 30 min
  • Cook Time: 10 min

Chocolate Mint Oil

Chocolate Mint Oil

Chocolate Mint Oil

Chocolate Mint Oil

December 20, 2024 by Kimberly

This infused oil is minty-fresh and oh-so-delicious, even if the chocolate vibes didn’t show up. Perfect for drizzling on salads or desserts – it’s a happy accident you’ll love.

40 MINUTES

ADVANCED

VEGAN

ENGLISH

40 PER TSP

REFRESHING

MICHELIN

OIL

ALL YEAR

INTRODUCTION

ABOUT THE RECIPE

Not every recipe turns out as expected, but sometimes the result is even better! This Chocolate Mint Oil was supposed to capture both chocolate and mint flavors, but only the fresh, vibrant mint transferred – and honestly? It’s absolutely delicious. The cocoa nibs didn’t quite make the impact I hoped for, but the minty finish is so versatile and refreshing. Perfect for sweet and savory dishes, this oil still deserves a spot in your kitchen.

How to serve
Drizzle this minty oil over fresh salads for a herby twist or use it to finish a dessert like brownies, ice cream, or fruit salads. It also works as a light drizzle over roasted vegetables, adding a subtle mint freshness to balance the flavors. For an unexpected yet delicious pairing, try it with lamb or feta cheese for a Mediterranean-inspired vibe. Versatile and fresh, it’s a little experiment gone right. For an extravagant dessert with a wow factor, you absolutely have to try this oil on my Vanilla Parfait with Chocolate Soil!

How to store
Store this infused oil in a clean, airtight bottle in the fridge for up to one week.

Hi, I'm Kimberly!

Hi, I'm Kimberly.

A passionate food lover who believes in the magic of homemade deliciousness that spreads love and warmth. Join me on this culinary adventure as I prepare wonderful dishes and let’s spread some happiness together!

Kimberly the Zett Signature

If you want to get to know me better, click here!


Chocolate Mint Oil
Chocolate Mint Oil
Chocolate Mint Oil
„Let’s make a piece of happiness“
Print
clock clock iconcutlery cutlery iconflag flag iconfolder folder iconinstagram instagram iconpinterest pinterest iconfacebook facebook iconprint print iconsquares squares iconheart heart iconheart solid heart solid icon
Chocolate Mint Oil

Chocolate Mint Oil


  • Author: Kimberly
  • Total Time: 40 min
  • Yield: 1 cup / 250 ml 1x

Description

RECOMMENDED EQUIPMENT

  • blender
  • medium-sized saucepan
  • whisk
  • a bowl which the medium saucepan fits into
  • 2 medium-sized bowls
  • 2 fine mesh strainers
  • oil bottle
  • ice cubes
  • coffee filter

Ingredients

Units Scale
  • 15 grams cocoa nibs
  • 15 grams fresh mint
  • 250 milliliter rapeseed oil

Instructions

  1. Put cocoa nibs and leaves of the mint into the blender. Pour in the oil. Blend on the highest setting until it no coarse pieces are longer visible.
  2. Pour the mixture from the blender into a medium-sized pot and heat it over medium heat, constantly stirring, to a temperature of about 102°-103°C (215°-217°F). Then, let the oil simmer with the lid partially on for the next 10 minutes. Stir only occasionally, making sure the temperature remains steady and nothing gets burned.
  3. At the end of the cooking process, prepare a bowl large enough to fit the medium-sized pot, filled with cold water and a handful of ice cubes. Also, hang a fine mesh sieve strainer over a medium-sized bowl.
  4. Now, place the pot in the ice water and stir to stop the cooking process. Once the oil is almost cold, remove the pot from the water and pour the oil into the first fine mesh sieve to catch the coarse particle.
  5. Then, pour the oil into the second fine mesh sieve, which you before equipped with a coffee filter, to catch the remaining finer particles.
  6. Allow the oil to drip through for about 30 minutes or maybe less depending on how many remaining particles are in the coffee filter. Once all the oil has passed through the coffee filter, transfer the collected amount of oil into an oil bottle. Store in the refrigerator for up to 1 week.
  • Passive Time: 30 min
  • Cook Time: 10 min

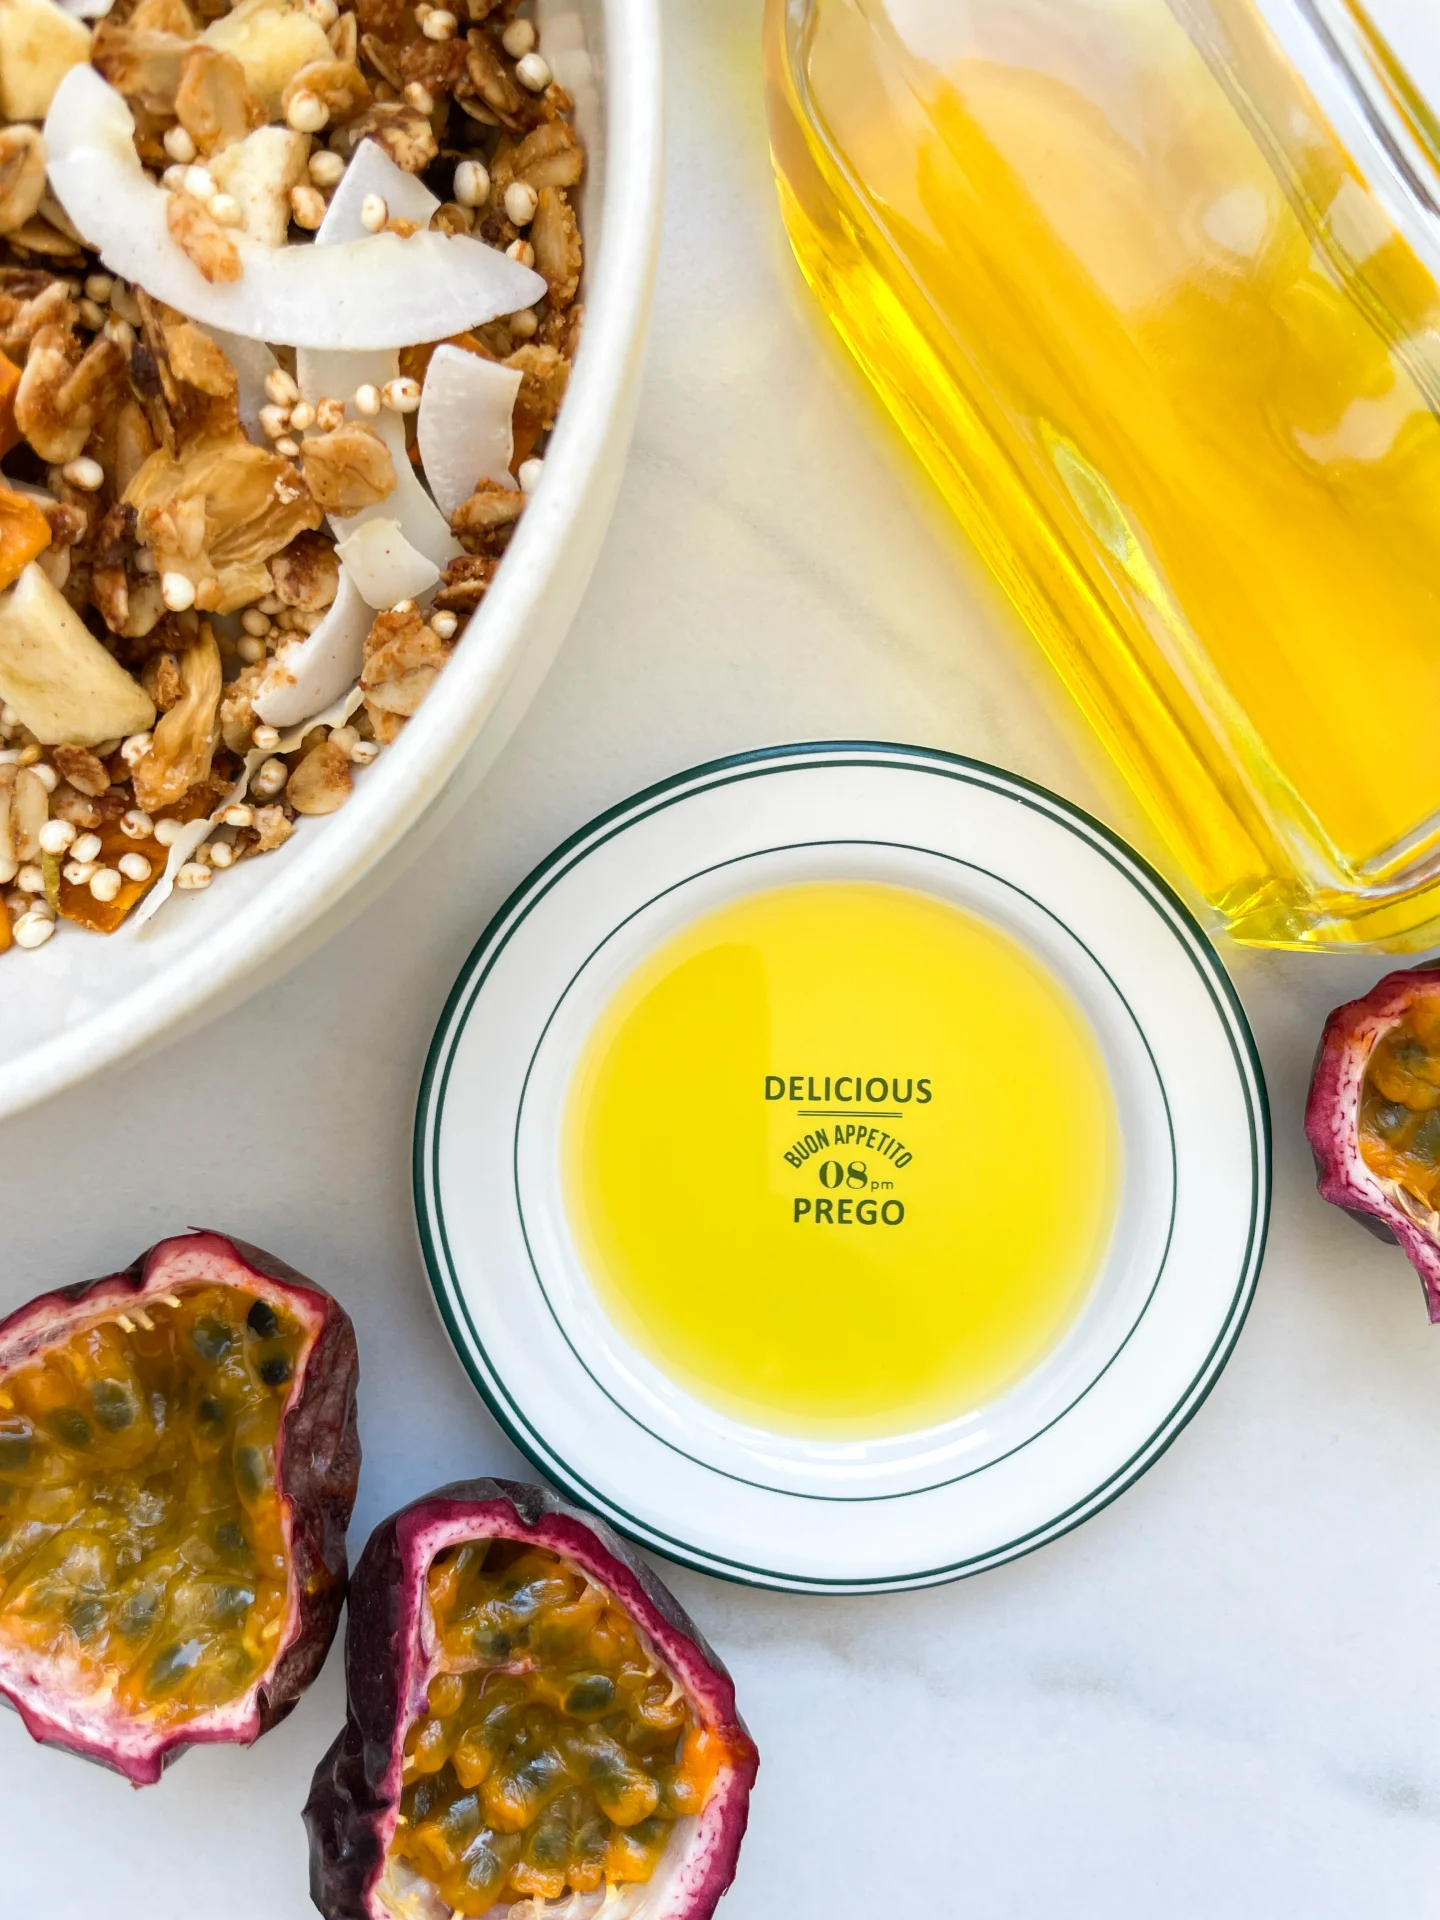
Golden Oil

Golden Oil

Golden Oil

Golden Oil

December 19, 2024 by Kimberly

A lightly sweet oil that didn’t quite hit the mark – marzipan and apricot stayed shy, but hey, it’s a fun little experiment for those curious about unique flavor twists!

35 MINUTES

ADVANCED

VEGAN

INT.

40 PER TSP

SWEET

MICHELIN

OIL

WINTER

INTRODUCTION

ABOUT THE RECIPE

Ever tried making infused oil with marzipan, honey, and dried apricots? I did – and it’s… something. The result? A barely sweet oil with whisper-soft hints of honey but not much else. It’s a quirky little experiment that didn’t quite hit the mark but still feels like it belongs in the “worth a try” category. Let’s call it a creative fail with a glimmer of potential.

How to serve
This oil works as a subtle drizzle over freshly baked bread or stirred into yogurt for a touch of sweetness. It’s also not bad brushed onto pastries before baking – though don’t expect bold flavors. Try mixing it into salad dressings for a fun experiment, or pair it with salty crackers to balance the sweetness. Basically, have fun with it and lower your expectations. If you’re in the mood for a special honey-apricot treat, you absolutely need to try these Honeycomb Apricot Marshmallow Fluff Cookies!

How to store
Store your oil in a clean, airtight glass bottle in a cool, dark place for up to one week. If any solid residue settles, give it a gentle shake before use.

Hi, I'm Kimberly!

Hi, I'm Kimberly.

A passionate food lover who believes in the magic of homemade deliciousness that spreads love and warmth. Join me on this culinary adventure as I prepare wonderful dishes and let’s spread some happiness together!

Kimberly the Zett Signature

If you want to get to know me better, click here!


Golden Oil
Golden Oil
Golden Oil
„Let’s make a piece of happiness“
Print
clock clock iconcutlery cutlery iconflag flag iconfolder folder iconinstagram instagram iconpinterest pinterest iconfacebook facebook iconprint print iconsquares squares iconheart heart iconheart solid heart solid icon
Golden Oil

Golden Oil


  • Author: Kimberly
  • Total Time: 35 min
  • Yield: 1 cup / 250 ml 1x

Description

RECOMMENDED EQUIPMENT

  • blender
  • medium-sized saucepan
  • whisk
  • a bowl which the medium saucepan fits into
  • 2 medium-sized bowls
  • 2 fine mesh strainers
  • oil bottle
  • ice cubes
  • coffee filter

Ingredients

Units Scale
  • 1 tbsp honey
  • 45 grams marzipan
  • 50 grams dried apricots
  • 250 milliliter oil

Instructions

  1. Put the dried apricots, honey & marzipan into the blender. Pour in the oil. Blend on the highest setting until there only small pieces are longer visible.
  2. Pour the mixture from the blender into a medium-sized pot and heat it over medium heat, constantly stirring, to a temperature of about 102°-103°C (215°-217°F). Then, let the oil simmer with the lid partially on for the next 15 minutes. Stir only occasionally, making sure the temperature remains steady and nothing gets burned.
  3. At the end of the cooking process, prepare a bowl large enough to fit the medium-sized pot, filled with cold water and a handful of ice cubes. Also, hang a fine mesh sieve strainer over a medium-sized bowl.
  4. Now, place the pot in the ice water and stir to stop the cooking process. Once the oil is almost cold, remove the pot from the water and pour the oil into the first fine mesh sieve to catch the coarse particle.
  5. Then, pour the oil into the second fine mesh sieve, which you before equipped with a coffee filter, to catch the remaining finer particles.
  6. Allow the oil to drip through for about 30 minutes or maybe more depending on how many remaining particles are in the coffee filter. Once all the oil has passed through the coffee filter, transfer the collected amount of oil into an oil bottle. Store in the refrigerator for up to 1-2 weeks.
  • Passive Time: 20 min

  • Cook Time: 15 min

Eggnog Oil

Eggnog Oil

Eggnog Oil

Eggnog Oil

December 21, 2024 by Kimberly

A sweet, creamy oil experiment that didn’t fully hit the mark but was worth a try. It’s subtle, festive, and fun – perfect for curious cooks with a taste for adventure!

35 MINUTES

ADVANCED

VEGETARIAN

INT.

40 PER TSP

SWEET

MICHELIN

OIL

WINTER

INTRODUCTION

ABOUT THE RECIPE

Infusing oil with cream, almonds, and whiskey? It sounded like a festive dream, but sometimes experiments don’t go as planned. While the sweetness came through, the flavors stayed too subtle to truly shine. Still, the process was fun and a great way to explore holiday-inspired cooking. This recipe might not have hit the jackpot, but it’s perfect for adventurous foodies who love to try something new in the kitchen.

How to serve
This oil is subtle but could still work as a light drizzle over desserts like vanilla ice cream or holiday cakes. Try pairing it with toasted bread and a sprinkle of cinnamon sugar for a festive twist. It’s also an interesting base for salad dressings or sauces that need just a hint of sweetness. While not bold, the oil adds a touch of uniqueness to simple dishes. If you’re craving some real creaminess, you should definitely give this German Eggnog a try!

How to store
Store this oil in a clean, airtight bottle in your fridge for up to a week. Keep it away from direct sunlight to preserve its subtle flavor. If you notice any changes in smell or texture, it’s best to discard it and start fresh.

Hi, I'm Kimberly!

Hi, I'm Kimberly.

A passionate food lover who believes in the magic of homemade deliciousness that spreads love and warmth. Join me on this culinary adventure as I prepare wonderful dishes and let’s spread some happiness together!

Kimberly the Zett Signature

If you want to get to know me better, click here!


Eggnog Oil
Eggnog Oil
Eggnog Oil
„Let’s make a piece of happiness“
Print
clock clock iconcutlery cutlery iconflag flag iconfolder folder iconinstagram instagram iconpinterest pinterest iconfacebook facebook iconprint print iconsquares squares iconheart heart iconheart solid heart solid icon
Eggnog Oil

Eggnog Oil


  • Author: Kimberly
  • Total Time: 35 min
  • Yield: 1 cup / 250ml 1x

Description

RECOMMENDED EQUIPMENT

  • blender
  • medium-sized saucepan
  • whisk
  • a bowl which the medium saucepan fits into
  • 2 medium-sized bowls
  • 2 fine sieves
  • sealable container (oil bottle)
  • ice cubes
  • coffee filter

Ingredients

Units Scale
  • 25 grams heavy cream
  • 15 grams blanched almonds
  • 30 milliliter bourbon whiskey
  • 250 milliliter oil

Instructions

  1. Put heavy cream, bourbon, blanched almonds and oil into the blender.
  2. Pour the mixture from the blender into a medium-sized pot and heat it over medium heat to a temperature of about 101°-104°C (213°-219°F), and maintain this temperature for the next 15 minutes. Stir occasionally, making sure the temperature remains steady and nothing gets burned.
  3. Prepare a bowl large enough to fit a medium-sized pot, and fill it with cold water and a handful of ice cubes. Also, hang a fine sieve strainer over one medium-sized bowl and another fine sieve strainer, with a coffee filter inside it, over another medium-sized bowl.
  4. Now, place the pot in the ice water and stir to cool the oil quickly. Once the oil is almost cold, remove the pot from the water and pour the oil into the prepared fine sieve to catch the coarse particles.
  5. Then, pour the oil into the second sieve, which is equipped with a coffee filter, to catch the remaining finer particles.
  6. Allow the oil to drip through for about 20 minutes or maybe less depending on how many remaining particles are in the coffee filter. Once all the oil has passed through the coffee filter, transfer the collected amount of oil into a sealable container or directly into an oil bottle. Store in the refrigerator for up to one week.
  • Passive Time: 20 min
  • Cook Time: 15 min