


Description
GOOD TO HAVE ON HAND
- sharp knife
- cutting board
- small bowl
- medium bowl
Ingredients
Units Scale
VEGETABLES
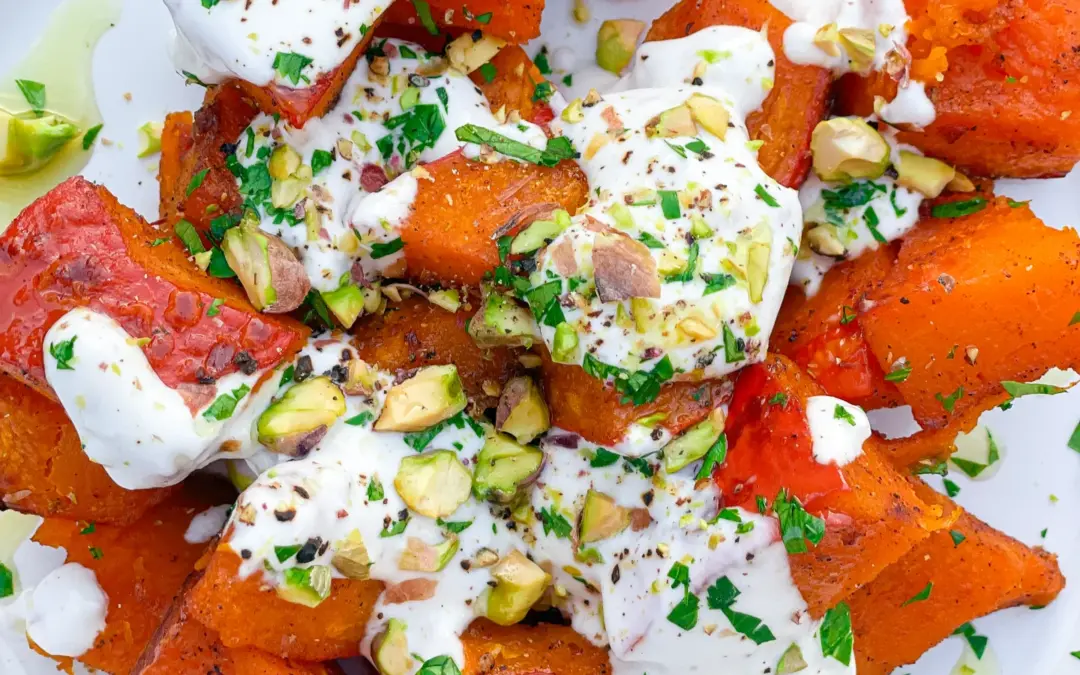
- 1 red bell pepper
- 1 yellow bell pepper
- 1 red onion
- 2 big tomatoes
- 1 cup sugar snaps
- 1 bay leaf
- 1 tsp dried thyme
- salt & pepper to taste
- 250 grams bread or baguette
- 3 tbsp olive oil
- 2 tbsp butter
- 1 garlic clove
- 1 tbsp chives
- 1/8 tsp salt
- 1/8 tsp pepper
- 75 grams yogurt
- 1 tbsp white wine vinegar
- 1 tsp honey
- 1 tbsp parsley
- salt & pepper to taste
Instructions
- Preheat the oven to 200°C (400°F)
- Wash the bell peppers, tomatoes and sugarsnaps and cut into bite-sized pieces.
- Finely chop the parsley and chives.
- Peel the onion and cut into semicircles.
- Cut the bread into slices approx. 1 cm (1/2 inch) thick.
- Line a baking tray with baking paper and spread the chopped peppers, sugarsnaps, onions and tomatoes on it. Spread 1 tbsp olive oil, 1 tsp dried thyme and 1 bay leaf over the vegetables and mix everything well. Roast in the oven for approx. 15-20 minutes.
- In the meantime, to prepare the bread, mix the softened butter with the olive oil in a small bowl and add 1 tbsp of chopped chives. Add 1/8 teaspoon each of pepper and salt and the crushed garlic, stir well and spread evenly over the slices of bread. Place the slices on a rack with baking paper in the oven with the vegetables for the last 5 minutes and bake until golden brown.
- For the dressing, mix the yogurt, honey, white wine vinegar, parsley and a pinch each of salt and pepper in a medium bowl and set aside.
- Now take the vegetables and bread out the oven and leave to cool briefly. Remove the bay leaf. Place the vegetables in the bowl with the yogurt dressing and toss to combine. Divide the vegetables between two plates and serve with the garlic bread.
- Cook Time: 30 min