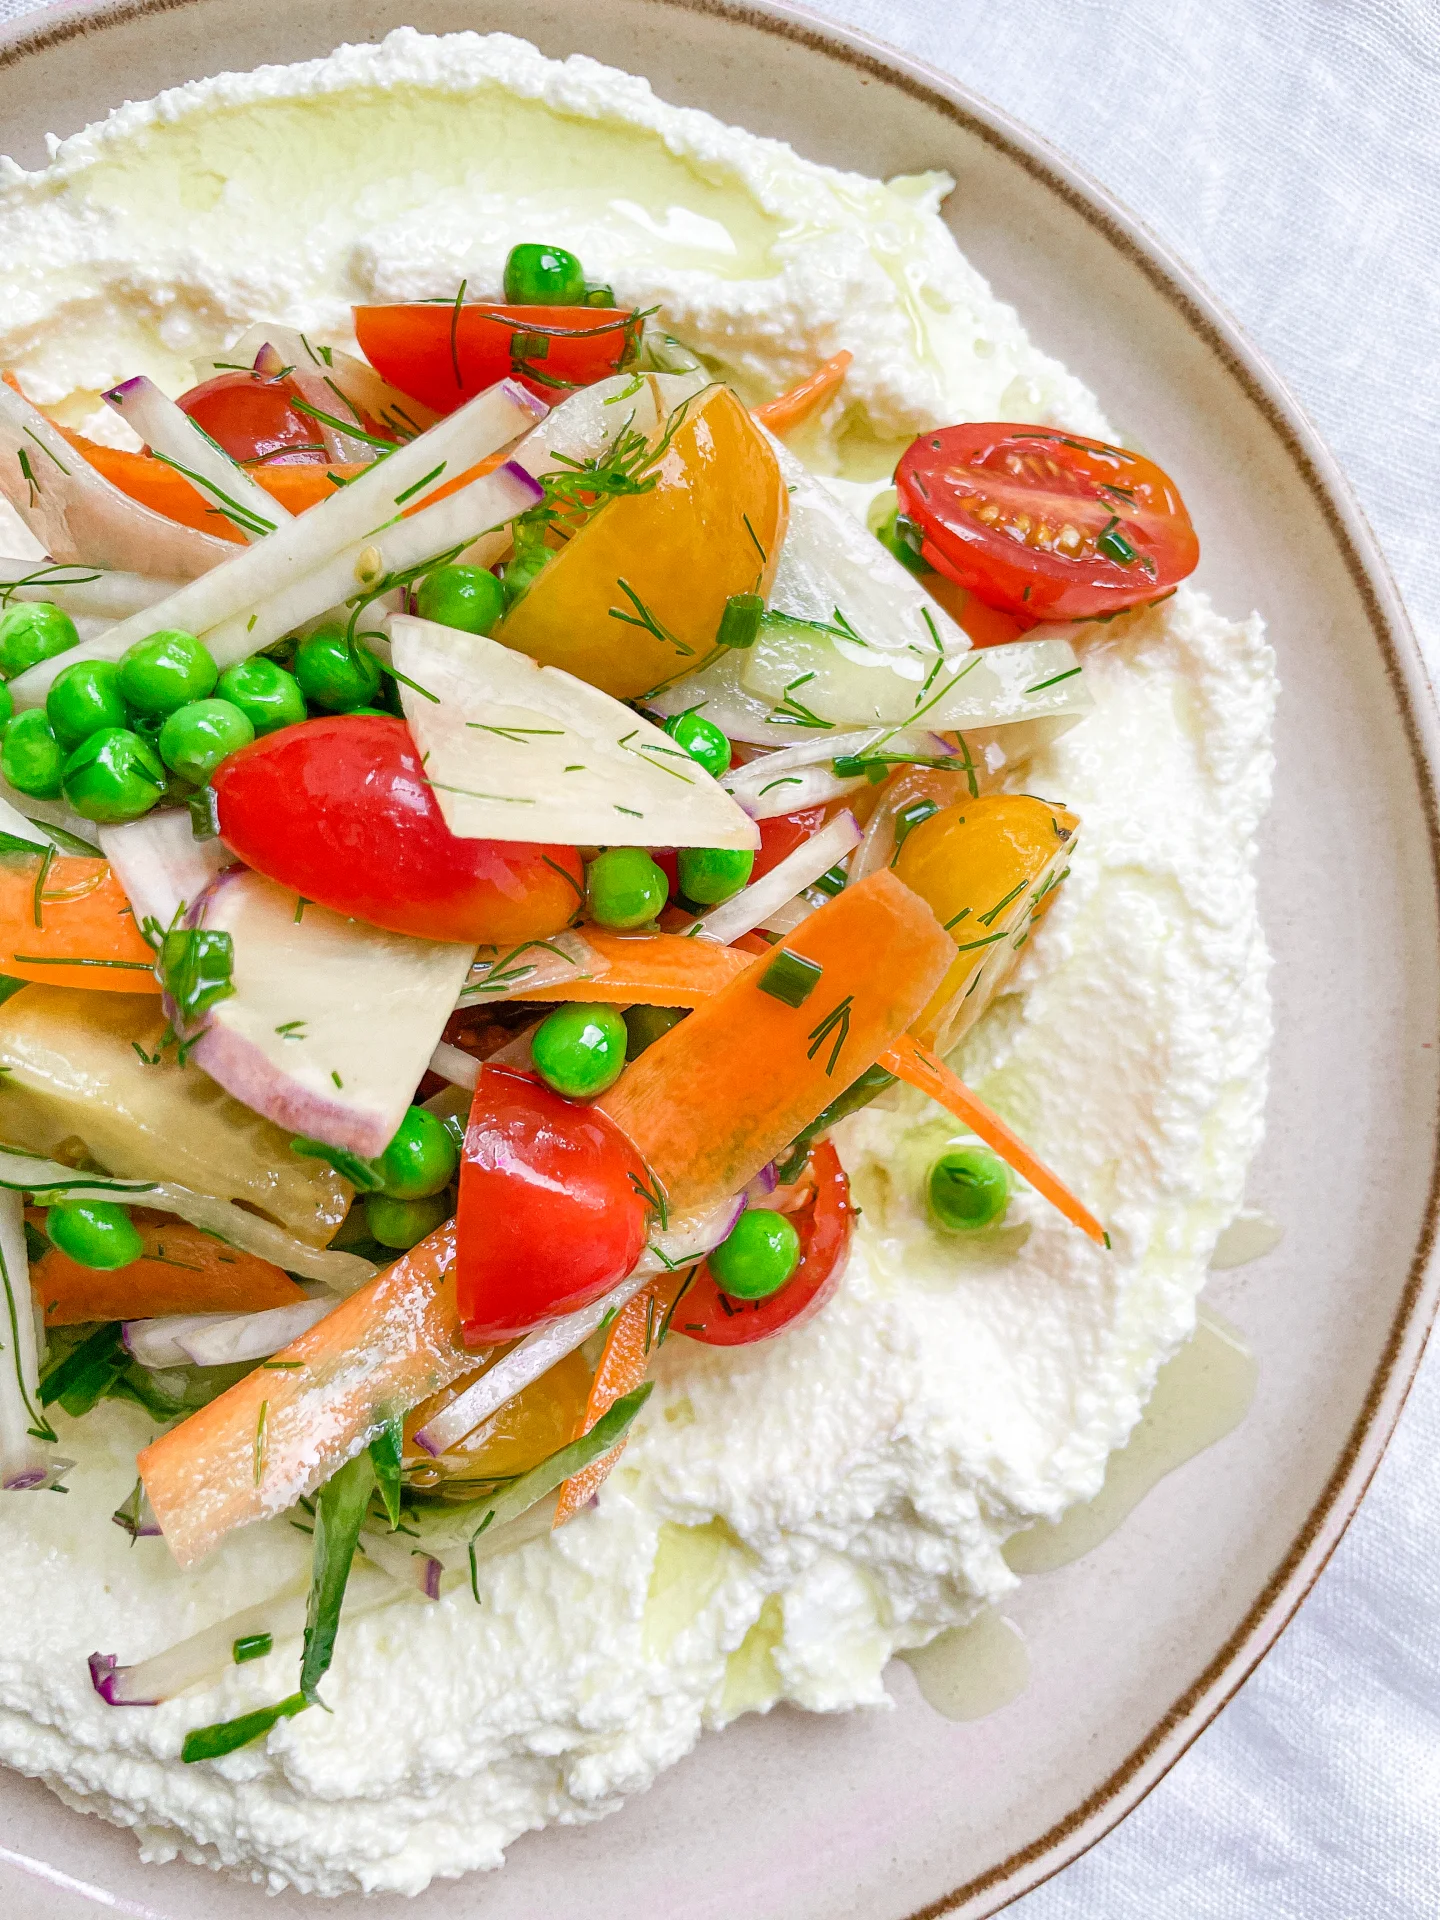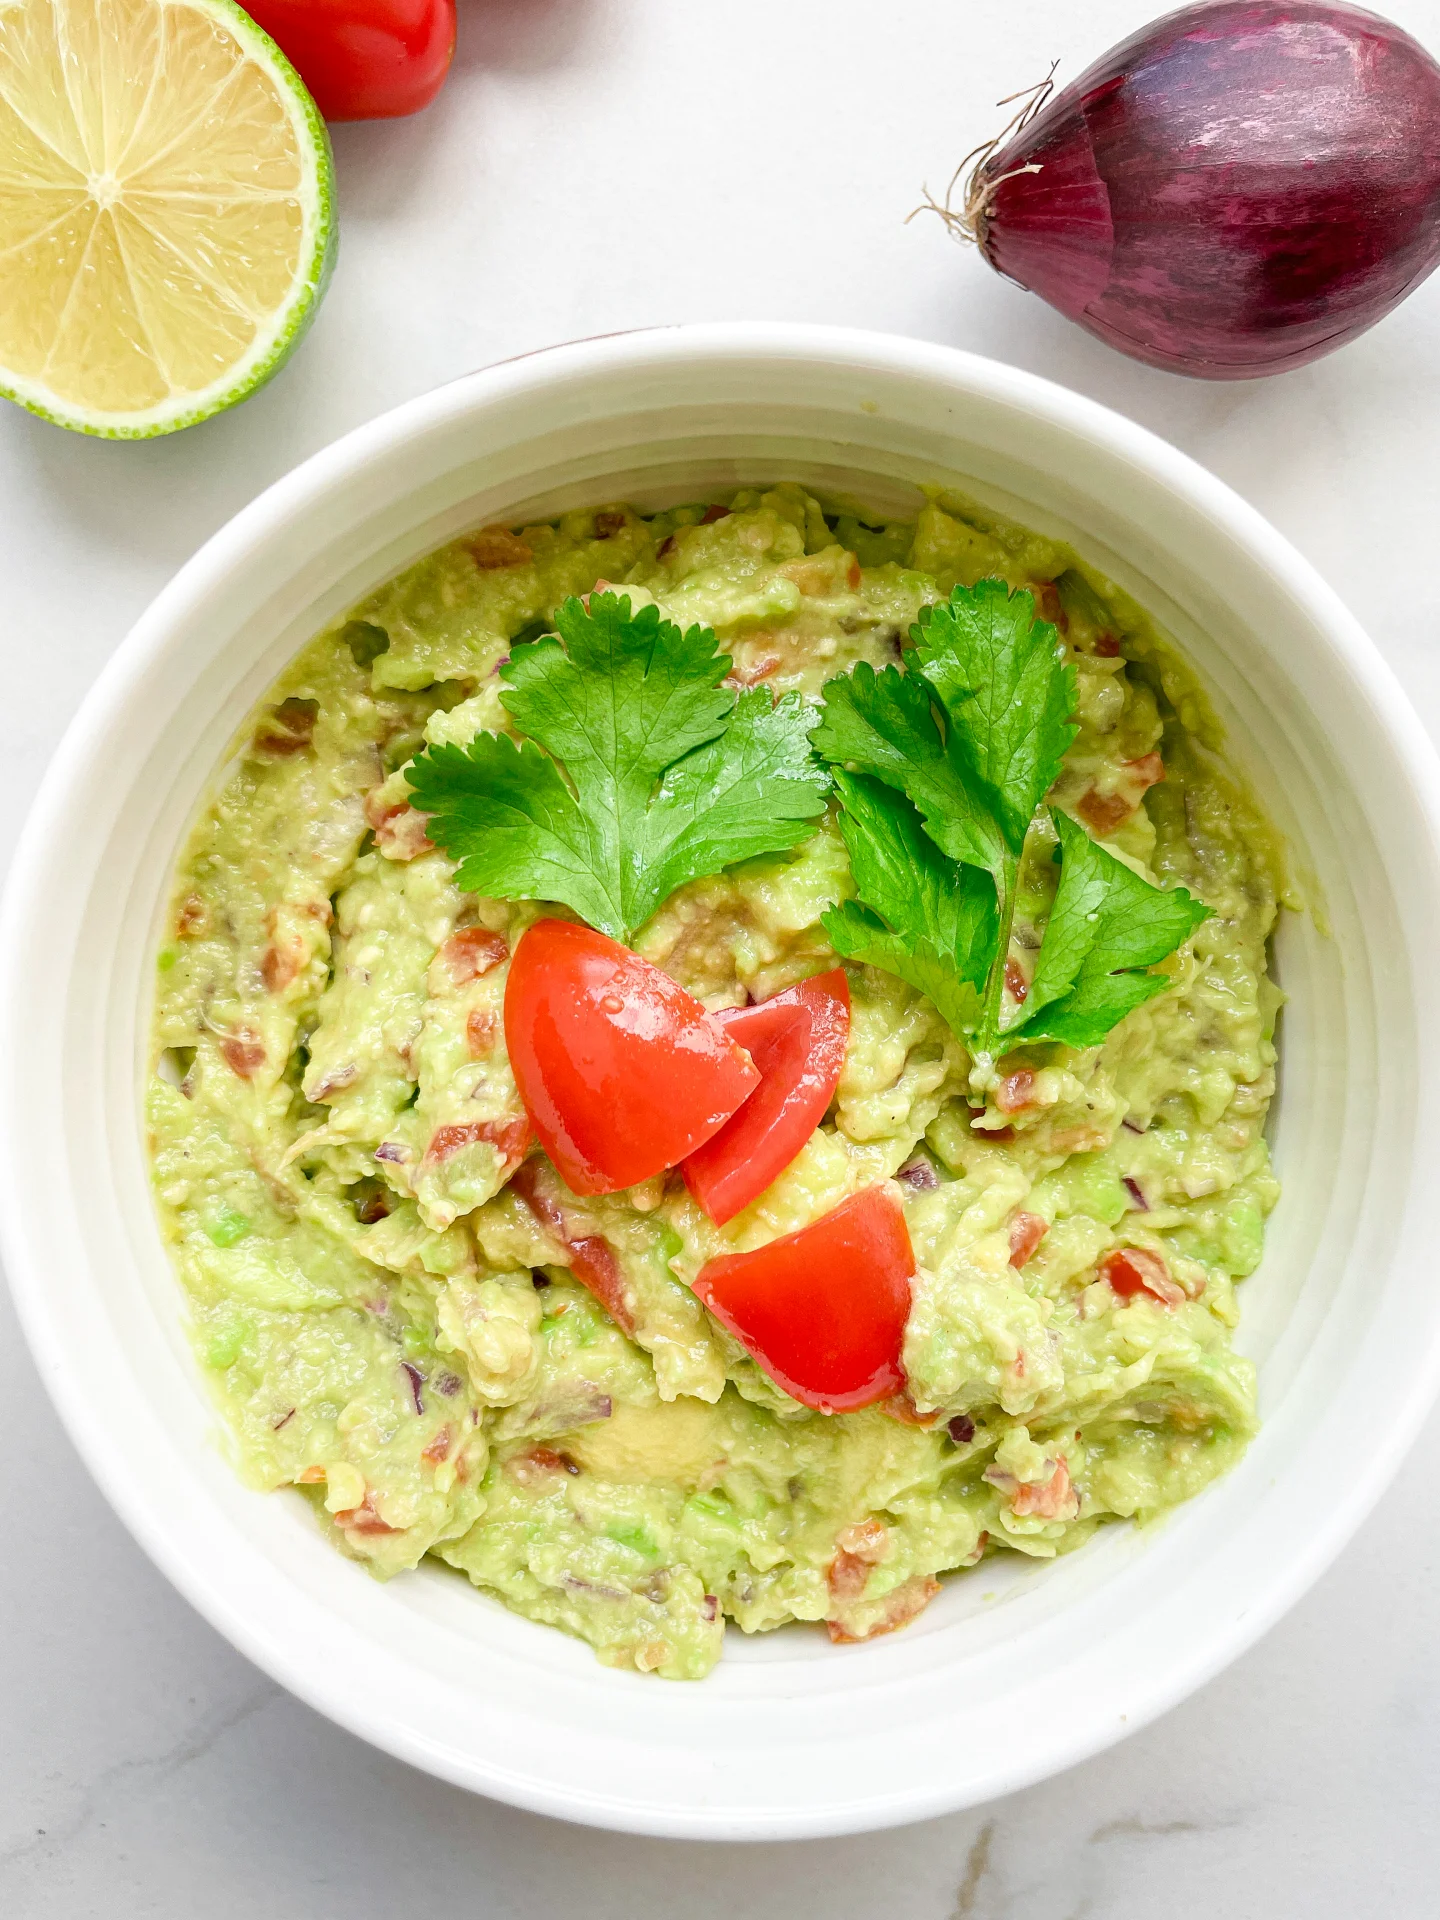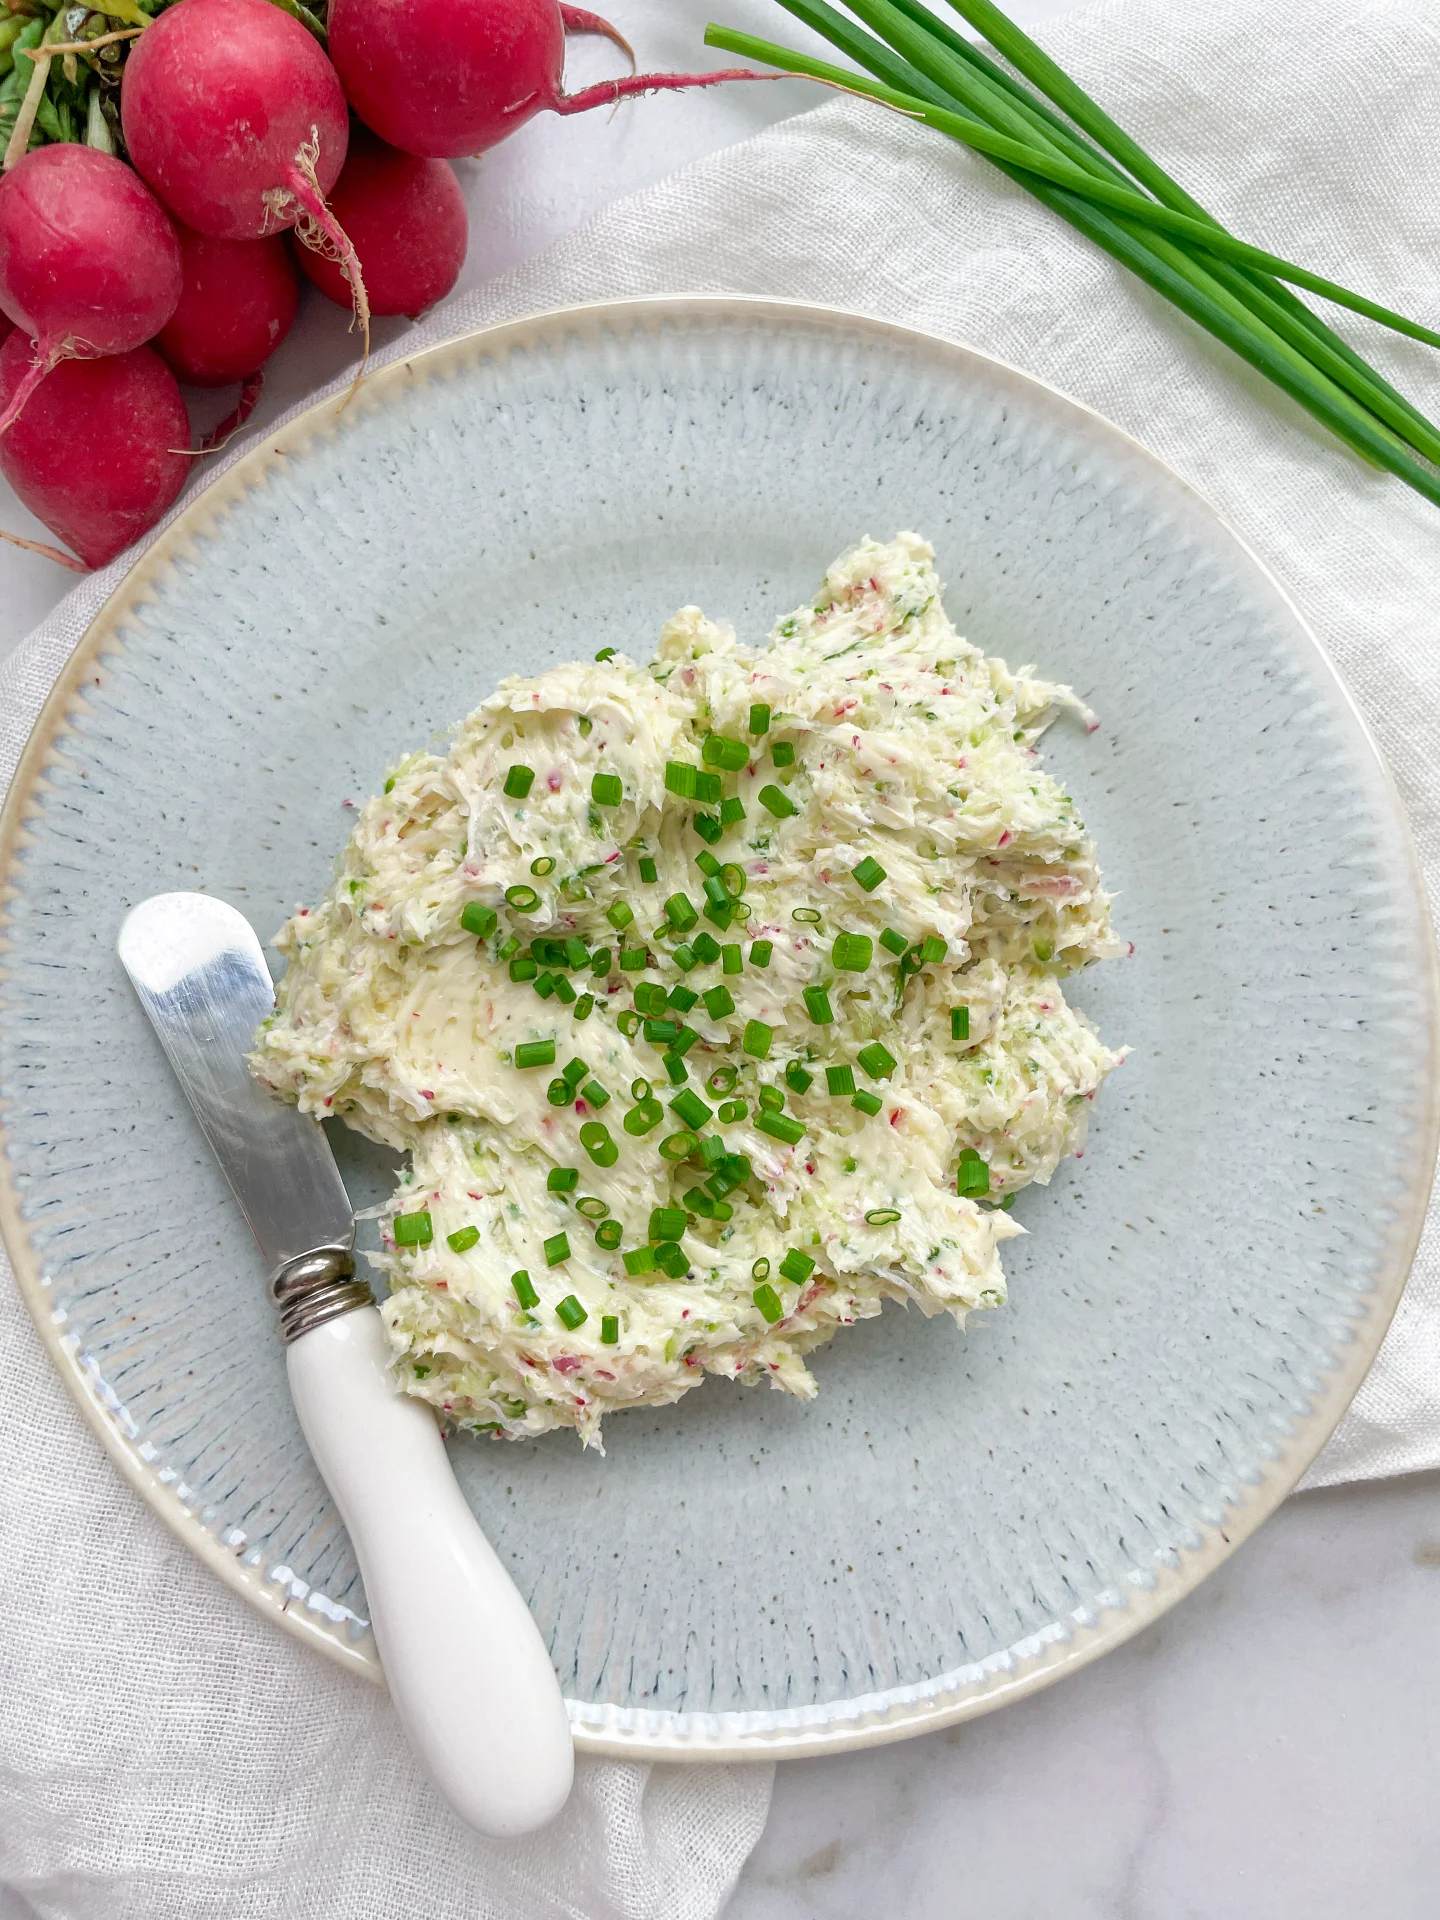


Apple Leek Dip with Veggies & Bread

Apple Leek Dip with Veggies & Bread

Apple Leek Dip with Veggies & Bread

Apple Leek Dip with Veggies & Bread

January 16, 2024 by Kimberly

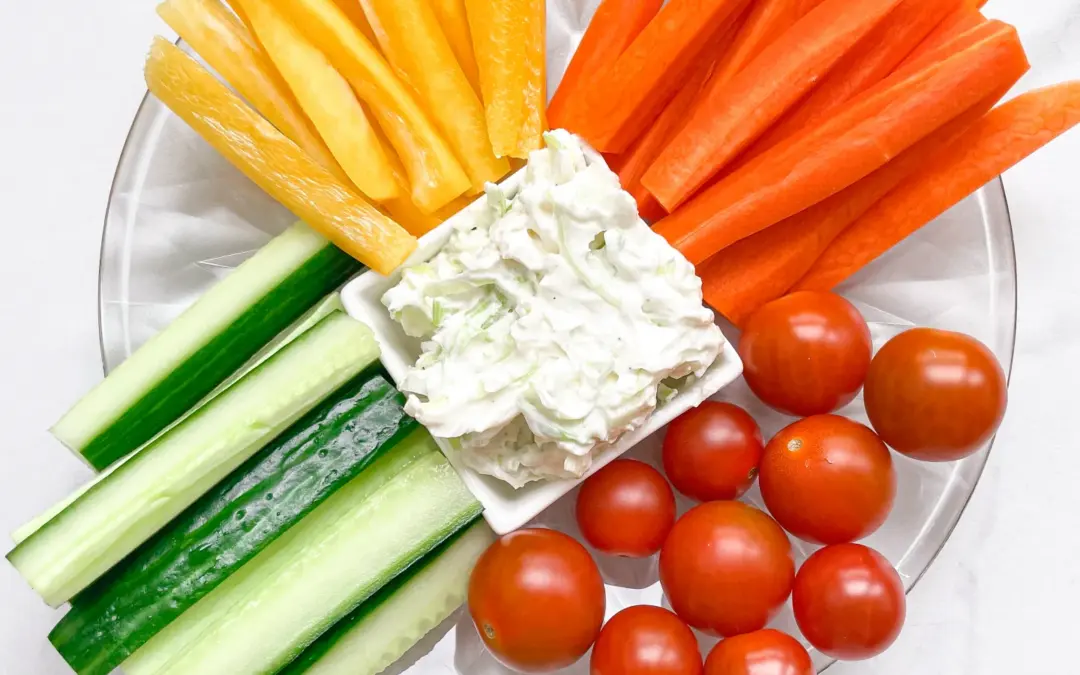
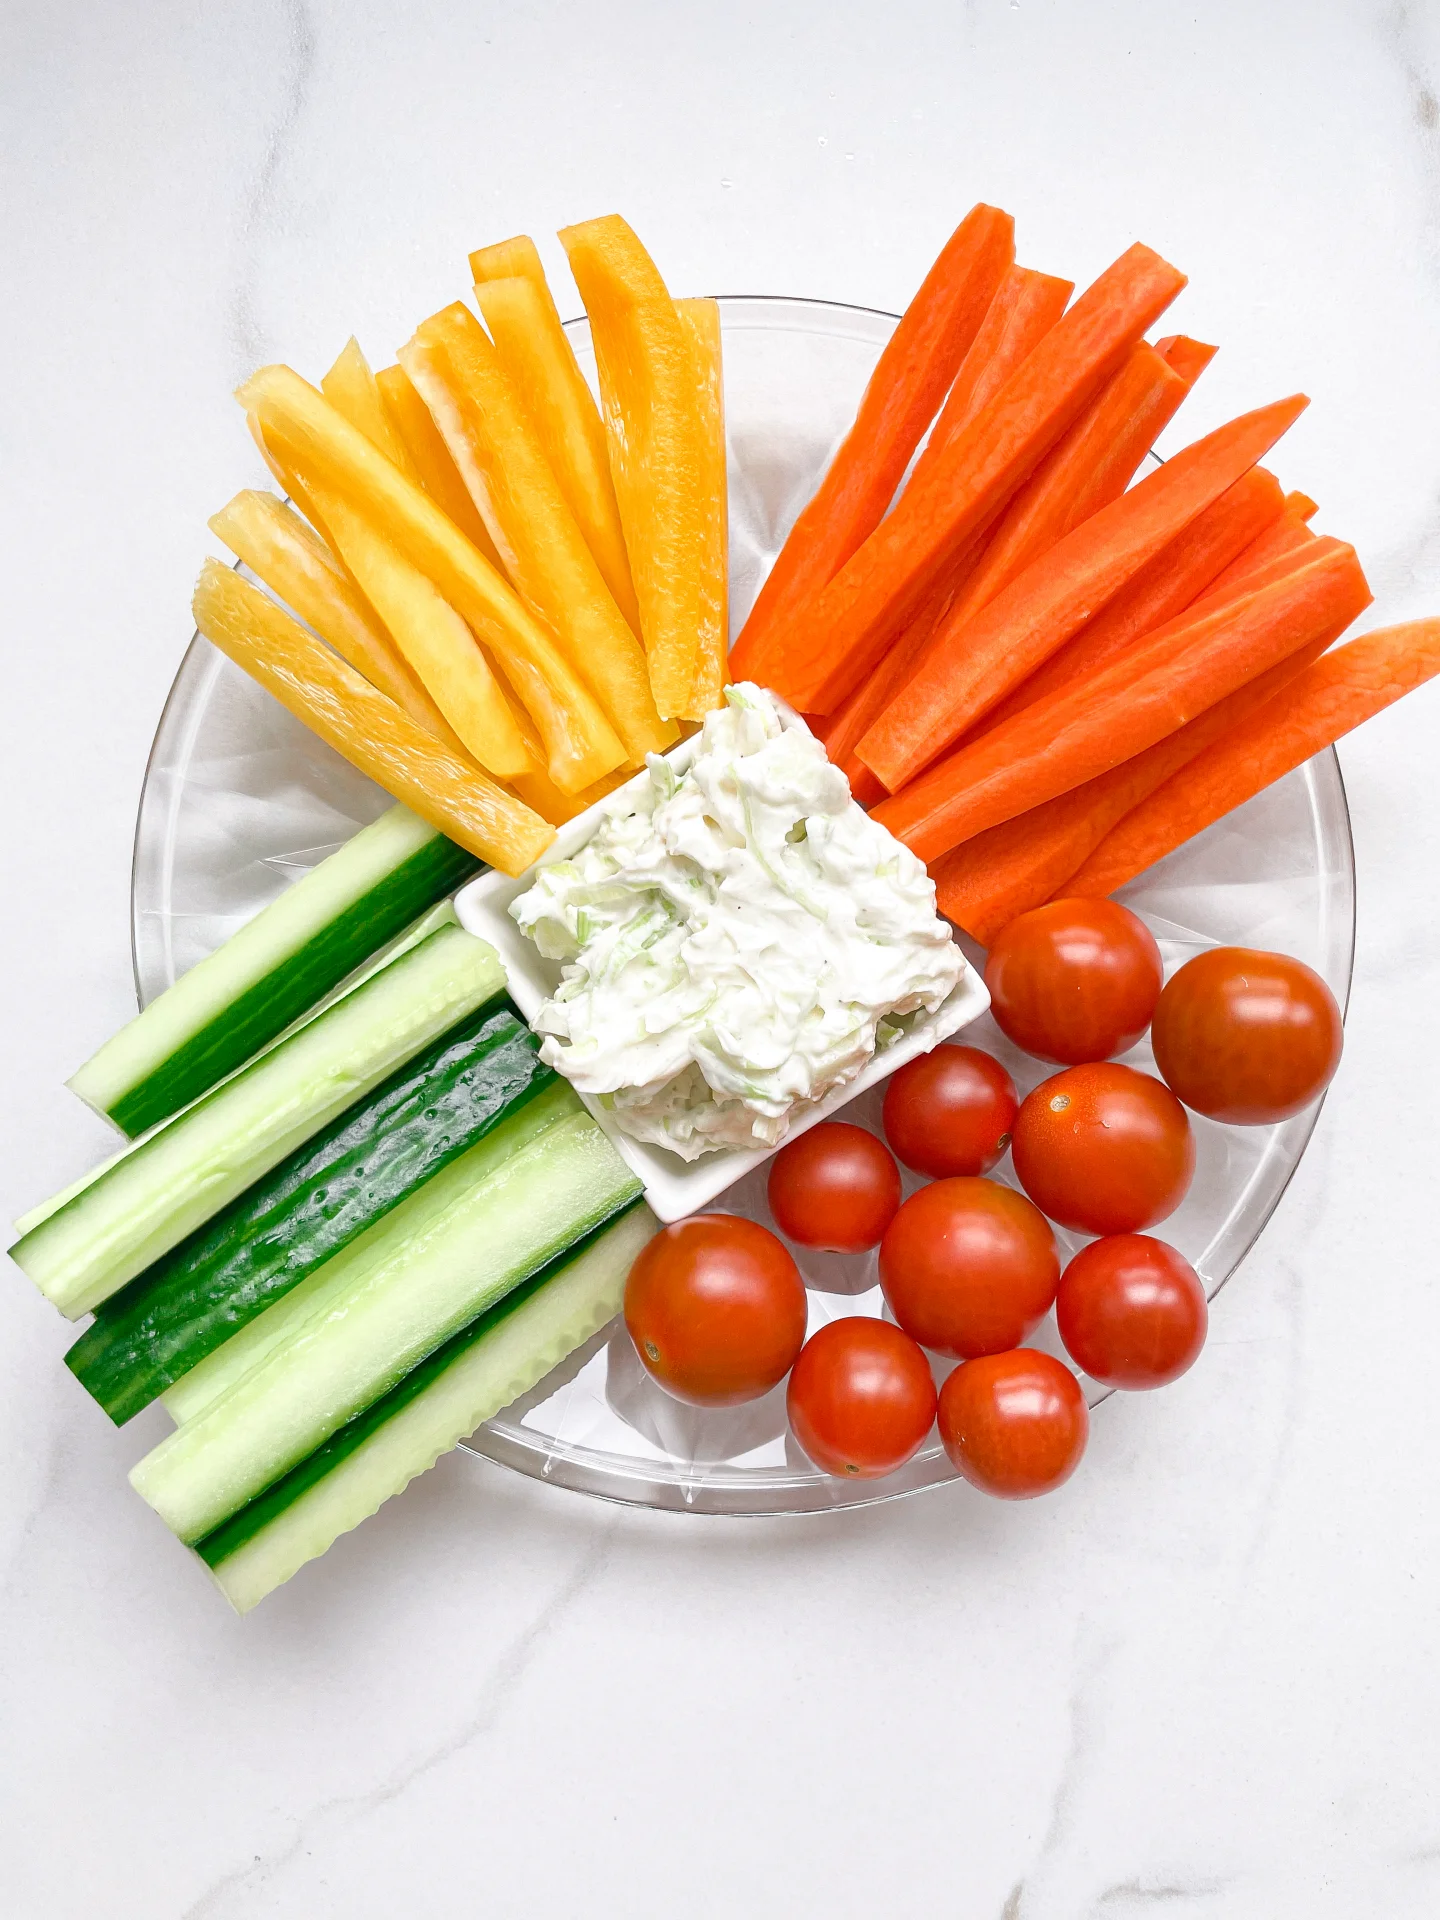
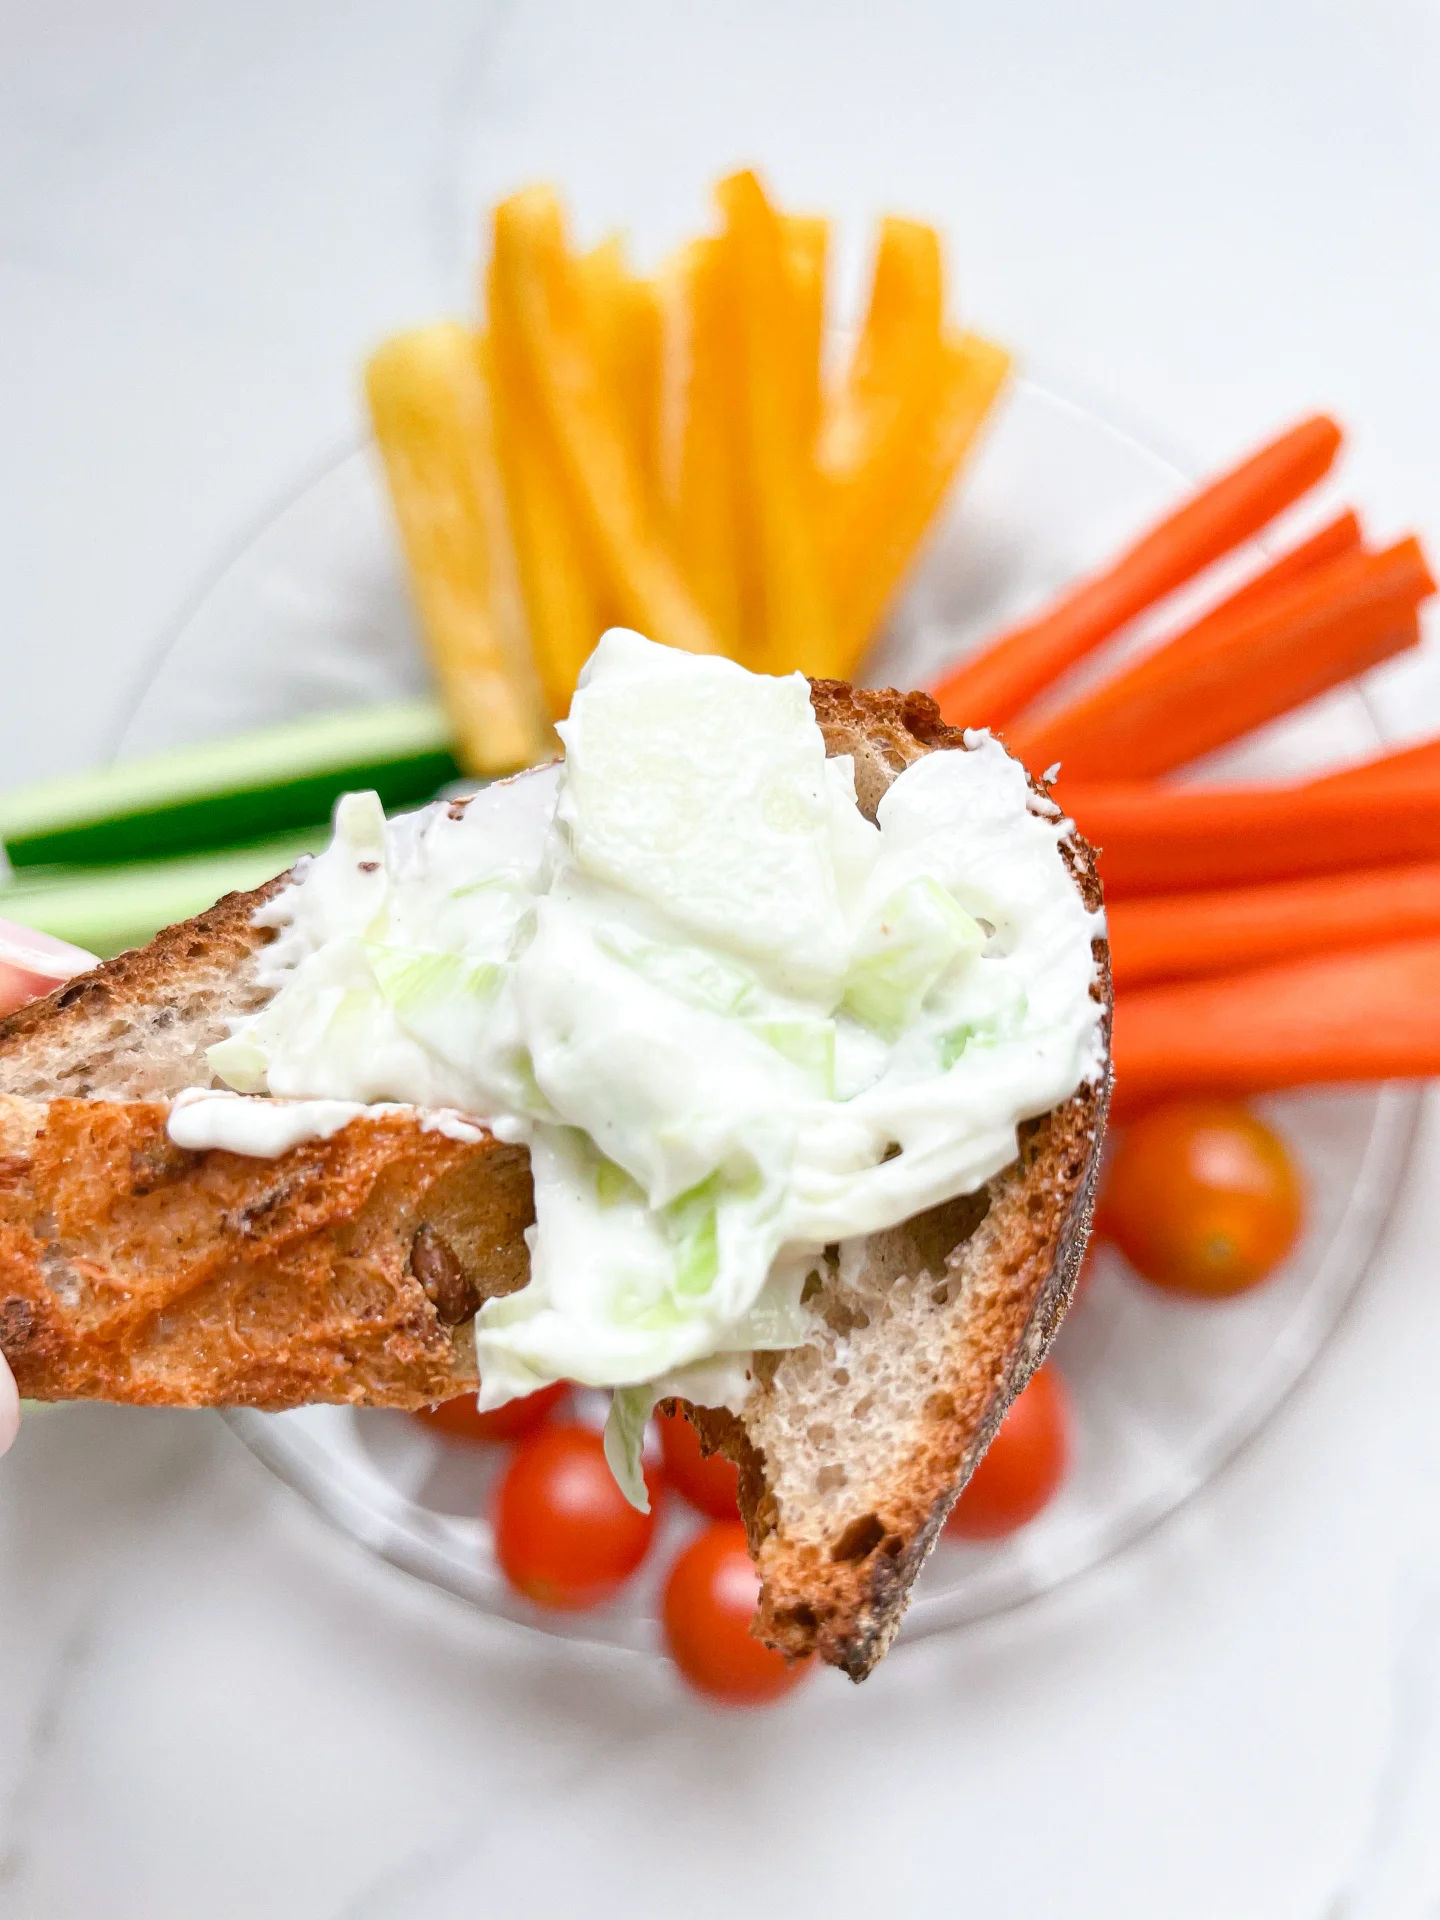
Apple Leek Dip is amazing! It’s fresh, creamy, and perfectly paired with crunchy veggies and warm, toasty bread. A delightful treat for everyone!

This website uses affiliate links which may earn commission for purchases made at no additional cost to you.

TOTAL TIME

10 min

SERVES

2 portions

DIET

vegetarian

EVERY RECIPE DESERVES

A Little Love Letter

Embark on a culinary adventure with this Apple Leek Dip, a perfect blend for your healthy snack ideas. This easy appetizer recipe combines the unique flavors of apple and leek, offering a fresh, creamy experience. Ideal for anyone seeking quick dip recipes that are both delicious and nutritious, this dish elevates your homemade bread pairings and serves as a standout amongst vegetarian party snacks.

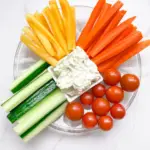
Serve this delightful Apple Leek Dip with a colorful array of fresh vegetables, like carrots and cucumbers, enhancing your healthy snack spread. Complement it with warm, crusty bread or toasted baguette slices for a satisfying crunch. This easy appetizer recipe is not just a treat to your taste buds but also a visual feast, making it a top choice for quick, yet impressive, vegetarian party snacks.

To keep this creamy leek appetizer fresh, store the leftover dip in an airtight container in the refrigerator. It remains delectable for 3-4 days, making it a convenient choice among quick dip recipes. Stir well before serving again to retain its smooth texture and rich flavor profile.

Hi, I'm Kimberly!

Hi, I'm Kimberly.

A hopeless romantic when it comes to food. Every recipe I share is a love letter to food itself. I’m so glad you’re here. Make yourself at home and stay a while.

Love,
Kimberly

Kimberly the Zett Signature

If you want to get to know me better,
click here!


Apple Leek Dip with Veggies & Bread

LET’S MAKE A PIECE OF HAPPINESS

Print
clock clock iconcutlery cutlery iconflag flag iconfolder folder iconinstagram instagram iconpinterest pinterest iconfacebook facebook iconprint print iconsquares squares iconheart heart iconheart solid heart solid icon
Apple Leek Dip with Veggies & Bread

Apple Leek Dip with Veggies & Bread


5 Stars 4 Stars 3 Stars 2 Stars 1 Star

No reviews

  • Author: Kimberly
  • Total Time: 10 min
  • Yield: 2 1x

Description

GOOD TO HAVE ON HAND

  • sharp knife
  • cutting board
  • medium sized bowl


Ingredients

Units Scale
DIP
  • 200 grams cream cheese
  • 1 garlic clove
  • 50 grams leek mixed white and green parts
  • 1/2 green apple
  • 1/8 tsp salt
  • 1/8 tsp white pepper
VEGGIES & BREAD
  • bread of choice
  • tomatoes
  • carrots
  • cucumber
  • paprika

Instructions

  1. Peel half the apple, remove the core and cut into small pieces.
    Cut the ends off the leek, wash the piece to be used and then cut into fine strips.
    Peel the garlic.
  2. Pour the cream cheese into a bowl. Season with salt, pepper and freshly pressed garlic. Stir everything together and season to taste.
  3. Now add the apple pieces and leek strips and mix everything well.
  • Cook Time: 10 min
CRAVING MORE?

Follow along here & don’t forget to subscribe to my substack!

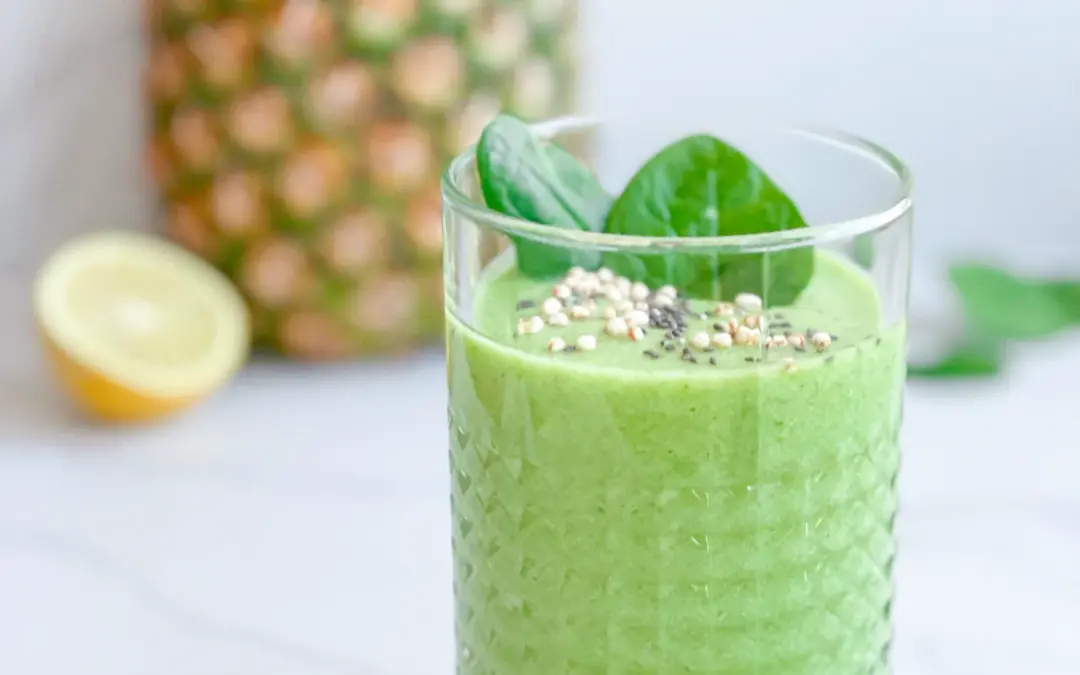
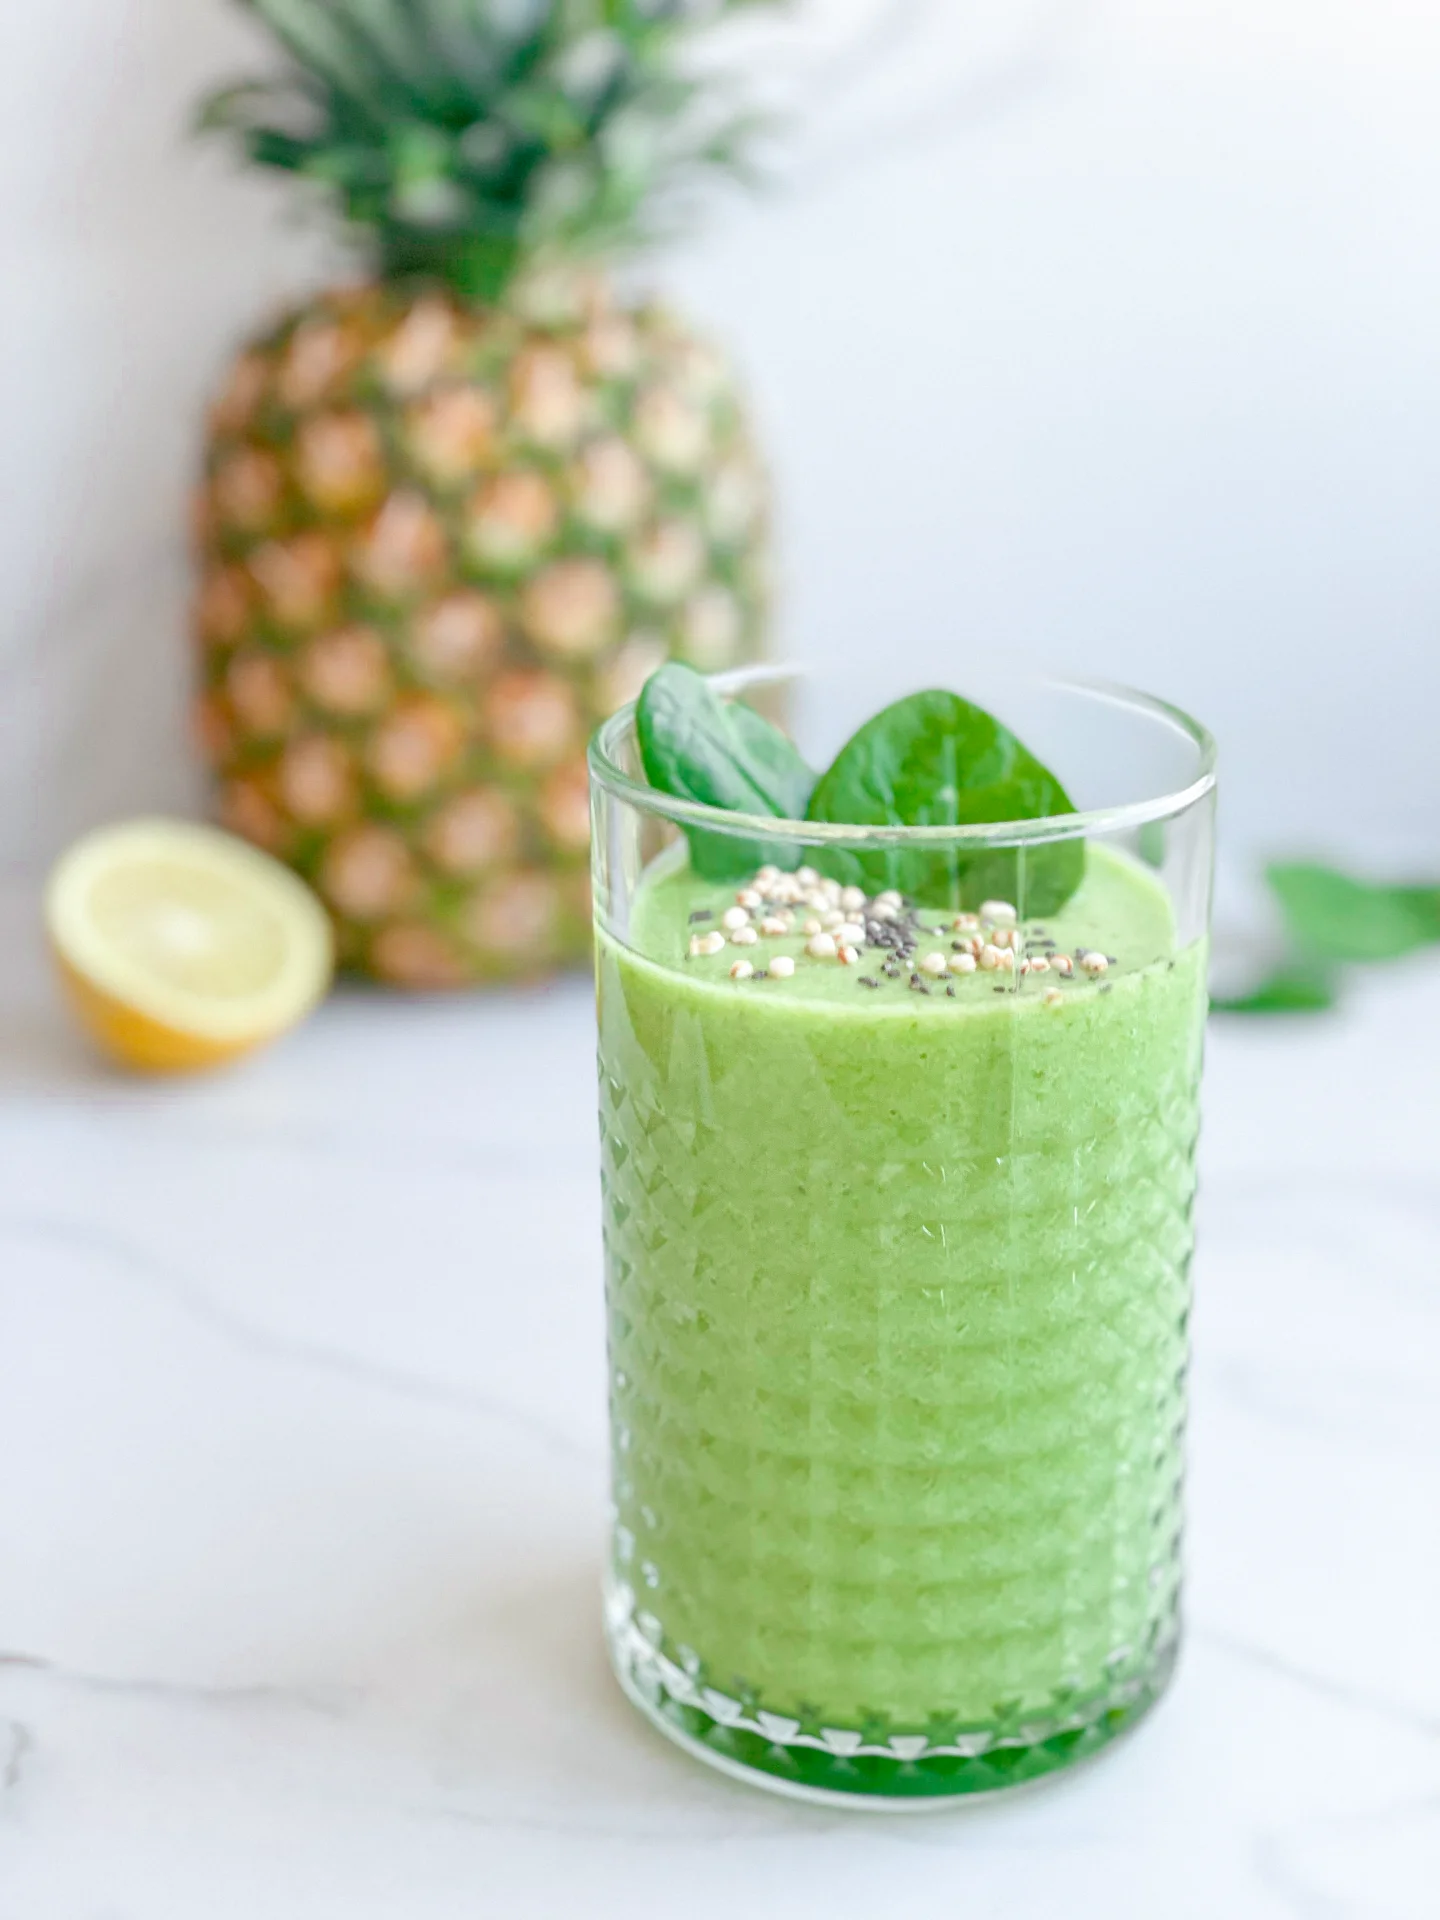
Green Pineapple Spinach Smoothie

Green Pineapple Spinach Smoothie

Green Pineapple Spinach Smoothie

Green Pineapple Spinach Smoothie

January 13, 2024 by Kimberly

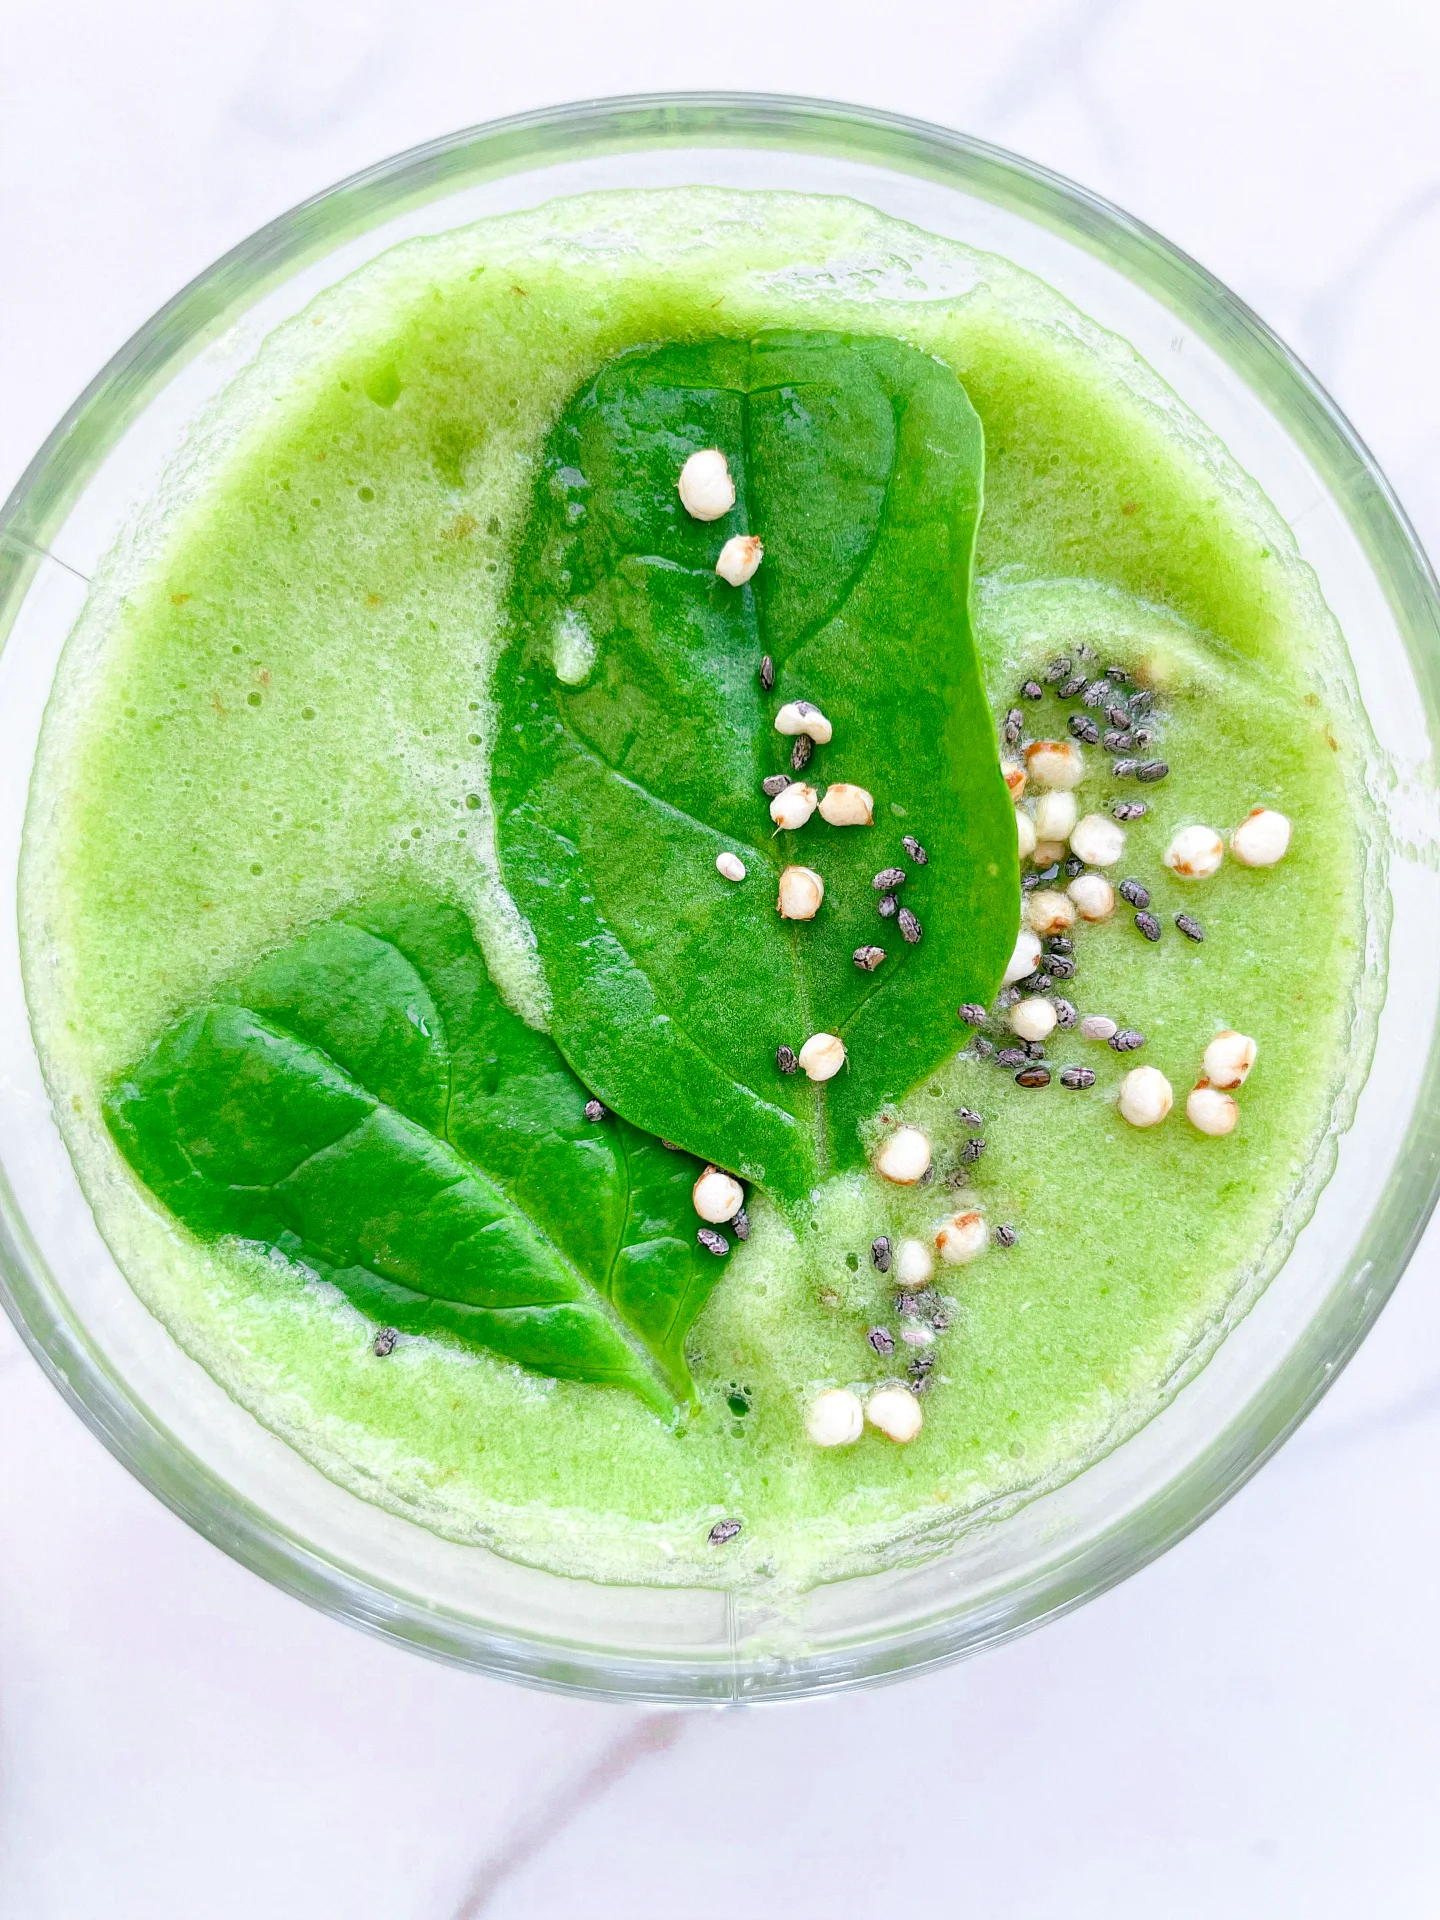
Experience a burst of natural sweetness and revitalizing greens in every sip! Pineapple and spinach blend perfectly for a refreshing, nutrient-rich, and deliciously energizing smoothie.

This website uses affiliate links which may earn commission for purchases made at no additional cost to you.

TOTAL TIME

10 min

SERVES

500 ml / 2 cups

DIET

vegan

EVERY RECIPE DESERVES

A Little Love Letter

The Green Pineapple Spinach Smoothie is a delightful blend of fresh flavors and nutritional goodness, offering a perfect start to your day or a refreshing mid-day boost. This smoothie combines the tangy sweetness of pineapple with the earthy tones of spinach, creating a vibrant green concoction that’s as pleasing to the eyes as it is to the palate. Rich in vitamins and minerals, it’s an excellent choice for health-conscious individuals and smoothie enthusiasts alike.

Pour the mixture into tall glasses and garnish with a pineapple wedge or a sprinkle of chia seeds for a visually appealing and texturally interesting finish. This smoothie is best enjoyed immediately, but it can also be a refreshing addition to brunches or as a healthy dessert alternative.

If you have leftovers, pour the smoothie into an airtight container and refrigerate for up to 24 hours. The flavors will remain fresh, but it’s normal for the smoothie to separate over time. Just give it a good shake or a quick stir before enjoying it again.

Hi, I'm Kimberly!

Hi, I'm Kimberly.

A hopeless romantic when it comes to food. Every recipe I share is a love letter to food itself. I’m so glad you’re here. Make yourself at home and stay a while.

Love,
Kimberly

Kimberly the Zett Signature

If you want to get to know me better,
click here!


Green Pineapple Spinach Smoothie

LET’S MAKE A PIECE OF HAPPINESS

Print
clock clock iconcutlery cutlery iconflag flag iconfolder folder iconinstagram instagram iconpinterest pinterest iconfacebook facebook iconprint print iconsquares squares iconheart heart iconheart solid heart solid icon
Green Pineapple Spinach Smoothie

Green Pineapple Spinach Smoothie


  • Author: Kimberly
  • Total Time: 10 min
  • Yield: 500 ml / 2 cups 1x

Description

GOOD TO HAVE ON HAND

  • sharp knife
  • cutting board
  • blender


Ingredients

Units Scale
  • 1/2 apple
  • 1/2 pear
  • juice of half a lemon
  • 40 grams spinach
  • 100 grams frozen pineapple
  • 125 milliliters cold water

Instructions

  1. Peel the apple and pear and cut into large pieces.
  2. Put the apple pieces, pear pieces, spinach and frozen pineapple in the blender. Add water and lemon juice.
  3. Blend everything at the highest setting until no more pieces of spinach are visible and the smoothie has turned a rich green color.
  4. Pour the smoothie into glasses and drink with a straw.
  • Cook Time: 10 min
CRAVING MORE?

Follow along here & don’t forget to subscribe to my substack!

Pomegranate Beetroot Juice

Pomegranate Beetroot Juice

Pomegranate Beetroot Juice

Pomegranate Beetroot Juice

January 7, 2024 by Kimberly

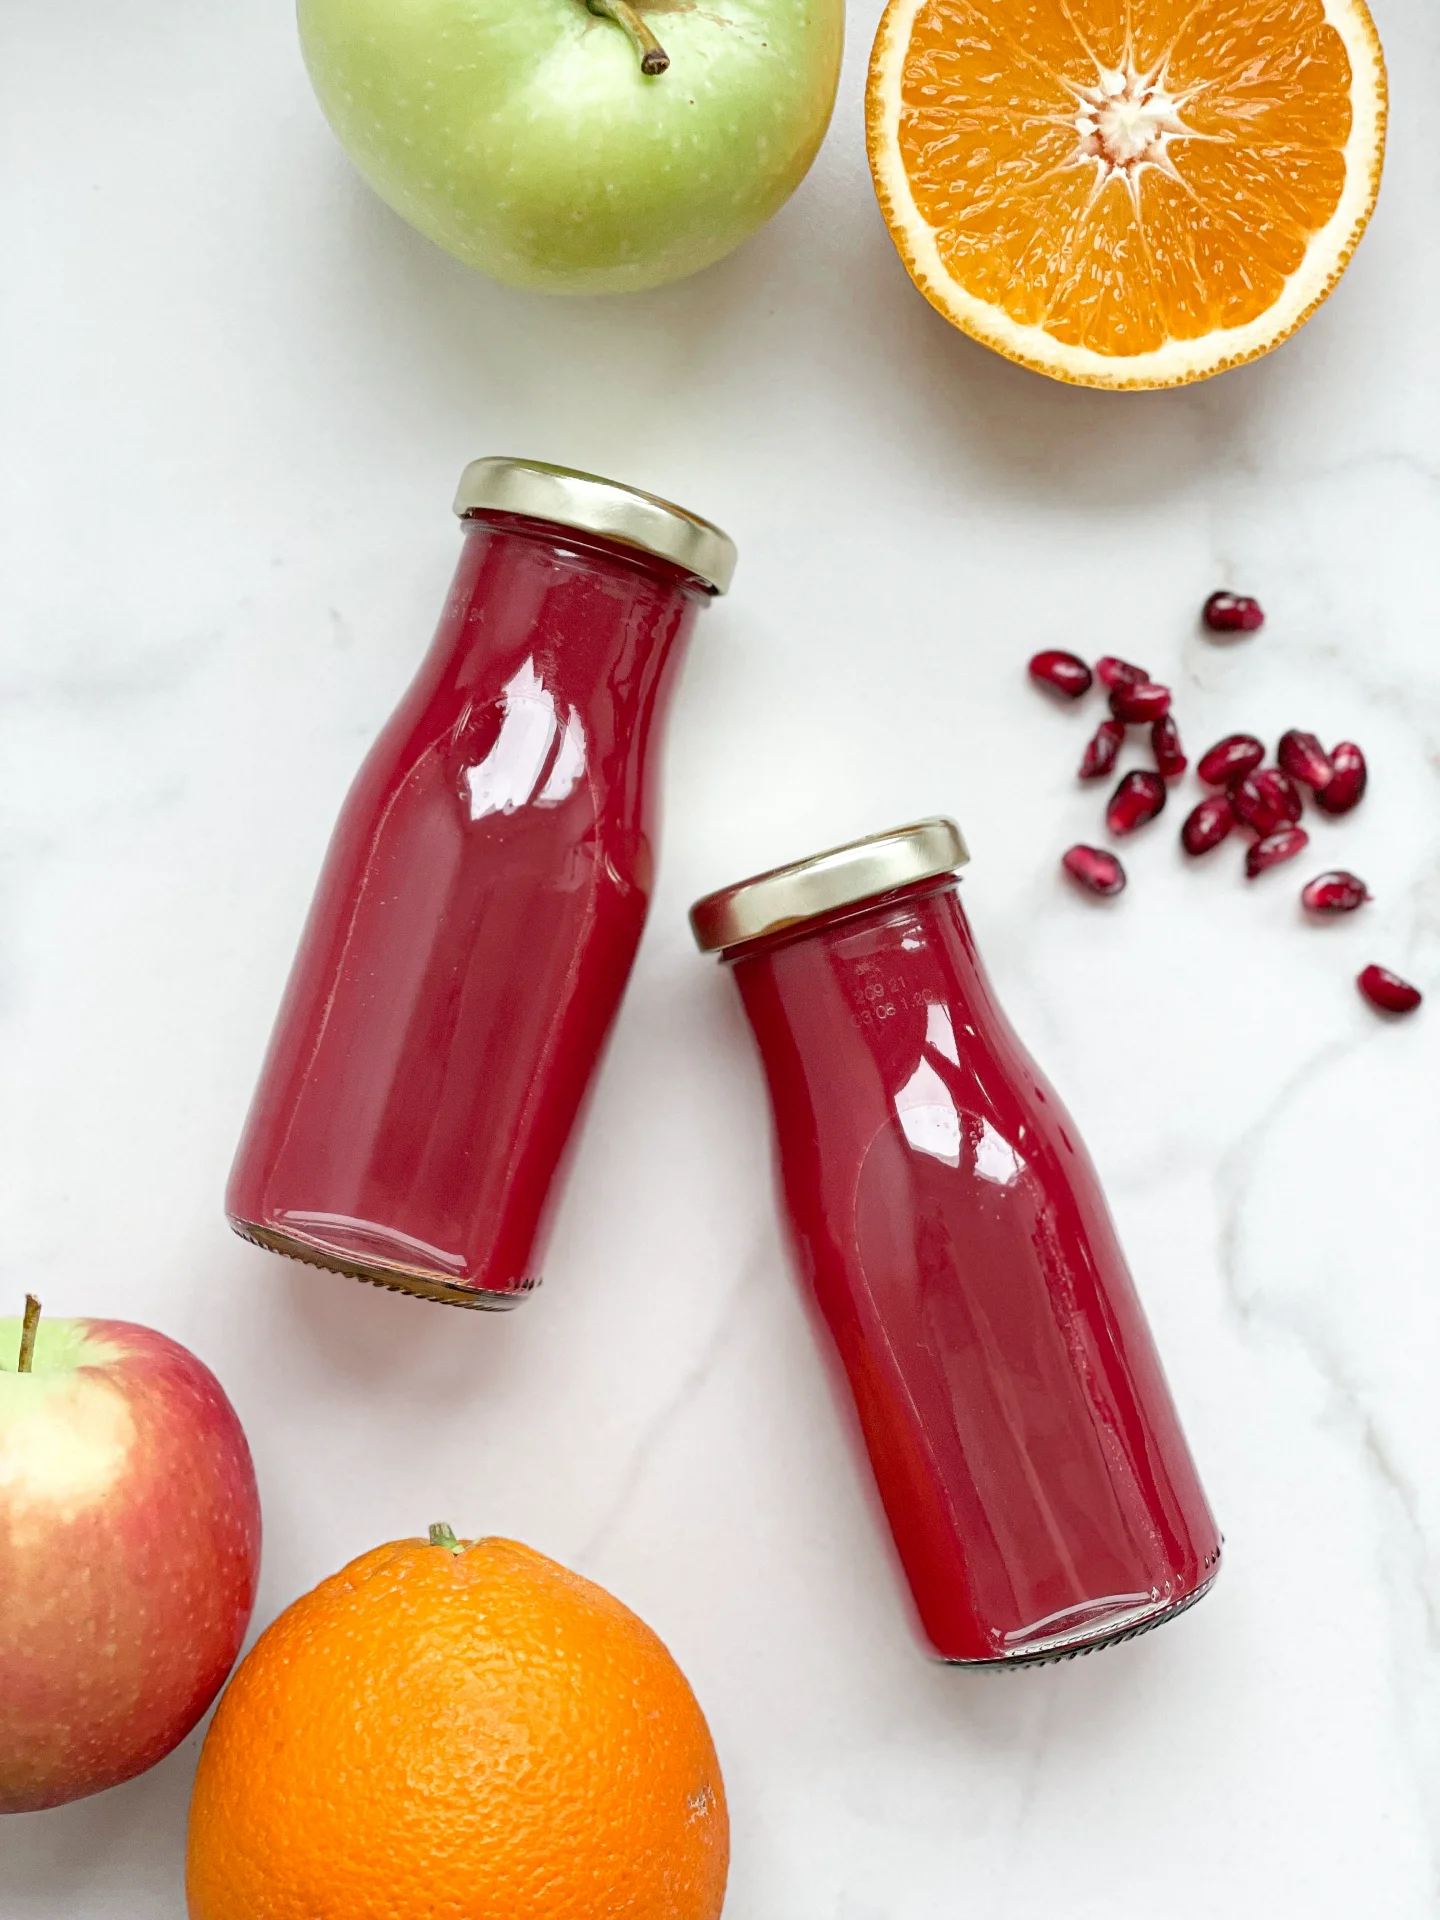
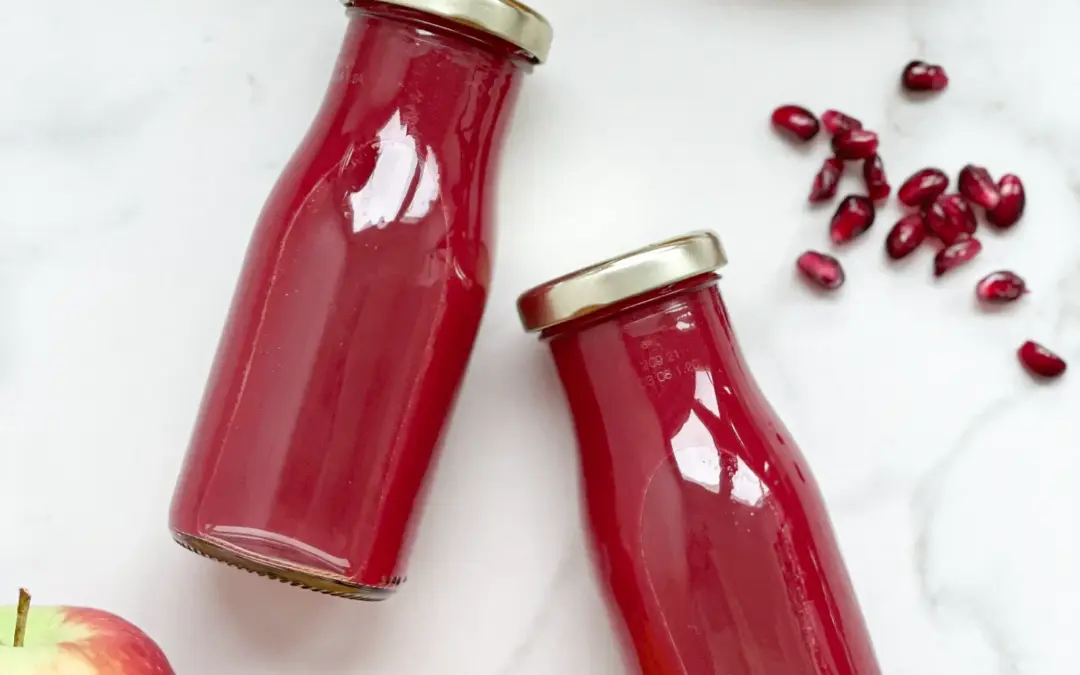
Pomegranate Beetroot Juice is a healthy, tasty drink. It’s full of vitamins, lowers blood pressure, and boosts energy. Great for heart and digestive health.

This website uses affiliate links which may earn commission for purchases made at no additional cost to you.

TOTAL TIME

15 min

SERVES

1 liter / 4 cups

DIET

vegan

EVERY RECIPE DESERVES

A Little Love Letter

Indulge in the vibrant and nutritious blend of Pomegranate Beetroot Juice, a delightful concoction that promises both health and taste. This refreshing beverage merges the sweet, tangy essence of pomegranate with the earthy, rich flavors of beetroot, creating a perfect symphony for your taste buds. Not only is it a visual treat with its deep ruby color, but it’s also packed with essential nutrients that benefit your overall wellbeing.

Serve this Pomegranate Beetroot Juice chilled for a refreshing experience. It’s perfect as a morning energizer or a mid-day revitalizer. Enhance its appeal by garnishing with a slice of lemon or a sprig of mint. For a fun twist, add a splash of sparkling water to transform it into a fizzy delight. This juice pairs wonderfully with light breakfast items or as a standalone drink.

For optimal freshness, store the juice in an airtight glas bottle in the refrigerator. It’s best consumed within 2-3 days. If you notice any separation, simply shake it well before serving. Freezing is not recommended as it can alter the flavor and texture of the juice.

Hi, I'm Kimberly!

Hi, I'm Kimberly.

A hopeless romantic when it comes to food. Every recipe I share is a love letter to food itself. I’m so glad you’re here. Make yourself at home and stay a while.

Love,
Kimberly

Kimberly the Zett Signature

If you want to get to know me better,
click here!


Pomegranate Beetroot Juice

LET’S MAKE A PIECE OF HAPPINESS

Print
clock clock iconcutlery cutlery iconflag flag iconfolder folder iconinstagram instagram iconpinterest pinterest iconfacebook facebook iconprint print iconsquares squares iconheart heart iconheart solid heart solid icon
Pomegranate Beetroot Juice

Pomegranate Beetroot Juice


  • Author: Kimberly
  • Total Time: 15 min
  • Yield: 1 liter 1x

Description

GOOD TO HAVE ON HAND

  • juicer & citrus press (or food processor or blender)
  • sharp knife
  • chopping board
  • funnel
  • measuring cup
  • fine sieve


Ingredients

Scale
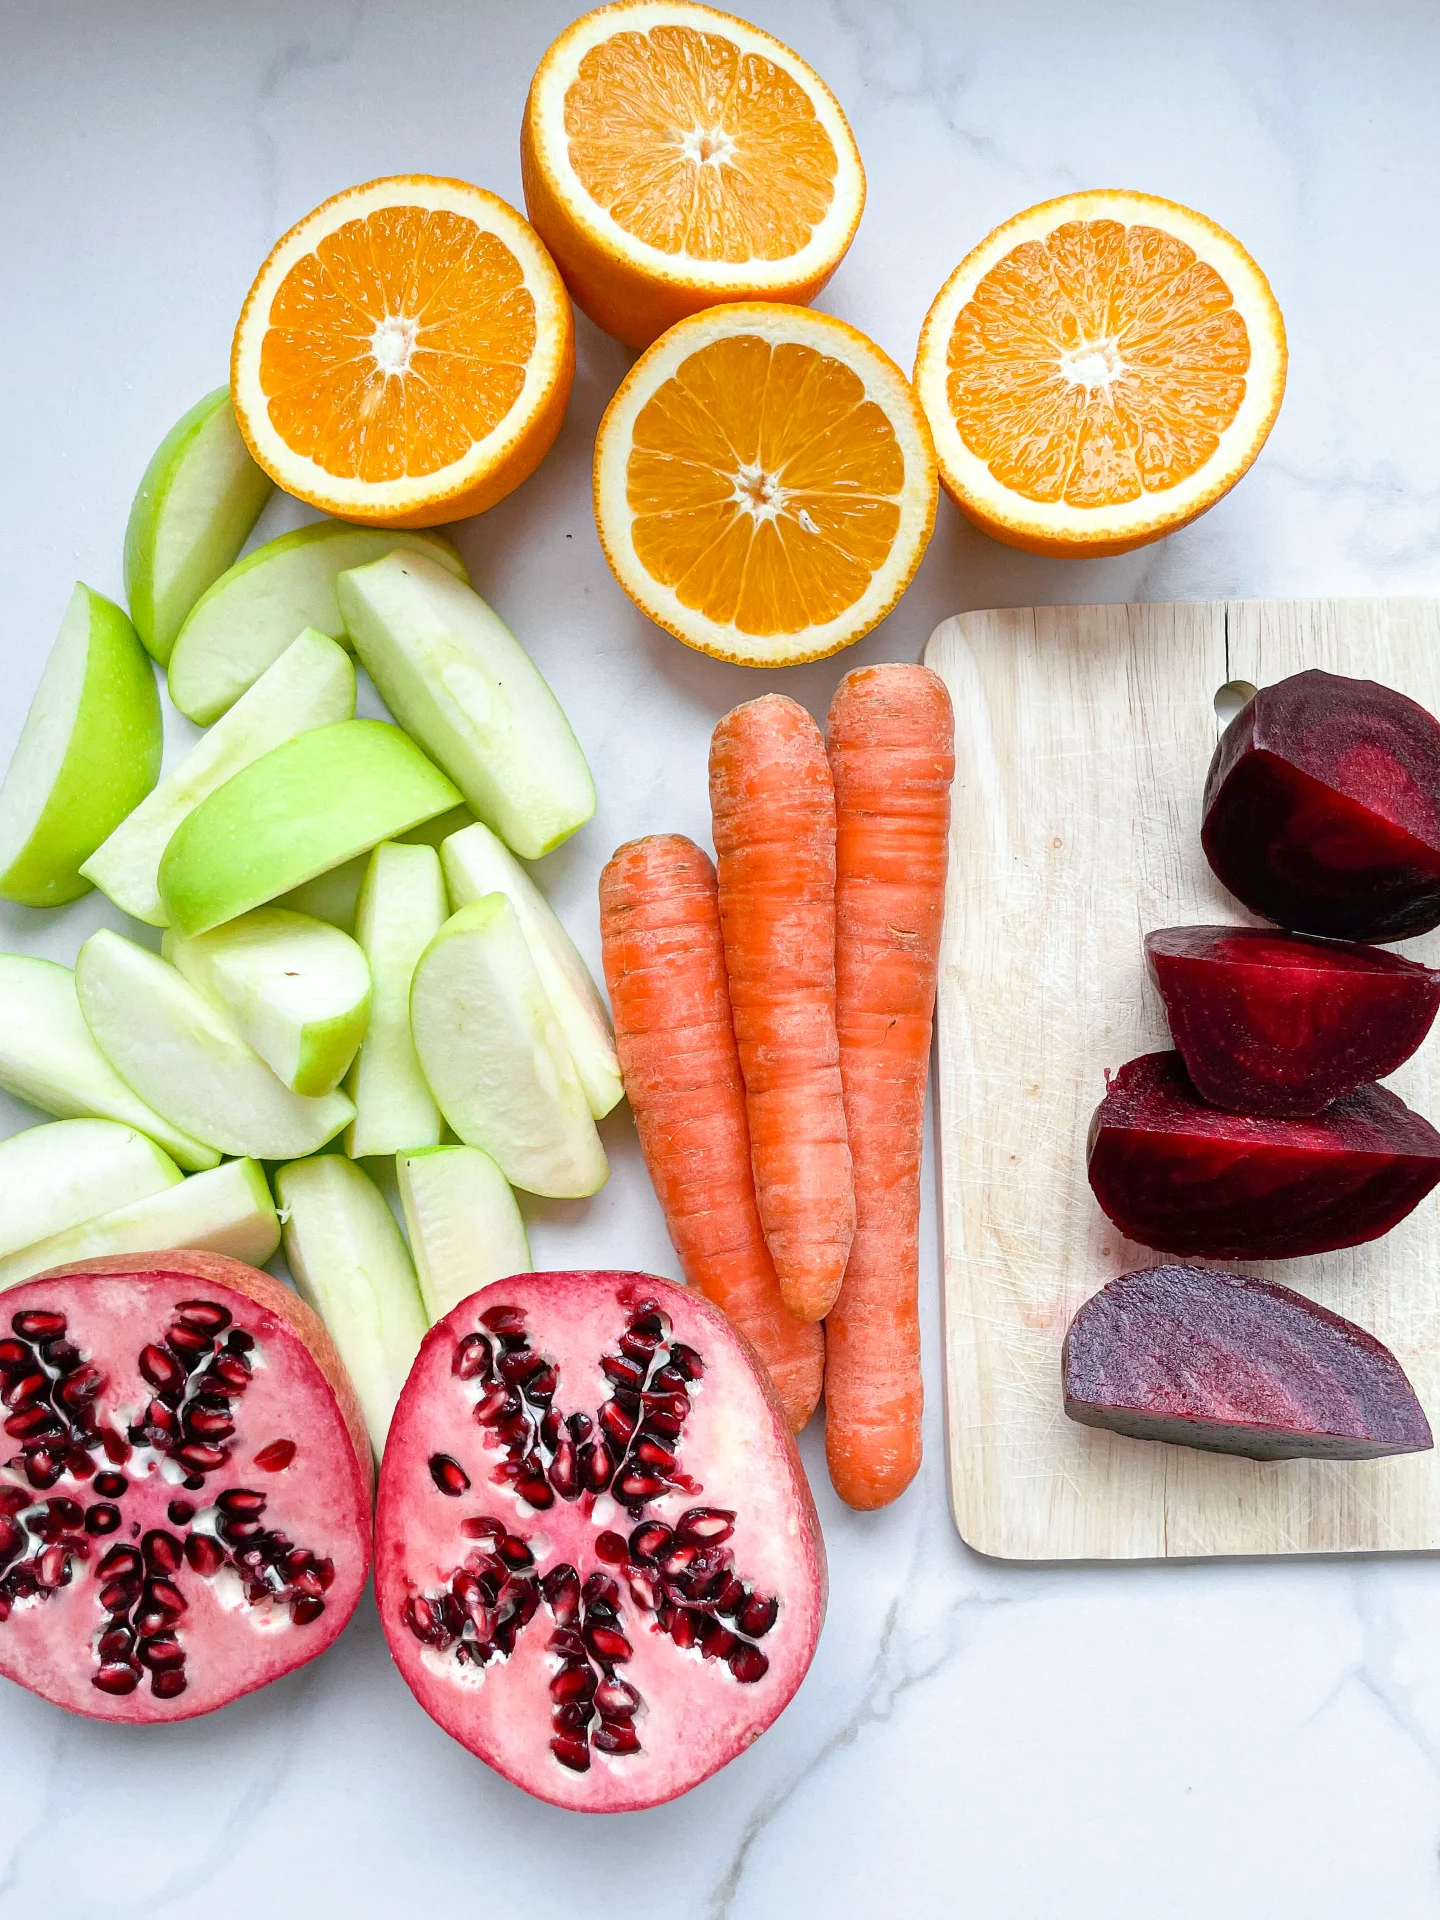
  • 4 carrots
  • 2 apples
  • 2 beetroots
  • 3 oranges
  • 1 pomegranate

Instructions

  1. Wash the apples, carrots and beet thoroughly. Halve the pomegranate and oranges.

PREPARATION WITH A JUICER & CITRUS PRESS

  1. Depending on the model, cut the apples, carrots and beetroot into large pieces and place in the juicer. Pass the juice through a fine sieve and pour into a glass bottle.
  2. Squeeze the pomegranate and oranges using a citrus juicer and also pass through a fine sieve. Then pour into the glass bottle with the other juices.

PREPARATION WITH A FOOD PROCESSOR OR BLENDER

  1. Peel and roughly chop the apples, carrots and beet. Now put everything in the food processor or blender.
  2. Remove the orange flesh from the peel and add to the other fruits and vegetables. Scrape out the pomegranate and add the seeds to the food processor or blender.
  3. Blend everything at the highest setting for 30 seconds. Now pass the entire mixture through a fine sieve. If you like the pulp, you can of course skip this step.
  4. Pour the juice into a glass bottle.
  • Cook Time: 15 min

CRAVING MORE?

Follow along here & don’t forget to subscribe to my substack!

Light & Flavorful Blueberry Banana Cupcakes with Cream Cheese Frosting

Light & Flavorful Blueberry Banana Cupcakes with Cream Cheese Frosting

Light & Flavorful Blueberry Banana Cupcakes with Cream Cheese Frosting

Light & Flavorful Blueberry Banana Cupcakes with Cream Cheese Frosting

January 6, 2024 by Kimberly

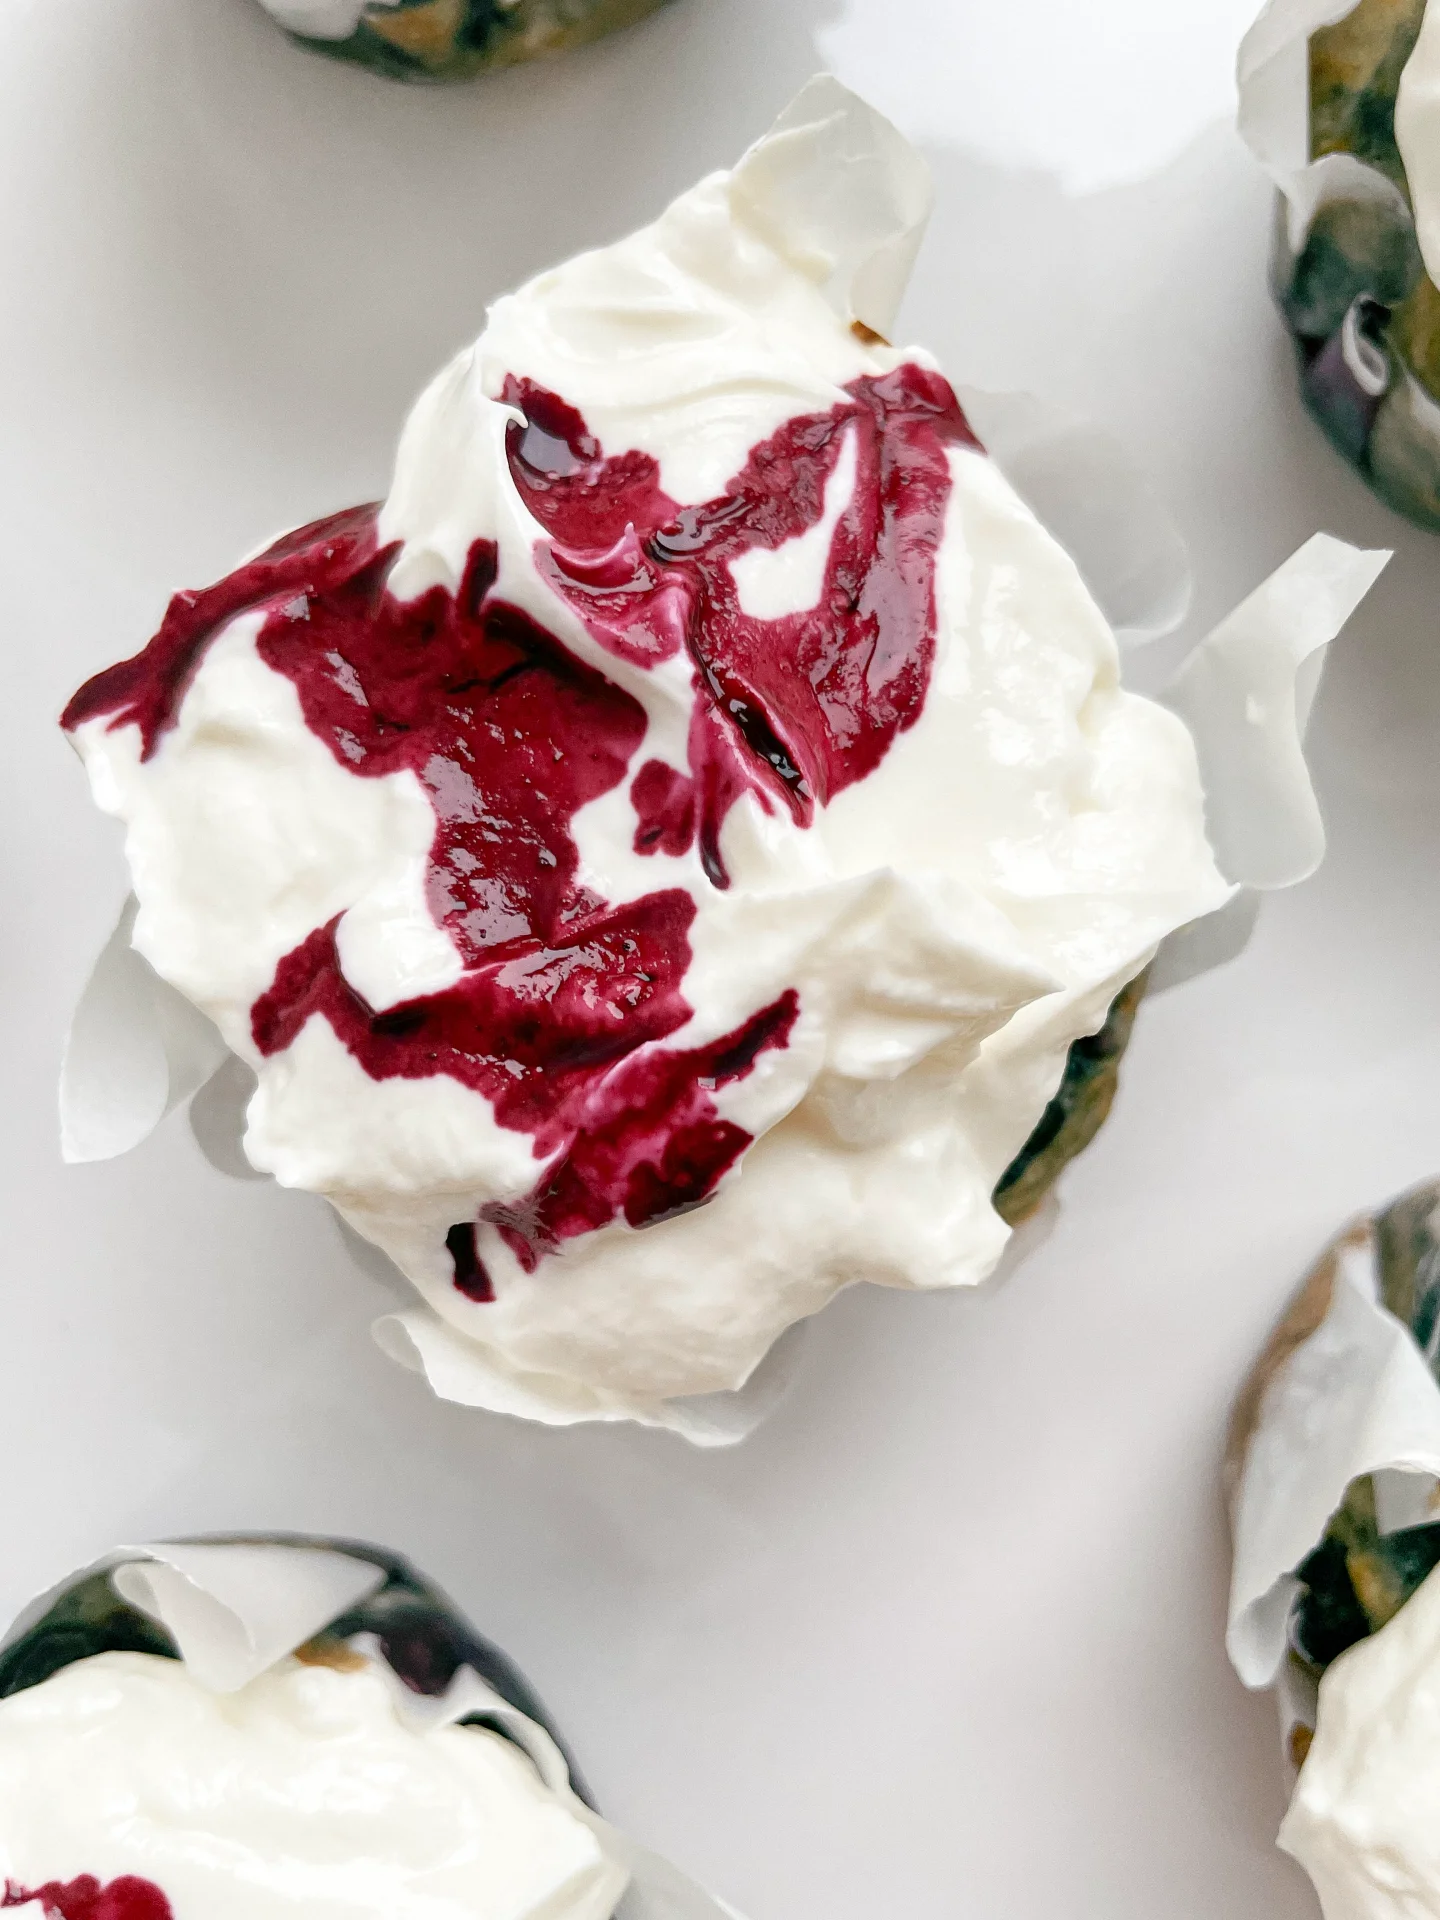
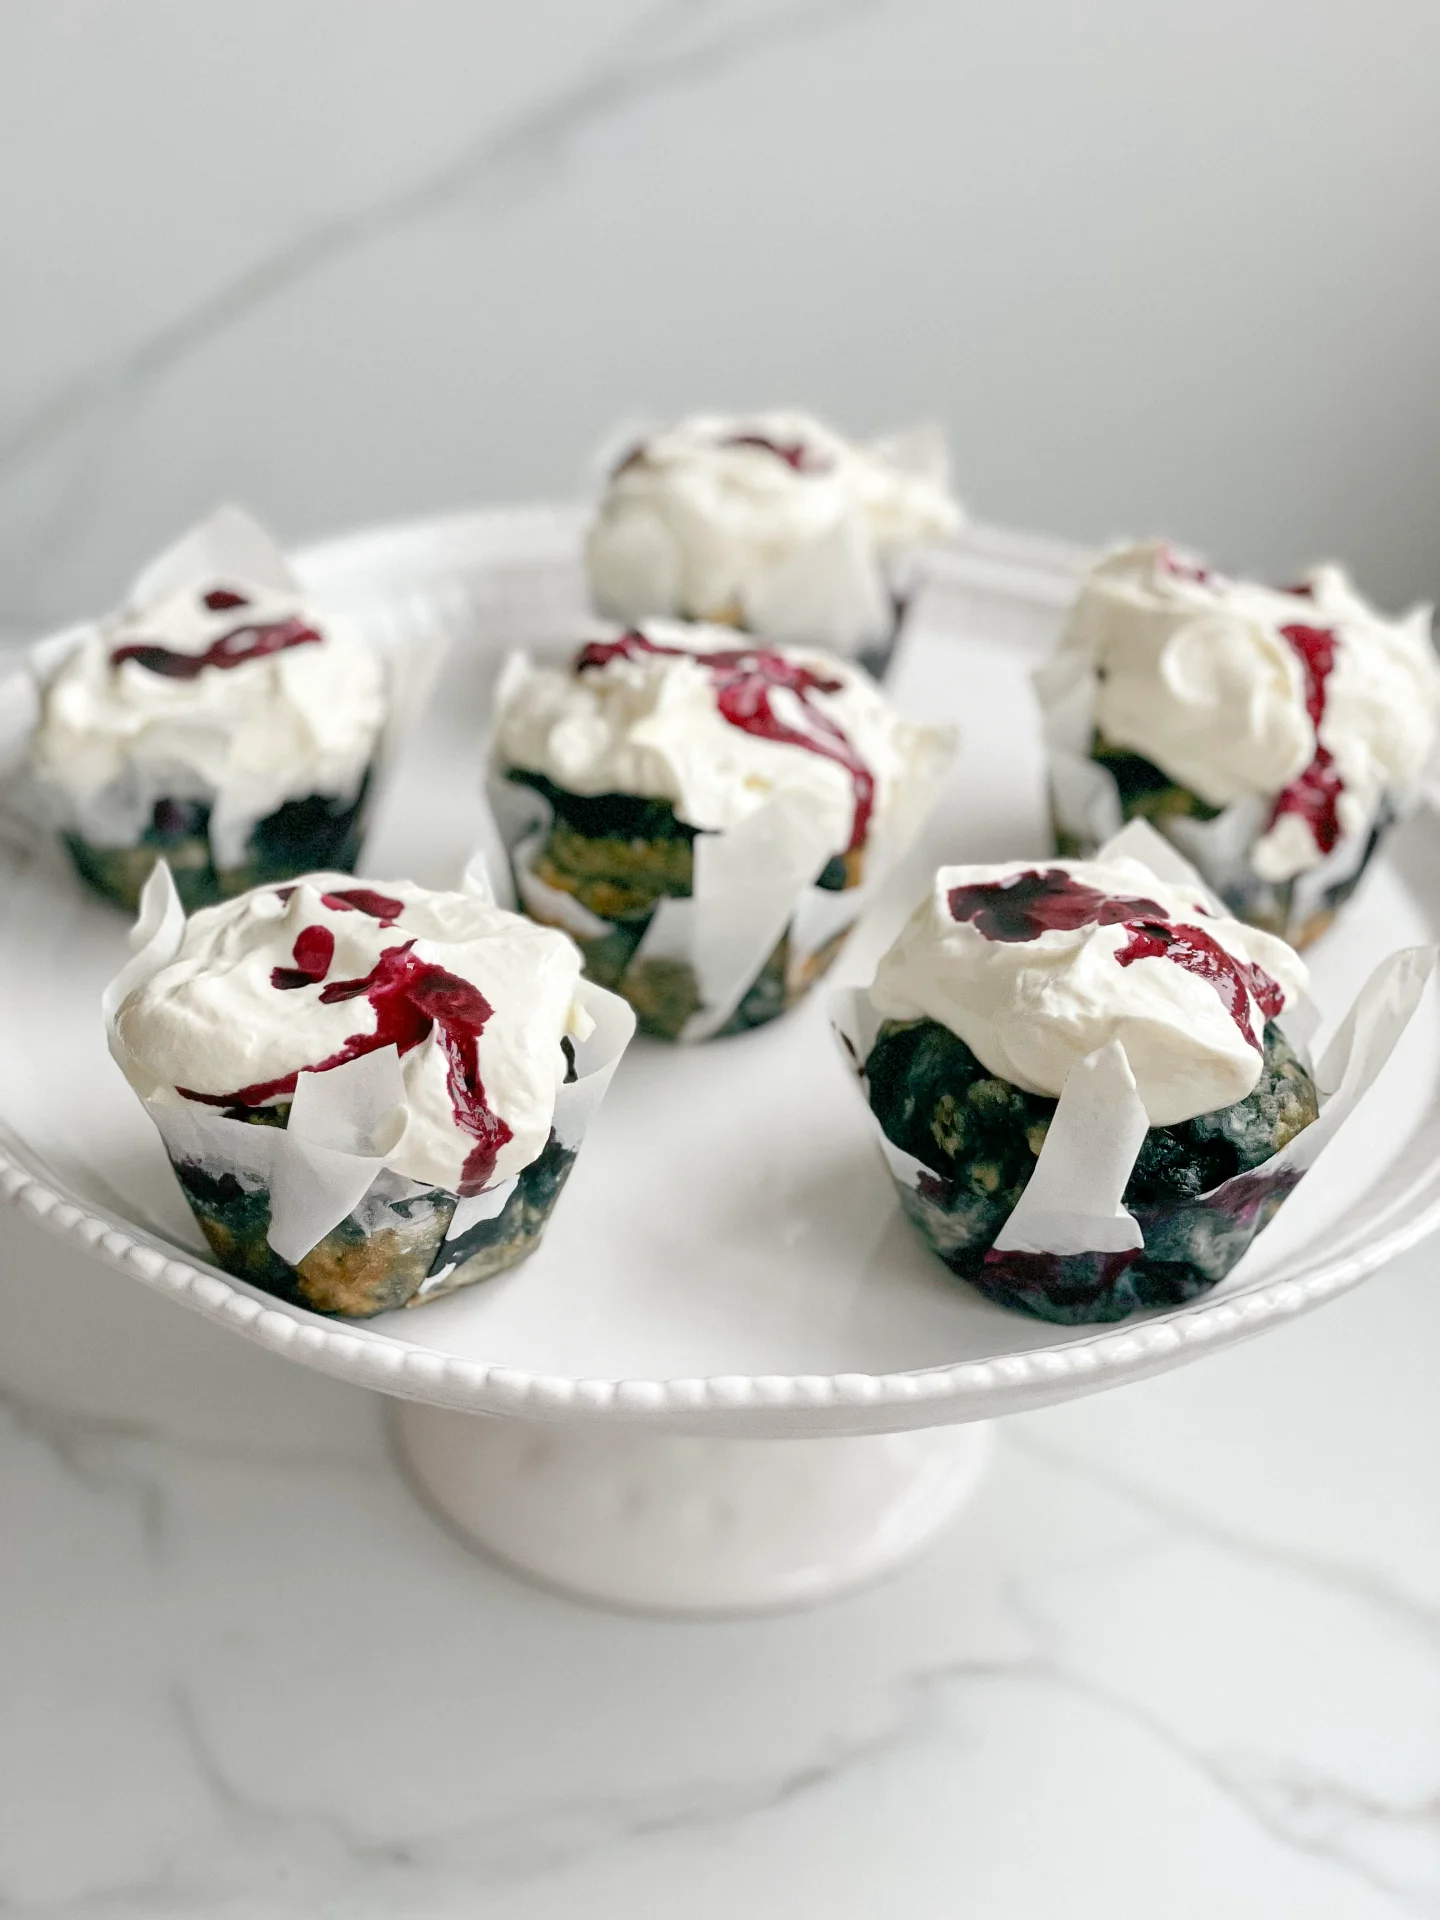
Enjoy our Blueberry Banana Cupcakes, a refined sugar-free recipe, topped with creamy cheese frosting for a light, sweet delight blending natural fruitiness with rich smoothness.

This website uses affiliate links which may earn commission for purchases made at no additional cost to you.

TOTAL TIME

25 min

SERVES

12 cupcakes

DIET

vegetarian

EVERY RECIPE DESERVES

A Little Love Letter

These blueberry banana cupcakes are the kind of bake that instantly fills your kitchen with the scent of something cozy and inviting. They’re incredibly soft and light, made with ripe mashed bananas that add natural sweetness and moisture, and pockets of juicy blueberries that burst gently as they bake. Each bite feels fresh and bright, yet comforting in that nostalgic, homemade way.

What makes them truly special is how effortless they are: simple ingredients, a quick batter, and a result that tastes far more impressive than the time it takes to make them. They’re the kind of cupcakes you can whip up on a slow Sunday morning or bring to a last-minute gathering—and they’ll always feel like a thoughtful, homemade treat.

Once cooled, they’re topped with a silky, slightly tangy cream cheese frosting that pairs beautifully with the fruitiness of the cupcakes. It adds just the right amount of richness without overpowering the delicate flavors. Together, it’s a combination that feels both light and indulgent—perfect for brunch, spring and summer celebrations, or any moment that needs a little piece of happiness baked into it.

Hi, I'm Kimberly!

Hi, I'm Kimberly.

A hopeless romantic when it comes to food. Every recipe I share is a love letter to food itself. I’m so glad you’re here. Make yourself at home and stay a while.

Love,
Kimberly

Kimberly the Zett Signature

If you want to get to know me better,
click here!


Light & Flavorful Blueberry Banana Cupcakes with Cream Cheese Frosting

LET’S MAKE A PIECE OF HAPPINESS

Print
clock clock iconcutlery cutlery iconflag flag iconfolder folder iconinstagram instagram iconpinterest pinterest iconfacebook facebook iconprint print iconsquares squares iconheart heart iconheart solid heart solid icon
Light & Flavorful Blueberry Banana Cupcakes with Cream Cheese Frosting

Light & Flavorful Blueberry Banana Cupcakes with Cream Cheese Frosting


  • Author: Kimberly
  • Total Time: 25 min
  • Yield: 12 cupcakes 1x

Description

GOOD TO HAVE ON HAND

  • cupcake tin
  • baking paper
  • large bowl
  • medium bowl
  • hand mixer


Ingredients

Units Scale
CUPCAKES
  • 3 ripe bananas
  • 50 milliliters coconut oil
  • 80 grams agave syrup
  • 1 egg
  • 1 tsp vanilla extract
  • 180 grams all-purpose flour
  • 1 tsp baking soda
  • 1 tsp baking powder
  • 1/2 tsp salt
  • 160 grams frozen blueberries
FROSTING
  • 230 grams cream cheese
  • 250 grams yogurt
  • 50 milliliters agave syrup
  • 1 tsp lemon juice
  • 1/2 tsp vanilla extract

Instructions

  1. Preheat the oven to 180°C (350°F) and line a 12-cup cupcake tin with baking paper and set aside.
  2. In a large bowl, mash the bananas with a fork to a mash. Mix in the coconut oil, agave syrup, egg and vanilla.
  3. Now add the flour, baking soda, baking powder and salt to the bowl and mix everything together until a creamy dough forms, do not overmix. Fold in the blueberries but set aside about 1 tablespoon of them for later.
  4. Fill the cupcake tins about 2/3 full. Now bake for 16 minutes. I bake them in two batches of 6 so that the cupcakes have more room to rise.
  5. Meanwhile, prepare the cream cheese frosting. Place the cream cheese, yoghurt, agave syrup, vanilla extract and lemon juice in a mixing bowl and beat with a hand mixer until stiff peaks form and a firm cream has formed,
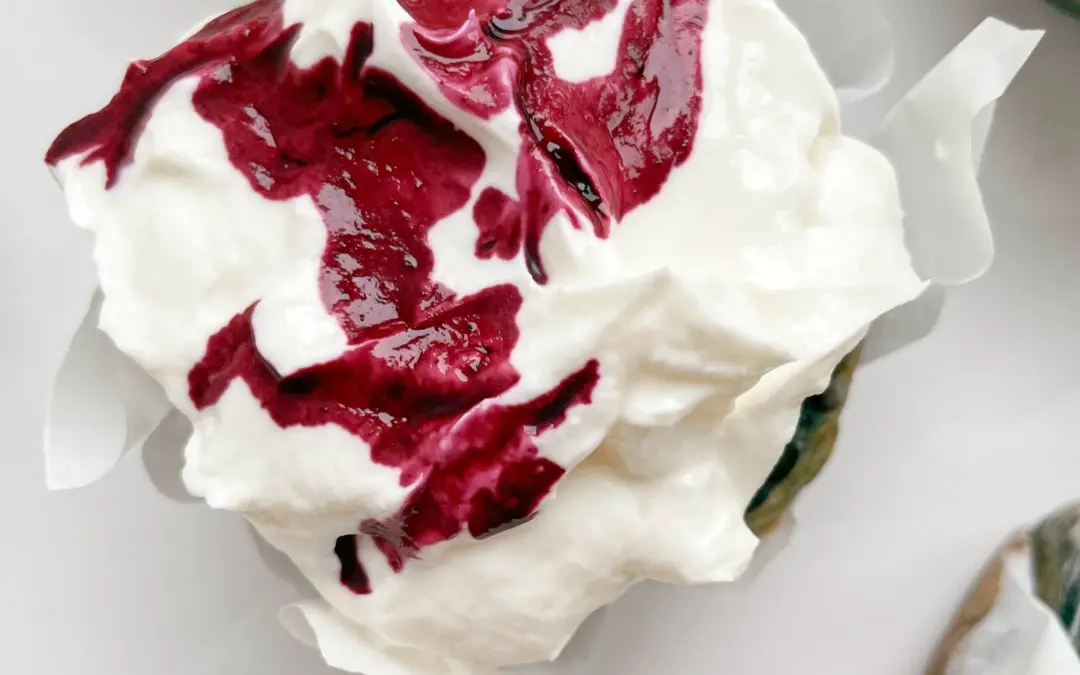
  6. Take the cupcakes out of the oven and leave to cool on a wire rack. As soon as the cupcakes are at room temperature, the frosting can be spread on top. Warm the remaining blueberries in a small pot or in the microwave until they turn into a sauce. Let it cool and pour the sauce over the cupcakes just before serving.
  • Passive Time: 10 min
  • Cook Time: 15 min

CRAVING MORE?

Follow along here & don’t forget to subscribe to my substack!

Cranberry Cumberland Sauce

Cranberry Cumberland Sauce

Cranberry Cumberland Sauce

Cranberry Cumberland Sauce

December 5, 2023 by Kimberly

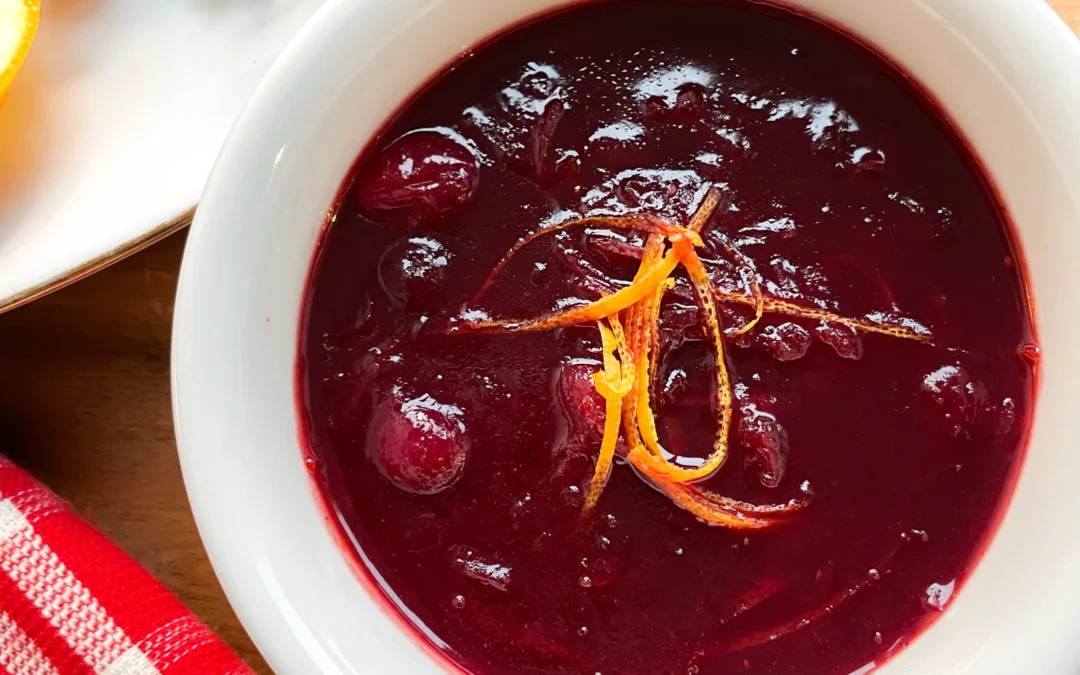
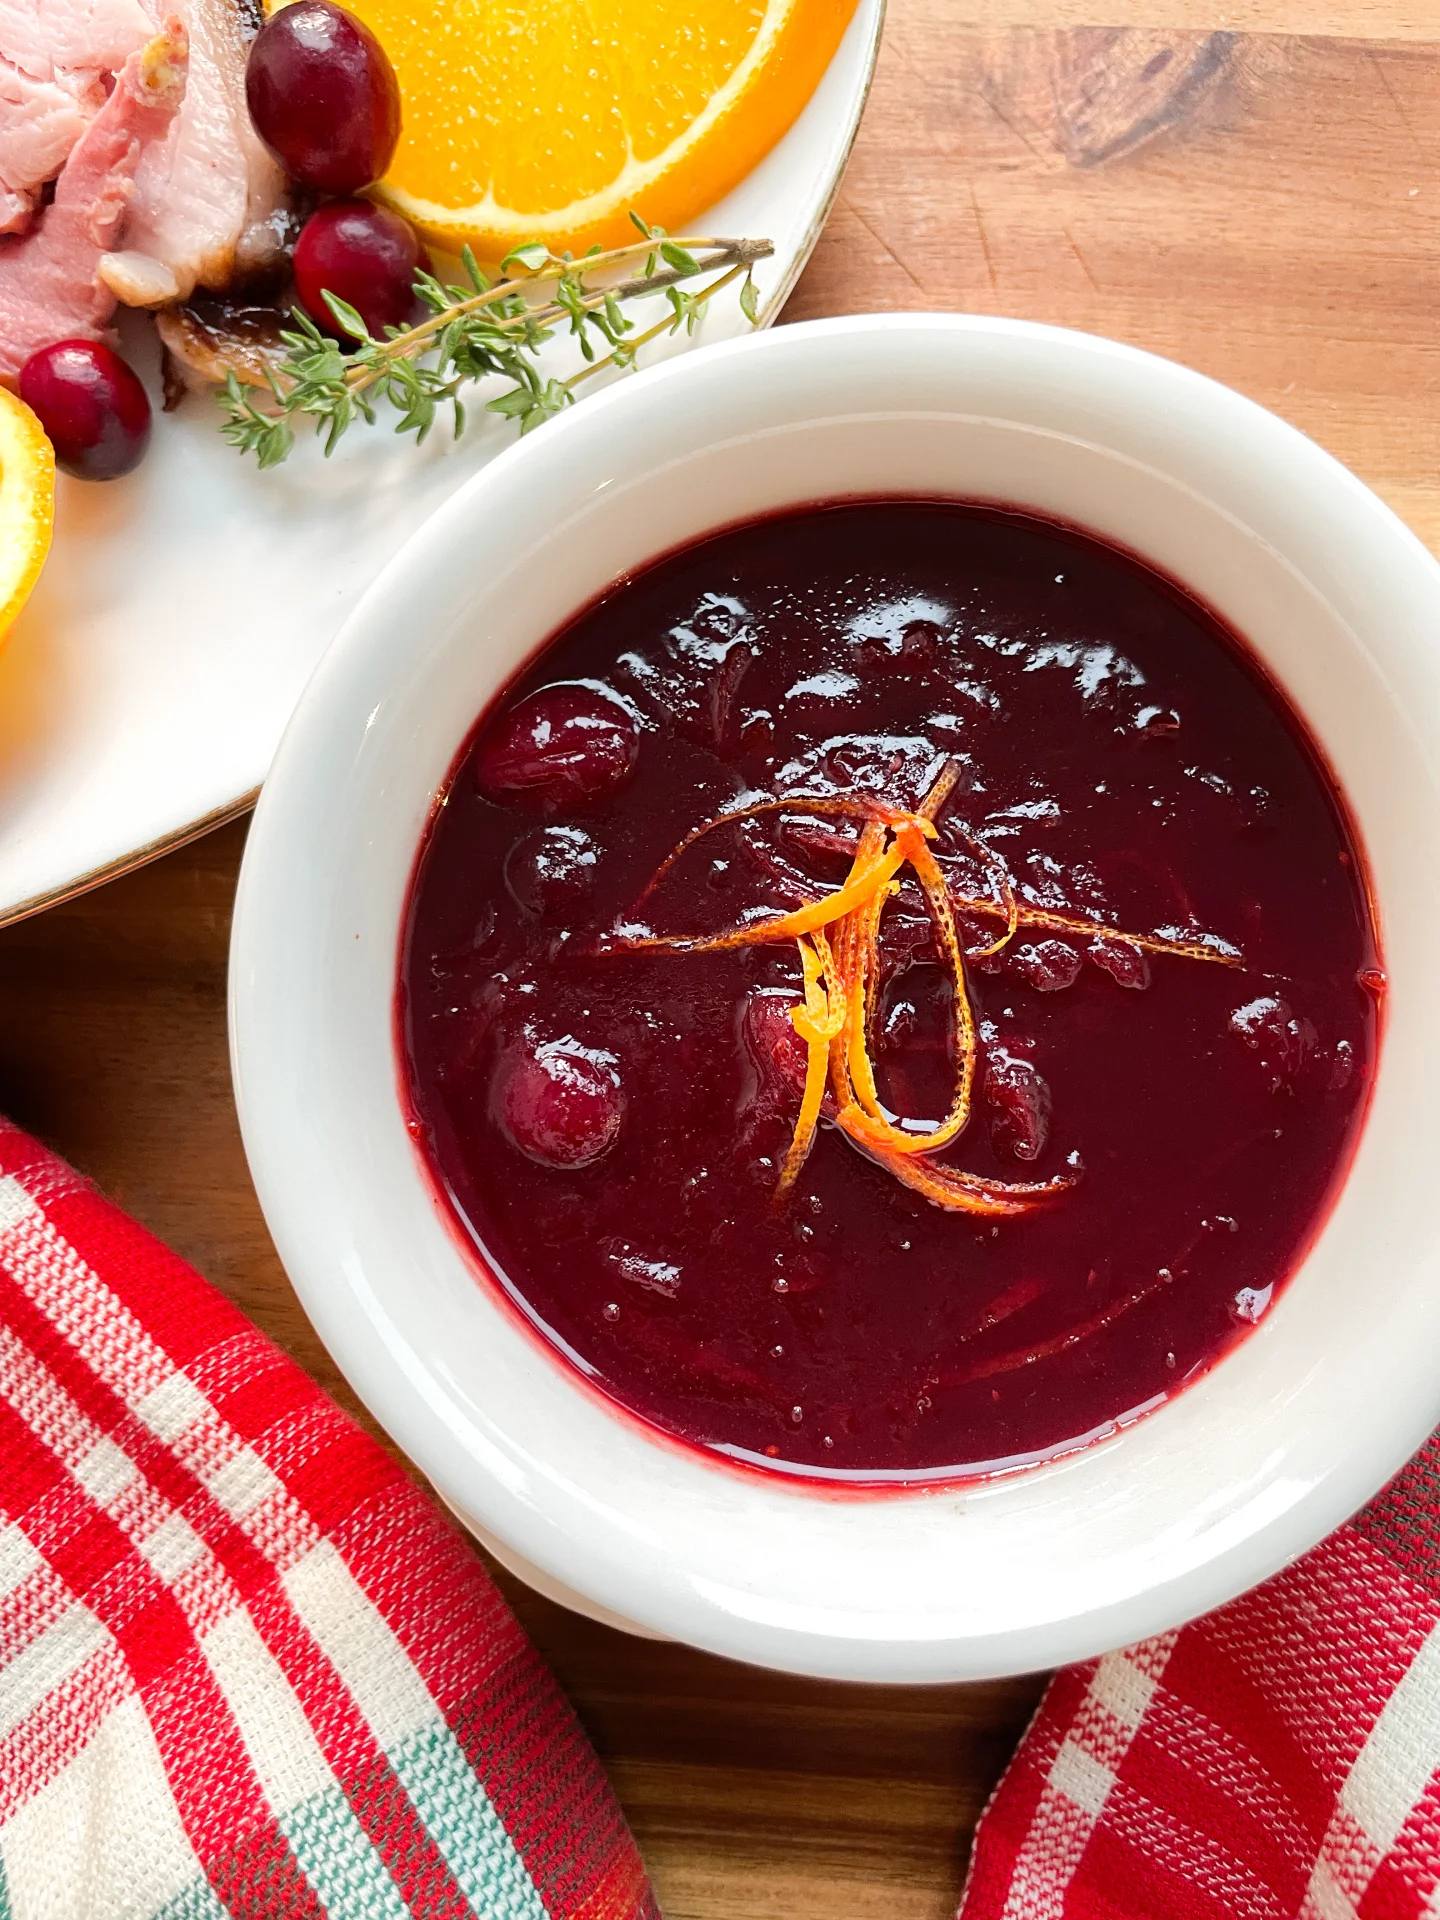
Tangy, fruity, and a little zesty – this sauce brings festive vibes to your table. Perfect for cozy dinners or holiday feasts, it’s like a warm hug for your taste buds.

This website uses affiliate links which may earn commission for purchases made at no additional cost to you.

TOTAL TIME

30 min

SERVES

6 portions

DIET

vegan

EVERY RECIPE DESERVES

A Little Love Letter

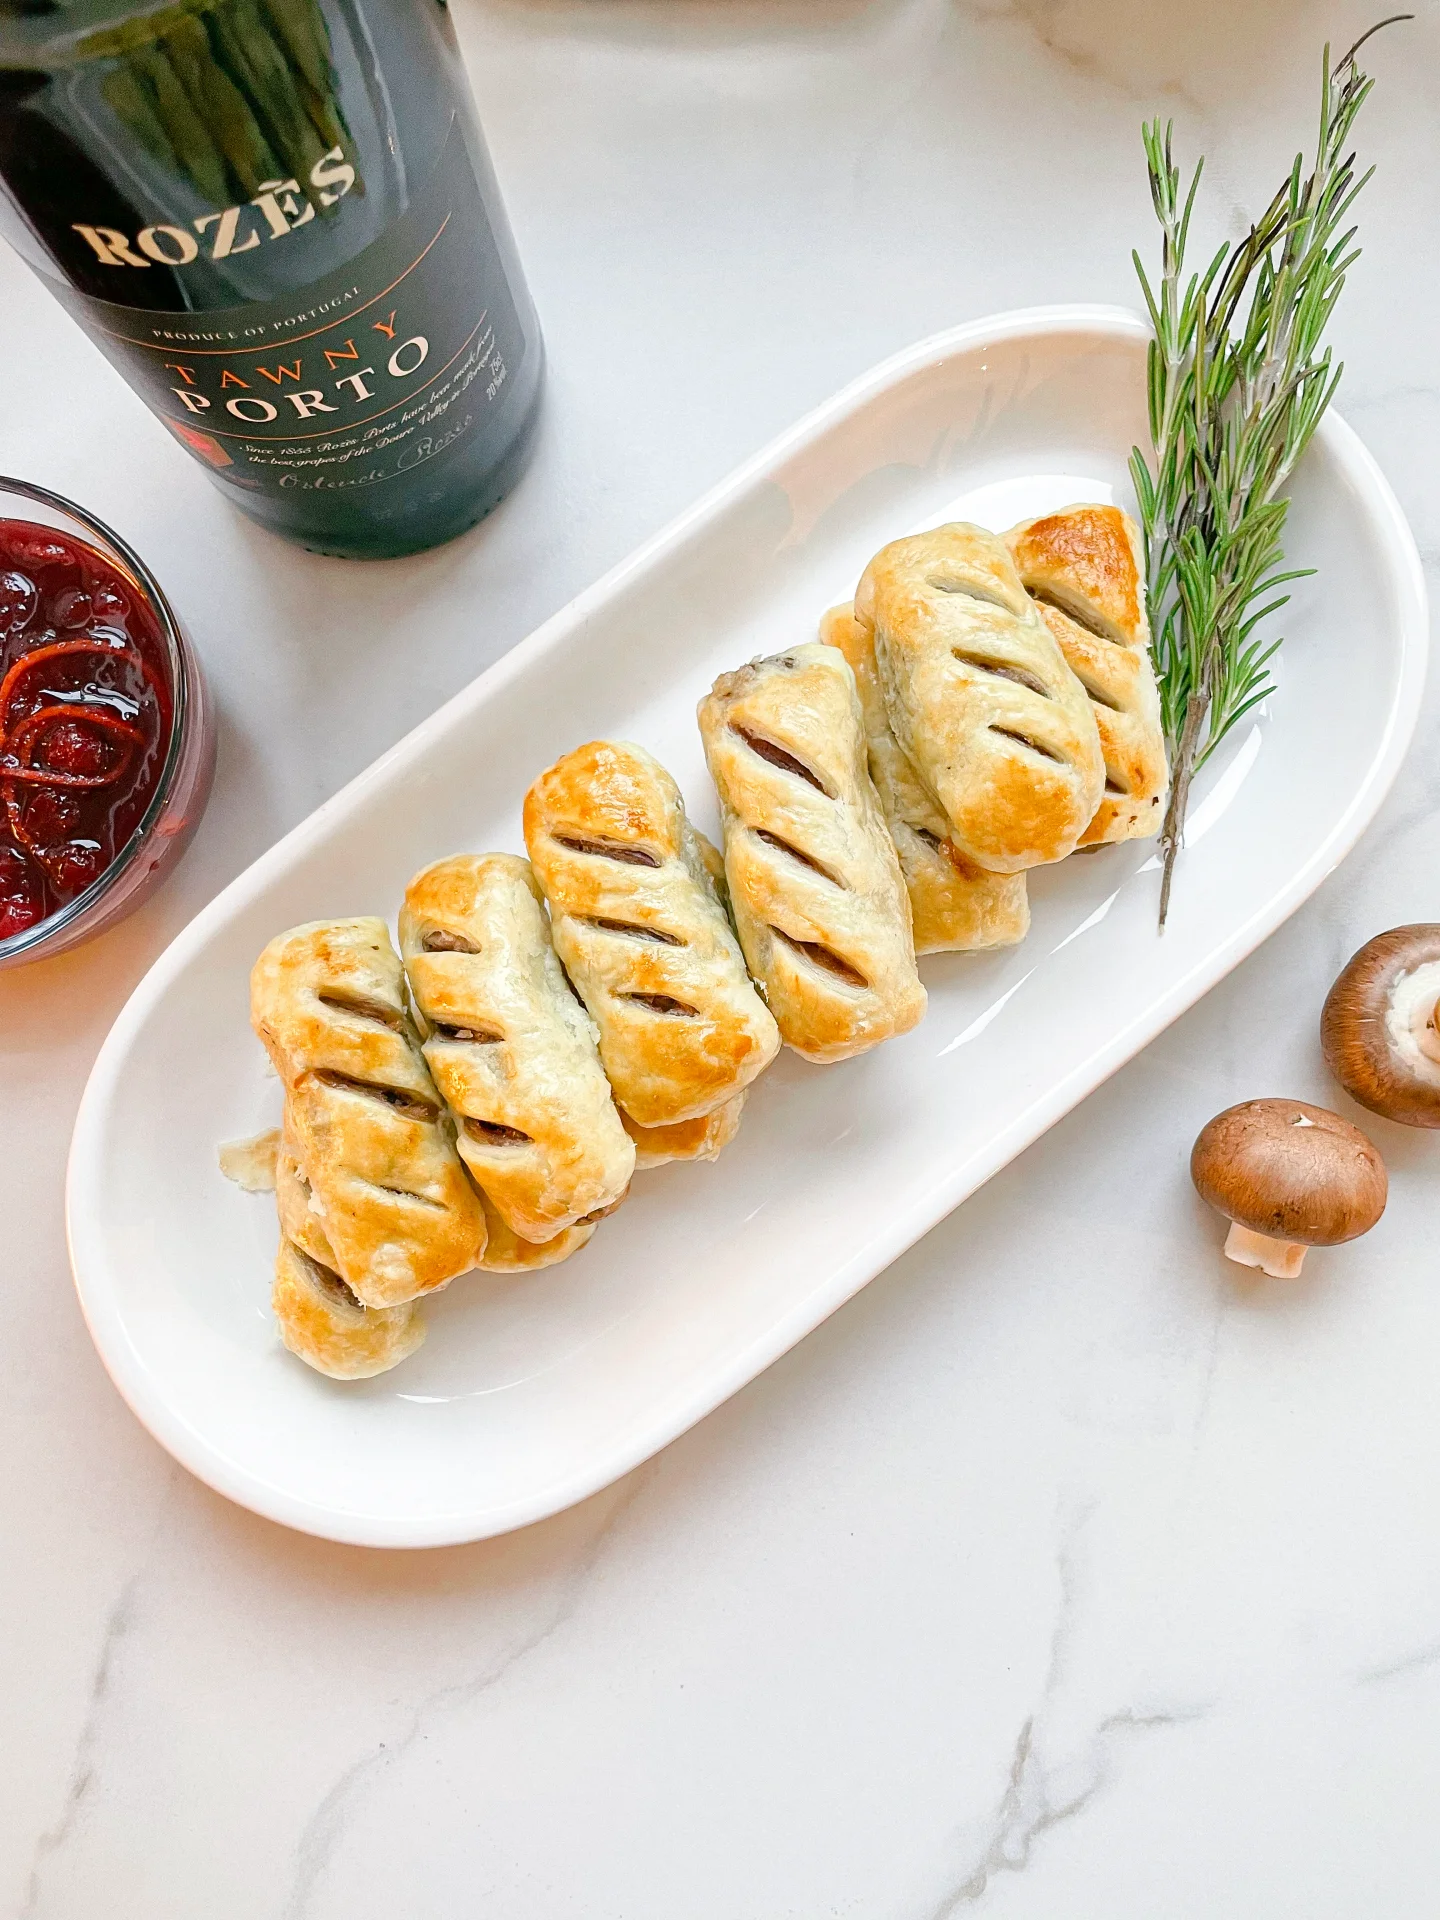
You know that feeling when a dish just makes the meal? This fruity, tangy, and slightly spiced sauce does exactly that. Whether you’re hosting a big holiday gathering, elevating a simple roast dinner, or looking for the perfect pairing for your appetizers, this recipe is your go-to for adding a pop of flavor and elegance to any plate. It’s absolutely divine with my Fingerfood Beef Wellington, bringing out those rich, savory notes, and pairs beautifully with my Cranberry Orange Glazed Pork Roast for a show-stopping main course. It’s classic, cozy, and totally irresistible, making every bite feel festive and full of love. Bonus? It’s ridiculously easy to whip up.

Pair this zesty goodness with roasted meats like turkey, pork, or ham for a perfect balance of sweet and savory. It’s also a surprising win drizzled over creamy brie or slathered on a crusty sandwich. Looking for a quick appetizer? Serve it with crackers, a wedge of sharp cheese, and nuts for a crowd-pleasing snack board. It’s versatile enough to go beyond holiday feasts – any time you want a hit of bold, fruity flavor, this sauce has you covered.

Keep it fresh by storing it in an airtight container in the fridge for up to 3 days. You can also freeze it for up to three months – just thaw in the fridge overnight when needed.

Hi, I'm Kimberly!

Hi, I'm Kimberly.

A hopeless romantic when it comes to food. Every recipe I share is a love letter to food itself. I’m so glad you’re here. Make yourself at home and stay a while.

Love,
Kimberly

Kimberly the Zett Signature

If you want to get to know me better,
click here!


Cranberry Cumberland Sauce

LET’S MAKE A PIECE OF HAPPINESS

Print
clock clock iconcutlery cutlery iconflag flag iconfolder folder iconinstagram instagram iconpinterest pinterest iconfacebook facebook iconprint print iconsquares squares iconheart heart iconheart solid heart solid icon
Cranberry Cumberland Sauce

Cranberry Cumberland Sauce


  • Author: Kimberly
  • Total Time: 30 min
  • Yield: 6 1x

Description

RECOMMENDED EQUIPMENT
  • sharp knife
  • chopping board
  • peeler
  • grater
  • small pot
  • measuring cup
  • juicer (or by hand)

Ingredients

Units Scale
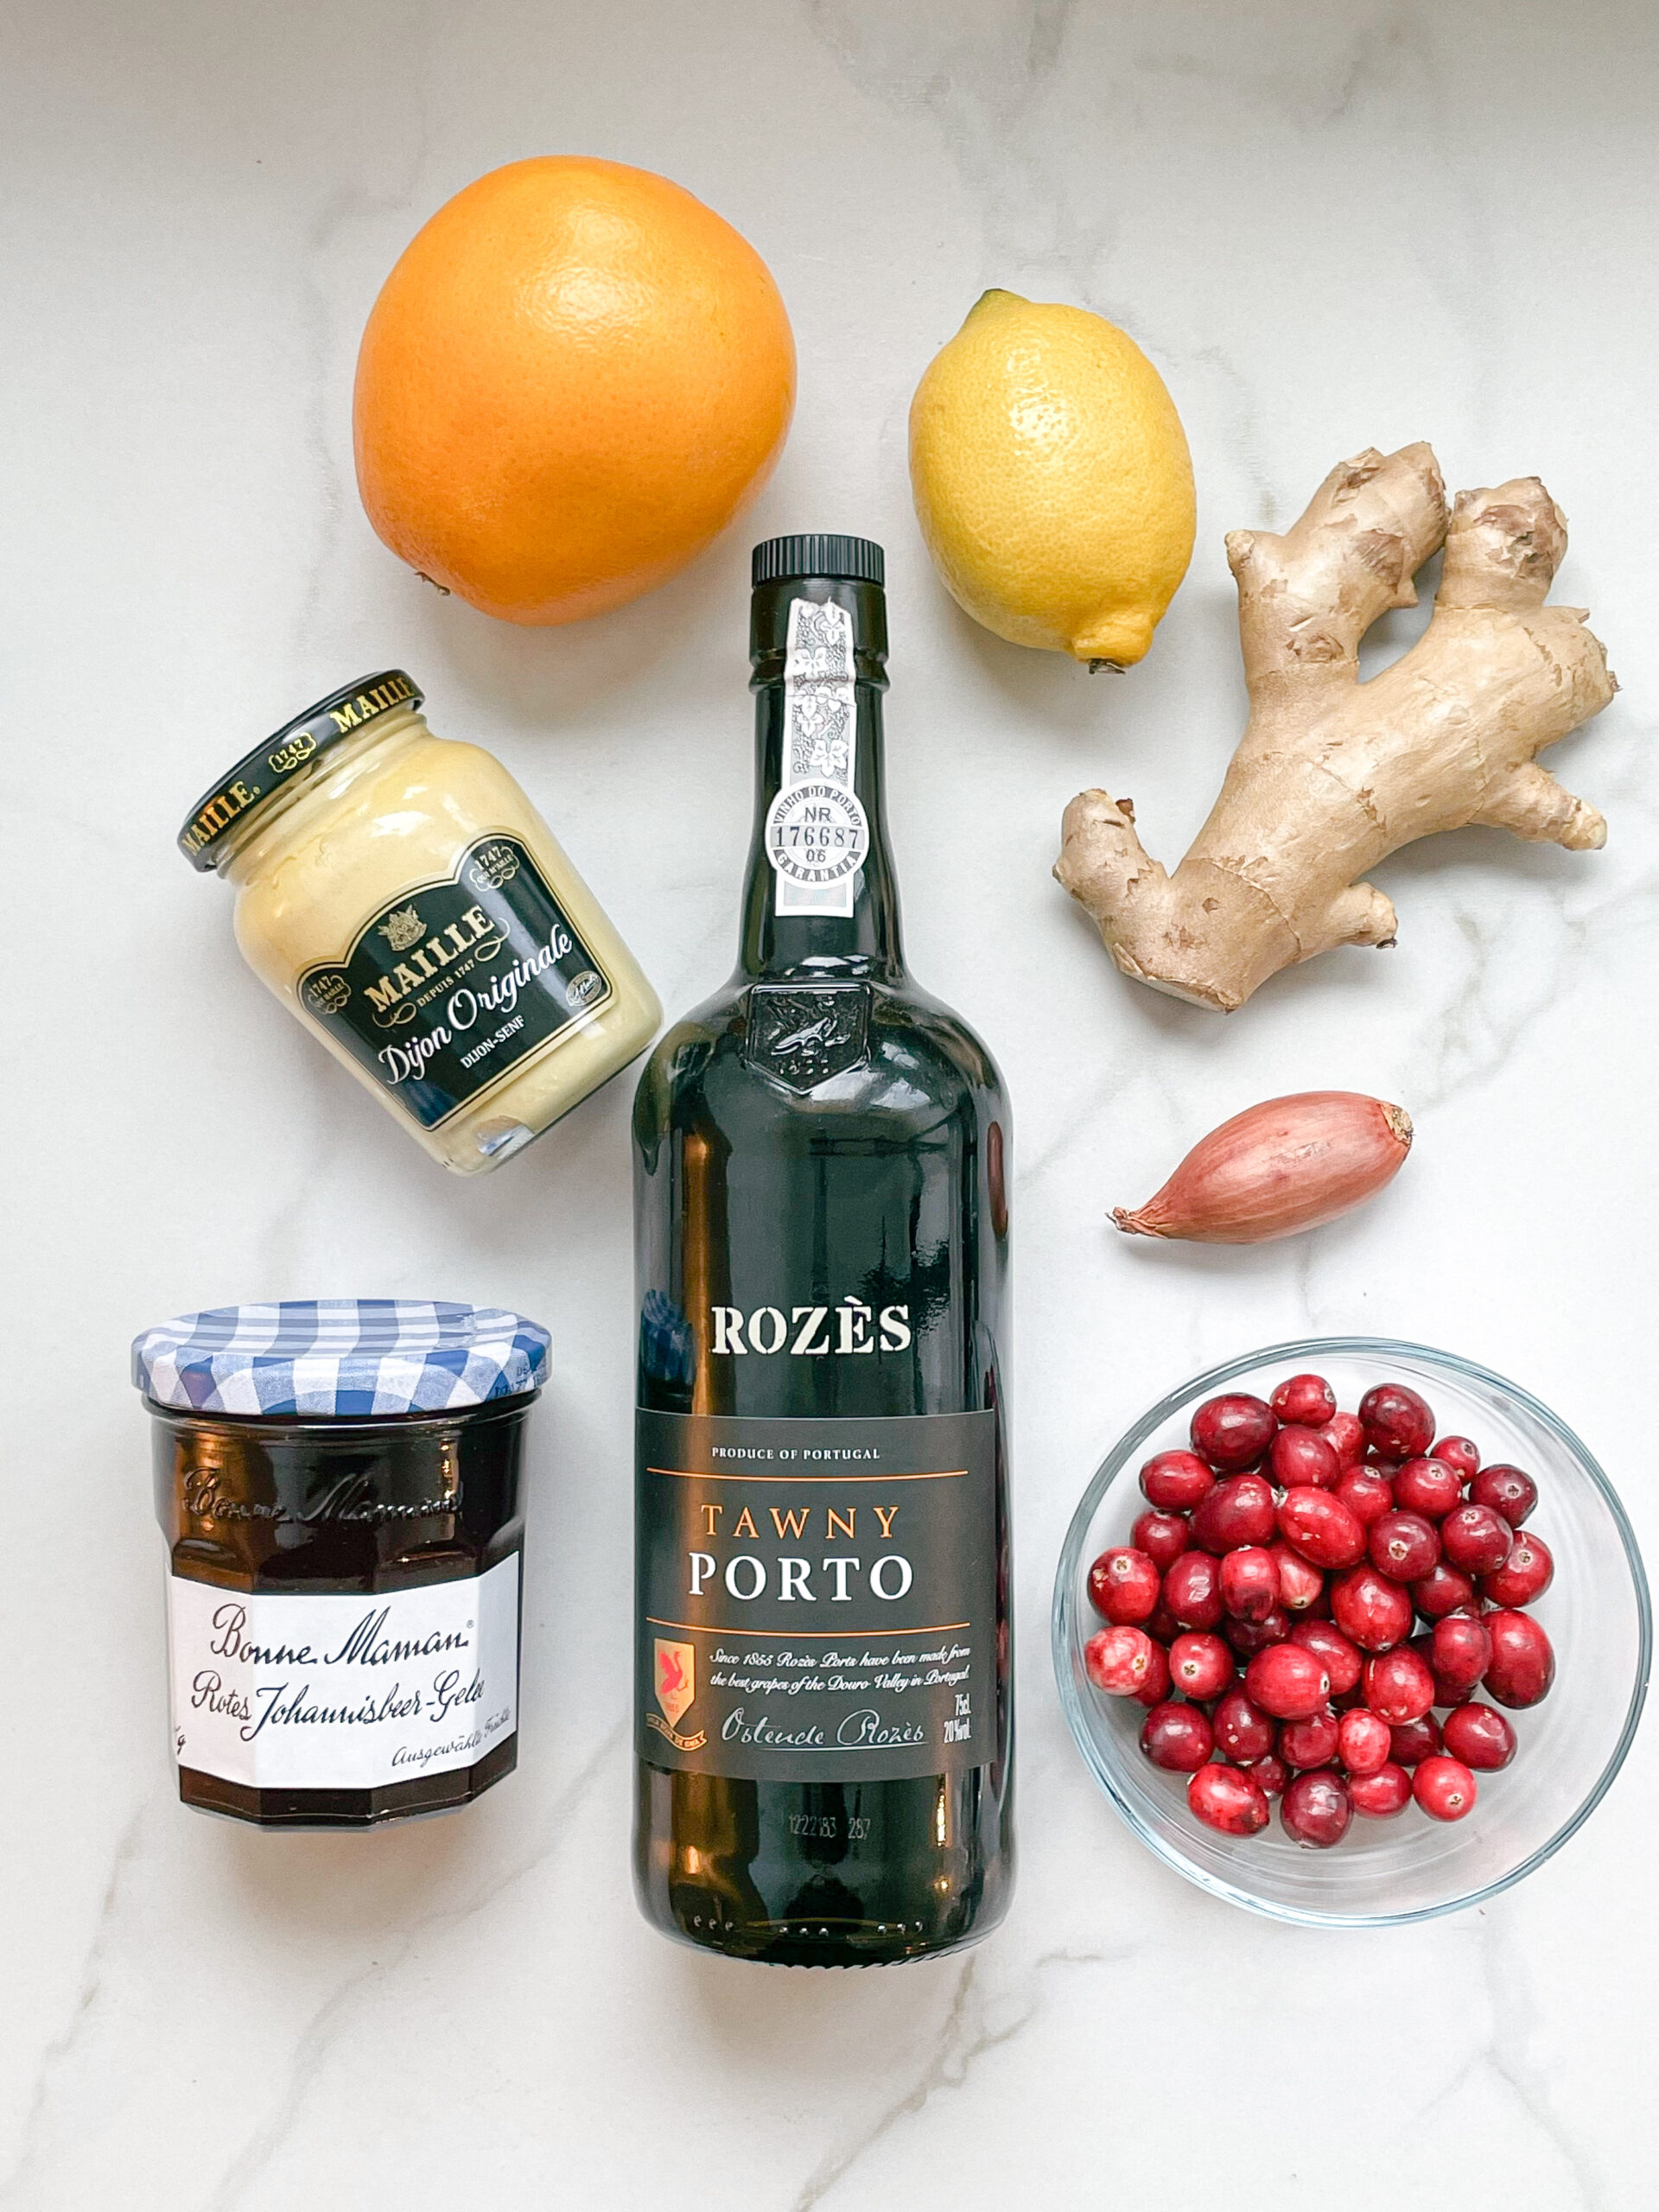
  • 1 lemon
  • 1 orange
  • 200 milliliter port wine
  • 1 shallot
  • 3/4 tsp fresh ginger, grated
  • 1 tsp dijon mustard
  • 100 grams fresh cranberries
  • 200 grams redcurrant jelly
  • salt & finely grated black pepper

Instructions

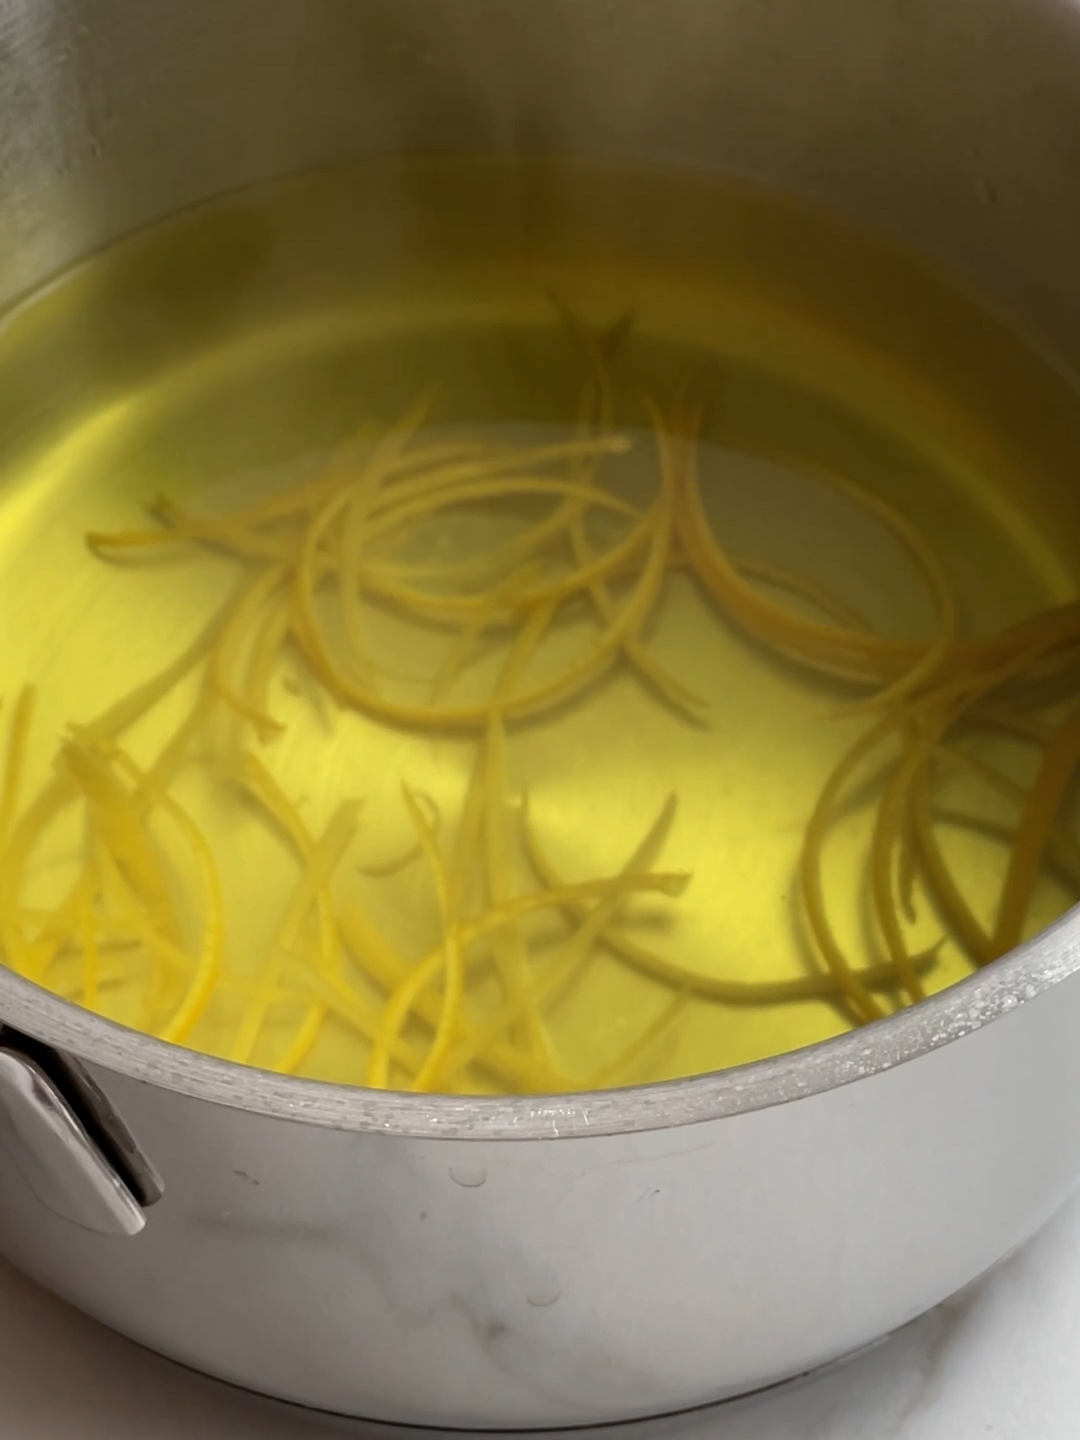
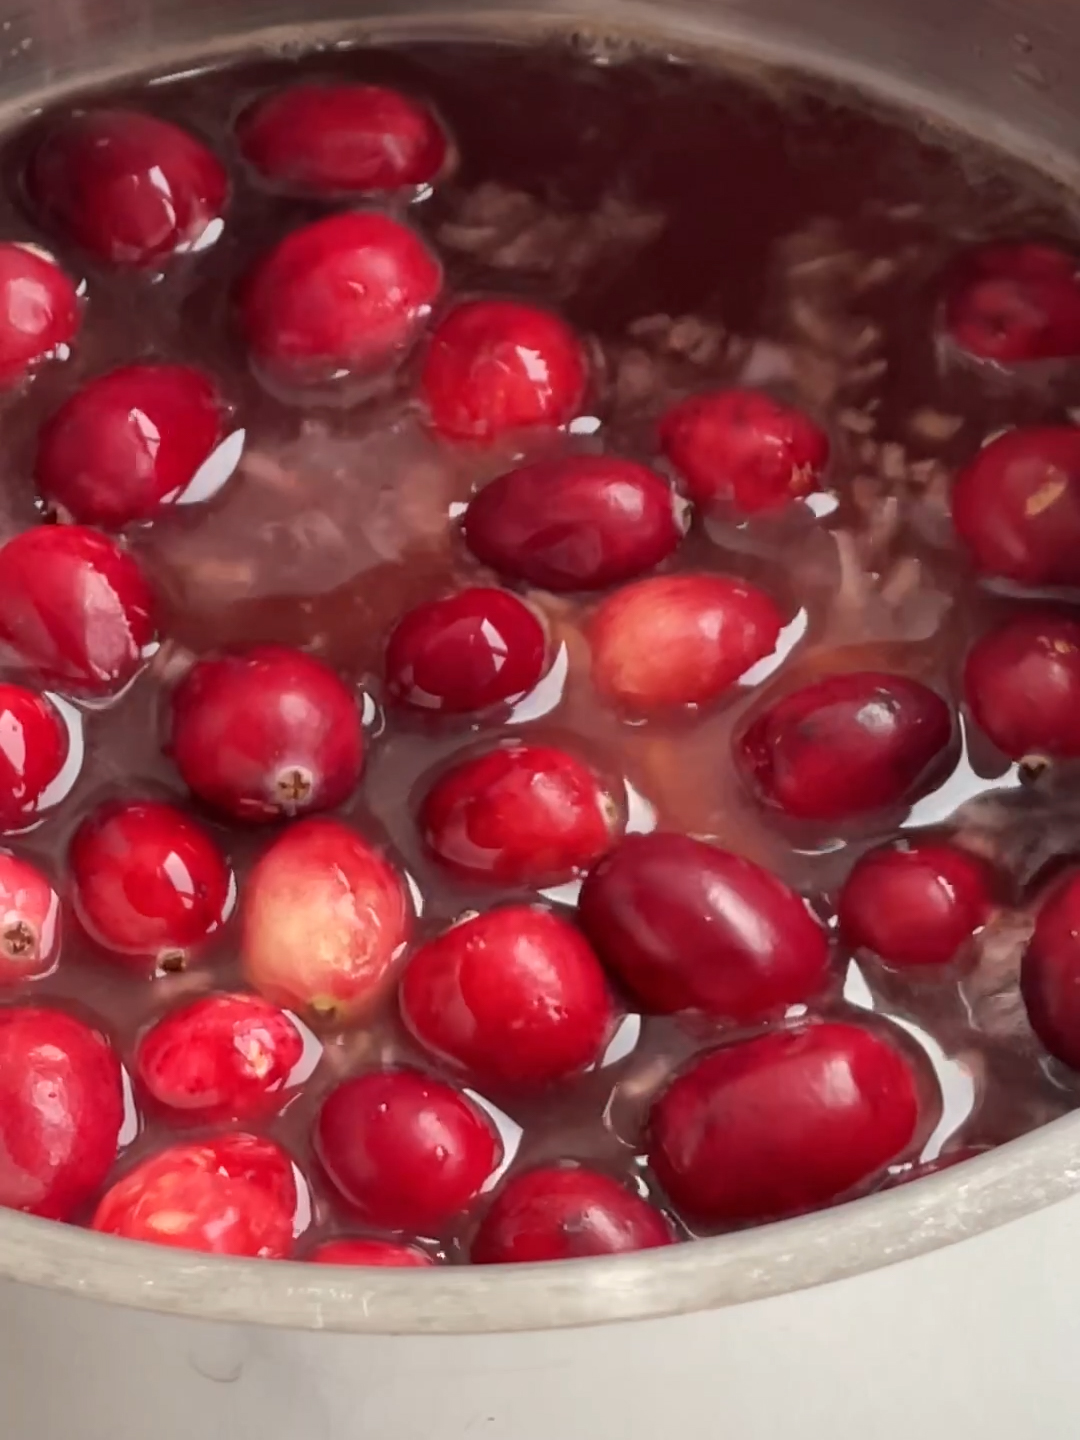
  1. Thoroughly wash and dry the lemon and orange. Peel 3–4 strips from each using a peeler, then slice the peels into fine julienne strips. Juice the orange, aiming for about 100 ml (3 fl. oz.) of juice.
  2. In a small saucepan, bring water to a boil and simmer the julienne strips for 5 minutes to soften and reduce their bitterness. Drain and set aside.
  3. Finely dice the shallot and grate the ginger directly into the saucepan. Add the port wine, orange juice, mustard, and cranberries. Bring everything to a boil over medium heat. Once boiling, lower the heat and simmer for about 15 minutes, until the cranberries soften and the liquid reduces.
  4. Next, stir in the redcurrant jelly and continue simmering for another 6–7 minutes, or until the sauce thickens. Season with salt and finely ground pepper to taste.
  5. Finally, fold the julienne strips into the sauce and let it cool. The sauce will thicken further as it cools and can be reheated anytime for serving.
  • Passive Time: 20 min
  • Cook Time: 10 min
CRAVING MORE?

Follow along here & don’t forget to subscribe to my substack!

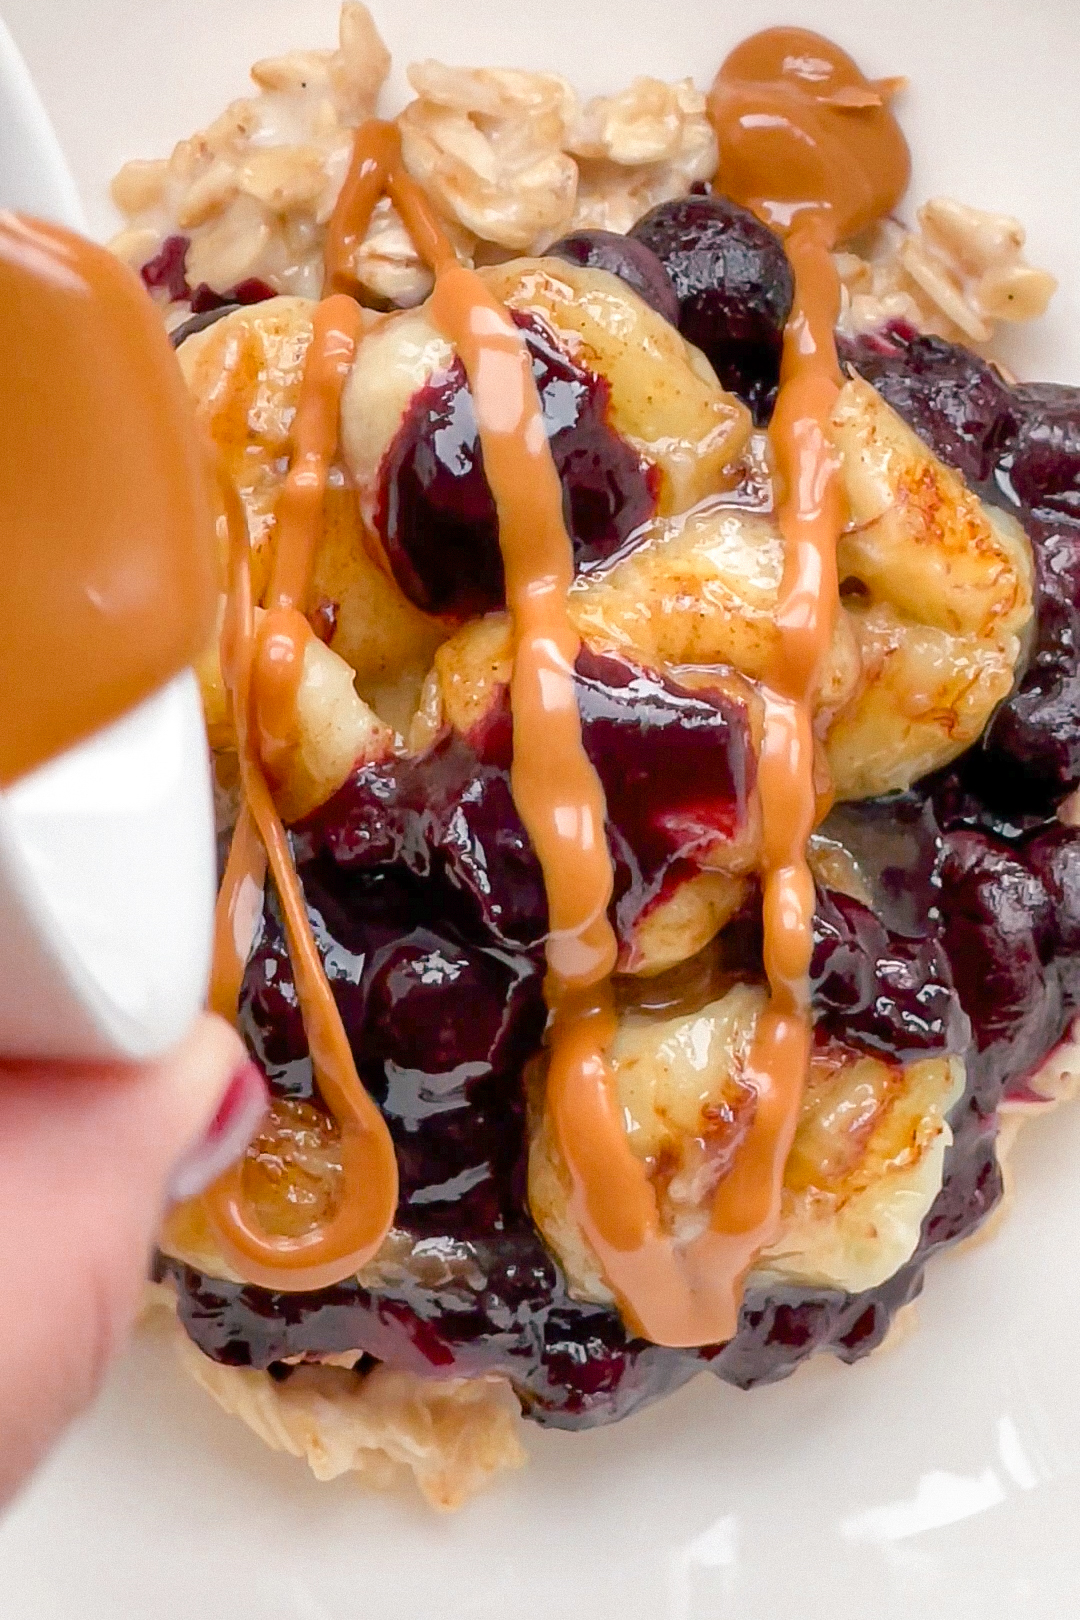
Warm Banana Blueberry Oats With Nutbutter

Warm Banana Blueberry Oats With Nutbutter

Warm Banana Blueberry Oats with Creamy Nutbutter

Warm Banana Blueberry Oats with Creamy Nutbutter

January 2, 2024 by Kimberly

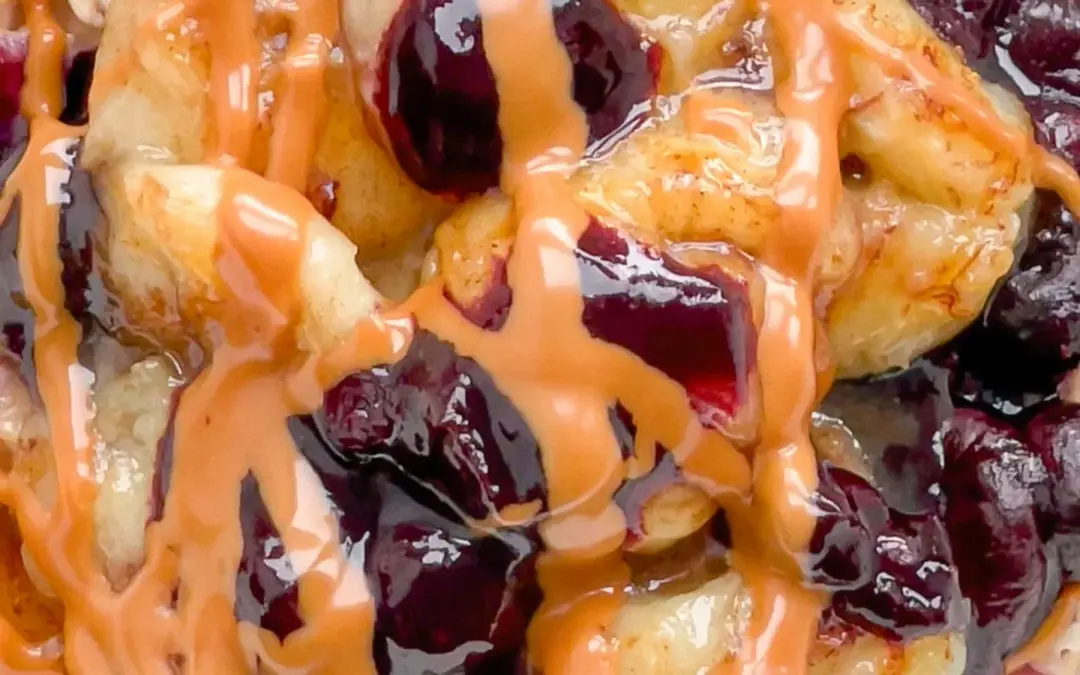
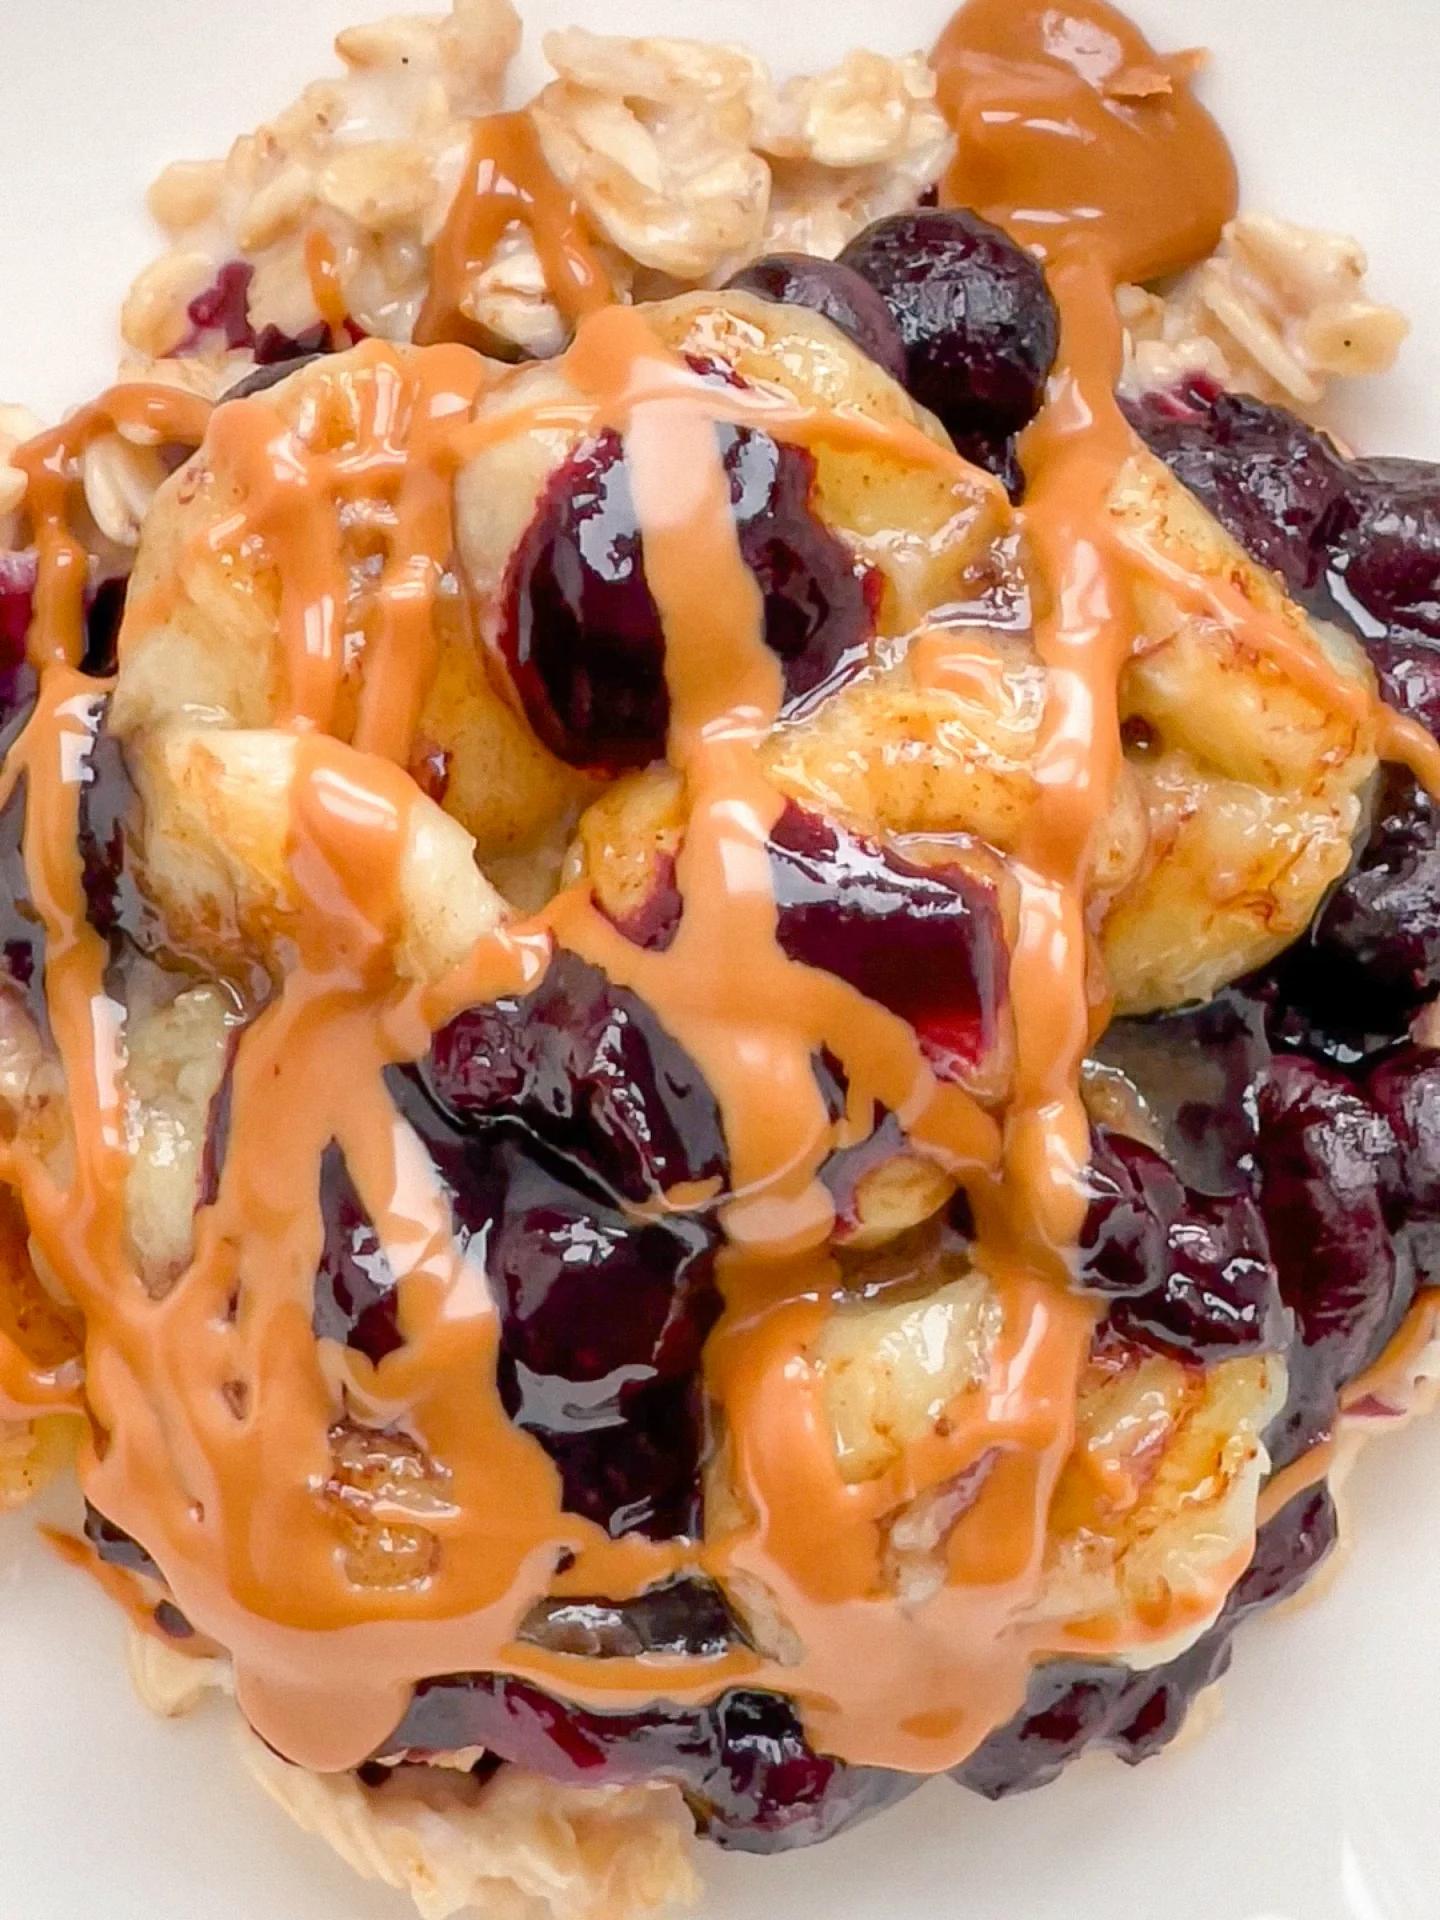
Enjoy the comforting goodness of warm banana blueberry oatmeal topped with creamy nut butter. This delightful combination provides a wholesome and satisfying breakfast experience.

This website uses affiliate links which may earn commission for purchases made at no additional cost to you.

TOTAL TIME

20 min
SERVES

1 portion

DIET

vegan

EVERY RECIPE DESERVES

A Little Love Letter

I honestly used to think making almond milk at home was some sort of witchcraft, like you’d need a shiny high-speed blender, nut milk bags, and basically a degree in food science. And what can I say? You really don’t. Haha. All it actually takes is almonds, water, and a little bit of patience. That’s it. And at the end, you’re rewarded with this fresh, creamy, silky-smooth plant-based milk that feels so much more real than anything you’ll find in a carton at the store. No additives, no gums, no ingredients you can’t even pronounce.

The fun part? You can make it your own in about a million ways. Cinnamon almond milk for cozy fall vibes? Absolutely. Vanilla almond milk that tastes like dessert in a glass? Always yes. A drizzle of maple syrup for that subtle sweetness? Yessss, please. Once you try customizing it, you’ll realize how versatile it really is. I use homemade almond milk especially in smoothies. One of my favorites is this Banana Bliss Smoothie with Poppy Seeds, Marzipan & Almond Butter. It makes everything so creamy without feeling heavy. But it’s also amazing poured over granola or blended into iced coffee.

And yes, I’ll admit, I’m also in it for the aesthetic. I always pour my almond milk into a classic glass bottle before popping it into the fridge. There’s just something about opening the door and seeing that little bottle waiting there. But it’s practical as well: in a clean bottle with a lid, it keeps fresh for three to four days. Just give it a good shake before using, since it tends to separate naturally.

So yeah, homemade almond milk might sound fancy, but really it’s one of the simplest little kitchen habits you can build. And once you’ve tried it, I promise you’ll wonder why you ever thought it was complicated.

Hi, I'm Kimberly!

Hi, I'm Kimberly.

A hopeless romantic when it comes to food. Every recipe I share is a love letter to food itself. I’m so glad you’re here. Make yourself at home and stay a while.

Love,
Kimberly

Kimberly the Zett Signature

If you want to get to know me better,
click here!


Warm Banana Blueberry Oats with Creamy Nutbutter

LET’S MAKE A PIECE OF HAPPINESS

Print
clock clock iconcutlery cutlery iconflag flag iconfolder folder iconinstagram instagram iconpinterest pinterest iconfacebook facebook iconprint print iconsquares squares iconheart heart iconheart solid heart solid icon
Warm Banana Blueberry Oats with Creamy Nutbutter

Warm Banana Blueberry Oats With Nutbutter


  • Author: Kimberly
  • Total Time: 15 min
  • Yield: 1 1x

Description

RECOMMENDED EQUIPMENT
  • sharp knife
  • cutting board
  • small pan
  • small pot
  • small bowl

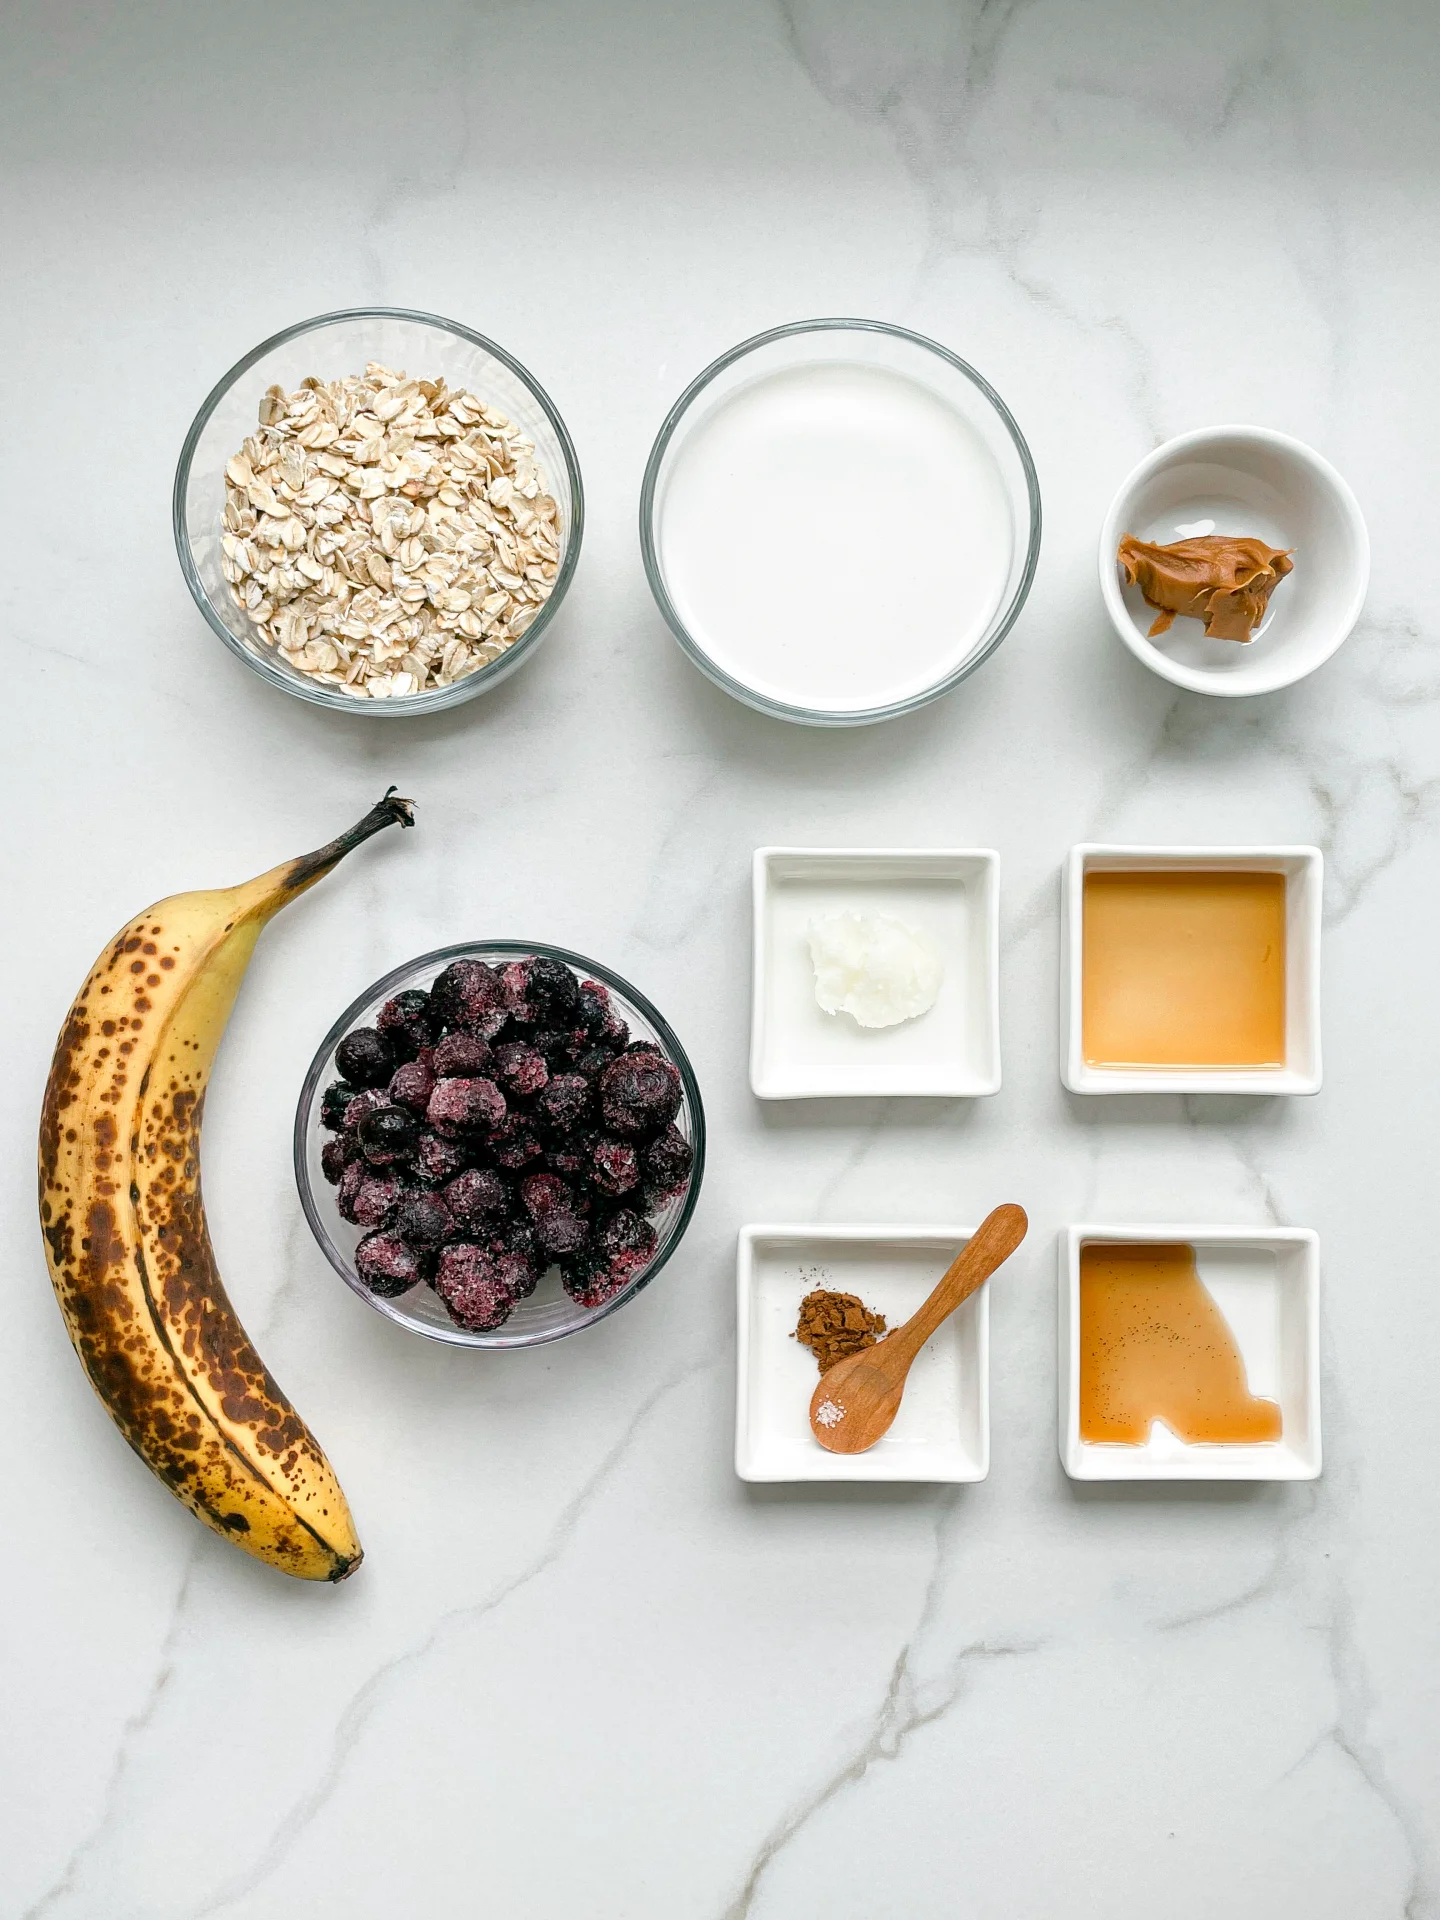
Ingredients

Units Scale
OATS BASE
  • 100 milliliters milk of choice (I used soy milk)
  • 43 grams rolled oats
  • 1/4 tsp vanilla extract
  • pinch of salt
FRIED BANANA
  • 1 banana
  • 1 tsp coconut oil
  • 1 tsp maple syrup
  • 1/8 tsp cinnamon
TOPPINGS
  • 50 grams frozen blueberries (1/4 cup)
  • 1 tsp nutbutter of choice (I used peanut butter)

Instructions

  1. Cut the banana into finger-thick slices.
  2. Cook the rolled oats with milk, vanilla extract and a pinch of salt in a small saucepan to a creamy consistency for approx. 10 minutes. Transfer to a small bowl.
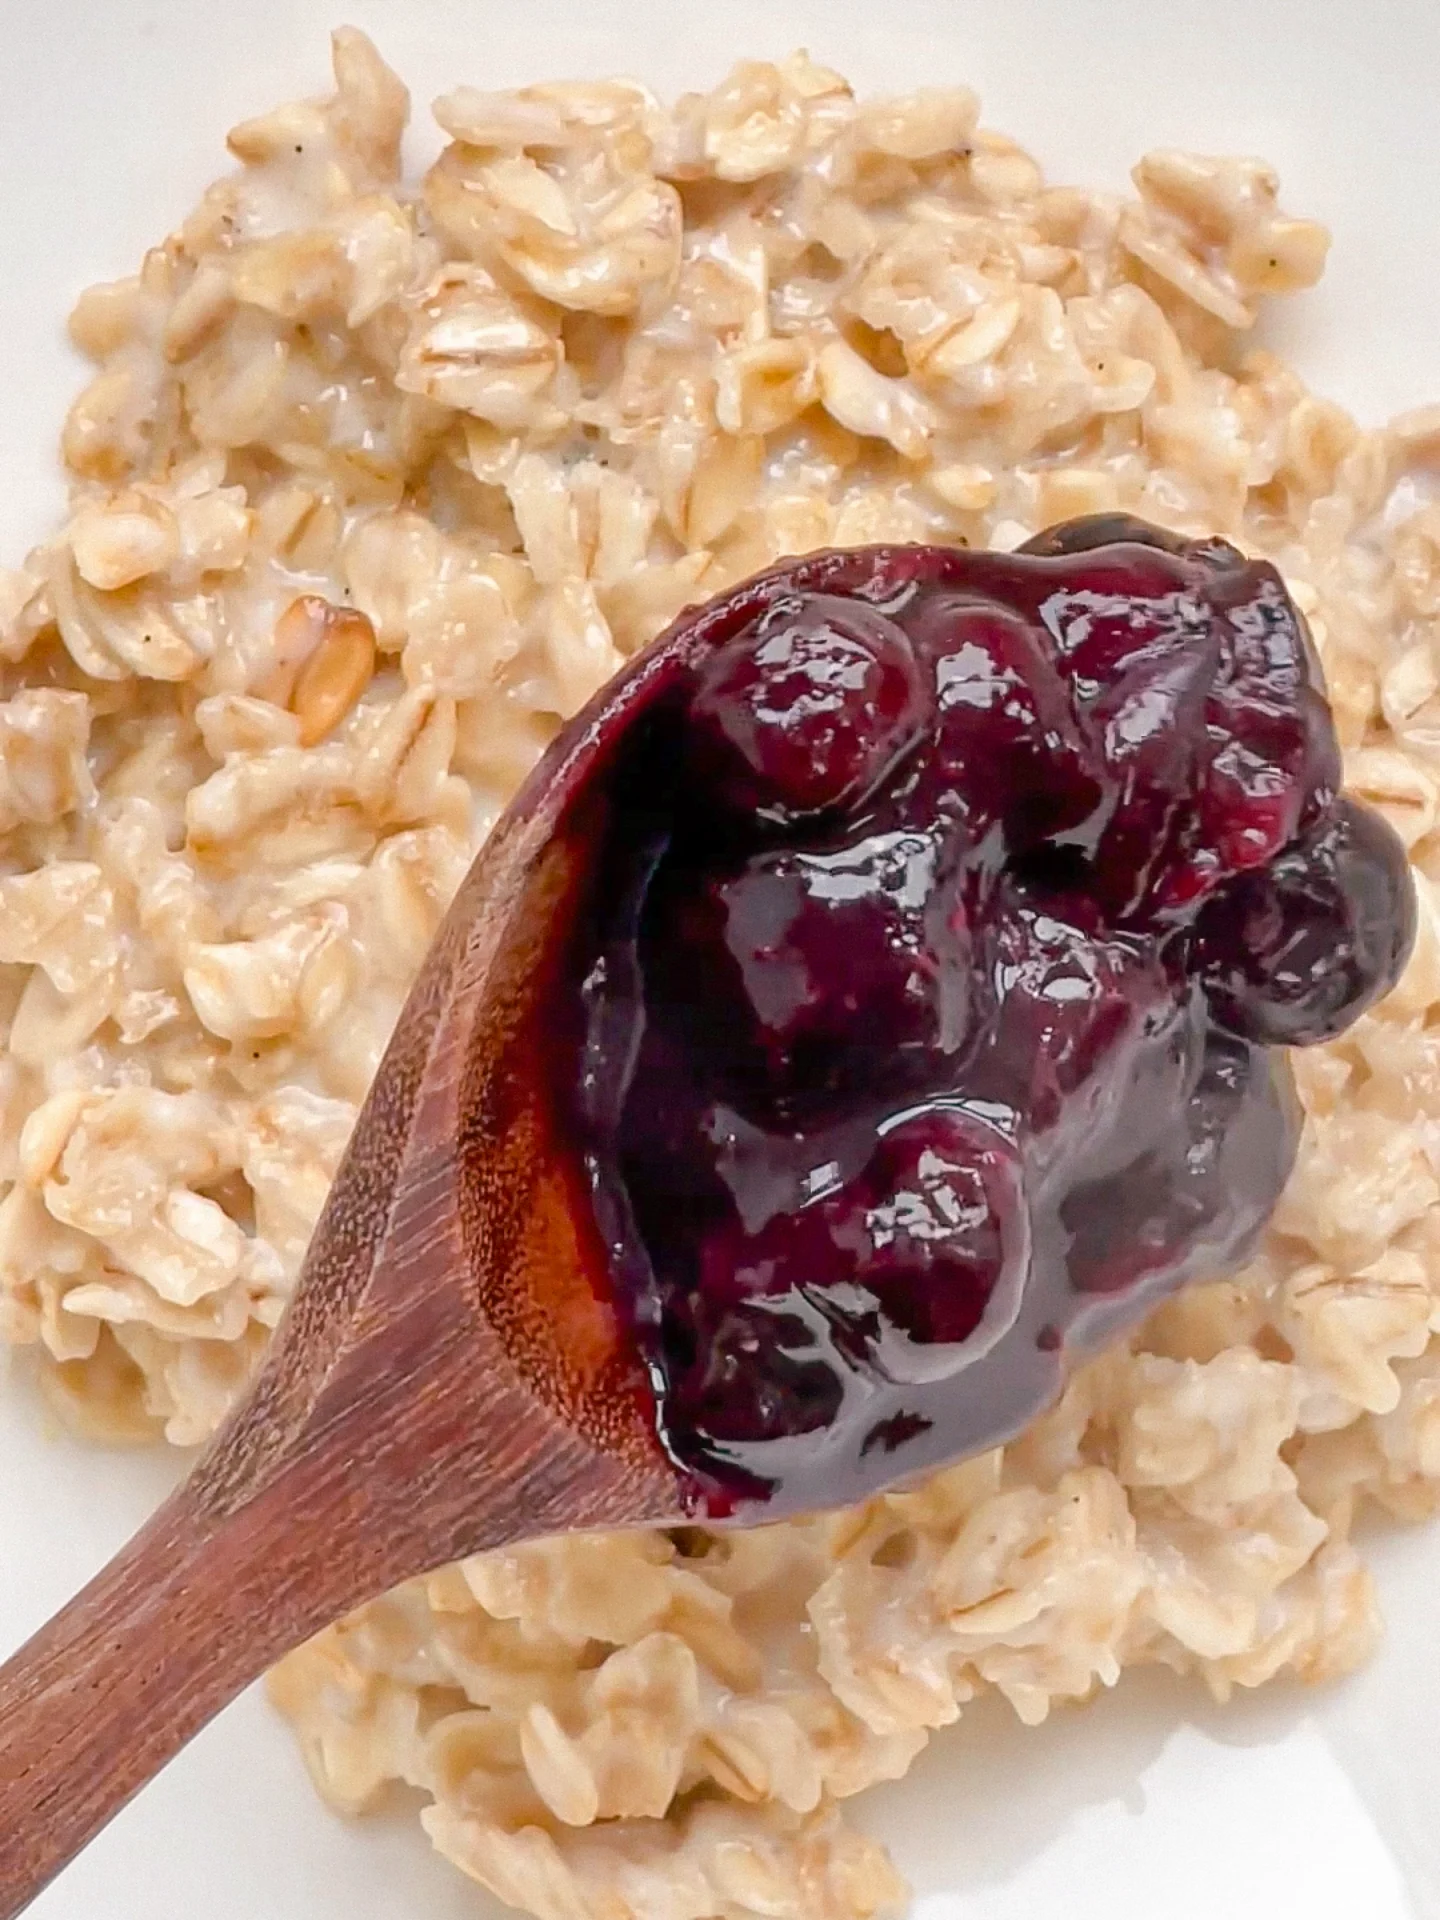
  3. In the same saucepan, cook the blueberries over a medium heat until soft and juices run clear.
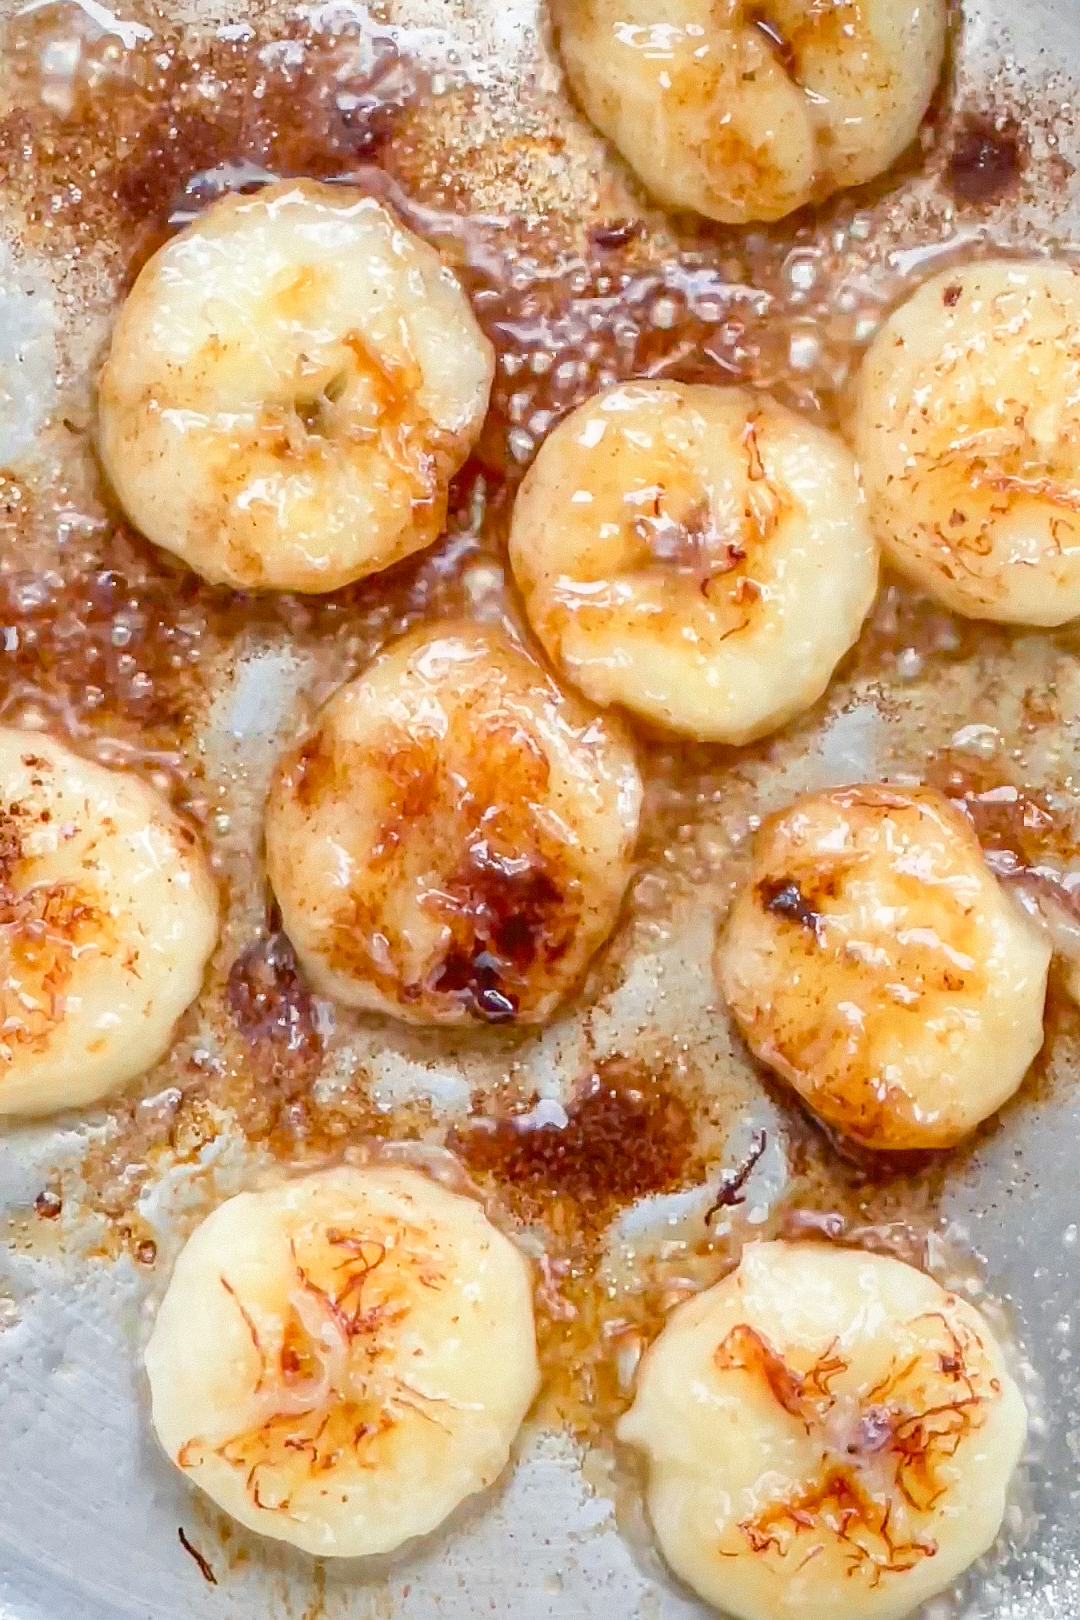
  4. Meanwhile, add 1 tsp coconut oil to a small frying pan. Once hot, add the banana slices to the pan. Fry on both sides until the bananas are golden brown. Finally, add 1 tsp maple syrup and 1/8 tsp cinnamon and allow the bananas to caramelize.
  5. Put the 1 tsp nut butter for a few seconds in the microwave so that it softens.
  6. Pour the blueberries with their sauce over the oatmeal in the bowl. Spread the bananas on top and finish with the nut butter.
  • Cook Time: 15 min
CRAVING MORE?

Follow along here & don’t forget to subscribe to my substack!