


American Flag Pie

American Flag Pie

American Flag Pie

American Flag Pie

July 4, 2024 by Kimberly

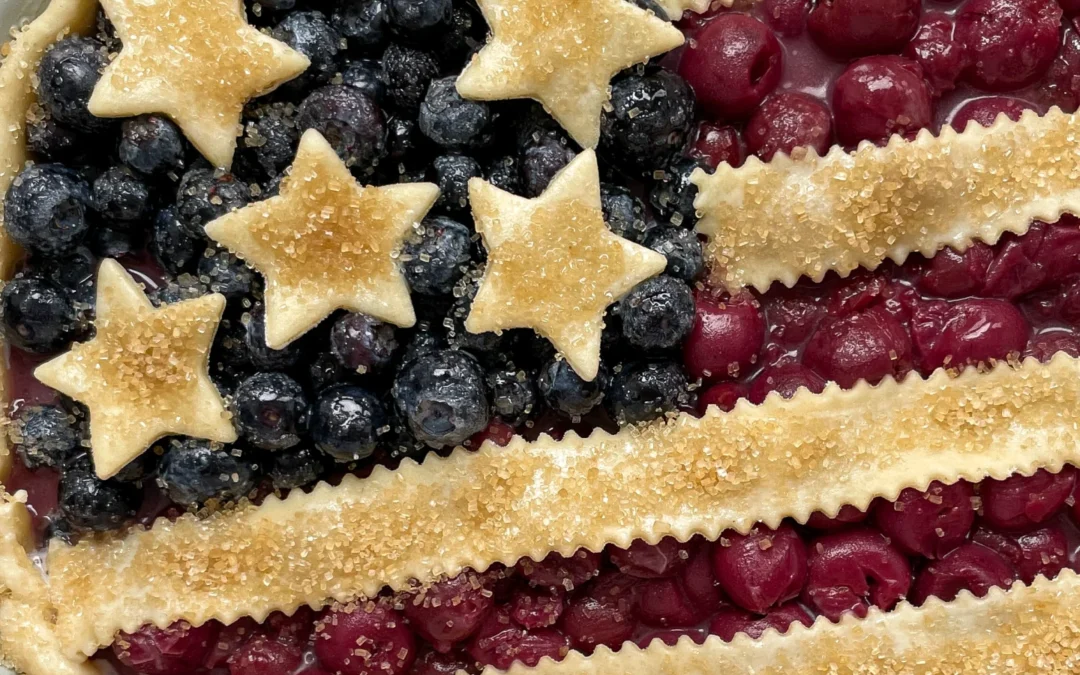
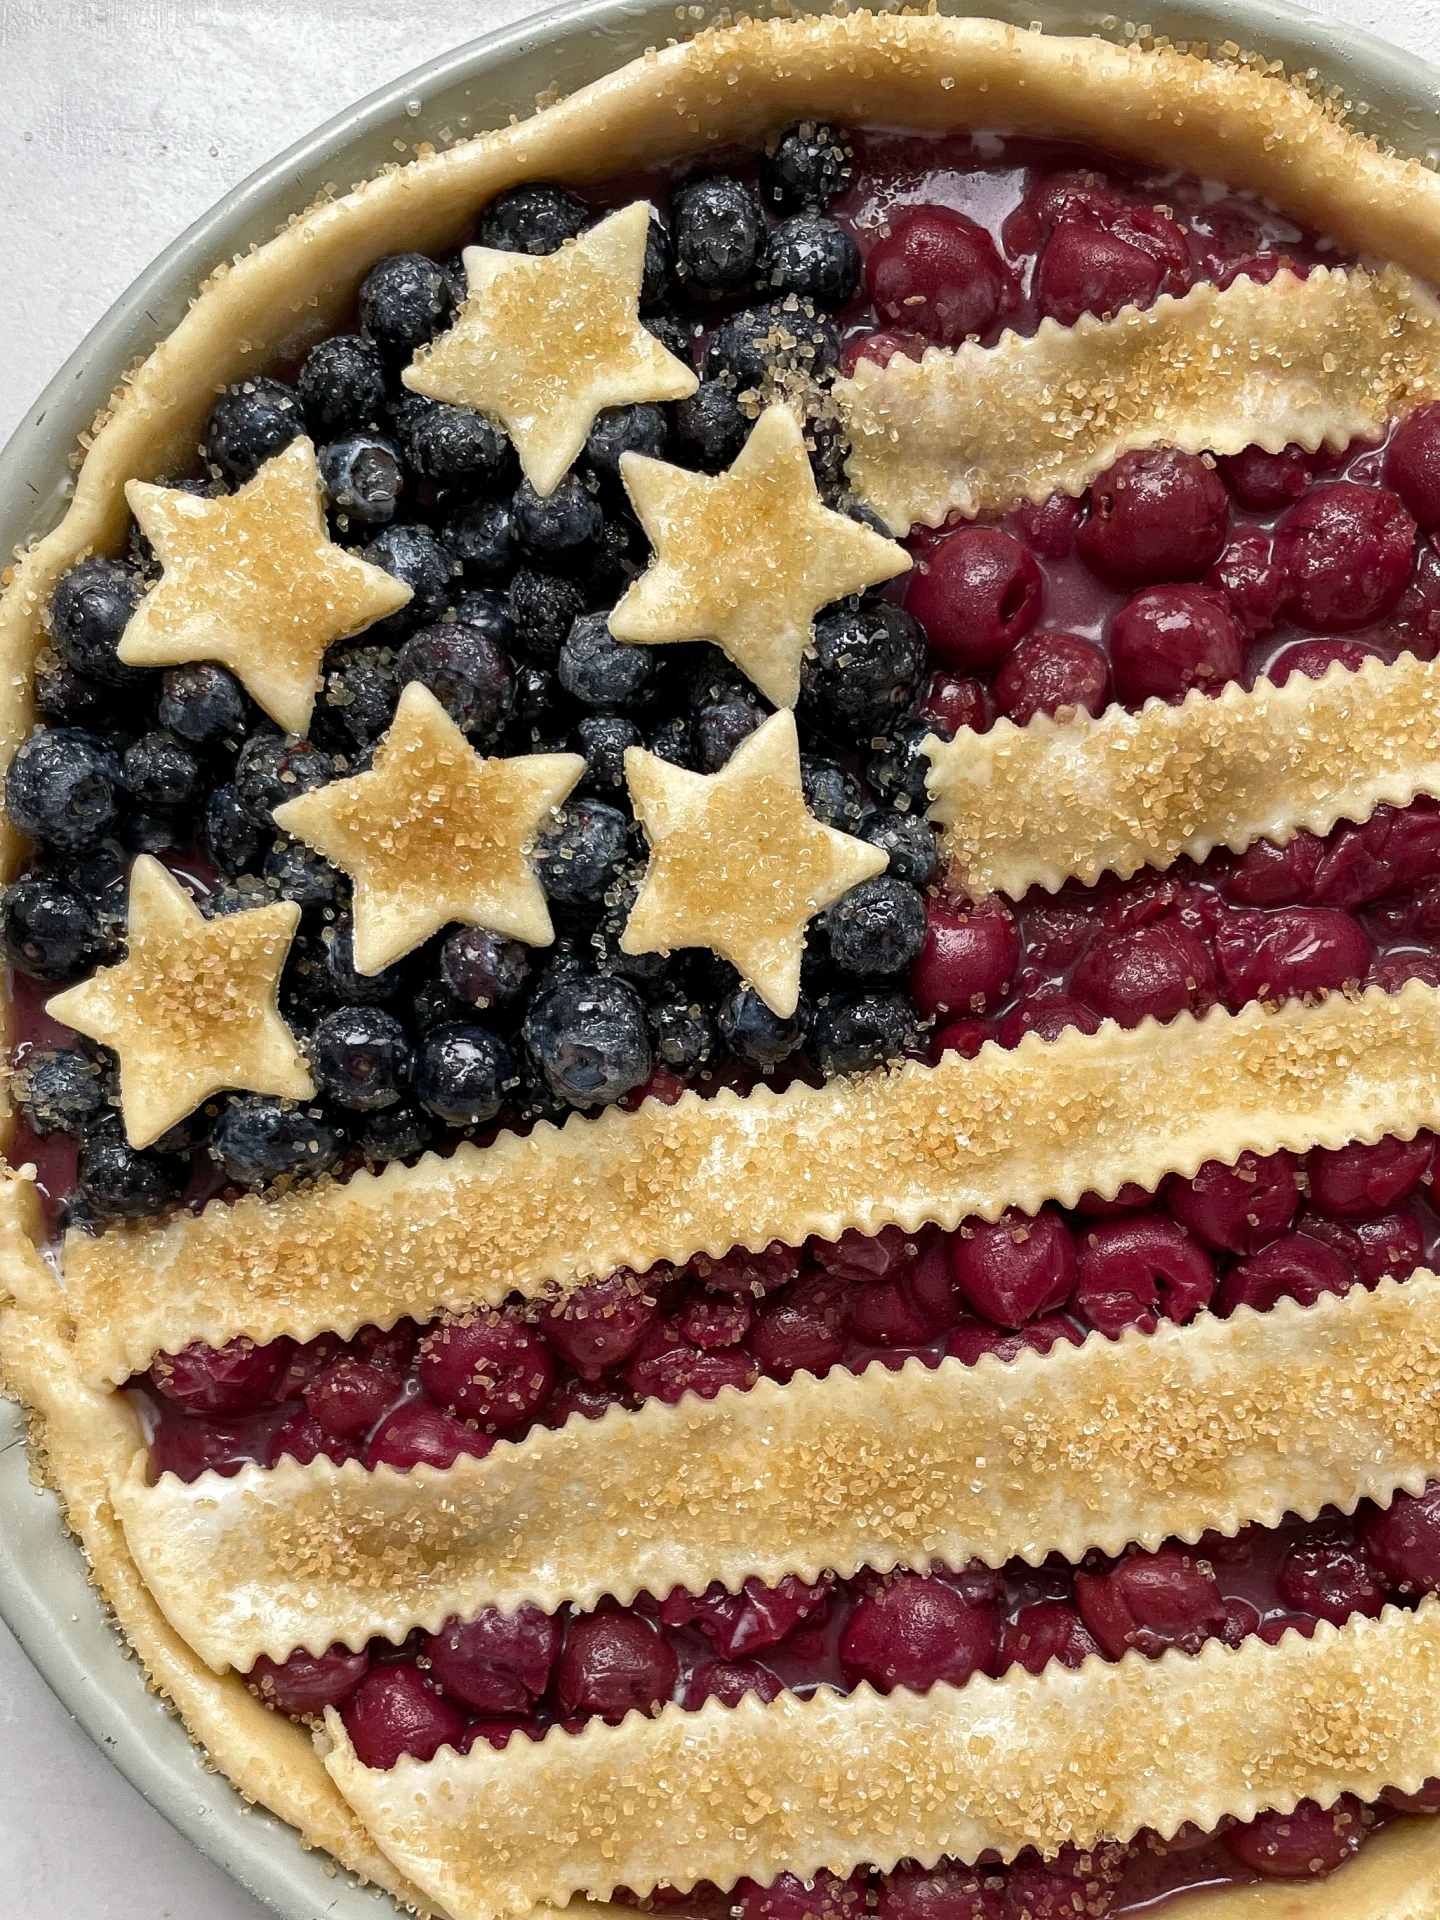
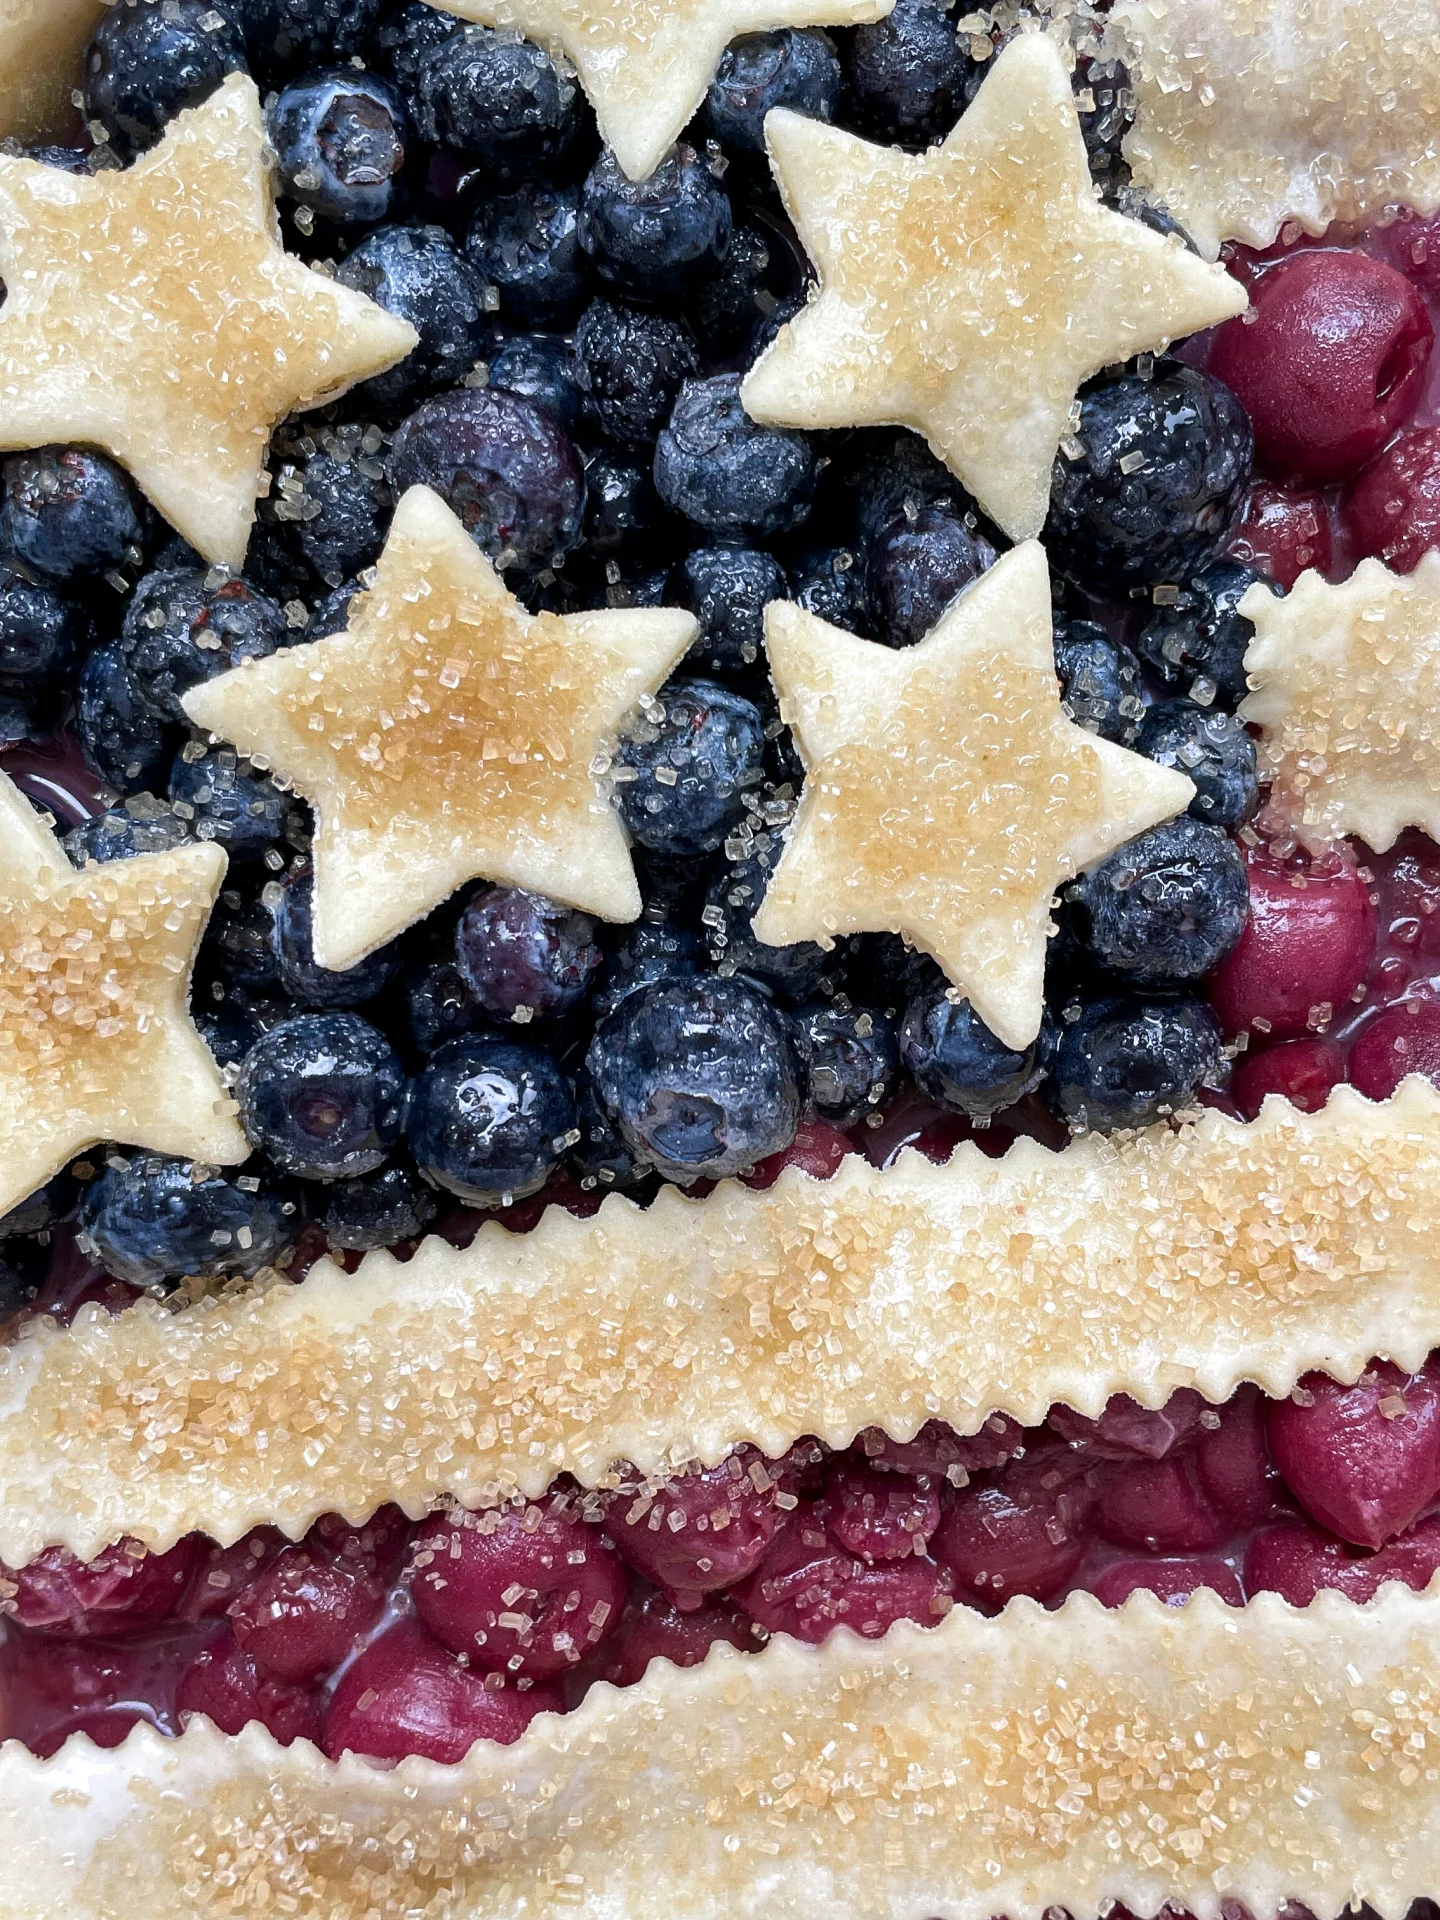
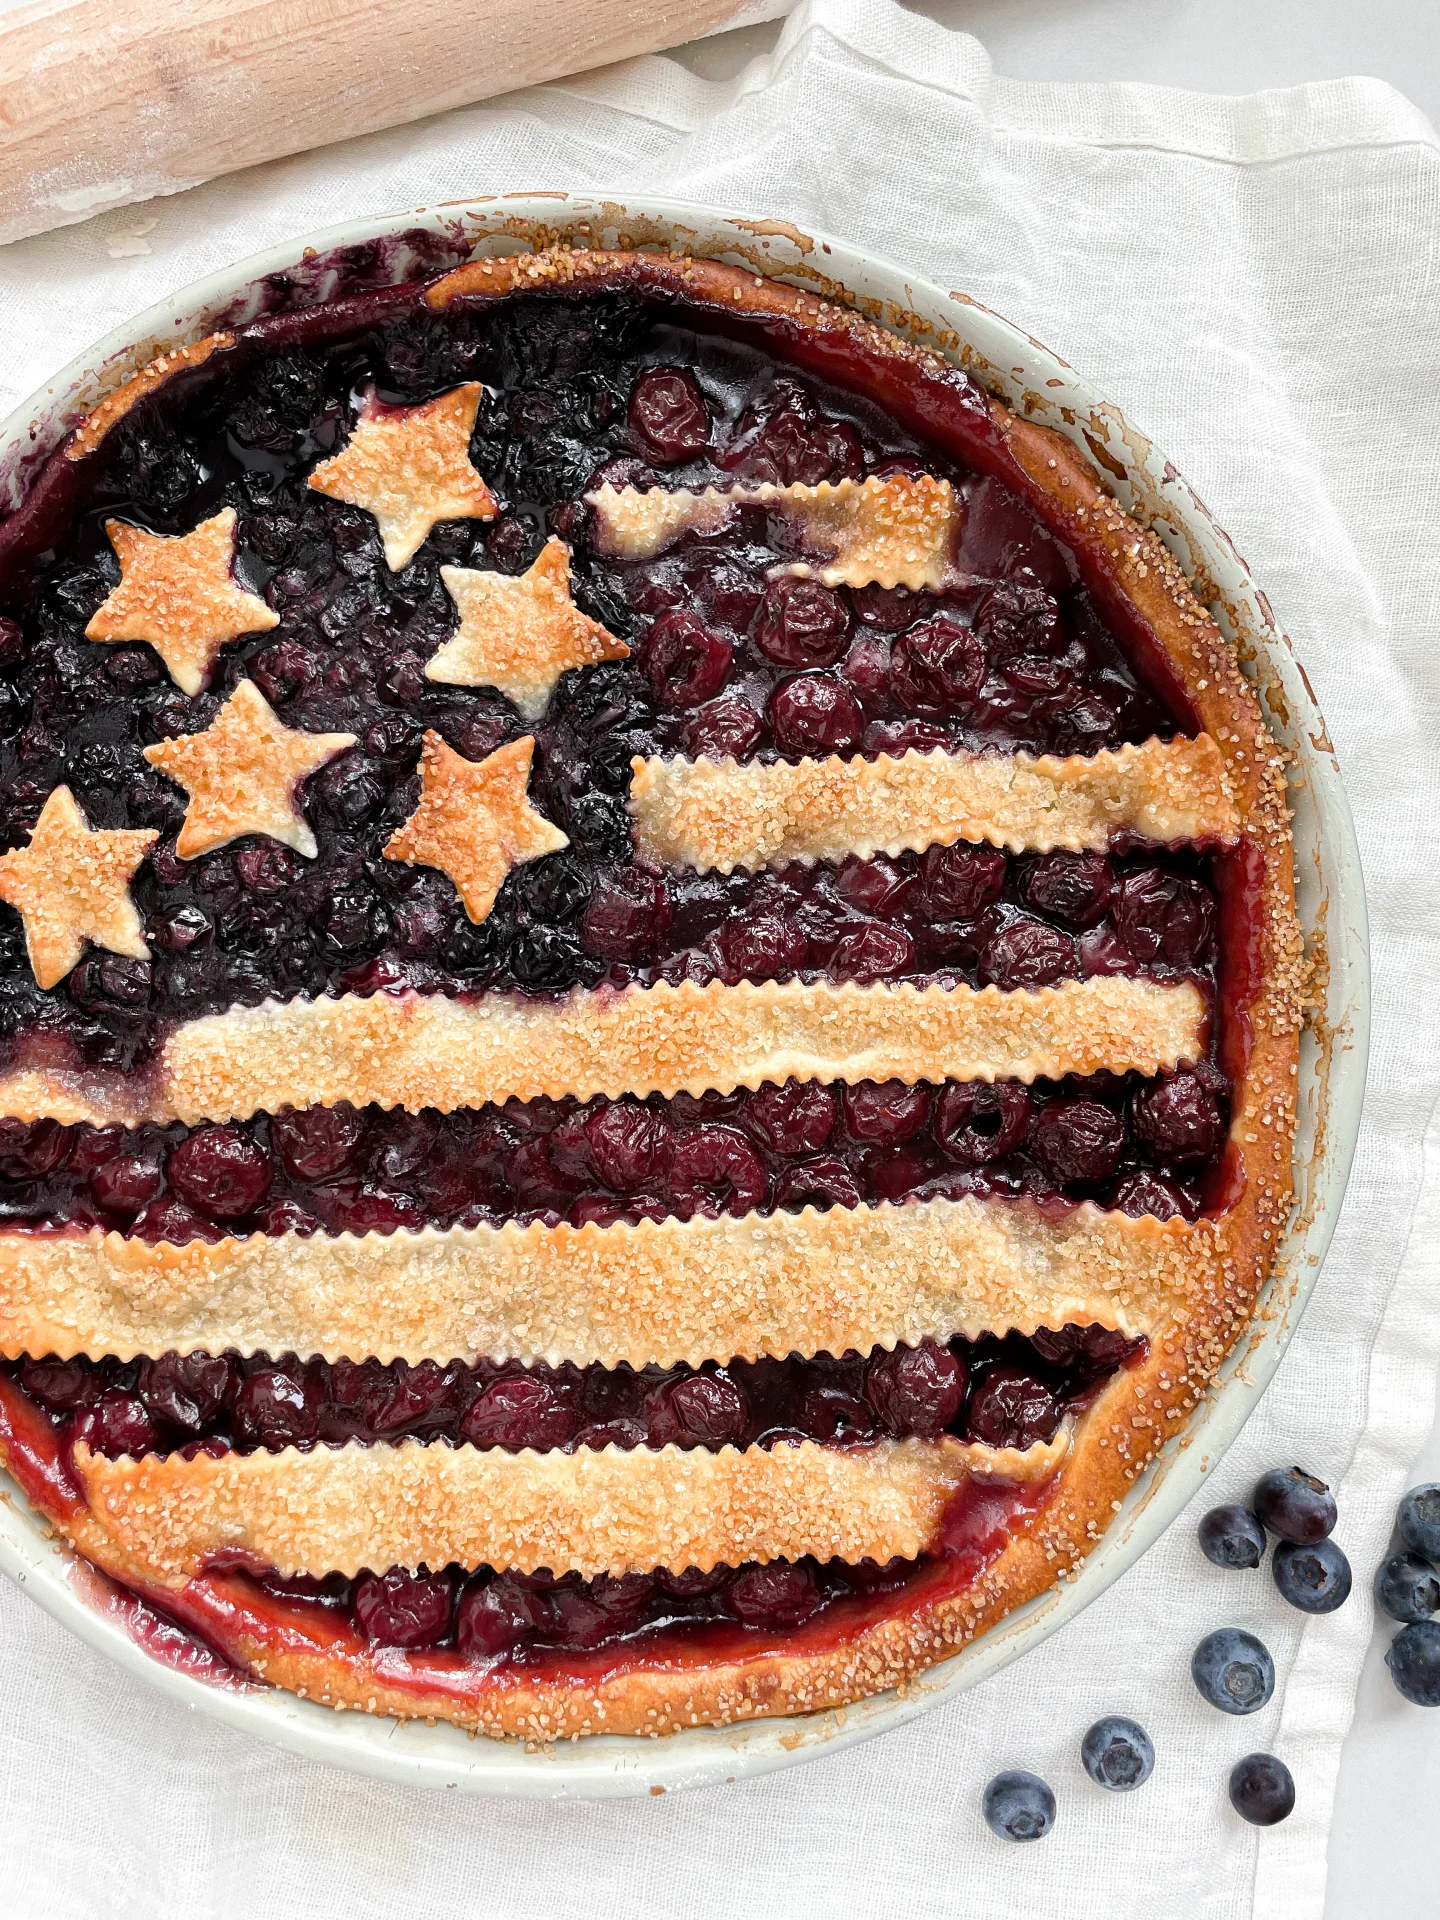
Diving into the 4th of July with a sweet tribute to America! This patriotic cherry and blueberry pie captures the festive spirit in every delicious, colorful slice.

This website uses affiliate links which may earn commission for purchases made at no additional cost to you.

TOTAL TIME

4 hrs + 45 min

SERVES

8 pieces

DIET

vegan

EVERY RECIPE DESERVES

A Little Love Letter

Nothing screams 4th of July like an American Flag Pie! This vibrant cherry and blueberry pie isn’t just a treat for your taste buds—it’s a festive homage to the USA, perfect for any patriotic celebration.

Best served chilled or at room temperature, this pie stands out at your holiday table. Top it off with a scoop of vanilla ice cream or a drizzle of fresh cream to complement the tangy berries. Gather around for fireworks and a slice of Americana!

Keep any leftover pie covered in the refrigerator. It stays fresh and tasty for up to three days, ensuring you can enjoy the flavors of the holiday a little longer.

Hi, I'm Kimberly!

Hi, I'm Kimberly.

A hopeless romantic when it comes to food. Every recipe I share is a love letter to food itself. I’m so glad you’re here. Make yourself at home and stay a while.

Love,
Kimberly

Kimberly the Zett Signature

If you want to get to know me better,
click here!


American Flag Pie
American Flag Pie
American Flag Pie
American Flag Pie

LET’S MAKE A PIECE OF HAPPINESS

Print
clock clock iconcutlery cutlery iconflag flag iconfolder folder iconinstagram instagram iconpinterest pinterest iconfacebook facebook iconprint print iconsquares squares iconheart heart iconheart solid heart solid icon
American Flag Pie

American Flag Pie


5 Stars 4 Stars 3 Stars 2 Stars 1 Star

No reviews

  • Author: Kimberly
  • Total Time: 4 hrs + 45 min
  • Yield: 8-10 pieces 1x

Description

GOOD TO HAVE ON HAND

  • 2 medium-sized bowls
  • plastic wrap
  • medium-sized pot
  • strainer + small bowl
  • whisk
  • oven
  • rolling pin
  • pie dish (28 cm / 11″)
  • sharp knife
  • star-shaped cutter
  • aluminum foil
  • pastry brush


Ingredients

Units Scale
PIE CRUST
  • 350 grams all-purpose flour
  • 50 grams white sugar
  • 130 grams unsalted butter, cold
  • 120 milliliters buttermilk, cold
  • pinch of salt
CHERRY FILLING
  • 700 grams morello cherries
  • 100 grams white sugar
  • 30 grams cornstarch
  • 1 tbsp butter
  • pinch of salt
BLUEBERRY FILLING
  • 250 grams blueberries
  • 50 grams white sugar
  • 1 tbsp cornstarch
  • 1 tbsp lemon juice
TOPPING
  • 1 tbsp full-fat milk
  • 1 tbsp brown sugar

Instructions

  1. Start by preparing the dough in a medium-sized bowl. Mix flour, sugar, and salt together. Then add cold butter, cut into small pieces, and crumble everything by hand until the butter is flaky. Add all the buttermilk and mix by hand until you have a somehow crumbly but firm dough. Wrap the dough in plastic wrap and chill it in the fridge for 30 minutes.
  2. Meanwhile, make the cherry filling in a medium-sized pot. Mix sugar, cornstarch, and salt together. Drain the cherries using a strainer, saving 1/2 cup of the juice, and add it to the pot. Cook over medium heat, letting it simmer until the mixture becomes creamy and the cloudiness disappears. Then add the cherries and a tablespoon of butter. Stir until the butter has melted. Set aside to cool.
  3. Next, prepare the blueberry filling. Wash the blueberries and place them in a medium-sized bowl. Add lemon juice, sugar, and cornstarch and mix well until all the blueberries are well coated.
  4. Preheat the oven to 215°C / 420°F and place the rack on the lowest shelf.
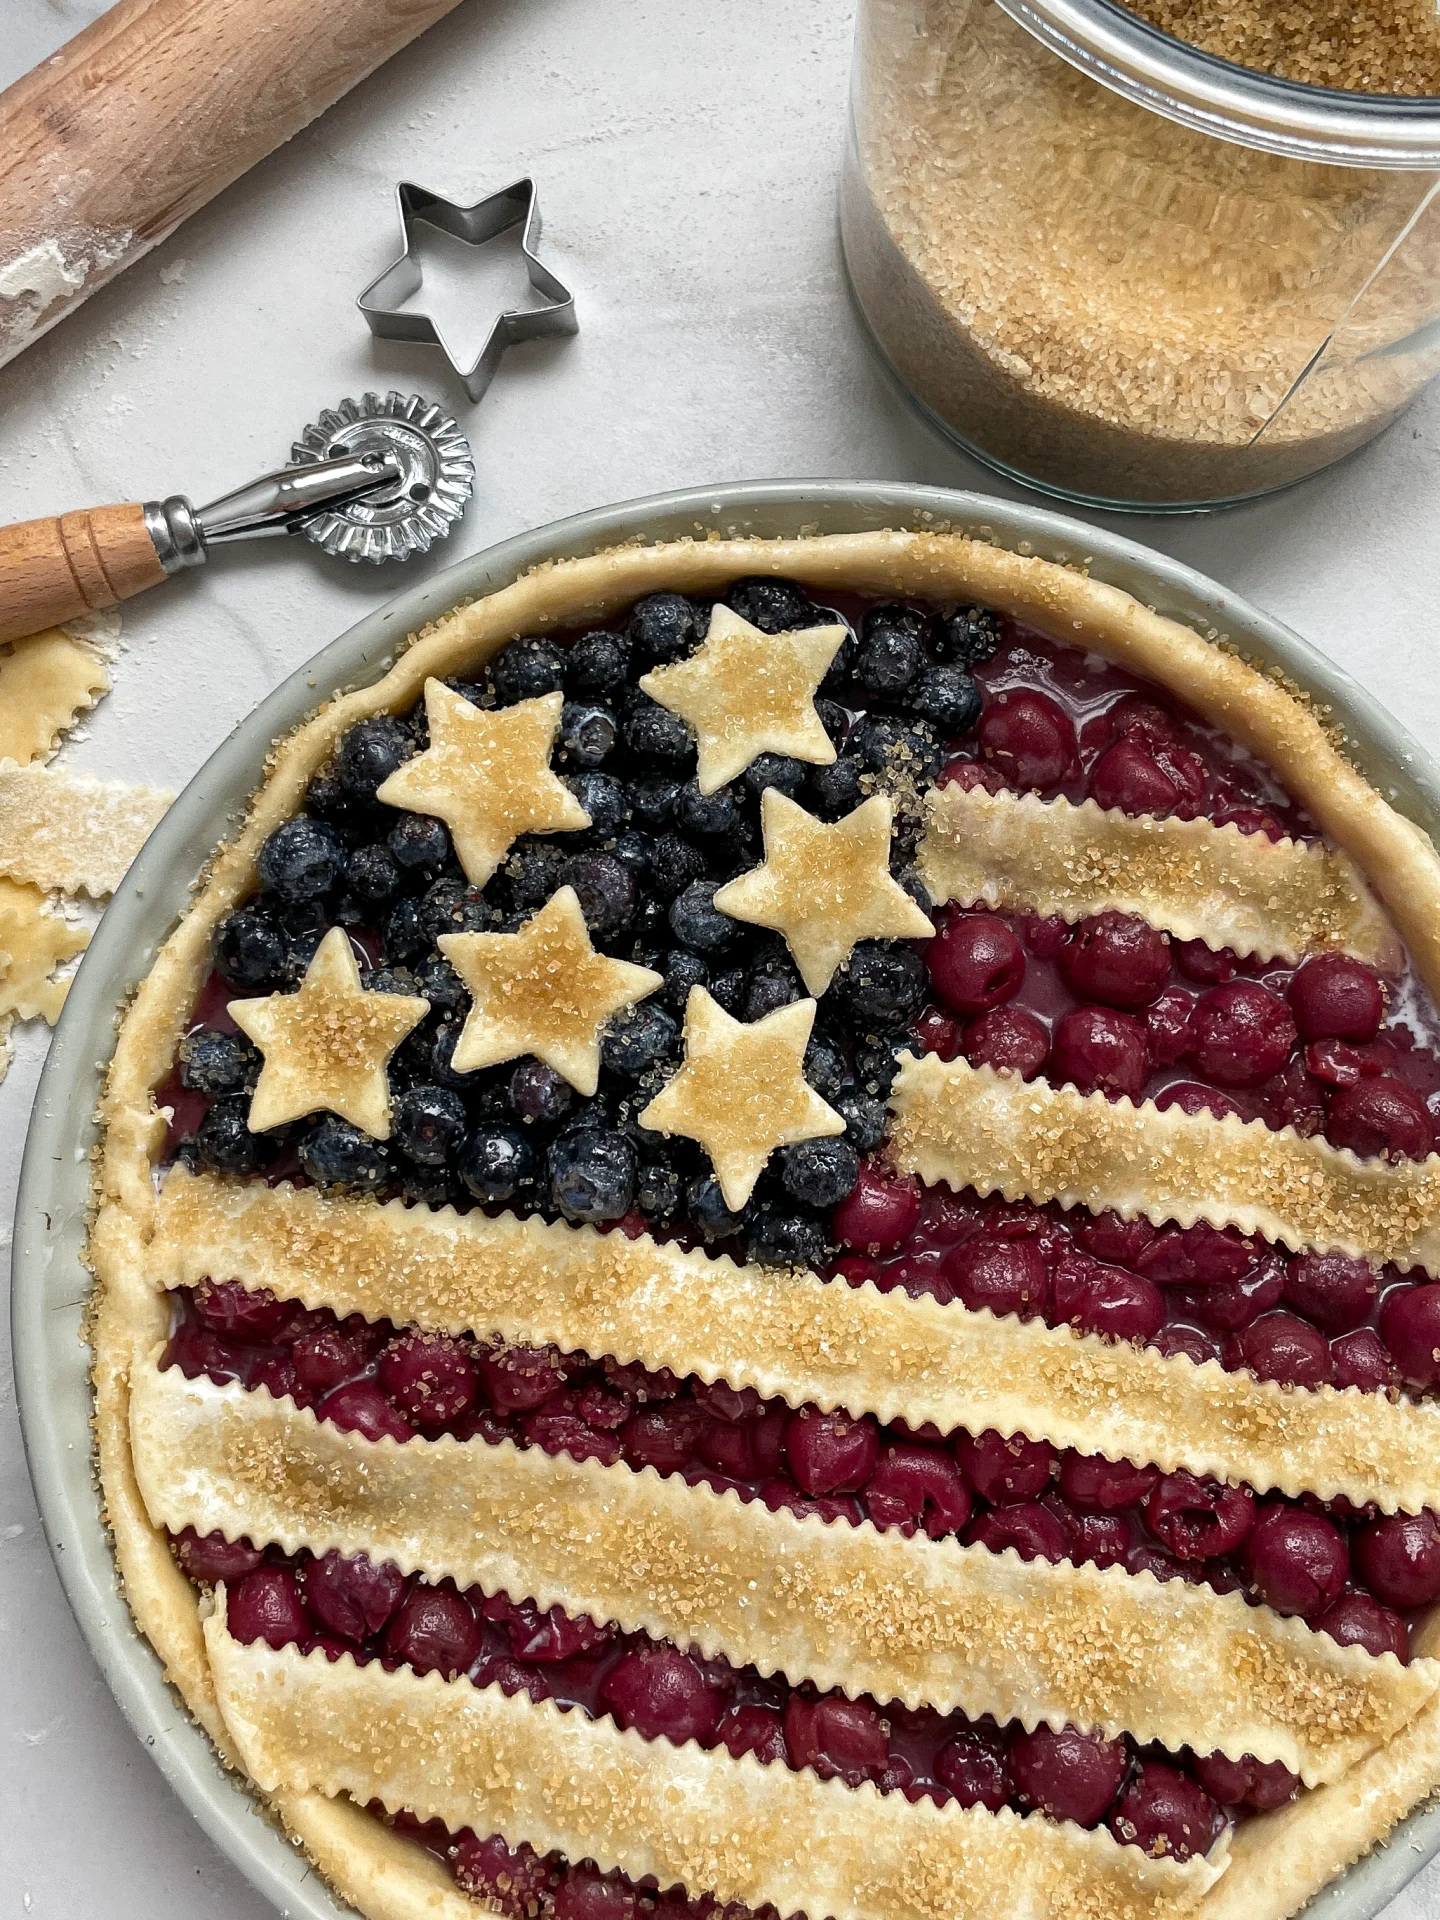
  5. Take the dough out of the fridge and shape it into a round ball. Place the dough on a heavily floured, clean work surface. Sprinkle more flour on the dough, then roll it out from the center using a rolling pin. The dough should be about 12 cm / 5″ larger in diameter than the pie dish. The dough itself should be 1cm / 1/3″ thick. Roll the dough around the rolling pin, then unroll it over the pie dish. Carefully fit the dough into the dish, then trim the excess edges. Tuck the edge inward to create a thicker top edge. From the remaining dough, cut out 4 long strips and 6 stars for the Stars & Stripes decoration. Set these aside.
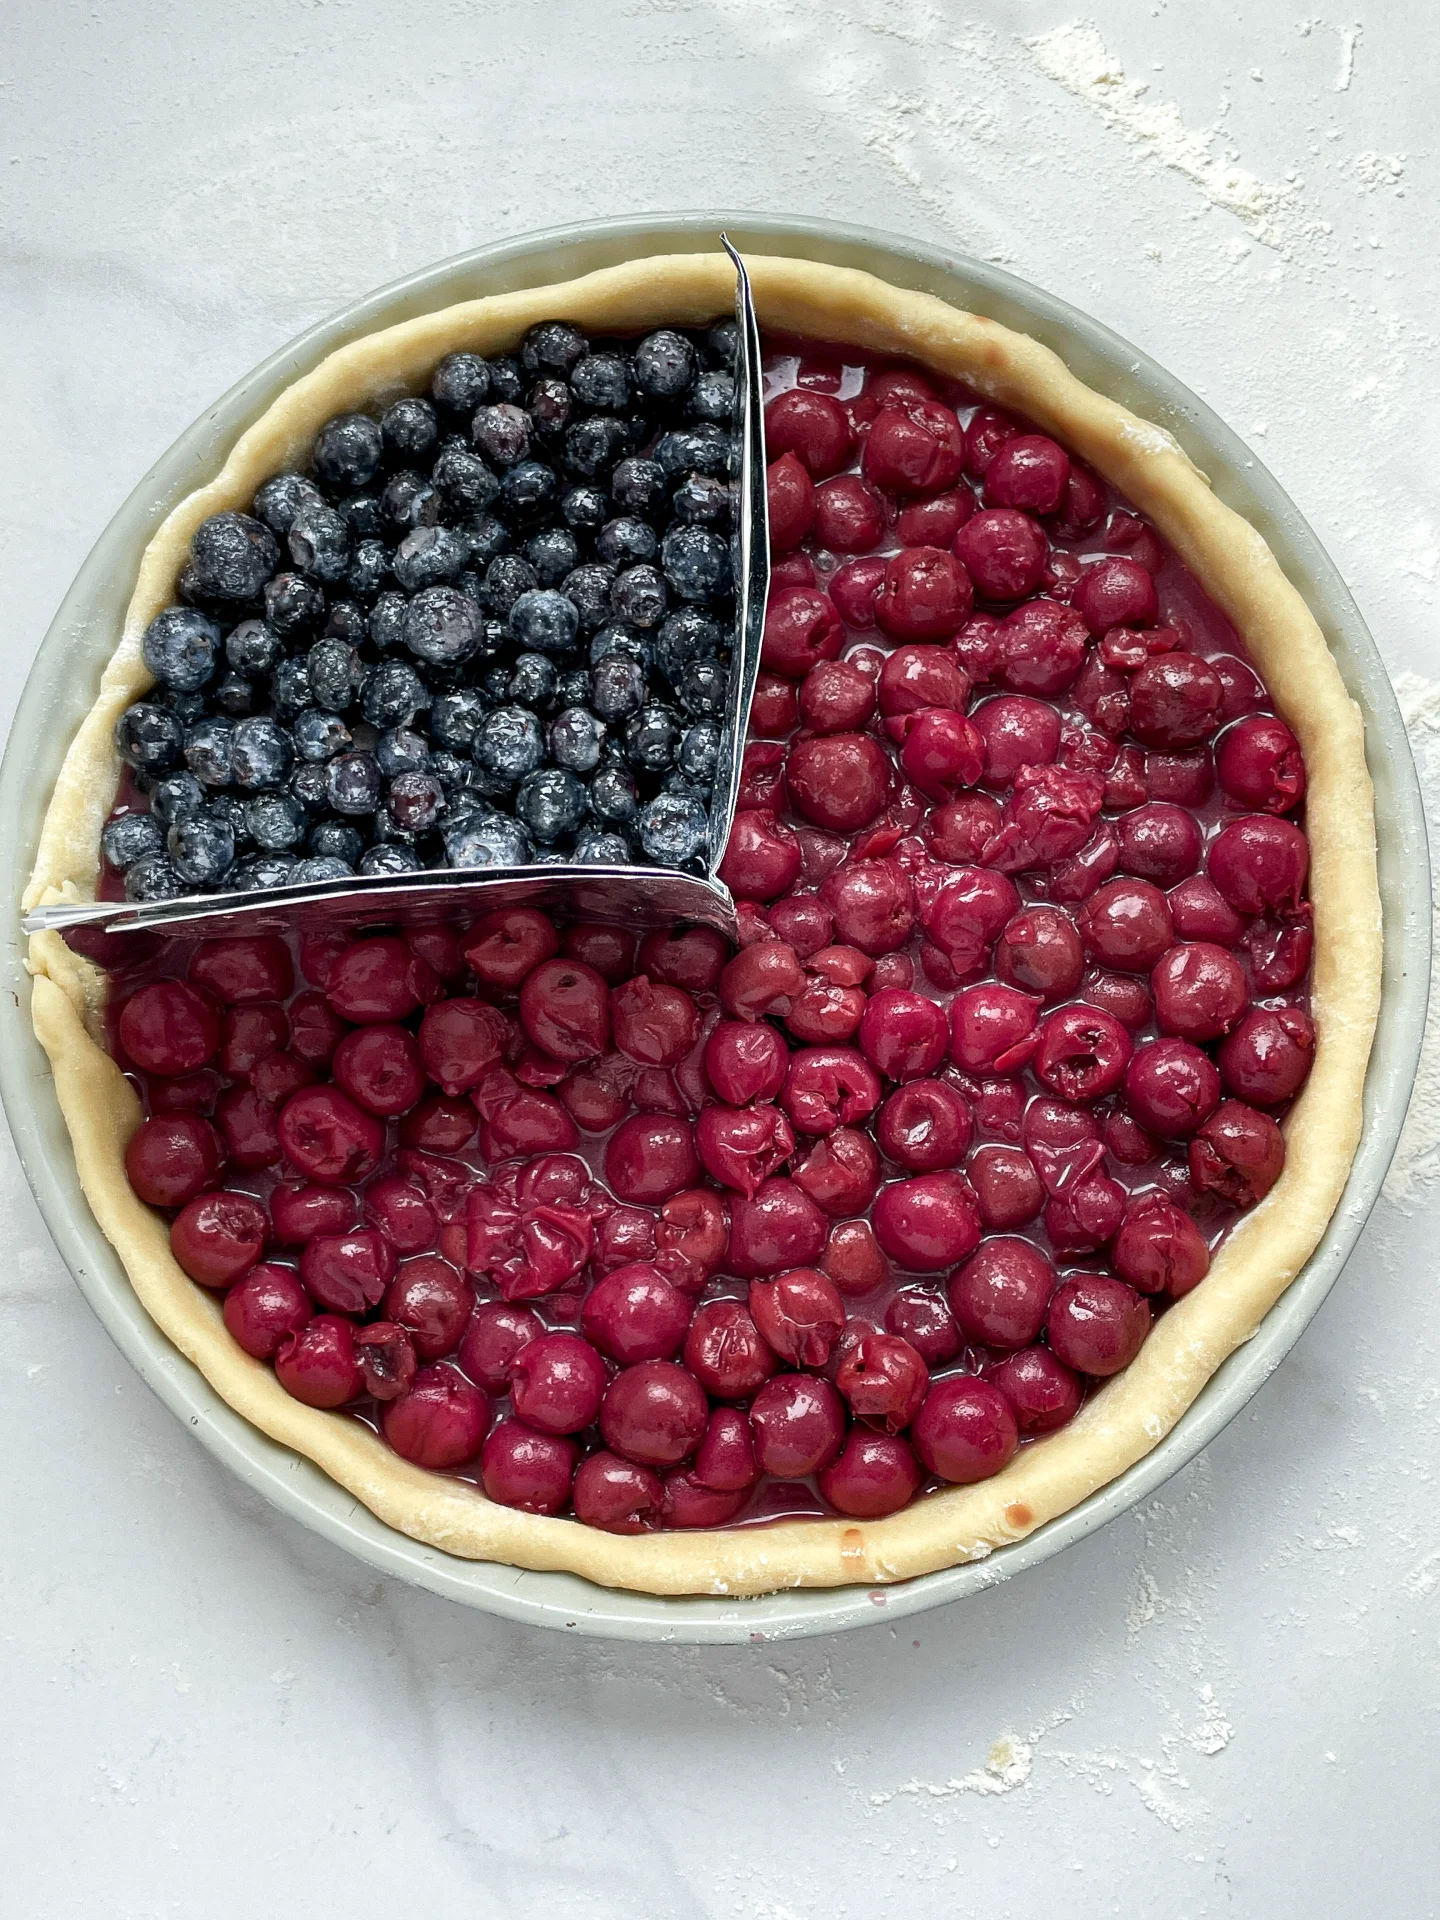
  6. Take a piece of aluminum foil, fold it lengthwise, and then shape it into a right angle so it fits into the upper left quarter of the pie dish, acting as a divider between the fillings. Fill the 1/4 area with the blueberry mixture and the 3/4 area with the cherry filling. Remove and discard the foil.
  7. Distribute the cut-out stars over the blueberry filling and arrange the strips over the cherry filling. Trim the strips at the edges and fold them in. Brush the Stars & Stripes and the edges of the crust with a little milk and sprinkle with brown sugar.
  8. Bake the pie in the oven for 20 minutes. Then reduce the temperature to 175°C / 350°F and bake for another 25 minutes. Let the pie cool completely, which can take 3-4 hours as the filling sets upon cooling. Happy 4th of July!

Notes

The calorie information may vary depending on the product used, country and region.

  • Prep Time: 60 min
  • Passive Time: 3 hrs
  • Cook Time: 45 min
CRAVING MORE?

Follow along here & don’t forget to subscribe to my substack!

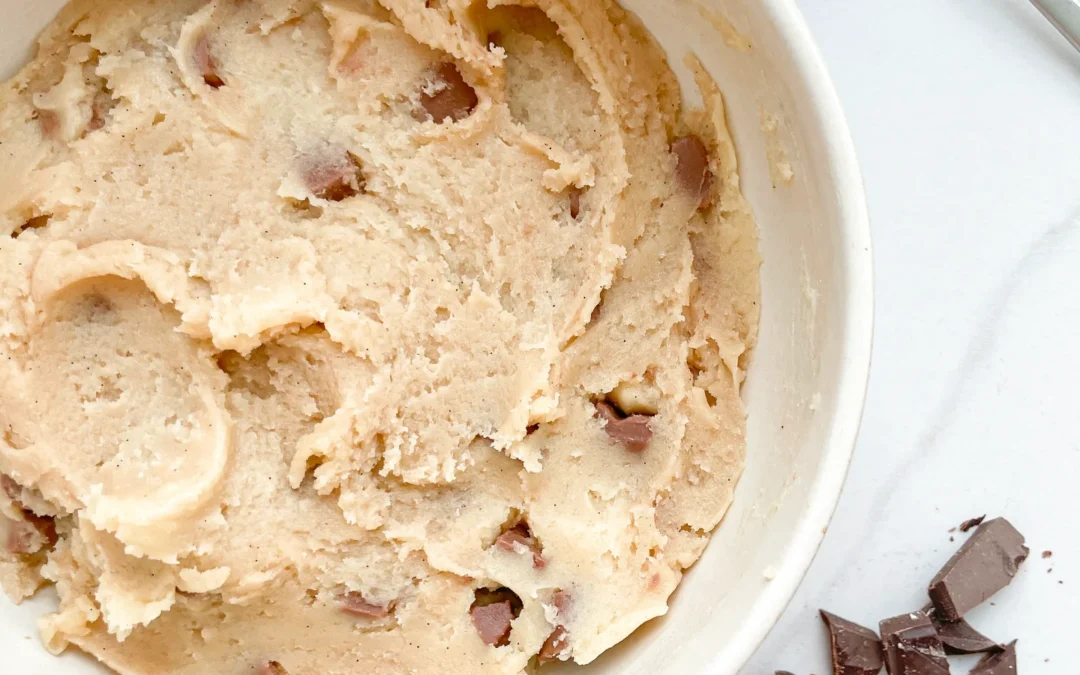
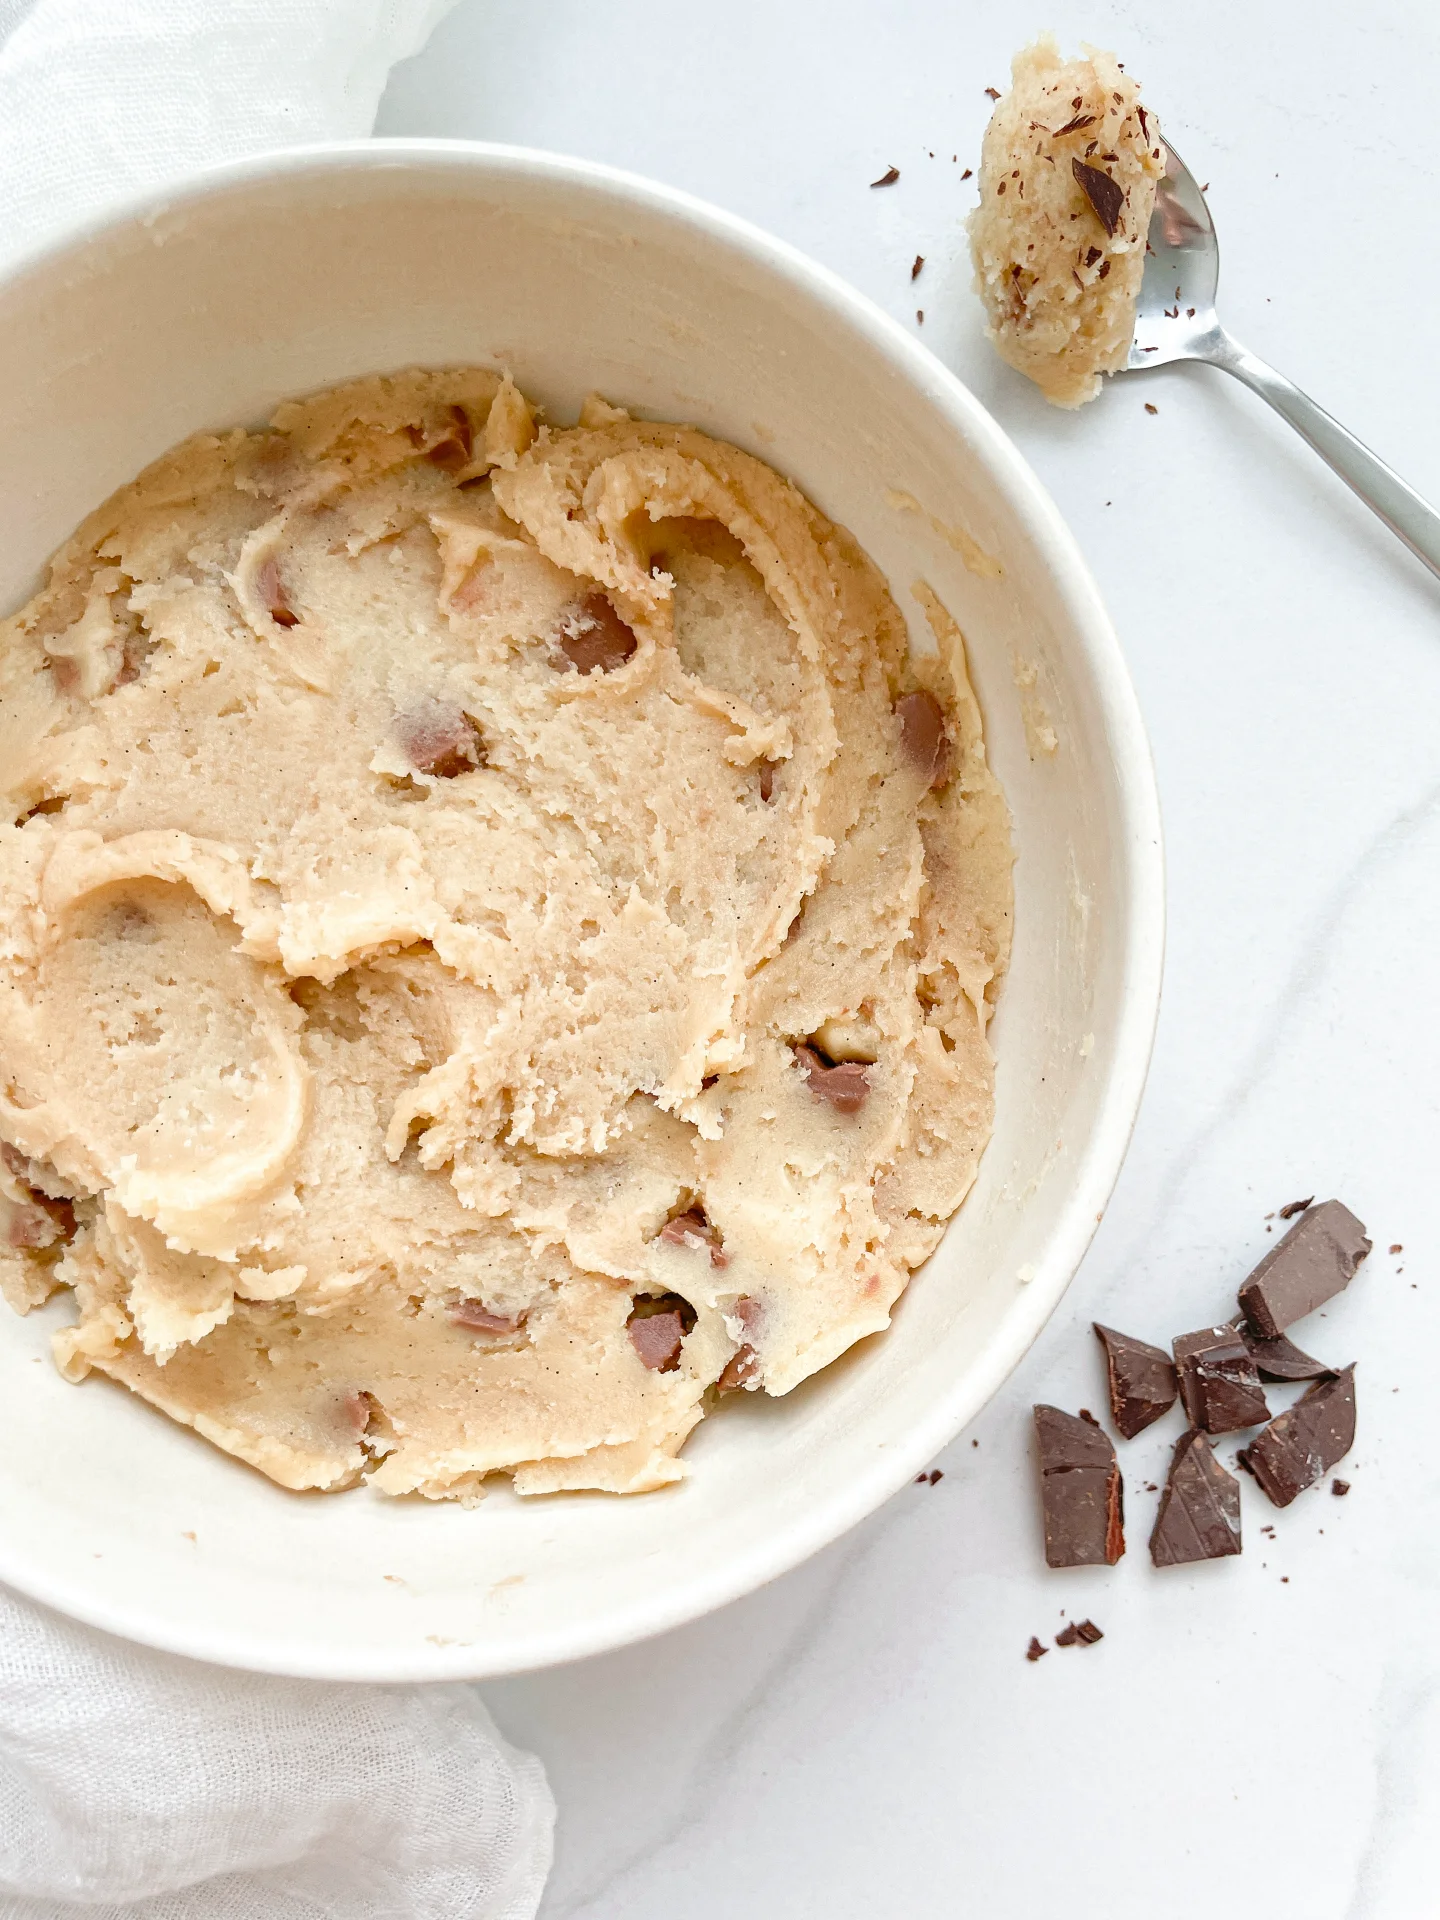
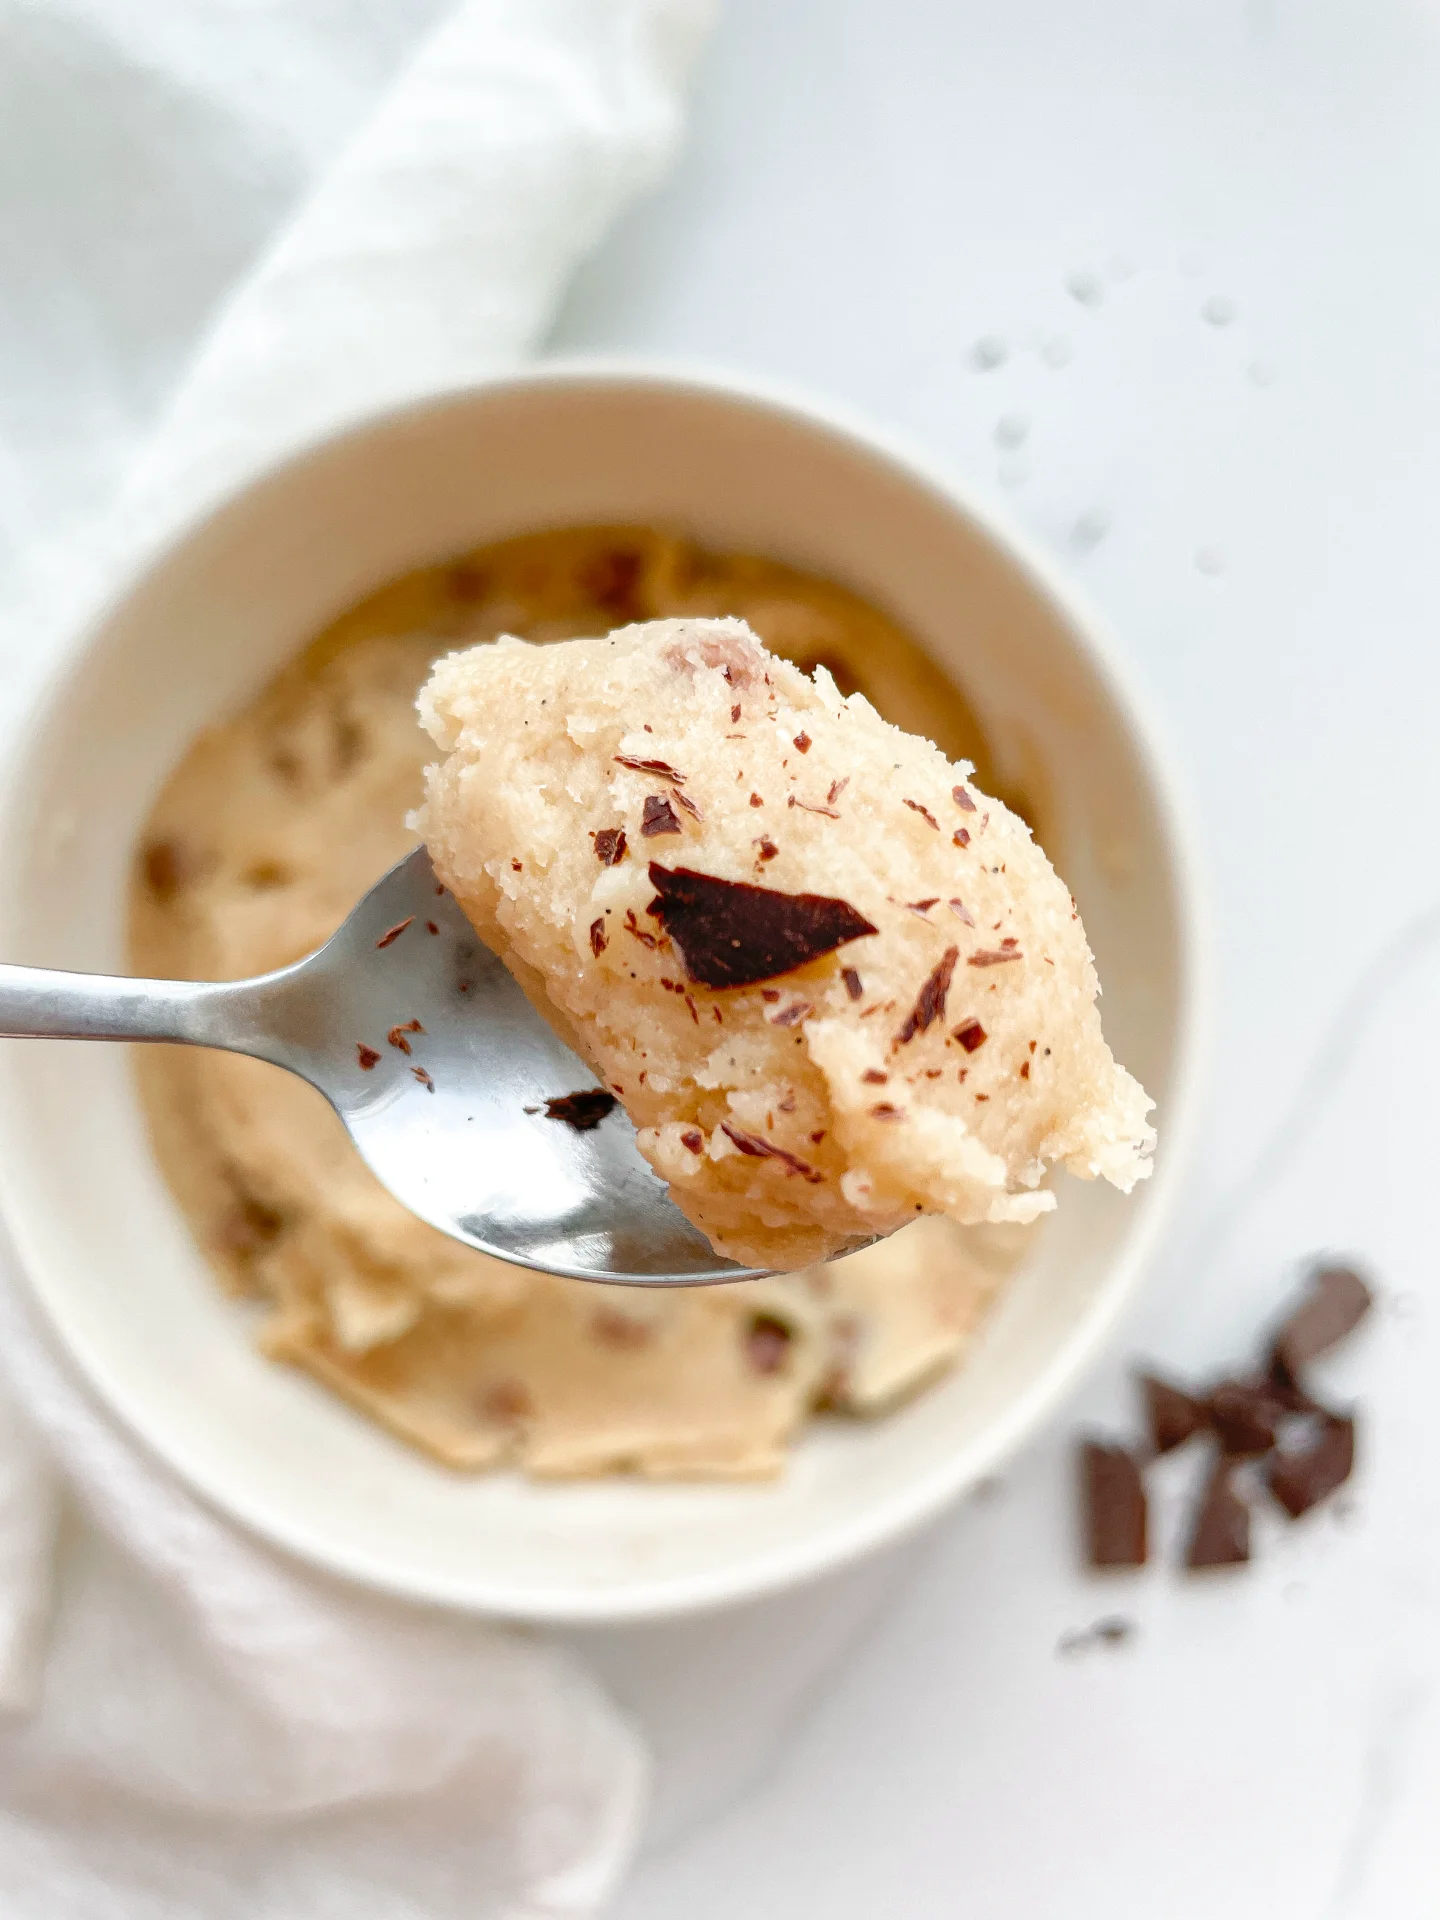
Chocolate Chip Cookie Dough

Chocolate Chip Cookie Dough

Chocolate Chip Cookie Dough

Chocolate Chip Cookie Dough

May 18, 2024 by Kimberly

Obsessed with cookie dough? This easy, edible chocolate chip version is your new go-to treat! Safe to eat and super delicious – perfect for any sweet craving!

This website uses affiliate links which may earn commission for purchases made at no additional cost to you.

TOTAL TIME

5 min
SERVES

4 portions

DIET

vegetarian

EVERY RECIPE DESERVES

A Little Love Letter

This edible chocolate chip cookie dough is a game-changer! It’s safe to eat, incredibly easy to make, and ridiculously tasty. Whether you’re snacking straight from the bowl or adding it to your favorite desserts, this no-bake cookie dough will quickly become your new favorite treat. Ready to dive in? Let’s whip up this sweet, satisfying delight!

Enjoy it straight from the bowl with a spoon, or roll it into bite-sized balls for a fun, shareable treat. For an extra indulgent experience, pair it with ice cream or spread it on a warm brownie. You can even use it as a topping for your favorite desserts, like cupcakes or cheesecakes, to add a delightful cookie dough twist.

Store your edible chocolate chip cookie dough in an airtight container in the refrigerator for up to a week. For longer storage, freeze it for up to three months. Simply thaw in the fridge before enjoying your sweet, ready-to-eat treat.

Hi, I'm Kimberly!

Hi, I'm Kimberly.

A hopeless romantic when it comes to food. Every recipe I share is a love letter to food itself. I’m so glad you’re here. Make yourself at home and stay a while.

Love,
Kimberly

Kimberly the Zett Signature

If you want to get to know me better,
click here!


Chocolate Chip Cookie Dough

LET’S MAKE A PIECE OF HAPPINESS

Print
clock clock iconcutlery cutlery iconflag flag iconfolder folder iconinstagram instagram iconpinterest pinterest iconfacebook facebook iconprint print iconsquares squares iconheart heart iconheart solid heart solid icon
Chocolate Chip Cookie Dough

Chocolate Chip Cookie Dough


  • Author: Kimberly
  • Total Time: 5 minutes
  • Yield: 4 1x
  • Diet: Vegetarian

Description

GOOD TO HAVE ON HAND

  • two small bowls
  • spoon
  • microwave or oven


Ingredients

Units Scale
  • 40 grams soft butter
  • 40 grams white sugar
  • 1/4 tsp vanilla extract
  • pinch of salt
  • 75 grams all-purpose flour
  • 2 tbsp milk
  • 35 grams semi-sweet chocolate

Instructions

  1. Microwave the flour in one of the bowls on high for 45 seconds. The flour should reach about 75°C/165°F to kill any bacteria and make it safe to eat raw. If you don’t have a microwave, you can bake the flour in the oven at 170°C/338°F for about 10 minutes.
  2. Meanwhile, mix the softened butter, sugar, vanilla extract, and salt until creamy. Add the milk and mix again.
  3. Now, add the flour and mix everything into a cookie dough.
  4. Fold in the chocolate chips and either snack on it right away or chill the bowl in the fridge for 10-15 minutes for a firmer texture.

Notes

The calorie information may vary depending on the product used, country and region.

  • Cook Time: 5 min
  • Category: Dessert
  • Method: NO BAKE
  • Cuisine: US AMERICAN

CRAVING MORE?

Follow along here & don’t forget to subscribe to my substack!

Tuna Melt

Tuna Melt

Tuna Melt

Tuna Melt

April 29, 2024 by Kimberly

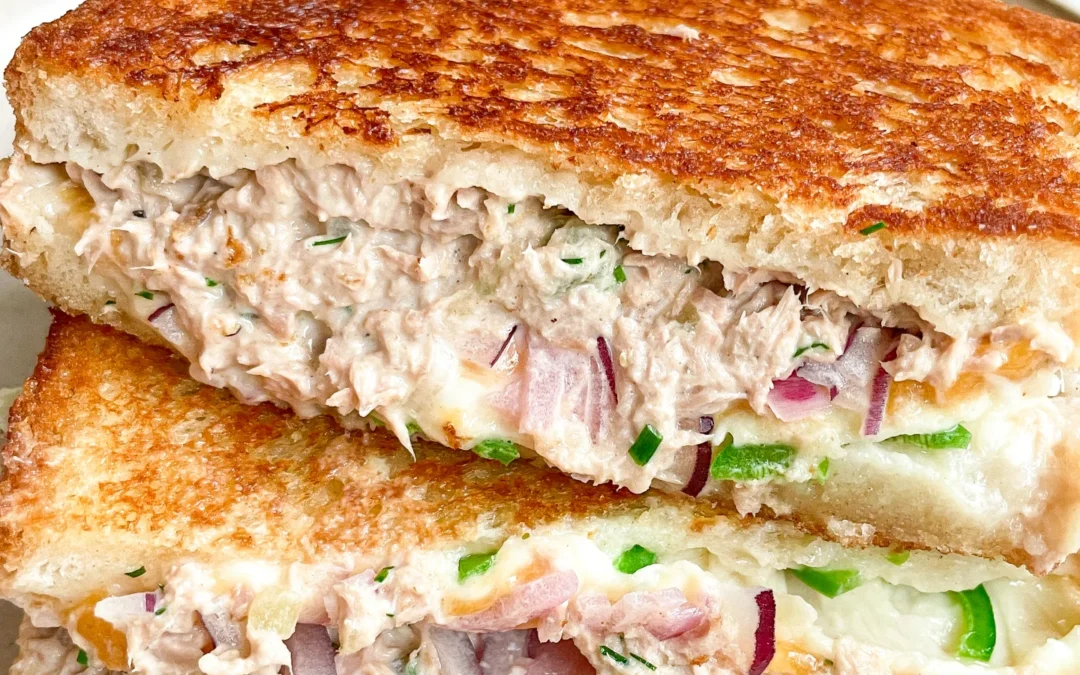
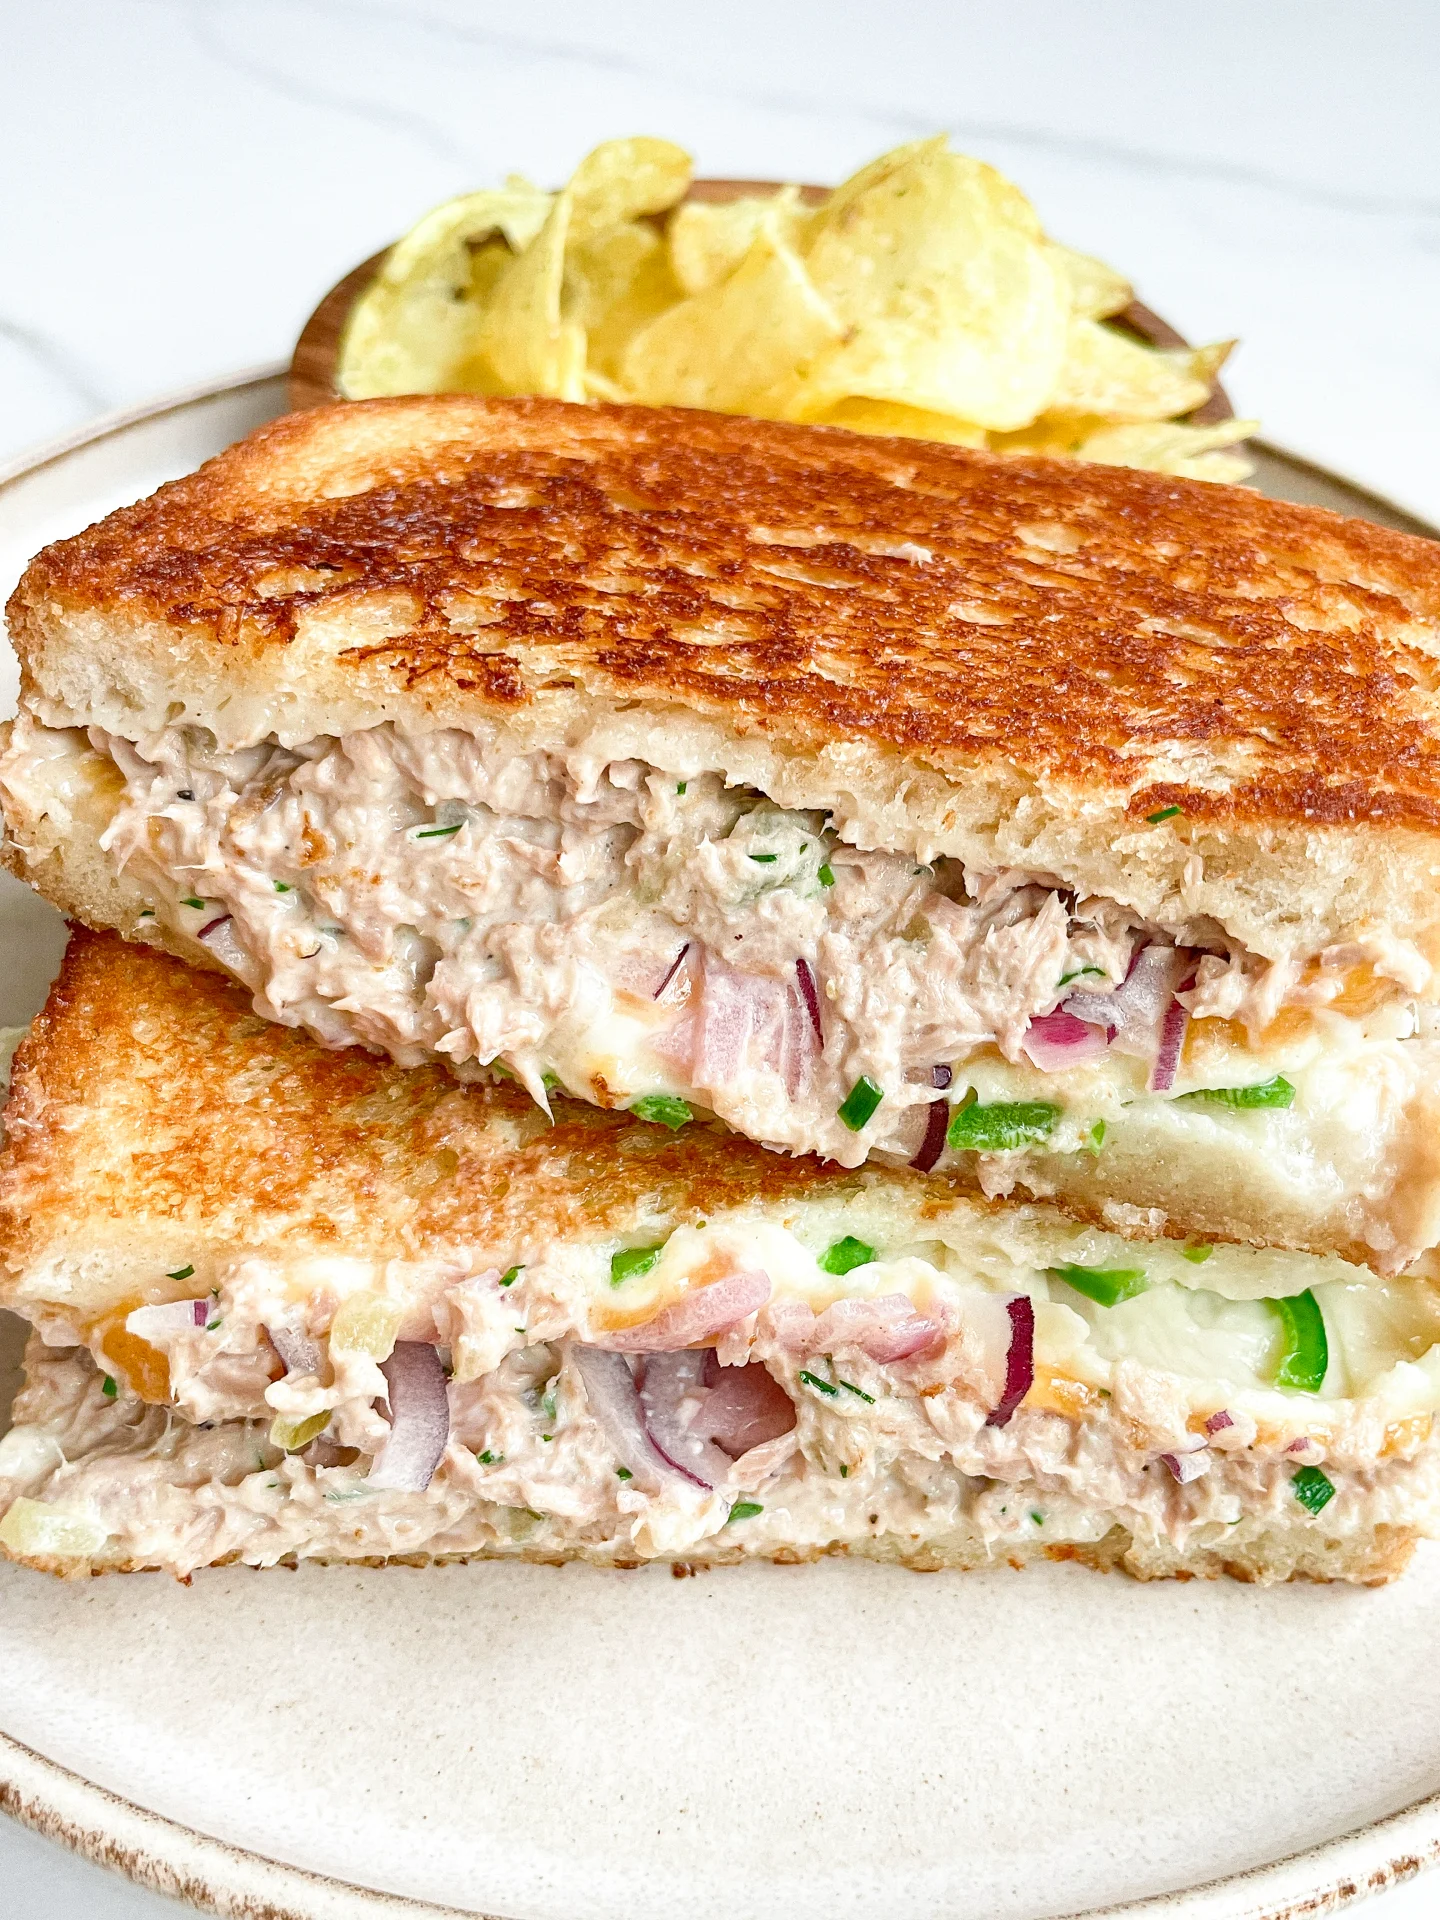
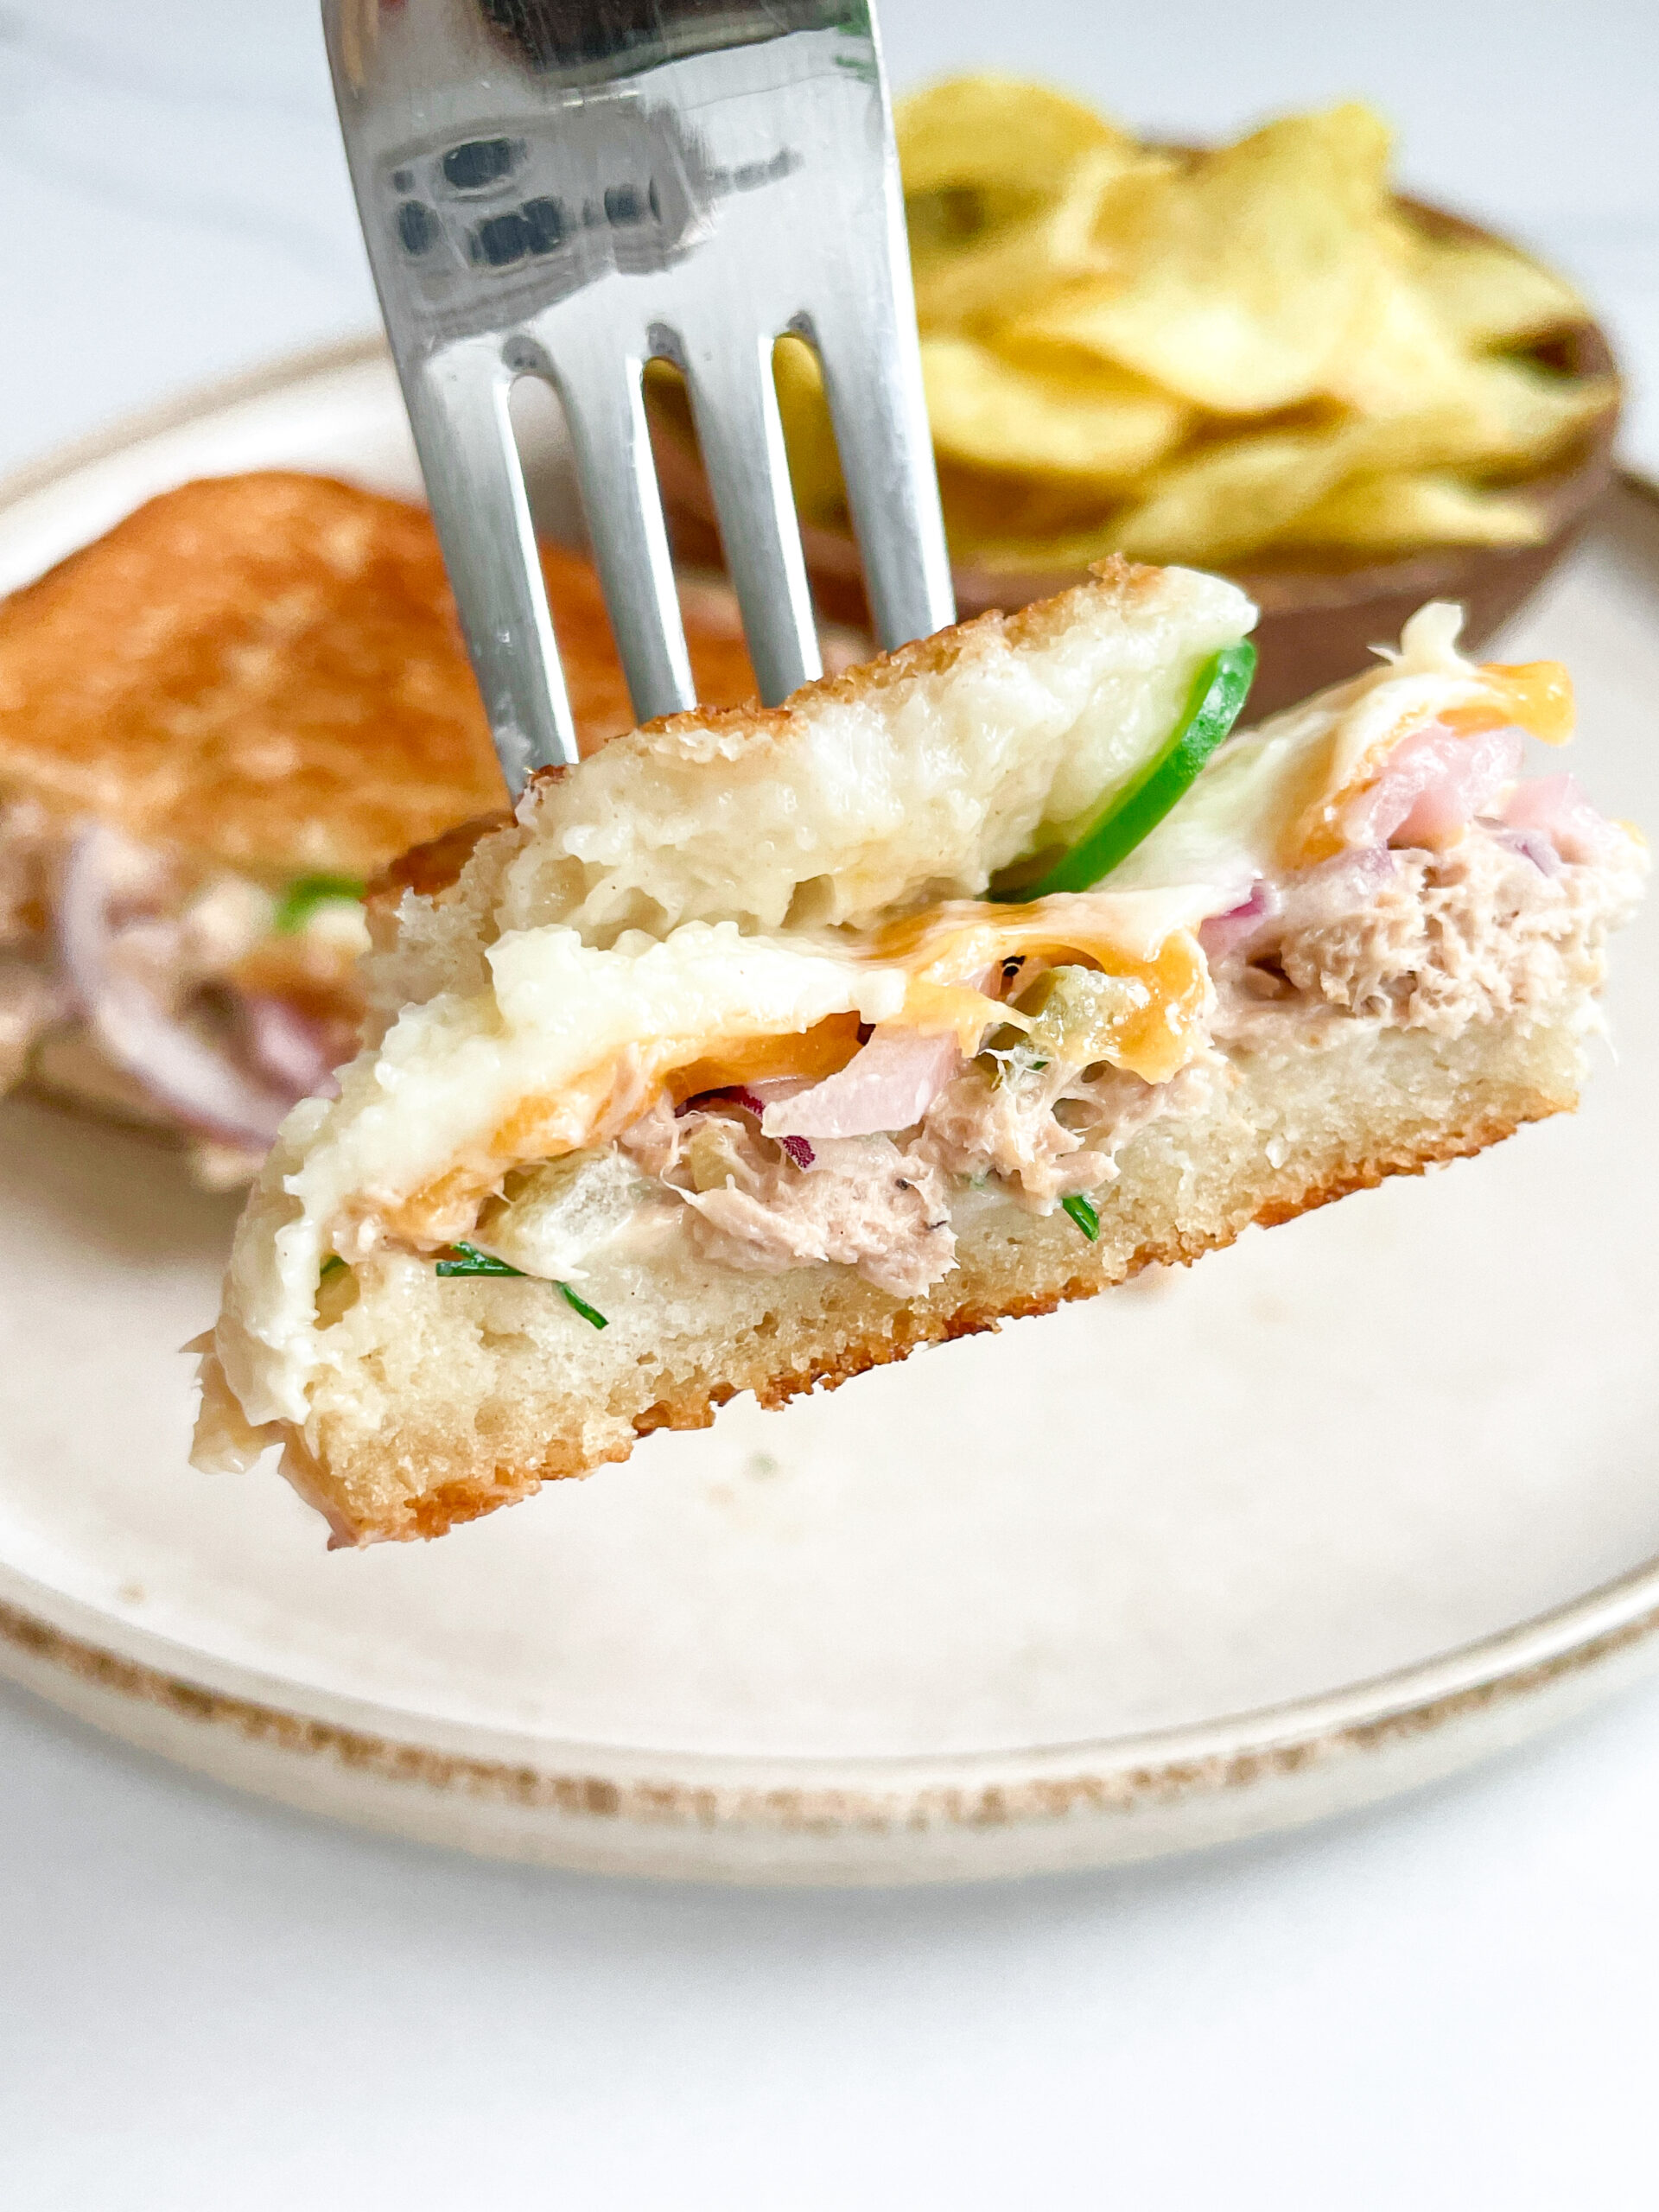
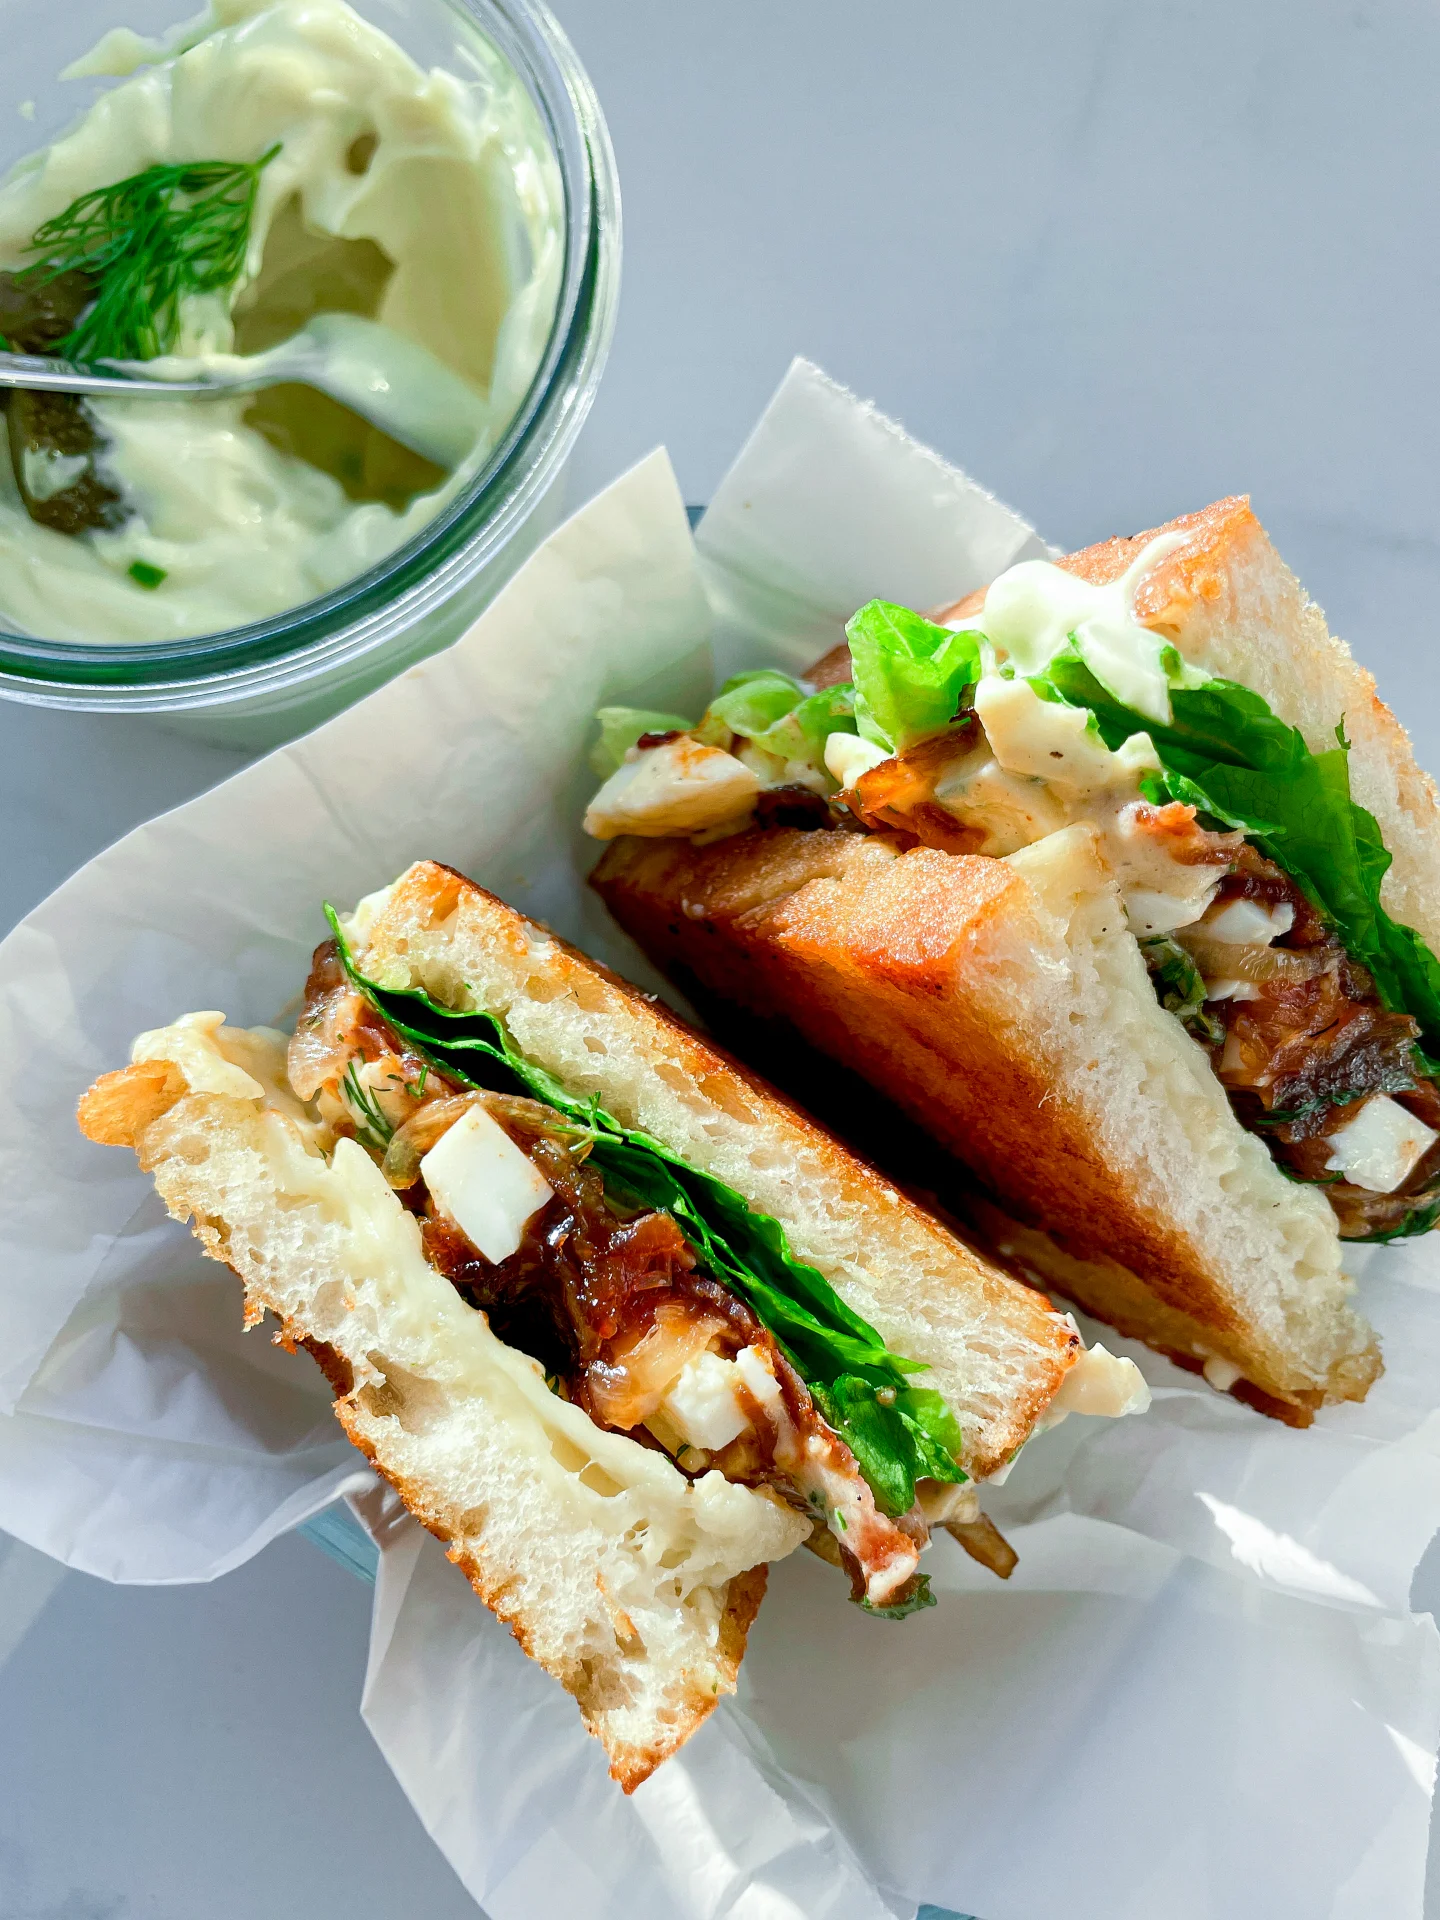
Experience the ultimate comfort with this tuna melt – crispy bread, creamy tuna salad, melted cheese, and a little heat combine for a mouthwatering lunch you can’t resist!

This website uses affiliate links which may earn commission for purchases made at no additional cost to you.

TOTAL TIME

20 min
SERVES

2 sandwiches

DIET

omnivore

EVERY RECIPE DESERVES

A Little Love Letter

Craving a quick and satisfying meal? Look no further than the classic Tuna Melt with a twist! It’s the perfect blend of creamy tuna, gooey melted cheese, and toasted bread – a true comfort food staple.

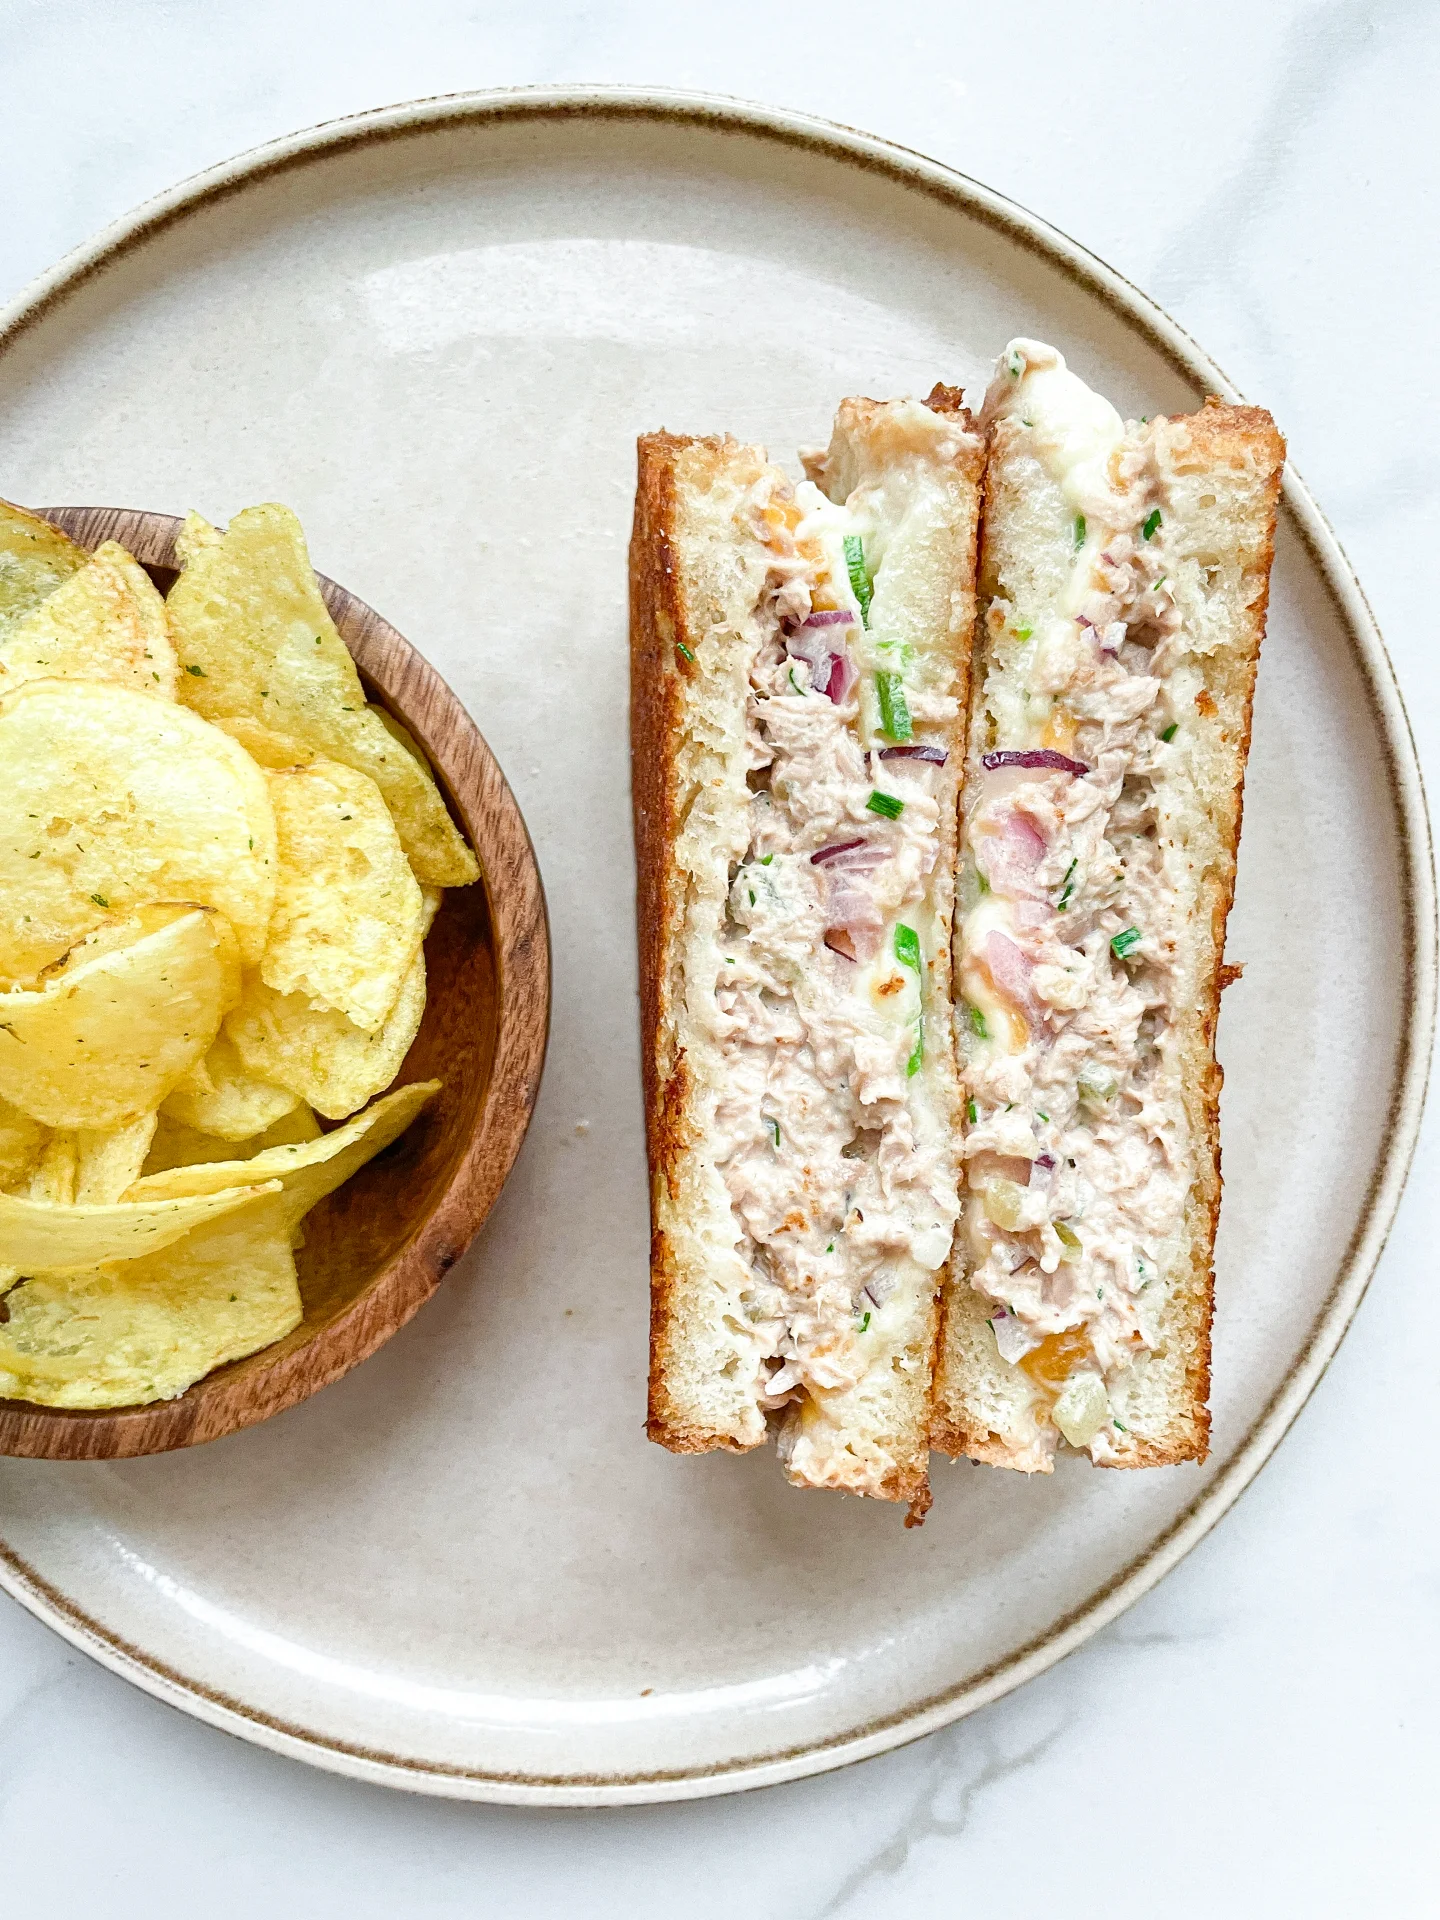
The best way to enjoy a Tuna Melt is freshly made and hot off the pan. Serve with a side of crispy potato chips or a light salad for a balanced meal. It’s ideal for a quick lunch or a casual dinner, guaranteed to please both kids and adults alike!

For best results, consume your Tuna Melt fresh. However, if you need to store it, keep the unassembled tuna salad in the refrigerator in an airtight container for up to two days, and assemble before reheating to maintain the best quality.
Hi, I'm Kimberly!

Hi, I'm Kimberly.

A hopeless romantic when it comes to food. Every recipe I share is a love letter to food itself. I’m so glad you’re here. Make yourself at home and stay a while.

Love,
Kimberly

Kimberly the Zett Signature

If you want to get to know me better,
click here!


Tuna Melt
Tuna Melt
Tuna Melt
Tuna Melt

LET’S MAKE A PIECE OF HAPPINESS

Print
clock clock iconcutlery cutlery iconflag flag iconfolder folder iconinstagram instagram iconpinterest pinterest iconfacebook facebook iconprint print iconsquares squares iconheart heart iconheart solid heart solid icon
Tuna Melt

Tuna Melt


  • Author: Kimberly
  • Total Time: 20 min
  • Yield: 2 sandwiches 1x

Description

RECOMMENDED EQUIPMENT

  • sharp knife
  • cutting board
  • medium-sized bowl
  • medium-sized frying pan
  • spatula

Ingredients

Units Scale
TUNA CREME
  • 150 grams canned tuna in water (drained)
  • 50 grams mayonnaise
  • 1 pickled cucumber
  • 1 tsp lemon juice
  • 1 garlic clove
  • 1/2 tsp dijon mustard
  • dill
  • chives
  • salt & pepper to taste
OTHER INGREDIENTS
  • 1/2 red onion
  • 4 slices bread of your choice
  • 2 slices cheddar cheese
  • 80 grams mozzarella cheese
  • 1 jalapeno
  • butter
  • Tabasco (optional)

Instructions

PREPARATIONS

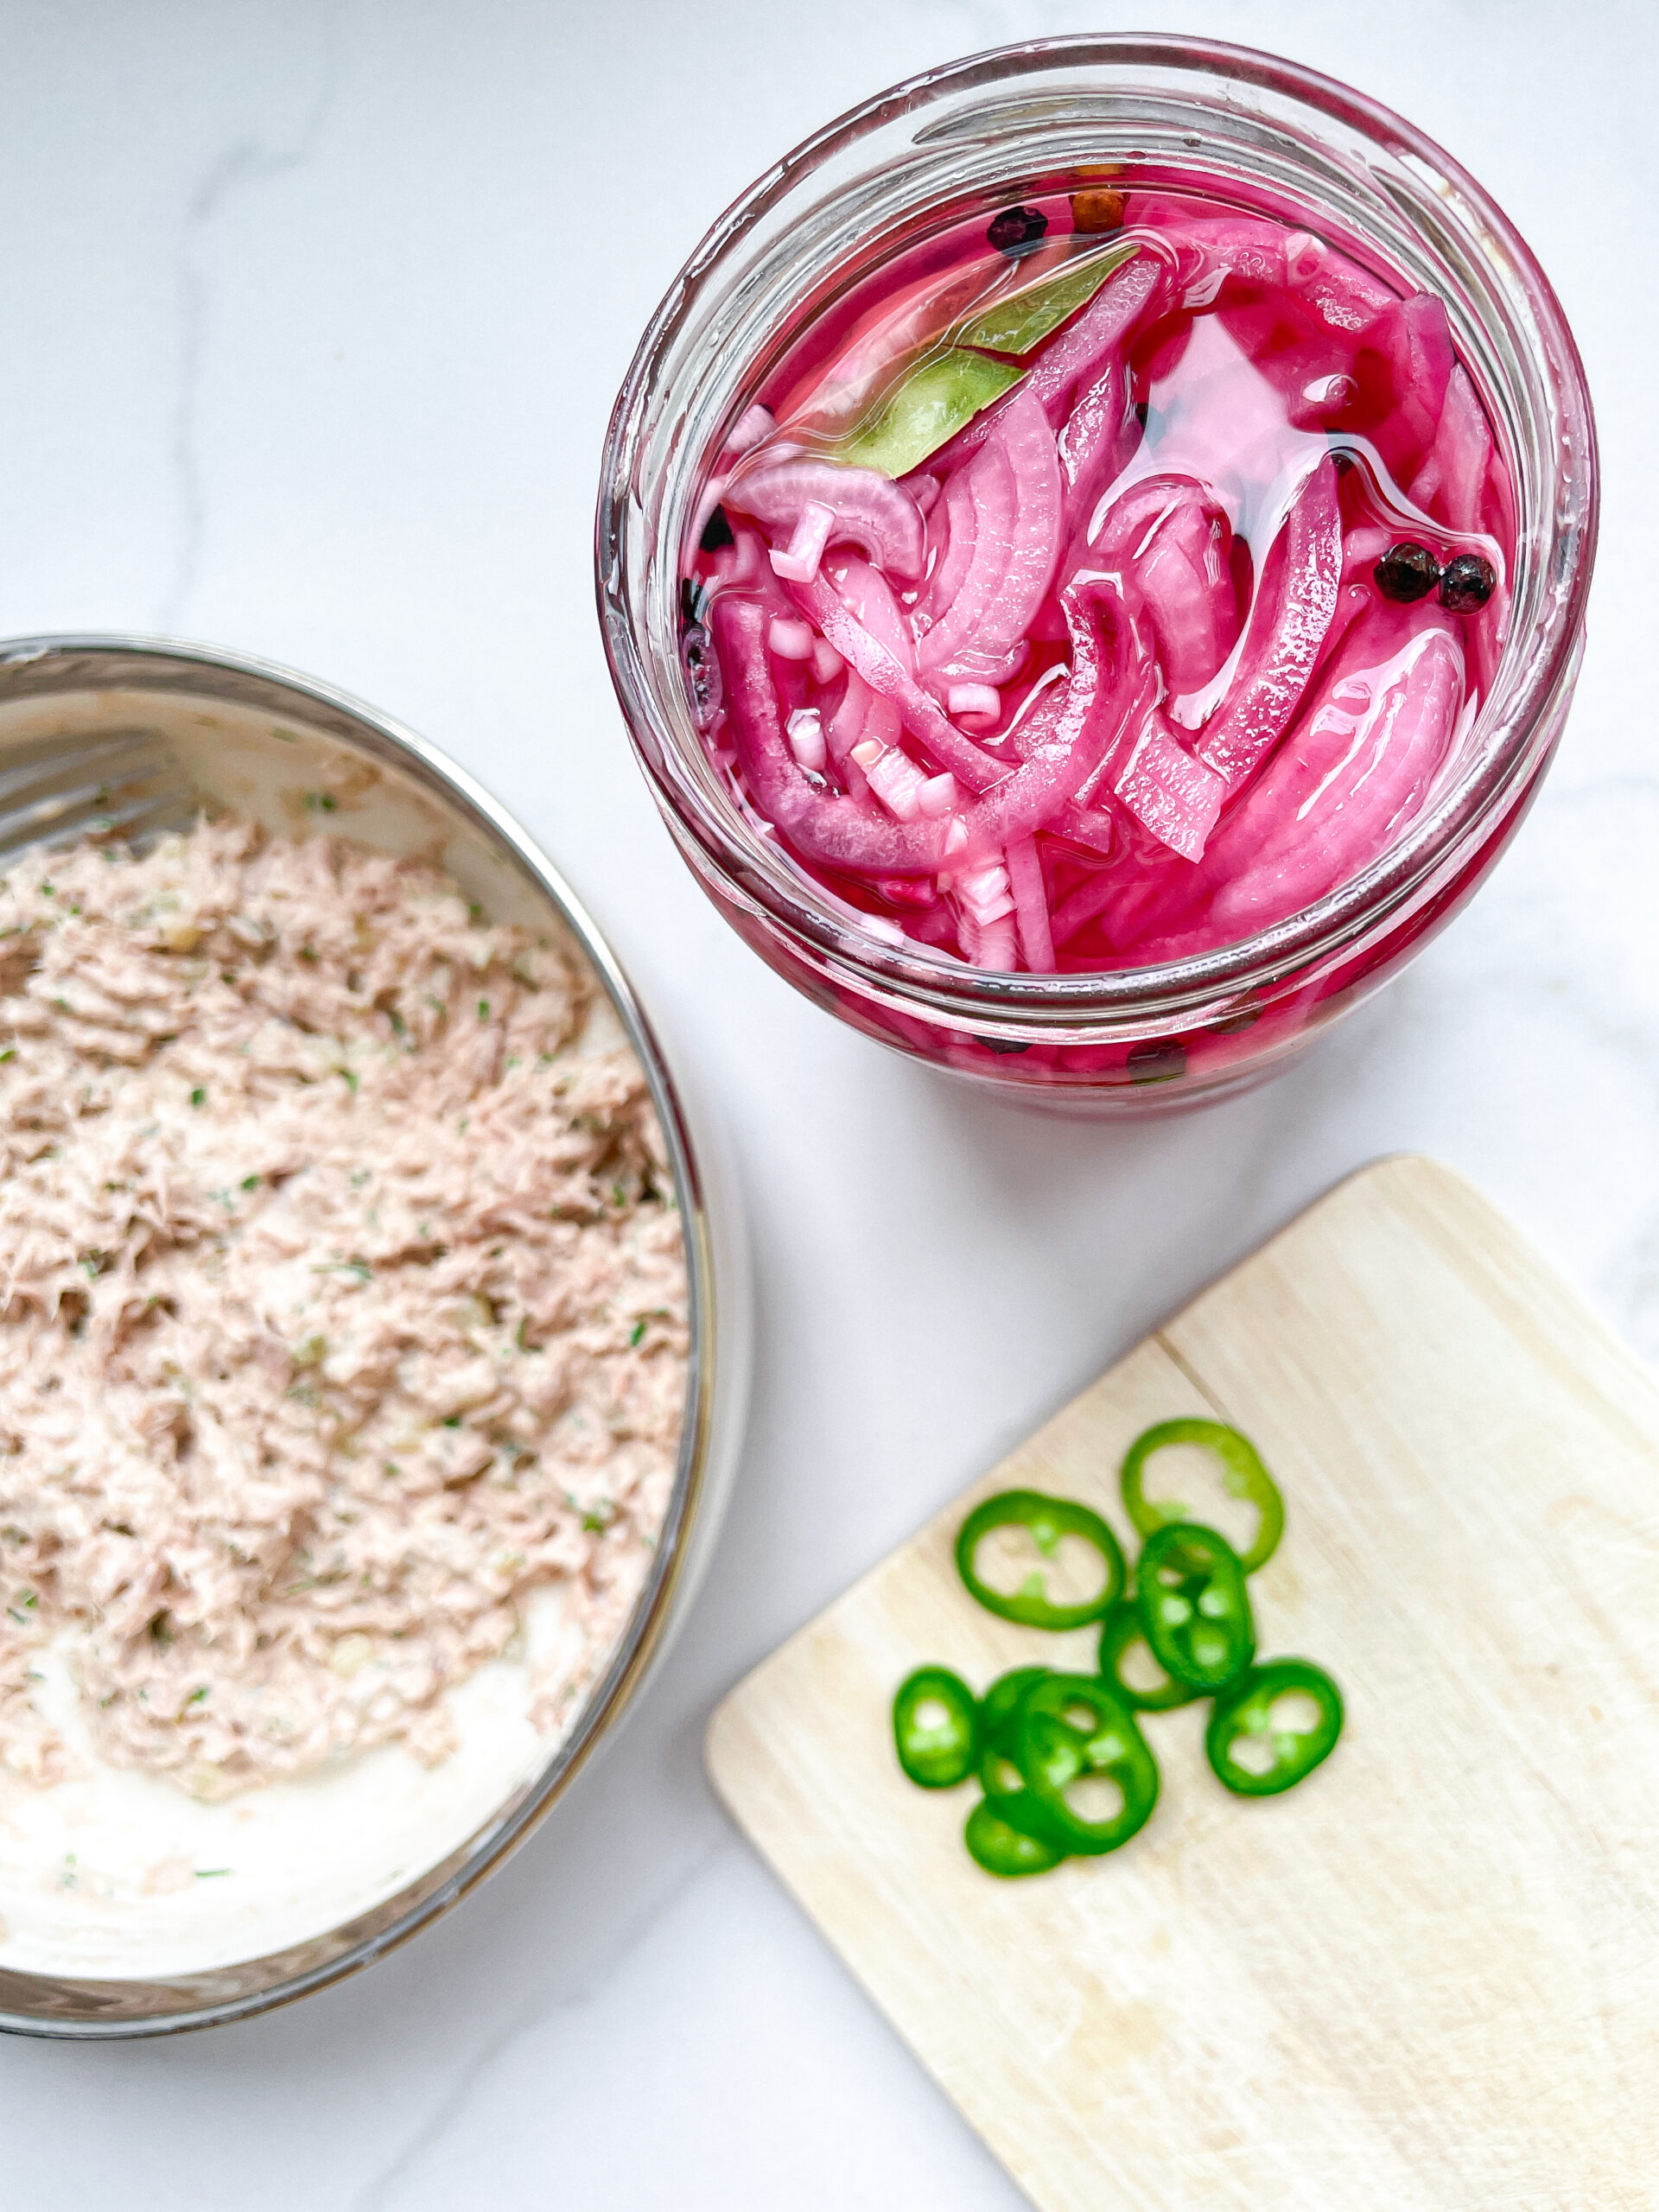
  1. Peel the onion, halve it, and slice it into fine half circles. Set aside.
  2. Wash the jalapeño and slice it into thin rings. Set aside.
  3. Squeeze the mozzarella in paper towels to remove as much moisture as possible, then slice it thinly. Set aside.

COOKING

  1. For the tuna cream: Drain the can of tuna so there’s no water left. Place the tuna in a medium-sized bowl. Mix it with mayonnaise, lemon juice, Dijon mustard, salt, and pepper. Now chop the pickle into small pieces and add it to the bowl. Finely chop the dill and chives and add them to the bowl as well. Peel and finely chop the garlic clove, or press it into the bowl. Mix everything together. Season to taste and set aside.
  2. Heat a pan over medium heat without adding any additional fat. Meanwhile, spread a little butter on two slices of bread. Place the bread slices in the pan, buttered side down. Spread each with half of the tuna cream, then top with the red onions. Add half of the mozzarella and a slice of cheddar cheese to each. Top with the jalapeño slices. Let it all cook for a few minutes on low to medium heat.
  3. Meanwhile butter the other two bread slices. Once the bottom of the bread in the pan is golden brown and crispy, place the other bread slices, buttered side up, on top of the sandwiches in the pan. Use a spatula to lift the sandwich and quickly flip it, so it can brown on the other side.
  4. Let everything cook for another 5-8 minutes on low heat, allowing the cheese to melt and the bread slice to become crispy.
  5. Remove from the pan and cut in half. Serve immediately, drizzle with Tabasco to taste and enjoy your pieces of happiness.

Notes

The calorie information may vary depending on the product used, country and region.

  • Prep Time: 5 min
  • Cook Time: 15 min

CRAVING MORE?

Follow along here & don’t forget to subscribe to my substack!

Honey Mustard Pretzel Bites

Honey Mustard Pretzel Bites

Honey Mustard Pretzel Bites

Honey Mustard Pretzel Bites

April 5, 2024 by Kimberly

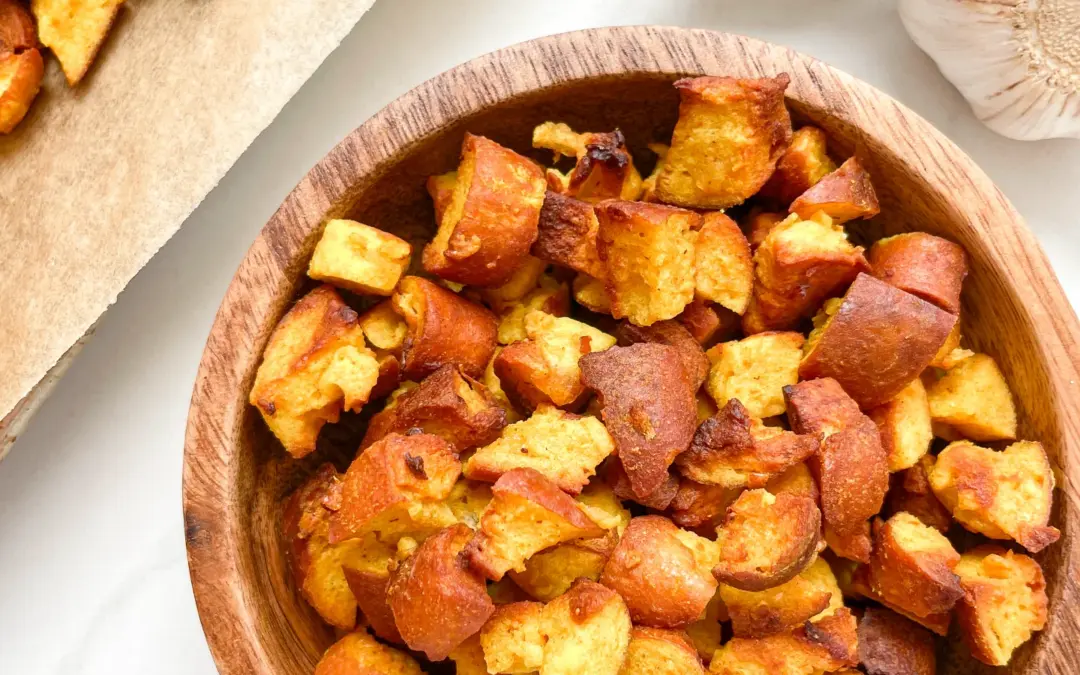
Indulge in Honey Mustard Pretzel Bites – a sweet, tangy, and utterly addictive snack! Perfect for parties or snacking.

This website uses affiliate links which may earn commission for purchases made at no additional cost to you.

TOTAL TIME

25 min

SERVES

4 portions

DIET

vegetarian

EVERY RECIPE DESERVES

A Little Love Letter

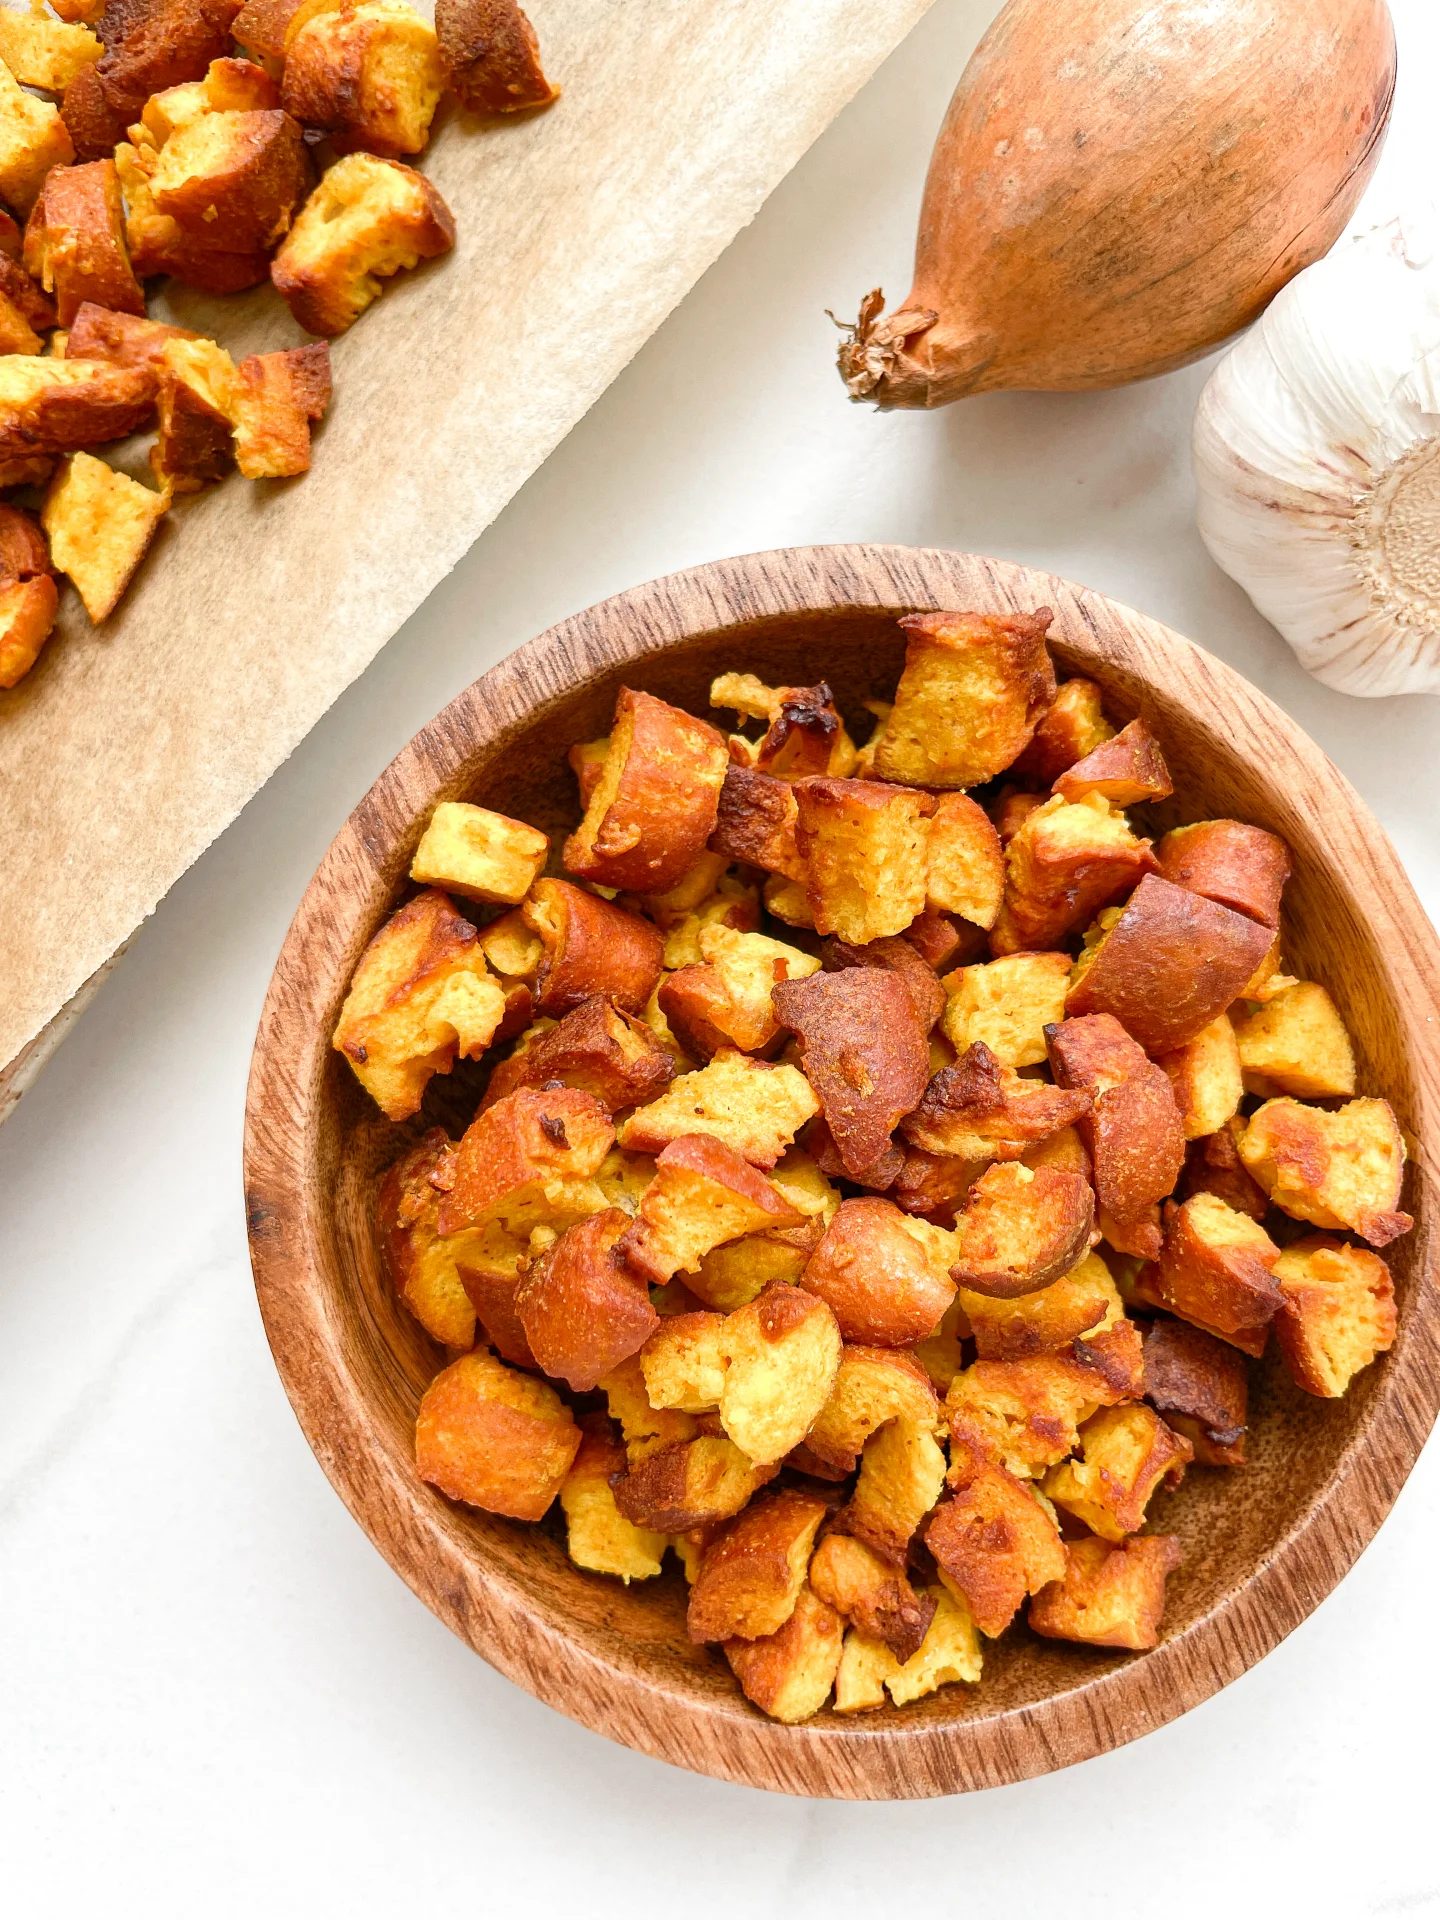
Welcome to the irresistible world of Honey Mustard Pretzel Bites, your new favorite snack. These bite-sized delights are the perfect combination of crunchy pretzel goodness and the sweet tang of honey mustard. They’re so easy to make and even easier to devour!

Serve them in a big bowl for a casual gathering. They’re the perfect companion to your favorite craft beer or a crisp, refreshing soda. Whether it’s game day, movie night, or just a regular Tuesday, these pretzel bites will be the star of the show.

Keep any leftovers (if there are any!) in an airtight container at room temperature. They’ll stay fresh and crunchy for up to a week, ready to satisfy those snack cravings anytime.

Hi, I'm Kimberly!

Hi, I'm Kimberly.

A hopeless romantic when it comes to food. Every recipe I share is a love letter to food itself. I’m so glad you’re here. Make yourself at home and stay a while.

Love,
Kimberly

Kimberly the Zett Signature

If you want to get to know me better,
click here!


Honey Mustard Pretzel Bites

LET’S MAKE A PIECE OF HAPPINESS

Print
clock clock iconcutlery cutlery iconflag flag iconfolder folder iconinstagram instagram iconpinterest pinterest iconfacebook facebook iconprint print iconsquares squares iconheart heart iconheart solid heart solid icon
Honey Mustard Pretzel Bites

Honey Mustard Pretzel Bites


  • Author: Kimberly
  • Total Time: 25 min
  • Yield: 4 1x

Description

GOOD TO HAVE ON HAND

  • sharp knife
  • cutting board
  • medium-sized pot


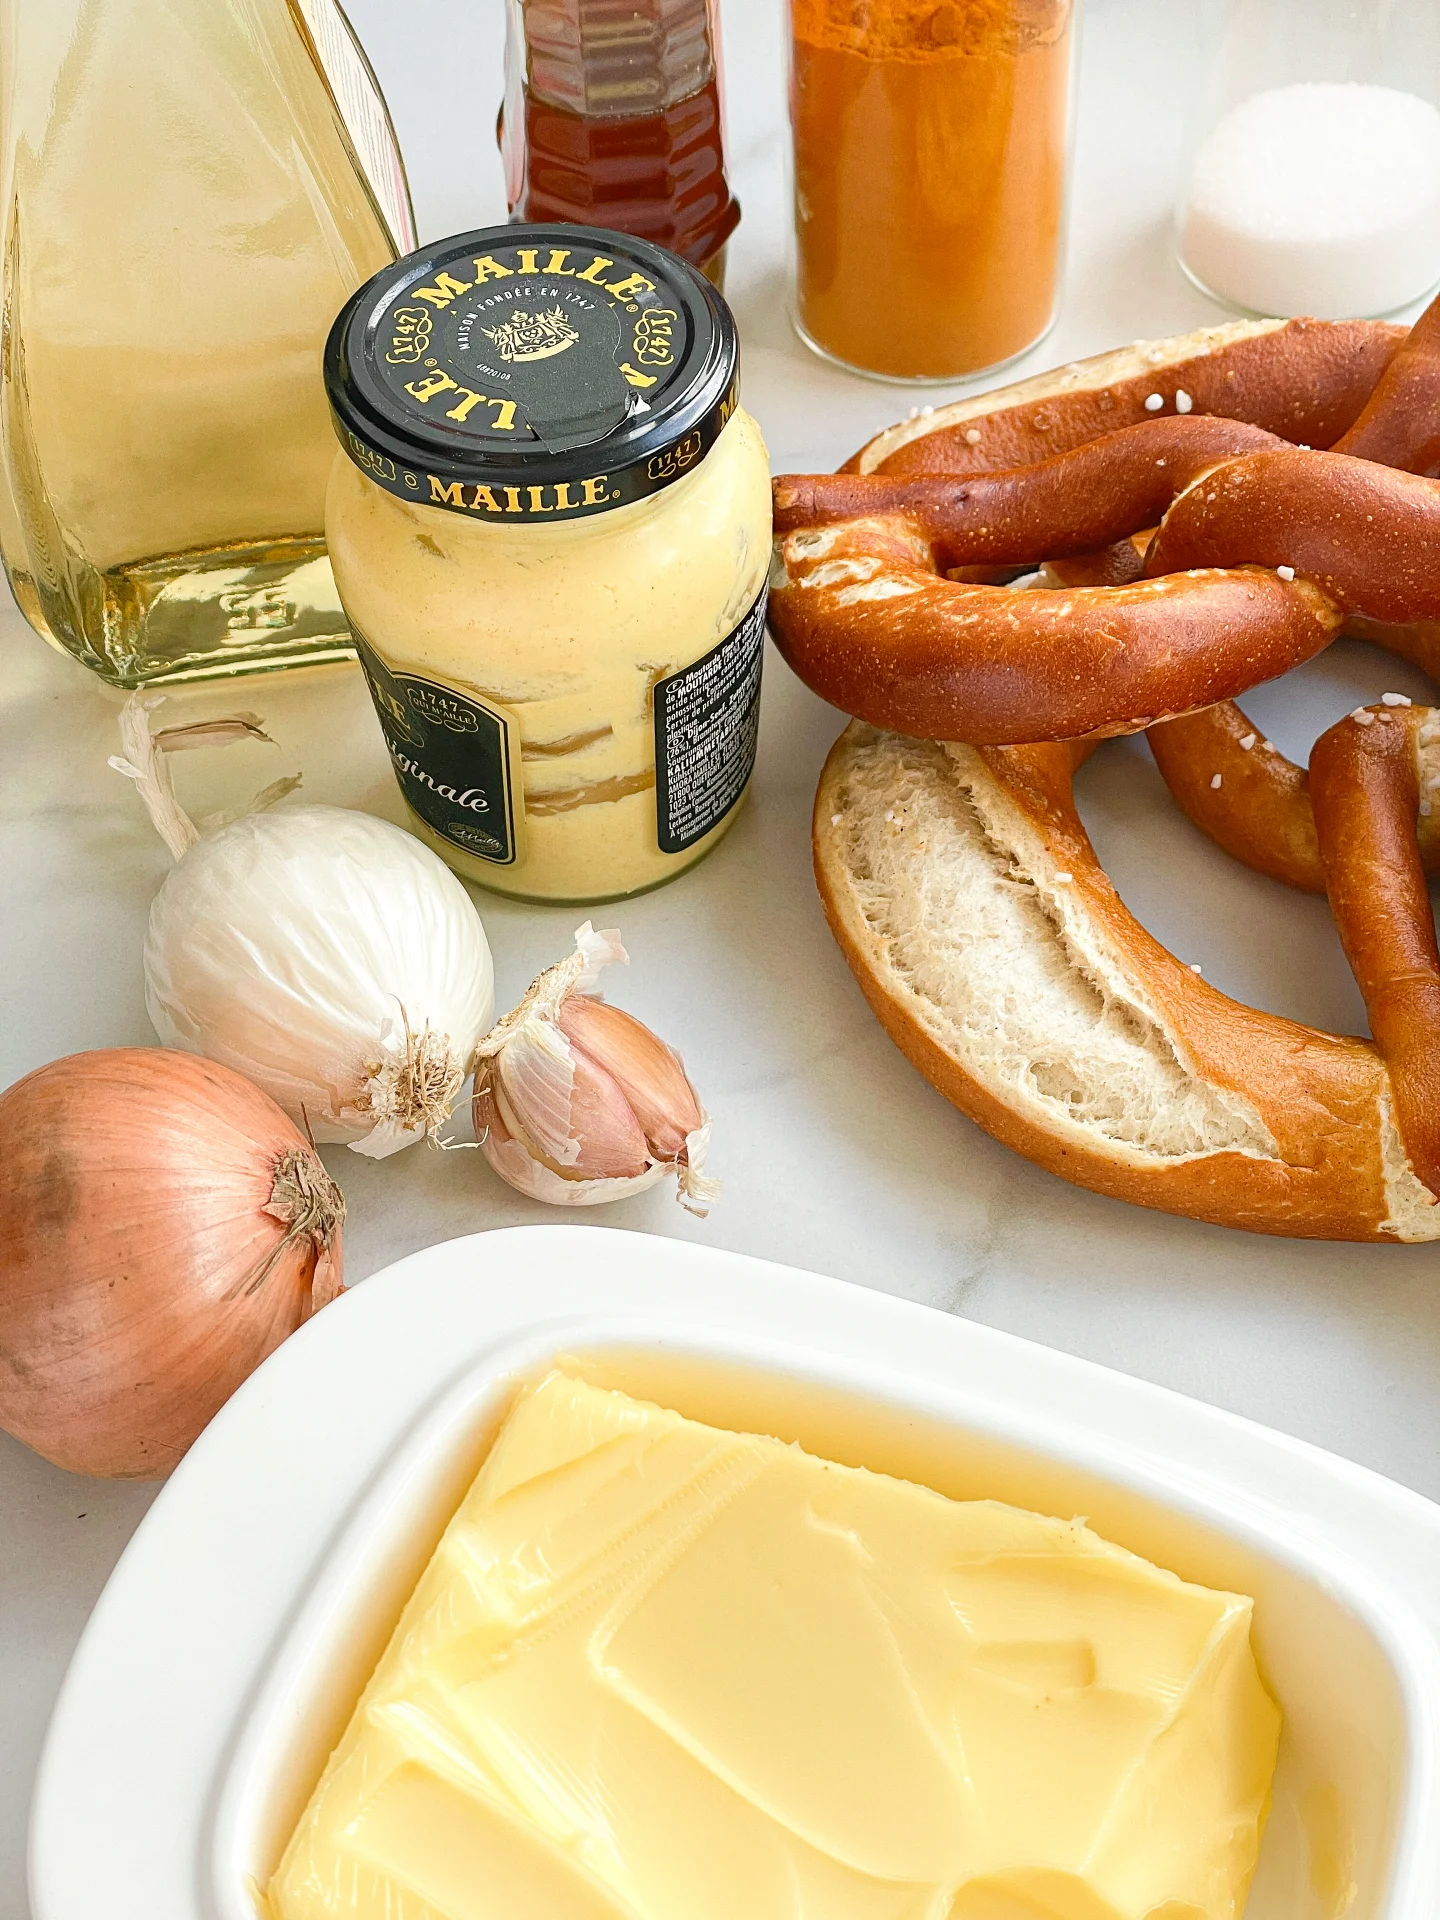
Ingredients

Scale
  • 2 soft pretzels
  • 1 tbsp butter
  • 1 tbsp honey
  • 1 onion
  • 2 garlic cloves
  • 1.5 tbsp dijon mustard
  • 1 tbsp white wine vinegar
  • 1/2 tsp turmeric
  • 1 tsp salt

Instructions

  1. Cut the pretzels into small pieces and set them aside.
  2. Peel the garlic cloves.
  3. Just cut off the „top“ of the onion and then peel it, so it stays whole.
  4. Now grate the onion and garlic cloves directly into the pot using a grater.
  5. Also add the following ingredients to the pot: 1 tablespoon of butter, 1 tablespoon of honey, 1 tablespoon of white wine vinegar, 1.5 tablespoons of Dijon mustard, 1 teaspoon of salt, and 1/2 teaspoon of turmeric.
  6. Stir everything together and heat on medium until the butter has melted and a yellow mixture has formed. Then add the pretzel pieces to the pot and stir until all the pieces are coated with the sauce.
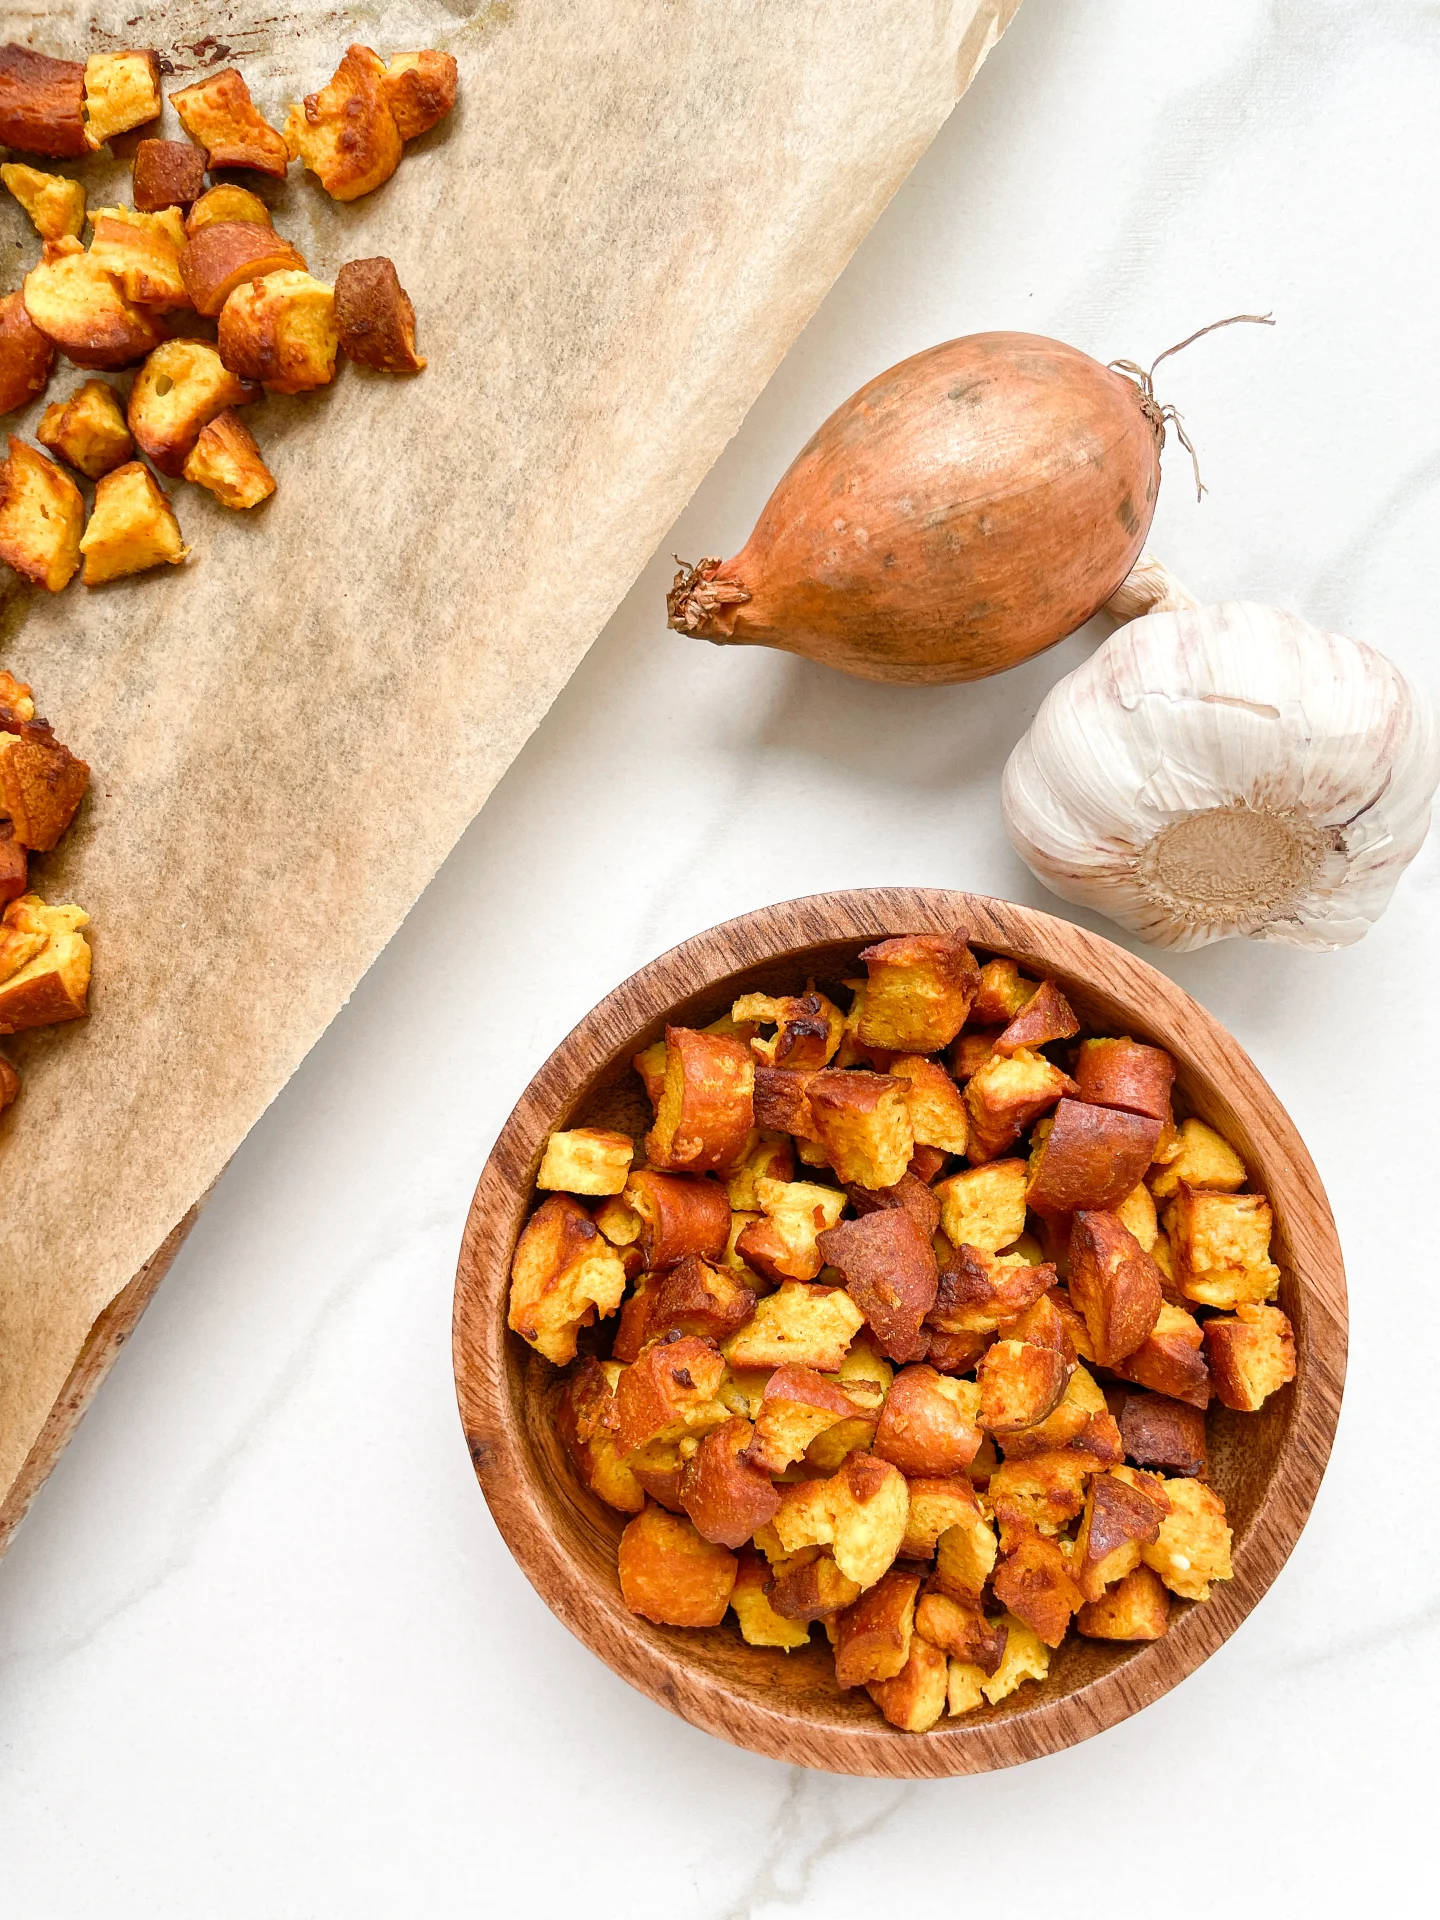
  7. Place the pretzel pieces on a baking sheet lined with parchment paper and bake at 180°C (360°F) for about 15-18 minutes until crispy.
  8. Remove the baking sheet from the oven, let the pretzel pieces cool down, and enjoy.
  • Passive Time: 15 min
  • Cook Time: 10 min

CRAVING MORE?

Follow along here & don’t forget to subscribe to my substack!

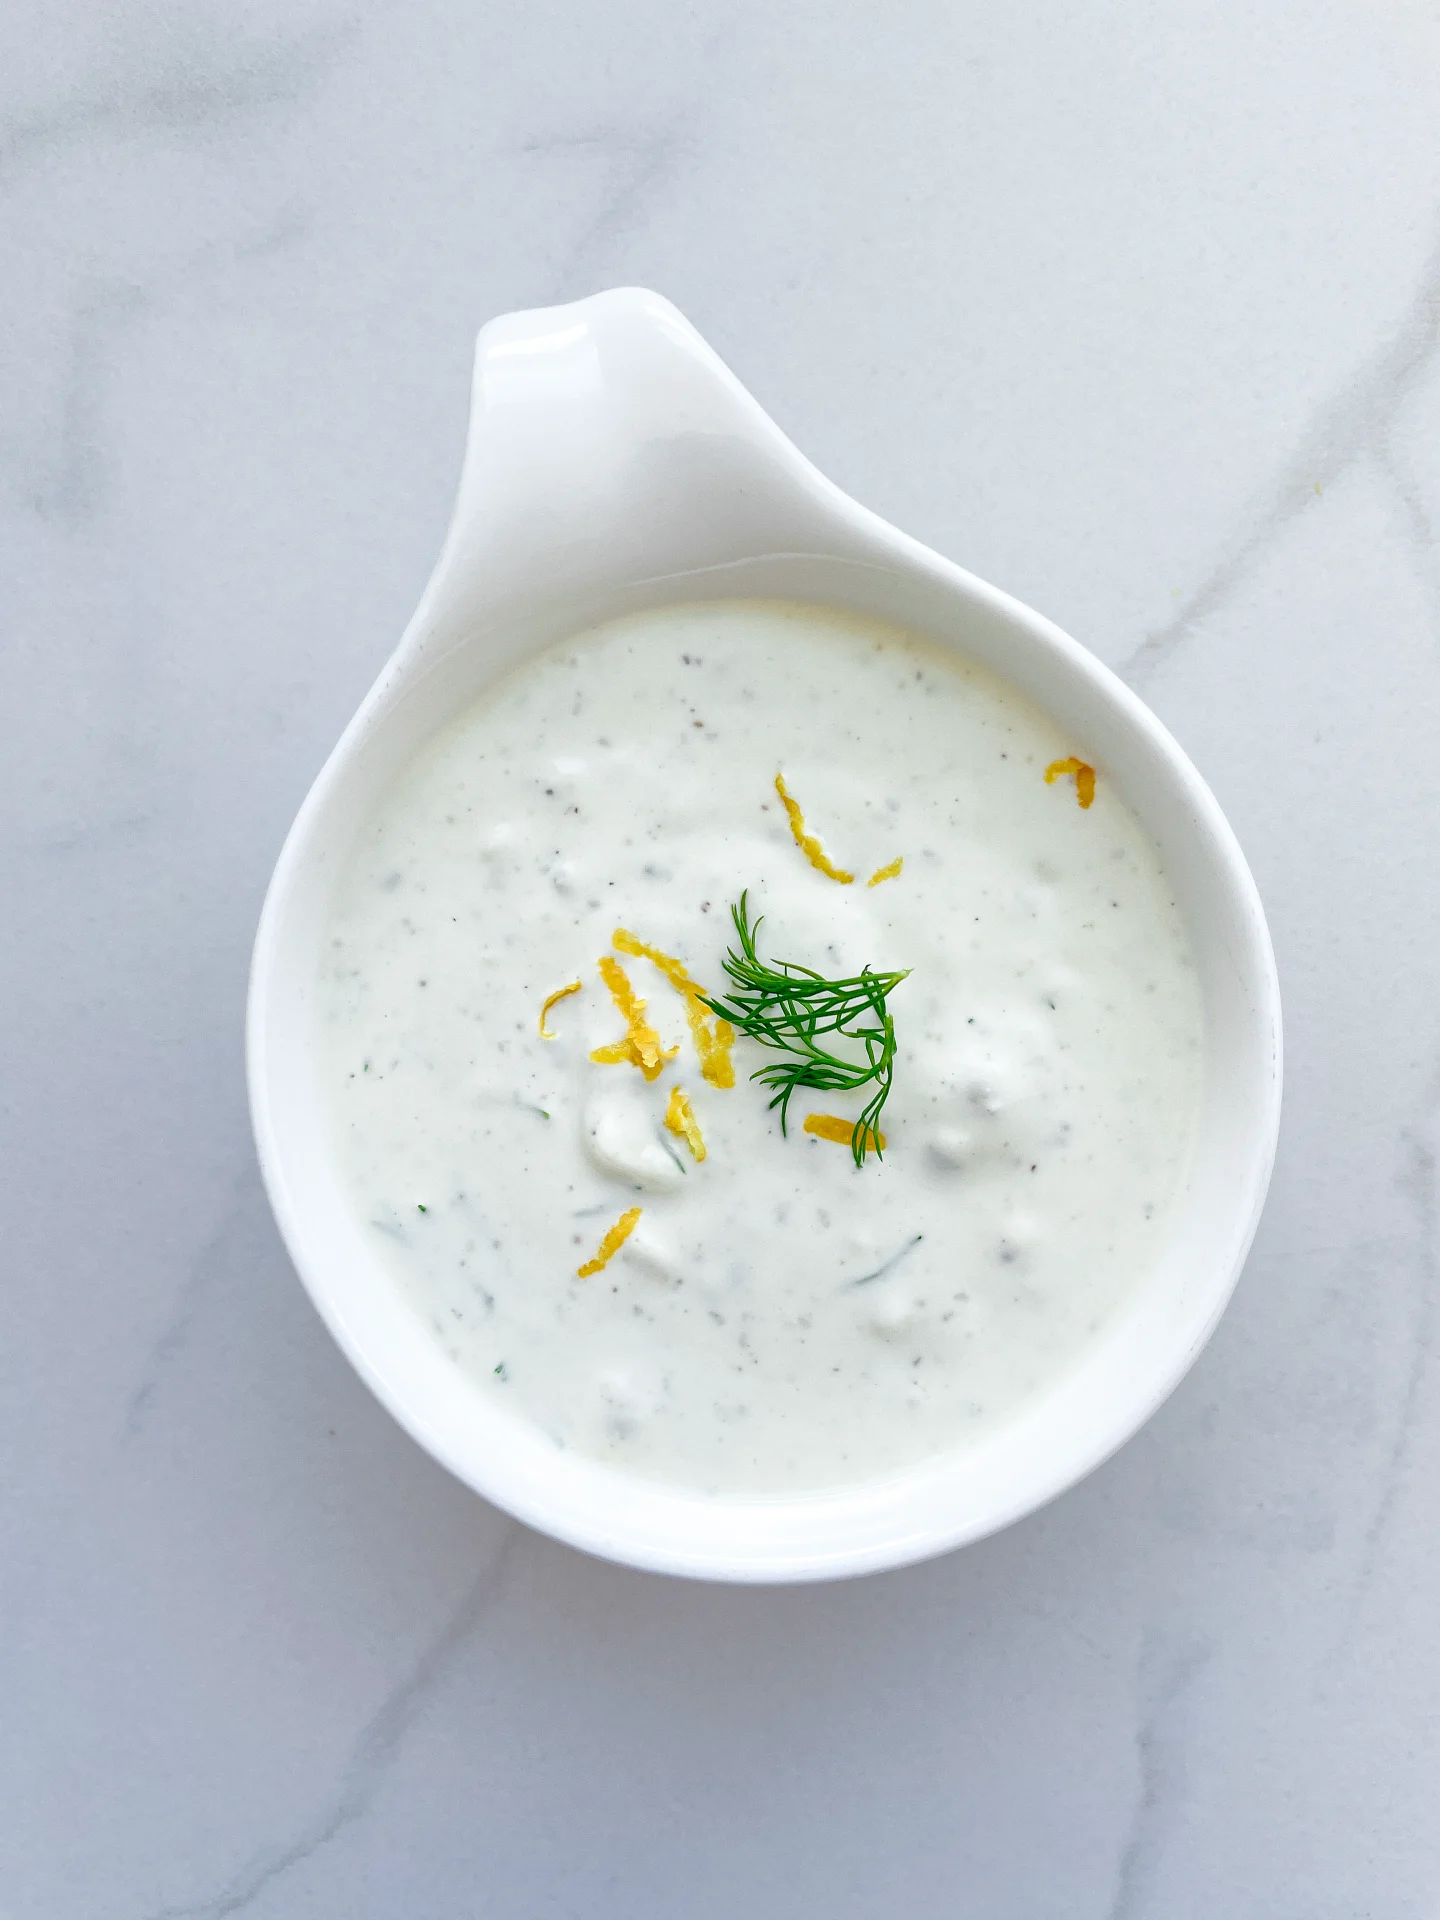
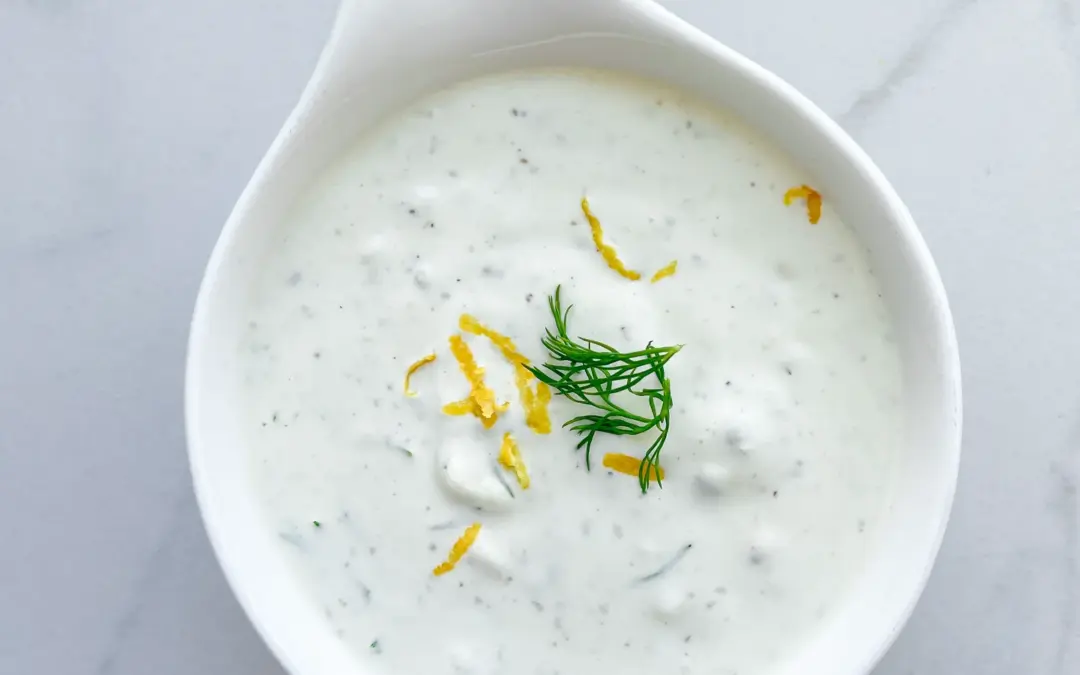
Lemon Blue Cheese Dip

Lemon Blue Cheese Dip

Blue Cheese Dip

Lemon Blue Cheese Dip

March 23, 2024 by Kimberly

Indulge in the creamy, tangy bliss of Blue Cheese Dip! Perfect for game nights or elegant appetizers, this dip transforms any snack into a gourmet delight.

This website uses affiliate links which may earn commission for purchases made at no additional cost to you.

TOTAL TIME

10 min

SERVES

4 portions

DIET

vegetarian

EVERY RECIPE DESERVES

A Little Love Letter

Dive into the irresistible creaminess of Blue Cheese Dip, a must-have for any gathering or quiet night in. This dip combines the rich, tangy flavors of blue cheese with a smooth, spreadable texture that’s simply unmatched. Whether you’re hosting a party or just treating yourself, this dip is a game-changer.

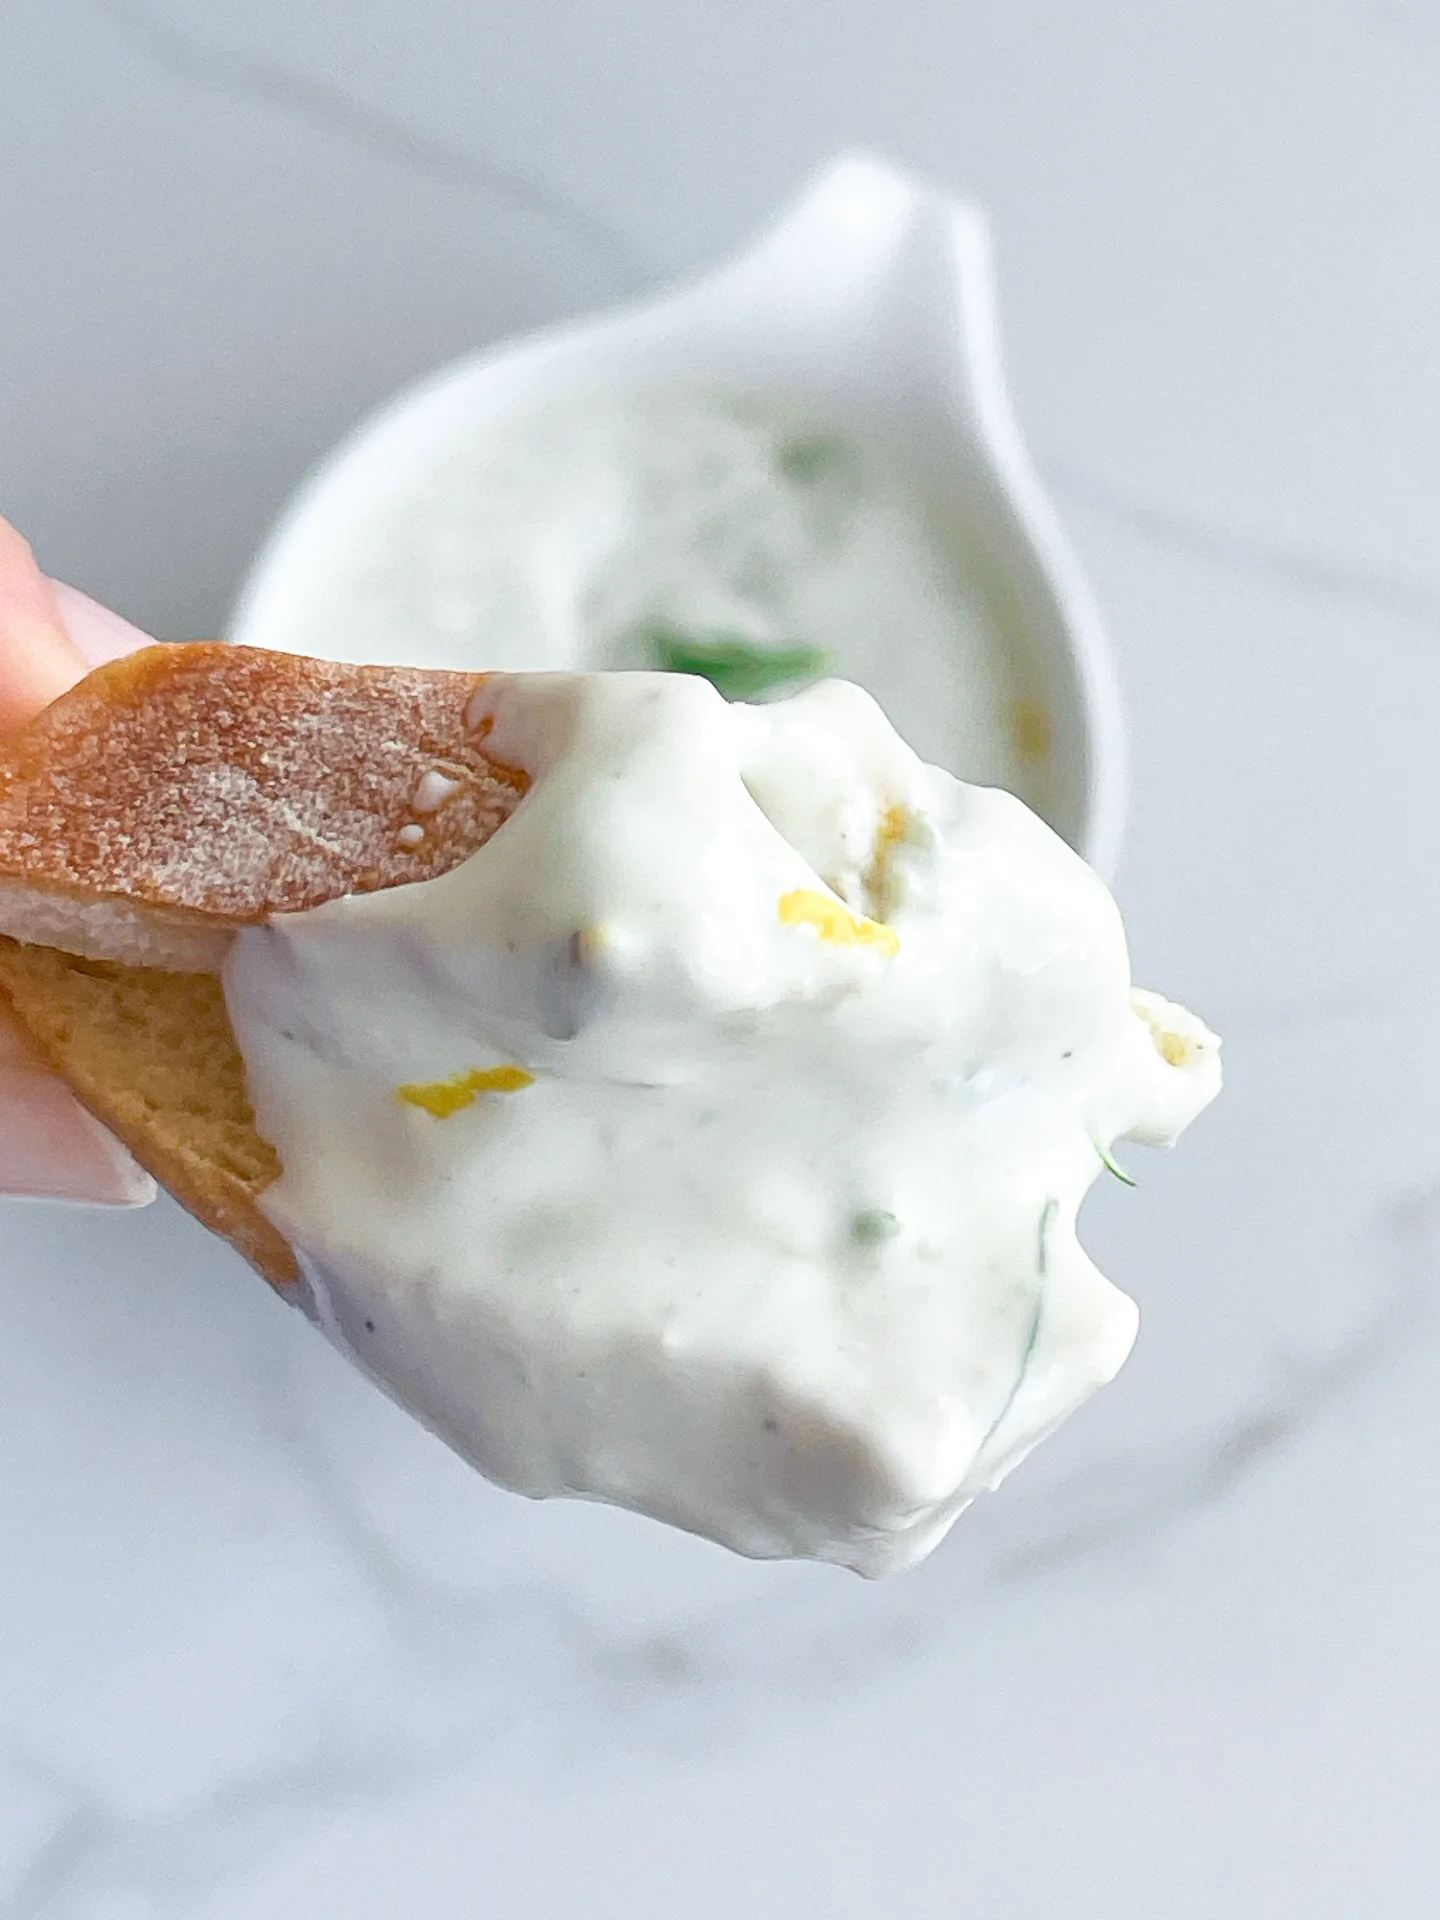
Blue Cheese Dip is versatile, perfect alongside crispy veggies, as a bold wing accompaniment, or as a unique burger topping. Its robust flavor elevates simple crackers to gourmet status and transforms potato chips into a delicacy. Experiment with it as a spread for a zesty twist on sandwiches.

Keep your Blue Cheese Dip fresh and flavorful by storing it in an airtight container in the fridge. It stays perfect for up to 3 days, making it a great make-ahead option for effortless entertaining or snacking.

Hi, I'm Kimberly!

Hi, I'm Kimberly.

A hopeless romantic when it comes to food. Every recipe I share is a love letter to food itself. I’m so glad you’re here. Make yourself at home and stay a while.

Love,
Kimberly

Kimberly the Zett Signature

If you want to get to know me better,
click here!


Blue Cheese Dip
Blue Cheese Dip

LET’S MAKE A PIECE OF HAPPINESS

Print
clock clock iconcutlery cutlery iconflag flag iconfolder folder iconinstagram instagram iconpinterest pinterest iconfacebook facebook iconprint print iconsquares squares iconheart heart iconheart solid heart solid icon
Blue Cheese Dip

Lemon Blue Cheese Dip


  • Author: Kimberly
  • Total Time: 10 min
  • Yield: 4 1x

Description

GOOD TO HAVE ON HAND

  • medium-sized bowl


Ingredients

Units Scale
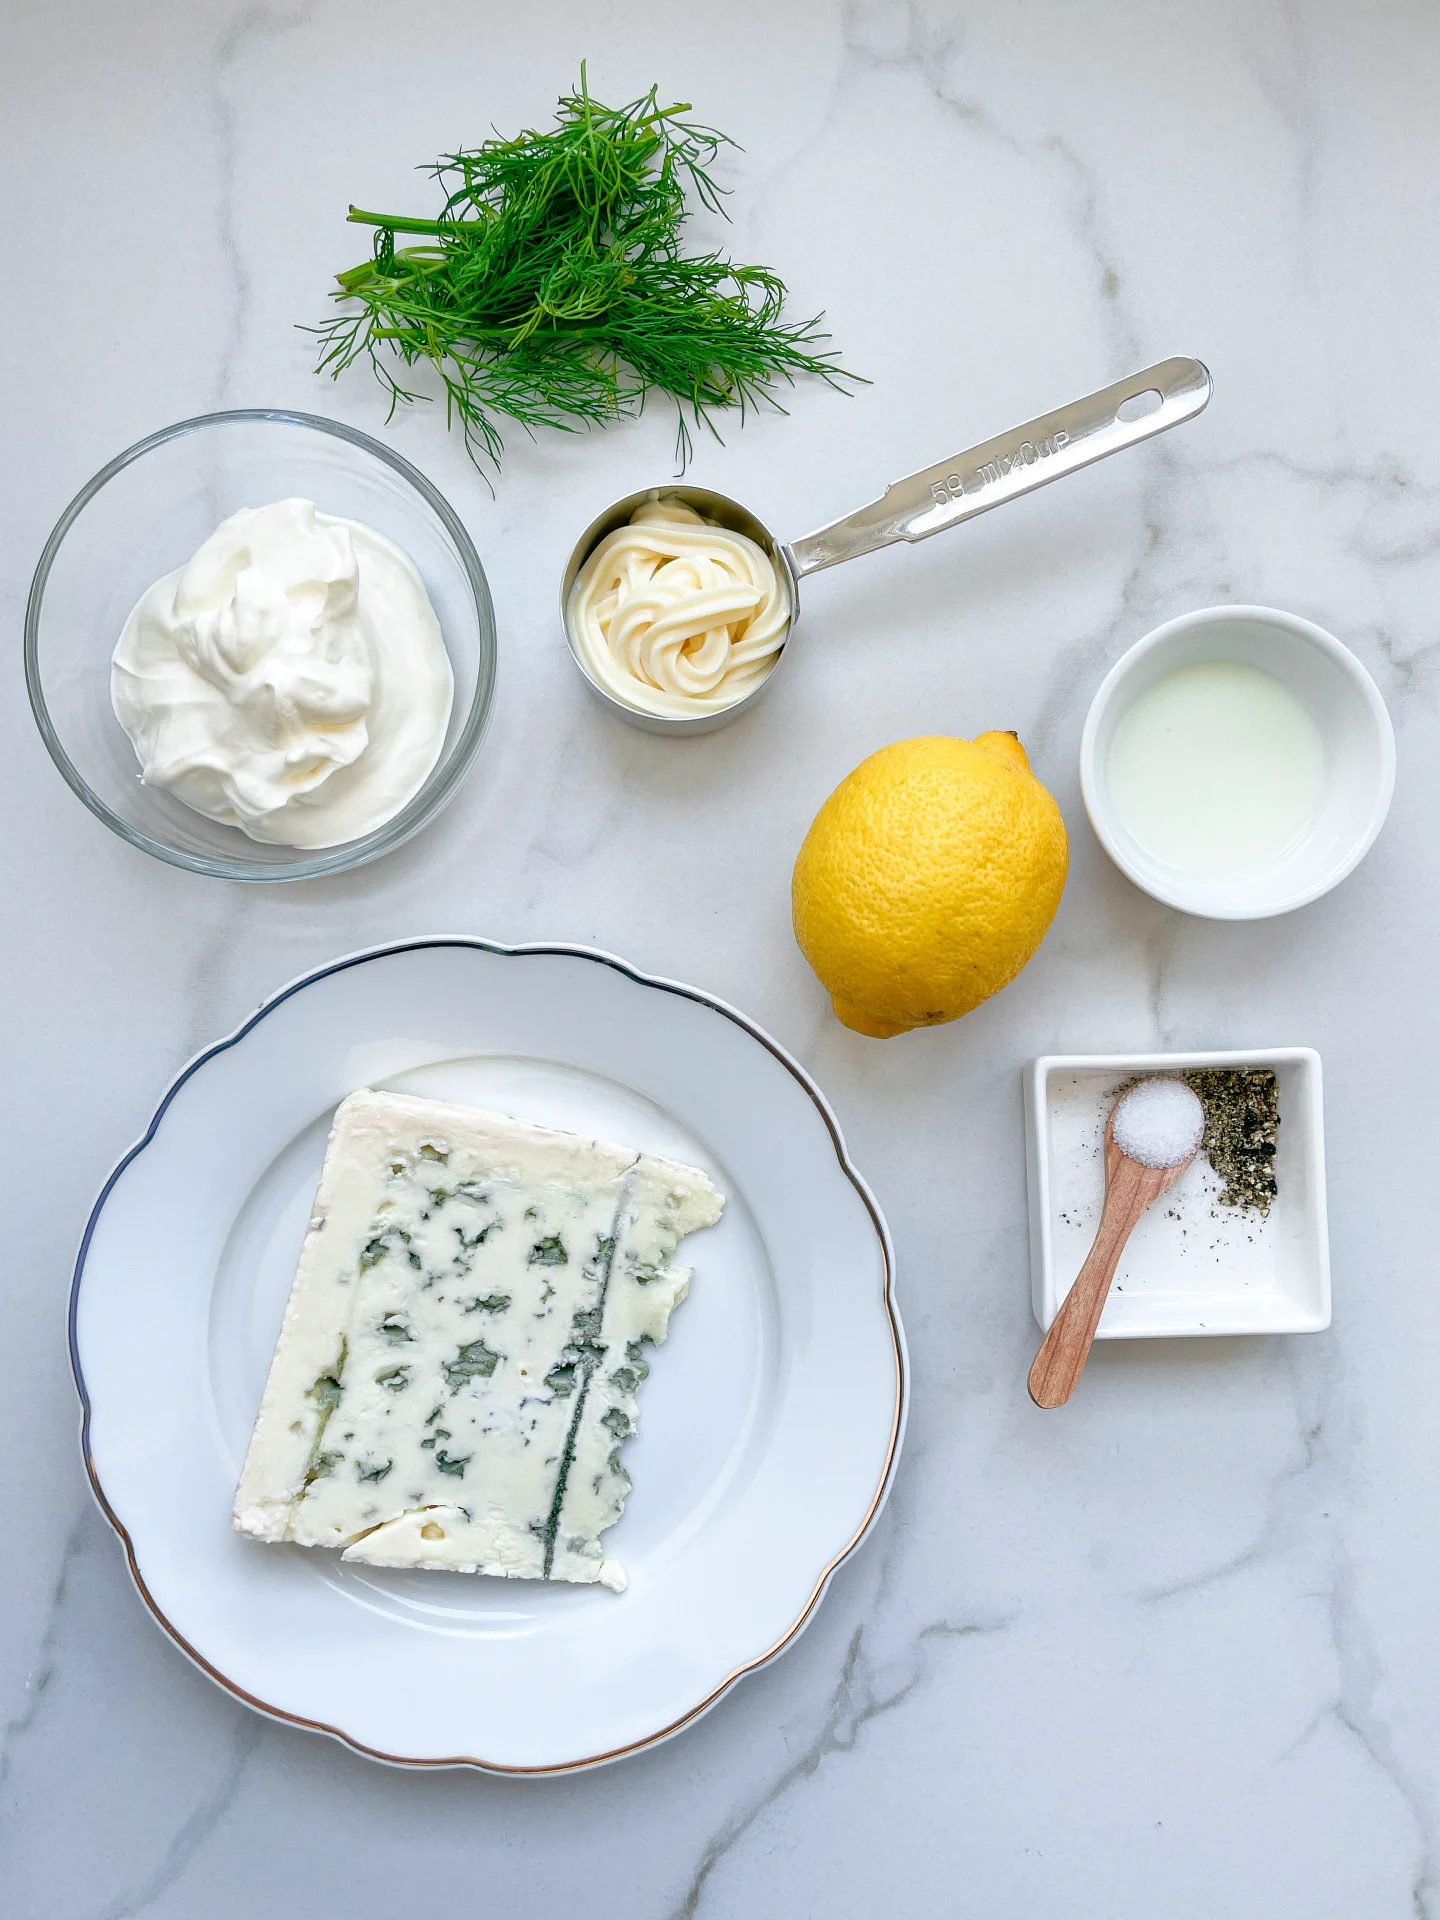
  • 100 grams blue cheese (I used Roquefort)
  • 35 grams mayonnaise
  • 100 grams creme fraiche
  • 1-2 tbsp buttermilk
  • 1 tbsp lemon juice
  • dill, salt & pepper to taste

Instructions

  1. In a medium-sized bowl, mix crème fraîche, mayonnaise, and buttermilk. Now add the blue cheese in small chunks and mix thoroughly until there are no big lumps of cheese visible.
  2. Then season the mixture with lemon juice, salt, pepper, and fresh dill to taste.
  3. For an especially intense flavor, the dip can be prepared in advance and should be stored in the fridge before serving.
  • Cook Time: 10 min

CRAVING MORE?

Follow along here & don’t forget to subscribe to my substack!

Chocolate Chip Cookies

Chocolate Chip Cookies

Chocolate Chip Cookies

Chocolate Chip Cookies

March 13, 2024 by Kimberly

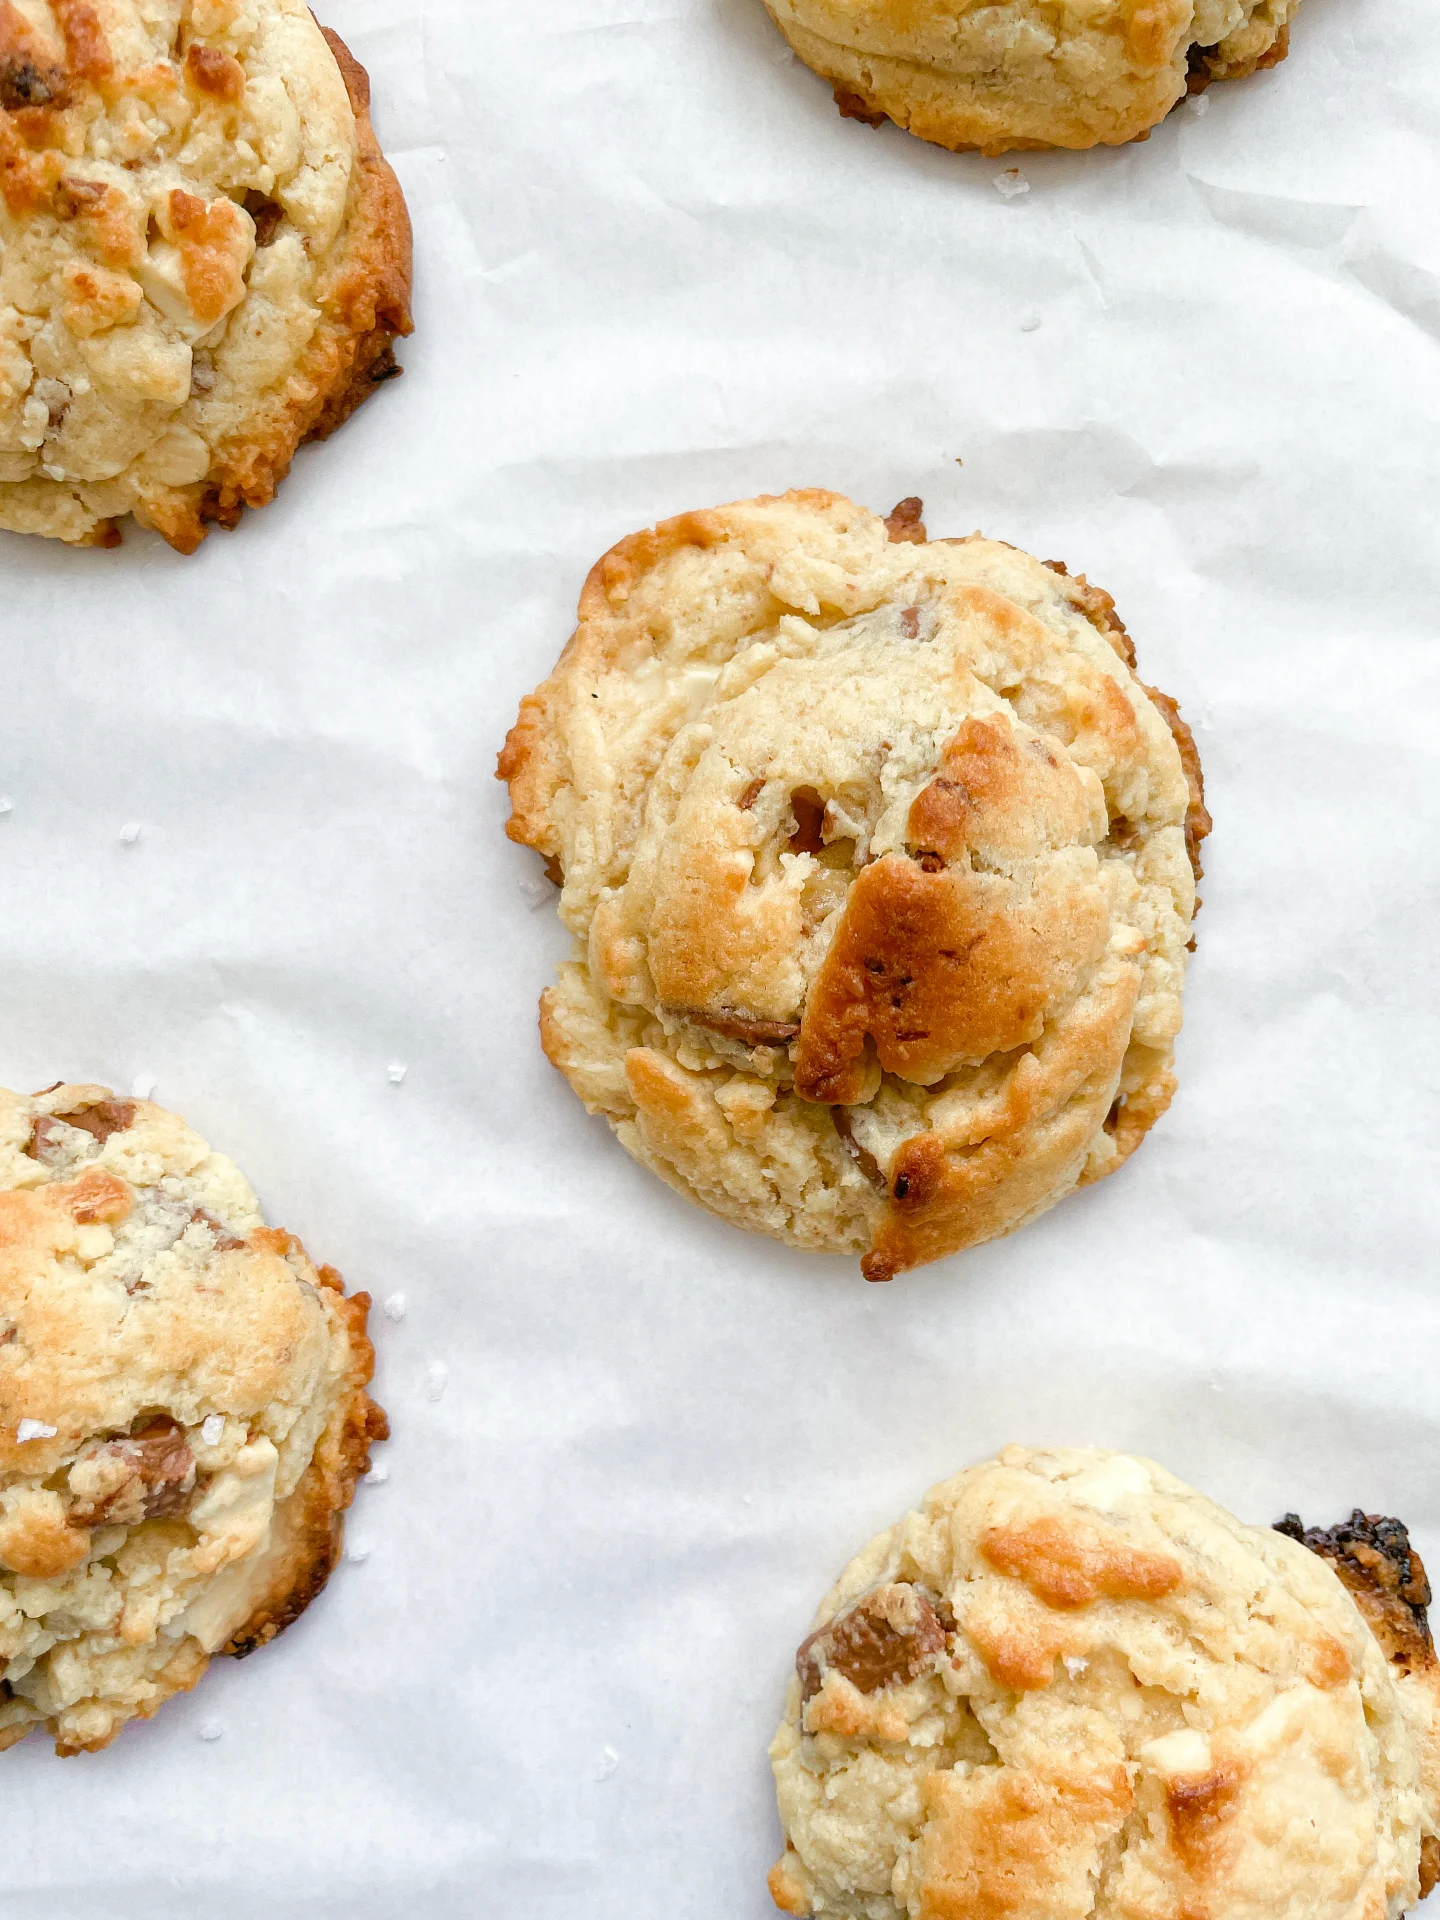
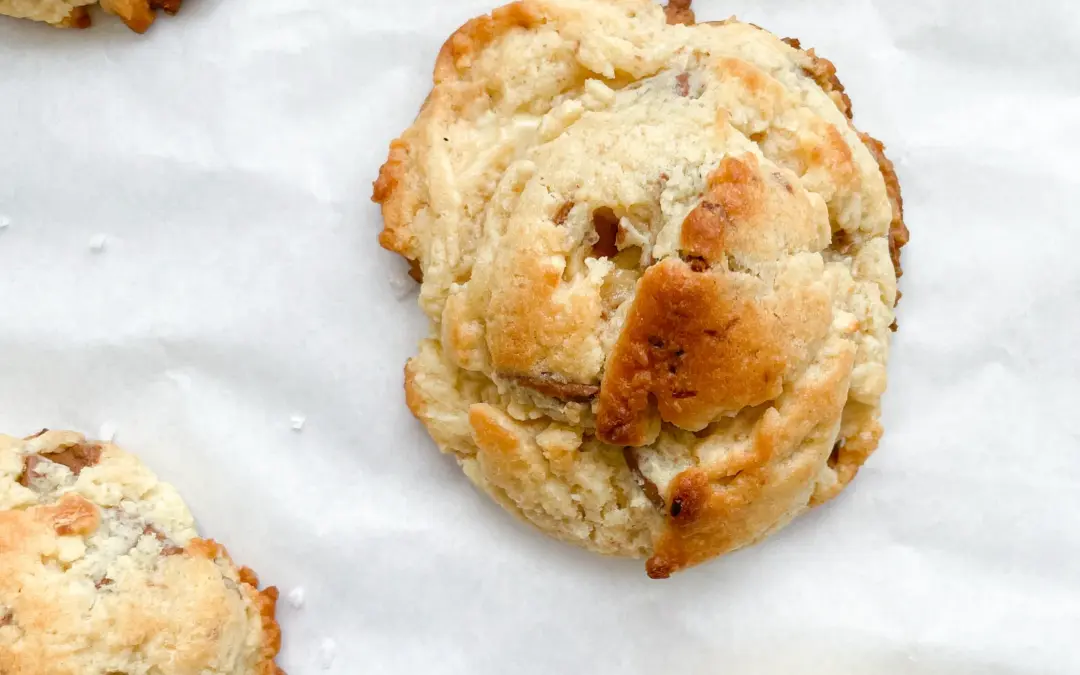
Look no further for the ultimate chocolate chip cookies. Dive into this rich, double chocolate chip cookie recipe, featuring a generous amount of dough and massive chocolate chunks!

This website uses affiliate links which may earn commission for purchases made at no additional cost to you.

TOTAL TIME

2 hrs + 50 min

SERVES

10 cookies

DIET

vegetarian

EVERY RECIPE DESERVES

A Little Love Letter

Get ready to fill your kitchen with the mouthwatering aroma of freshly baked Chocolate Chip Cookies! This recipe combines the perfect blend of sweet, gooey, and chocolaty in every bite. Ideal for any occasion, from family gatherings to a personal treat, these homemade cookies promise to be your new favorite. Let’s dive into the simple steps to create these delightful treats that everyone loves!

Serve these delicious Chocolate Chip Cookies fresh out of the oven for the ultimate gooey experience, or let them cool to achieve a delightful crunch. Pair with a glass of cold milk or your favorite coffee for a classic combo. They’re perfect for parties, as a sweet snack, or as a thoughtful homemade gift. Remember, warm cookies and cold milk are a match made in heaven for any cookie lover!

Store your Chocolate Chip Cookies in an airtight container to keep them fresh and chewy. They’ll last for up to a week at room temperature or can be frozen for longer enjoyment. Perfect for having a sweet treat on hand anytime!

Hi, I'm Kimberly!

Hi, I'm Kimberly.

A hopeless romantic when it comes to food. Every recipe I share is a love letter to food itself. I’m so glad you’re here. Make yourself at home and stay a while.

Love,
Kimberly

Kimberly the Zett Signature

If you want to get to know me better,
click here!


Chocolate Chip Cookies

LET’S MAKE A PIECE OF HAPPINESS

Print
clock clock iconcutlery cutlery iconflag flag iconfolder folder iconinstagram instagram iconpinterest pinterest iconfacebook facebook iconprint print iconsquares squares iconheart heart iconheart solid heart solid icon
Chocolate Chip Cookies

Chocolate Chip Cookies


  • Author: Kimberly
  • Total Time: 2 hrs + 20 min
  • Yield: 10 1x

Description

GOOD TO HAVE ON HAND

  • sharp knife
  • cutting board
  • small bowl
  • small pot (or microwave)
  • two medium-sized bowls
  • whisk
  • spatula


Ingredients

Units Scale
  • 200 grams all-purpose flour
  • 35 grams cornstarch
  • 140 grams butter
  • 150 grams brown sugar
  • 50 grams white sugar
  • 100 grams semi-sweet chocolate
  • 100 grams white chocolate
  • 1 egg
  • 1 egg yolk
  • 1 tsp baking powder
  • 3/4 tsp salt

Instructions

  1. Chop the chocolate into big chunks.
  2. Melt the butter in a pot or in the microwave.
  3. In a medium-sized bowl, mix the flour, starch, and salt. Set aside.
  4. In another medium-sized bowl, mix the brown and white sugar. Add the melted butter with a whisk and beat the mixture until it becomes kind of creamy.
  5. Now add one whole egg and one egg yolk and beat until the mixture becomes thicker.
  6. Next, add the dry ingredients from the other bowl and stir a little, then add the chocolate and mix everything until no more flour is visible and stop stirring to avoid overmixing the dough.
  7. Form the dough into 9 equal-sized balls and place them in a container that fits in the fridge. Place the cookie balls in the refrigerator for at least 2 hours – if you want to prepare the dough in advance, you can leave it in the fridge for up to 48 hours.
  8. Preheat the oven to 220°C (425°F). Once the oven is hot, place the cookies on a baking sheet lined with parchment paper and bake for 8-10 minutes.
  9. Remove the tray with the cookies from the oven and let them cool for 15 minutes. I know it’s hard, but it’s worth the wait 😉
  • Passive Time: 2 hrs
  • Cook Time: 20 min

CRAVING MORE?

Follow along here & don’t forget to subscribe to my substack!