Homemade Kimchi

Homemade Kimchi

Homemade Kimchi

Homemade Kimchi

April 2, 2025 by Kimberly

Slightly chaotic, deeply flavorful, and kind of addictive. This spicy little side dish doesn’t ask for attention, it demands it. Make it once and suddenly you’re that person who ferments things.

45 MINUTES
+ 2 DAYS

EASY

VEGAN

KOREAN

1 JAR

UMAMI

WEEKNIGHT

CONDIMENTS

ALL YEAR

INTRODUCTION

ABOUT THE RECIPE

This is one of those recipes that feels a little chaotic while you’re making it. You’re chopping cabbage, blending weird things together, your kitchen smells slightly suspicious, and then magic. A few days later, you have the tangy, spicy, crunchy goodness that is homemade kimchi. It’s bold, a little wild, and honestly kind of addictive. If you’ve never made fermented food before, this is your sign. It’s easier than it looks and way more fun.

How to serve
Kimchi is one of the most iconic Korean staples for a reason. It’s a powerhouse of flavor and a probiotic dream that happens to be absolutely delicious with basically anything. My favorite way to eat this? Straight from the jar, if I’m being honest. But if we’re being civilized: layer it into rice bowls, stir into fried rice, top a savory pancake, or tuck it into sandwiches. Kimchi also loves melted cheese…trust me on this one. It’s the punchy, spicy friend that turns boring meals into actual moments. And once you start adding it to things, you won’t want to stop.

How to store
Store your kimchi in a clean, airtight container in the fridge once it’s done fermenting (after about 2–3 days). It’ll keep for weeks, actually, it gets more flavorful the longer it sits. Just make sure to use a clean fork every time, and you’re golden.

Hi, I'm Kimberly!

Hi, I'm Kimberly.

A passionate food lover who believes in the magic of homemade deliciousness that spreads love and warmth. Join me on this culinary adventure as I prepare wonderful dishes and let’s spread some happiness together!

Kimberly the Zett Signature

If you want to get to know me better, click here!


Homemade Kimchi
Homemade Kimchi
„Let’s make a piece of happiness“
Print
clock clock iconcutlery cutlery iconflag flag iconfolder folder iconinstagram instagram iconpinterest pinterest iconfacebook facebook iconprint print iconsquares squares iconheart heart iconheart solid heart solid icon
Homemade Kimchi

Homemade Kimchi


5 Stars 4 Stars 3 Stars 2 Stars 1 Star

No reviews

  • Author: Kimberly
  • Total Time: 2 days + 45 min

Description

RECOMMENDED EQUIPMENT

  • two large mixing bowls
  • a sharp knife
  • cutting board
  • blender
  • small saucepan
  • airtight container for storage

Ingredients

Units Scale

VEGGIES

  • 1 napa cabbage
  • 2 carrots
  • 6 green onions
  • 4 liter cold water
  • 100 grams sea salt

CHILI PASTE

  • 2 yellow onions
  • 1 apple or nashi pear
  • 1 garlic bulb
  • 1 thumb-sized piece of ginger
  • 2 tbsp fish sauce
  • 1 tbsp soy sauce
  • 1 tbsp mini shrimp
  • 4 tbsp water
  • 8 tbsp gochugaru (Korean chili flakes)

RICE FLOUR SLURRY

  • 3 tbsp rice flour
  • 200 milliliter water

Instructions

  1. Quarter the napa cabbage lengthwise, then chop it into bite-sized pieces. Place it in one of the large bowls and cover completely with cold water. Add a generous amount of sea salt and mix well with your hands or a spoon. To keep the cabbage submerged, weigh it down with a plate and something heavy. Let it soak for 30–45 minutes.
  2. While the cabbage is soaking, peel and julienne the carrots. Thinly slice the green part of the scallions. Set both aside, they’ll be folded into the paste later.
  3. Peel the apple, onion, garlic, and ginger. Toss everything into a blender with a splash of water. If you’re using mini shrimp, add those now. Pour in the fish sauce and soy sauce, then blend until smooth and pulpy.
  4. Transfer the paste to your second large bowl. Stir in the gochugaru (Korean chili flakes) until the mixture is a vibrant, rich red and has a spreadable texture.
  5. In a small saucepan, combine water and rice flour to make the slurry. Heat gently, stirring constantly, until it thickens into a sticky, glue-like consistency. Let it cool for a few minutes, then stir it into the chili paste mixture.
  6. Add the sliced carrots and scallions to the paste. Stir well until everything is evenly coated and combined.
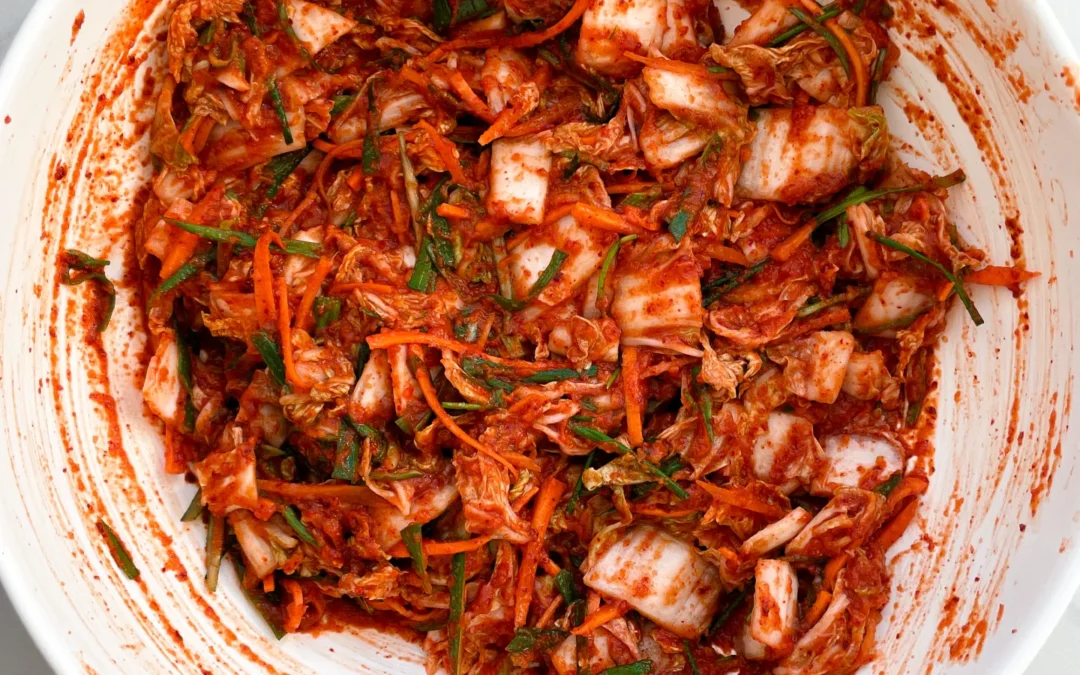
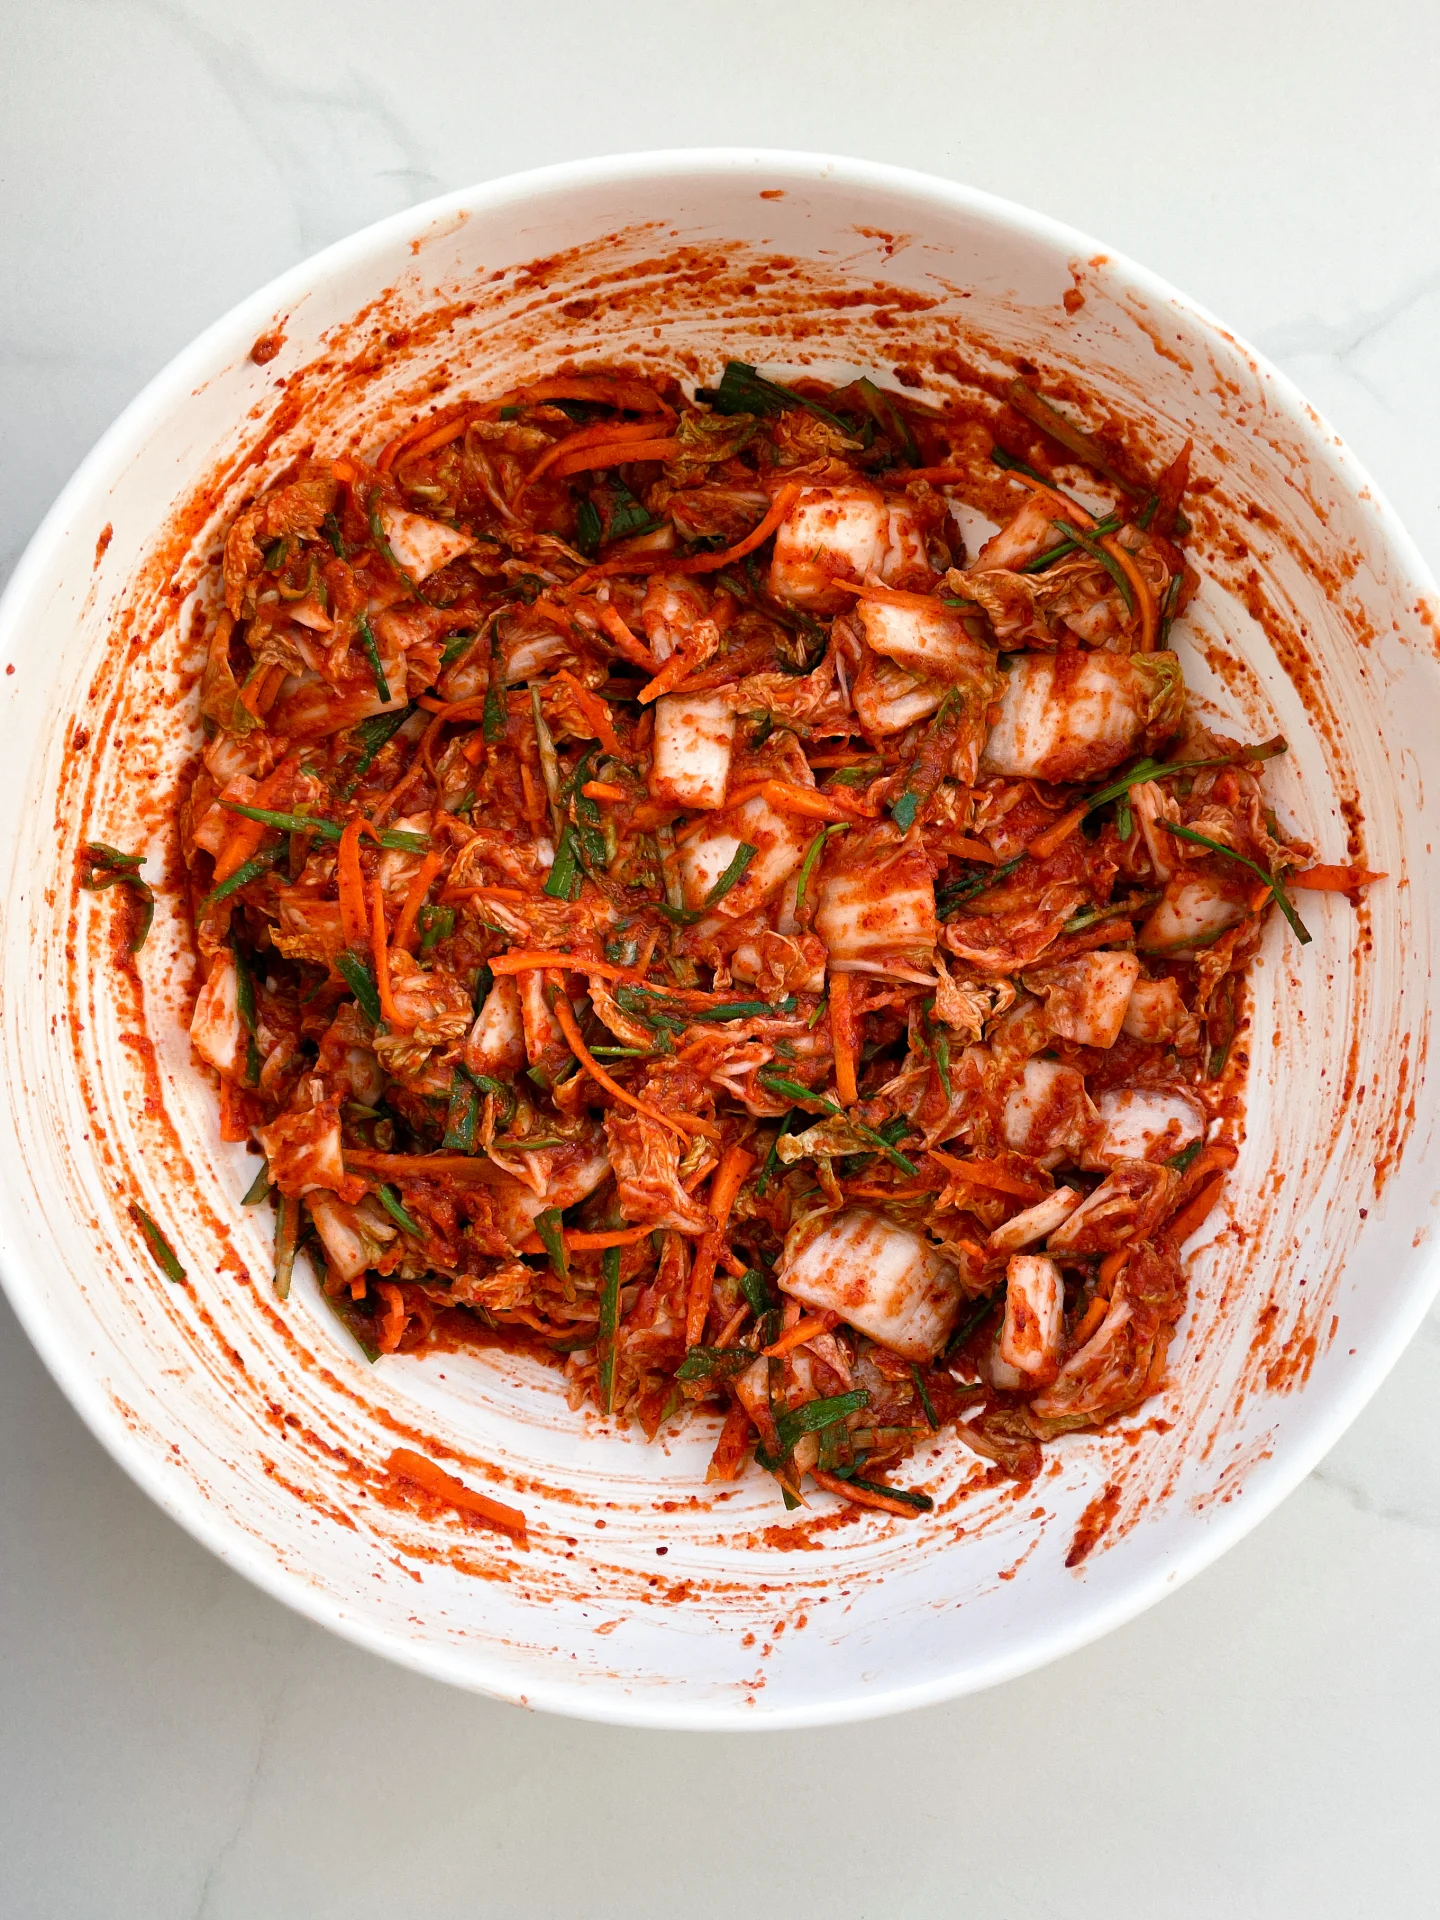
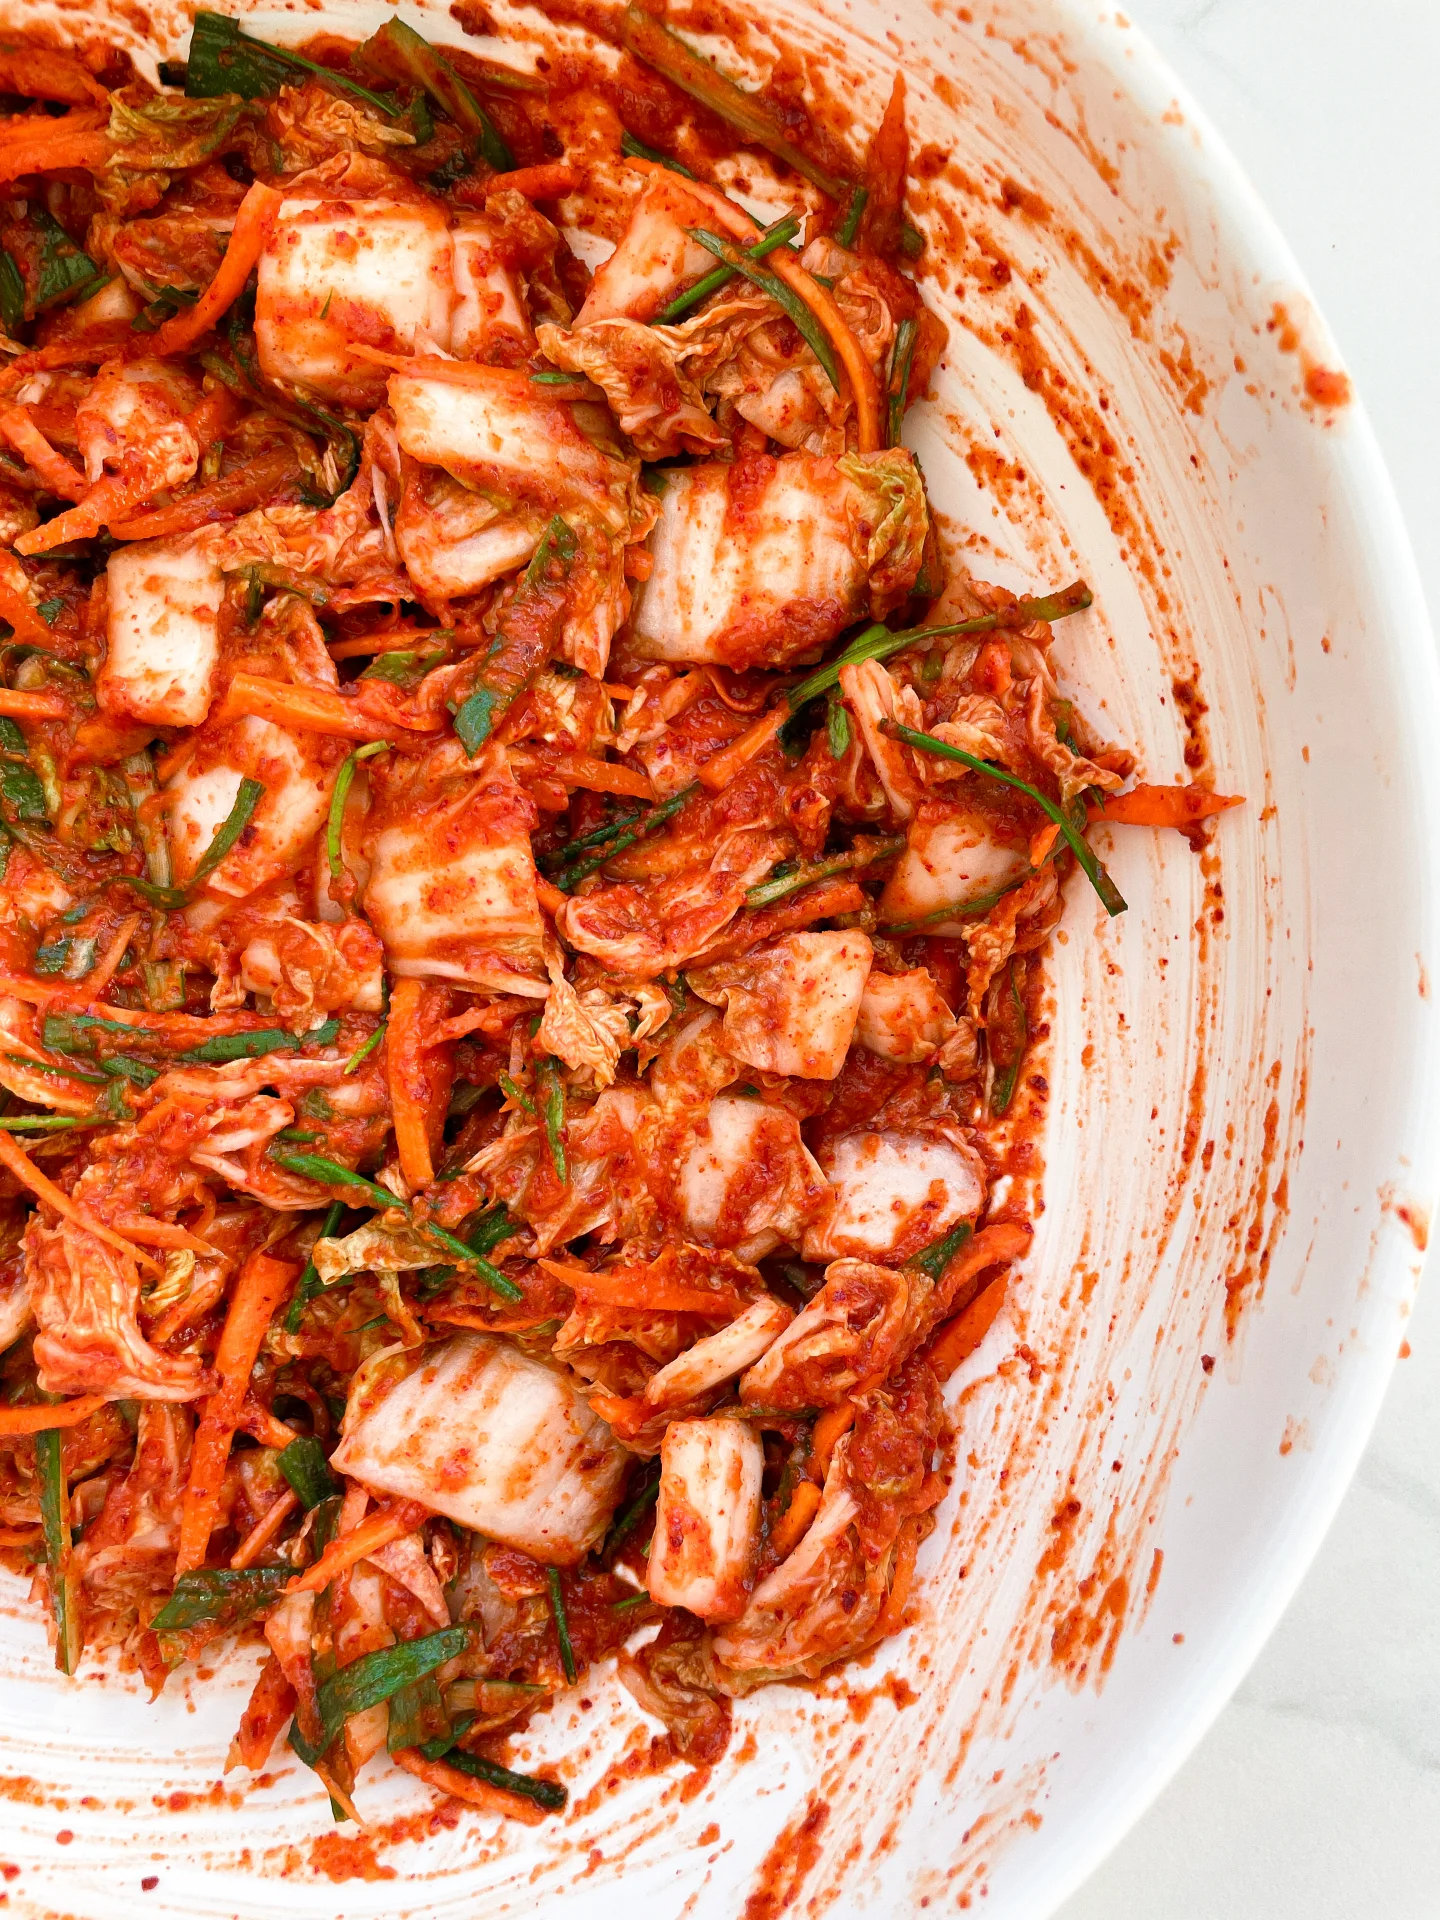
  7. Drain the soaked cabbage, rinse it under cold water, and gently squeeze out the excess liquid. Add it to the bowl with the red paste and (with gloves, highly recommended!) mix everything thoroughly until all the cabbage is coated.
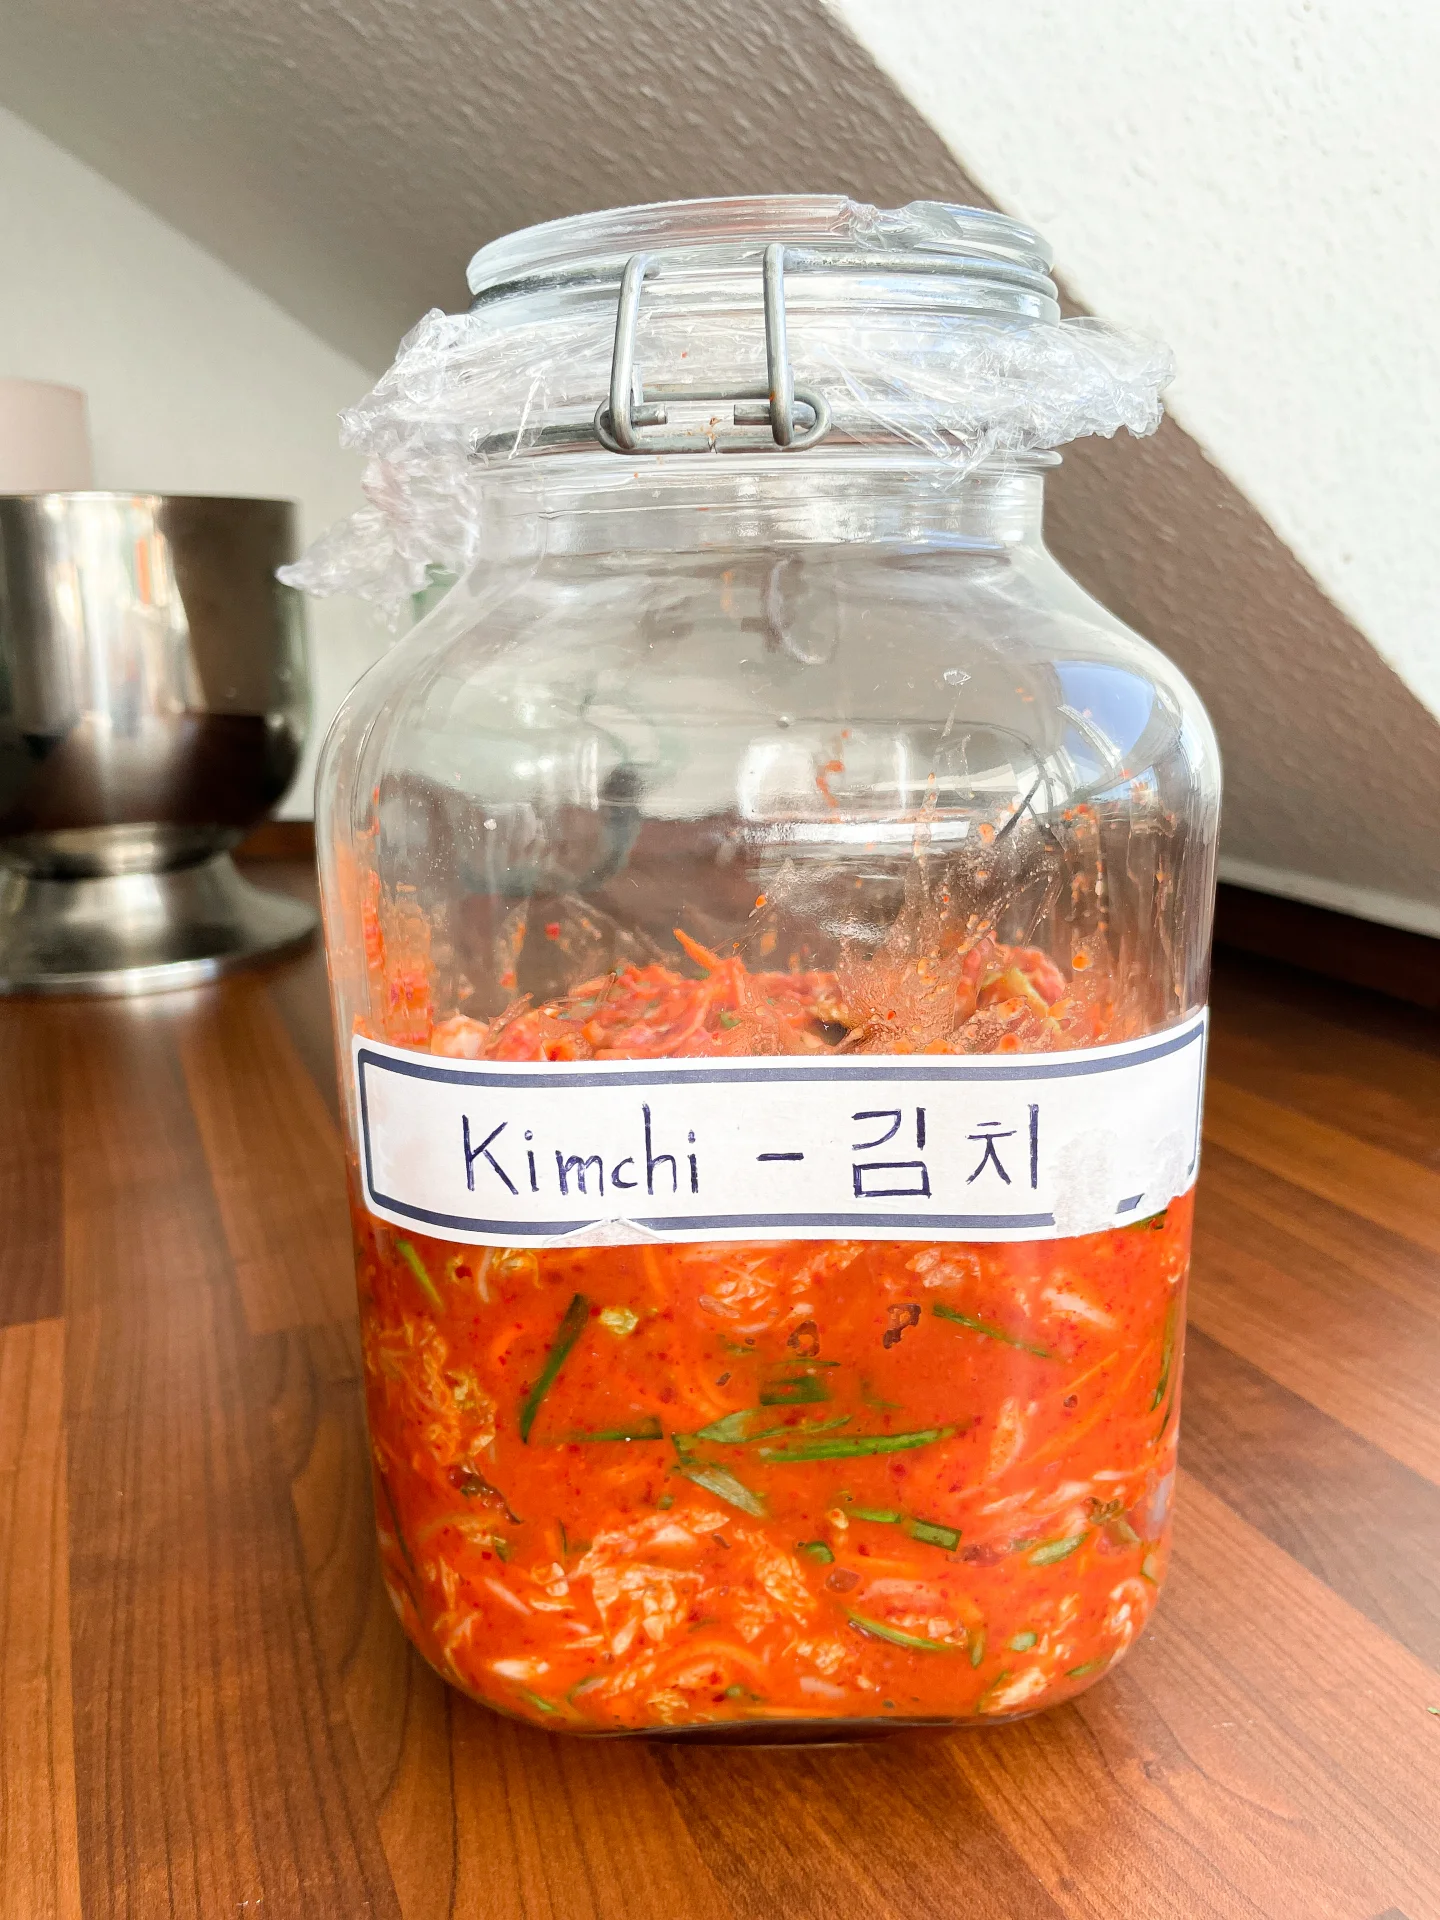
  8. Spoon the kimchi mixture into a clean, airtight container. Press it down firmly to eliminate air pockets. Wipe the edges, cover with plastic wrap, and seal tightly. Leave it at room temperature for about two days to ferment.
  9. After two days, your kimchi will be lightly fermented and ready to taste. If you like it funkier and more sour, give it another day on the counter. After that, pop it in the fridge, it’ll keep for several weeks and just keeps getting better.
  • Passive Time: 2 days
  • Cook Time: 45 min
Kimchi Scallion Pancake

Kimchi Scallion Pancake

Kimchi Scallion Pancake

Kimchi Scallion Pancake

February 29, 2024 by Kimberly

Experience the sizzling joy of a Kimchi Scallion Pancake! Perfect for sharing, these crispy delights blend zesty kimchi and fresh scallions for a mouthwatering treat.

20 MINUTES

EASY

VEGAN

KOREAN

555 PER DUMPLING

CRISPY / ZESTY

EVERYDAY

DINNER / APPETIZER

ALL YEAR

INTRODUCTION

ABOUT THE RECIPE

Dive into the flavorful world of Korean cuisine with my Kimchi Scallion Pancakes! These savory pancakes offer a delightful combination of tangy kimchi and aromatic scallions, pan-fried to golden perfection. Whether you’re a seasoned foodie or new to Korean flavors, these pancakes are sure to spice up your mealtime!

How to serve:
Serve these sizzling Kimchi Scallion Pancakes hot off the pan for the best experience. They’re perfect as a hearty breakfast, a unique appetizer, or a side dish for your main meals. Pair them with a dipping sauce made from soy sauce, sriracha and lemon juice to elevate their flavor. Cut them into wedges, and share the joy with friends and family.

How to store:
Store leftover pancakes in the refrigerator, wrapped tightly in plastic wrap or in an airtight container. They’ll stay fresh for up to two days. Reheat in a pan over medium heat to retain their crispiness and flavor.

Hi, I'm Kimberly!

Hi, I'm Kimberly.

A passionate food lover who believes in the magic of homemade deliciousness that spreads love and warmth. Join me on this culinary adventure as I prepare wonderful dishes and let’s spread some happiness together!

Kimberly the Zett Signature

If you want to get to know me better, click here!


Kimchi Scallion Pancake
„Let’s make a piece of happiness“

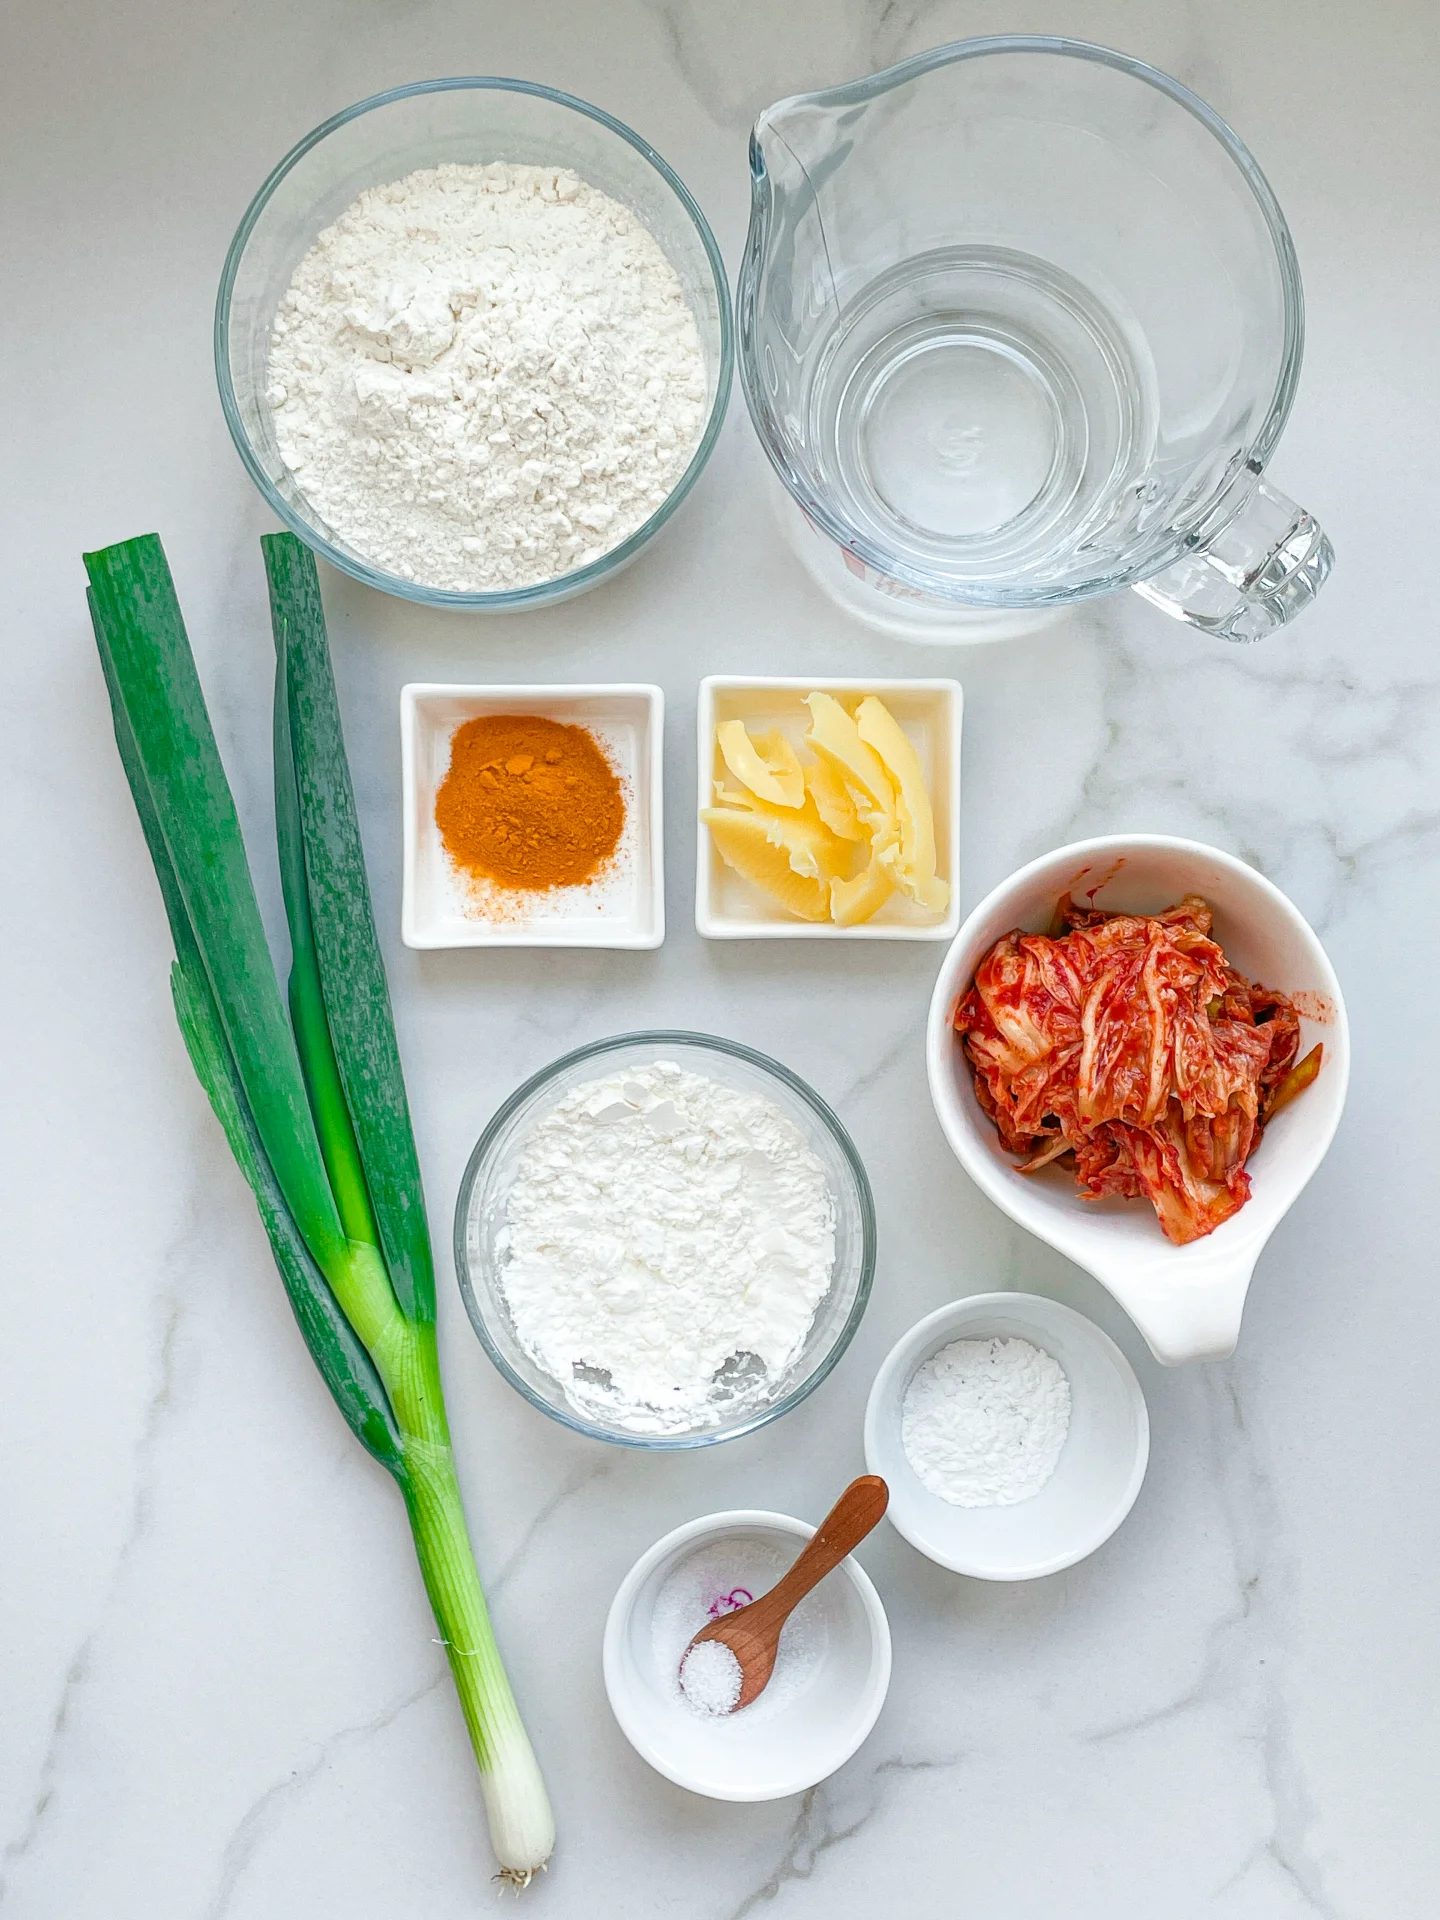
INGREDIENTS

FOR 2 PANCAKES

DOUGH

  • 100g kimchi (1/2 cup)
  • 3 spring onions
  • 100g all-purpose flour (3/4 cup)
  • 20g cornstarch (1 tbsp)
  • 1/2 tsp turmeric
  • 1/4 tsp baking powder
  • 1/4 tsp salt
  • 100ml water (3.5 fl oz)

ADDITIONAL

  • 2 tsp clarified butter
Kimchi Scallion Pancake
}

ACTIVE: 5 min

PASSIVE: –

PREPARATIONS

Recommended Equipment
  • sharp knife
  • cutting board
  • medium bowl
  • medium sized pan
  • Roughly chop the kimchi and place in a medium-sized bowl with 2 tbsp of its marinade.
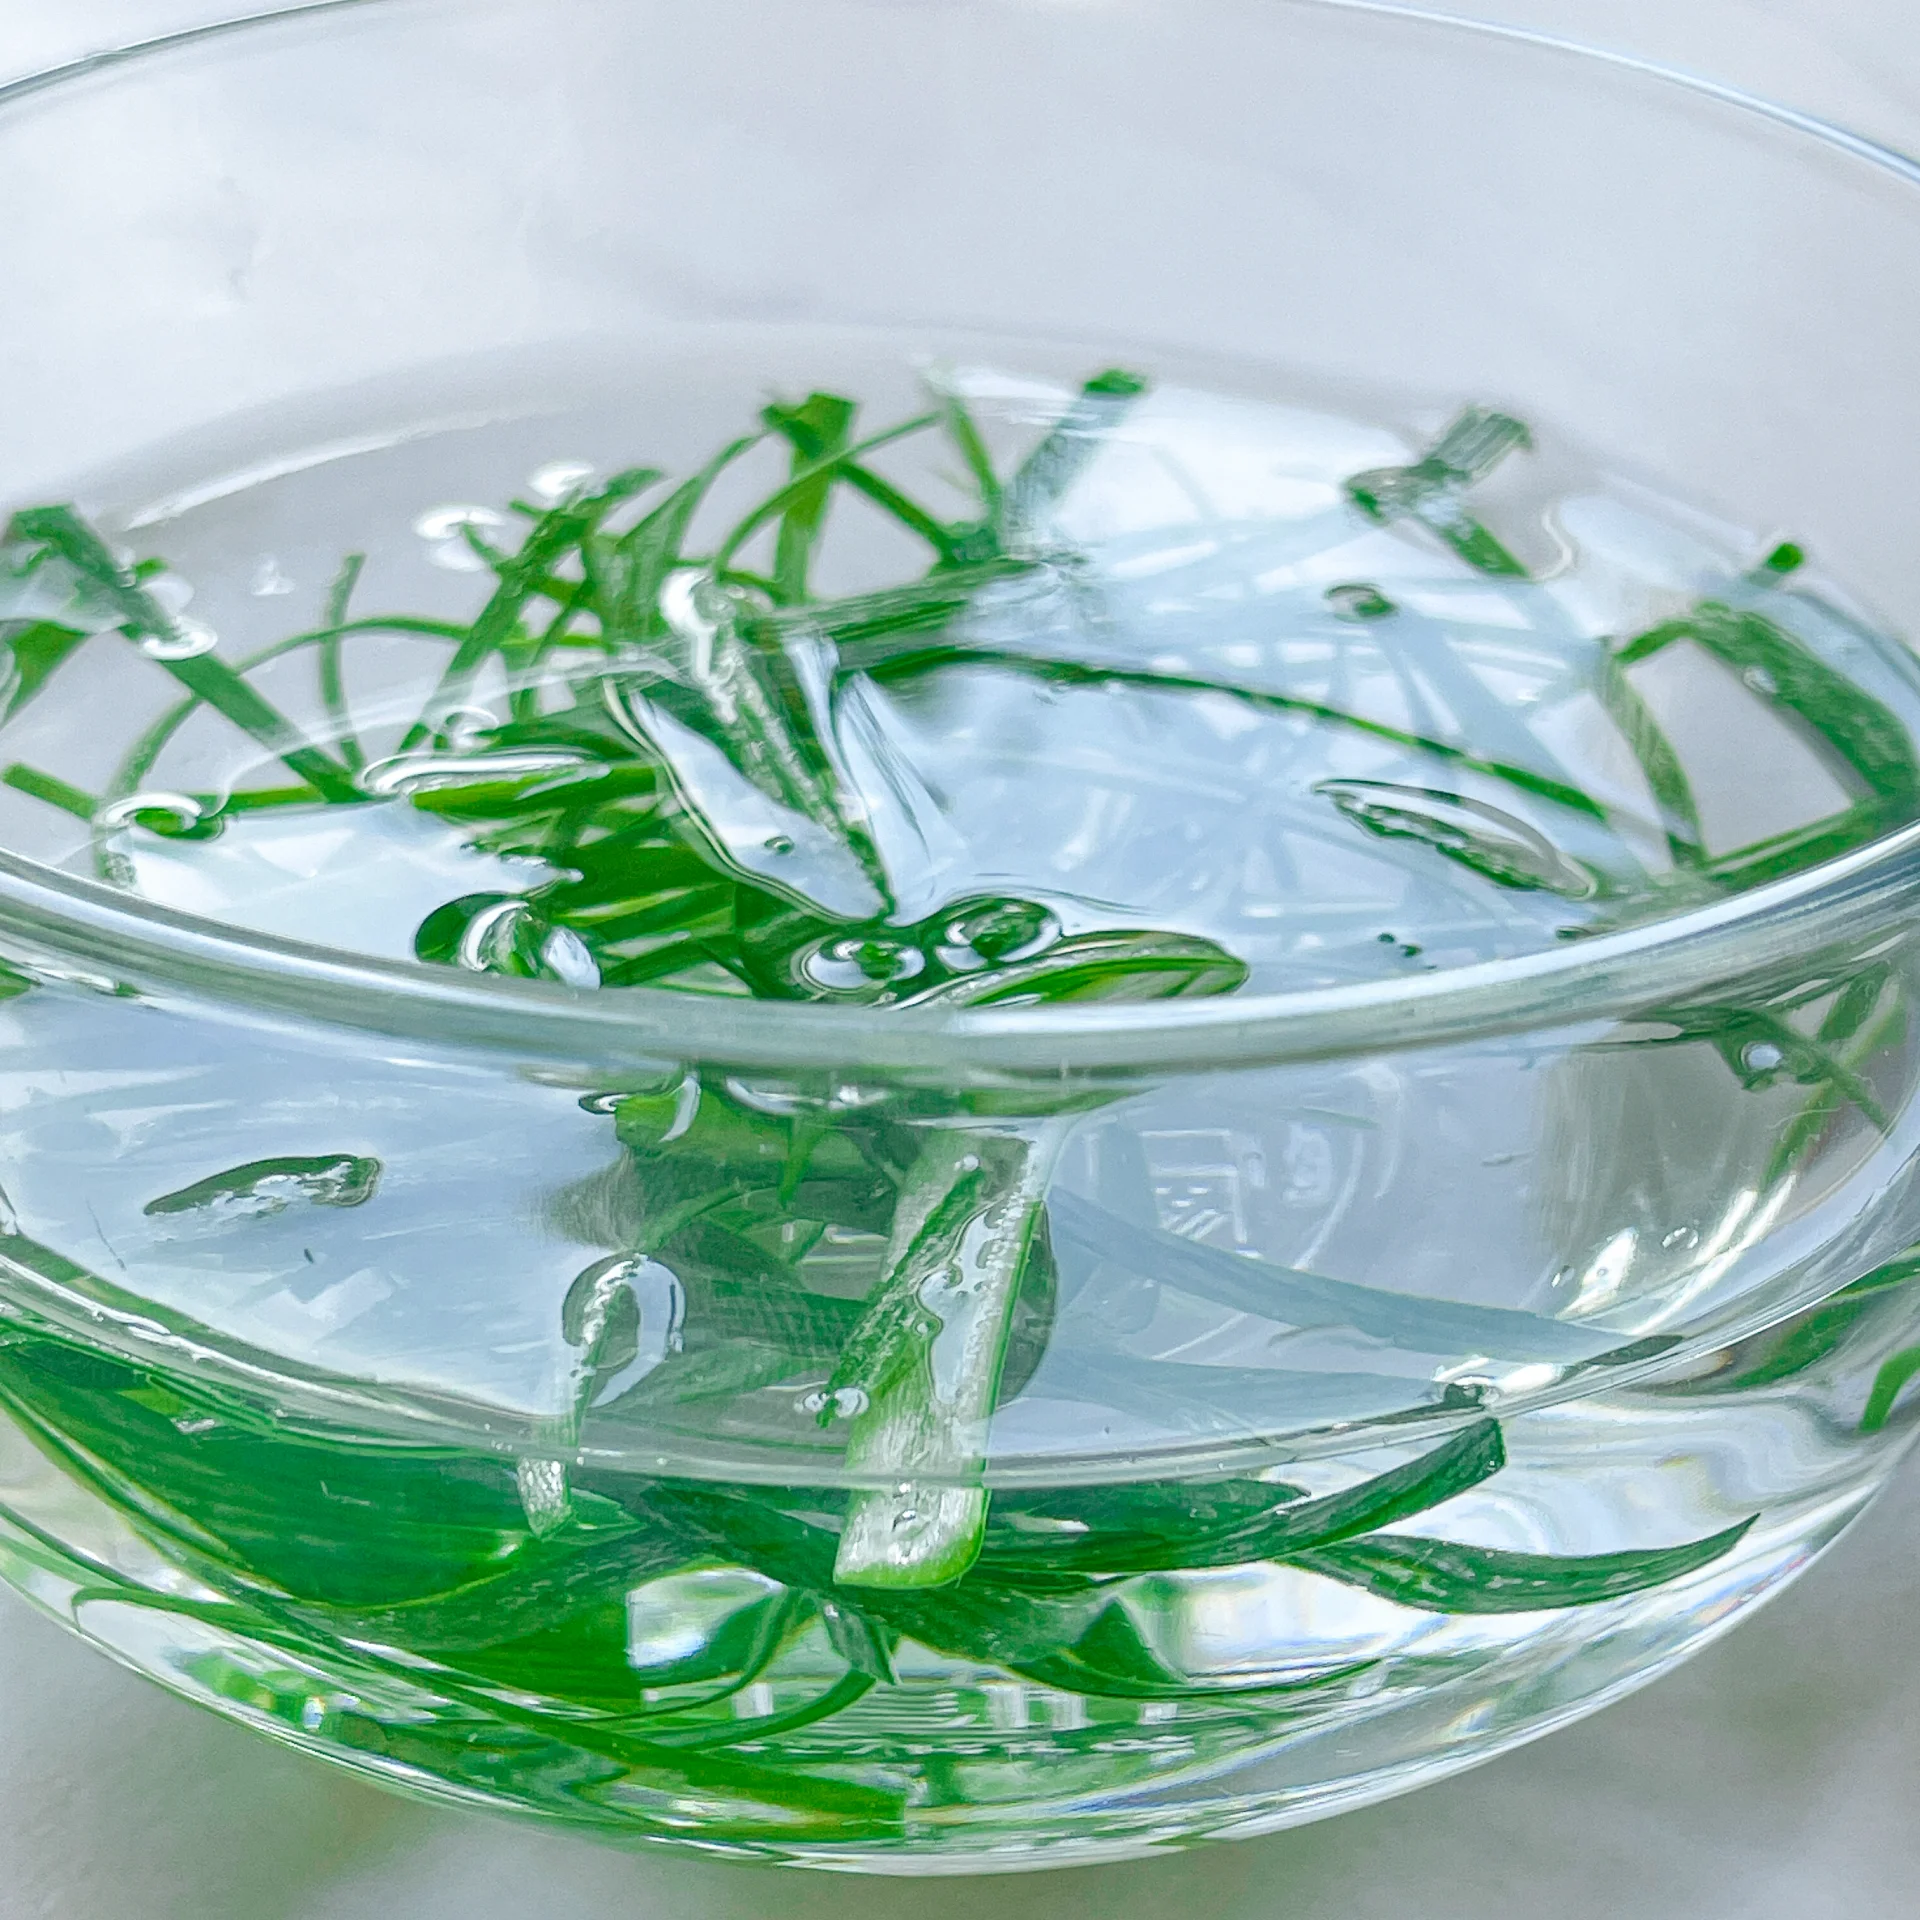
  • Wash the spring onions and cut into fine strips. Set aside a small portion of the green strips as a topping for later. Add the rest to the bowl.
}

ACTIVE: 15 min

PASSIVE: –

COOKING

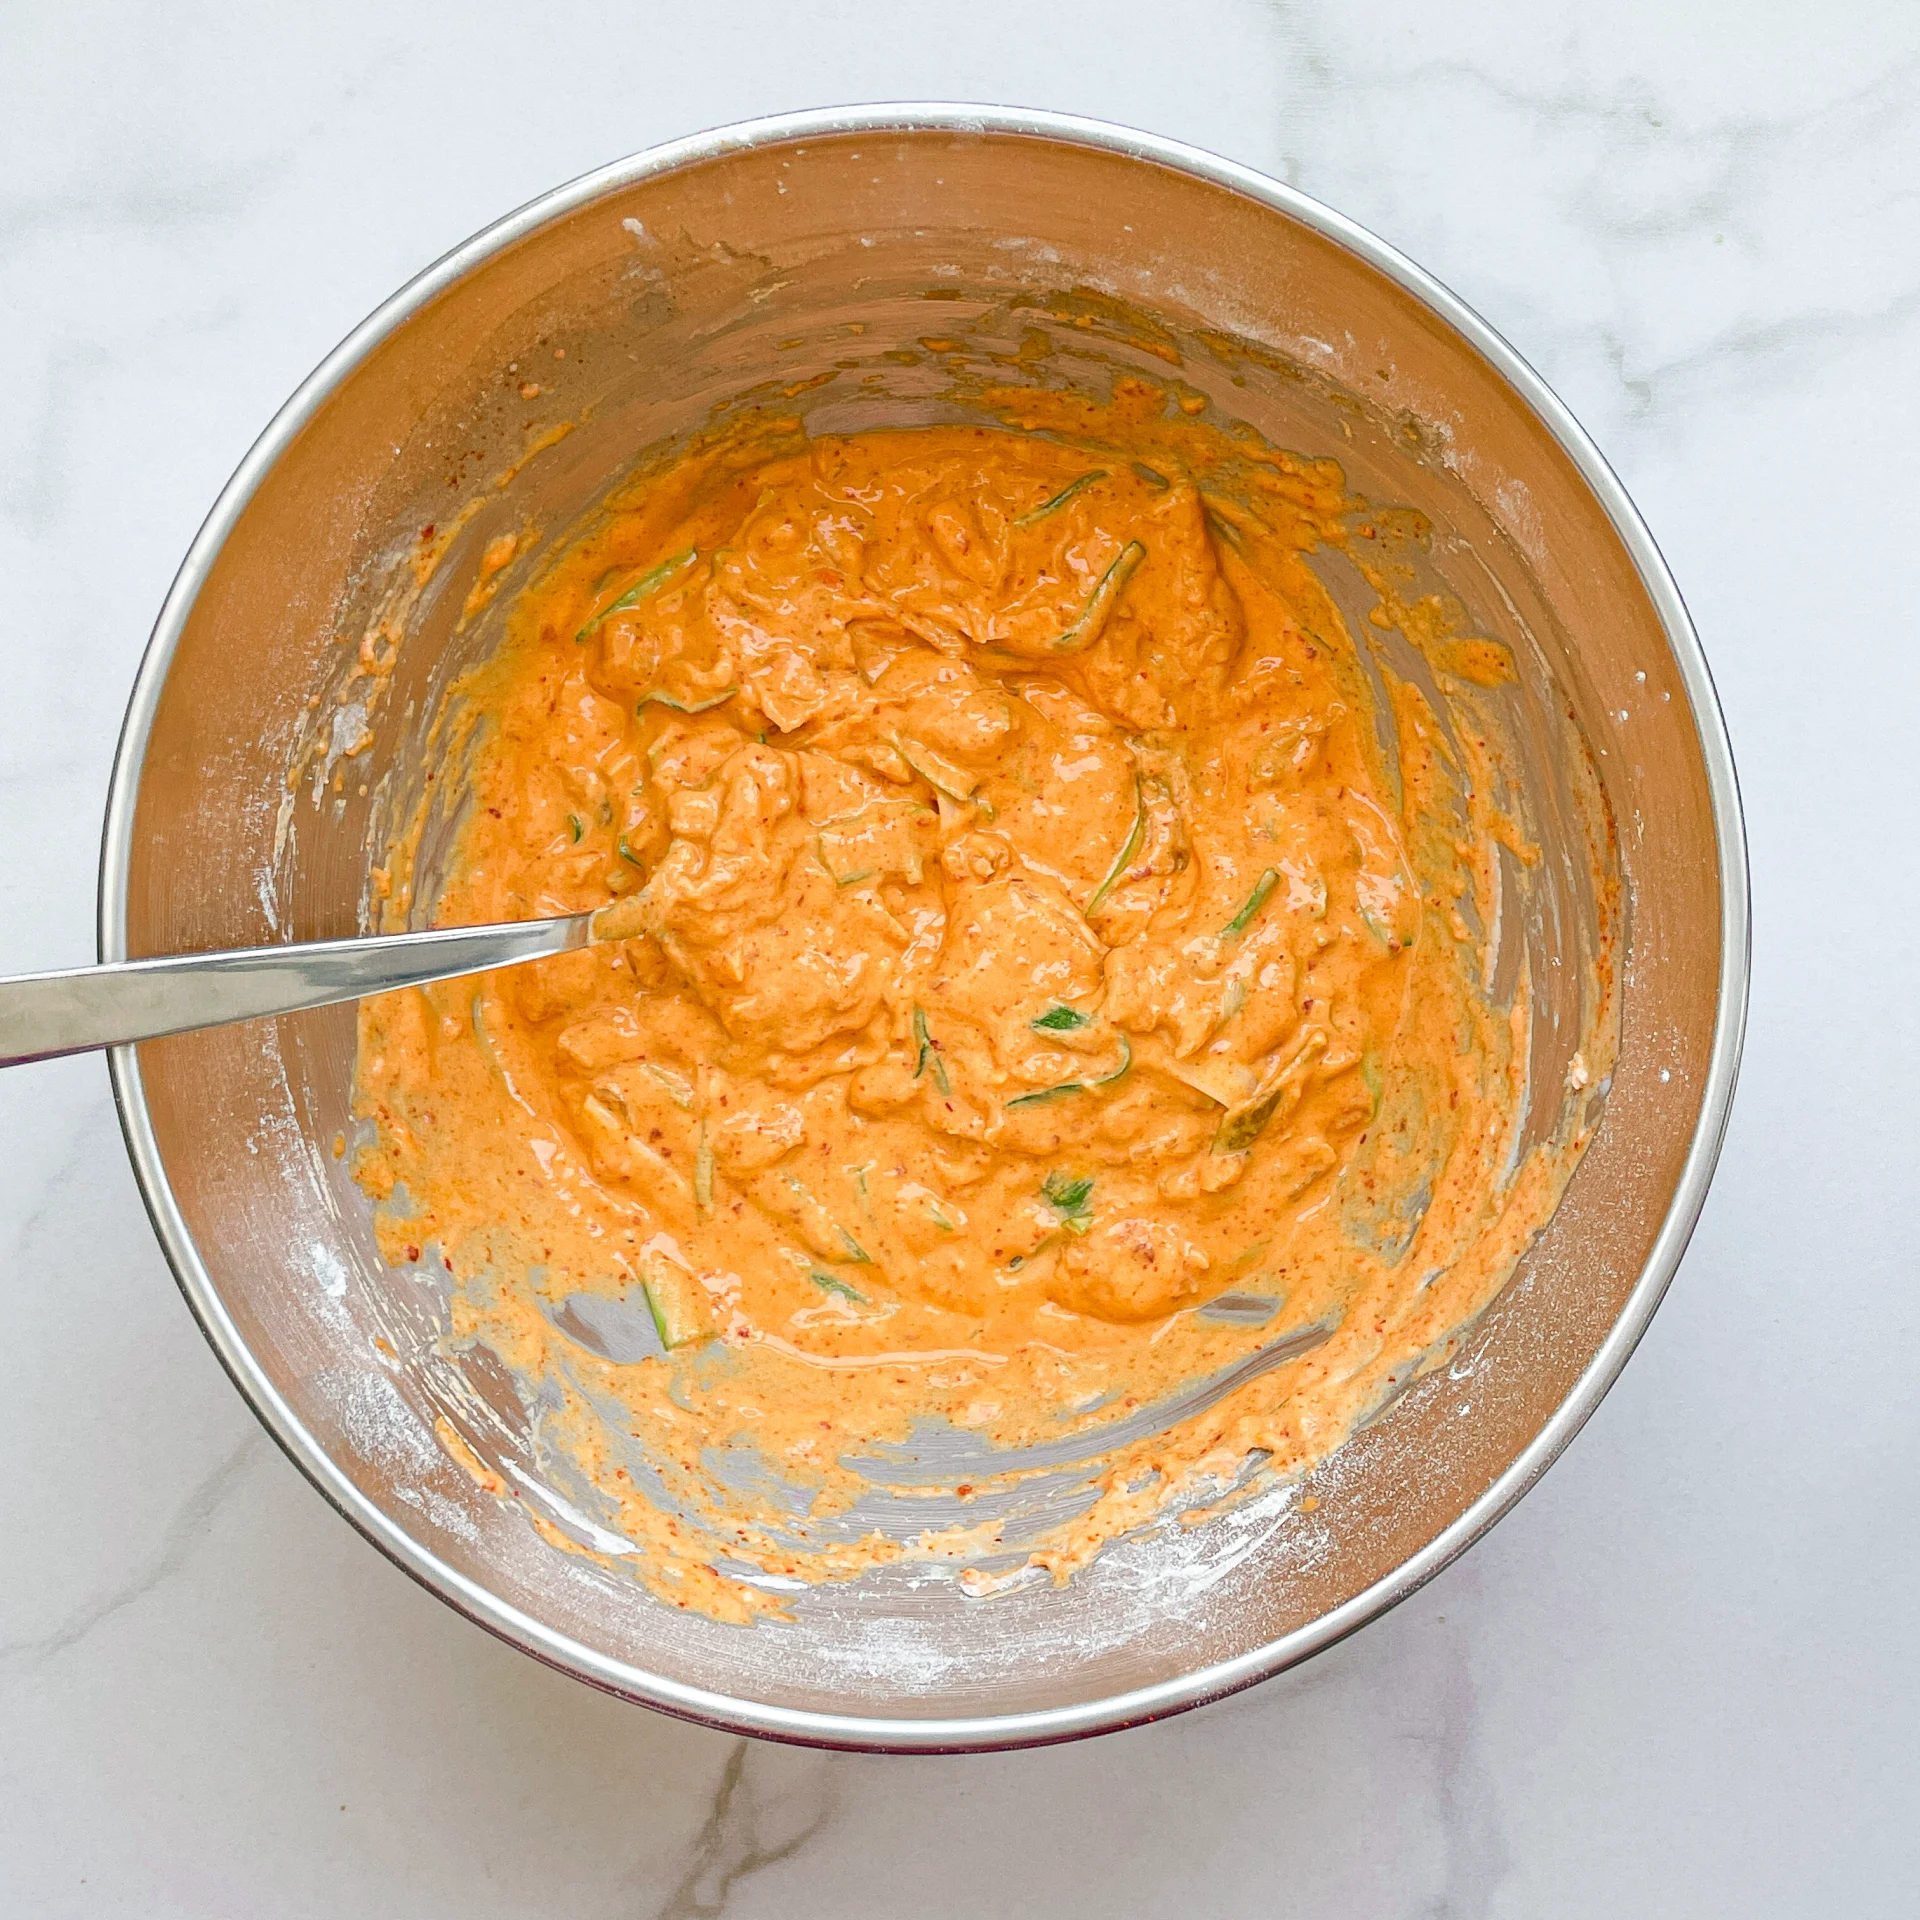
1. Now add the flour, cornstarch, water, salt, turmeric and baking powder to the kimchi and spring onions in the bowl and mix to form a smooth batter.

2. Heat a medium-sized frying pan with 1 tsp clarified butter. Pour half of the batter into the pan and fry on both sides until crispy. Now add another teaspoon of clarified butter to the pan and fry the second half of the batter in the pan.

3. Cut the kimchi pancake into large pieces, serve hot on a plate and top with the remaining green spring onions.

NOTE: The calorie information may vary depending on the product used, country and region.

Chicken Shawarma Plate

Chicken Shawarma Plate

Chicken Shawarma Plate

Chicken Shawarma Plate

November 28, 2023 by Kimberly

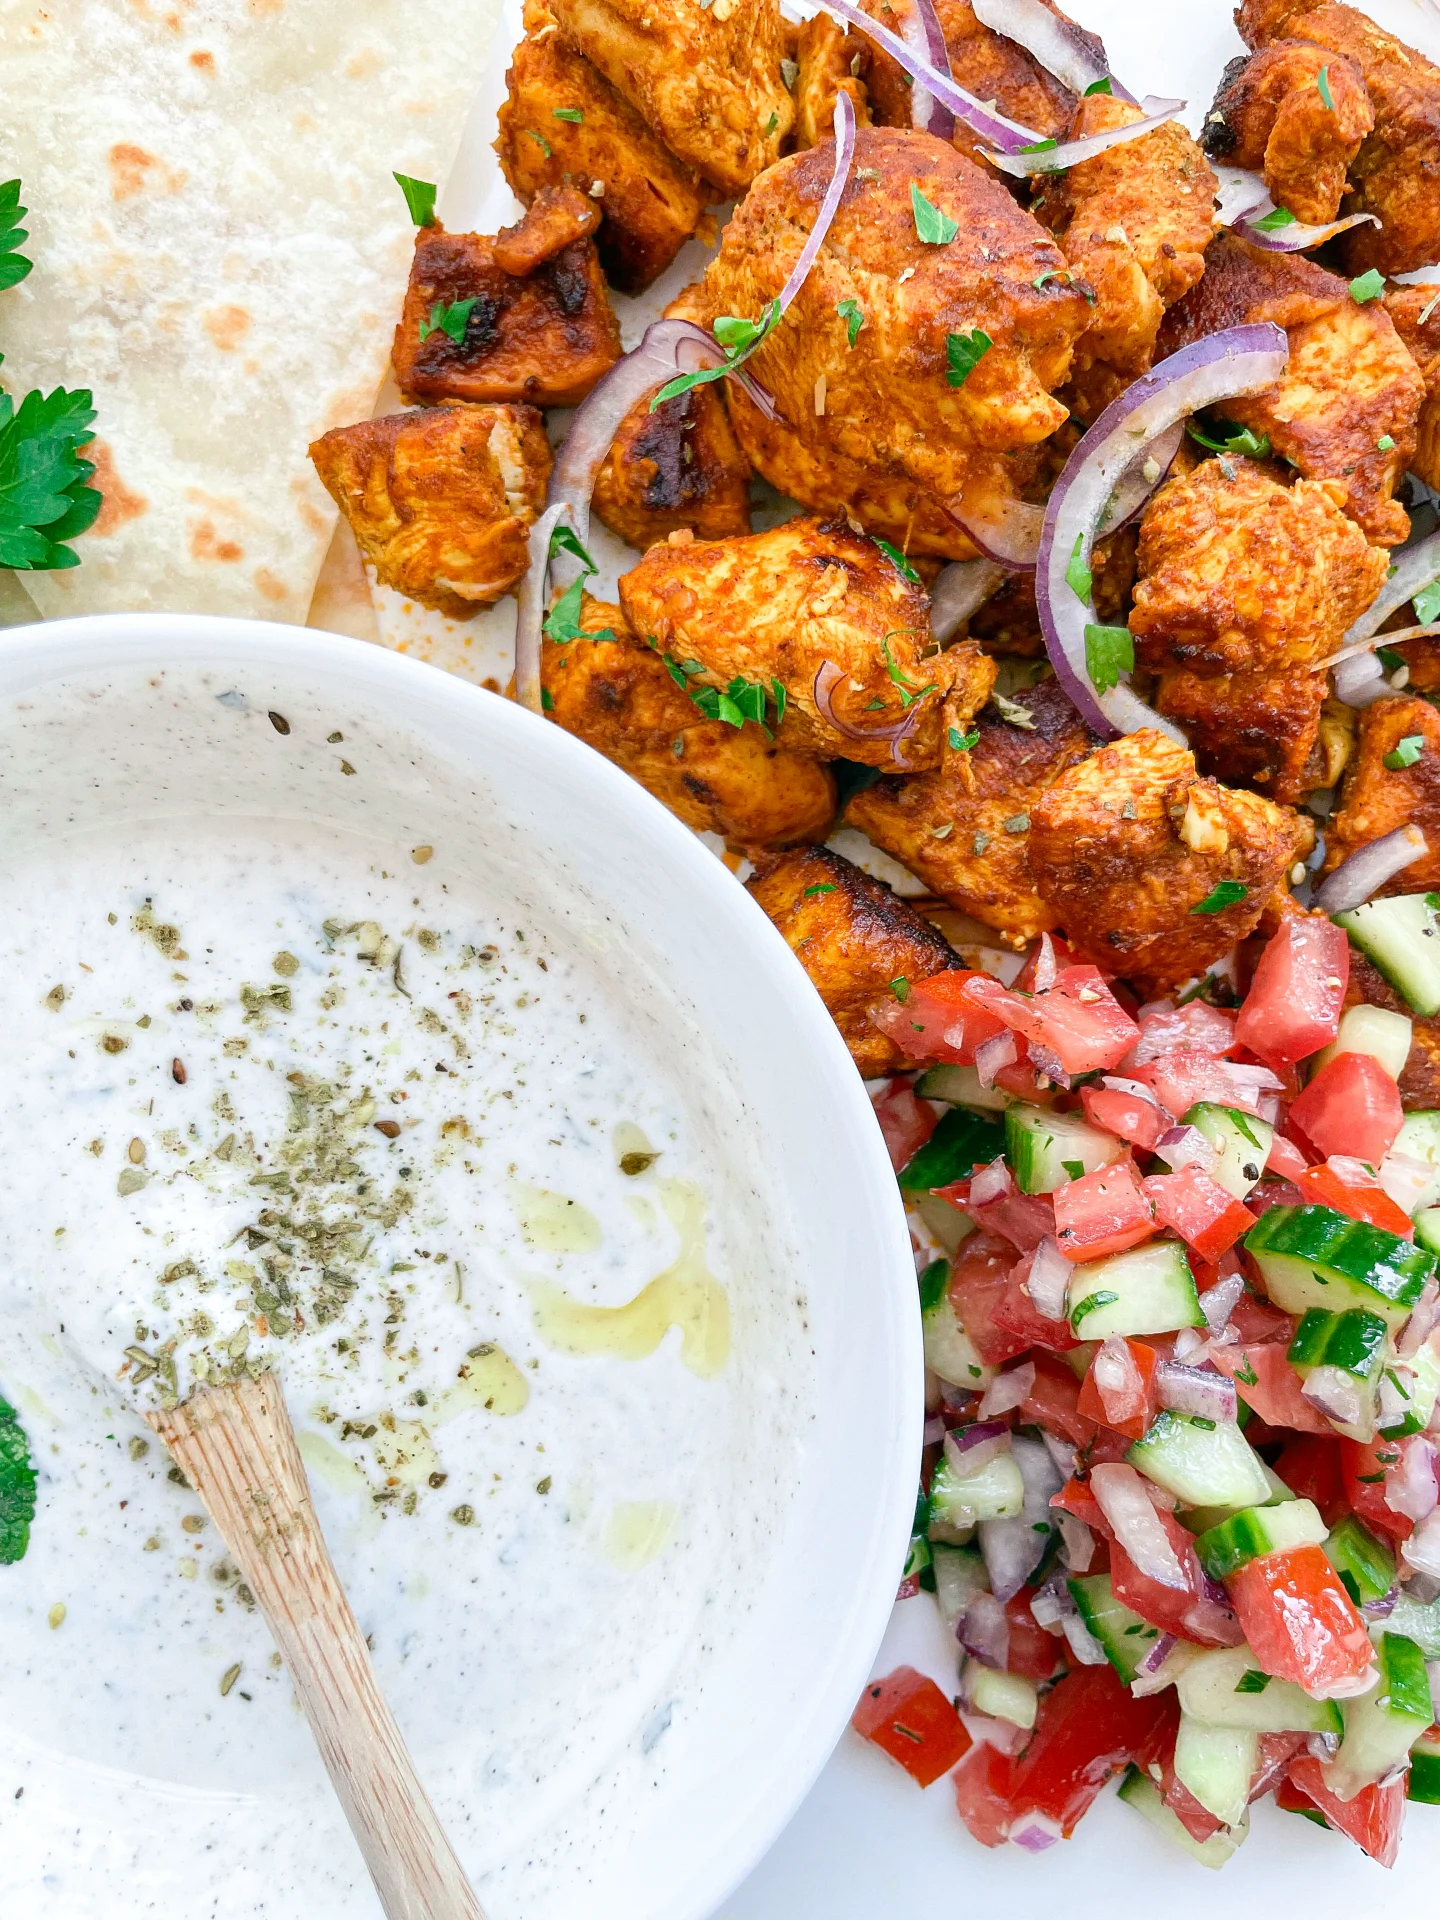
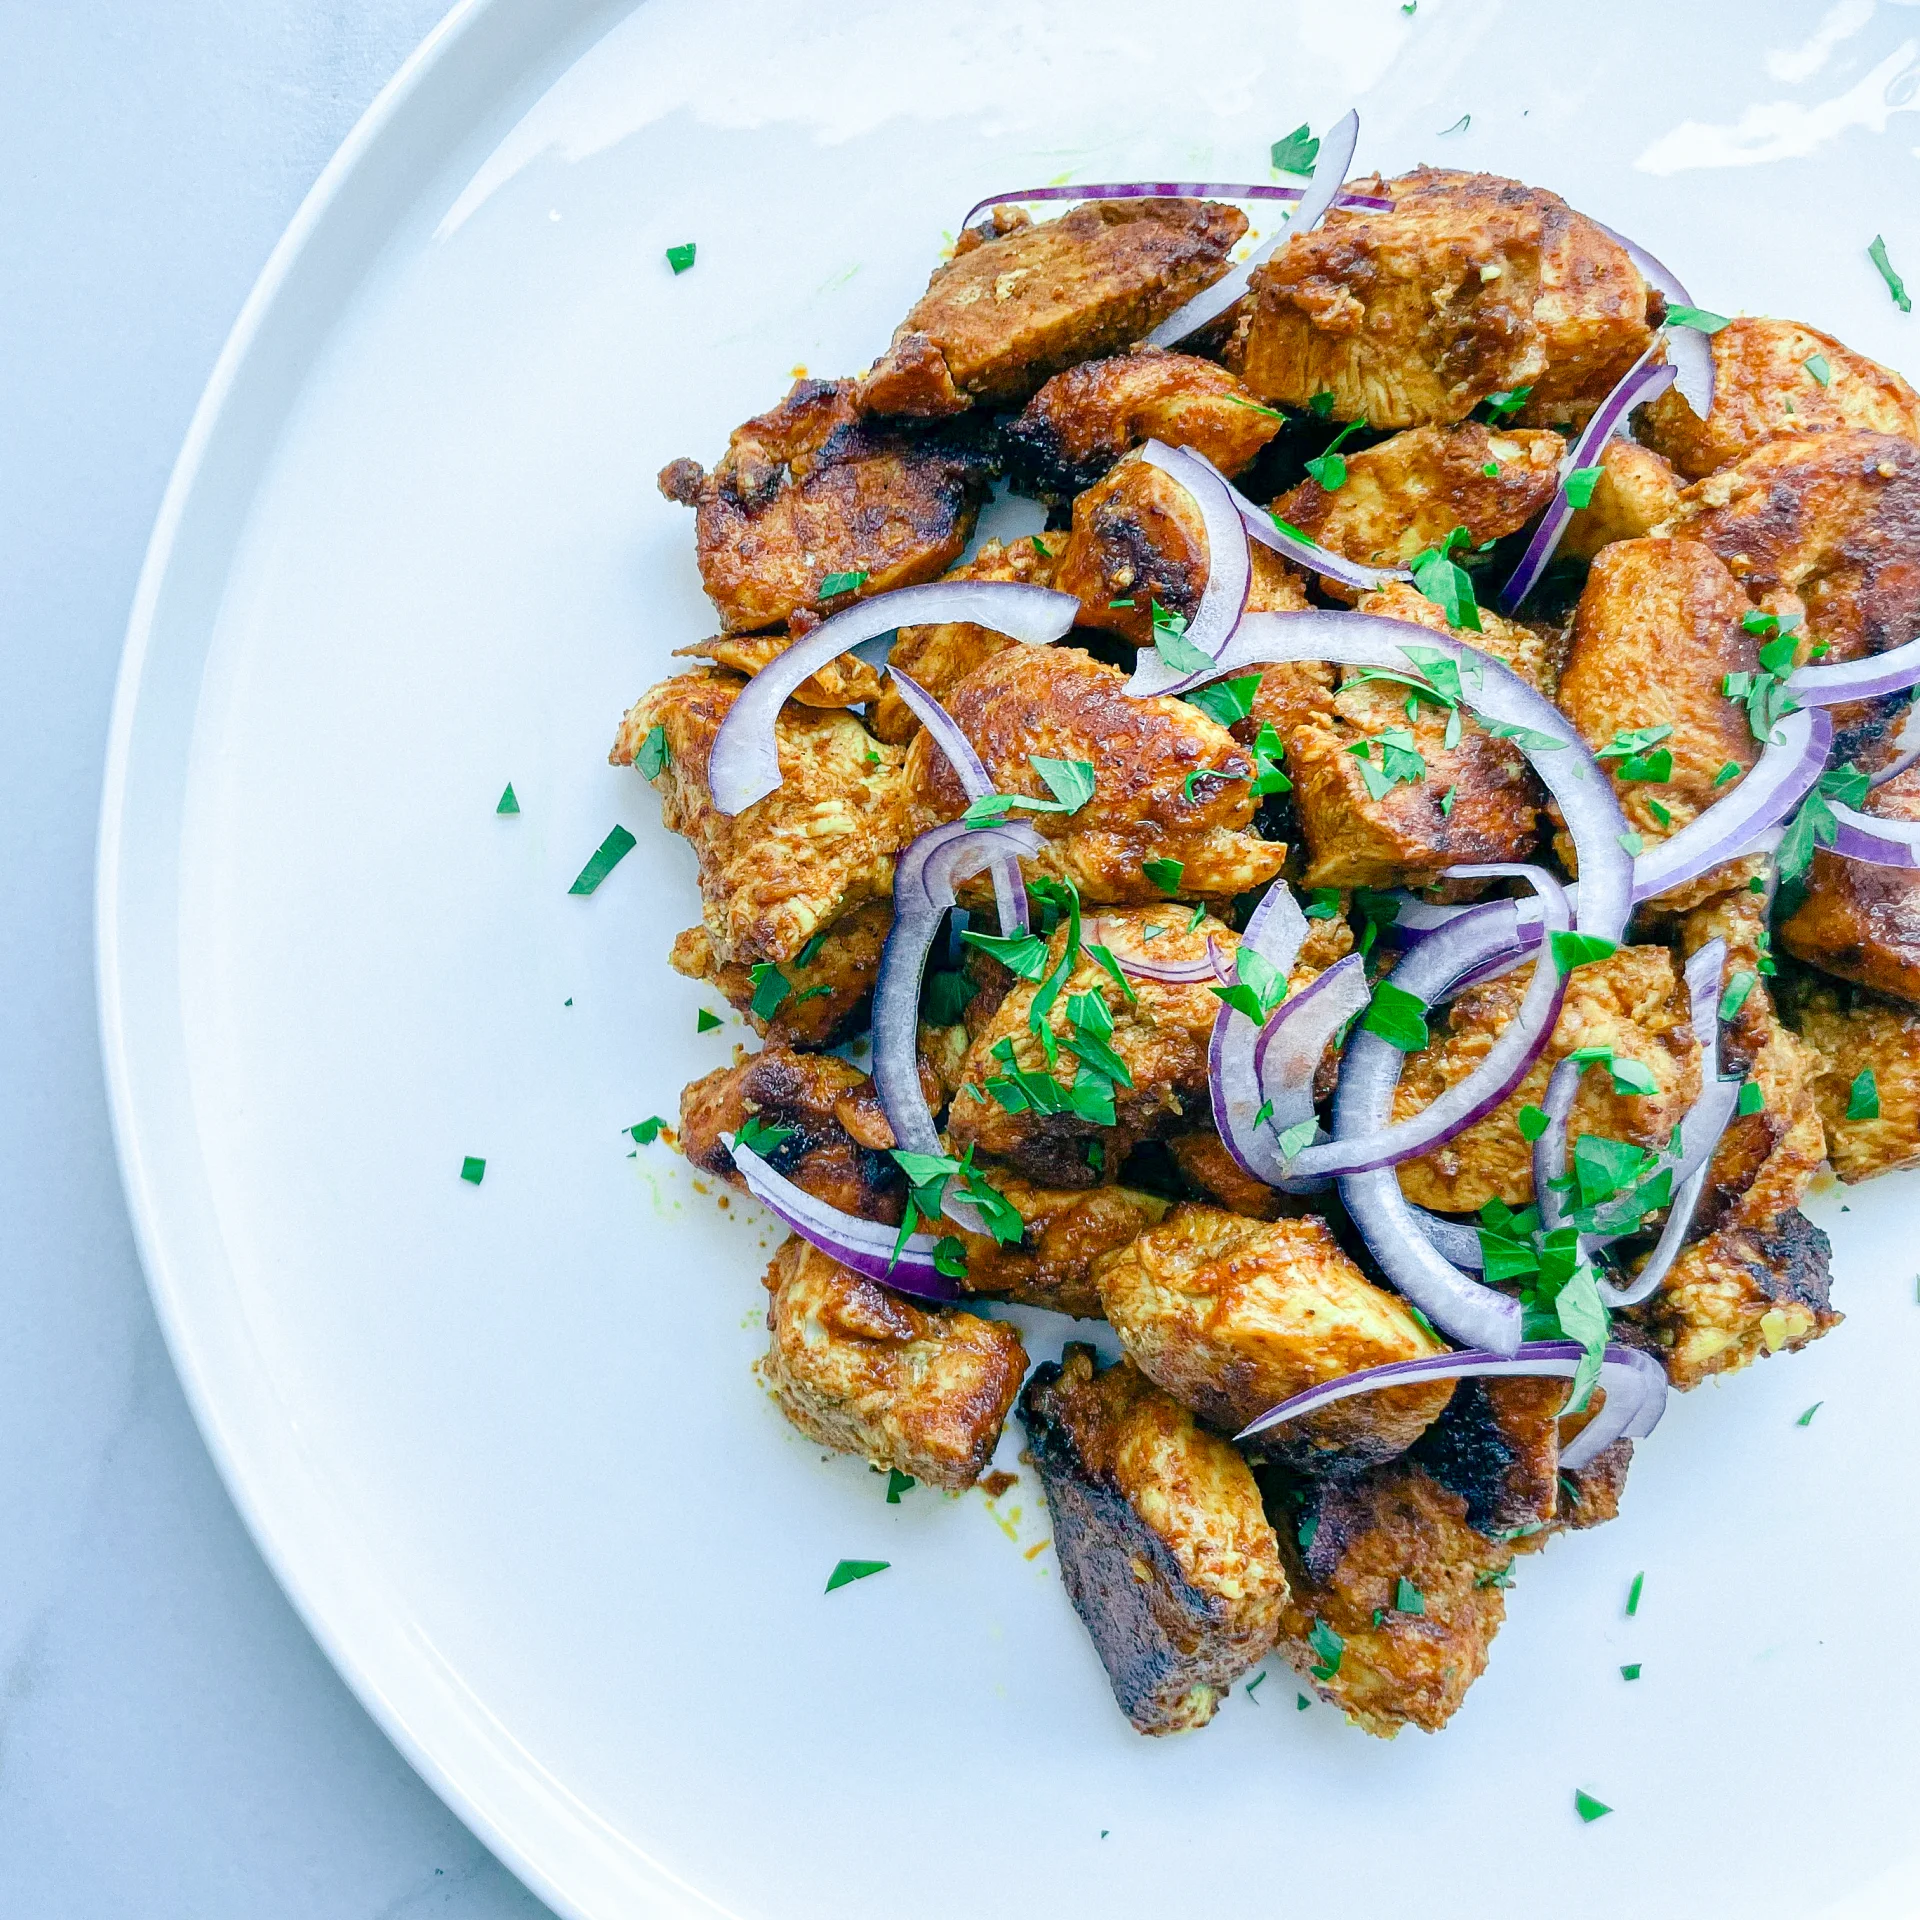
Experience a taste symphony with this Chicken Shawarma Plate – succulent spiced chicken, vibrant fresh veggies, and a zesty mint-garlic dip. A flavorful journey on every plate!

60 MINUTES

EASY

OMNIVORE

ARABIC

485 PER PORTION

COMFORT FOOD

EVERYDAY

DINNER

ALL YEAR

INTRODUCTION

ABOUT THE RECIPE

Savor the exotic flavors of my Chicken Shawarma Plate! Succulent, spice-infused chicken, paired with a medley of fresh tomatoes and cucumbers, all enhanced by a zesty mint-garlic dip. This culinary masterpiece promises a taste journey that’s as bold and exciting as it is delicious. Elevate your dining experience with this harmonious fusion of textures and spices, making every bite a celebration of Middle Eastern culinary delights.

How to serve:
Serve a delicious chicken shawarma plate by combining the seasoned chicken with the fresh tomato, cucumber and parsley salad and the spicy mint garlic dip. Feel free to add rice or chubz, a Lebanese bread, as well. This versatile dish offers a fusion of flavors and textures that can be enjoyed on any occasion. A simple but delicious culinary adventure awaits!

How to store:
To store the Chicken Shawarma Plate, refrigerate any leftovers promptly. Keep the spiced chicken, tomato-cucumber salad, mint-garlic dip, and other components in separate airtight containers. This helps maintain their individual flavors and textures. When reheating, warm the chicken separately to preserve its tenderness. Consume within a day or two for the best taste and freshness.

Hi, I'm Kimberly!

Hi, I'm Kimberly.

A passionate food lover who believes in the magic of homemade deliciousness that spreads love and warmth. Join me on this culinary adventure as I prepare wonderful dishes and let’s spread some happiness together!

Kimberly the Zett Signature

If you want to get to know me better, click here!


Chicken Shawarma Plate

„Let’s make a piece of happiness“

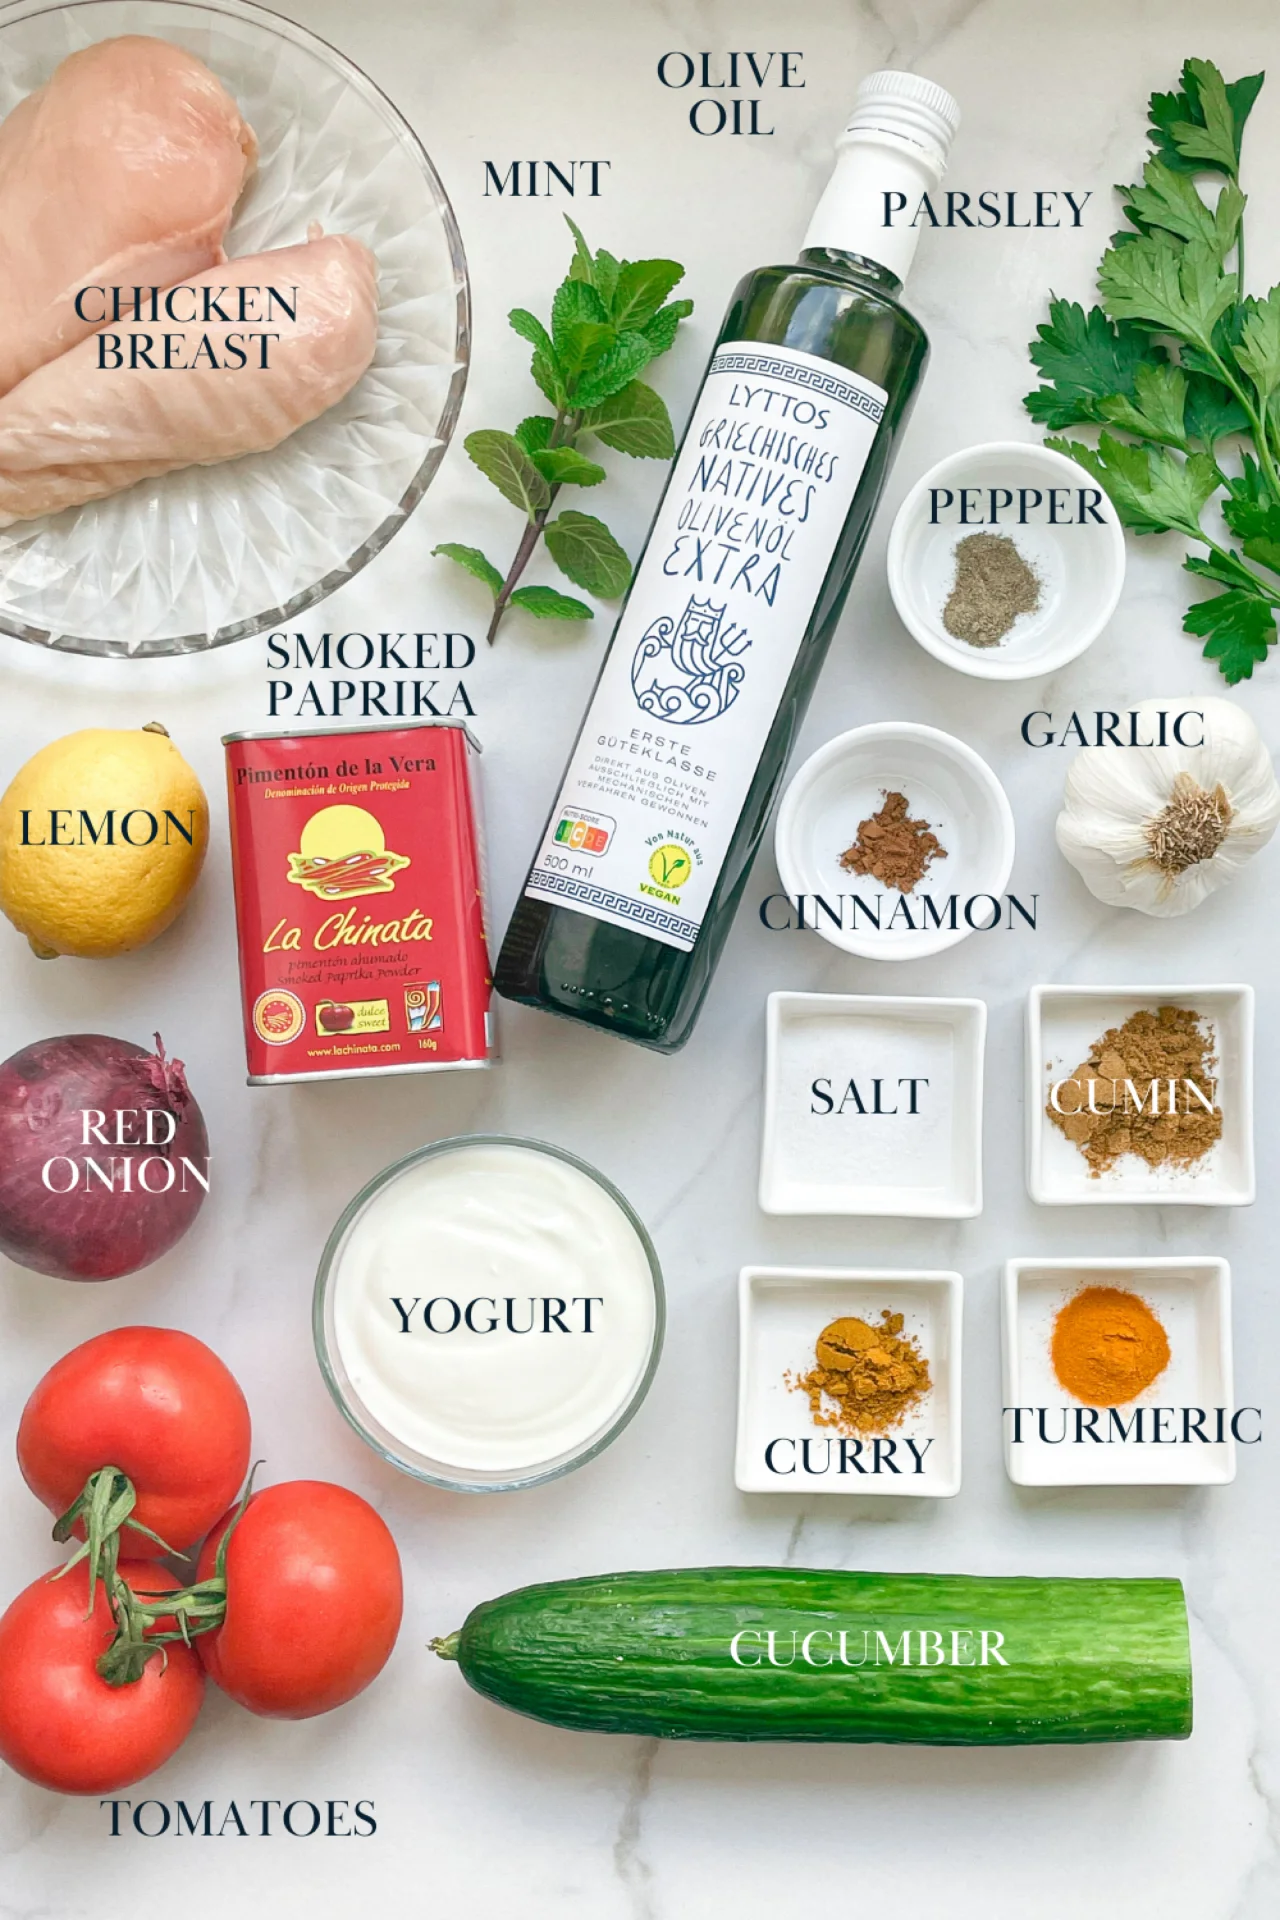
INGREDIENTS

For 2 People

CHICKEN

  • 400g (14 oz.) chicken breast or boneless, skinless chicken thighs
  • 1 tsbp olive oil
  • 1 tbsp lemon juice
  • 3 garlic cloves
  • 1 tsp cumin
  • 1 tsp smoked paprika
  • 1 tsp salt
  • 1/4 tsp turmeric
  • 1/4 tsp curry
  • 1/8 tsp cinnamon
  • 1/8 tsp pepper

SALAD

  • 200g tomatoes (7 oz.)
  • 150g cucumber (5 oz.)
  • 80g red onion (3 oz.)
  • 1 tbsp parsley
  • 2 tbsp olive oil
  • 1 tbsp lemon juice
  • 1/8 tsp salt
  • 1/8 tsp pepper

DIP

  • 200g yogurt (7 oz.)
  • 12 leaves fresh mint
  • 1 garlic clove
  • 1/4 tsp salt
  • 1/8 tsp pepper
Chicken Shawarma Plate
}

ACTIVE: 20 min

PASSIVE: 0 min

PREPARATIONS

Recommended Equipment
  • sharp knife
  • cutting board
  • small bowl
  • medium bowl
  • frying pan

Chicken

  • If you are using chicken breast, cut it into small pieces. If you are using boneless and skinless chicken thighs, you can also leave them whole.
  • Remove the skin from the 3 garlic cloves.
  • In a bowl, mix together 1 tbsp olive oil and 1 tbsp lemon juice.
  • Squeeze the garlic cloves into the bowl with the olive oil and lemon juice. Now add 1 tsp cumin, 1 tsp smoked paprika powder, 1/4 tsp turmeric, 1/4 tsp curry powder, 1/8 tsp cinnamon, 1 tsp salt and 1/8 tsp black pepper and mix well.
  • Place the chicken in the marinade and mix everything well so that the entire chicken is covered with the marinade.
  • Now place the bowl in the fridge. Leave it in the fridge to marinate for about 30 minutes.

Salad

  • Meanwhile cut the tomatoes into small pieces.
  • Cut the cucumber into small pieces.
  • Cut the onion into small pieces.
  • Pluck the parsley from the stalks and chop finely.

Dip

  • Remove the skin from the garlic clove.
  • Stack the mint leaves on top of each other and roll them up. Then cut into rings and chop finely.
}

ACTIVE: 10 min

PASSIVE: 30 min

COOKING

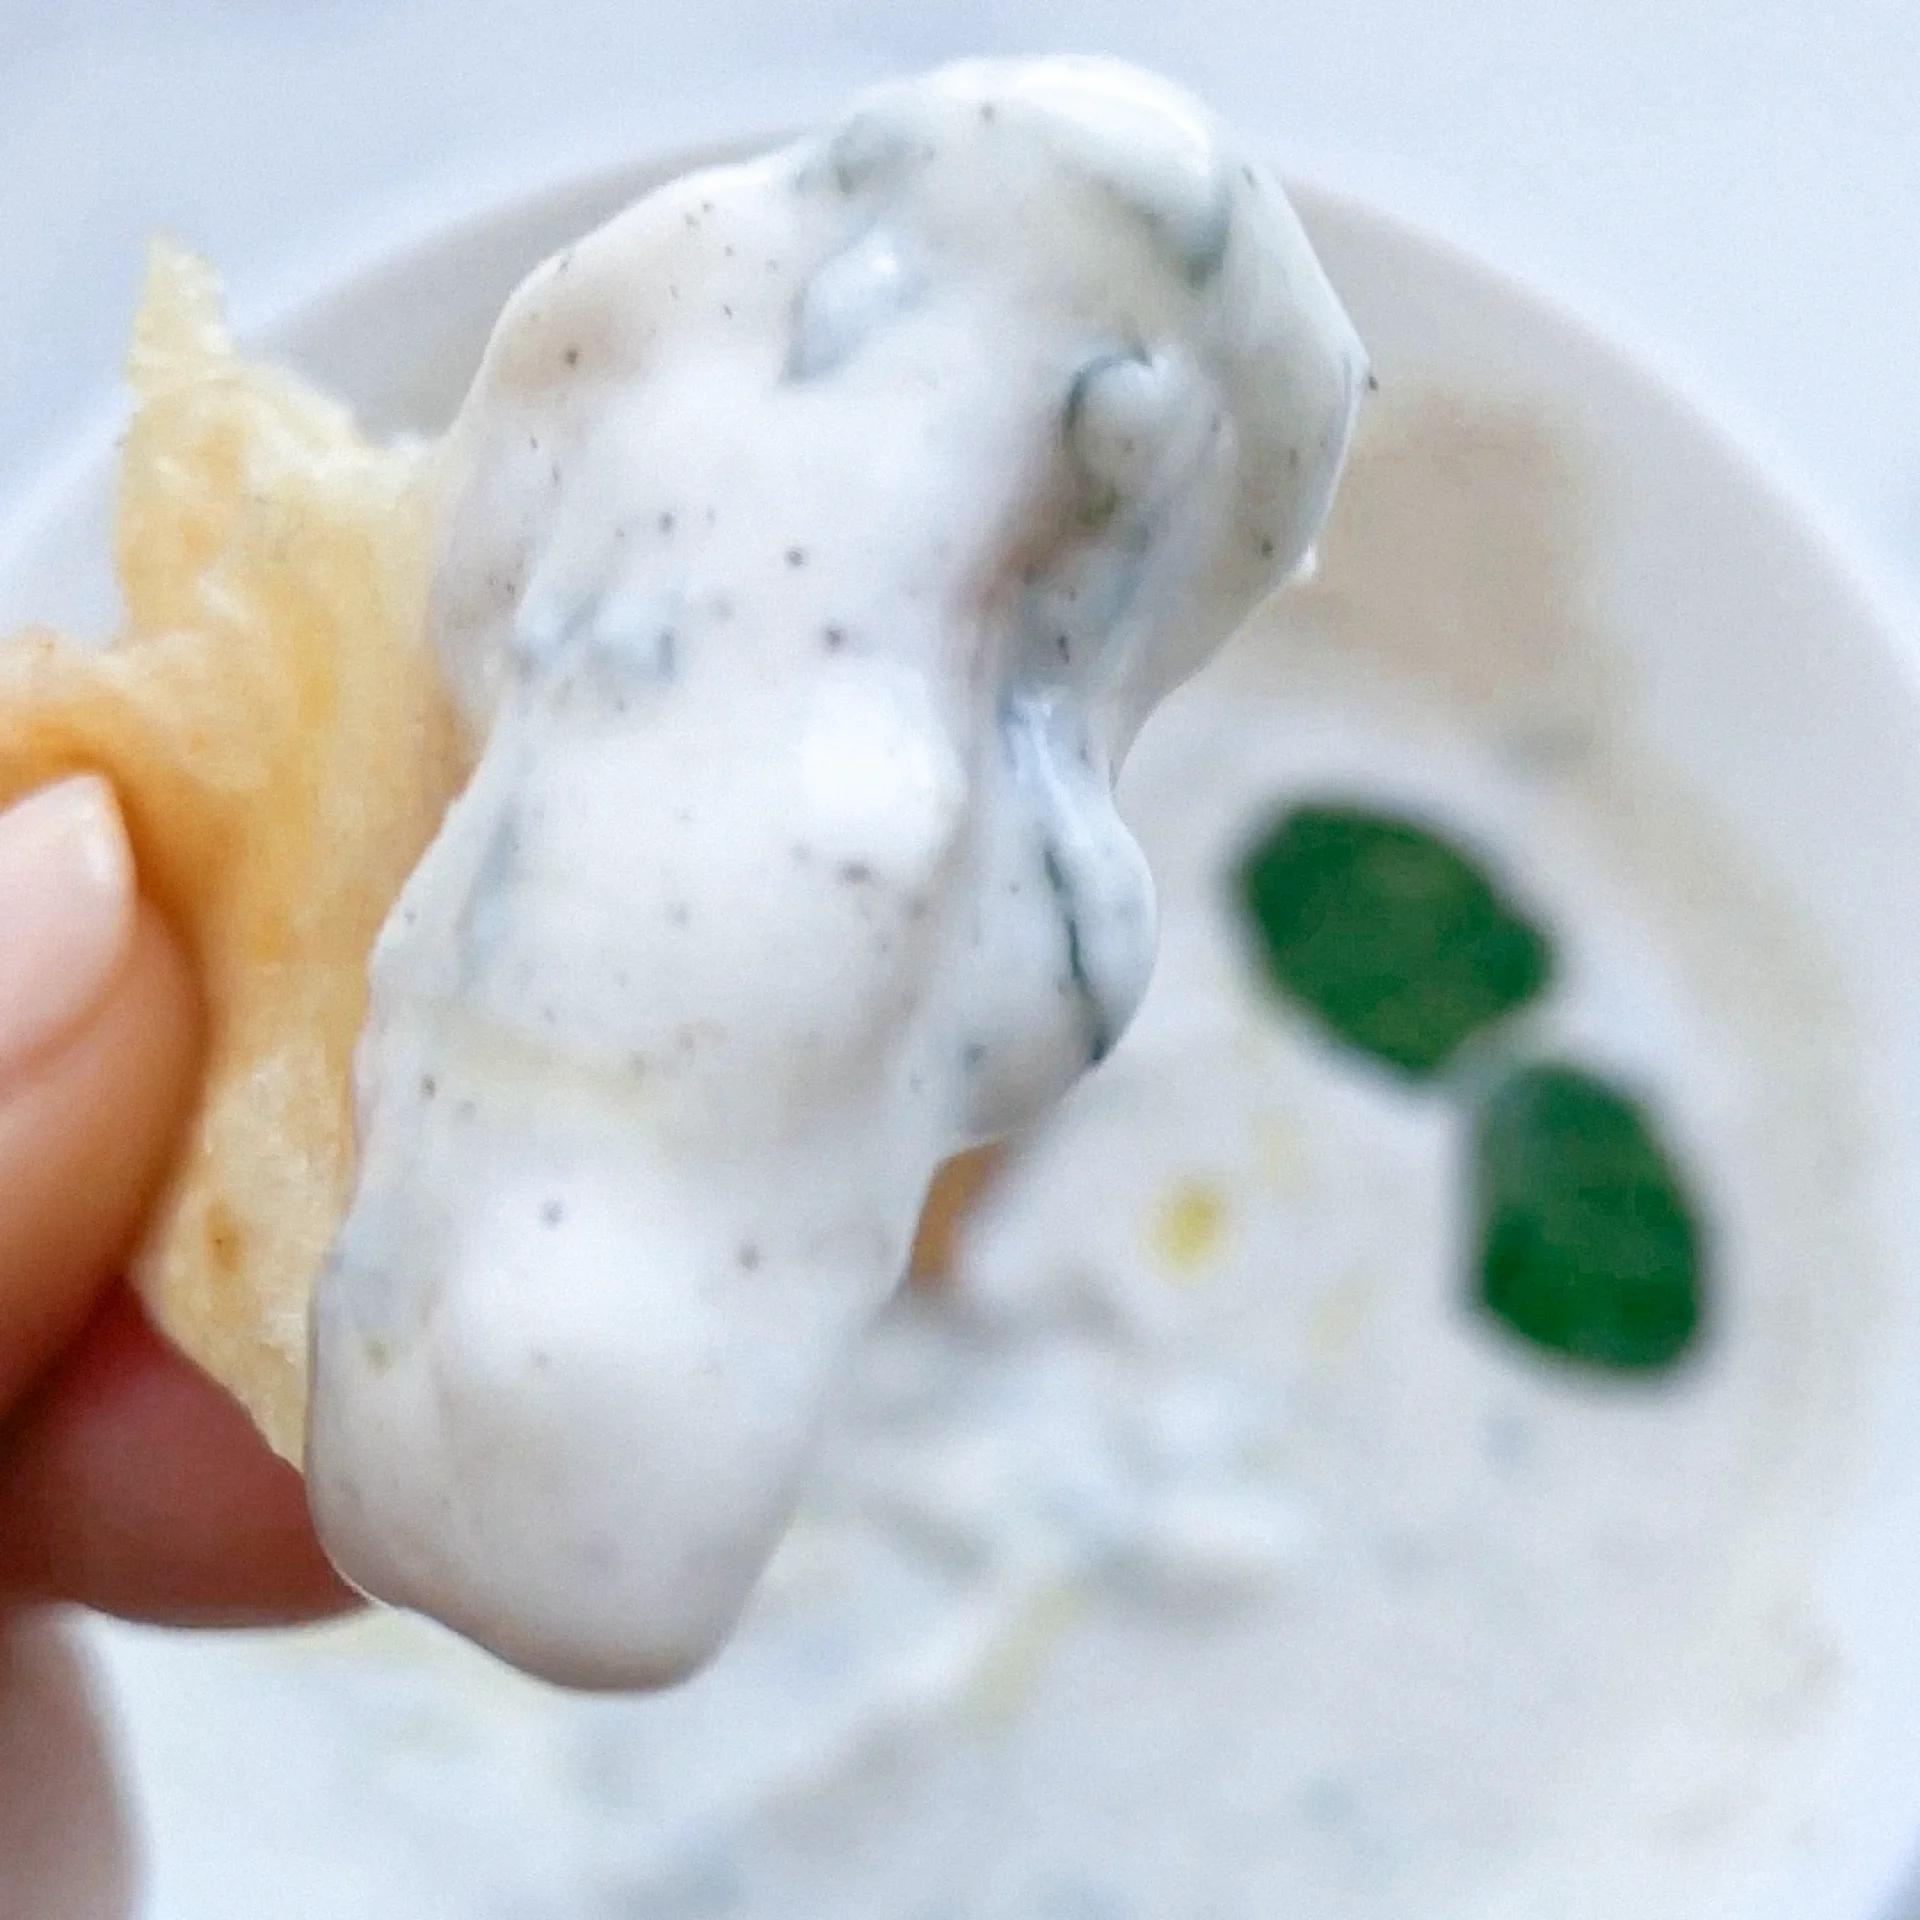
1. Place 200g (7 oz.) yogurt in the small bowl. Add the garlic clove with a press. Finally, add 1/4 tsp salt and 1/8 tsp finely ground pepper, as well as the finely chopped mint, and mix everything into a creamy dip.

2. In a medium bowl, whisk together 2 tbsp olive oil, 1 tbsp lemon juice and salt and pepper to taste.

3. Now add the chopped tomato, cucumber and onion pieces and the finely chopped parsley and mix everything into a salad.

4. When the chicken has finished marinating, heat a large frying pan over a medium heat. It is not necessary to add any more fat, as the chicken already has oil in the marinade. The chicken pieces can now be placed on wooden or metal skewers before frying, but this is not a must. Tip: If you want to use wooden skewers, place them in a bowl of water 1 hour before use so that they can soak up the oil and won’t burn during frying.

5. Either place the chicken on skewers in the pan or fry them individually. To ensure proper juiciness in chicken so that it does not become dry, turn it only once during frying. When you place the raw chicken in the pan, let it cook on the side over a medium heat until it turns white around the edges, which is the sign that the bottom half is cooked through. Then you can turn it over. Then fry for the same amount of time on the other side.

6. When the meat is ready, arrange it on two plates, place the salad next to it and serve the mint and garlic sauce separately or spread directly over the chicken.

NOTE: The calorie information may vary depending on the product used, country and region.

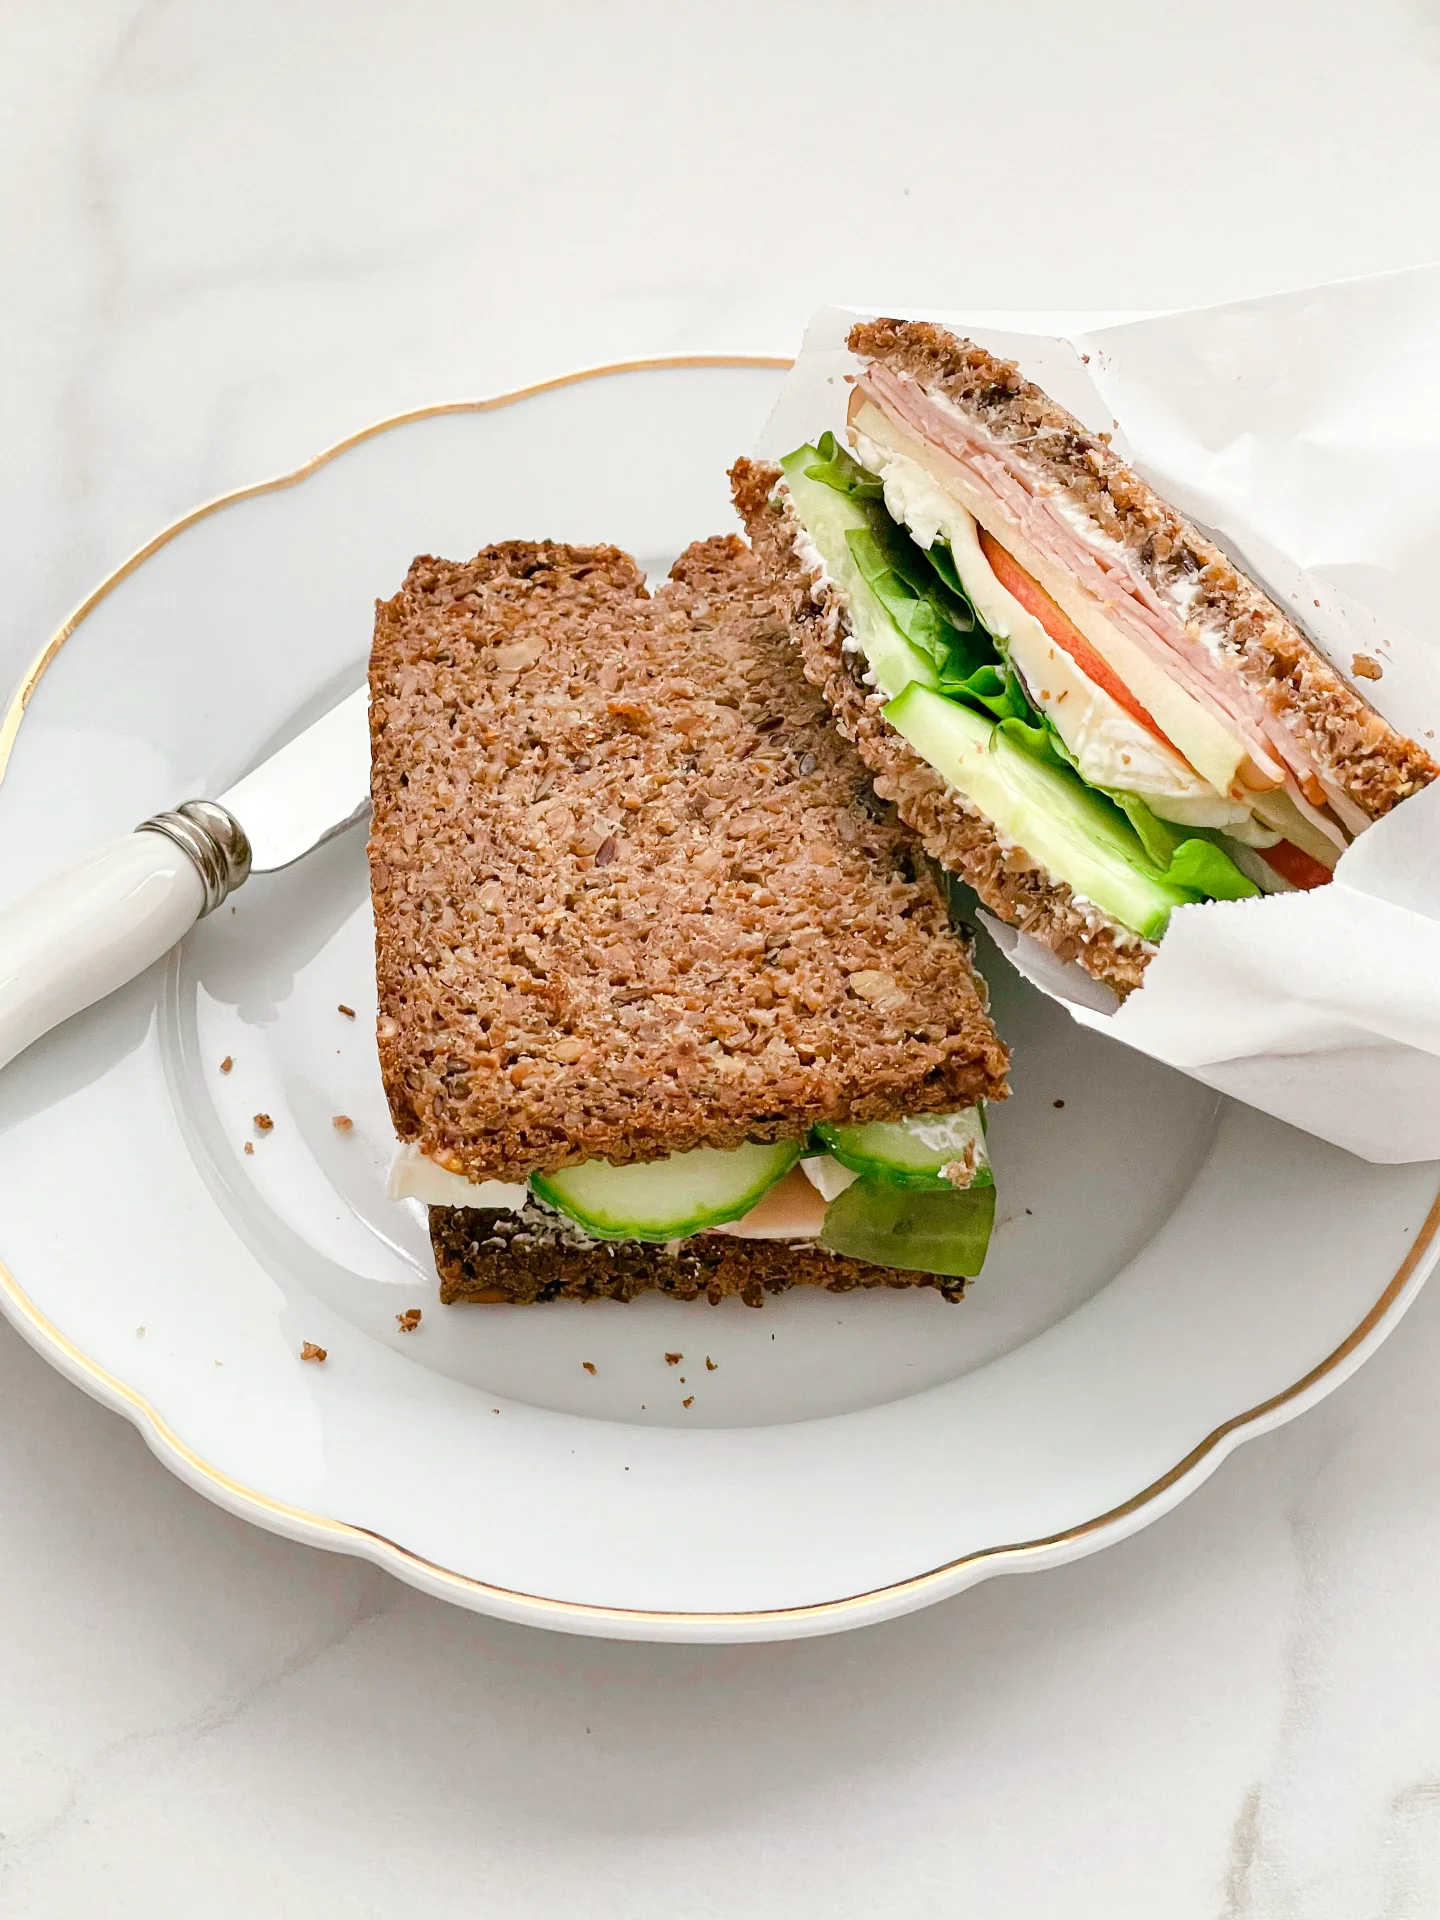
Apple Cucumber Brie Turkey Sandwich

Apple Cucumber Brie Turkey Sandwich

Apple Cucumber Brie Turkey Sandwich

Apple Cucumber Brie Turkey Sandwich

November 27, 2023 by Kimberly

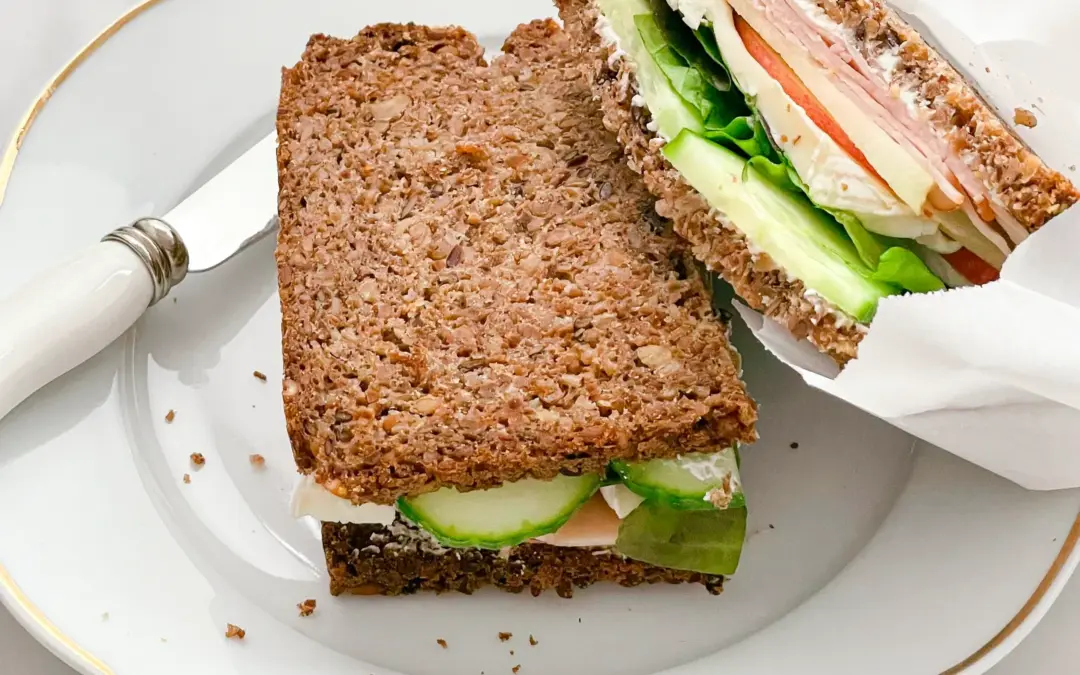
Experience a healthy morning with a delightful wholegrain sandwich. Fresh apples, crisp cucumbers, creamy Brie, and lean turkey combine for a flavorful delight.

10 MINUTES

EASY

OMNIVORE

GERMAN

318 PER SANDWICH

COMFORT FOOD

EVERYDAY

BREAKFAST

ALL YEAR

INTRODUCTION

ABOUT THE RECIPE

Start your day right with a tasty Apple Cucumber Brie Turkey Sandwich on wholegrain bread. It’s got crunchy apples, fresh cucumbers, creamy Brie, and lean turkey for a delicious combo. This sandwich isn’t just good for you—it’s a yummy way to kick off your morning with lots of flavor.

How to serve:
Enjoy it in the morning or prep it ahead for on-the-go — quick, easy, and packed with nutrients. It provides a healthy start in the morning and serves as a convenient option when prepared as a meal prep. The combination of crisp apple, refreshing cucumber, creamy Brie, and lean turkey not only makes it delicious but also ensures you get essential nutrients. Easy to assemble and perfect for a flavorful energy boost.

How to store:
Store this sandwich in an airtight container to keep it fresh. The layer of lettuce between the ingredients, especially the cucumber, acts as a barrier and prevents moisture from reaching the other ingredients. In this respect, this sandwich is very suitable for preparing the evening before or in the morning and taking with you on the go or simply enjoying at home.

Hi, I'm Kimberly!

Hi, I'm Kimberly.

A passionate food lover who believes in the magic of homemade deliciousness that spreads love and warmth. Join me on this culinary adventure as I prepare wonderful dishes and let’s spread some happiness together!

Kimberly the Zett Signature

If you want to get to know me better, click here!


Apple Cucumber Brie Turkey Sandwich

„Let’s make a piece of happiness“

INGREDIENTS

FOR 1 SANDWICH

Sandwich

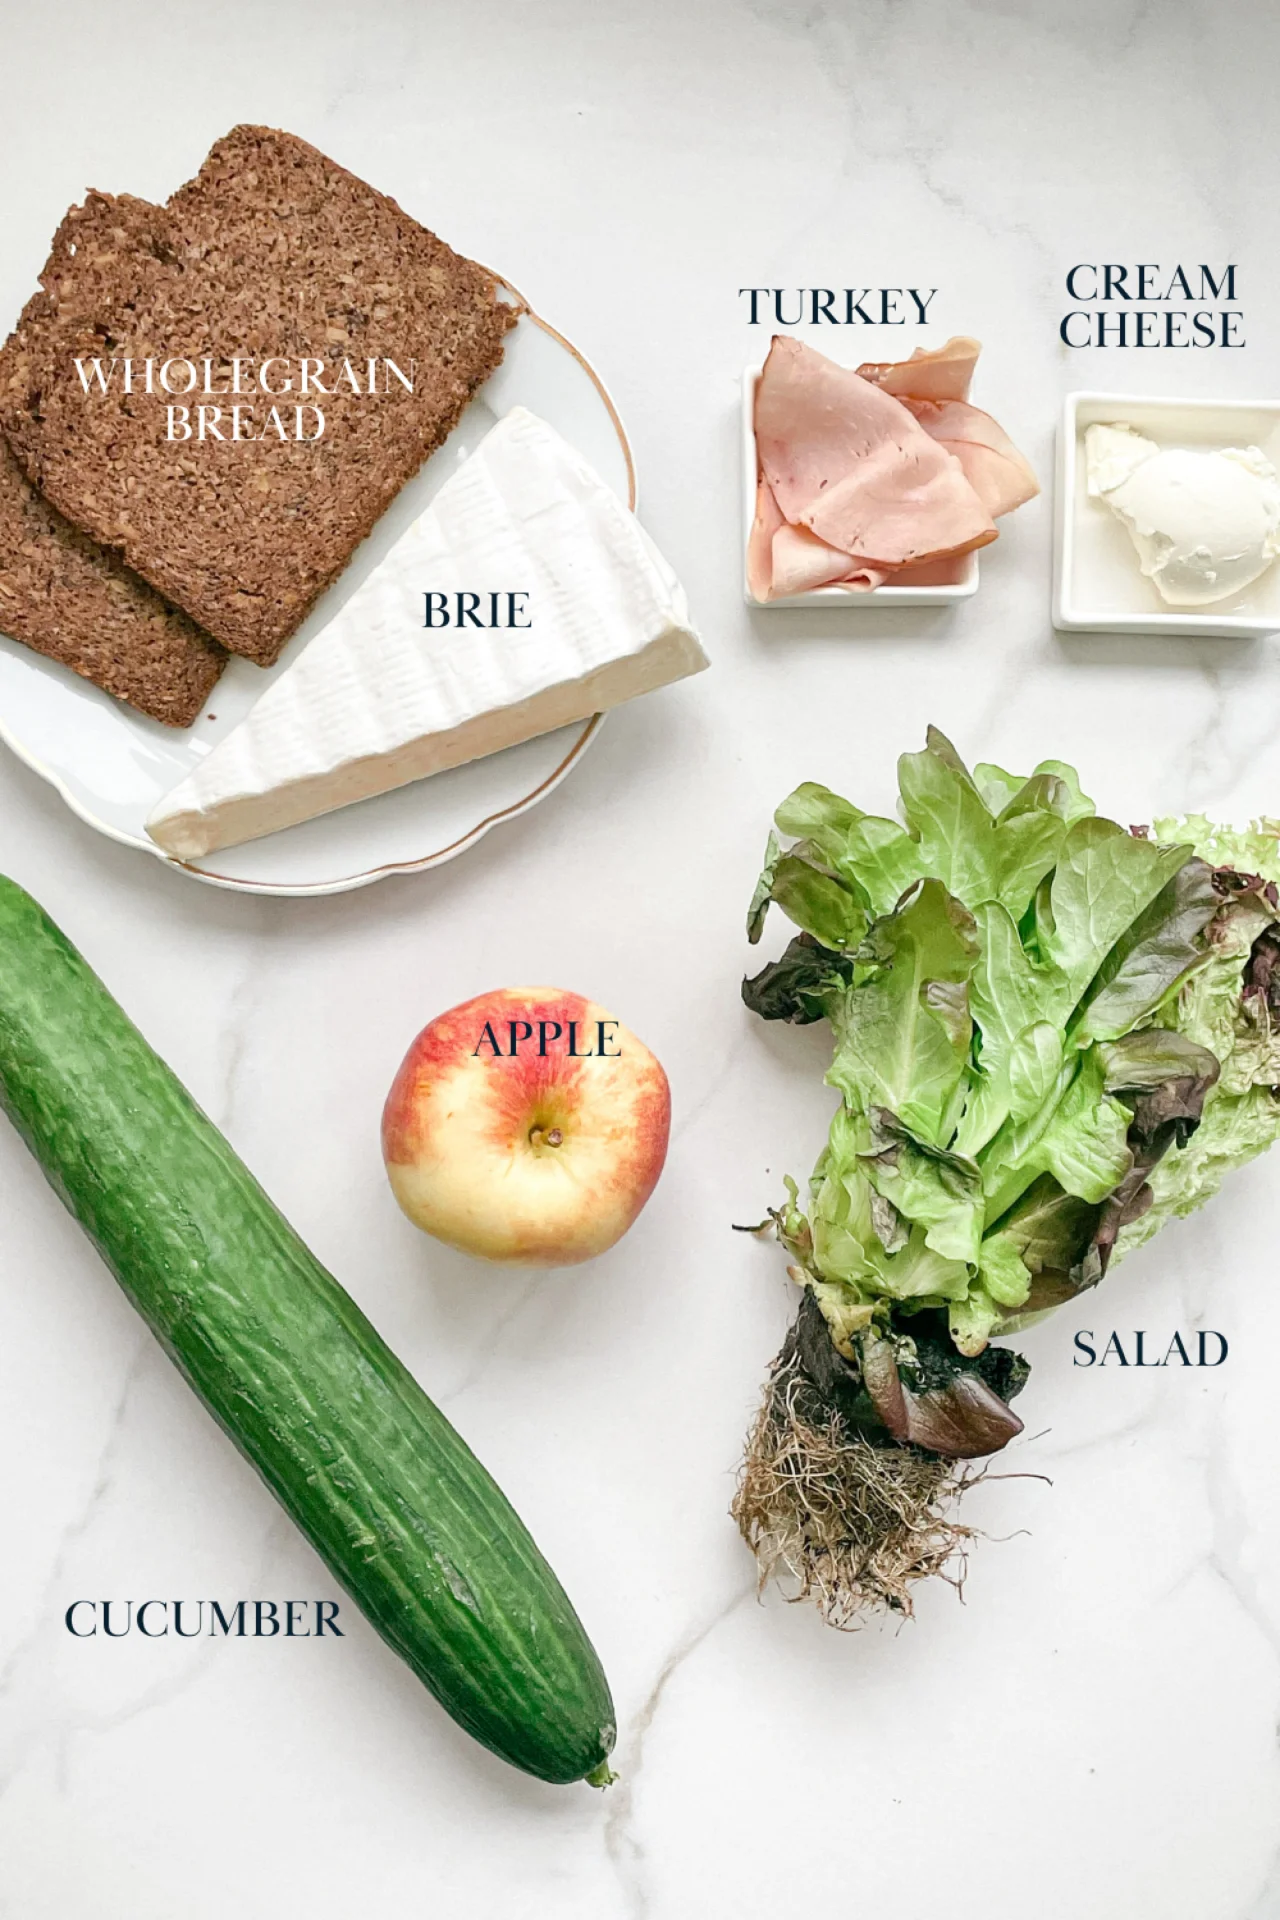
  • 2 slices wholegrain bread
  • 30g turkey (1 oz)
  • 6 slices cucumber
  • 3 slices apple
  • some salad leaves
  • 3 slices camembert
  • 2 tsp cream cheese
Apple Cucumber Brie Turkey Sandwich
}

ACTIVE: 5 min

PASSIVE: 0 min

PREPARATIONS

Recommended Equipment
  • sharp knife
  • normal knife
  • cutting board
  • Wash the cucumber and cut off six slices.
  • Wash the apple and cut off three slices. Remove the core.
  • Cut three slices off the Camembert.
  • Wash the lettuce and cut off several leaves.
}

ACTIVE: 2 min

PASSIVE: 0 min

COOKING

1. Spread cream cheese on the two slices of bread.

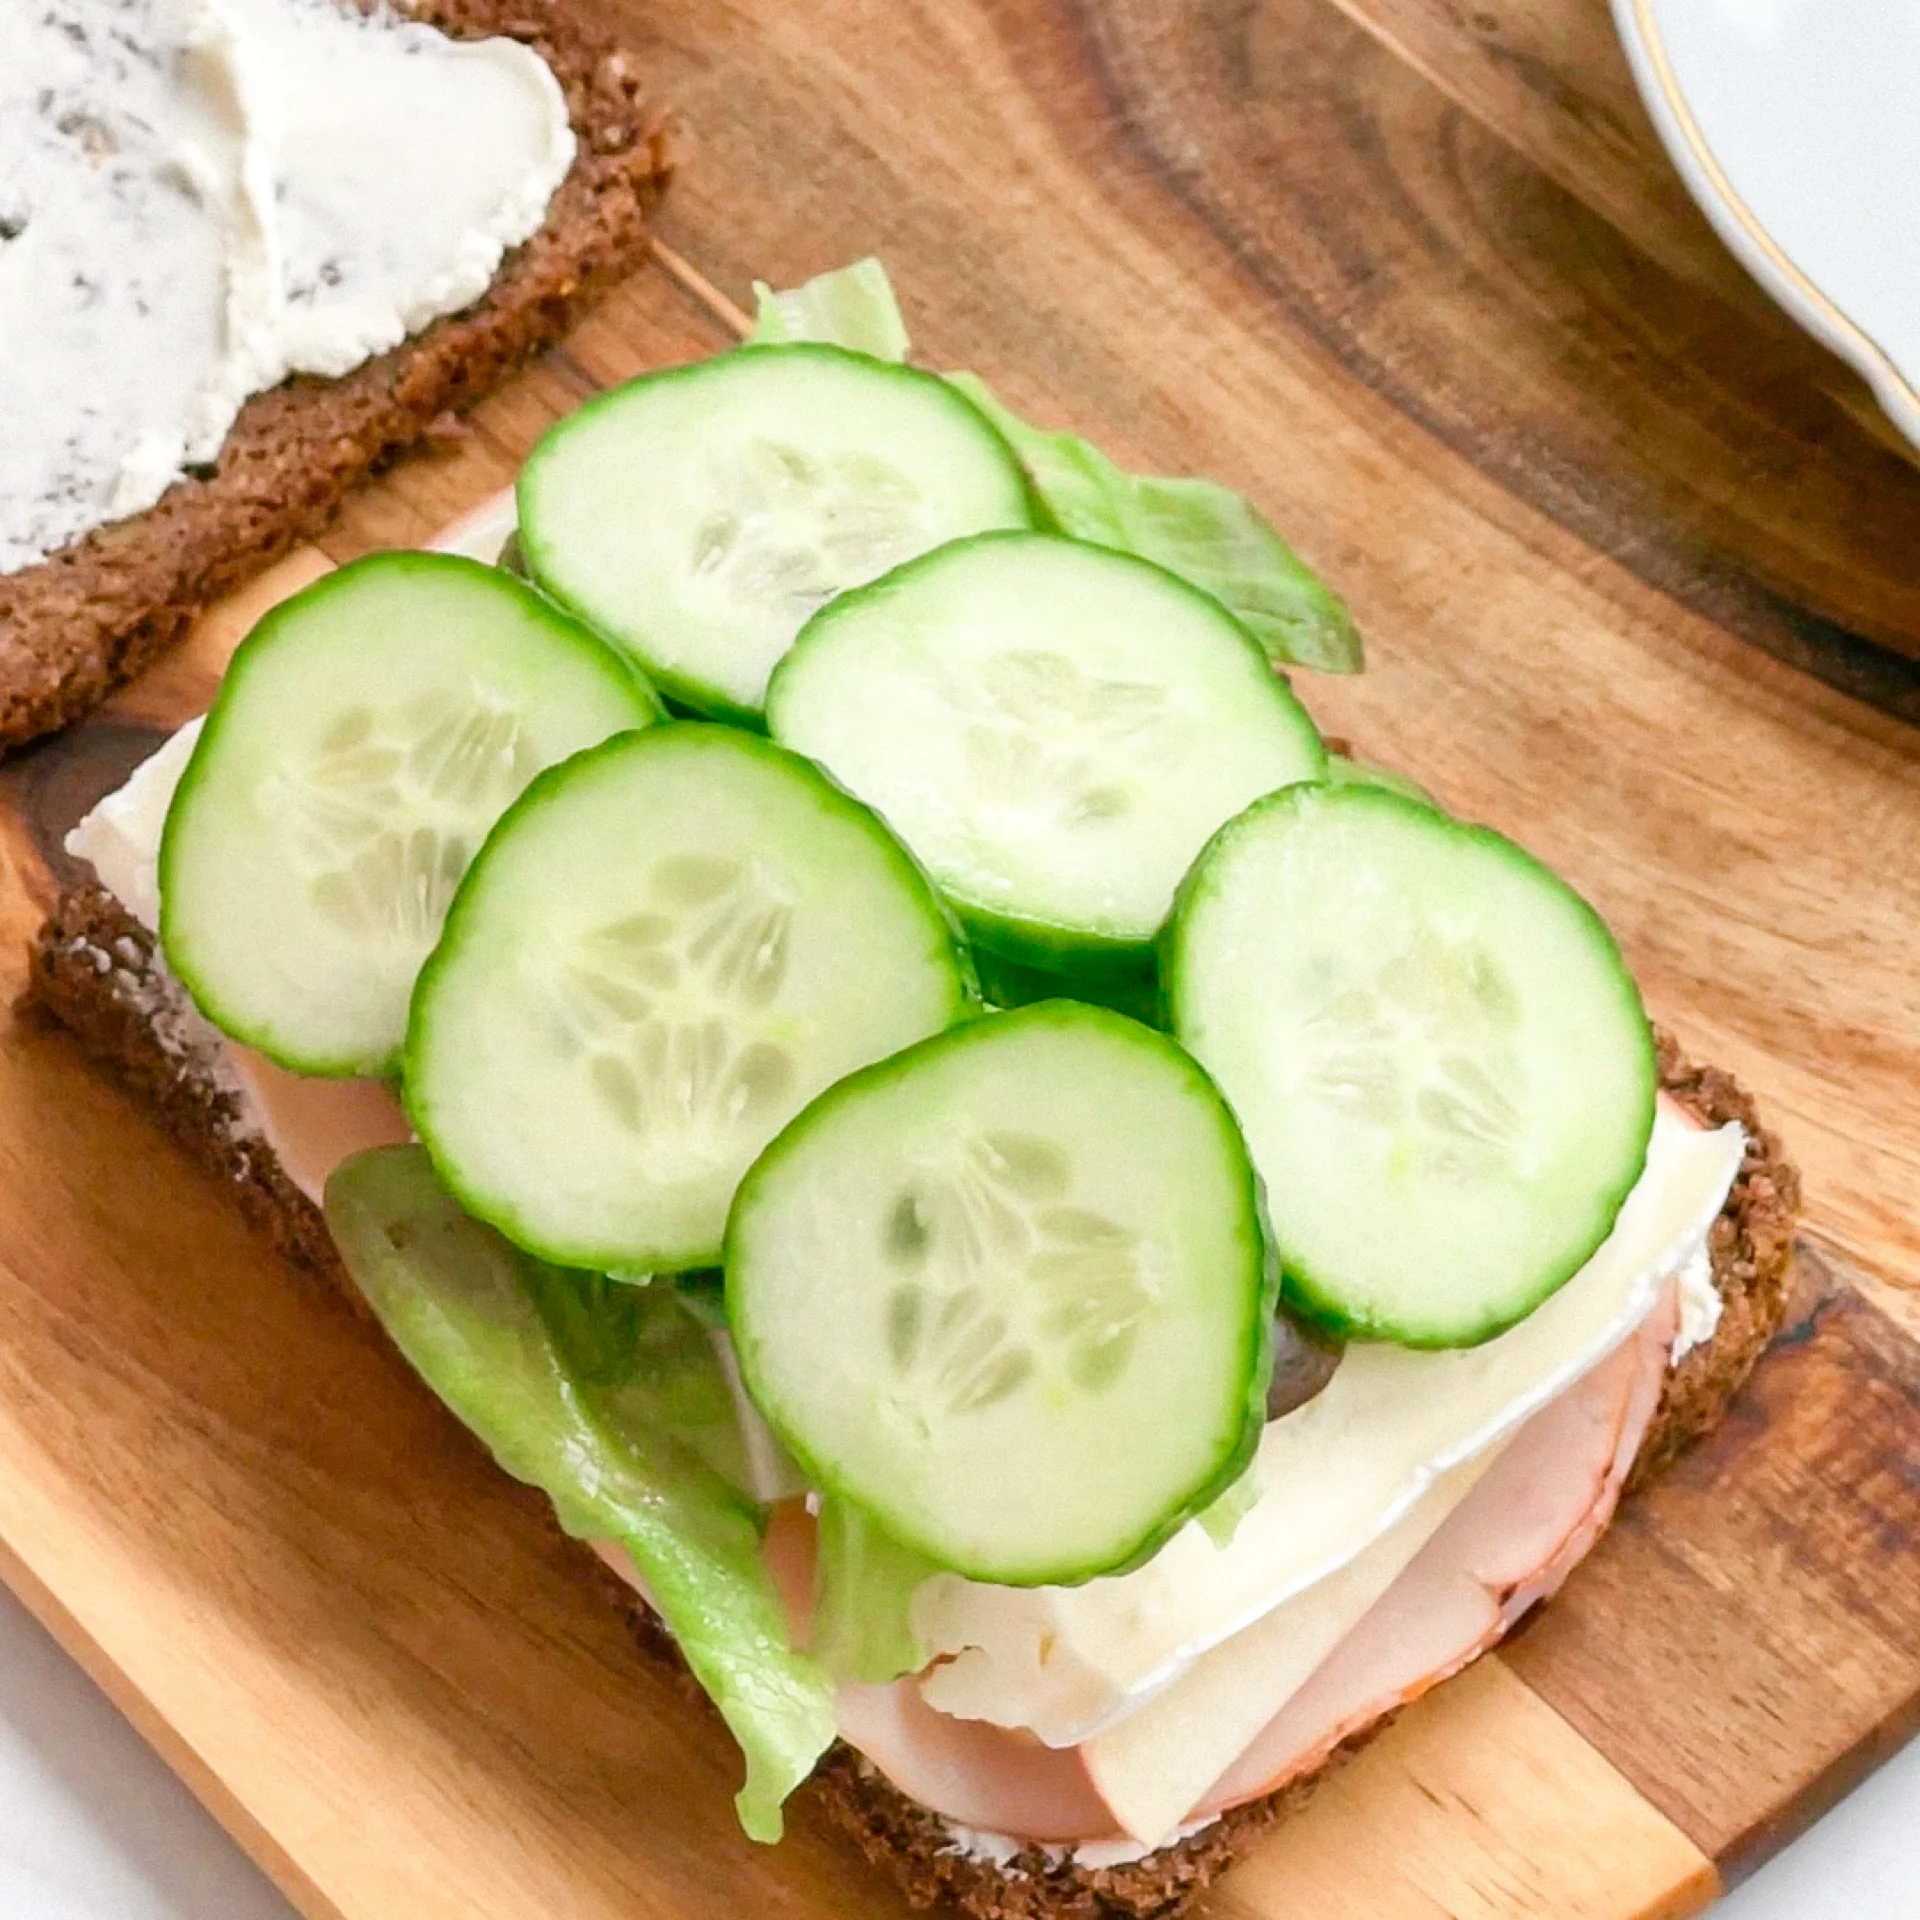
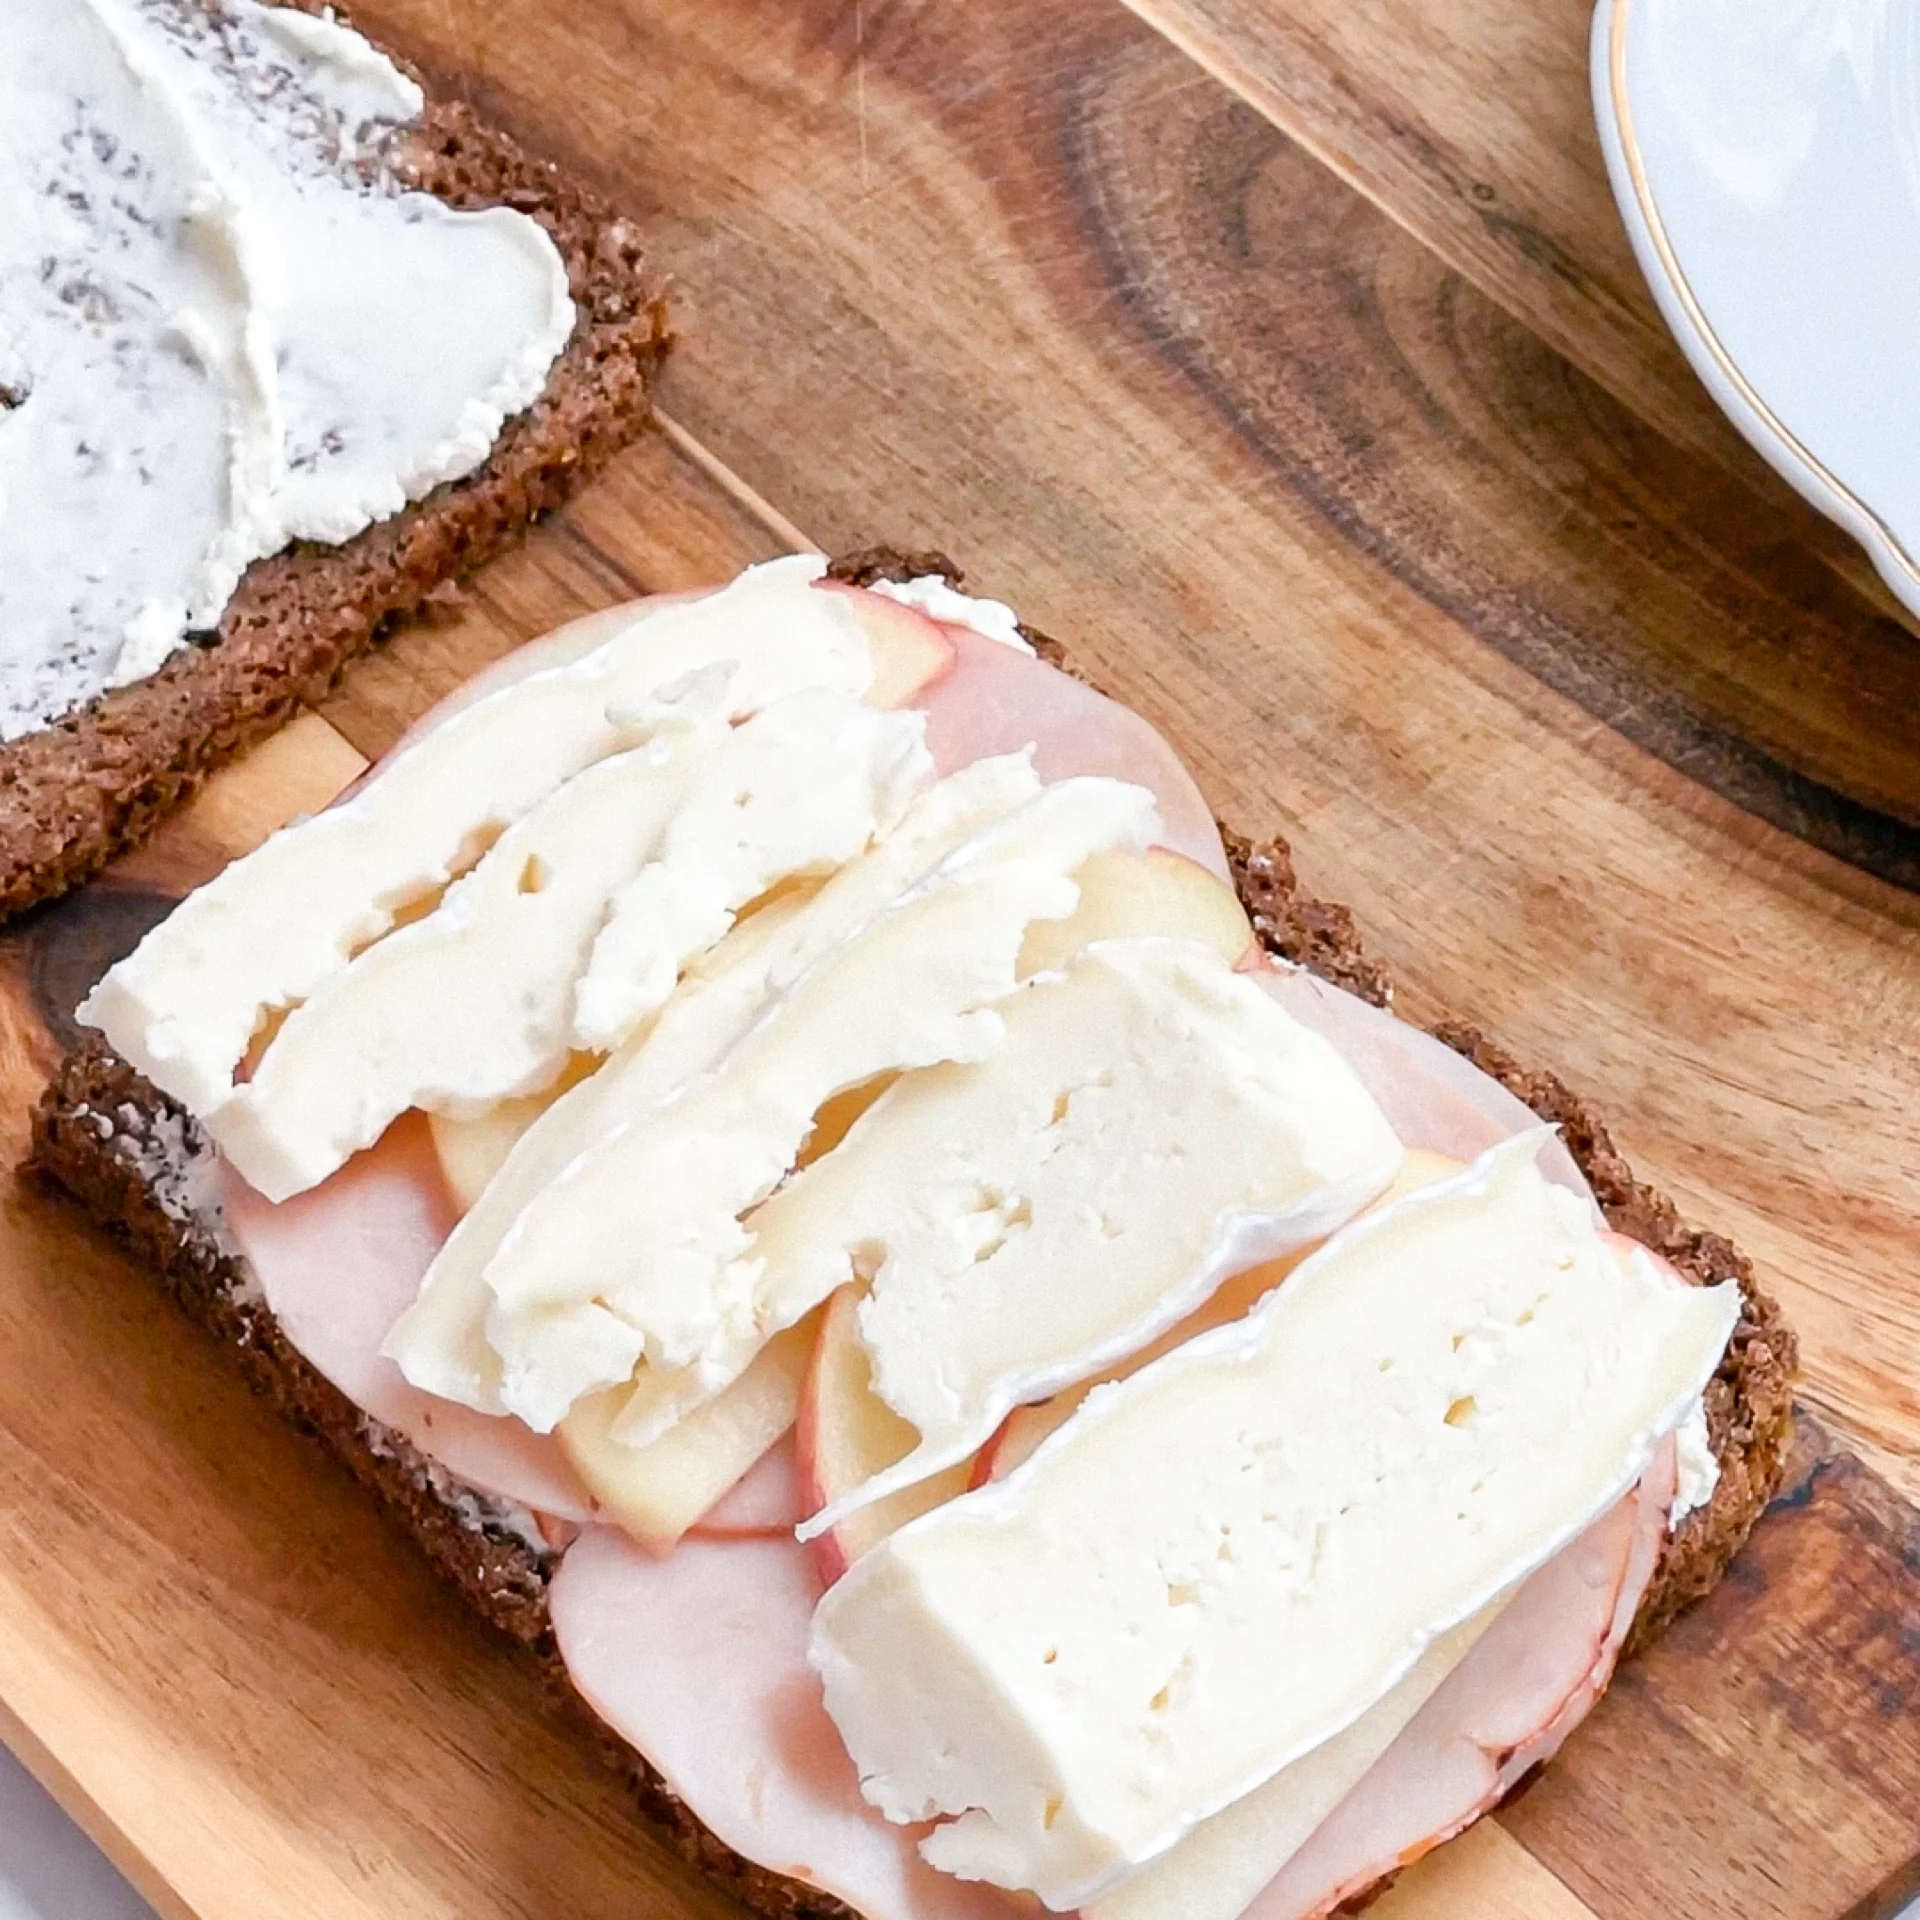
2. Now top one slice in the following order: Turkey, apple, camembert, lettuce & cucumber.

3. Close the sandwich with the other slice. Cut in the middle with a sharp knife.

NOTE: The calorie information may vary depending on the product used, country and region.