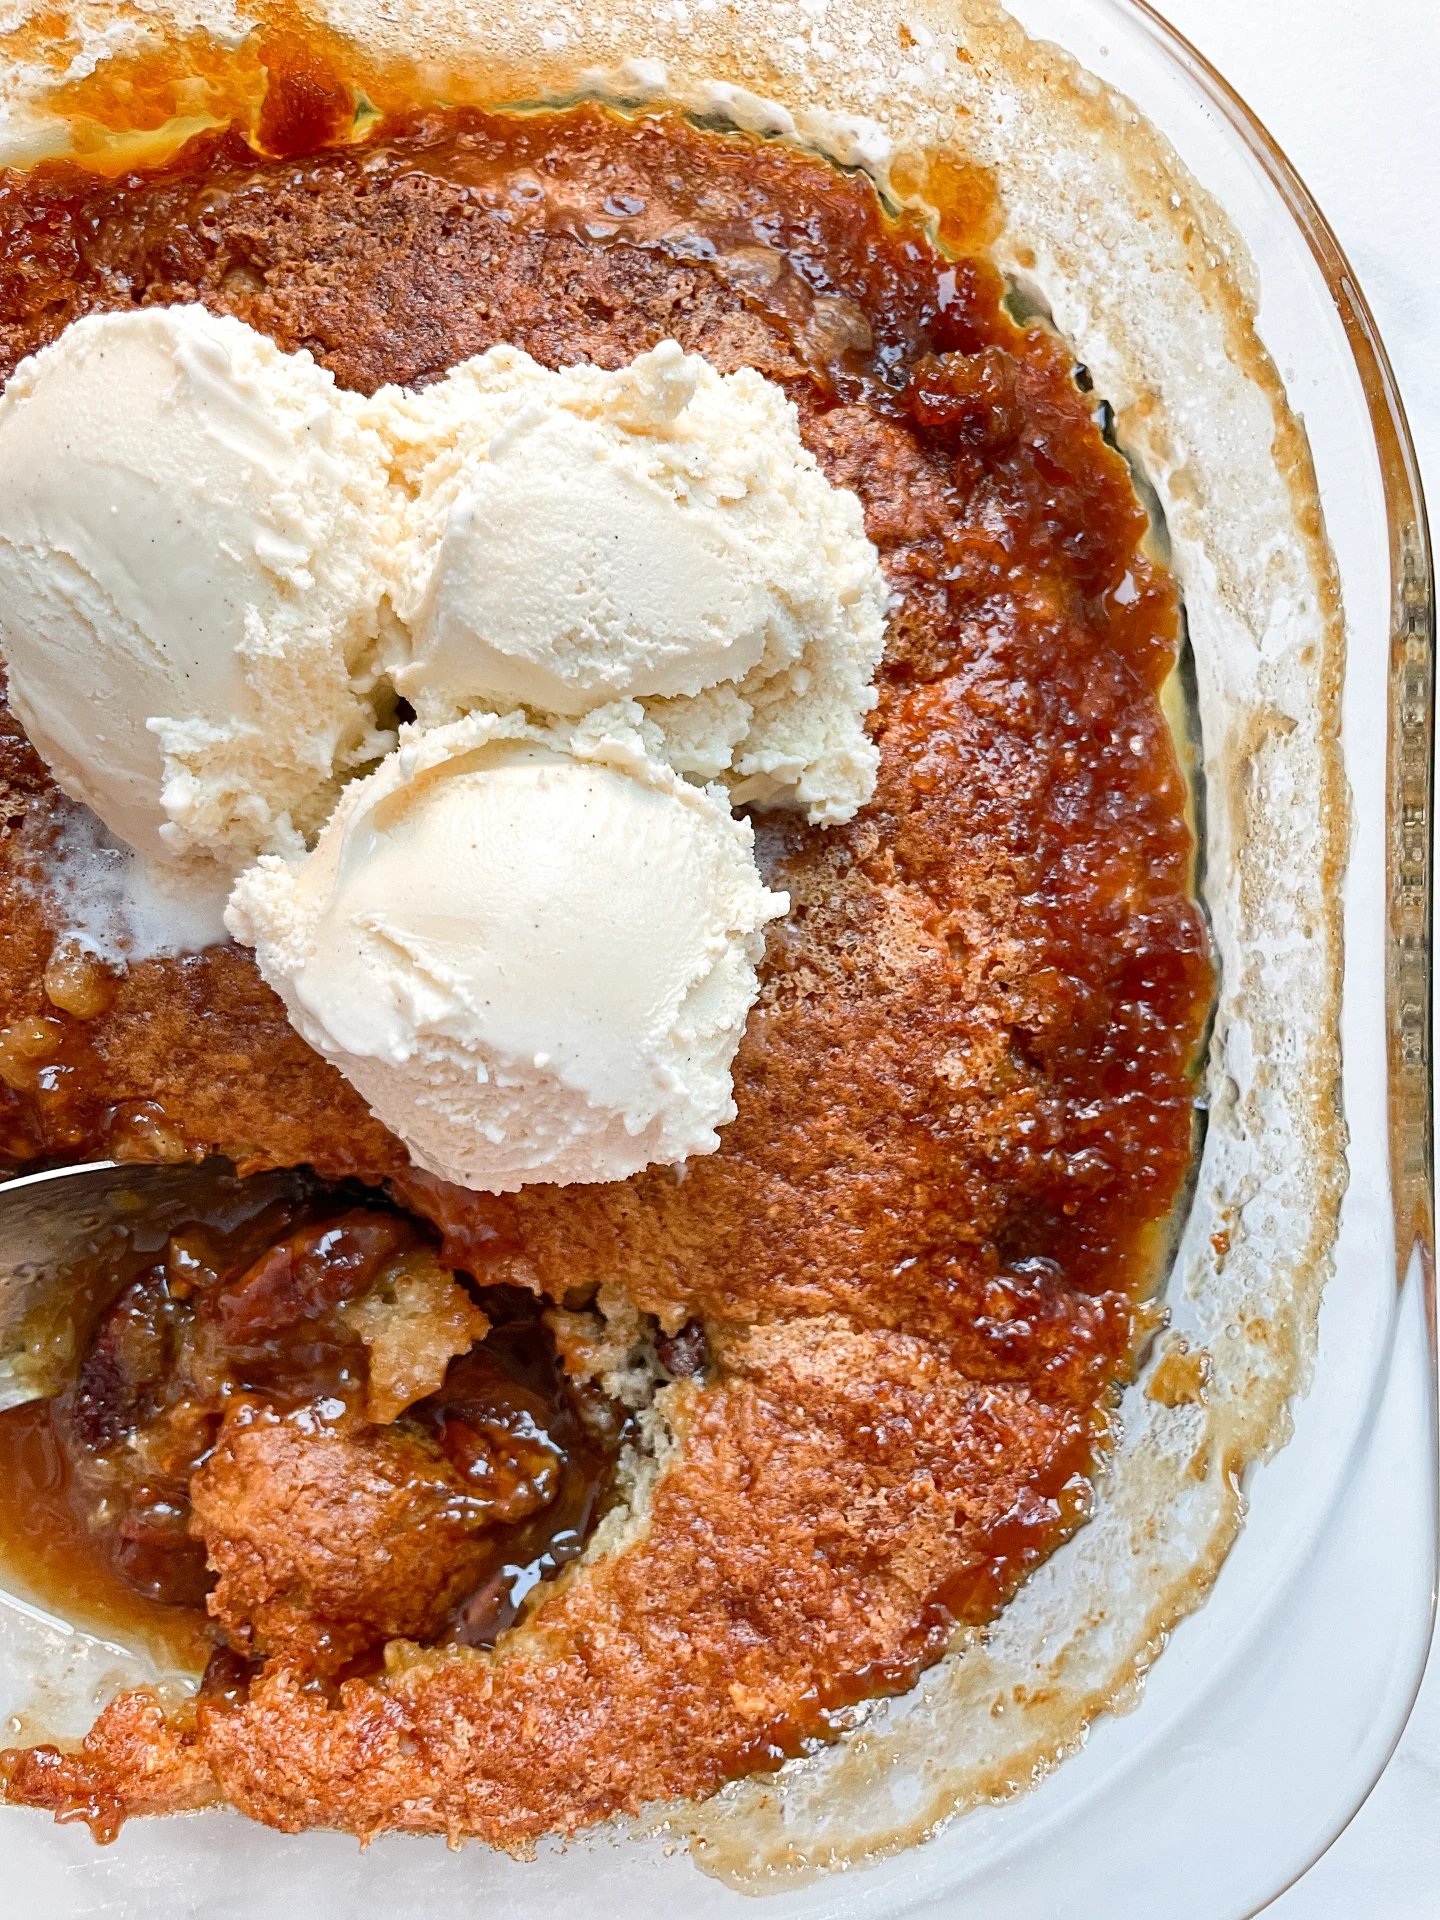
Pecan Caramel Pie Cobbler

Pecan Caramel Pie Cobbler

Pecan Caramel Pie Cobbler

Pecan Caramel Pie Cobbler

November 27, 2024 by Kimberly

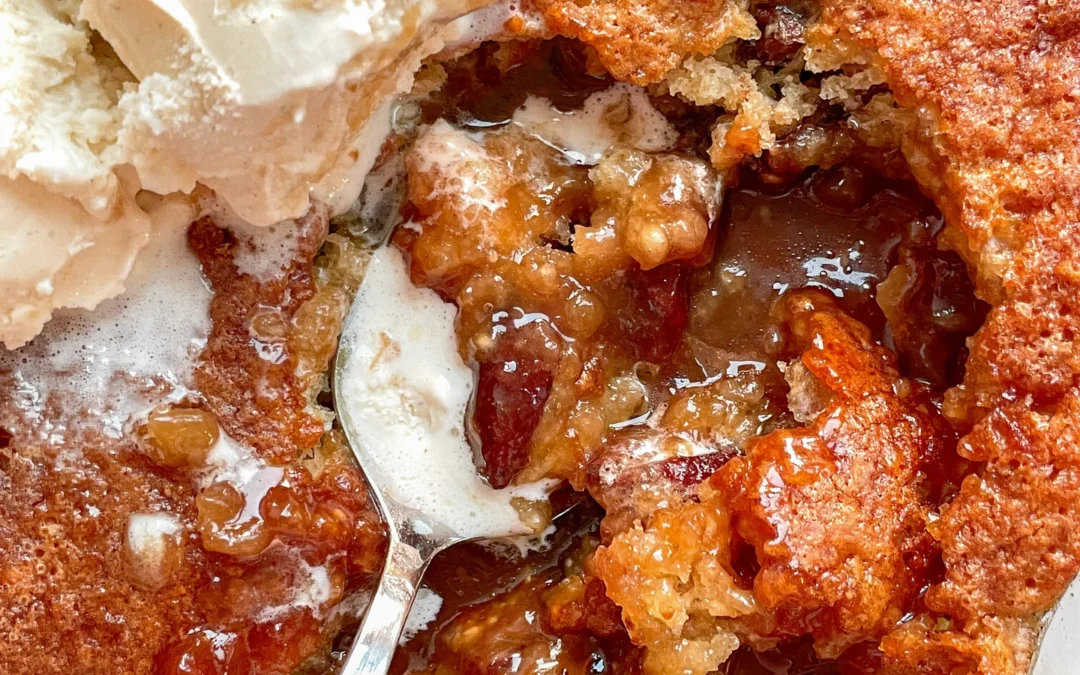
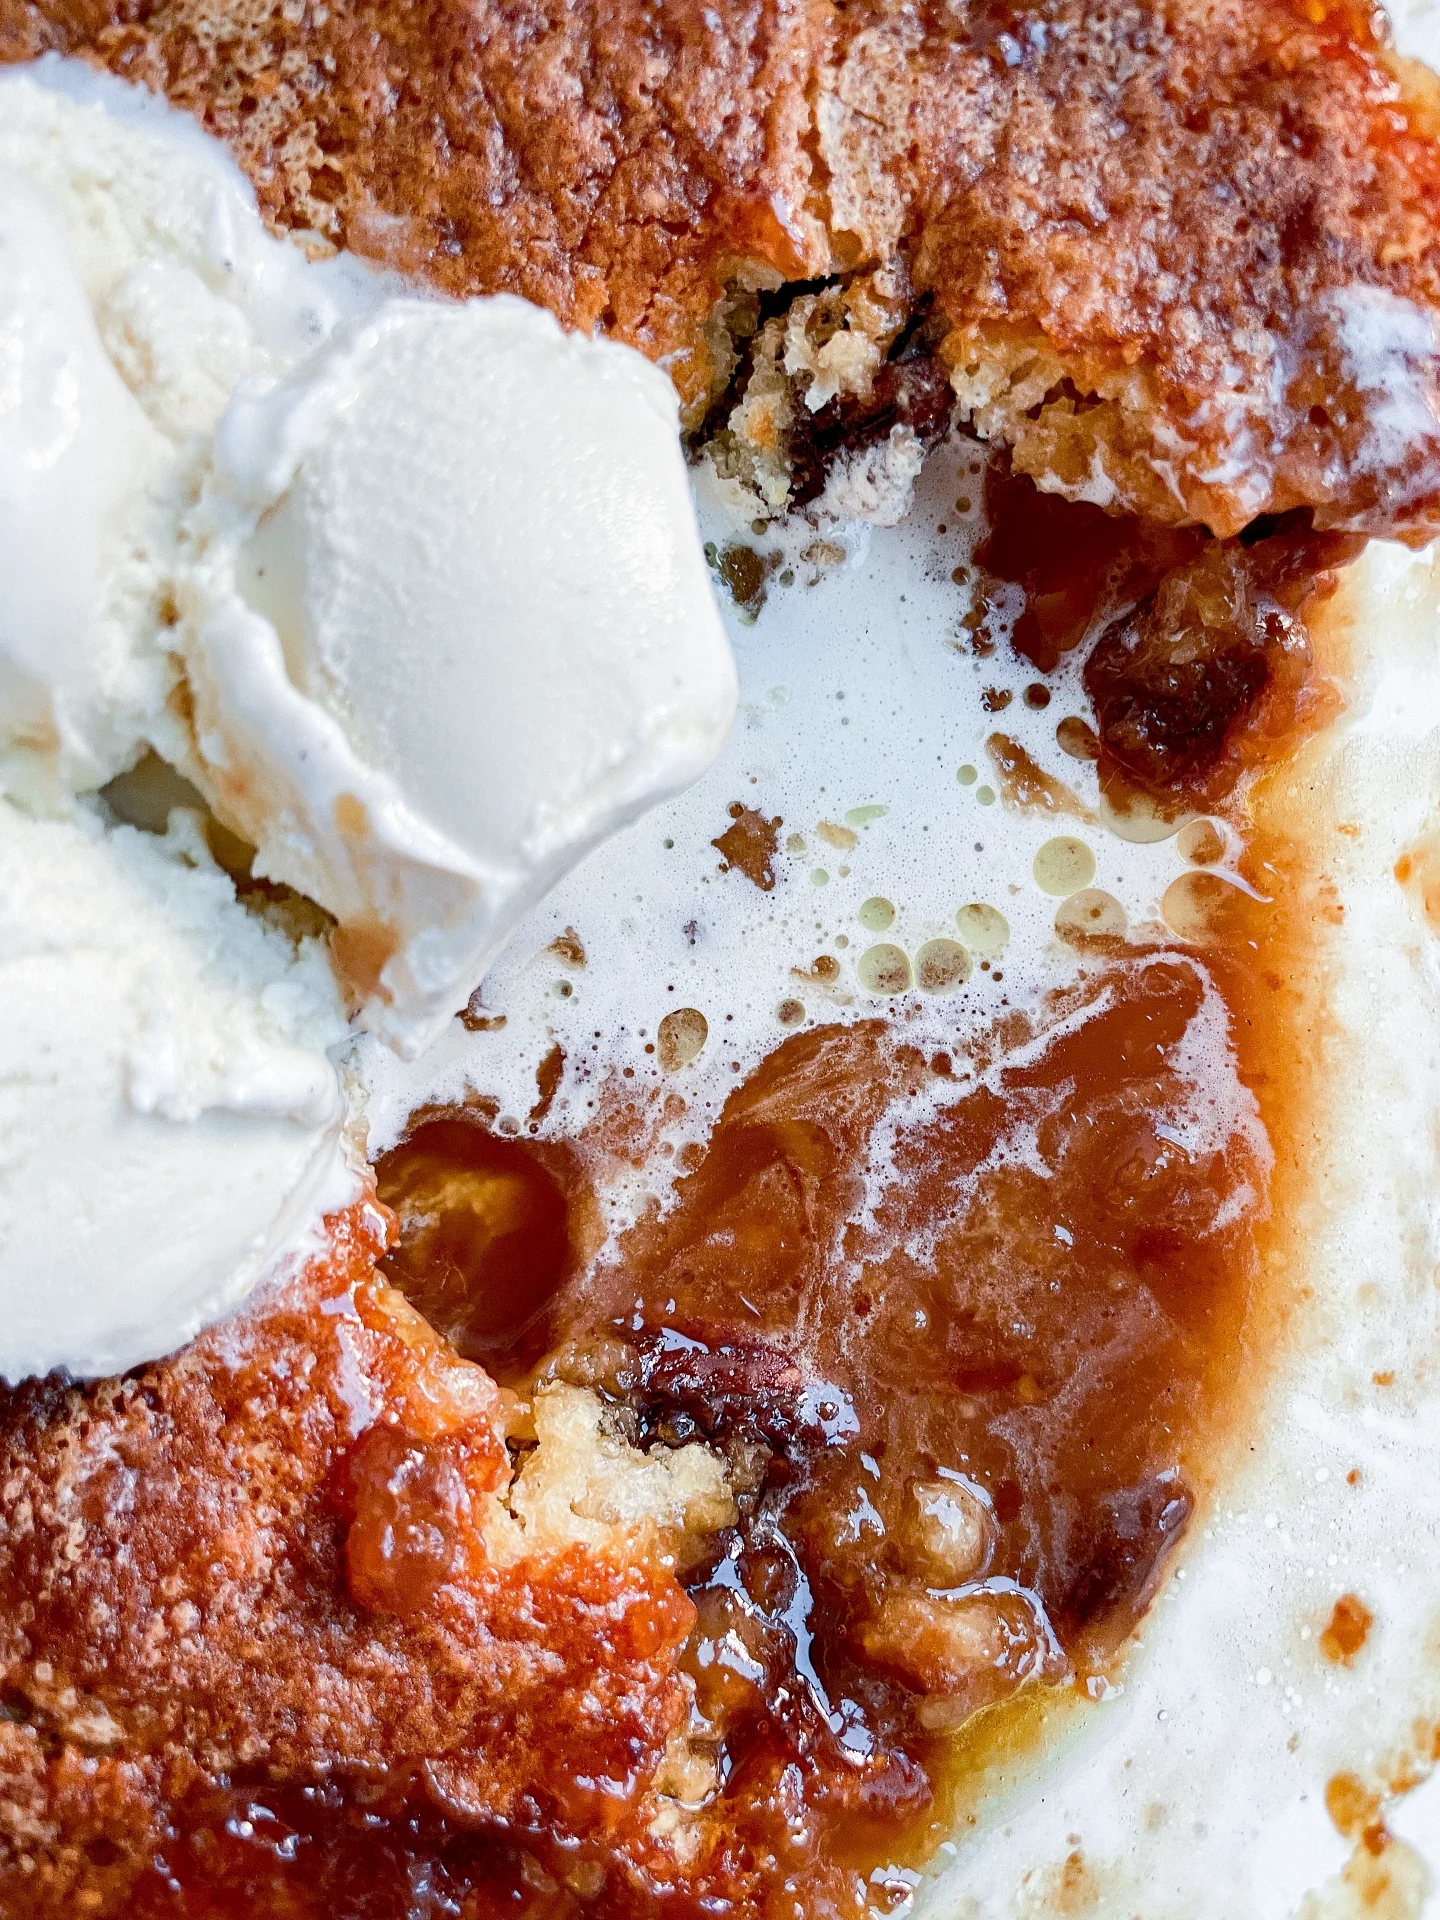
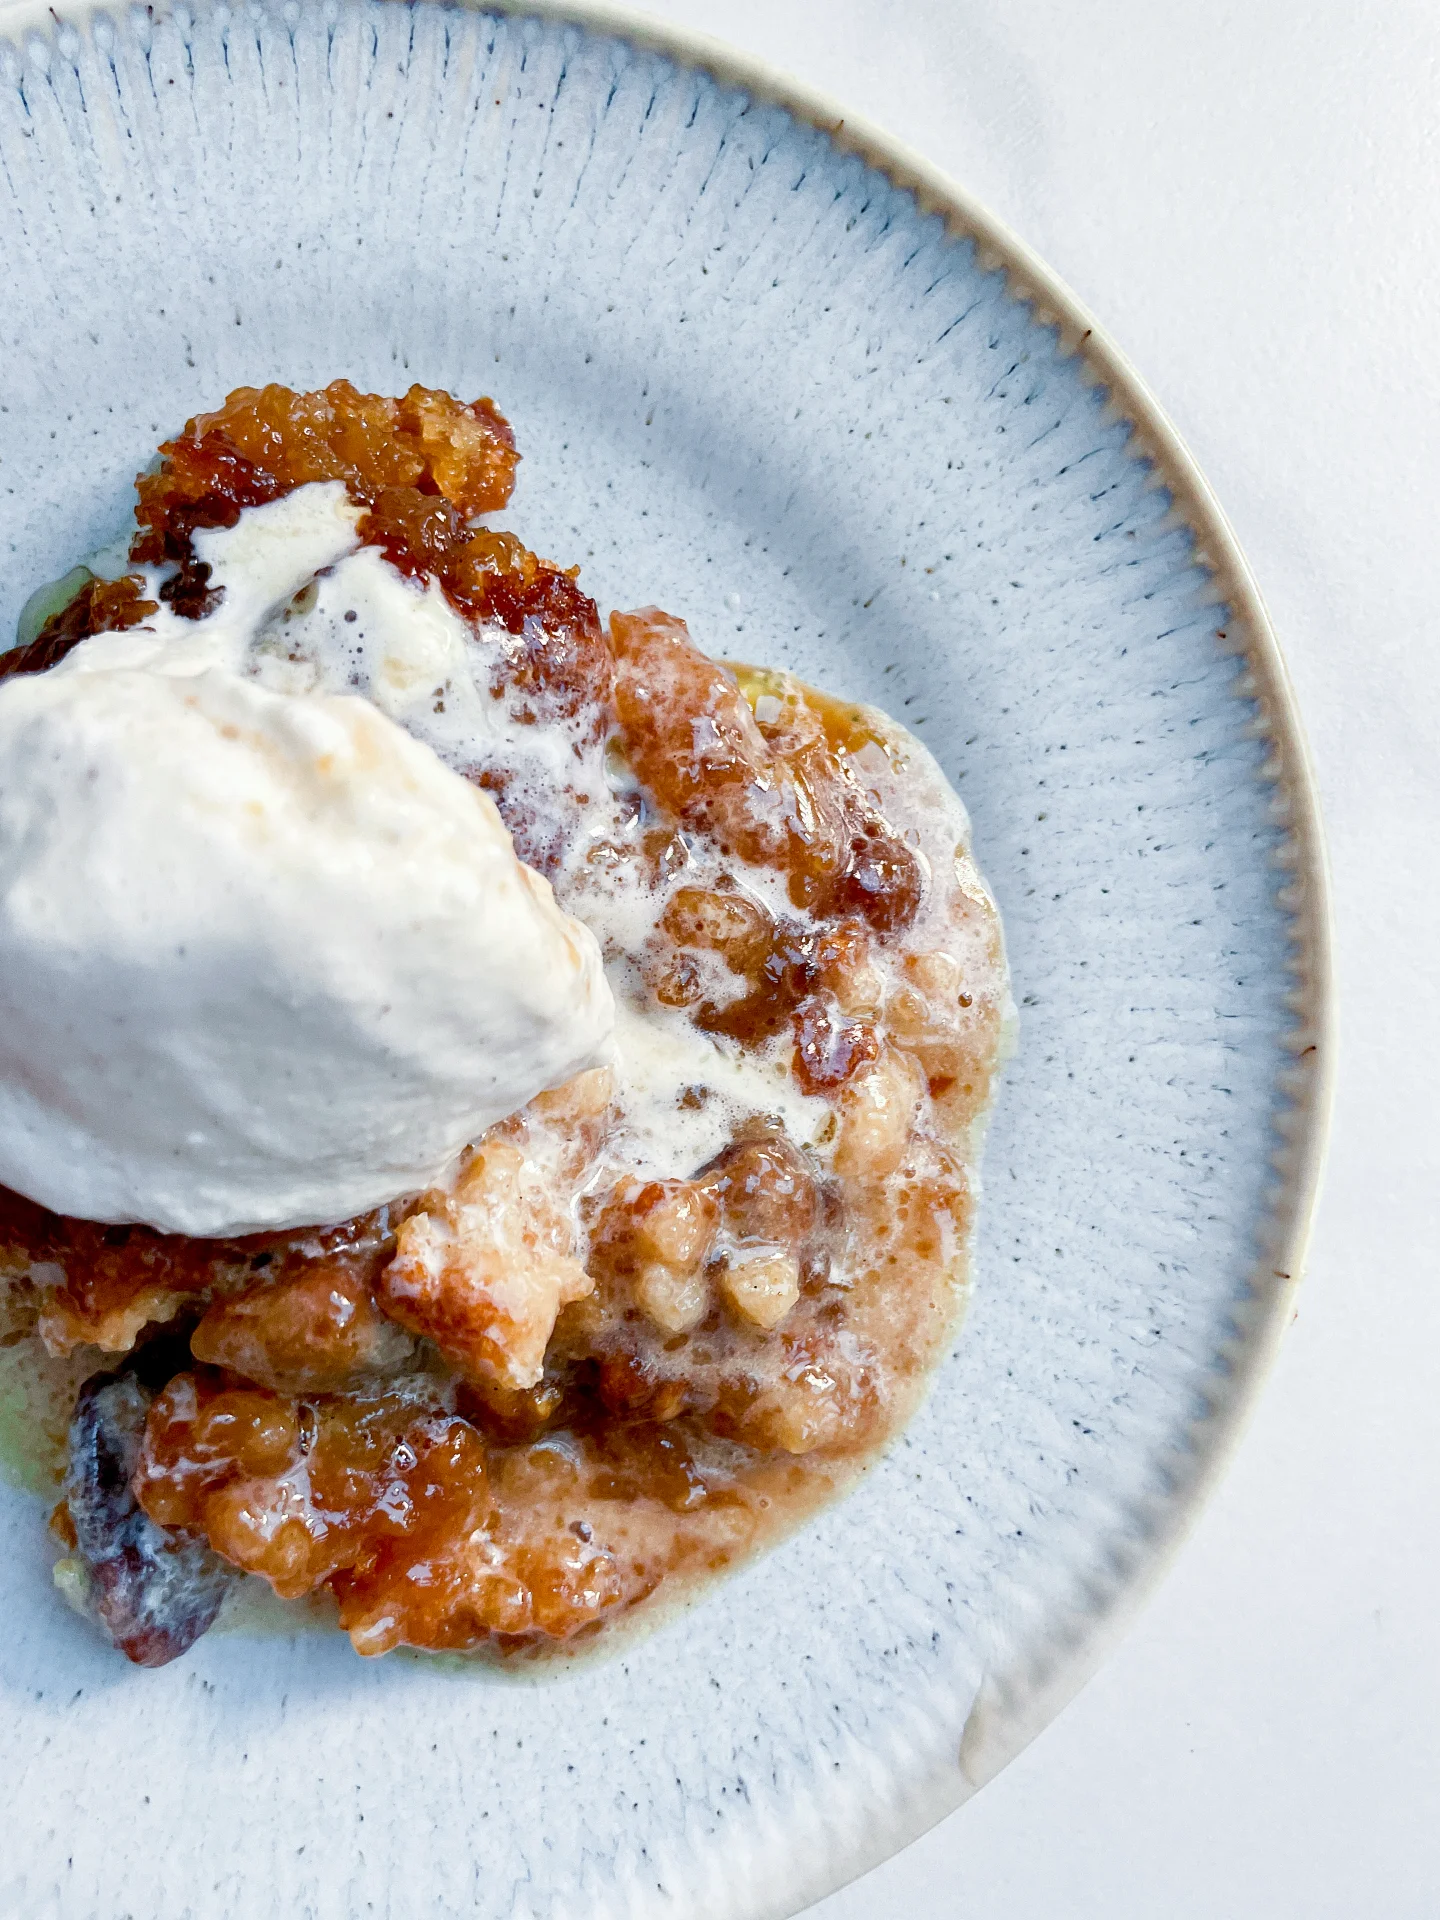
This warm, gooey cobbler is the ultimate comfort dessert – melty caramel candies, crunchy pecans, and buttery dough baked into golden perfection. A cozy, sweet treat for every dessert lover out there!

75 MINUTES

EASY

VEGETARIAN

US AMERICAN

505 PER PORTION

COMFORT FOOD

CHRISTMAS

DESSERT

AUTUMN
WINTER

INTRODUCTION

ABOUT THE RECIPE

There’s something magical about desserts that feel like a warm hug, and this cobbler delivers just that. Melty caramel candies and crunchy pecans create a gooey filling, while the buttery dough bakes into a golden, rustic crust. It’s the perfect dessert for chilly evenings or holiday gatherings, combining the cozy flavors of caramel and pecans into one irresistible dish. Trust me, once you try this cobbler, it’ll quickly become a go-to comfort dessert for every season.

How to serve
This cobbler is best served warm, straight out of the oven, with a scoop of vanilla ice cream or a dollop of whipped cream on top. The cold creaminess of the topping perfectly balances the gooey caramel and crunchy pecans. Sprinkle a few extra pecans over the top for added texture. It’s perfect for family gatherings, dinner parties, or just a cozy night in.

How to store
Store any leftovers in an airtight container at room temperature for up to one day, or in the fridge for up to four days. Reheat individual portions in the microwave for 20-30 seconds to bring back the gooey, warm goodness.

Hi, I'm Kimberly!

Hi, I'm Kimberly.

A passionate food lover who believes in the magic of homemade deliciousness that spreads love and warmth. Join me on this culinary adventure as I prepare wonderful dishes and let’s spread some happiness together!

Kimberly the Zett Signature

If you want to get to know me better, click here!


Pecan Caramel Pie Cobbler
„Let’s make a piece of happiness“
Print
clock clock iconcutlery cutlery iconflag flag iconfolder folder iconinstagram instagram iconpinterest pinterest iconfacebook facebook iconprint print iconsquares squares iconheart heart iconheart solid heart solid icon
Pecan Caramel Pie Cobbler

Pecan Caramel Pie Cobbler


5 Stars 4 Stars 3 Stars 2 Stars 1 Star

4.3 from 3 reviews

  • Author: Kimberly
  • Total Time: 75 min
  • Yield: 8 1x

Description

RECOMMENDED EQUIPMENT

  • baking dish (approx. 20×30 cm or similar)
  • mixing bowl
  • whisk or hand mixer
  • kettle (for boiling water)


Ingredients

Units Scale
  • 120 grams butter
  • 125 grams all-purpose flour
  • 125 grams white sugar
  • 3 tsp baking powder
  • 1/4 tsp salt
  • 170 milliliter full-fat cow milk
  • 1 tsp vanilla extract
  • 100 grams pecans
  • 50 grams brown sugar
  • 125 grams caramel candies
  • 250 milliliter boiling water
  • vanilla ice cream

Instructions

  1. Preheat the oven to 175°C / 350°F. Grab a baking dish, drop in the butter, and pop it into the oven for a few minutes and let it melt.
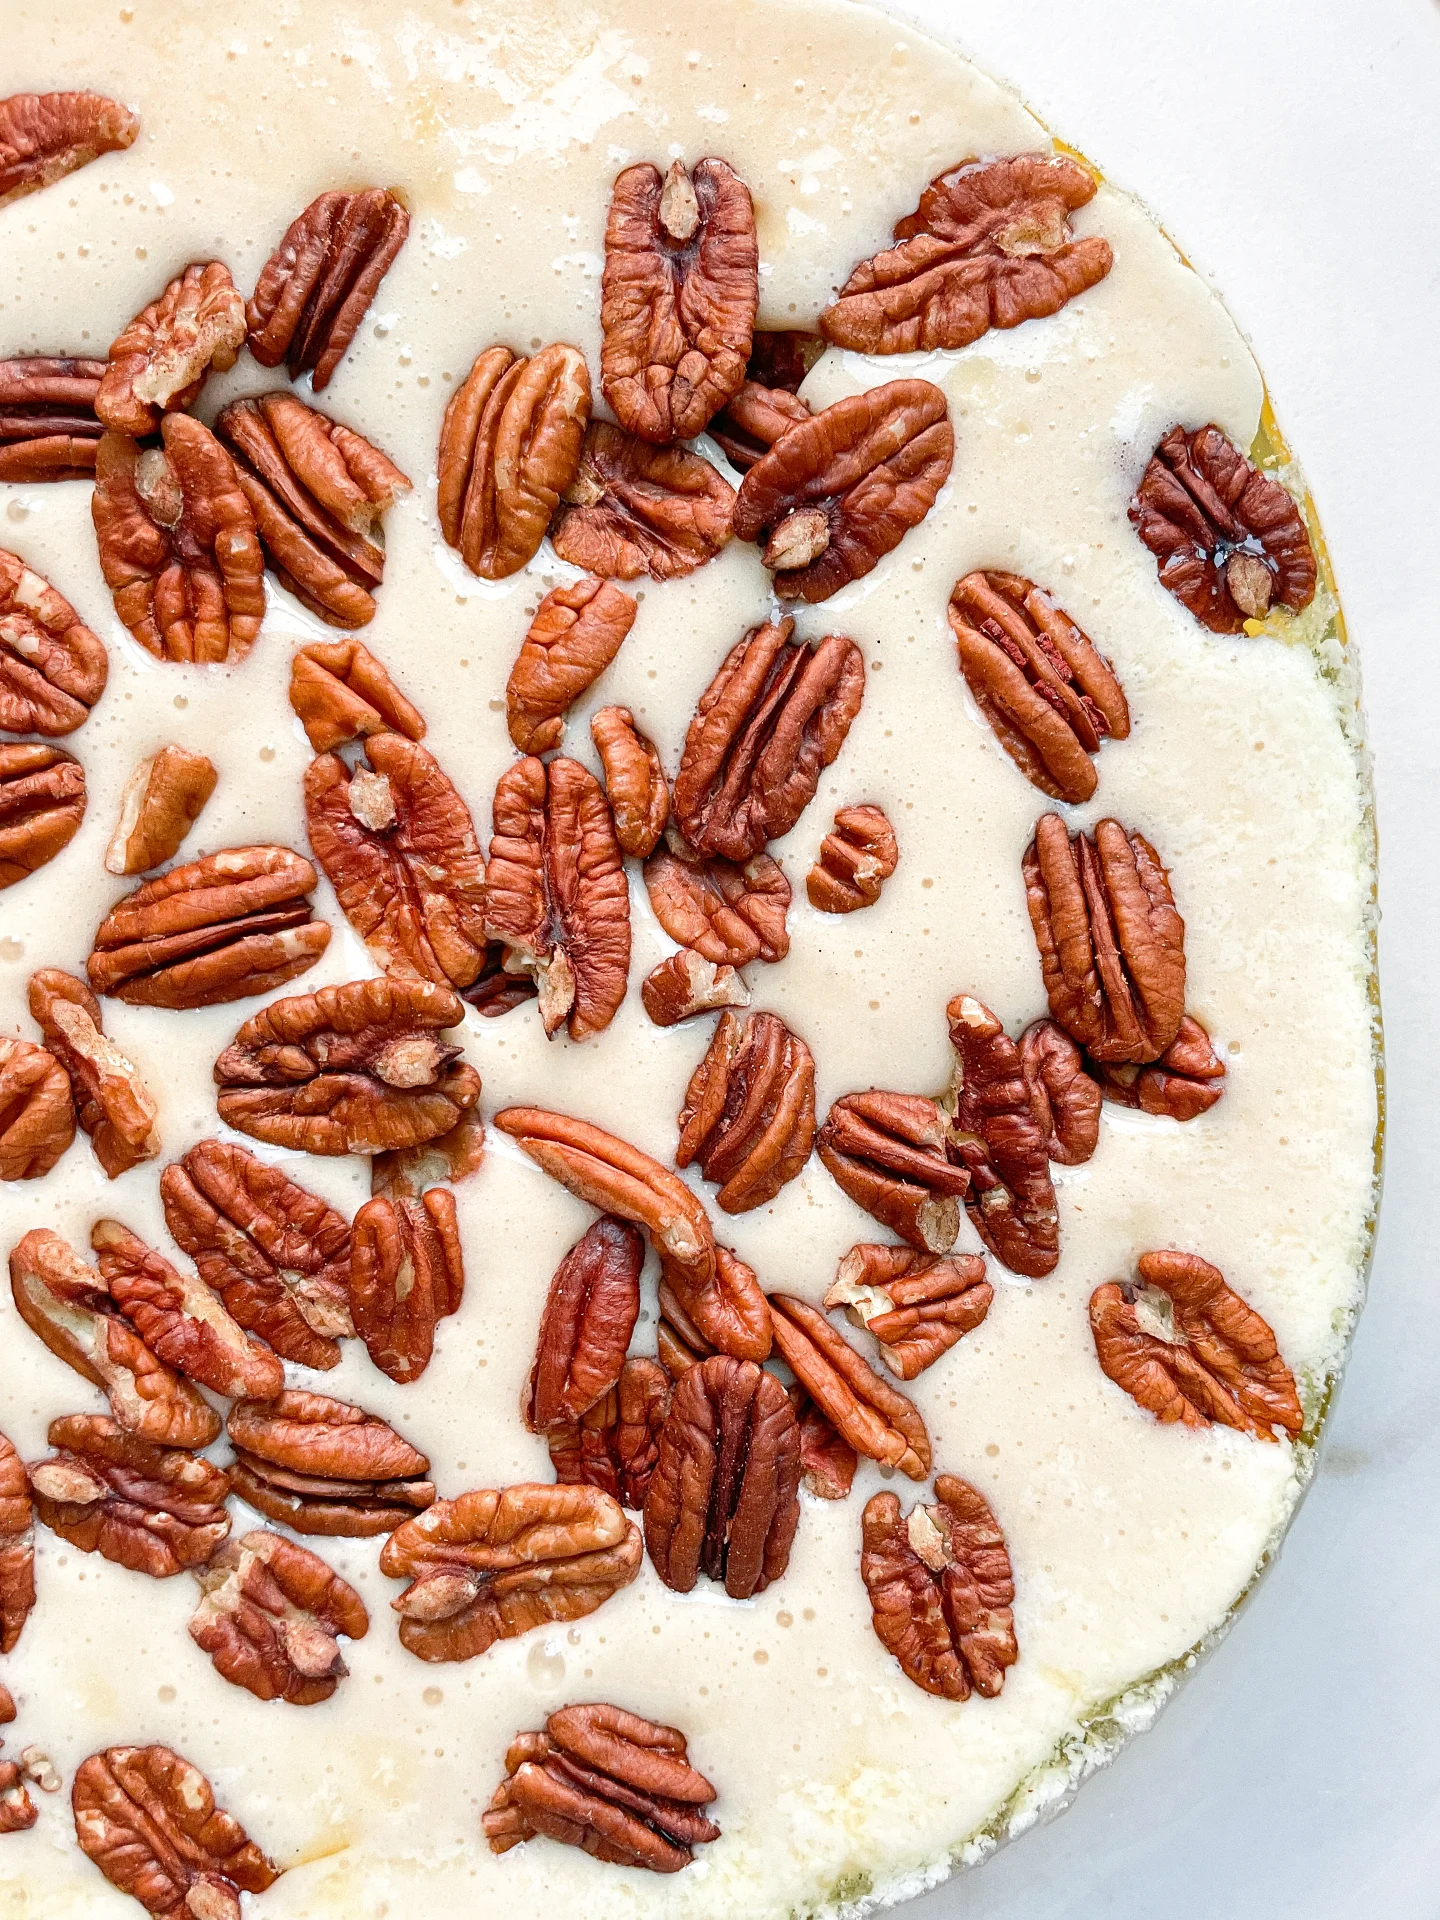
  2. In a bowl, combine flour, sugar, baking powder, and a pinch of salt. Stir in milk and a splash of vanilla extract until it’s all smooth, creamy, and totally lump-free.
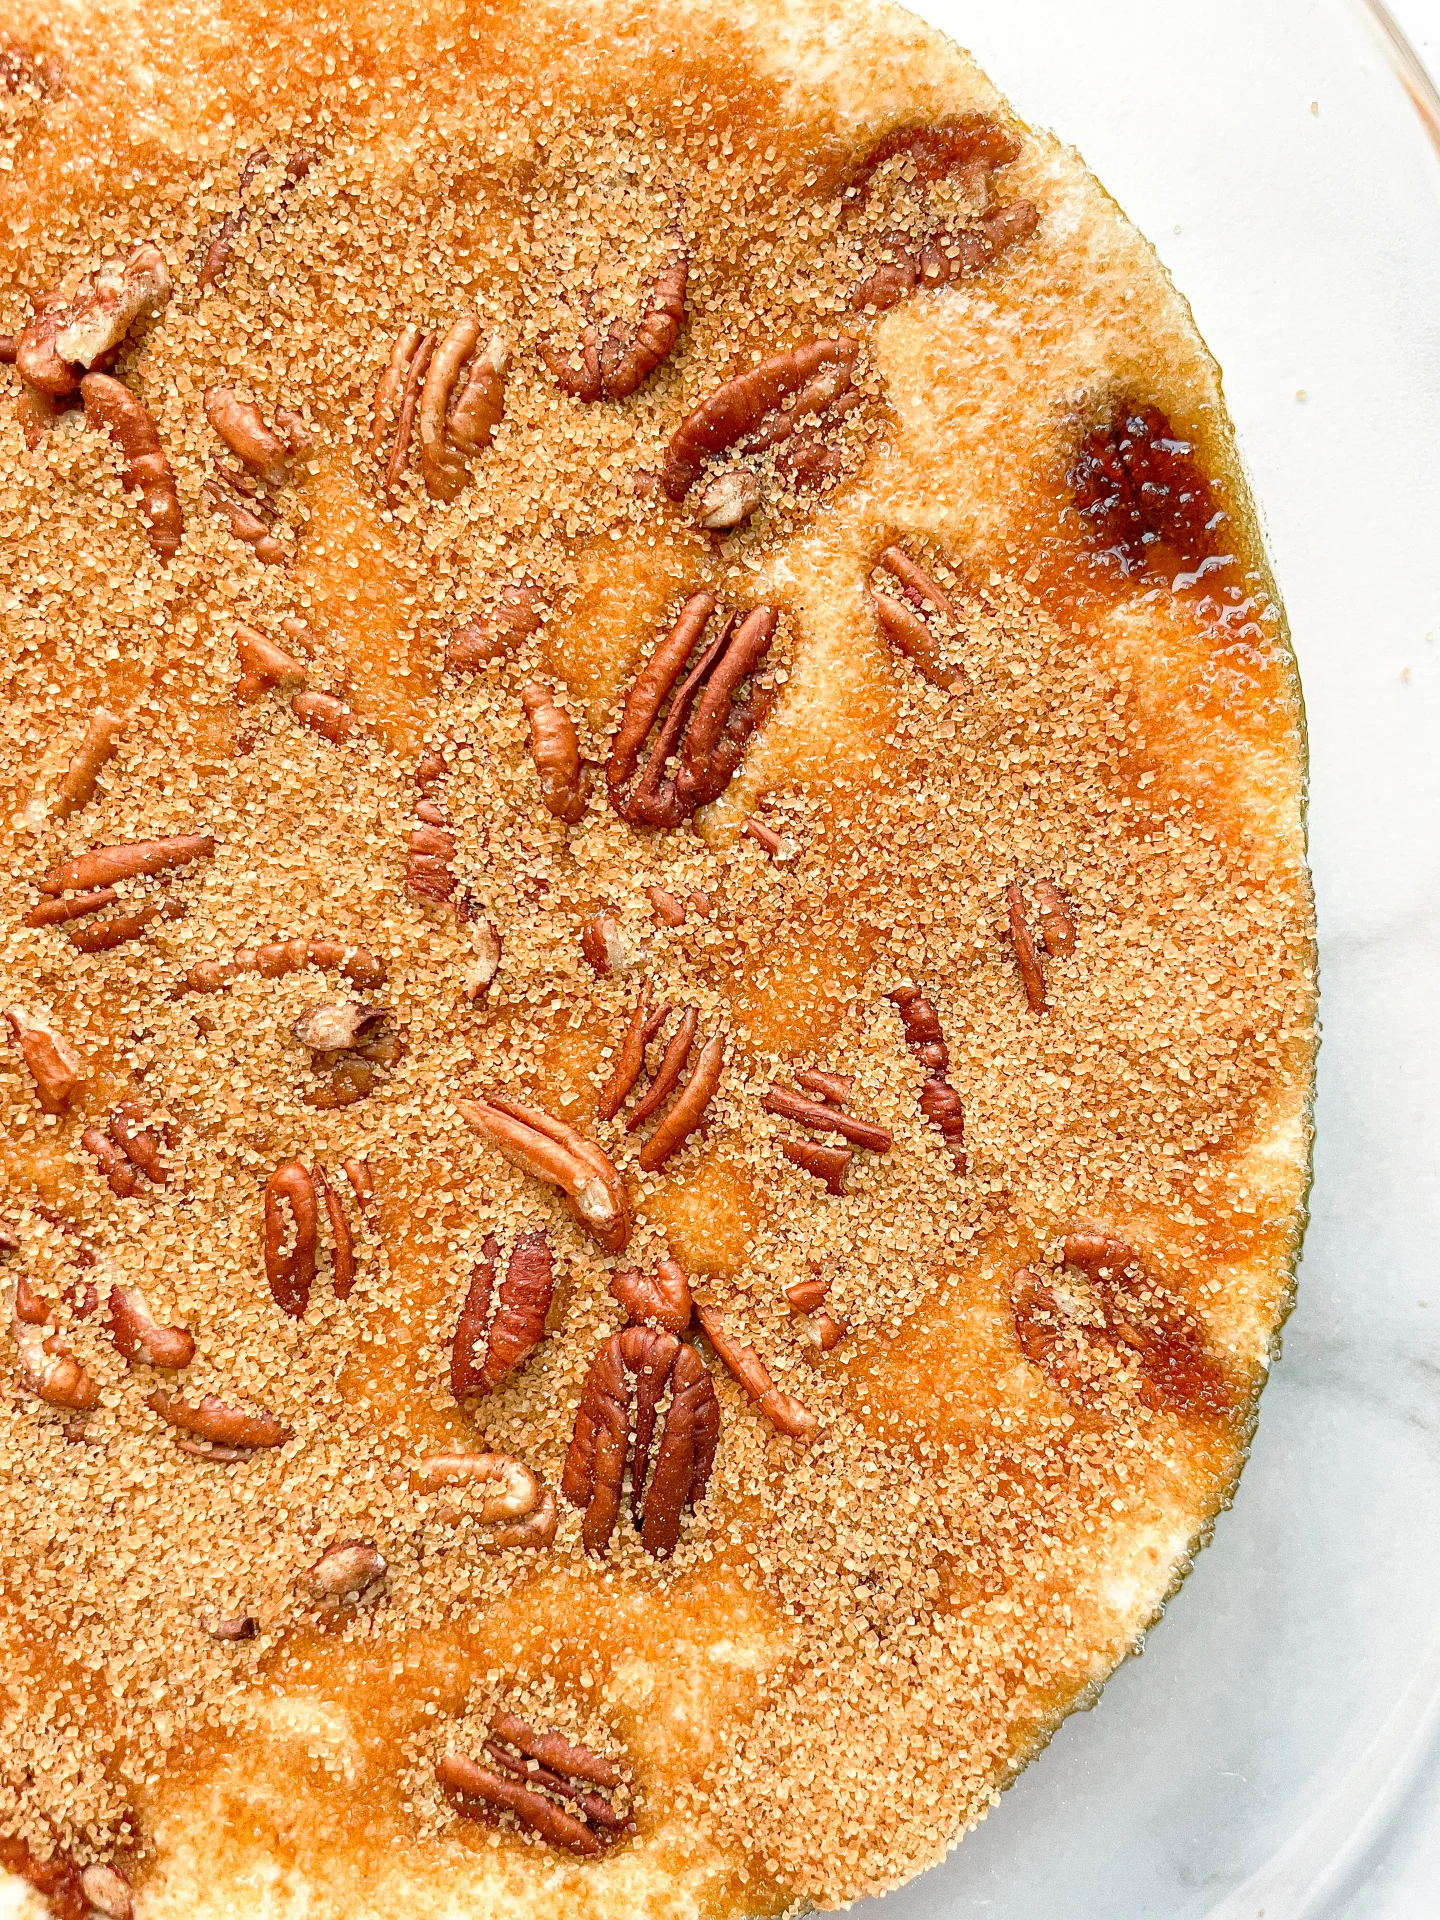
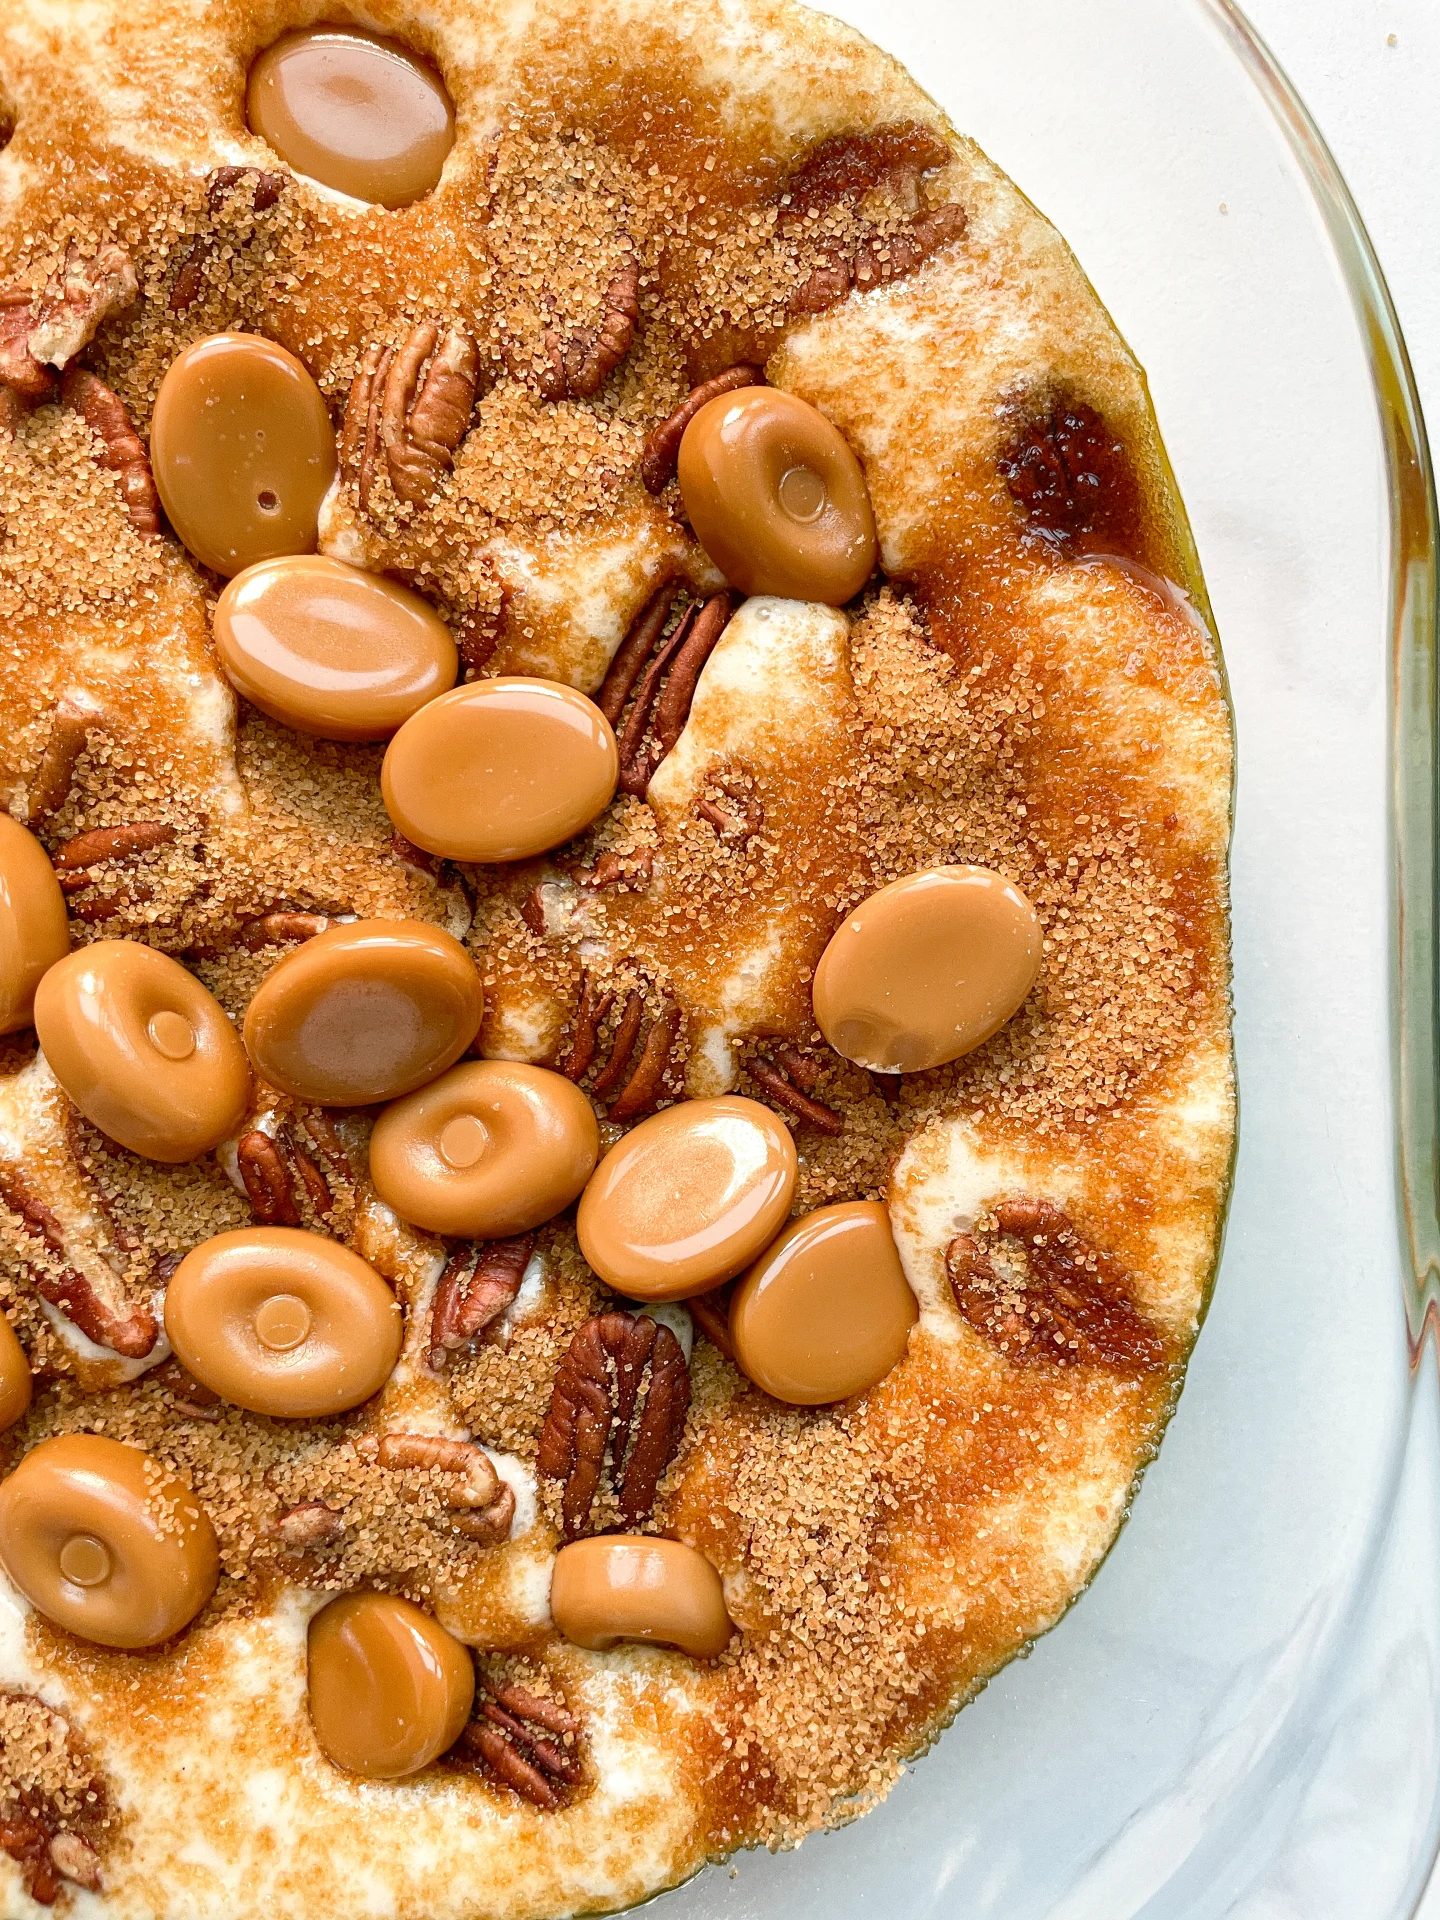
  3. Carefully pull the now-buttery baking dish out of the oven. Pour the batter right over that melted butter. Trust the process – it looks weird now, but it’s all part of trust the process. Sprinkle pecans on top and follow up with a layer of brown sugar. Finally, add the caramel candies. Whole or crushed? Dealer’s choice.
  4. Next, get that kettle boiling and slowly pour the hot water over everything in the dish. Yes, everything. No stirring allowed! Just trust me on this one.
  5. Bake uncovered for 30–35 minutes or until the top is golden brown and smells like a caramel dream.
  6. Take it out and let it cool for about 30 minutes. Patience is key – the caramel sauce underneath thickens and gets all creamy during this time.
  7. Scoop it into bowls, drizzle with that caramel sauce hiding underneath, and top with a big ol’ scoop of vanilla ice cream.

  • Passive Time: 60 min
  • Cook Time: 15 min

Gorgonzola Spinach Gnocchi with Salsiccia Walnut Topping

Gorgonzola Spinach Gnocchi with Salsiccia Walnut Topping

Gorgonzola Spinach Gnocchi with Salsiccia Walnut Topping

Gorgonzola Spinach Gnocchi with Salsiccia Walnut Topping

November 25, 2024 by Kimberly

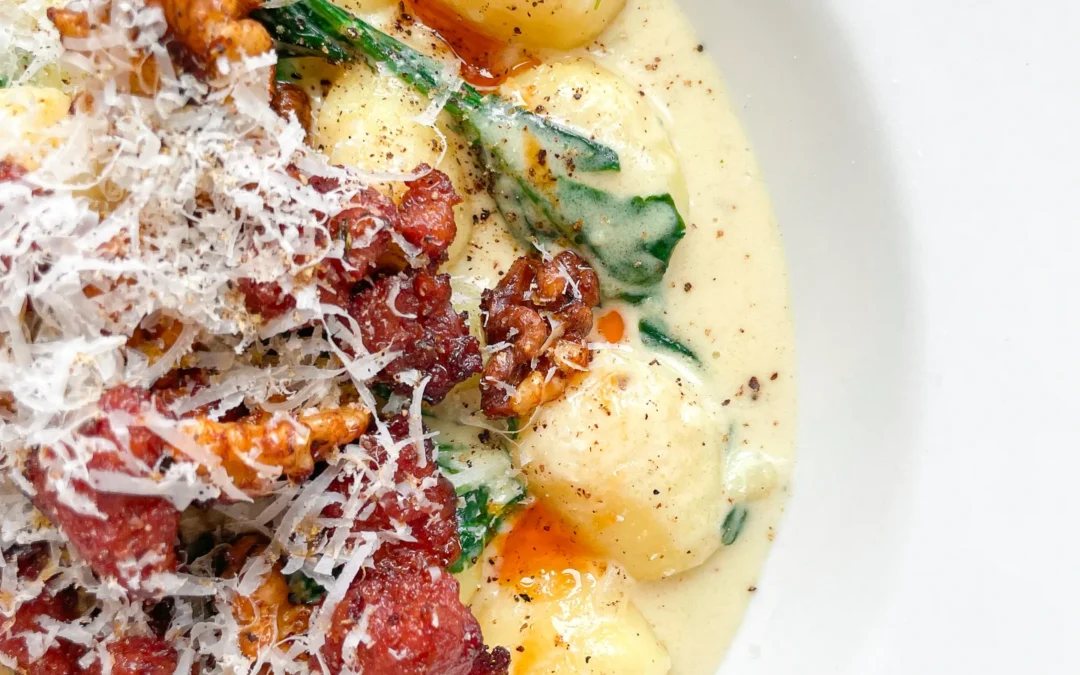
Creamy, cheesy, and just the right touch of indulgence! This cozy dish feels like a warm hug, with bold Italian vibes and a satisfying crunch that’s absolutely unforgettable.

50 MINUTES

EASY

OMNIVORE

ITALIAN

854 PER PORTION

COMFORT FOOD

EVERYDAY

DINNER

AUTUMN
WINTER

INTRODUCTION

ABOUT THE RECIPE

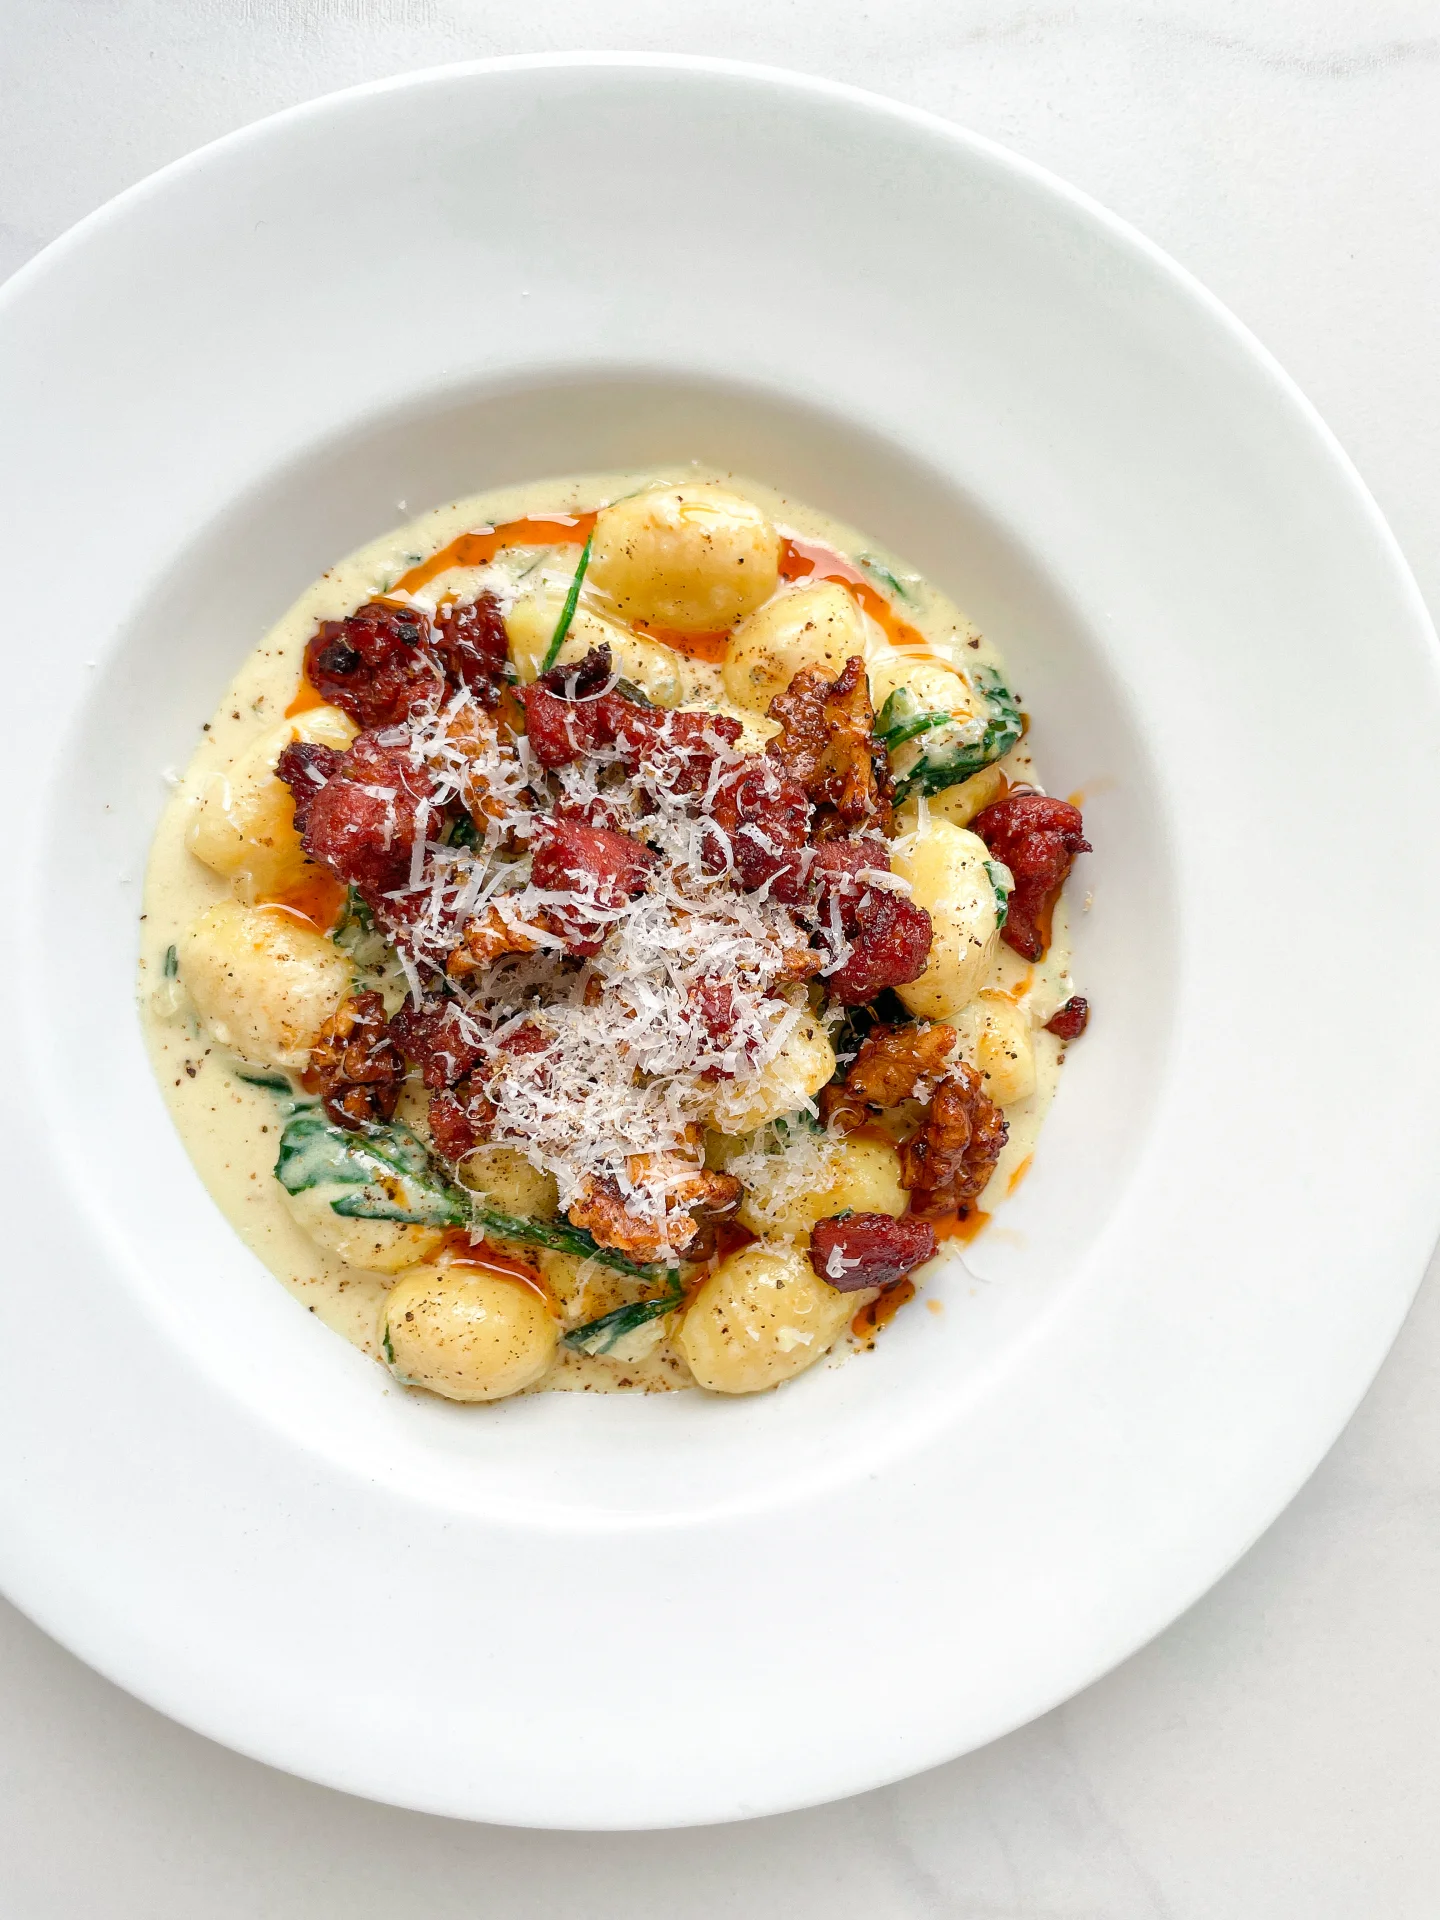
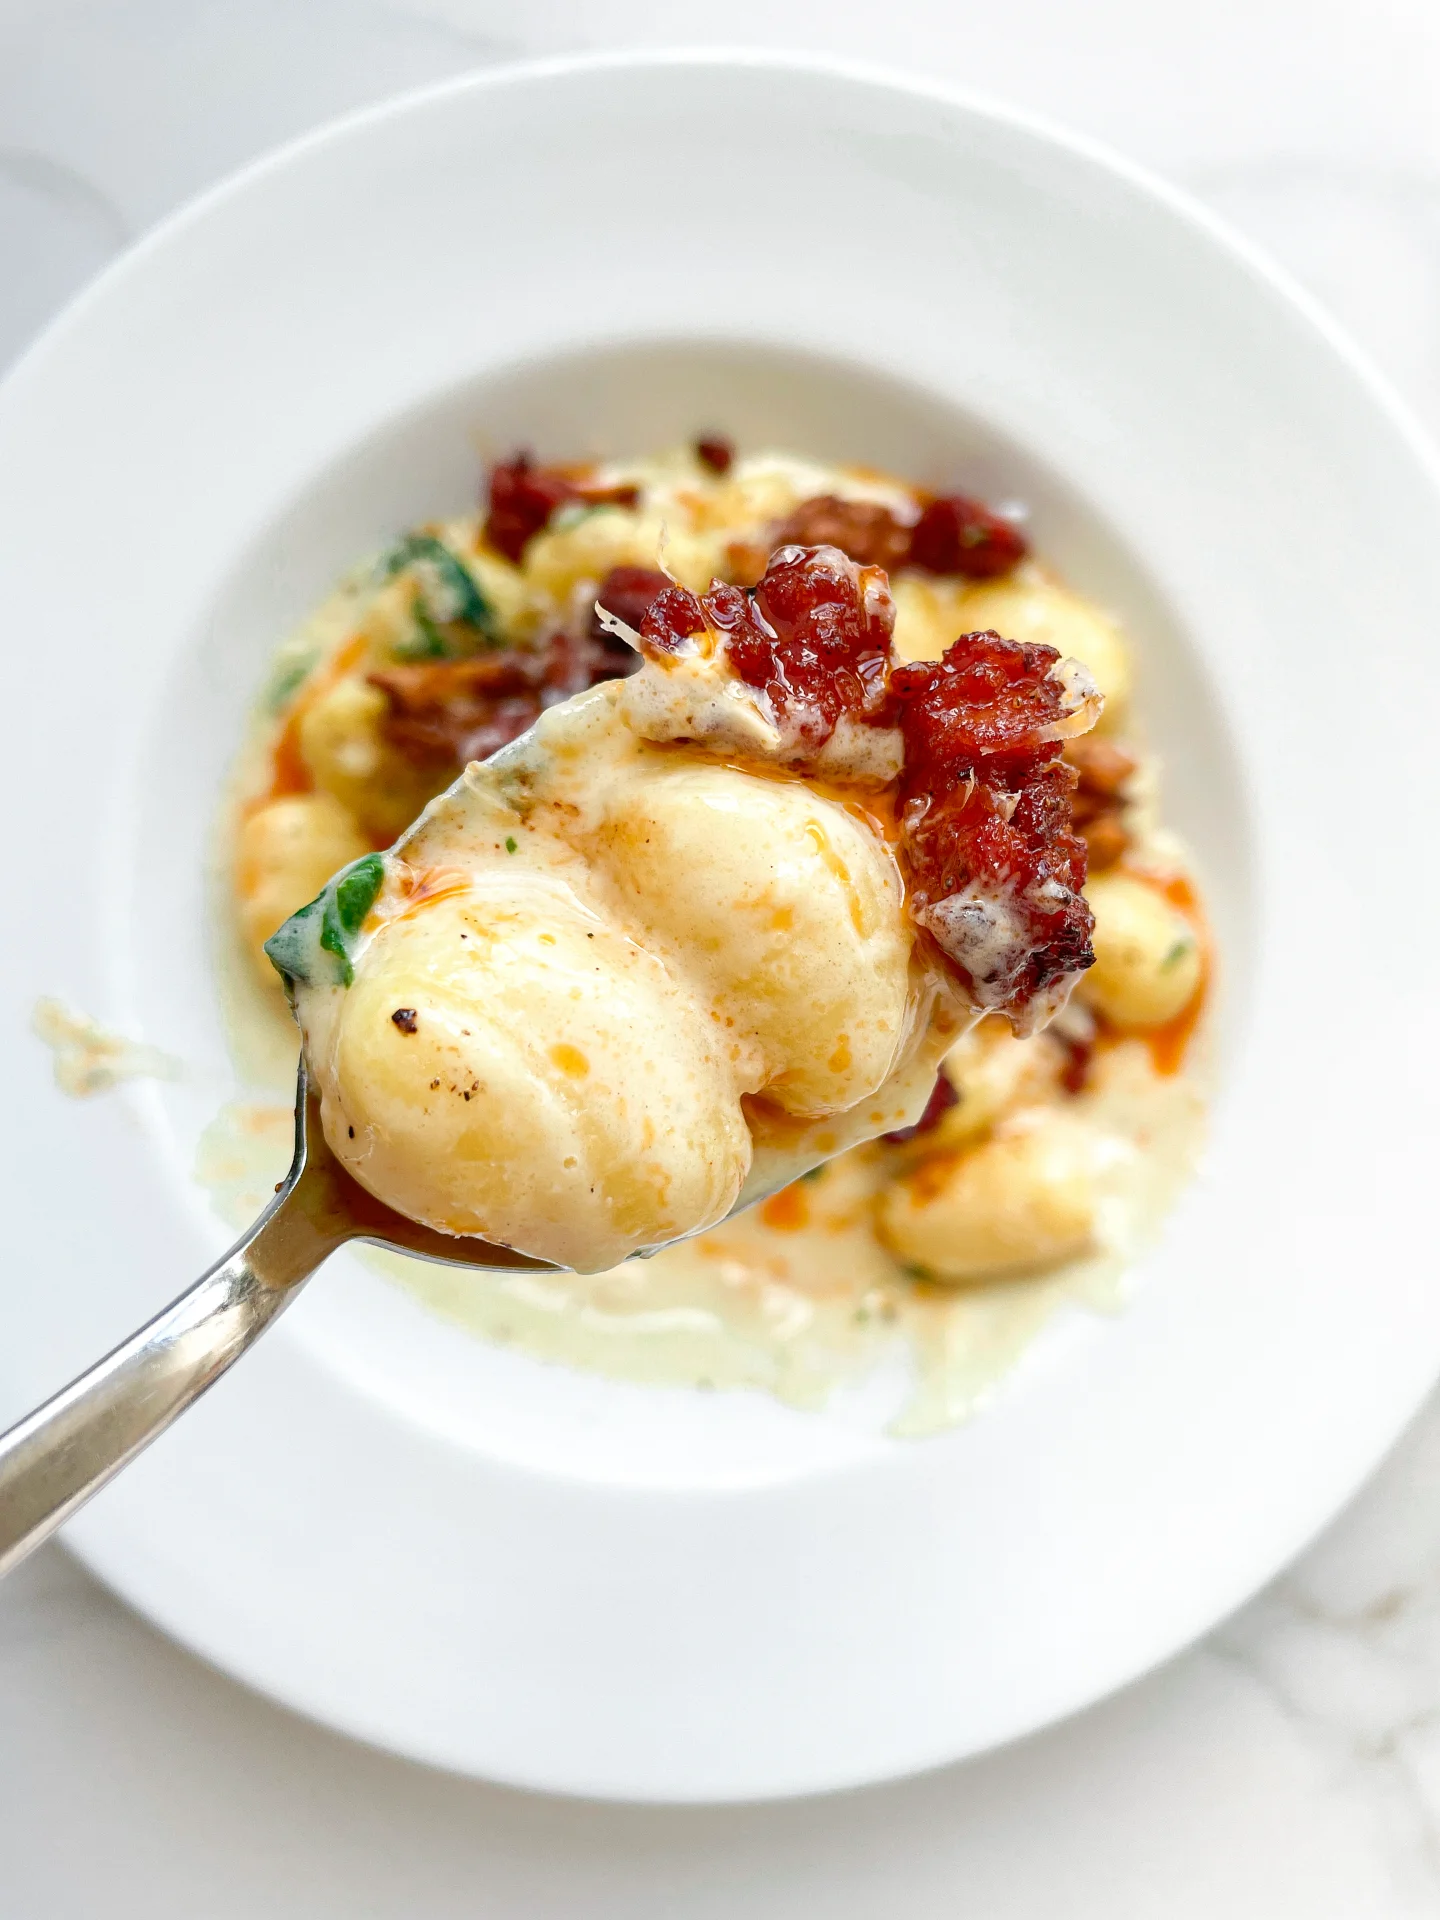
This dish is the ultimate comfort meal you didn’t know you needed! Think soft pillows of gnocchi wrapped in a velvety, cheesy sauce, with just enough spinach to feel balanced. The topping? A game-changing mix of savory sausage and crunchy walnuts that takes it to the next level. It’s one of those meals that feels fancy but is super easy to whip up. Perfect for impressing guests or treating yourself to a cozy night in!

How to serve
Serve this dish straight from the pan, steaming and ready to impress. Sprinkle a touch of freshly grated Parmesan or a drizzle of olive oil on top for that extra flair. Pair it with a crisp arugula salad or some roasted veggies to balance the richness. Want to make it truly unforgettable? A glass of chilled white wine or sparkling water with a citrus twist will make the flavors pop.

How to store
Got leftovers? Lucky you! Store them in an airtight container in the fridge for up to 3 days. Reheat gently in a pan over low heat, adding a splash of milk or cream to revive that creamy magic. Avoid freezing – it’s best enjoyed fresh!

Hi, I'm Kimberly!

Hi, I'm Kimberly.

A passionate food lover who believes in the magic of homemade deliciousness that spreads love and warmth. Join me on this culinary adventure as I prepare wonderful dishes and let’s spread some happiness together!

Kimberly the Zett Signature

If you want to get to know me better, click here!


Gorgonzola Spinach Gnocchi with Salsiccia Walnut Topping
„Let’s make a piece of happiness“
Print
clock clock iconcutlery cutlery iconflag flag iconfolder folder iconinstagram instagram iconpinterest pinterest iconfacebook facebook iconprint print iconsquares squares iconheart heart iconheart solid heart solid icon
Gorgonzola Spinach Gnocchi with Salsiccia Walnut Topping

Gorgonzola Spinach Gnocchi with Salsiccia Walnut Topping


  • Author: Kimberly
  • Total Time: 50 min
  • Yield: 4 1x

Description

RECOMMENDED EQUIPMENT

  • large frying pan
  • medium frying pan
  • large pot
  • strainer
  • sharp knife
  • cutting board


Ingredients

Units Scale

SPINACH GORGONZOLA SAUCE

  • 200 grams gorgonzola
  • 200 grams heavy cream
  • 1 tbsp butter
  • 250 milliliter chicken stock
  • 50 milliliter dry white wine
  • 4 garlic cloves
  • 1 shallot
  • 50 grams baby spinach
  • fresh oregano
  • fresh thyme
  • nutmeg, salt & pepper to taste

SALSICCIA WALNUT TOPPING

  • 200 grams salsiccia with fennel
  • 50 milliliter dry white wine
  • 40 grams walnuts
  • 2 tsp honey
  • fresh oregano
  • fresh thyme
  • cayenne pepper, salt & pepper to taste

OTHER INGREDIENTS

  • 800 grams gnocchi
  • parmesan for topping

Instructions

PREPARATIONS

  • Chop the shallot and garlic cloves into small, fine pieces. Take the salsiccia sausage out of its casing—either tear it into chunky bits with your hands or crumble it up, whichever feels less chaotic. Slice the gorgonzola into chunks—don’t overthink it; it’ll melt anyway. Wash the baby spinach thoroughly and spin it dry. Set everything aside.

INSTRUCTIONS

  1. Melt some butter in a large pan over medium heat. Toss in the shallots and cook until they’re glossy and translucent. Add the garlic and stir it until your kitchen smells incredible.
  2. Deglaze with a splash of white wine. Let it simmer for 1-2 minutes to let the alcohol cook off. Pour in the chicken broth and bring it to a boil. Once it boils, lower the heat to a simmer and stir in the cream. Let this dreamy mix simmer gently for 10-15 minutes while you prepare the salsiccia.
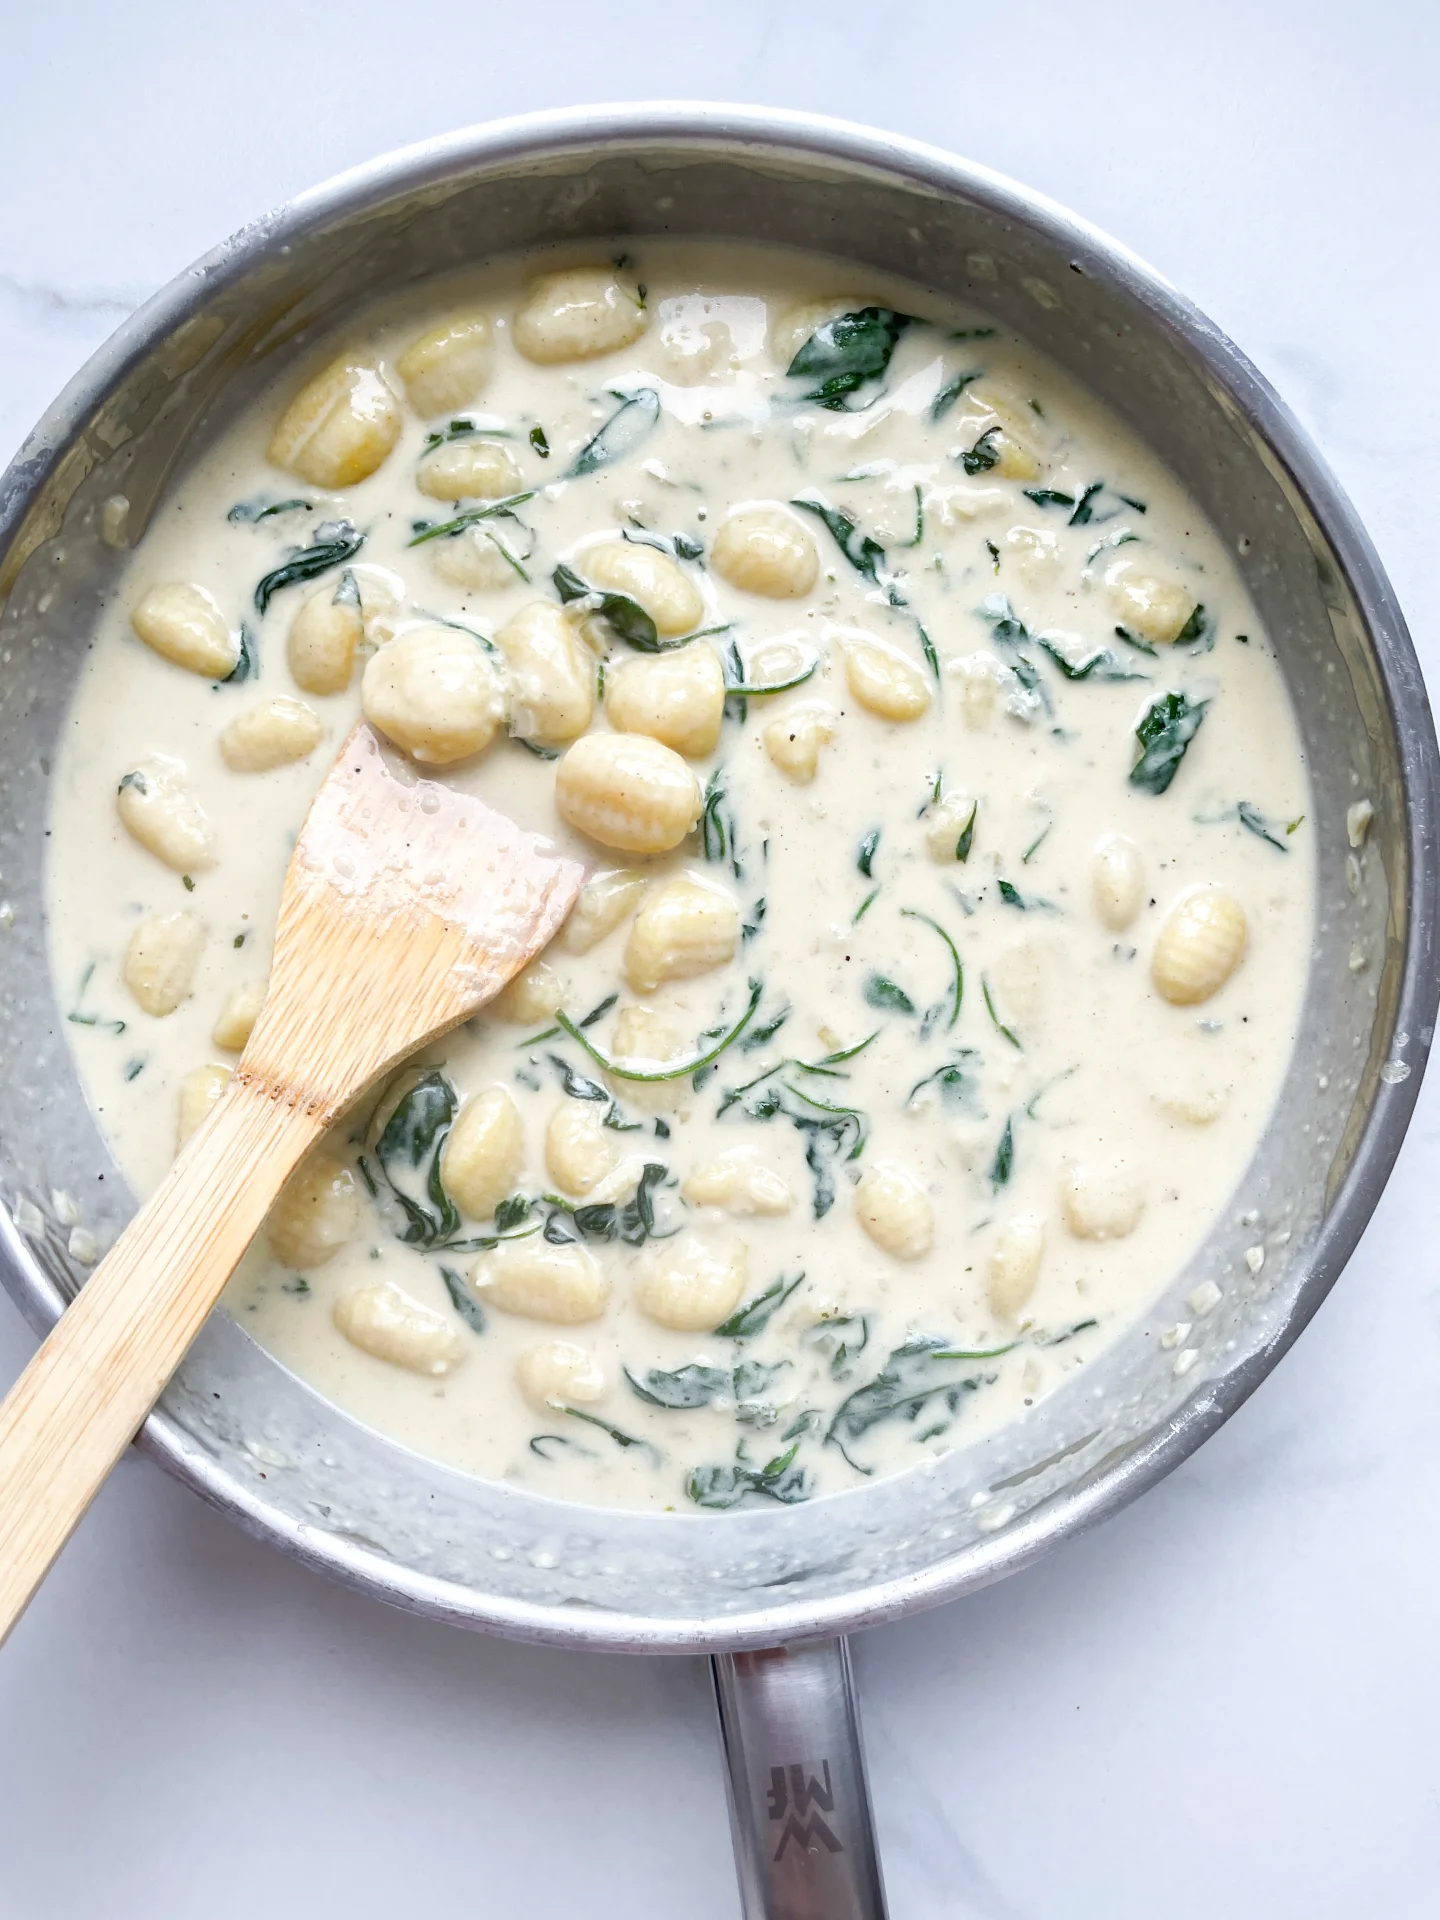
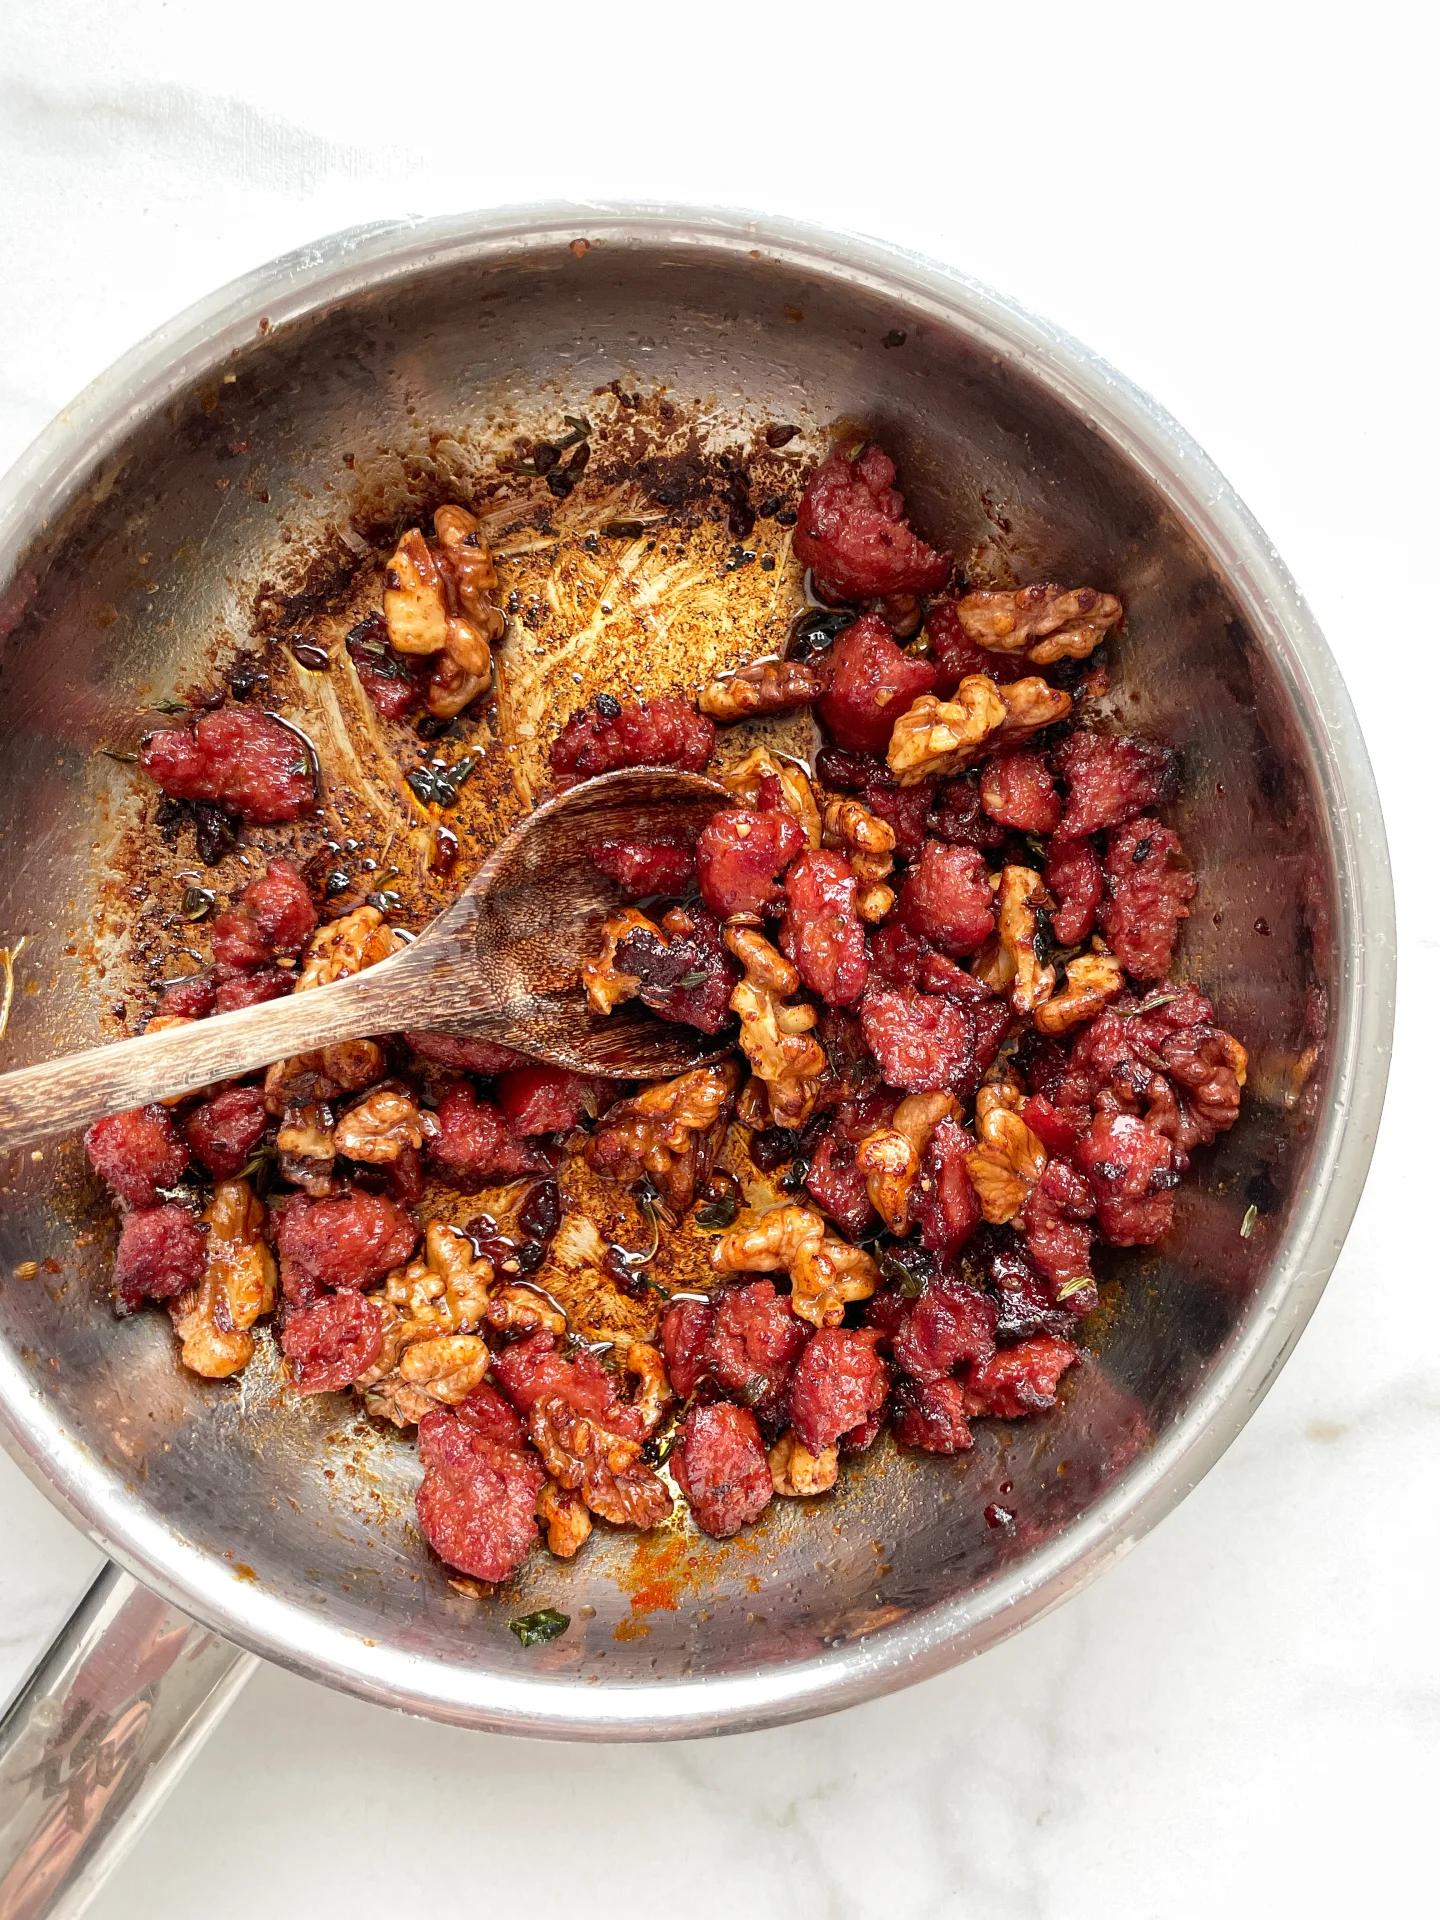
  3. Toss the sausage bits into a cold pan. Slowly heat it up so the fat renders out—no extra oil needed! Cook until the pieces are golden and crispy on the outside. Deglaze with another splash of white wine, simmering until most of the liquid evaporates and you’re left with a creamy coating. Toss in the walnuts, a pinch of cayenne pepper, salt, and a drizzle of honey. Stir everything and let it caramelize for 1-2 minutes. Add fresh oregano and thyme, mix, and let those flavors pop.
  4. Keep your cream and broth mixture on low heat. Stir in the Gorgonzola until it’s completely melted into the sauce—smooth, rich, and irresistible. Grate in some fresh nutmeg, then stir in more oregano and thyme. Add the spinach and stir until it wilts down. Keep everything warm and cozy over low heat.
  5. Fill a large pot with water, bring it to a boil, and add the gnocchi. Cook for 3-5 minutes, or until they float to the surface. Drain the gnocchi and toss them directly into the Gorgonzola-spinach sauce. Stir until every pillowy bite is coated in the sauce.
  6. Plate the gnocchi in deep bowls. Spoon the crispy salsiccia-walnut mixture on top and finish with a shower of freshly grated Parmesan.

  • Prep Time: 10 min
  • Passive Time: 15 min
  • Cook Time: 25 min

Biscoff Cinnamon Banoffee Pie

Biscoff Cinnamon Banoffee Pie

Biscoff Cinnamon Banoffee Pie

Biscoff Cinnamon Banoffee Pie

November 19, 2024 by Kimberly

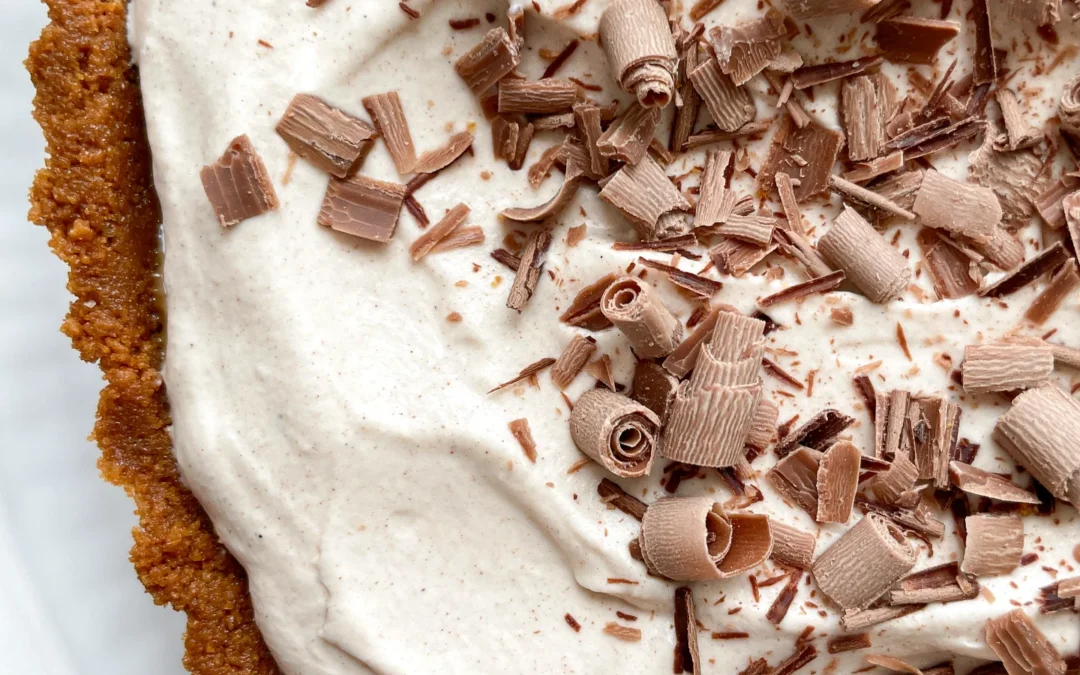
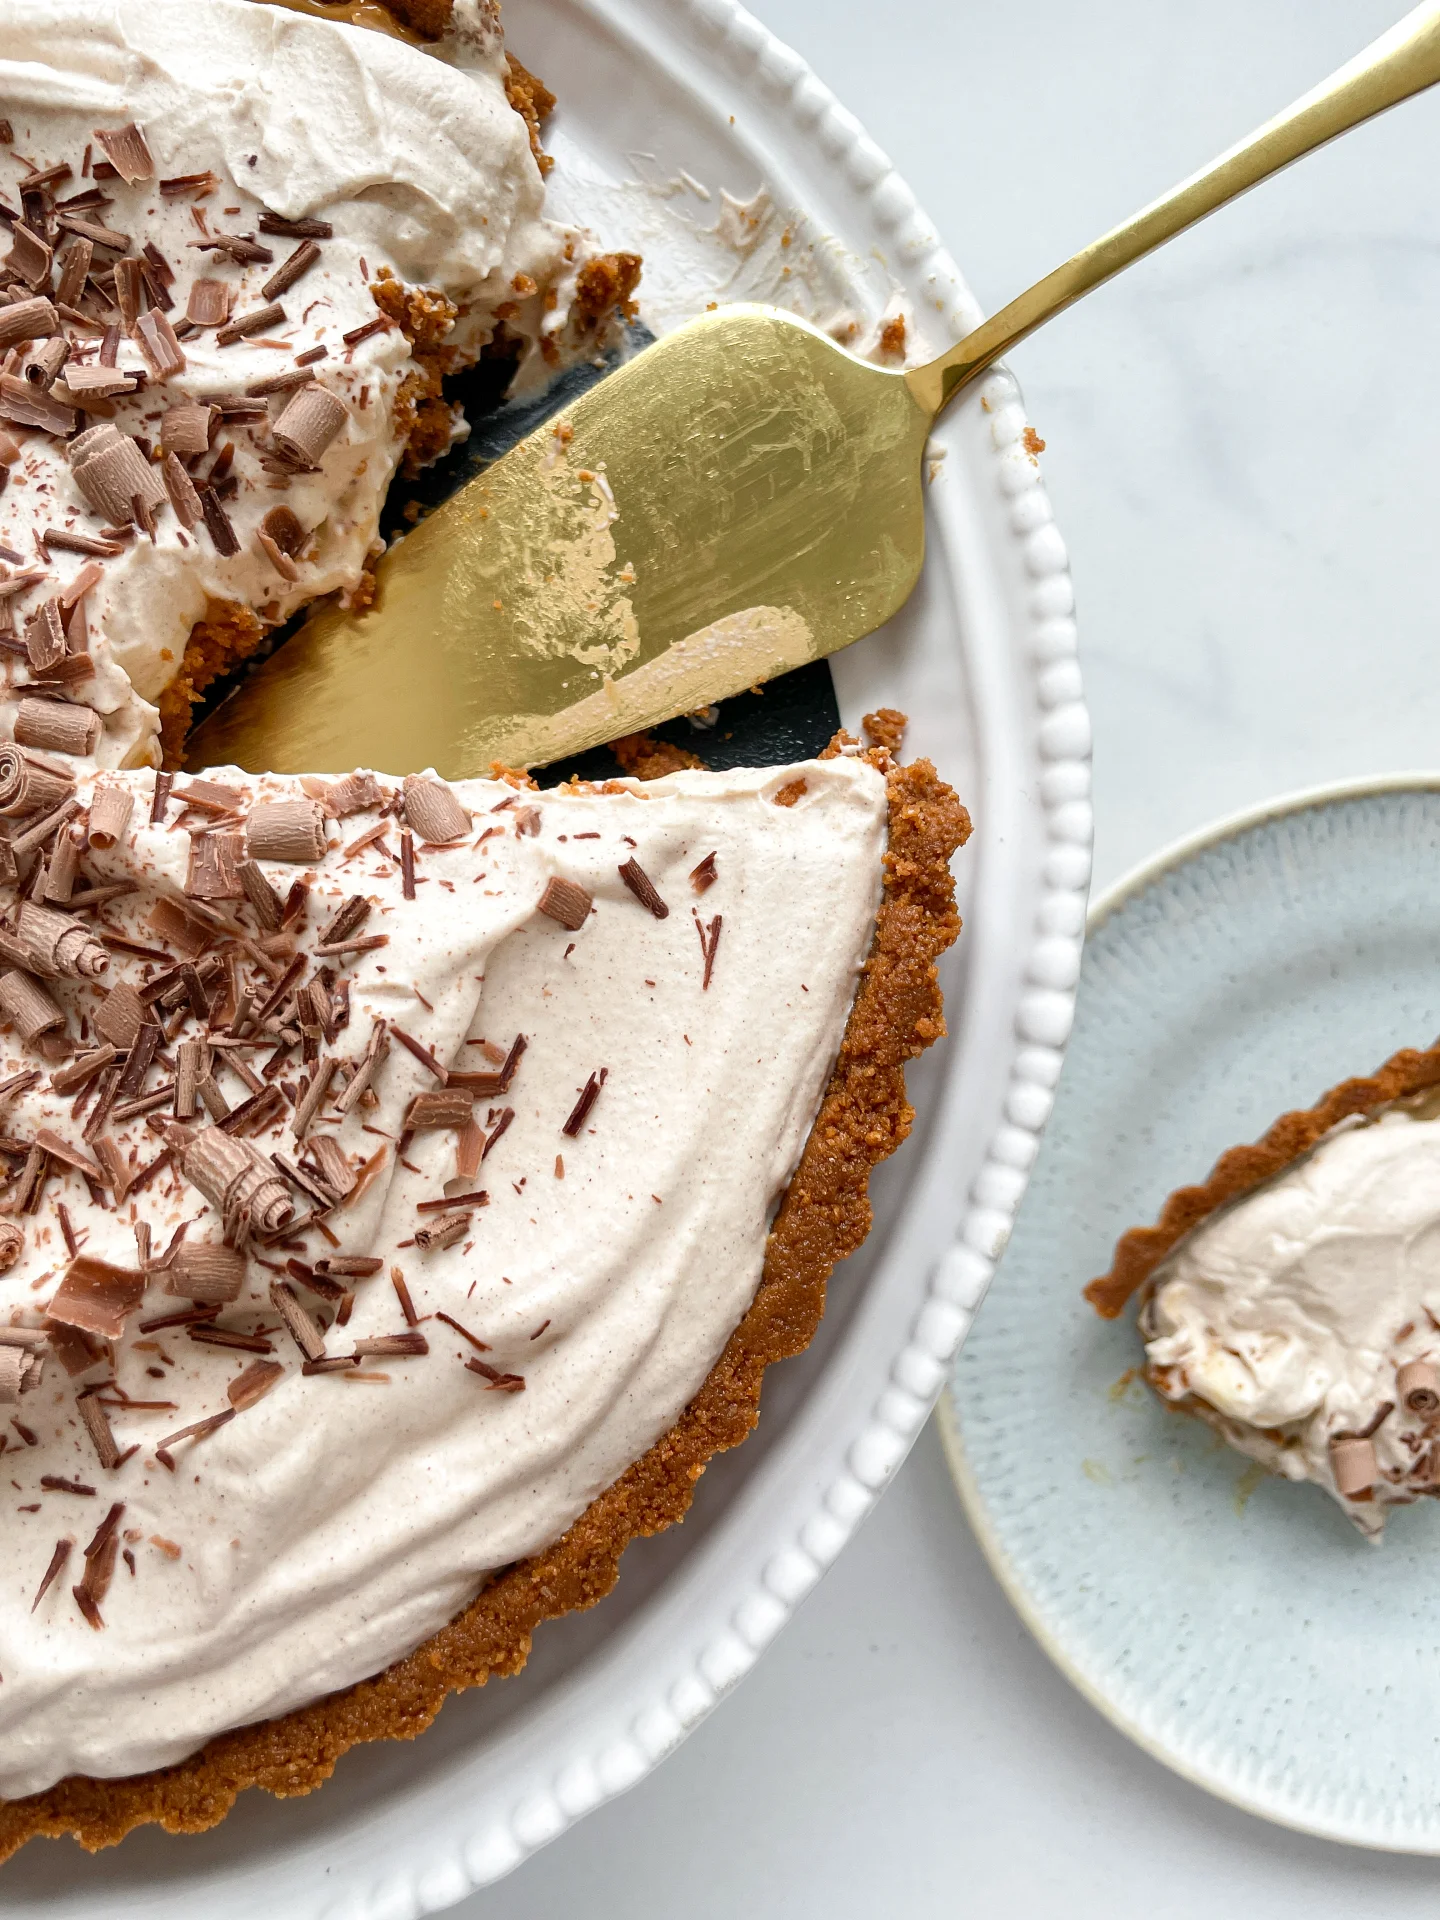
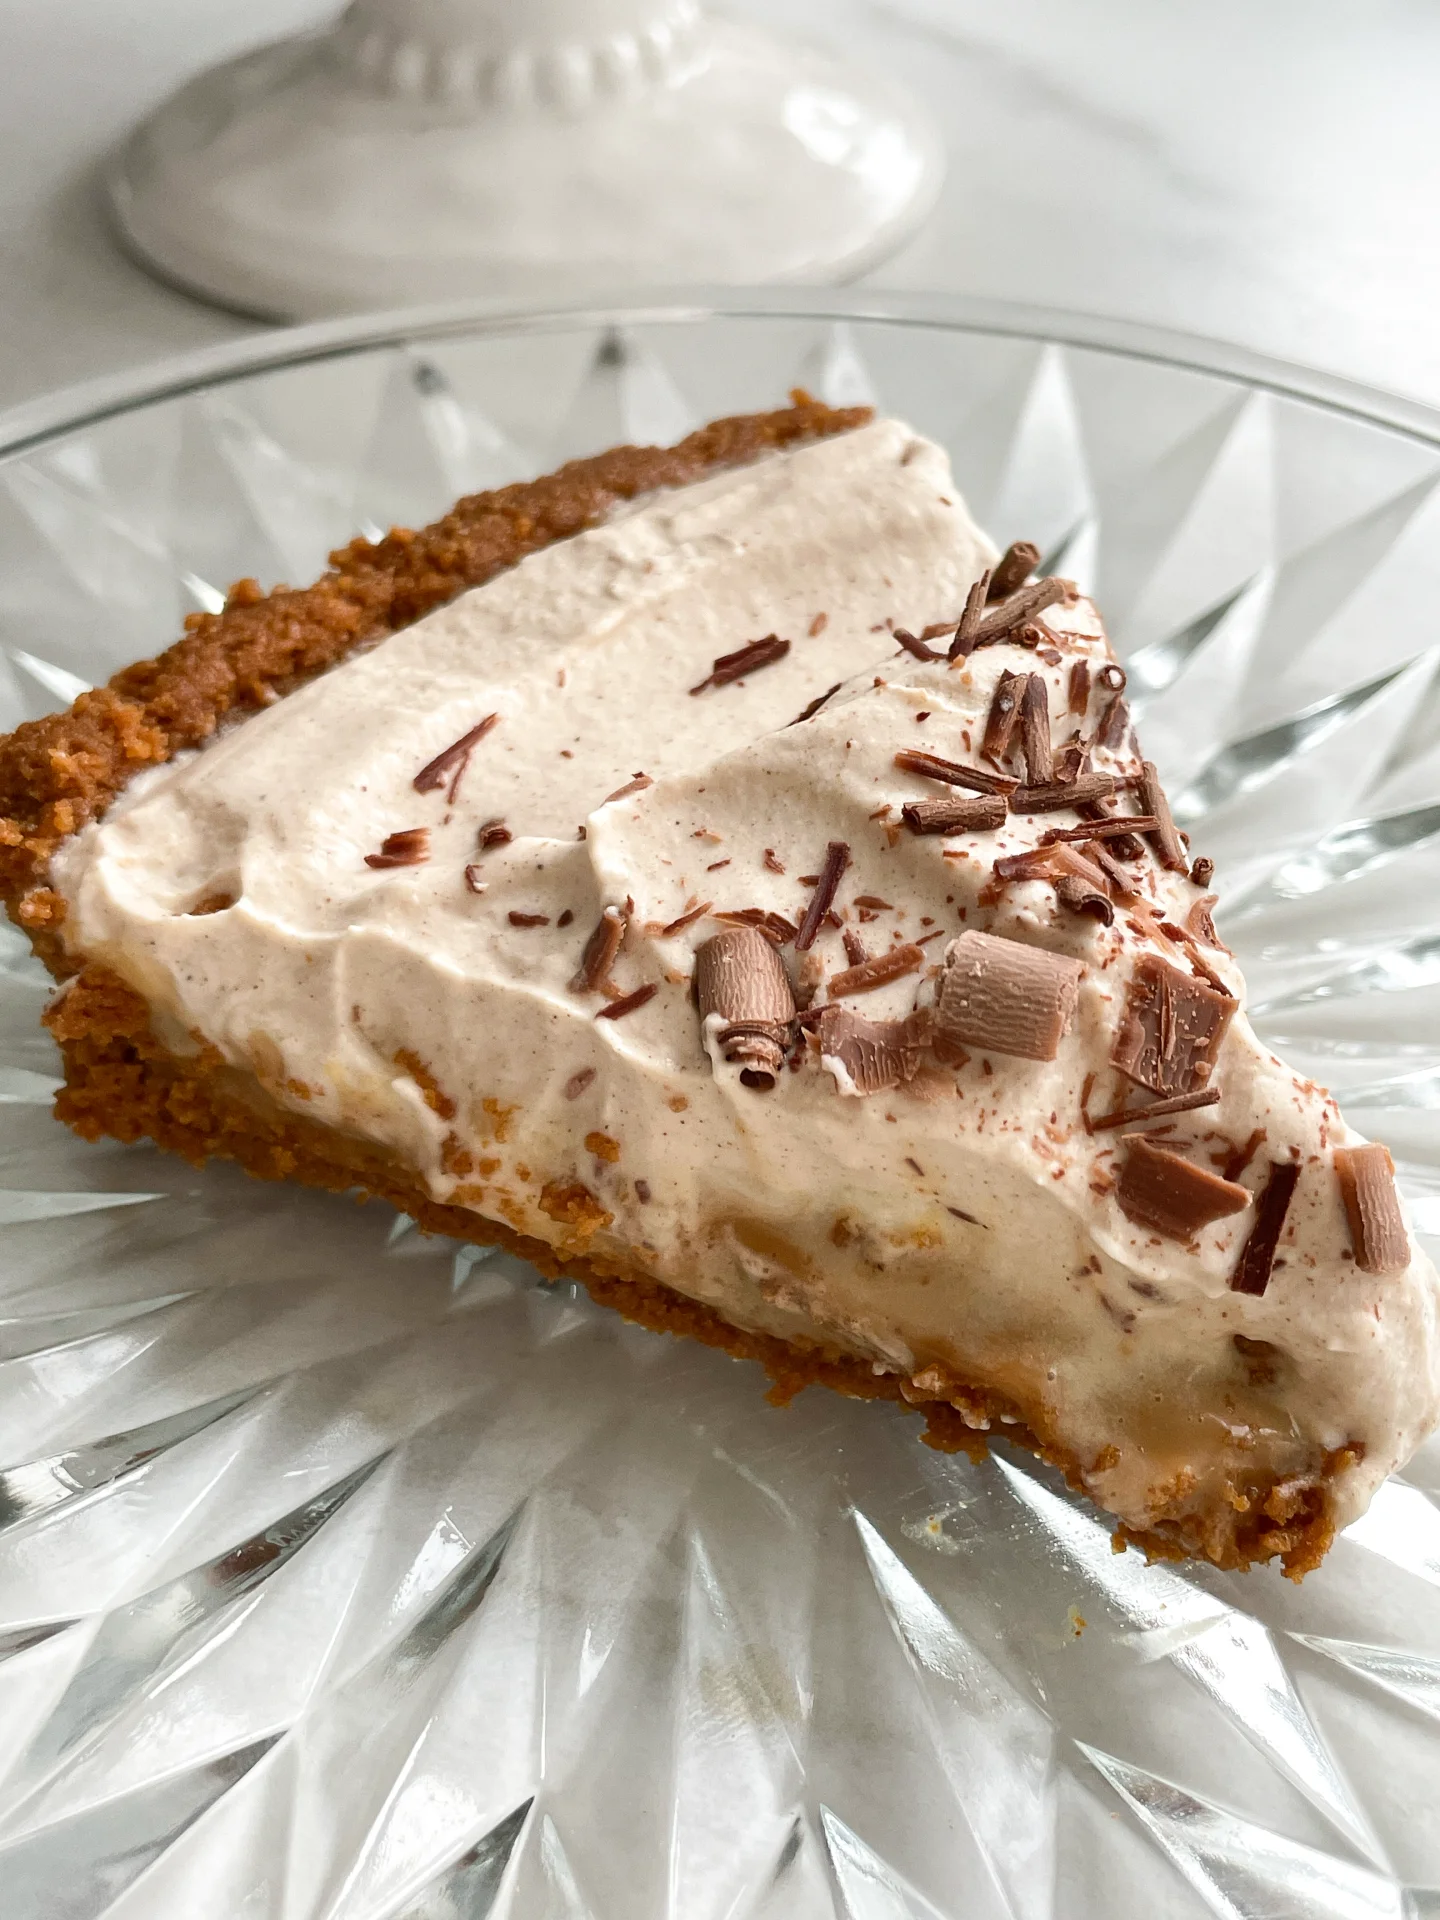
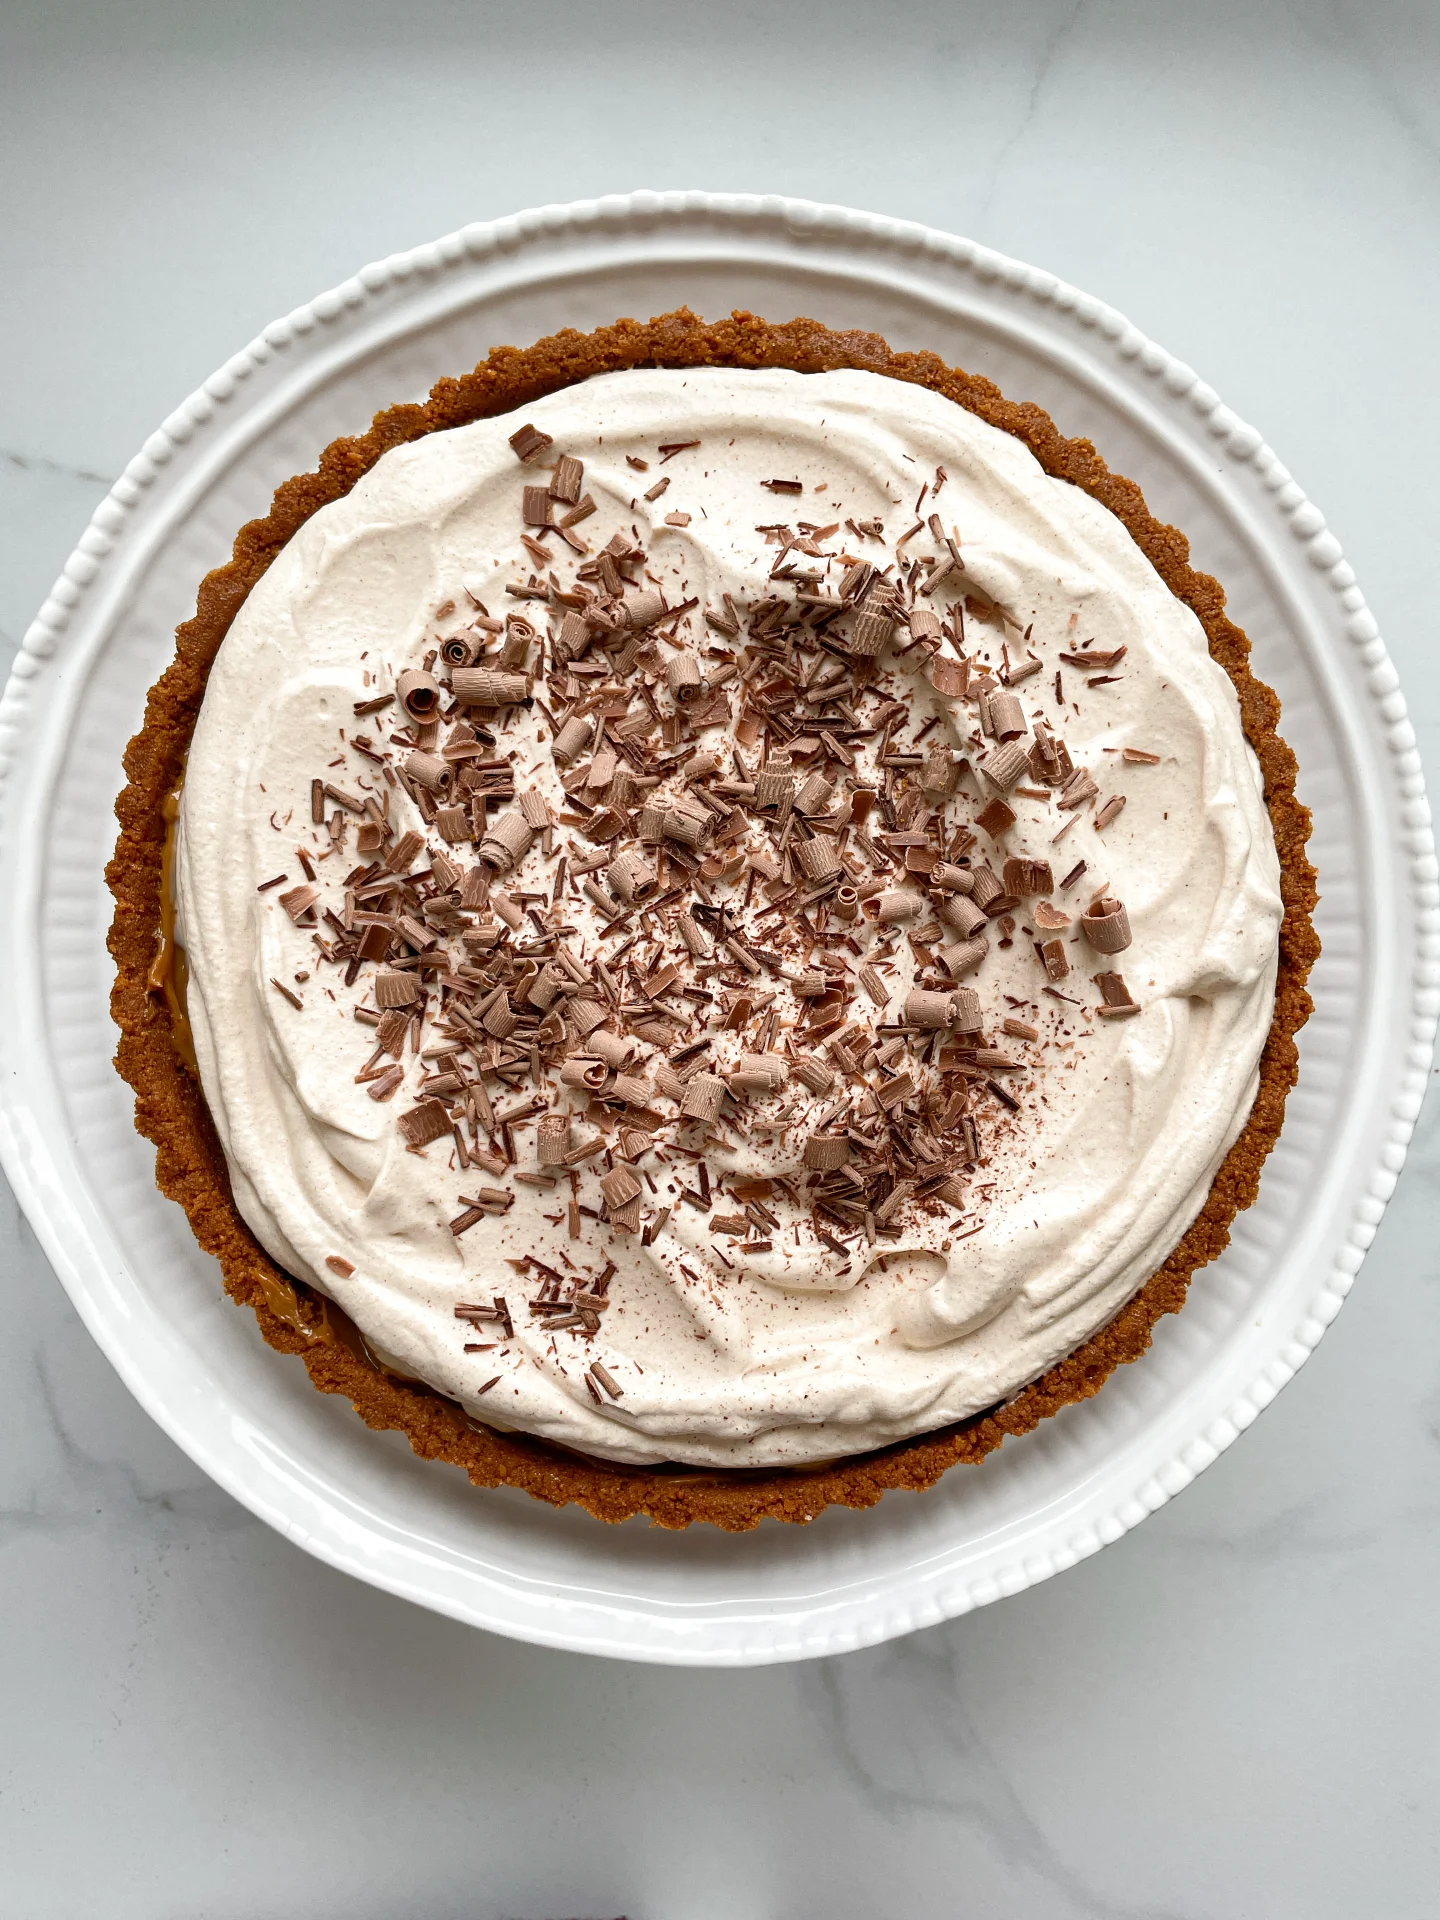
Dreamy layers of creamy dulce de leche, fresh banana slices, and cinnamon whipped cream, all on a buttery Biscoff cookie crust. This no-bake treat is pure, cozy dessert bliss in every bite!

40 MINUTES

EASY

VEGETARIAN

ENGLISH

311 PER SLICE

CREAMY

THANKSGIVING

DESSERT & SWEETS

AUTUMN
WINTER

INTRODUCTION

ABOUT THE RECIPE

This no-bake delight layers all the cozy flavors: a buttery Biscoff cookie crust, homemade dulce de leche, fresh banana slices, and a whipped cinnamon topping. It’s creamy, sweet, and has that dreamy, melt-in-your-mouth quality that’ll make you reach for seconds. No baking needed – just a quick assembly for a dessert that’s equally impressive and easy. It’s the perfect treat when you want a little something special without turning on the oven.

How to serve
Serve this pie chilled and straight from the fridge to get the best creamy texture and hold. For a little extra flair, sprinkle the top with crushed Biscoff cookies or some shavings of your favorite chocolate. Pair it with a warm coffee or your favorite cozy drink – the caramel-like dulce de leche and cinnamon cream make this pie the ultimate comfort dessert. It’s also a crowd-pleaser, so bring it along to your next gathering!

How to store
Store any leftovers in the fridge, covered, for up to 3 days. The whipped cream topping stays nicely set, and the crust holds well. This pie is best served cold, straight from the fridge, for that perfect creamy bite.

Hi, I'm Kimberly!

Hi, I'm Kimberly.

A passionate food lover who believes in the magic of homemade deliciousness that spreads love and warmth. Join me on this culinary adventure as I prepare wonderful dishes and let’s spread some happiness together!

Kimberly the Zett Signature

If you want to get to know me better, click here!


Biscoff Cinnamon Banoffee Pie

„Let’s make a piece of happiness“

Print
clock clock iconcutlery cutlery iconflag flag iconfolder folder iconinstagram instagram iconpinterest pinterest iconfacebook facebook iconprint print iconsquares squares iconheart heart iconheart solid heart solid icon
Biscoff Cinnamon Banoffee Pie

Biscoff Cinnamon Banoffee Pie


5 from 1 review

  • Author: Kimberly
  • Total Time: 3 hrs + 15 min
  • Yield: 8-16 1x

Description

Recommended Equipment

  • small pot with lid
  • food processor
  • pie dish
  • sharp knife
  • cutting board
  • electric mixer
  • tall container
  • vegetable peeler
  • can opener

Ingredients

Units Scale
  • 300 grams biscoff cookies
  • 140 grams butter, room temperature
  • 400 grams sweetened condensed milk
  • 2 bananas
  • 1 tbsp lemon juice
  • 250 grams heavy cream
  • 30 grams powdered sugar
  • 1 tsp vanilla
  • 1 tsp cinnamon

Instructions

PREPARATIONS

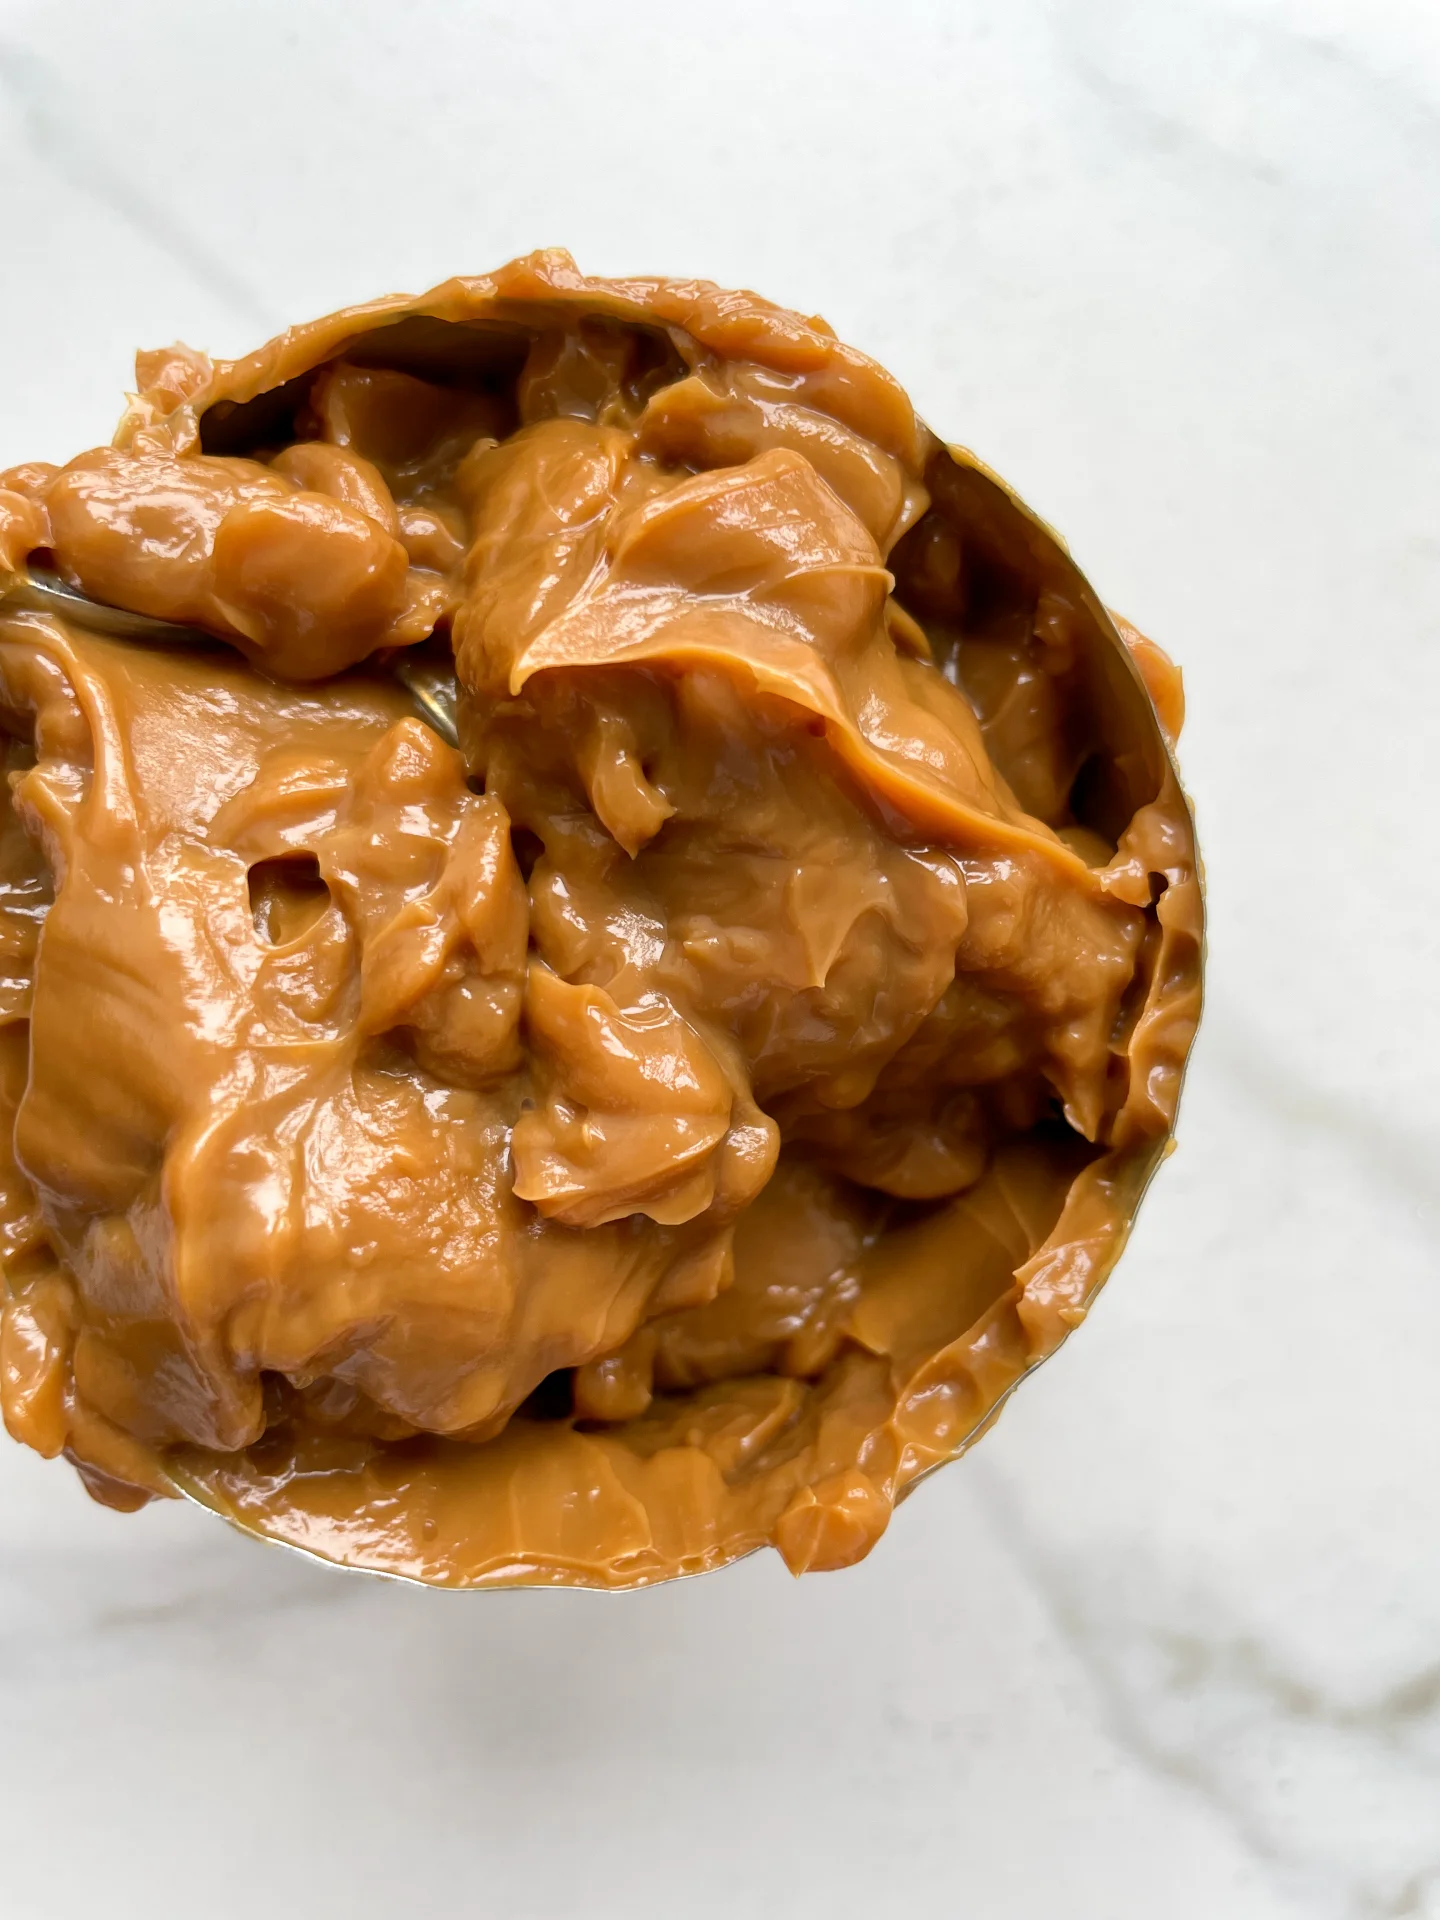
  • You can buy ready-made dulce de leche or order it online, but it’s also easy to make at home ahead of time. Just grab a 400g can of sweetened condensed milk, remove the label, and place the can in a pot. Fill with enough water to completely cover the can, then bring the water to a boil. Reduce the heat to low, cover the pot, and let it simmer for about 2 hours and 30 minutes. Be sure to keep the can covered with water the entire time – if the water evaporates, just add more. After the 2.5 hours, pour off the water and let the can cool completely before using the dulce de leche inside.

INSTRUCTIONS

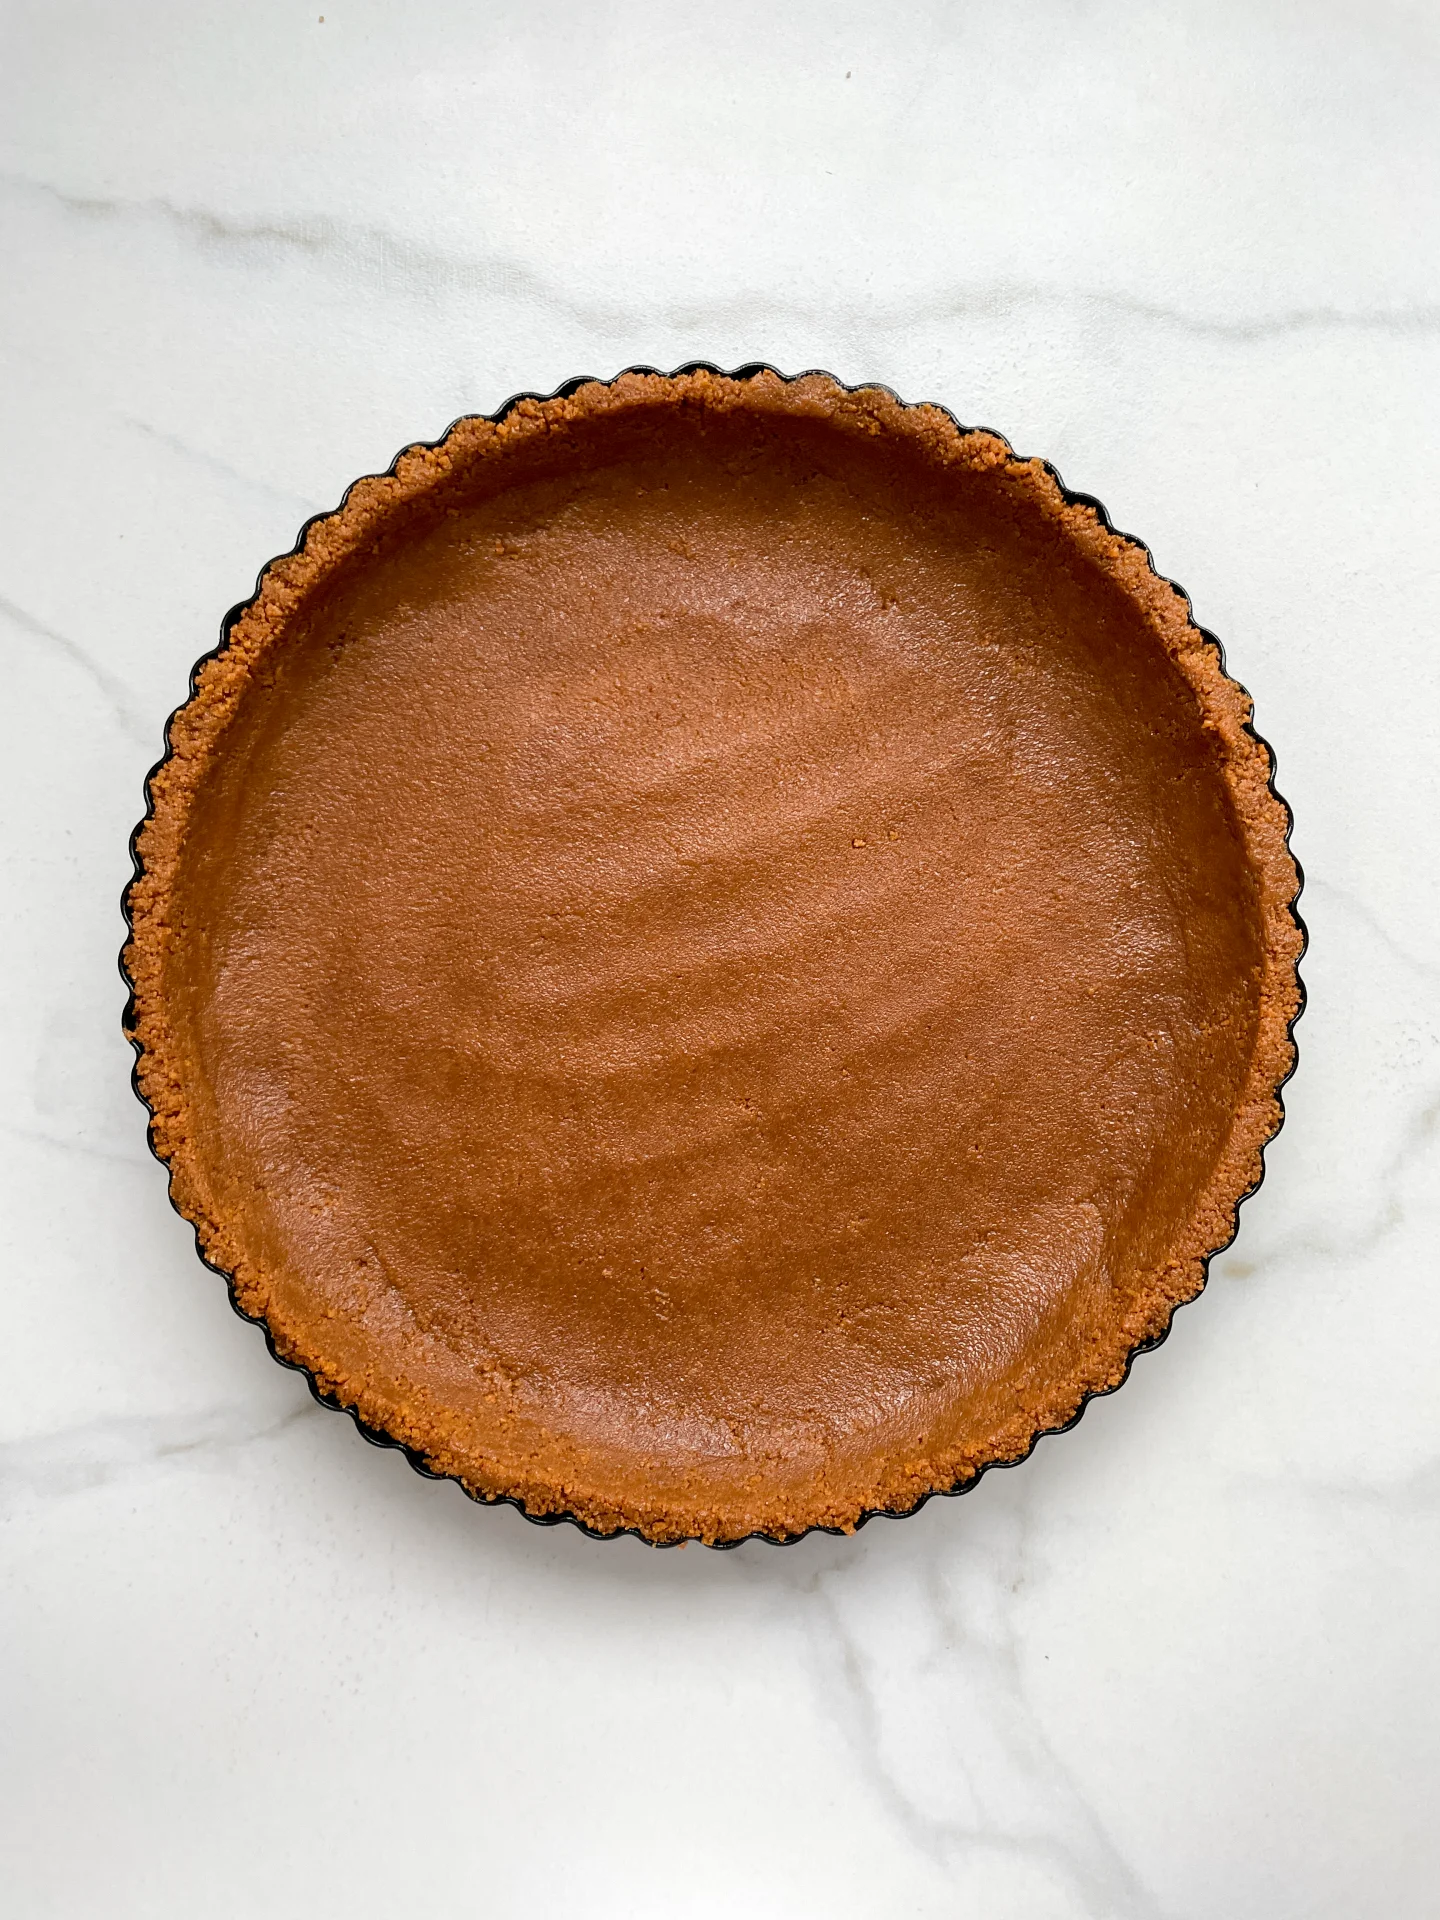
  1. Use a food processor to blend the Biscoff cookies and softened butter until they’re crumbly. Press the mixture evenly into a pie dish, covering the bottom and sides completely. Chill the crust in the fridge for 20 minutes.
  2. Meanwhile, slice the bananas evenly and sprinkle with a little lemon juice to keep them from browning. Place the banana slices in the fridge until you’re ready to use them. Next, pour the cold cream into a tall container, add powdered sugar, vanilla extract, and cinnamon, and whip until stiff peaks form. Chill the whipped cream in the fridge until needed. Prepare the chocolate shavings by running a vegetable peeler along the narrow edge of a chocolate bar. Set the shavings aside.
  3. Open the can of dulce de leche and take the crust out of the fridge. Spread the entire can of dulce de leche evenly over the crust.
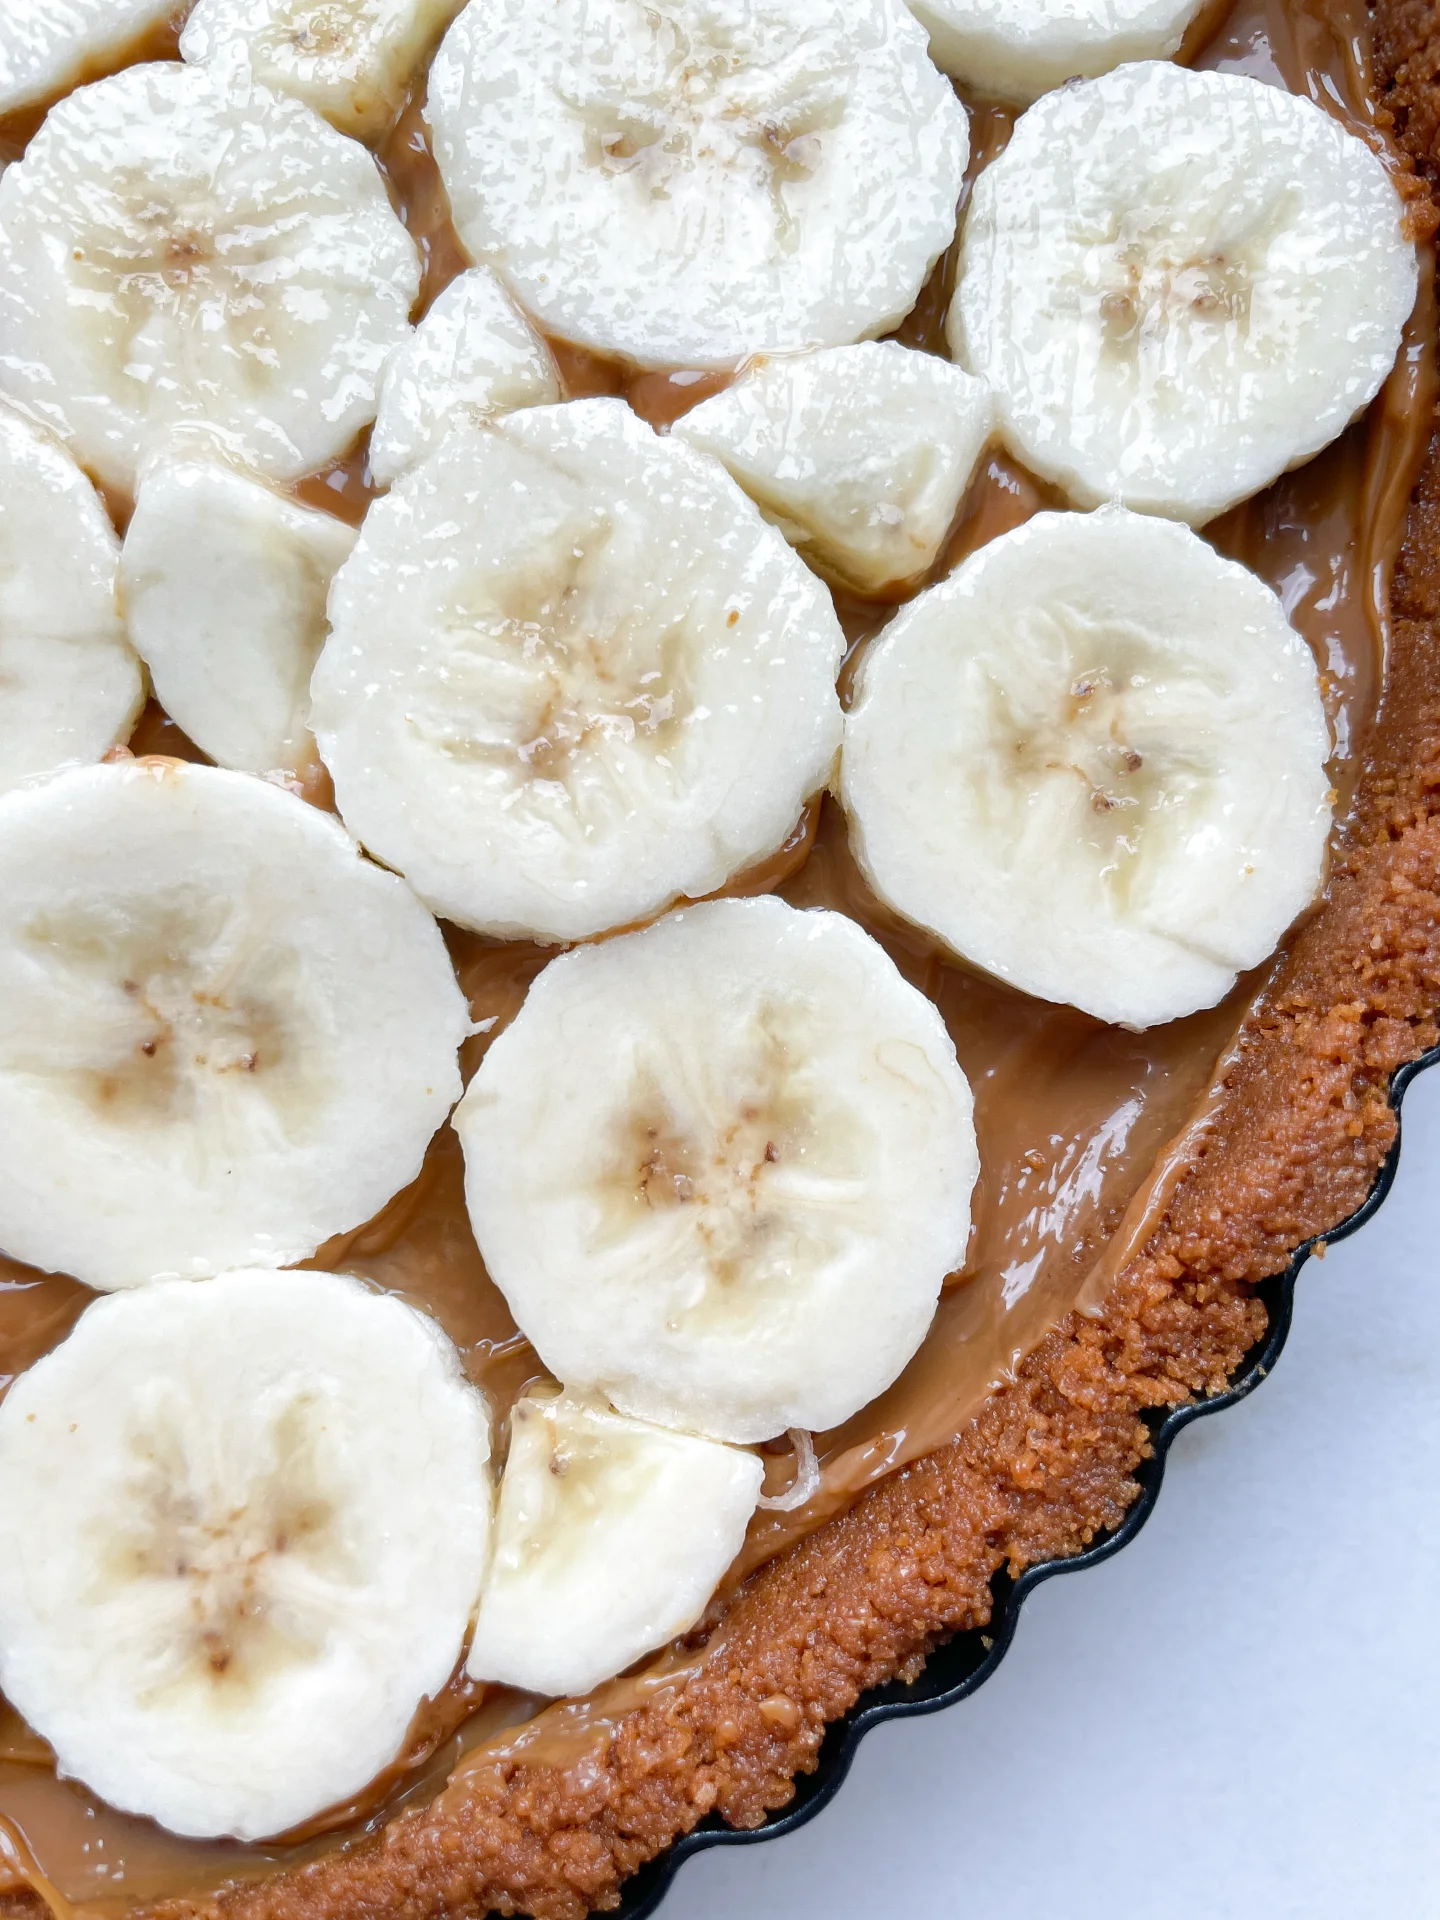
  4. Take the banana slices out of the fridge and arrange them over the dulce de leche so that the entire surface is covered.
  5. Now, take the whipped cream and spread it evenly over the bananas. Finally, sprinkle the chocolate shavings on top for decoration.
  6. Serve the pie immediately or keep it in the fridge until you’re ready to serve.
  • Passive Time: 2 hrs + 35 min
  • Cook Time: 40 min

Swedish Meatball Stew

Swedish Meatball Stew

Swedish Meatball Stew

Swedish Meatball Stew

November 11, 2024 by Kimberly

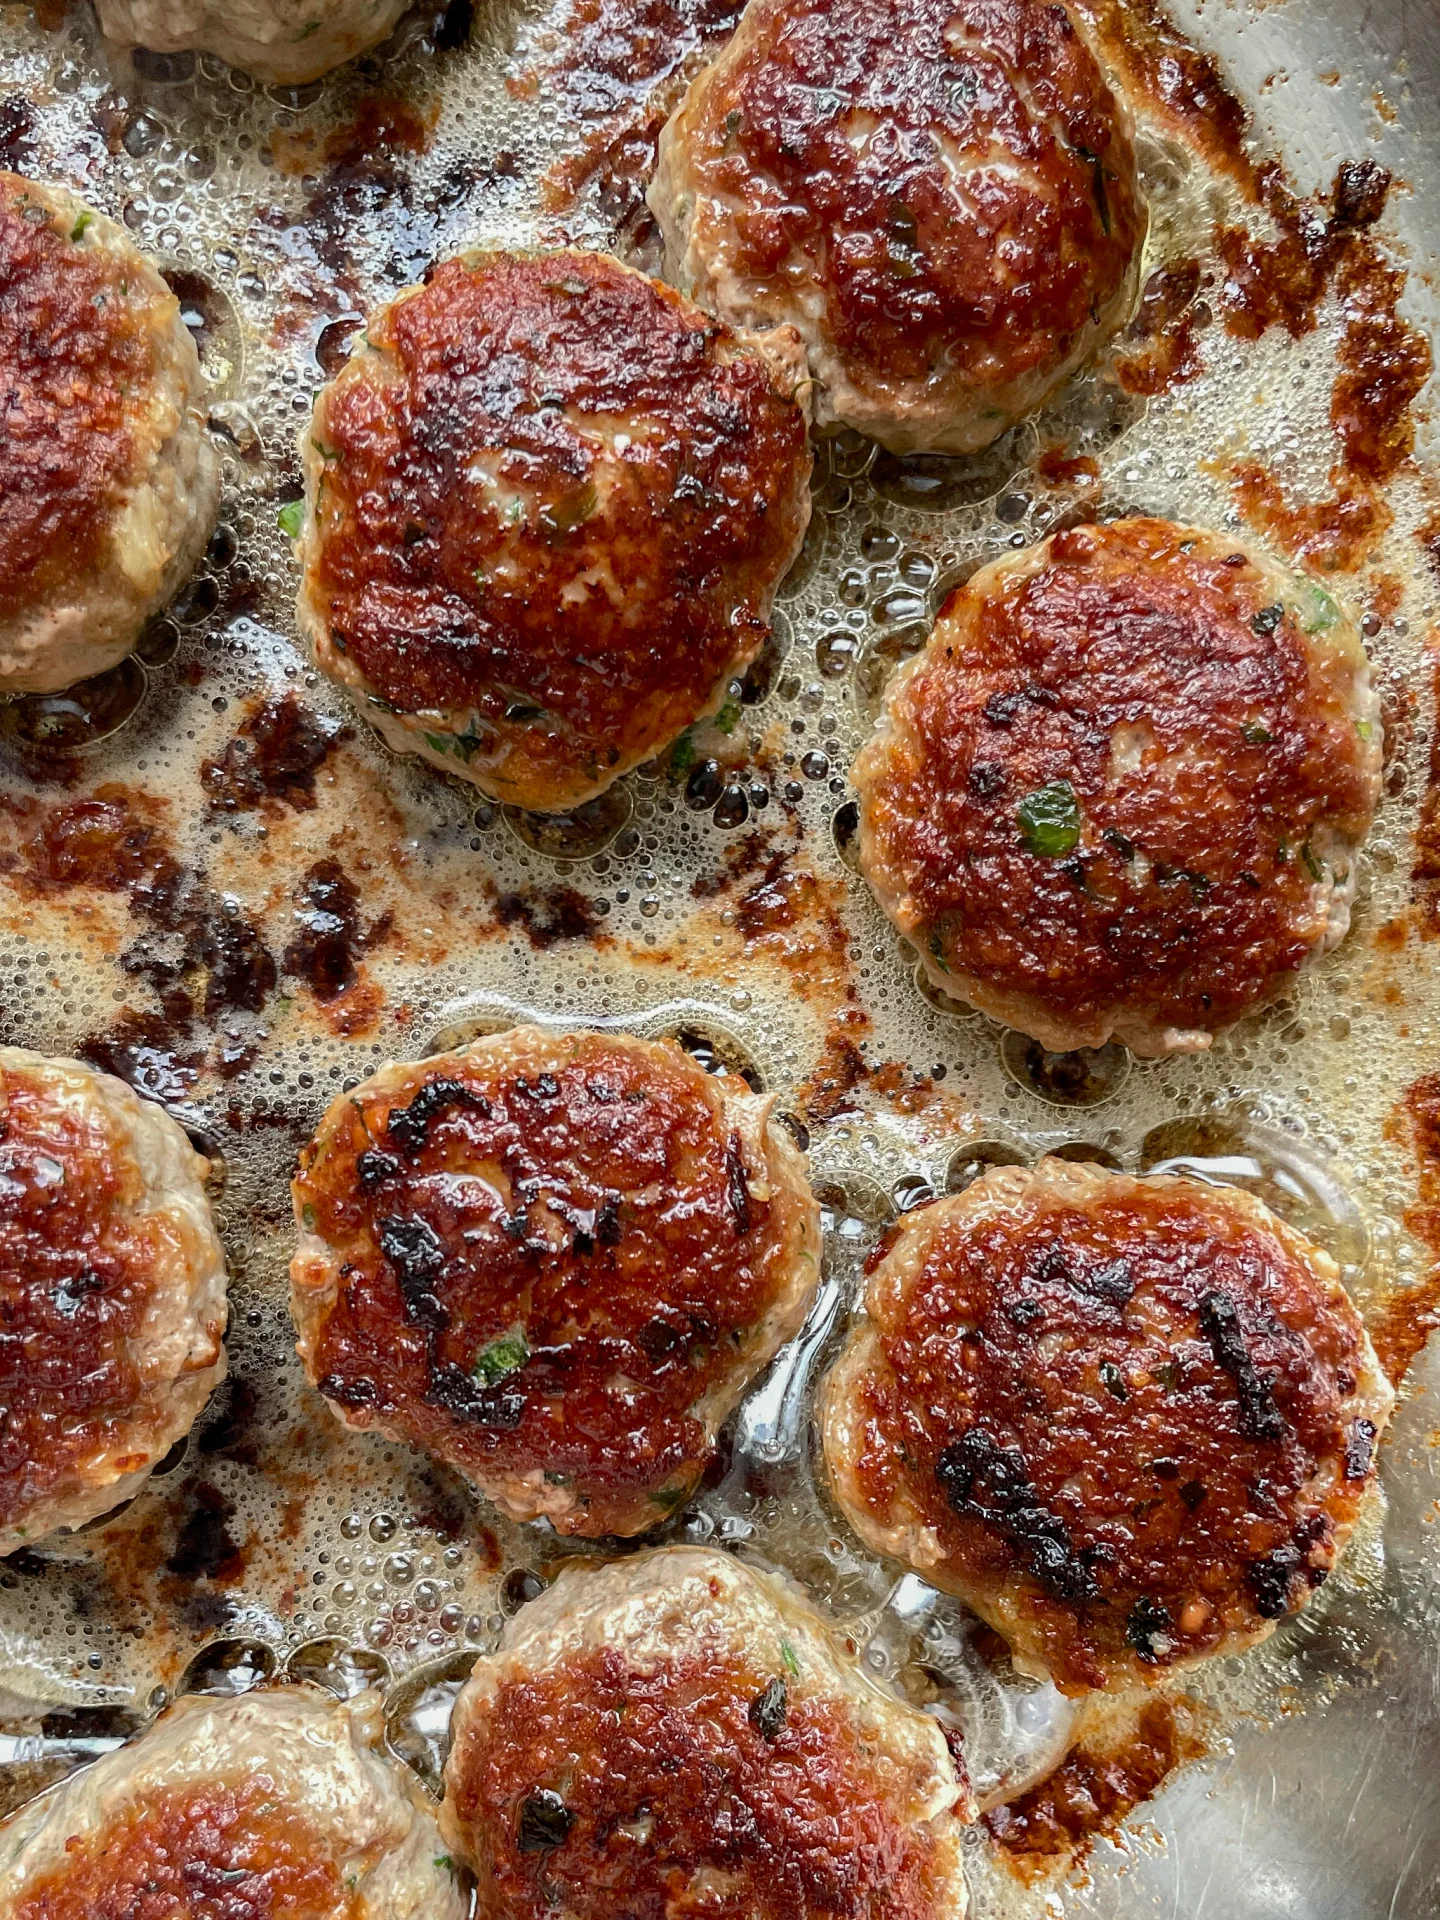
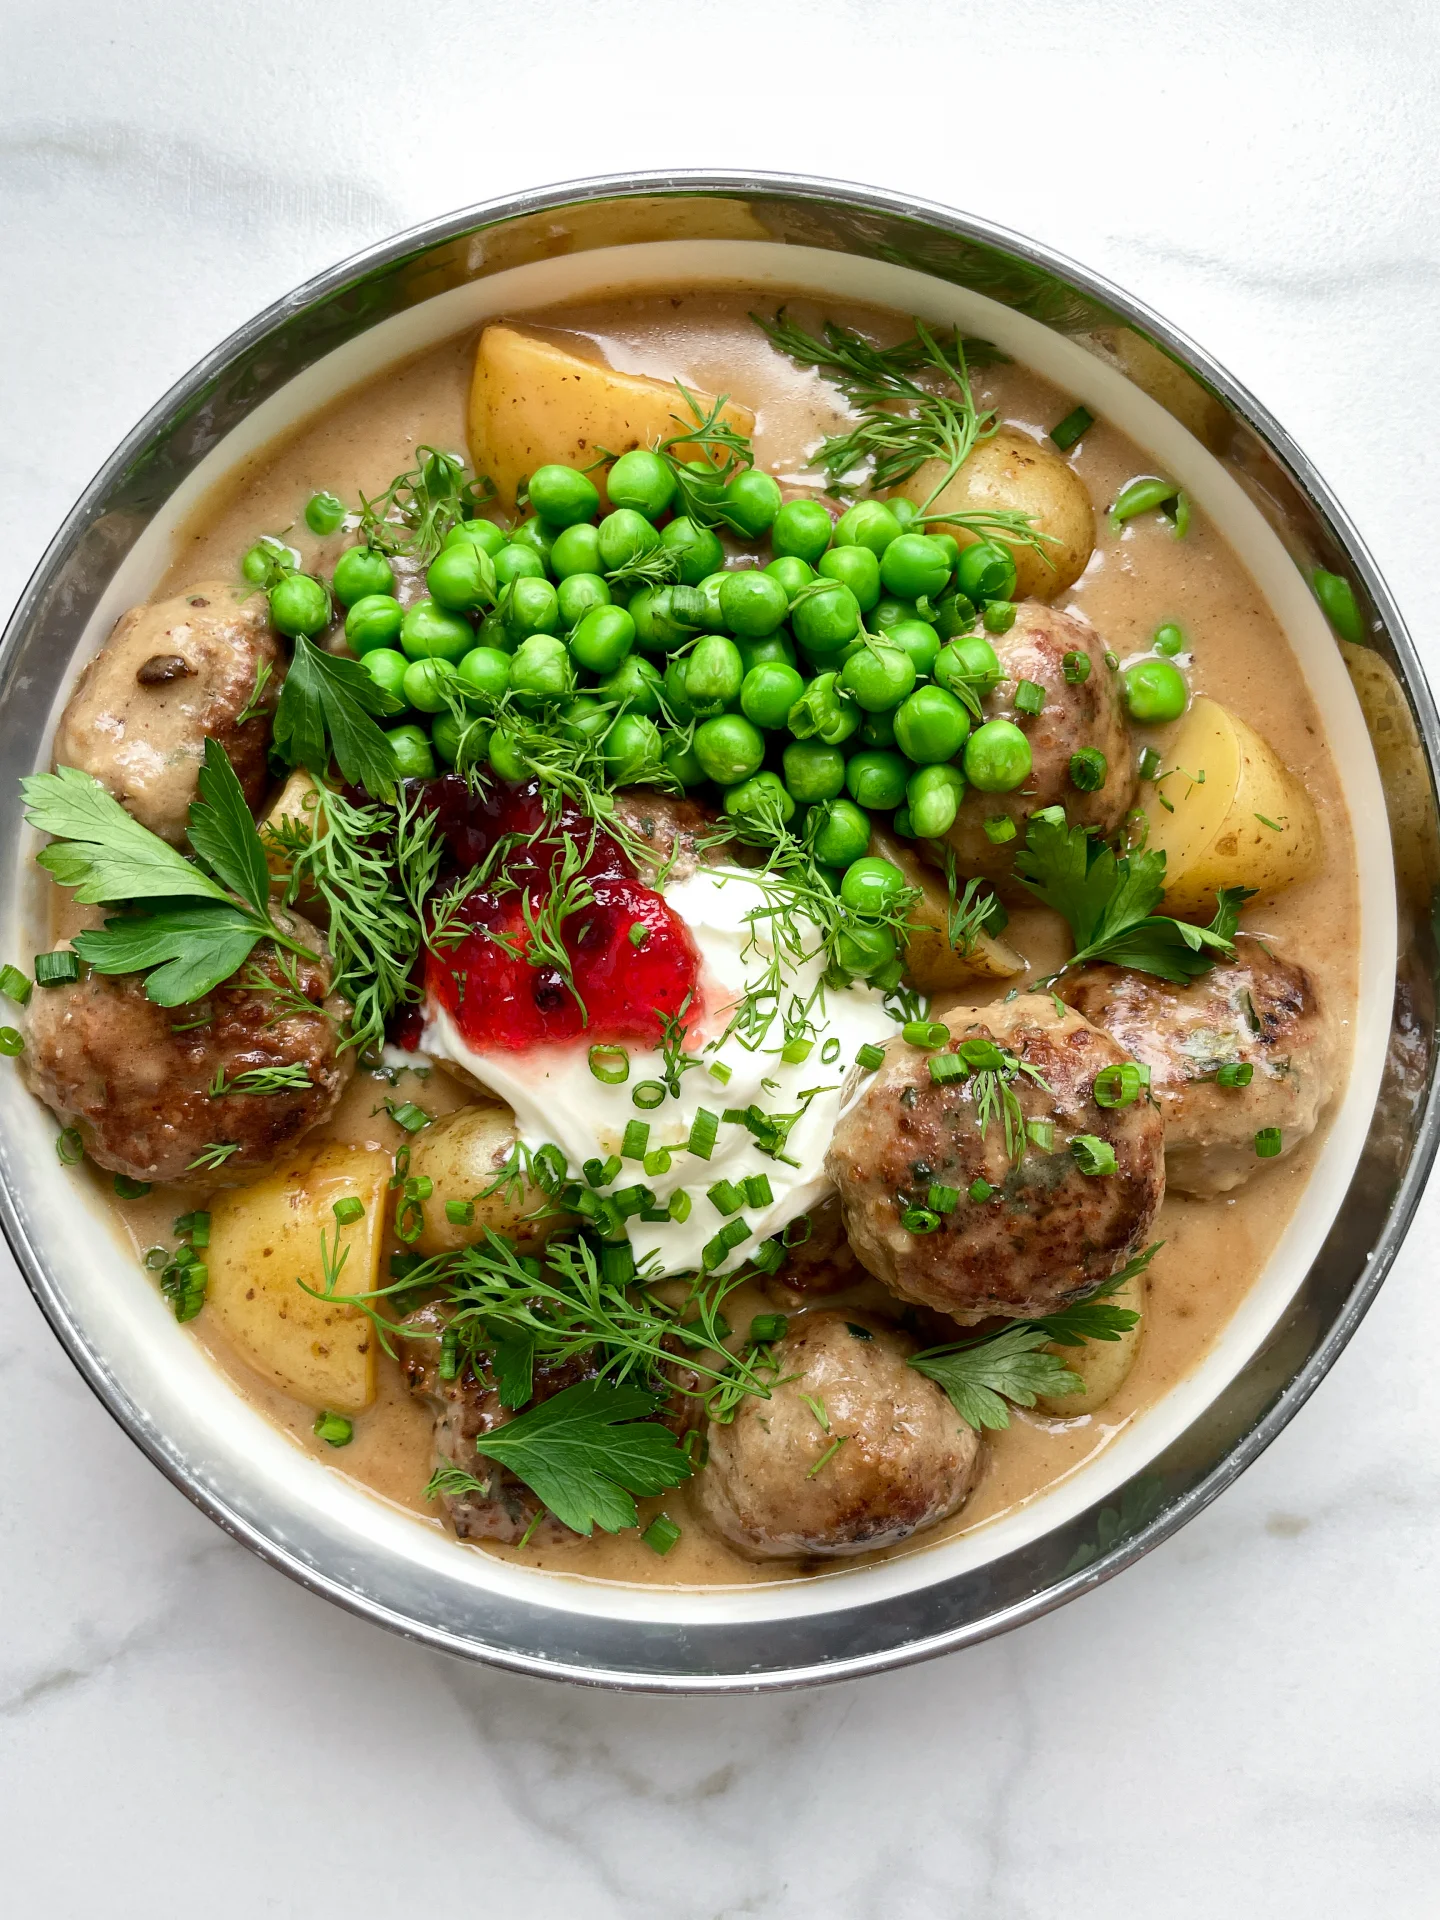
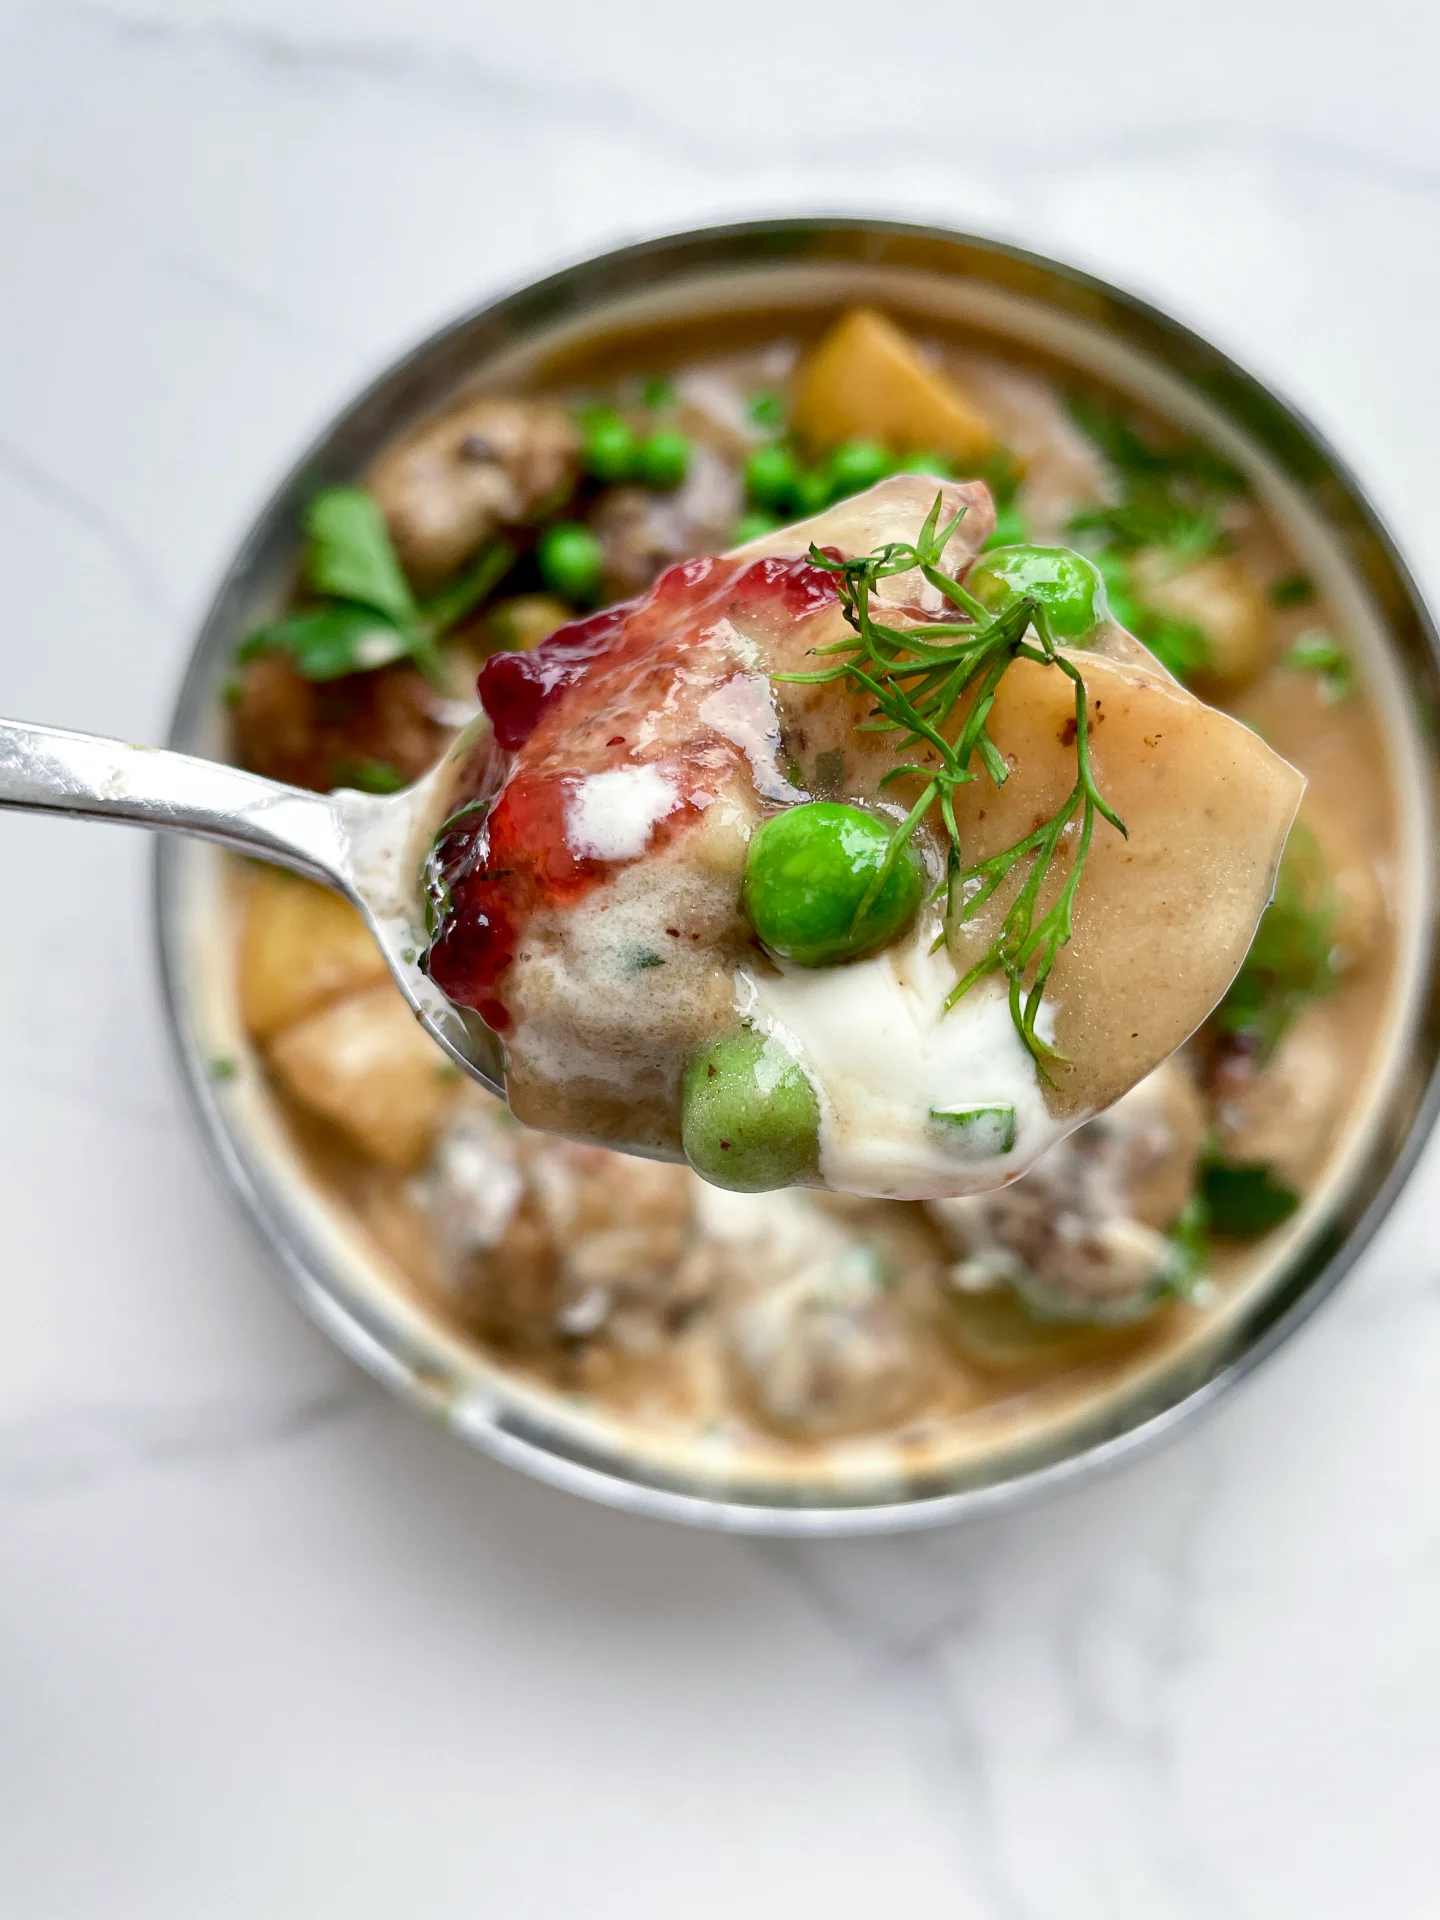
A hearty stew with tender meatballs, soft potatoes, and a hint of fresh herbs. It’s the perfect blend of warmth and flavor, topped with a dollop of lingonberries – pure comfort in a bowl.

80 MINUTES

EASY

OMNIVORE

SWEDISH

891 PER PORTION

COMFORT FOOD

EVERYDAY

DINNER

AUTUMN
WINTER

INTRODUCTION

ABOUT THE RECIPE

Imagine coming home to a cozy bowl of Swedish-inspired stew, where golden-brown meatballs meet tender potatoes in a creamy, herb-filled sauce. This dish combines everything we love about comfort food with a fresh, Nordic twist! With a touch of dill, parsley, and a spoonful of tangy lingonberries, it’s like a warm hug in every bite. Perfect for chilly evenings or family dinners, this stew is all about bold, cozy flavors that make you feel at home.

How to serve
To serve, ladle this creamy stew into bowls and top with a sprinkle of fresh parsley and dill for color and flavor. Adding a spoonful of lingonberries and creme fraiche gives a sweet, tangy pop that balances the savory richness of the stew. It’s amazing with crusty bread on the side for dipping or alongside a simple salad. Whether you’re serving it to family or friends, this stew is a guaranteed crowd-pleaser that’ll have everyone coming back for seconds!

How to store
Store the stew in an airtight container in the fridge for up to 3 days. When reheating, do it gently on the stove, adding a splash of broth or cream if it needs a little extra moisture. The flavors actually get even better after a day or two!

Hi, I'm Kimberly!

Hi, I'm Kimberly.

A passionate food lover who believes in the magic of homemade deliciousness that spreads love and warmth. Join me on this culinary adventure as I prepare wonderful dishes and let’s spread some happiness together!

Kimberly the Zett Signature

If you want to get to know me better, click here!


Swedish Meatball Stew
„Let’s make a piece of happiness“
Print
clock clock iconcutlery cutlery iconflag flag iconfolder folder iconinstagram instagram iconpinterest pinterest iconfacebook facebook iconprint print iconsquares squares iconheart heart iconheart solid heart solid icon
Swedish Meatball Stew

Swedish Meatball Stew


  • Author: Kimberly
  • Total Time: 80 min
  • Yield: 3-4 1x

Description

Recommended Equipment

  • sharp knife
  • cutting board
  • grater
  • medium bowl
  • large pan with lid
  • whisk
  • measuring cup

Ingredients

Units Scale

MEATBALLS

  • 250 grams minced beef
  • 250 grams minced pork
  • 1 big white onion
  • 2 garlic cloves
  • 20 grams bread crumbs
  • 1 egg
  • 5 grams fresh parsley
  • 5 grams fresh dill
  • 1/2 tsp Dijon mustard
  • nutmeg, salt & pepper to taste
  • 2 tsp clarified butter for frying

SAUCE

  • 20 grams butter
  • 20 grams flour
  • 500 milliliters beef stock
  • 100 milliliters heavy cream
  • 1 tsp Worcestershire sauce
  • 1/2 tsp Dijon mustard
  • nutmeg, salt & pepper to taste

OTHER INGREDIENTS

  • 150 grams frozen peas
  • 500 grams baby potatoes

TOPPINGS

  • 3 tbsp lingonberry jam
  • 3 tbsp creme fraiche

Instructions

  1. First, peel the onion and garlic cloves and set them aside. Finely chop the parsley and dill, placing them in a medium bowl. Add the ground meat, breadcrumbs, egg, Dijon mustard, nutmeg, salt, and pepper. Grate the onion and garlic finely and add them to the mixture as well. Mix everything thoroughly and form the mixture into small balls, about 40g each, roughly the size of a ping-pong ball.
  2. Heat a large pan over medium-high heat with a bit of clarified butter, and sear the meatballs on all sides until they are nicely browned. They don’t need to be fully cooked through yet, as they’ll finish cooking in the sauce. Be careful not to let them get too dark, as this can cause bitterness in the final dish.
  3. While the meatballs are cooking, wash the potatoes, dry them well, and cut them in halves or quarters, depending on their size. Set them aside.
  4. Once the meatballs are seared, remove them from the pan and set them aside on a plate. Return the pan to the stove and deglaze with white wine, scraping up any browned bits with a wooden spoon. Let it reduce for about 5 minutes. Strain the liquid through a sieve to remove any larger bits, then set this liquid aside.
  5. Now, place the pan over low heat, melt the butter, and whisk in the flour to create a roux, stirring constantly until you have a smooth, creamy paste. Let it cook for a few minutes, stirring continuously to remove any raw flour taste. Gradually add the beef broth in several stages, whisking each time until the sauce is smooth and comes to a light boil before adding the next portion. Finally, pour in the reserved liquid and the cream, stirring well. Season the sauce with Dijon mustard, Worcestershire sauce, salt, and pepper.
  6. Add the prepared potatoes to the sauce, cover, and let them simmer over medium heat for about 20 minutes, or until they are tender.
  7. While the potatoes are cooking, place the frozen peas in a small bowl, cover with hot water, and let them sit for about 5 minutes. Drain the peas and set them aside. Finely chop a bit more parsley and dill for garnish, and prepare the lingonberries and crème fraîche.
  8. Once the potatoes are soft, return the meatballs to the sauce, stir everything together, and let it simmer for an additional 10 minutes, or until the meatballs are fully cooked through and heated.
  9. To serve, divide the potatoes, meatballs, and sauce among deep plates. Top with peas, a dollop of crème fraîche, a spoonful of lingonberry jam, and fresh herbs. Enjoy!
  • Passive Time: 30 min
  • Cook Time: 50 min

Chestnut Soup & Chili Cinnamon Croutons

Chestnut Soup & Chili Cinnamon Croutons

Chestnut Soup & Chili Cinnamon Croutons

Chestnut Soup & Chili Cinnamon Croutons

November 7, 2024 by Kimberly

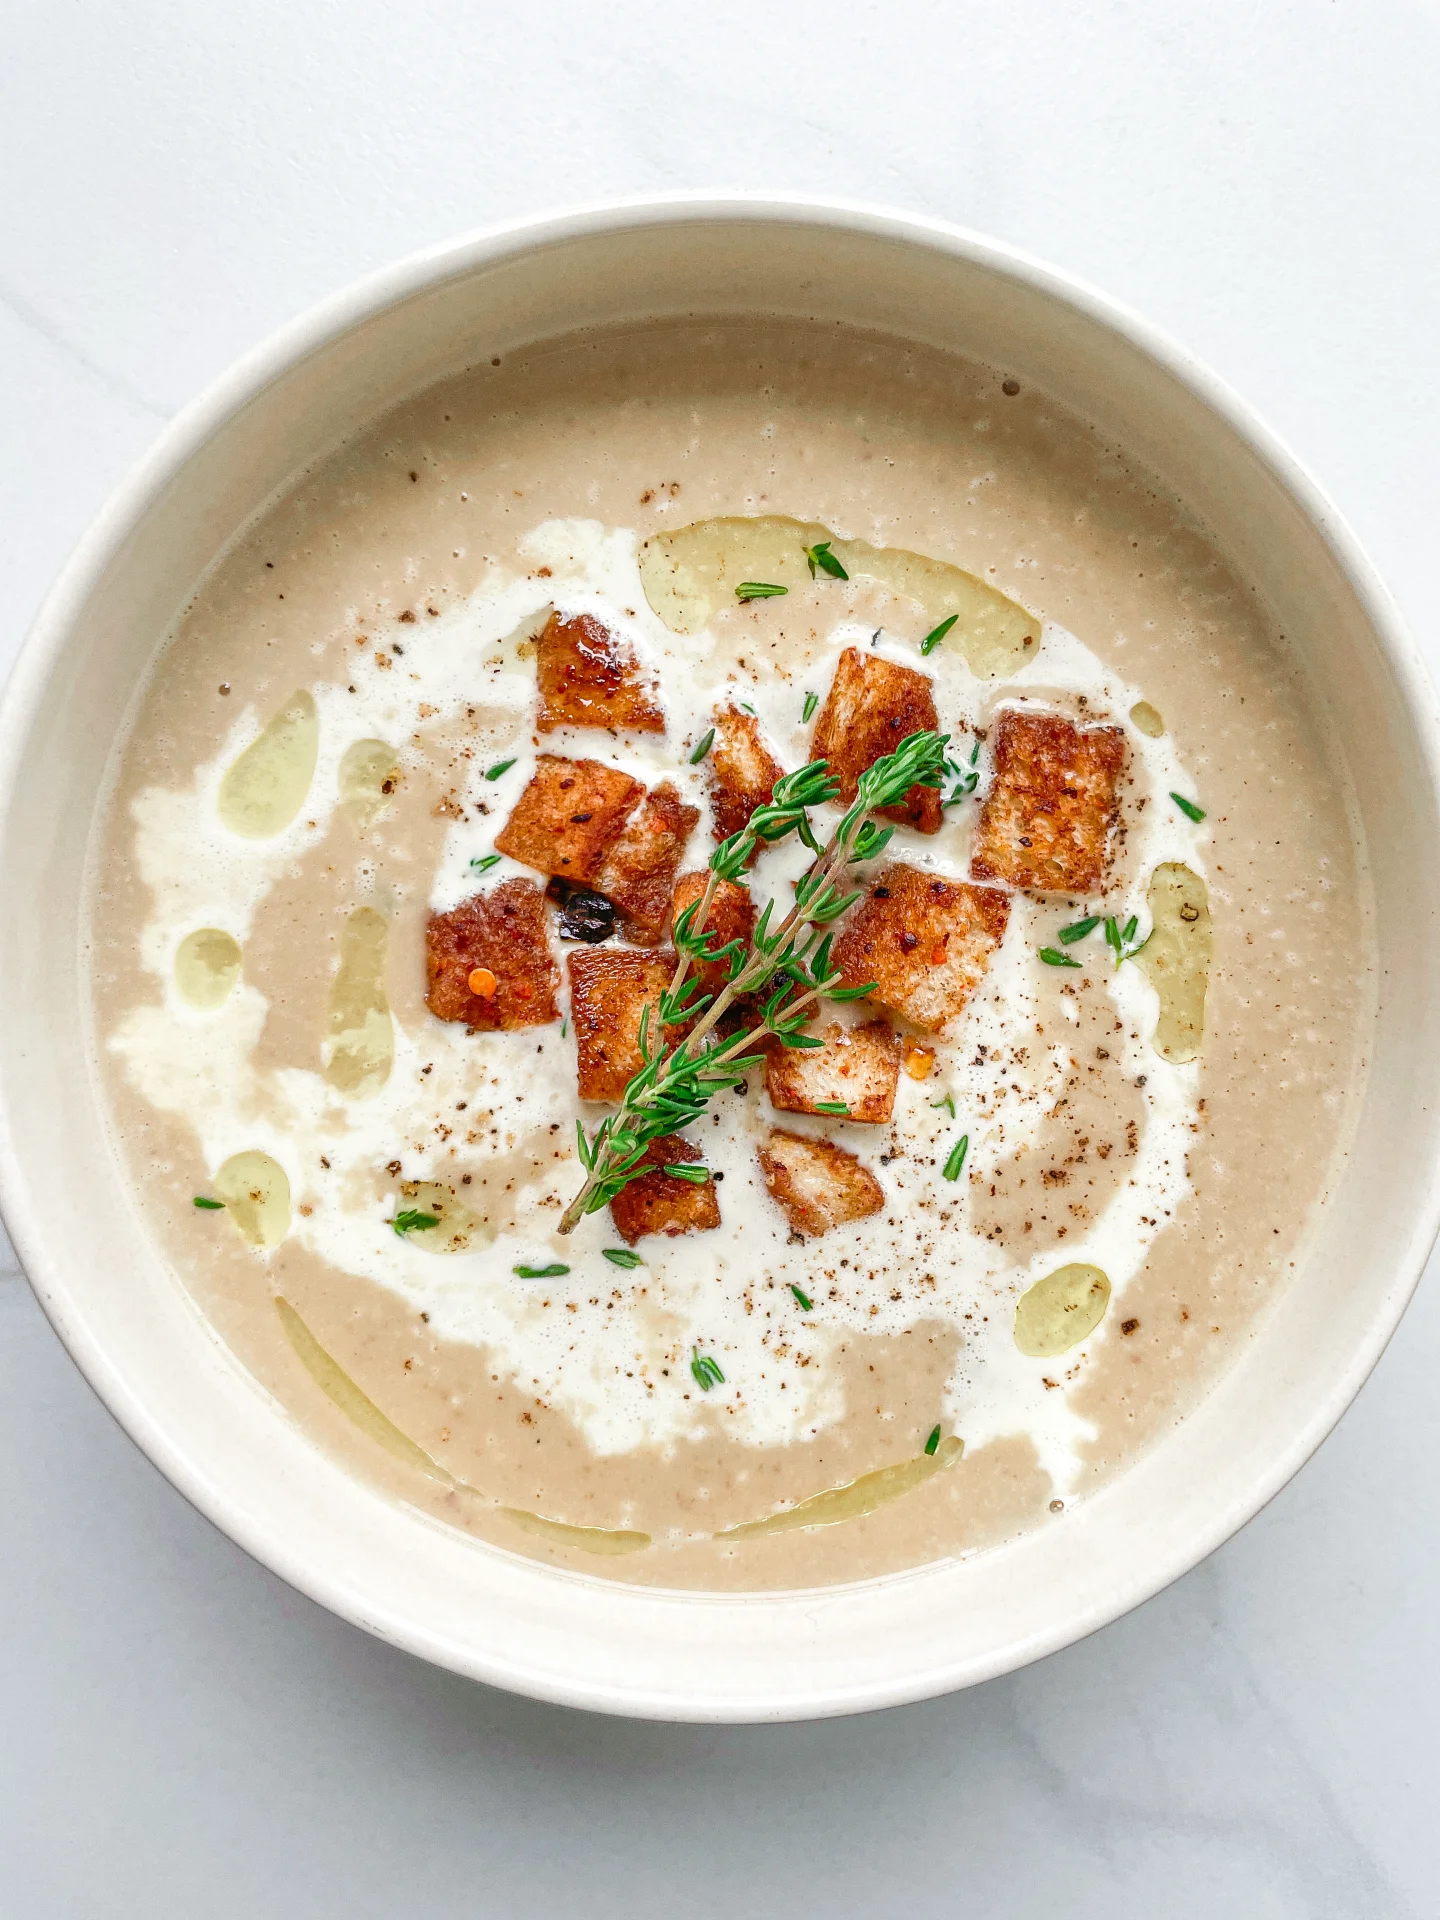
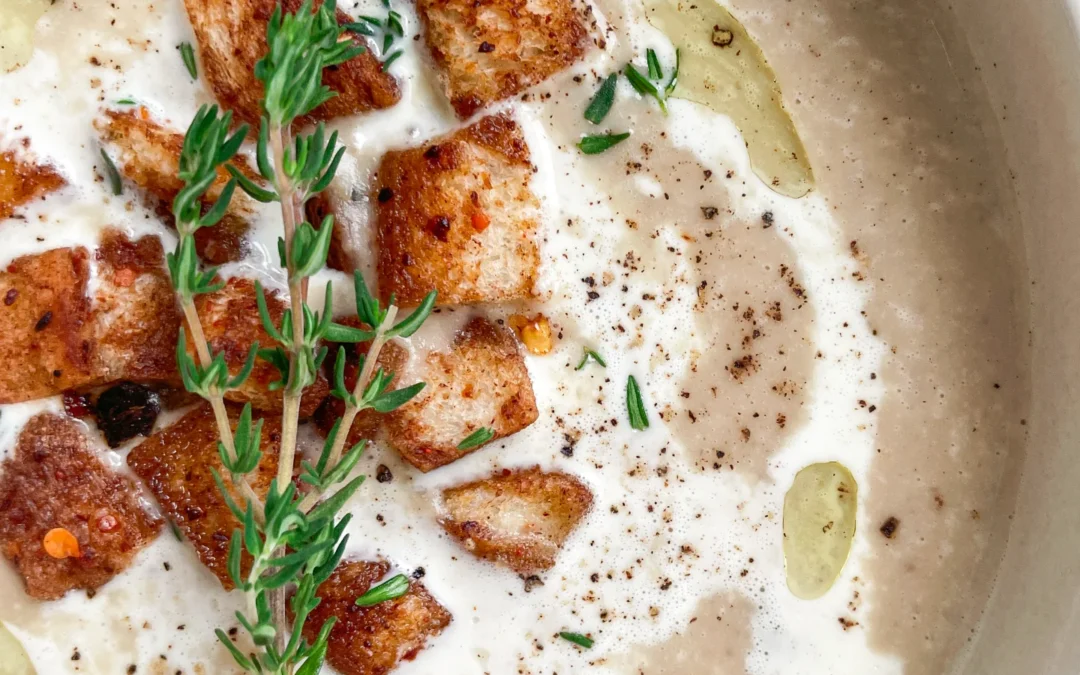
Cozy up with this creamy chestnut soup, bursting with earthy sweetness and a hint of spice. Perfect for chilly days, it’s like a warm hug in a bowl. Pure comfort.

35 MINUTES

EASY

VEGETARIAN

INT.

469 PER PORTION

COMFORT FOOD

CHRISTMAS

DINNER

AUTUMN
WINTER

INTRODUCTION

ABOUT THE RECIPE

When the chill of fall hits, there’s nothing like a rich, velvety chestnut soup to warm things up. This soup blends the earthy sweetness of roasted chestnuts with a creamy texture that feels luxurious but easy. And, just to give it that something extra, a sprinkle of chili-cinnamon croutons adds a spicy, toasty crunch that makes every spoonful a delight. It’s like wrapping up in your favorite blanket – just with a bit more flavor and spice!

How to serve
This soup is best served in a cozy bowl, topped generously with chili-cinnamon croutons that bring a mix of heat and warm spice to the creamy chestnut base. A little drizzle of olive oil or try adding a drizzle of this leeks oil as a topping or add a sprinkle of fresh herbs like thyme or parsley can also add a fresh contrast to the roasted, nutty flavors. Pair it with a simple salad or even a slice of rustic bread on the side for a full, comforting meal that feels like it’s made for sharing. 

How to store
Just store any cooled soup in an airtight container in the fridge for up to 3 days. For best results, keep the croutons separate so they stay crunchy. Reheat the soup gently on the stove and add the croutons just before serving!

Hi, I'm Kimberly!

Hi, I'm Kimberly.

A passionate food lover who believes in the magic of homemade deliciousness that spreads love and warmth. Join me on this culinary adventure as I prepare wonderful dishes and let’s spread some happiness together!

Kimberly the Zett Signature

If you want to get to know me better, click here!


Chestnut Soup & Chili Cinnamon Croutons
„Let’s make a piece of happiness“
Print
clock clock iconcutlery cutlery iconflag flag iconfolder folder iconinstagram instagram iconpinterest pinterest iconfacebook facebook iconprint print iconsquares squares iconheart heart iconheart solid heart solid icon
Chestnut Soup & Chili Cinnamon Croutons

Chestnut Soup & Chili Cinnamon Croutons


  • Author: Kimberly
  • Total Time: 35 min
  • Yield: 4 to 6 1x

Description

Recommended Equipment

  • sharp knife
  • cutting board
  • medium pot
  • immersion blender
  • pan

Ingredients

Units Scale

SOUP

  • 400 grams vacuum-packed chestnuts
  • 1 shallot
  • 1 tbsp olive oil
  • 600 milliliters beef stock
  • 200 milliliters heavy cream
  • fresh thyme
  • nutmeg, salt & pepper to taste

CROUTONS

  • 2 slices white toast bread
  • 1 tbsp butter
  • 1/2 tsp cinnamon
  • 1/2 tsp chili flakes
  • pinch of salt

Instructions

  1. Peel and dice the onion. Roughly chop the pre-cooked chestnuts and set both aside.
  2. Heat a medium pot over medium heat with a bit of olive oil, then sauté the onions until translucent. Next, add the chestnuts and let them cook for 3-4 minutes.
  3. Add the beef broth and cream to the pot, bring to a boil, then cover and let it simmer on low heat for about 20-30 minutes, until the chestnuts are soft.
  4. While the soup is cooking, heat a large pan over medium heat and melt the butter. Meanwhile, cut the toast into cubes. Add cinnamon, dried chili flakes and salt to the butter, stirring well. Add the toast cubes and toss so they’re evenly coated in the spiced butter. Cook for a few minutes until the cubes are crispy. Set aside.
  5. Add thyme to the soup and blend everything with an immersion blender until smooth. Season the soup with salt, pepper, nutmeg, and more thyme if needed.
  6. Ladle the soup into bowls, garnish with cream and leek oil, and top with the toasted croutons. Optionally, sprinkle with a bit more ground pepper and enjoy!
  • Passive Time: 15 min
  • Cook Time: 20 min
Baked Goat Cream Cheese & Hot Pepper Jelly

Baked Goat Cream Cheese & Hot Pepper Jelly

Baked Goat Cream Cheese & Hot Pepper Jelly

Baked Goat Cream Cheese & Hot Pepper Jelly

October 20, 2024 by Kimberly

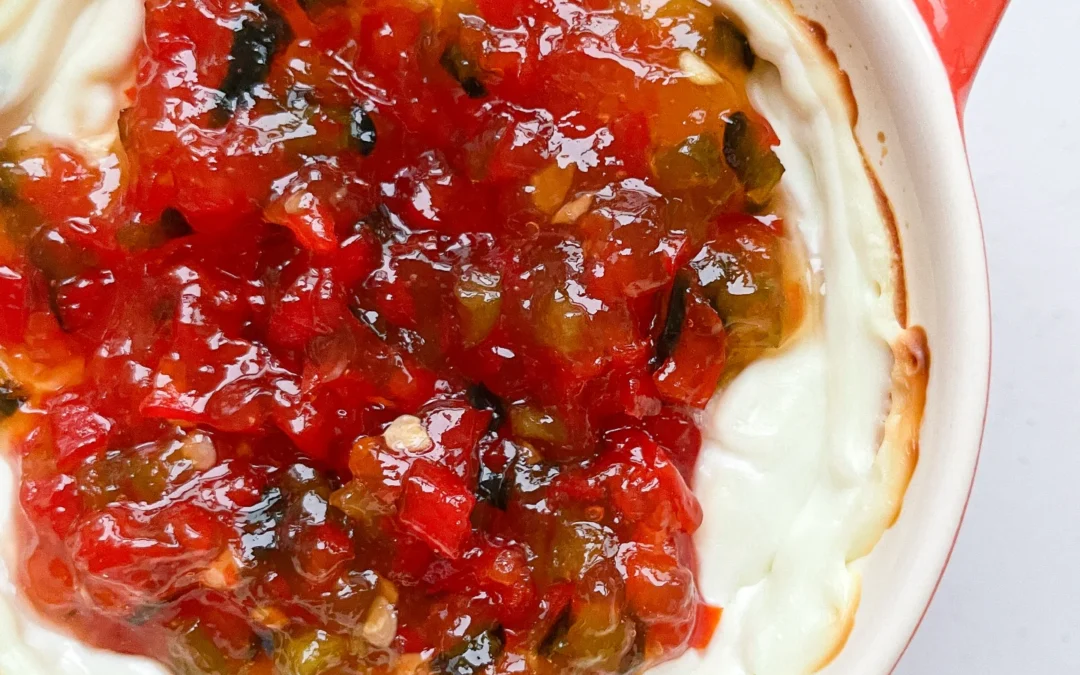
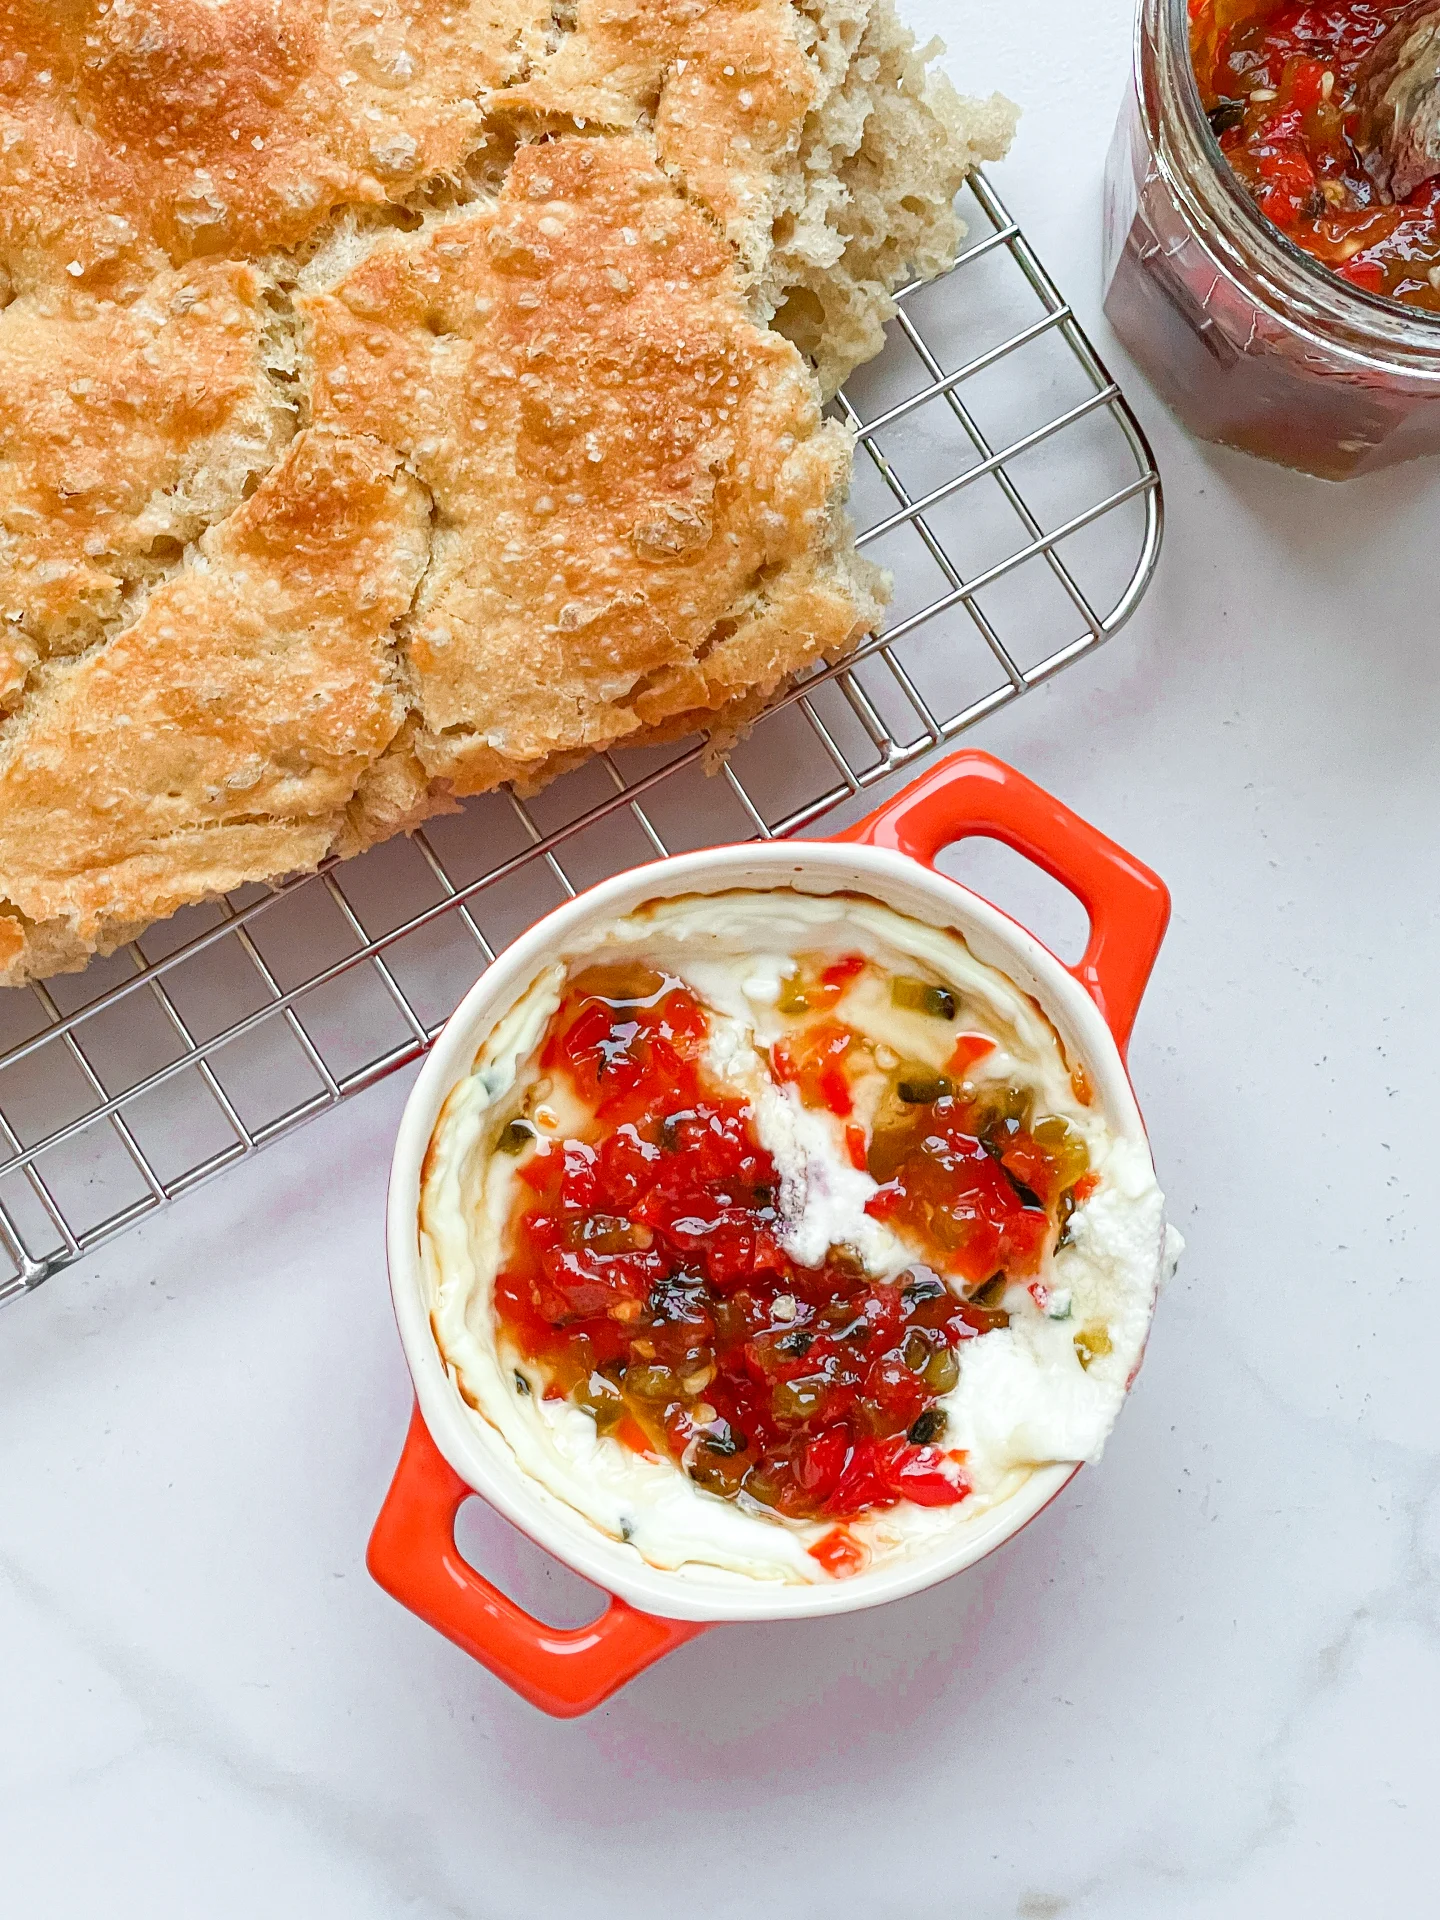
Imagine a warm, melty goat cream cheese, topped with a sweet-spicy hot pepper jelly as a dip for your favorite potato chips. It’s a burst of flavor that feels like a cozy, fiery hug.

40 MINUTES

EASY

VEGETARIAN

INT.

421 PER PORTION

CREAMY
TANGY
SWEET

EVERYDAY

APPETIZER
SNACK

AUTUMN
WINTER

INTRODUCTION

ABOUT THE RECIPE

This baked goat cream cheese dish is the perfect combo of creamy, tangy, and sweet with a little kick. The warm, melty center and the hot pepper jelly on top brings the perfect balance of sweet and spicy. It’s one of those appetizers that makes everyone go “wow” after the first bite, but it’s surprisingly easy to make. Whether you’re hosting friends or just treating yourself to something special, this warm, cozy snack is the ultimate crowd-pleaser.

How to serve
Serve this baked goat cheese dish with crispy crackers, warm slices of baguette, or even fresh veggies like cucumber or carrots for a light crunch. The sweet-spicy jelly on top works perfectly with some fresh herbs like thyme or chives. It’s an easy, yet impressive appetizer for dinner parties, game nights, or even a cozy night in. Trust me, people will be coming back for seconds – so maybe make a double batch!

How to store
If you have leftovers (which, let’s be real, you probably won’t), just pop the baked goat cheese in an airtight container in the fridge. It keeps for about 2 days and can be easily reheated in the oven.

Hi, I'm Kimberly!

Hi, I'm Kimberly.

A passionate food lover who believes in the magic of homemade deliciousness that spreads love and warmth. Join me on this culinary adventure as I prepare wonderful dishes and let’s spread some happiness together!

Kimberly the Zett Signature

If you want to get to know me better, click here!


Baked Goat Cream Cheese & Hot Pepper Jelly
„Let’s make a piece of happiness“
Print
clock clock iconcutlery cutlery iconflag flag iconfolder folder iconinstagram instagram iconpinterest pinterest iconfacebook facebook iconprint print iconsquares squares iconheart heart iconheart solid heart solid icon
Baked Goat Cream Cheese & Hot Pepper Jelly

Baked Goat Cream Cheese & Hot Pepper Jelly


5 from 1 review

  • Author: Kimberly
  • Total Time: 20 min
  • Yield: 40 min 1x

Description
Recommended Equipment

  • jar with a screw-on lid
  • sharp knife
  • cutting board
  • small pot
  • tongs
  • small plate
  • food processor

Ingredients

Units Scale

HOT PEPPER JELLY

  • 1/2 red bell pepper
  • 1/4 green bell pepper
  • 1/2 jalapeno
  • 1/2 fresh chili pepper
  • 75 grams preserving sugar
  • 30 grams apple cider vinegar

CHEESE

  • 150 grams cream cheese
  • 100 grams goat cream cheese
  • 1 garlic clove
  • 1 tbsp fresh chives
  • salt to taste

OTHER INGREDIENTS

  • bread, cracker or veggie sticks for dipping

Instructions

  1. For the hot pepper jelly, first pour boiling water over the jar and lid, and let them sit for about 10 minutes. Meanwhile, chop the red pepper, green pepper, jalapeno, and chili into small pieces. Put them in a small pot. Next, add the preserving sugar and apple cider vinegar, and stir well. Bring everything to a boil over medium-high heat and let it simmer for about 10 minutes. Use tongs to carefully remove the jar and lid from the hot water and let them drain. Set aside.
  2. Now, test if the jelly is ready by placing half a teaspoon of the mixture on a plate and tilting it back and forth. If it thickens and doesn’t run like water, it’s done and can be carefully poured into the sterilized jar. Let it cool in the fridge until further use.
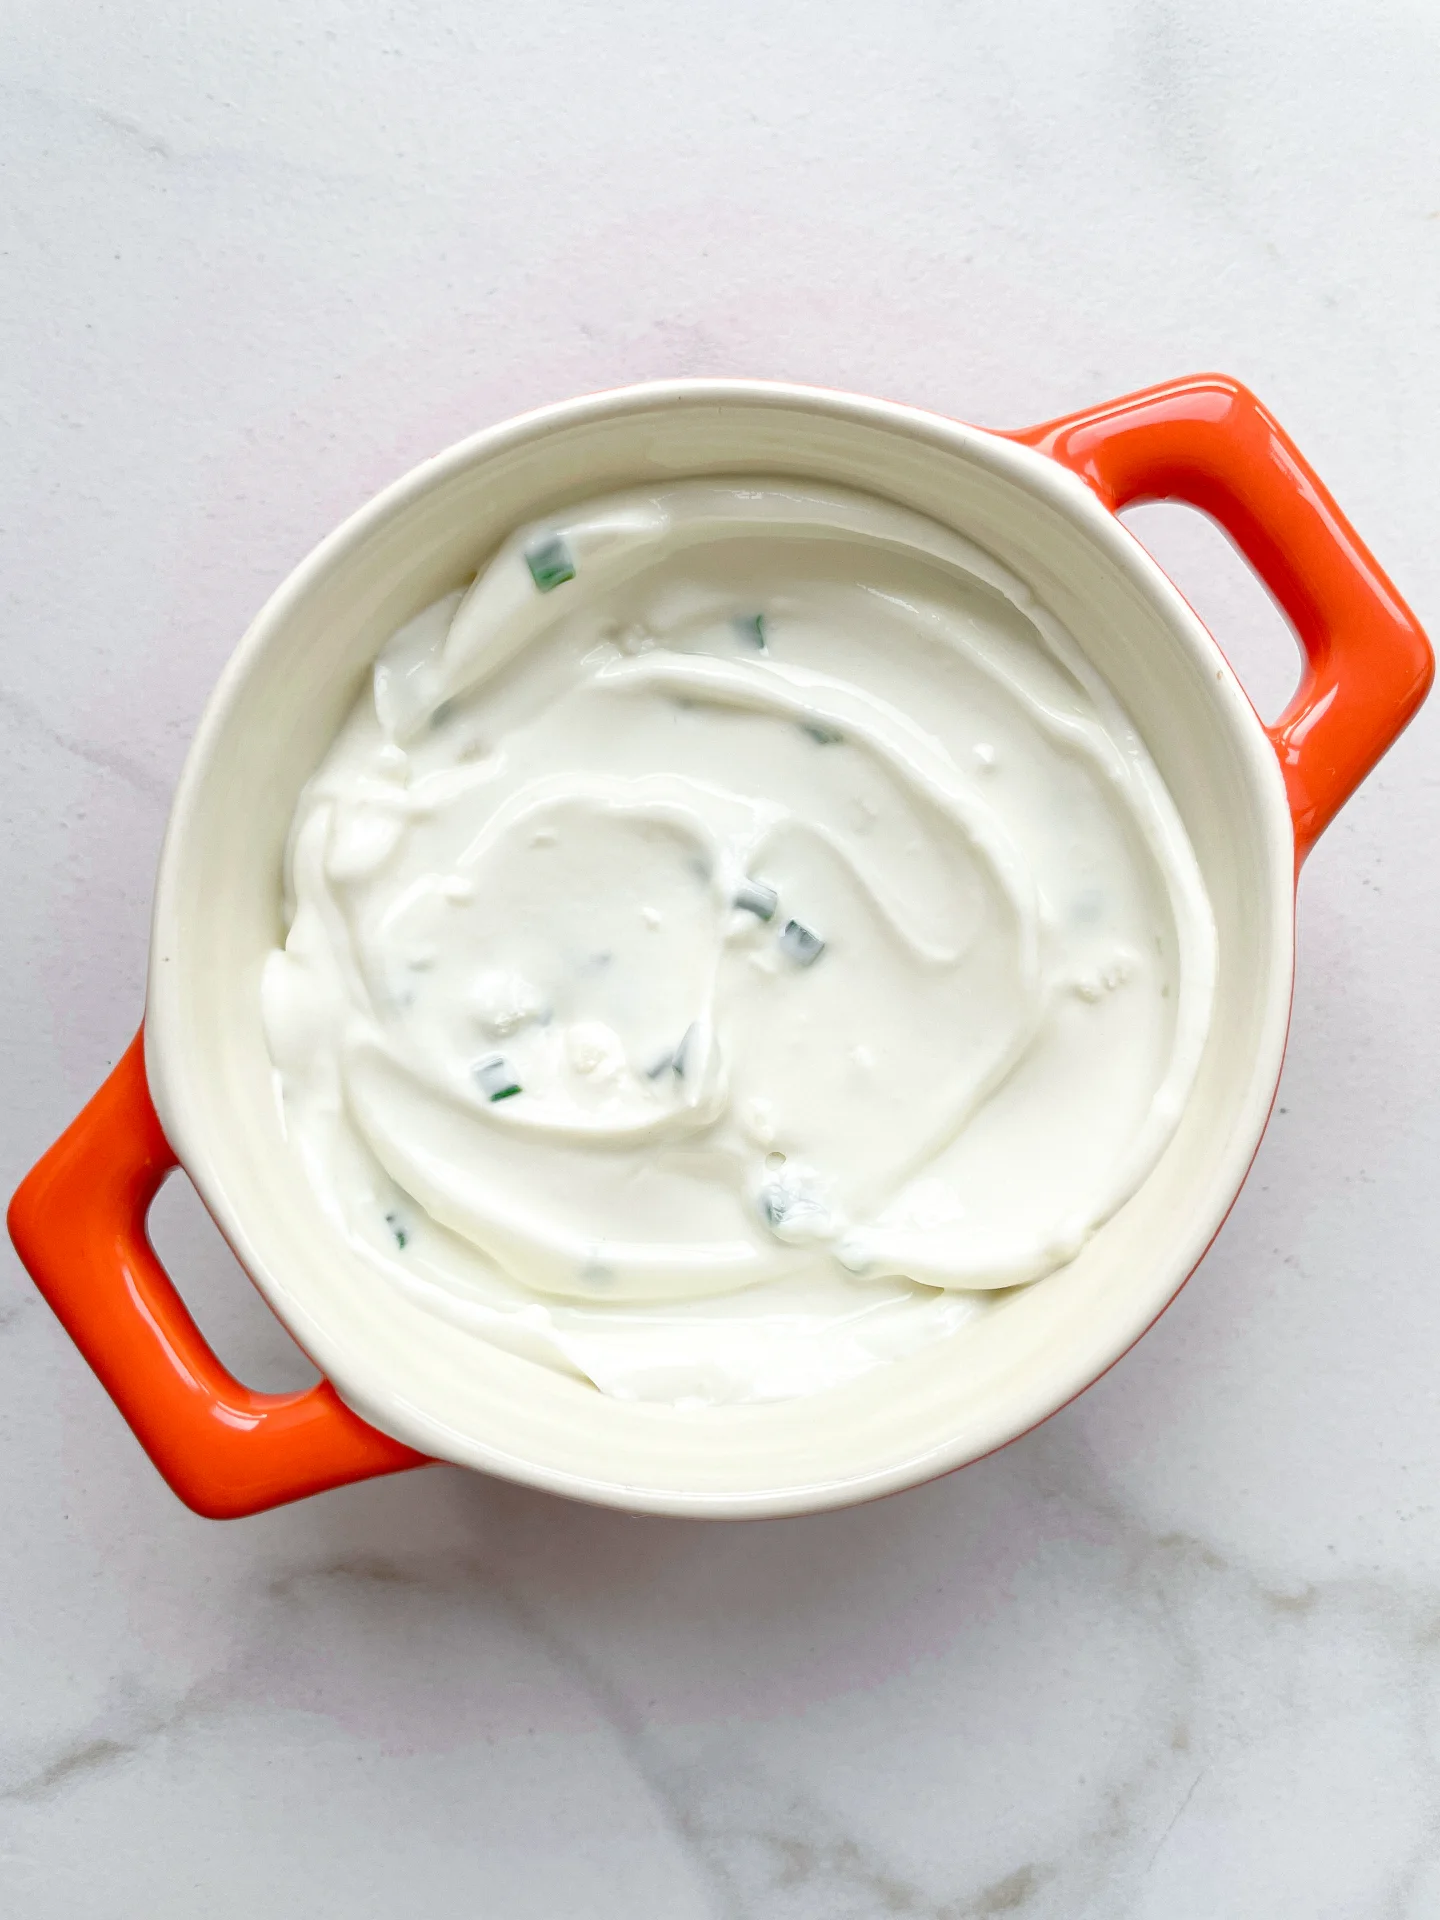
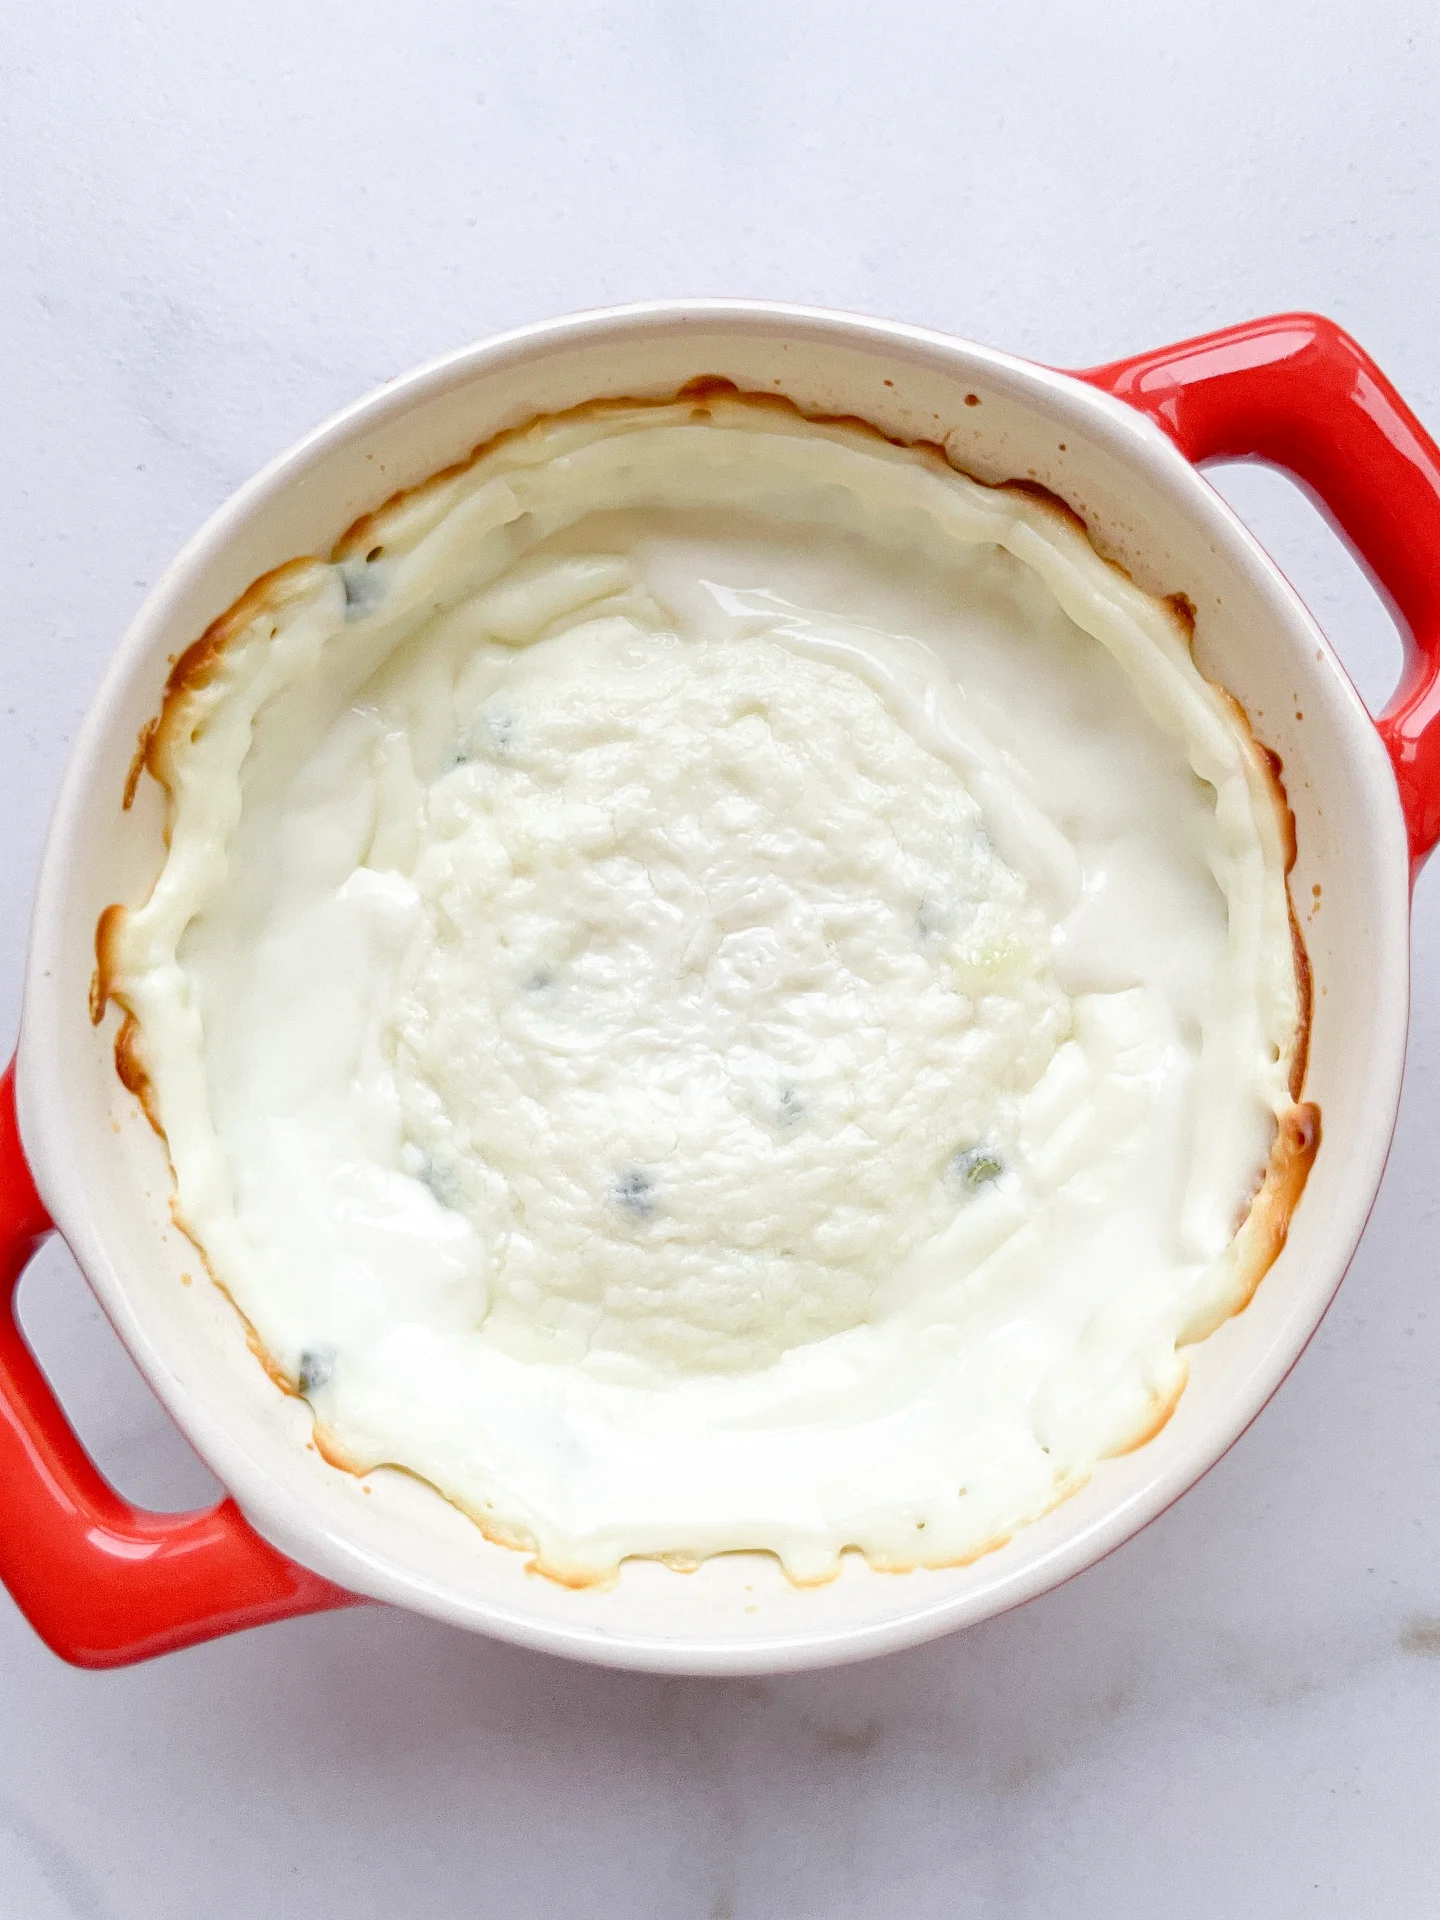
  3. Preheat the oven to 200°C / 400°F. For the cheese cream, peel the garlic clove and finely chop the chives. Add both to a food processor along with the cream cheese, goat cheese, and a pinch of salt. Blend until smooth. Transfer the cream to a small ovenproof dish with a lid (or cover with foil) and bake for about 15 minutes. Then remove the lid and bake for another 5 minutes until the top is slightly browned. Take it out of the oven and let it cool briefly.
  4. Finally, spread the hot pepper jelly over the cheese and serve with bread or chips.

Notes

  • If you don’t have preserving sugar on hand, use 60-65g of regular sugar with 1-1.5g of pectin and 5ml of lemon juice instead of 75g preserving sugar.
  • Cook Time: 20 min