Turmeric Oil

Turmeric Oil

Turmeric Oil

Turmeric Oil

June 25, 2024 by Kimberly

Add a splash of sunshine to your meals! Turmeric oil is your go-to for an instant flavor lift and a hint of earthy zest. Perfect for any dish!

50 MINUTES

ADVANCED

VEGAN

INT.

40 PER TSP

SPICY
SWEET

MICHELIN

OIL

ALL YEAR

INTRODUCTION

ABOUT THE RECIPE

Turmeric oil isn’t just a kitchen staple – it’s a game changer. Infused with the vibrant, health-boosting properties of turmeric, this oil adds both nutrition and a burst of color to your culinary creations.

How to serve
Drizzle Turmeric Oil over your favorite salads, use it to sauté vegetables, or add a few drops to finish off your soups. It’s also fantastic for marinating proteins like chicken or fish, bringing a subtle, earthy depth to your dishes.

How to store
Store your Turmeric Oil in a cool, dark place to maintain its freshness. In a well-sealed bottle, it can last up to 1-2 weeks.

Hi, I'm Kimberly!

Hi, I'm Kimberly.

A passionate food lover who believes in the magic of homemade deliciousness that spreads love and warmth. Join me on this culinary adventure as I prepare wonderful dishes and let’s spread some happiness together!

Kimberly the Zett Signature

If you want to get to know me better, click here!


Turmeric Oil
Turmeric Oil
Turmeric Oil
„Let’s make a piece of happiness“
Print
clock clock iconcutlery cutlery iconflag flag iconfolder folder iconinstagram instagram iconpinterest pinterest iconfacebook facebook iconprint print iconsquares squares iconheart heart iconheart solid heart solid icon
Turmeric Oil

Turmeric Oil


5 Stars 4 Stars 3 Stars 2 Stars 1 Star

No reviews

  • Author: Kimberly
  • Total Time: 50 min
  • Yield: 250 ml / 1 cup

Description

RECOMMENDED EQUIPMENT

  • blender
  • medium-sized saucepan
  • whisk
  • a bowl which the medium saucepan fits into
  • 2 medium-sized bowls
  • 2 fine sieves
  • sealable container (oil bottle)
  • ice cubes
  • coffee filter

Ingredients

Units Scale
  • 50 grams fresh turmeric
  • 250 milliliters sunflower oil

Instructions

  1. Wash the turmeric, roughly chop it and put it into the blender. Pour in the oil. Blend on the highest setting until there are only tiny pieces of the turmeric left.
  2. Pour the mixture from the blender into a medium-sized pot and heat it over medium heat to a temperature of about 101°-104°C (213°-219°F), and maintain this temperature for the next 15 to 20 minutes. Stir occasionally, making sure the temperature remains steady and nothing gets burned.
  3. Prepare a bowl large enough to fit a medium-sized pot, and fill it with cold water and a handful of ice cubes. Also, hang a fine sieve strainer over one medium-sized bowl and another fine sieve strainer, with a coffee filter inside it, over another medium-sized bowl.
  4. Now, place the pot in the ice water and stir to cool the oil quickly. Once the oil is almost cold, remove the pot from the water and pour the oil into the prepared fine sieve to catch the coarse particles.
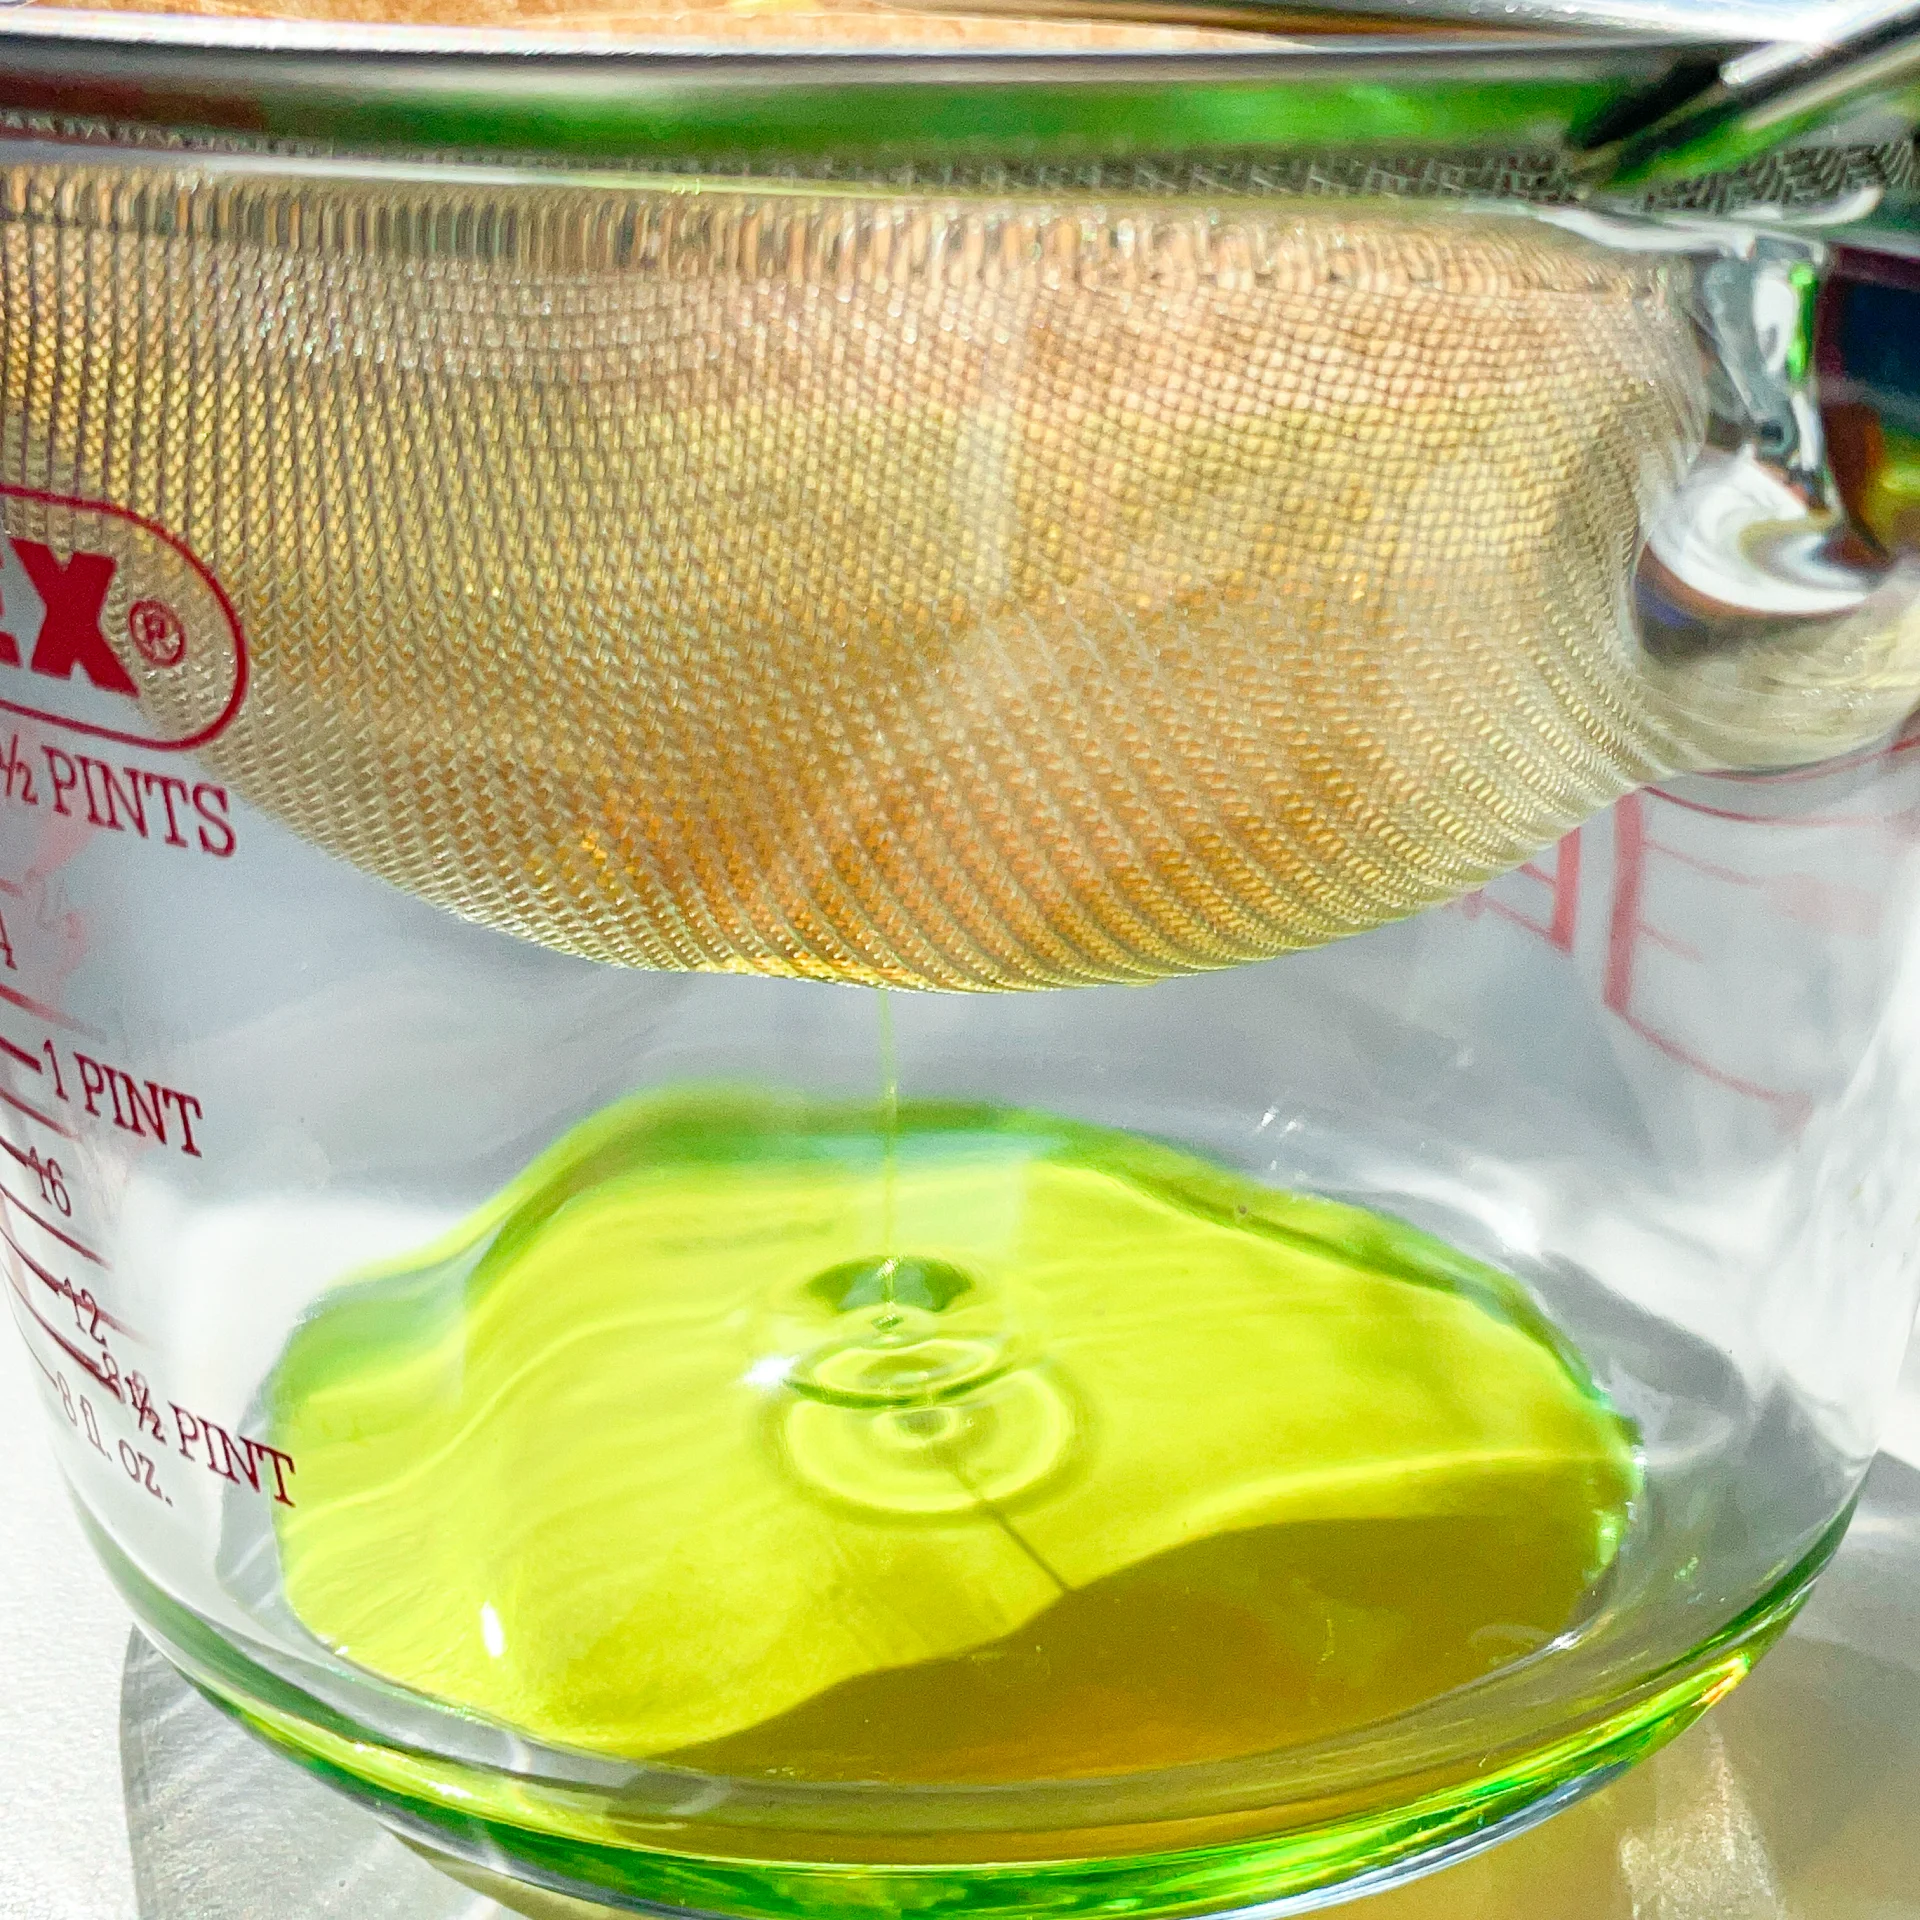
  5. Then, pour the oil into the second sieve, which is equipped with a coffee filter, to catch the remaining finer particles.
  6. Allow the oil to drip through for about 30 minutes or maybe less depending on how many remaining particles are in the coffee filter. Once all the oil has passed through the coffee filter, transfer the collected amount of oil into a sealable container or directly into an oil bottle. Store in the refrigerator for up to one week.

Notes

The calorie information may vary depending on the product used, country and region.

  • Prep Time: 5 min
  • Passive Time: 30 min
  • Cook Time: 15 min
Radish Cucumber Butter

Radish Cucumber Butter

Radish Cucumber Butter

Radish Cucumber Butter

June 24, 2024 by Kimberly

Whip up magic in your kitchen with this fresh, zesty butter blend! Perfect for giving a crunchy, creamy twist to any snack or sandwich.

10 MINUTES

EASY

VEGETARIAN

FRENCH

96 PER PORTION

BUTTERY

EVERDAY

DIPS & SPREADS

SPRING
SUMMER

INTRODUCTION

ABOUT THE RECIPE

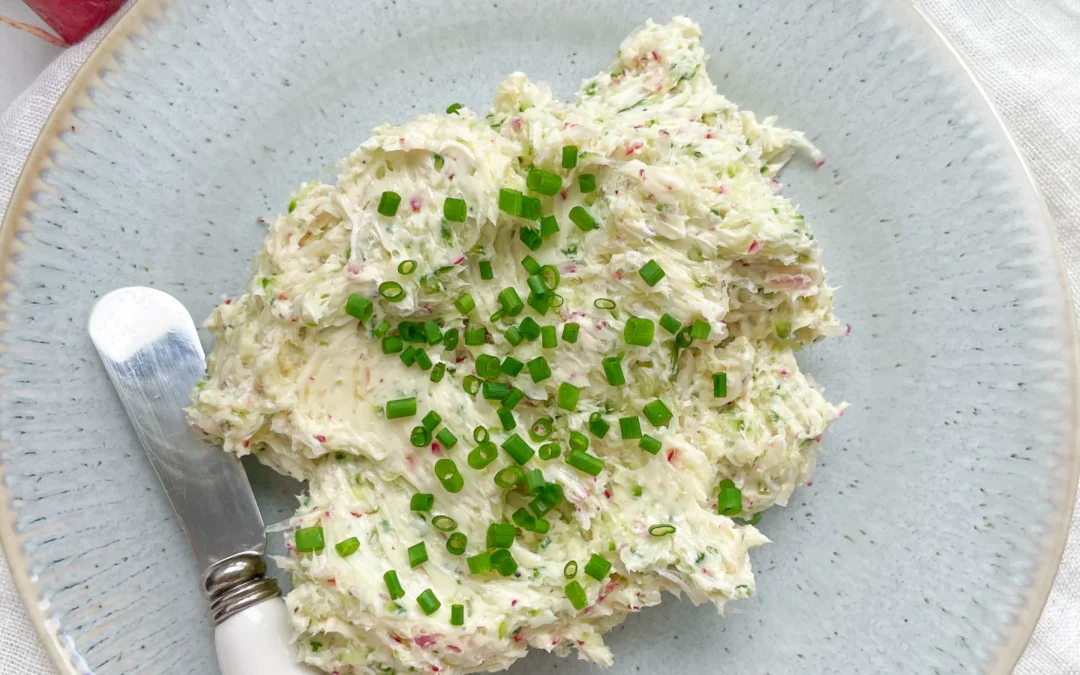
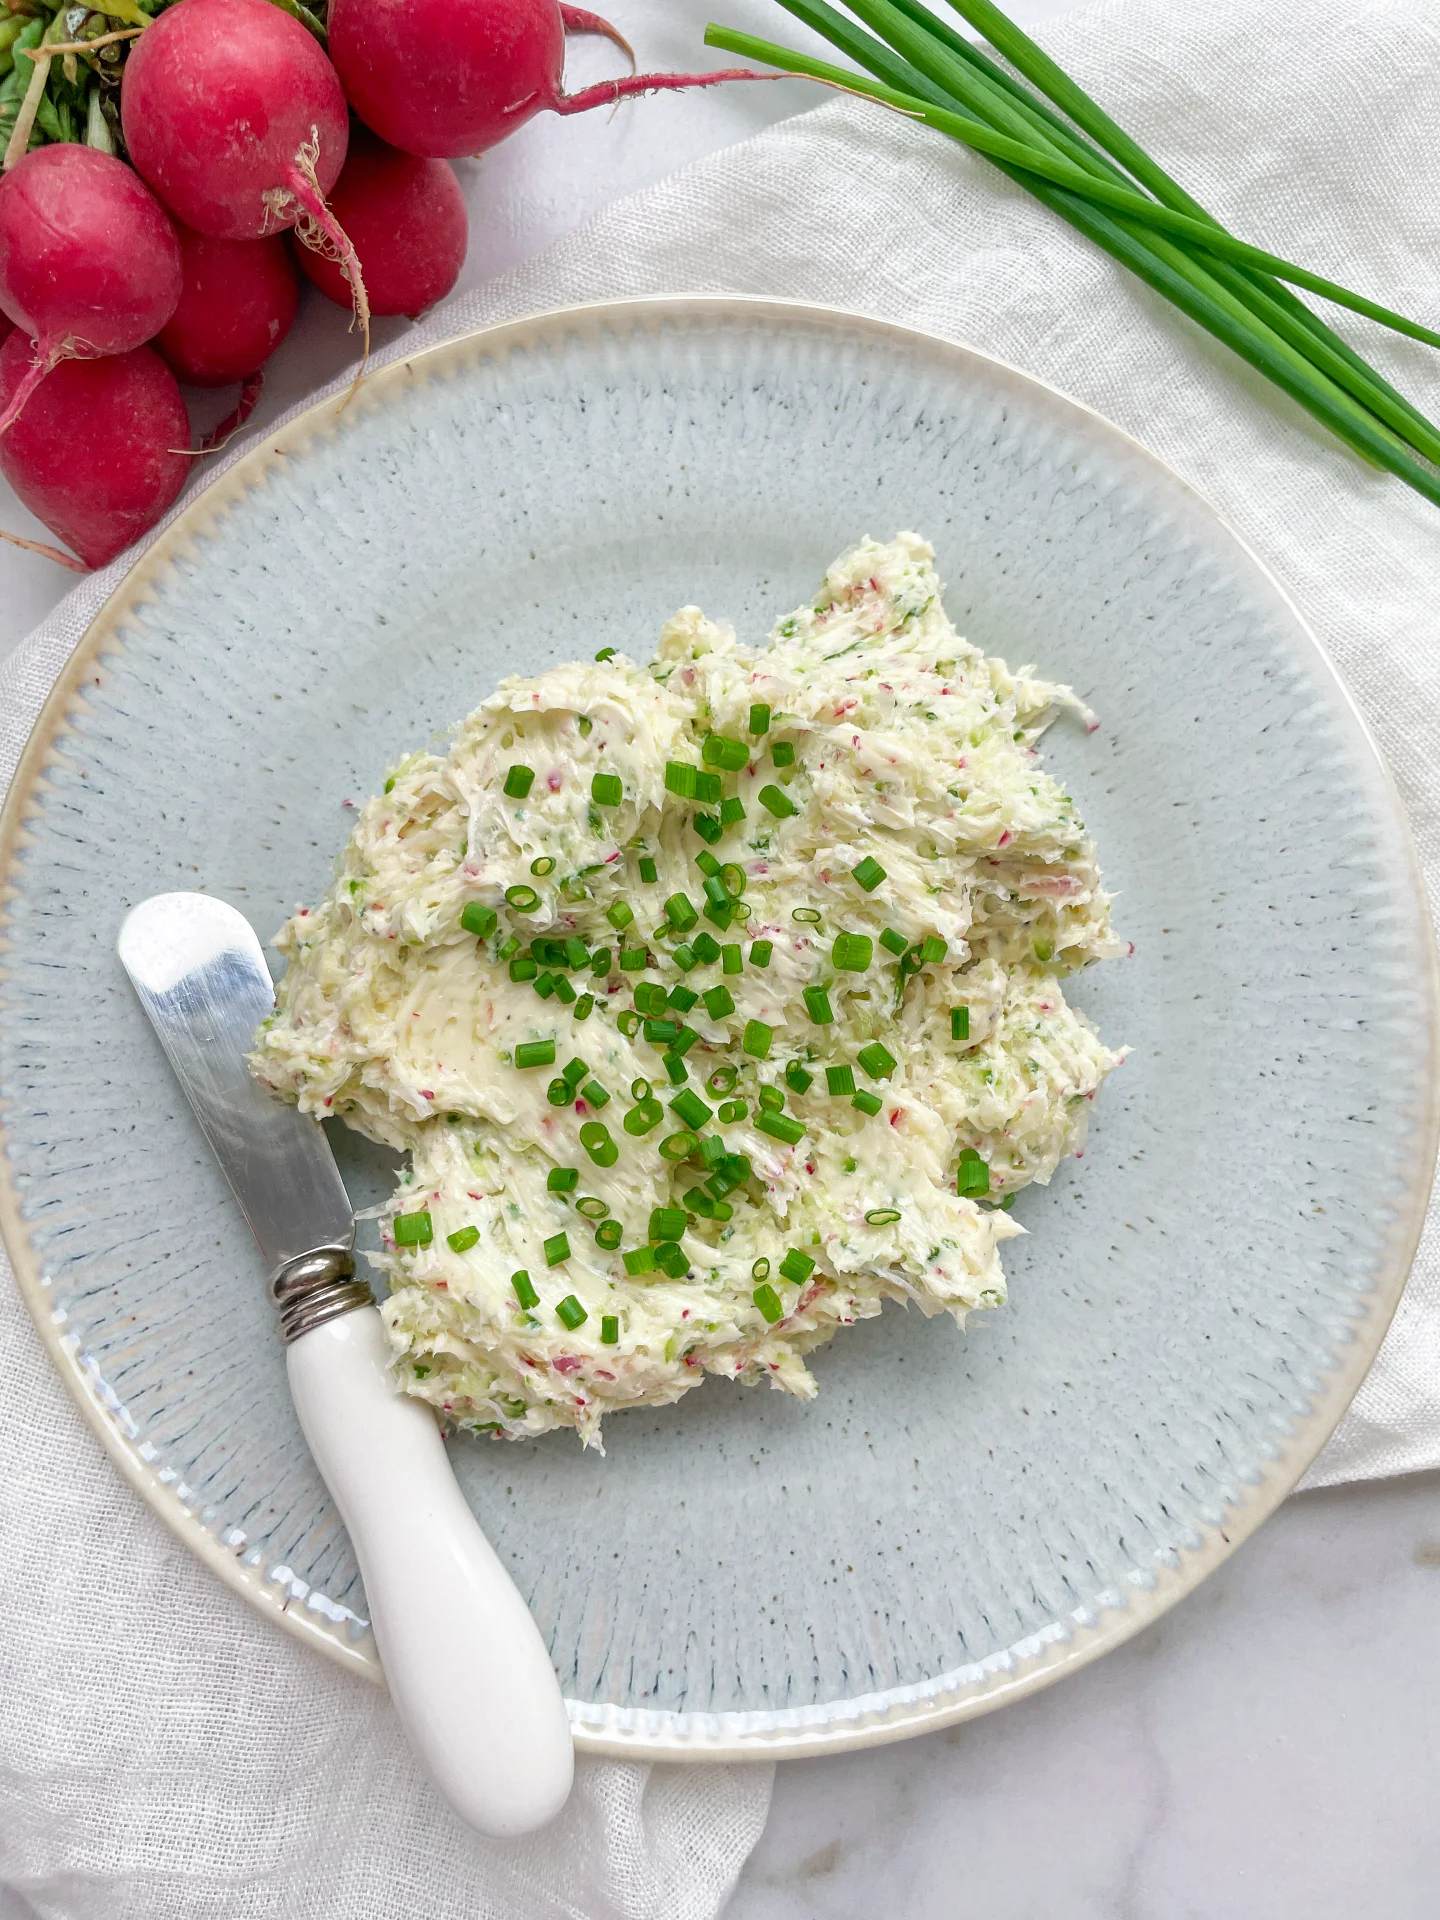
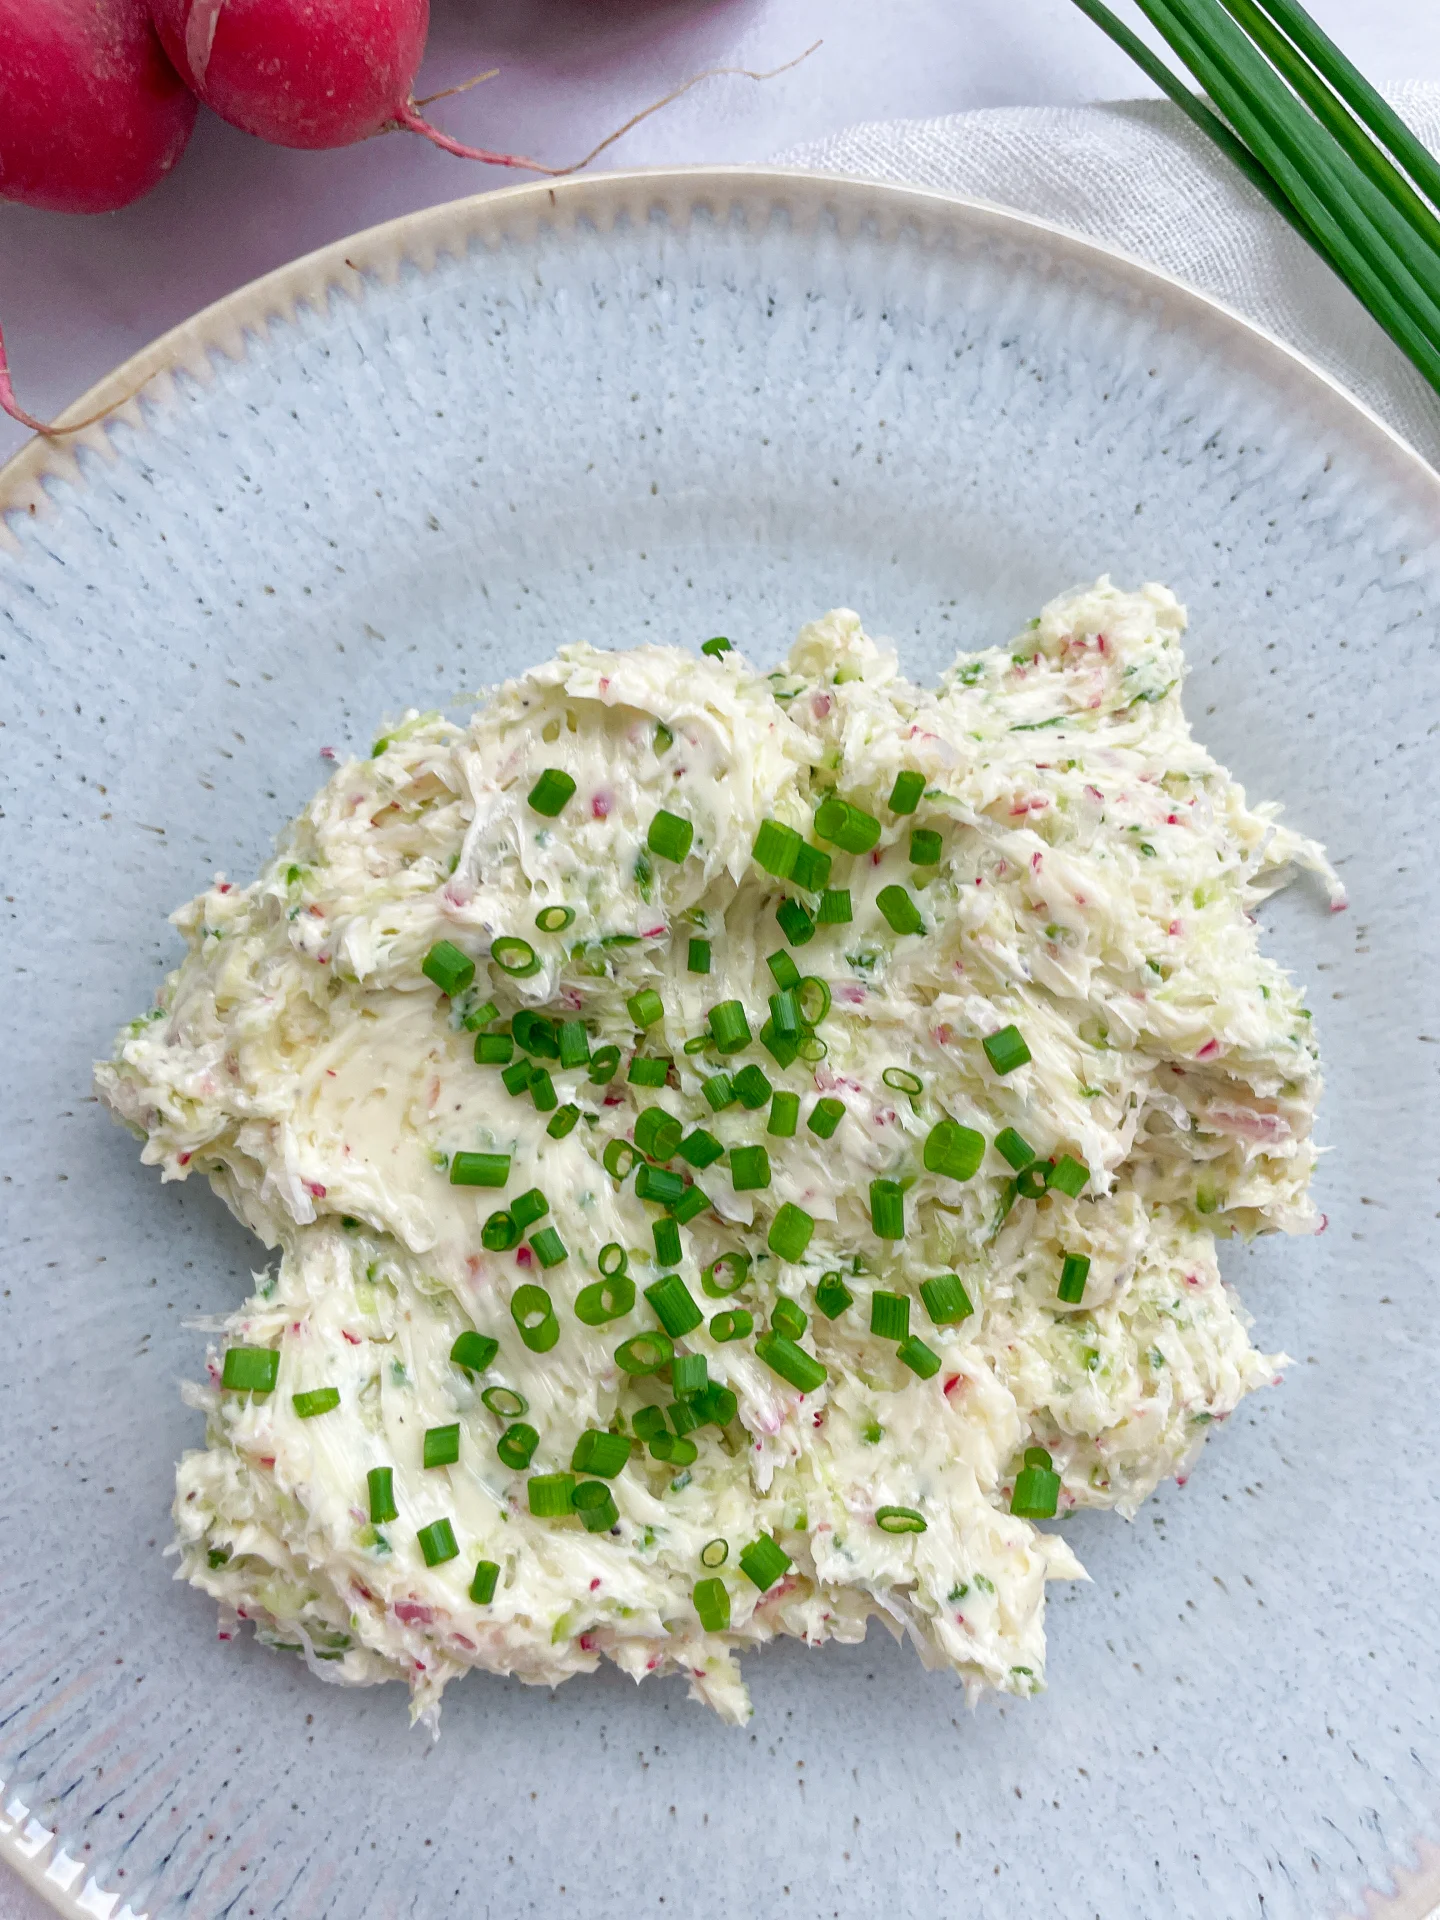
Radish cucumber butter combines the crisp freshness of radishes and cucumbers with creamy butter to create a spread that’s both light and invigorating. It’s a delightful way to add a burst of spring flavor to any dish.

How to serve
This versatile butter is perfect slathered on warm bread, used as a savory topping for steamed vegetables, or as a refreshing twist in sandwiches. Its light, creamy texture and vibrant flavor profile make it an excellent complement to both casual and sophisticated culinary creations.

How to store
Keep the butter refrigerated in an airtight container. It maintains its best quality for up to 3 days, ensuring you can enjoy its fresh taste over several days.

Hi, I'm Kimberly!

Hi, I'm Kimberly.

A passionate food lover who believes in the magic of homemade deliciousness that spreads love and warmth. Join me on this culinary adventure as I prepare wonderful dishes and let’s spread some happiness together!

Kimberly the Zett Signature

If you want to get to know me better, click here!


Radish Cucumber Butter
„Let’s make a piece of happiness“
Print
.tasty-recipe-responsive-iframe-container-4c2bffe2 { position: relative; overflow: hidden; padding-top: 56.3%; } .tasty-recipe-responsive-iframe-container-4c2bffe2 iframe { position: absolute; top: 0; left: 0; width: 100%; height: 100%; border: 0; } clock clock iconcutlery cutlery iconflag flag iconfolder folder iconinstagram instagram iconpinterest pinterest iconfacebook facebook iconprint print iconsquares squares iconheart heart iconheart solid heart solid icon
Radish Cucumber Butter

Radish Cucumber Butter


  • Author: Kimberly
  • Total Time: 10 minutes
  • Yield: 10

Description

Recommended Equipment

  • sharp knife
  • cutting board
  • deep plate
  • paper towels
  • grater

Ingredients

Units Scale
  • 4 radishes
  • 1/4 cucumber
  • 125 grams butter
  • chives
  • salt to taste

Instructions

  1. Thoroughly wash the radishes, cucumber, and chives. Set up a deep plate and finely grate the radishes into it. Squeeze out the excess moisture from the grated radishes using paper towels. Repeat the process with the cucumber.
  2. Finely slice the chives and set them aside.
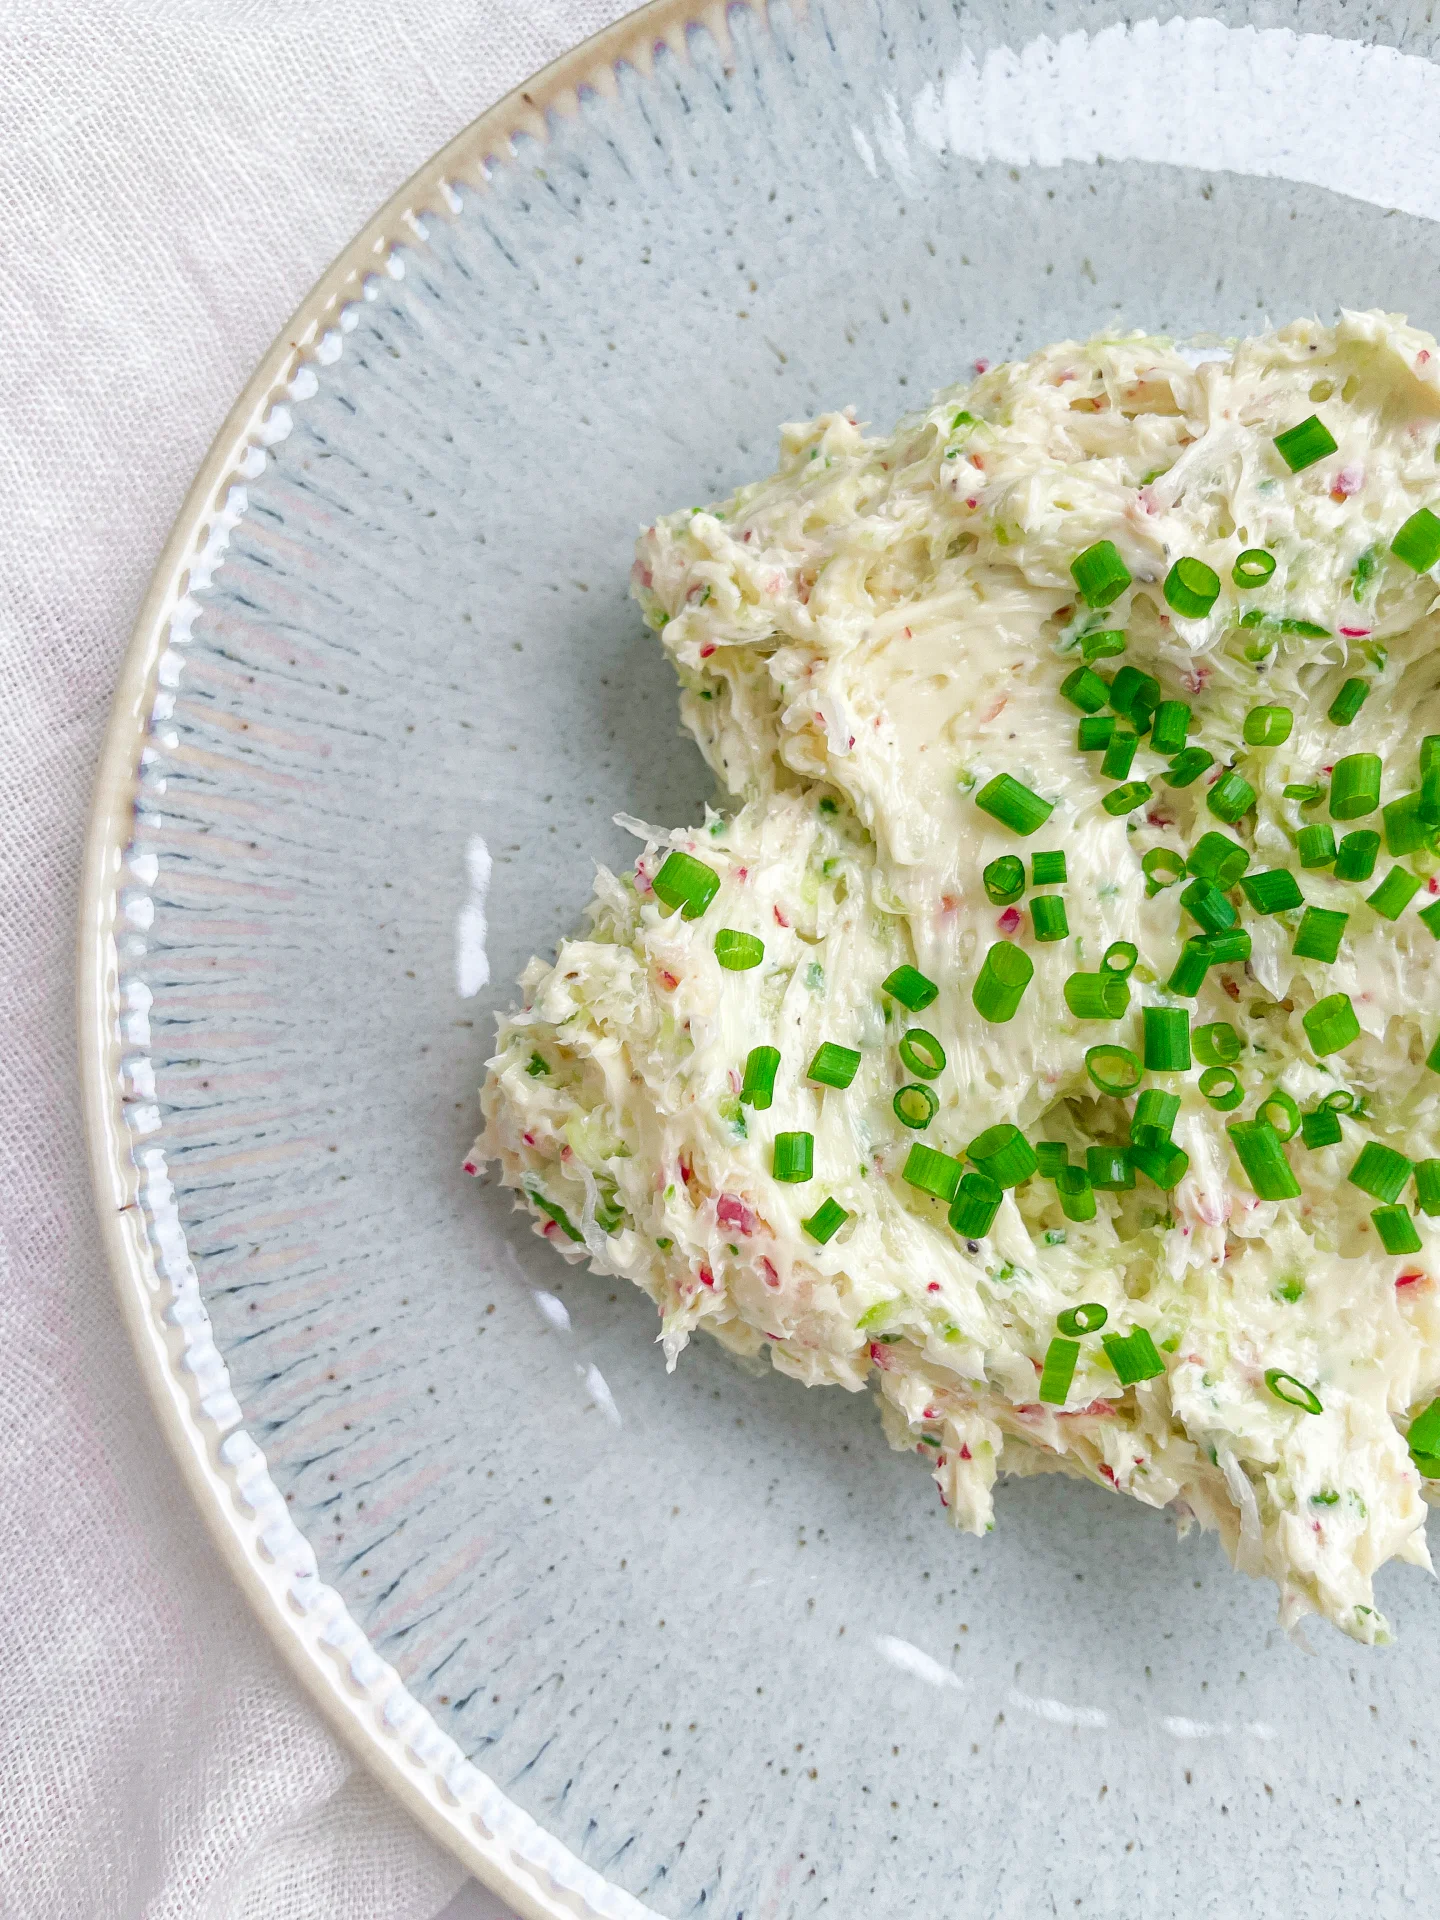
  3. Dry the plate, then add the softened butter to it. Incorporate the grated radishes and cucumber, mixing well. Season with salt and sprinkle the sliced chives on top.

Notes

The calorie information may vary depending on the product used, country and region.

  • Cook Time: 10 min

Ham & Cheese Croissant

Ham & Cheese Croissant

Ham&Cheese Croissant

Ham & Cheese Croissant

November 27, 2023 by Kimberly

Imagine a buttery croissant hugging tasty ham and melted Gruyère cheese. It’s like a delicious duet of flavors that makes each bite a delight. Happy eating!

15 MINUTES

EASY

OMNIVORE

FRENCH

453 PER PORTION

CRUNCHY / COMFORT FOOD

EVERYDAY

BREAKFAST

ALL YEAR

INTRODUCTION

ABOUT THE RECIPE

Enjoy a ham and Gruyère croissant featuring a special brown sugar butter glaze. Imagine a buttery treat with sweet brown sugar, poppy seeds, onion, and zesty Dijon mustard. Each bite delivers flaky pastry, tasty ham, creamy Gruyère, and a burst of unique flavors. It’s a simple, delicious snack that promises savory goodness.

How to serve
Whether enjoyed warm or cold, it’s an ideal take-away breakfast or a special morning treat. Paired with a side salad, it transforms into a quick and delightful lunch option, making for a deliciously convenient meal that’s perfect for both planned and spontaneous gatherings.

How to store
For optimal freshness, store the croissant in an airtight container or tightly wrapped in plastic. Refrigerate for short-term use, or freeze for extended freshness. Whether reheated in the oven or enjoyed cold, these croissants maintain their deliciousness.

Hi, I'm Kimberly!

Hi, I'm Kimberly.

A passionate food lover who believes in the magic of homemade deliciousness that spreads love and warmth. Join me on this culinary adventure as I prepare wonderful dishes and let’s spread some happiness together!

Kimberly the Zett Signature

If you want to get to know me better, click here!


Ham&Cheese Croissant

„Let’s make a piece of happiness“

Print
clock clock iconcutlery cutlery iconflag flag iconfolder folder iconinstagram instagram iconpinterest pinterest iconfacebook facebook iconprint print iconsquares squares iconheart heart iconheart solid heart solid icon
Ham&Cheese Croissant

Ham & Cheese Croissant


5 from 1 review

  • Author: Kimberly
  • Total Time: 14 min
  • Yield: 2-4

Description

Recommended Equipment
  • small bowl
  • bread knife
  • cheese grater
  • kitchen basting brush

Ingredients

Units Scale
  • 4 croissants
  • 60 grams cheese of your choice (I used Gruyére)
  • 100 grams deli ham
  • 1 tsp chives
GLAZE
  • 1 tbsp butter
  • 1 tsp poppy seeds
  • 1/2 tsp brown sugar
  • 1/2 tsp dijon mustard
  • 1/4 tsp garlic powder
  • 1/4 tsp onion powder
  • 1/4 tsp salt

Instructions

PREPARATIONS

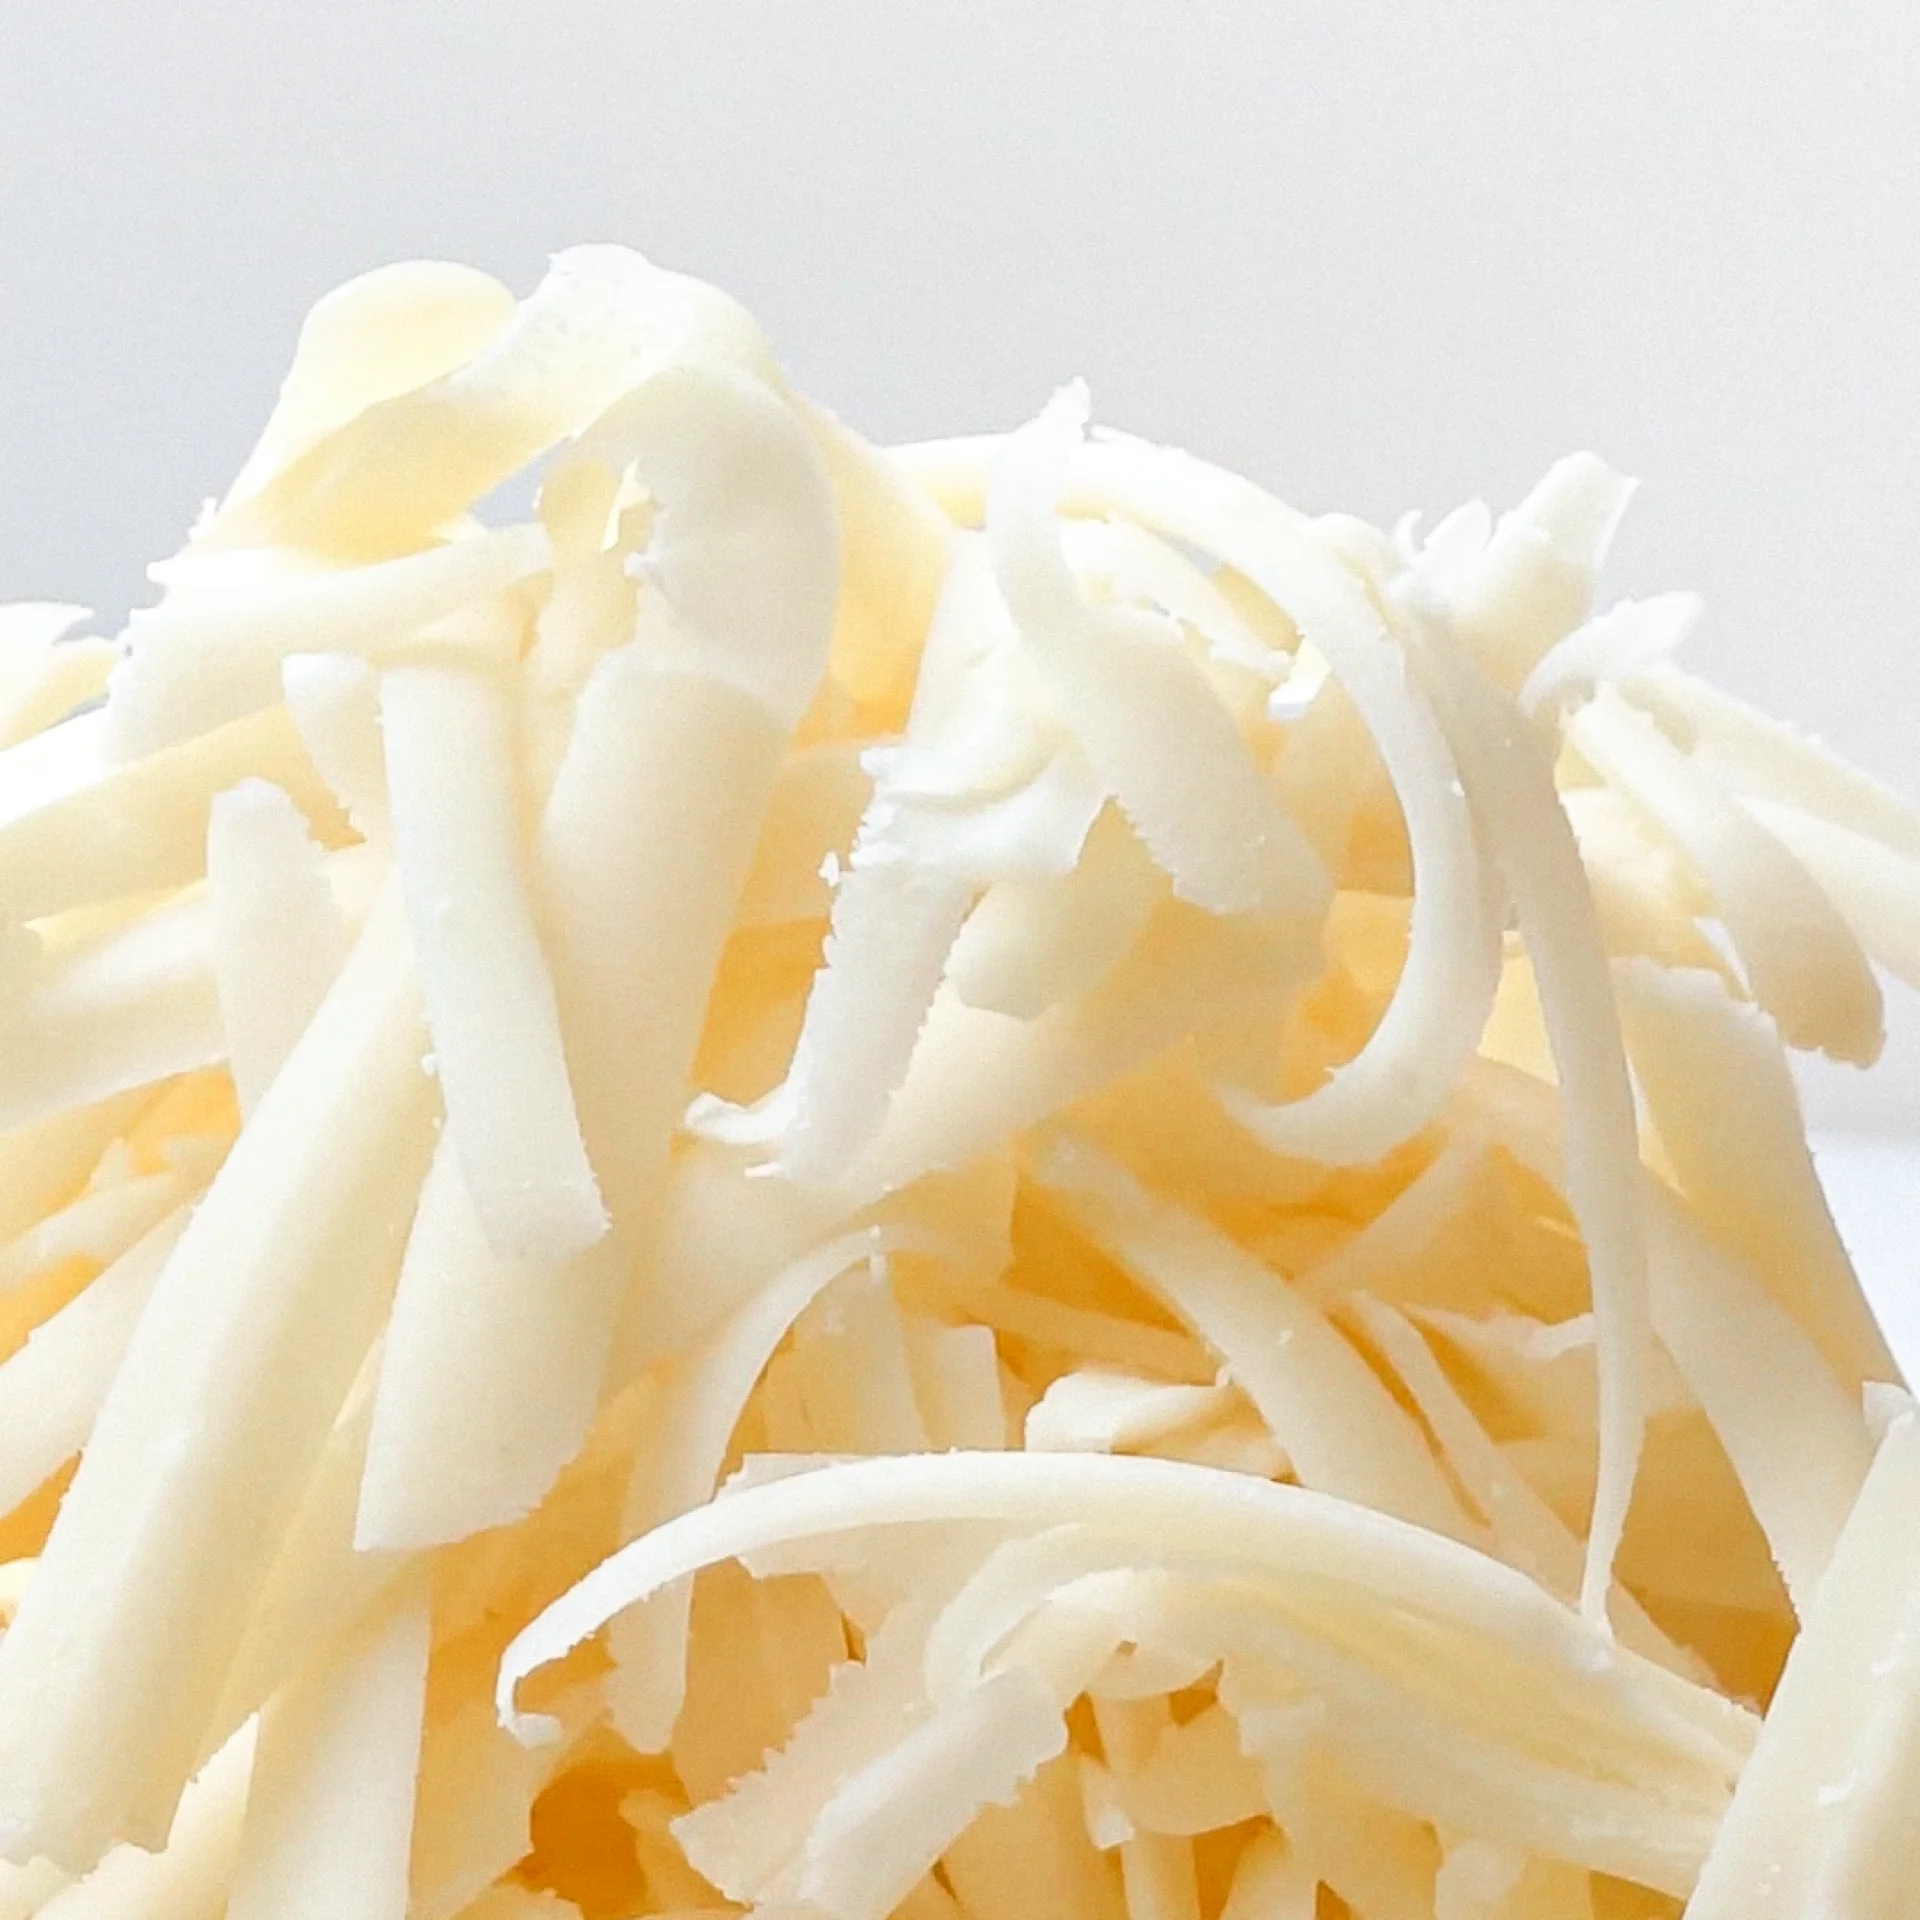
  • Grate Gruyère cheese.
  • Cut the chives into thin rolls.
  • Melt 1 tbsp butter in a small bowl in the microwave or in a saucepan.
  • Preheat the oven to 150°C / 302°F

INSTRUCTIONS

  1.  Add the following ingredients to the melted butter: onion powder, garlic powder, salt, brown sugar, poppy seeds and Dijon mustard. Mix well and set aside.
  2. Slice the croissants lengthwise, but not all the way through. Now place the ham inside and top with the grated Gruyère. Sprinkle with chives. Fold the croissants closed and brush the tops with the glaze. Place them in a baking dish or directly on a baking tray.
    1. Bake the croissants for 7 minutes until the cheese has melted then turn on the broiler for 2-3 minutes until golden brown and crispy.
  • Prep Time: 4 min
  • Passive Time: 5 min
  • Cook Time: 5 min

Pollo Tonnato

Pollo Tonnato

Pollo Tonnato

Pollo Tonnato

June 22, 2024 by Kimberly

Unleash the flavors with this delightful twist on the classic Vitello Tonnato! Tender chicken meets a creamy, tangy sauce for a dish that’s both satisfying and refreshingly different.

10 MINUTES

EASY

OMNIVORE

ITALIAN

439 PER PORTION

UMAMI
CREAMY

EVERDAY

LUNCH

ALL YEAR

INTRODUCTION

ABOUT THE RECIPE

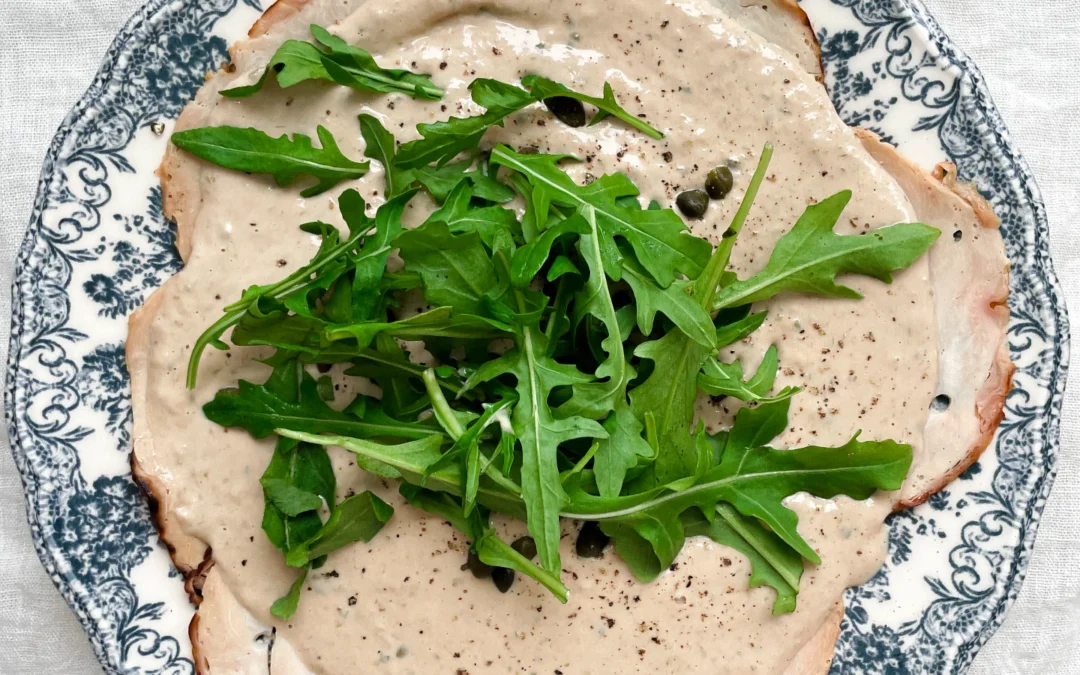
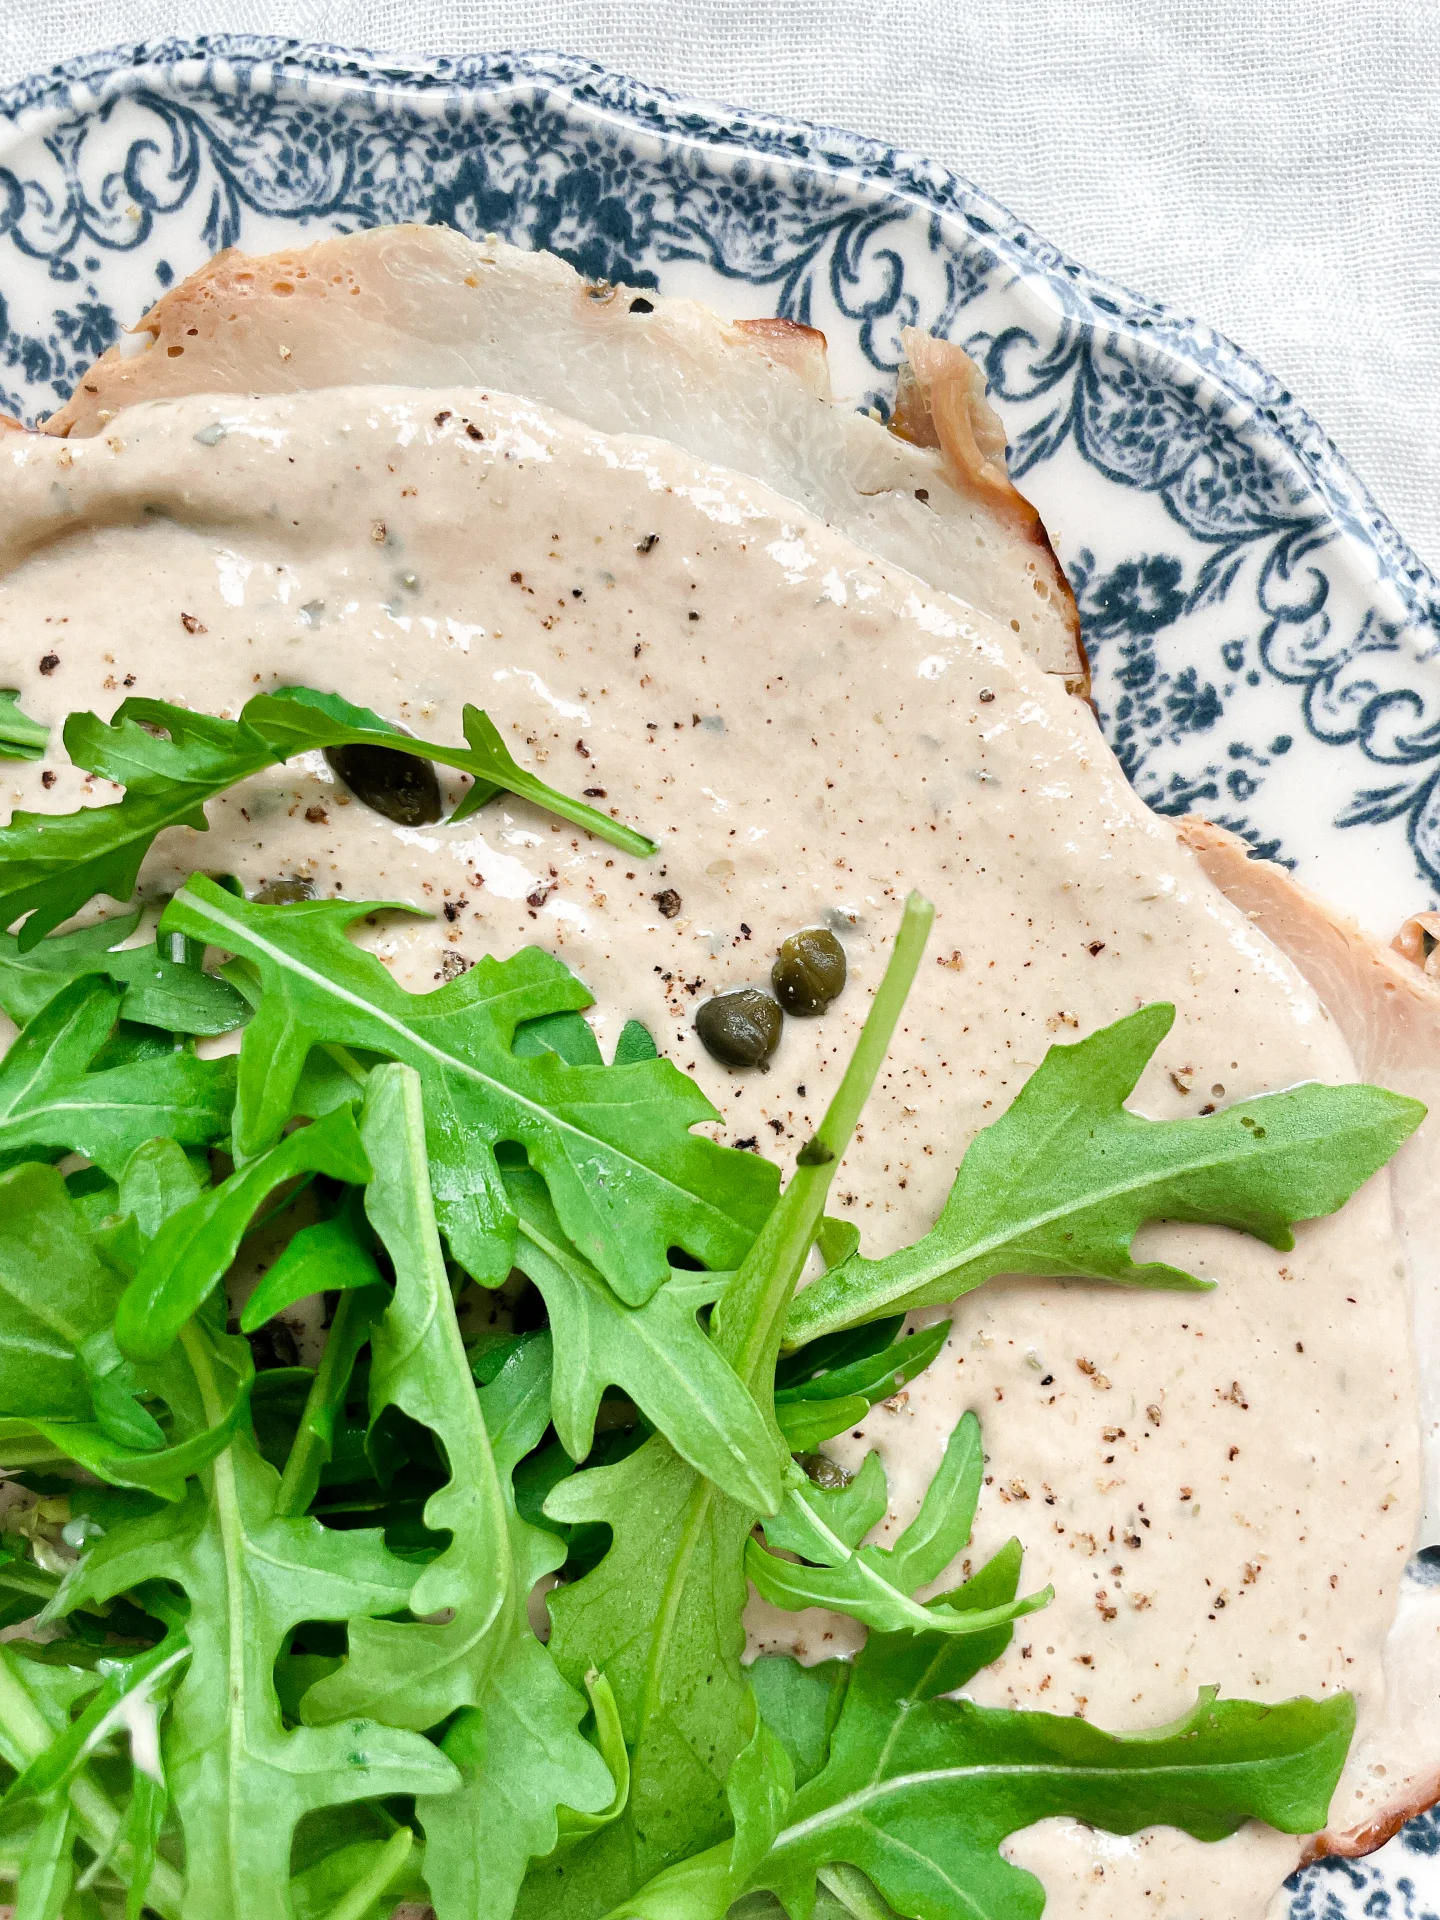
Bring a slice of Italian flair to your table with Pollo Tonnato, a dish where simplicity and sophistication meet. This unique combination of tender chicken and a creamy tuna-based sauce offers a refreshing change from the usual veal recipe.

How to serve
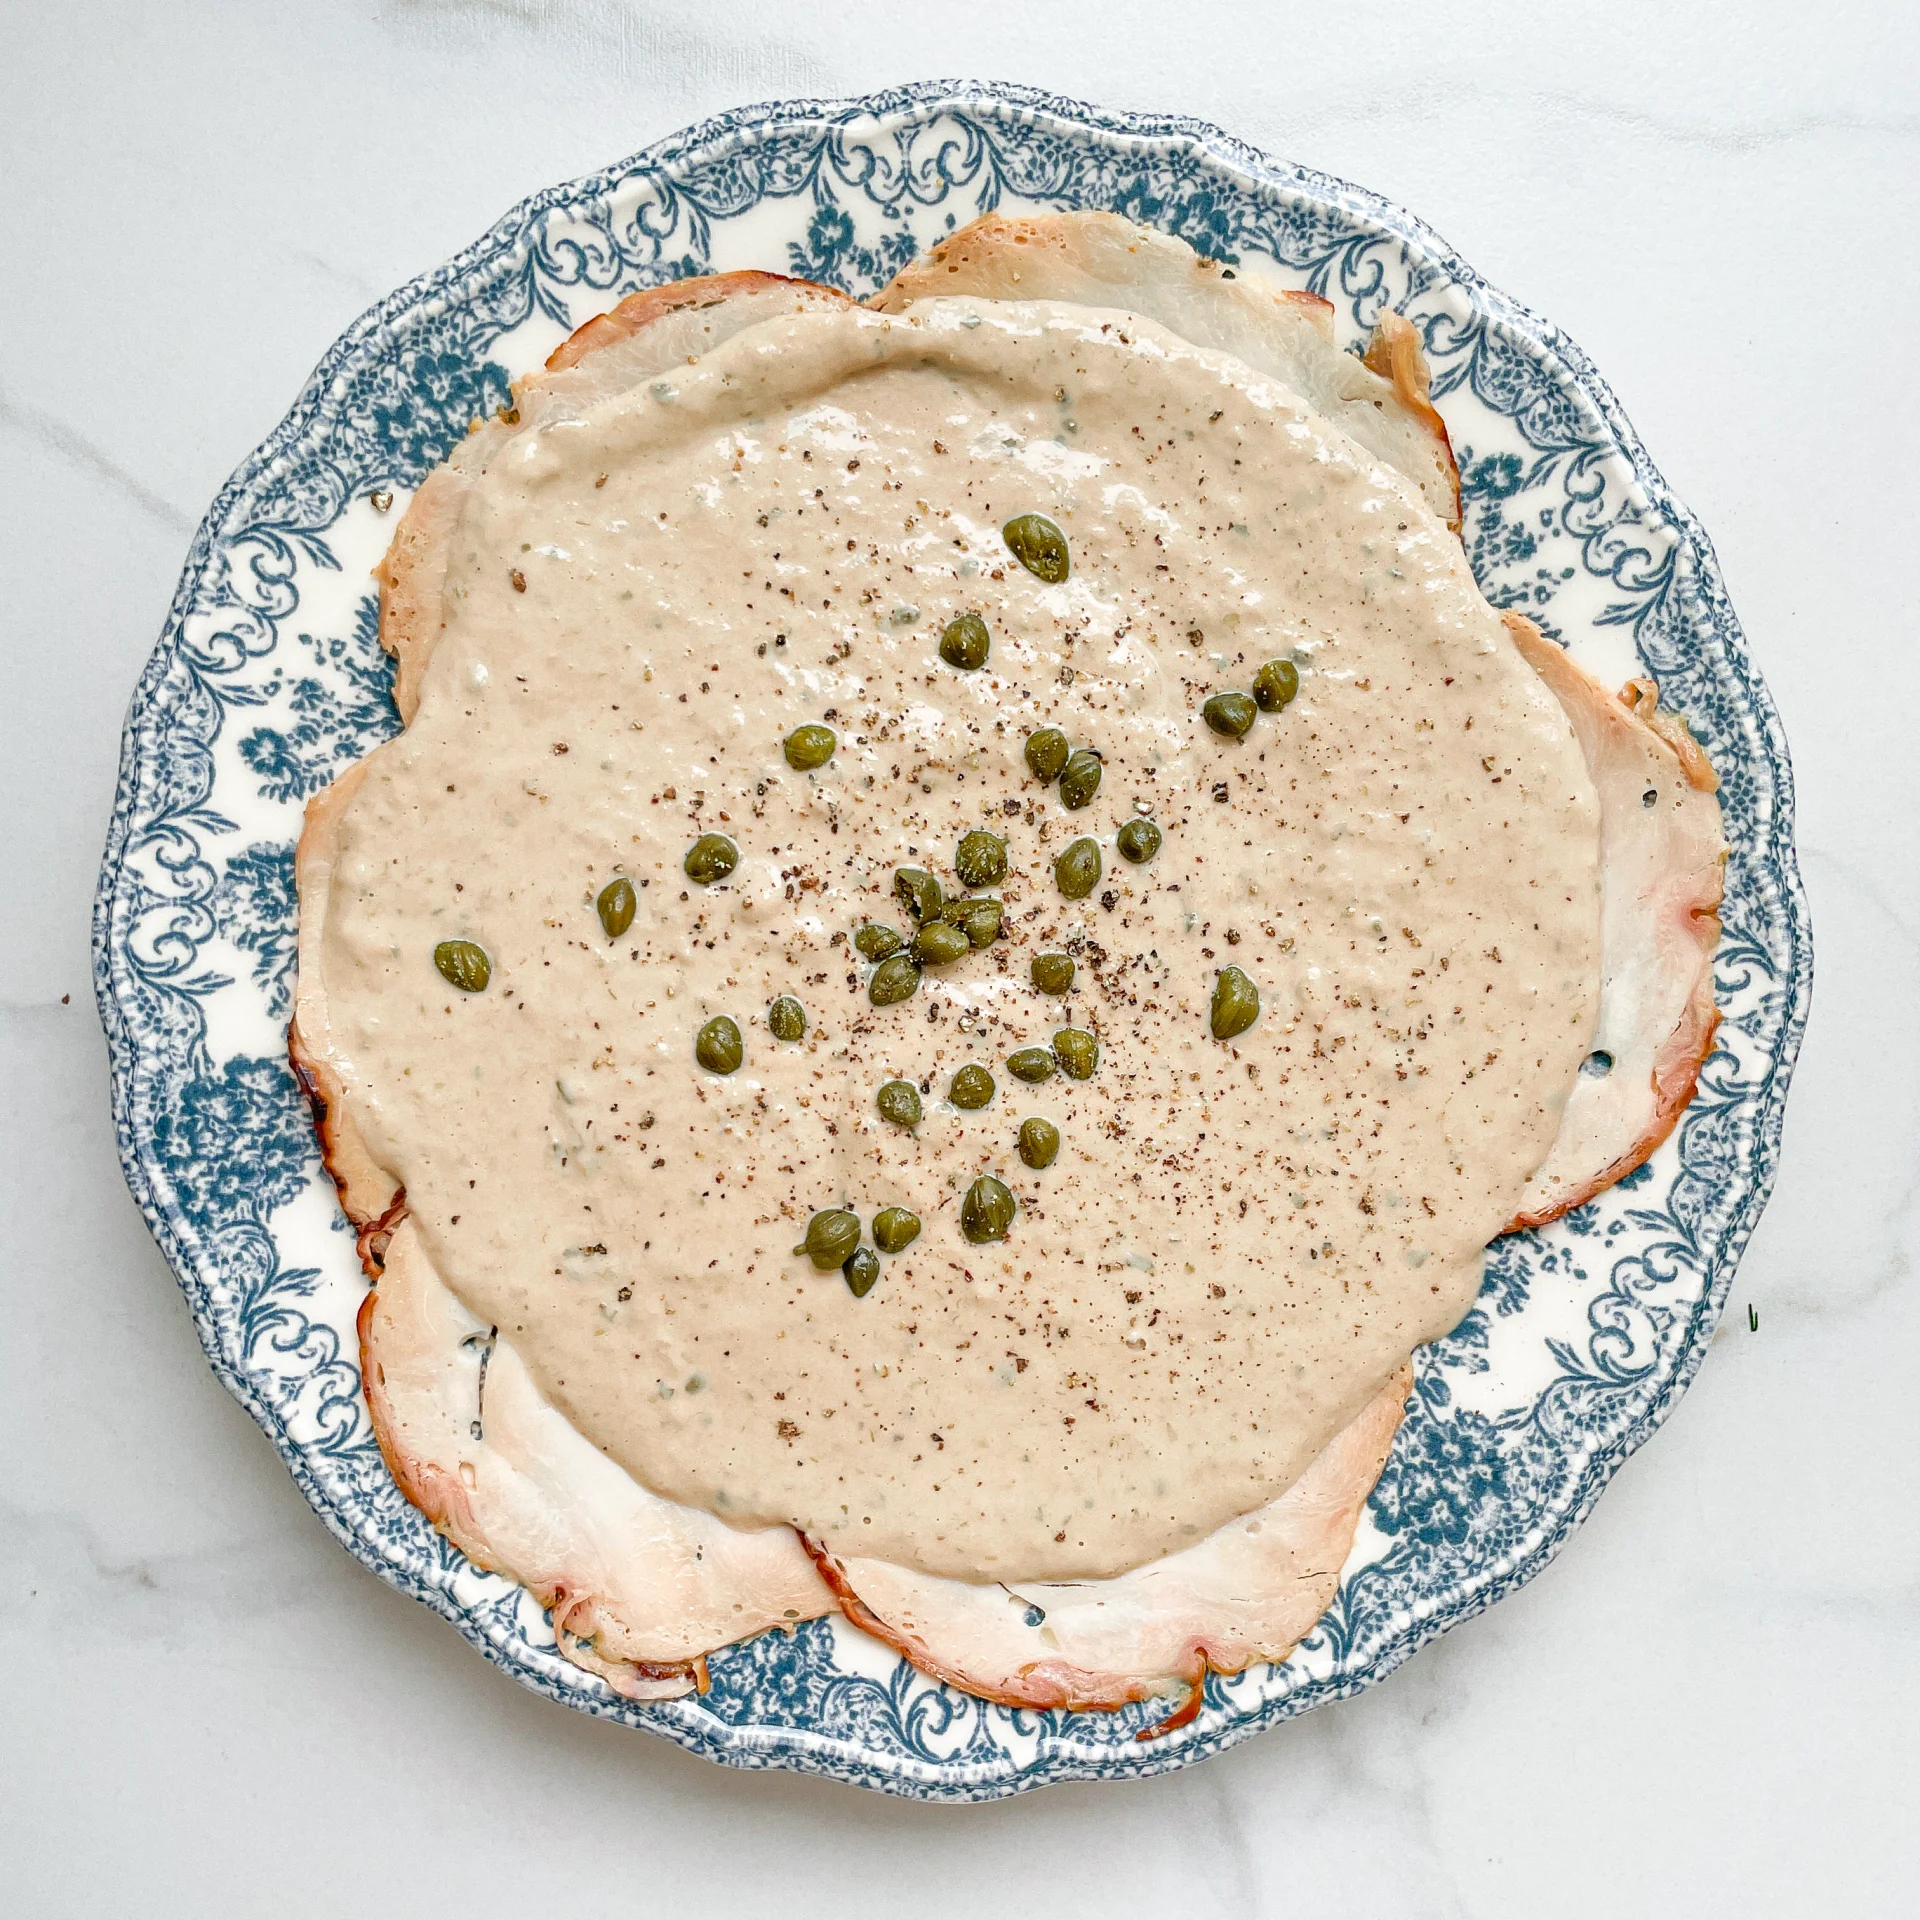
Slice the chicken and drizzle with the rich tuna sauce, garnish with capers or lemon slices, and serve alongside a crisp green salad or fresh bread for a complete meal.

How to store
Store leftovers in an airtight container in the refrigerator. Enjoy within one day for the best freshness and taste.

Hi, I'm Kimberly!

Hi, I'm Kimberly.

A passionate food lover who believes in the magic of homemade deliciousness that spreads love and warmth. Join me on this culinary adventure as I prepare wonderful dishes and let’s spread some happiness together!

Kimberly the Zett Signature

If you want to get to know me better, click here!


Pollo Tonnato
Pollo Tonnato
Pollo Tonnato
„Let’s make a piece of happiness“
Print
.tasty-recipe-responsive-iframe-container-5b92afa3 { position: relative; overflow: hidden; padding-top: 56.3%; } .tasty-recipe-responsive-iframe-container-5b92afa3 iframe { position: absolute; top: 0; left: 0; width: 100%; height: 100%; border: 0; } clock clock iconcutlery cutlery iconflag flag iconfolder folder iconinstagram instagram iconpinterest pinterest iconfacebook facebook iconprint print iconsquares squares iconheart heart iconheart solid heart solid icon
Pollo Tonnato

Pollo Tonnato


1 from 3 reviews

  • Author: Kimberly
  • Total Time: 10 minutes
  • Yield: 2 as main

Description

Recommended Equipment

  • glass jar
  • measuring spoons
  • immersion blender
  • large plate

Ingredients

Units Scale
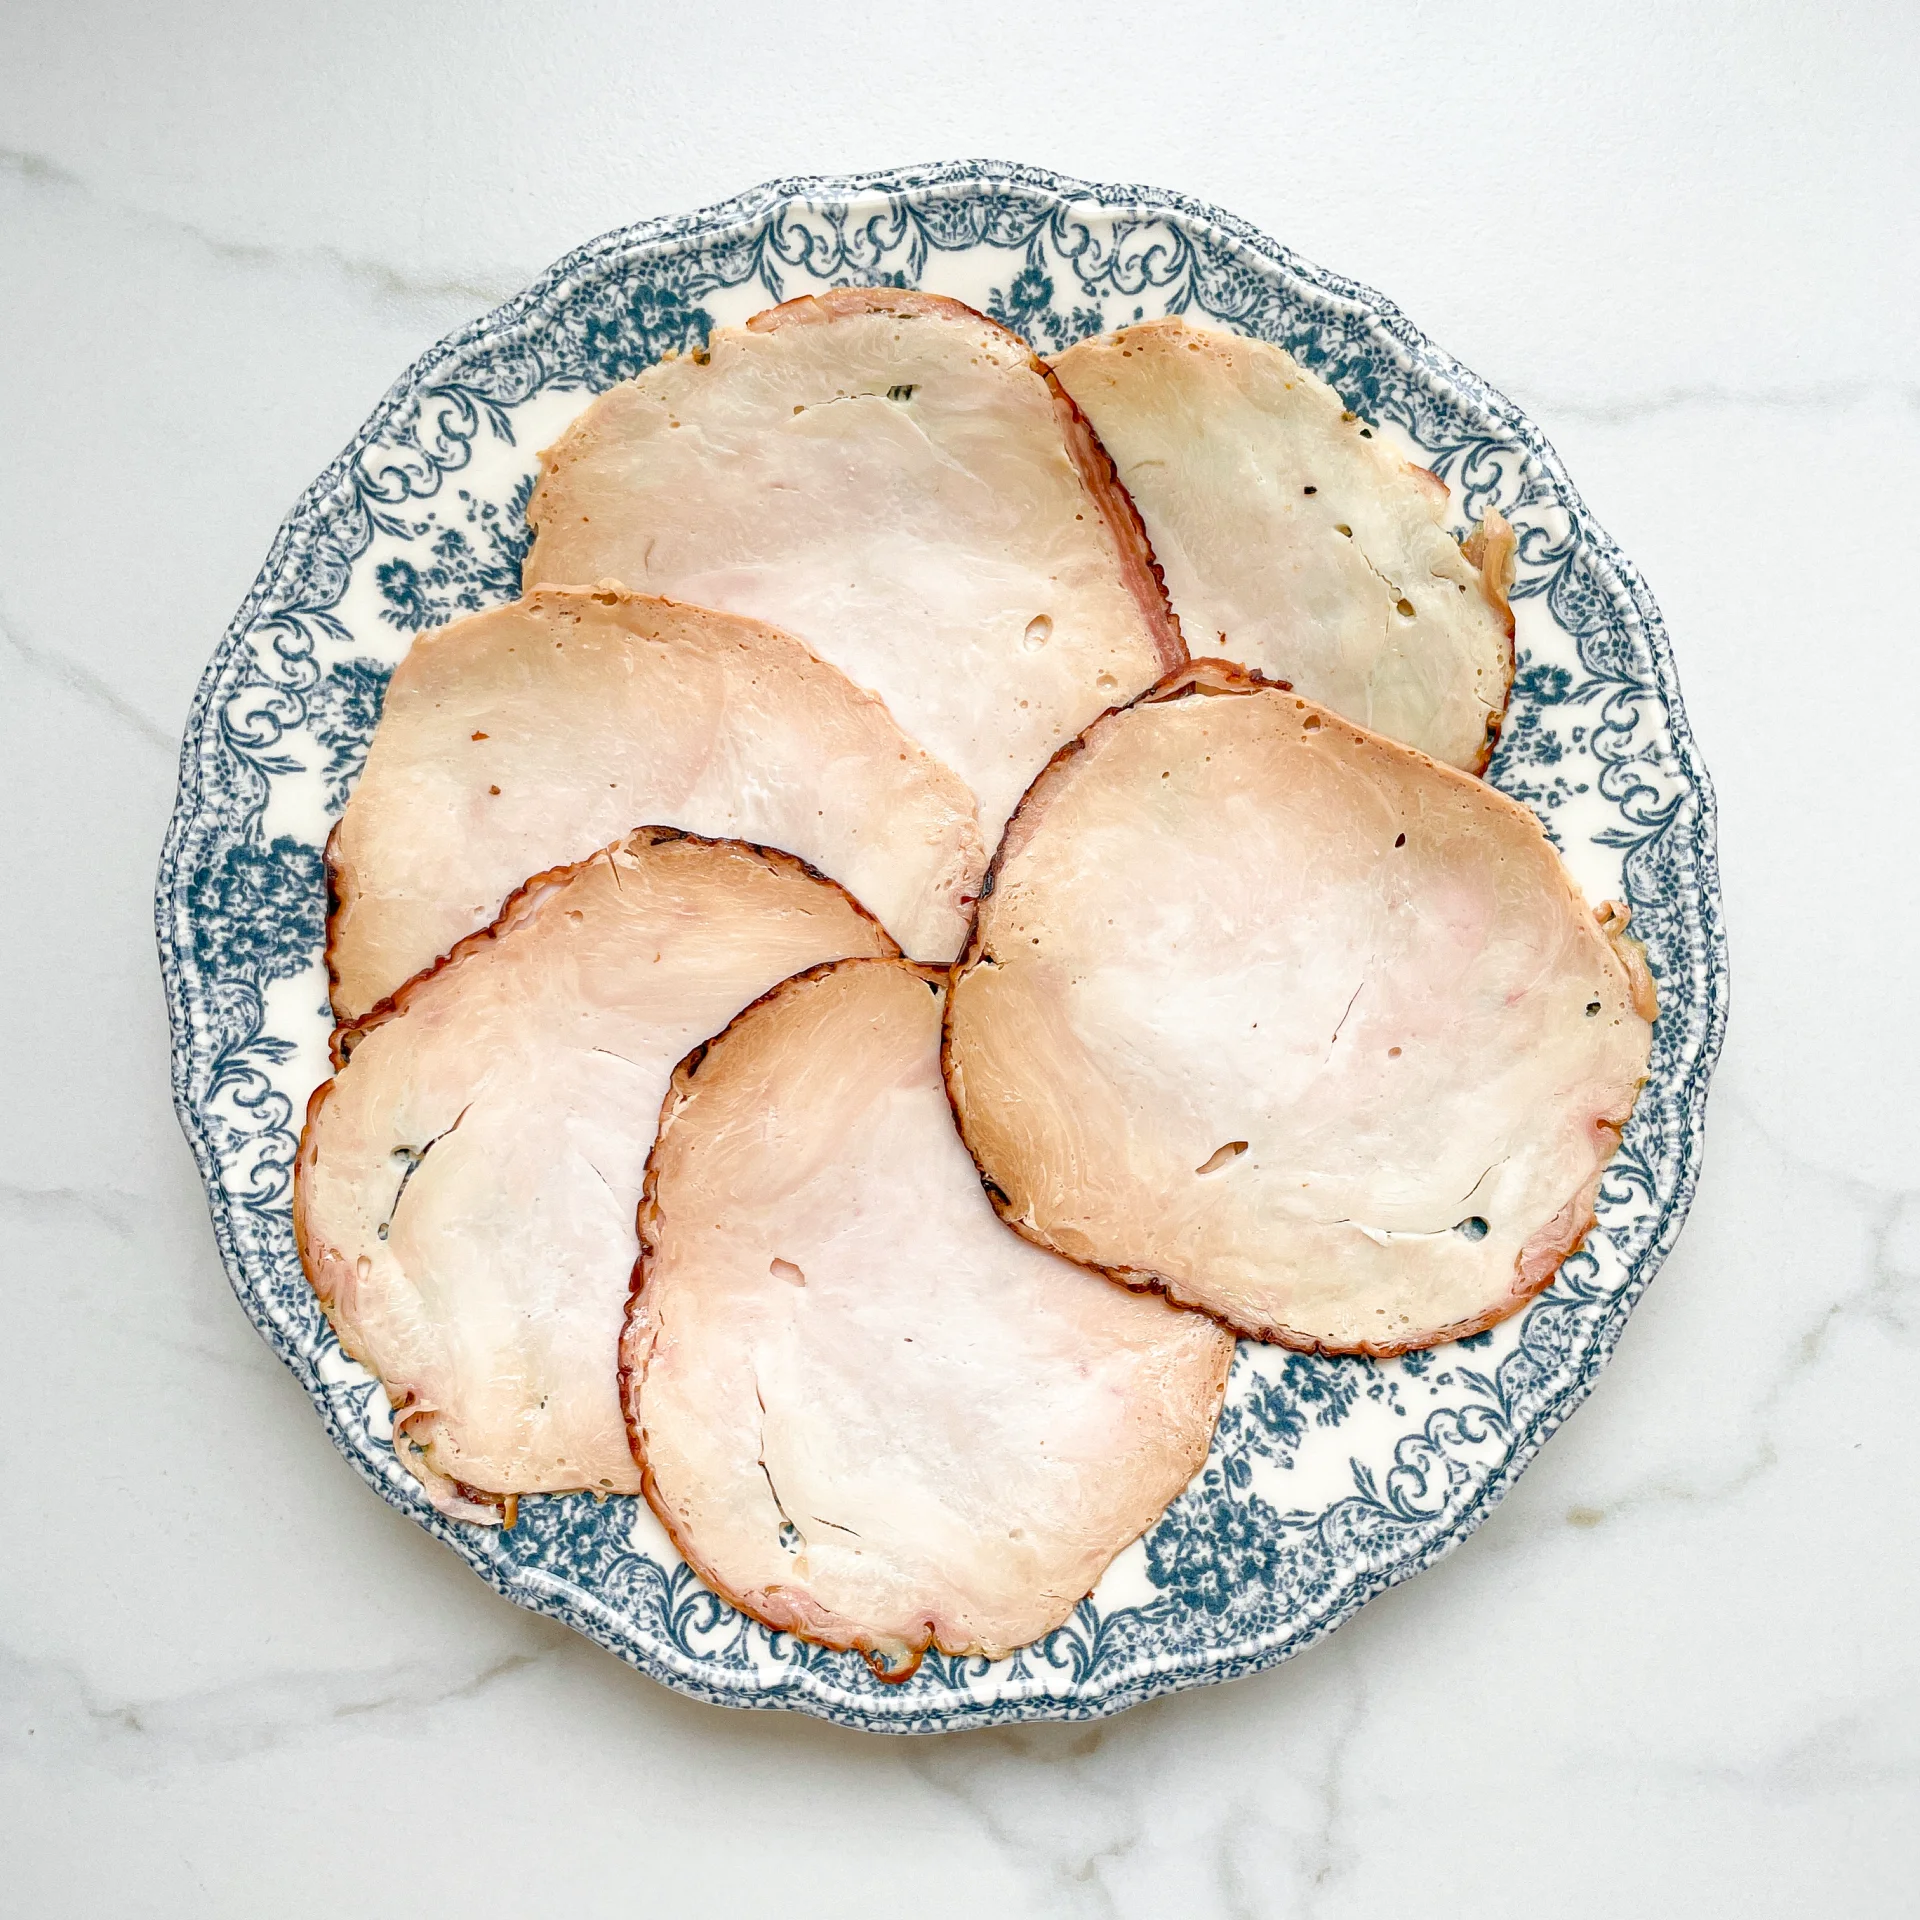
  • 150 grams grilled chicken breast
  • 1 tsp capers
  • a hand full of arugula salad
SAUCE
  • 125 grams canned tuna in water, drained
  • 1 tbsp capers
  • 2 anchovies
  • 3 tbsp mayonnaise
  • juice of half a lemon
  • 4 tbsp extra-virgin olive oil
  • 1 tsp dijon mustard
  • salt to taste

Instructions

  • In a tall glass jar, add drained tuna and the following ingredients: 1 tbsp capers, 2 anchovies, 3 tbsp mayonnaise, the juice of half a lemon, 4 tbsp olive oil, and 1 tsp Dijon mustard. Then, use an immersion blender to puree everything into a creamy mixture. Season with salt to taste.
  • On a large plate, arrange the grilled chicken breast slices overlapping. Spread the tuna cream over the chicken slices, making sure some of the meat is still visible at the edges. Top with 1 tsp capers, grind fresh pepper over it, and place a handful of washed arugula in the center. Best served immediately or stored in the refrigerator until ready to eat.

Notes

The calorie information may vary depending on the product used, country and region.

  • Cook Time: 10 min

Whipped Feta & Rainbow Veggies

Whipped Feta & Rainbow Veggies

Whipped Feta & Rainbow Veggies

Whipped Feta & Rainbow Veggies

June 20, 2024 by Kimberly

Dive into this vibrant dish of whipped feta topped with colorful rainbow veggies. It’s fresh, it’s flavorful, and it’s sure to brighten your day!

15 MINUTES

EASY

VEGETARIAN

INT.

244 PER PORTION

CREAMYEVERDAY

DIPS & SPREADS

SUMMER

INTRODUCTION

ABOUT THE RECIPE

Who says healthy can’t be fun and delicious? This whipped feta with marinated rainbow veggies is a testament to just that. Bursting with colors and flavors, it’s the perfect pick-me-up any day!

How to serve
Serve this whipped feta as a delightful dip or spread over toasted bread. Pair it with the veggies for a mouth-watering appetizer or a light, satisfying lunch. It’s a versatile dish that plays well at your brunch table or as a snack during a busy workday.

How to store
Keep the whipped feta and marinated veggies in separate airtight containers in the fridge. They’ll stay fresh and tasty for up to five days, making them perfect for meal prep.

Hi, I'm Kimberly!

Hi, I'm Kimberly.

A passionate food lover who believes in the magic of homemade deliciousness that spreads love and warmth. Join me on this culinary adventure as I prepare wonderful dishes and let’s spread some happiness together!

Kimberly the Zett Signature

If you want to get to know me better, click here!


Whipped Feta & Rainbow Veggies
„Let’s make a piece of happiness“
Print
.tasty-recipe-responsive-iframe-container-75f9bf84 { position: relative; overflow: hidden; padding-top: 56.3%; } .tasty-recipe-responsive-iframe-container-75f9bf84 iframe { position: absolute; top: 0; left: 0; width: 100%; height: 100%; border: 0; } clock clock iconcutlery cutlery iconflag flag iconfolder folder iconinstagram instagram iconpinterest pinterest iconfacebook facebook iconprint print iconsquares squares iconheart heart iconheart solid heart solid icon
Whipped Feta & Rainbow Veggies

Whipped Feta & Rainbow Veggies


  • Author: Kimberly
  • Total Time: 15 minutes
  • Yield: 4

Description

Recommended Equipment

  • sharp knife
  • cutting board
  • medium-sized bowl
  • food processor
  • measuring spoons
  • medium-sized plate

Ingredients

Units Scale
WHIPPED FETA
  • 200 grams feta cheese
  • 3 tbsp extra-virgin olive oil
RAINBOW VEGGIES
  • 1/4 cucumber
  • 4-6 cocktail tomatoes
  • 2 tbsp peas
  • 2-3 radishes
  • 1/2 carrot
  • 1 tbsp fresh dill
  • 1 tbsp fresh chives
  • 1 tbsp extra-virgin olive oil

Instructions

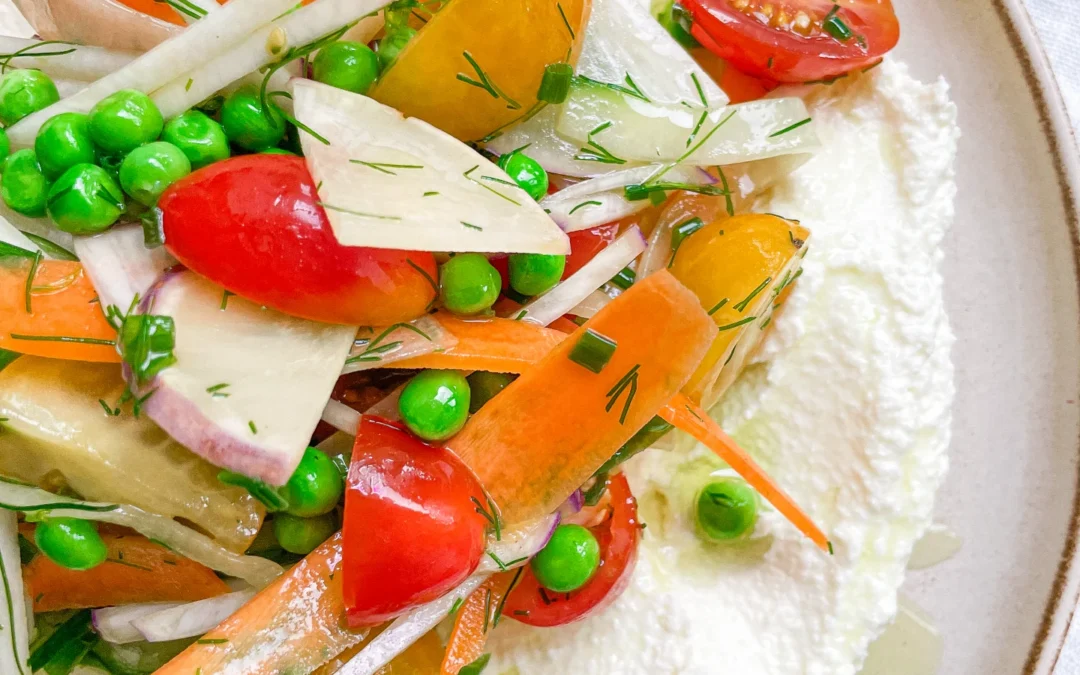
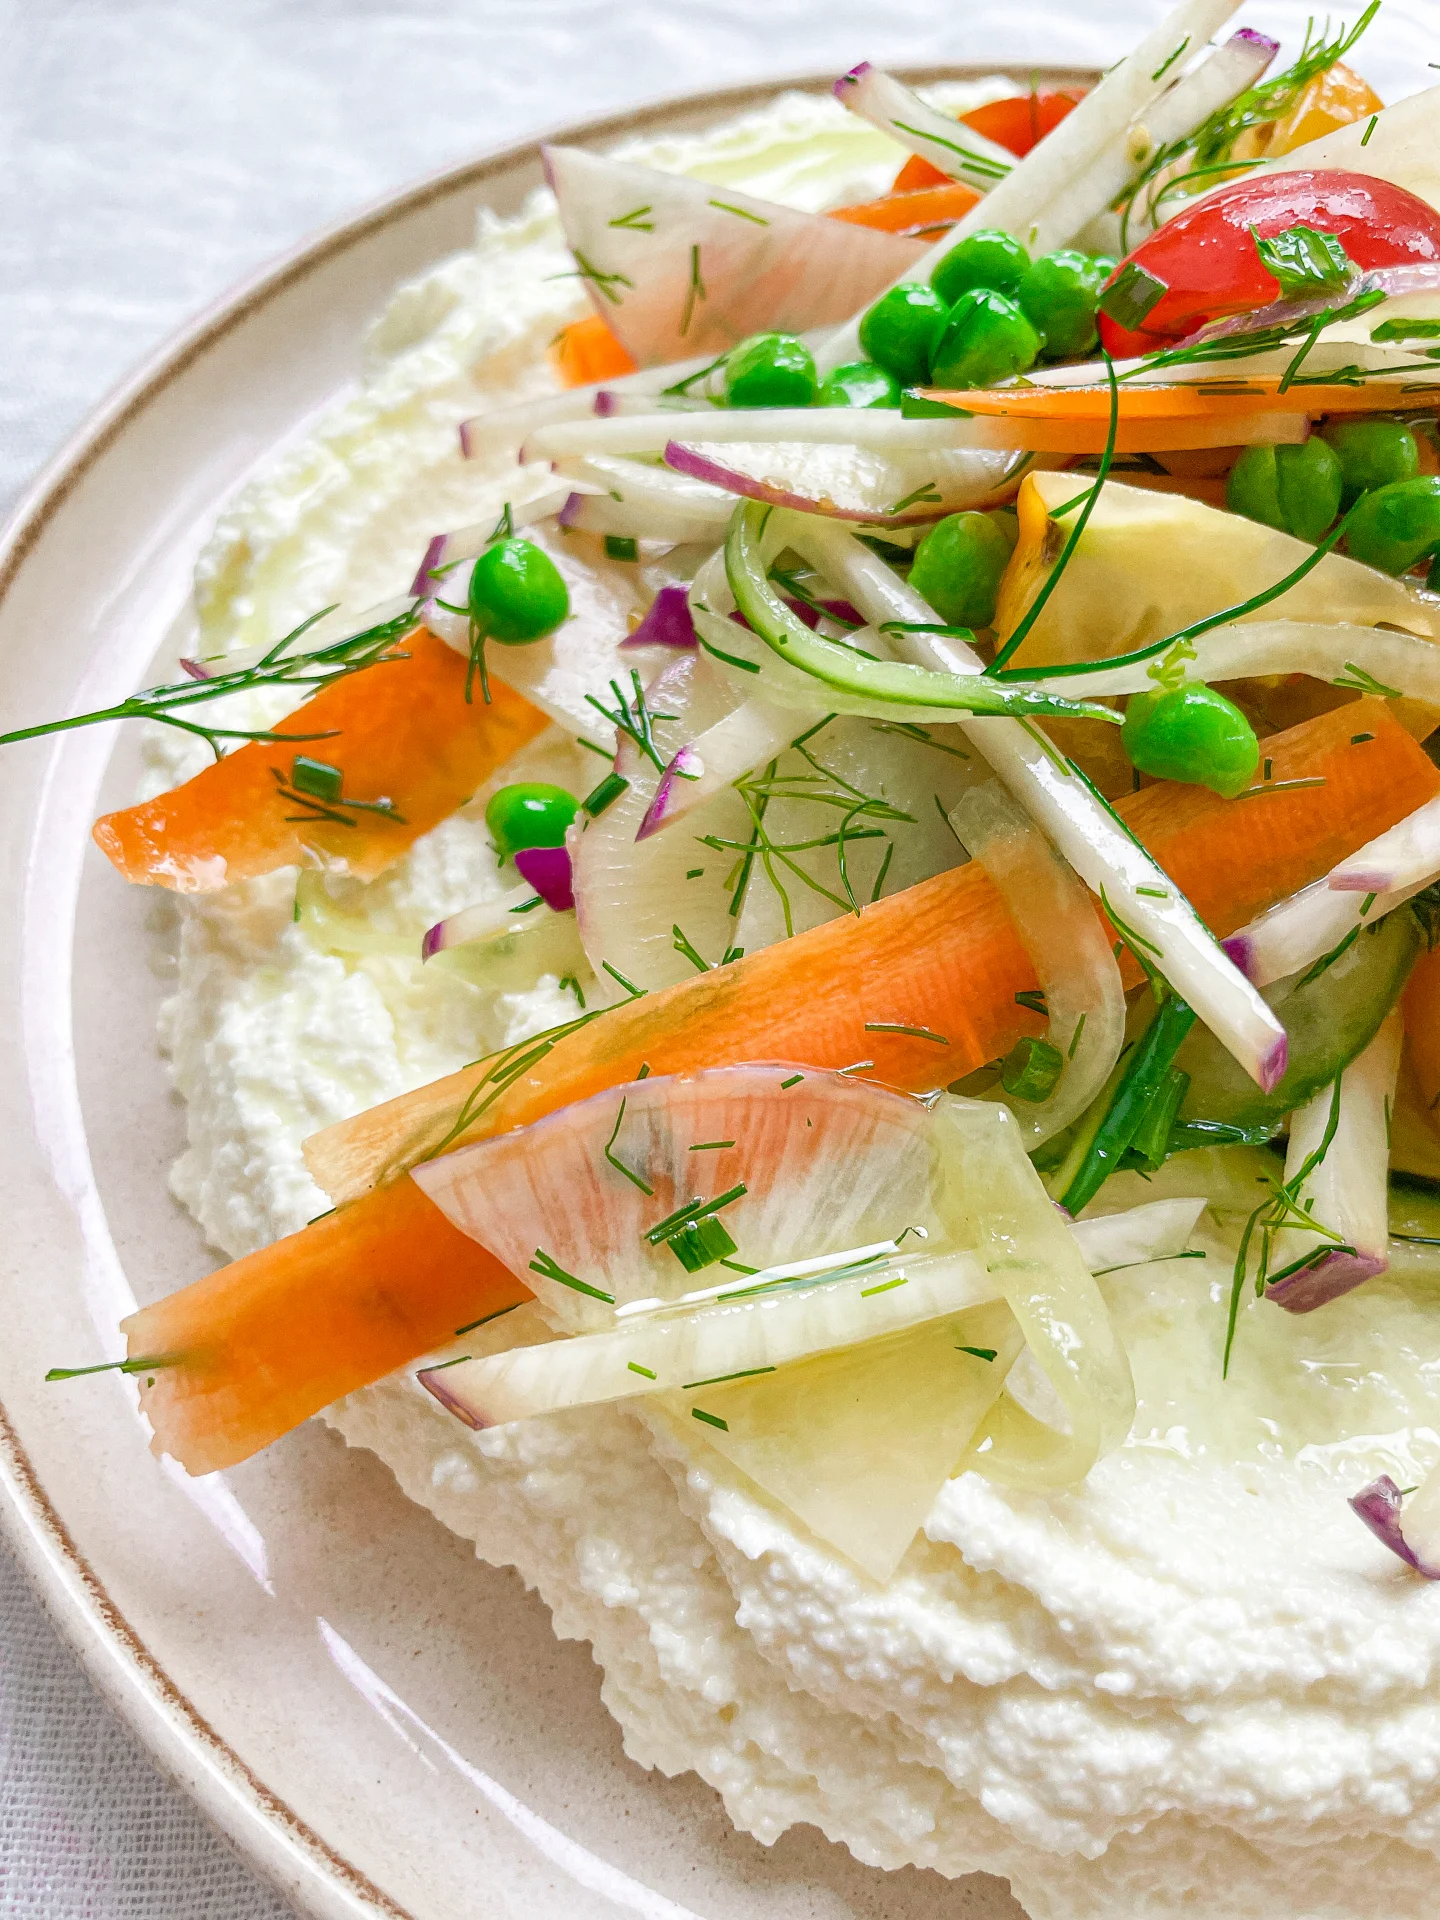
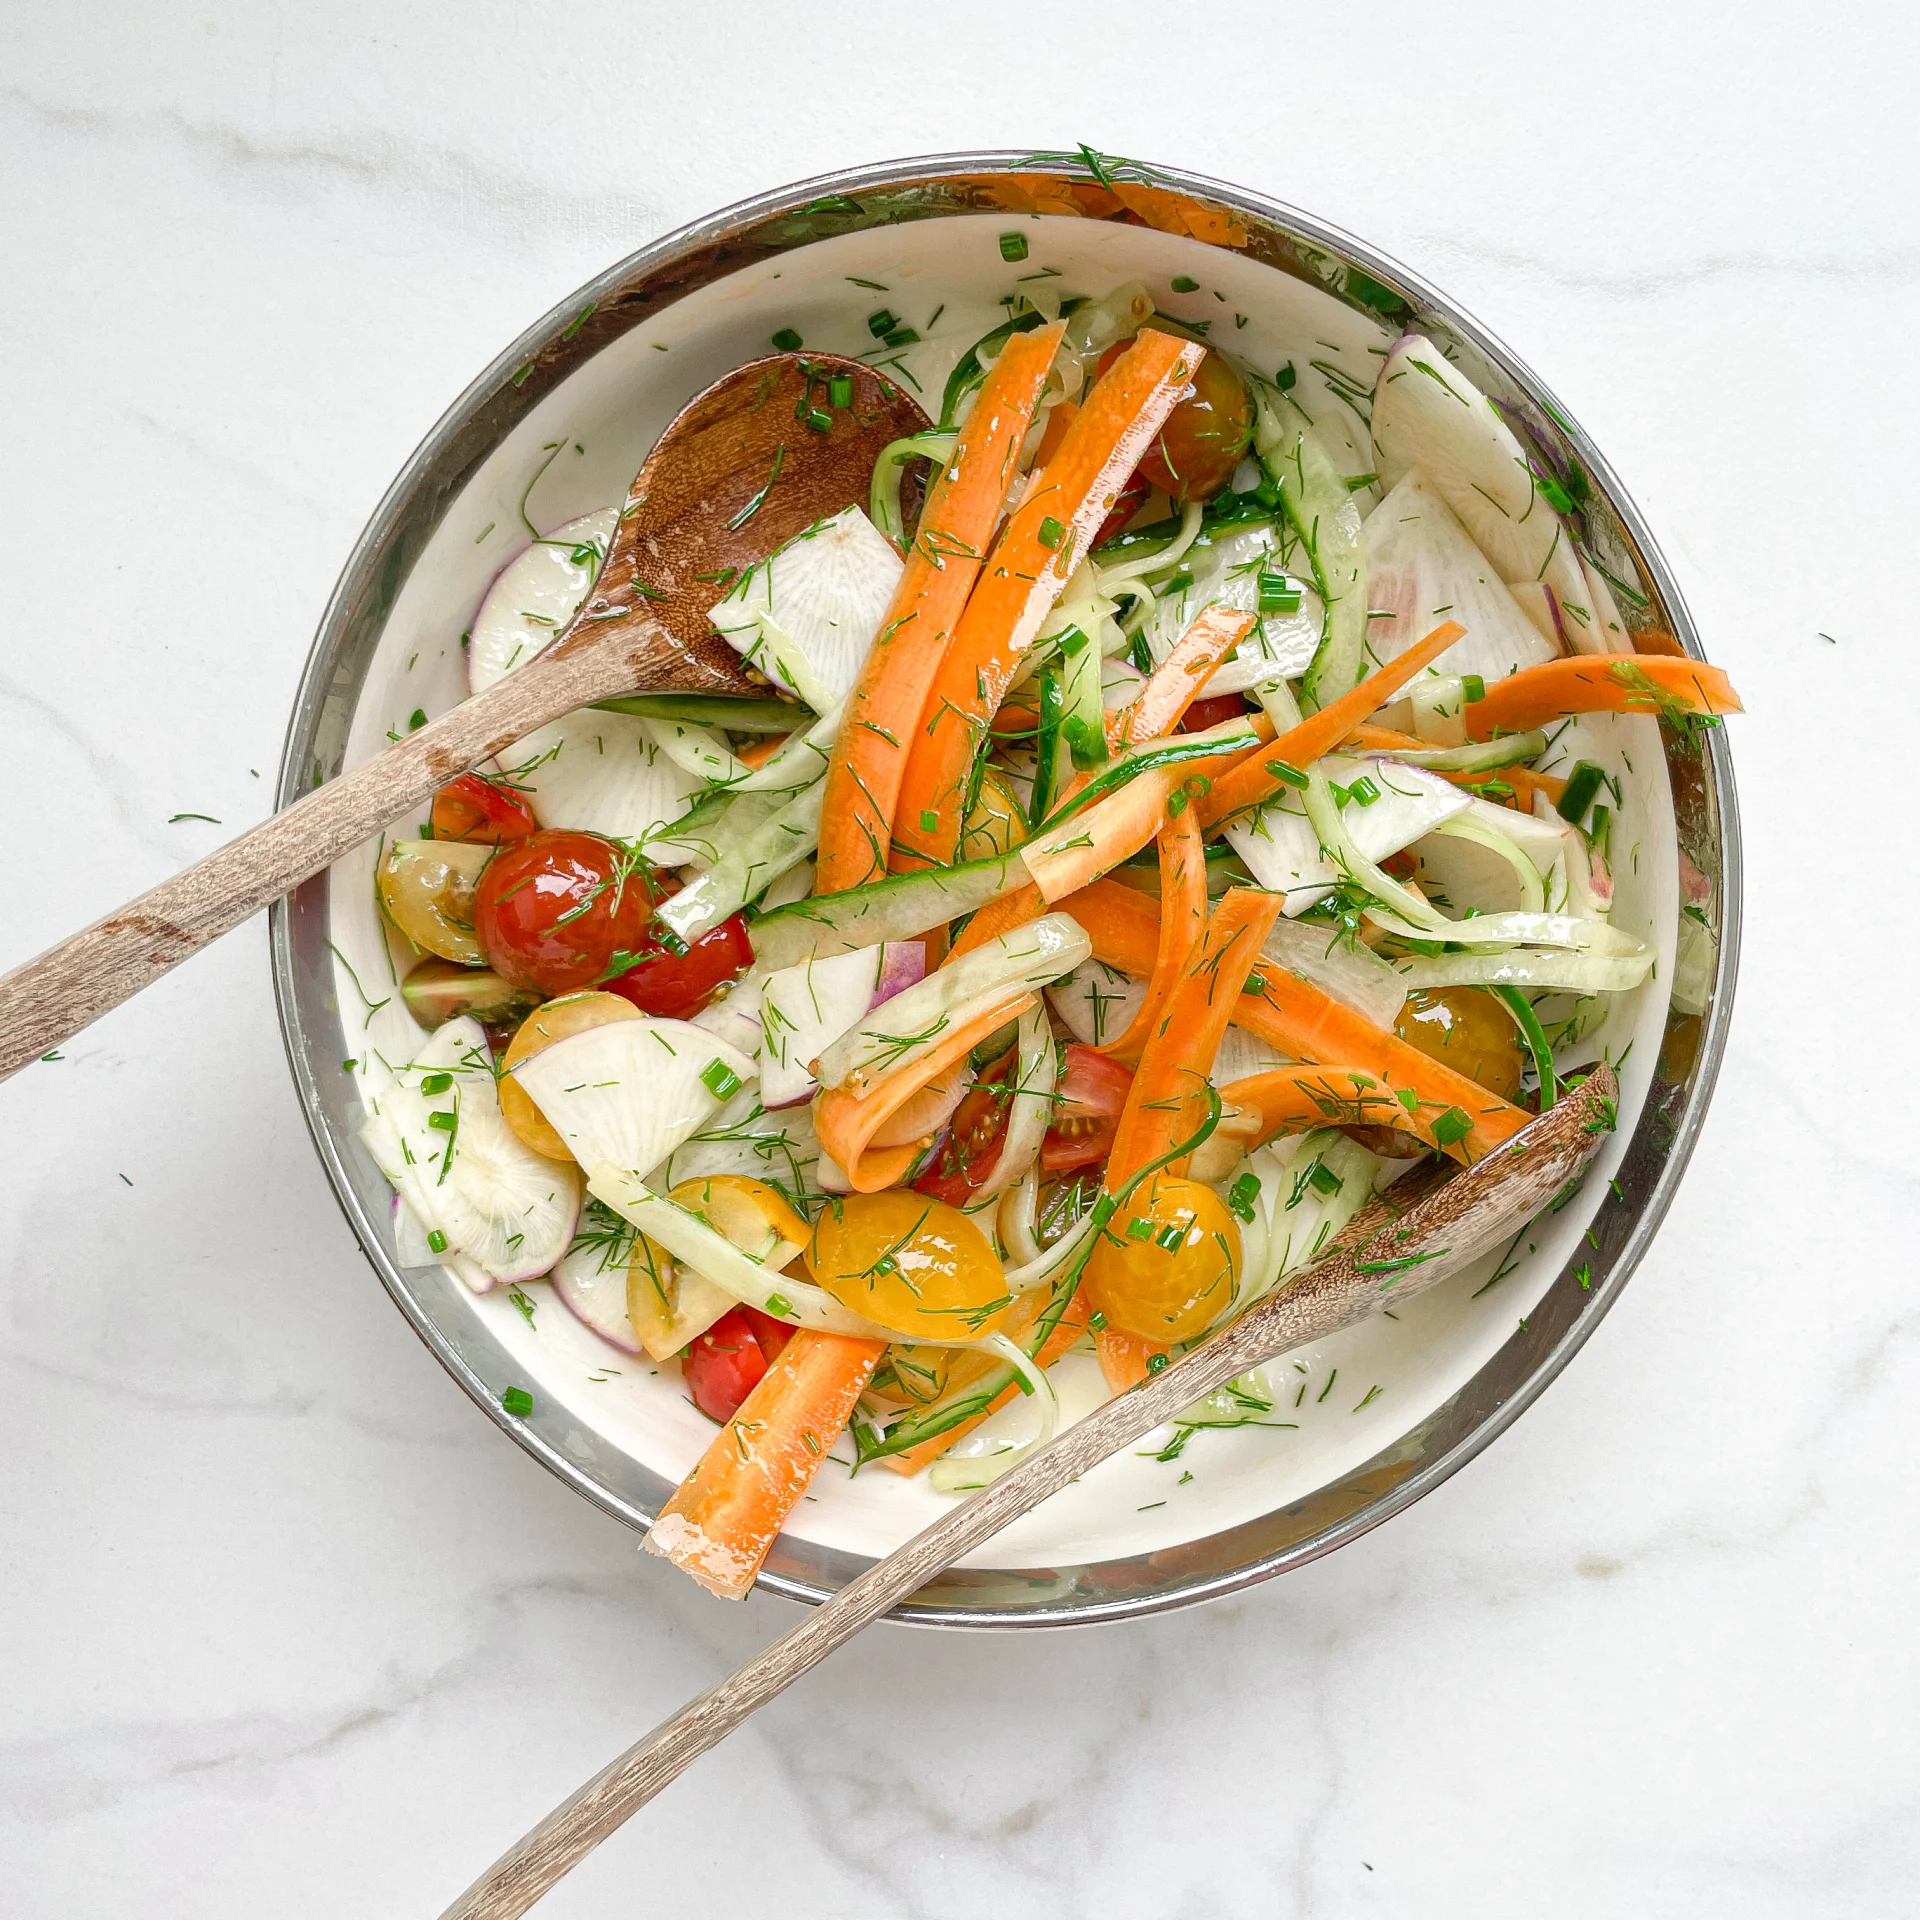
  • Thoroughly wash the cucumber, carrot, tomatoes, radishes, dill, and chives. Peel the cucumber and carrot and cut them into fine strips, halve the cherry tomatoes, slice the radishes thinly, finely chop the dill, and cut the chives into little rolls. Put everything into a medium-sized bowl and mix with 1 tablespoon of olive oil. If the feta cheese is very salty, I would not add any more salt to the vegetables.
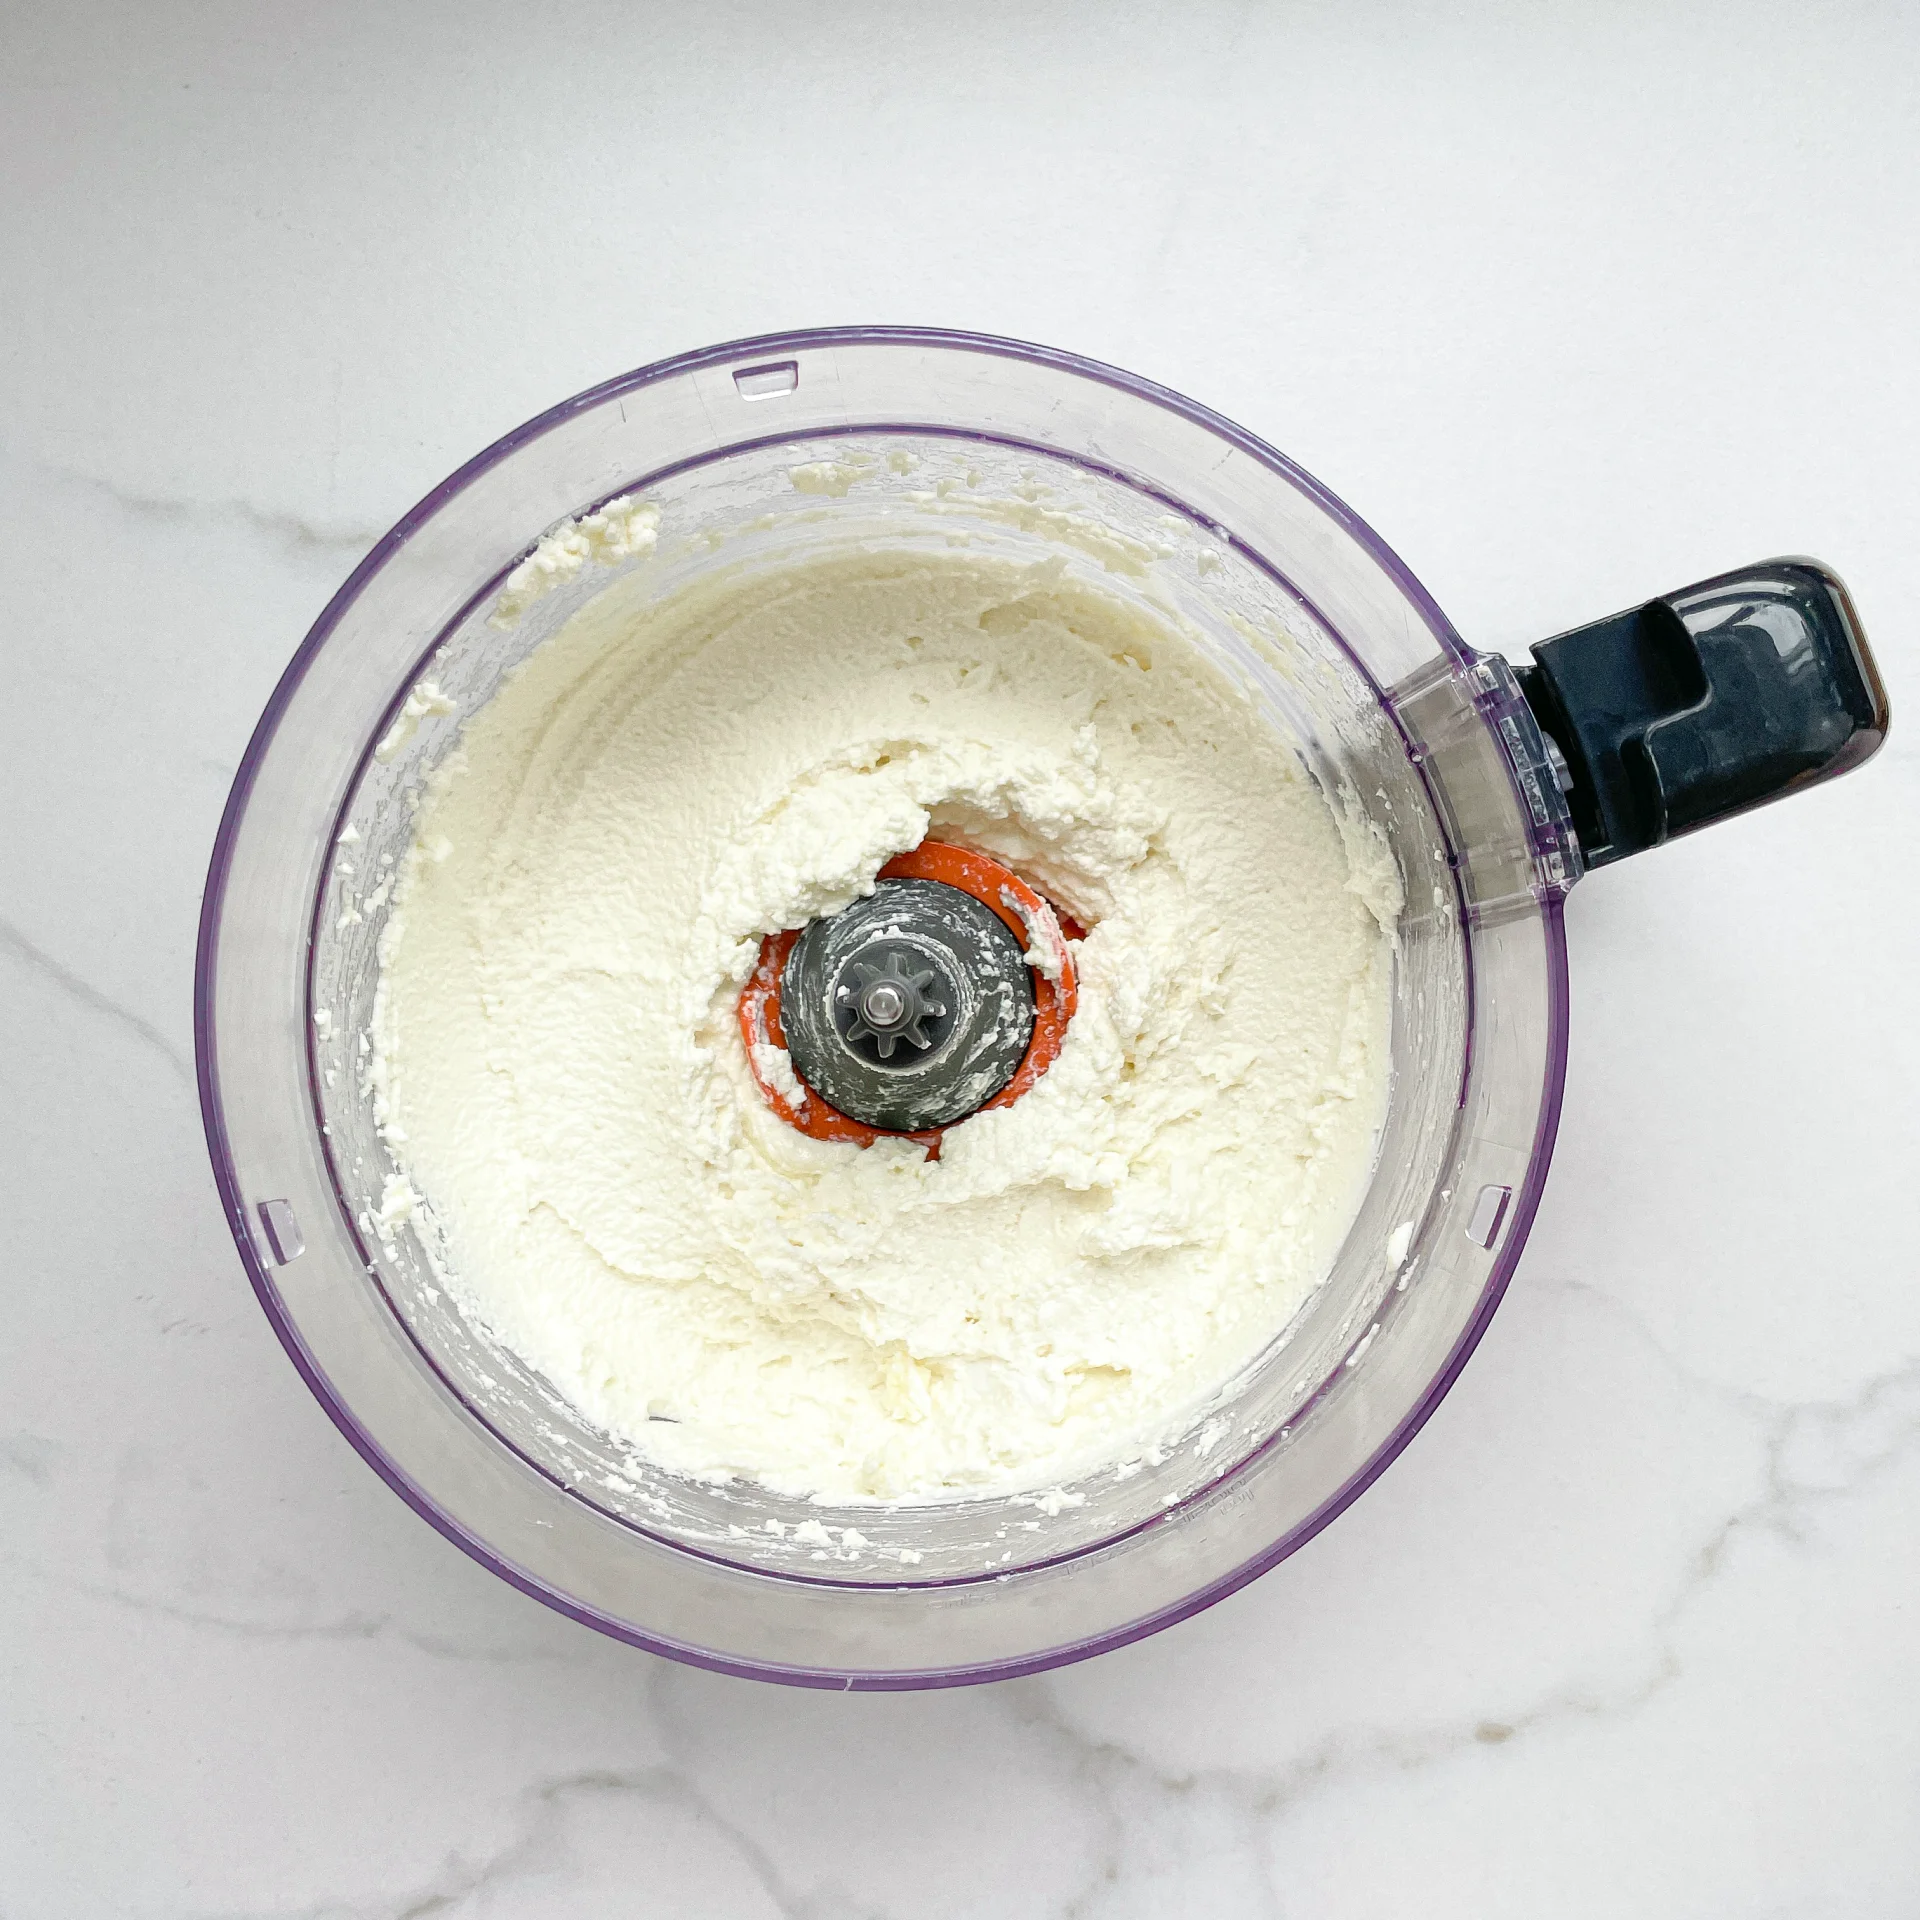
  • Place the feta cheese in the food processor and turn it on. Gradually add 3 tablespoons of olive oil until the cheese is creamily blended.
  • Spread the feta on a flat plate and smooth it out. Distribute the vegetables over the cheese and serve. If you store the plate in the fridge, the cheese might harden a bit. I would recommend bringing it to room temperature before serving.

Notes

The calorie information may vary depending on the product used, country and region.

  • Cook Time: 15 min