


Description
RECOMMENDED EQUIPMENT
- medium pot with lid (or rice cooker)
- two small bowls
- shallow dish
- sharp knife
- cutting board
- large pan
- oven
- kitchen thermometer
Ingredients
Units Scale
RICE
- 150 grams jasmine rice
- 100 grams coconut milk
- 200 milliliters water
- 3 tbsp peanut butter
- 1 tbsp soy sauce
- 1/2 tsp sesame oil
- 1 tbsp honey
- juice of 1/2 lime
- 100 grams coconut milk
- 1/2 tsp dried chili flakes
- 1 garlic clove
- 2 tbsp water
- 300 grams chicken breast filet
- 2 tbsp avocado oil
- salt
- 1 tbsp butter
- 3 tbsp soy sauce
- 3 tbsp passionfruit purée
- 1 tbsp brown sugar
- 1 garlic clove
- 1 tsp ginger, grated
- 1/2 fresh chili
- 1 passionfruit
- 10 grams fresh parsley
- 5 grams fresh cilantro
- juice of 1 lime
- 1 garlic clove
- 1/2 fresh chili
- 4 tbsp olive oil
- salt & pepper to taste
- cucumber
- white cabbage
- red onion
- fresh cilantro
- fresh chili
- peanuts
Instructions
- Rinse the jasmine rice thoroughly until the water runs clear. Add it to a pot with coconut milk and water, then cook until tender.
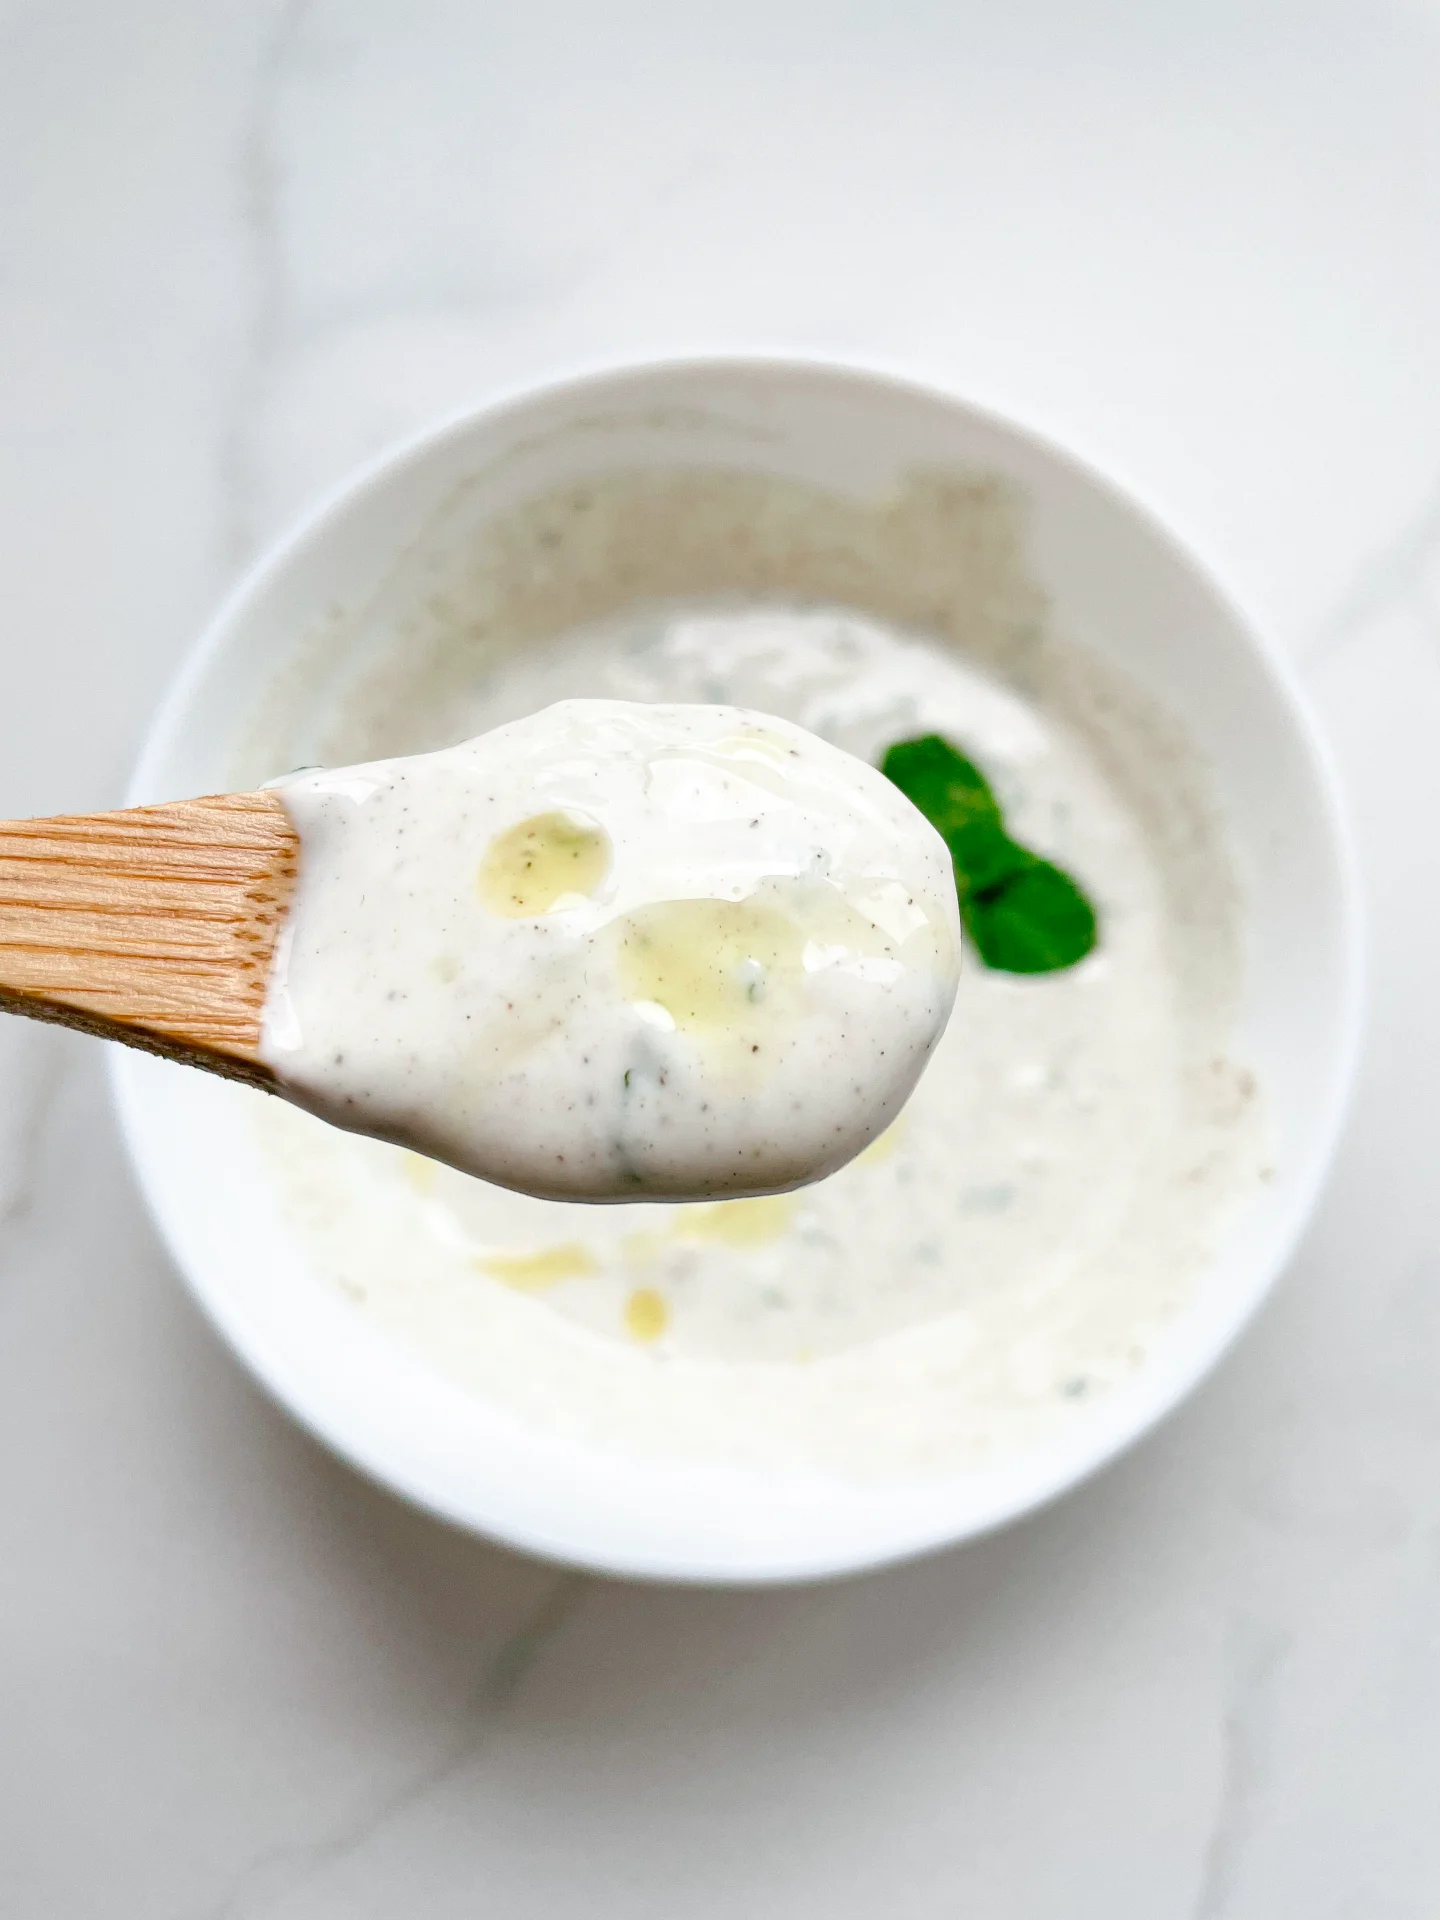
- In a bowl, mix peanut butter, soy sauce, sesame oil, honey, lime juice, coconut milk, and water. Press in a garlic clove, season with chili powder, stir well, and set aside.
- In another small bowl, mix soy sauce, passionfruit purée, brown sugar, finely chopped ginger, finely chopped half of a fresh chili, and a pressed garlic clove. Set aside.
- Finely chop the parsley and cilantro leaves. Cut open a fresh passionfruit and scoop the pulp, including seeds, into a shallow dish. Mix with lime juice, a pressed garlic clove, the remaining finely chopped chili, olive oil, salt, and pepper. Set aside.
- Slice the white cabbage and red onion into very thin strips. Use a vegetable peeler to create wide cucumber ribbons.
- Preheat the oven to 175°C / 350°F. Heat avocado oil in a large pan and sear the chicken breasts on all sides until golden brown. Reduce the heat, add a tablespoon of butter, and continuously spoon the melted butter over the chicken to keep it juicy. Cook until the internal temperature reaches around 70°C / 160°F. Transfer the chicken to a plate and place it in the oven until it reaches 76°C / 170°F.
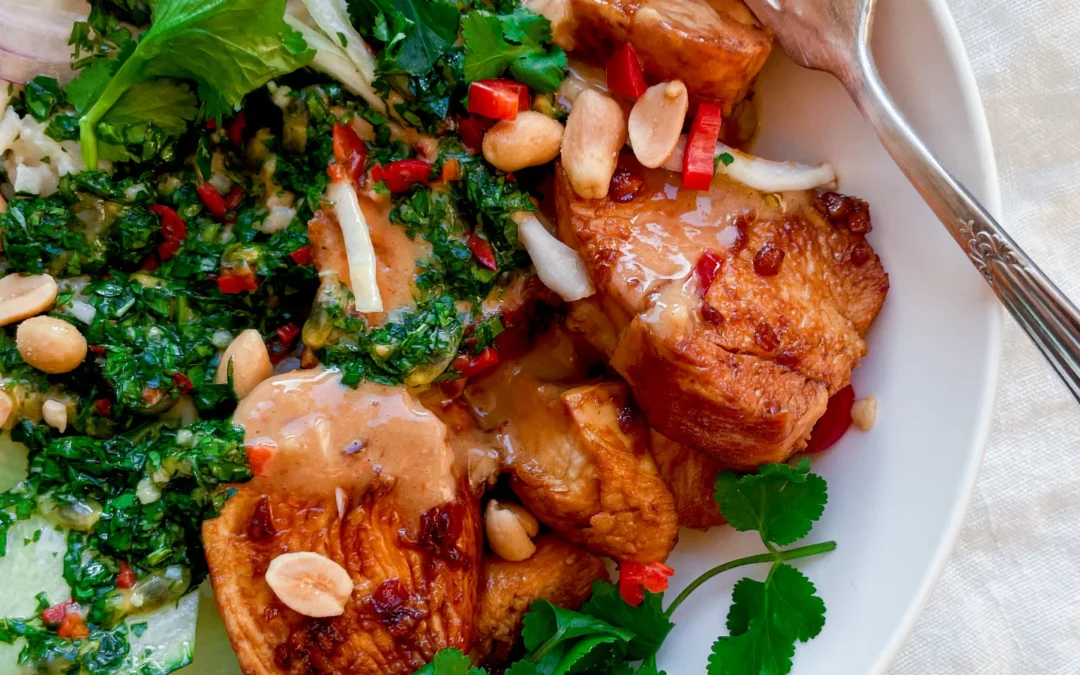
- Discard excess fat from the pan, then pour in the prepared glaze. Remove the chicken from the oven, slice it into strips, and toss it in the glaze until fully coated.
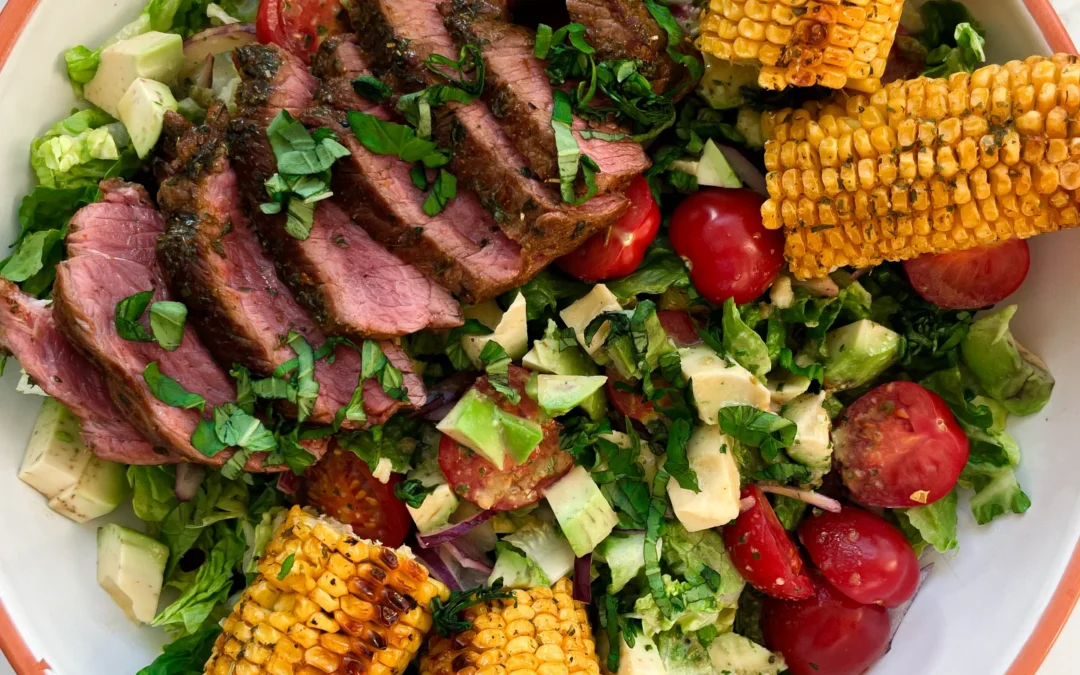
- Divide the coconut rice into two bowls, top with the glazed chicken and fresh veggies. Finish with satay sauce and passionfruit gremolata. For extra flavor, garnish with chopped peanuts, fresh cilantro, sliced chili, and a lime wedge.
- Cook Time: 40 min