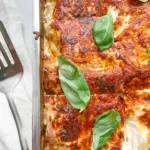


Description
GOOD TO HAVE ON HAND
- sharp knife
- cutting board
- four medium-sized pots
- three medium-sized bowls
- sieve
- kitchen paper
- small bowl
- disposable gloves to prevent the vegetables from staining your fingers
Ingredients
Units Scale
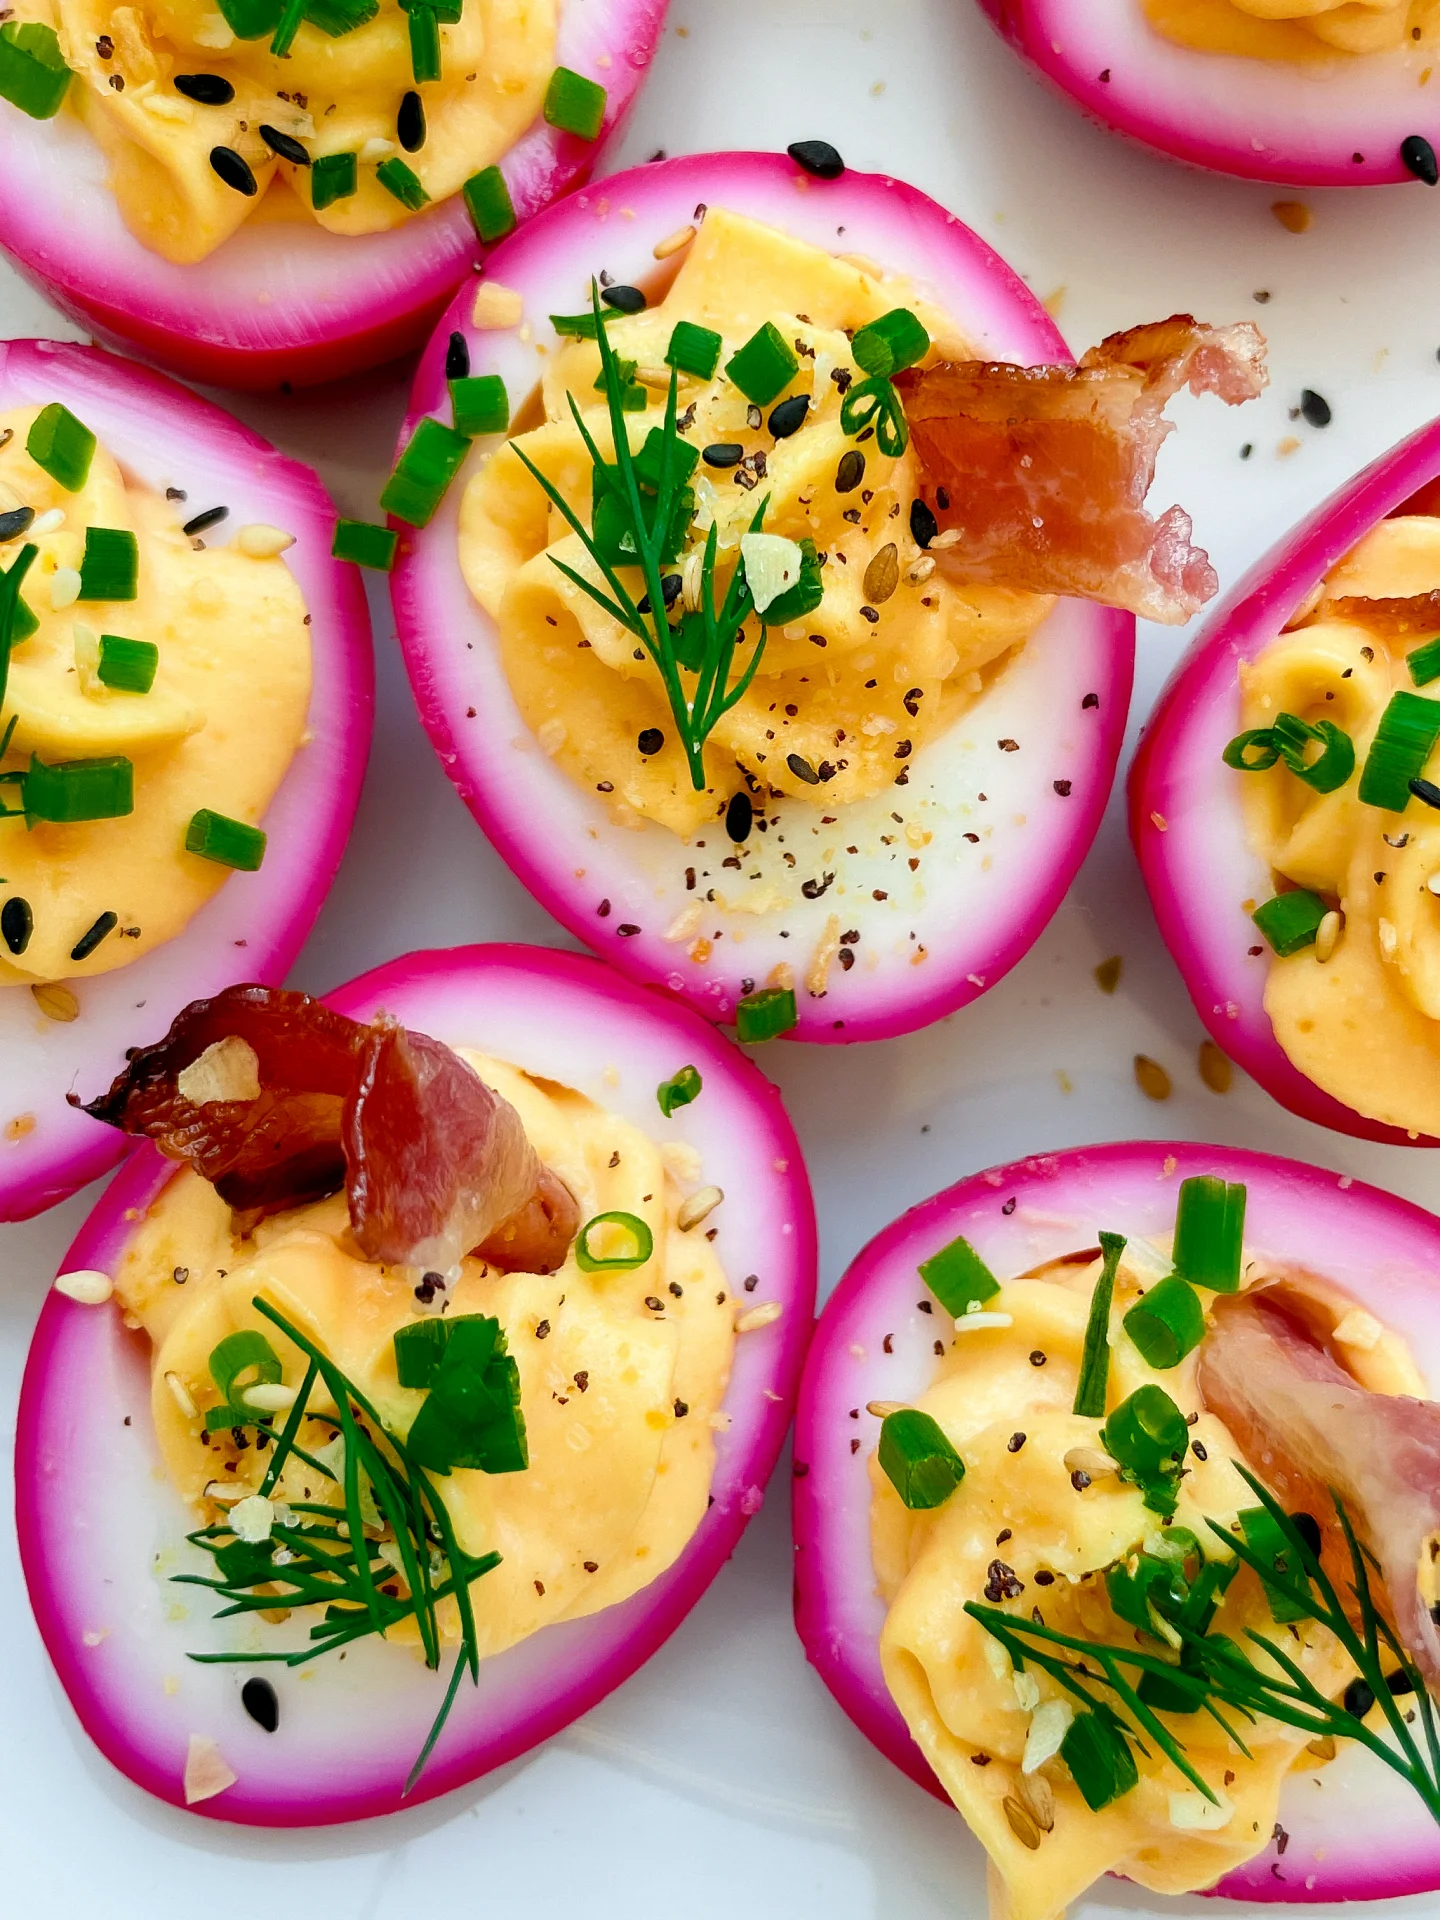
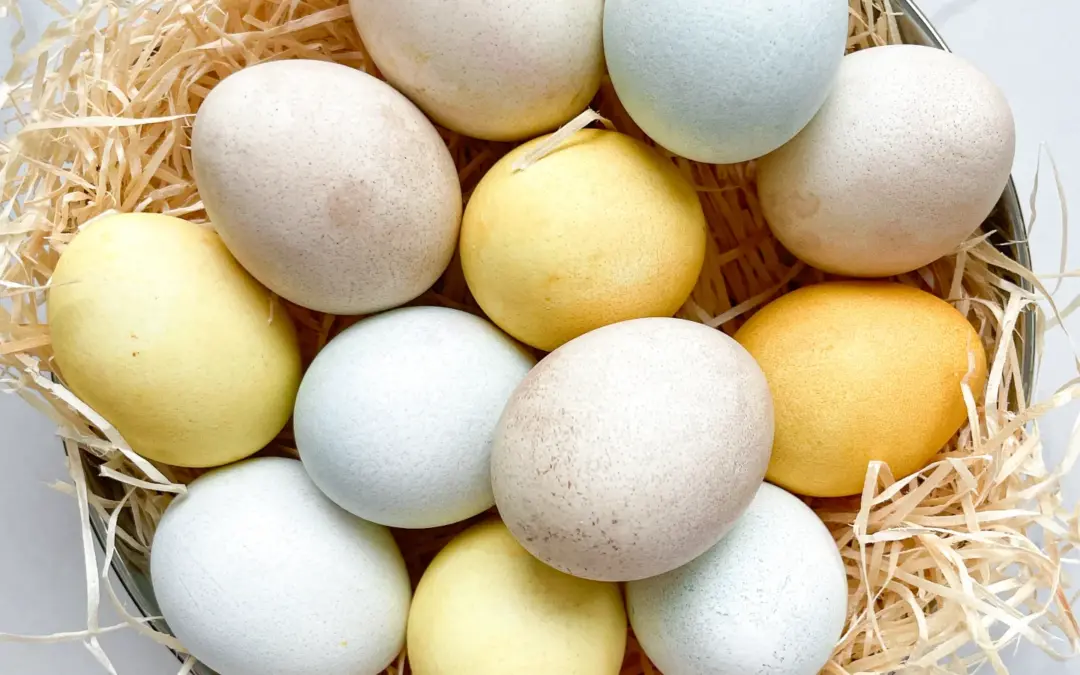
BROWN EGGS
- 300 grams beetroot
- 1000 milliliters water
- 300 grams red cabagge
- 1000 milliliters
- 1.5 tsp turmeric
- 1000 milliliters
- 24 eggs
- 1 tbsp vinegar
- 1 tbsp olive oil (optional)
Instructions
- to prevent the eggs from cracking, you should take them out of the fridge early enough so that they reach room temperature and are not cold when placed into the boiling water.
- Put the gloves on. Peel the beets and chop them into coarse pieces. Place the pieces in one of the pots. Set aside.
- Chop the red cabbage into coarse pieces and place them in another pot. Set aside.
- Add 1.5 teaspoons of turmeric powder to another pot.
- Fill all three pots with 1 liter of water each and place them on the stove.
- Bring the water to a simmer and prepare a broth in each pot. Let the beets simmer for 15 minutes, and the red cabbage and turmeric for 20 minutes. Then, remove the pots from the stove and strain the liquid from each pot into the medium-sized bowls. Let the liquid cool.
- Meanwhile, hard boil the eggs. Fill a pot with water enough to cover all the eggs. Bring the water to a boil, add the eggs, and cook for 8 minutes. Shock the eggs with cold water and set aside. Once the eggs are no longer hot, rub them with vinegar to help them better absorb the color later. For this, put 1 tablespoon of vinegar into a small bowl, dip kitchen paper into the vinegar, and then rub the eggs all around. Set aside.
- Once the eggs and the broths have cooled, you can now place the eggs in the broth. I left them in for 2 hours because I like the pastel tone best. For a more intense color, the eggs can be left in the broth longer.
- When you are happy with the color, remove the eggs from the broth and dry them with kitchen paper. The eggs are now ready. If you prefer them to be shiny rather than matte, you can now rub them with a little cooking oil.
- Passive Time: 3.5 hrs
- Cook Time: 20 min