


Description
GOOD TO HAVE ON HAND
- sharp knife
- cutting board
- medium sized bowl
Ingredients
- 2 avocados
- 1/2 red onion
- 4 cocktail tomatoes
- juice of 1/2 lime
- salt & pepper to taste
Instructions
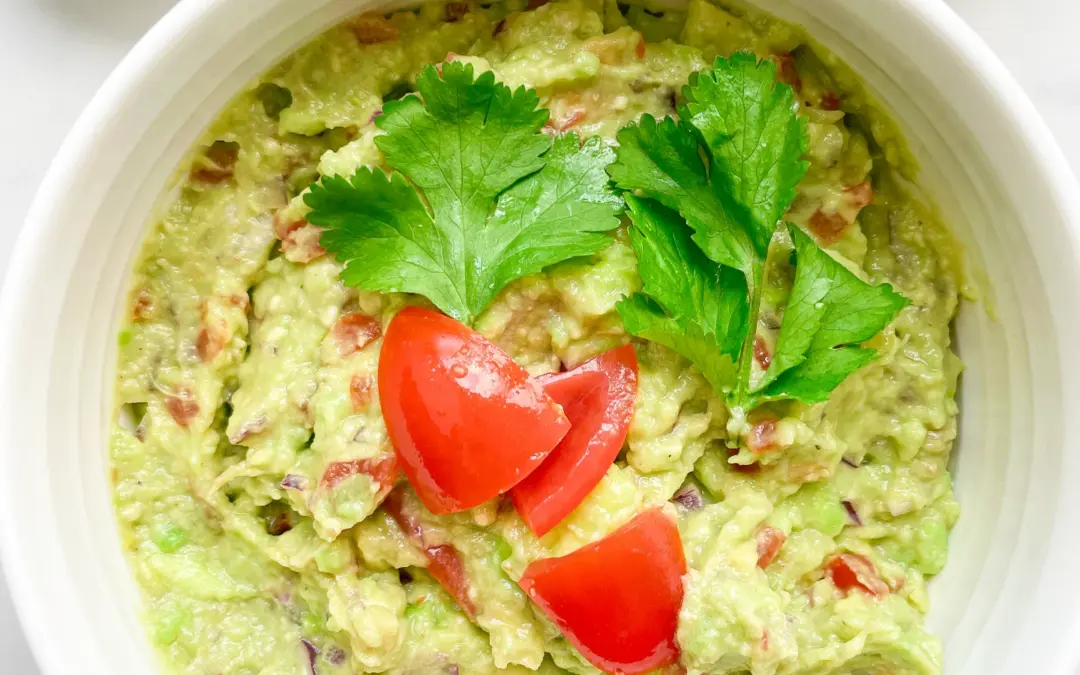
- Slice the avocado lengthways, remove the pit and place the flesh in the bowl. Cut the lime in half and squeeze one half over the avocado. Mash the avocado with a fork until a cream is formed.
- Wash and halve the tomatoes. Remove the seeds. Halve the tomatoes again and cut into small pieces and add to the avocado in the bowl.
- Halve, peel and dice the onion and add to the bowl.
- Season everything with salt and pepper. If you like, you can squeeze in a clove of garlic at this point or stir in 100g of crème fraiche for even more creaminess.
- Cook Time: 10 min