


Description
Recommended Equipment
- large pot
- sharp knife
- cutting board
- small & large pan
- food processor
- cheese grater
- paper towels
- hand blender
Ingredients
Units Scale
SOUP
- 800 grams hokkaido pumpkin
- 2 tbsp olive oil
- 1 white onion
- 2 garlic cloves
- 500 milliliters vegetable broth
- 200 grams coconut milk
- 1 tsp ginger, grated
- 1/2 nutmeg, grated
- 1/4 tsp - 1/2 tsp cayenne pepper
- salt & pepper to taste
- 50 grams walnuts
- 25 grams olive oil
- 25 grams parmesan
- 10 fresh sage leaves
- 1 garlic clove
- 1/2 tsp lemon juice
- salt & pepper to taste
- 4 slices bread of choice
- 100 grams mozzarella
- 80 grams cheddar
- 20 grams butter
- chives
- cress
- cinnamon oil
Instructions
PREPARATIONS
- Here’s the recipe for cinnamon oil. You’ll need about 4-6 teaspoons for this recipe. If you don’t want to go through the hassle of making the cinnamon oil, you can just add 1/2 teaspoon of ground cinnamon to the soup.
INSTRUCTIONS
- First, we’ll prepare the soup. Heat some olive oil in a large pot. In the meantime, peel the onion and roughly chop it. Once the olive oil is hot, add the onion pieces and sauté on medium heat until soft.
- While that’s cooking, halve the pumpkin and scoop out the seeds. Cut the pumpkin into large chunks and add to the onions. Peel the garlic and ginger and grate them directly into the pot with the pumpkin. Let everything roast for about 10 minutes, then pour in the vegetable broth. Put the lid on and let it simmer on low heat for about 15-20 minutes until the pumpkin is very soft.
- Meanwhile, prepare the pesto. Toast the walnuts in a small pan without any added oil until golden brown. While the walnuts are toasting, finely grate the Parmesan and then add both to a food processor. In the same pan, heat a little olive oil and fry the sage leaves. Let the fried sage drain on a paper towel until crispy, then add it to the food processor as well. Peel the garlic clove and add it to the mix. Add lemon juice and, with the processor running, slowly drizzle in the olive oil. Season with salt and pepper, then set aside.
- For the grilled cheese sandwiches, grate the cheddar and press the mozzarella well in paper towels, then slice it thinly. Set aside.
- Once the pumpkin is soft, remove the pot from the heat and use a hand blender to purée everything. Add the coconut milk, nutmeg, cinnamon, and cayenne pepper, and season with salt and pepper. Put the pot back on the stove and keep it warm on the lowest heat with the lid on.
- Now, spread a thin layer of butter on the bread slices and place them butter-side down in a large pan. Spread 2 teaspoons of walnut-sage pesto on each slice. Distribute the cheese evenly on top of the pesto. Cook on low heat with the lid on for a few minutes until the cheese starts to melt. Once the bread is golden brown on the bottom, place another slice of bread, butter-side up, on top of the cheese and flip the sandwich. Cook for a few more minutes until the second side is golden brown as well.
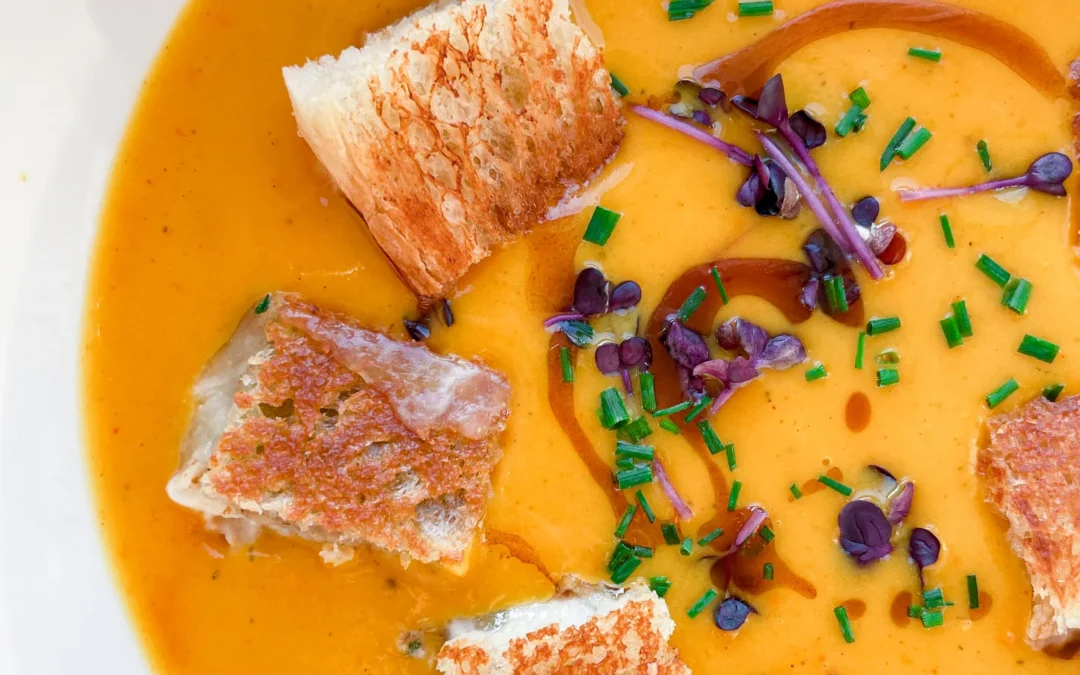
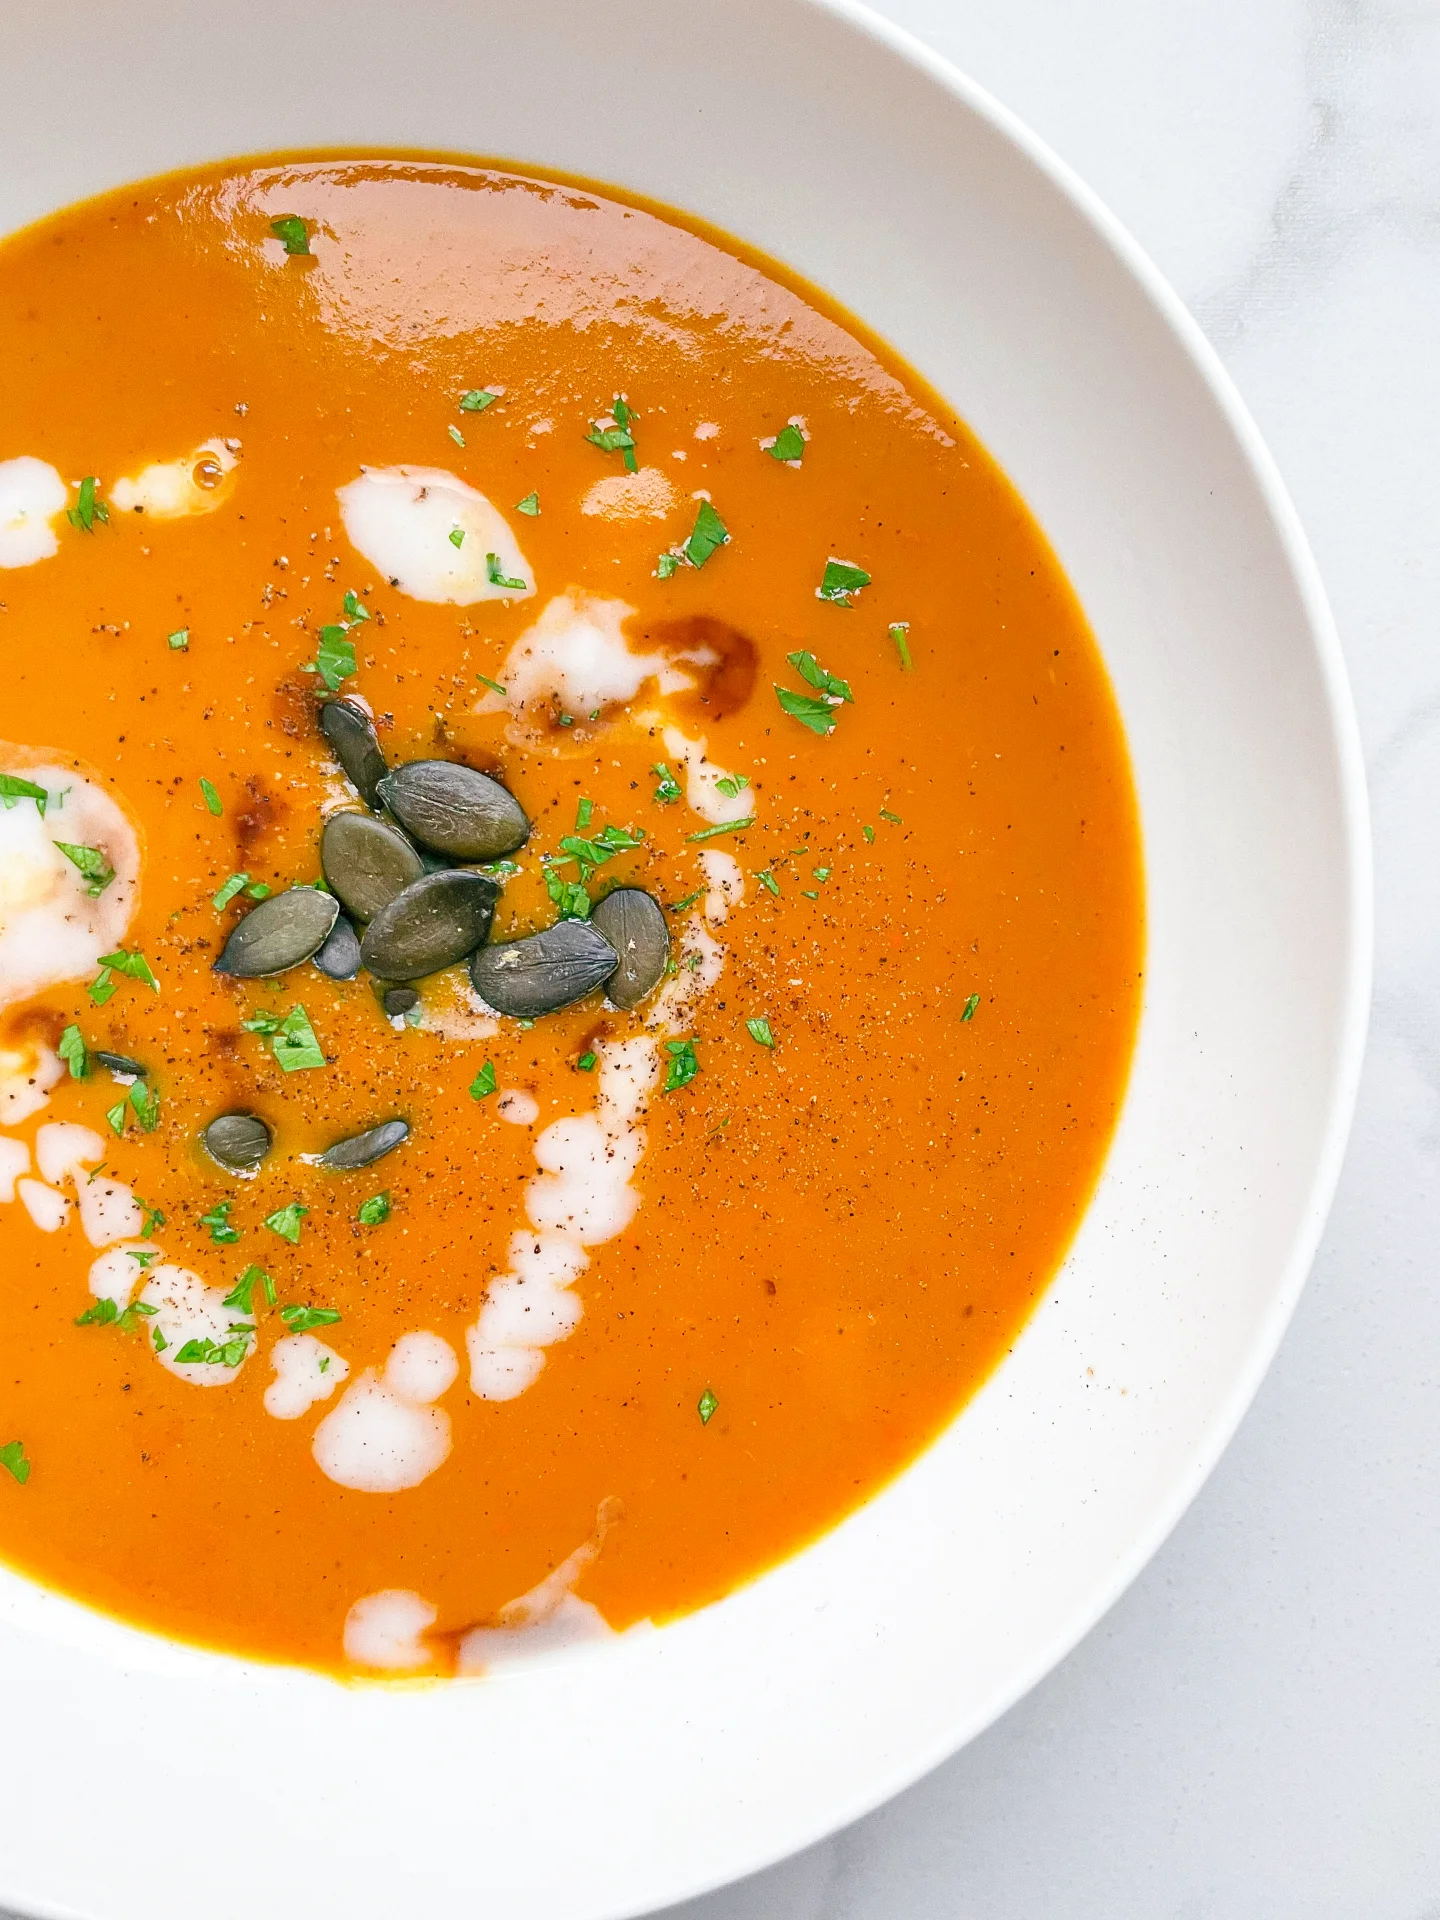
- Serve the soup in deep bowls, topping it with cinnamon oil, cress, and chives. Cut the grilled cheese sandwiches into small squares and place them in the soup, or slice them into strips and serve them on the side.
- Cook Time: 45 min


")
")
")