


Description
Ingredients
Units Scale
CUPS
- 4 small rice paper
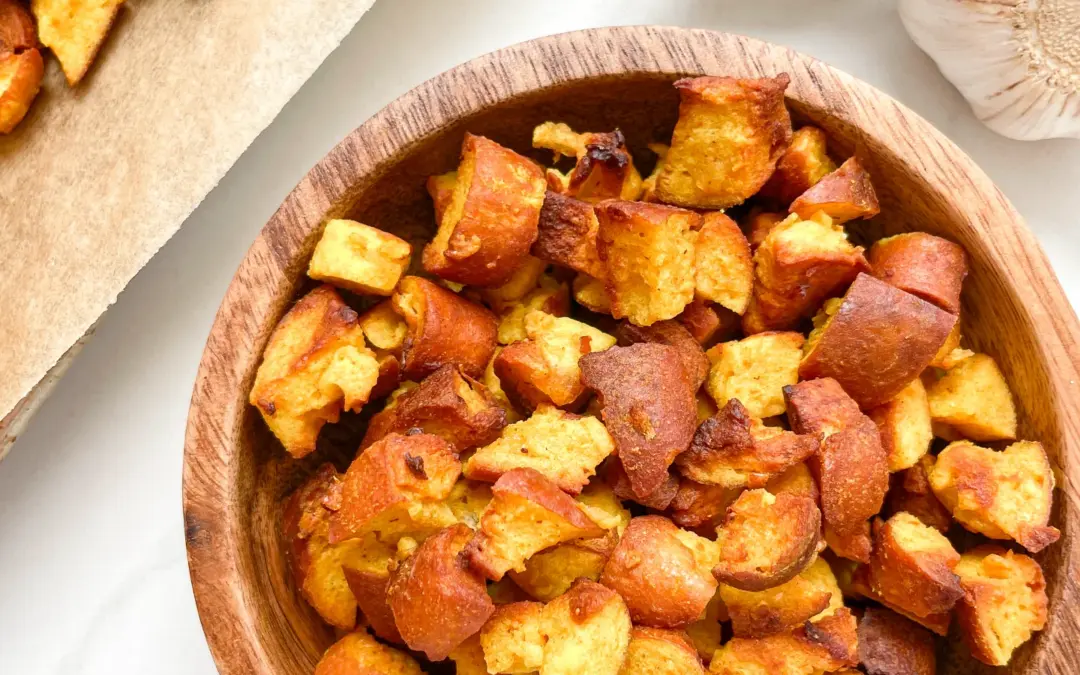
- 200 milliliters deep-frying fat
- 1 tbsp avocado oil
- 2 tbsp lime juice
- 1 garlic clove, grated
- 1/4 tsp ginger, grated
- 1/2 tsp sesame oil
- 1 tbsp soy sauce
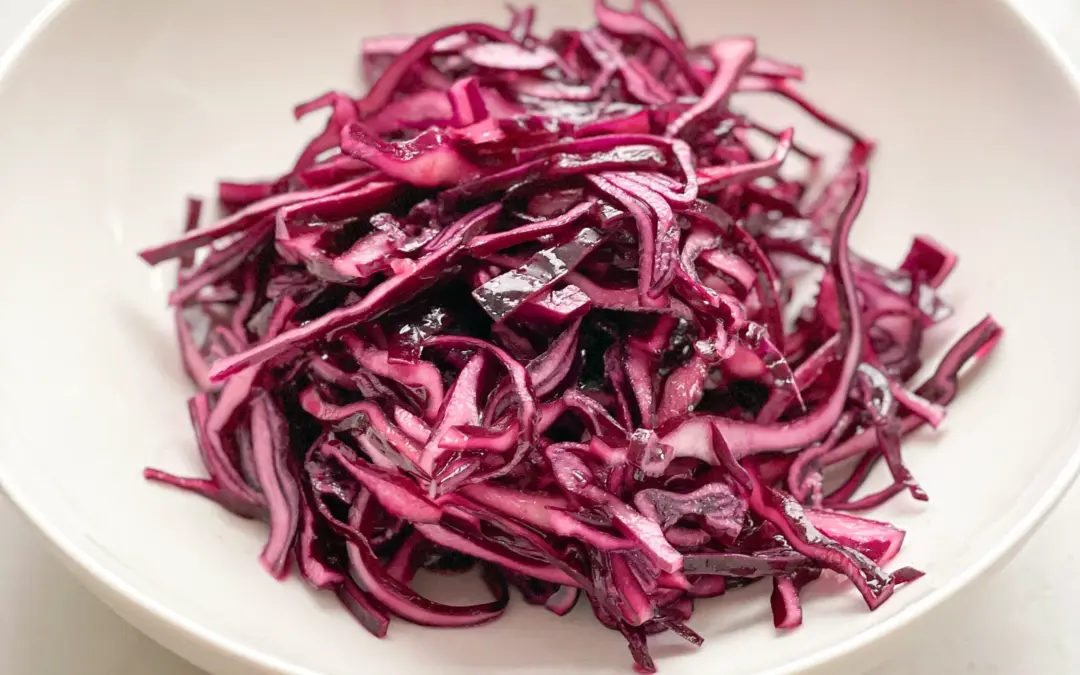
- 300 grams red cabbage
- 1 ripe mango
- 1 ripe avocado
- 40 grams cashew nuts
- cress or sprouts
- white sesame
- spring onion
Instructions
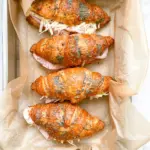
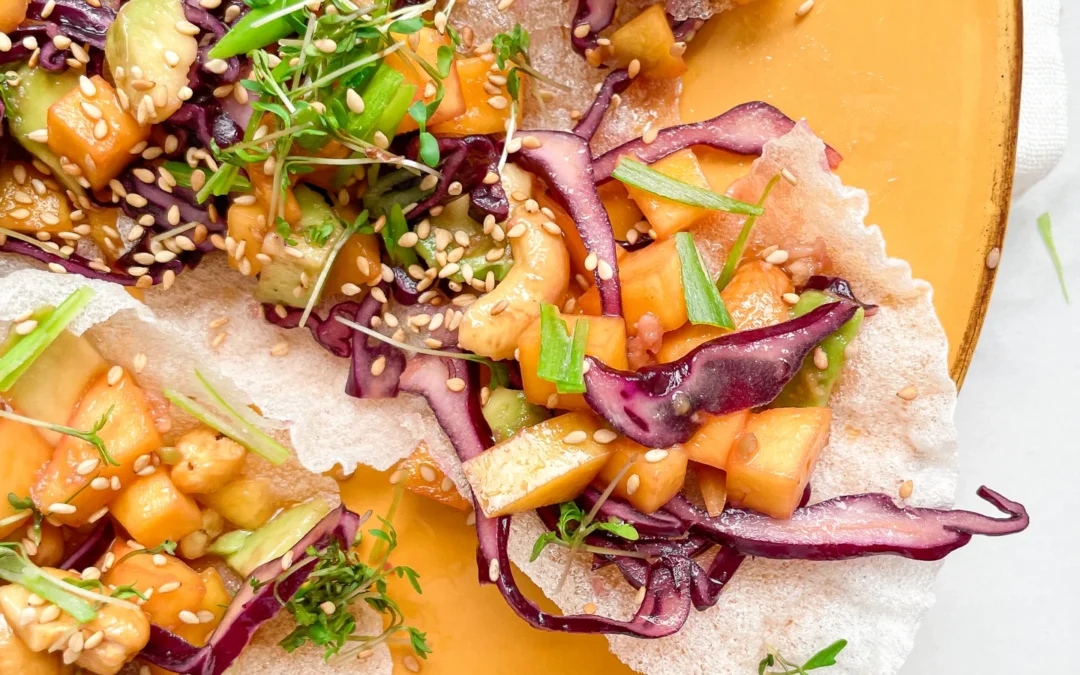
- Heat about 1 cm of frying oil to 180°C / 356°F in a small frying pan. Carefully cut the rice paper into quarters using scissors, and fry each quarter in the hot oil for 5 seconds until it puffs up and turns fluffy white. Remove from the pan and let it drain on paper towels. Note: The paper is only pliable for a short time after being removed from the oil.
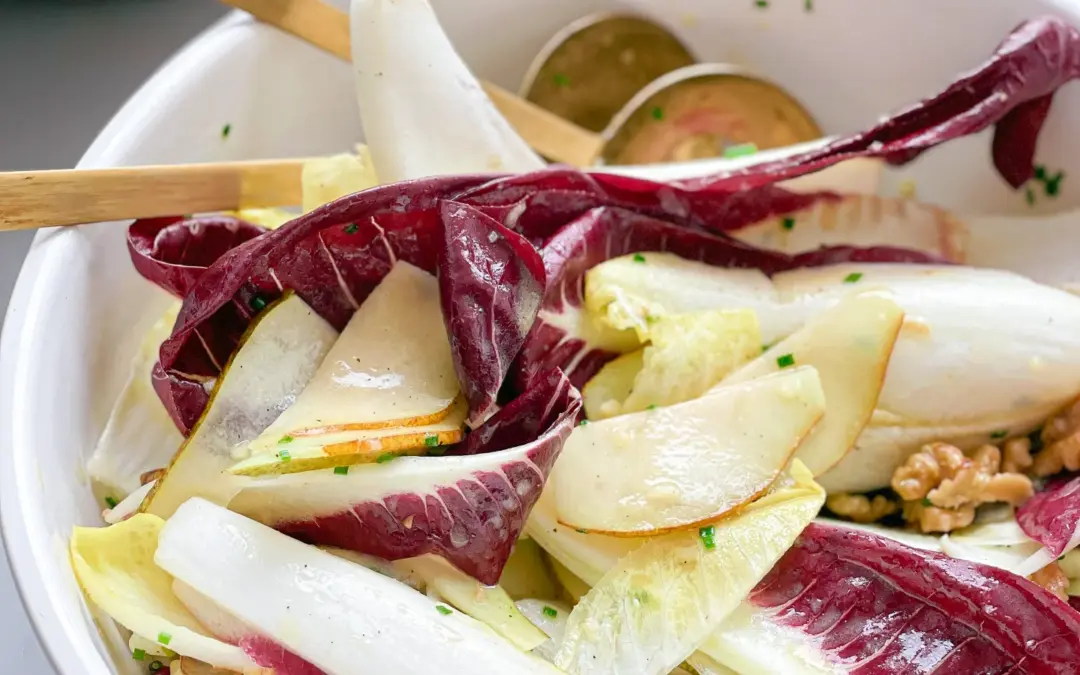
- For the salad, finely shred the red cabbage and place it in a salad bowl. Peel the mango and avocado and cut the flesh into bite-sized pieces, adding them to the salad bowl as well. Finally, add the cashews.
- For the dressing, mix avocado oil, lime juice, grated garlic and ginger, sesame oil, and soy sauce in a small bowl and pour it over the salad. Mix everything well.
- Slice the green part of the spring onion into fine strips and set aside.
- If serving immediately, lay out the fried rice papers, fill each with 1-2 tablespoons of salad, and top each with white sesame seeds, cress, and the sliced spring onions. If not serving immediately, I recommend preparing both components separately.
Notes
The calorie information may vary depending on the product used, country and region.
- Cook Time: 25 min