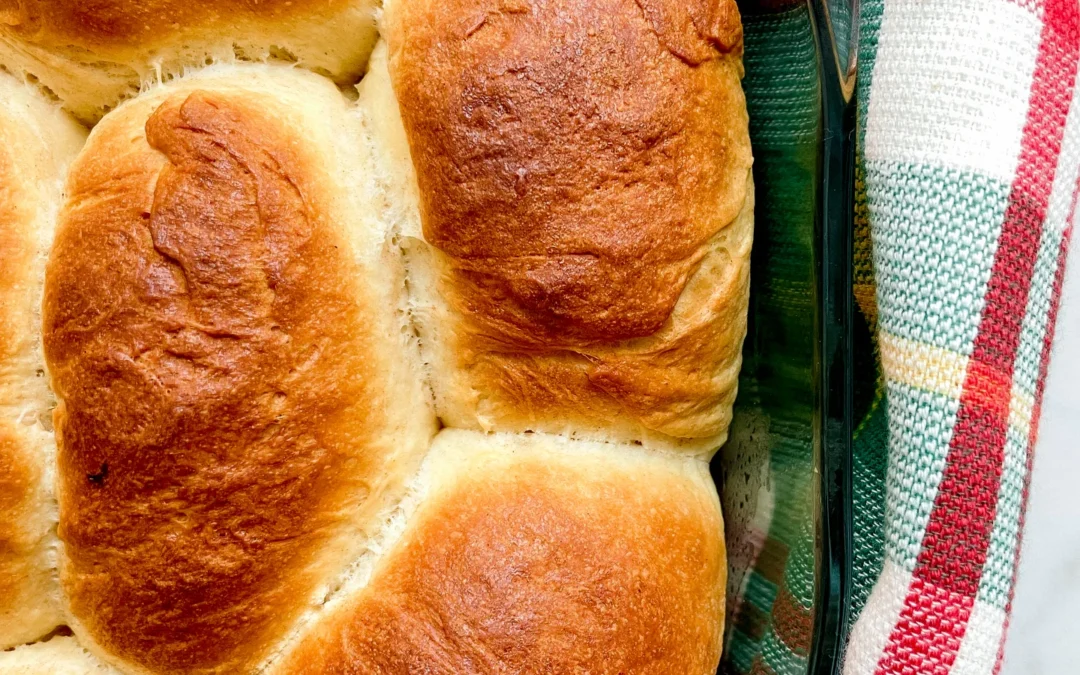
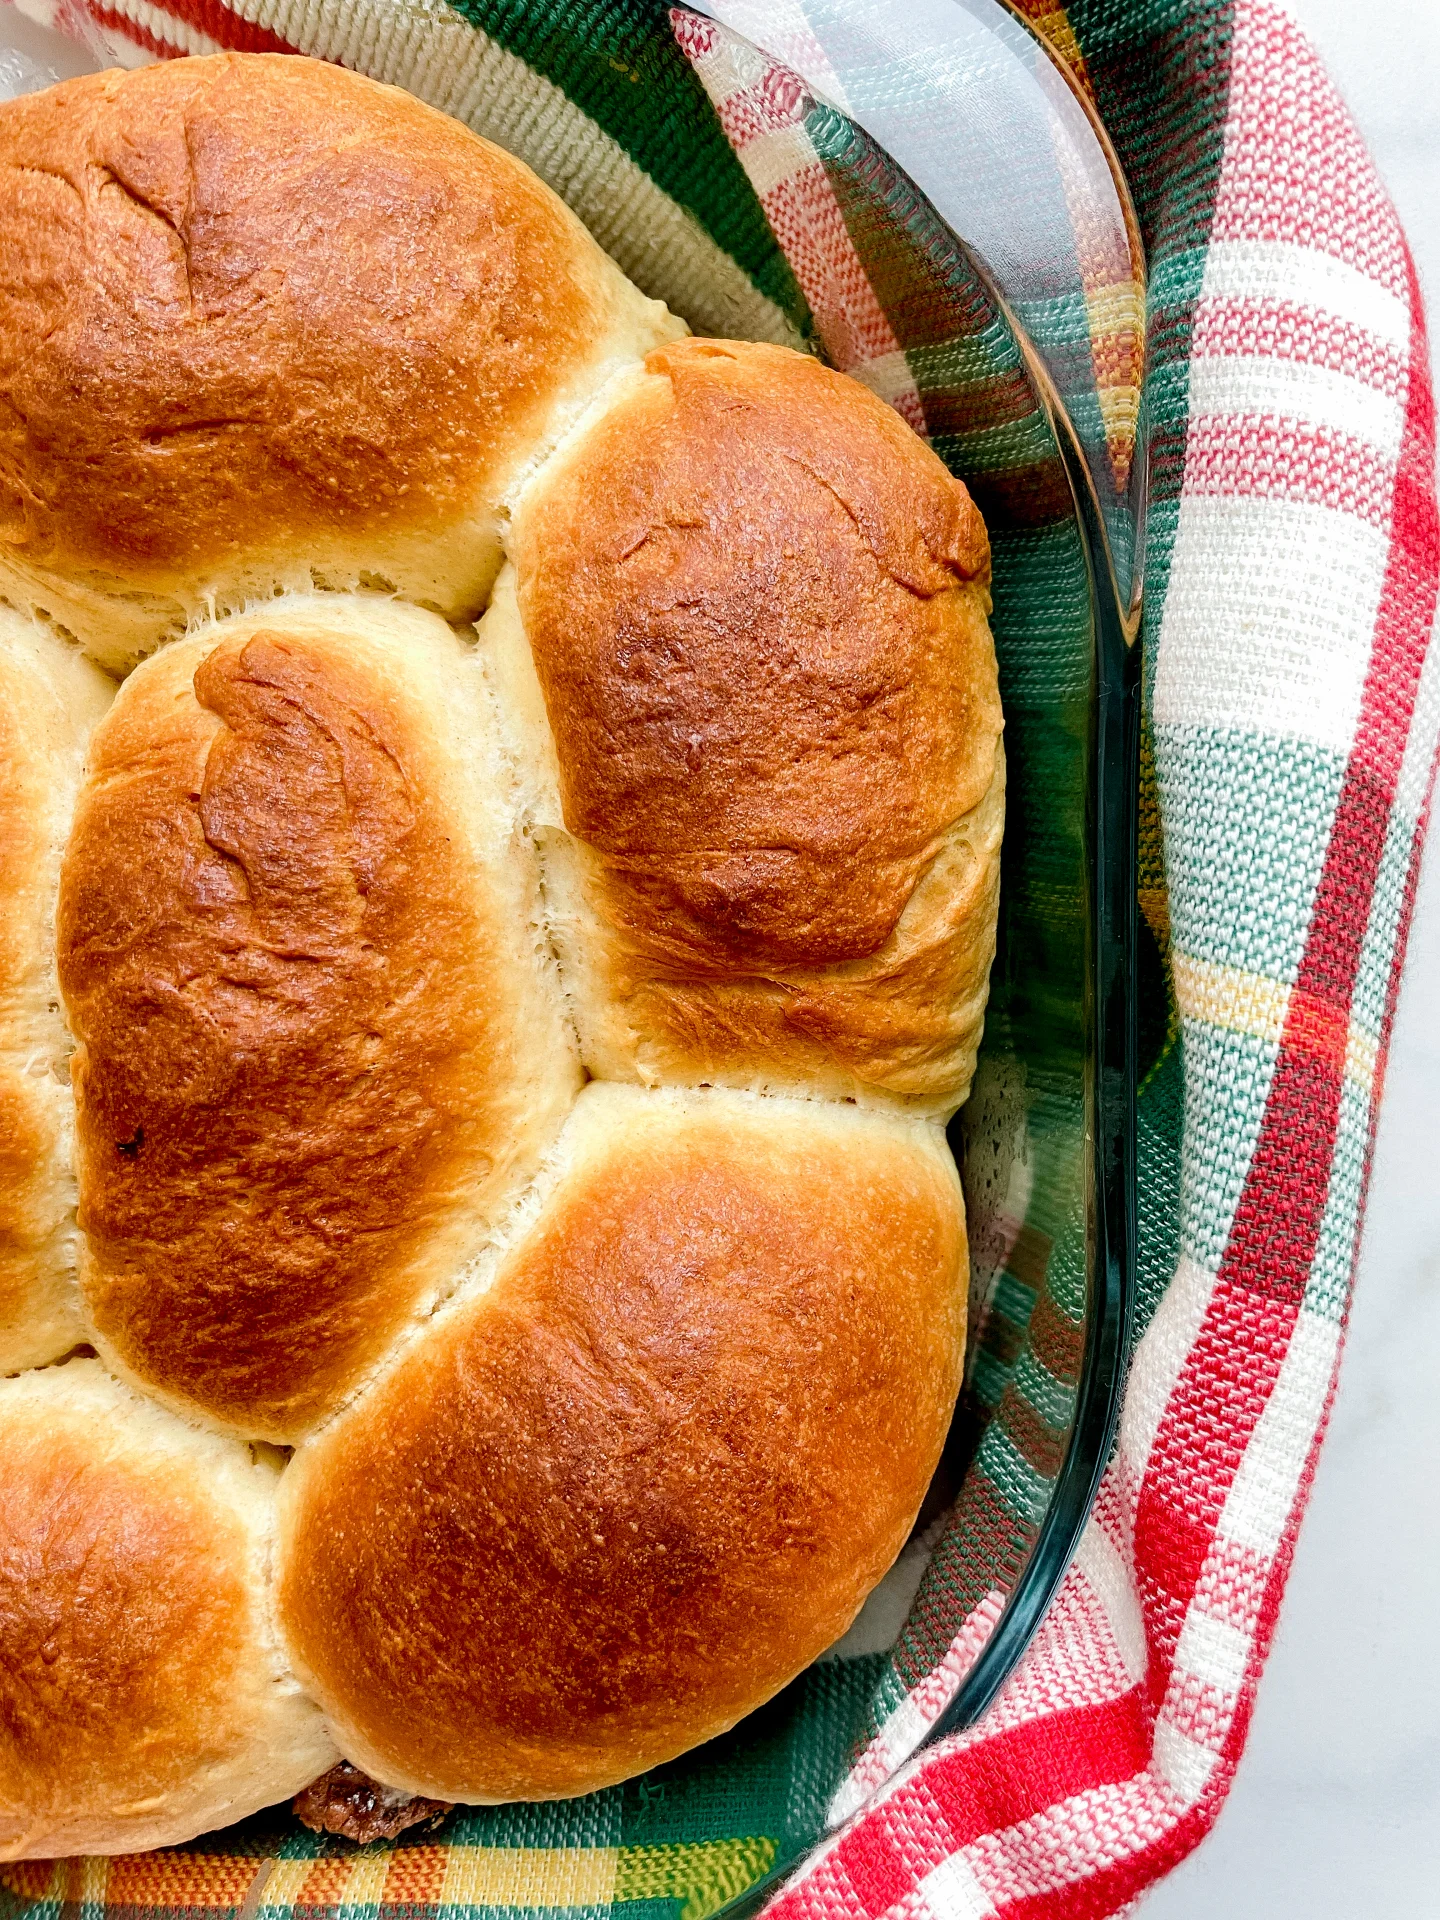
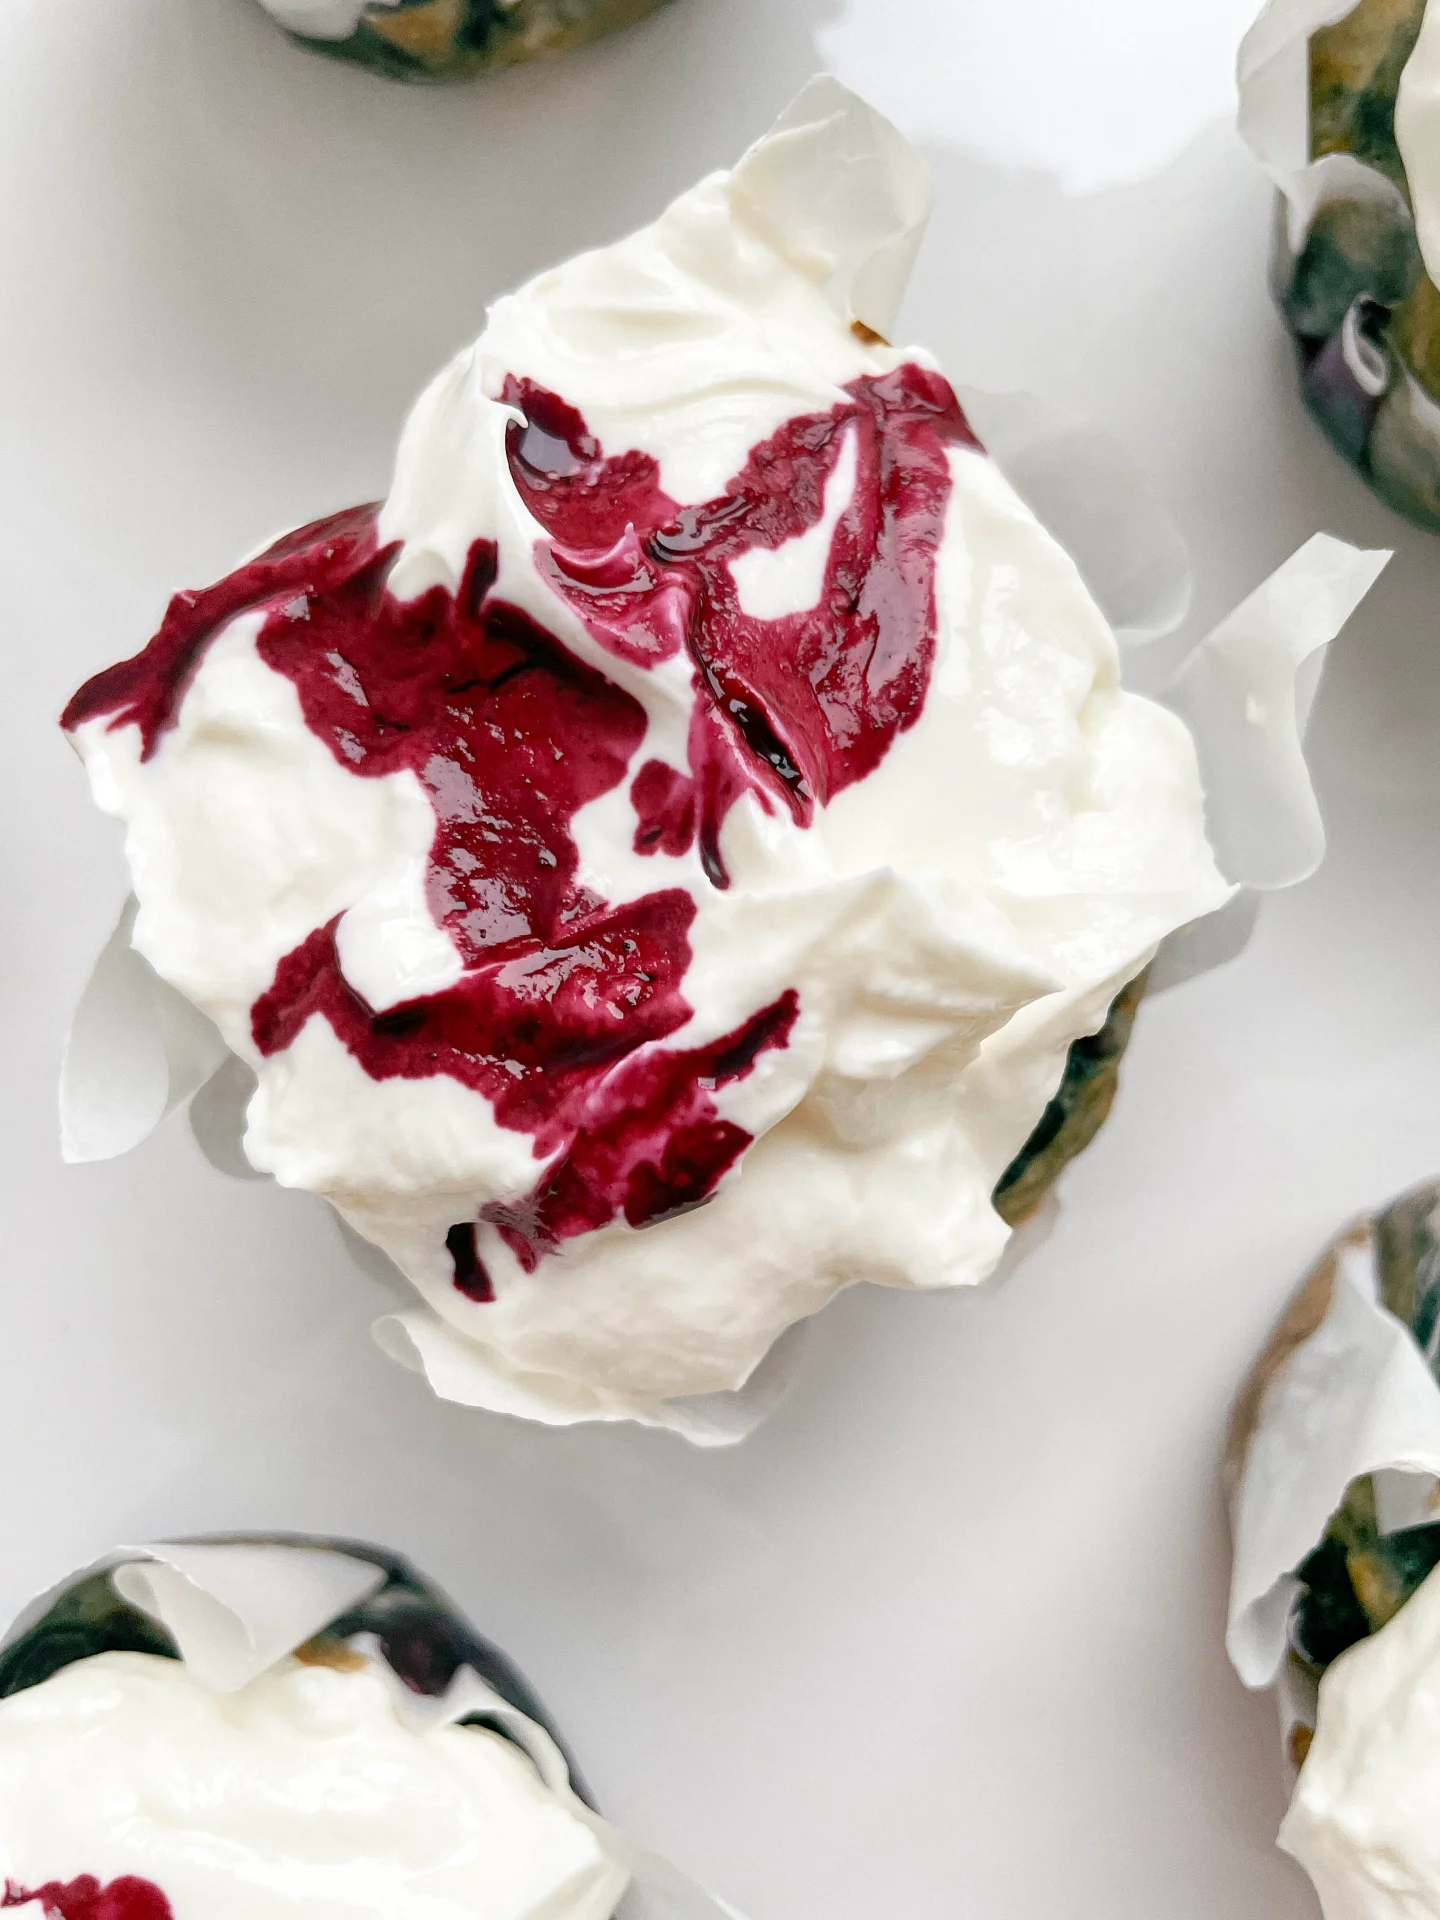
Vanilla Cream and Strawberry Jam Streusel Buns

Vanilla Cream and Strawberry Jam Streusel Buns

Vanilla Cream and Strawberry Jam Streusel Buns

Vanilla Cream & Strawberry Jam Streusel Buns

April 16, 2025 by Kimberly

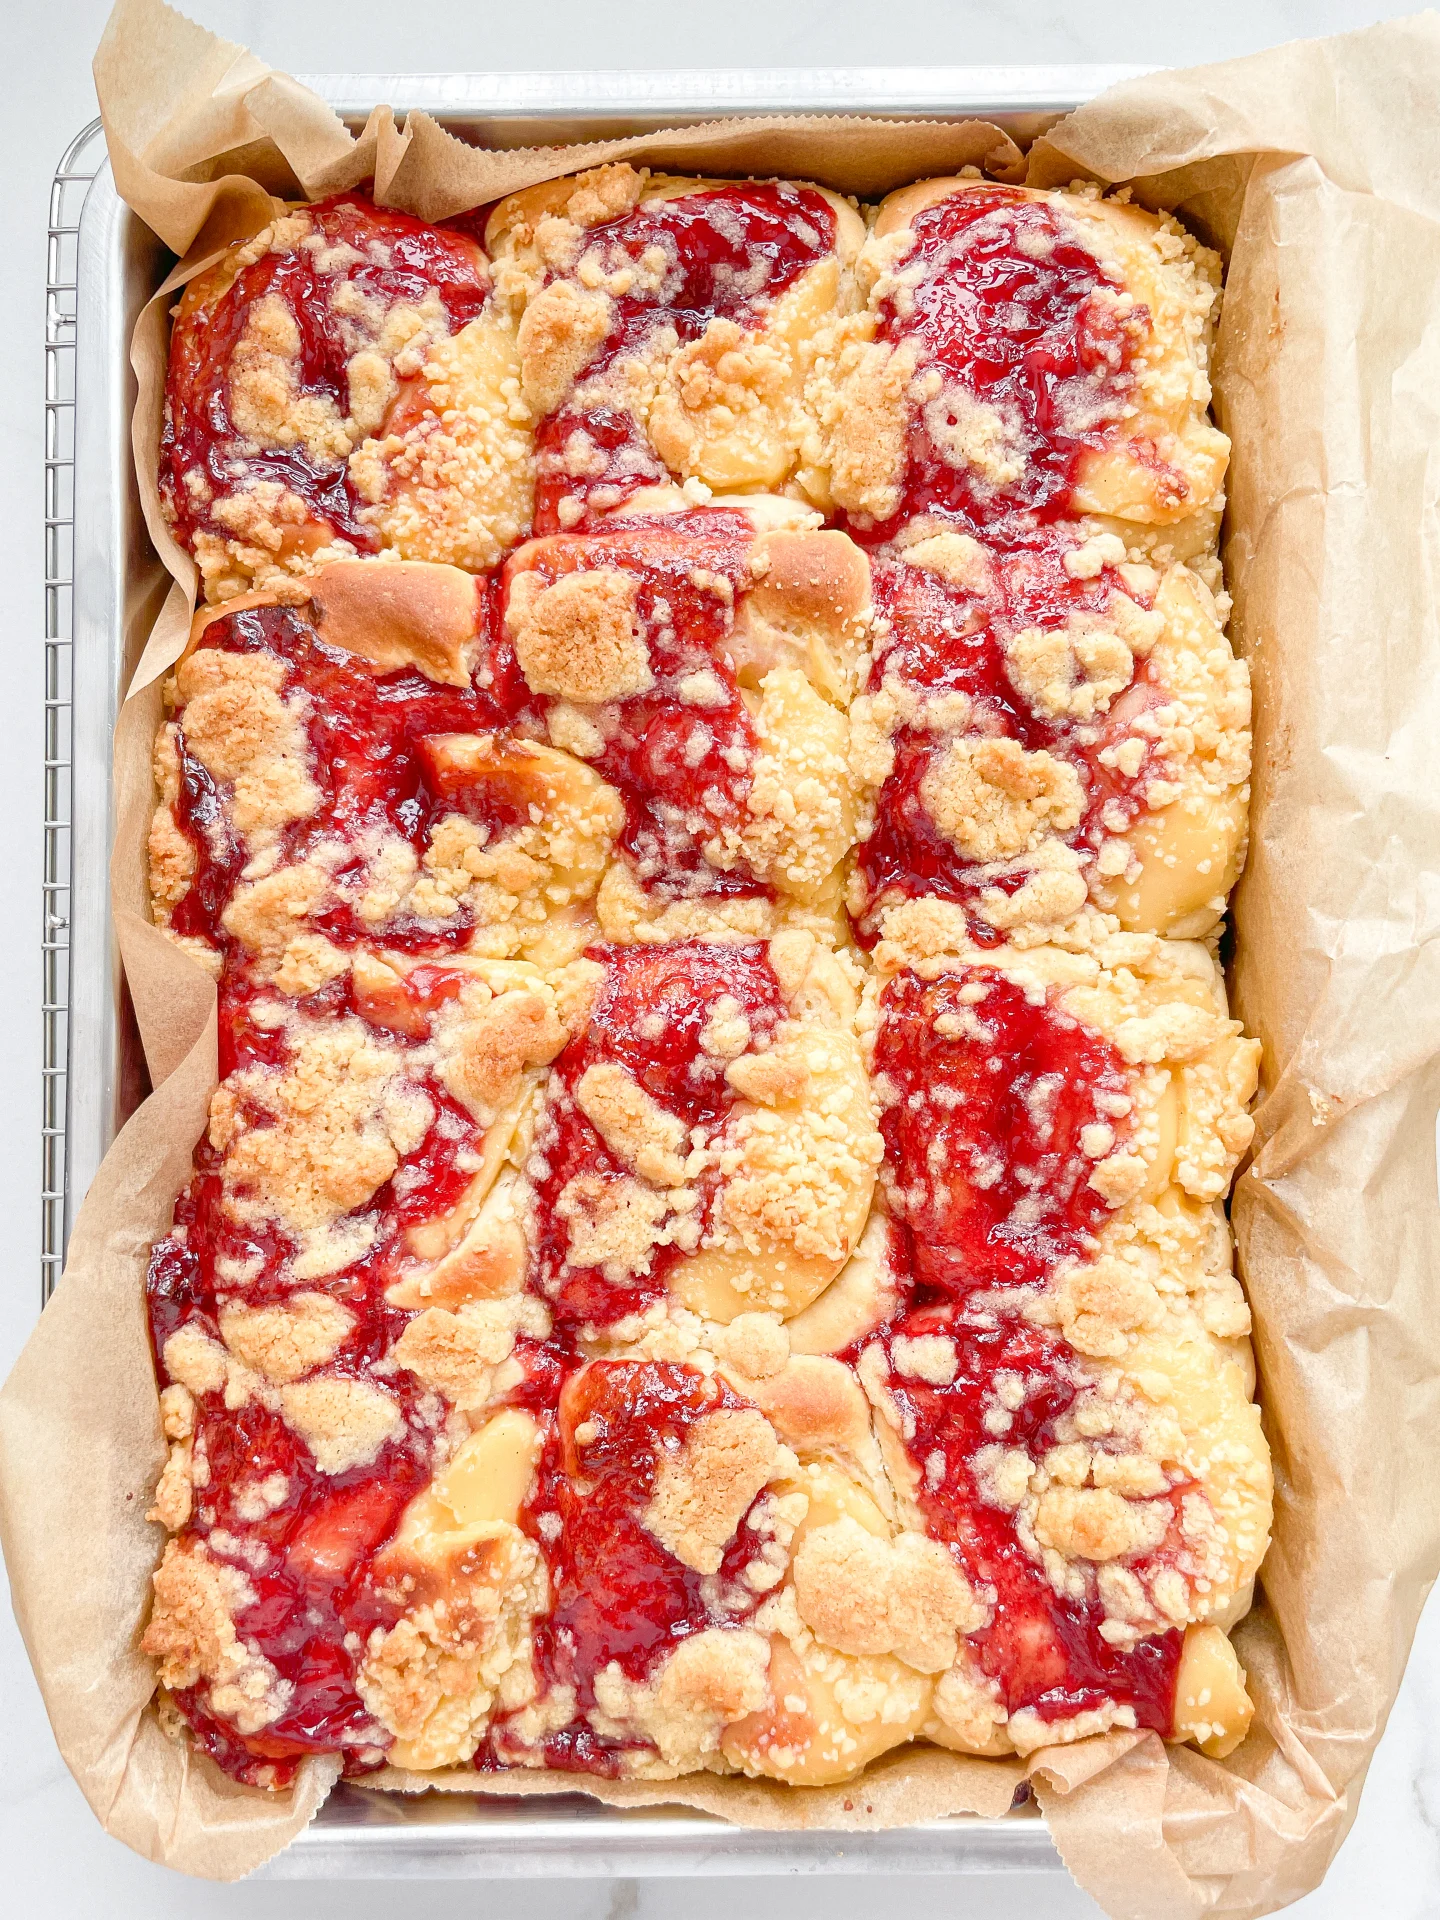
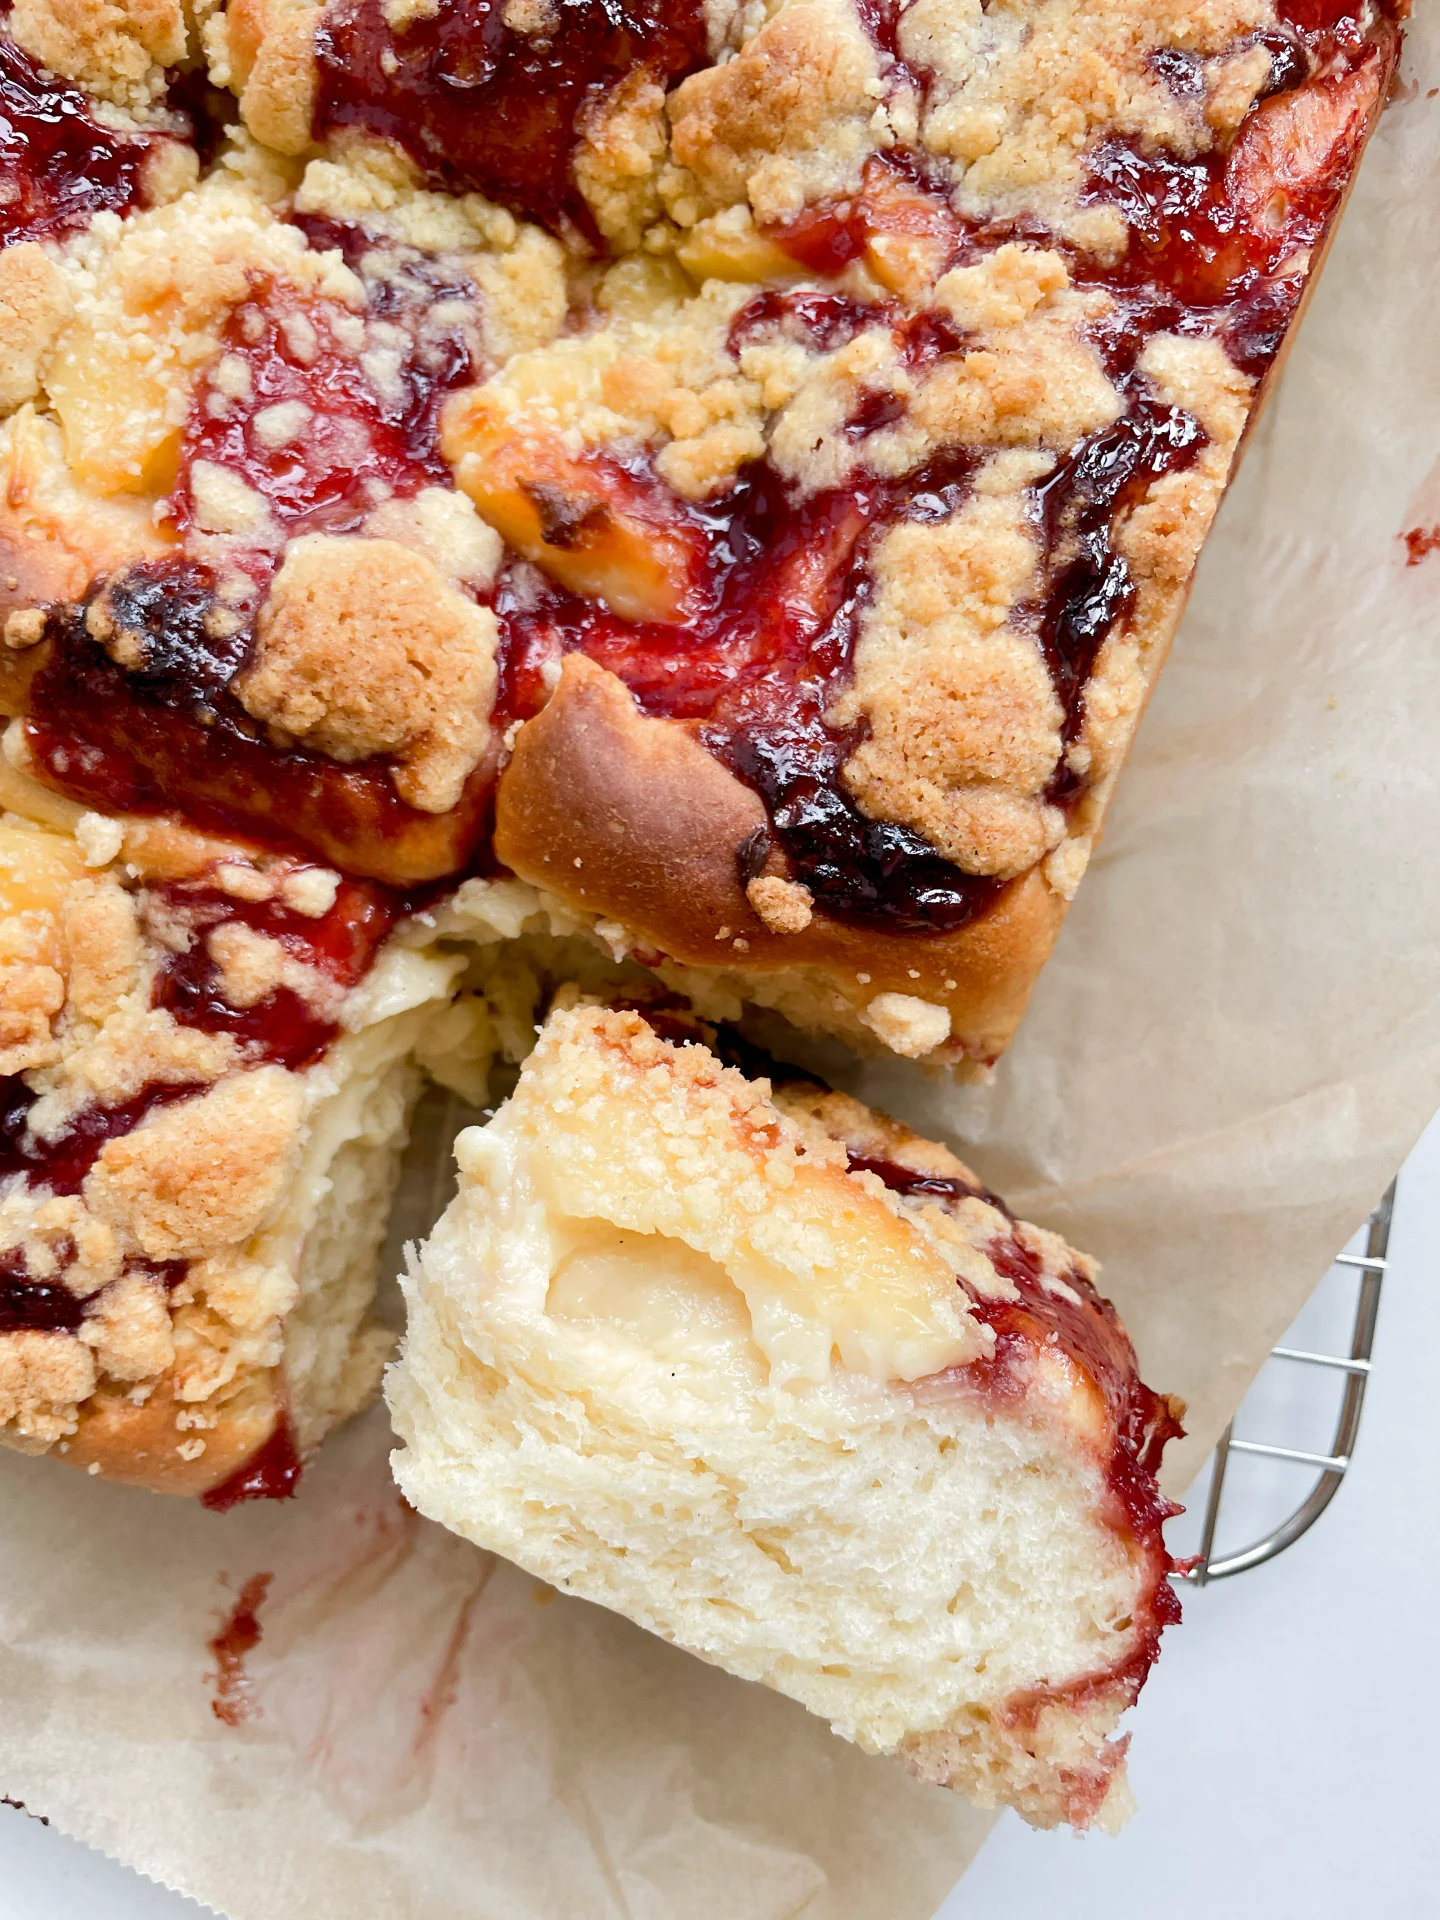
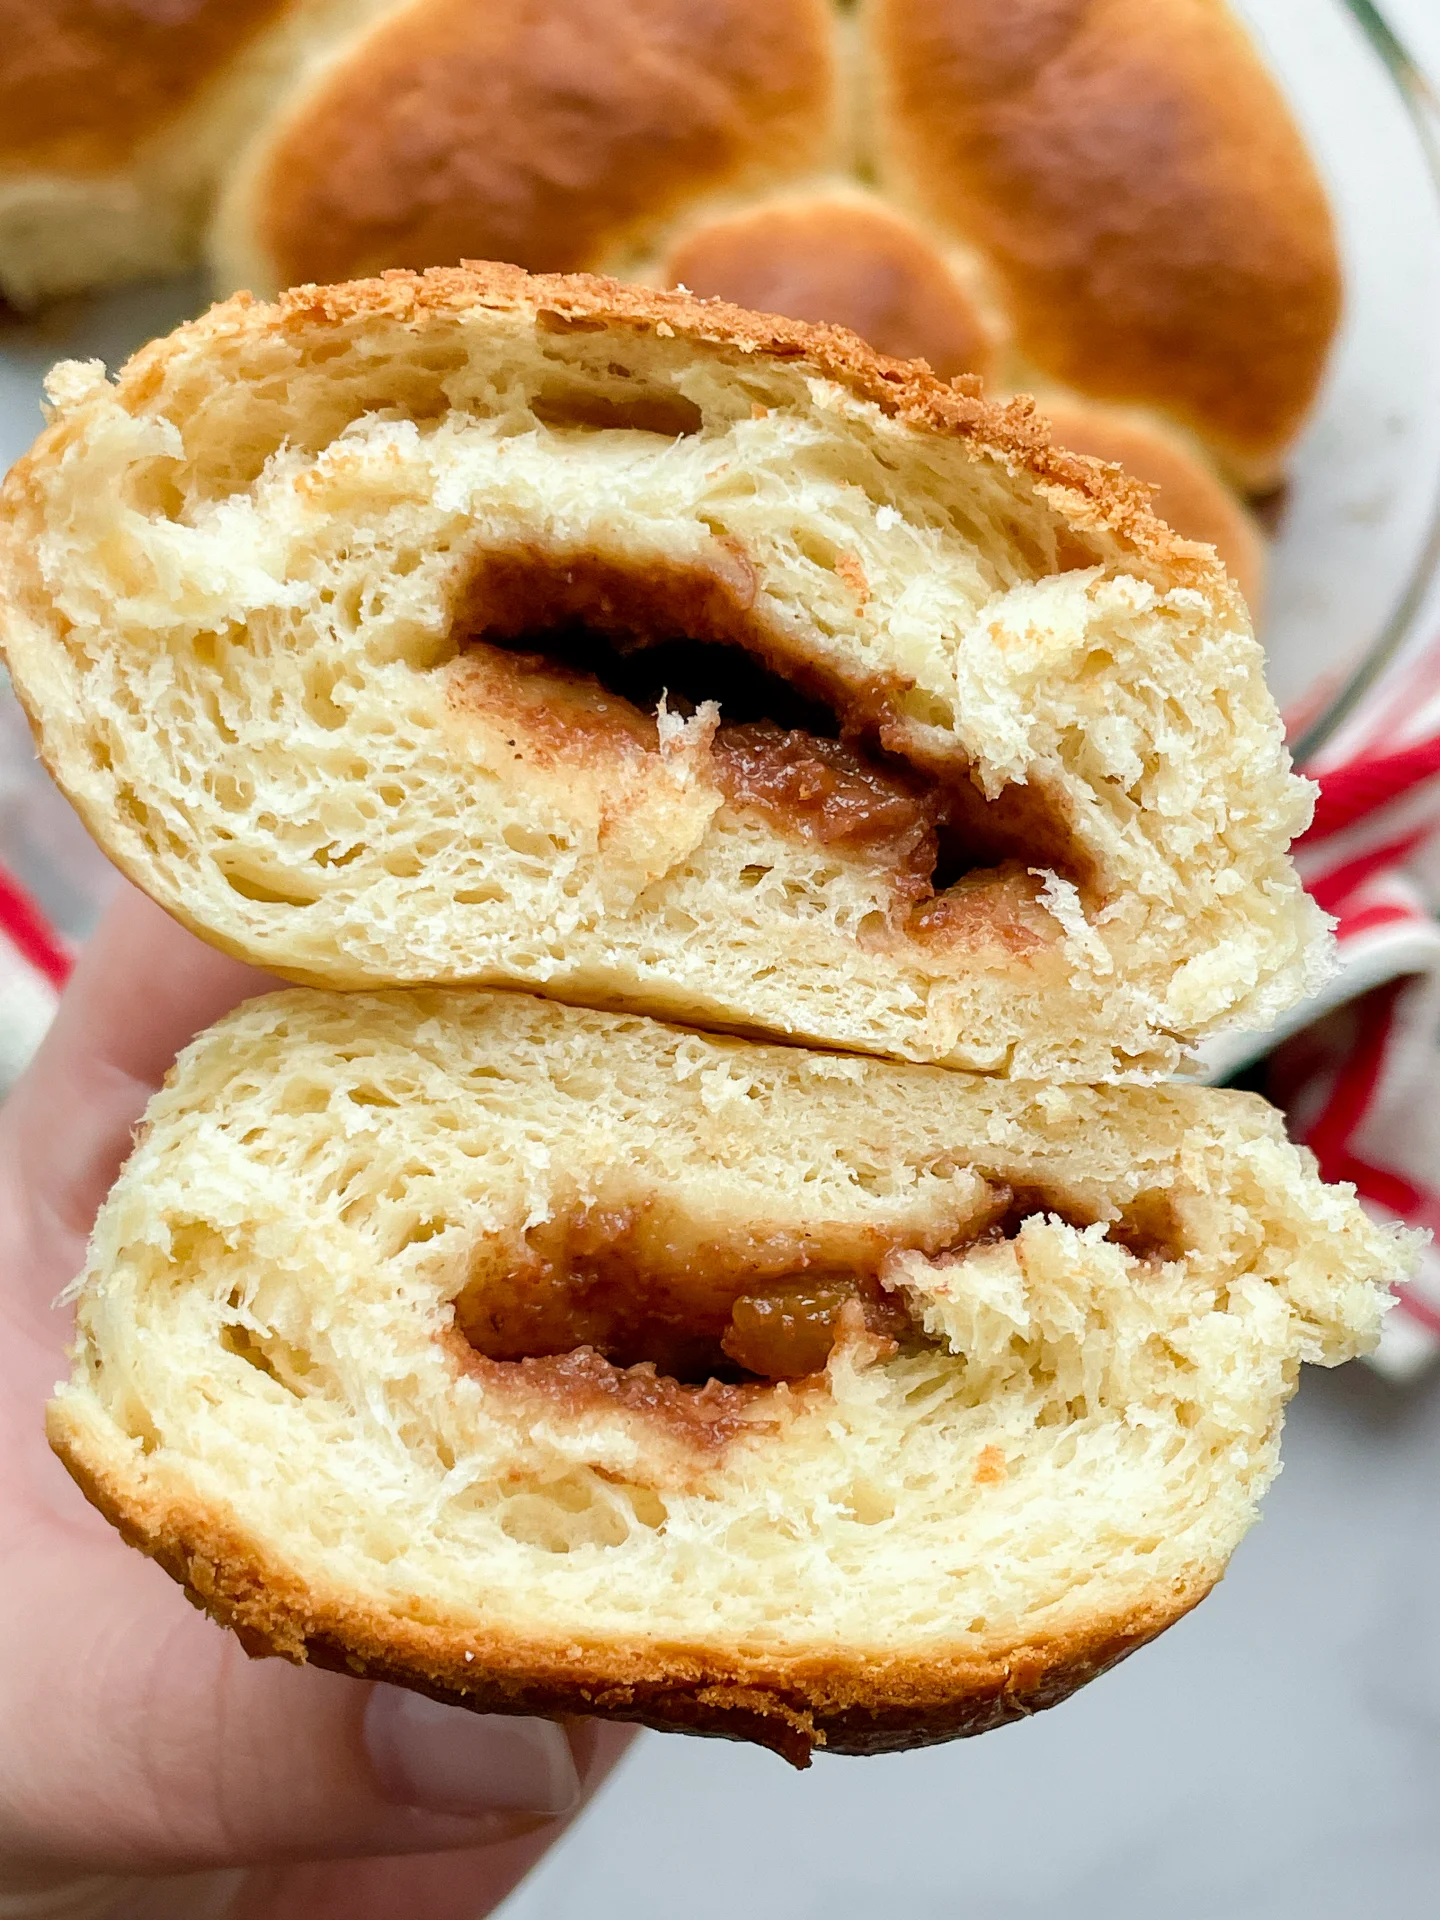
Fluffy, golden buns filled with vanilla cream and strawberry jam, topped with buttery streusel. The kind of thing you’d bring out on Easter Sunday for coffee, cake, and quiet joy.

3 HOURS
30 MINUTES

INTERMEDIATE

VEGETARIAN

GERMAN

12 BUNS

FLUFFY

TEA TIME

CAKE

SUMMER

INTRODUCTION

ABOUT THE RECIPE

These soft, pillowy buns are one of those things that somehow feel both nostalgic and wildly indulgent. We’re talking golden, fluffy dough, a silky vanilla filling, and a bright hit of strawberry jam, all topped with a delicate crumble of streusel. It’s giving cozy Sunday morning, messy counter, and a “just one more” situation. Whether you grew up with German-style sweet buns or not, this combo is the kind of thing that makes you pause mid-bite and just… smile.

How to serve
These are lovely served warm, when the vanilla cream is still soft and the jam gently melts into the dough. But honestly? They’re just as dreamy cold. Straight from the fridge works, especially with a cup of coffee on a slow morning. Serve them stacked on a brunch platter or individually in cupcake liners for that little bakery moment. Optional, but highly recommended: a dusting of powdered sugar to make them feel extra special.

How to store
Store in an airtight container at room temperature for up to 2 days, or refrigerate for up to 4.

Hi, I'm Kimberly!

Hi, I'm Kimberly.

A passionate food lover who believes in the magic of homemade deliciousness that spreads love and warmth. Join me on this culinary adventure as I prepare wonderful dishes and let’s spread some happiness together!

Kimberly the Zett Signature

If you want to get to know me better, click here!


Vanilla Cream and Strawberry Jam Streusel Buns
„Let’s make a piece of happiness“
Print
clock clock iconcutlery cutlery iconflag flag iconfolder folder iconinstagram instagram iconpinterest pinterest iconfacebook facebook iconprint print iconsquares squares iconheart heart iconheart solid heart solid icon
Vanilla Cream and Strawberry Jam Streusel Buns

Vanilla Cream and Strawberry Jam Streusel Buns


5 Stars 4 Stars 3 Stars 2 Stars 1 Star

No reviews

  • Author: Kimberly
  • Total Time: 3 hrs + 30 min

Description

RECOMMENDED EQUIPMENT

  • small saucepan
  • whisk
  • small bowl
  • stand mixer or electric hand mixer
  • plastic wrap
  • rectangular baking dish

Ingredients

Units Scale

DOUGH

  • 250 milliliters full-fat cow milk
  • 7 grams dry active yeast
  • 60 grams white sugar
  • 525 grams all-purpose flour (in Germany 550er)
  • 75 grams butter, soft
  • 1 egg
  • pinch of salt

VANILLA CREAM

  • 200 grams heavy cream
  • 90 milliliters full-fat cow milk
  • 1 tsp vanilla extract
  • 60 grams white sugar
  • 1 egg yolk
  • 20 grams cornstarch

STREUSEL

  • 100 grams all-purpose flour
  • 70 grams butter, soft
  • 70 grams white sugar
  • 1 tsp vanilla extract
  • pinch of salt

OTHER INGREDIENTS

  • 200 grams strawberry jam (homemade or store-bought)
  • confectioners sugar

Instructions

  1. In a small saucepan, heat the cream with the sugar, vanilla extract, and half of the milk until it comes to a boil. In a separate bowl, whisk together the cornstarch, egg yolk, and remaining milk. Slowly pour the starch mixture into the boiling cream while whisking constantly until it thickens into a smooth pudding. Remove from heat and let cool completely. Set aside for later.
  2. Gently warm the milk to 38°C / 100°F and stir in the yeast and 1 tablespoon of the sugar. Let it sit for a few minutes until slightly foamy. In a large mixing bowl, combine the flour, remaining sugar, egg, soft butter, and salt. Add the yeast mixture and knead for about 10 minutes until you get a smooth, soft dough that doesn’t stick. Cover the bowl tightly with plastic wrap and let rise in a warm spot for 90 minutes.
  3. Combine the butter, sugar, flour, vanilla extract and a pinch of salt and mix until crumbly. Chill the streusel until ready to use.
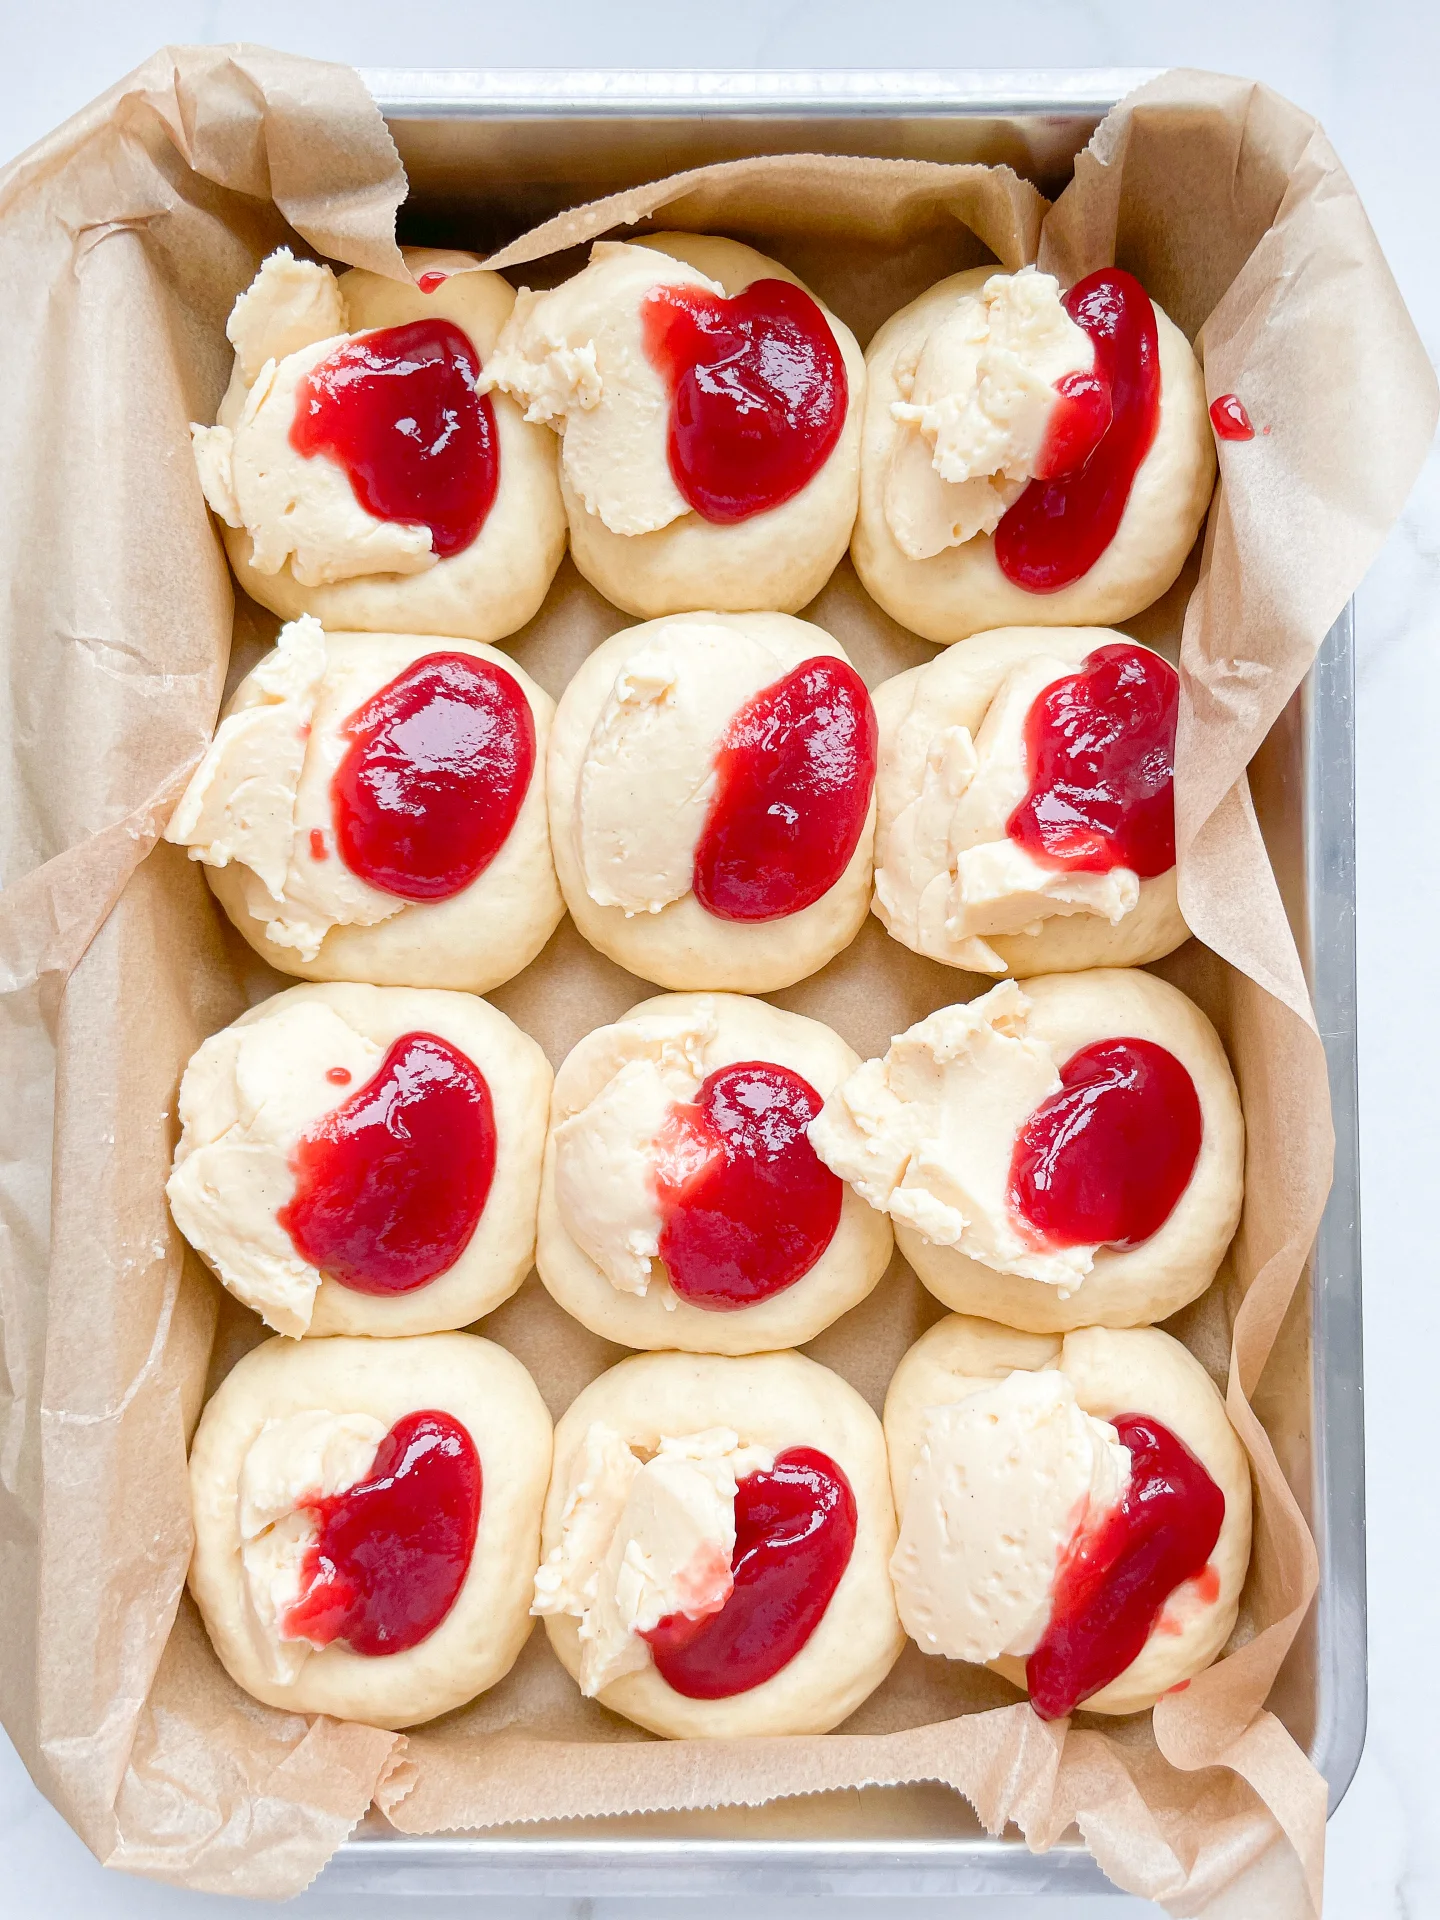
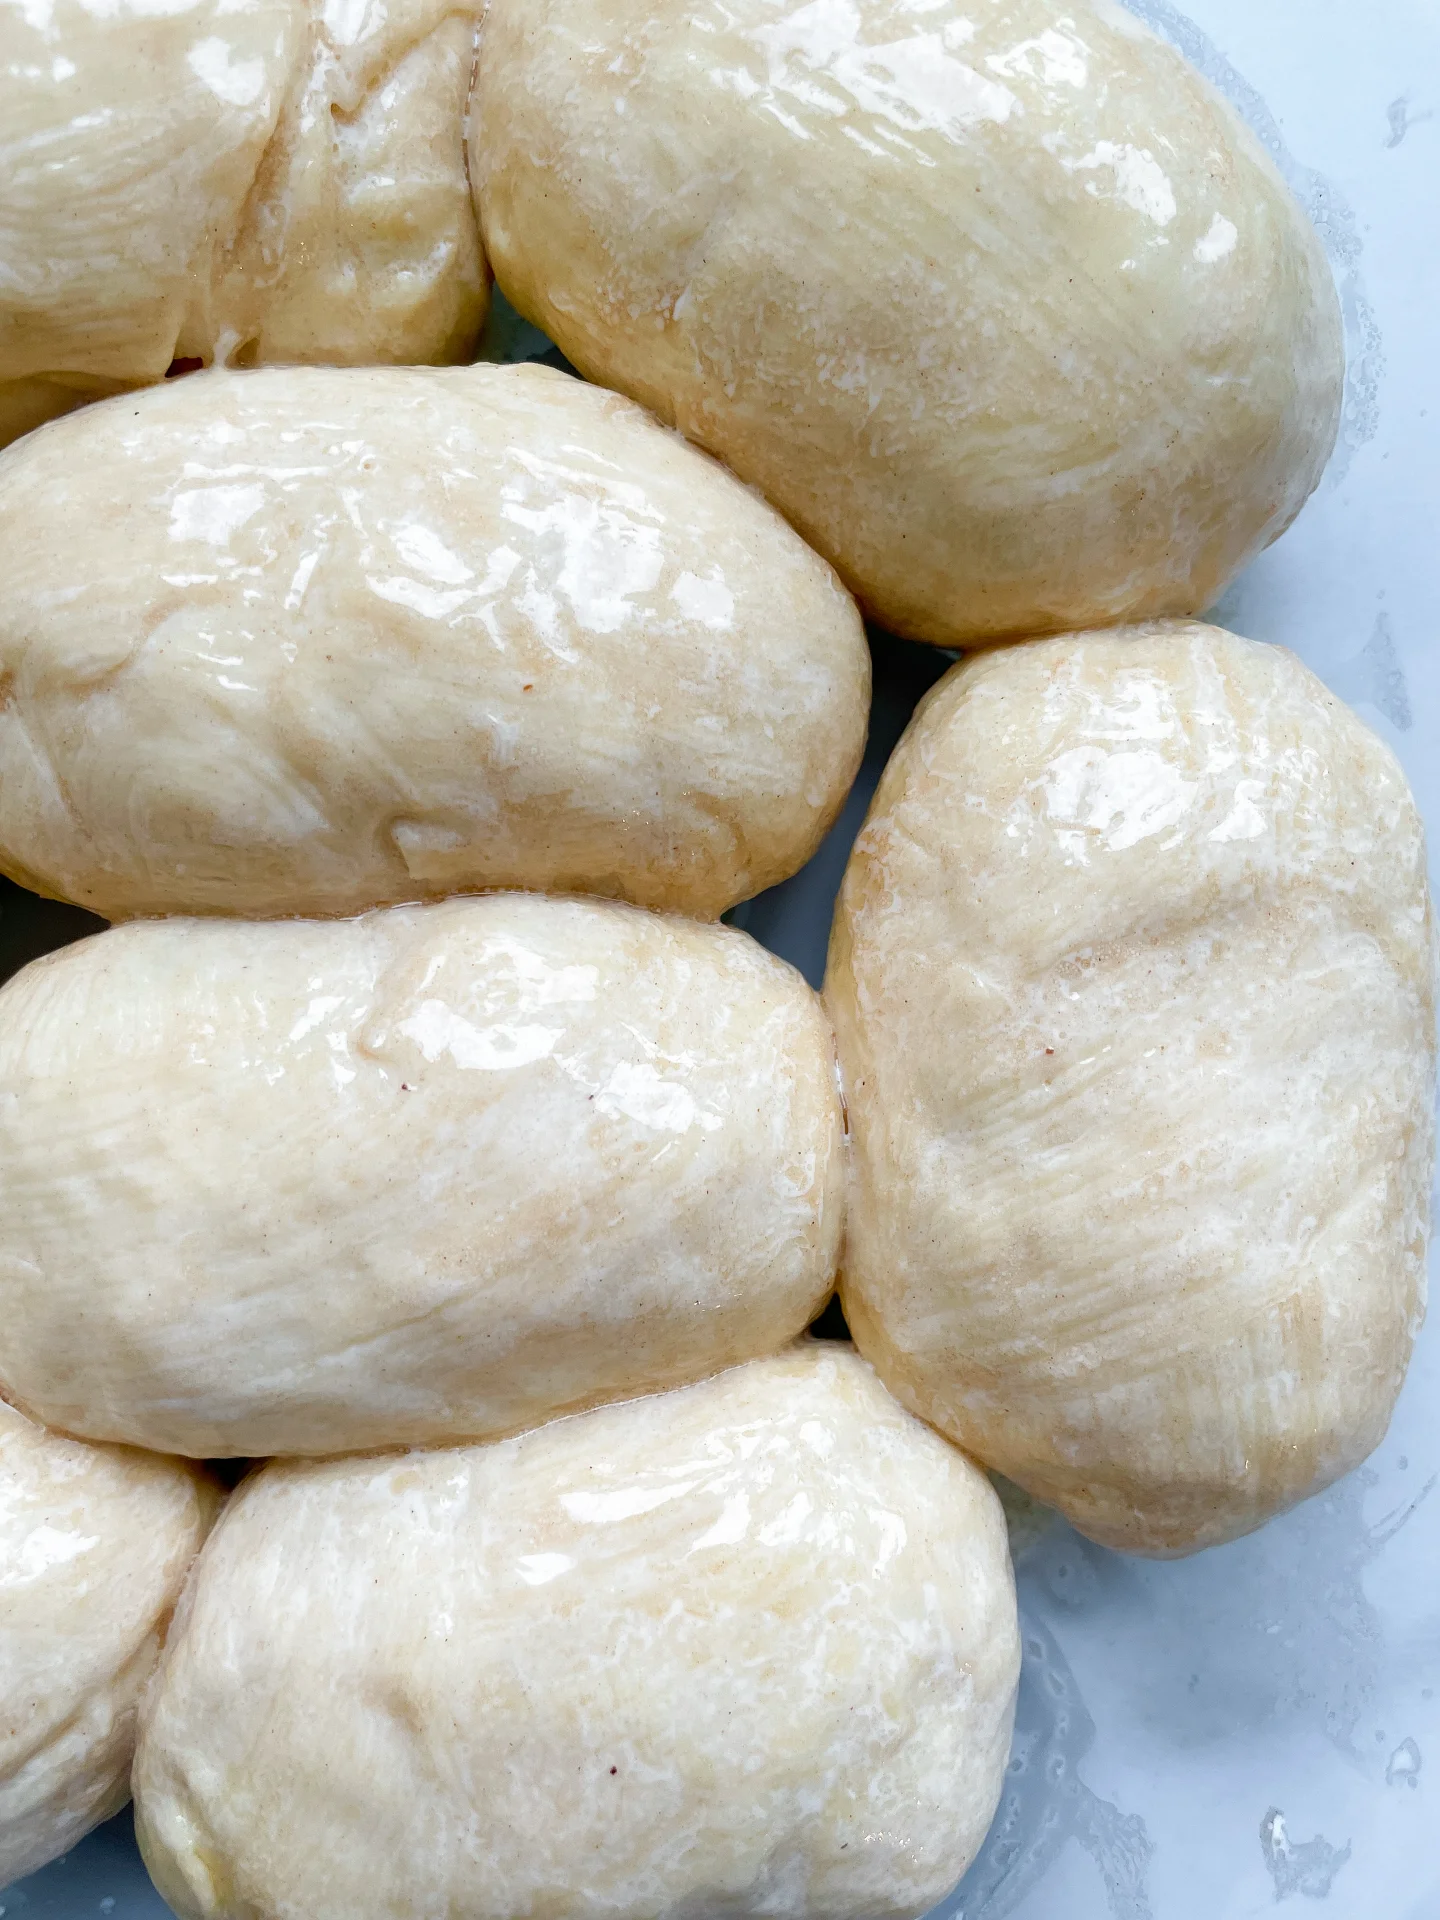
  4. Once the dough has risen, knead it briefly and divide into 12 equal balls, about 80g / 3oz each. Line a rectangular baking dish with parchment paper and arrange the dough balls inside. Let them rest for 20 minutes.
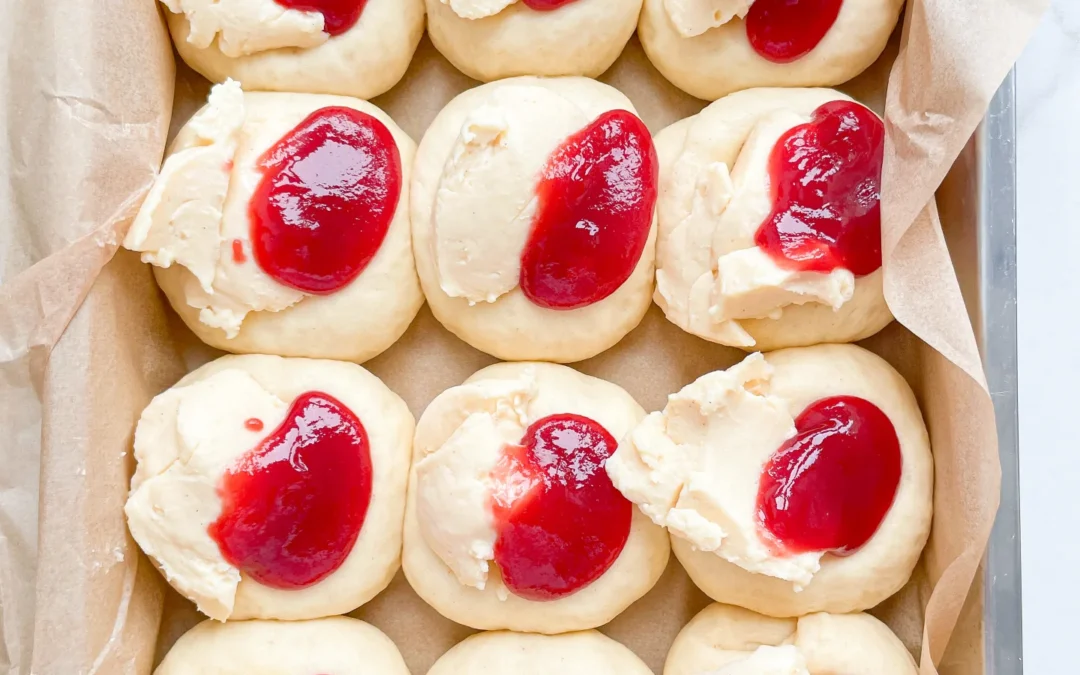
  5. Use your thumbs and press in the middle of the dough ball to form kind of a bowl shape that is going to be filled each with 1 tablespoon of vanilla pudding and 1 heaping teaspoon of strawberry jam side by side.
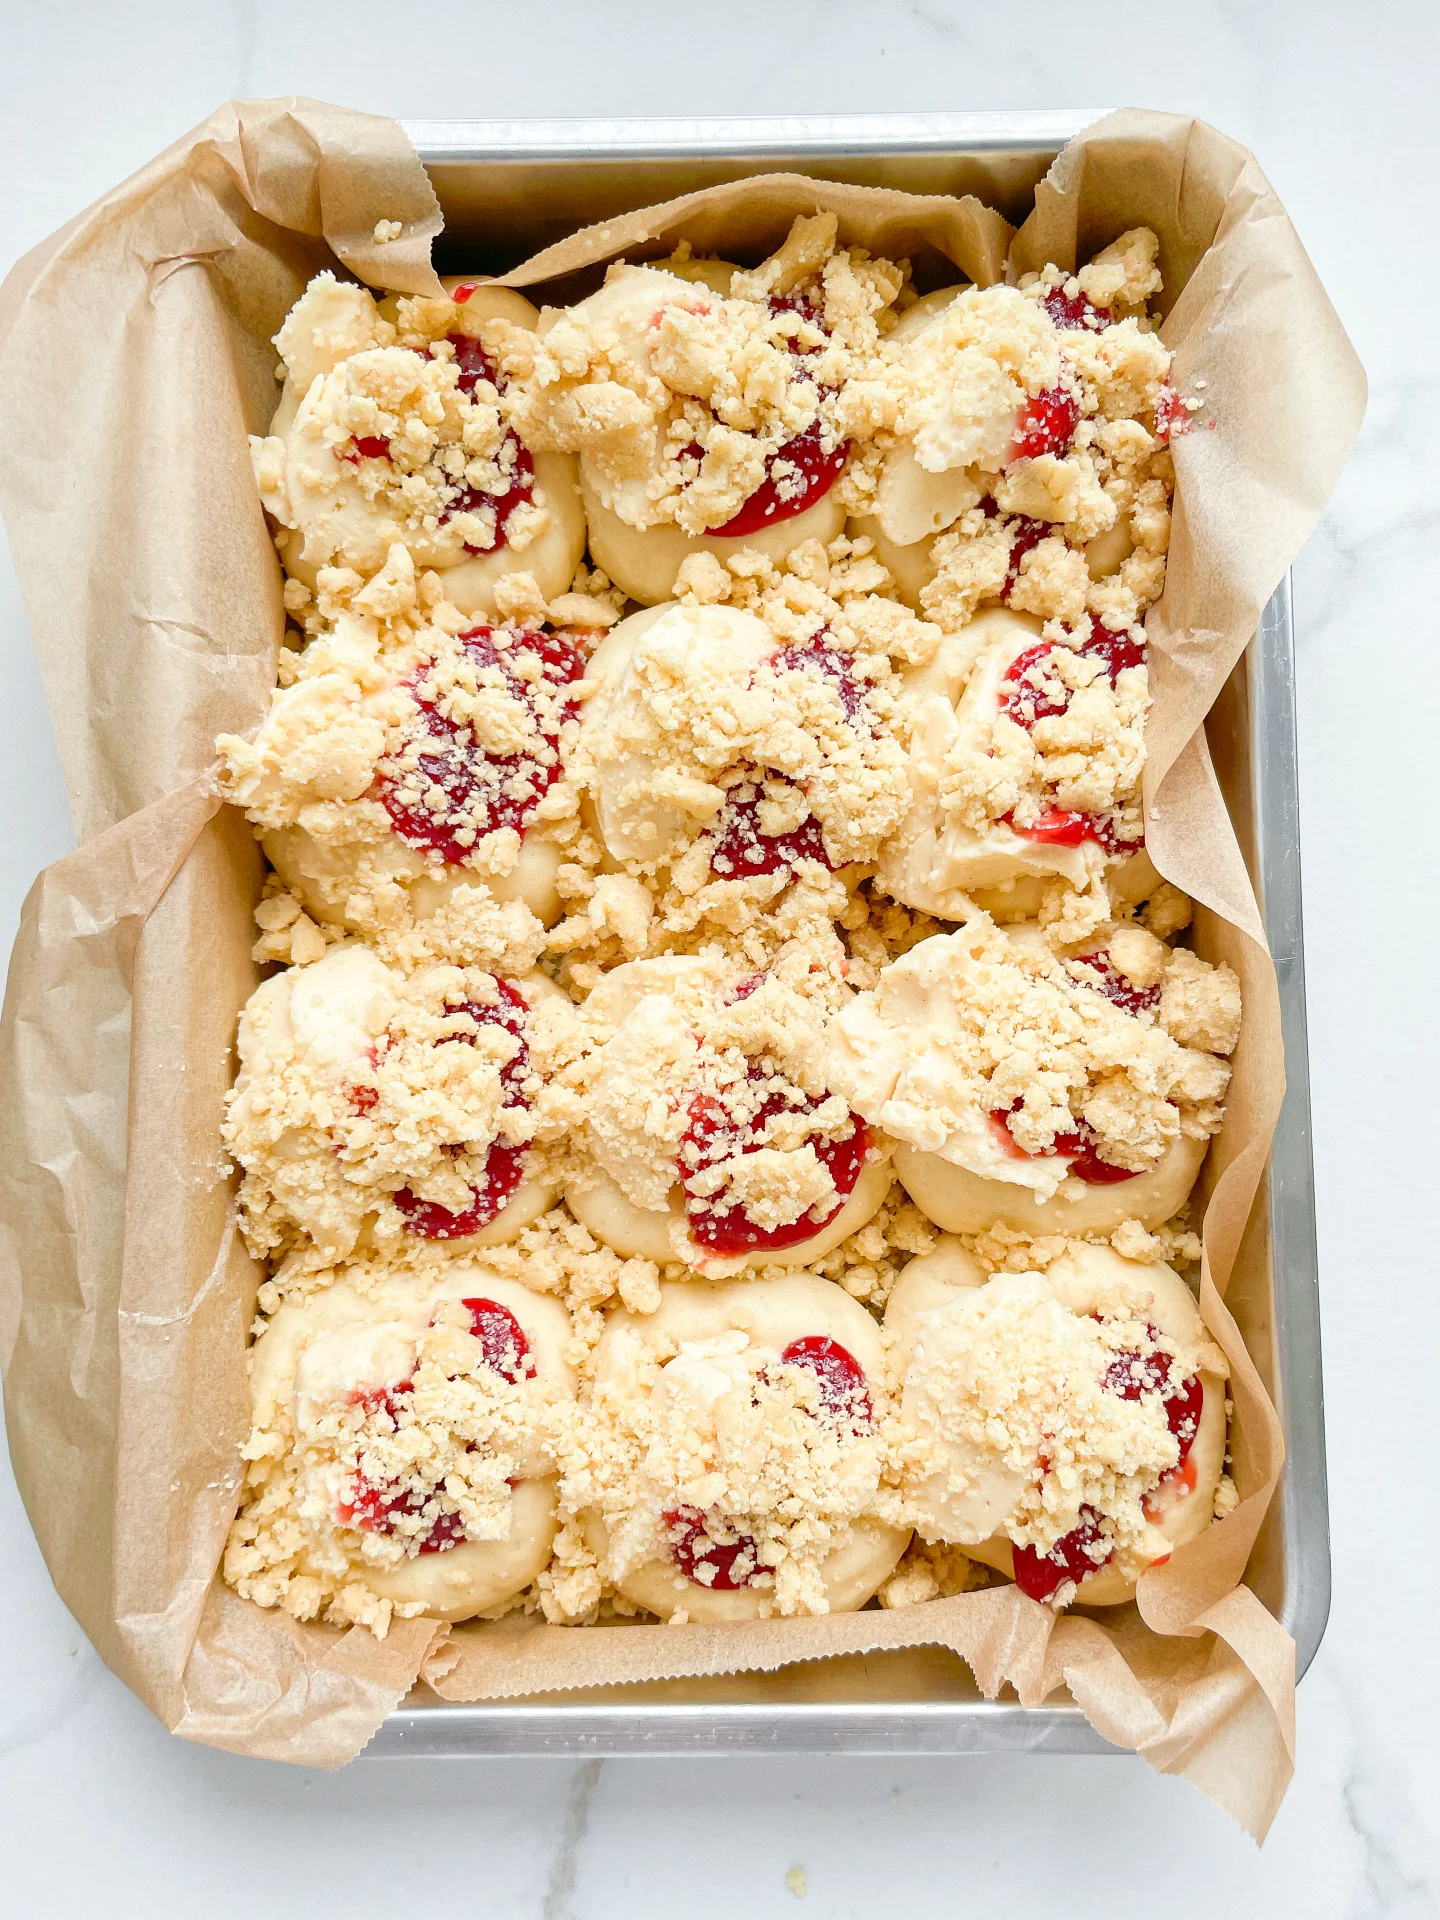
  6. Preheat the oven to 180°C / 350°Ft. Sprinkle the chilled streusel generously over the buns and bake for about 55 minutes, or until golden. Serve slightly warm or fully cooled—both are delicious. Finish with a dusting of powdered sugar before serving.
  • Passive Time: 3 hours
  • Cook Time: 30 min

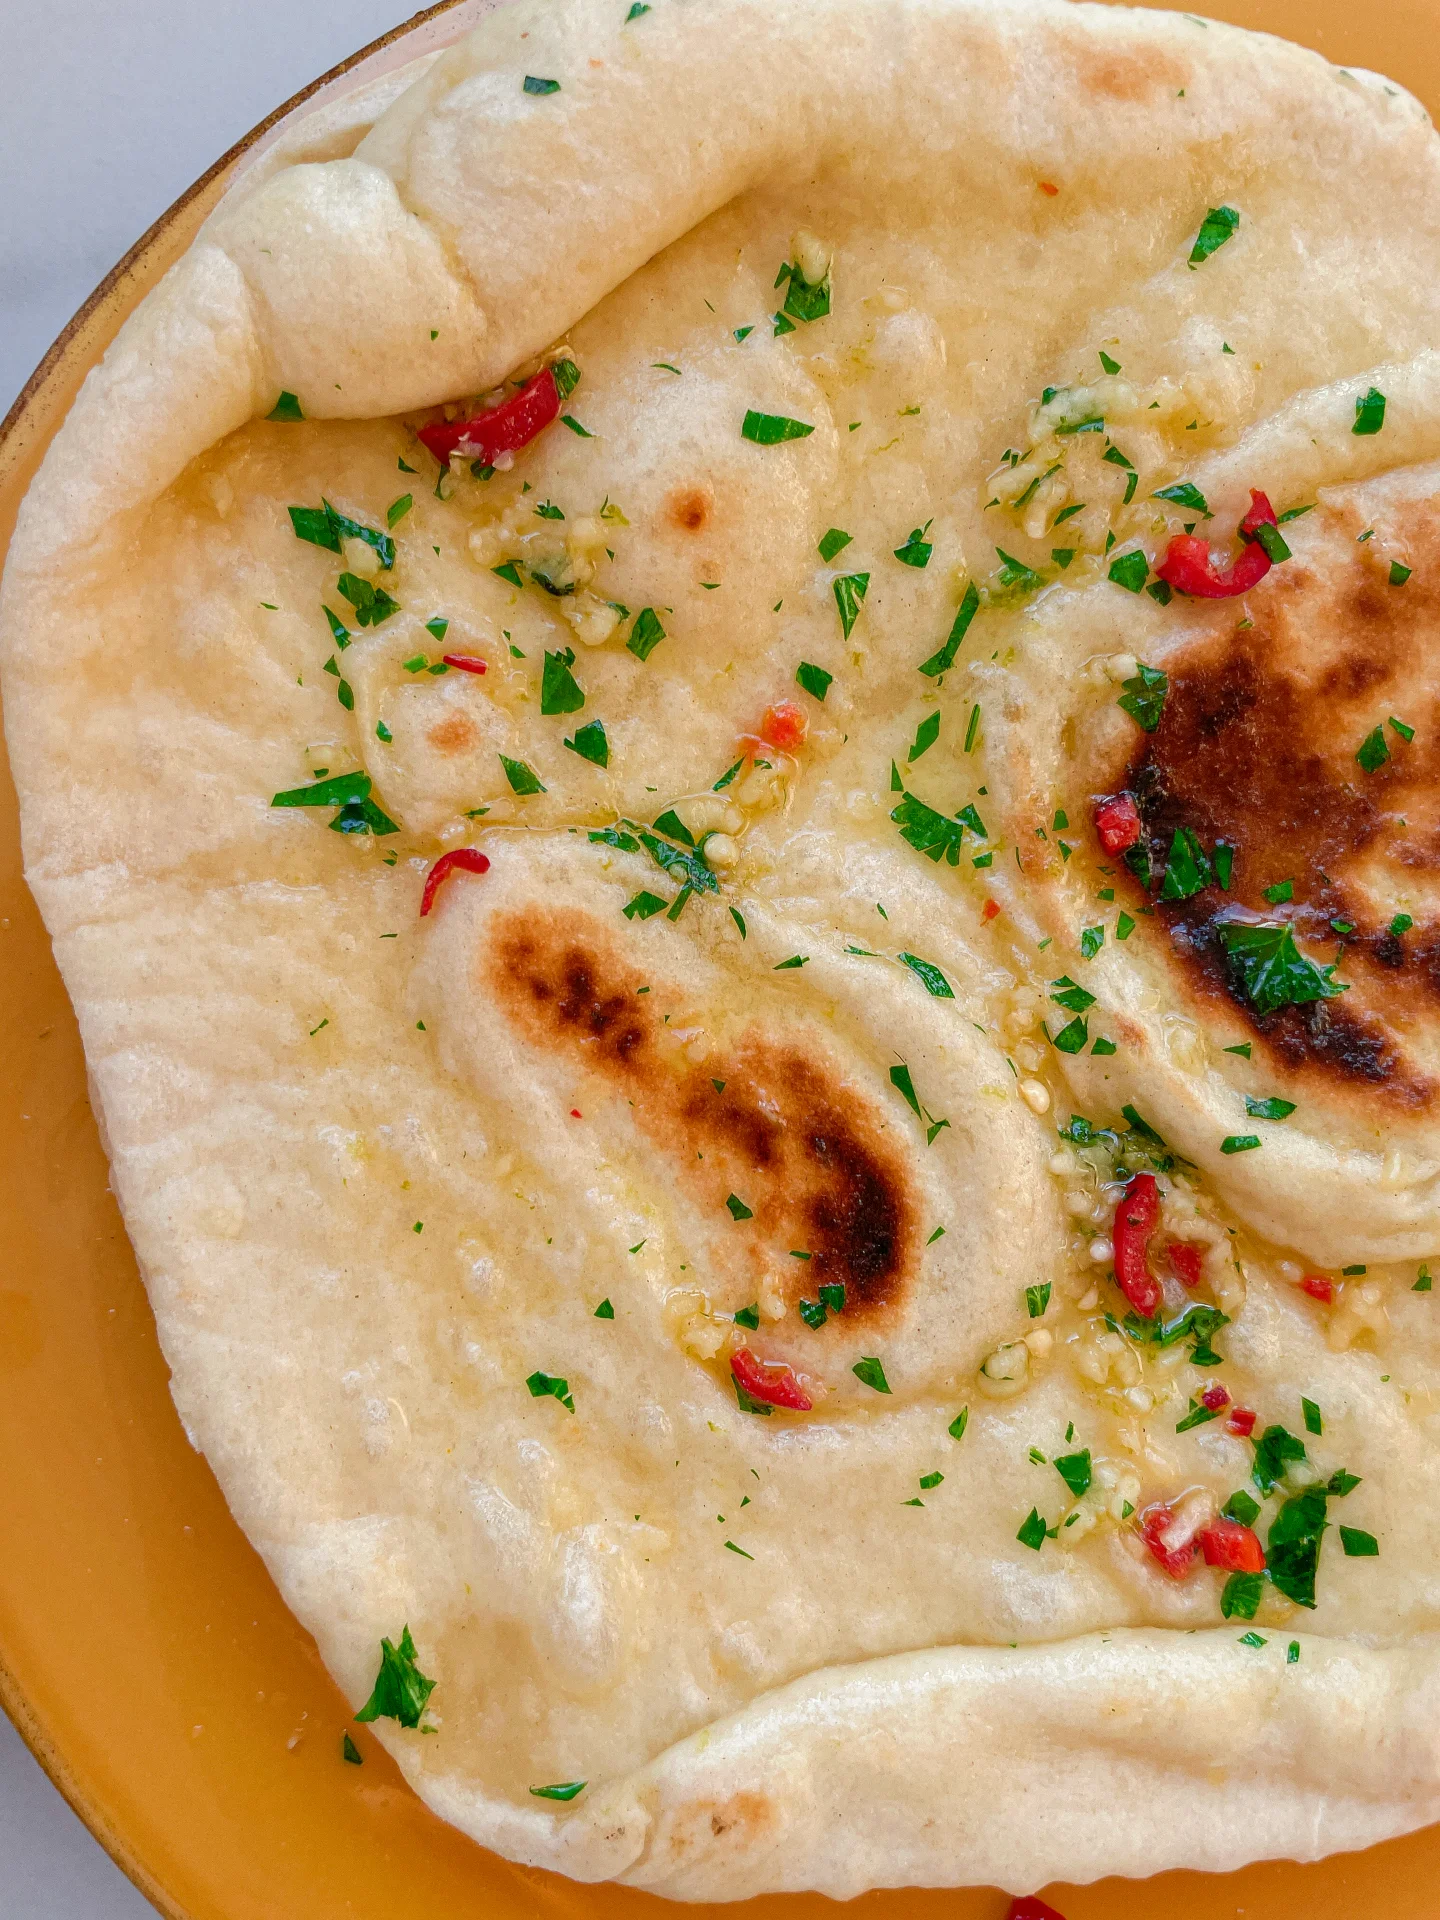
Chili Lime Garlic Naan

Chili Lime Garlic Naan

Chili Lime Garlic Naan

Chili Lime Garlic Naan Bread

March 26, 2025 by Kimberly

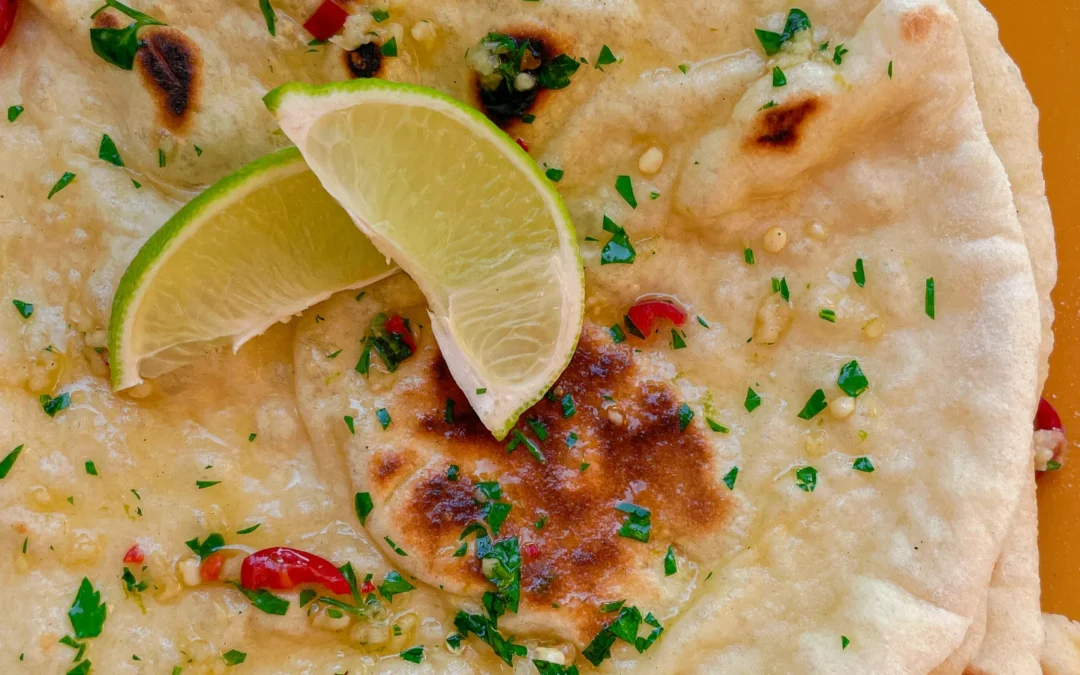
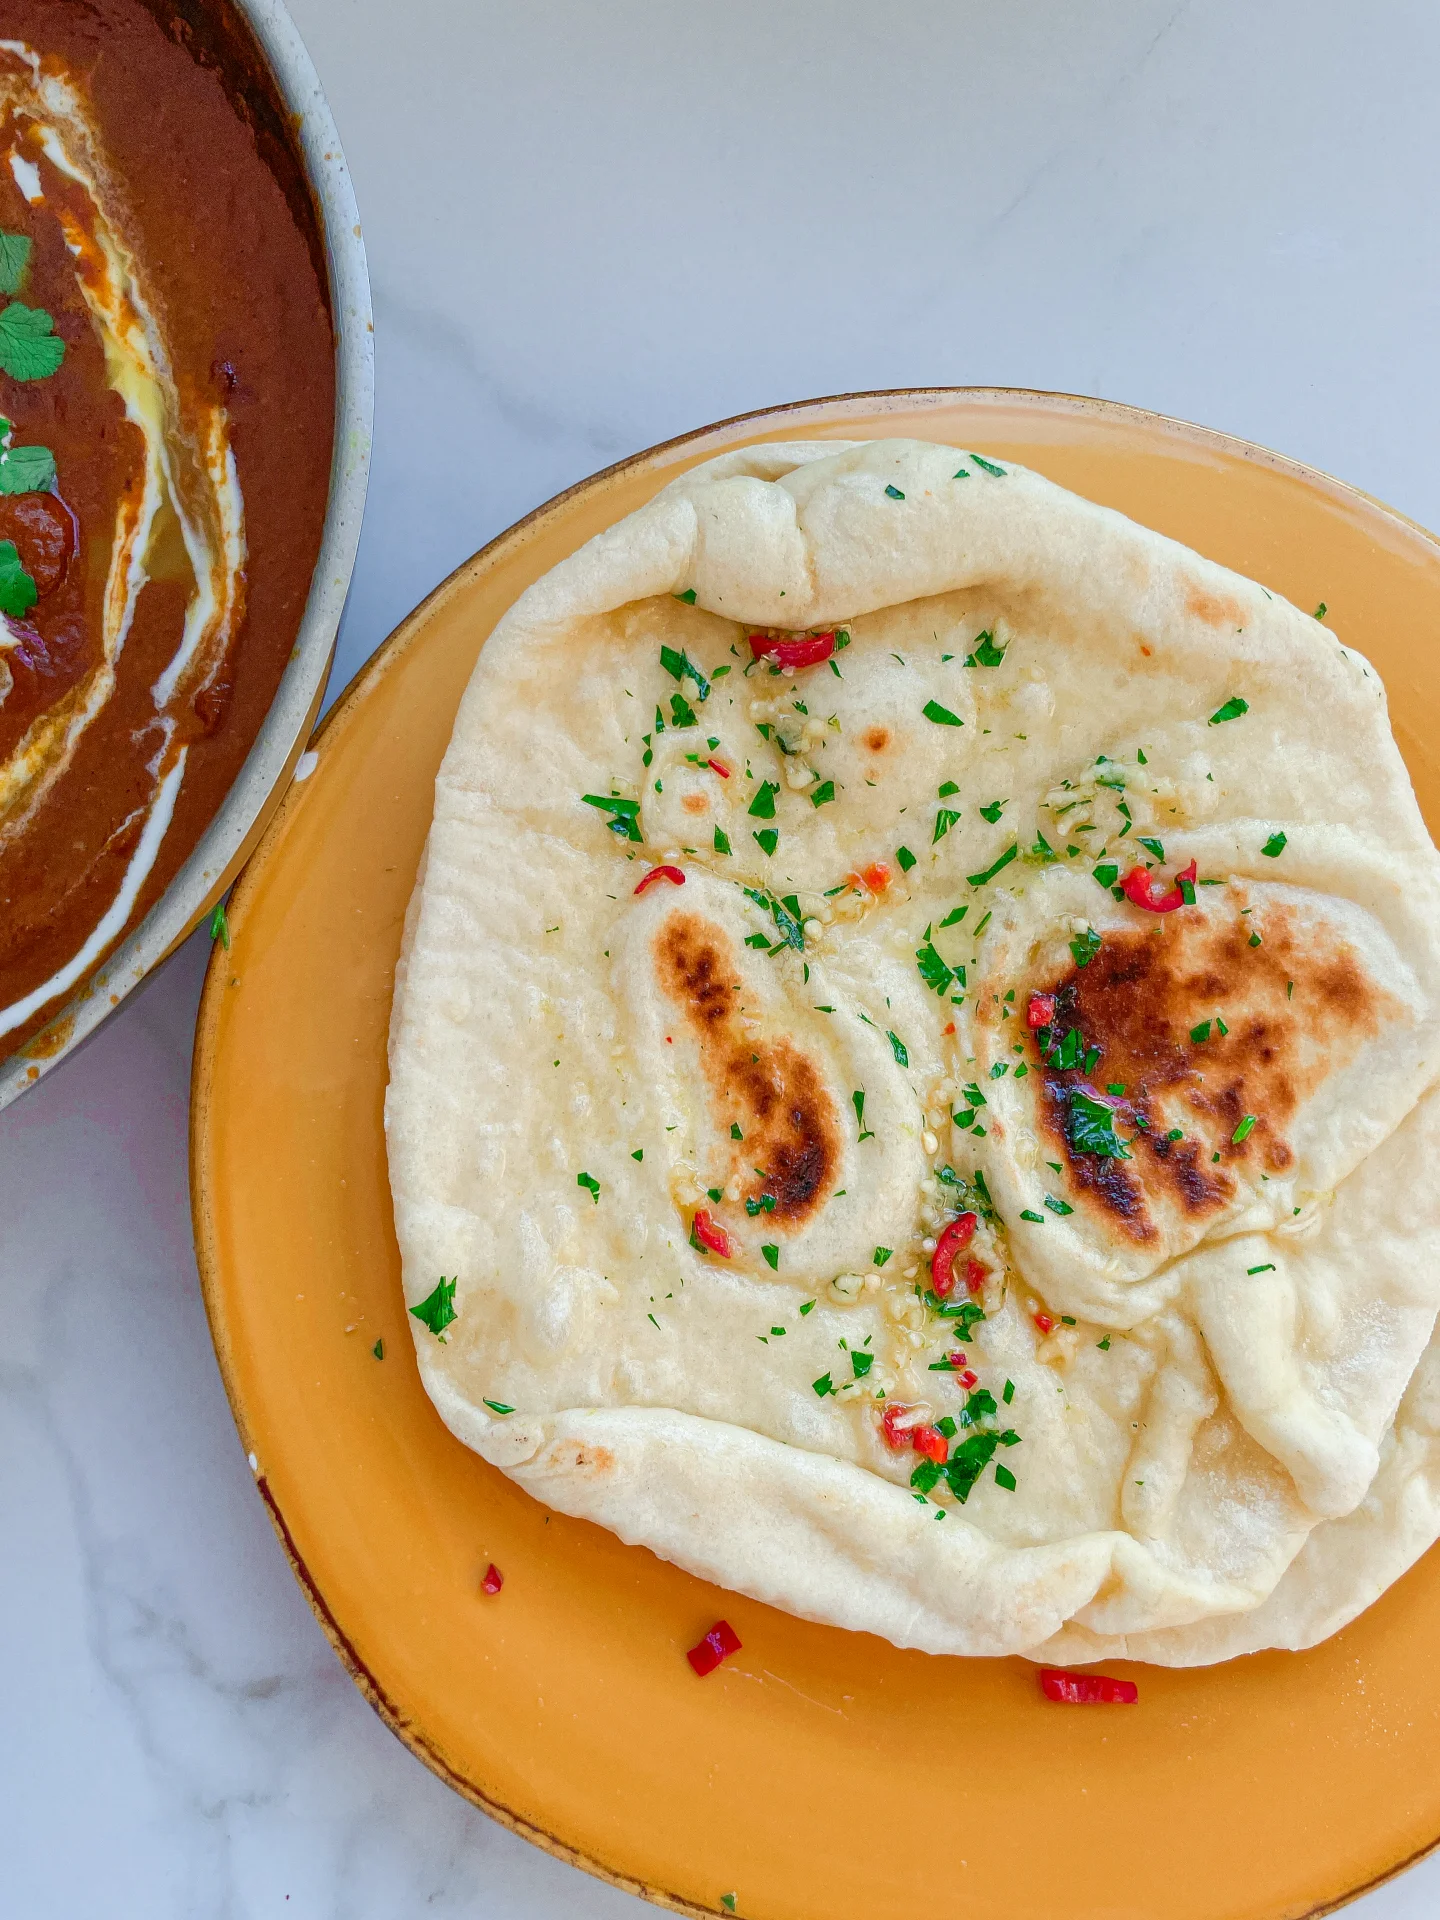
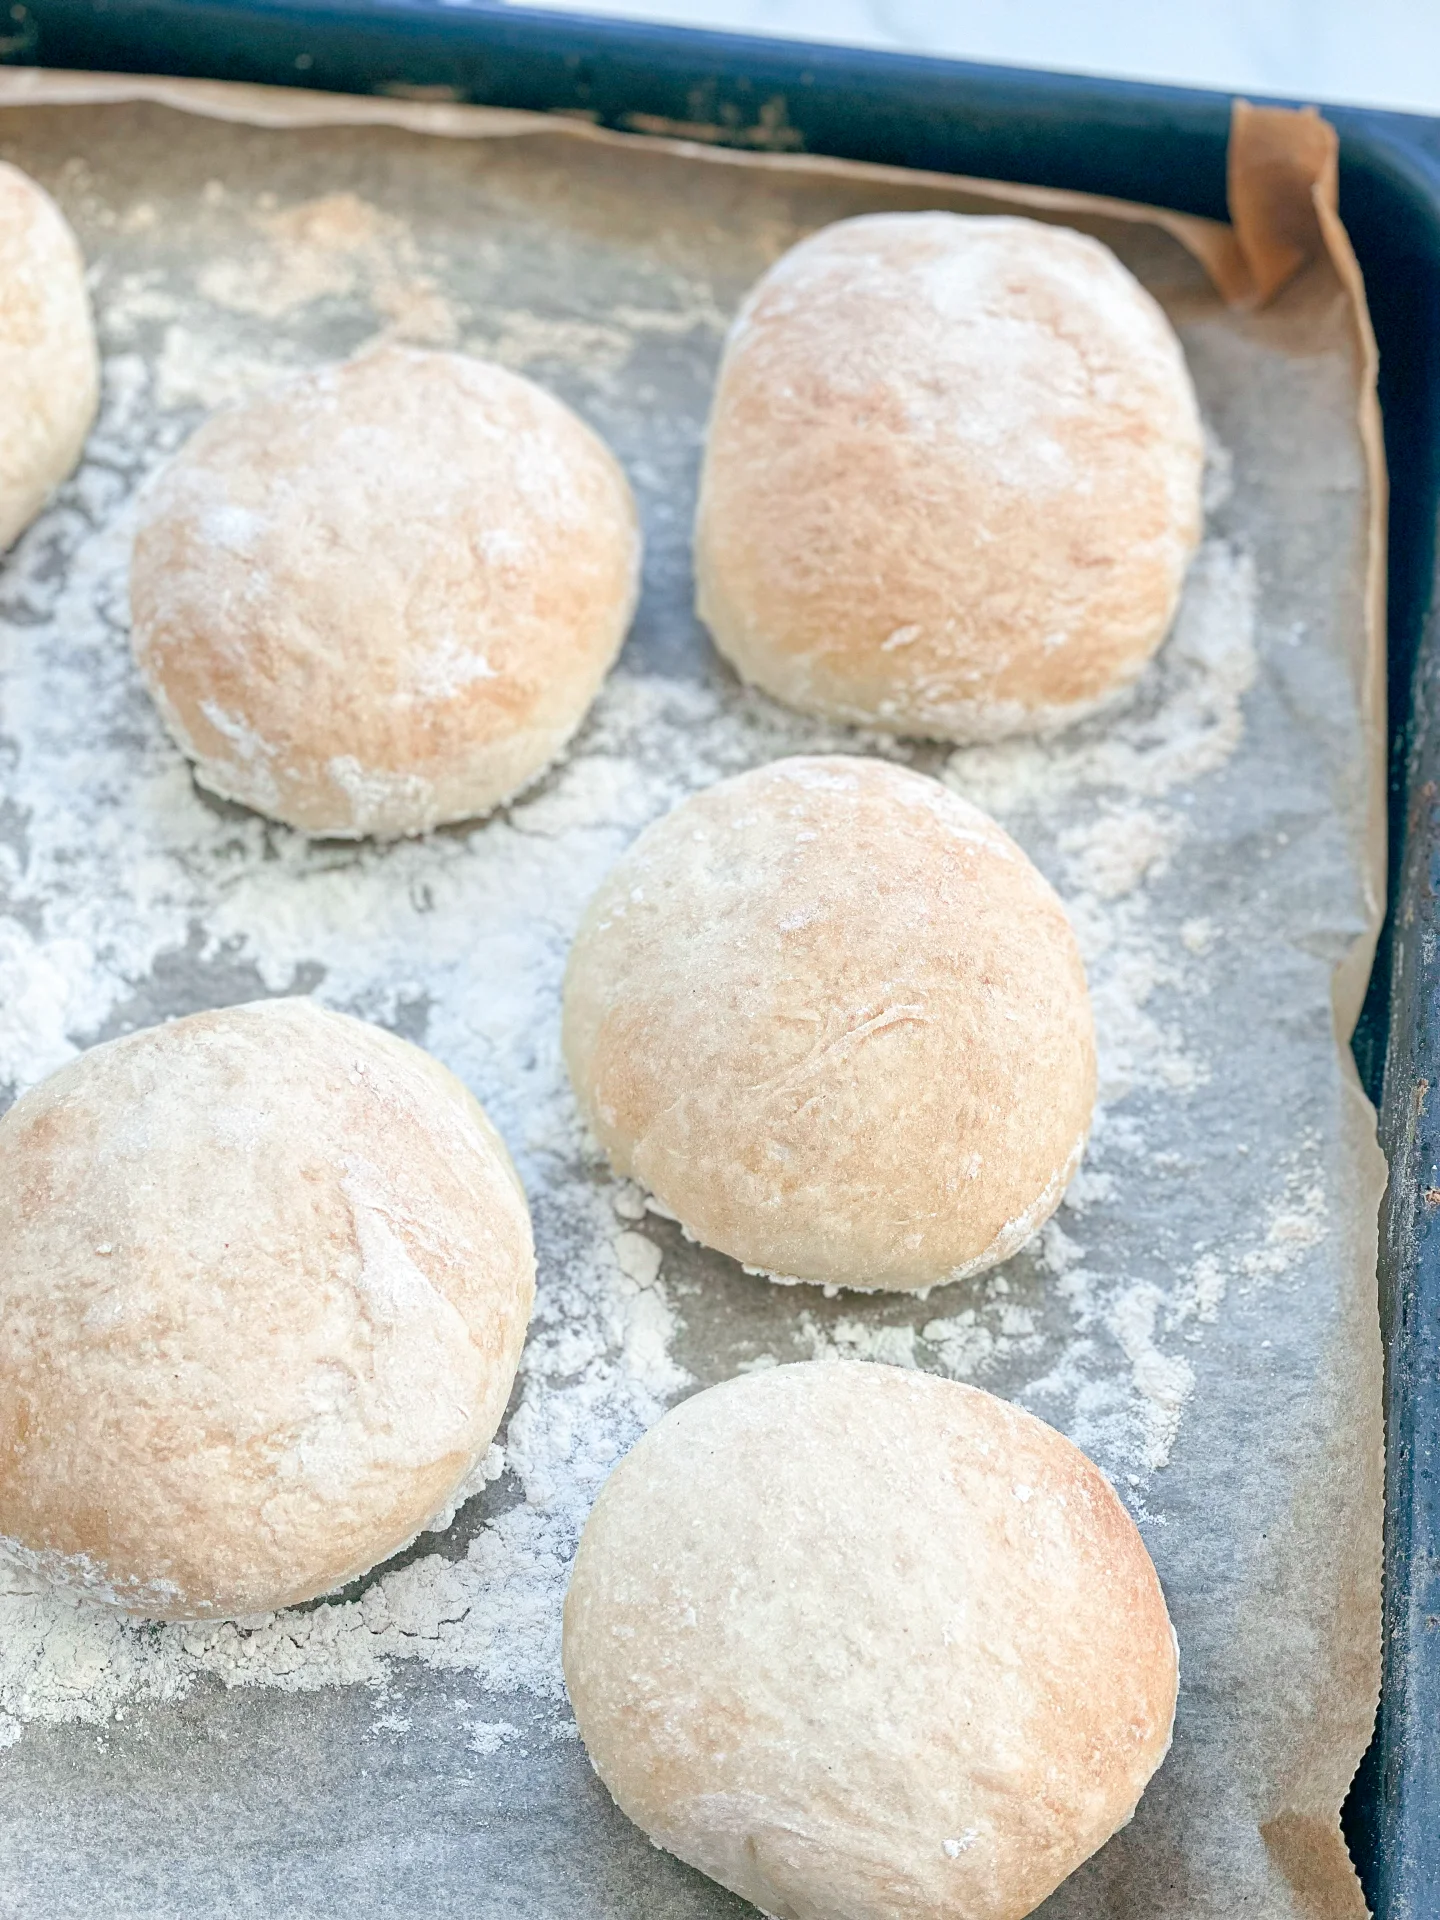
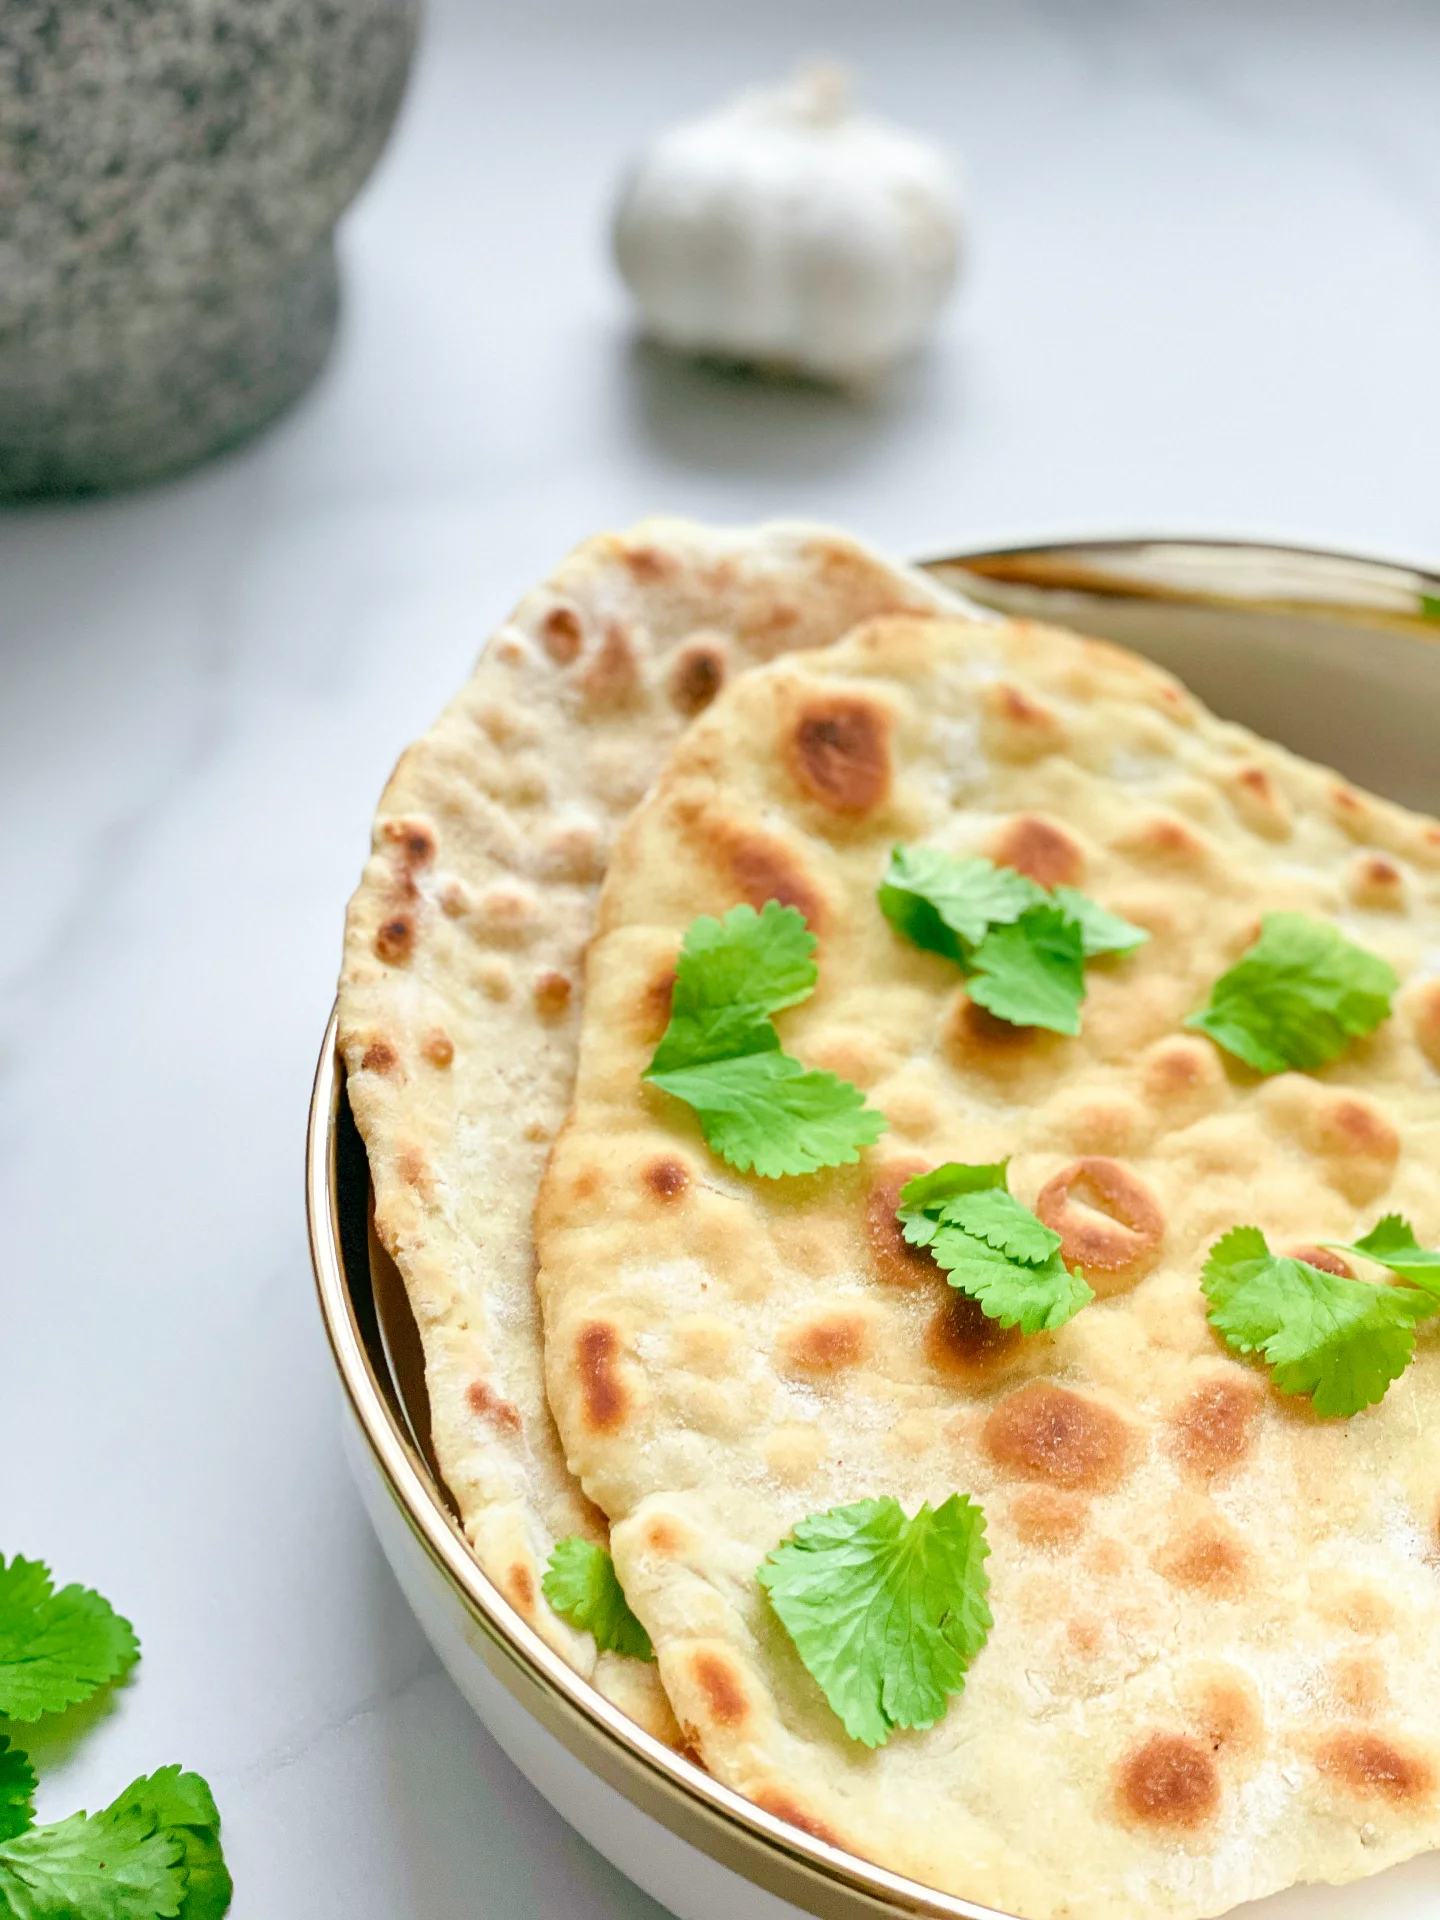
Golden, pillowy, buttery goodness with a little heat, a little zing, and a whole lot of garlic. The kind of flatbread that somehow steals the show, no matter what it’s served with.

90 MINUTES

EASY

VEGETARIAN

INDIAN

6 NAANS

FLUFFY

EVERYDAY

BREAD

ALL YEAR

INTRODUCTION

ABOUT THE RECIPE

Somehow, warm, buttery flatbread just makes life better. This one is extra special: soft, fluffy, brushed with melted butter, garlic, chili, fresh herbs, and a hit of lime zest for that unexpected, almost-too-good touch. It’s got that perfect balance of richness, freshness, and just a little spice, making it dangerously easy to eat. Whether you’re scooping up curry, using it as a base for something wild, or just eating it straight up, this one’s a keeper.

How to serve
This one is best served straight from the pan. Warm, pillowy, and soaked in that garlicky, buttery goodness. It’s the perfect sidekick to just about anything: curries, dips, grilled meats, or even a fancy little cheese plate. But let’s be honest, it’s also pretty great just by itself. Tear it, fold it, dunk it. No rules here.

How to store
If, by some miracle, you have leftovers, wrap them in foil and store at room temp for a day or in the fridge for up to two days. Reheat in a dry pan or warm oven for that fresh-off-the-stove feel.

Hi, I'm Kimberly!

Hi, I'm Kimberly.

A passionate food lover who believes in the magic of homemade deliciousness that spreads love and warmth. Join me on this culinary adventure as I prepare wonderful dishes and let’s spread some happiness together!

Kimberly the Zett Signature

If you want to get to know me better, click here!


Chili Lime Garlic Naan
„Let’s make a piece of happiness“
Print
clock clock iconcutlery cutlery iconflag flag iconfolder folder iconinstagram instagram iconpinterest pinterest iconfacebook facebook iconprint print iconsquares squares iconheart heart iconheart solid heart solid icon
Chili Lime Garlic Naan

Chili Lime Garlic Naan


  • Author: Kimberly
  • Total Time: 90 min

Description

RECOMMENDED EQUIPMENT

  • stand mixer
  • small bowl
  • large bowl
  • plastic wrap

Ingredients

Units Scale

DOUGH

  • 300 grams pizza flour (or any flour that contains at least 12g protein per 100g)
  • 1 tsp dry active yeast
  • 1/2 tsp white sugar
  • 125 milliliters lukewarm water
  • 1 tsp salt
  • 2 tbsp yogurt
  • 1 tbsp avocado oil

GLAZE

  • 12 tbsp butter, melted
  • fresh chili
  • zest of 1 lime
  • fresh parsley
  • 2 garlic cloves

Instructions

  1. Add the dry yeast to lukewarm water, stir in the sugar, and let it sit for a few minutes until it becomes foamy and bubbles form.
  2. In the stand mixer, combine the flour with salt, yogurt, and avocado. Once the yeast mixture is ready, pour it in and knead everything into a smooth dough. It should be slightly sticky but not cling to your fingers or the bowl.
  3. Transfer the dough to a lightly floured bowl, dust the top with a little flour, cover tightly with plastic wrap, and let it rest in a warm place for about 1 hour or until it doubles in size.
  4. While the dough is rising, finely chop a fresh chili and the parsley leaves. Mix them in a bowl with the zest of one lime and two pressed garlic cloves. Set this mixture aside—melted butter will be added later.
  5. Once the dough has risen, divide it into six equal pieces, shape them into balls, and let them rest under a damp towel for another 15 minutes.
  6. In the meantime, heat a cast-iron skillet until it’s very hot.
  7. Roll out each dough ball into a thin, flat round. Cook in the dry, hot skillet for about 2 minutes per side until bubbles form and the bread is fully cooked.
  8. Stir the melted butter into the prepared chili-lime-garlic mixture.
  9. Remove the naan from the pan, brush each one with the flavored butter using a pastry brush, and stack them on top of each other.
  10. Either keep the naan warm in the oven or cover them with a towel until ready to serve.
  • Passive Time: 60 min
  • Cook Time: 30 min
Milk Buns with Gingerbread Filling

Milk Buns with Gingerbread Filling

Milk Buns with Gingerbread Filling

Milk Buns with Gingerbread Filling

December 16, 2024 by Kimberly

Soft, fluffy buns filled with a creamy spiced mascarpone chocolate magic that tastes like a cozy holiday hug. Perfectly baked for that melt-in-your-mouth festive treat you didn’t know you needed.

2 HOURS

INTERMEDIATE

VEGETARIAN

INT.

348 PER BUN

FLUFFY

BRUNCH

DESSERS & SWEETS

WINTER

INTRODUCTION

ABOUT THE RECIPE

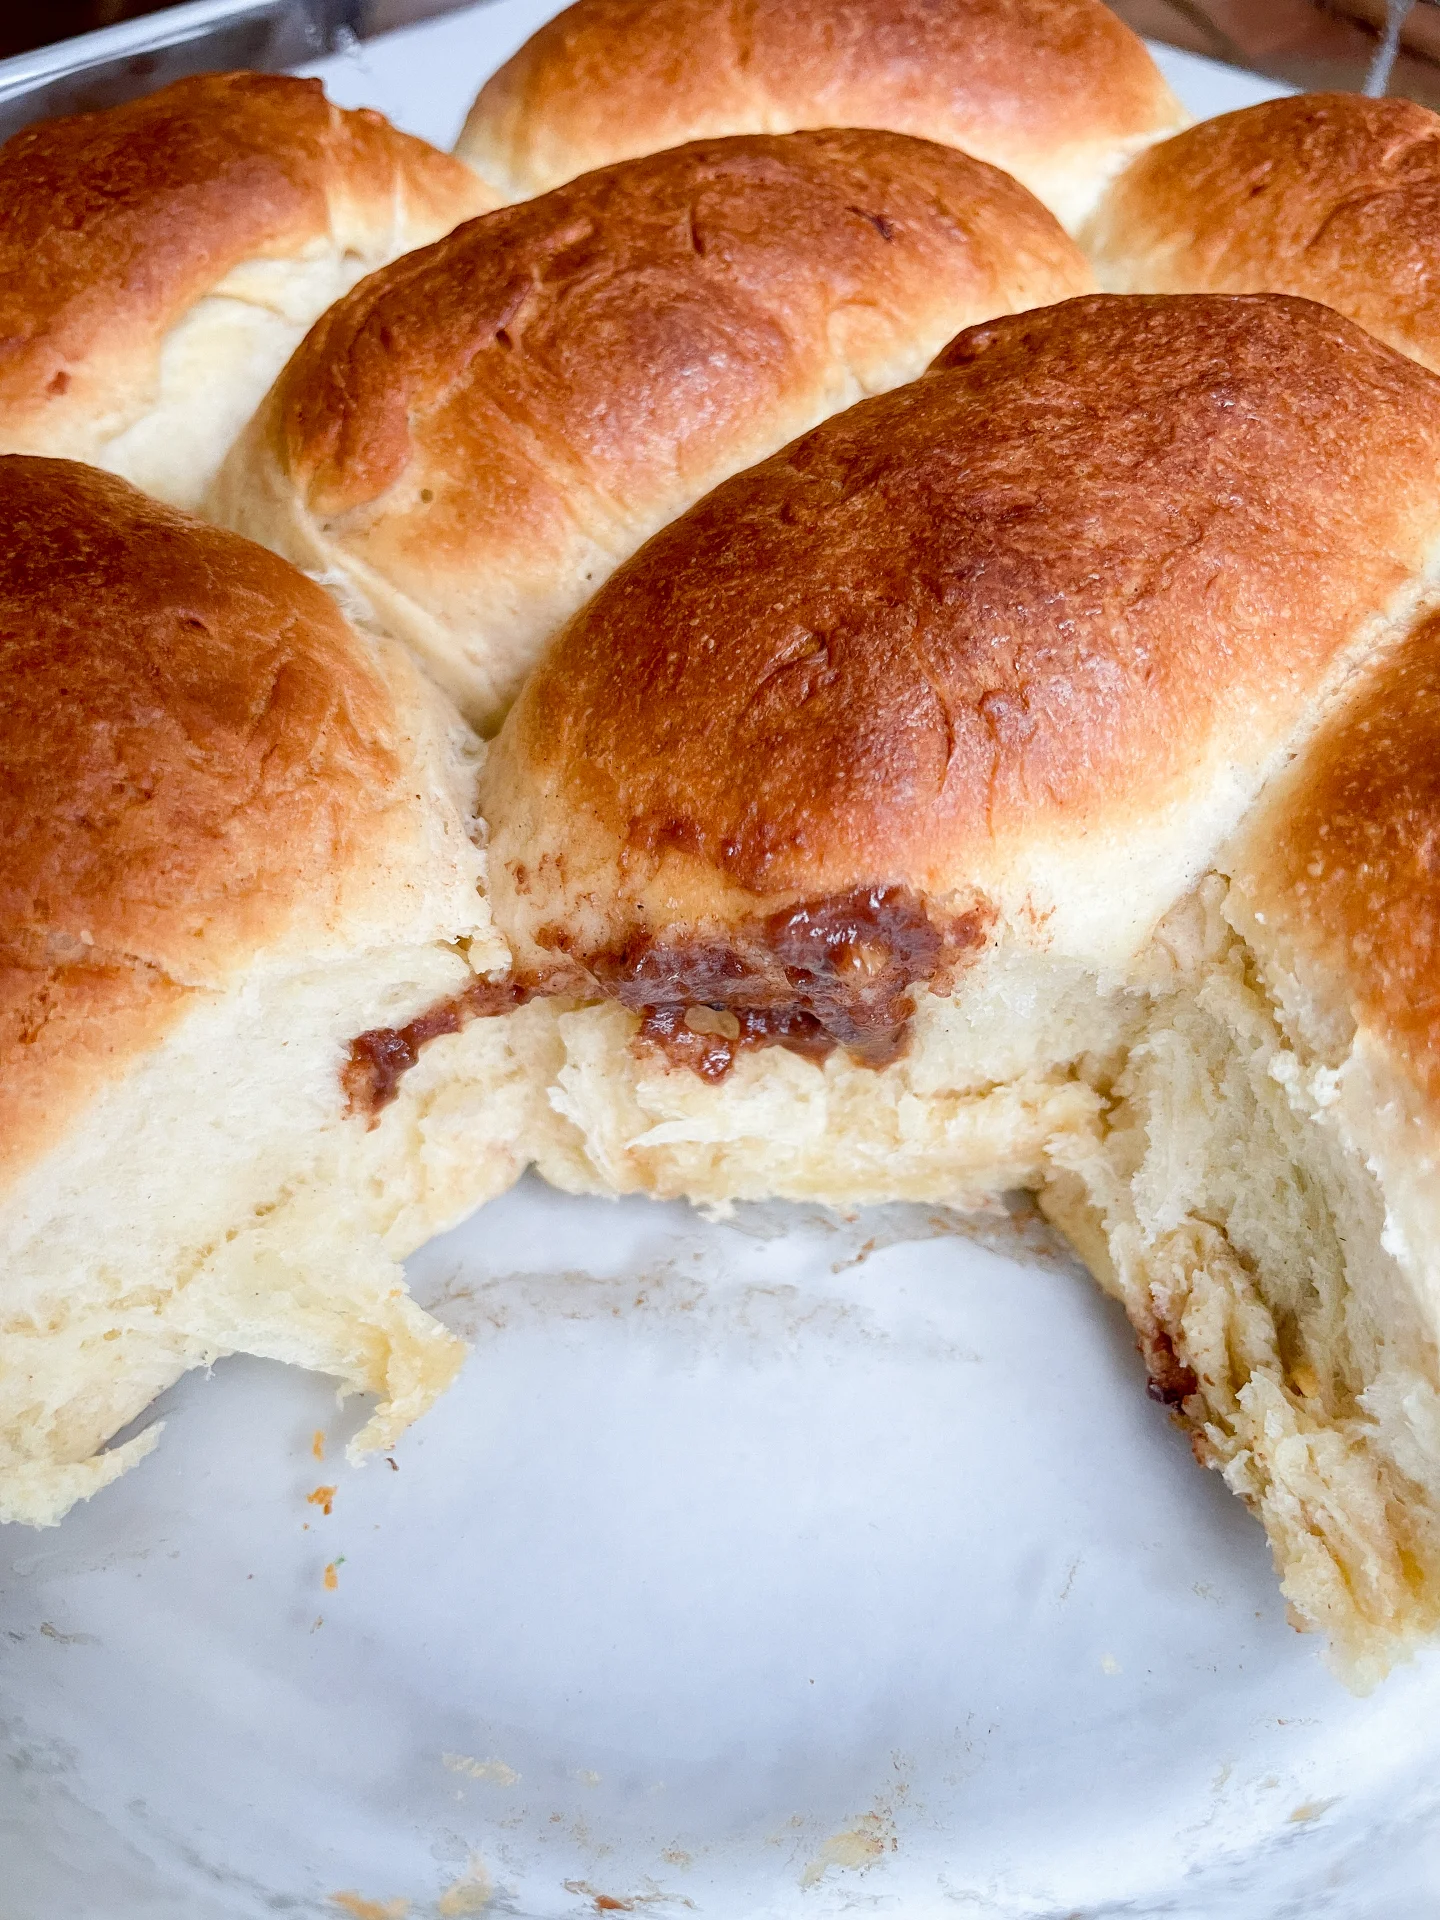
Imagine biting into a soft, cloud-like bun filled with a creamy mix of spiced mascarpone, chocolate, and gingerbread vibes. That’s this recipe – an edible holiday dream! These buns are everything cozy wrapped up in one delicious bite. Whether you’re serving them at a festive brunch or enjoying one with your afternoon coffee, they’re the ultimate way to make your kitchen smell like Christmas and your taste buds very, very happy.

How to serve
Serve these buns warm for the best experience! They’re perfect as they are, but you can glaze them with a spiced sugar syrup or a light gingerbread oil drizzle for an extra festive touch. Pair them with a steaming cup of hot chocolate, a chai latte, or even mulled wine for maximum holiday vibes. Pro tip: Sprinkle a little powdered sugar on top for that snow-dusted look – it’s giving cozy holiday bakery.

How to store
Keep your buns soft and fresh by storing them in an airtight container at room temperature for up to 2 days. To enjoy them later, reheat gently in the oven or microwave for that just-baked taste. You can also freeze them and defrost as needed!

Hi, I'm Kimberly!

Hi, I'm Kimberly.

A passionate food lover who believes in the magic of homemade deliciousness that spreads love and warmth. Join me on this culinary adventure as I prepare wonderful dishes and let’s spread some happiness together!

Kimberly the Zett Signature

If you want to get to know me better, click here!


Milk Buns with Gingerbread Filling
„Let’s make a piece of happiness“
Print
clock clock iconcutlery cutlery iconflag flag iconfolder folder iconinstagram instagram iconpinterest pinterest iconfacebook facebook iconprint print iconsquares squares iconheart heart iconheart solid heart solid icon
Milk Buns with Gingerbread Filling

Milk Buns with Gingerbread Filling


  • Author: Kimberly
  • Total Time: 2 hours
  • Yield: 10-12 1x

Description

Recommended Equipment

  • large mixing bowl
  • medium bowl
  • plastic wrap
  • rolling pin

Ingredients

Units Scale

MILK BUNS

  • 500 grams all-purpose flour (type 550 in Germany)
  • 1 tsp salt
  • 1 egg
  • 50 grams white sugar
  • 7 grams dry active yeast
  • 200 milliliter full-fat cow milk
  • 100 grams butter

GINGERBREAD FILLING

  • 125 grams mascarpone
  • 50 grams milk chocolate
  • 15 grams powdered sugar
  • pinch of salt
  • 1 tsp cinnamon
  • 1/2 tsp clove, ground
  • 1/4 tsp ginger, ground
  • 1/4 tsp allspice, ground
  • 1/8 tsp cardamom, ground
  • 1/8 tsp nutmeg, ground
  • 25 grams candied oranges
  • 25 grams hazelnuts, chopped & roasted

GLAZE

  • 2 tbsp butter
  • 2 tbsp heavy cream

Instructions

  1. For the yeast dough, heat milk, butter until melted in a small saucepan to 35°C (95°F). Add 1 tsp of the sugar and the yeast and stir until dissolved. Let sit for about 3-4 minutes until bubbles form.
  2. Meanwhile, in a large mixing bowl, whisk together the egg, sugar, and salt. Add the yeast-butter-milk mixture and the flour, then knead into a smooth dough. Cover the bowl with plastic wrap and let it rest for about 40 minutes, until the dough has doubled in size.
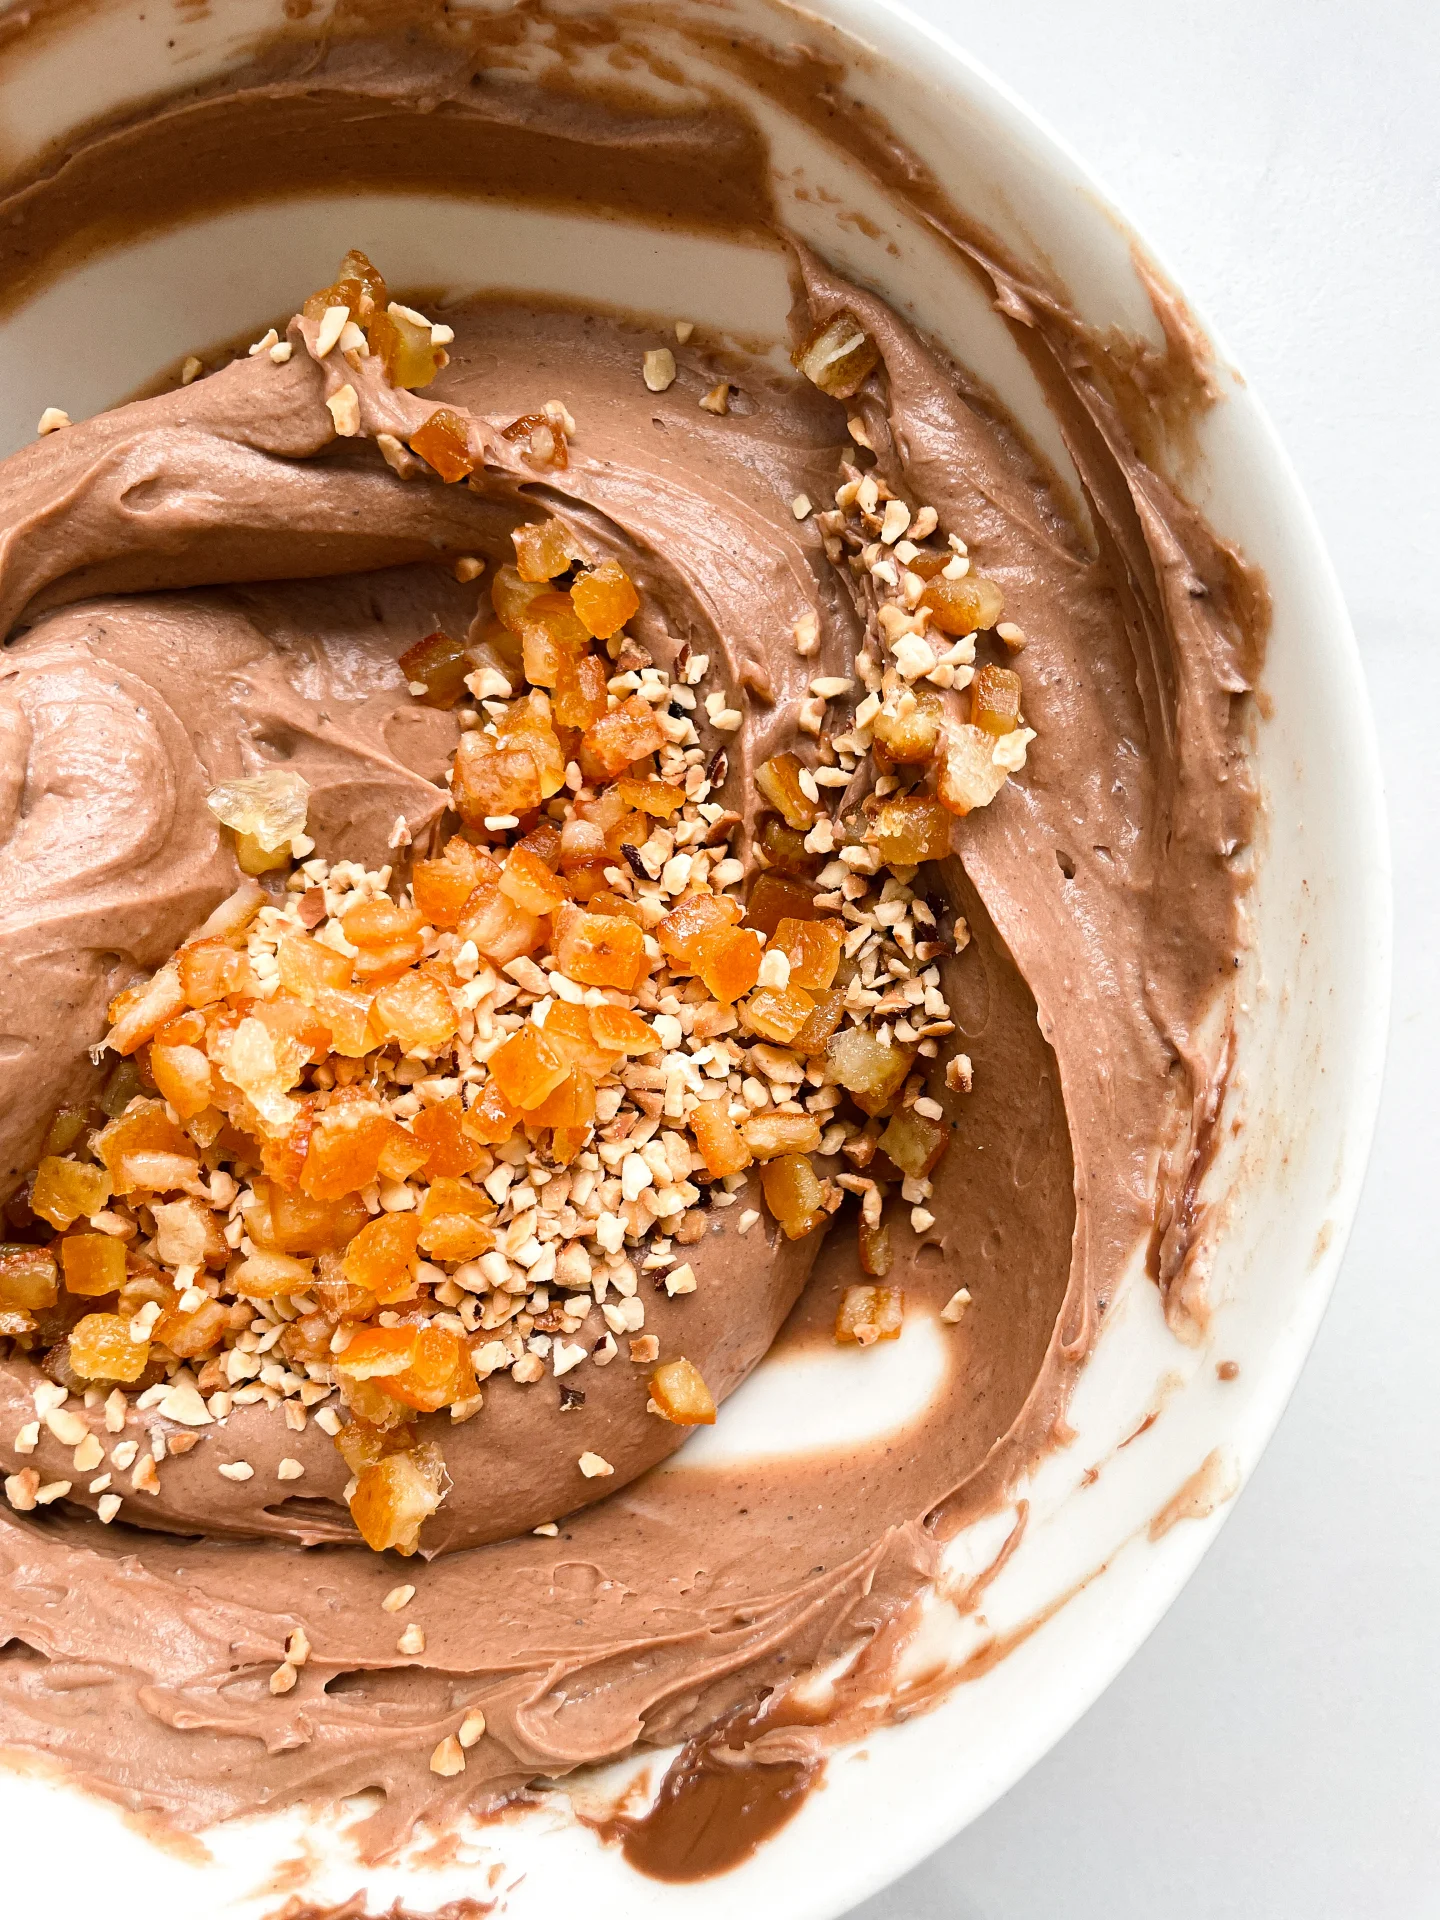
  3. In the meantime, prepare the gingerbread cream. In a bowl, mix mascarpone, powdered sugar, cinnamon, cardamom, cloves, allspice, nutmeg, and ginger. Melt the chocolate and stir it into the mascarpone mixture. Finally, fold in chopped hazelnuts and candied orange pieces, mix well, and set aside.
  4. Once the dough has doubled in size, transfer it to a lightly floured surface. Knead it briefly and shape it into a long roll. Divide the roll into 10-12 equal pieces. Flatten each piece and spread 1 tablespoon of gingerbread cream on top, leaving a 1 cm border. Roll them up from the bottom. Pinch the ends tightly to prevent the filling from leaking while baking.
  5. Place the rolls into a baking dish, cover again with plastic wrap, and let them rise for another 40 minutes.
  6. Preheat the oven to 190°C (375°F) during the second rise.
  7. Just before baking, brush the rolls with a mixture of cream and melted butter.
  8. Bake the rolls for about 20-25 minutes until golden brown.
  • Passive Time: 100 min
  • Cook Time: 20 min

Blini Appetizers

Blini Appetizers

Blini Appetizers

Blini Appetizers

December 15, 2024 by Kimberly

Tiny pillows of heaven! These fluffy blini with a creamy ricotta base and versatile toppings bring bold flavors and cozy vibes. Perfect for casual nights or fancy parties!

40 MINUTES

EASY

OMNIVORE

RUSSIA

40-80 PER BLINI

FLUFFY

DINNER PARTY

APPETIZER

ALL YEAR

INTRODUCTION

ABOUT THE RECIPE

Imagine a table full of vibrant, delicious little bites that disappear as soon as you serve them! These foolproof blini are soft, golden mini pancakes topped with a silky ricotta cream that goes with anything. Whether you’re hosting a cozy brunch or an elegant dinner party, these creative toppings take your appetizer game to the next level. From smoky and herby to sweet and nutty, there’s a flavor for everyone. It’s all about the balance of textures, flavors, and a little drizzle of oil magic!

How to serve
Prepare the blini as mini pancakes, then spread a dollop of the ricotta cream on top and add your chosen toppings. You can serve them pre-assembled for easy grabbing or turn it into a fun DIY setup where everyone can mix and match their toppings. Perfect for any vibe – casual or fancy! You can also prepare the batter and ricotta cream in advance and keep it in the fridge for up to 24 hours. The blini pancakes can also be made ahead of time since they’re typically served cold.

How to store
Store the blini and ricotta cream separately in airtight containers. Keep the blini in the fridge for up to 2 days. The ricotta cream stays fresh in the fridge for 3-4 days.

Hi, I'm Kimberly!

Hi, I'm Kimberly.

A passionate food lover who believes in the magic of homemade deliciousness that spreads love and warmth. Join me on this culinary adventure as I prepare wonderful dishes and let’s spread some happiness together!

Kimberly the Zett Signature

If you want to get to know me better, click here!


Blini Appetizers
Blini Appetizers
Blini Appetizers
Blini Appetizers
„Let’s make a piece of happiness“
Print
clock clock iconcutlery cutlery iconflag flag iconfolder folder iconinstagram instagram iconpinterest pinterest iconfacebook facebook iconprint print iconsquares squares iconheart heart iconheart solid heart solid icon
Blini Appetizers

Blini Appetizers


  • Author: Kimberly
  • Total Time: 40 min
  • Yield: 20 blini 1x

Description

RECOMMENDED EQUIPMENT

  • mixing bowl
  • whisk
  • pan
  • spatula
  • cooling rack
  • piping bag (optional)
  • kitchen knife
  • cutting board


Ingredients

Units Scale

BATTER

  • 90 grams all-purpose flour
  • 1 tsp baking powder
  • 1 egg
  • 125 milliliter buttermilk
  • 1 tbsp olive oil
  • 1/4 tsp salt
  • oil for frying

RICOTTA CREAM

  • 250 grams ricotta
  • 1 tbsp olive oil
  • 1 tbsp lemon juice
  • salt & pepper to taste

BLINI TOPPING 1

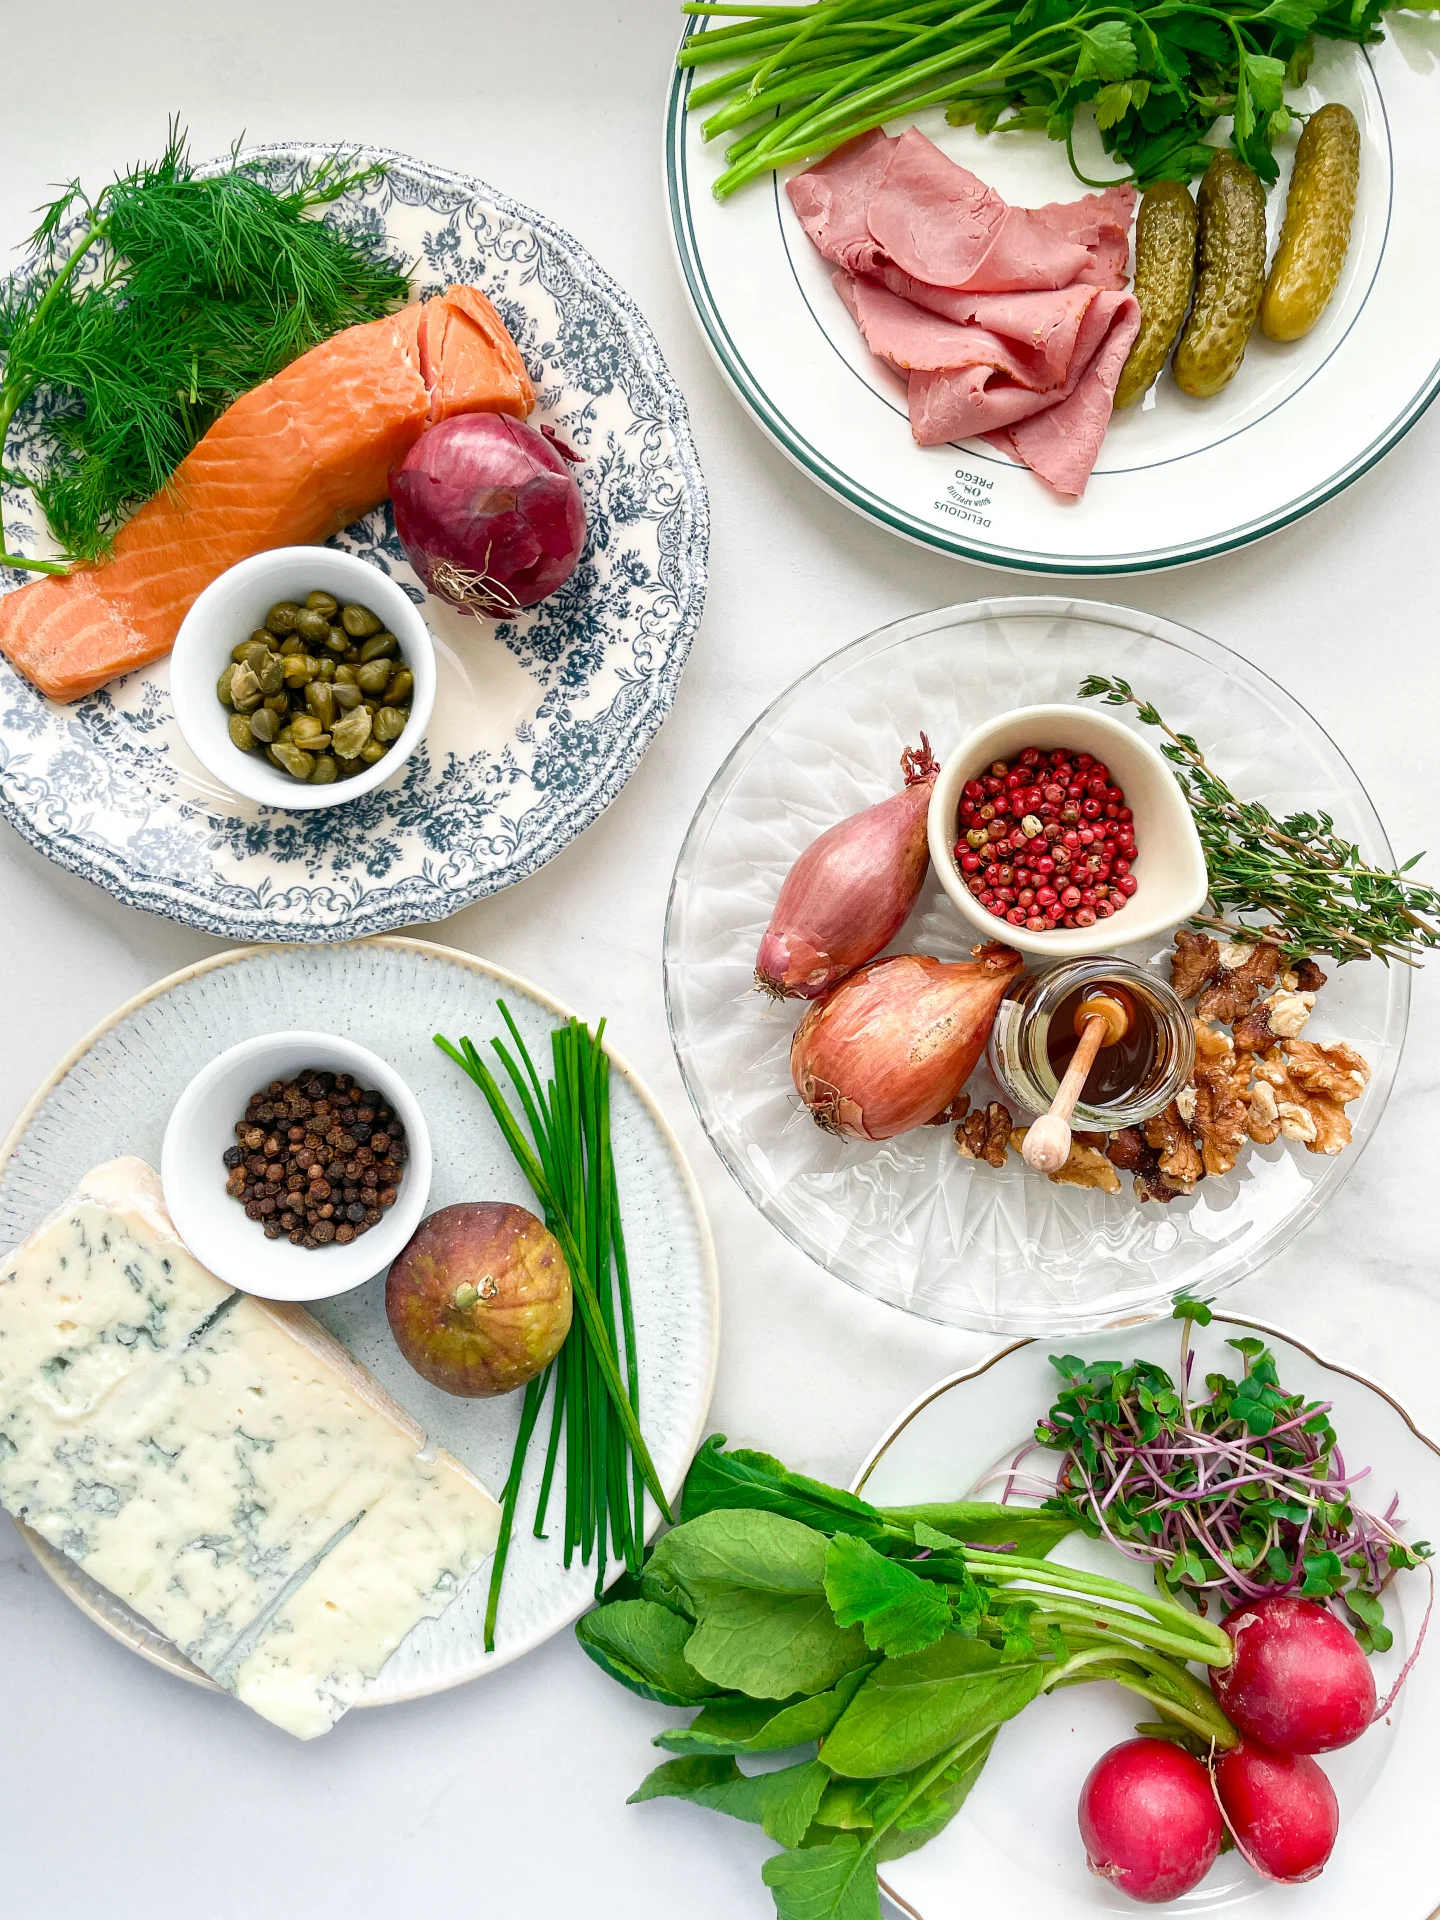
  • walnuts
  • shallot
  • oil for frying
  • honey
  • chili oil
  • fresh thyme
  • red pepper flakes

BLINI TOPPING 2

  • fresh fig
  • gorgonzola
  • truffle oil
  • chives
  • black pepper

BLINI TOPPING 3

  • cooked salmon
  • red onion
  • capers
  • olive oil
  • fresh dill
  • black pepper

BLINI TOPPING 4

  • pastrami
  • cornichons
  • walnut oil
  • fresh parsley

BLINI TOPPING 5

  • radishes
  • cress
  • basil oil

Instructions

  1. First, we’re making the blini batter. Mix all the ingredients together until smooth, then let it chill for like 5-10 minutes. Once the batter’s had its lil rest, heat up a pan with a bit of oil or butter and spoon in small circles of batter. I usually use 3/4 of a tablespoon. Here’s the pro tip: when you see those cute little holes popping up on the surface, it’s time to flip them. Cook each side for about 2-3 minutes until they’re golden and gorgeous. Boom, your blinis are born. Pop them on a cooling rack to chill out – no soggy bottoms here.
  2. Grab a bowl and mix the ricotta cream. For this, stir together ricotta, olive oil, lemon juice, salt & pepper until it’s smooth and creamy. Then load it into a piping bag if you’re feeling fancy, or just keep a spoon handy for the easy aesthetic.
  3. Once your blinis are cool, dollop or pipe some ricotta cream onto each one. Get creative – a little swirl, a casual blob, whatever your heart desires. Now they’re ready for toppings.
  4. For Blini topping 1, toast the walnuts in a pan without adding additional fat. Take them out and let them cool. Thinly slice the shallots into delicate rings and fry them in a bit of oil until crispy. Set aside to cool. Add half a walnut onto the blini, as well as about 1 tsp of the crispy onions. Finish with a drizzle of honey and a sprinkle of pink peppercorns. Toss on a few fresh thyme leaves and finish with a few drops of chili oil for a spicy kick that ties it all together.
  5. For Blini topping 2, slice fresh figs into eighths. Place one fig wedge on the ricotta cream, then crumble some blue cheese on the other side – as much or as little as your vibe calls for. Add a few drops of truffle oil, sprinkle with freshly ground pepper, and garnish with a touch of chopped chives to seal the deal.
  6. For Blini topping 3, flake some cooked salmon into bite-sized pieces and nestle it onto the ricotta cream. Slice red onions into thin strips, then scatter a few pieces on top along with some capers. Add a few drops of olive oil, a grind of fresh black pepper, and finish with a couple of dill sprigs.
  7. For Blini topping 4, tear thin slices of pastrami into strips, roll them into little spirals, and press them onto the ricotta. Diagonally halve some cornichons and place one half on the blini. Drizzle a few drops of walnut oil for a rich, nutty twist. Top it all off with a sprig of fresh parsley for a classy finishing touch.
  8. For Blini topping 5, thinly slice radishes into delicate rounds and place two slices on one side of the blini. On the other side, gently press on a little bunch of radish cress for that pop of green. Finish with a few drops of basil oil for a fresh, herbaceous flair.
  9. Serve these cute appetizers on a platter and watch them disappear in seconds.

  • Cook Time: 40 min

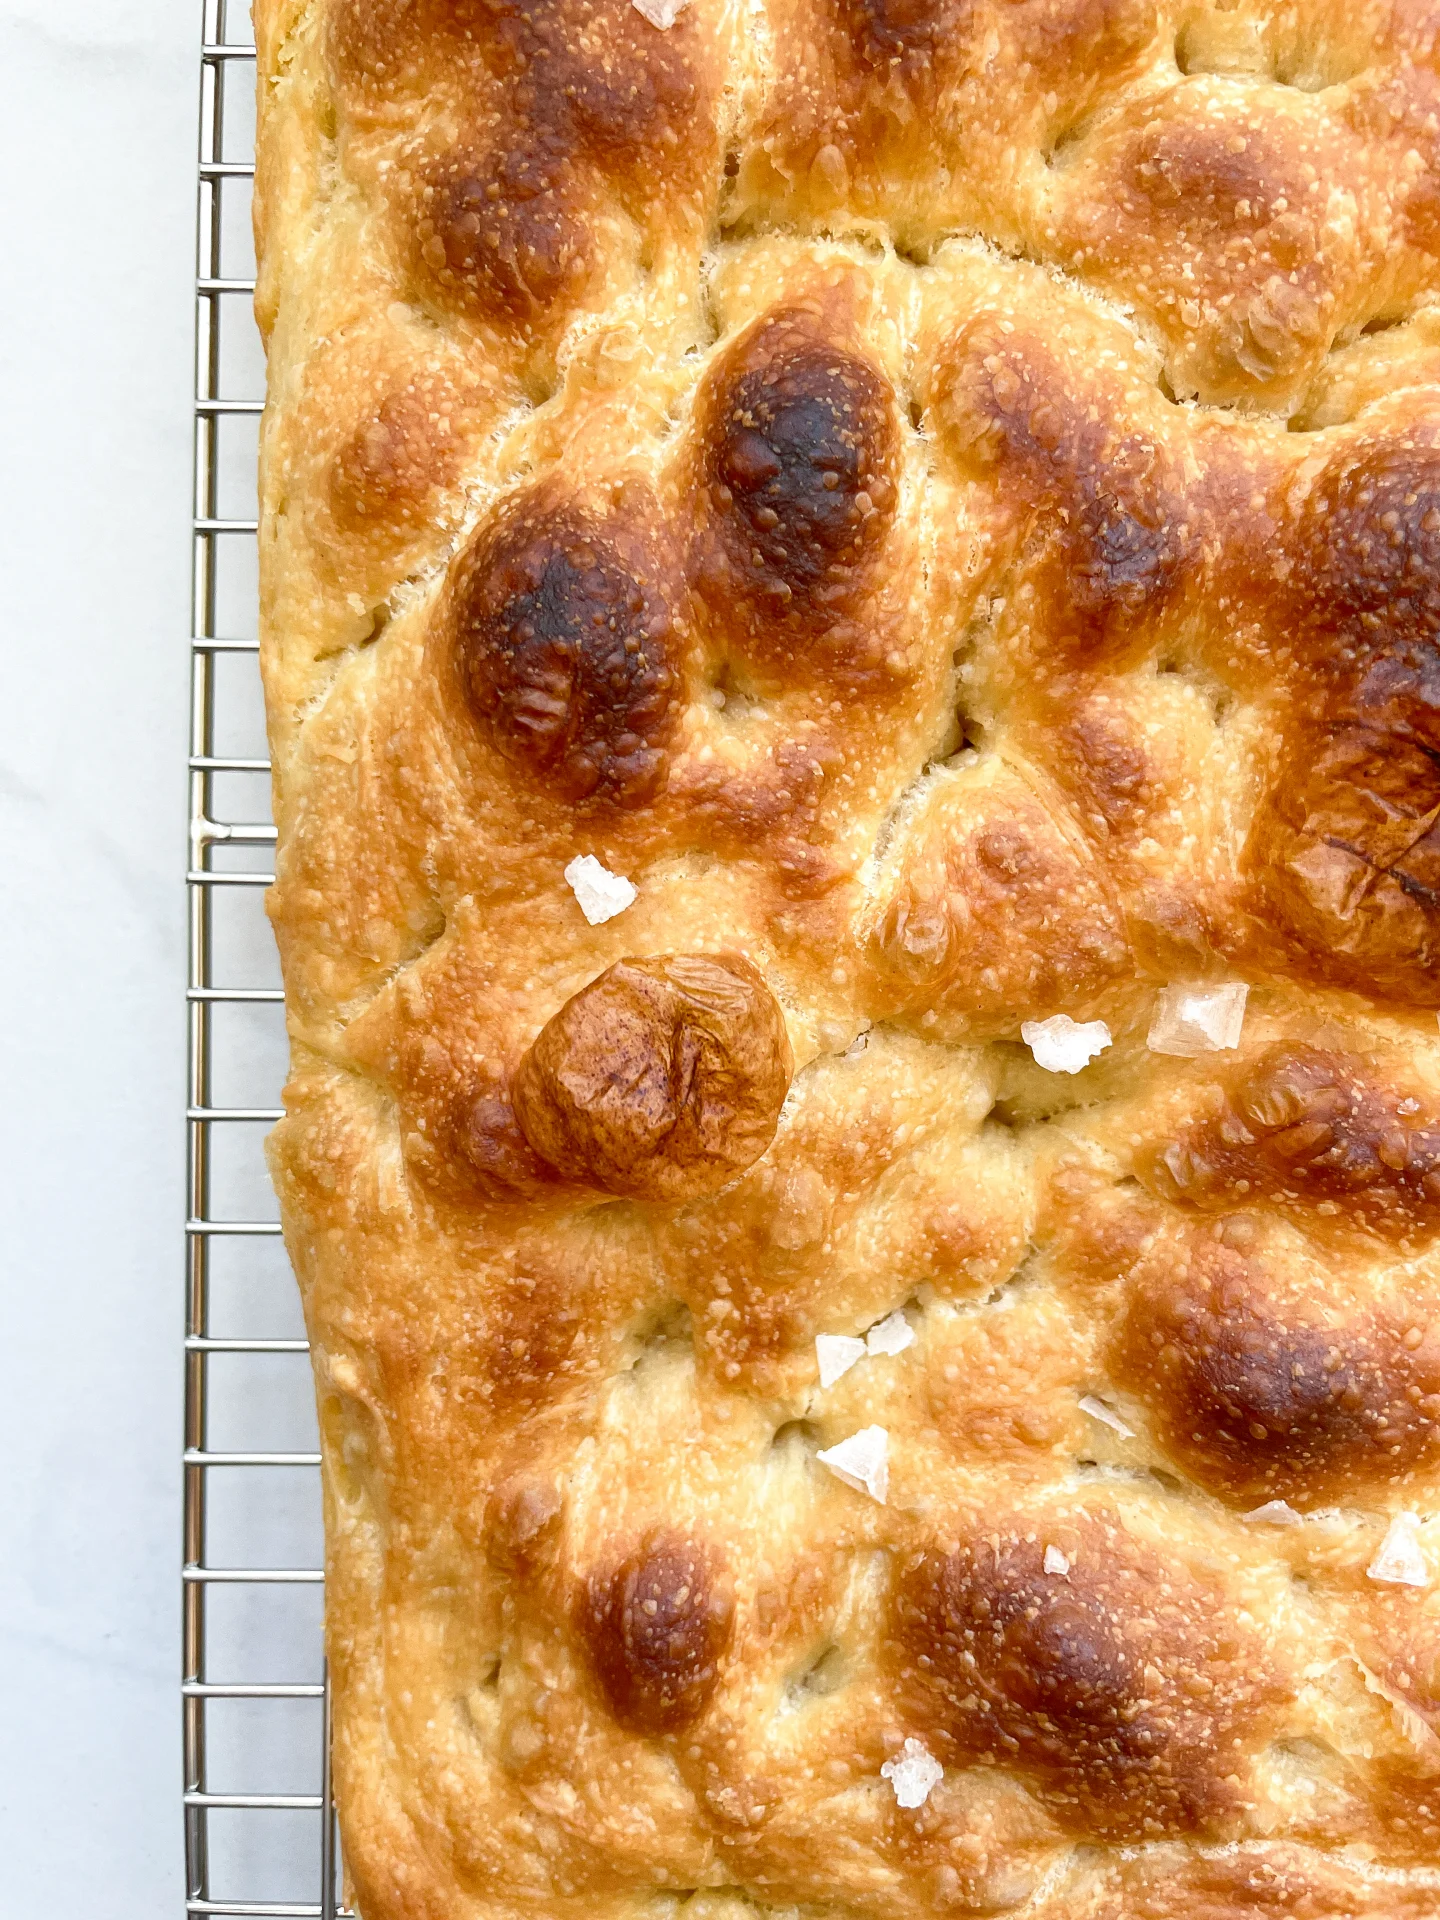
Easy Same Day Basic Focaccia

Easy Same Day Basic Focaccia

Quick & Easy - The Best Focaccia Recipe

Easy Same Day Basic Focaccia

October 26, 2024 by Kimberly

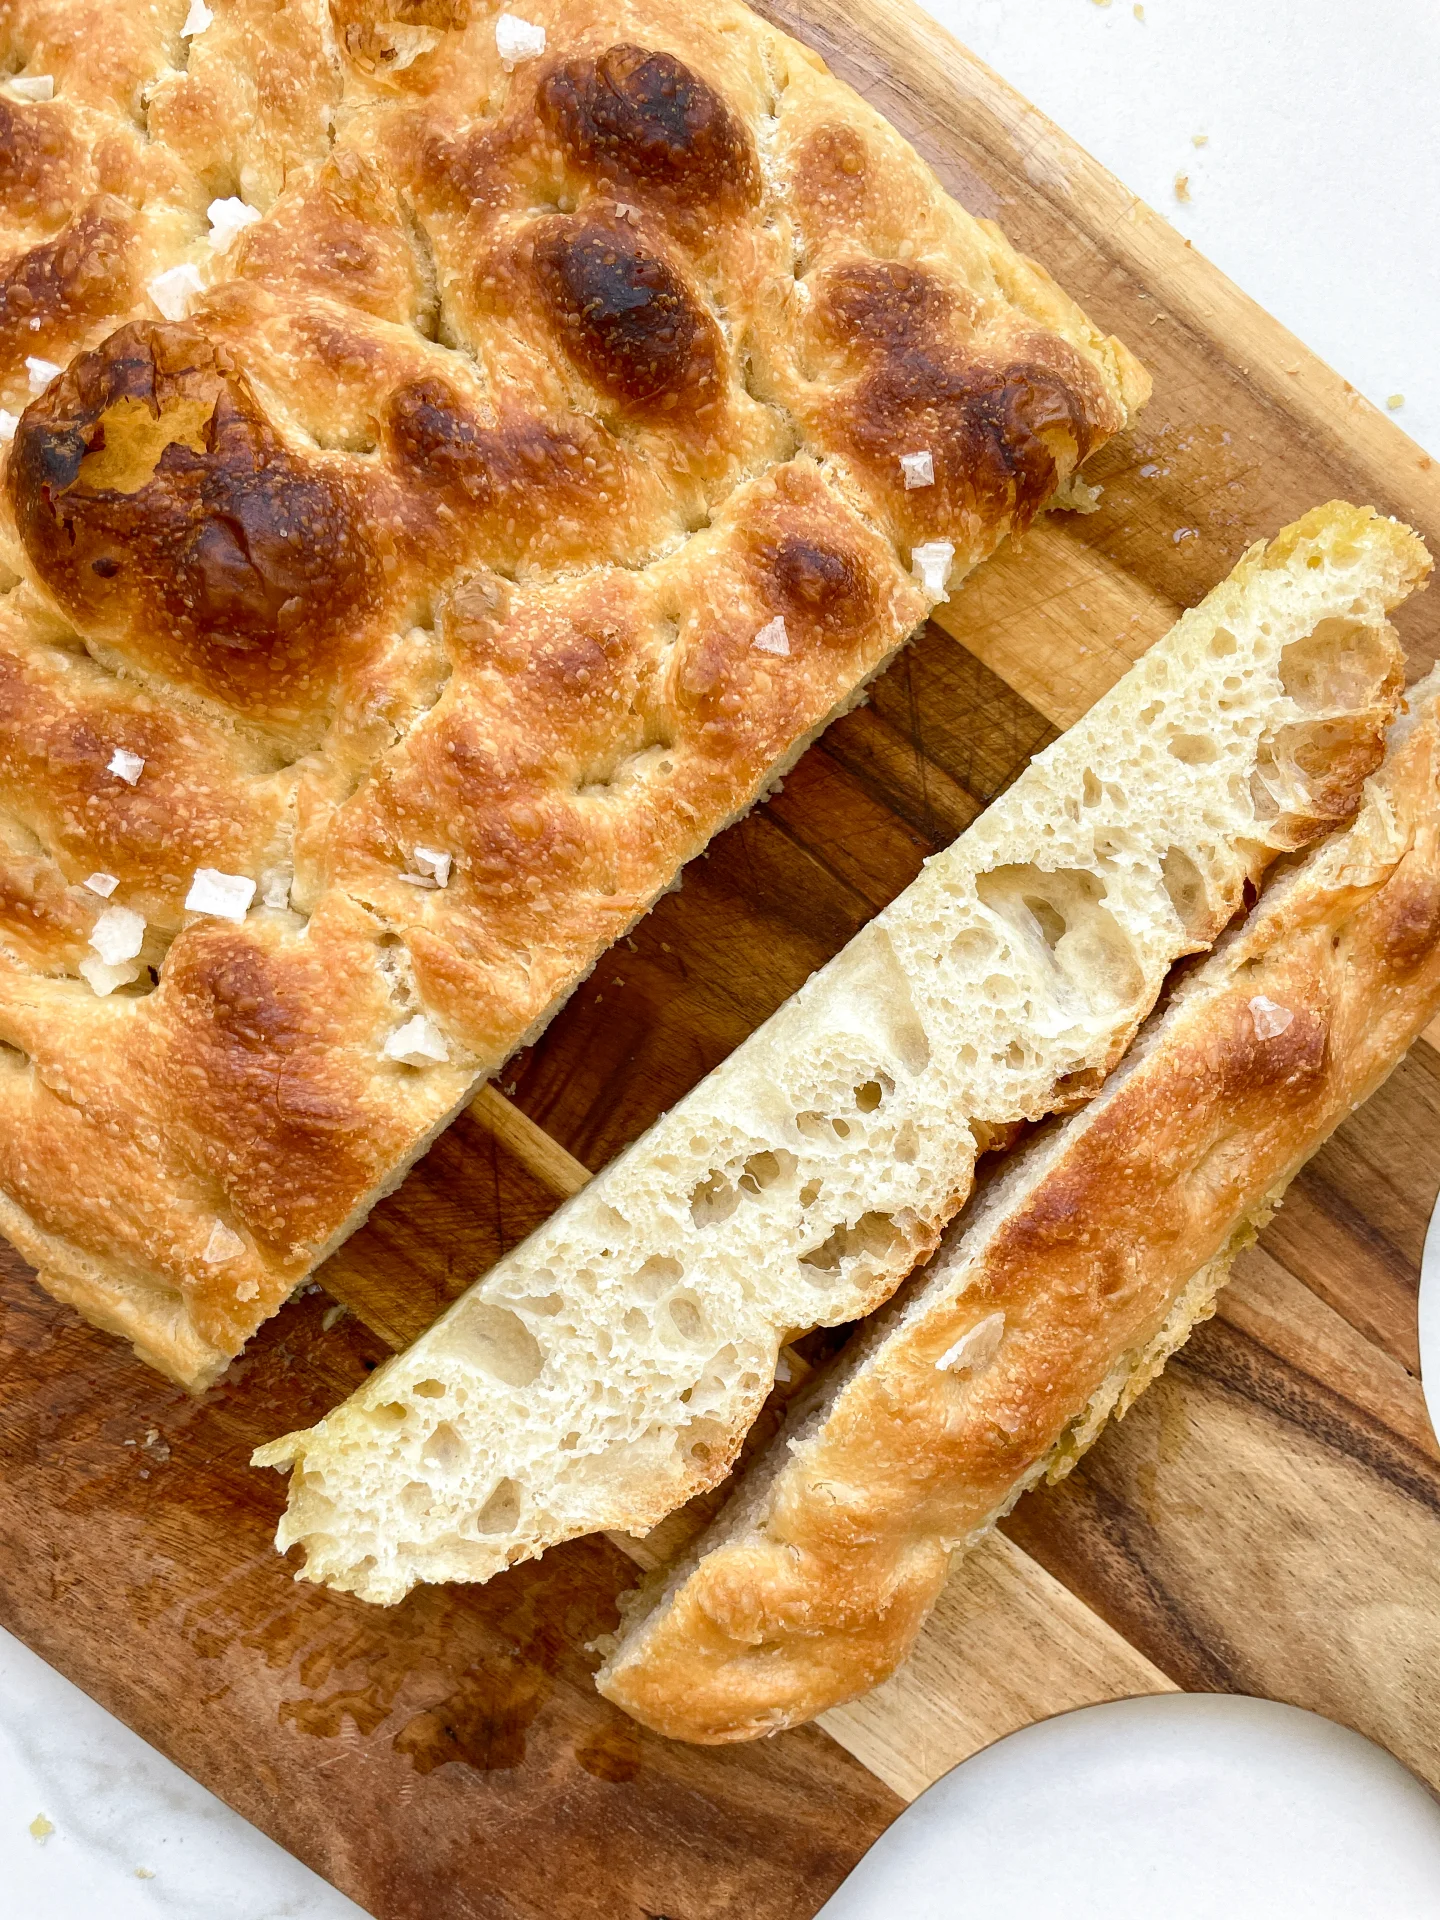
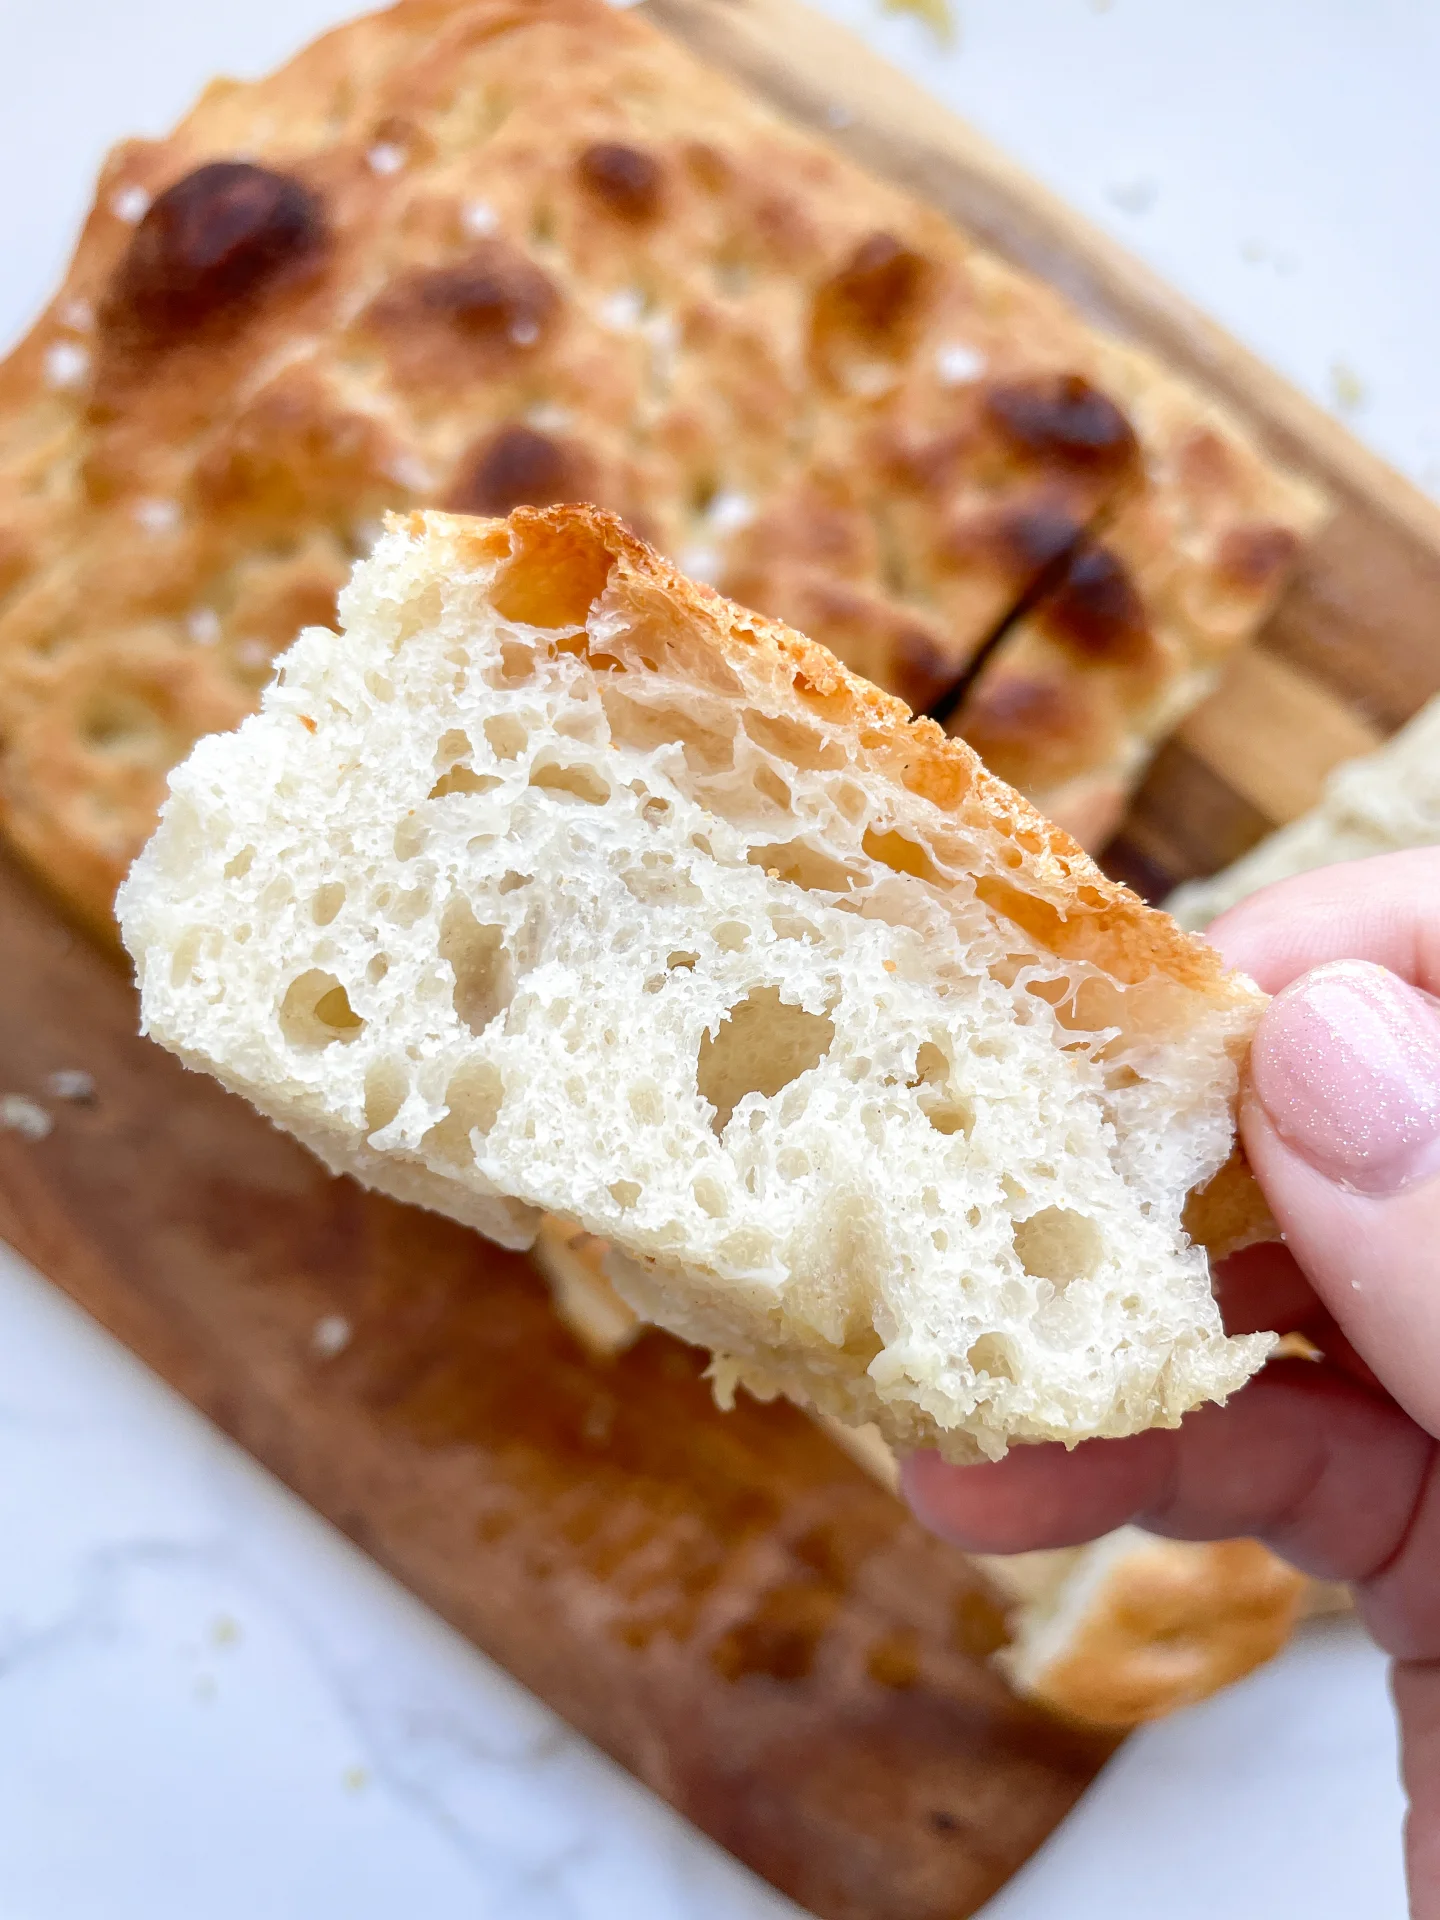
Golden-crisp on the outside, airy and soft inside, this fresh focaccia is the ultimate comfort! Perfect for dipping, snacking, or as a side – it’s irresistible, warm, and baked-to-perfection bliss.

3 HOURS
30 MINUTES

EASY

VEGETARIAN

ITALIAN

386 PER PORTION

FLUFFY

EVERYDAY

BREAD

ALL YEAR

INTRODUCTION

ABOUT THE RECIPE

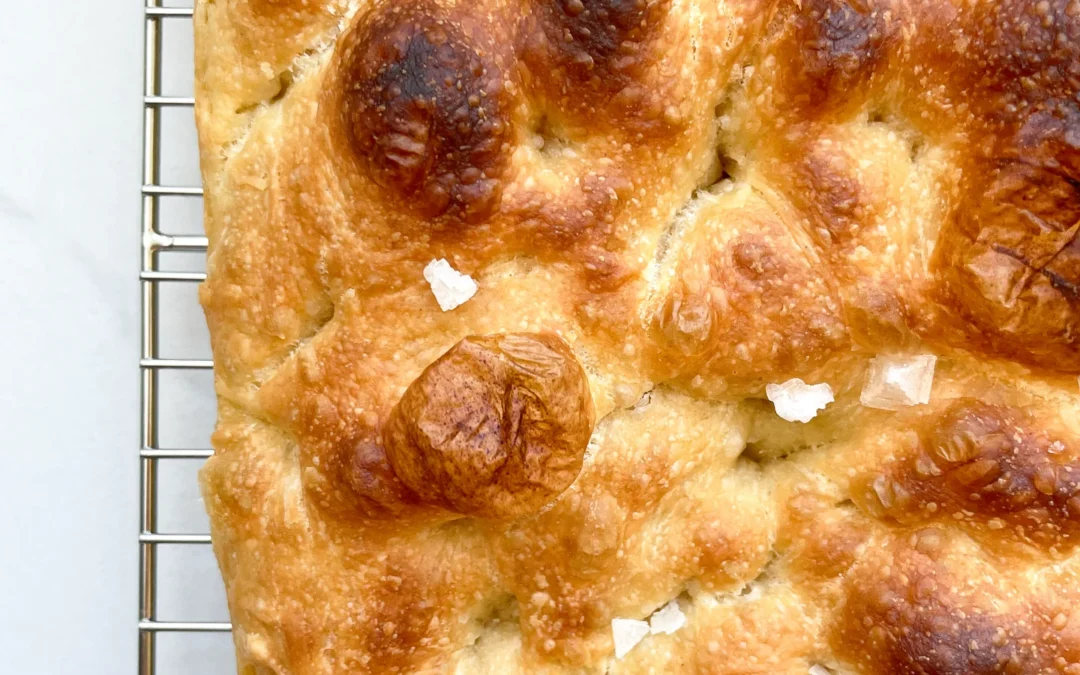
Craving something warm, cozy, and seriously easy to bake? This focaccia is your answer! It’s got that perfect golden crust that you can’t resist breaking into and a soft, fluffy center that just melts in your mouth. Whether you’re new to baking or a seasoned bread lover, this focaccia has that fresh-baked, olive-oil-kissed goodness that makes it the ultimate comfort food. Plus, it’s ready in just 3.5 hours – no need to wait around for endless rises. Just mix, bake, and enjoy some bakery-style vibes at home!

How to serve
This focaccia is so versatile – it pairs perfectly with just about anything! Tear off pieces to dip in olive oil and balsamic vinegar for a classic Italian feel, or serve it alongside a warm soup or pasta for a cozy meal. It also makes a great base for an open-faced sandwich or as an appetizer with some herby olive oil and fresh tomatoes. However you serve it, the fluffy texture and crispy edges will make it an instant favorite for everyone around the table. For an in-depth guide with secret tips & tricks, check out my ‚How-To Guide‘ for the Best Focaccia Recipe!


How to store
To keep that bakery-fresh vibe, store your focaccia in an airtight container or plastic wrap at room temperature for up to 2 days. You can also freeze it – wrap it tightly, and it’ll last up to 2 months. Just warm it in the oven to bring back the freshness.

Hi, I'm Kimberly!

Hi, I'm Kimberly.

A passionate food lover who believes in the magic of homemade deliciousness that spreads love and warmth. Join me on this culinary adventure as I prepare wonderful dishes and let’s spread some happiness together!

Kimberly the Zett Signature

If you want to get to know me better, click here!


Quick & Easy - The Best Focaccia Recipe
Basic Focaccia
„Let’s make a piece of happiness“
Print
clock clock iconcutlery cutlery iconflag flag iconfolder folder iconinstagram instagram iconpinterest pinterest iconfacebook facebook iconprint print iconsquares squares iconheart heart iconheart solid heart solid icon
Quick & Easy - The Best Focaccia Recipe

Easy Same Day Basic Focaccia


  • Author: Kimberly
  • Total Time: 3 hrs + 30 min

Description

Recommended Equipment

  • large bowl
  • kitchen scale
  • thermometer (even a medicine one works)
  • measuring cup
  • wooden spoon
  • cling film, beeswax wrap, or a shower cap
  • baking dish or tray (mine is 20x26cm / 8×10 inch)
  • oven


Ingredients

Units Scale
  • 500 grams pizza flour (type 00 in Germany)
  • 400 grams luke-warm water
  • 1.5 tsp active dry-yeast
  • 1 tbsp olive oil
  • 1 tsp honey
  • 1.5 tsp salt
  • 50 milliliters olive oil for greasing and dipping

Instructions

  1. Combine the active-dry yeast with warm water (between 34-38°C / 93-100°F), olive oil, and a teaspoon of honey to get things started. Let it sit for about 10 minutes until it becomes bubbly and the oil floats on top with the activated yeast. Meanwhile, in a large bowl, mix your flour with the salt.
  2. Pour the activated yeast mixture into the flour. Using a wooden spoon, mix everything together until it forms a dough and no dry flour is left. It might look a bit shaggy at first, but that’s totally fine! Scrape down any dough stuck to the sides and cover the bowl with cling film, a beeswax towel, or a shower cap. Let it sit for 20 minutes to allow the flour to hydrate and the dough to start developing elasticity.
  3. After 20 minutes, uncover the dough and prepare a small bowl of warm water to dip your hands in for the stretch & fold process. This technique helps develop the gluten without kneading. To do it, gently pull one side of the dough up, stretch it, and fold it over the center. Rotate the bowl a quarter turn and repeat on all four sides. You’ll do this about three times, letting the dough rest in between. This method strengthens the dough and helps create that light, airy texture! Follow these steps:
    • First stretch & fold, then let the dough rest for 20 minutes covered
    • Second stretch & fold, then rest another 20 minutes covered
    • Third stretch & fold, then let it rest for 60 minutes covered
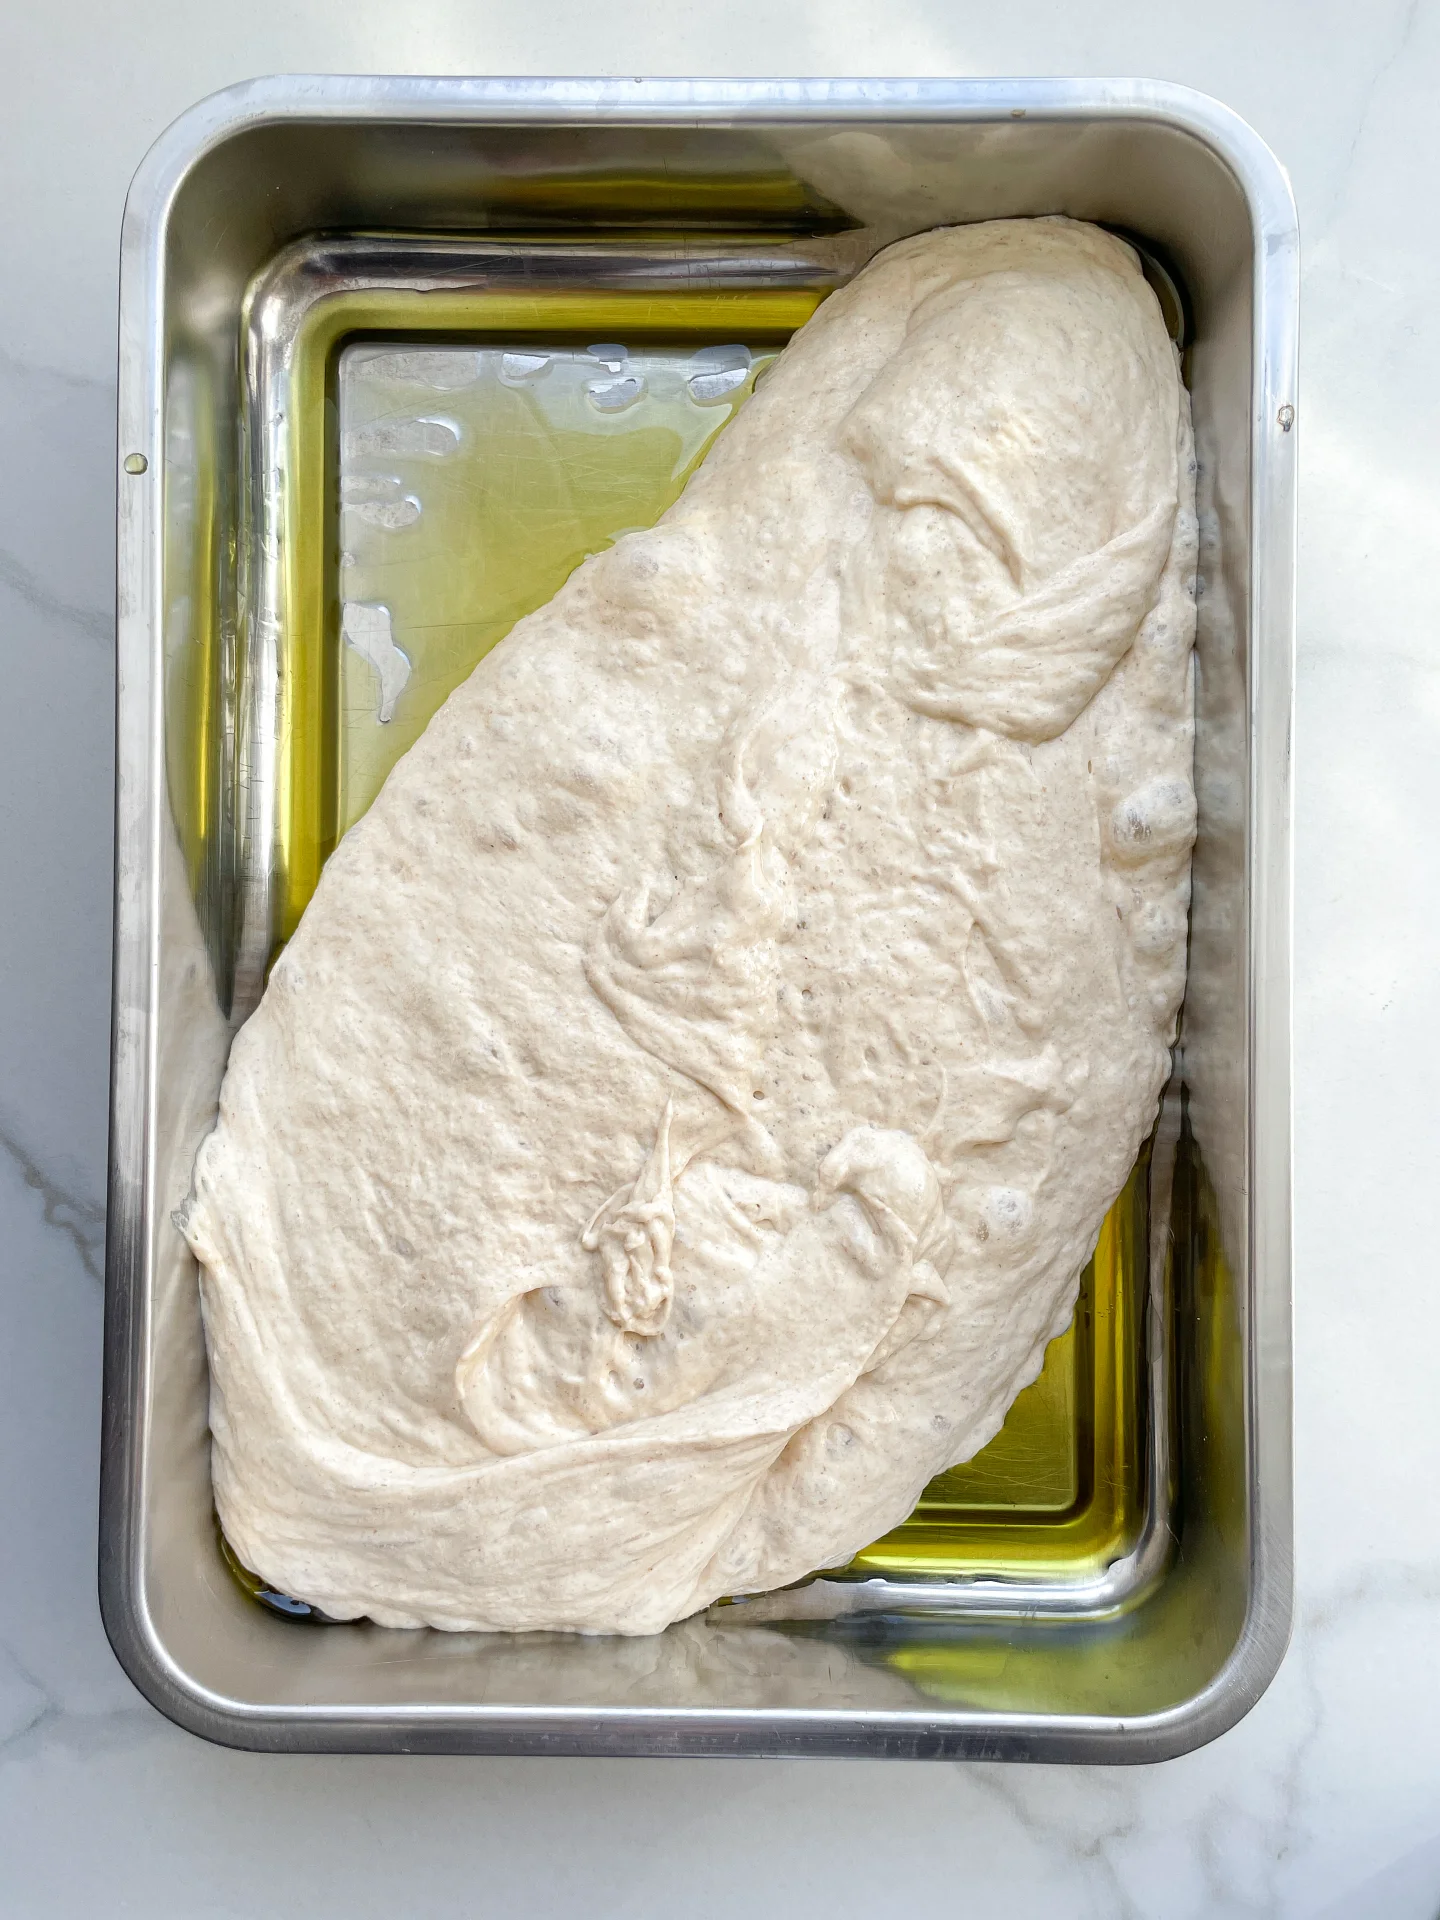
  4. After the final 60-minute rest, grab your oven dish and drizzle 2-3 tablespoons of olive oil to coat it generously. Carefully transfer the dough to the dish, lifting it gently with both hands. Place it back in the dish, folding any hanging dough underneath itself to give it structure and elasticity.
  5. Cover the dish and let the dough rest for another 60 minutes. During this time, the dough will rise and settle into the dish, preparing for its final transformation.
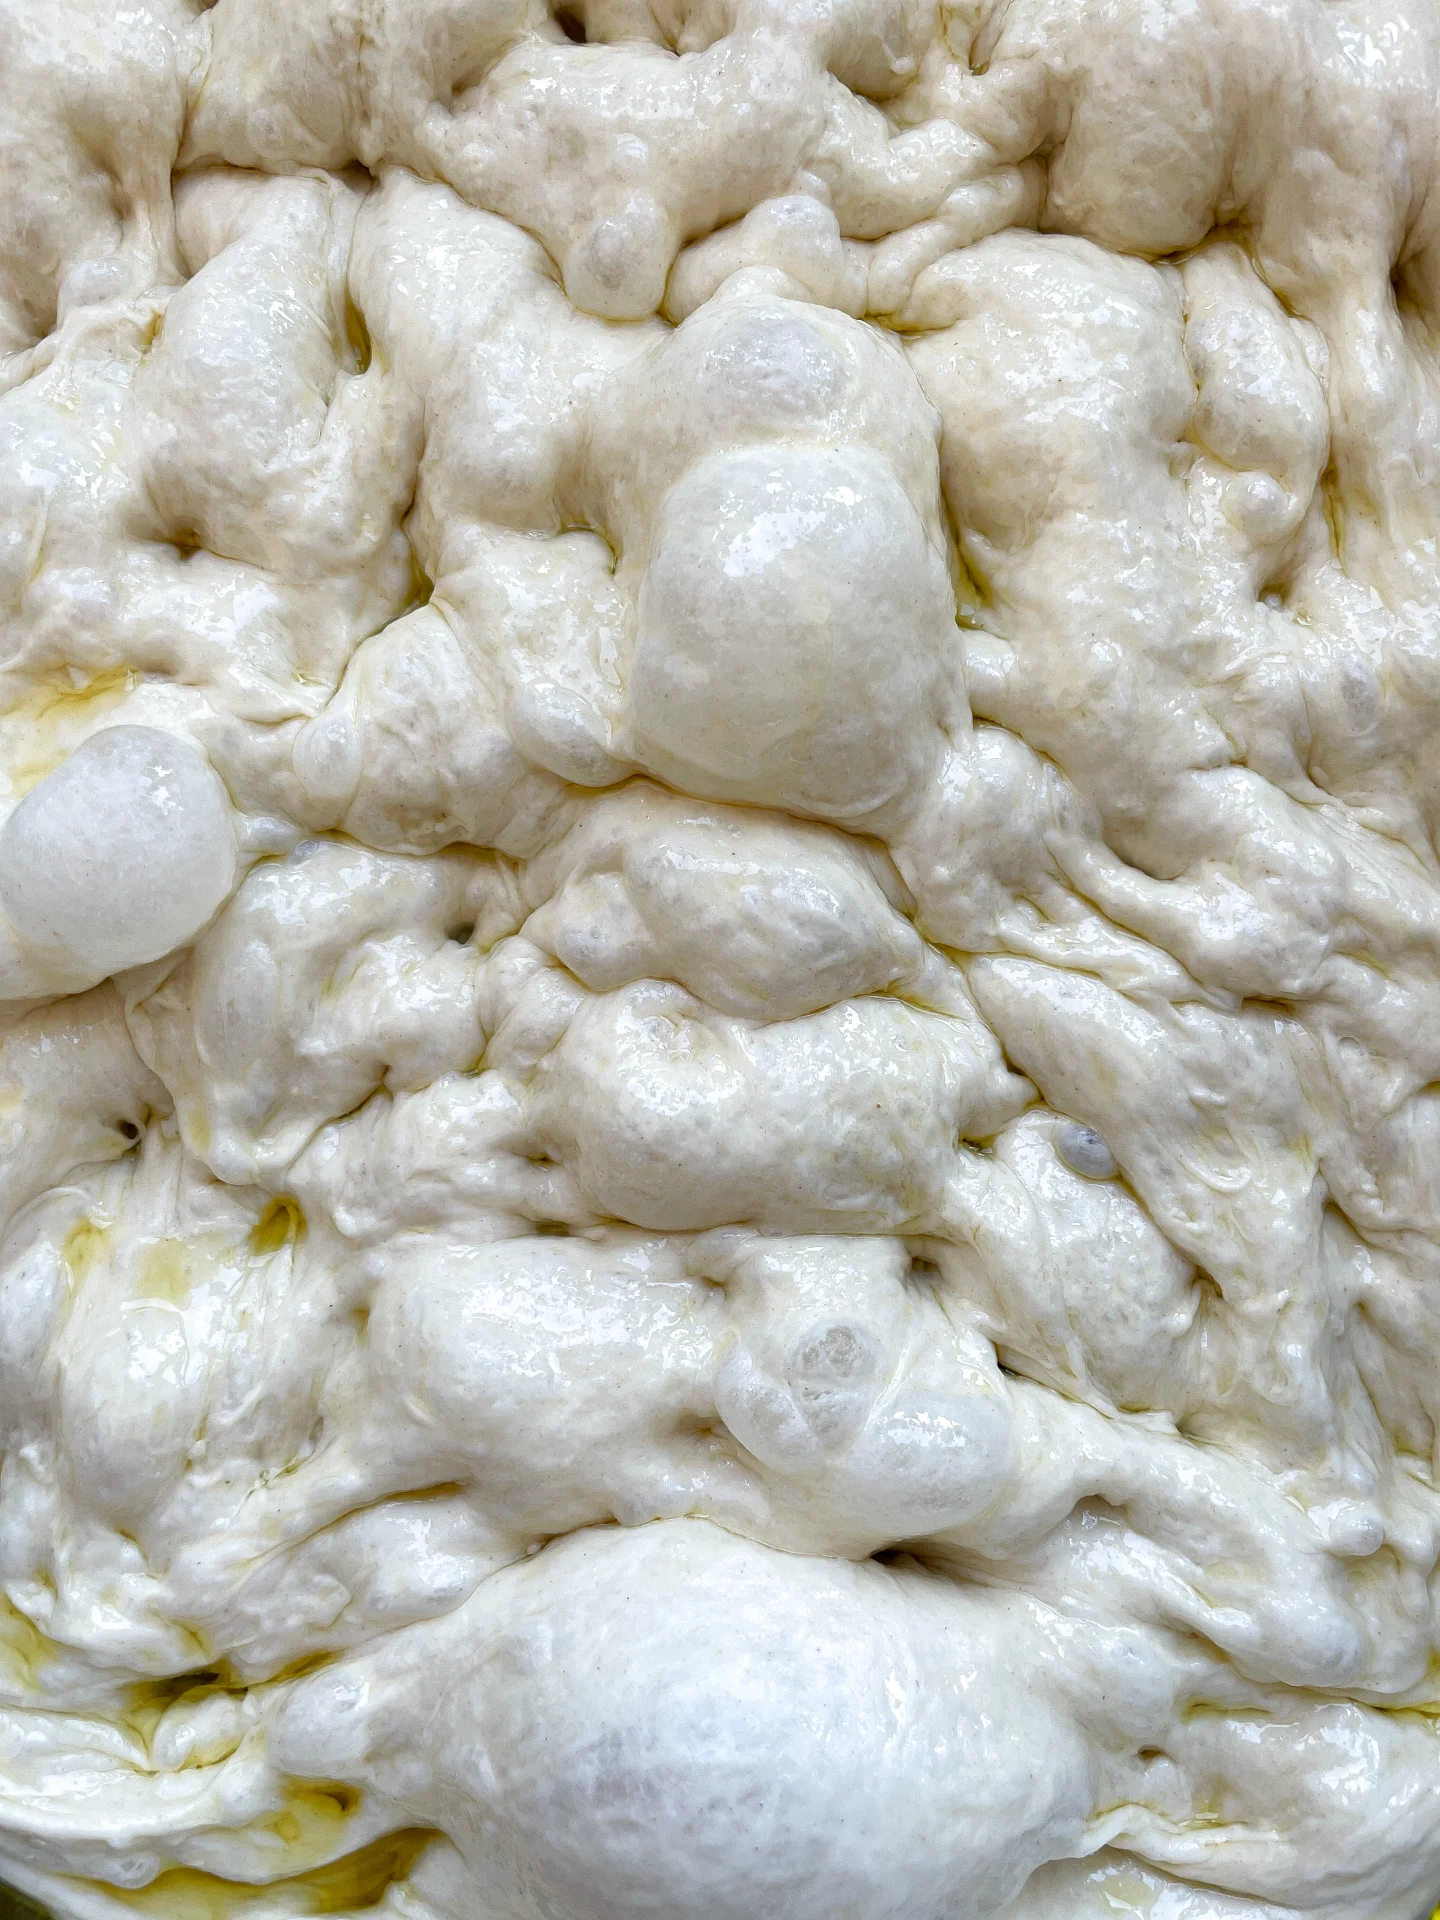
  6. Preheat the oven to 220°C / 430°F. After the dough’s last rest, uncover it and drizzle a little extra olive oil over the top. Use your fingers to gently press into the dough, forming dimples. This will encourage those signature bubbles to form during baking.
  7. Bake the focaccia for 20-25 minutes, or until it’s golden and crisp. Enjoy your freshly baked focaccia! Let the focaccia cool to room temperature. If you cut it while it’s still hot, it might tear apart. But honestly, it tastes sooo good when it’s warm. Just tear it up and dip it into your favorite dips!

  • Passive Time: 3 hrs + 20 min

  • Cook Time: 10 min

Cinnamon Rolls

Cinnamon Rolls

Cinnamon Rolls

Cinnamon Rolls

October 2, 2024 by Kimberly

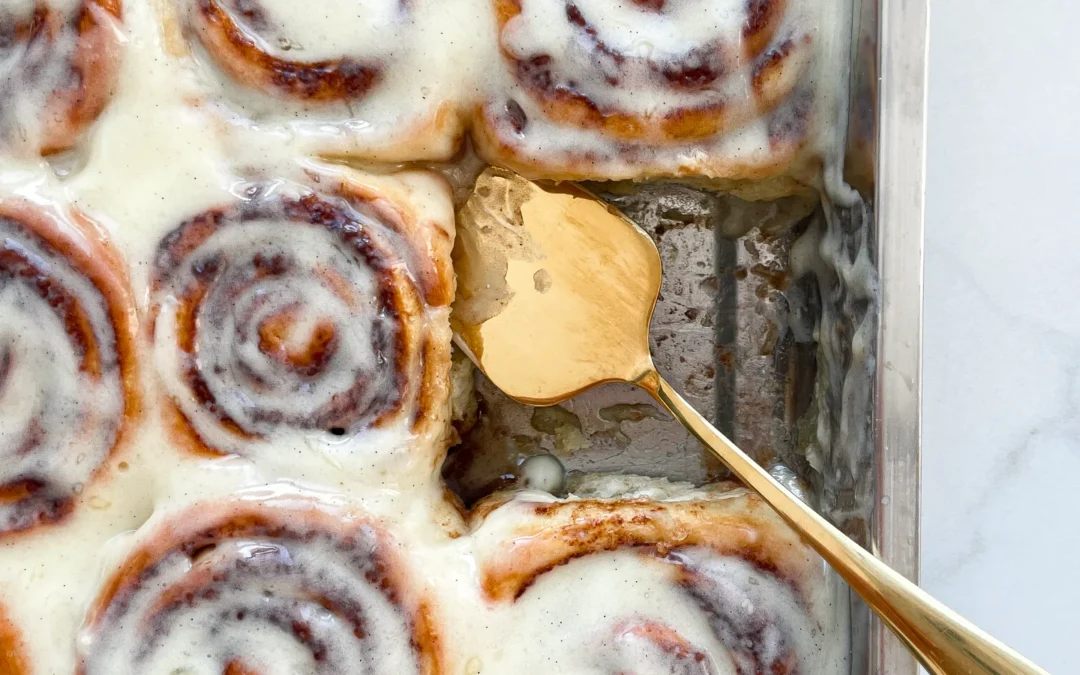
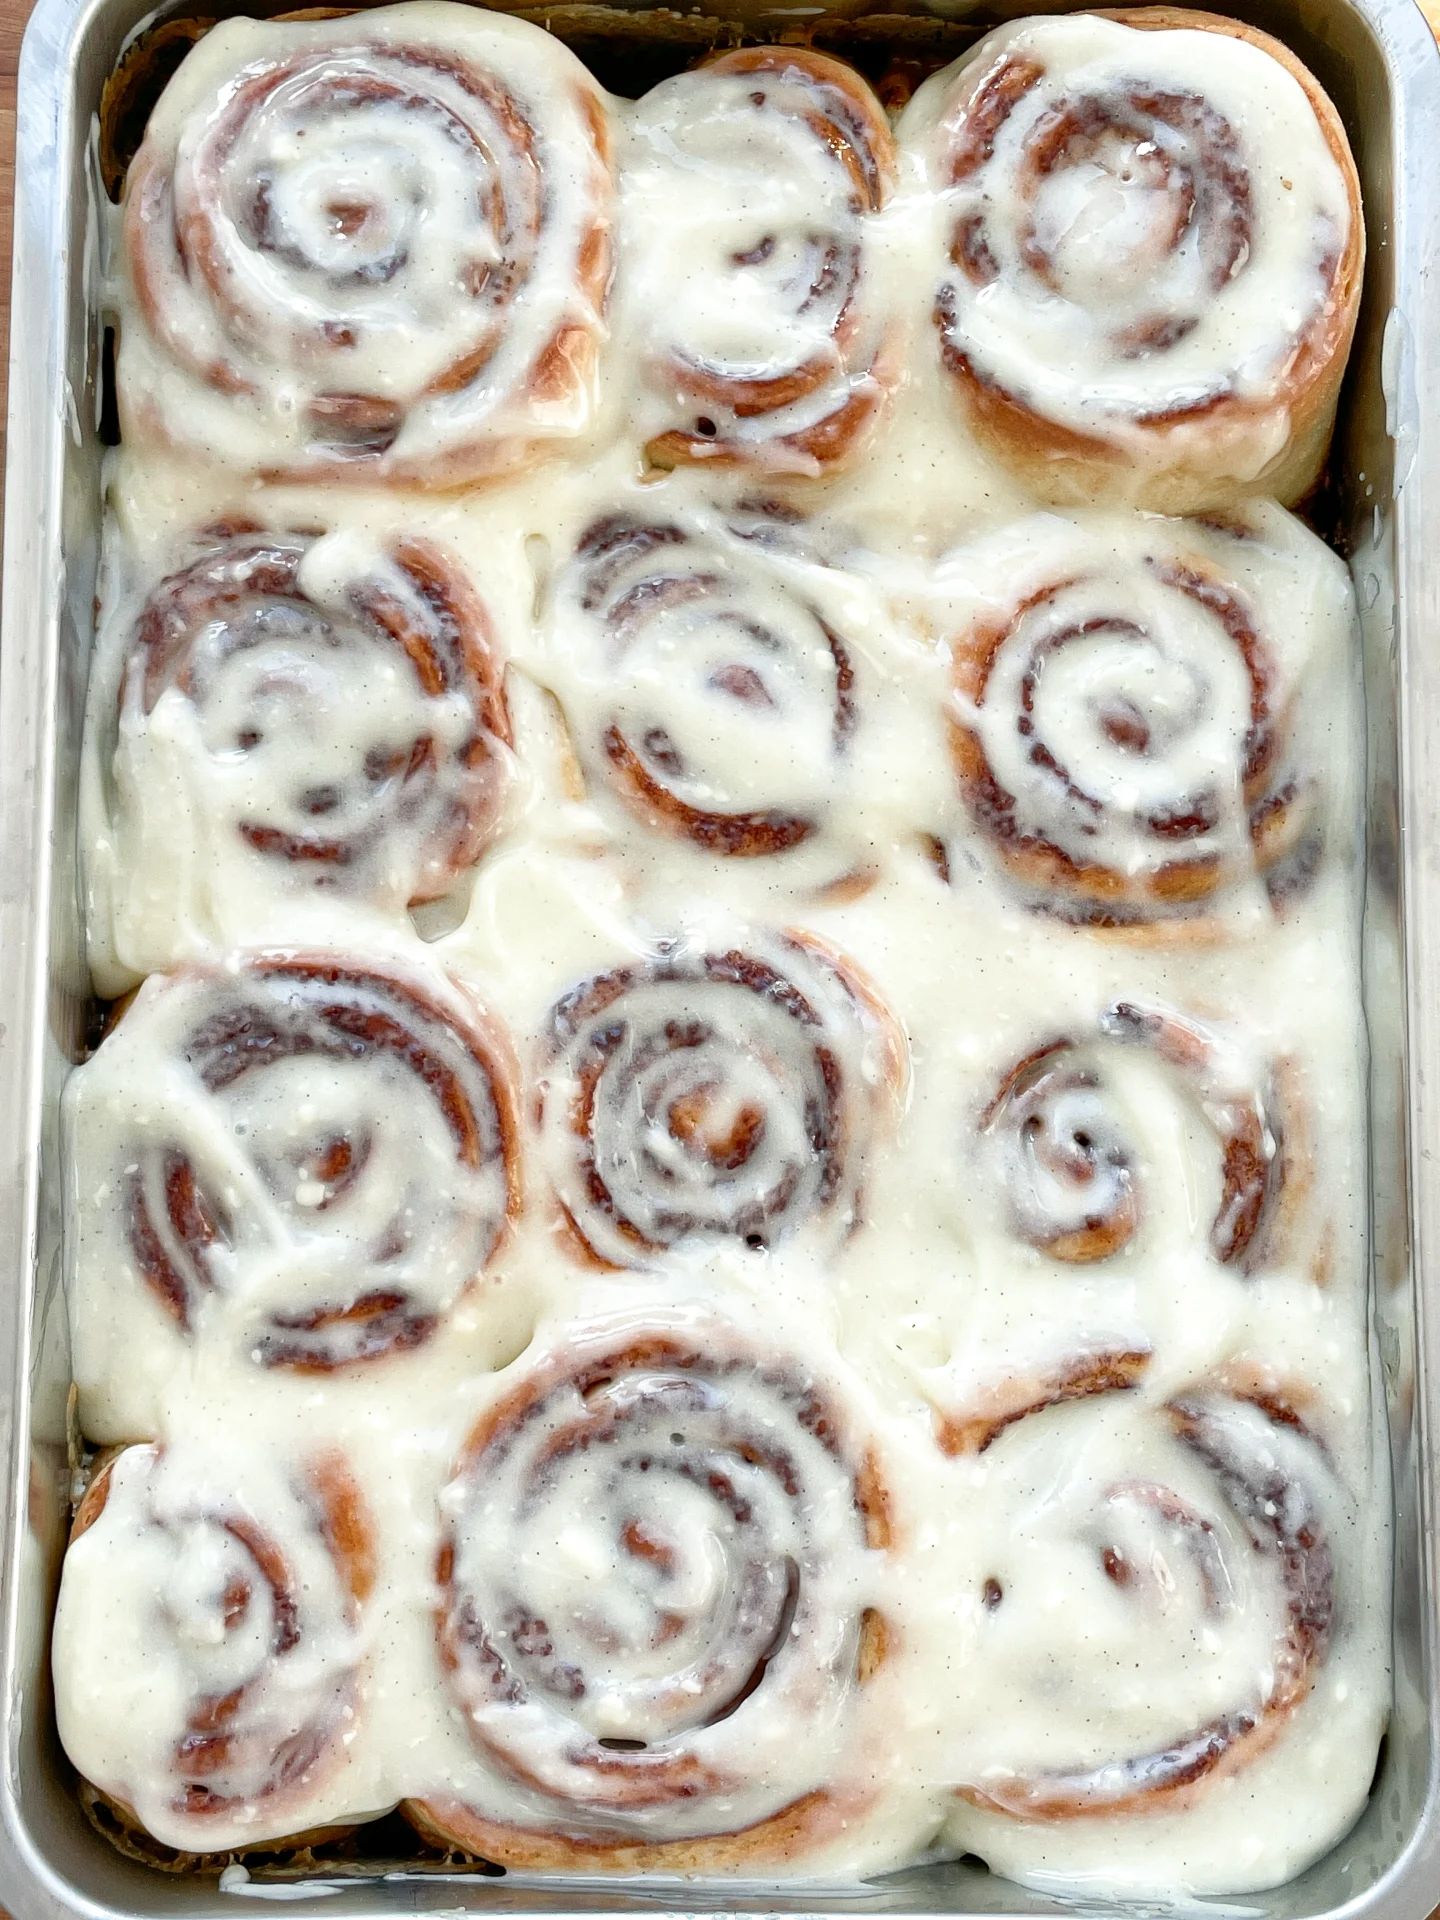
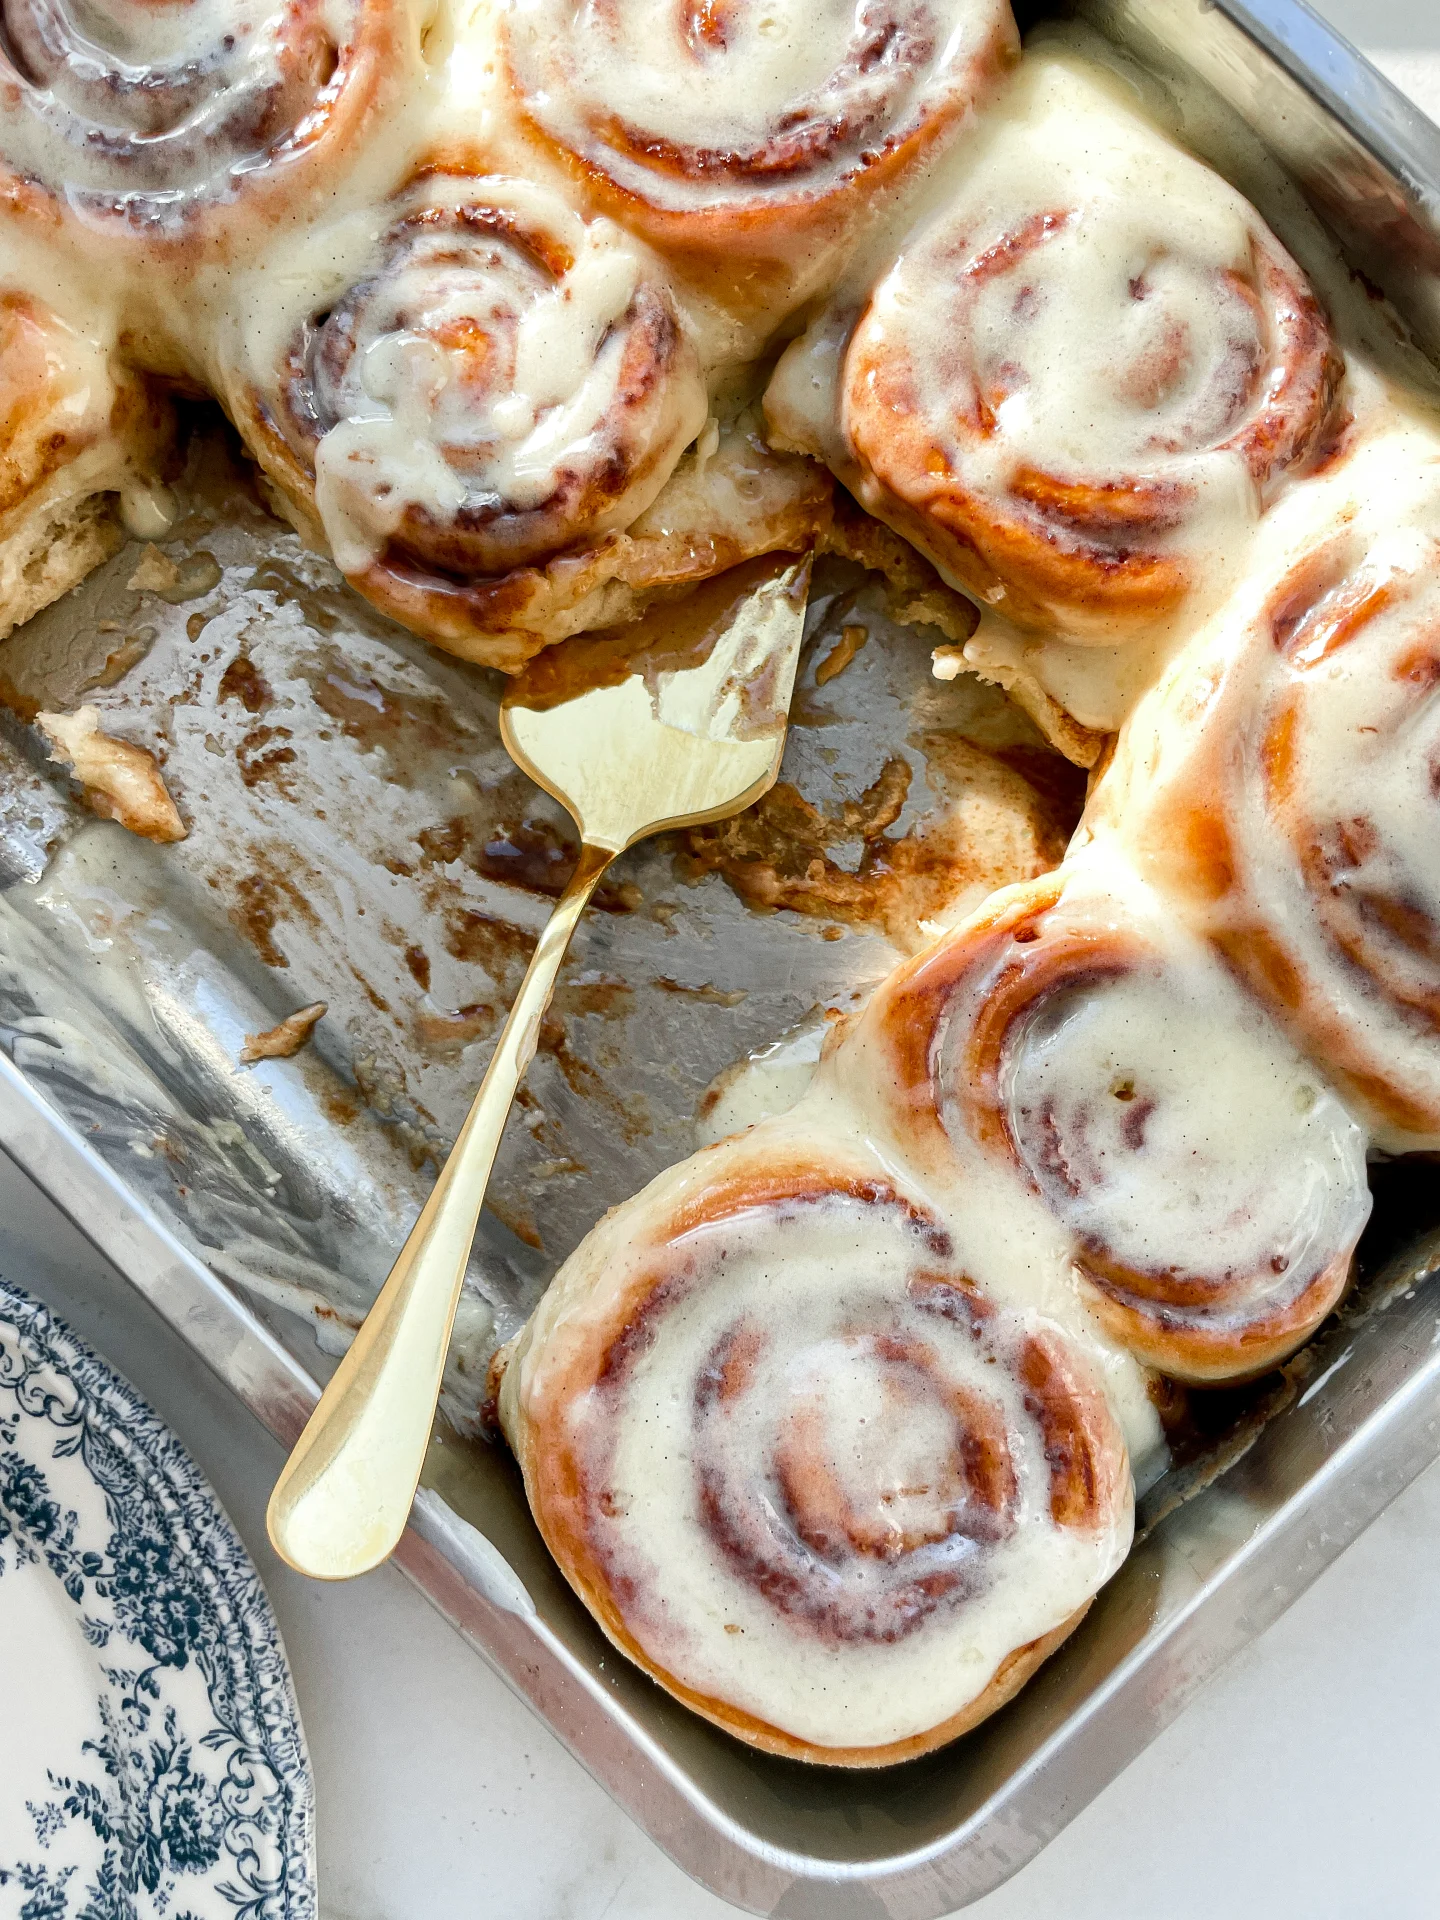
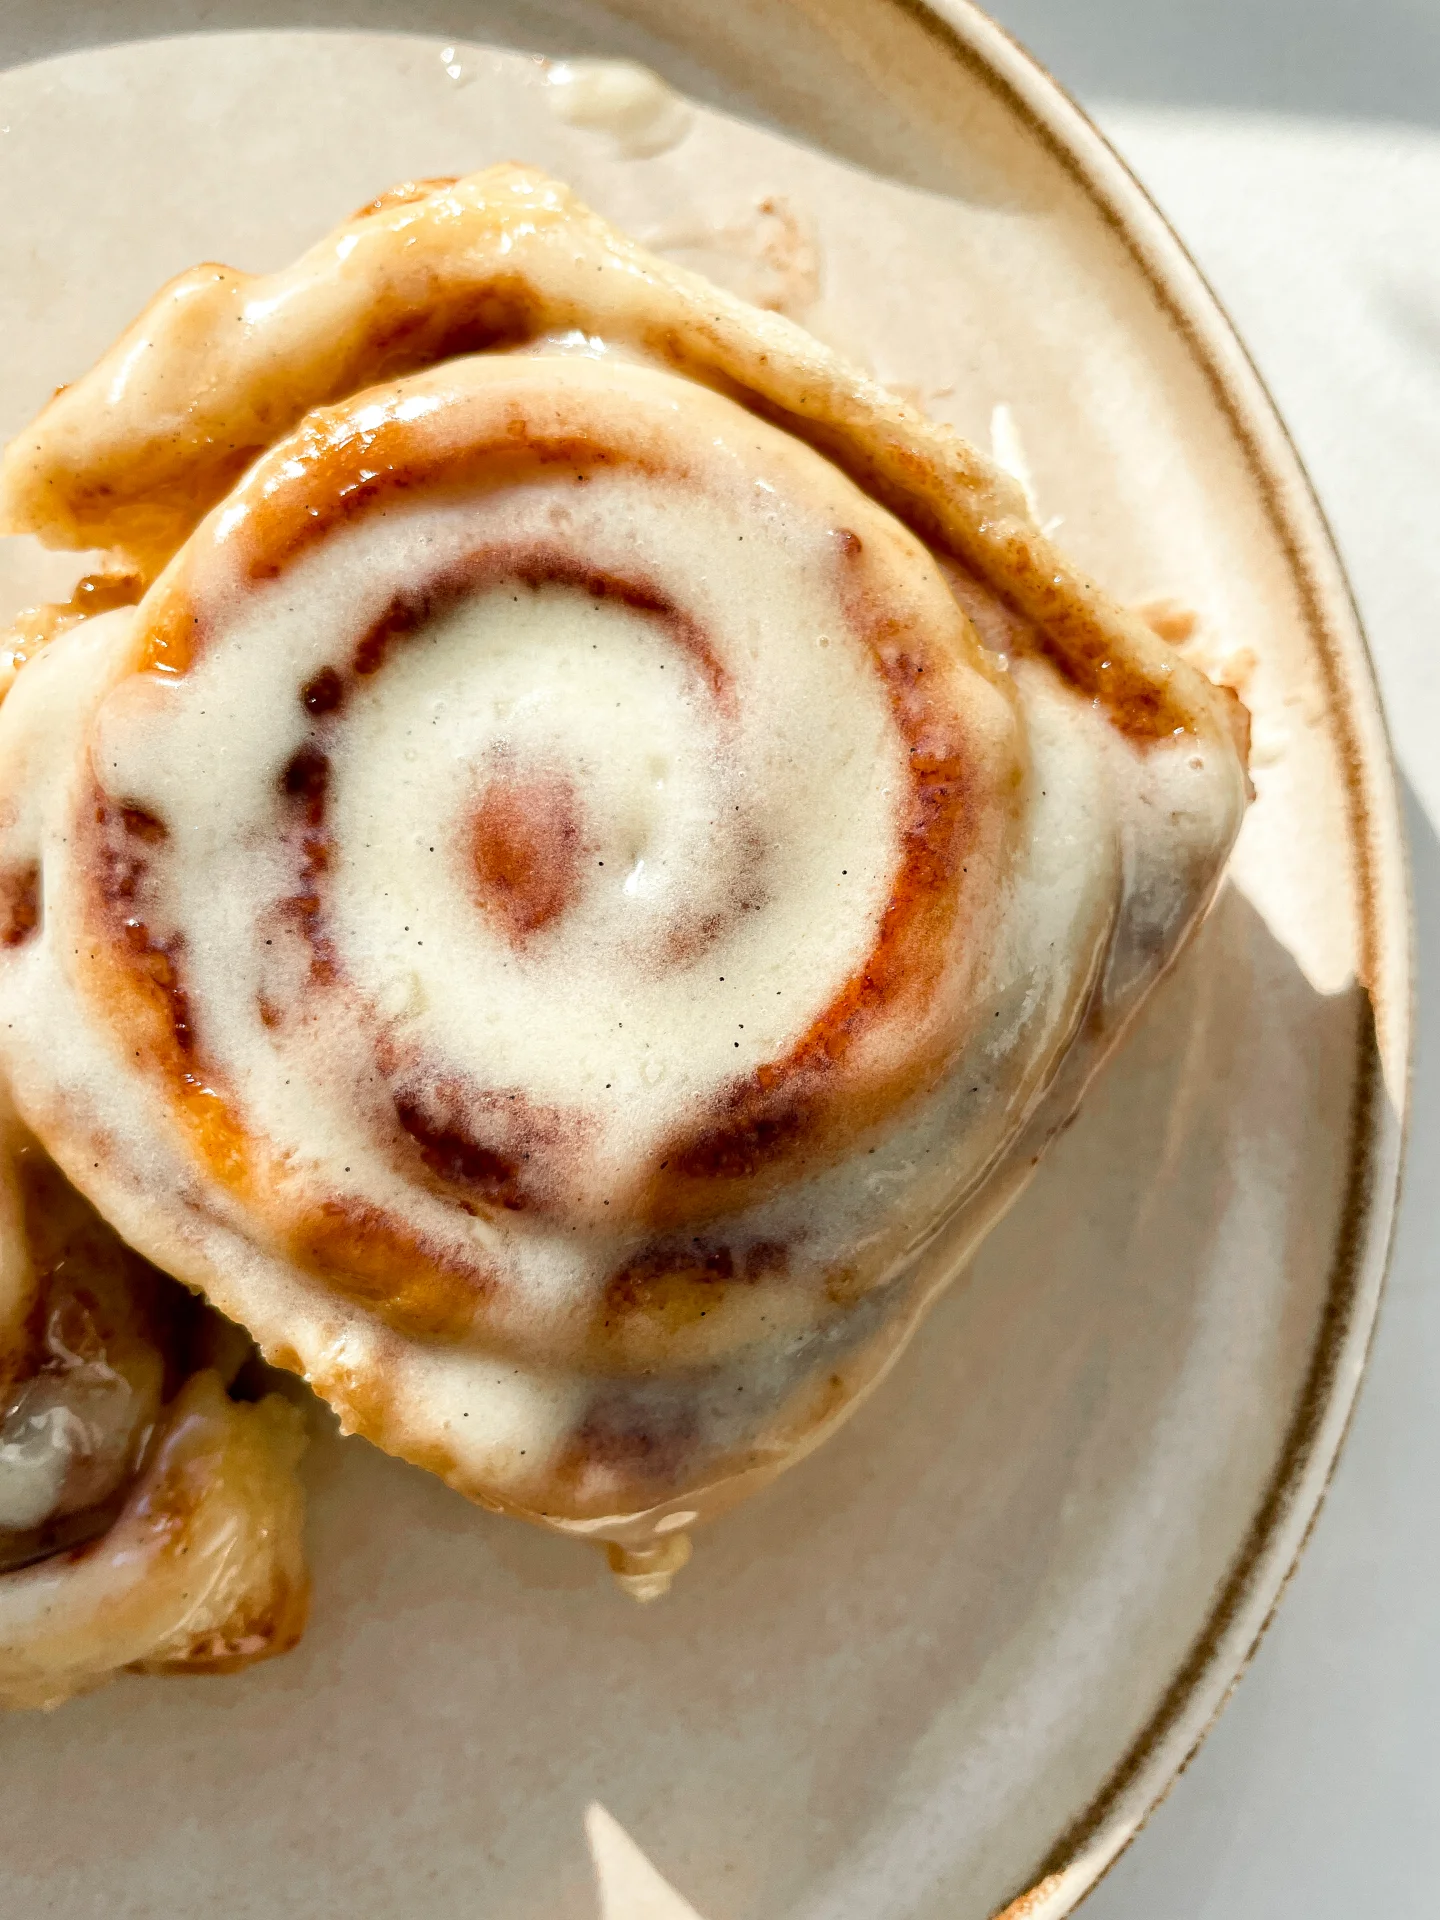
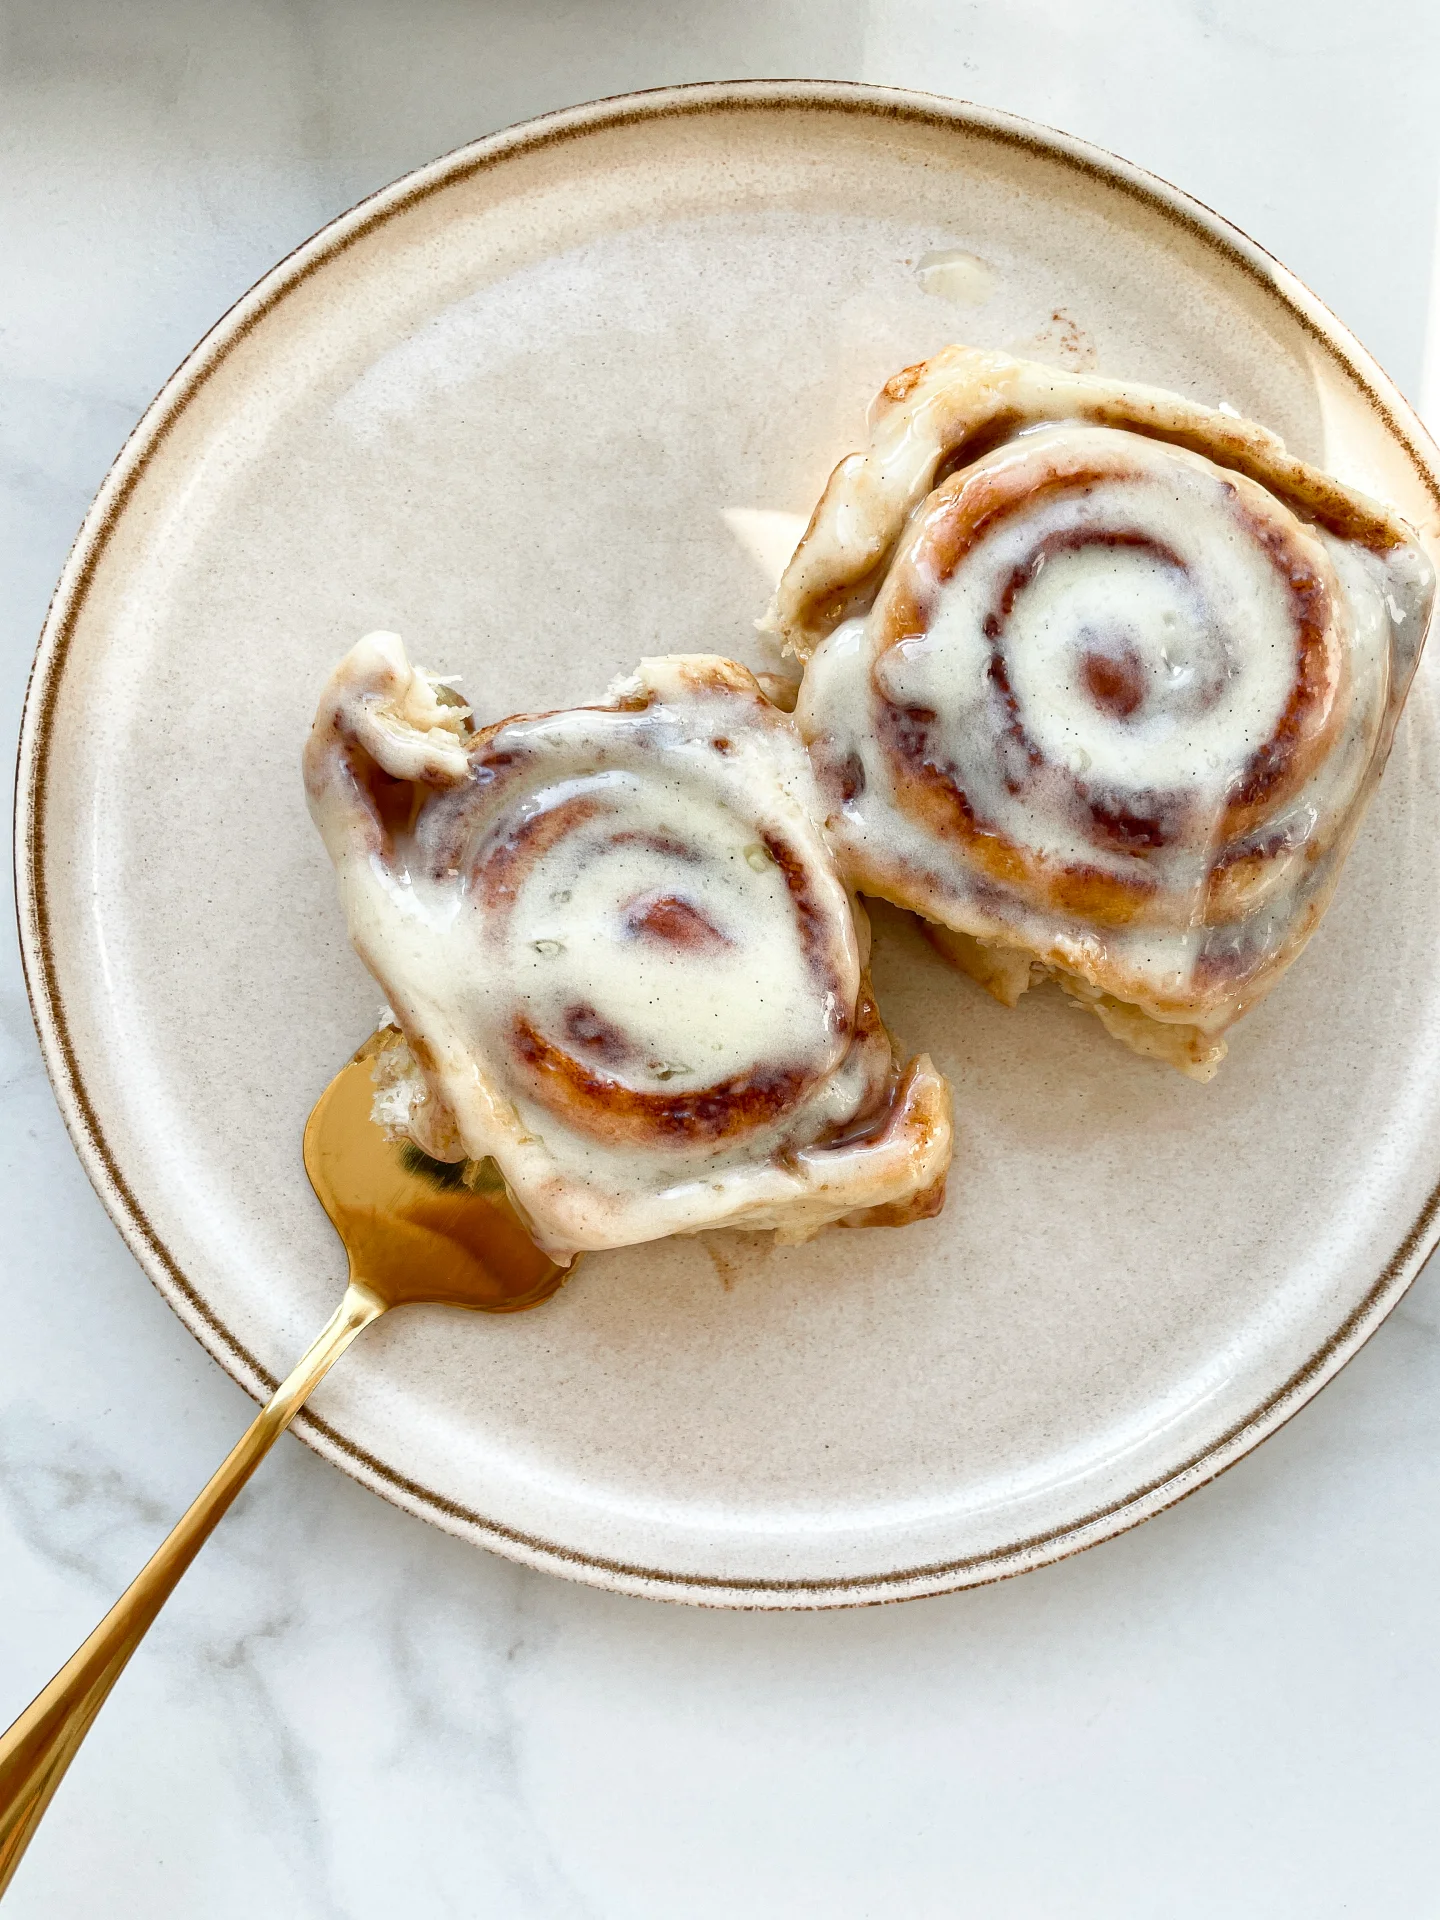
Get ready for the fluffiest, most melt-in-your-mouth rolls ever! Soft, buttery layers soaked in cream before baking—it’s like biting into a cloud of sweet cinnamon heaven with every bite.

100 MINUTES

INTERMEDIATE

VEGETARIAN

US AMERICAN

429 PER ROLL

SWEET
FLUFFY
CREAMY

BRUNCH

DESSERT

AUTUMN
WINTER

INTRODUCTION

ABOUT THE RECIPE

Imagine starting your day with soft, pillowy rolls that are bursting with cinnamon sweetness. The secret? A little heavy cream poured between the rolls before baking. It creates the dreamiest, most moist cinnamon rolls you’ll ever try. These rolls are more than just a treat – they’re a cozy, comforting hug wrapped in cinnamon-sugar goodness. Whether you’re baking them for a holiday morning or just because, they bring that extra something special to the table.

How to serve
These rolls are perfect fresh out of the oven, still warm and gooey. Drizzle them with a sweet vanilla glaze or a classic cream cheese frosting for that extra indulgent touch. Pair them with your morning coffee, or serve them up as a weekend brunch star alongside fresh fruit or a light mimosa. Trust me, they’re a hit at any gathering, or even for a solo cozy morning in!

How to store
To keep these rolls soft and fluffy, store them in an airtight container at room temperature for up to two days. Want to enjoy them later? Pop them in the fridge and reheat in the oven to bring back that fresh-baked magic.

Hi, I'm Kimberly!

Hi, I'm Kimberly.

A passionate food lover who believes in the magic of homemade deliciousness that spreads love and warmth. Join me on this culinary adventure as I prepare wonderful dishes and let’s spread some happiness together!

Kimberly the Zett Signature

If you want to get to know me better, click here!


Cinnamon Rolls
Cinnamon Rolls
Cinnamon Rolls
„Let’s make a piece of happiness“
Print
clock clock iconcutlery cutlery iconflag flag iconfolder folder iconinstagram instagram iconpinterest pinterest iconfacebook facebook iconprint print iconsquares squares iconheart heart iconheart solid heart solid icon
Cinnamon Rolls

Cinnamon Rolls


5 from 1 review

  • Author: Kimberly
  • Total Time: 100 min
  • Yield: 12 rolls 1x

Description

Recommended Equipment

  • small bowl
  • small whisk
  • large bowl
  • plastic wrap
  • two medium bowls
  • rolling pin

  • sharp knife
  • baking dish
  • oven

Ingredients

Units Scale

DOUGH

  • 500 grams bread flour (in Germany that’s Type 550)
  • 170 grams yogurt
  • 1/2 tsp salt
  • 1 egg
  • 130 milliliters full-fat milk
  • 1 tbsp white sugar
  • 21 grams fresh yeast

FILLING

  • 115 grams butter, room temperature
  • 150 grams brown sugar
  • 2 tbsp cinnamon
  • 1/4 tsp salt
  • 100 milliliters heavy cream
  • 50 milliliters cinnamon oil (optional)

FROSTING

  • 120 grams cream cheese
  • 120 grams powdered sugar
  • 50 grams butter, room temperature
  • 1 tsp vanilla extract
  • 1 tsp lemon juice

Instructions

  1. First, we activate the fresh yeast. Heat the milk to a temperature between 32°C and 38°C (90°F to 100°F). Add the white sugar and stir well. Crumble the fresh yeast into the warm milk and whisk it until fully dissolved. Let the mixture sit for 5 minutes. You should see small bubbles forming on the surface by then.
  2. Meanwhile, in a large bowl, add the flour, salt, yogurt, and egg. Pour in the yeast mixture and stir everything together with a wooden spoon. Transfer the dough to a clean work surface and knead by hand for about 10-15 minutes. The goal is to get a smooth and elastic dough. Using an electric mixer will cut the time in half. The dough is ready when you can stretch a piece thin enough to let light through without tearing. Place the dough back in the bowl and cover it with plastic wrap to keep it from drying out. Let it rise in a warm, draft-free spot for about an hour until it doubles in size.
  3. In the meantime, prepare the filling. Mix together softened butter, brown sugar, cinnamon, and a pinch of salt into a creamy mixture. Set it aside at room temperature.
  4. Next, prepare the frosting. Mix together cream cheese, powdered sugar, softened butter, vanilla extract, and lemon juice until smooth and creamy. Store in the fridge until ready to use.
  5. After the dough has risen for an hour, it should have doubled in size and is ready to work with. Prepare a large baking dish. Transfer the dough to a lightly floured, clean surface and roll it out to a 50×30 cm (about 20×12 inch) rectangle. Spread the butter-sugar-cinnamon mixture evenly over the dough. Then, cut the dough lengthwise into 12 equal strips. Roll each strip into a spiral and place them in the baking dish, forming 3 rows of 4 rolls. Let the rolls rise again for another 30 minutes.
  6. About 10 minutes before the rising time is up, preheat the oven to 190°C (375°F). Once the rolls have risen, pour the heavy cream and optional cinnamon oil in between the rolls. Bake for 20-25 minutes until the tops are golden brown. Be careful not to overbake them, as they may become dry.
  7. Remove the rolls from the oven and let them cool for about 10 minutes. Take the frosting out of the fridge and spread it evenly over the warm rolls. Enjoy!
  • Passive Time: 60 min
  • Cook Time: 40 min