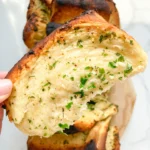


Description
Recommended Equipment
- small pot
- sharp knife
- cutting board
- tall container
- hand blender
- sieve
- squeeze bottle
- two small bowls
- potato masher
Ingredients
Units Scale
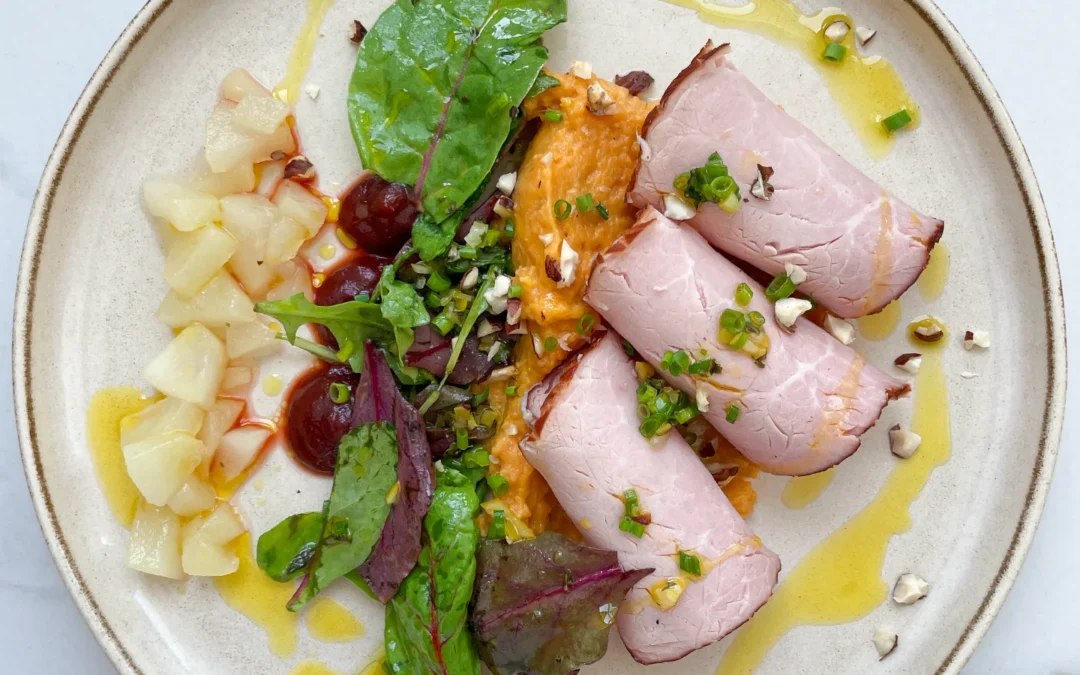
- 200 grams smoked, boiled ham
- 1 ripe pear
- 50 milliliters water
- 25 grams white sugar
- 1 lemon
- 100 grams cooked beetroot
- 50 grams raspberries
- 1/2 tbsp honey
- 1/2 tsp - 1 tsp balsamic vinegar
- salt & pepper to taste
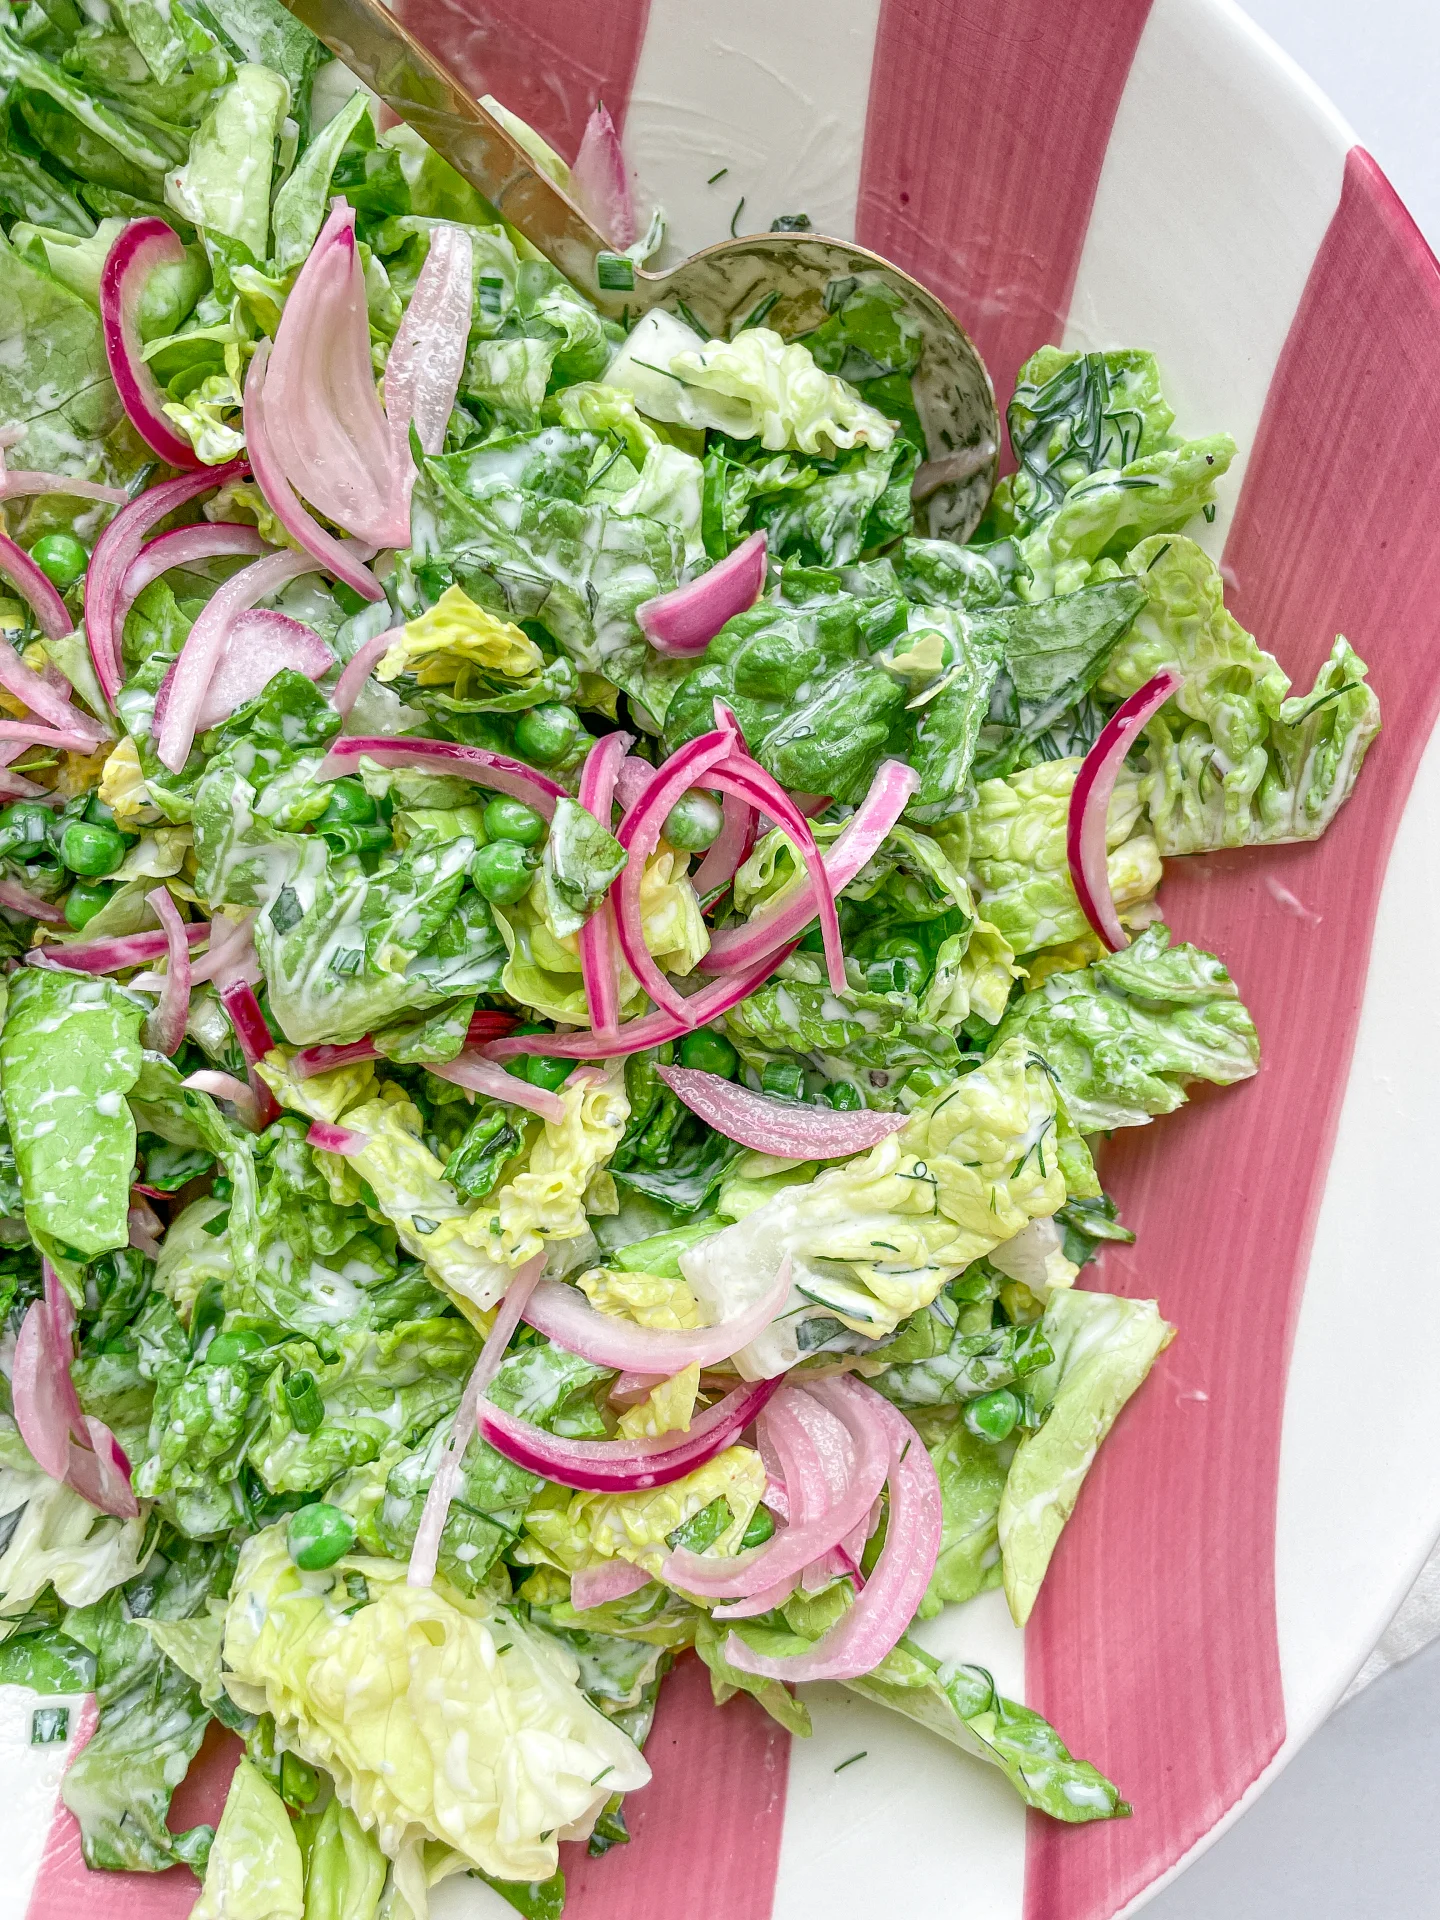
- 25 grams mixed salad
- 2 tbsp orange oil
- 1 tsp lemon juice
- half a fresh chili
- 2 tsp dried cilantro
- 1 tsp fresh chives
- 300 grams sweet potato
- 1 tsp butter
- 1 tbsp full-fat milk
- salt, pepper & cayenne pepper to taste
- hazelnuts
- orange oil
Instructions
PREPARATIONS
- Here is the recipe for the Orange Oil. You’ll need about 3 tablespoons for this recipe.
INSTRUCTIONS
- For the pear compote, mix water and sugar in a small pot and simmer over medium heat until the sugar is completely dissolved. Meanwhile, peel, core, and dice the pear. Cut zest strips from half a lemon. Add the pear pieces and lemon zest to the pot and simmer for about 10 minutes until the pear is soft but still holds its shape and has a bit of bite.
- While the compote is cooking, prepare the coulis. In a tall container, finely puree the cooked beetroot and fresh raspberries. Strain the puree through a sieve to catch the raspberry seeds. Season the smooth mixture with honey, balsamic vinegar, salt, and pepper, and pour it into a squeeze bottle. Refrigerate until needed.
- Remove the pot with the pear compote from the heat, take out the lemon zest, and add 1 tablespoon of freshly squeezed lemon juice. Stir and set aside to cool.
- For the sweet potato puree, fill a small pot halfway with water and set aside. Peel and cut the sweet potato into medium pieces and add them to the pot. Cook until soft, about 20 minutes.
- Meanwhile, prepare the salad dressing in a small bowl. Mix together orange oil, lemon juice, salt, pepper, fresh chili, and dried coriander. Set aside. Wash and dry the salad thoroughly and set aside separately.
- Roughly chop the hazelnuts and cut the chives into small rings. Set aside.
- In a small bowl, warm the milk and butter in the microwave or a small pot until the butter melts. Set aside.
- Drain the sweet potatoes and mash them with a potato masher until coarse. Add the warm milk and butter mixture and stir well. Season with salt, pepper & cayenne pepper.
- To plate, place a dollop of the puree on a plate and spread it slightly. Next, add a few drops of coulis beside it. Thickly slice the smoked boiled ham and roll it up, placing it on the puree. Arrange the pear compote lengthwise next to the coulis. Add some salad between the puree and coulis. Top the plate with the remaining dressing, hazelnut pieces, chive rings, and a drizzle of orange oil.
- Cook Time: 40 min