Tropical Granola – Coconut Mango Pineapple & Banana

Tropical Granola – Coconut Mango Pineapple & Banana

Tropical Granola - Coconut Mango Pineapple & Banana

Tropical Granola – Coconut Mango Pineapple & Banana

September 8, 2024 by Kimberly

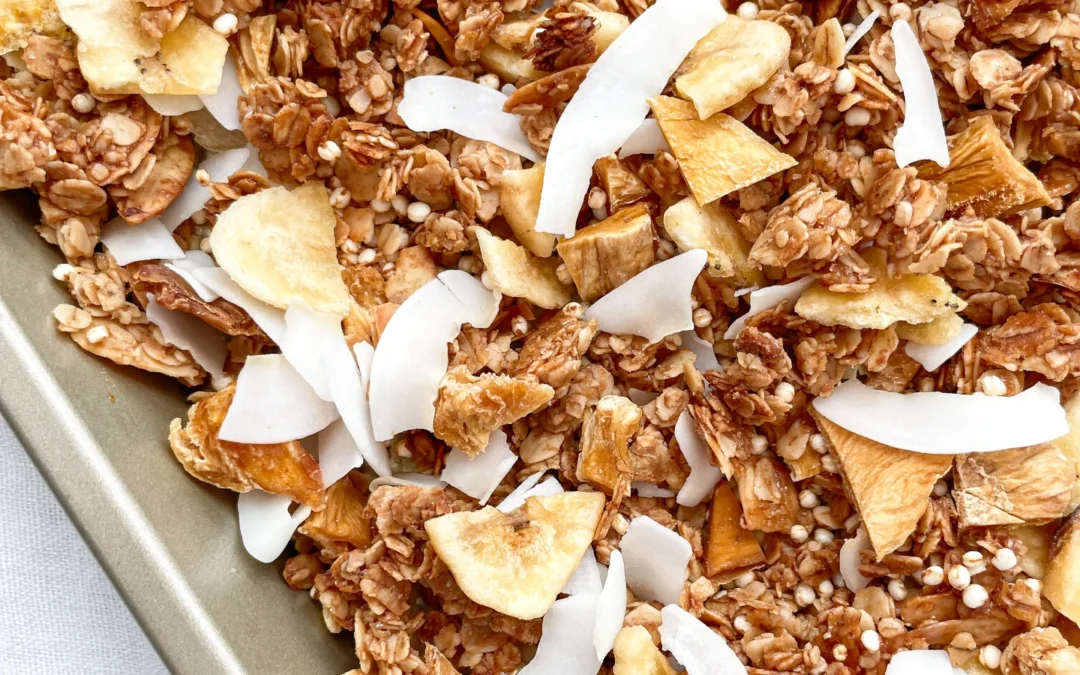
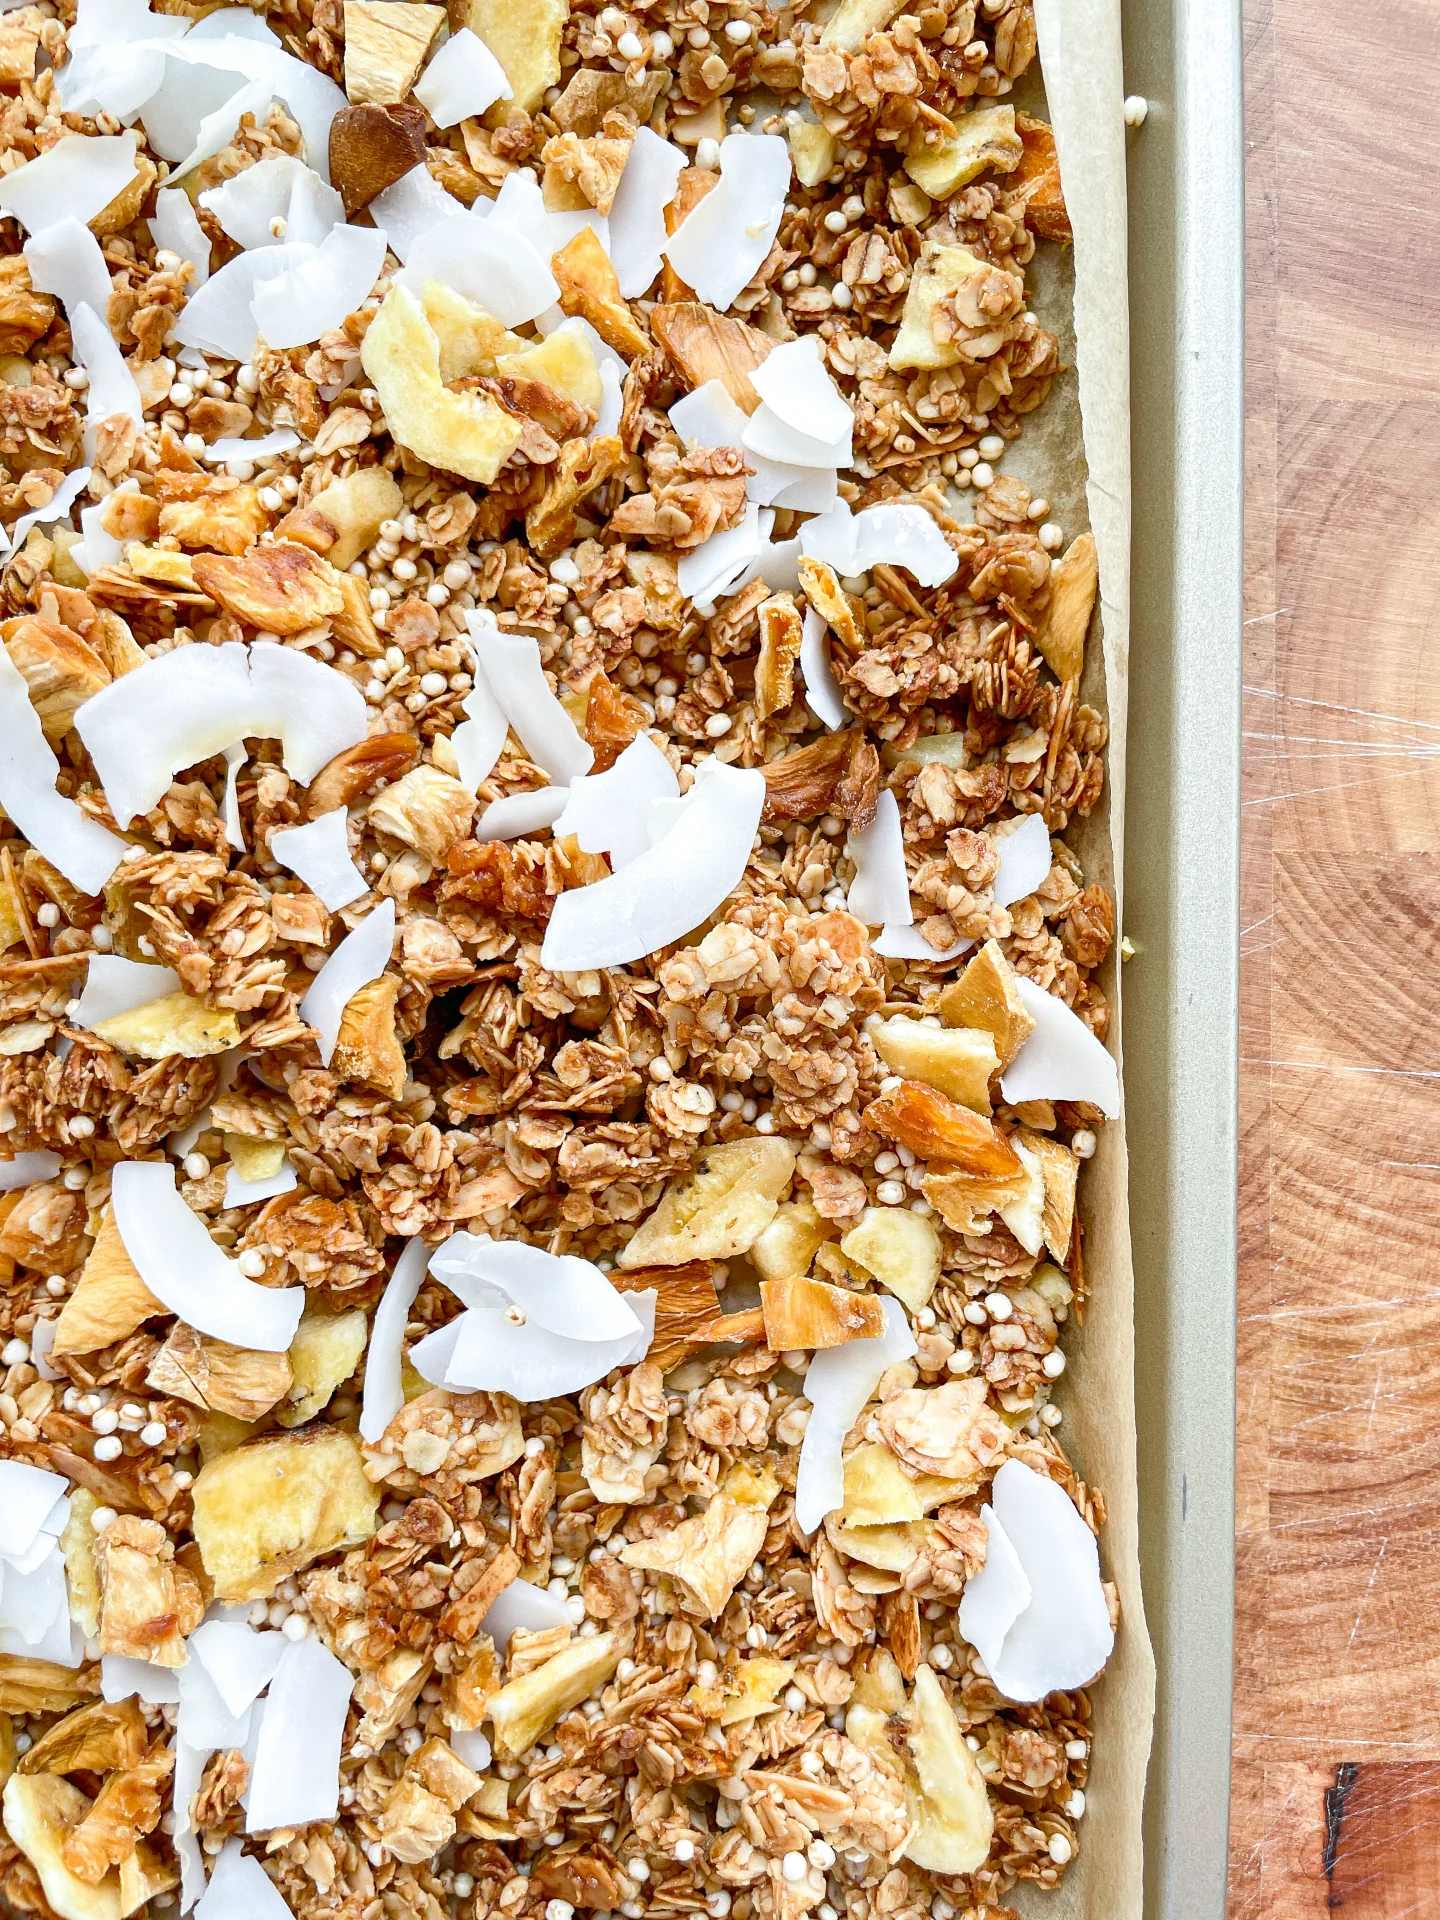
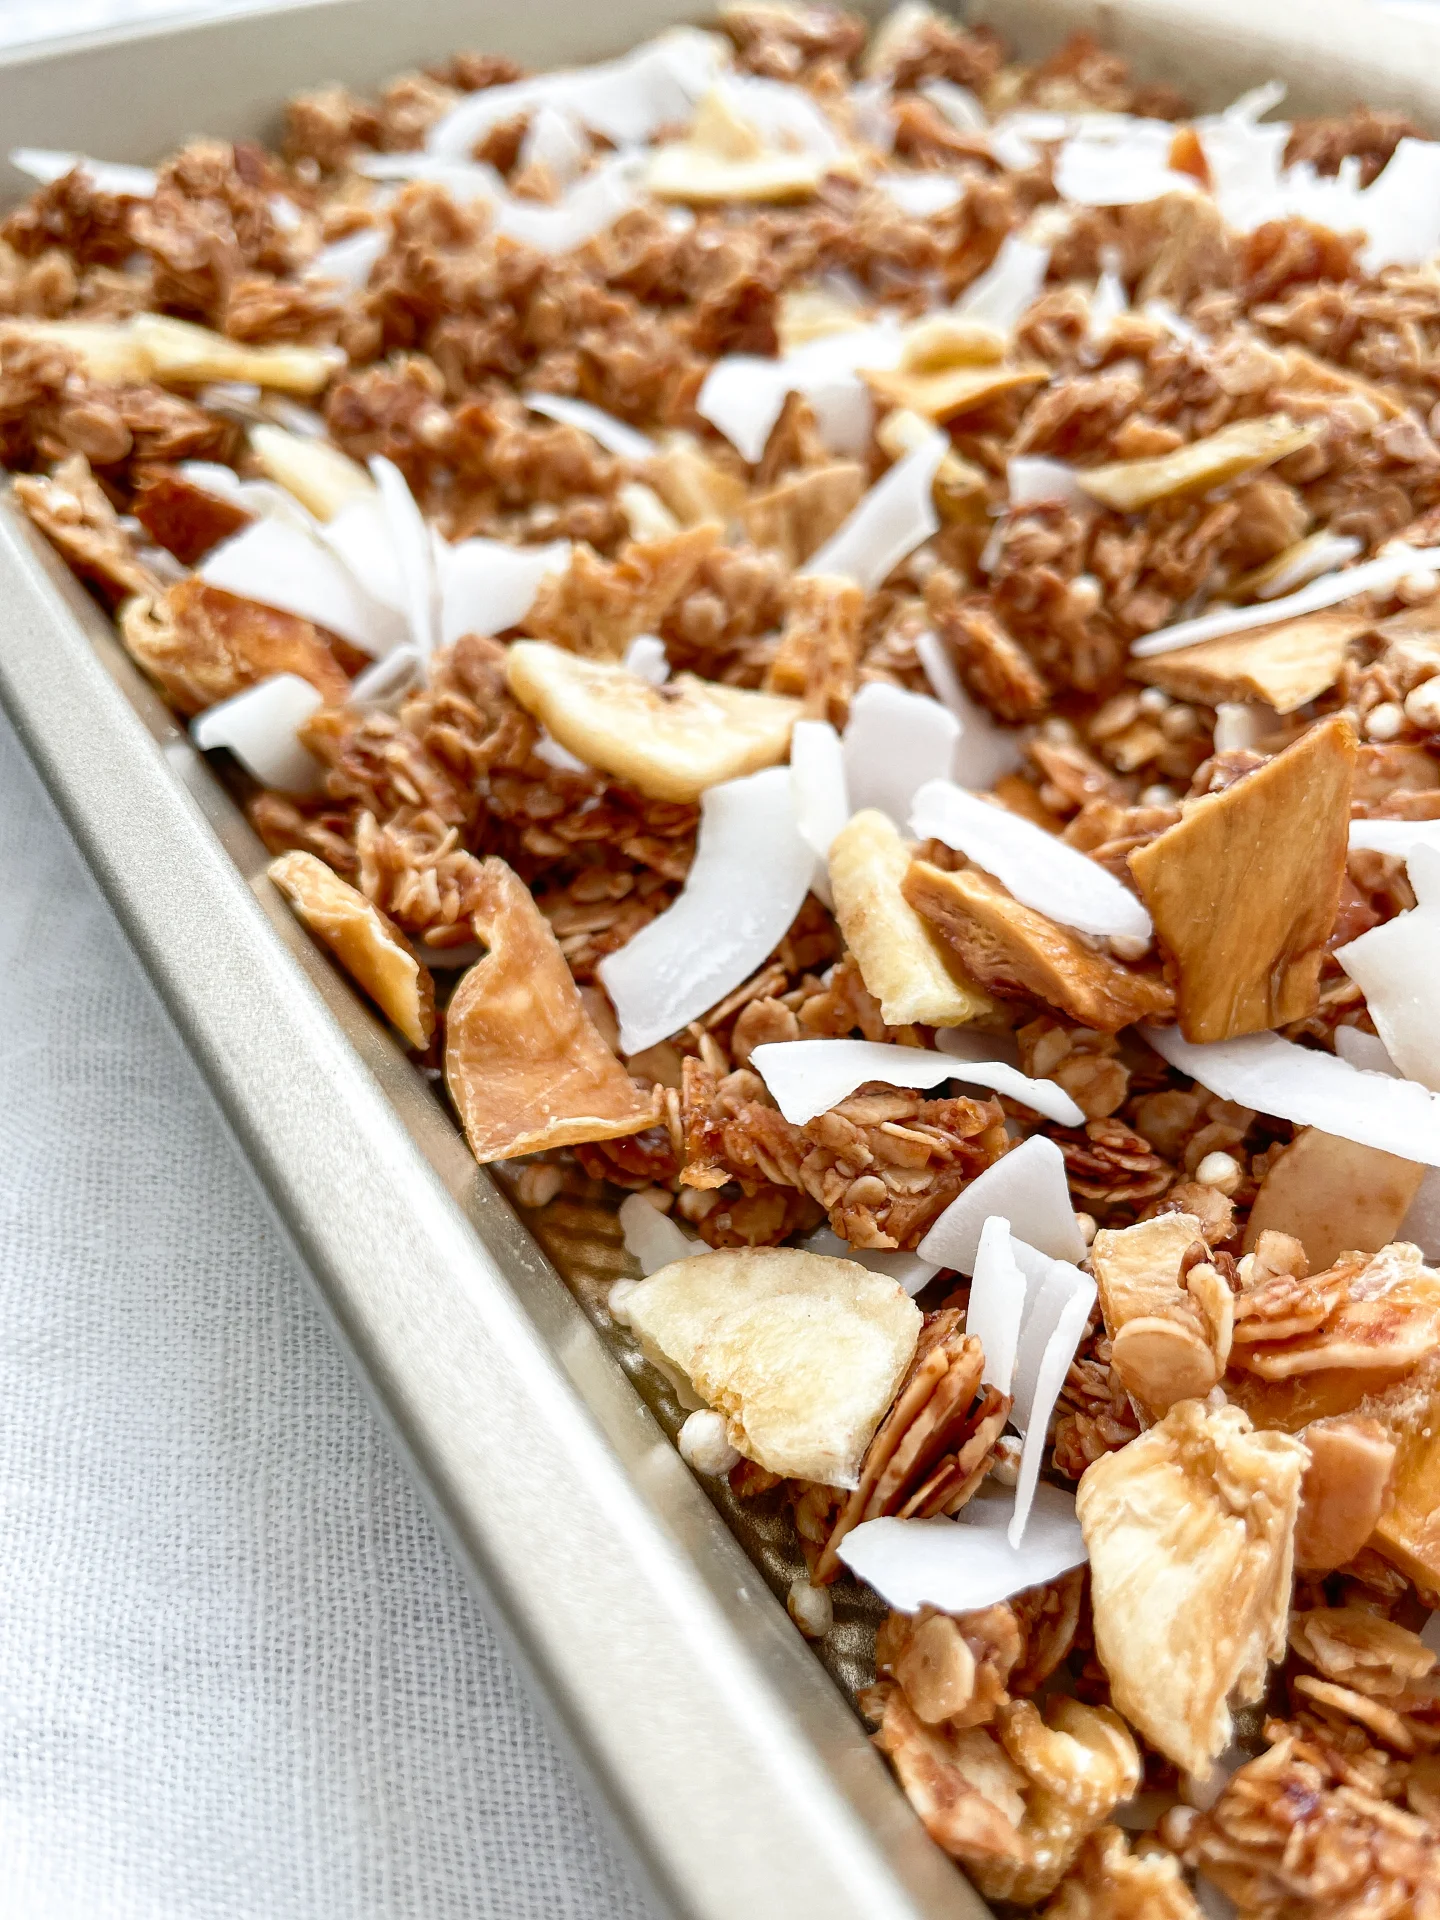
Get a taste of paradise in every bite! This crunchy tropical mix is loaded with coconut, mango, banana, and pineapple instantly taking you to a beachside escape with every spoonful.

40 MINUTES

EASY

VEGAN

INT.

342 PER PORTION

CRUNCHY

EVERYDAY

BREAKFAST

ALL YEAR

INTRODUCTION

ABOUT THE RECIPE

If you’re craving something that transports you straight to a sunny beach, this tropical-inspired granola is just what you need. Packed with crunchy coconut chips, sweet dried mango, freeze-dried banana, and tangy pineapple, it’s the ultimate blend of tropical goodness. Whether you sprinkle it over yogurt, enjoy it with milk, or just munch it by the handful, each bite brings a little sunshine to your day. Plus, it’s super easy to make and perfect for anyone looking for a healthier snack option!

How to serve
There are so many ways to enjoy this tropical mix! Serve it over some creamy Greek yogurt with a drizzle of honey, or go for a classic bowl with your favorite milk. If you’re feeling fancy, use it to top smoothie bowls for that perfect Instagram-worthy breakfast. It’s also an amazing snack to pack on-the-go, giving you a burst of tropical flavors any time of day.

How to store
Store this tropical blend in an airtight container to keep it fresh and crunchy. It’ll stay delicious for up to 3-4 weeks if stored in a cool, dry place – although, let’s be real, it probably won’t last that long because it’s too good!

Hi, I'm Kimberly!

Hi, I'm Kimberly.

A passionate food lover who believes in the magic of homemade deliciousness that spreads love and warmth. Join me on this culinary adventure as I prepare wonderful dishes and let’s spread some happiness together!

Kimberly the Zett Signature

If you want to get to know me better, click here!


Tropical Granola - Coconut Mango Pineapple & Banana
„Let’s make a piece of happiness“
Print
clock clock iconcutlery cutlery iconflag flag iconfolder folder iconinstagram instagram iconpinterest pinterest iconfacebook facebook iconprint print iconsquares squares iconheart heart iconheart solid heart solid icon
Tropical Granola - Coconut Mango Pineapple & Banana

Tropical Granola – Coconut Mango Pineapple & Banana


5 Stars 4 Stars 3 Stars 2 Stars 1 Star

5 from 1 review

  • Author: Kimberly
  • Total Time: 40 min
  • Yield: 300 g / 4 cups 1x

Description

Recommended Equipment

  • oven
  • parchment paper
  • medium-sized bowl
  • small saucepan
  • sharp knife
  • cutting board
  • airtight container

Ingredients

Units Scale
  • 100 grams rolled oats
  • 15 grams almonds
  • 30 grams dried mango
  • 30 grams freeze-dried banana
  • 30 grams dried pineapple
  • 20 grams coconut chips
  • 15 grams puffed quinoa
  • 30 grams cold-pressed coconut oil
  • 10 grams brown sugar
  • 25 grams agave syrup
  • 1/2 tsp vanilla extract
  • 1/8 tsp salt

Instructions

PREPARATIONS

  • Here’s the recipe for the Pineapple Coconut Oil. You’ll need about 30g of it.

INSTRUCTIONS

  1. Preheat the oven to 160°C / 320°F. Line a baking sheet with parchment paper and set it aside.
  2. In a medium-sized bowl, mix together the oats and almonds. Set aside.
  3. In a small saucepan, stir together sugar, agave syrup, vanilla extract, and coconut oil. Heat on low until the sugar melts. Pour this mixture over the oat-almond mix and stir well.
  4. Spread the mixture evenly onto the baking sheet. Bake for about 20 minutes.
  5. While the granola is baking, chop the freeze-dried bananas, pineapple, mango, and coconut chips to your desired size, and measure out the quinoa. Set everything aside.
  6. Once the granola is done baking, take it out of the oven and add the other ingredients. Mix everything well and let it cool.
  7. Once it’s completely cooled, crumble the granola and store it in an airtight container.
  • Passive Time: 20 min
  • Cook Time: 20 min

Homemade Bagels

Homemade Bagels

Homemade Bagels

Homemade Bagels

August 15, 2024 by Kimberly

Indulge in these cozy, chewy homemade bagels with irresistible toppings! Perfect for breakfast or brunch, they bring a warm, homemade touch to your mornings. Once you try these, you’ll never buy bagels again!

2 HOURS

INTERMEDIATE

VEGETARIAN

US AMERICAN

274 PER BAGEL

CHEWY

BRUNCH

BREAKFAST

ALL YEAR

INTRODUCTION

ABOUT THE RECIPE

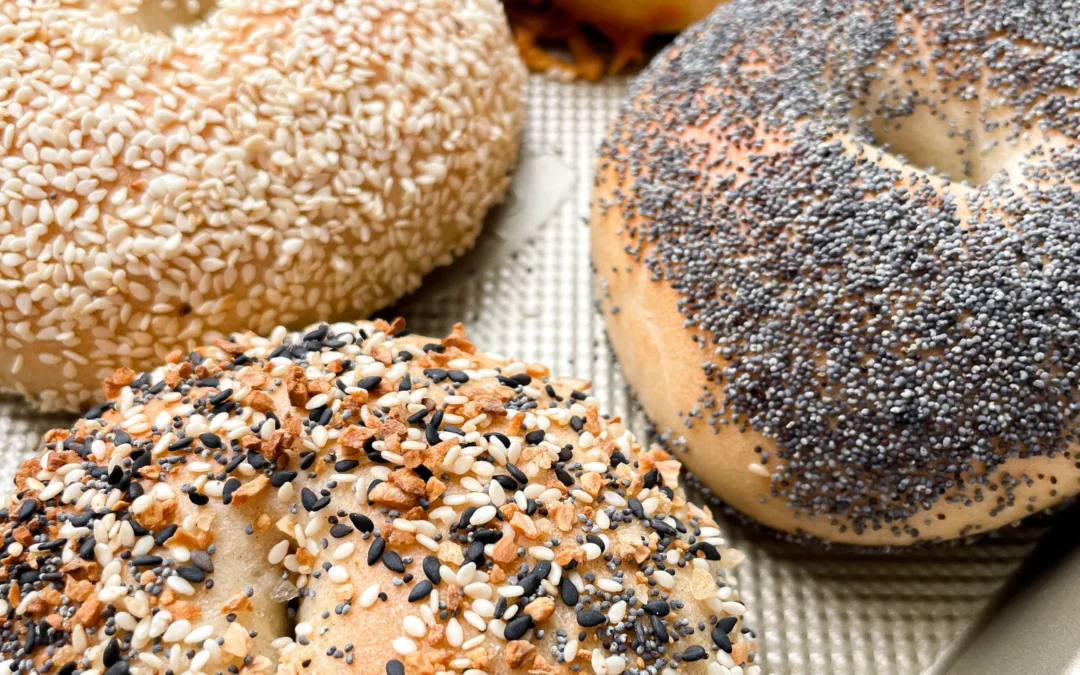
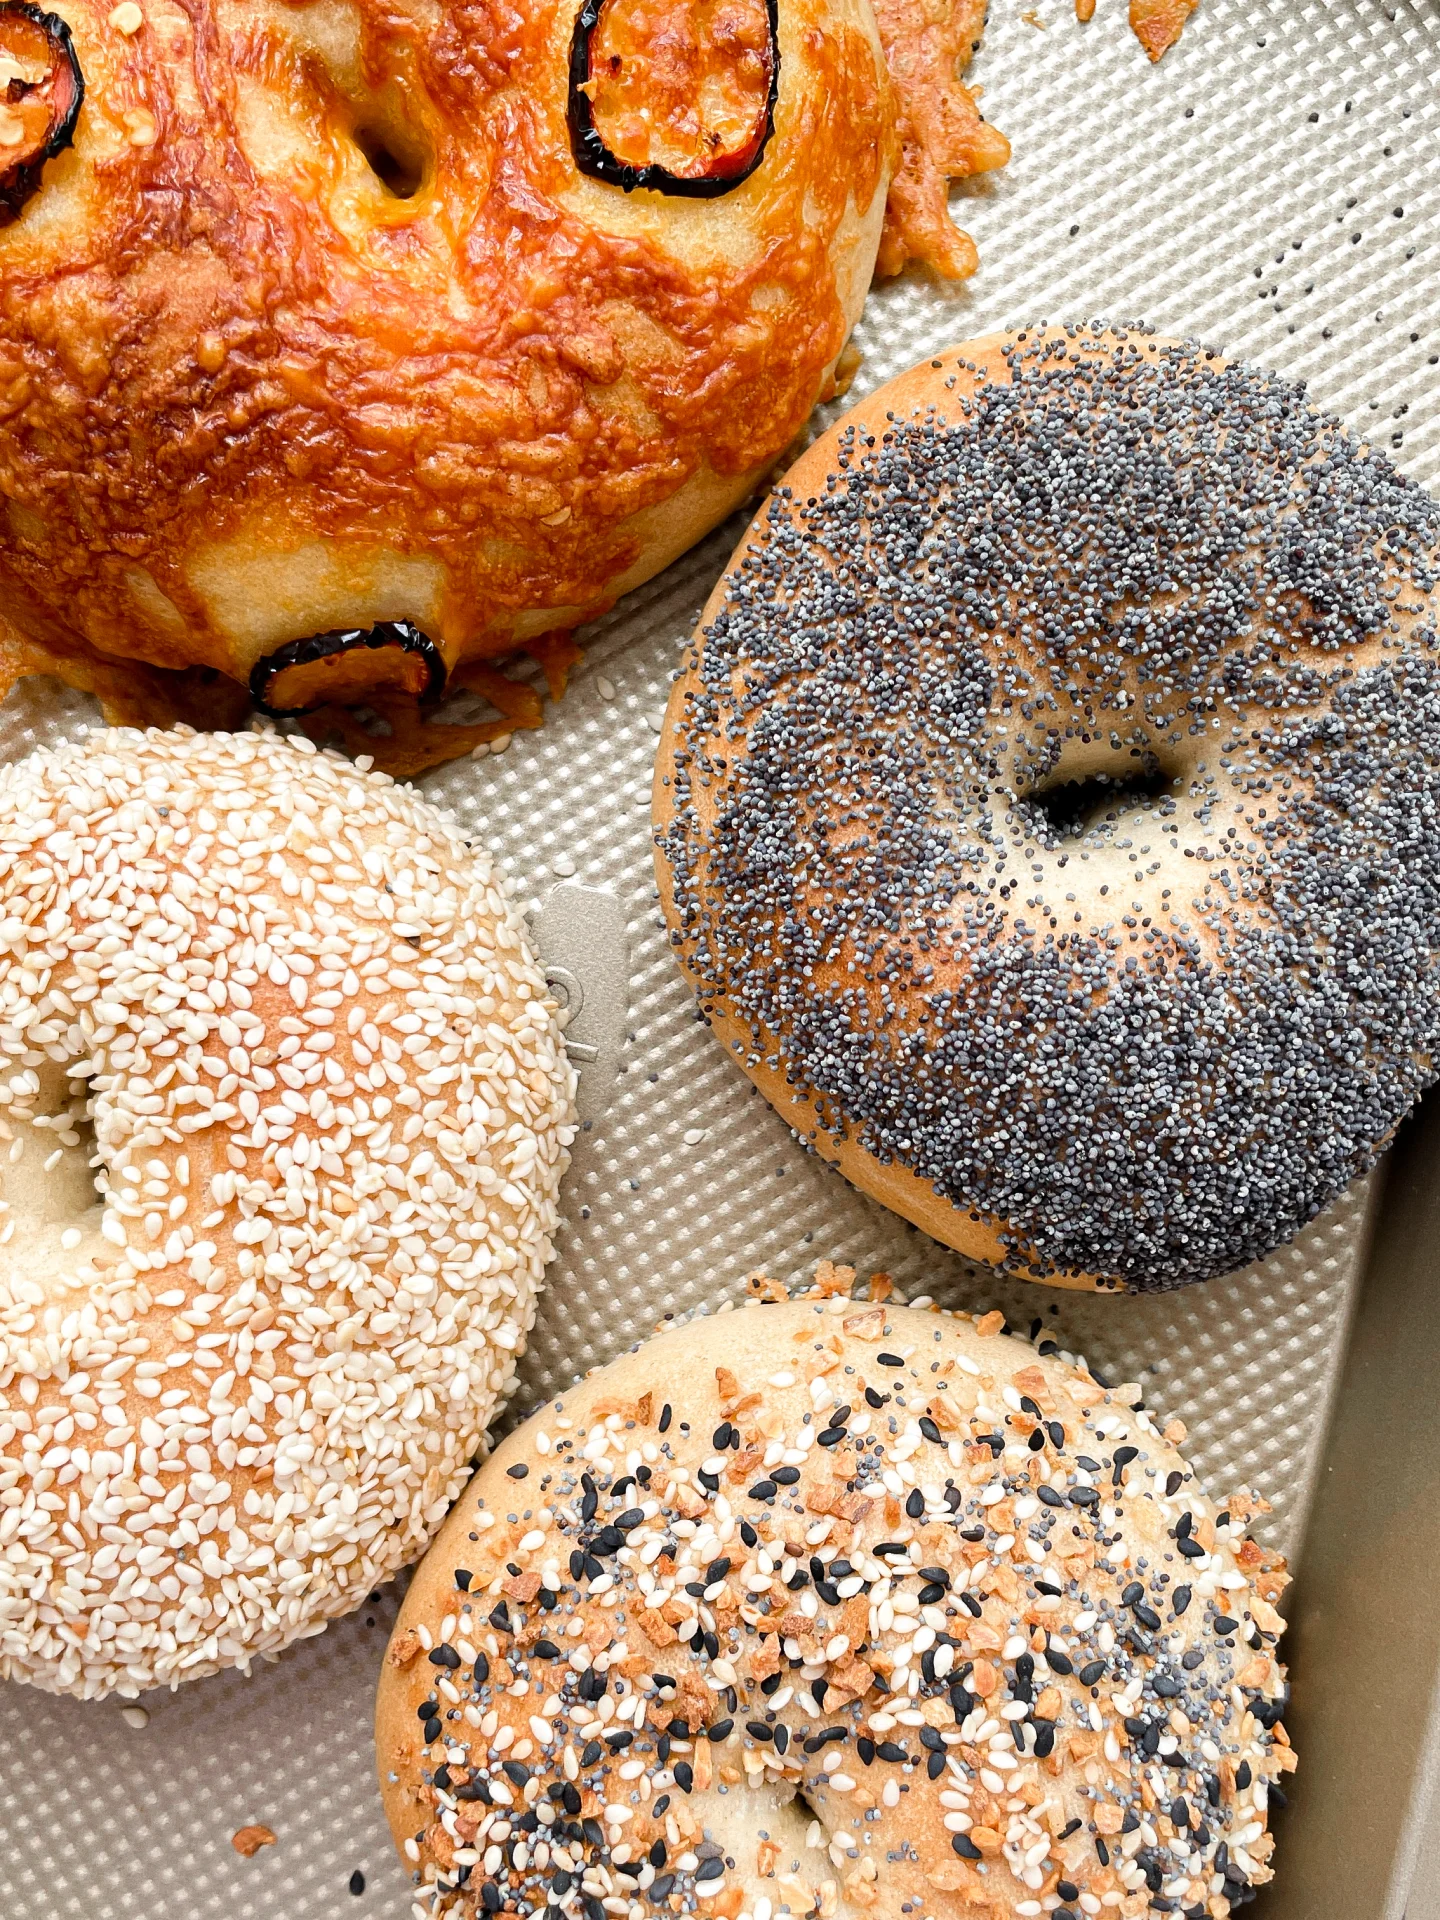
Imagine starting your day with the warm, comforting aroma of freshly baked bagels wafting through your kitchen. These delightful homemade bagels are not only easy to make but also offer a chewy, satisfying bite that pairs perfectly with your favorite toppings. Whether you prefer the nutty flavor of sesame seeds, the subtle crunch of poppyseeds, the spicy kick of cheddar and jalapeno, or the classic mix of everything bagel seasoning, there’s a bagel for everyone to love.

How to serve
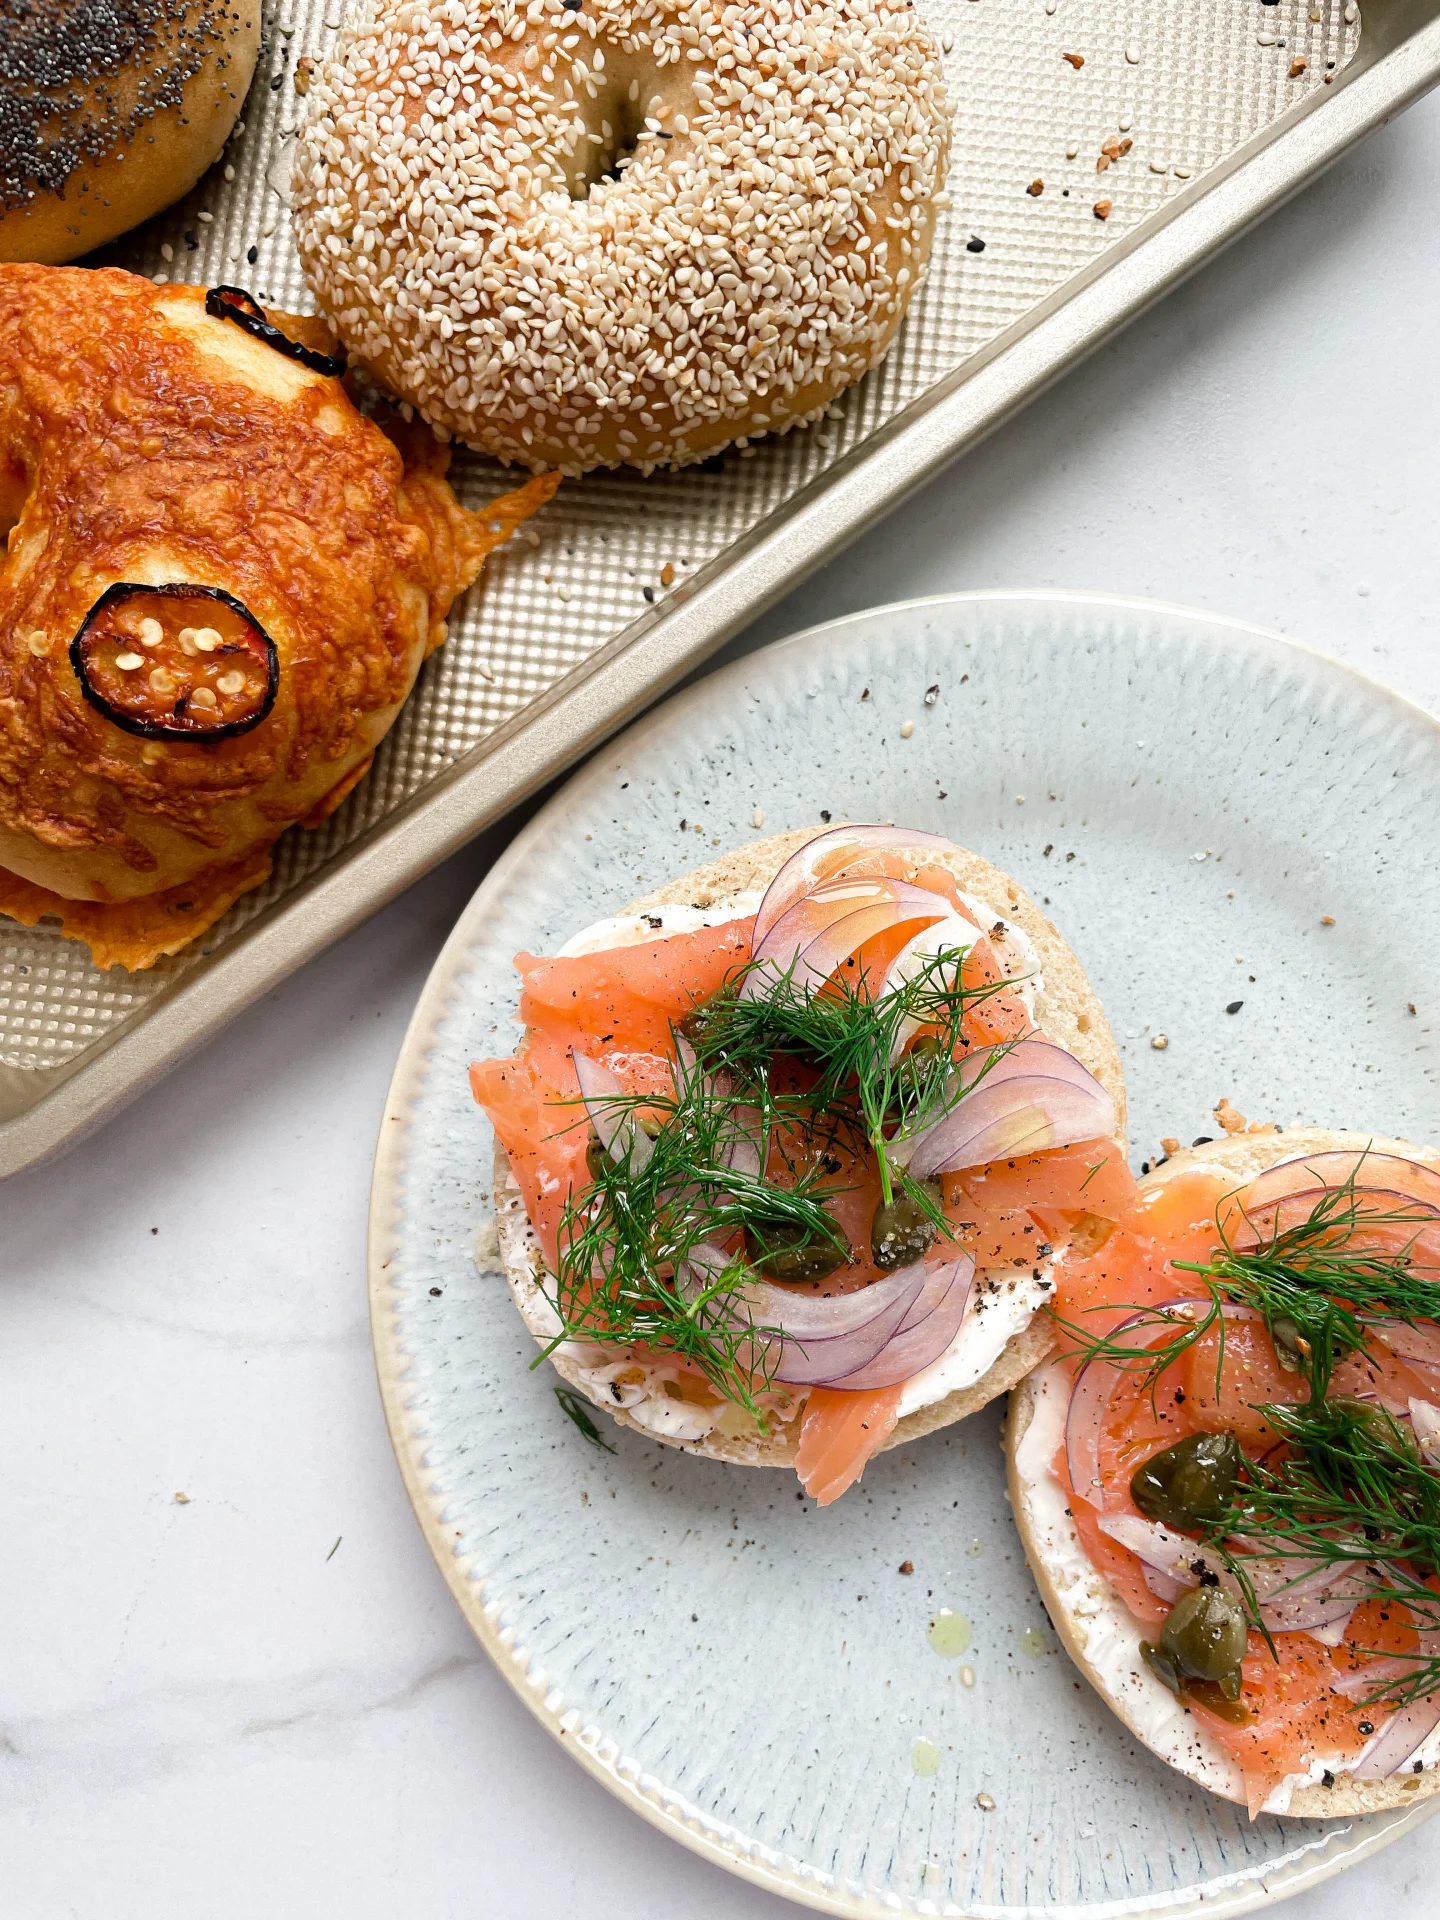
Slice them in half and spread on some creamy butter, tangy cream cheese, or your favorite jam. They also make fantastic bases for sandwiches – think smoked salmon with capers and red onion on a sesame bagel, or a turkey and avocado combo on a poppyseed bagel. For a real treat, try a cheddar and jalapeno bagel with a smear of guacamole. These bagels are versatile enough to be enjoyed any time of day, making them a must-have in your kitchen.

How to store
To keep your bagels fresh, store them in an airtight container at room temperature for up to two days. For longer storage, slice them in half and freeze them. When you’re ready to enjoy, simply pop them in the toaster straight from the freezer. This way, you’ll always have a delicious bagel ready whenever the craving strikes.

Hi, I'm Kimberly!

Hi, I'm Kimberly.

A passionate food lover who believes in the magic of homemade deliciousness that spreads love and warmth. Join me on this culinary adventure as I prepare wonderful dishes and let’s spread some happiness together!

Kimberly the Zett Signature

If you want to get to know me better, click here!


Homemade Bagels
Homemade Bagels
Homemade Bagels
„Let’s make a piece of happiness“
Print
clock clock iconcutlery cutlery iconflag flag iconfolder folder iconinstagram instagram iconpinterest pinterest iconfacebook facebook iconprint print iconsquares squares iconheart heart iconheart solid heart solid icon
Homemade Bagels

Homemade Bagels


  • Author: Kimberly
  • Total Time: 2 hrs
  • Yield: 8-12 1x

Description

Recommended Equipment

  • tall container
  • large bowl
  • damp cloth
  • oven
  • large pot

Ingredients

Units Scale

DOUGH – YEAST MIXTURE

  • 500 milliliters lukewarm water
  • 7 grams active dry yeast
  • 1 tbsp sugar

DOUGH – DRY INGREDIENTS

  • 900 grams bread flour (in Germany flour type 550)
  • 2 tsp salt
  • 30 grams white sugar

WATER BATH

  • 2 liters simmering water
  • 1/4 cup brown sugar

TOPPINGS

  • white sesame seeds
  • poppy seeds
  • everything but the bagel seasoning
  • cheddar & jalapeño

Instructions

  1. In a tall container, briefly stir together the yeast mixture ingredients: lukewarm water, yeast, and sugar, then let it sit for 10 minutes.
  2. Meanwhile, in a large bowl, mix the dry ingredients: flour, salt, and sugar. Add the yeast-water-sugar mixture and stir until just combined.
  3. Transfer the dough to a clean work surface and knead by hand until it barely sticks anymore.
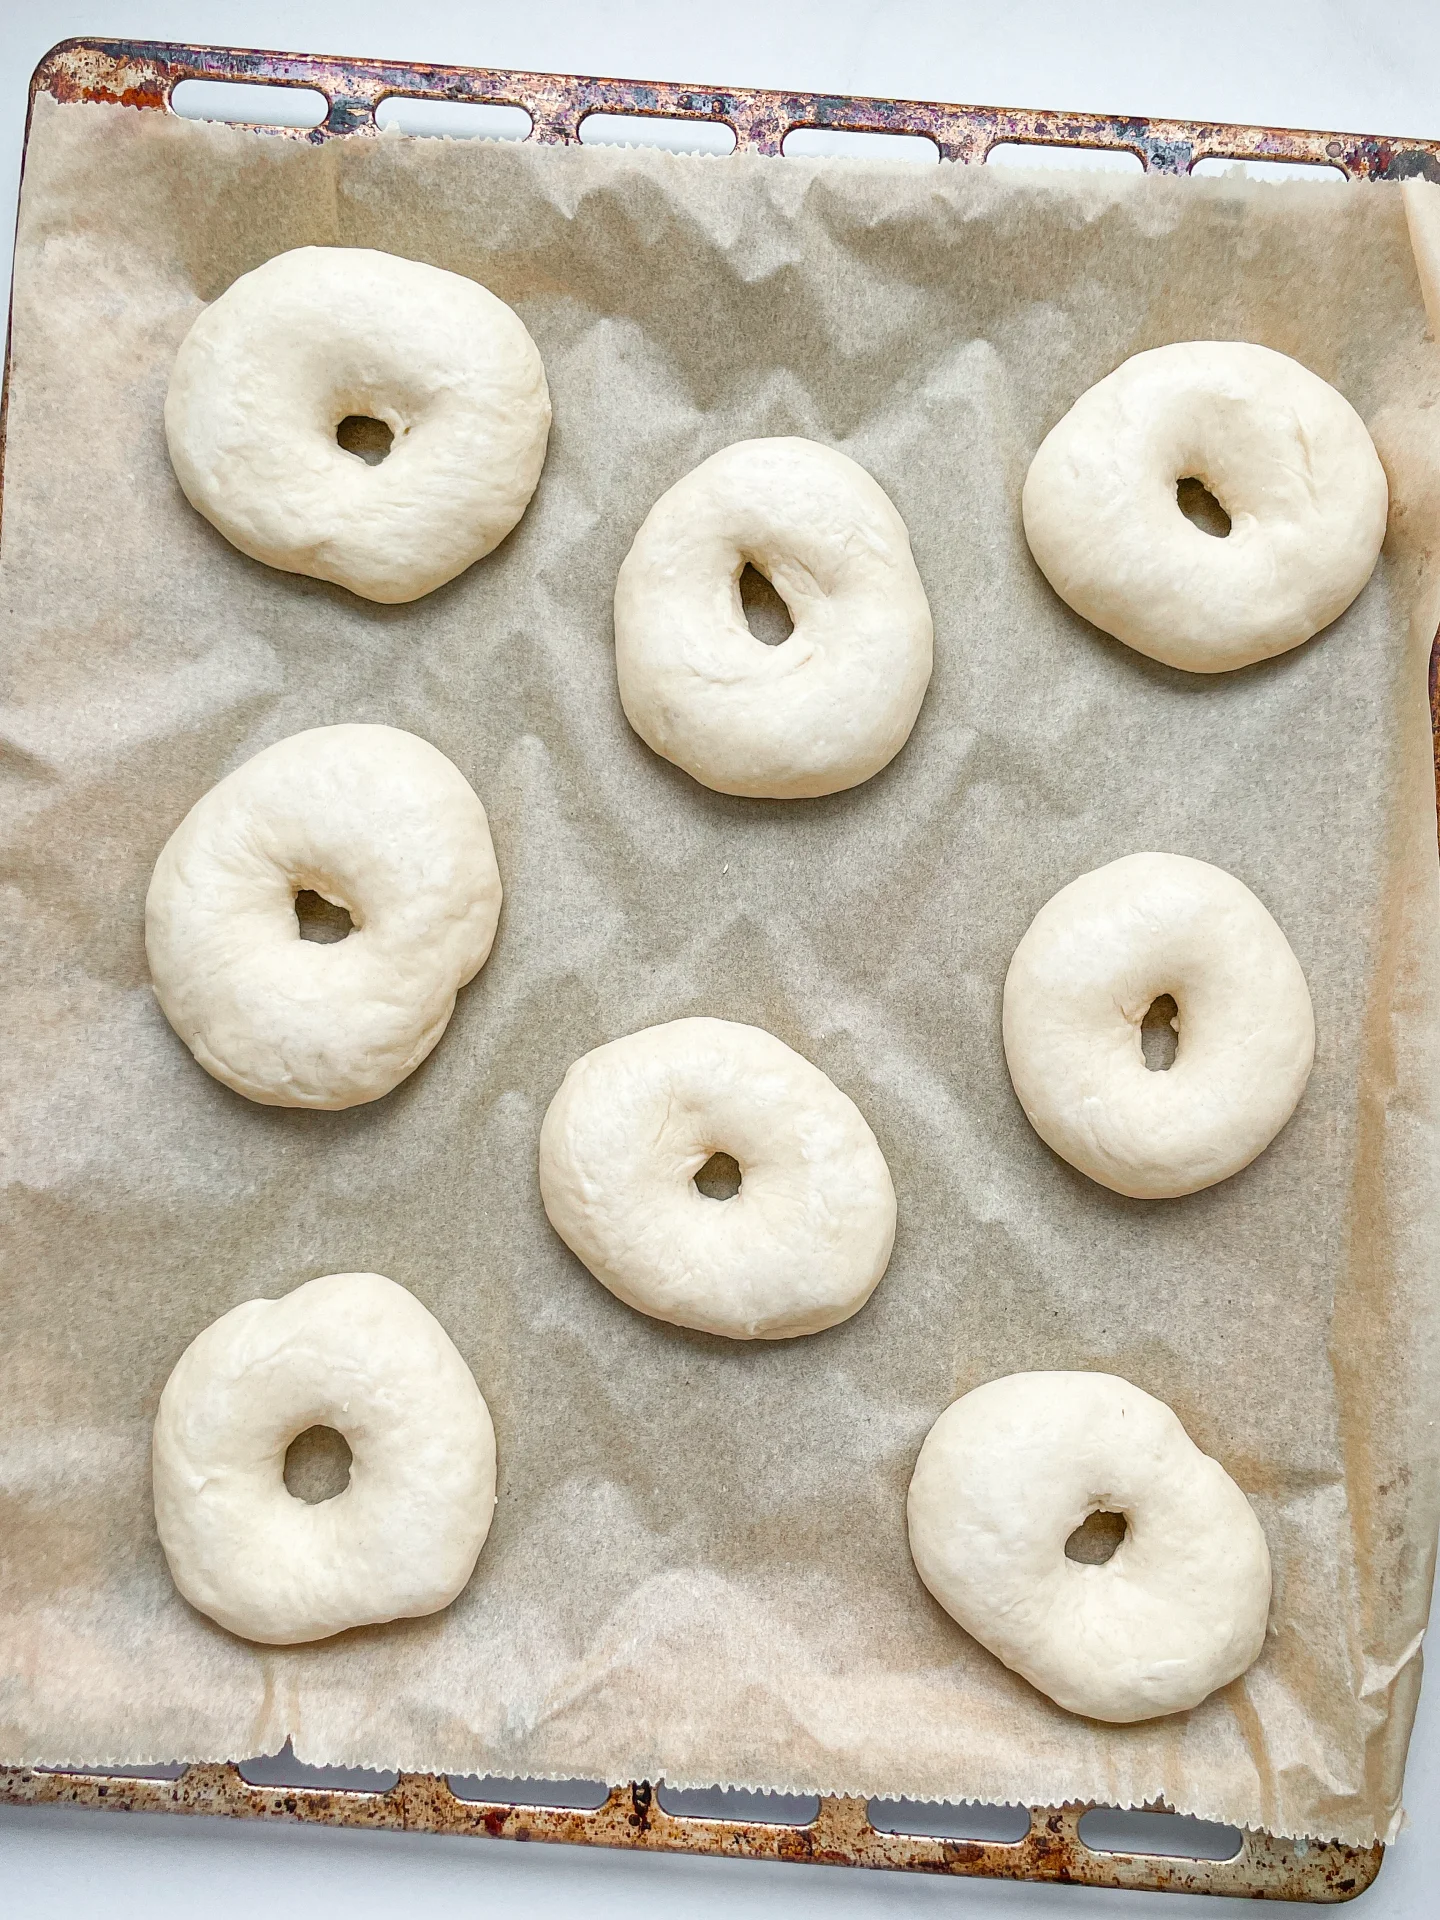
  4. Shape the dough into 8 balls of 180g / 6oz each for large bagels or 12 balls of 120g / 4oz each for smaller bagels. Let them rest under a damp cloth for about 20 minutes.
  5. Poke a hole in the center of each dough ball with your finger and form a bagel by stretching the dough evenly.
  6. Place the bagels on parchment paper and let them rise for another 30 minutes.
  7. Preheat the oven to 175°C / 350°F. Bring water to a simmer in a large pot and dissolve the brown sugar in it. Simmer each bagel for 1 minute on each side.
  8. Remove the bagels from the water and dip them in your favorite toppings or leave them plain. I like using poppy seeds, sesame seeds, everything but the bagel seasoning, or jalapenos and cheddar cheese.
  9. Once all bagels are topped, place them on a parchment-lined baking sheet and bake in the oven for about 25-30 minutes depending on their size.
  10. Remove the baking sheet and enjoy the bagels 🙂
  • Passive Time: 1 hr 30 min
  • Cook Time: 30 min

Blue Spirulina Breakfast Bowl

Blue Spirulina Breakfast Bowl

Blue Spirulina Breakfast Bowl

Blue Spirulina Breakfast Bowl

July 11, 2024 by Kimberly

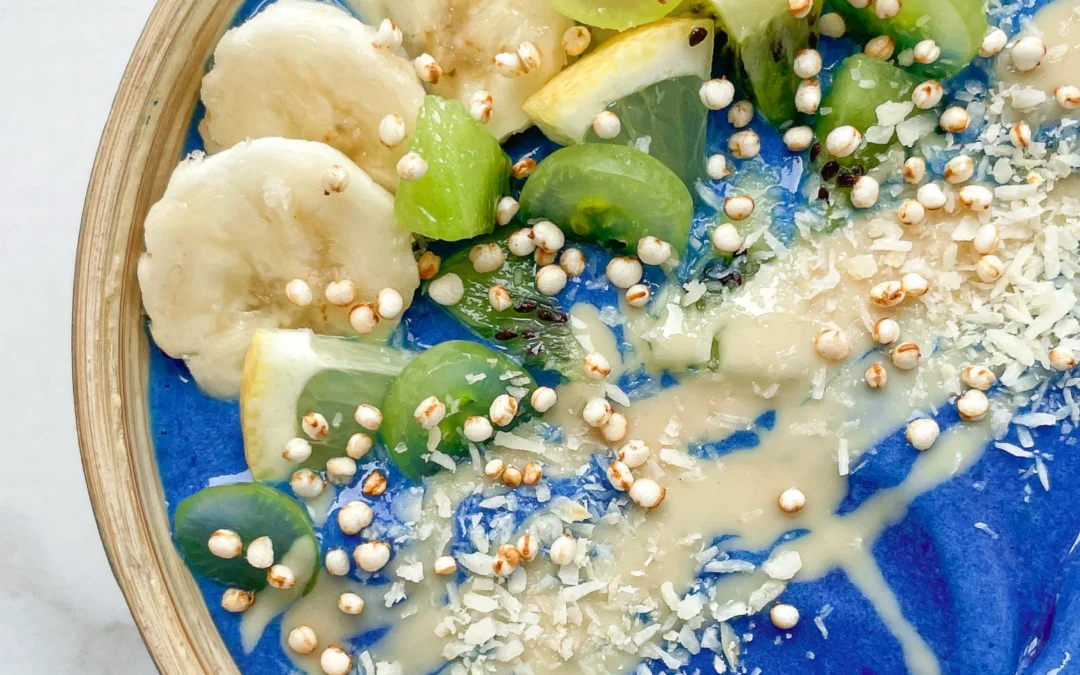
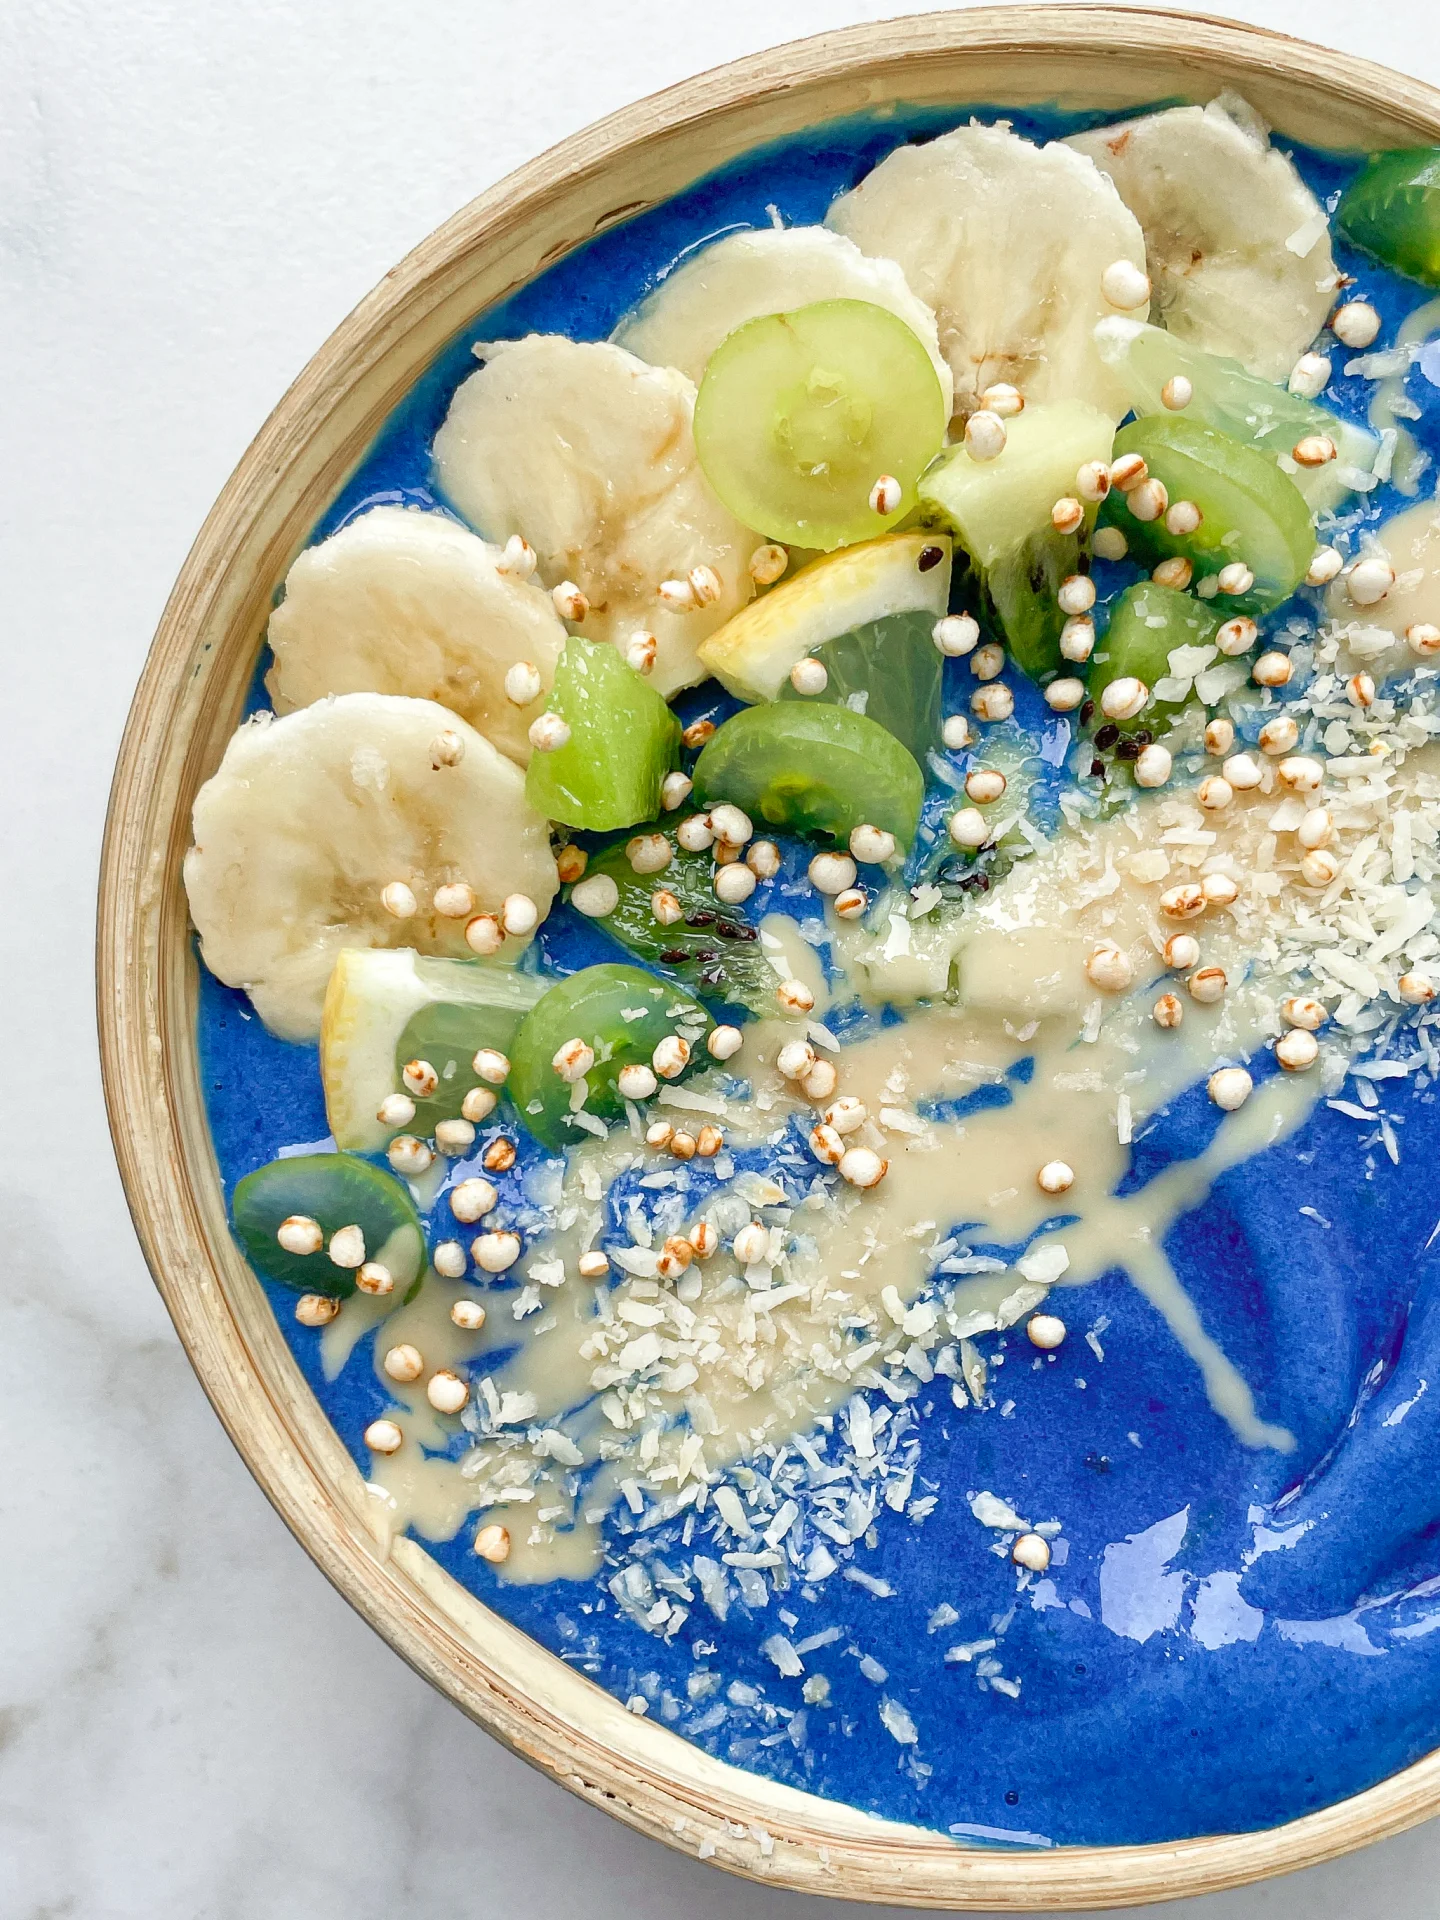
Kick off your day with a stunning Blue Spirulina Breakfast Bowl! This refreshing blend energizes with lush tropical flavors, a pop of brilliant blue and natural health benefits.

10 MINUTES

EASY

VEGAN

INT.

401 PER BOWL

REFRESHING
SWEET

EVERYDAY

BREAKFAST

SUMMER

INTRODUCTION

ABOUT THE RECIPE

Embrace a burst of color and nutrition each morning with the Blue Spirulina Breakfast Bowl! This delightful dish combines the natural vibrancy of blue spirulina with the creamy sweetness of almond milk and tropical fruits, making your breakfast not only healthful but also irresistibly tasty. Start your day with this energizing bowl that’s sure to brighten your morning and fuel your adventures.

How to serve
Serve your Blue Spirulina Breakfast Bowl chilled, garnished with fresh fruits and a swirl of almond butter for an extra touch of luxury. It’s the perfect way to energize your morning or refuel post-workout with a dish that’s both delicious and nutrient-rich.

How to store
Keep any remaining mixture in a sealed container in the freezer for up to two days. Let it thaw and refresh with new toppings before serving again to maintain the perfect blend of flavors and textures.

Hi, I'm Kimberly!

Hi, I'm Kimberly.

A passionate food lover who believes in the magic of homemade deliciousness that spreads love and warmth. Join me on this culinary adventure as I prepare wonderful dishes and let’s spread some happiness together!

Kimberly the Zett Signature

If you want to get to know me better, click here!


Blue Spirulina Breakfast Bowl
„Let’s make a piece of happiness“
Print
clock clock iconcutlery cutlery iconflag flag iconfolder folder iconinstagram instagram iconpinterest pinterest iconfacebook facebook iconprint print iconsquares squares iconheart heart iconheart solid heart solid icon
Blue Spirulina Breakfast Bowl

Blue Spirulina Breakfast Bowl


5 from 1 review

  • Author: Kimberly
  • Total Time: 10 min
  • Yield: 1 bowl 1x

Description

Recommended Equipment

  • sharp knife
  • cutting board
  • freezer
  • high-power blender
  • cereal bowl

Ingredients

Units Scale

BASE

  • 2 bananas, frozen
  • 170 grams pineapple, frozen
  • 125 milliliters to 250 milliliters almond milk (or your favorite type of milk)
  • 1 tsp blue spirulina powder

TOPPINGS

  • 1/4 banana
  • 1/2 kiwi
  • 3 green grapes
  • 1 tsp coconut flakes
  • 1 tsp puffed quinoa

Instructions

PREPARATIONS

  • Chop the banana and pineapple into pieces and freeze them overnight.

INSTRUCTIONS

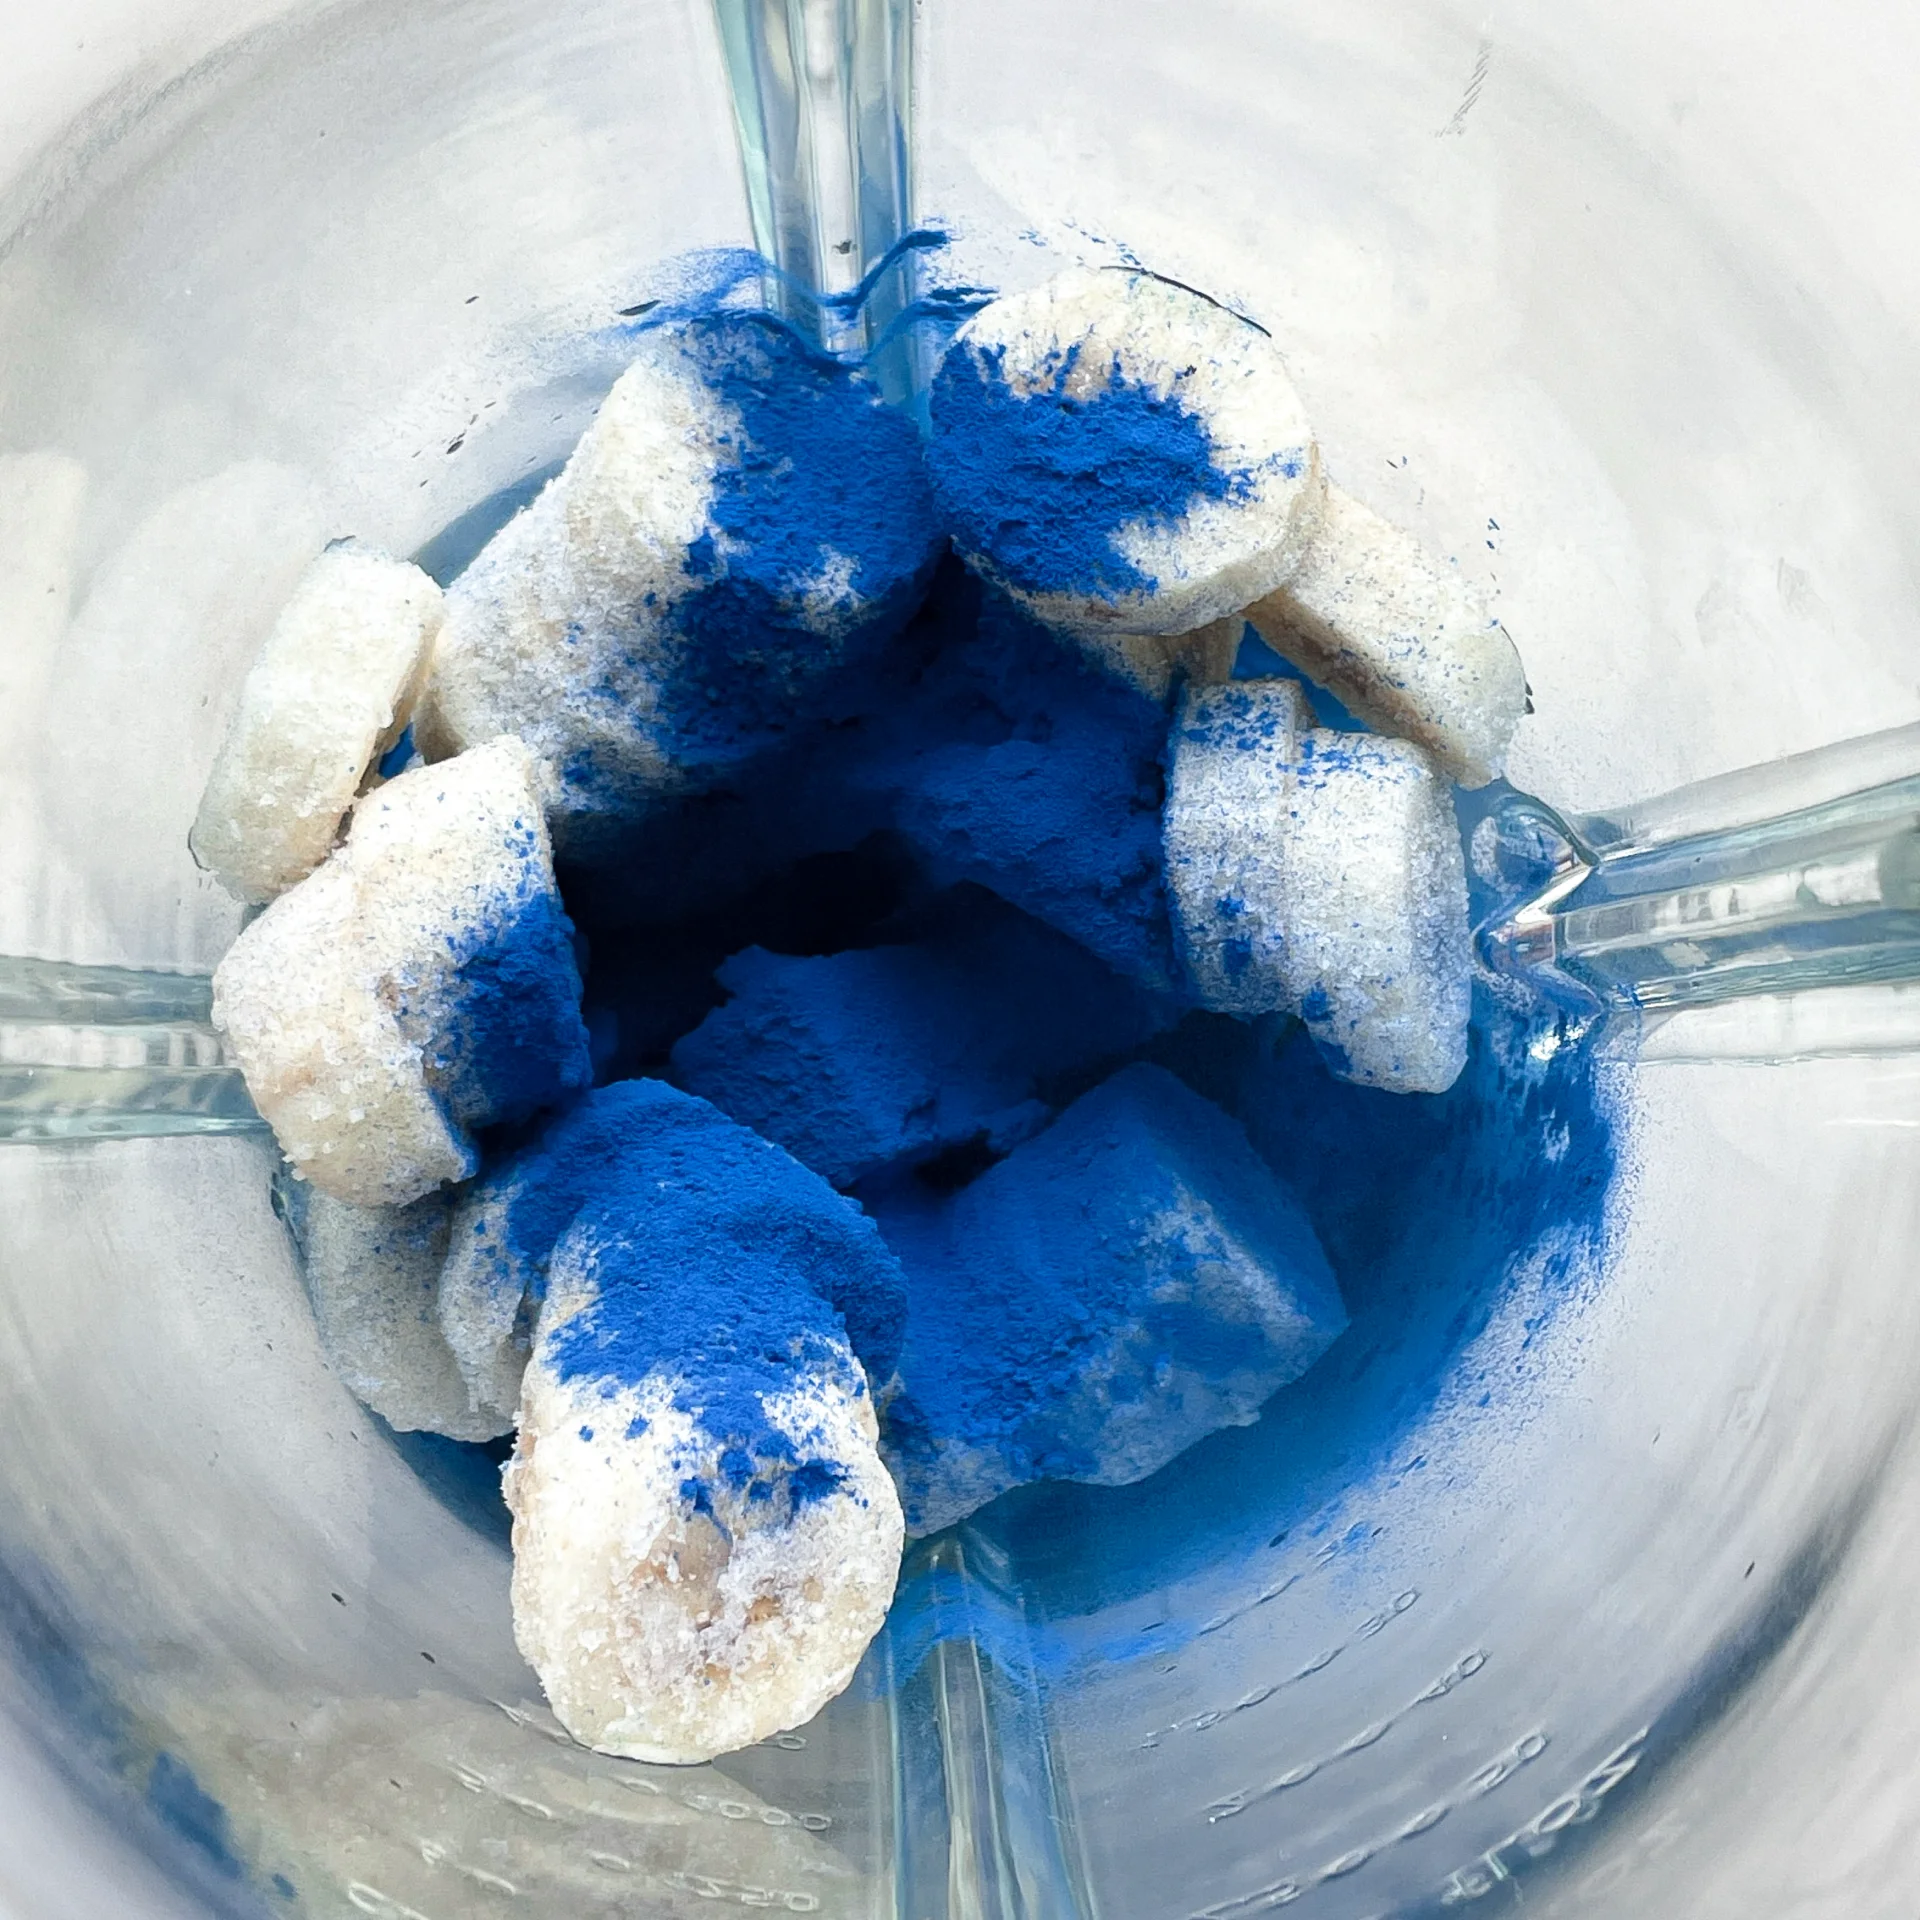
  1. Put the pineapple, banana, almond milk, and spirulina powder into the blender and blend until it becomes creamy.
  2. Meanwhile, slice 1/4 of a fresh banana and 3 grapes, and chop half a kiwi into small pieces.
  3. Pour the blue cream into a bowl and top it with the banana and grape slices, kiwi pieces, 1 teaspoon of almond butter, 1 teaspoon of puffed quinoa, and 1 teaspoon of coconut flakes. Enjoy it right away 🙂
  • Prep Time: over night
  • Cook Time: 10 min
Ham & Cheese Croissant

Ham & Cheese Croissant

Ham&Cheese Croissant

Ham & Cheese Croissant

November 27, 2023 by Kimberly

Imagine a buttery croissant hugging tasty ham and melted Gruyère cheese. It’s like a delicious duet of flavors that makes each bite a delight. Happy eating!

15 MINUTES

EASY

OMNIVORE

FRENCH

453 PER PORTION

CRUNCHY / COMFORT FOOD

EVERYDAY

BREAKFAST

ALL YEAR

INTRODUCTION

ABOUT THE RECIPE

Enjoy a ham and Gruyère croissant featuring a special brown sugar butter glaze. Imagine a buttery treat with sweet brown sugar, poppy seeds, onion, and zesty Dijon mustard. Each bite delivers flaky pastry, tasty ham, creamy Gruyère, and a burst of unique flavors. It’s a simple, delicious snack that promises savory goodness.
How to serve
Whether enjoyed warm or cold, it’s an ideal take-away breakfast or a special morning treat. Paired with a side salad, it transforms into a quick and delightful lunch option, making for a deliciously convenient meal that’s perfect for both planned and spontaneous gatherings.

How to store
For optimal freshness, store the croissant in an airtight container or tightly wrapped in plastic. Refrigerate for short-term use, or freeze for extended freshness. Whether reheated in the oven or enjoyed cold, these croissants maintain their deliciousness.

Hi, I'm Kimberly!

Hi, I'm Kimberly.

A passionate food lover who believes in the magic of homemade deliciousness that spreads love and warmth. Join me on this culinary adventure as I prepare wonderful dishes and let’s spread some happiness together!

Kimberly the Zett Signature

If you want to get to know me better, click here!


Ham&Cheese Croissant

„Let’s make a piece of happiness“

Print
clock clock iconcutlery cutlery iconflag flag iconfolder folder iconinstagram instagram iconpinterest pinterest iconfacebook facebook iconprint print iconsquares squares iconheart heart iconheart solid heart solid icon
Ham&Cheese Croissant

Ham & Cheese Croissant


5 from 1 review

  • Author: Kimberly
  • Total Time: 14 min
  • Yield: 2-4 1x

Description

Recommended Equipment
  • small bowl
  • bread knife
  • cheese grater
  • kitchen basting brush

Ingredients

Units Scale
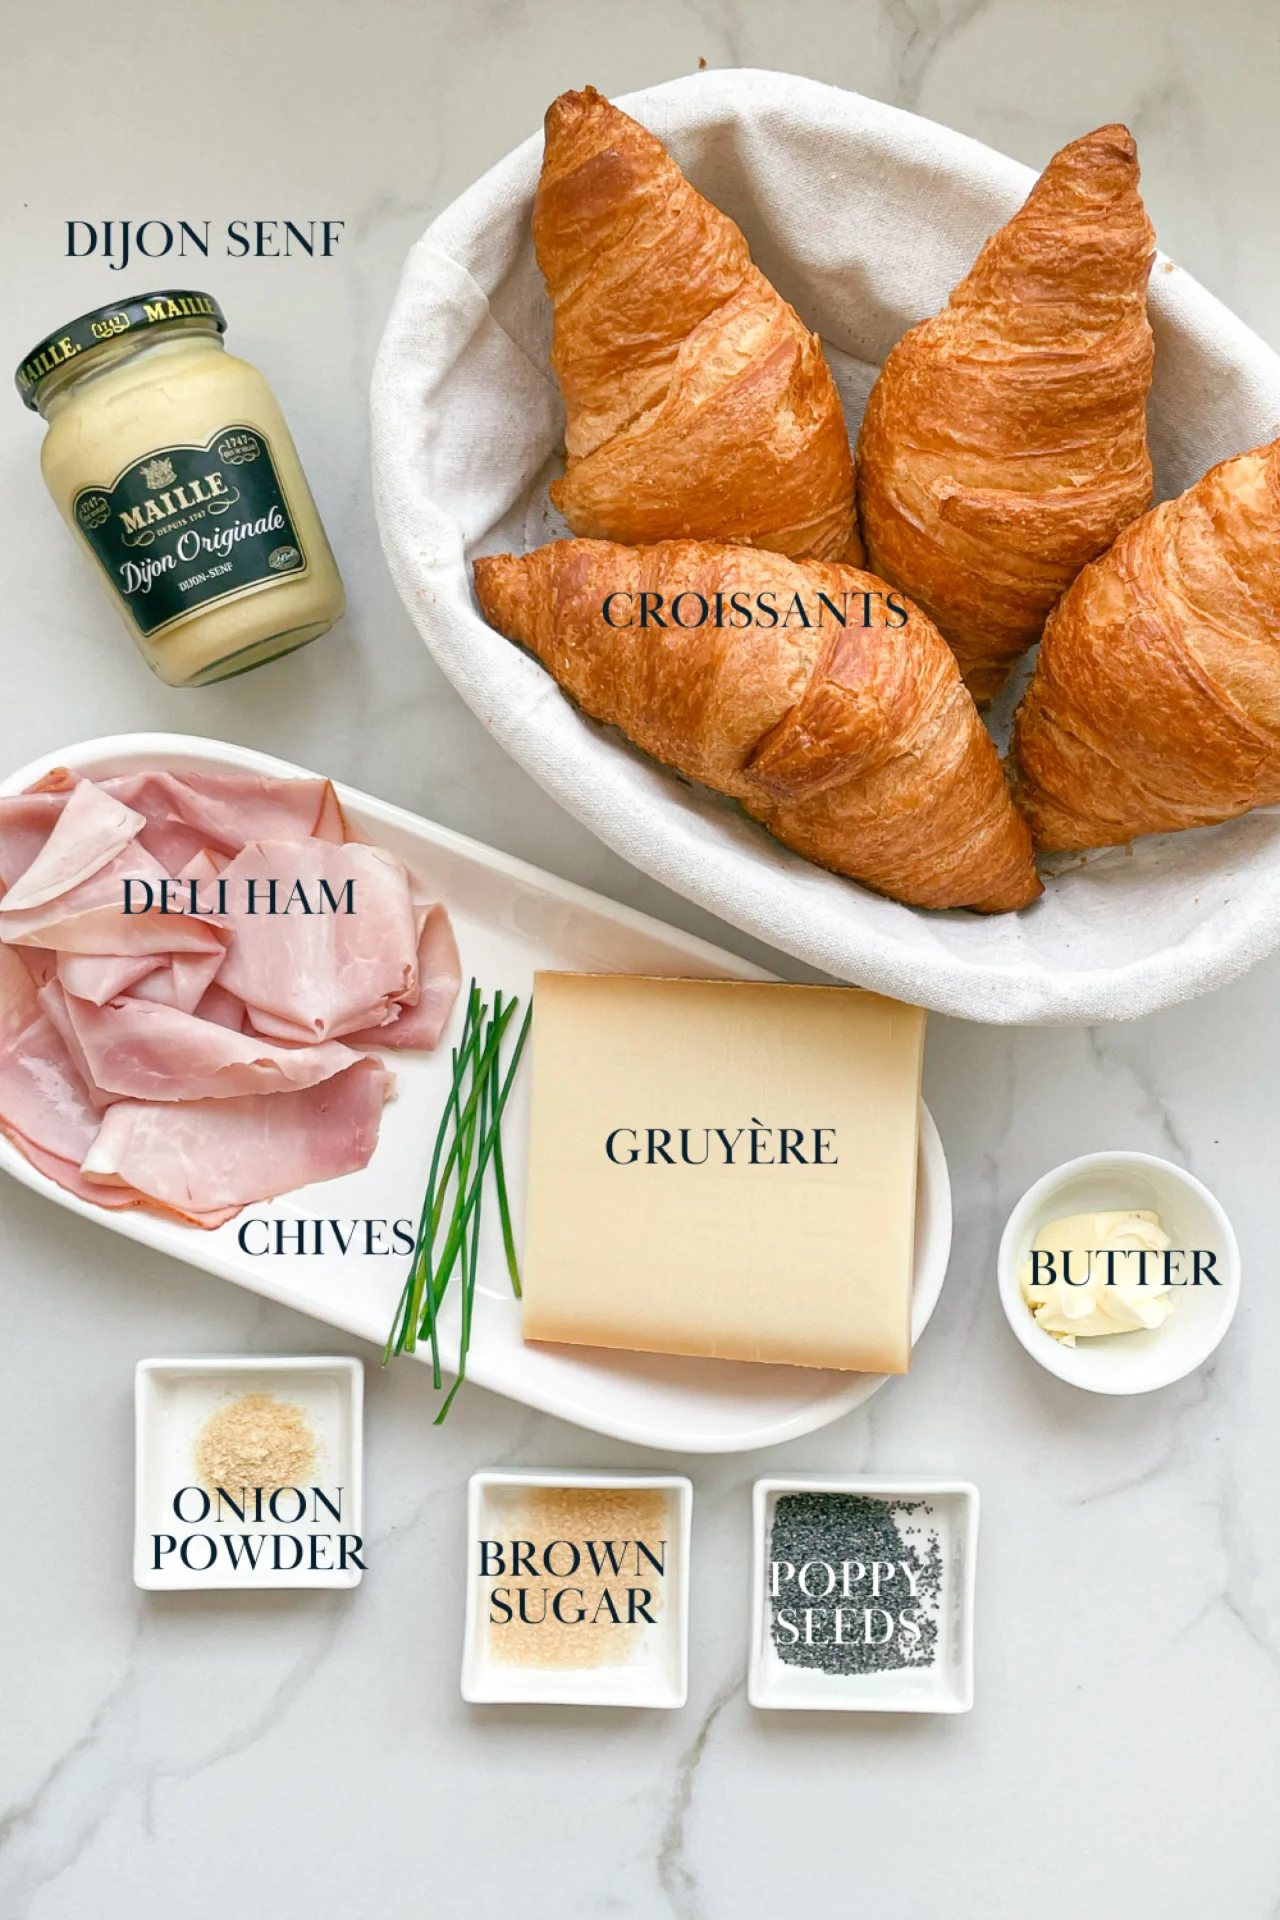
  • 4 croissants
  • 60 grams cheese of your choice (I used Gruyére)
  • 100 grams deli ham
  • 1 tsp chives

GLAZE

  • 1 tbsp butter
  • 1 tsp poppy seeds
  • 1/2 tsp brown sugar
  • 1/2 tsp dijon mustard
  • 1/4 tsp garlic powder
  • 1/4 tsp onion powder
  • 1/4 tsp salt

Instructions

PREPARATIONS

  • Grate Gruyère cheese.
  • Cut the chives into thin rolls.
  • Melt 1 tbsp butter in a small bowl in the microwave or in a saucepan.
  • Preheat the oven to 150°C / 302°F

INSTRUCTIONS

  1.  Add the following ingredients to the melted butter: onion powder, garlic powder, salt, brown sugar, poppy seeds and Dijon mustard. Mix well and set aside.
  2. Slice the croissants lengthwise, but not all the way through. Now place the ham inside and top with the grated Gruyère. Sprinkle with chives. Fold the croissants closed and brush the tops with the glaze. Place them in a baking dish or directly on a baking tray.
    1. Bake the croissants for 7 minutes until the cheese has melted then turn on the broiler for 2-3 minutes until golden brown and crispy.
  • Prep Time: 4 min
  • Passive Time: 5 min
  • Cook Time: 5 min

Classic Scones

Classic Scones

Classic Scones

Classic Scones

May 26, 2024 by Kimberly

Indulge in the simple pleasure of classic scones – tender, buttery delights perfect for any tea time or breakfast. Bake a batch today and experience homemade comfort!

40 MINUTES

EASY

VEGETARIAN

ENGLISH

204 PER SCONE

BUTTERY

TEA TIME

BREAKFAST
BRUNCH

ALL YEAR

INTRODUCTION

ABOUT THE RECIPE

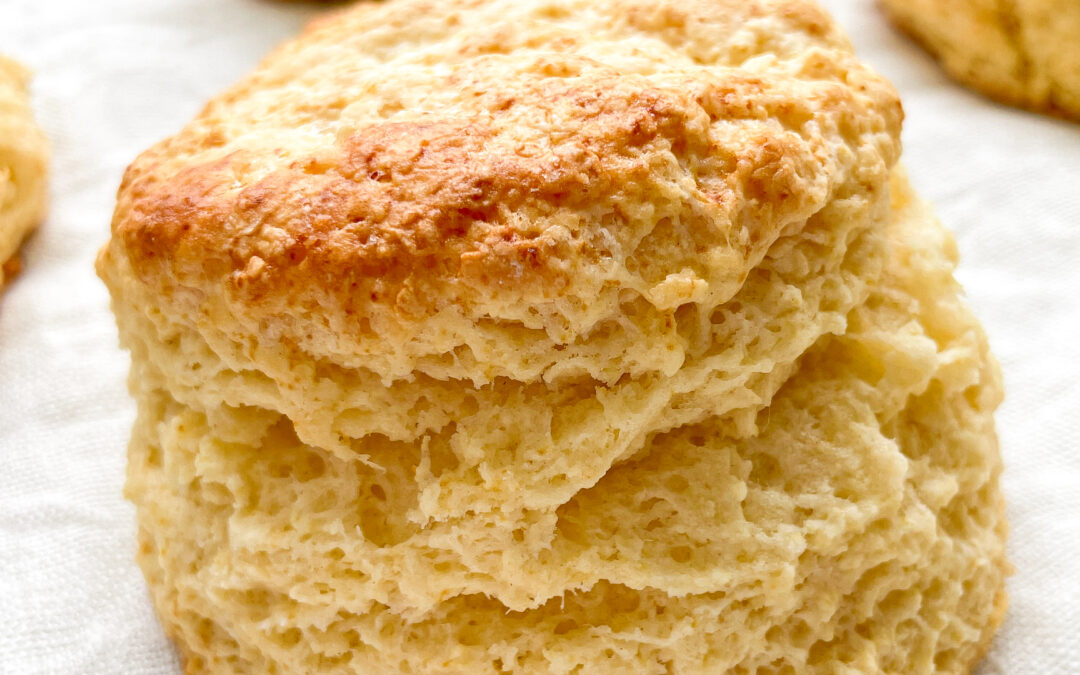
Dive into the delightful world of classic scones, a quintessential British treat beloved across the globe. These buttery, flaky delights are the perfect companion to your afternoon tea or a cozy morning breakfast. With just a few simple steps, you can bring the taste of authentic English tea time into your home, impressing guests and treating yourself to a timeless culinary tradition.

How to serve
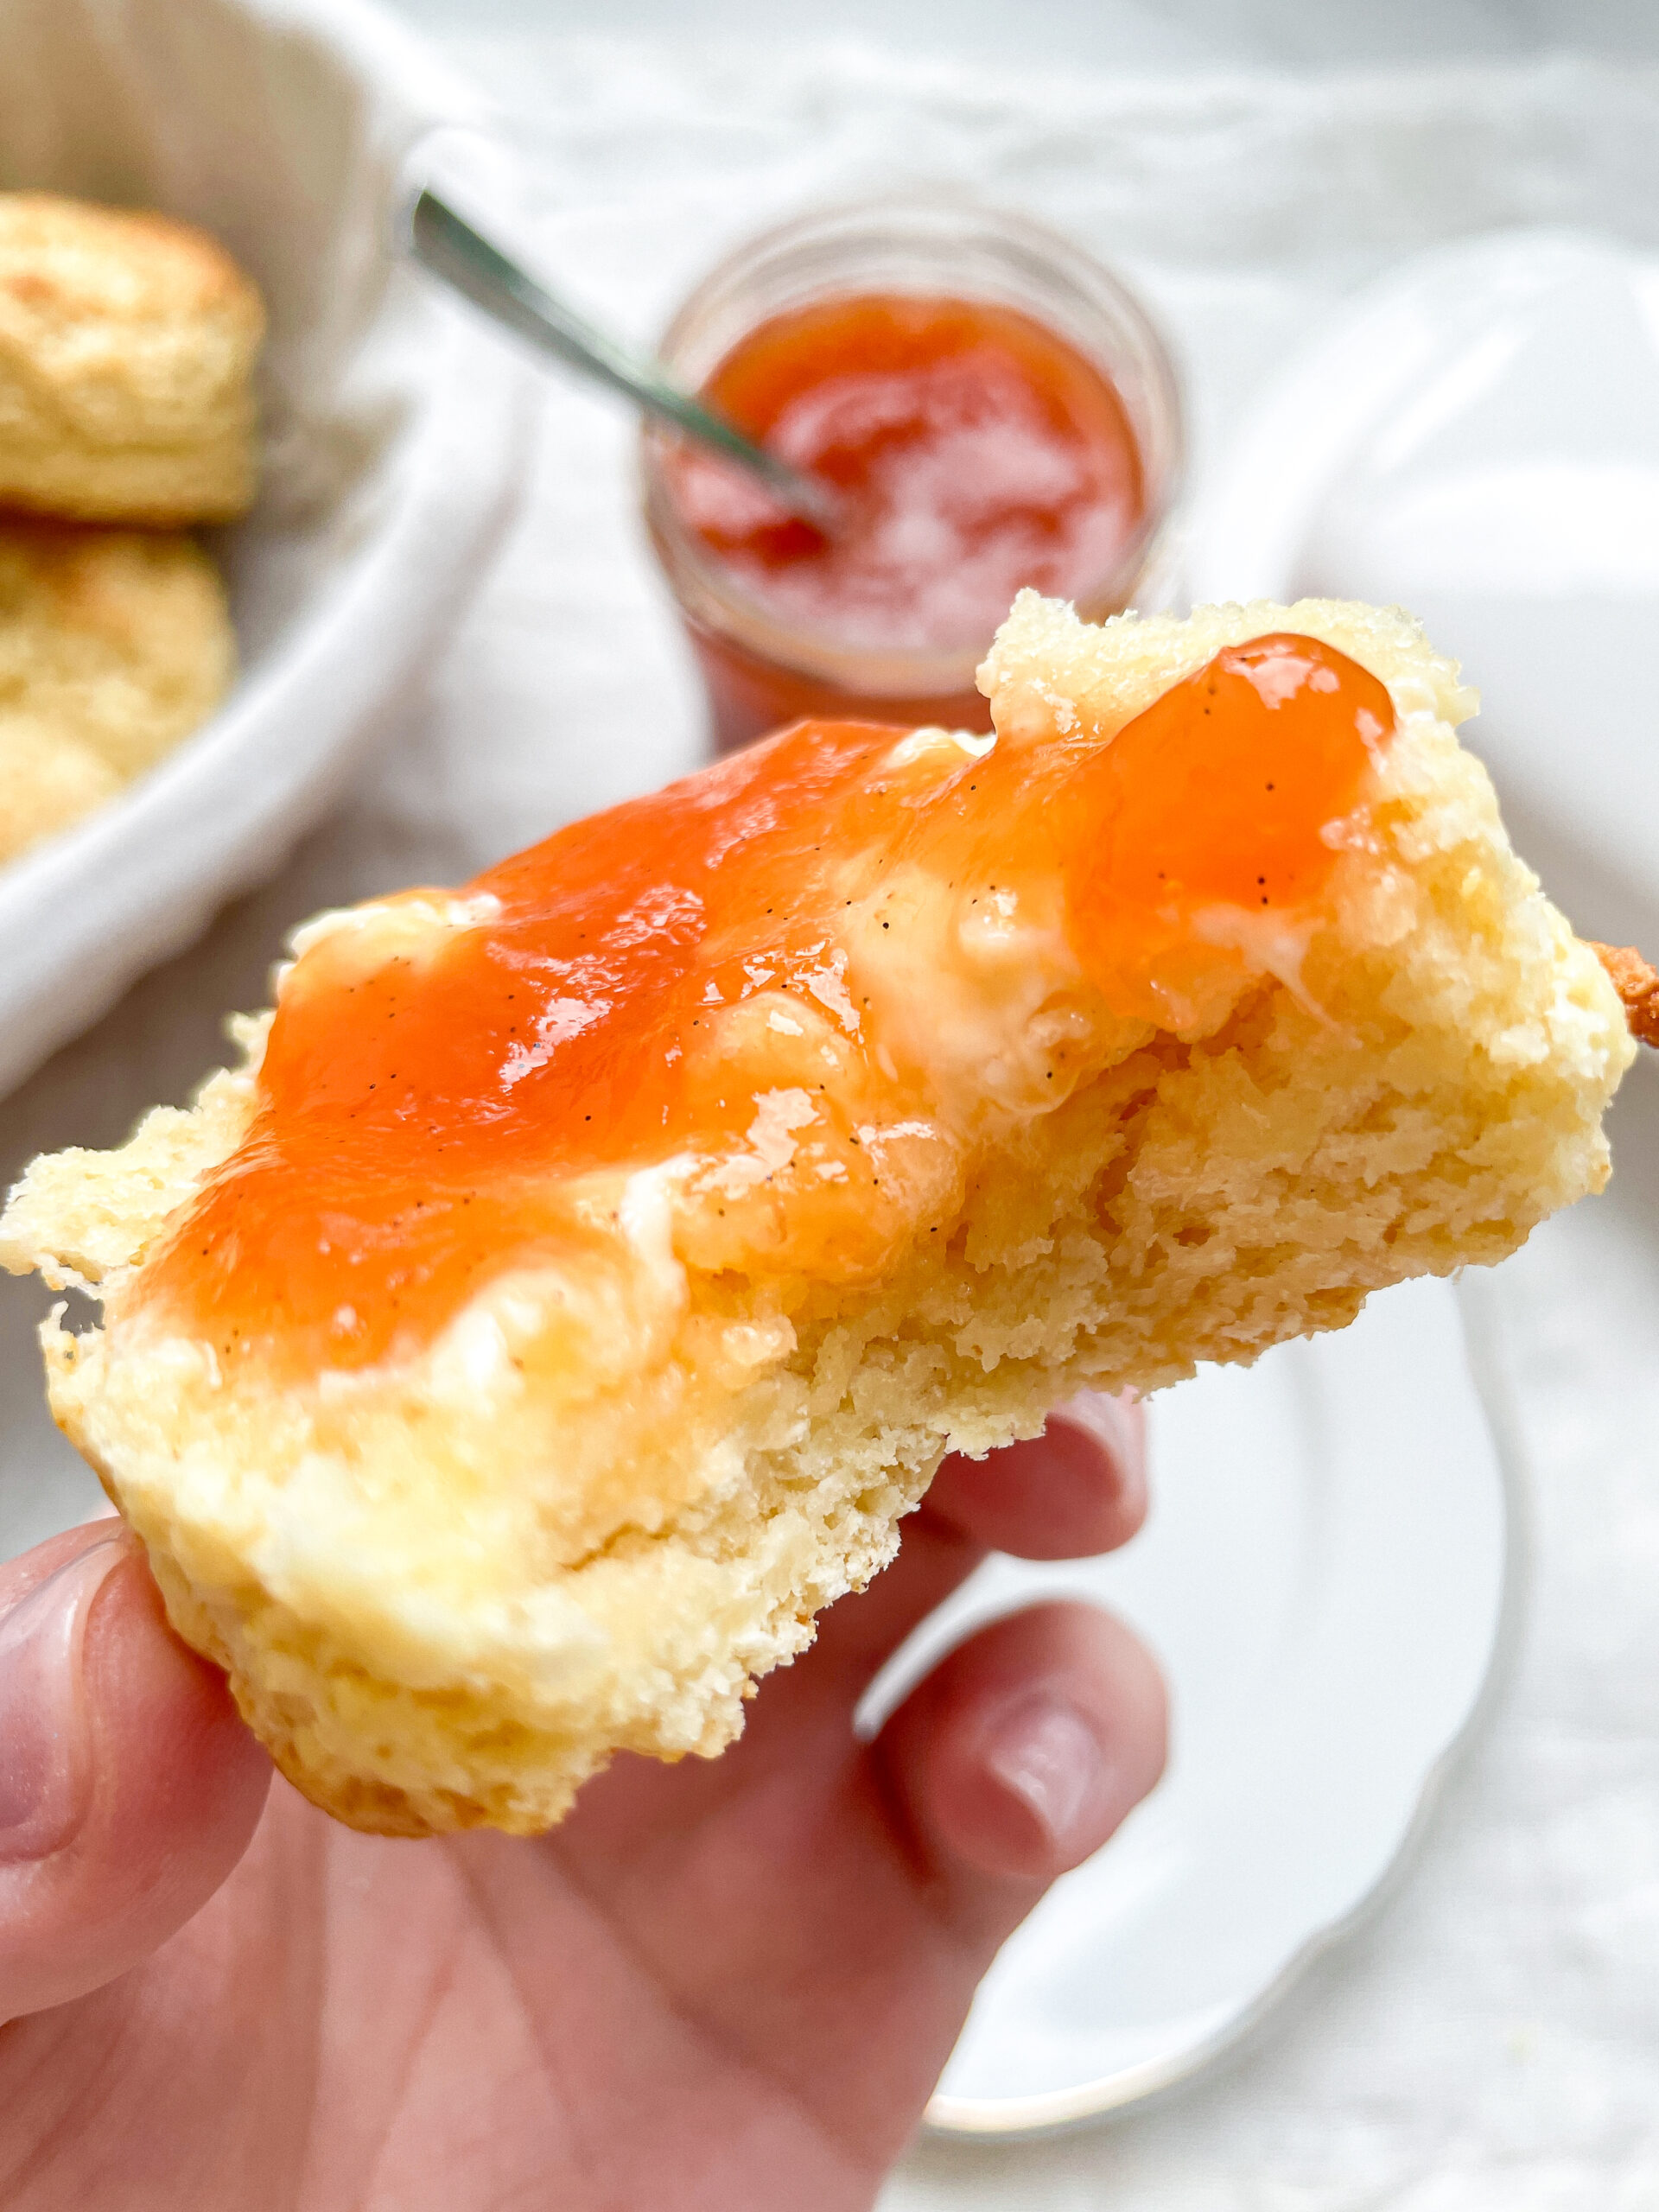
Serve these classic scones fresh and warm, straight from the oven. Split them open and slather with clotted cream and strawberry jam for a traditional experience. Alternatively, enjoy them plain with a hot cup of tea or coffee. These versatile treats can also be customized with add-ins like raisins or chocolate chips, making each batch uniquely delicious and perfectly suited to your taste preferences.

How to store
Store leftover scones in an airtight container at room temperature for up to two days. For longer storage, wrap them tightly and freeze for up to three months. Simply reheat to regain that freshly baked warmth and texture.

Hi, I'm Kimberly!

Hi, I'm Kimberly.

A passionate food lover who believes in the magic of homemade deliciousness that spreads love and warmth. Join me on this culinary adventure as I prepare wonderful dishes and let’s spread some happiness together!

Kimberly the Zett Signature

If you want to get to know me better, click here!


Classic Scones
Classic Scones
Classic Scones
„Let’s make a piece of happiness“
Print
clock clock iconcutlery cutlery iconflag flag iconfolder folder iconinstagram instagram iconpinterest pinterest iconfacebook facebook iconprint print iconsquares squares iconheart heart iconheart solid heart solid icon
Classic Scones

Classic Scones


5 from 1 review

  • Author: Kimberly
  • Total Time: 40 min
  • Yield: 10 1x

Description

RECOMMENDED EQUIPMENT

  • box grater
  • medium-sized bowl
  • glass or small bowl
  • dough scraper / spatula
  • round cutter
  • pastry brush

Ingredients

Units Scale
  • 300 grams all-purpose flour
  • 35 grams white sugar
  • 4 tsp baking powder
  • 1/4 tsp salt
  • 90 grams butter
  • 1 egg
  • 160 milliliters milk
  • 2 tbsp milk for brushing

Instructions

PREPARATIONS

  • Place the butter in the freezer for 15 minutes.
  • Line a baking sheet with parchment paper.
  • Preheat the oven to 200°C/392°F.

INSTRUCTIONS

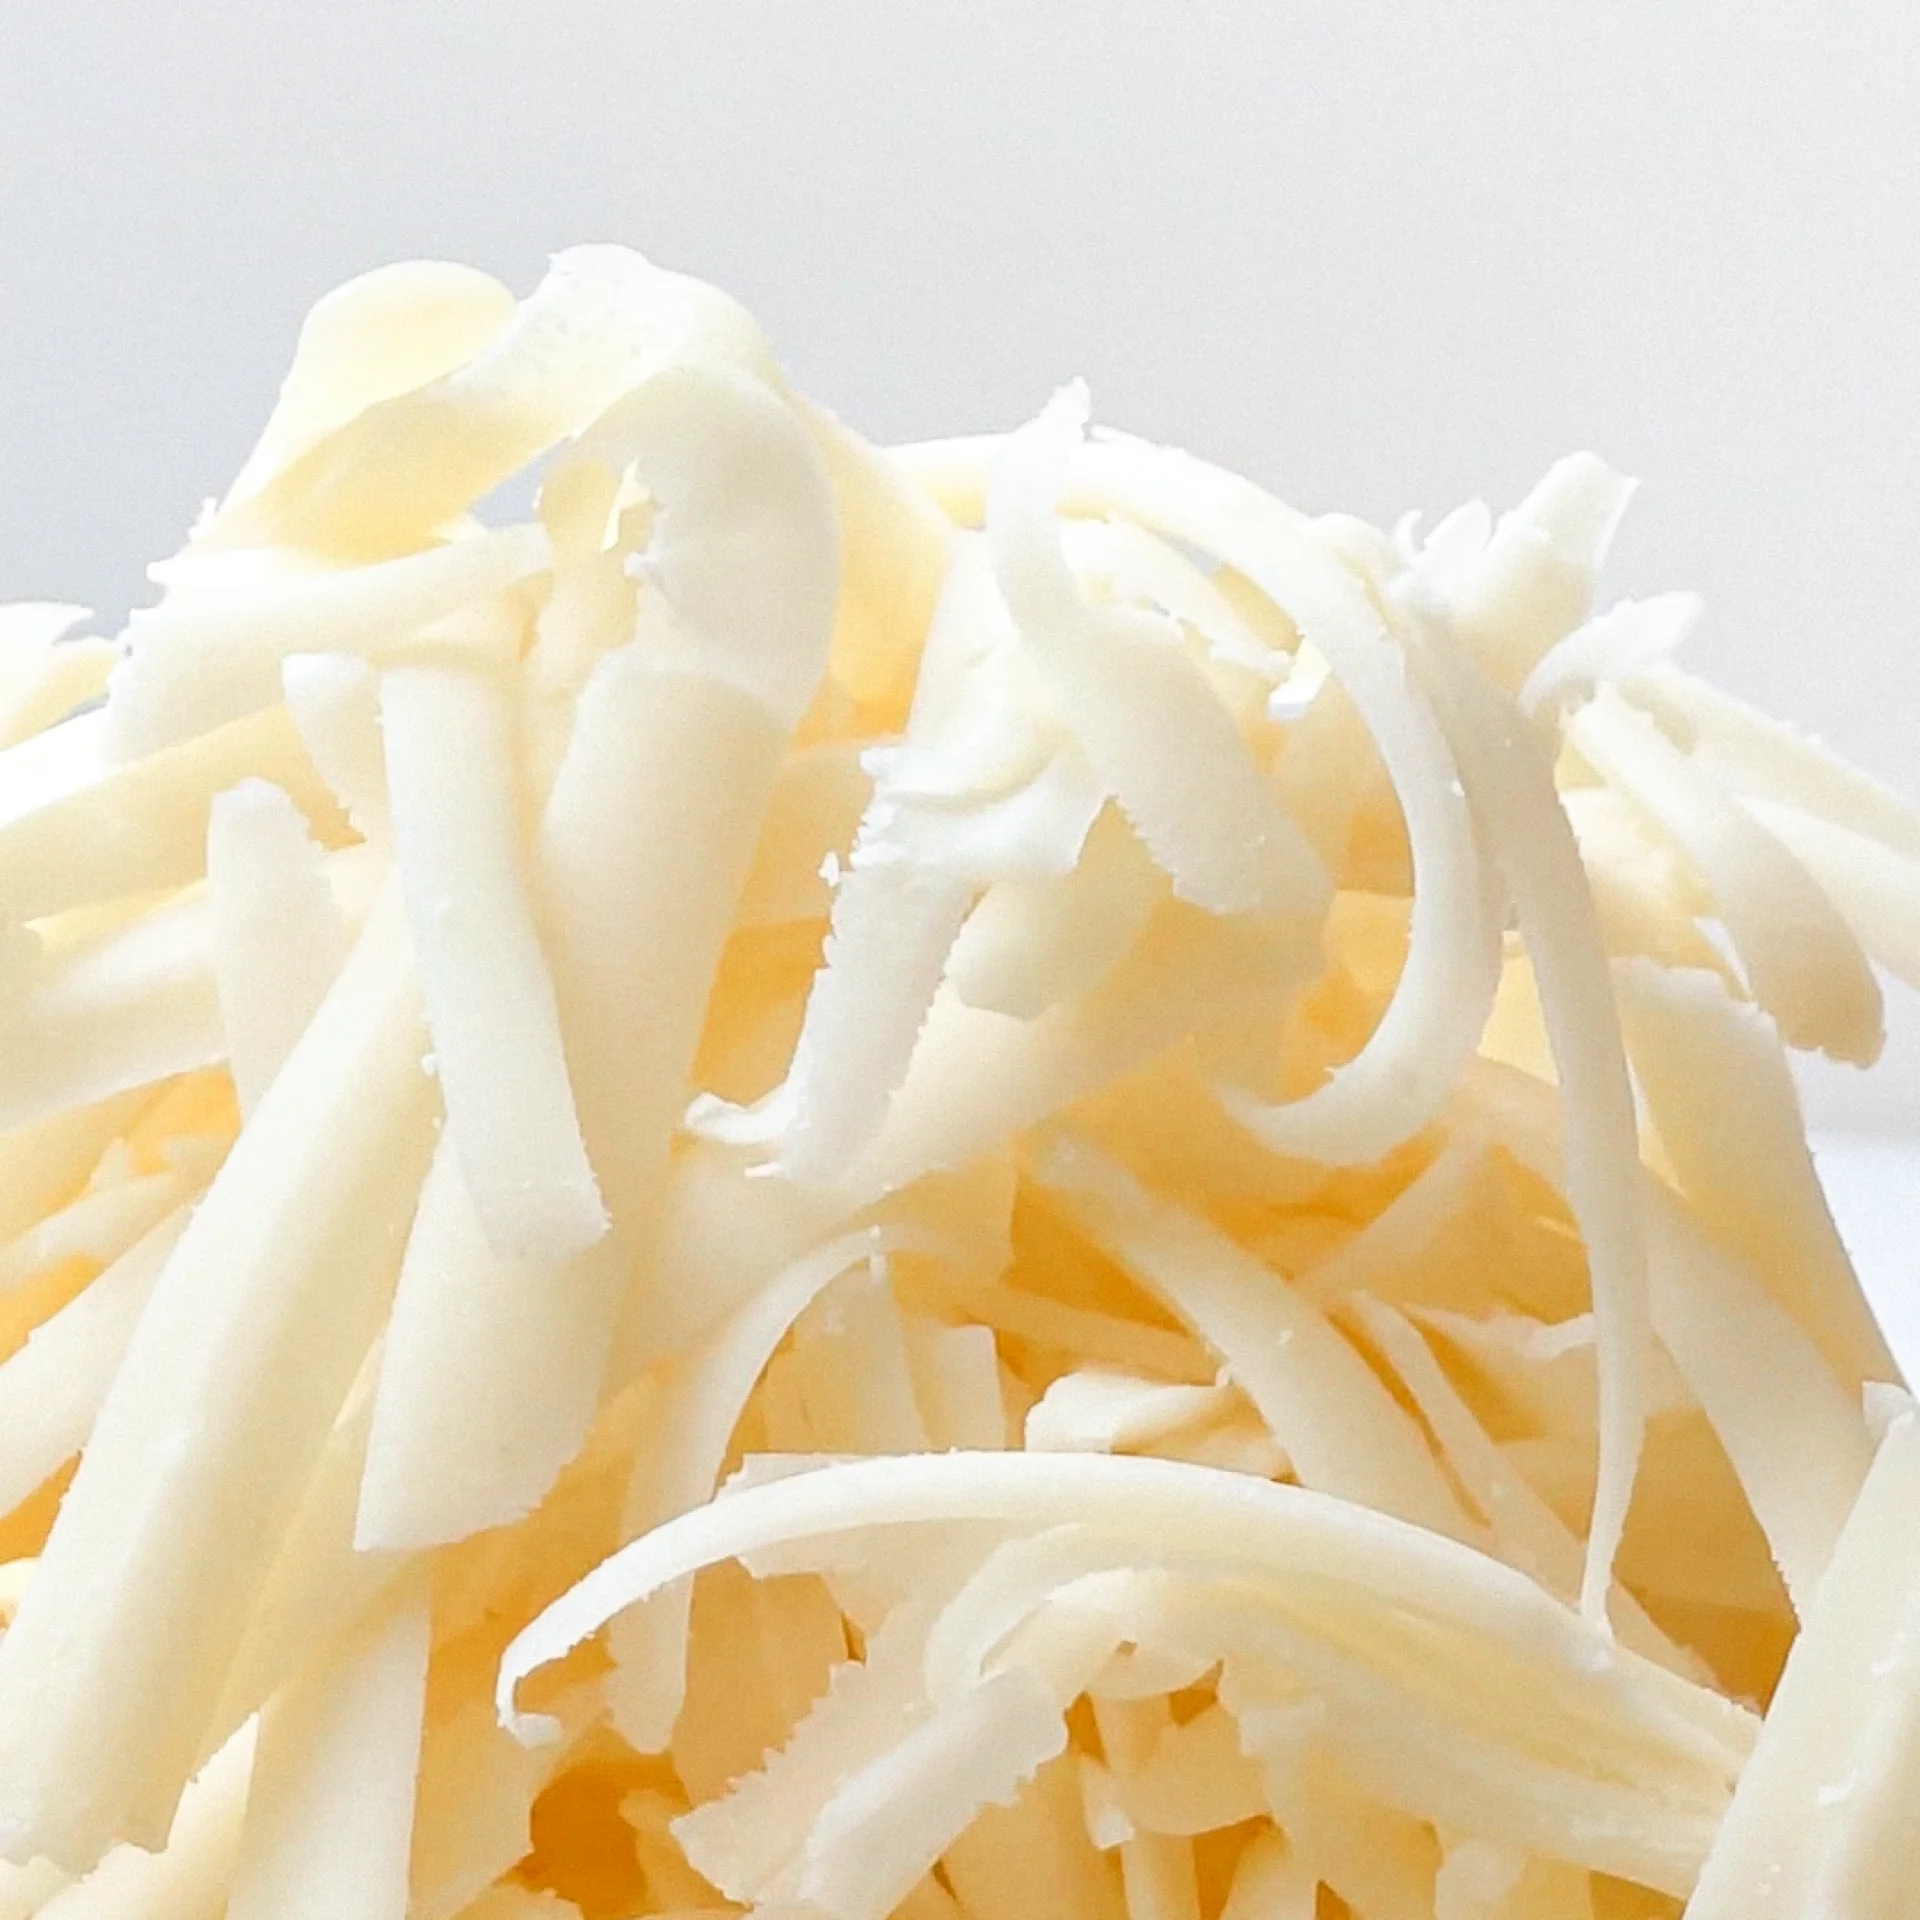
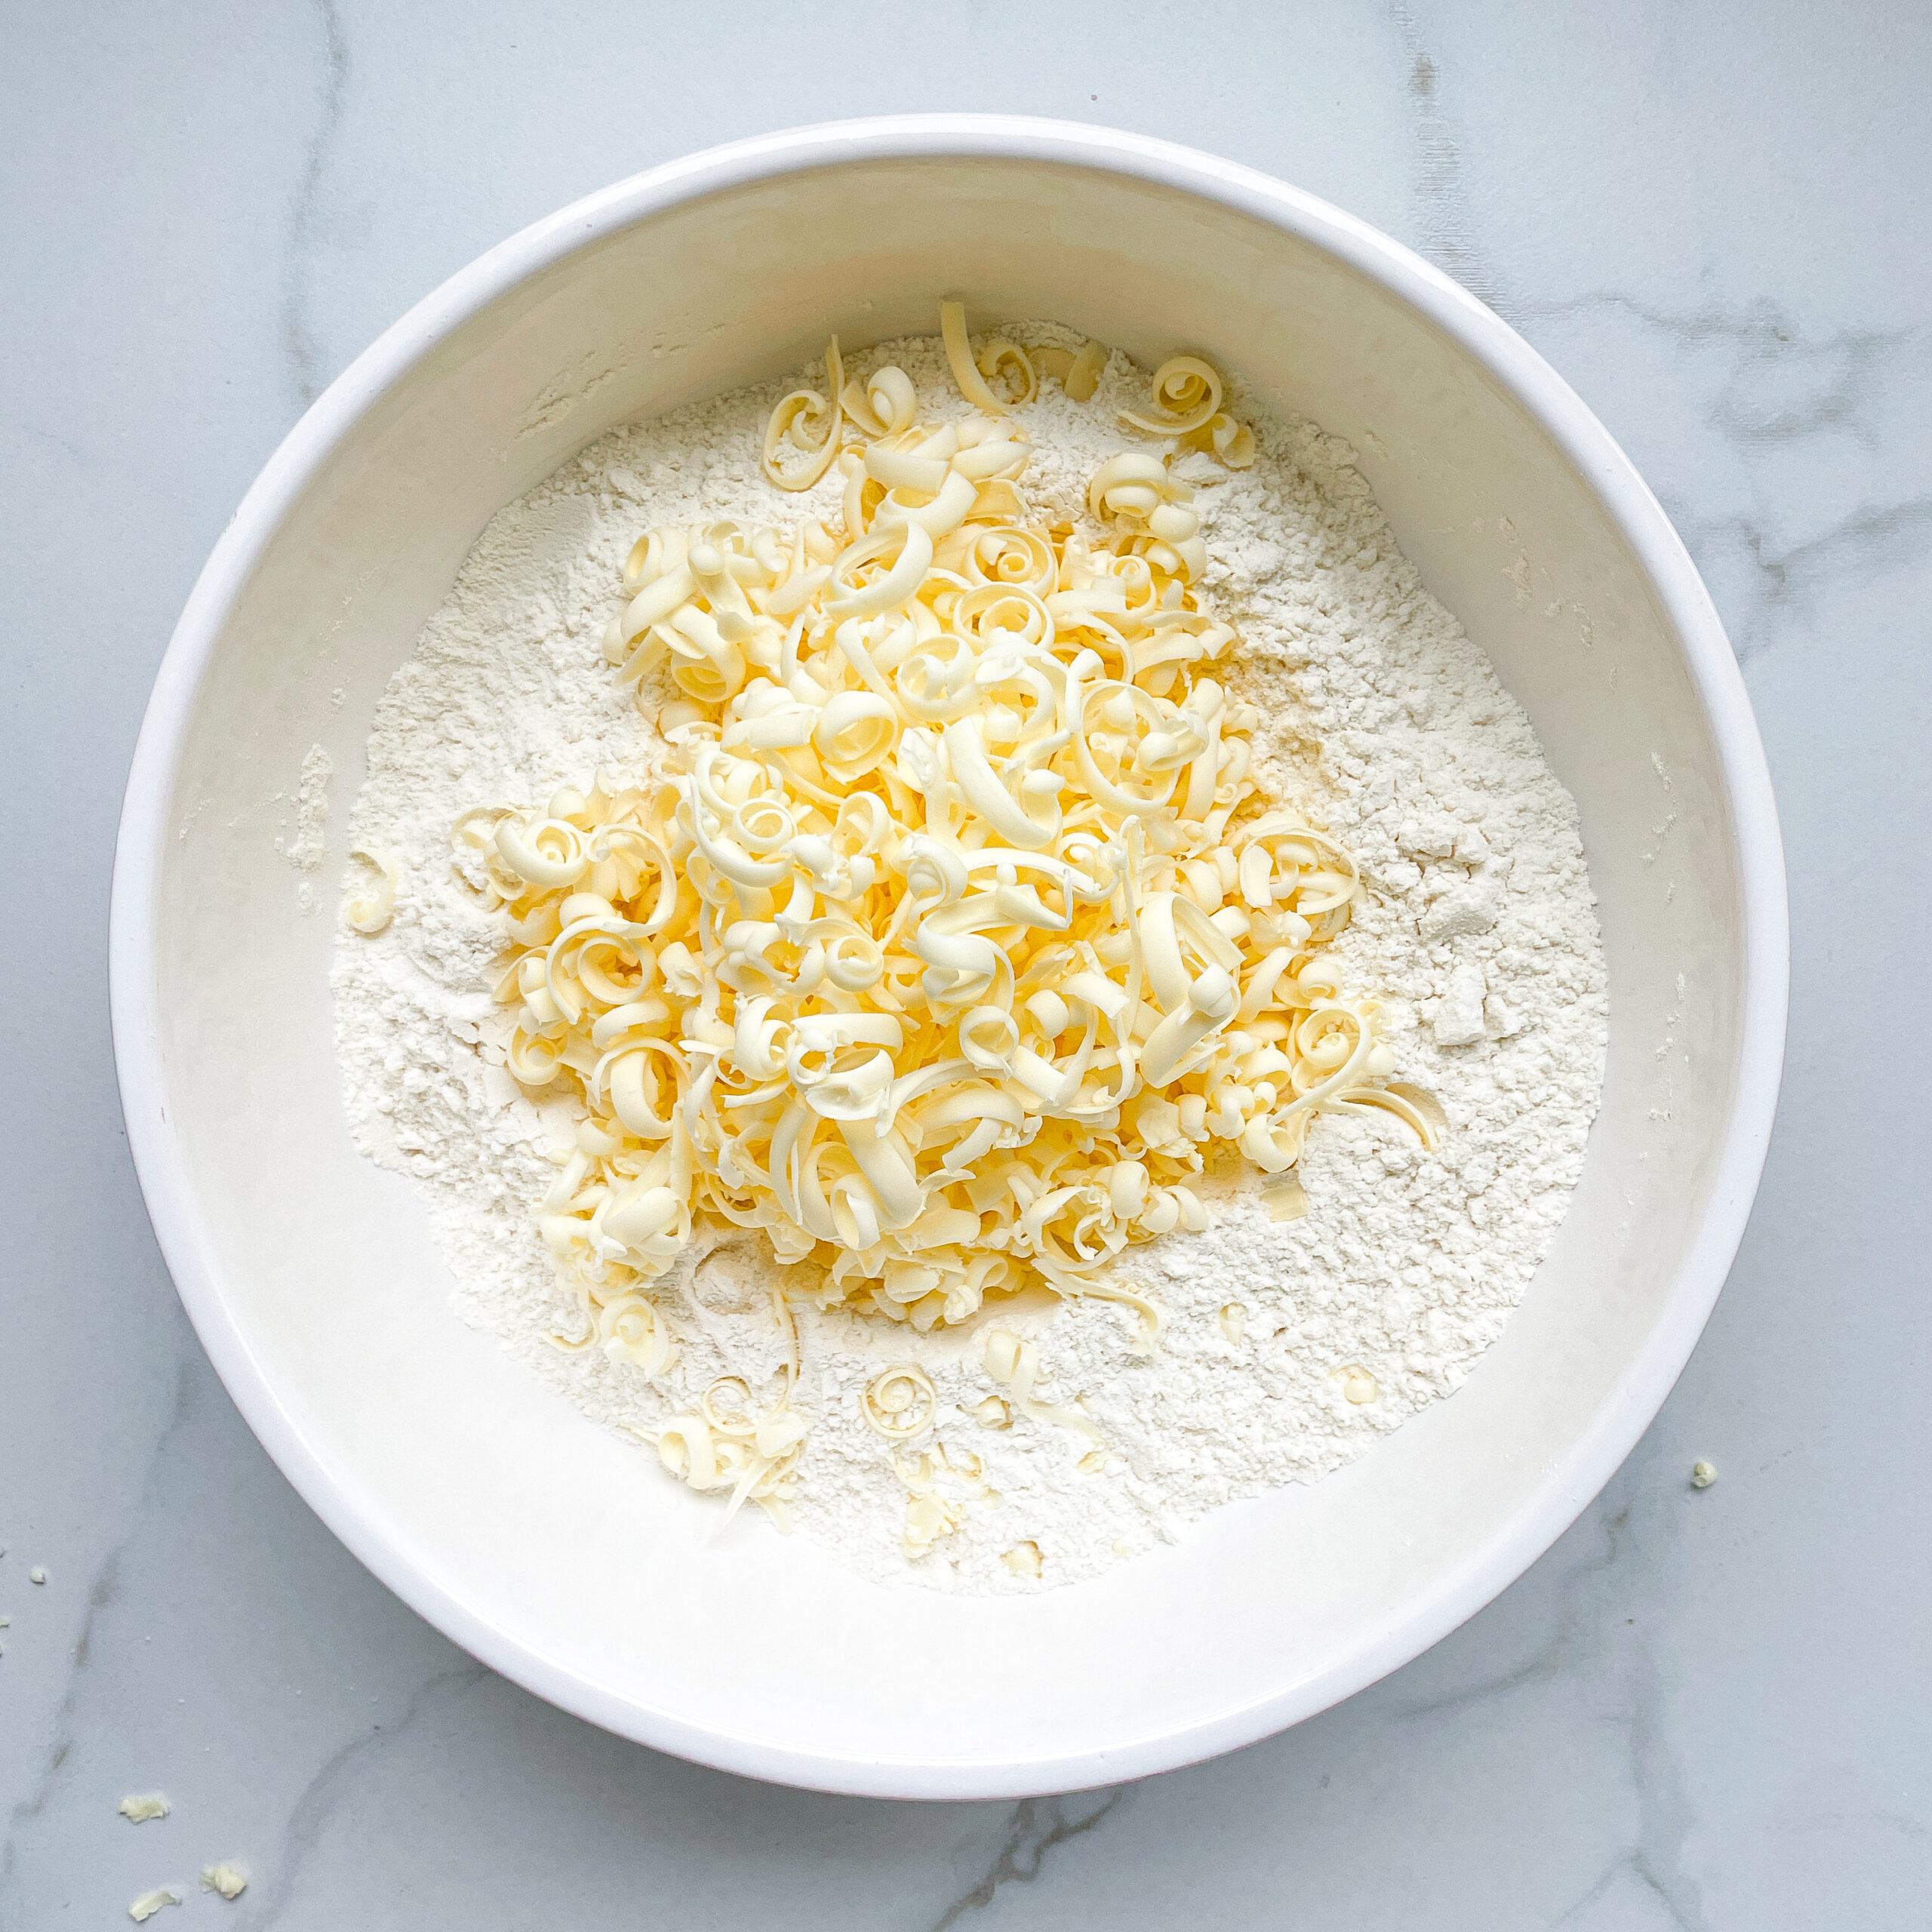
  1. In a medium-sized bowl, mix flour, sugar, baking powder, and salt. Grate the cold butter into the dry ingredients using a box grater.
  2. In a glass, whisk together the milk and egg and add to the other ingredients. Stir with a spoon until the mixture just comes together. Then, place the dough onto a clean work surface and fold it a few times with a dough scraper or a spatula, so that the dough comes together. It’s important not to use your hands for this, as the butter will soften too much, causing the dough to spread out during baking.
  3. Roll the dough into a rectangle about 30×20 cm and cut as many scones as possible using a round cutter. Fold the dough again and continue cutting out scones until all the dough is used. If you don’t have a cutter, you can also cut the dough into triangles. This amount of dough makes about 10 scones.
  4. Place the scones on the prepared baking sheet, spaced a little apart. Pour 2 tablespoons of milk into the glass and use the brush to spread it over the scones.
  5. Bake the scones in the oven for about 12 minutes. Then remove from the oven and enjoy immediately or let cool.

Notes

The calorie information may vary depending on the product used, country and region.

  • Prep Time: 2 min
  • Passive Time: 27 min
  • Cook Time: 10 min

Oeuf Cocotte with Cream & Herbs (Baked Eggs)

Oeuf Cocotte with Cream & Herbs (Baked Eggs)

Oeuf Cocotte with Cream & Herbs

Oeuf Cocotte with Cream & Herbs (Baked Eggs)

March 2, 2024 by Kimberly

Indulge in the heartwarming delight of Oeuf Cocotte! A simple, nutritious, and delicious start to your day. Embrace the taste of French elegance in every bite.

20 MINUTES

EASY

VEGETARIAN

FRENCH

365 PER PORTION

CREAMY

EVERYDAY

BREAKFAST / BRUNCH

ALL YEAR

INTRODUCTION

ABOUT THE RECIPE

Discover the joy of French cooking with my simple Oeuf Cocotte recipe! Perfect for a delightful breakfast or a cozy brunch, this dish is not only easy to make but also bursting with flavors. Dive into the elegance of French cuisine and impress your family with this gourmet yet straightforward recipe. Ideal for anyone looking to elevate their morning routine!

How to serve:
Serve your Oeuf Cocotte straight from the oven, nestled in their little pots for a touch of French elegance. Accompany them with slices of crusty bread or a fresh salad for a balanced meal. Perfect for a lazy weekend brunch or a special breakfast, these baked eggs will become your go-to. Garnish with fresh herbs or a sprinkle of cheese for that extra flair!

How to store:
I do not recommend to store the cooked dish. It’s better to enjoy your delicious breakfast creation even on busy mornings straight out of the oven!

Hi, I'm Kimberly!

Hi, I'm Kimberly.

A passionate food lover who believes in the magic of homemade deliciousness that spreads love and warmth. Join me on this culinary adventure as I prepare wonderful dishes and let’s spread some happiness together!

Kimberly the Zett Signature

If you want to get to know me better, click here!


Oeuf Cocotte with Cream & Herbs
„Let’s make a piece of happiness“

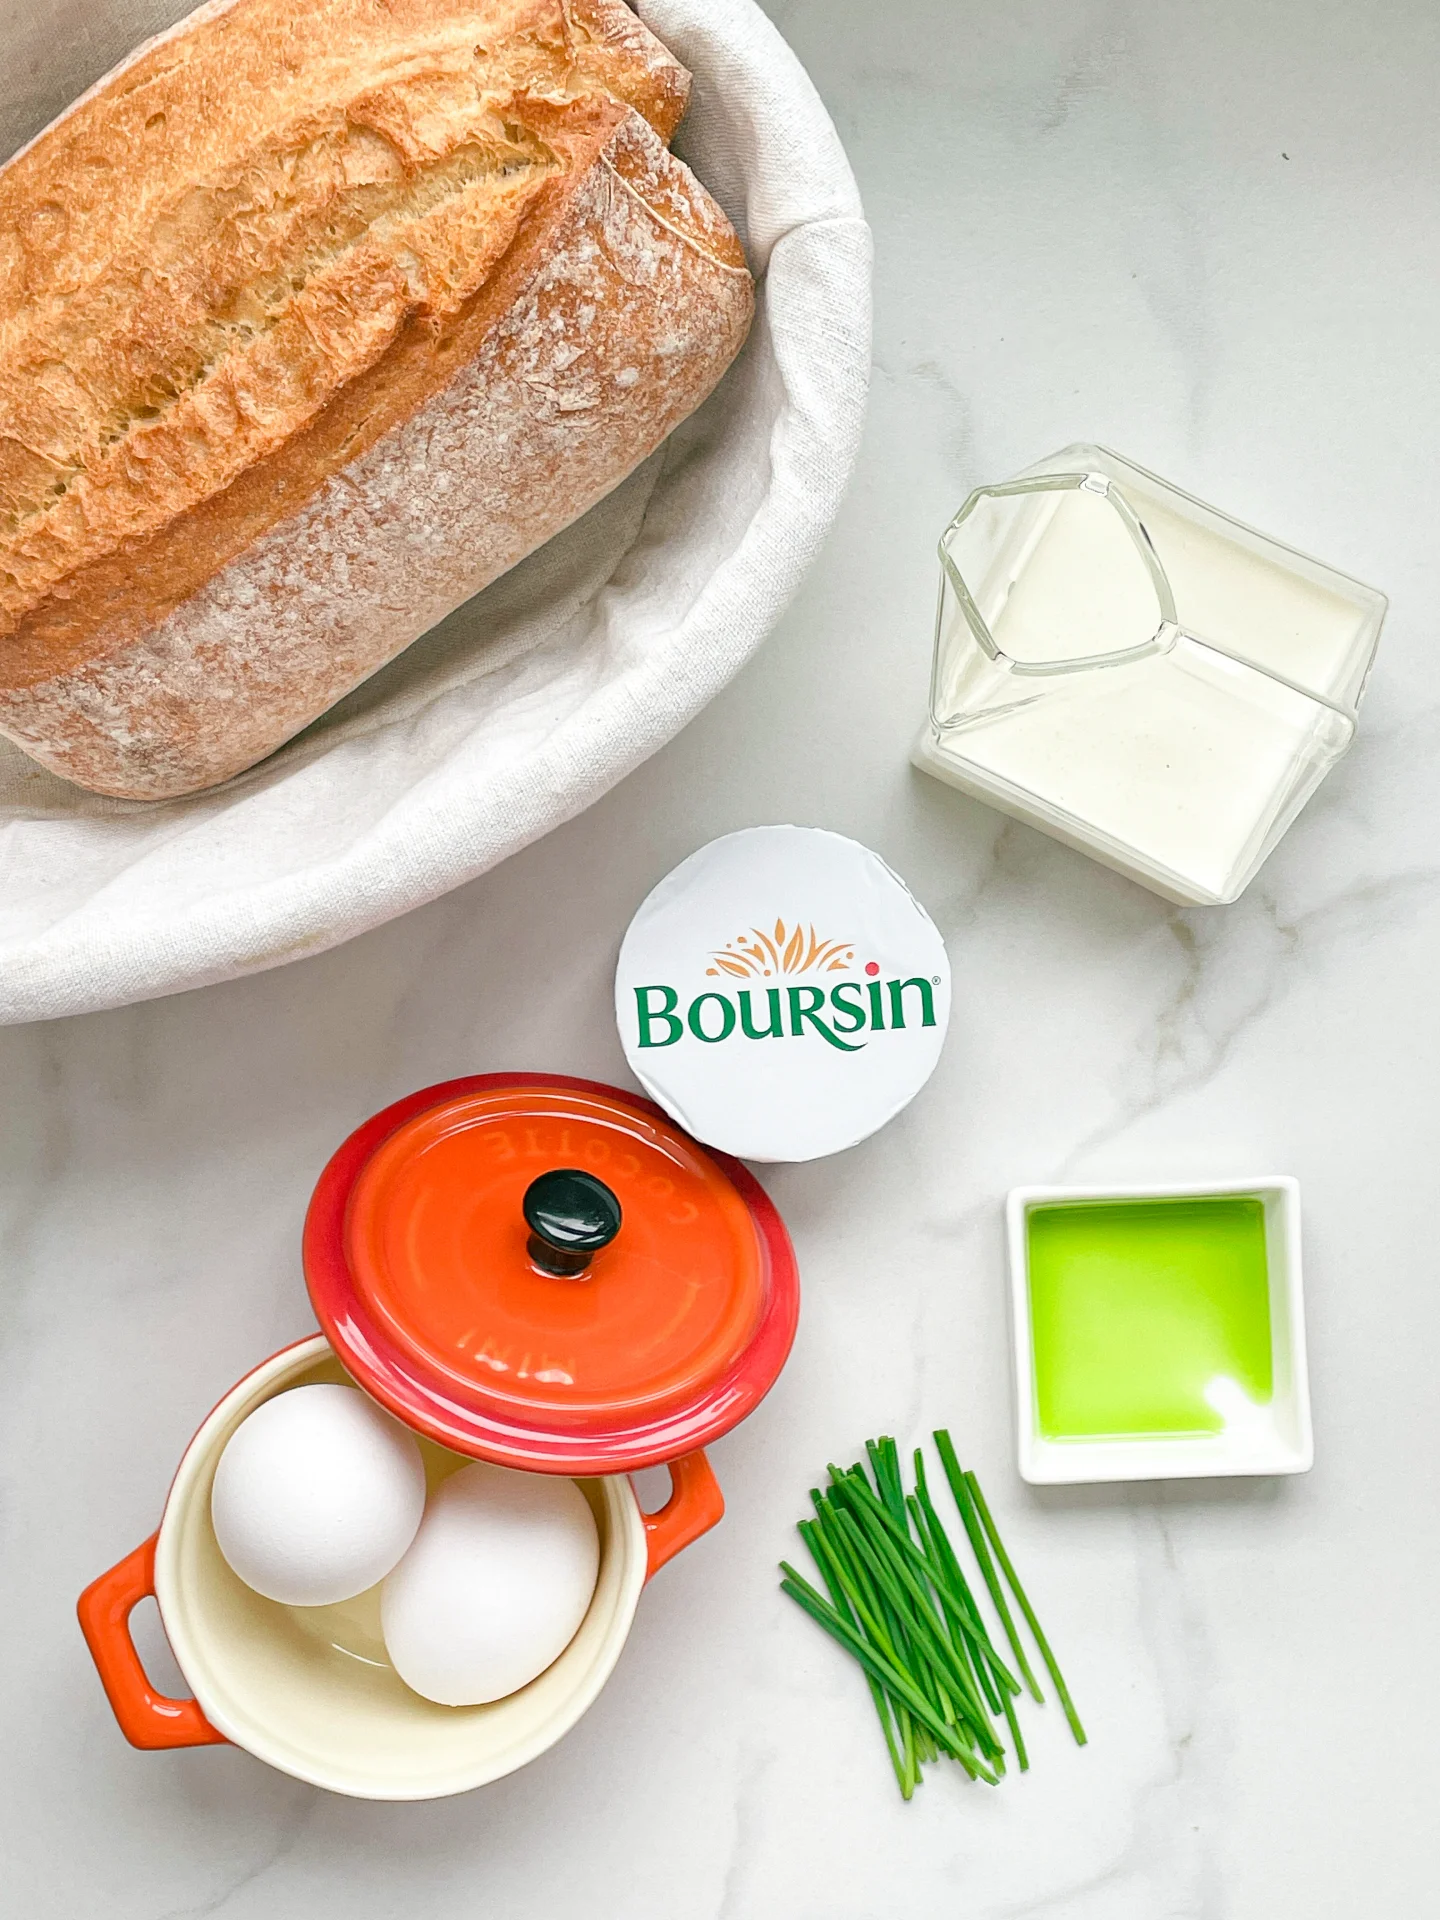
INGREDIENTS

FOR 1 PORTION

BAKED EGGS

  • 2 eggs
  • 1 tbsp cream
  • 1.5 tsp herb cream cheese

TOPPINGS

  • 30g baguette
  • chives
  • salt & pepper
Oeuf Cocotte with Cream & Herbs
}

ACTIVE: –

PASSIVE: –

PREPARATIONS

Recommended Equipment
  • sharp knife
  • cutting board
  • small ovenproof dish
  • none
}

ACTIVE: 5 min

PASSIVE: 15 min

COOKING

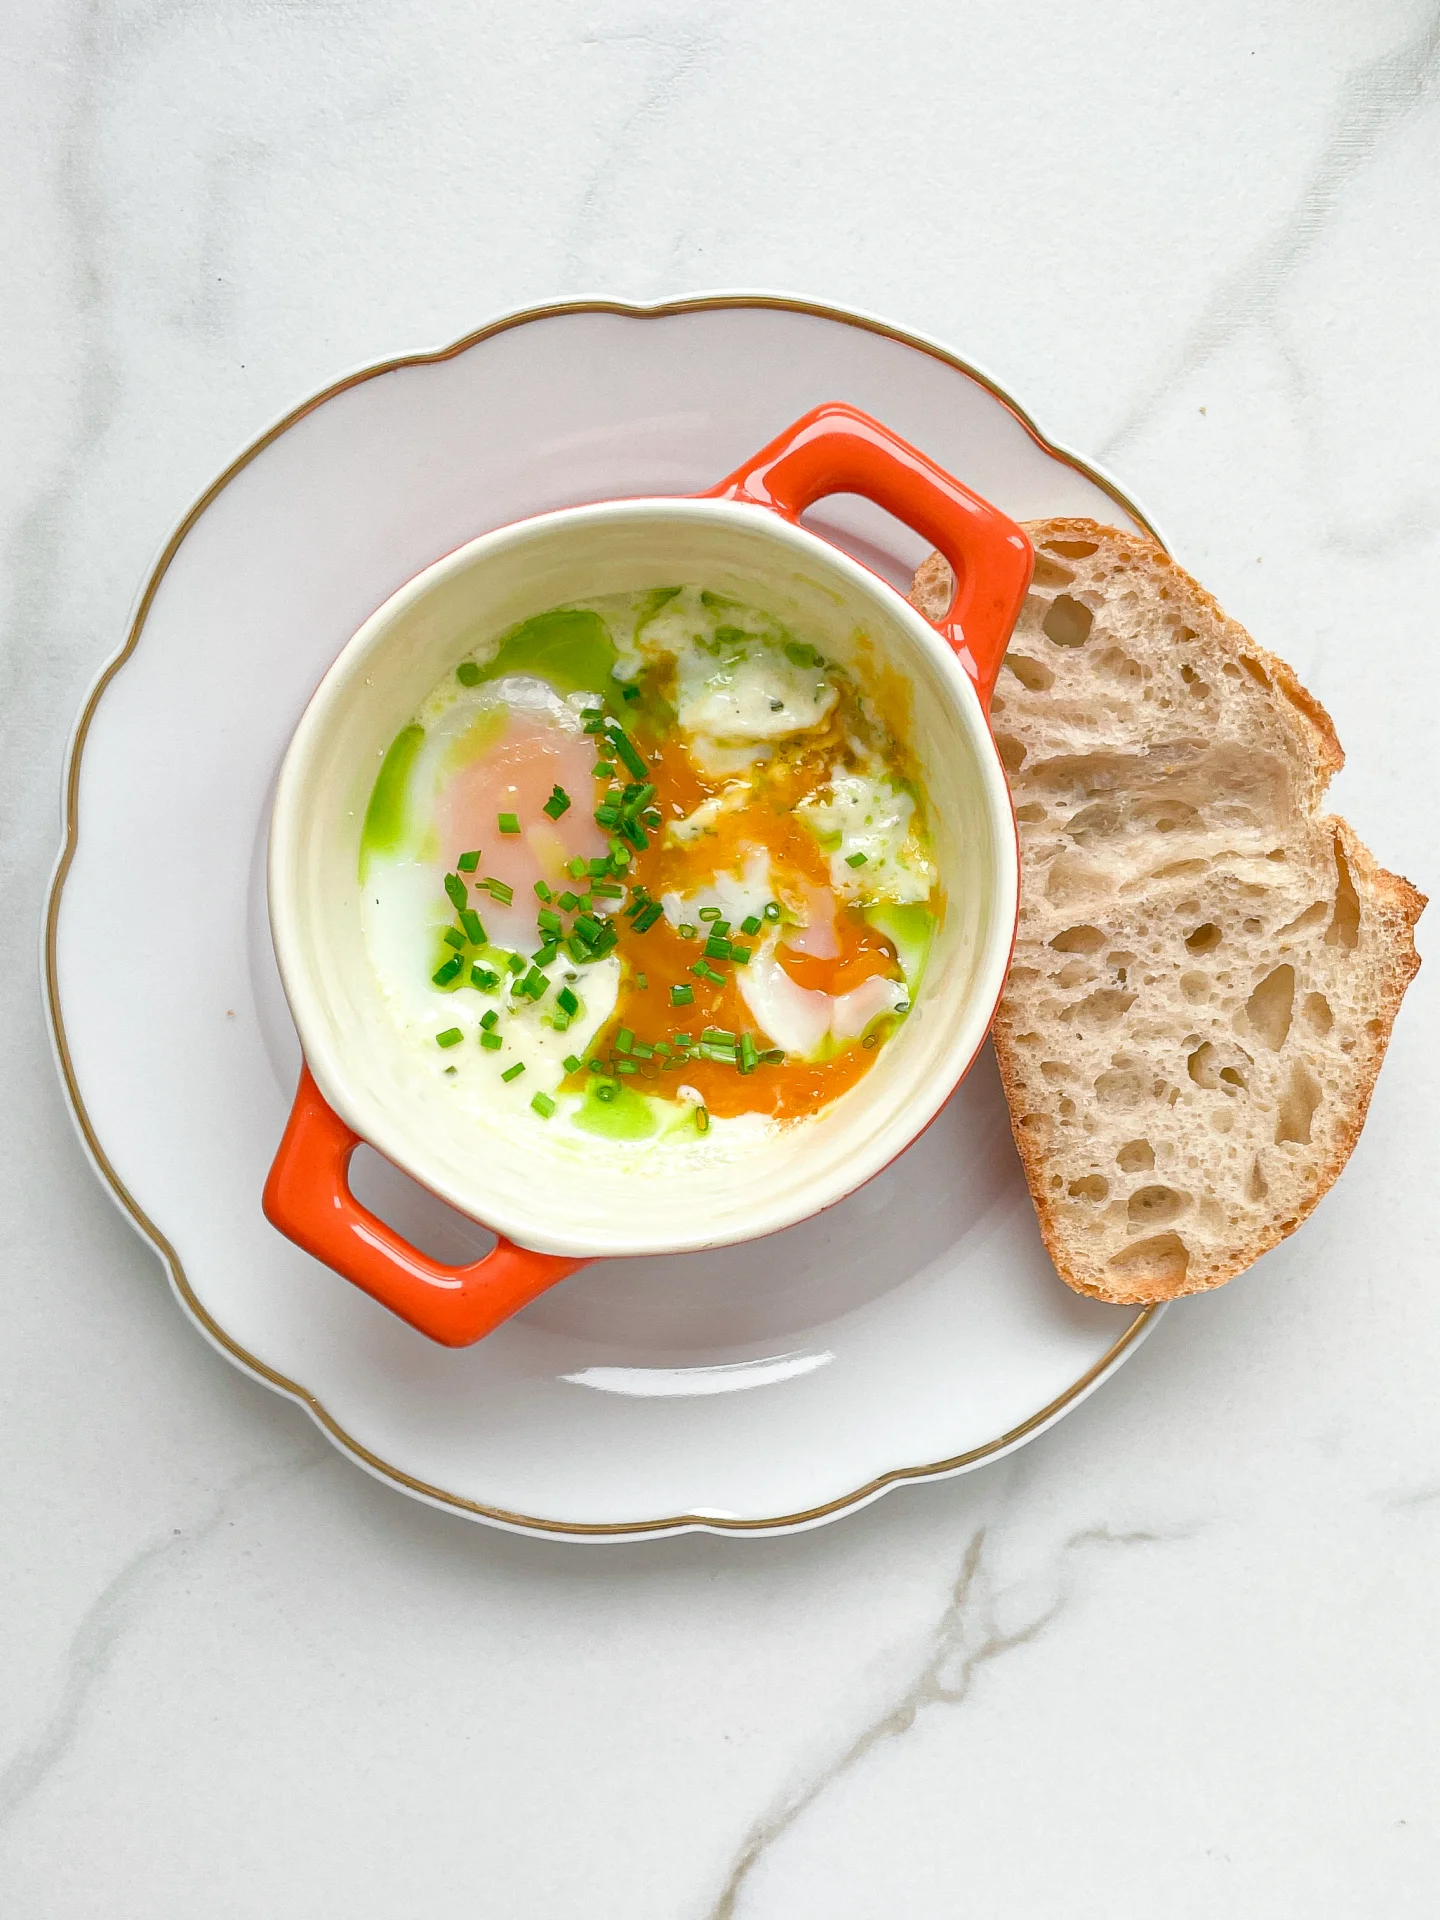
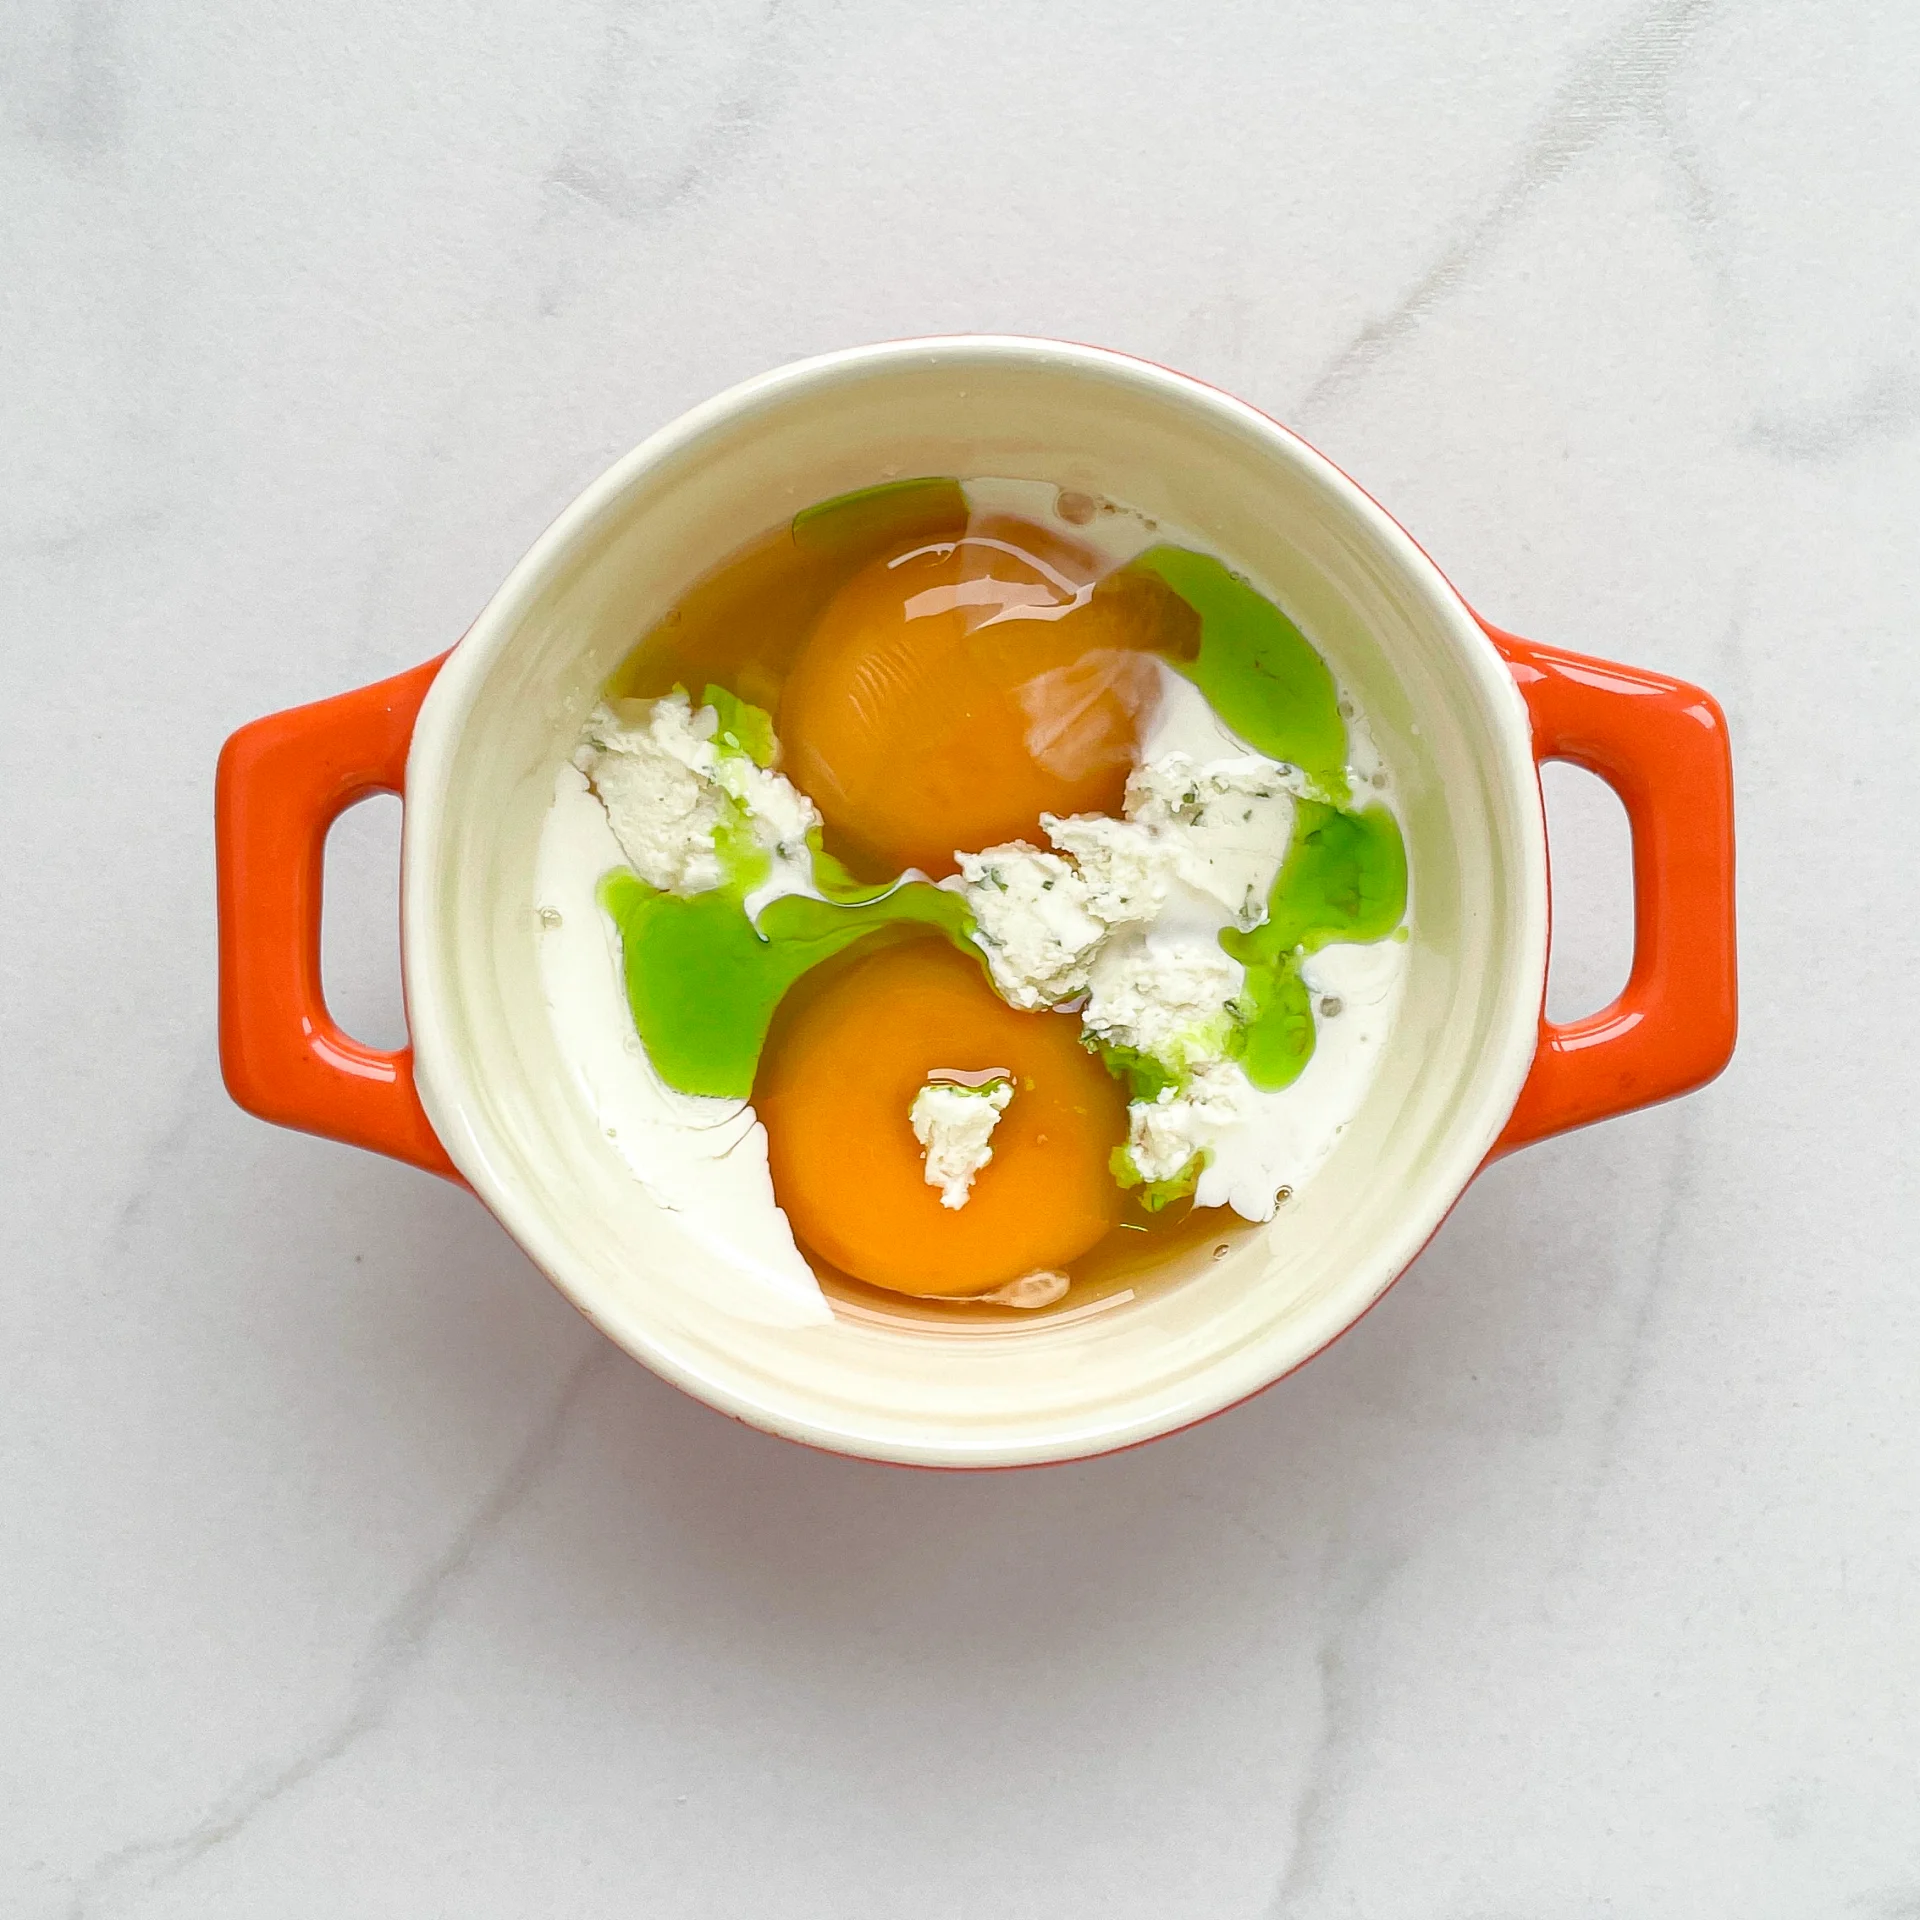
1. Crack two eggs into a small ovenproof dish. Spread a tablespoon of cream on top, as well as 1.5 teaspoons of herb cream cheese. Place the dish in the oven at 180°C (350°F) for about 18 minutes.

2. Meanwhile, cut the chives into rolls and the baguette into slices.

3. When the eggs are ready, take them out of the oven and top with salt, pepper and chives. Chive oil also goes very well. Enjoy with fresh baguette for dipping.

NOTE: The calorie information may vary depending on the product used, country and region.