German Bacon Pancake

German Bacon Pancake

German Bacon Pancake

German Bacon Pancake

April 15, 2024 by Kimberly

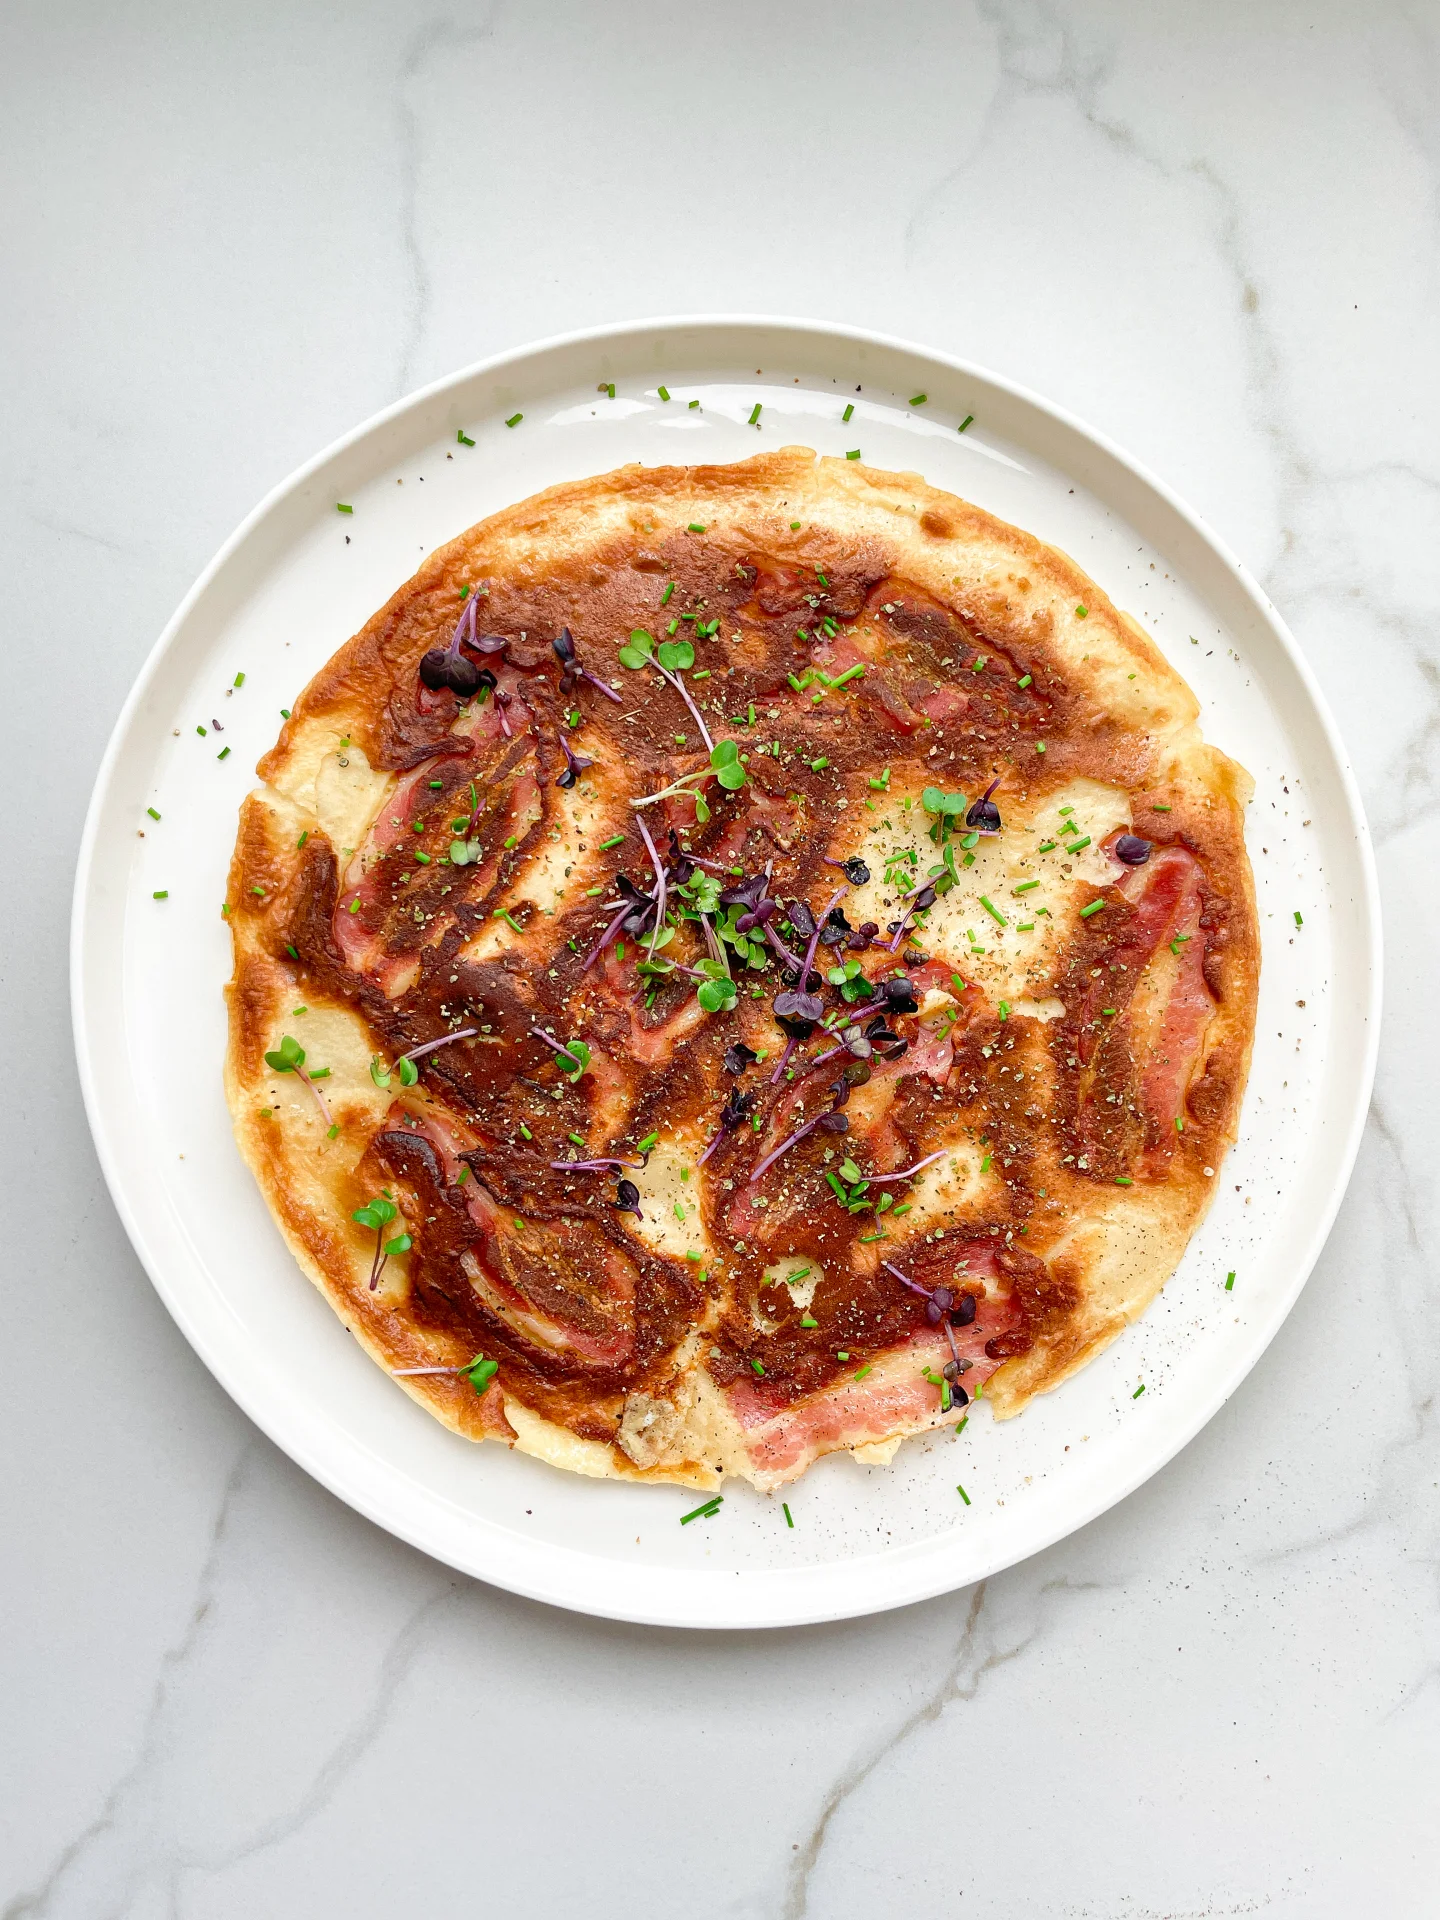
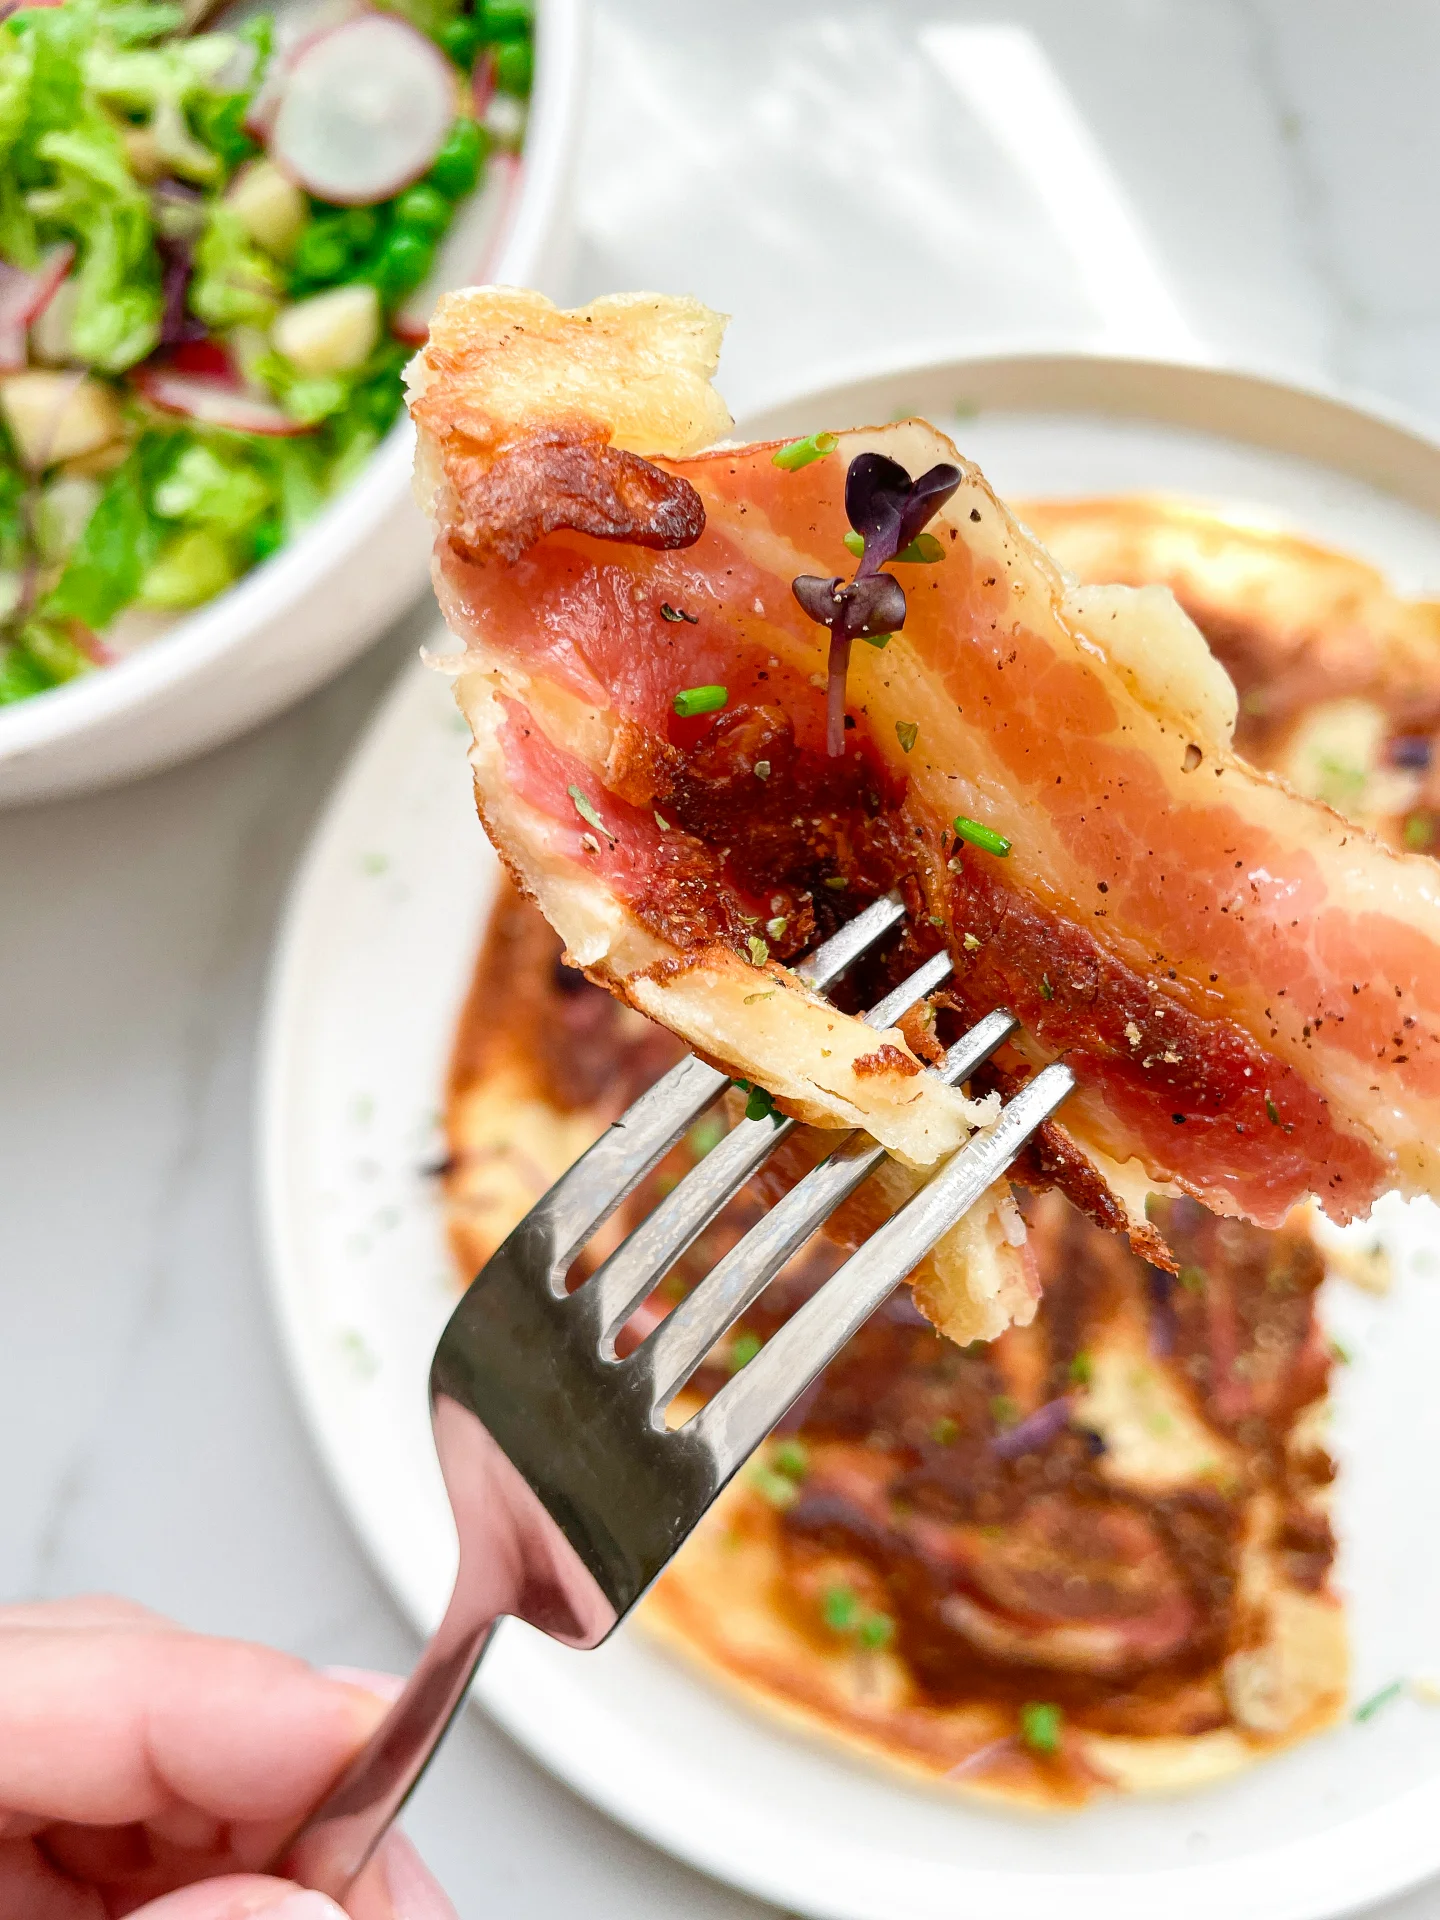
Experience a German classic! A perfect blend of crispy bacon and fluffy pancake, it’s the dinner you’ve been dreaming of.

30 MINUTES

EASY

OMNIVORE

GERMAN

512 PER PANCAKE

CRISPY
FLUFFY
COMFORT FOOD

EVERYDAY

DINNER

ALL YEAR

INTRODUCTION

ABOUT THE RECIPE

This savory twist on the classic pancake combines the crispiness of bacon with the soft, fluffy texture of pancakes to create a dinner that’s both satisfying and unique. It’s a traditional German dish that has stood the test of time, offering a perfect balance of flavors that will have everyone asking for seconds.

How to serve:
Serve these mouth-watering pancake fresh off the griddle, topped with some micro greens and chives. This dish is perfect for a lazy weeknight dinner or a brunch gathering with friends and family. Pair with a white wine or a side side salad to round out the meal and turn it into a feast fit for any appetite.

How to store:
Store your Bacon Pancake in the refrigerator, tightly covered, for up to one day. Reheat in the oven or on the stovetop to bring back that fresh-from-the-griddle warmth and crispiness.

Hi, I'm Kimberly!

Hi, I'm Kimberly.

A passionate food lover who believes in the magic of homemade deliciousness that spreads love and warmth. Join me on this culinary adventure as I prepare wonderful dishes and let’s spread some happiness together!

Kimberly the Zett Signature

If you want to get to know me better, click here!


German Bacon Pancake
“Let’s make a piece of happiness”

INGREDIENTS

FOR 2 PANCAKES

Batter

  • 125g all-purpose flour (1 cup)
  • 125ml whole-fat milk (1/2 cup)
  • 2 eggs
  • 1/2 tsp salt

FRYING

  • 70g bacon (2.5 oz)
  • 2 tsp clarified butter

TOPPINGS

  • chives
  • cress
  • majoram
  • black pepper
German Bacon Pancake
}

ACTIVE: 2 min

PASSIVE: –

PREPARATIONS

Recommended Equipment
  • sharp knife
  • cutting board
  • medium-sized bowl
  • whisk
  • large frying pan
  • spatula
  • Cut the bacon strips in half or thirds – depending on your preference.
}

ACTIVE: 15 min

PASSIVE: 15 min

COOKING

1. In a medium-sized bowl, whisk together milk and eggs. Now add the salt and flour and beat with the whisk until smooth. Let the batter sit for 10-15 minutes to thicken.

2. Place the bacon slices in a cold pan and cook over medium heat until they start to shrink and turn slightly brown. Then add a teaspoon of clarified butter and continue cooking the bacon for another 2-3 minutes—it should be dark pink but not too crispy.

3. Pour half of the batter over the bacon and let it cook for about 6-8 minutes. The batter should be fully cooked on one side, firm, and barely liquid before flipping.

4. Use a spatula to flip the pancake and cook for another minute on the other side, then transfer to a plate. Serve garnished with marjoram, freshly ground pepper, and microgreens.

NOTE: The calorie information may vary depending on the product used, country and region.

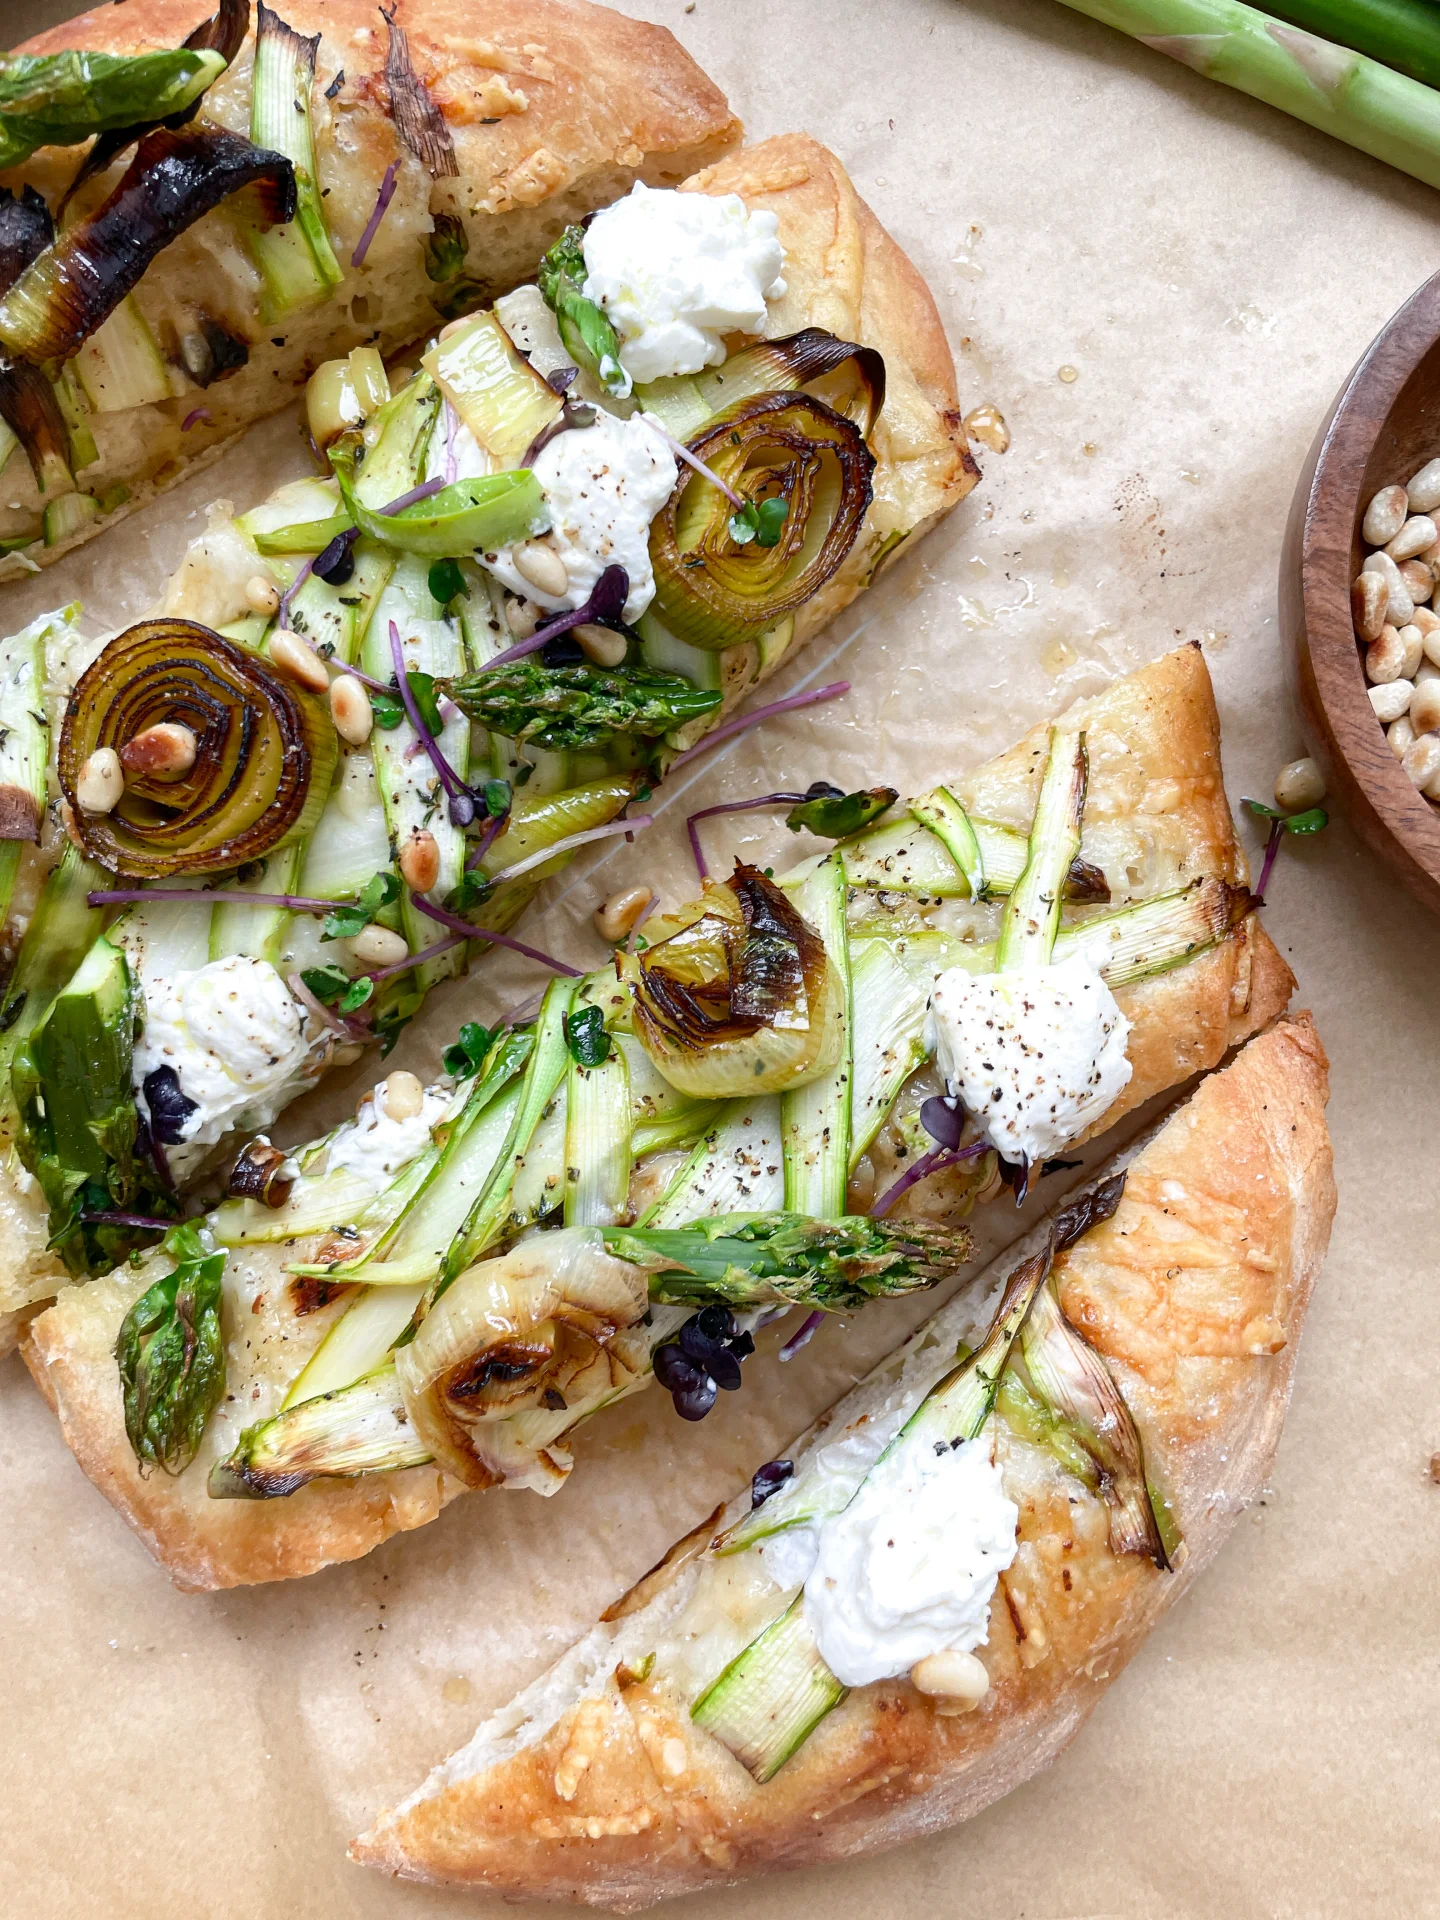
Asparagus Caramalized Leeks Flatbread with Parmesan & Ricotta

Asparagus Caramalized Leeks Flatbread with Parmesan & Ricotta

Asparagus Caramalized Leeks Pizza with Parmesan & Ricotta

Asparagus Caramalized Leeks Flatbread with Parmesan & Ricotta

April 12, 2024 by Kimberly

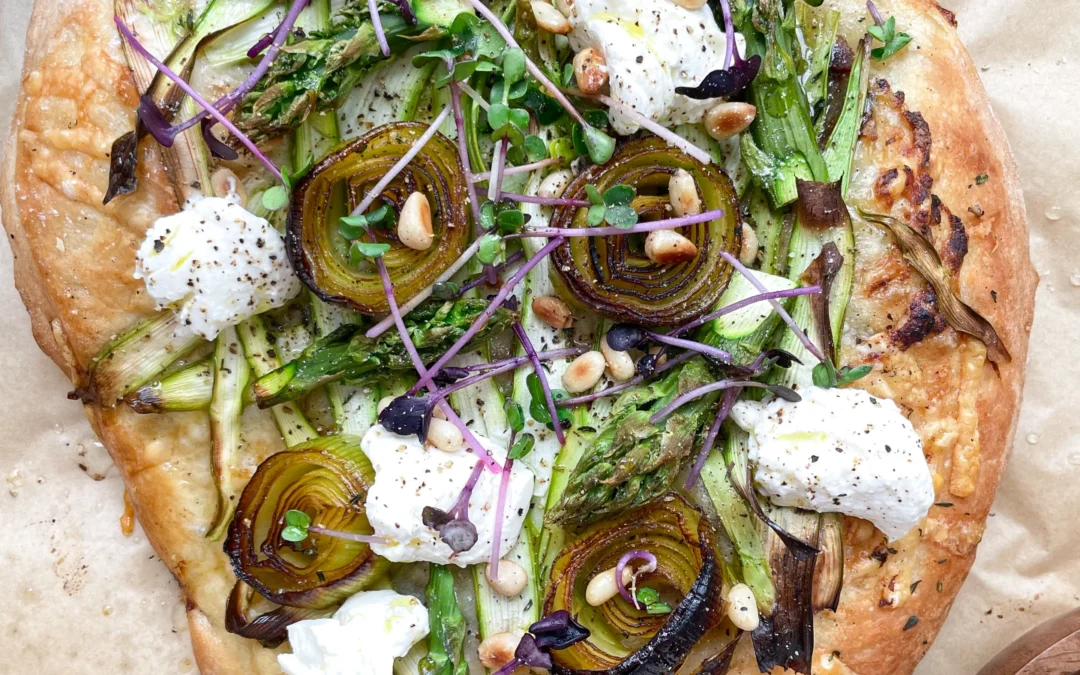
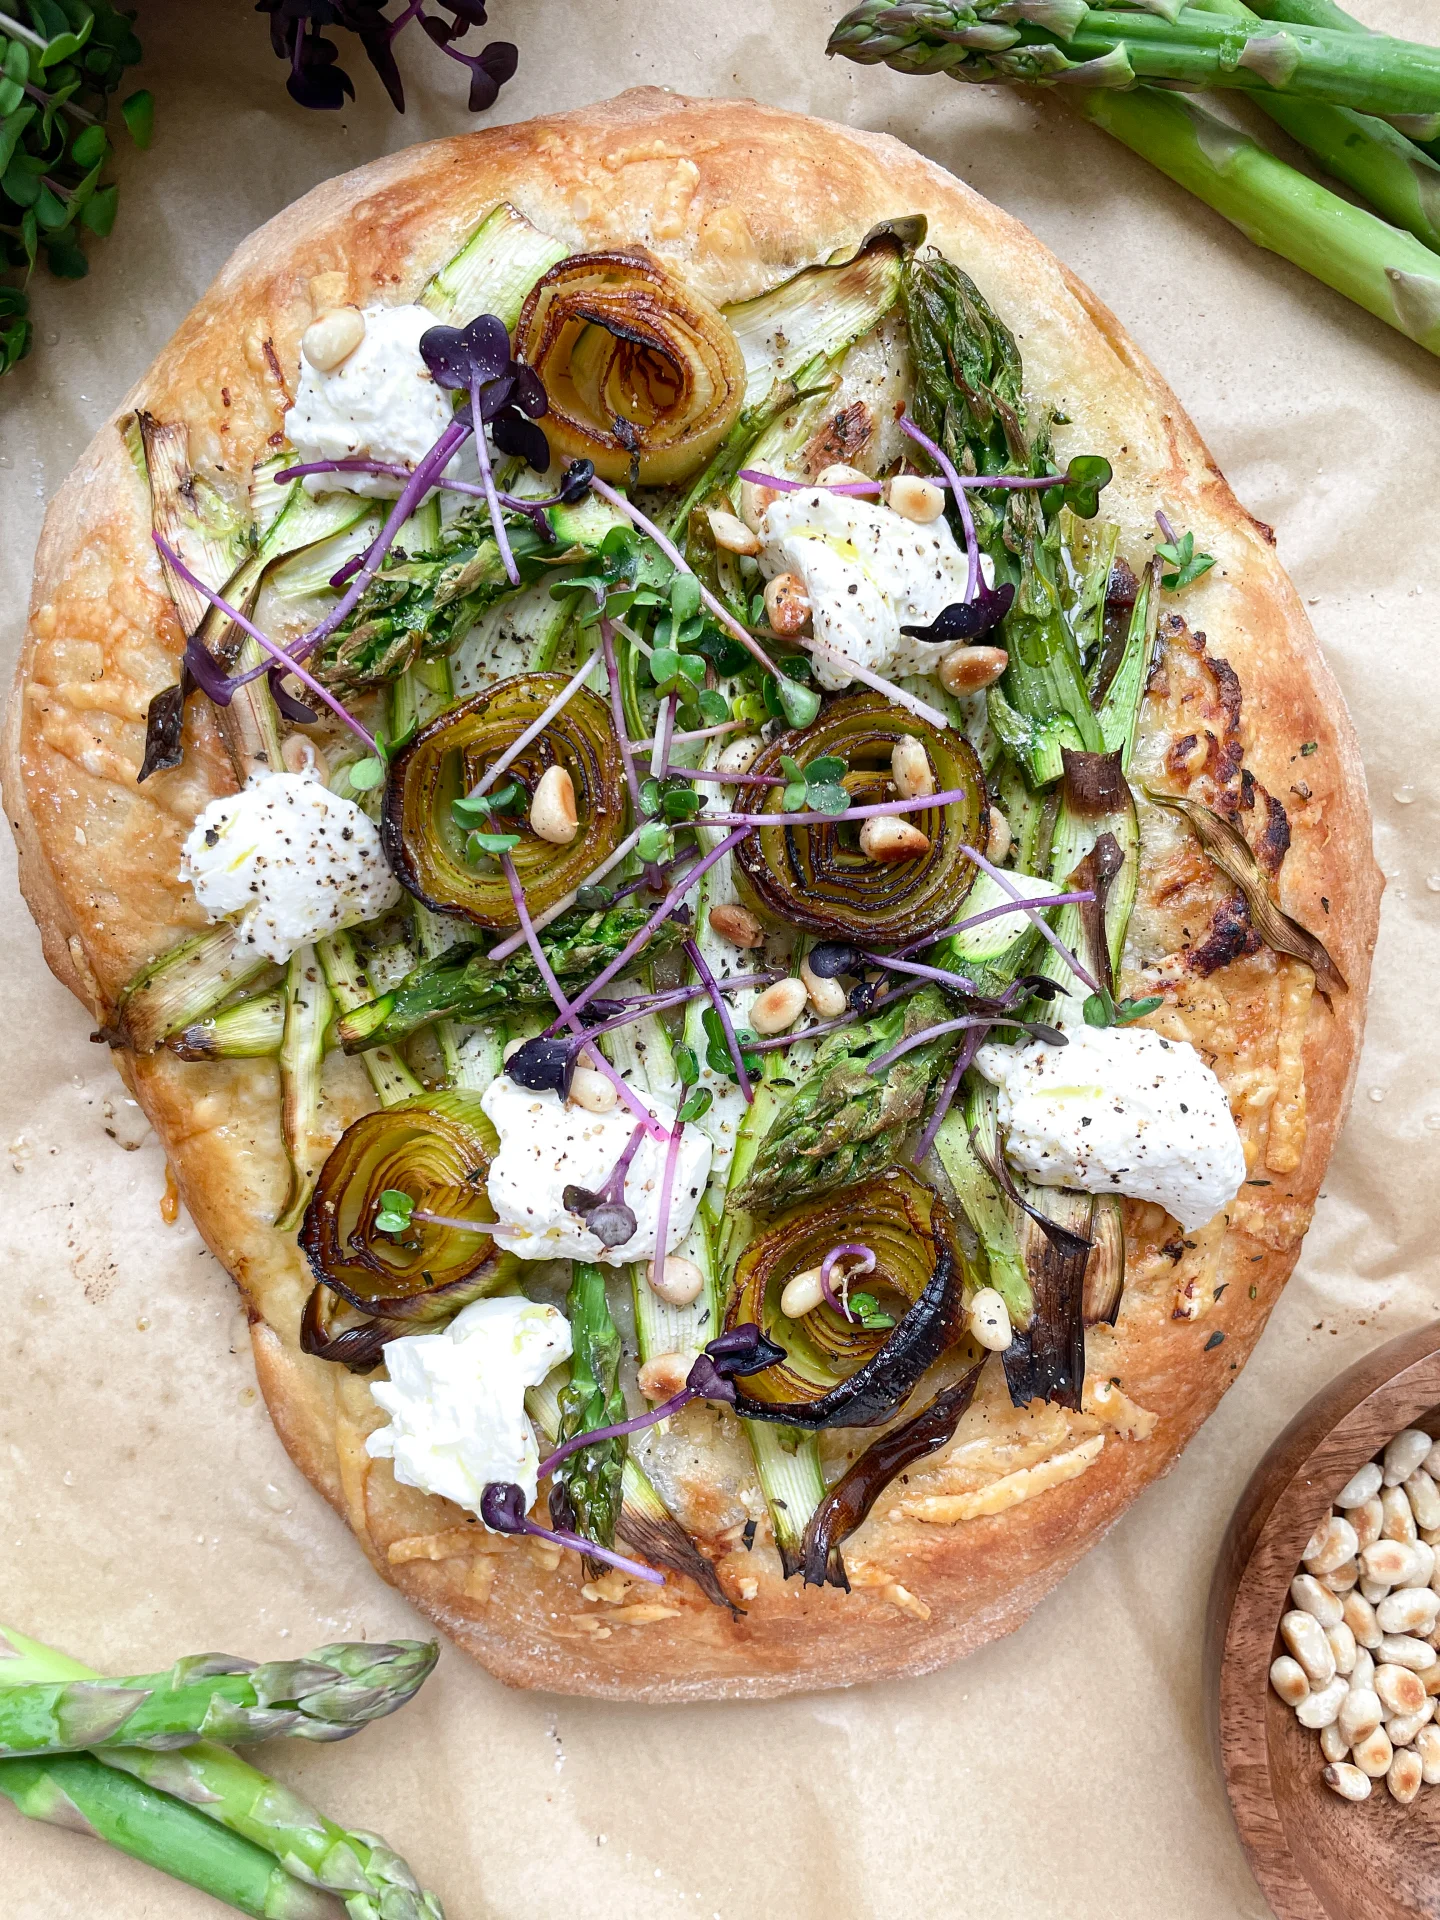
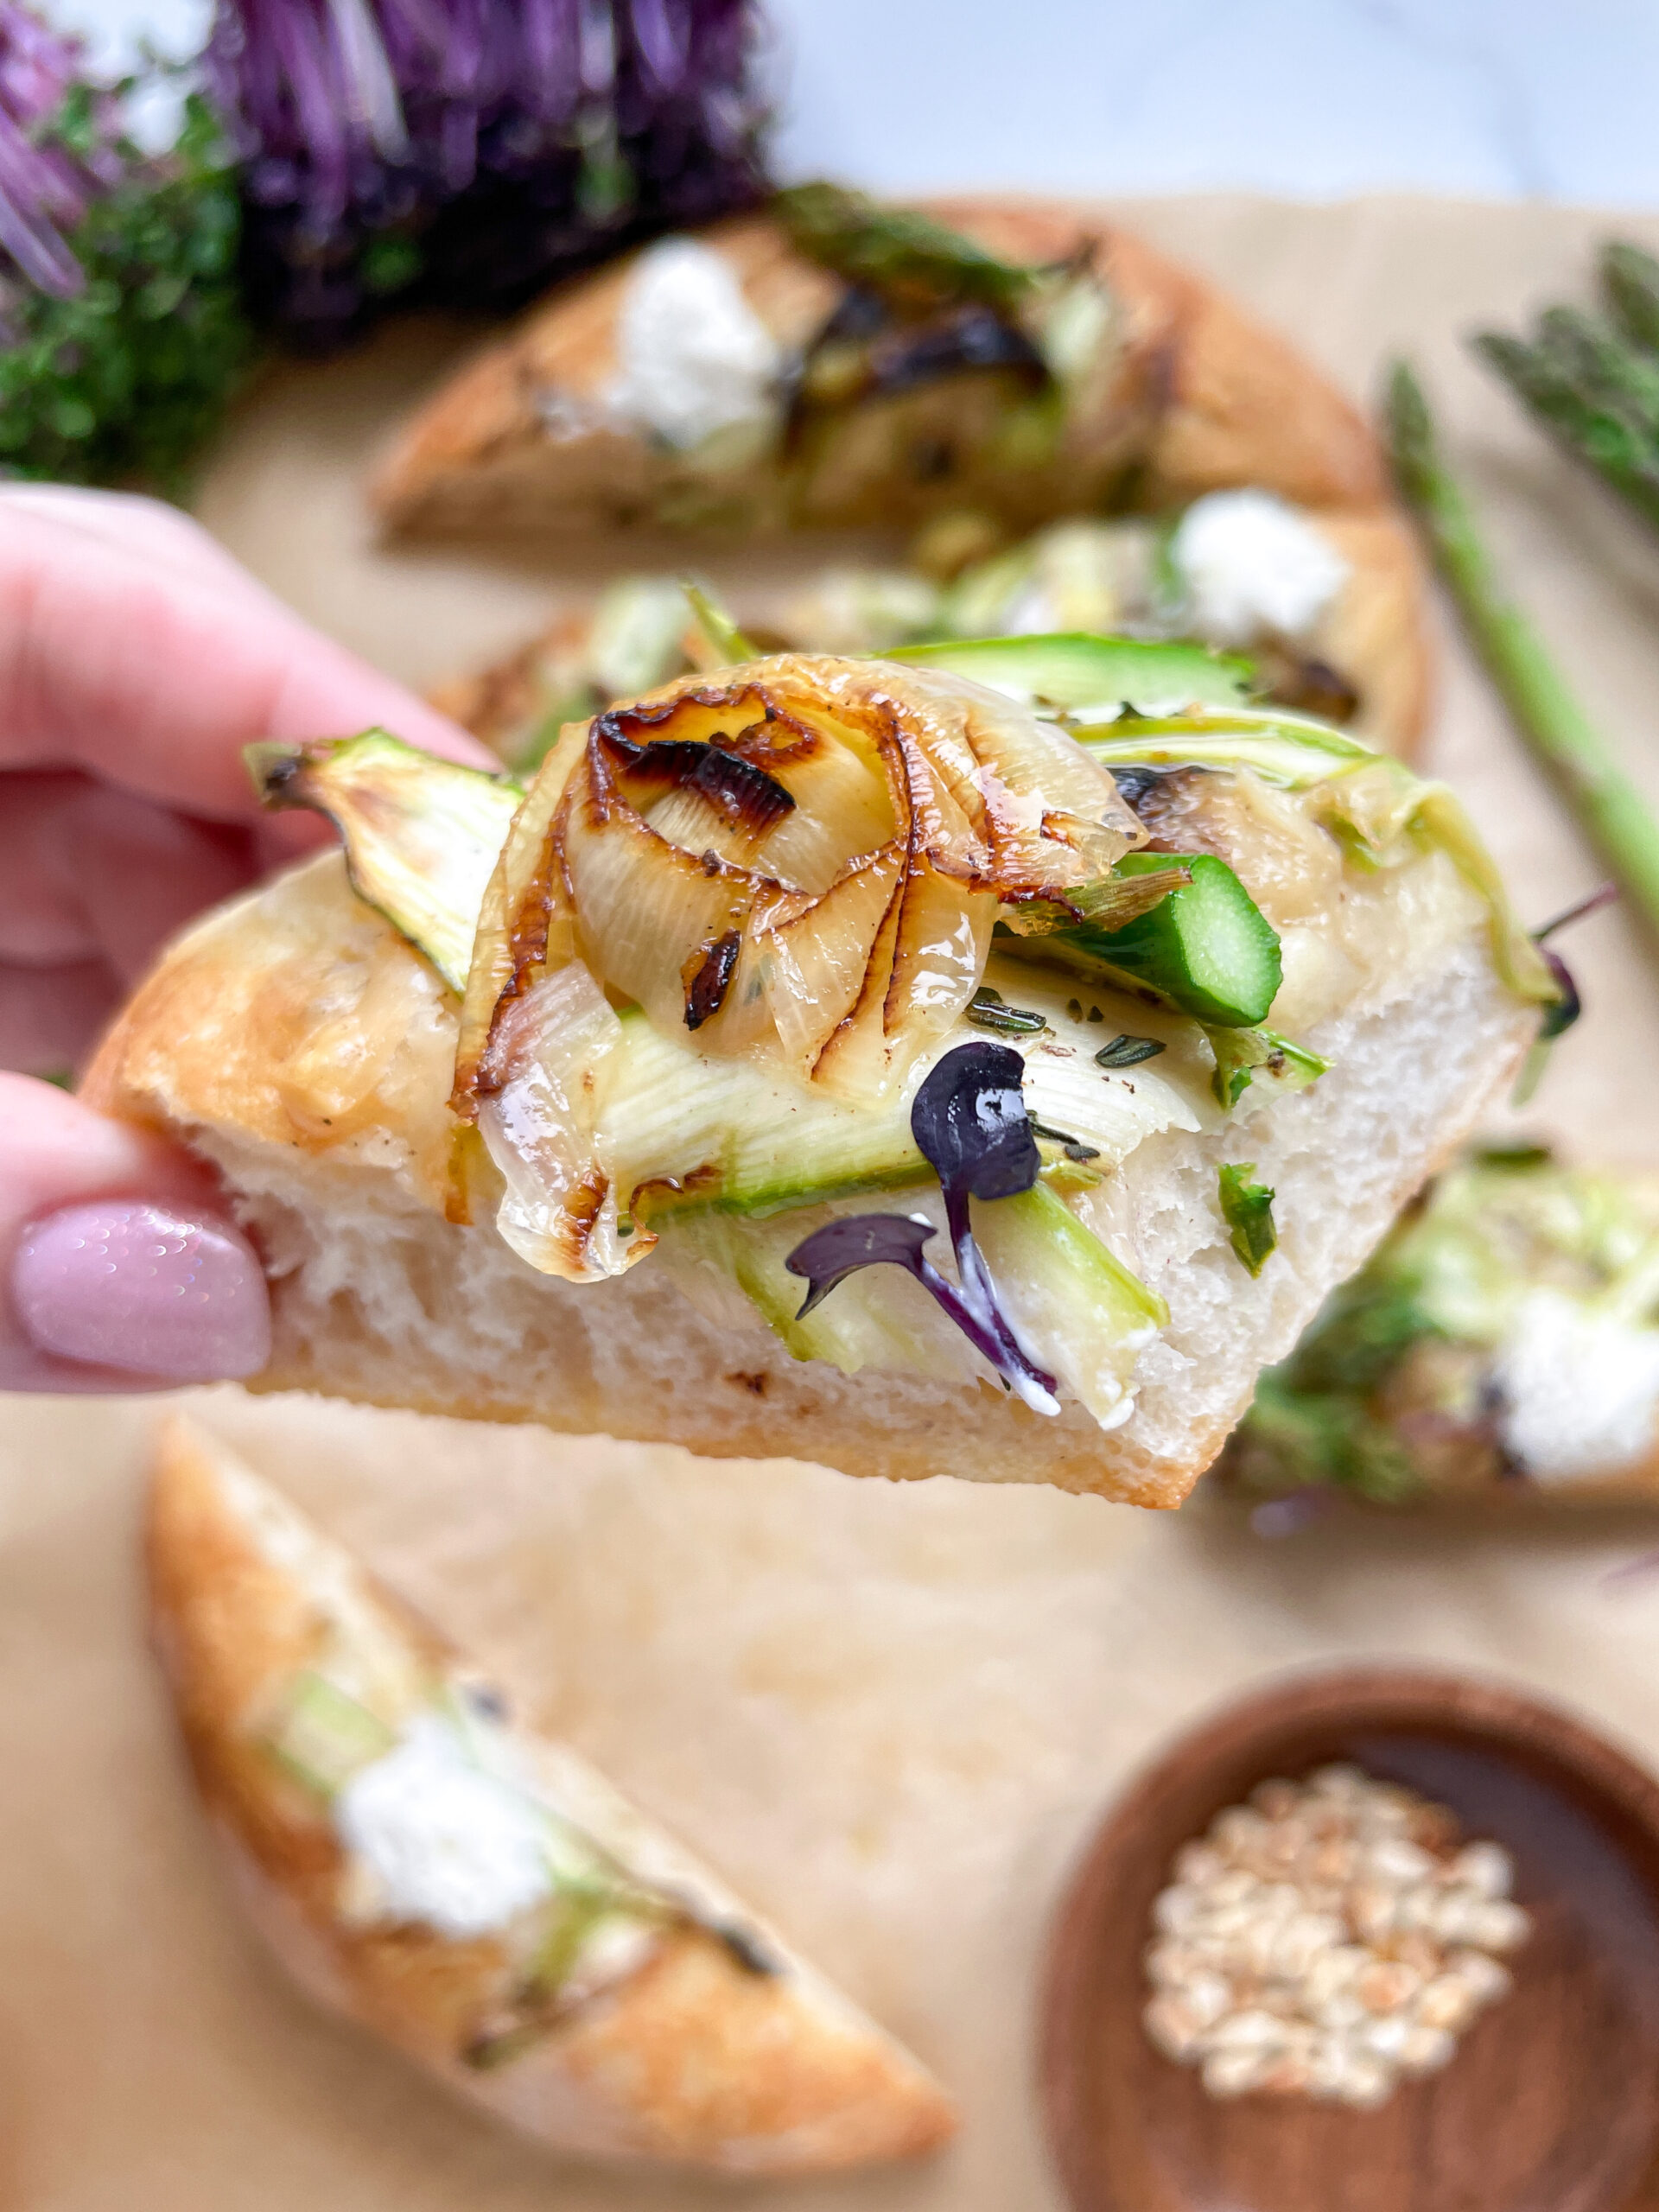
Crispy dough, creamy cheese, buttery leeks, and shaved asparagus. This one’s giving farmers market fantasy meets lazy dinner. It tastes like you definitely own linen napkins, even if you don’t.

2.5 HOURS

INTERMEDIATE

VEGETARIAN

INT.

4 FLATBREADS

CRISPY

DINNER PARTY

DINNER

SPRING

INTRODUCTION

ABOUT THE RECIPE

Ready to transform your pizza night? This Asparagus Caramelized Leeks Flatbread with Parmesan & Ricotta is a game-changer! It combines the earthy sweetness of caramelized leeks with the fresh, green crunch of asparagus, all beautifully balanced with the richness of Ricotta and Parmesan. Perfect for those who love adding a sophisticated twist to their homemade pizzas, this recipe is sure to impress your taste buds and guests alike.

How to serve:
This flatbread shines brightest when served fresh out of the oven. Slice it up for a cozy family dinner, or cut it into smaller pieces for a classy appetizer at your next gathering. Pair it with a crisp white wine or a light beer to complement its gourmet toppings. Don’t forget to garnish with some fresh micro greens or arugula for that extra pop of flavor and color!

How to store:
Leftovers can be stored in the refrigerator for up to three days. Reheat in a preheated oven at 190°C/375°F for about 10 minutes or until heated through.

Hi, I'm Kimberly!

Hi, I'm Kimberly.

A passionate food lover who believes in the magic of homemade deliciousness that spreads love and warmth. Join me on this culinary adventure as I prepare wonderful dishes and let’s spread some happiness together!

Kimberly the Zett Signature

If you want to get to know me better, click here!


Asparagus Caramalized Leeks Pizza with Parmesan & Ricotta
“Let’s make a piece of happiness”
Print
clock clock iconcutlery cutlery iconflag flag iconfolder folder iconinstagram instagram iconpinterest pinterest iconfacebook facebook iconprint print iconsquares squares iconheart heart iconheart solid heart solid icon
Asparagus Caramalized Leeks Pizza with Parmesan & Ricotta

Asparagus Caramalized Leeks Flatbread with Parmesan & Ricotta


  • Author: Kimberly
  • Total Time: 165 min
  • Yield: 4

Description

RECOMMENDED EQUIPMENT

  • sharp knife
  • cutting board
  • peeler
  • cheese grater
  • big bowl
  • oven-safe dish with a lid (or aluminum foil)
  • small pan
  • oven
  • cling film

Ingredients

Units Scale
PIZZA DOUGH
  • 600 grams pizza flour (or type 00)
  • 400 milliliters lukewarm water
  • 2 tsp salt
  • 7 grams active instant dry yeast
BAKED GARLIC
  • 1 garlic bulb
  • 1/4 tsp chili flakes
  • 1/4 tsp salt
  • 3 tbsp olive oil
CARAMALIZED LEEKS
  • 1 leek
  • 2 tsp butter
  • pinch of salt
BAKED TOPPINGS
  • 500 grams green asparagus
  • 80 grams parmesan
  • 2 tsp fresh thyme
OTHER TOPPINGS AFTER BAKING
  • ricotta cheese
  • cress
  • pine nuts
  • fresh lemon juice
  • olive oil
  • black pepper

Instructions

  1. In a large bowl, mix flour, salt, and yeast. Make a well in the center, pour in lukewarm water, and stir everything together with a wooden spoon until everything just came together and you get a sticky dough. Cover the bowl tightly with cling film and let the dough rest for 10 minutes.

  2. Now remove the cling film and do a round of stretch and folds: grab the dough from all four sides, lift each section, and fold it into the center. Wet your hand with lukewarm water each time to keep things from sticking. Cover the bowl again, rest for another 10 minutes, and repeat the stretch and fold. Cover once more and let the dough rise at room temp for 1 hour. Do one last round of stretch and folds after that hour, cover again, and let it rest for another hour.

  3. Meanwhile, slice off the top of the bulb to expose the cloves. Place in an oven-safe dish, drizzle with 3 tbsp olive oil, sprinkle with ¼ tsp chili flakes and ¼ tsp salt. Cover and bake at 250°C / 482°F for 45 minutes.

  4. Now wash the asparagus and snap off the woody ends. Use a peeler to shave thin ribbons from the stalks, leaving the heads intact. Set both aside. Wash the leek and slice it into thick rings, try to keep the rings whole. Set aside. Grate the Parmesan, finely chop the thyme, and halve the lemon.

  5. Next toast pine nuts in a dry pan over medium heat until golden. Transfer to a bowl and set aside. Wipe out the pan, add 2 tsp butter, and melt over low-medium heat. Gently place in the leek rings and cook for 10–15 minutes until the bottom is golden and the leeks are soft. Flip carefully and cook another 5 minutes. Set aside.

  6. Once the garlic is cool, squeeze the cloves out into the oil, mash it all together into a paste, and set aside. Preheat your oven to 230°C / 446°F (fan).

  7. Lightly flour a piece of parchment paper. Divide your dough into 4 pieces. Take one, place it on the parchment, dust the top with flour, and gently press it out with your fingers until it resists stretching (about 1.5 cm / ½″ thick). Drizzle olive oil over the dough. Top with grated Parmesan, a bit of garlic paste, asparagus shavings + heads, and a few caramelized leek rings. Sprinkle with thyme. Bake for 20 minutes until golden and crispy.

  8. Fresh out of the oven, finish with dollops of ricotta, toasted pine nuts, microgreens, cracked pepper, a squeeze of lemon, and (optional) a final drizzle of olive oil. Slice and serve!

  • Passive Time: 120 min
  • Cook Time: 45 min

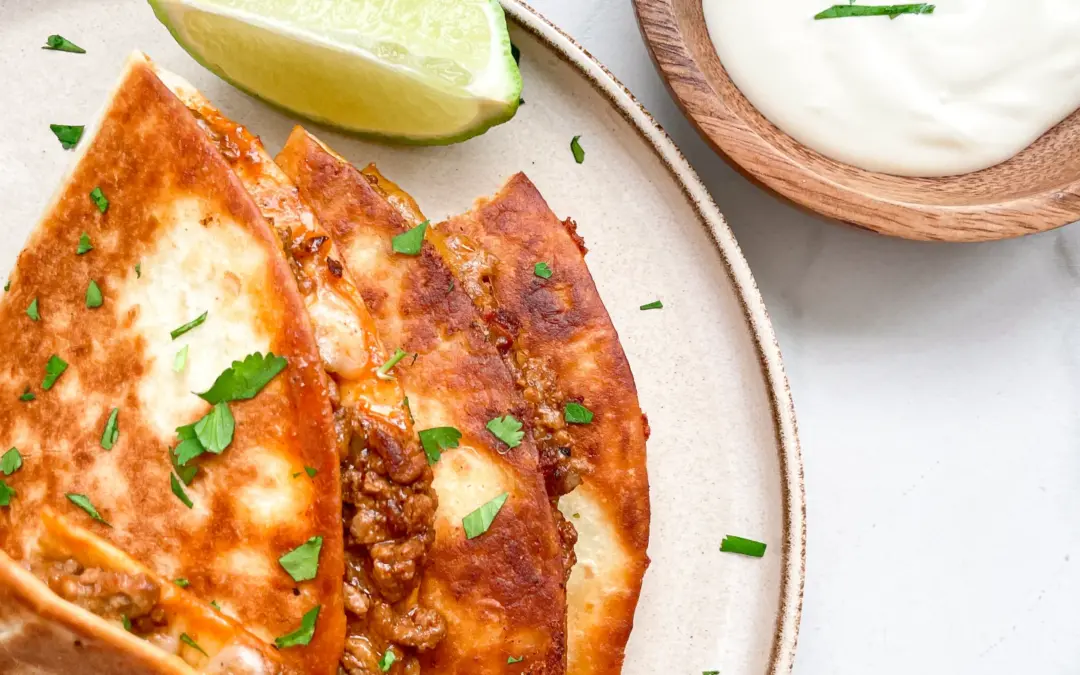
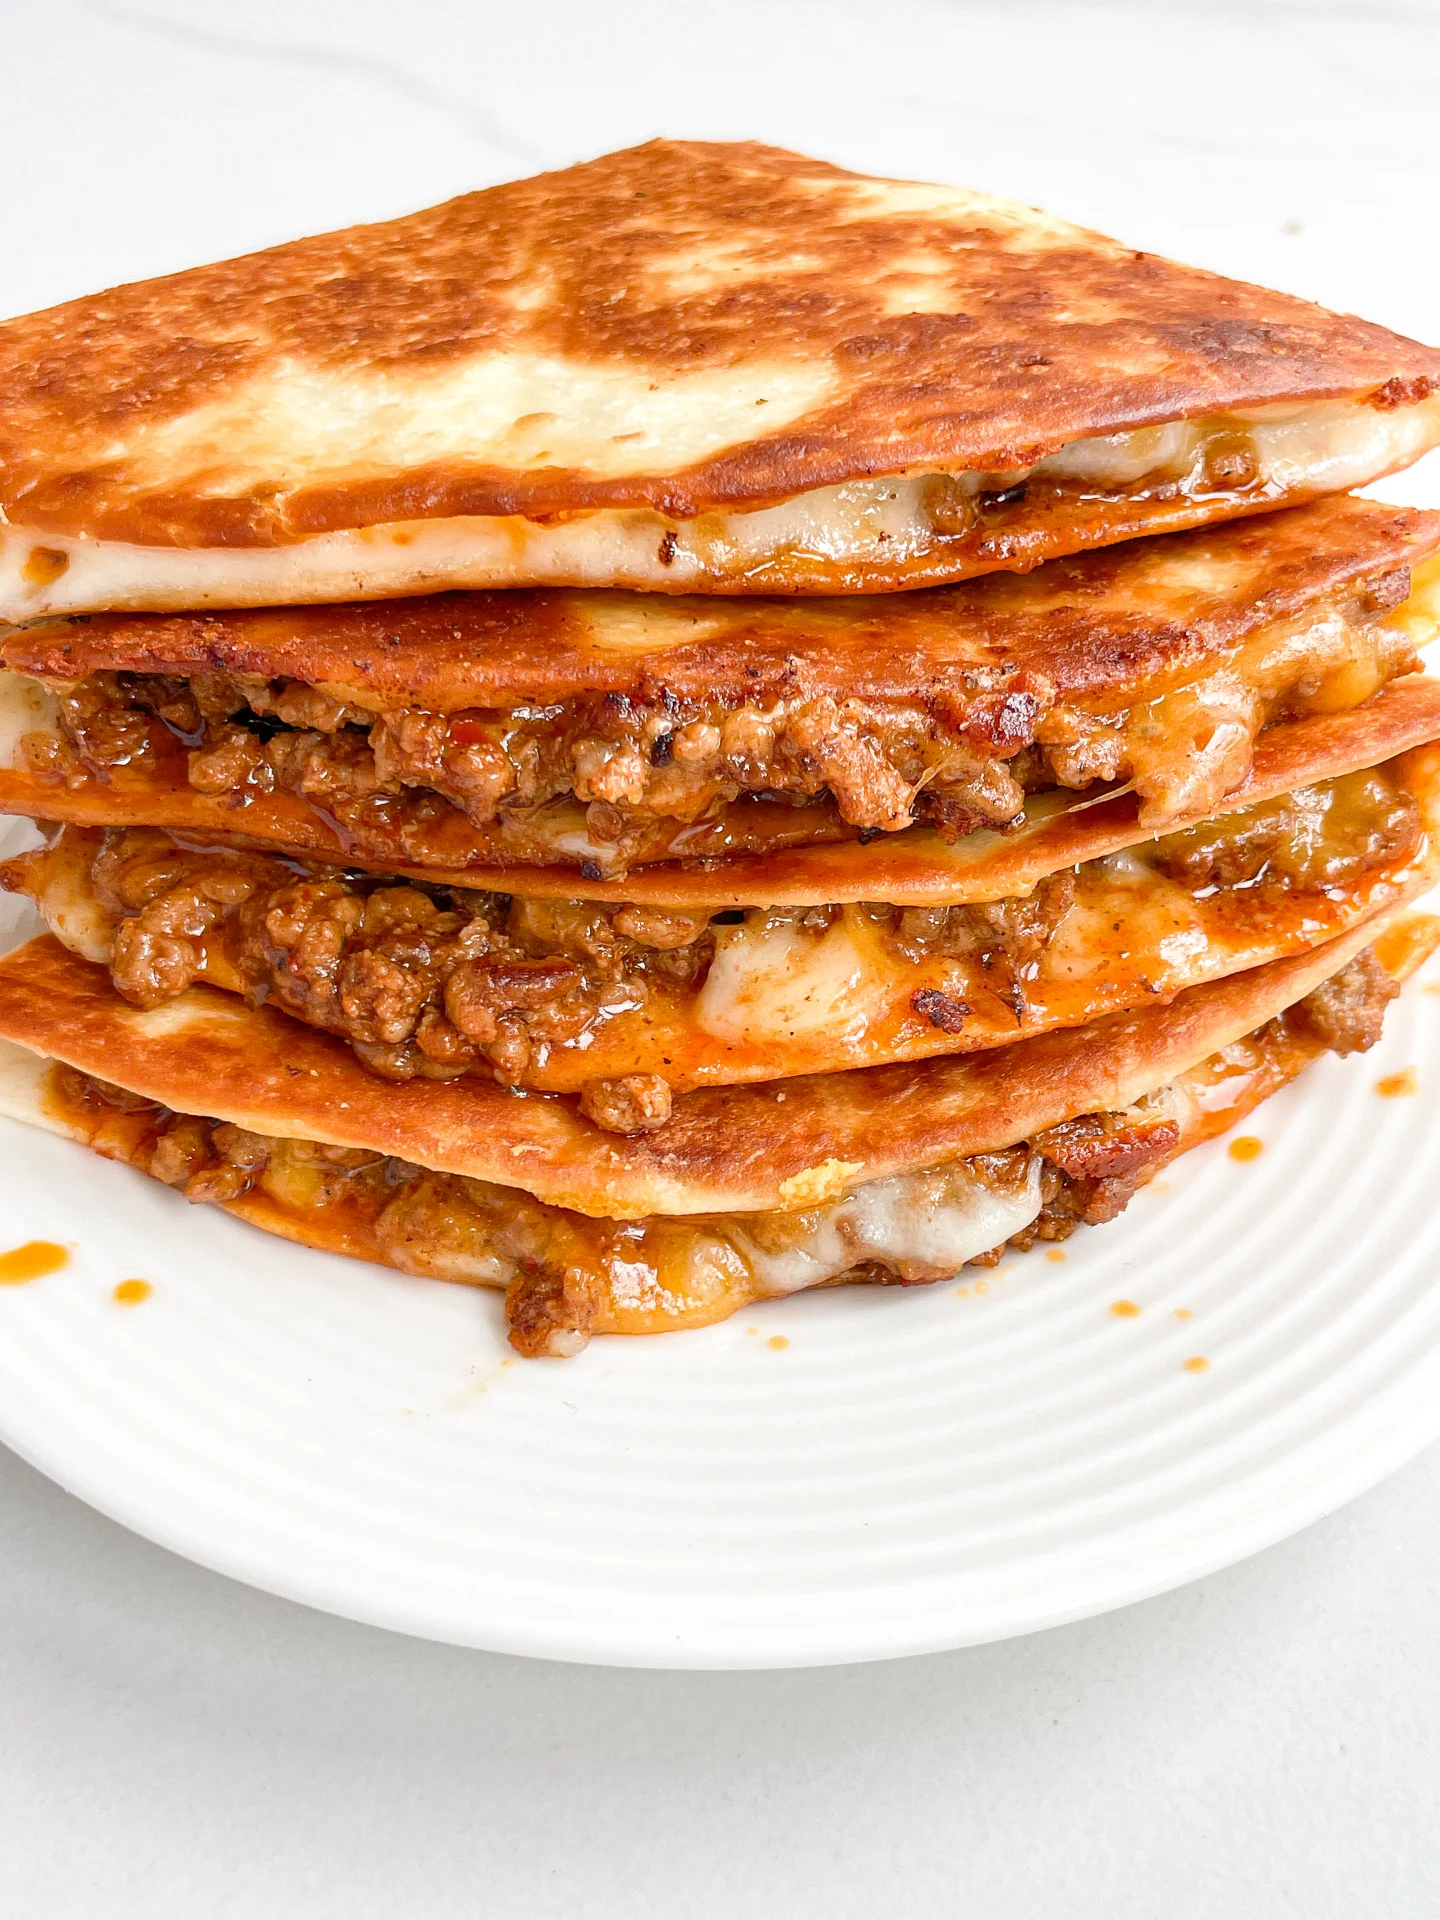
Cilantro Lime Beef Quesadillas

Cilantro Lime Beef Quesadillas

Cilantro Lime Beef Quesadillas

Cilantro Lime Beef Quesadillas

April 10, 2024 by Kimberly

Indulge in the zesty flair of Cilantro Lime Beef Quesadillas! A mouthwatering fusion of juicy beef, tangy lime, and fresh cilantro, wrapped in a crispy tortilla.

30 MINUTES

EASY

OMNIVORE

MEXICAN

811 PER PORTION

COMFORT FOOD

EVERYDAY

DINNER

ALL YEAR

INTRODUCTION

ABOUT THE RECIPE

Dive into the delectable world of Cilantro Lime Beef Quesadillas, your next go-to recipe for a quick, flavorful meal that’s sure to delight your taste buds. Combining juicy beef, vibrant lime, and fresh cilantro, these quesadillas offer a tantalizing taste of Mexican cuisine right in your kitchen. Perfect for those busy weeknights or when you’re craving something deliciously different.

How to serve:
When it comes to serving, Cilantro Lime Beef Quesadillas shine brightest with a side of creamy guacamole, tangy salsa, and a dollop of sour cream. Whether you’re gathering around the table for a family dinner or entertaining friends, these quesadillas are a versatile dish that pairs wonderfully with a chilled margarita or a refreshing limeade. The fusion of flavors and textures makes every bite a delightful experience.

How to store:
To store, let your quesadillas cool down before wrapping them tightly in aluminum foil. They’ll keep nicely in the refrigerator for up to two days. Reheat in a skillet or oven to retain that irresistible crunch. Enjoy the ease of having a delicious meal just minutes away, any day of the week.

Hi, I'm Kimberly!

Hi, I'm Kimberly.

A passionate food lover who believes in the magic of homemade deliciousness that spreads love and warmth. Join me on this culinary adventure as I prepare wonderful dishes and let’s spread some happiness together!

Kimberly the Zett Signature

If you want to get to know me better, click here!


Cilantro Lime Beef Quesadillas
“Let’s make a piece of happiness”

INGREDIENTS

FOR 4 PORTIONS (6 QUESADILLAS)

FILLING

  • 400g lean minced beef (14 oz)
  • 1 tbsp olive oil
  • 1 tsp chili flakes
  • 1/2 tsp oregano
  • 1/2 cumin
  • 1/2 garlic powder
  • 1/2 onion powder
  • 1/2 tsp salt
  • 1/2 cayenne pepper
  • 1/2 ground black pepper
  • 1 tbsp tomato paste
  • 250ml beef stock (1 cup)
  • 125g shredded mozzarella (1 heaped cup)
  • 125g shredded cheddar (1 heaped cup)

TORTILLAS

  • 6 medium-sized tortillas
  • 3 tsp olive oil

TOPPINGS

  • 2 limes
  • cilantro
  • 200g creme fraiche (7 oz)
  • 200g salsa (7 oz)
Cilantro Lime Beef Quesadillas
}

ACTIVE: 5 min

PASSIVE: –

PREPARATIONS

Recommended Equipment
  • sharp knife
  • cutting board
  • large pan
  • Wash the cilantro, pluck the leaves from the stems, and roughly chop them.
  • Wash the limes and cut them into quarters.
  • Mix the grated mozzarella and grated cheddar in a bowl.
}

ACTIVE: 25 min

PASSIVE: –

COOKING

1. Heat a large pan over medium heat and add 1 tbsp olive oil. Put the ground beef into the pan and season it with 1 teaspoon of chili powder, and ½ teaspoon each of oregano, cumin, garlic powder, onion powder, cayenne pepper, salt, and pepper. Cook the meat until it forms a dark crust at the bottom of the pan. Then add 1 heaping tablespoon of tomato paste to the meat, mix everything together, and let it cook for 1-2 minutes. Pour beef broth into the pan to deglaze it, scrape off the crust from the bottom, and let everything simmer for about 10 minutes until the broth forms a creamy sauce around the meat.

2. Meanwhile, lay out 6 tortilla wraps side by side and spread half of the cheese on one half of each tortilla, leaving the other half free.

3. Spread the meat directly from the pan onto the cheese on each tortilla. Wipe the pan clean and place it back on the stove.

4. Now, spread the second half of the cheese on top of the meat and use a spoon to distribute the filling to the edge of half of each tortilla. Fold the empty half of the tortilla over the filled half. Press down firmly.

5. Cook two of the filled quesadillas side by side in the pan with 1 teaspoon of olive oil on both sides over medium heat until the tortilla becomes crispy golden brown and the cheese inside is melted. Remove from the pan and cut in half.

6. Place three pieces of the quesadillas on each plate, along with two lime wedges, and sprinkle with cilantro. Serve with your favorite salsa and sour cream for dipping.

NOTE: The calorie information may vary depending on the product used, country and region.

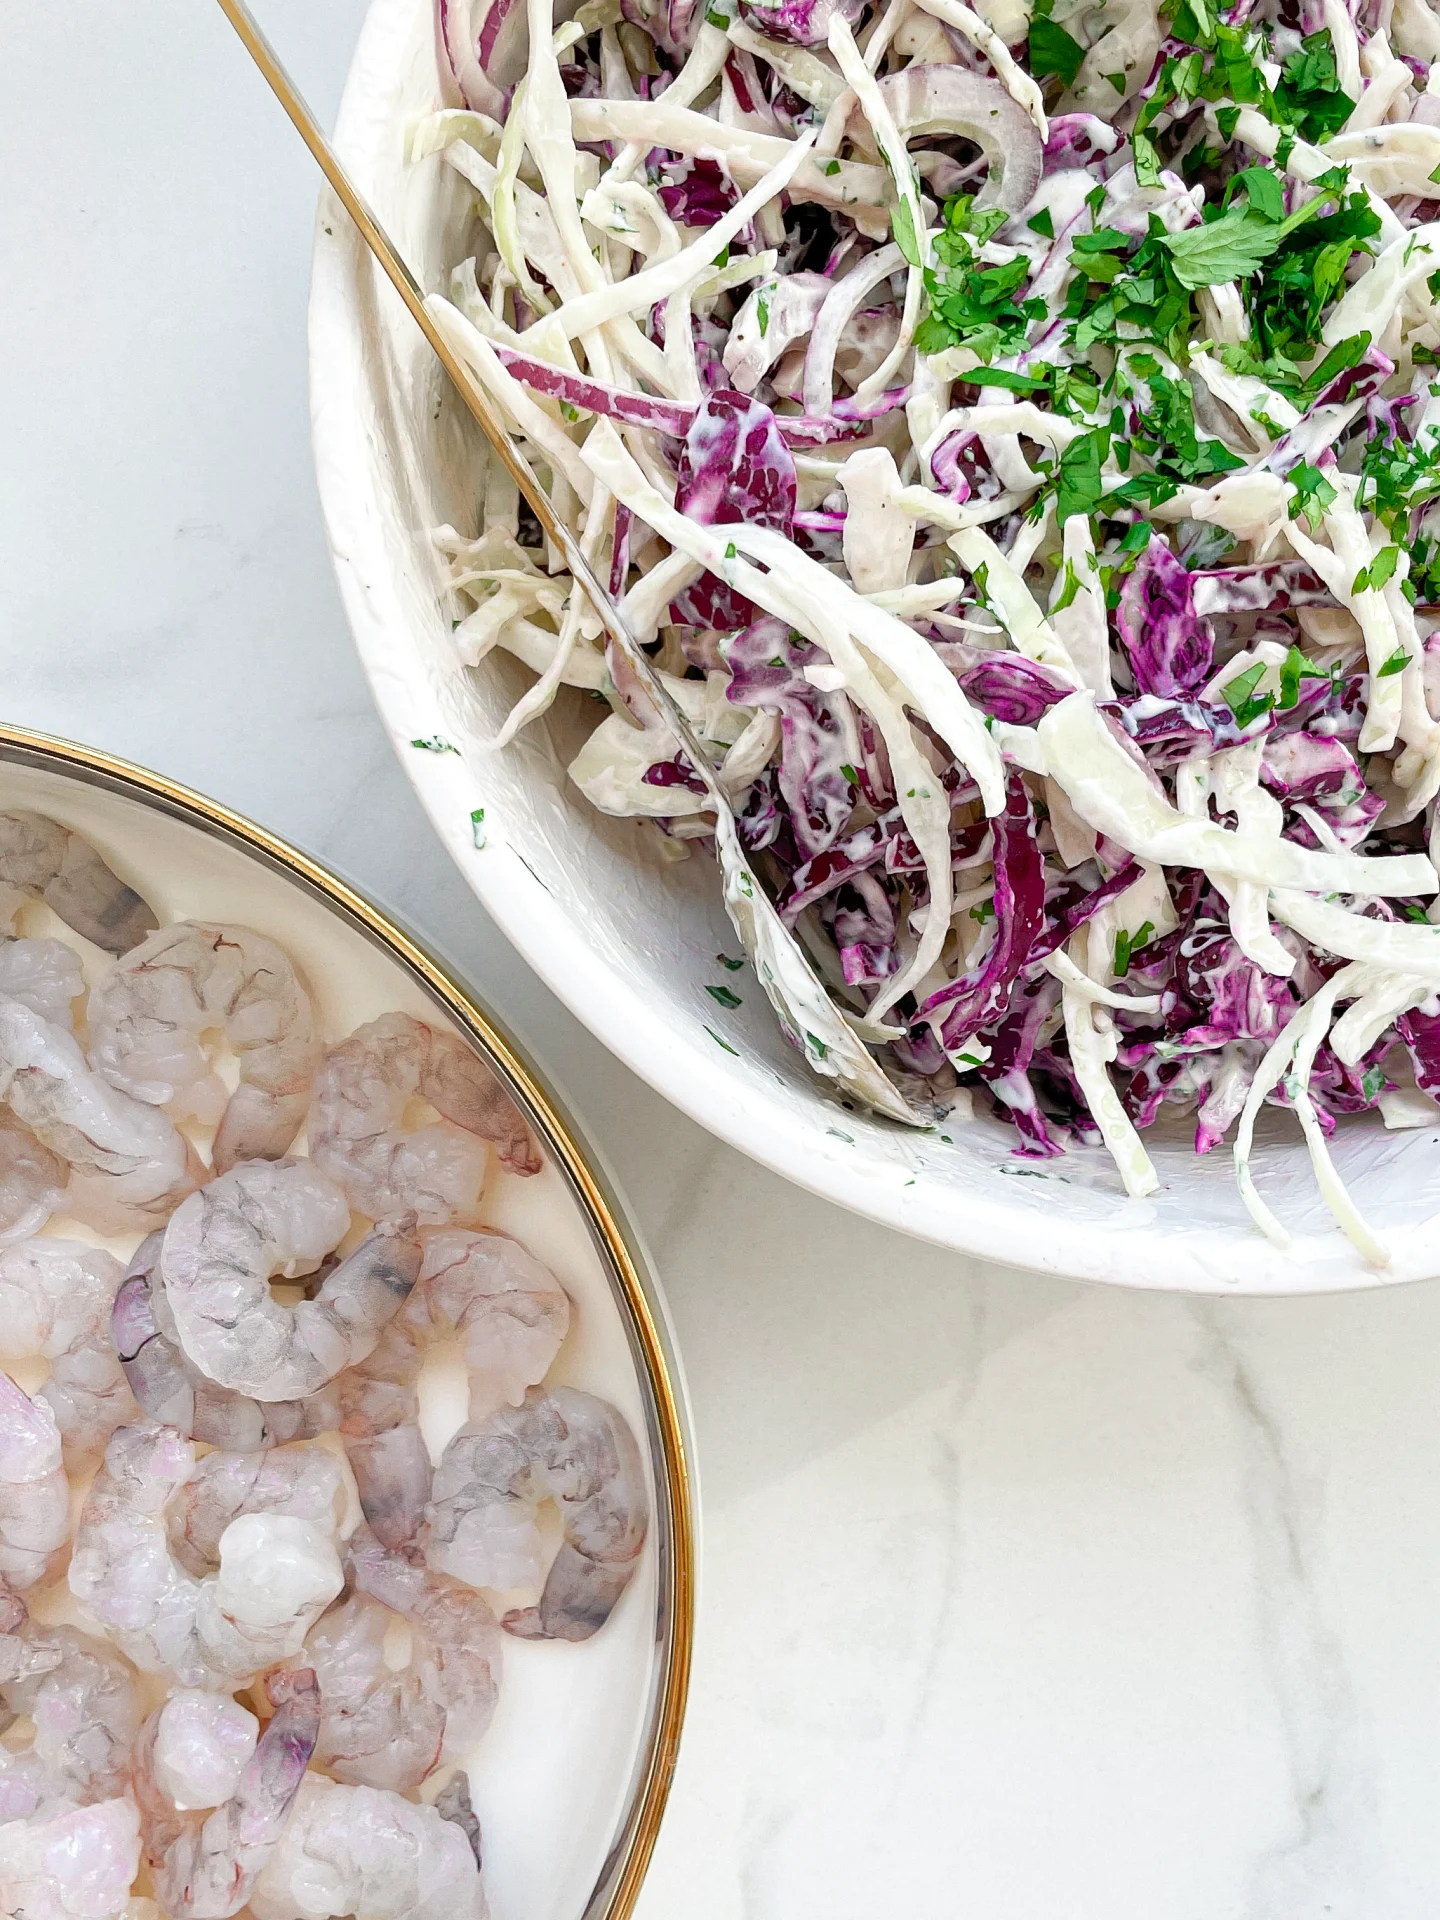
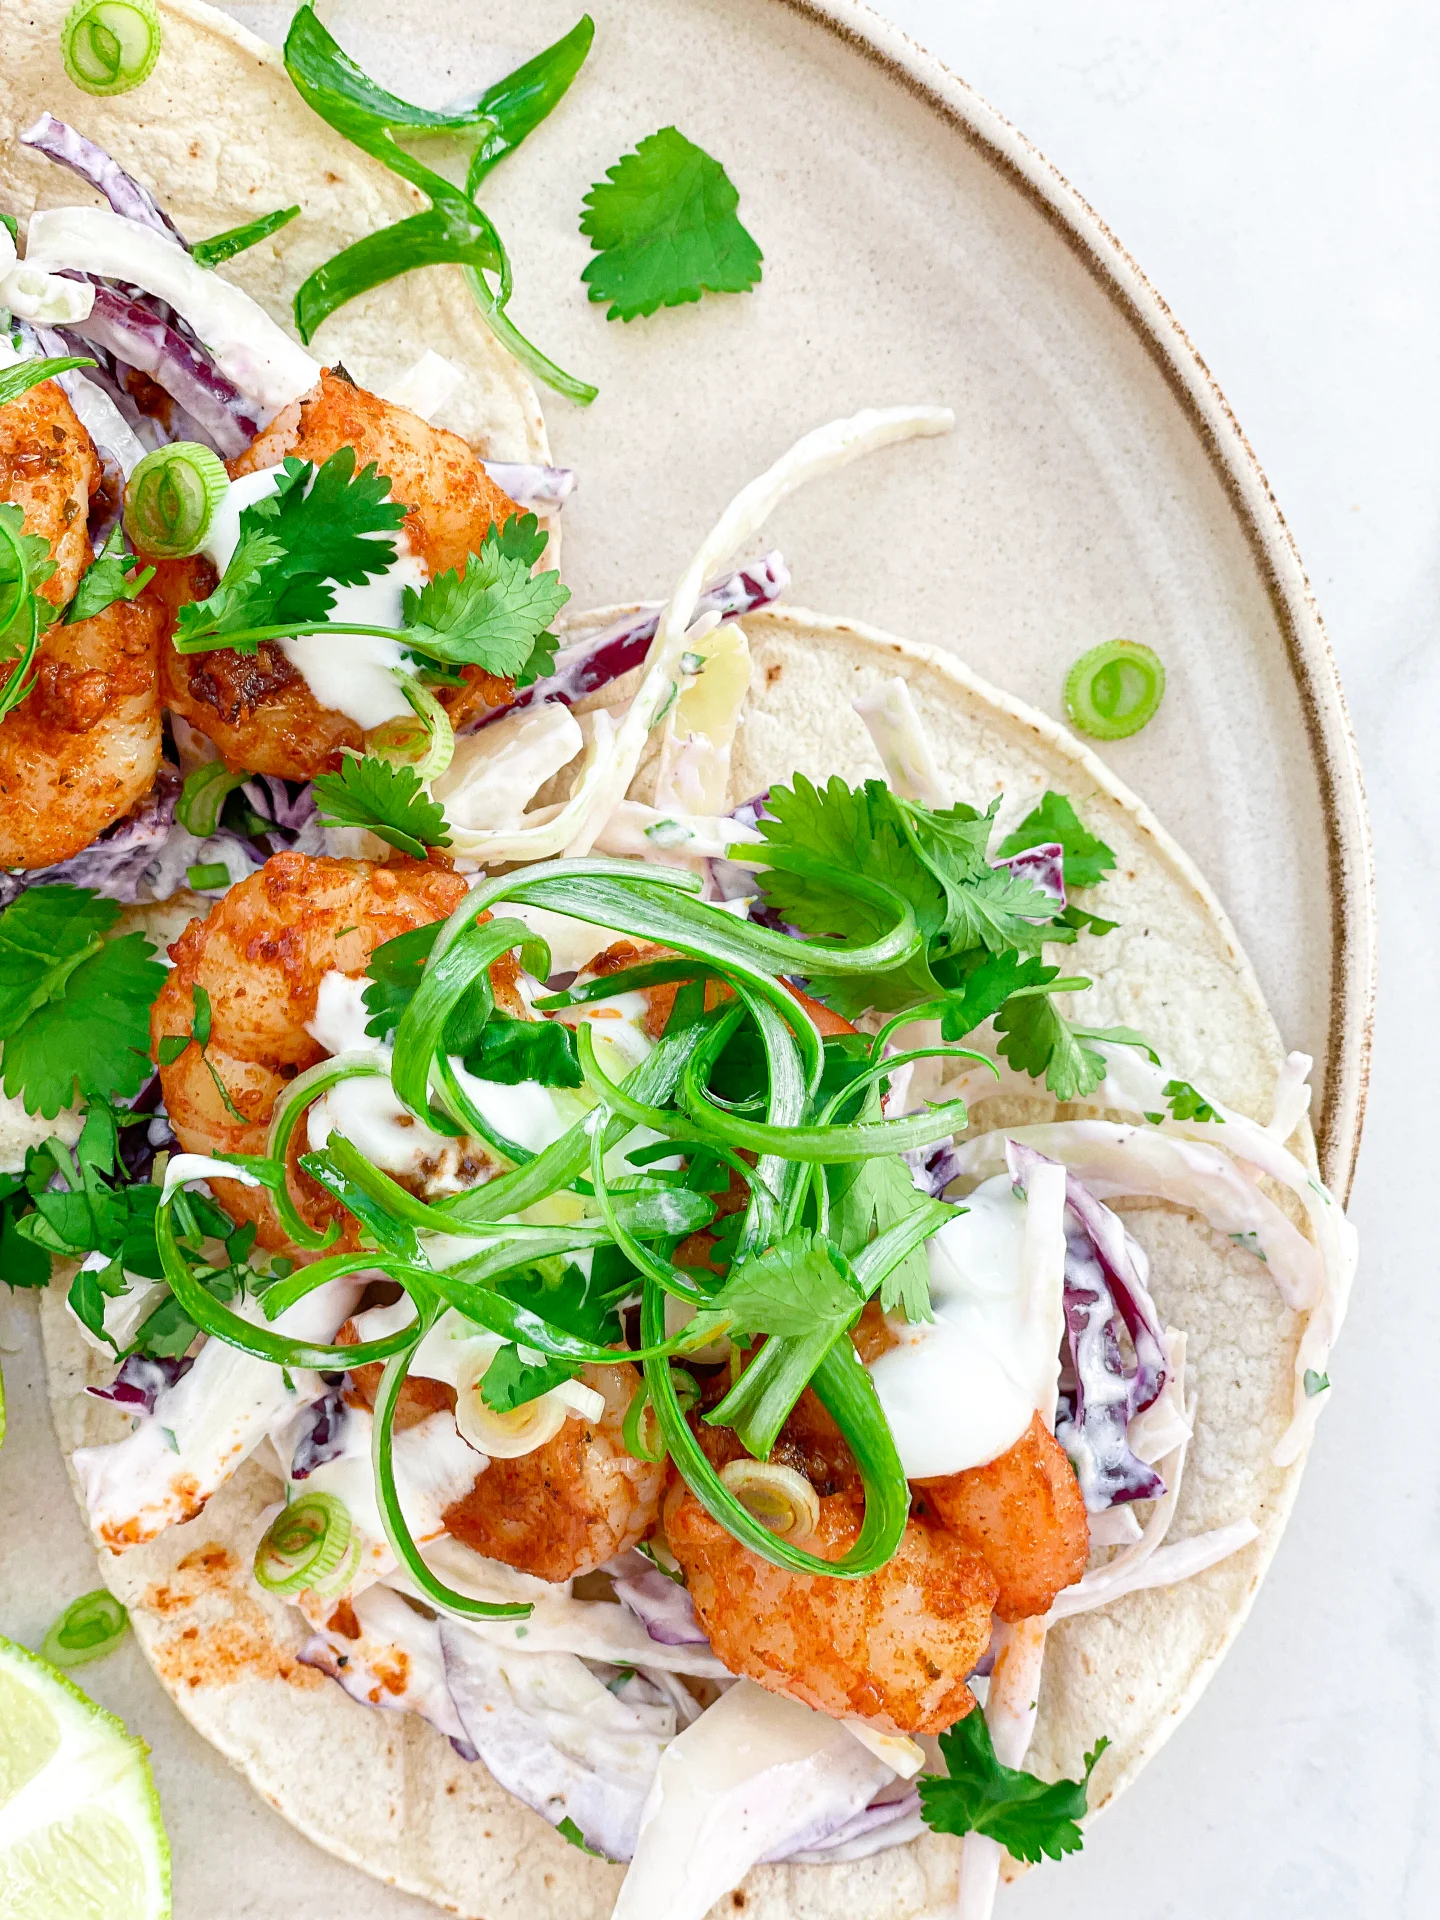
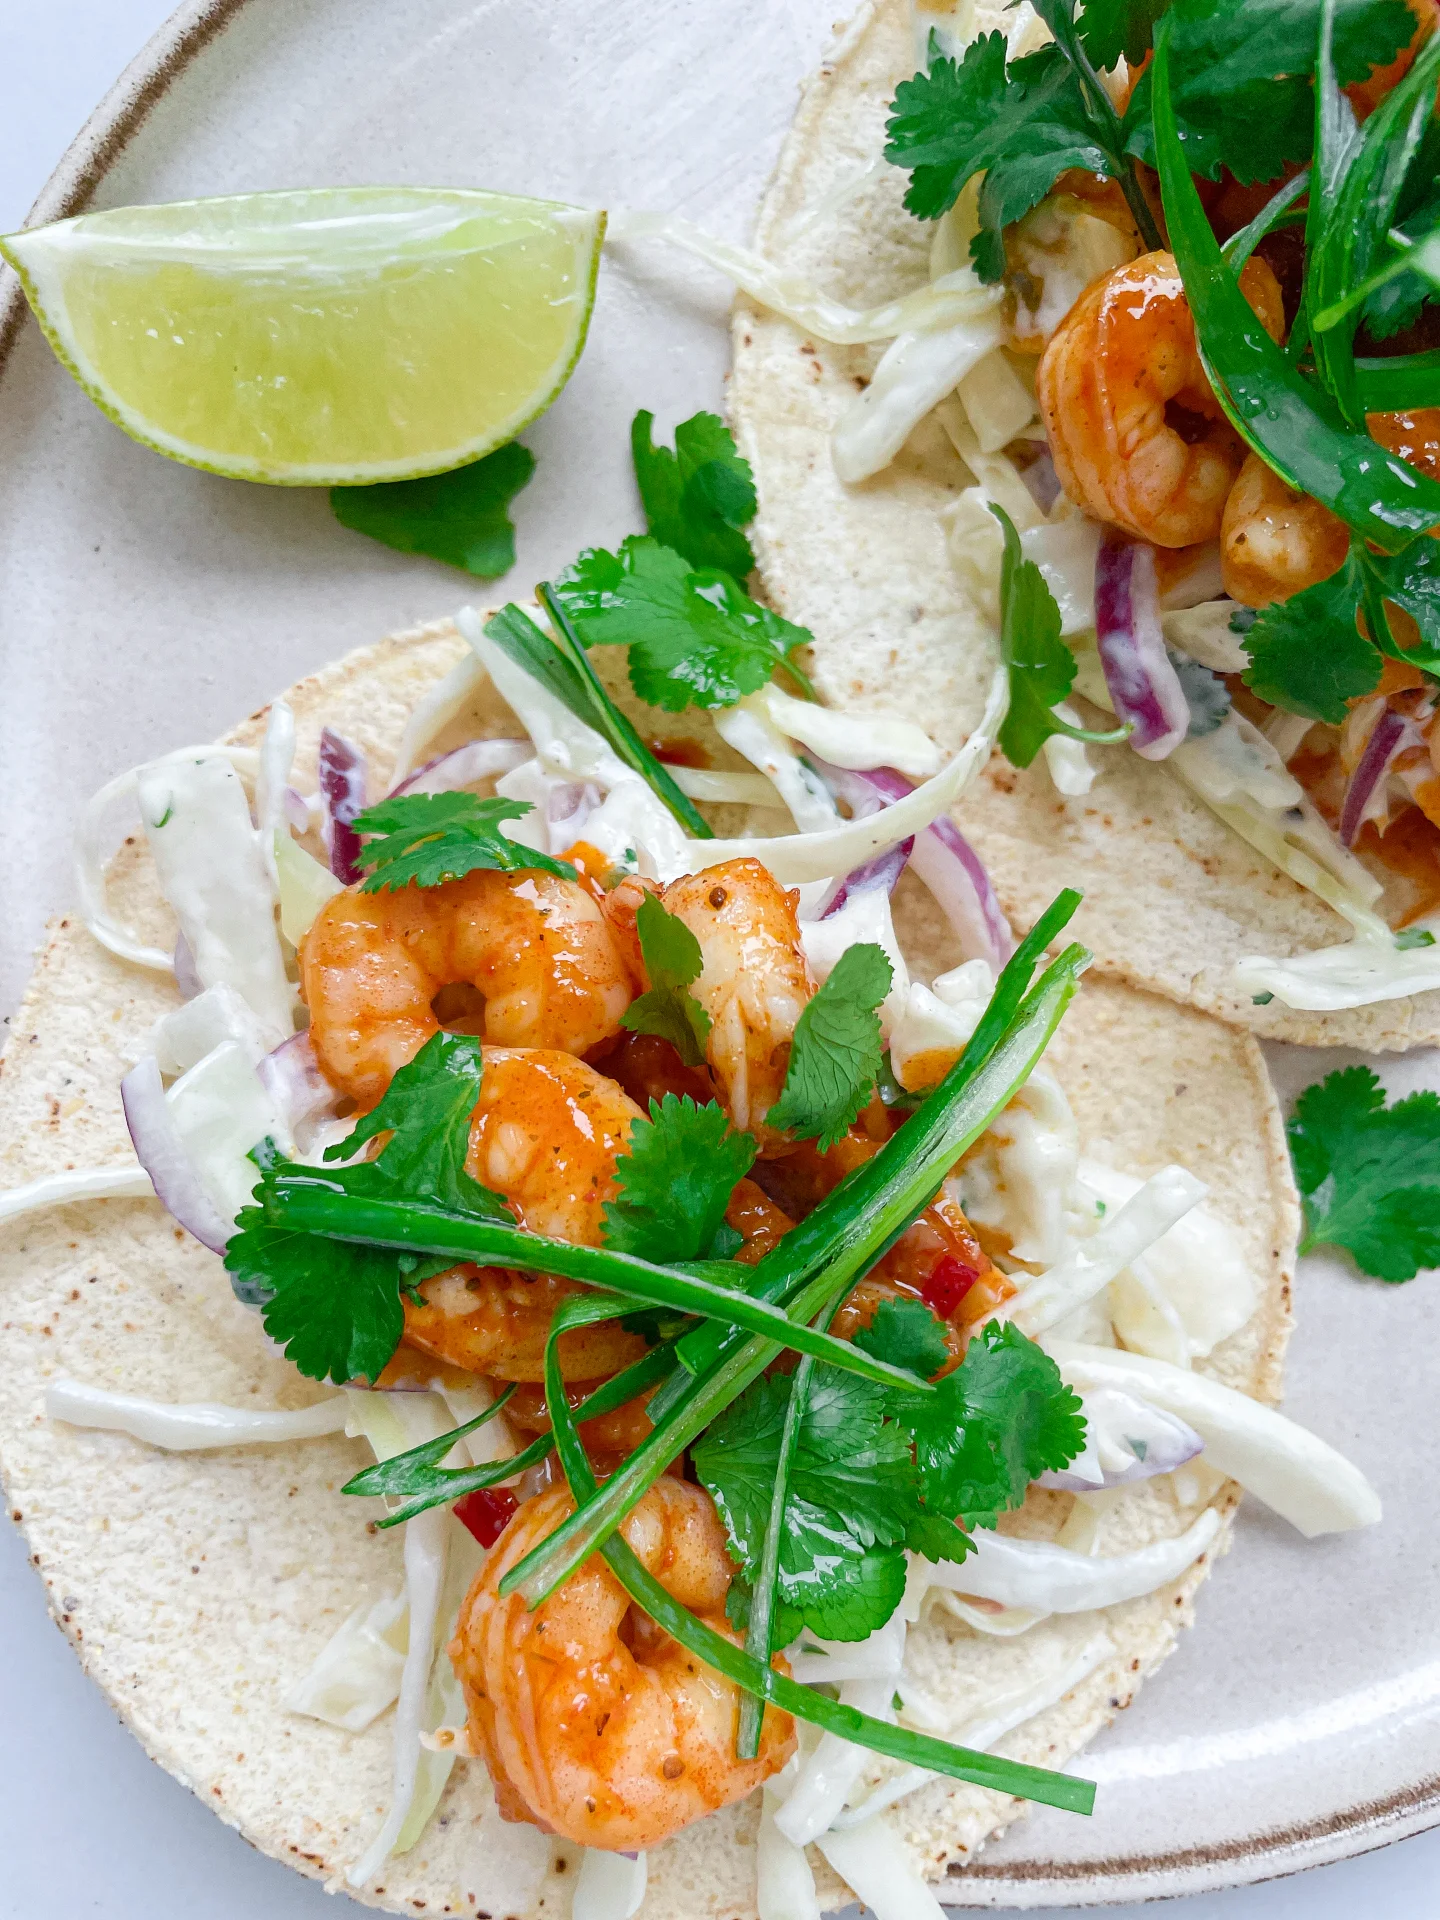
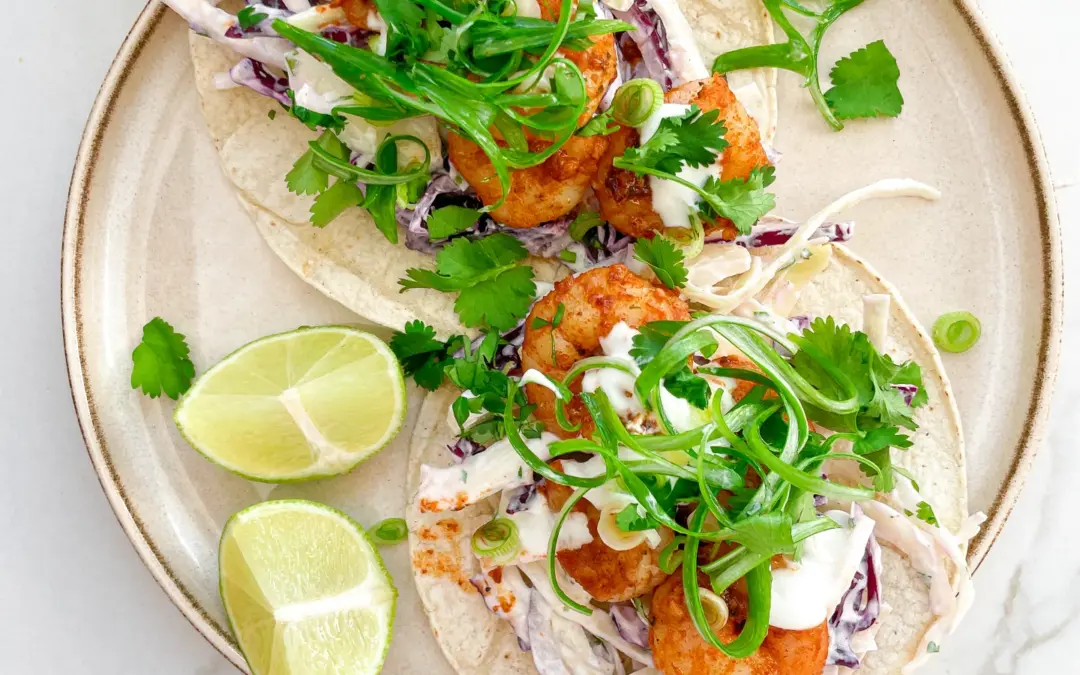
Fresh Shrimp Tacos & Coleslaw

Fresh Shrimp Tacos & Coleslaw

Fresh Prawn Tacos & Slaw

Fresh Shrimp Tacos & Slaw

April 9, 2024 by Kimberly

Discover the joy of Fresh Shrimp Tacos & Slaw – a zesty, mouth-watering feast that’s perfect for any day. Easy, delicious, and absolutely unforgettable!

40 MINUTES

EASY

OMNIVORE

MEXICAN

147 PER TACO

REFRESHINGEVERYDAY

LUNCH 
DINNER

SPRING 
SUMMER

INTRODUCTION

ABOUT THE RECIPE

Dive into the delightful world of Fresh Shrimp Tacos & Slaw, your new go-to recipe for a quick, healthy, and utterly delicious meal. This dish combines the juicy, succulent flavors of fresh shrimps with the crisp, refreshing taste of homemade slaw, all wrapped up in a soft taco shell. It’s the perfect balance of textures and tastes, sure to tantalize your taste buds!

How to serve:
Serve these tacos fresh off the skillet for the best experience. Pair them with a side of lime wedges & extra slaw. Don’t forget a cold, refreshing drink to wash down the flavors. These shrimp tacos are not just food – they’re a vibrant, interactive dining experience that everyone can get excited about.

How to store:
Leftover shrimp fillings and slaw can be stored separately in airtight containers in the fridge. They’ll keep well for up to two days, making for an easy, delicious lunch or dinner option whenever you’re short on time.

Hi, I'm Kimberly!

Hi, I'm Kimberly.

A passionate food lover who believes in the magic of homemade deliciousness that spreads love and warmth. Join me on this culinary adventure as I prepare wonderful dishes and let’s spread some happiness together!

Kimberly the Zett Signature

If you want to get to know me better, click here!


Fresh Prawn Tacos & Slaw
“Let’s make a piece of happiness”

INGREDIENTS

FOR 12 TACOS

SLAW

  • 250g white cabbage (9 oz)
  • 250g red cabbage (9 oz)
  • 1 cup cilantro
  • 1 red onion
  • 200g low fat yogurt (7 oz)
  • salt & pepper to taste

SHRIMPS

  • 550g black tiger shrimps – 26/30 p. lb. frozen count (1.2 lb)
  • 2 tbsp olive oil for marinade
  • 2 tbsp olive oil for frying
  • 3 garlic cloves
  • 1 tsp cumin
  • 1 tsp smoked paprik
  • 1/2 tsp oregano
  • 1/2 tsp onion powder
  • 1/2 tsp garlic powder
  • 1/2 tsp salt
  • 1/4 tsp chili flakes

TOPPINGS & TACOS

  • 12 corn tortillas
  • 2 limes
  • 3 tbsp yogurt
  • 2 spring onions
  • cilantro
Fresh Prawn Tacos & Slaw
}

ACTIVE: 10 min

PASSIVE: –

PREPARATIONS

Recommended Equipment
  • sharp knife
  • cutting board
  • two medium-sized bowls
  • small pan
  • large pan
  • If you’re using frozen shrimp, let them thaw in a strainer with a drip tray in the fridge a day before you need them. Then wash them thoroughly and pat them dry before further use.
  • Rinse fresh shrimp with cold water and pat dry.
  • Cut the green part of the spring onions into fine strips lengthwise.
  • Quarter the limes.
}

ACTIVE: 25 min

PASSIVE: –

COOKING

1. Slice the red cabbage, white cabbage, and red onion into thin strips and put them in a medium-sized bowl. Pluck the coriander leaves from the stems, roughly chop them, and add to the bowl with the cabbage. Add yogurt, salt, and pepper as well, and stir everything well. Set aside.

2. Next, peel and finely chop or press the garlic cloves and mix them with olive oil, chili, cumin, salt, garlic powder, onion powder, smoked paprika, and oregano to create a paste. Coat the shrimp in the paste, ensuring they’re evenly covered. Let marinate for 15 minutes.

3. Meanwhile, in a small pan, lightly toast the corn tortillas on both sides without adding fat, so they’re warm but still bendable. Alternatively, you can warm them in the oven for a few minutes.

4. Heat 1-2 tablespoons of olive oil in a large pan and fry the shrimp on each side for about 1-2 minutes until they’re no longer transparent and have curled up.

5. Spread the tortillas on plates, top with the slaw, distribute 4 shrimps on each, and garnish with yogurt, coriander, spring onion, and lime juice.

NOTE: The calorie information may vary depending on the product used, country and region.

Potato Soup with Bacon & Sausage

Potato Soup with Bacon & Sausage

Potato Soup with Bacon & Sausage

Potato Soup with Bacon & Sausage

March 16, 2024 by Kimberly

Indulge in the ultimate comfort food: Potato Soup with Bacon & Sausage! This hearty, flavorful dish is perfect for cozy nights and brings everyone to the table.

55 MINUTES

EASY

OMNIVORE

GERMAN

560 PER PORTION

COMFORT FOOD

EVERYDAY

DINNER

AUTUMN / WINTER

INTRODUCTION

ABOUT THE RECIPE

Get ready to cozy up with this delicious Potato Soup with Bacon & Sausage! Perfect for chilly evenings, this hearty soup brings the ultimate comfort food to your table. Easy to make and bursting with flavor, it’s sure to become a family favorite. Dive into a bowl of warmth and enjoy the rich, savory taste of home-cooked goodness.

How to serve:
Serve this mouthwatering soup hot, topped with shredded cheese, a dollop of sour cream, and extra bacon bits for an added crunch. It pairs wonderfully with a slice of crusty bread or a warm dinner roll to soak up all the flavorful broth. Perfect for a satisfying family dinner or a comforting weekend meal, this Potato Soup with Bacon & Sausage will fill your home with joy and your belly with warmth.

How to store:
Leftovers? No problem! Store this savory soup in an airtight container in the refrigerator for up to three days. Reheat gently on the stove or in the microwave, stirring occasionally, until hot throughout.

Hi, I'm Kimberly!

Hi, I'm Kimberly.

A passionate food lover who believes in the magic of homemade deliciousness that spreads love and warmth. Join me on this culinary adventure as I prepare wonderful dishes and let’s spread some happiness together!

Kimberly the Zett Signature

If you want to get to know me better, click here!


Potato Soup with Bacon & Sausage
“Let’s make a piece of happiness”

INGREDIENTS

FOR 3 PORTIONS

SOUP

  • 1kg potatoes (2 lbs)
  • 125g bacon (4.5 oz)
  • 300g german wiener sausage (10.5 oz)
  • 4 carrots
  • 1 leek
  • 1 big onion
  • 4 garlic cloves
  • 1.2 l vegetable broth (2.5 pt)
  • 100ml heavy cream (3.5 fl oz)
  • 1 tbsp butter
  • 1/2 tsp marjoram
  • 1 bay leaf
  • pinch of freshly grated nutmeg
  • salt & pepper to taste
  • parsley for topping
Potato Soup with Bacon & Sausage
}

ACTIVE: 15 min

PASSIVE: –

PREPARATIONS

Recommended Equipment
  • sharp knife
  • cutting board
  • big pot with lid
  • Peel the potatoes and carrots and chop them into bite-sized pieces. Set aside.
  • Wash the leek and cut it into thin strips.
  • Peel the onion and garlic cloves and dice them. Set aside.
  • Finely chop the parsley.
  • Slice the sausages. Set aside.
  • Dice the bacon.
}

ACTIVE: 10 min

PASSIVE: 30 min
COOKING

1. Put the bacon in the cold pot and heat it over medium heat. This way, the bacon fat renders out nicely. Then remove the bacon and set it aside for later and leave the fat in the pot. 

2. Now add the onions, garlic and leeks to the pot and sauté for 2-3 minutes, then add the potato and carrot pieces. Sauté everything for about 5 minutes.

3. Then add the vegetable broth and simmer with the lid on for 15 minutes. Now, add marjoram, bay leaf and nutmeg, season with salt and pepper, and simmer for another 15 minutes with the lid on.

4. Now add the bacon, sausage slices, and cream to the soup and simmer for another 5 minutes without the lid, until the sausages are heated through. Finally, season with salt and pepper.

5. Serve the soup in deep plates and garnish with a bit of freshly chopped parsley and optional baguette.

NOTE: The calorie information may vary depending on the product used, country and region.

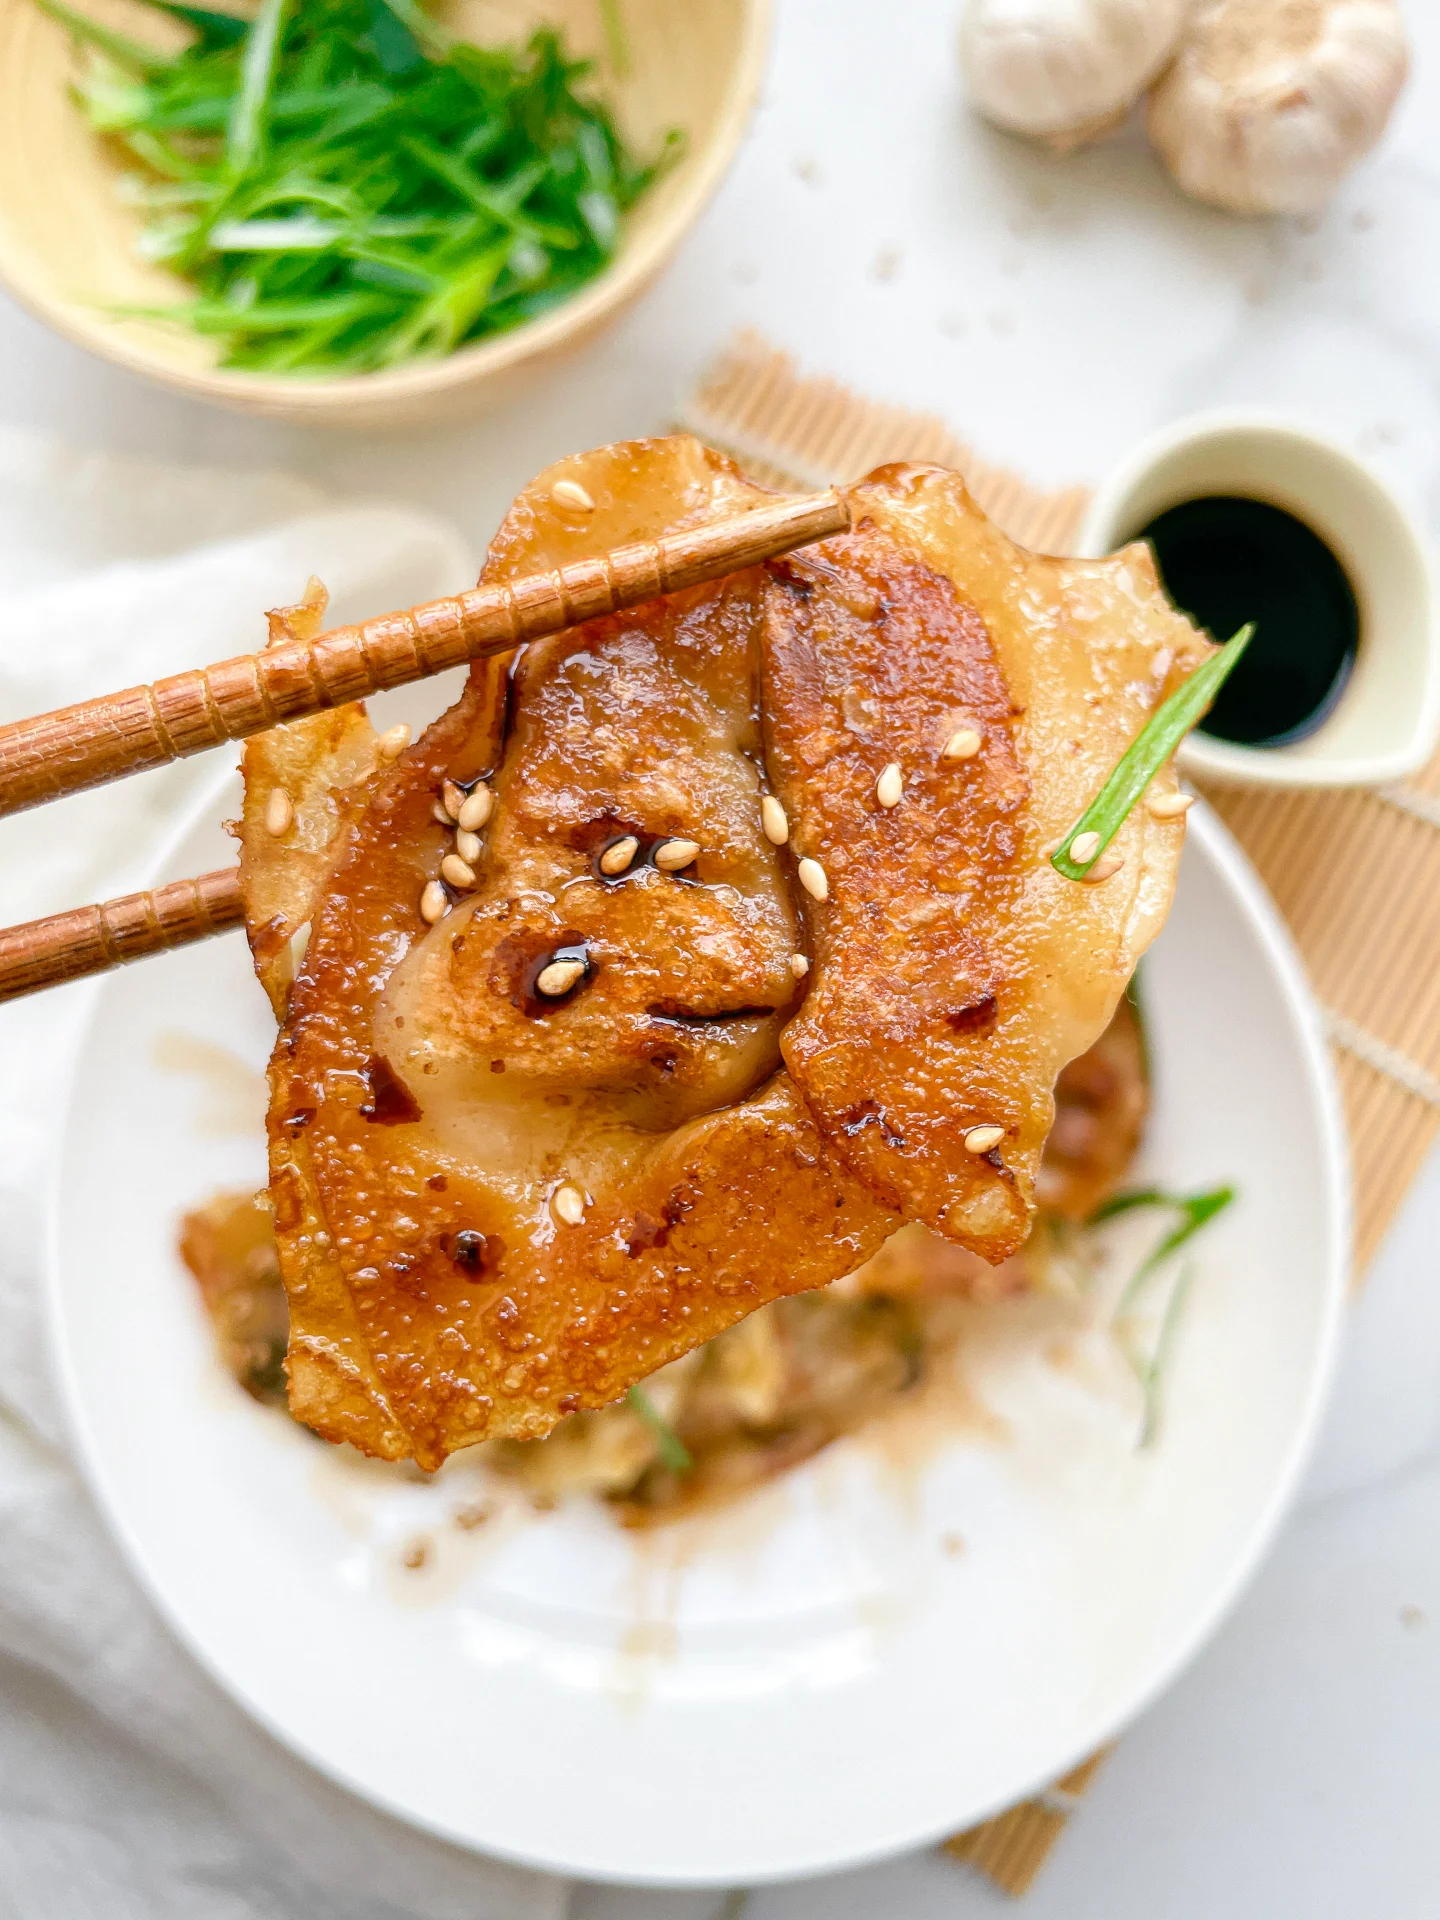
Juicy Pan-Fried Pork Dumplings

Juicy Pan-Fried Pork Dumplings

Juicy Pan-Fried Pork Dumplings

Juicy Pan-Fried Pork Dumplings

March 12, 2024 by Kimberly

Dive into the world of flavors with these pan-fried pork Dumplings! Perfectly golden, irresistibly tasty, and just the right crunch to satisfy your cravings.

75 MINUTES

INTERMEDIATE

OMNIVORE

ASIAN

50 PER DUMPLING

COMFORT FOOD / UMAMI

EVERYDAY

DINNER / APPETIZER

ALL YEAR

INTRODUCTION

ABOUT THE RECIPE

Discover the joy of making juicy pan-fried pork Dumplings at home! A staple in Asian cuisine, these dumplings are a perfect blend of juicy filling and crispy skin. Easy to make and incredibly delicious, they’re sure to become a family favorite. Whether you’re a dumpling enthusiast or a first-timer, follow this simple guide to bring a taste of tradition into your kitchen.

How to serve:
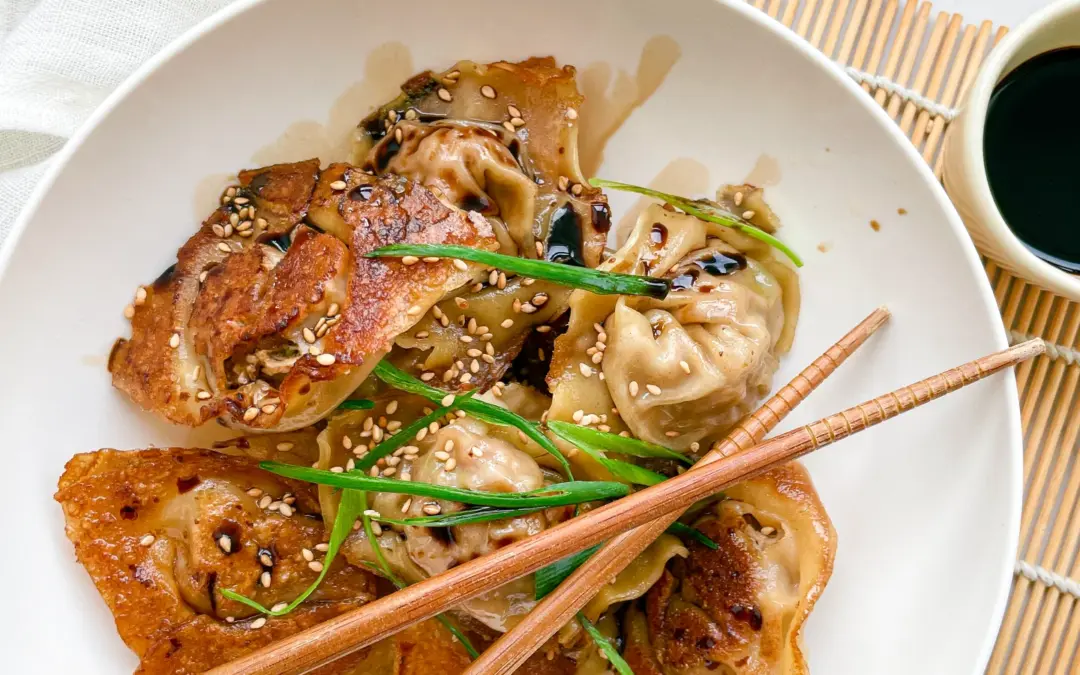
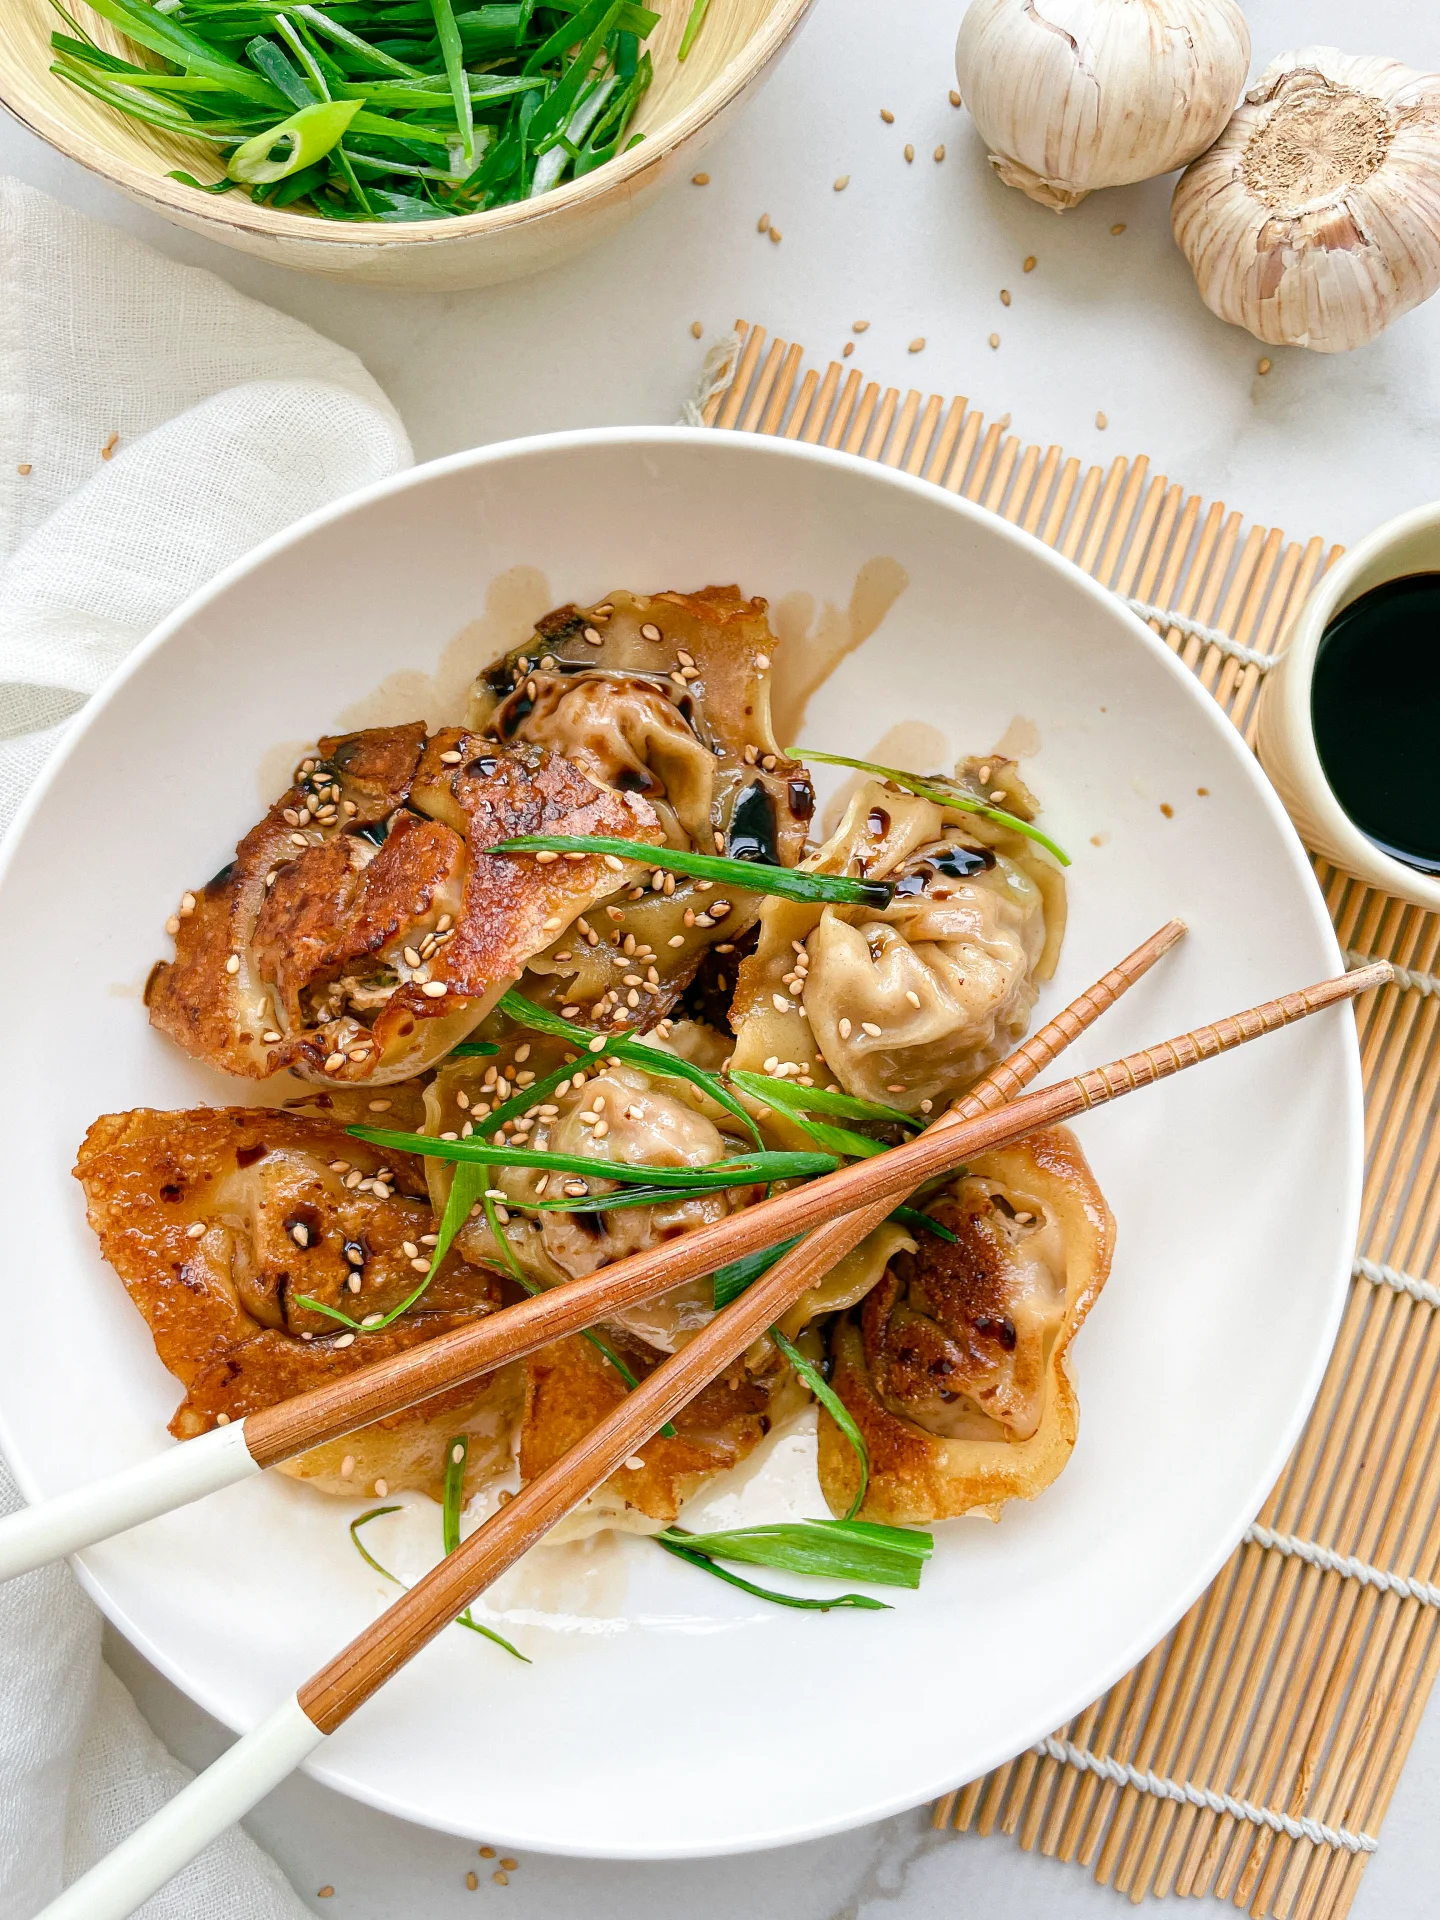
Serve these golden delights with a side of dumpling dipping sauce. These juicy pan-fried pork Dumplings are best enjoyed hot, allowing the flavors to truly shine. They make a fantastic appetizer, a satisfying main, or a delightful side dish. Pair with a fresh cucumber salad or a steaming bowl of soup to complete a mouthwatering meal that’s sure to impress.

How to store:
Store leftover dumplings in an airtight container in the refrigerator for up to three days. Reheat in a pan to retain their crispiness or microwave if in a hurry. You can also freeze them immediately after filling, so you always have fresh dumplings on hand.

Hi, I'm Kimberly!

Hi, I'm Kimberly.

A passionate food lover who believes in the magic of homemade deliciousness that spreads love and warmth. Join me on this culinary adventure as I prepare wonderful dishes and let’s spread some happiness together!

Kimberly the Zett Signature

If you want to get to know me better, click here!


Juicy Pan-Fried Pork Dumplings
“Let’s make a piece of happiness”

INGREDIENTS

FOR 40 Dumplings

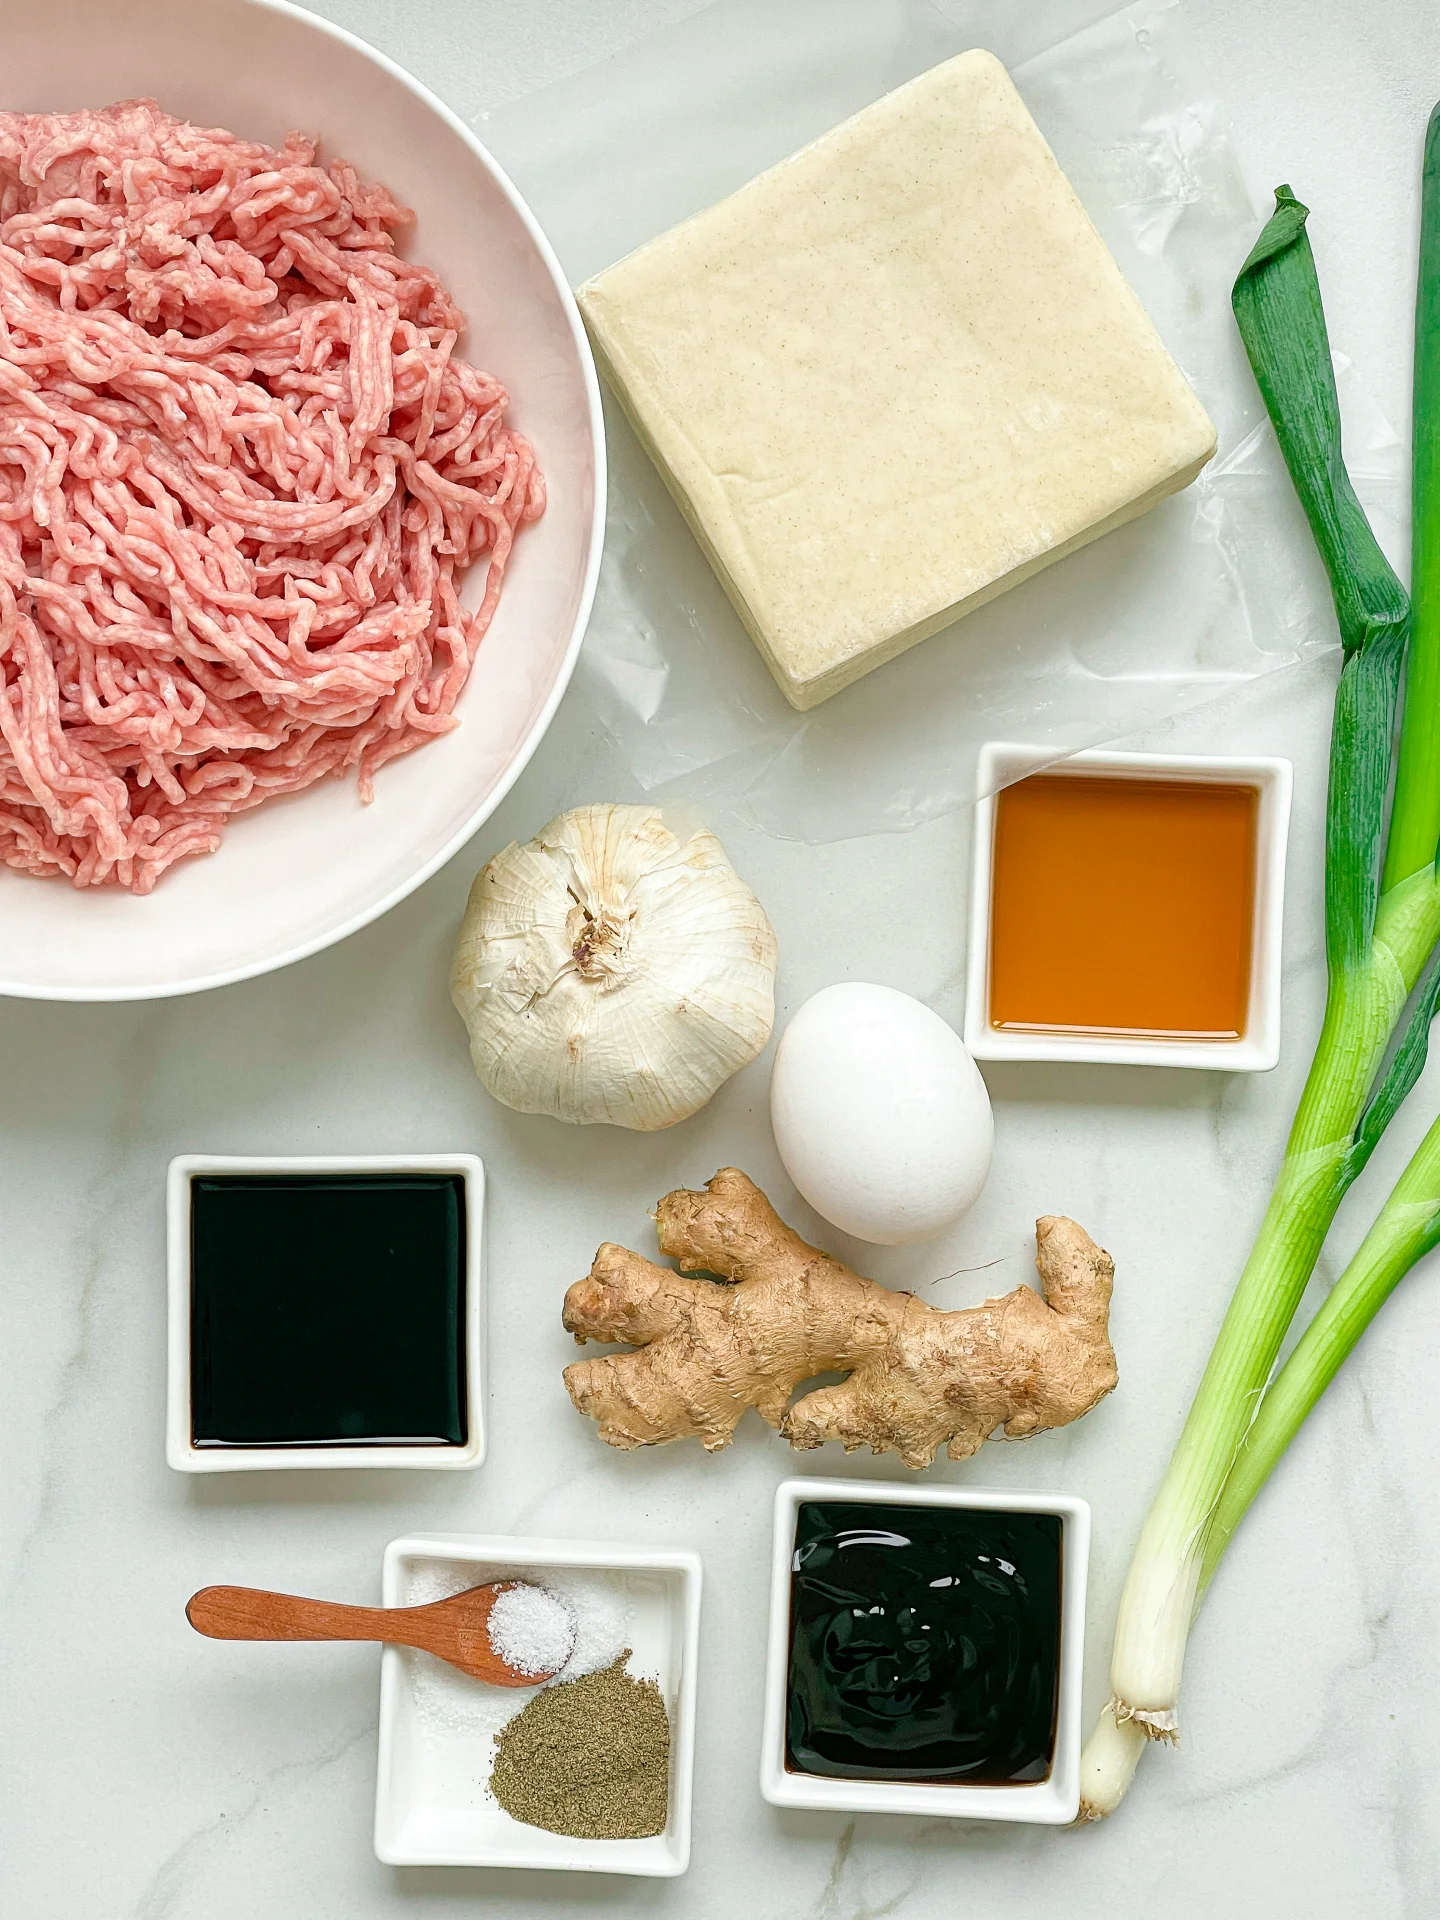
DUMPLINGS

  • 40 dumpling wrappers
  • 400g minced pork (14 oz)
  • 1 tbsp minced ginger
  • 4 garlic cloves
  • 3 spring onions
  • 1 egg
  • 1 tbsp soy sauce
  • 1 tbsp oyster sauce
  • 1 tsp sesame oil
  • 1/4 tsp salt
  • 1/4 tsp ground pepper

ADDITIONAL

  • all-purpose flour
  • neutral cooking oil
Juicy Pan-Fried Pork Dumplings
}

ACTIVE: 5 min

PASSIVE: –

PREPARATIONS

Recommended Equipment
  • sharp knife
  • cutting board
  • large bowl
  • small bowl
  • large pan with lid
  • Defrost the dumpling wrappers if necessary.
  • Peel the ginger, finely chop or grate and add to a large bowl.
  • Peel and finely chop or crush the garlic cloves and add to the ginger in the large bowl.
  • Separate the spring onions into whites and greens. Cut the white part into fine rings and add to the bowl with the ginger and garlic. Cut the green part into fine strips. Set aside.
}

ACTIVE: 40 min

PASSIVE: 30 min

COOKING

1. Also add the ground meat into the large bowl. Additionally, add: 1/4 tsp salt, 1/4 tsp ground pepper, one egg, 1 tbsp oyster sauce, 1 tbsp soy sauce, and 1 tsp sesame oil. Mix the entire mixture with two chopsticks and set aside.

2. As preparation for your dumplings, sprinkle a work surface or serving plate with a little flour, so you can place your filled dumplings there before frying them. Without flour, the dough would stick to the surface after a while.

3. Now, it’s time to fill the dumplings. For this, you will need the bowl with your filling, a small bowl with fresh, cold water, a teaspoon, and the dumpling wrappers.

4. For the filling and folding feel free to watch my video on this (located at the bottom of this page) as visuals always help 😉

Fill each dumpling wrapper with about 1 tsp of filling. Place the filling in the center of the wrapper. Dab a bit of the cold water on one half of the edges of the wrapper along the edge with a finger. Fold the wrapper in half so that the filling is enclosed by the edges. Press the edges tightly together. Once you have enclosed the filling in the dough, take the two rear corners, moisten one corner from one side and fold the corners onto each other from behind. Press tightly and place the dumpling on the floured work surface. Continue this process until for the remaining dumpling wrappers. For 40 dumplings, this can take about 15 to 30 minutes, depending on your speed.

5. If you want to freeze the dumplings, I recommend doing it now and not after the dumplings have been fried.

6. Once you have finished all the dumplings, heat a large pan over medium heat. Add 1 tbsp of oil to the pan and place as many dumplings as you can fit on the flat side in the pan. Let them fry for a few minutes until the bottom has become crispy. Then reduce the heat to low and pour a little water into the pan. Immediately cover the pan with the lid. Be careful that the oil in the pan is not too hot, otherwise there is a risk of burning. The dumplings will now be steamed with the water in the pan. Keep the lid closed until the dumpling skins have become translucent. This can take about 10-15 minutes. If they are not yet translucent and there is no more water in the pan, simply add some more. Now you can remove the lid and turn the heat back up to medium. Let them fry for about 5 more minutes without the lid, so that the bottom of the dumplings can become crispy again. Remove the dumplings from the pan and process the next batch in the same way.

7. When all the dumplings are done, serve them in a bowl with this dumpling dipping sauce and the green parts of the spring onion. You can also top them with roasted sesame seeds if you like.

NOTE: The calorie information may vary depending on the product used, country and region.

en_USEnglish