


Description
RECOMMENDED EQUIPMENT
- blender
- glasses
- straw
Ingredients
Units Scale
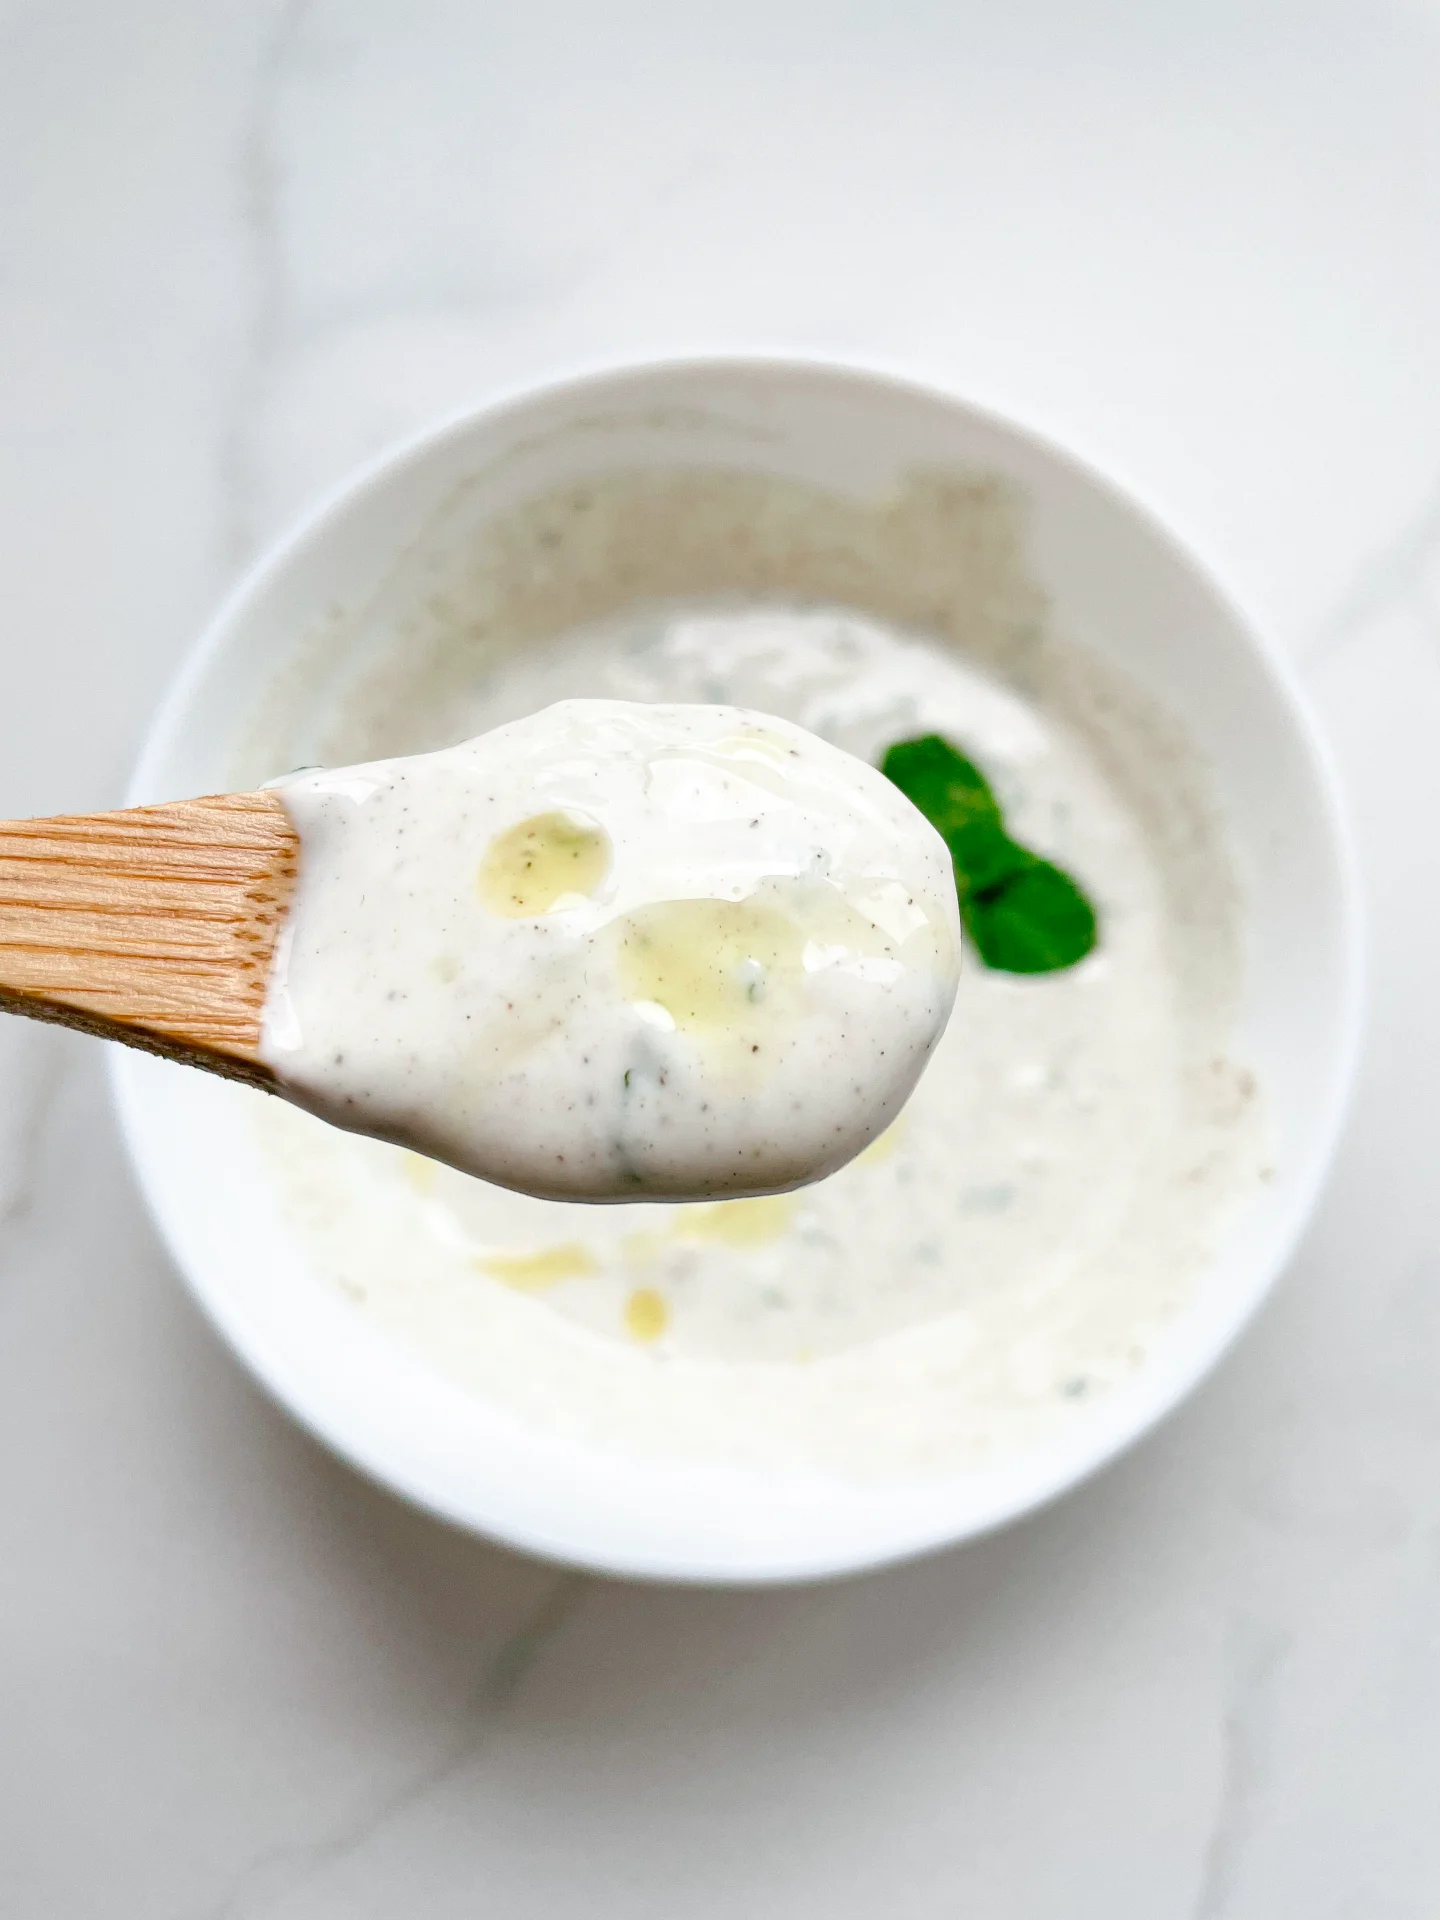
- 100 grams yogurt
- 150 grams coconut milk
- 120 grams passionfruit purée
- 180g mango, frozen
- 2 tbsp lime juice
- pinch of cardamom
Instructions
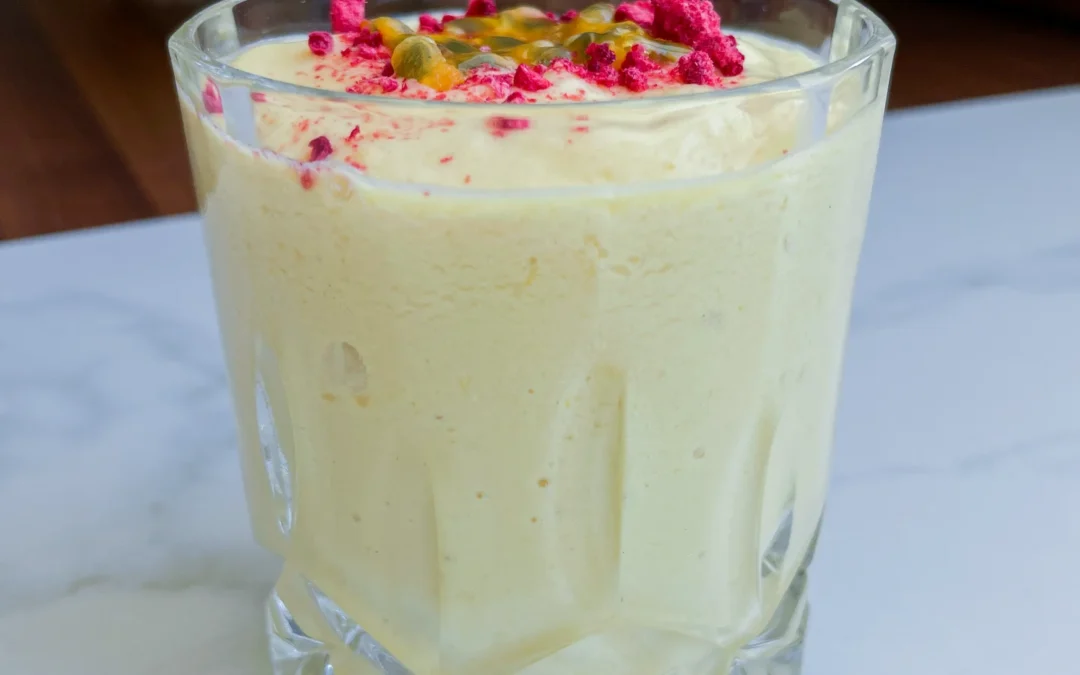
- Add yogurt, coconut milk, passionfruit purée, frozen mango, lime juice, and ground cardamom to a blender.
- Blend on high speed for 1-2 minutes until smooth, thick, and creamy.
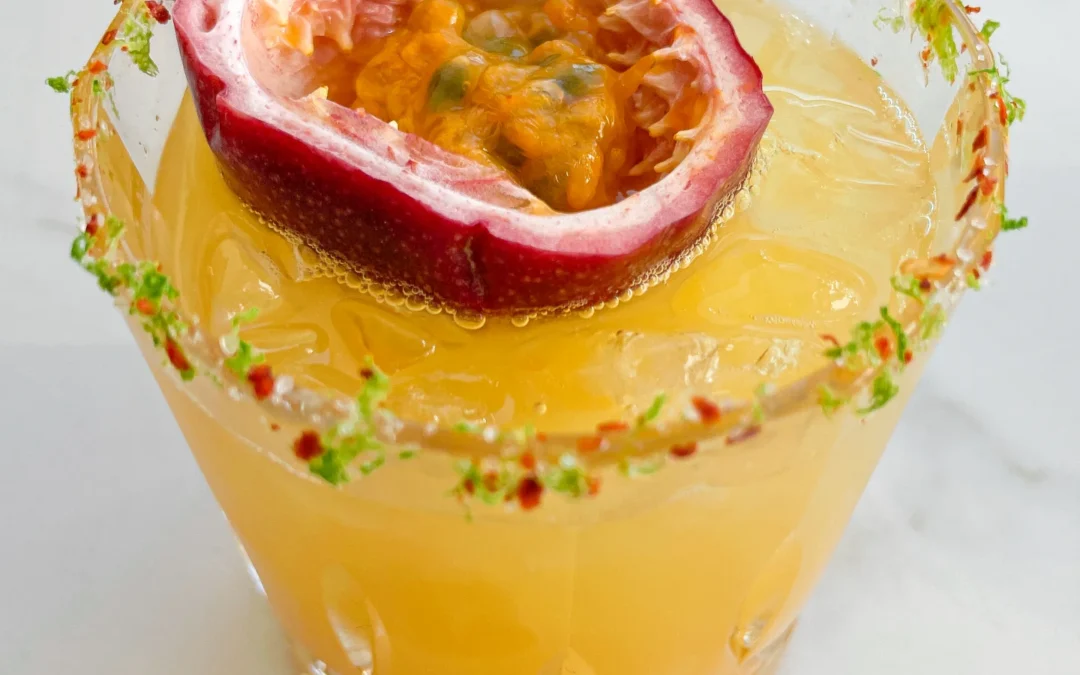
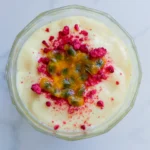
- Pour the lassi into two glasses and sprinkle with a bit of freeze-dried raspberry powder.
- Cut a passionfruit in half and evenly distribute the seeds over the raspberry powder for the perfect finishing touch.
- Cook Time: 10 min